Rs2000 resto build thread

Thread Starter
I'm Finding My Feet Here Now
Joined: Jul 2010
Posts: 103
Likes: 0
From: worle
Hi all this thread is for a mate of mine he has an escort rs2000 that needs a bit of TLC so he decided to take it to his lock up and get to work and i decided to give him a hand. we started yesterday.
heres a few pics so far.
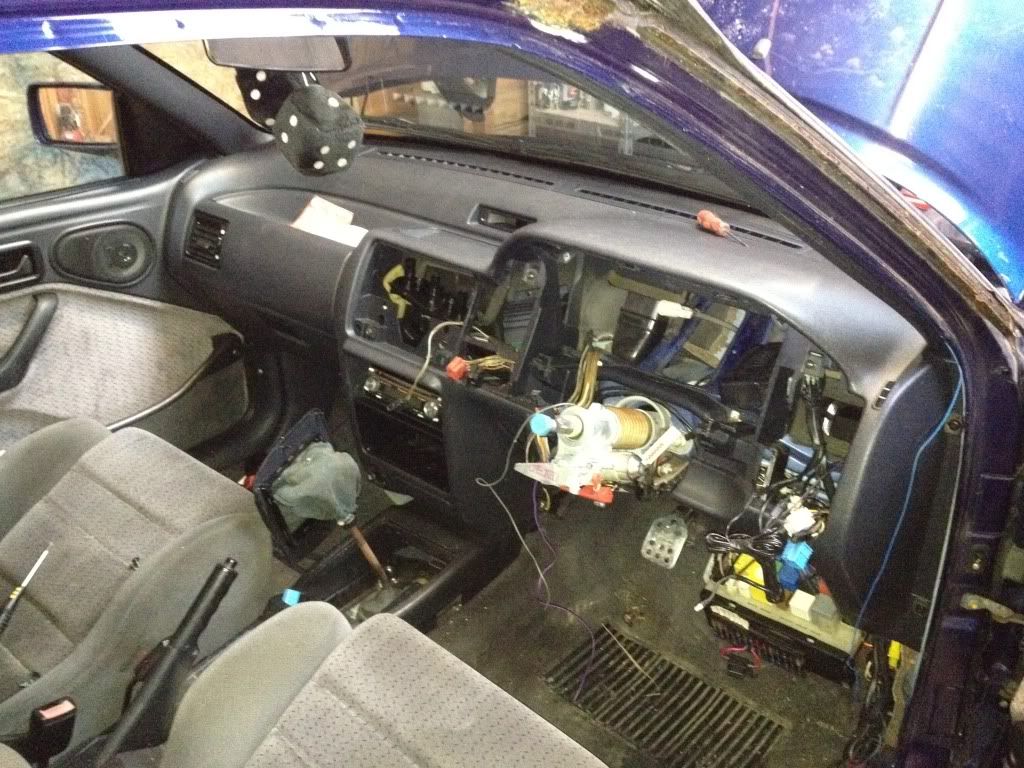
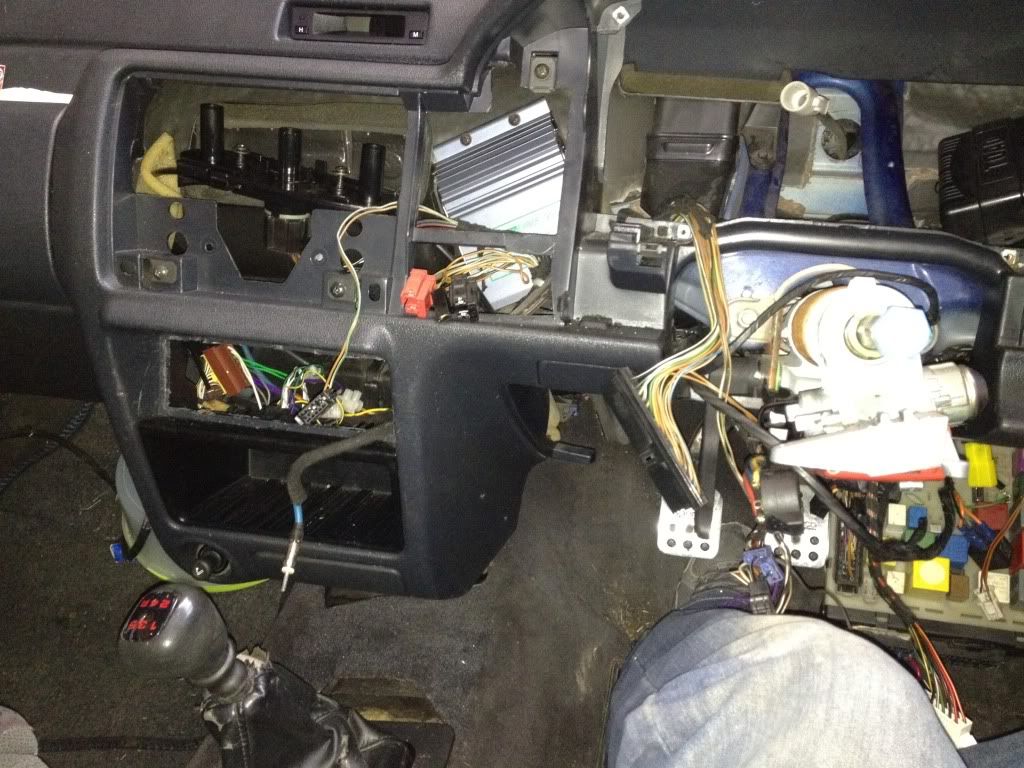
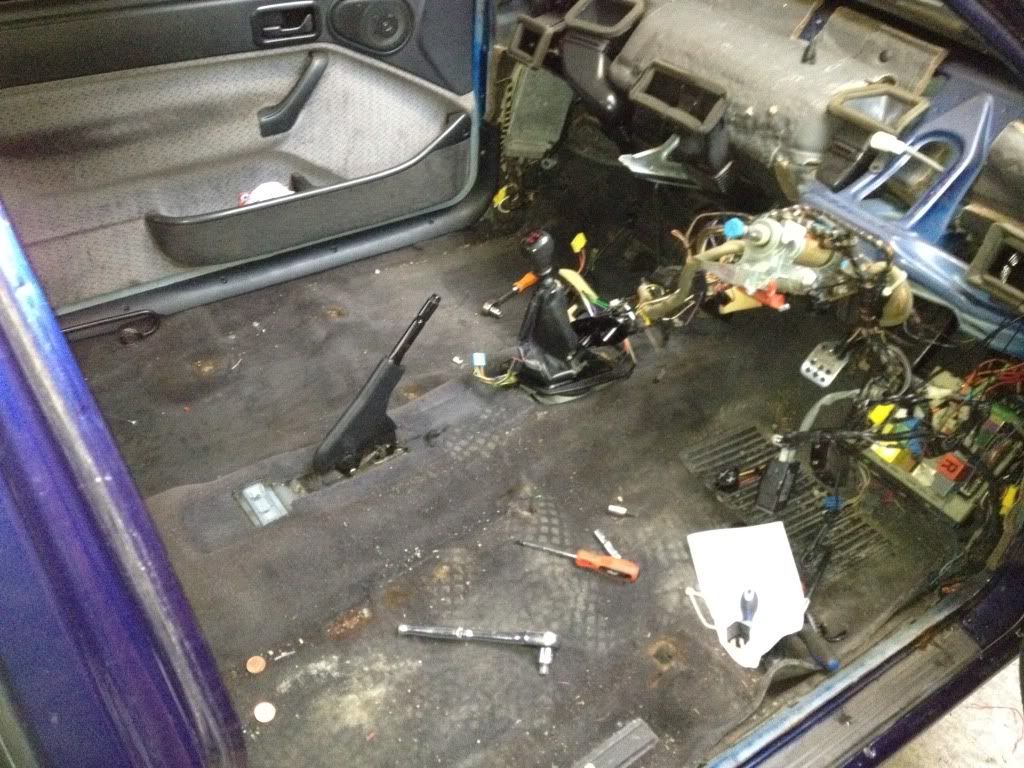
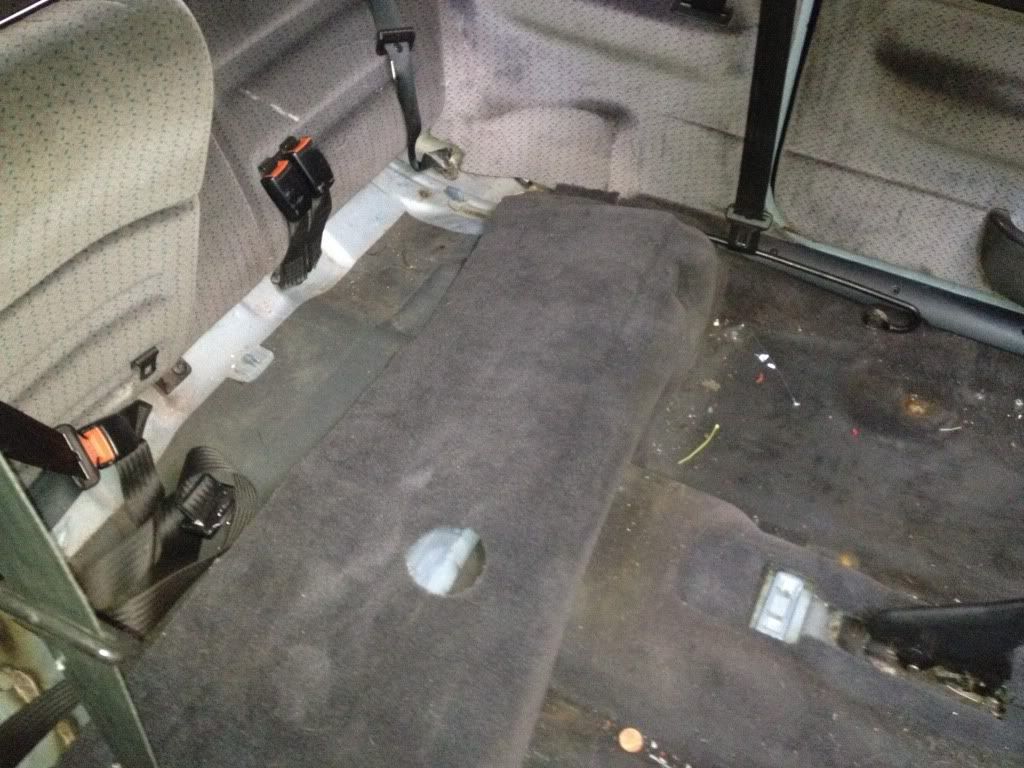
first we started stripping the inside out
carpet was soaked through so that will be dried out and be cleaned properly before going back in
back seats starting to come out ect
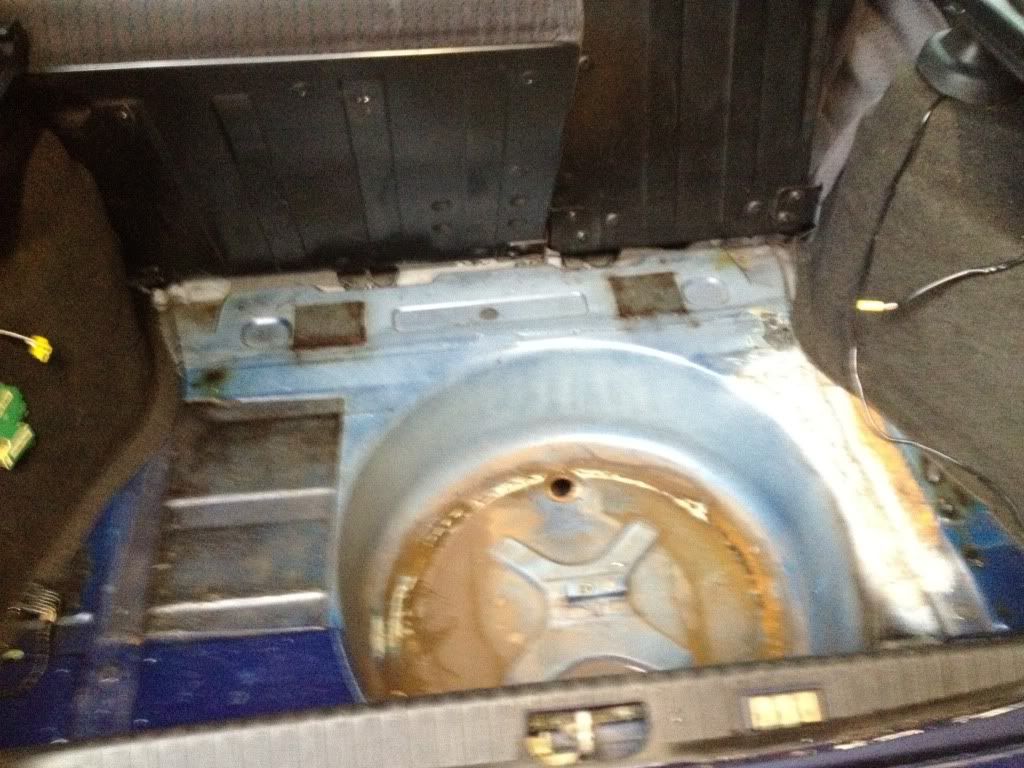
boot being stripped
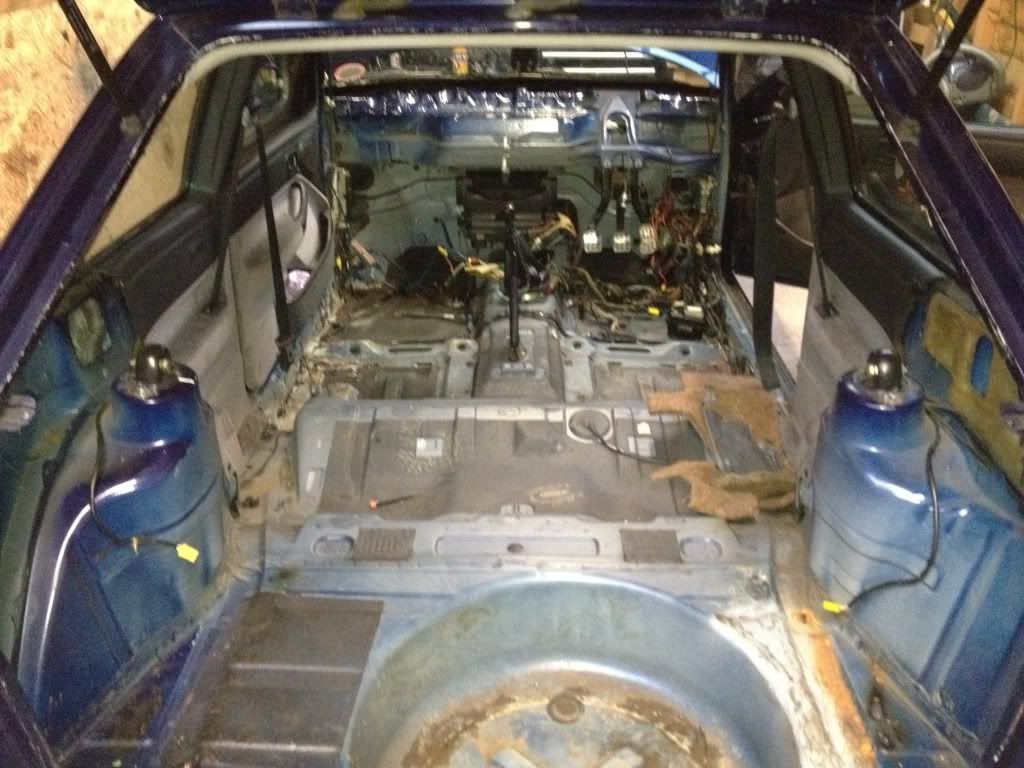
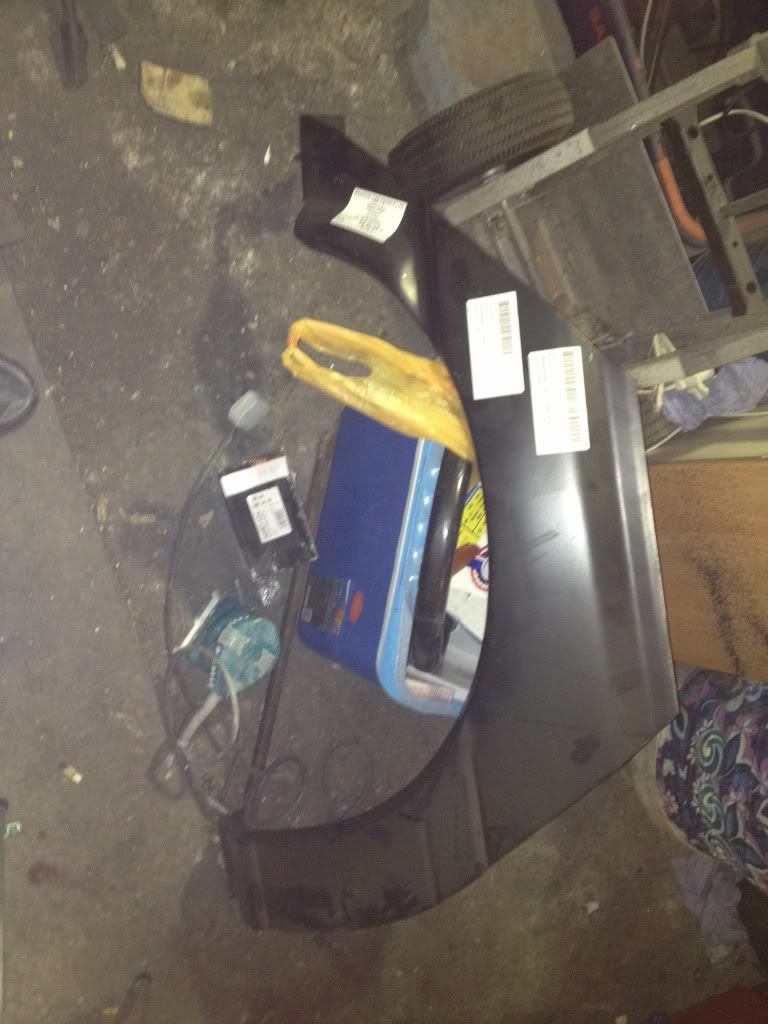
inside nearly fully stripped out ready for prep work
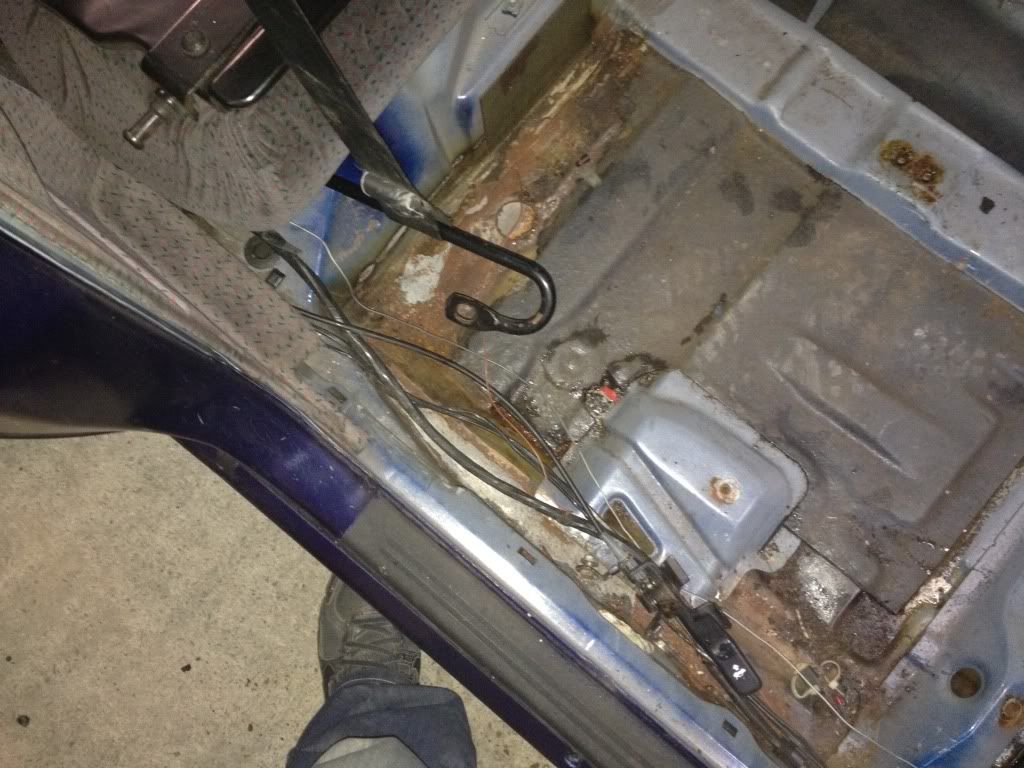
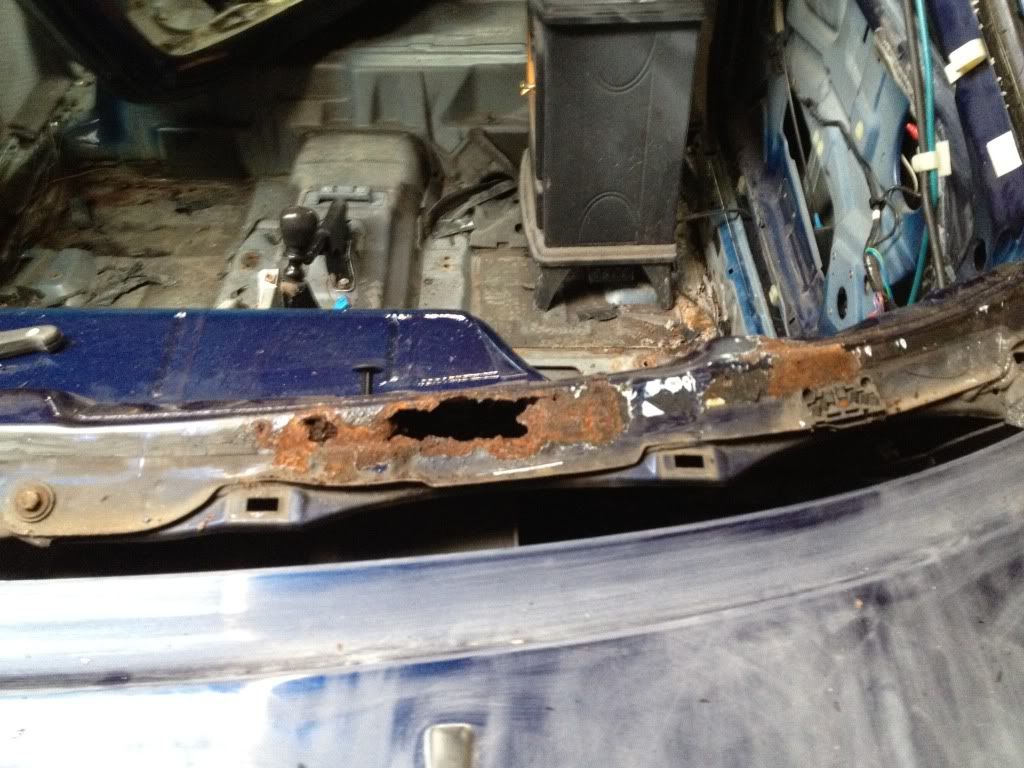
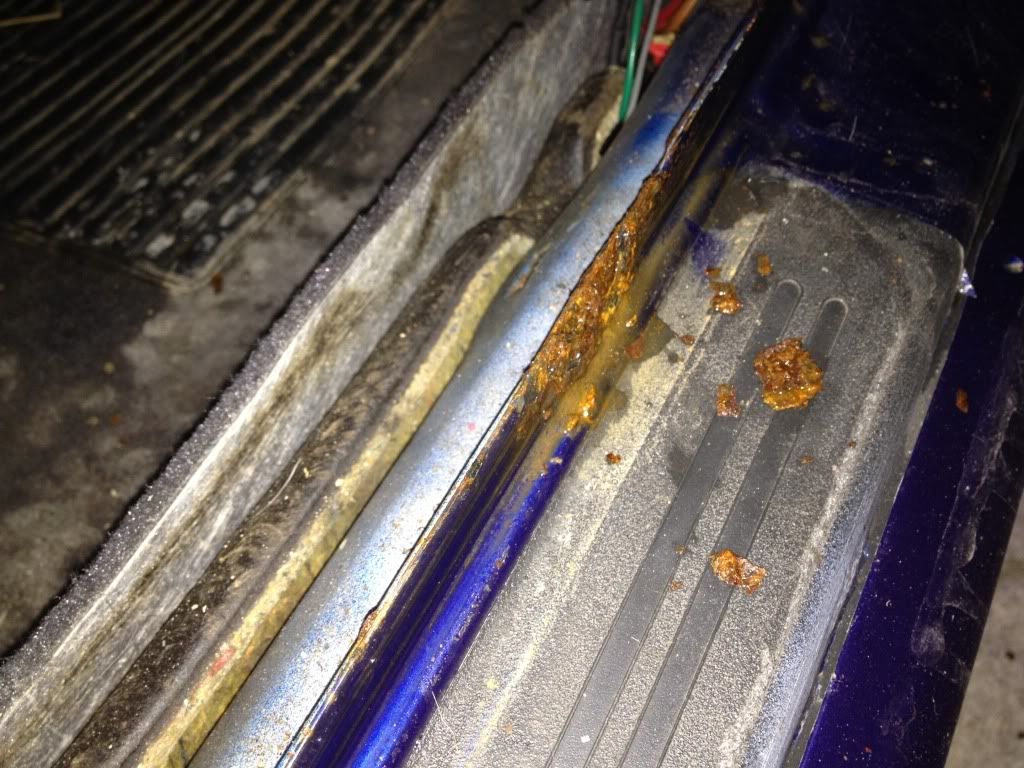
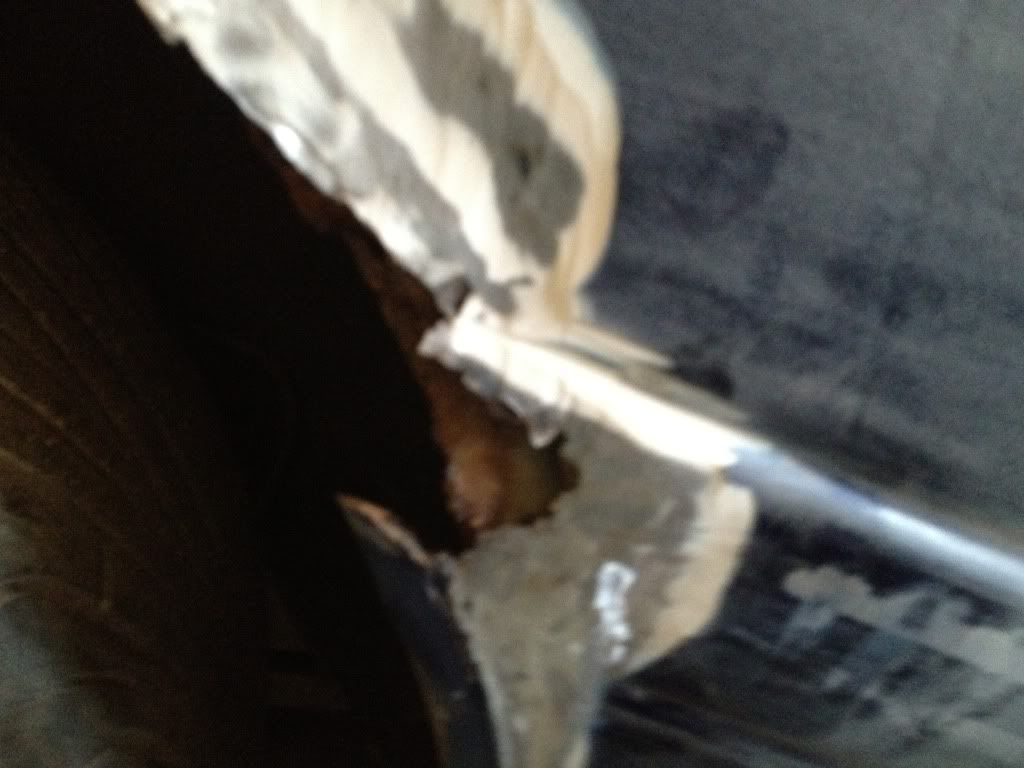
bit of rot along the edge where boot popper is ect
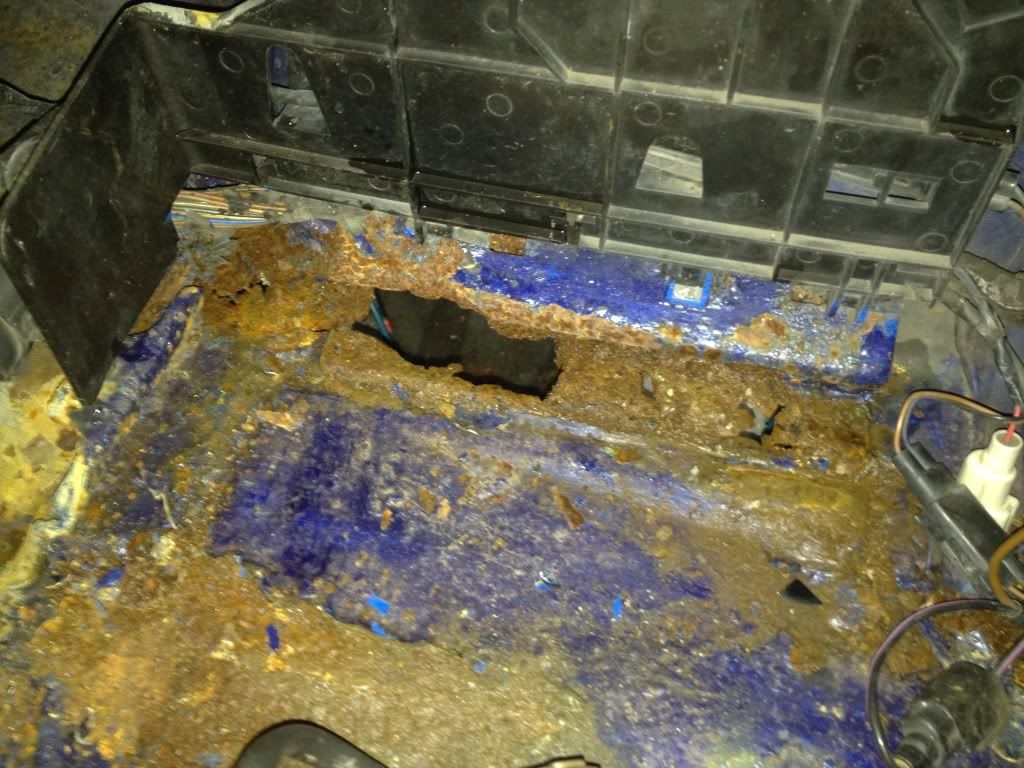
this is whats left of the battery tray! (he will soon get that sorted!)
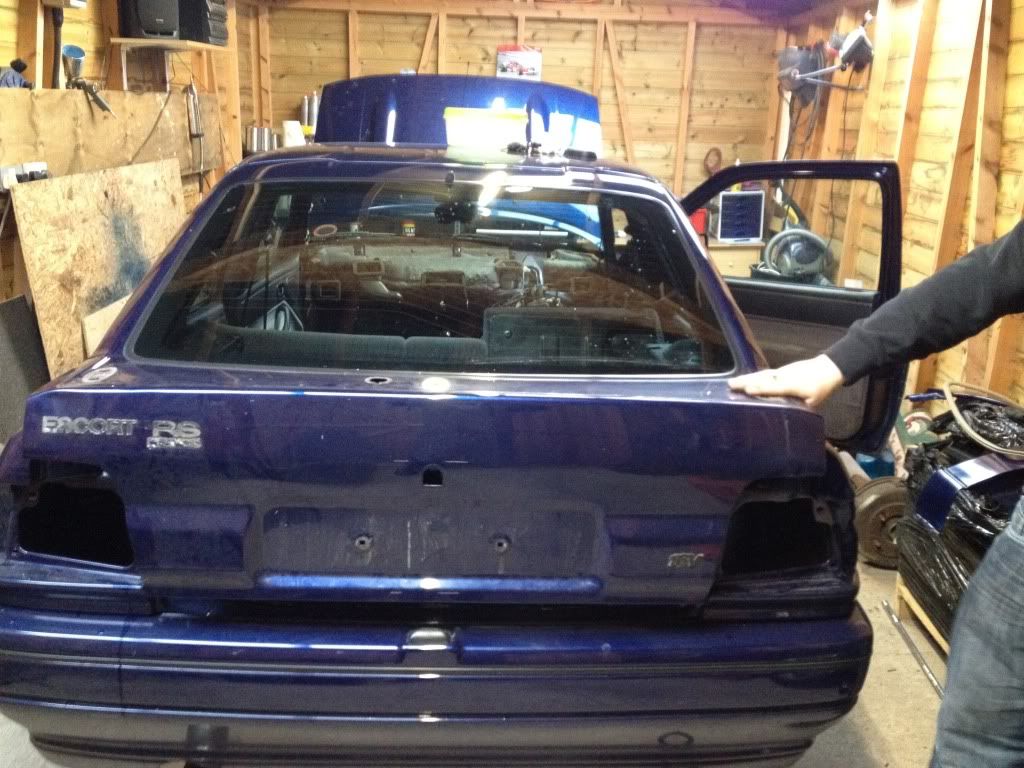
spoiler and badges taken off ready for prep
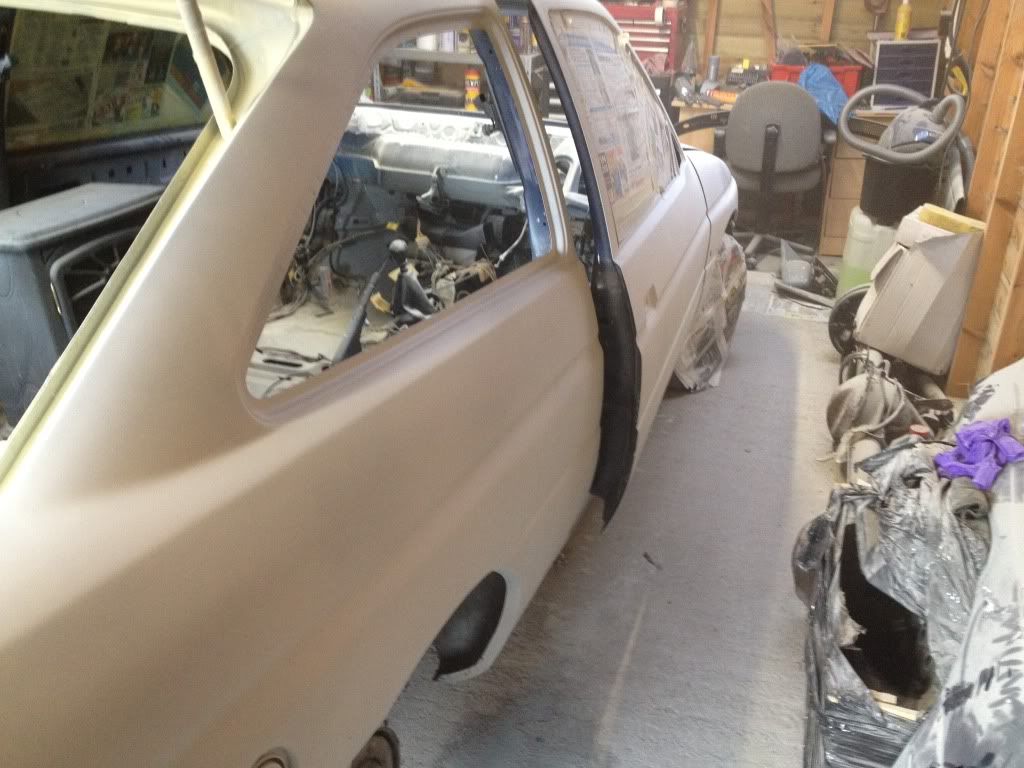
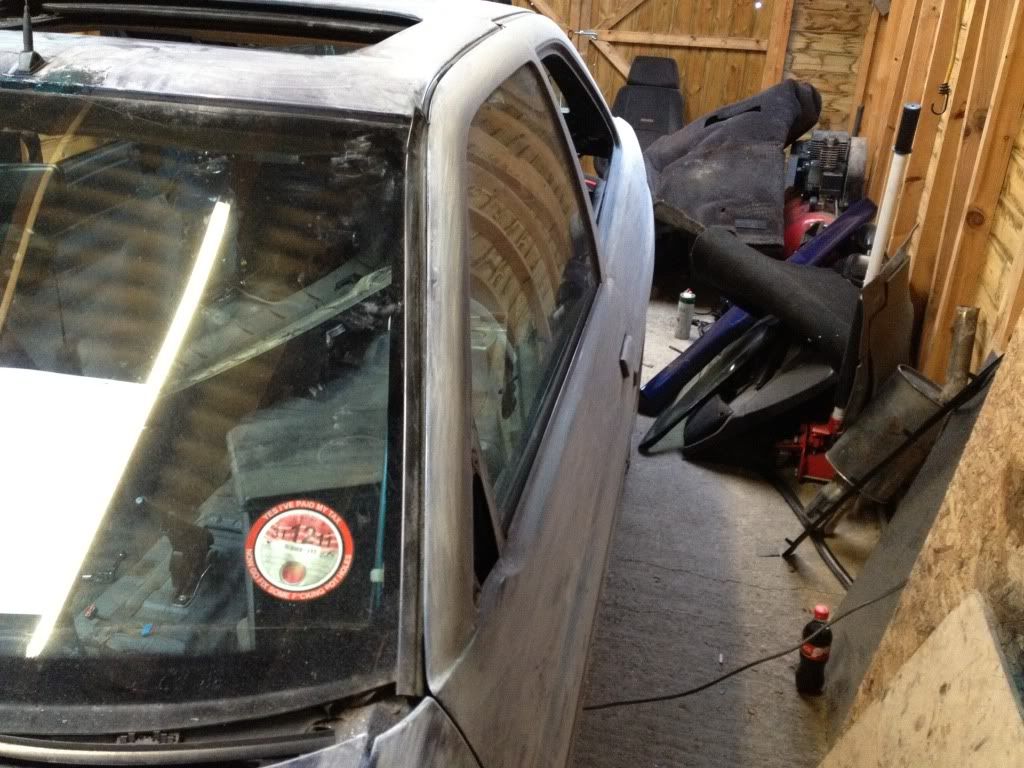
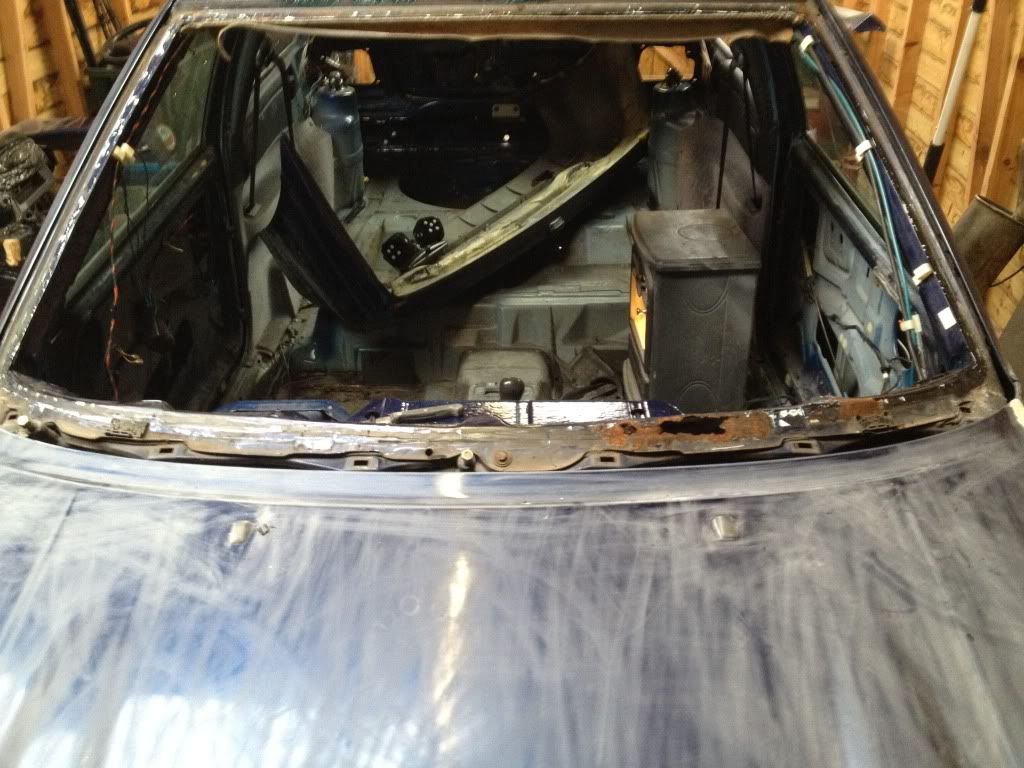
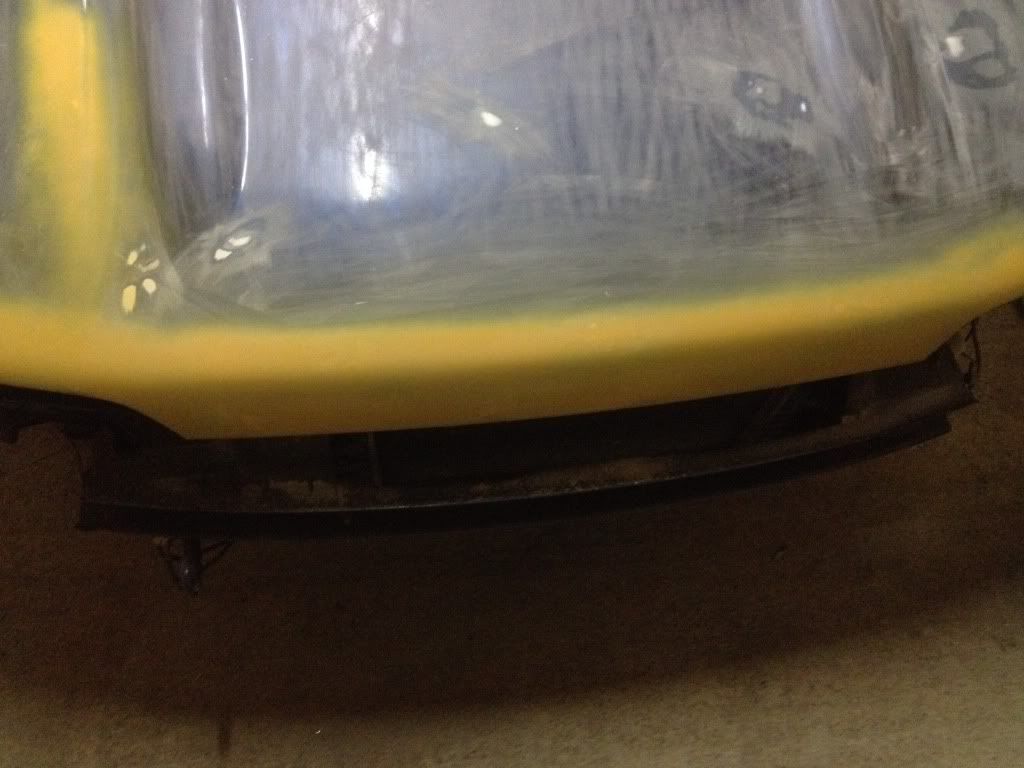
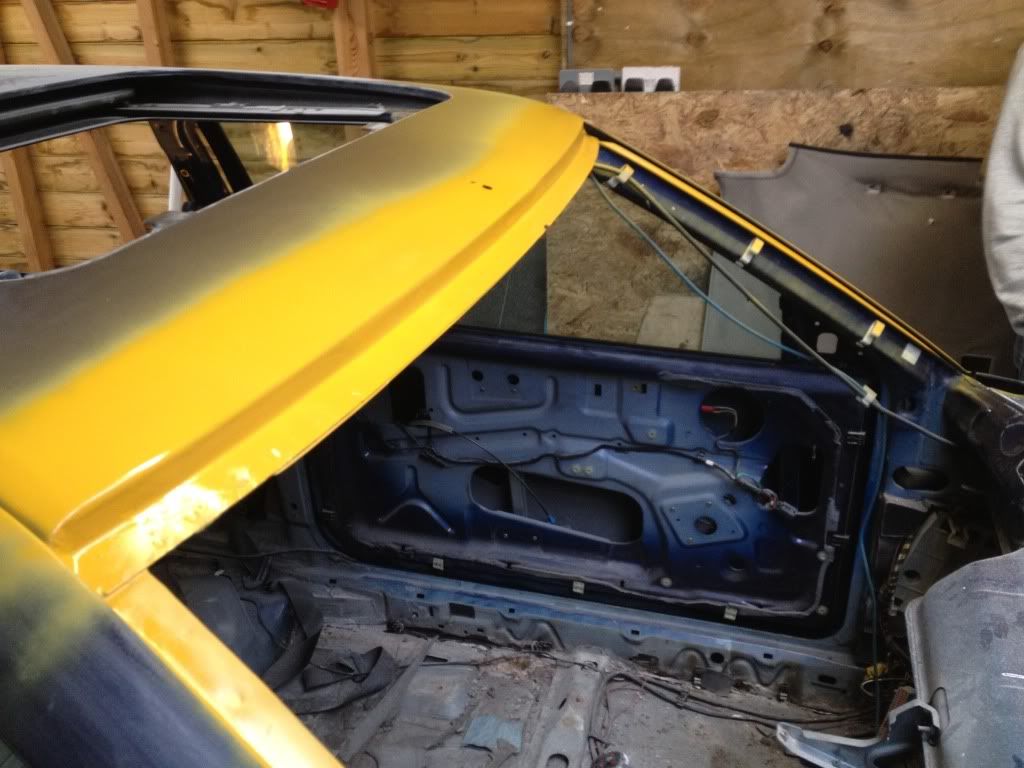
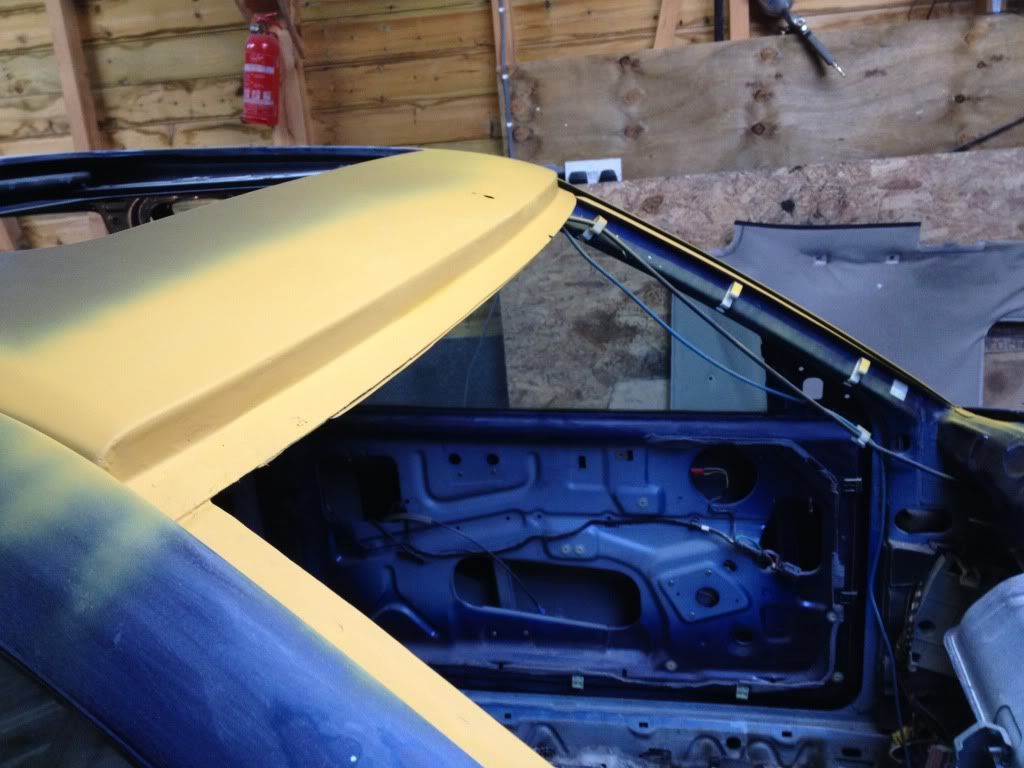
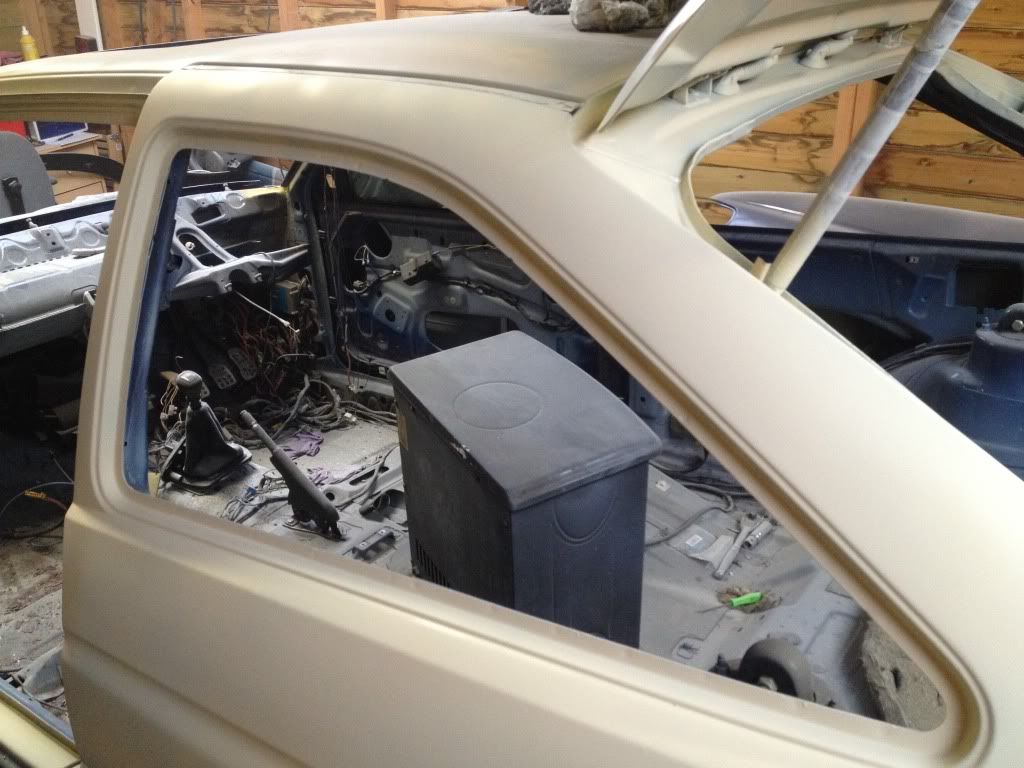
drivers side door pillar (windscreen)

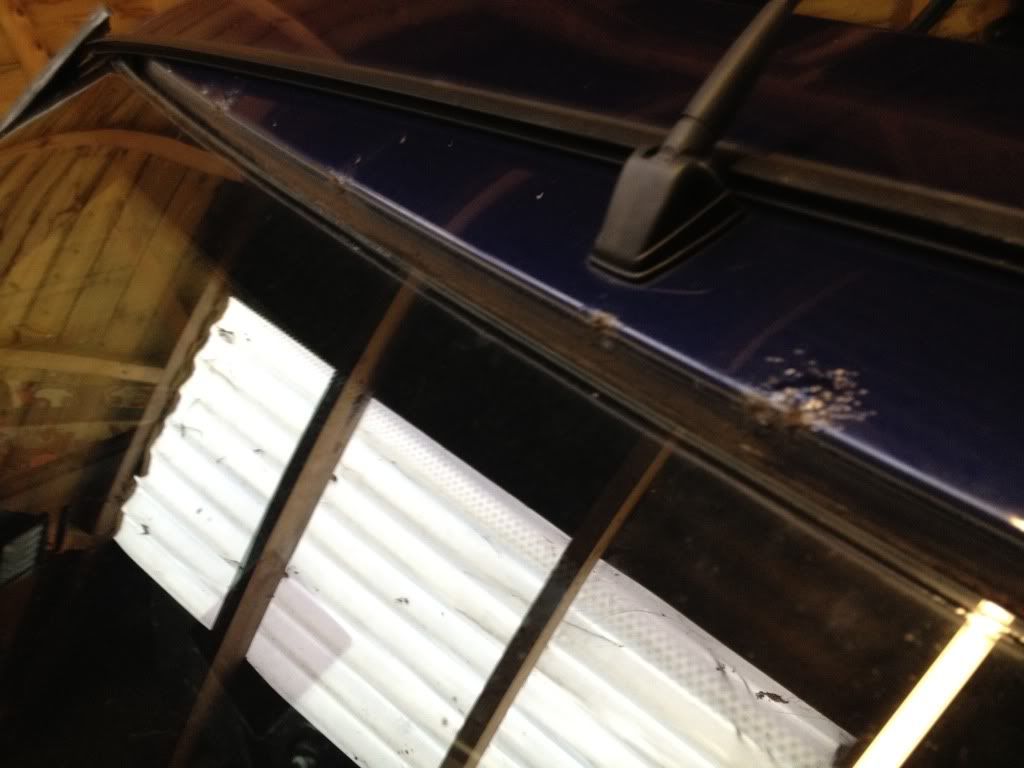
top edge of widscreen
started to prep body ect

will keep the thread updated as we go.
heres a few pics so far.
first we started stripping the inside out
carpet was soaked through so that will be dried out and be cleaned properly before going back in
back seats starting to come out ect
boot being stripped
inside nearly fully stripped out ready for prep work
bit of rot along the edge where boot popper is ect
this is whats left of the battery tray! (he will soon get that sorted!)
spoiler and badges taken off ready for prep
drivers side door pillar (windscreen)
top edge of widscreen
started to prep body ect
will keep the thread updated as we go.

Thread Starter
I'm Finding My Feet Here Now
Joined: Jul 2010
Posts: 103
Likes: 0
From: worle
i know for what it is its an absolute animal!
Thread Starter
I'm Finding My Feet Here Now
Joined: Jul 2010
Posts: 103
Likes: 0
From: worle
Thread Starter
I'm Finding My Feet Here Now
Joined: Jul 2010
Posts: 103
Likes: 0
From: worle
Hi all here is a small update only 3 pics but loads more to come next week!!
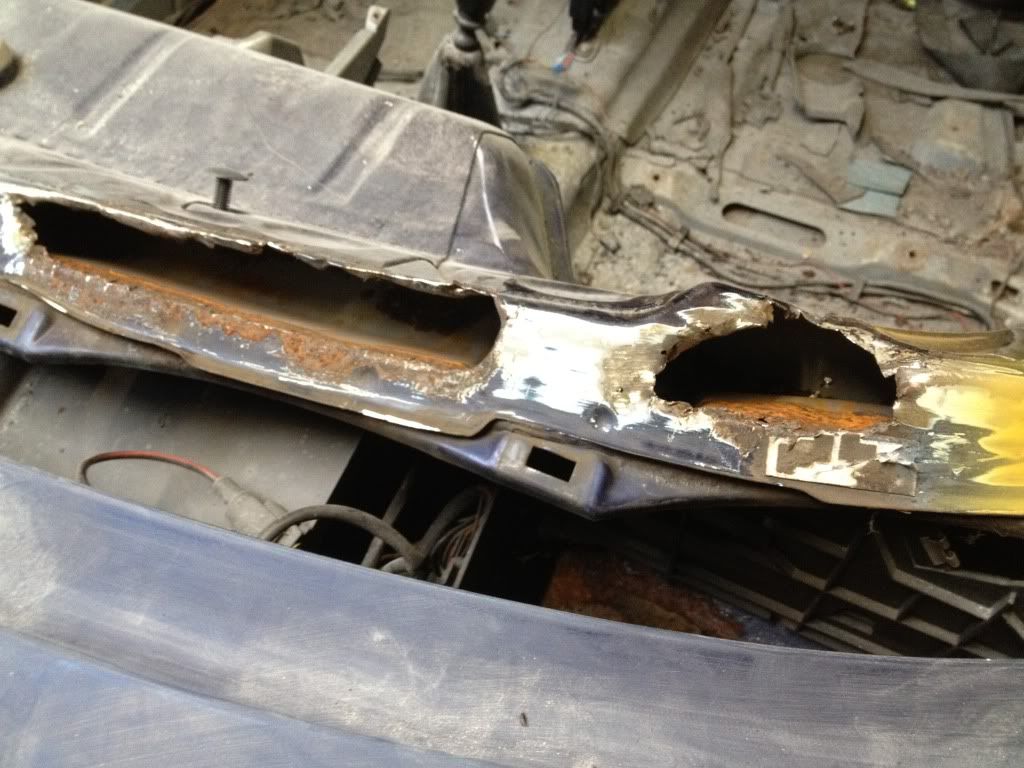
got the windscreen out (that leaked)
to find this!! nothing he wont get sorted!!! his glad he took screen out now!!!
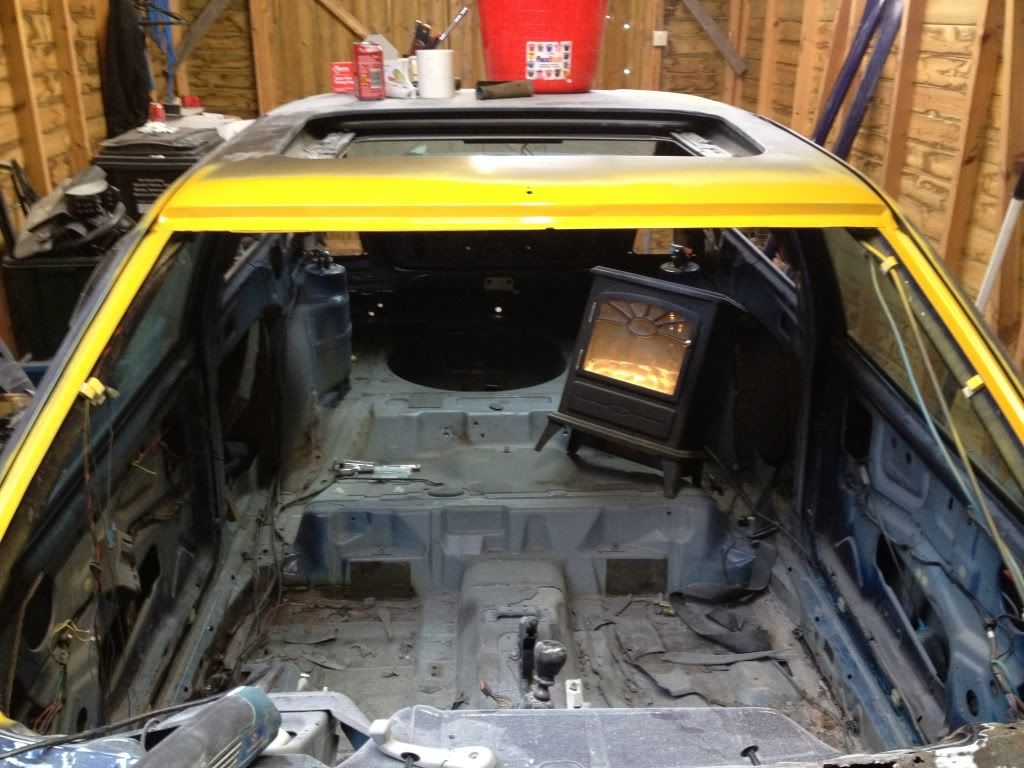
even got a heater in the car as it bloody cold in the lock-up without it!!! lol
here is a pic of the engine aswell!
mods:
egr blanks
de-catted
2.3 bottom end
roose hose kit
zetec coil pack conversion
aftermarket airfilter
and god knows what else he has planned all i know is its an animal just constant power and pull!!

more updates to come as said, cant wait to get back there and get cracking on it will look great when finished in the new colour!!!
got the windscreen out (that leaked)
to find this!! nothing he wont get sorted!!! his glad he took screen out now!!!
even got a heater in the car as it bloody cold in the lock-up without it!!! lol
here is a pic of the engine aswell!
mods:
egr blanks
de-catted
2.3 bottom end
roose hose kit
zetec coil pack conversion
aftermarket airfilter
and god knows what else he has planned all i know is its an animal just constant power and pull!!
more updates to come as said, cant wait to get back there and get cracking on it will look great when finished in the new colour!!!
Trending Topics
Thread Starter
I'm Finding My Feet Here Now
Joined: Jul 2010
Posts: 103
Likes: 0
From: worle
right another small update.
he went down the unit today for an hour or so and did the following
started blanking door locks
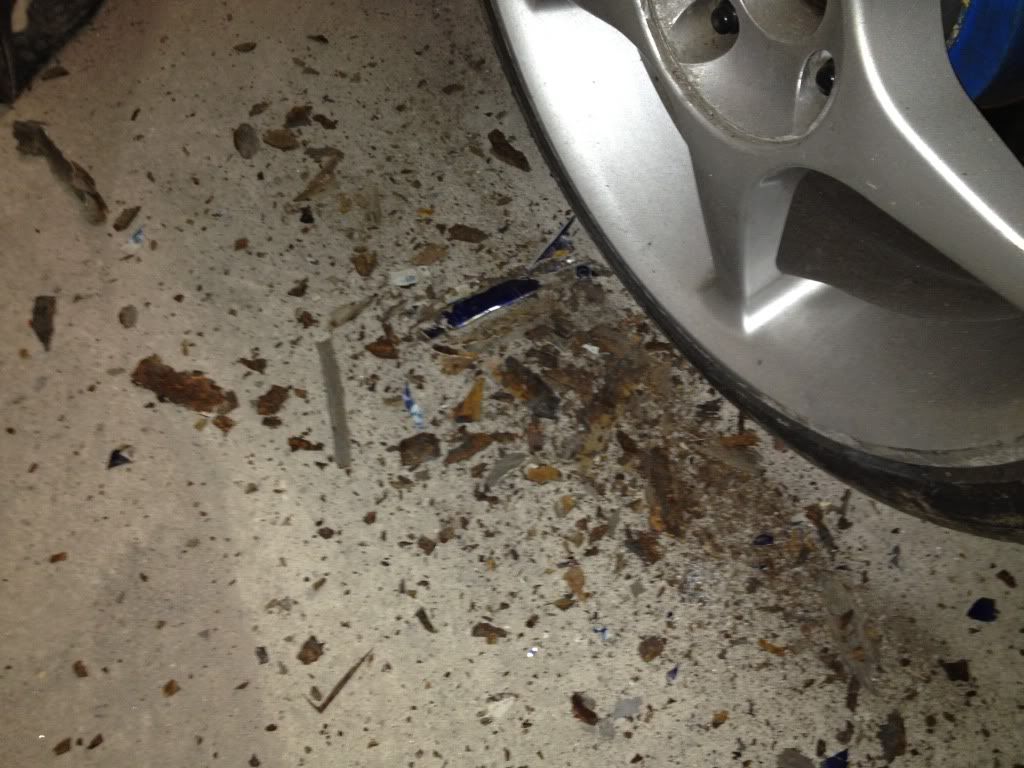
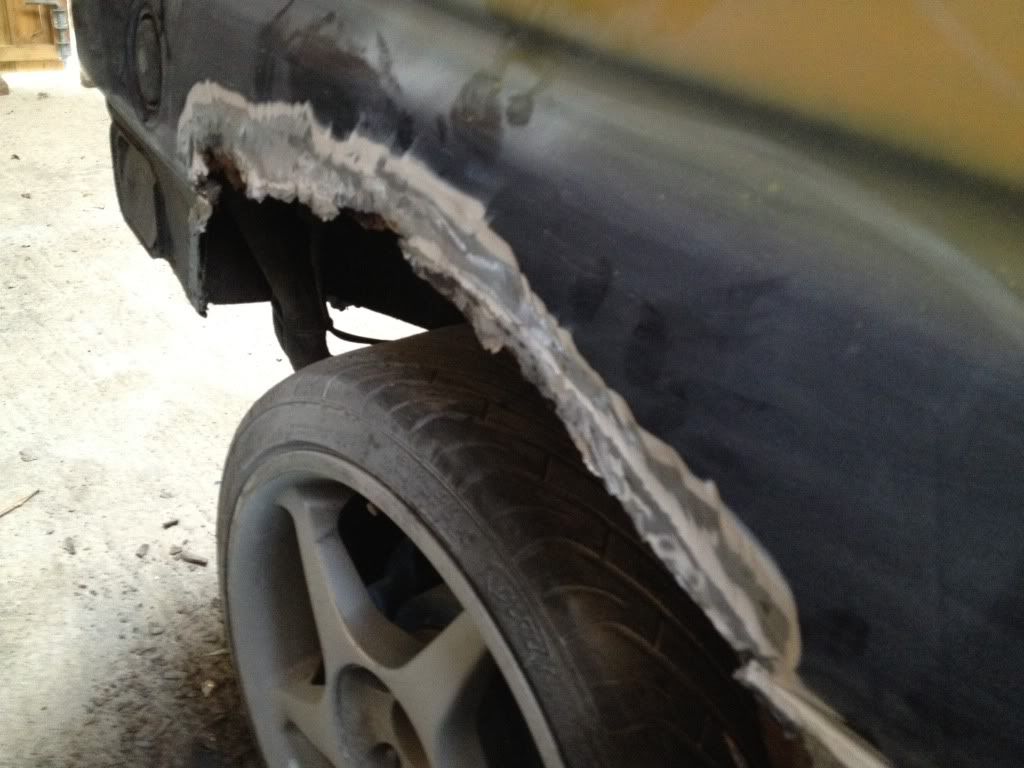
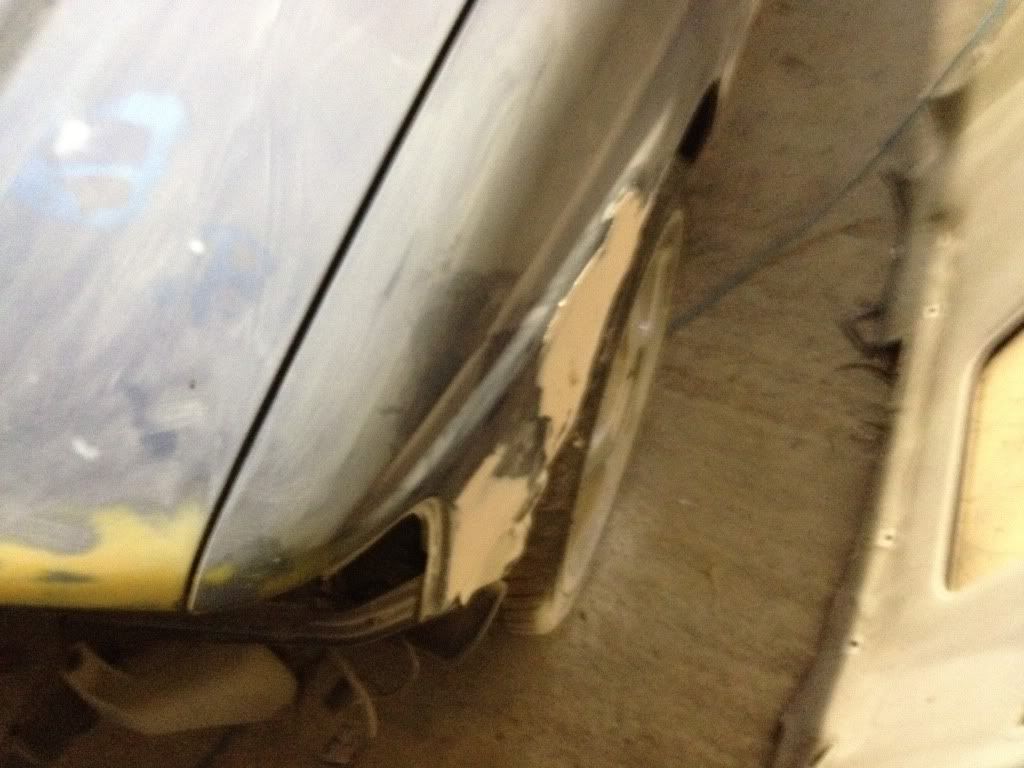
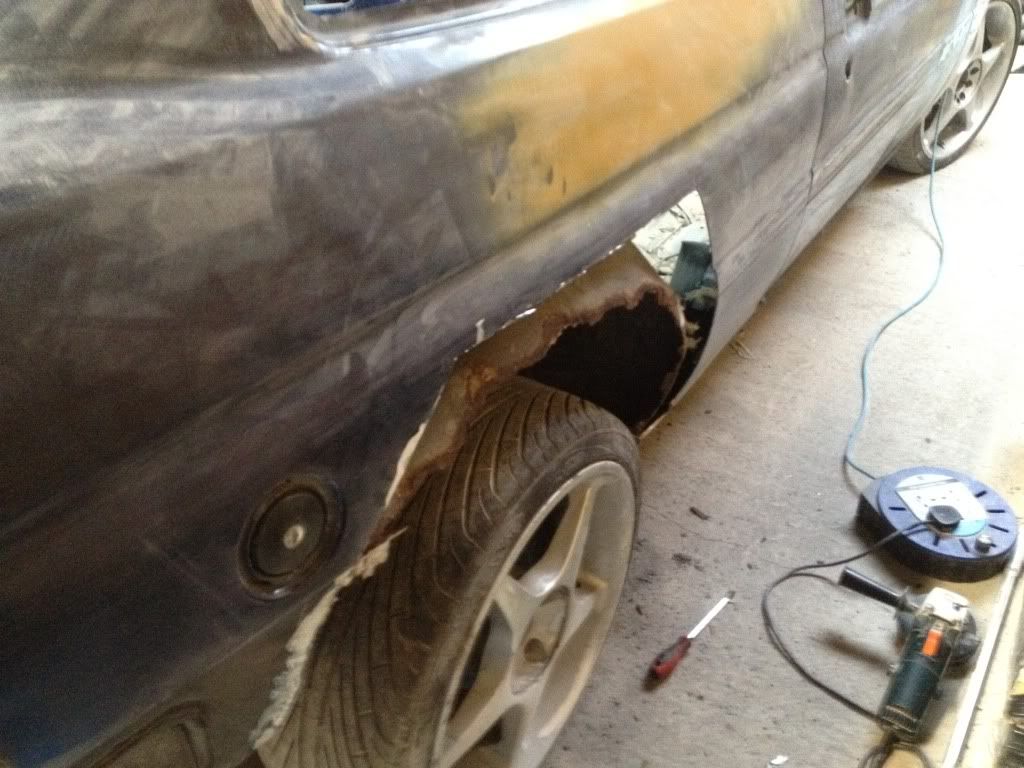
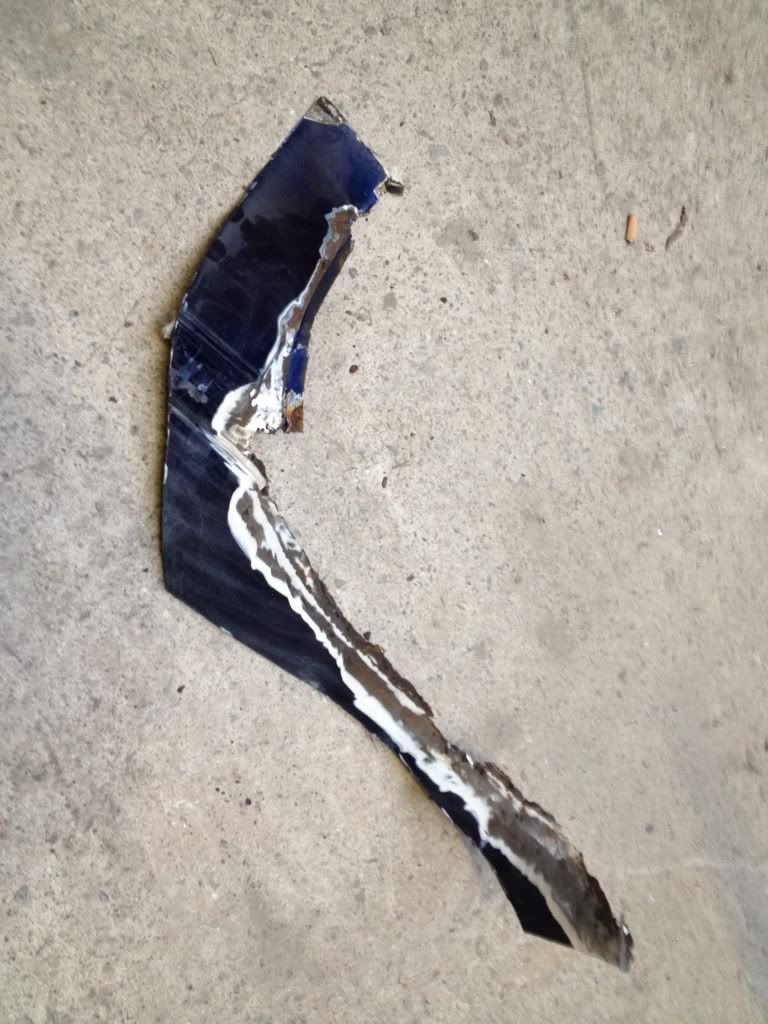
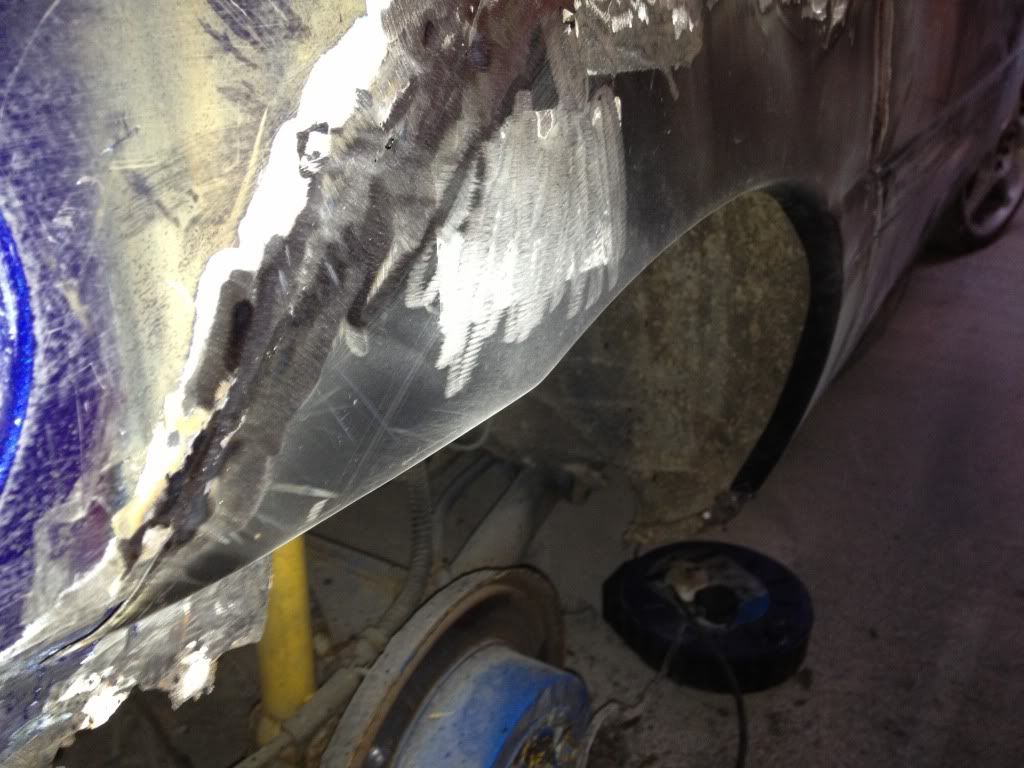
he also attacked the drivers side rear arch!!
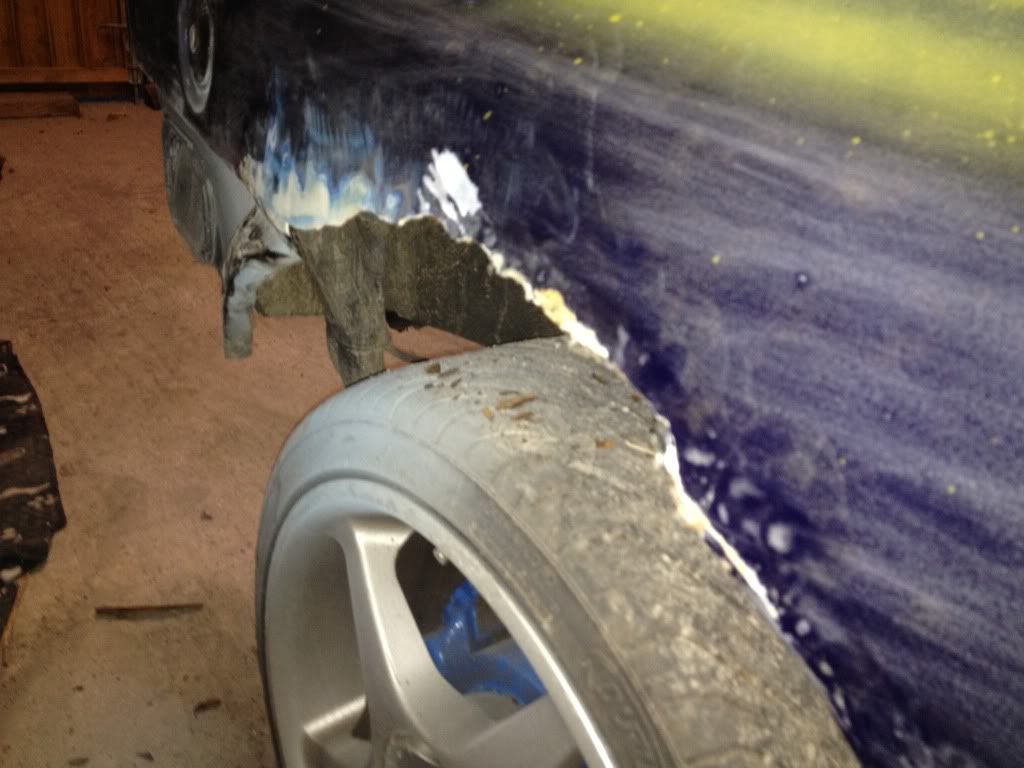
this is what he left behind!!!
new rear quarter
one of the bonnet
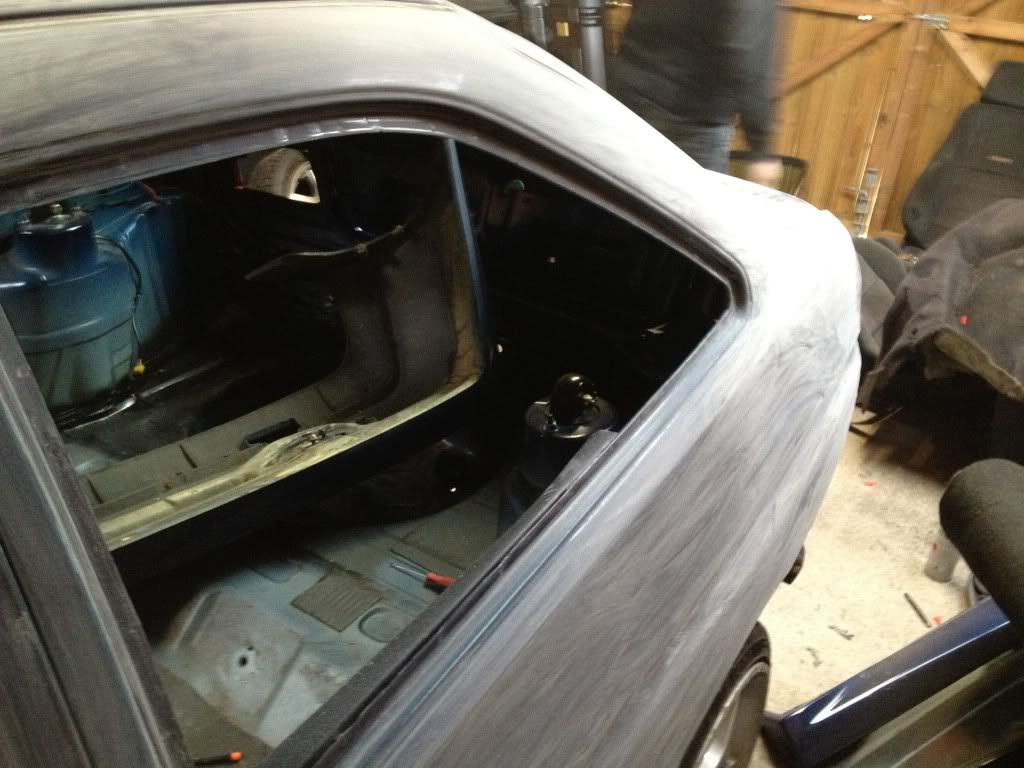
door shut (before carpet was taken out ect)
still loads of prep work to do so will keep the pictures coming next week as we progress!
thanks for looking.
he went down the unit today for an hour or so and did the following
started blanking door locks
he also attacked the drivers side rear arch!!
this is what he left behind!!!
new rear quarter
one of the bonnet
door shut (before carpet was taken out ect)
still loads of prep work to do so will keep the pictures coming next week as we progress!
thanks for looking.

PassionFord Post Whore!!
iTrader: (2)
Joined: Jan 2010
Posts: 5,904
Likes: 26
From: in someone elses garage
are you priming the car and wet flatting it before paint ?
it looks like your using your fingers too much to prep it.
try using a block or keep your elbows as low as you can when your holding the paper as it will let you use the palm of your hand (flatter)
the more you raise your elbow/fore arm the more you will transfer to your finger tips.
Good luck with the build
Thread Starter
I'm Finding My Feet Here Now
Joined: Jul 2010
Posts: 103
Likes: 0
From: worle
are you priming the car and wet flatting it before paint ?
it looks like your using your fingers too much to prep it.
try using a block or keep your elbows as low as you can when your holding the paper as it will let you use the palm of your hand (flatter)
the more you raise your elbow/fore arm the more you will transfer to your finger tips.
Good luck with the build
and thanks for the tip's shall give it ago
keep you posted on how it goes.
cheers
Thread Starter
I'm Finding My Feet Here Now
Joined: Jul 2010
Posts: 103
Likes: 0
From: worle
he knew the rear arch was bad and knew the battery tray was rusty but didnt realise was that bad till was all stripped out.

Thread Starter
I'm Finding My Feet Here Now
Joined: Jul 2010
Posts: 103
Likes: 0
From: worle


Thread Starter
I'm Finding My Feet Here Now
Joined: Jul 2010
Posts: 103
Likes: 0
From: worle


Thread Starter
I'm Finding My Feet Here Now
Joined: Jul 2010
Posts: 103
Likes: 0
From: worle

Thread Starter
I'm Finding My Feet Here Now
Joined: Jul 2010
Posts: 103
Likes: 0
From: worle
another few pics of the progress!
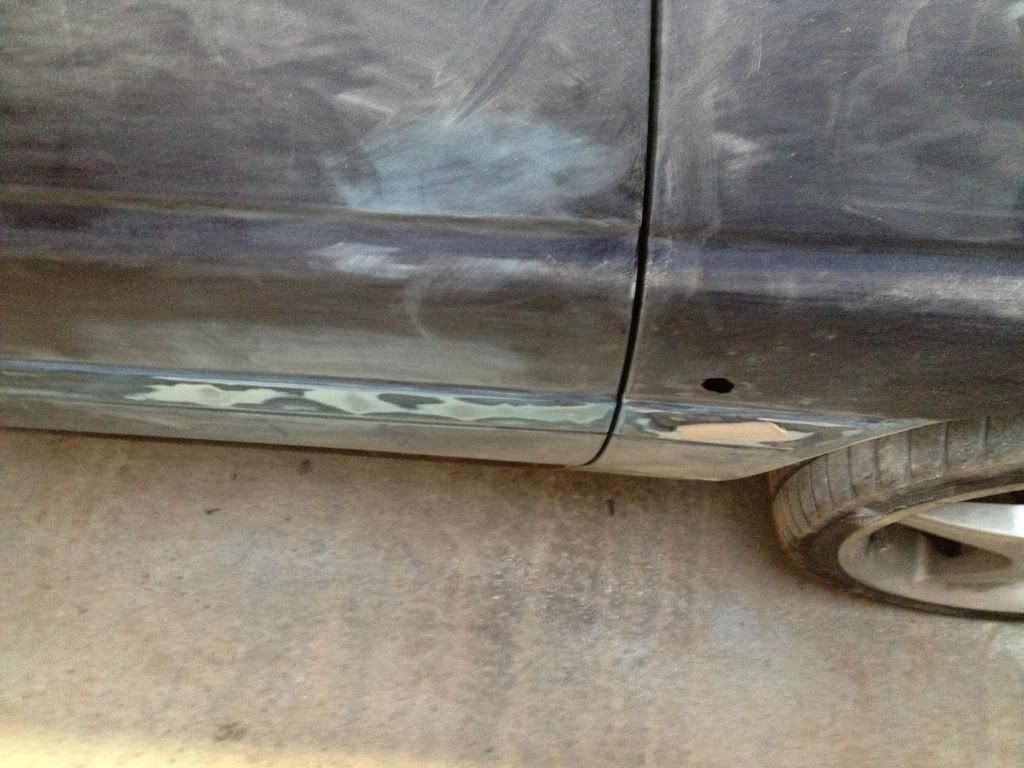
heres few more pics of how bad the rear arch is so instead of repairing it now we are going to put a new rear quarter on
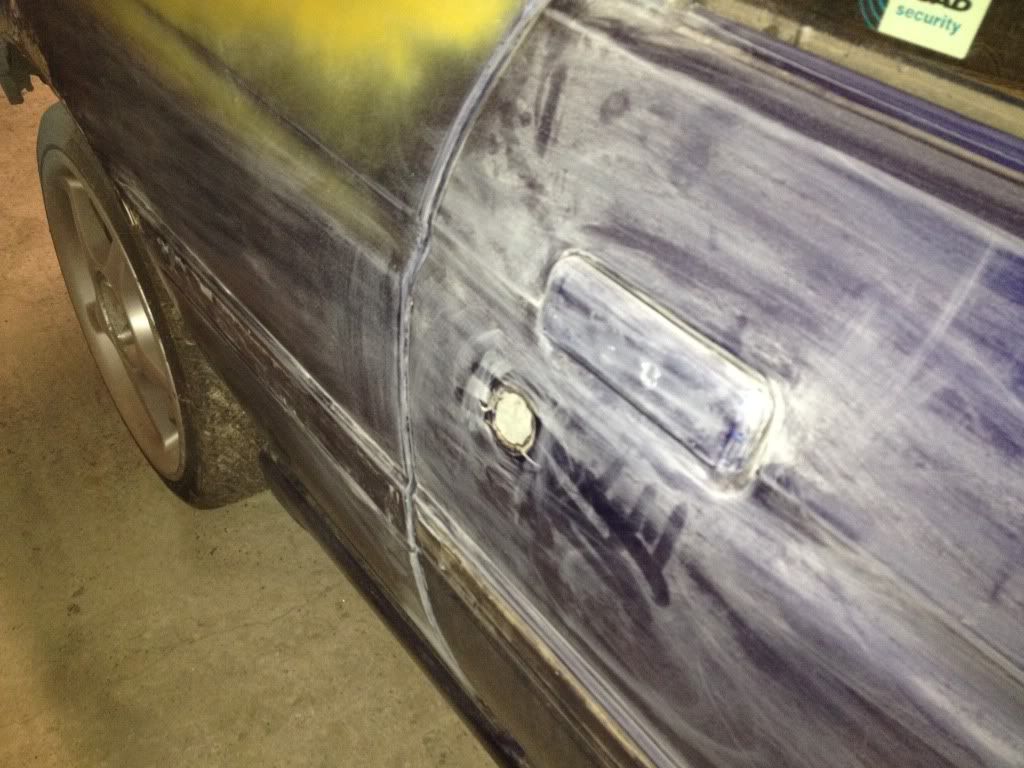
one of the passenger side front wing
one of the drivers side wing / door
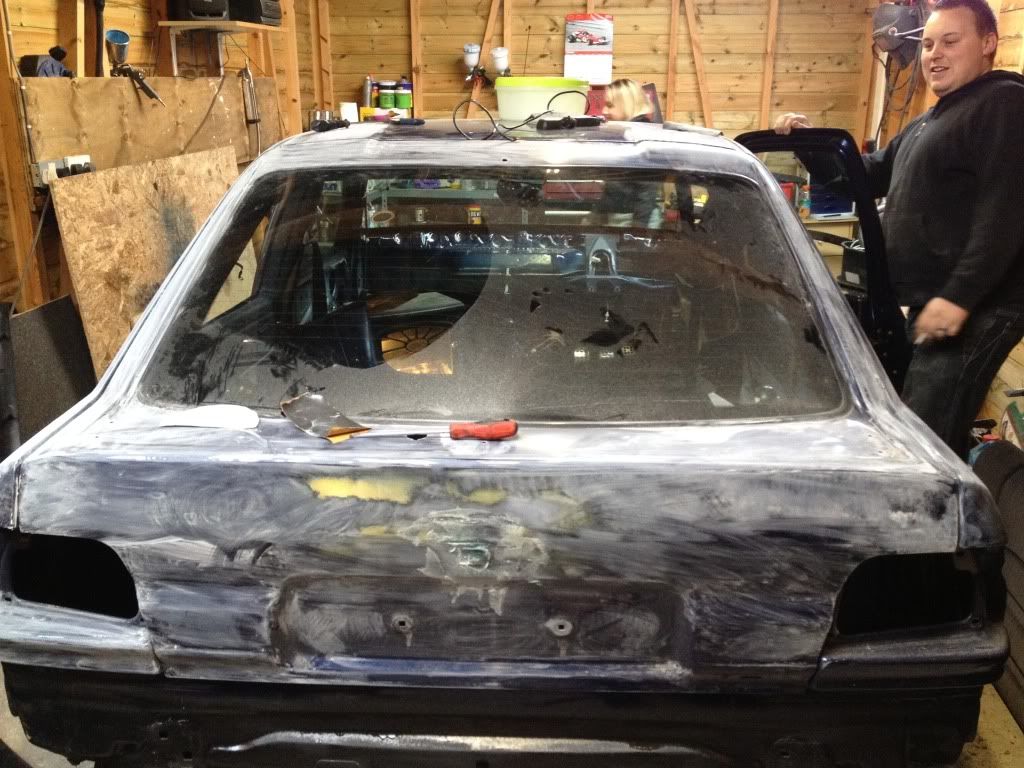
one of the boot progress

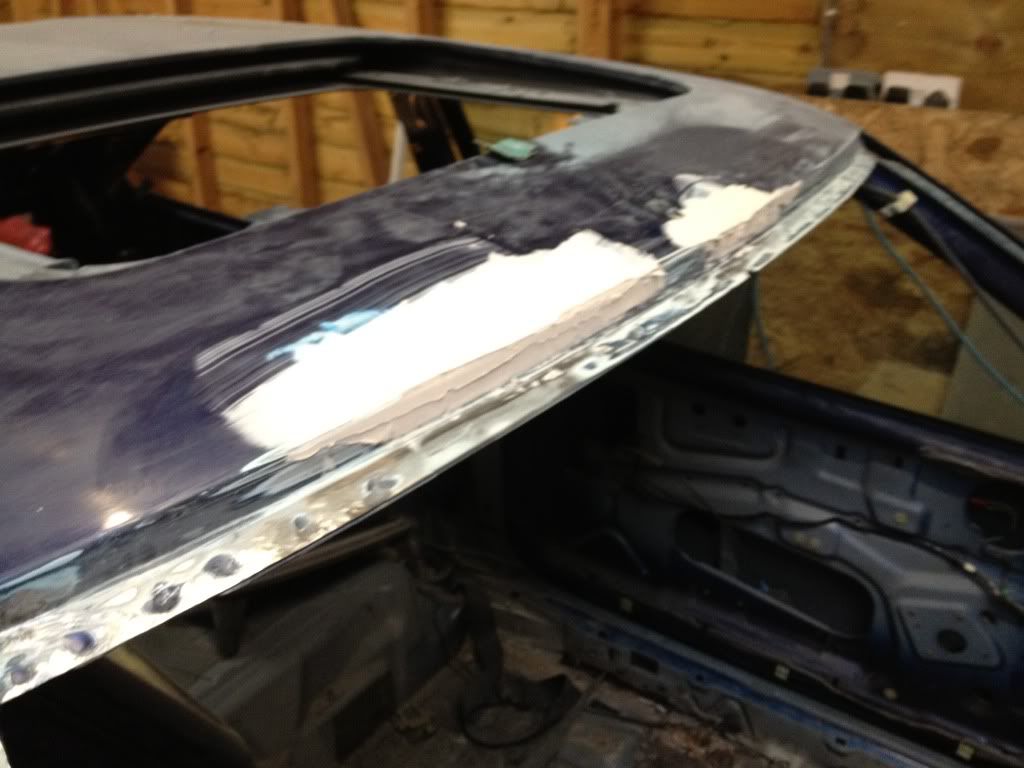
and one of the roof at top of where windscreen sits
still loads to do but getting there slowley, i think he is going to cut the old rear quarter out tomorrow and start to prep ready to fit new one, and i think i have the task of rubbing down side skirts and spoiler and mirrors etc
more pics to come over next few days
heres few more pics of how bad the rear arch is so instead of repairing it now we are going to put a new rear quarter on
one of the passenger side front wing
one of the drivers side wing / door
one of the boot progress
and one of the roof at top of where windscreen sits
still loads to do but getting there slowley, i think he is going to cut the old rear quarter out tomorrow and start to prep ready to fit new one, and i think i have the task of rubbing down side skirts and spoiler and mirrors etc
more pics to come over next few days
Thread Starter
I'm Finding My Feet Here Now
Joined: Jul 2010
Posts: 103
Likes: 0
From: worle
some more pics
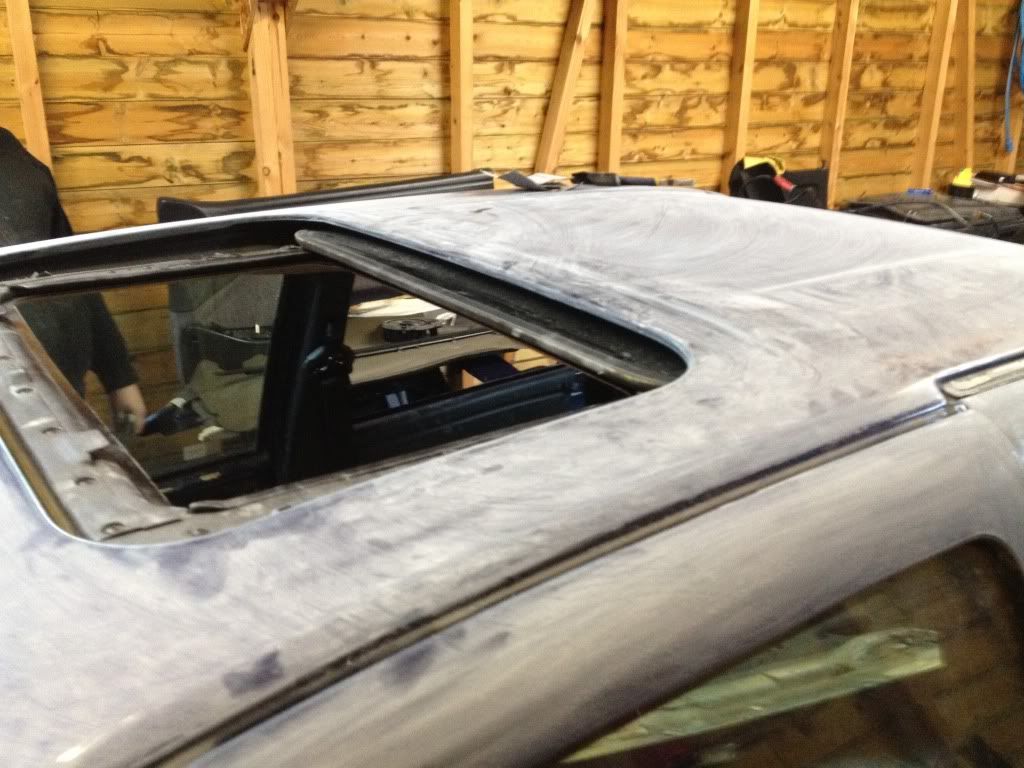
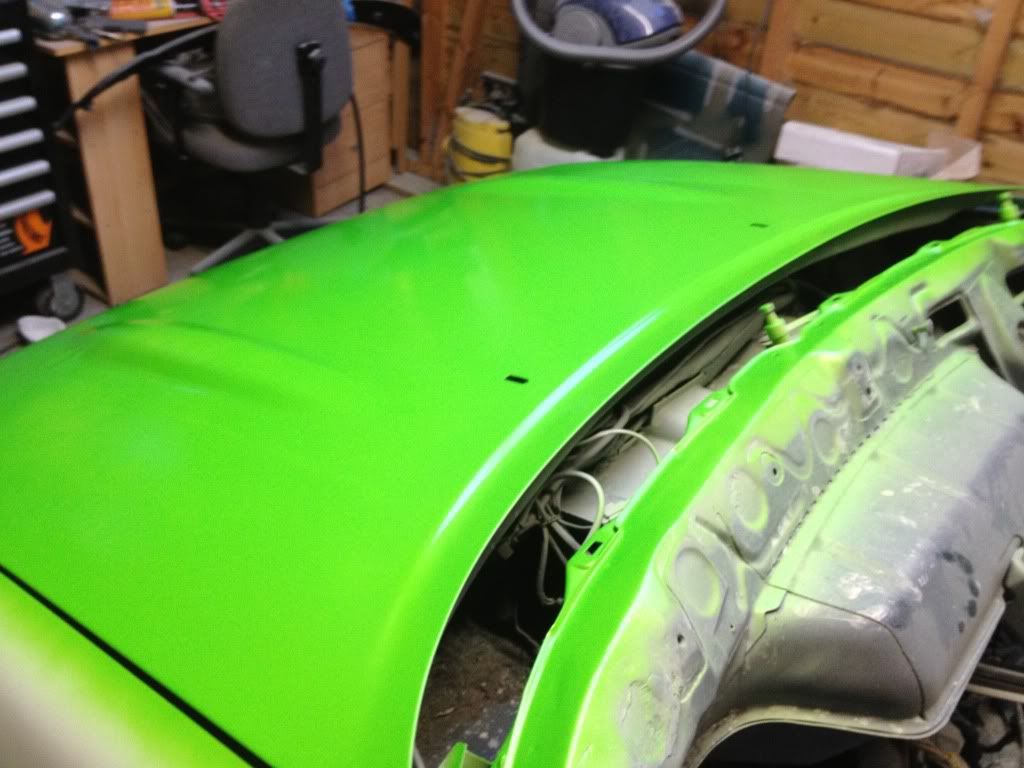
heres a few of the roof that had a few holes
also got one of the bottom of where the windscreen sits now he has cut the rust away.
while he done the above i cracked on with rubbing down the:
sideskirts
spoiler
mirrors
bumpers
starting get there now!
keep you all updated with more pics soon.
heres a few of the roof that had a few holes
also got one of the bottom of where the windscreen sits now he has cut the rust away.
while he done the above i cracked on with rubbing down the:
sideskirts
spoiler
mirrors
bumpers
starting get there now!
keep you all updated with more pics soon.
Thread Starter
I'm Finding My Feet Here Now
Joined: Jul 2010
Posts: 103
Likes: 0
From: worle
Thread Starter
I'm Finding My Feet Here Now
Joined: Jul 2010
Posts: 103
Likes: 0
From: worle
why is it he seems to get more done when im not there???!!!!???? haha
here is what he done today:
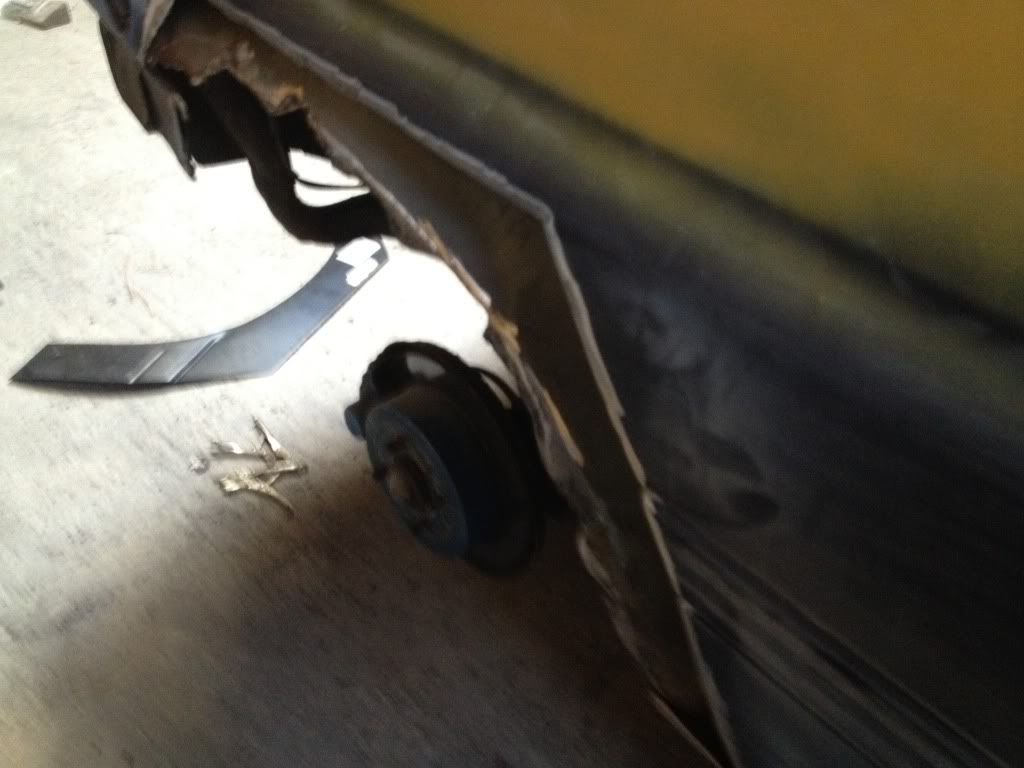
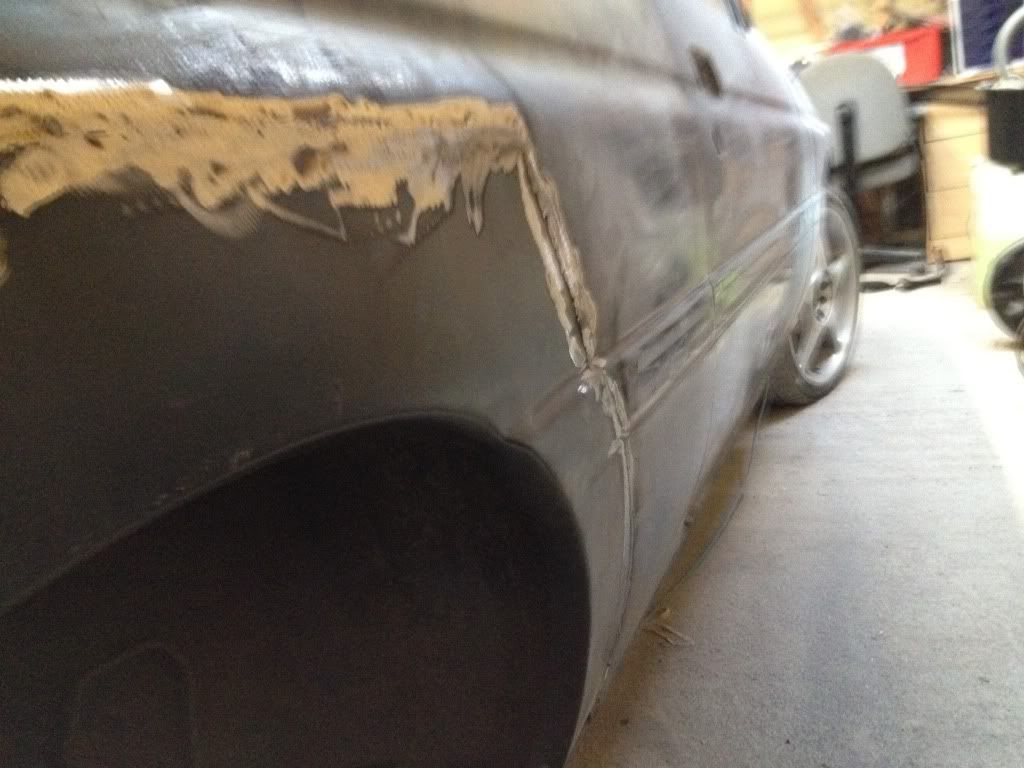
he cut all the rot out the drivers rear quarter
witch left this
and this

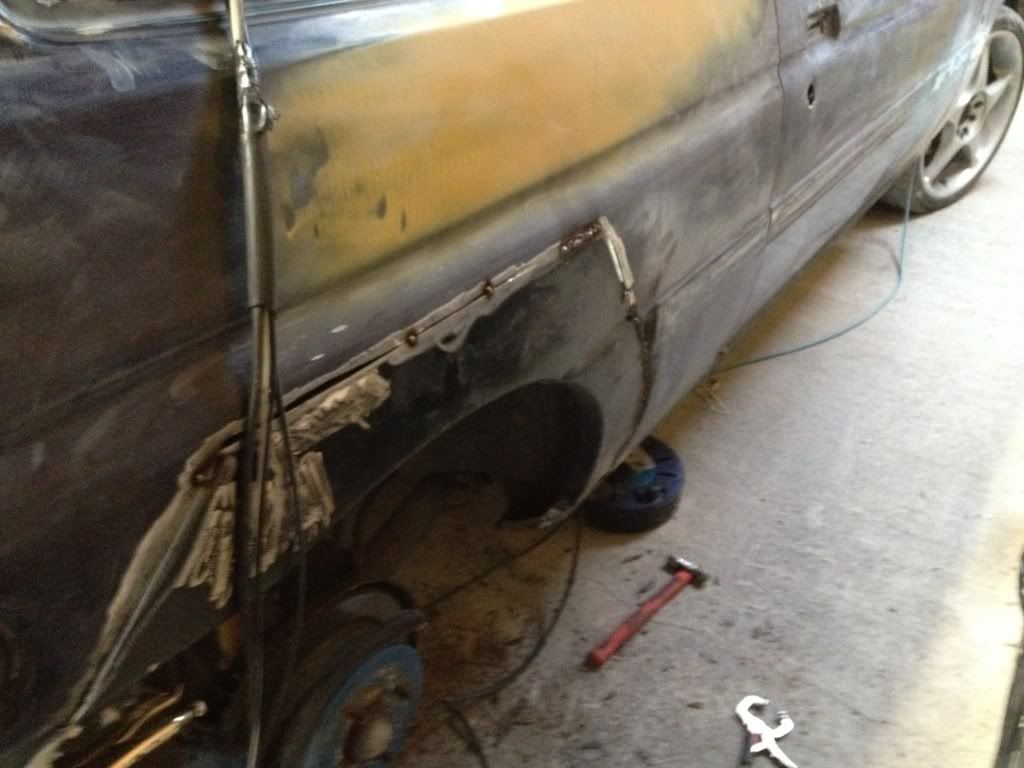
then he fitted the new rear arch section
im hoping to go there tomorrow afternoon with him to get more done so stand by for updates!
here is what he done today:
he cut all the rot out the drivers rear quarter
witch left this
and this
then he fitted the new rear arch section
im hoping to go there tomorrow afternoon with him to get more done so stand by for updates!

Thread Starter
I'm Finding My Feet Here Now
Joined: Jul 2010
Posts: 103
Likes: 0
From: worle
not sure what he is doing about the inner arch yet i know he is is going to do something with it but dont know what yet.
got more done today got to get him to send me the photos then i shall upload them.
Thread Starter
I'm Finding My Feet Here Now
Joined: Jul 2010
Posts: 103
Likes: 0
From: worle
few updates:
this afternoon we went to the unit and done a bit more,
while i carried on with the side skirts, bumpers and spoiler
he got on with finishing the boot and passenger rear quarter and drivers side rear quarter.
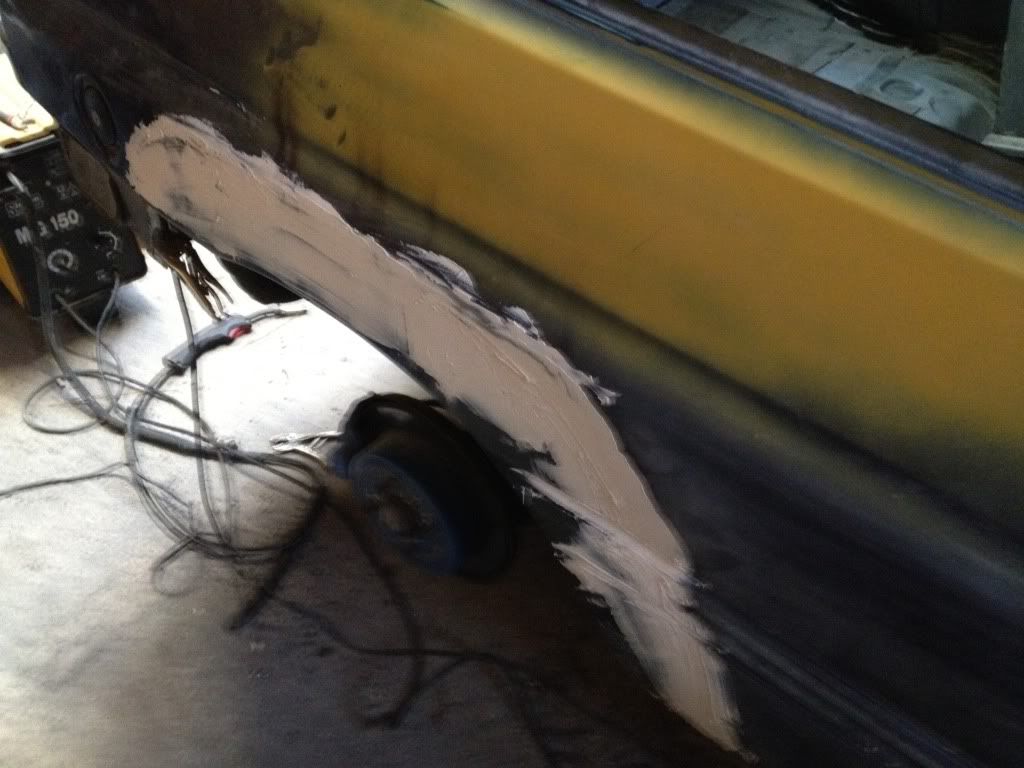
got a bit in primer

more updates to come after the weekend keep watching this space!
this afternoon we went to the unit and done a bit more,
while i carried on with the side skirts, bumpers and spoiler
he got on with finishing the boot and passenger rear quarter and drivers side rear quarter.
got a bit in primer
more updates to come after the weekend keep watching this space!
PassionFord Post Whore!!
iTrader: (2)
Joined: Jan 2010
Posts: 5,904
Likes: 26
From: in someone elses garage
if you place the new panel over the old one then cut through both at the same time you'll have a pretty close joint to weld
id use a strip of steel behind the joint aswell saves blowing through and makes for a sronger joint
Great effort guy's , keep up the good work
Thread Starter
I'm Finding My Feet Here Now
Joined: Jul 2010
Posts: 103
Likes: 0
From: worle
right update time only 2 pictures though as been really busy with it.
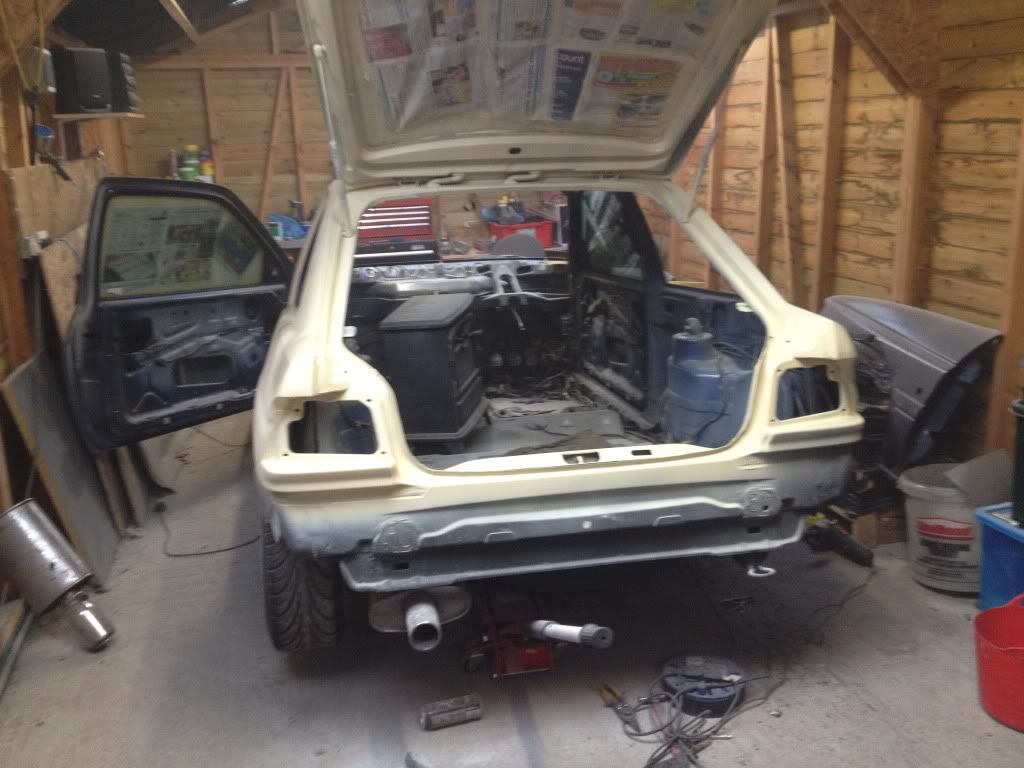
we managed to get all the bodywork repaired etc over last few days.
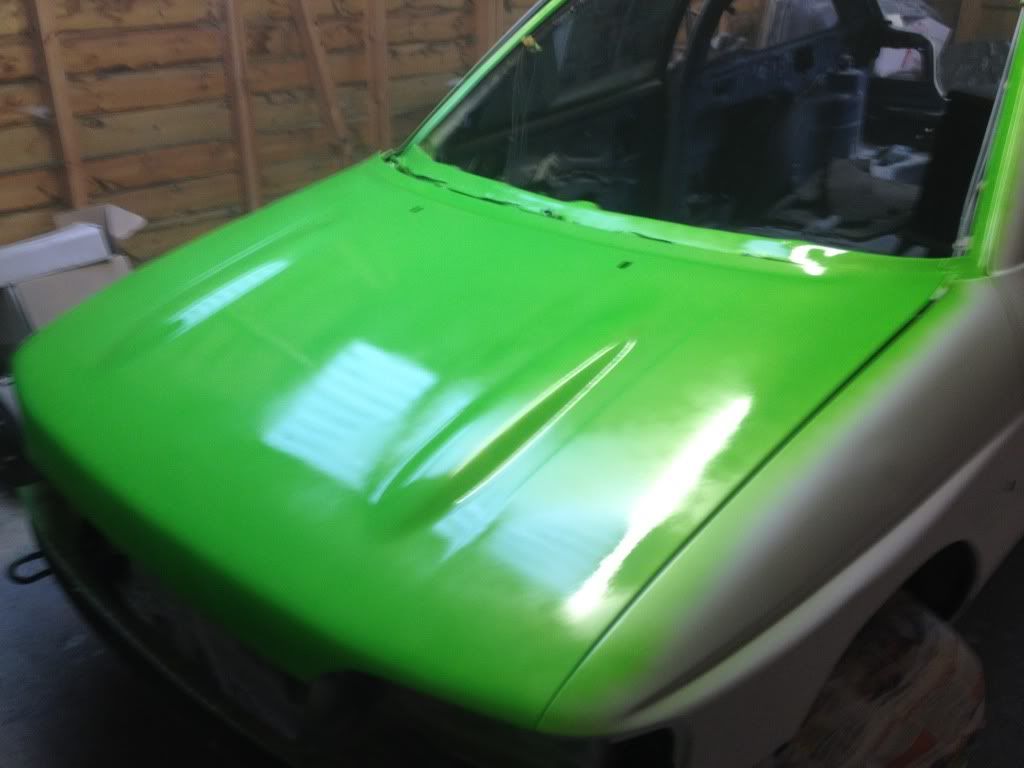
got the whole car in primer and he thought it best to give the bonnet one coat of color to make sure he likes it.
so here are the pics of the color its going, bear in mind its only 1 coat and will be having another on top etc
FORD RS GREEN
we managed to get all the bodywork repaired etc over last few days.
got the whole car in primer and he thought it best to give the bonnet one coat of color to make sure he likes it.
so here are the pics of the color its going, bear in mind its only 1 coat and will be having another on top etc
FORD RS GREEN