Restoring My Sapphy 'Project Moneypit' *update 15/01/2011-winter tinkering*


 01-02-2010, 07:20 PM
#43
Cornish Fasty
Thread Starter
iTrader: (1)
Join Date: Jul 2008
Location: Bristol
Posts: 1,097
Likes: 0
Received 0 Likes
on
0 Posts
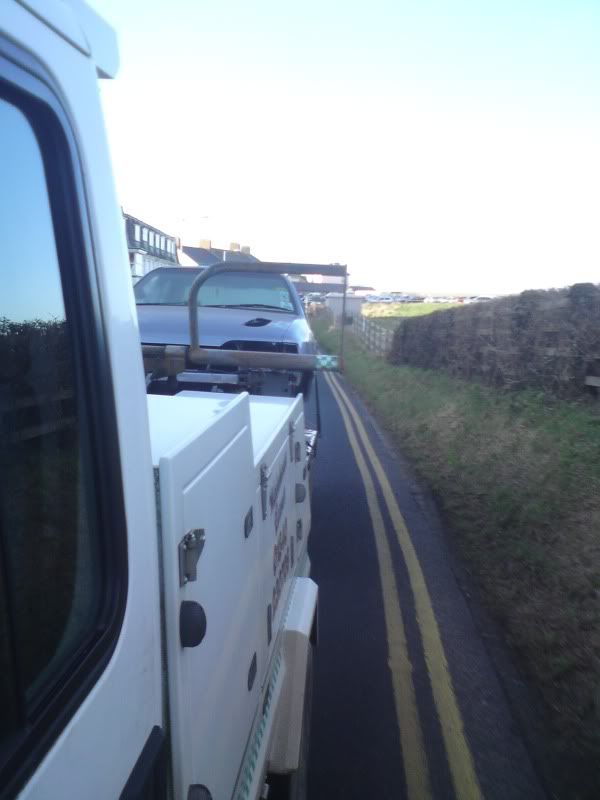
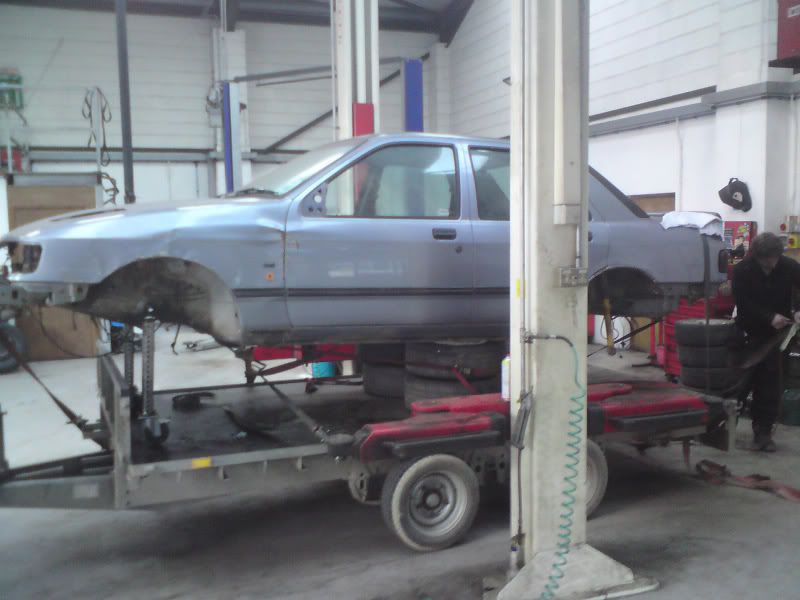
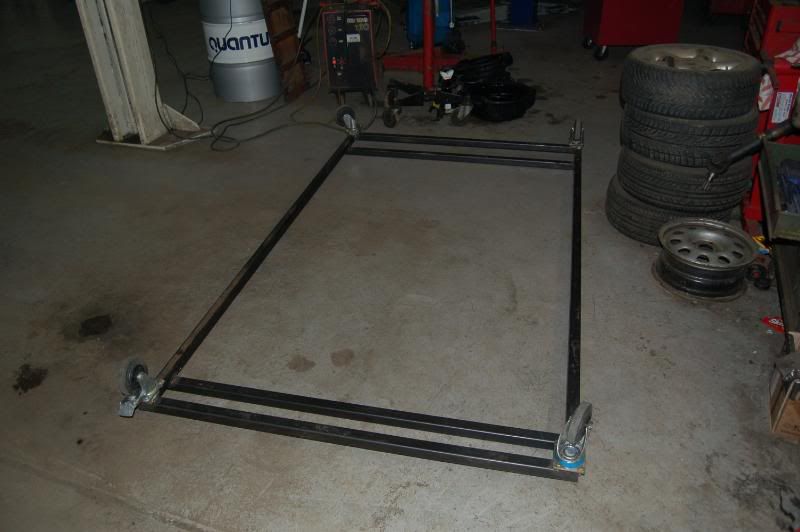
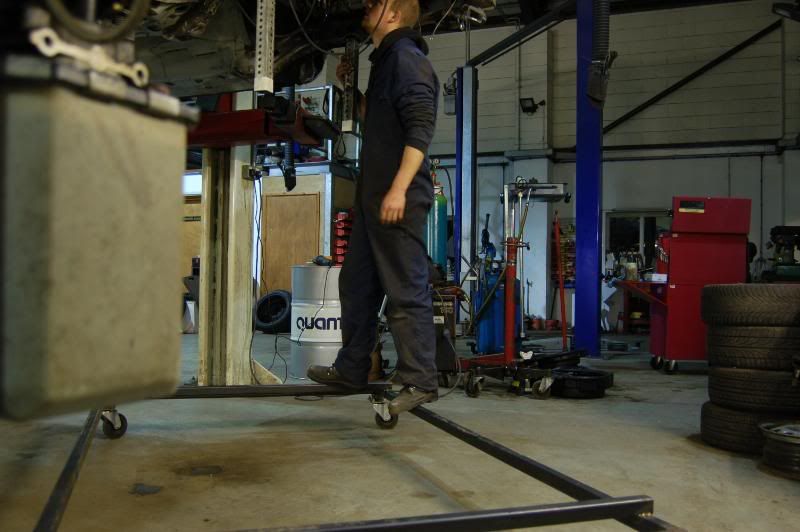
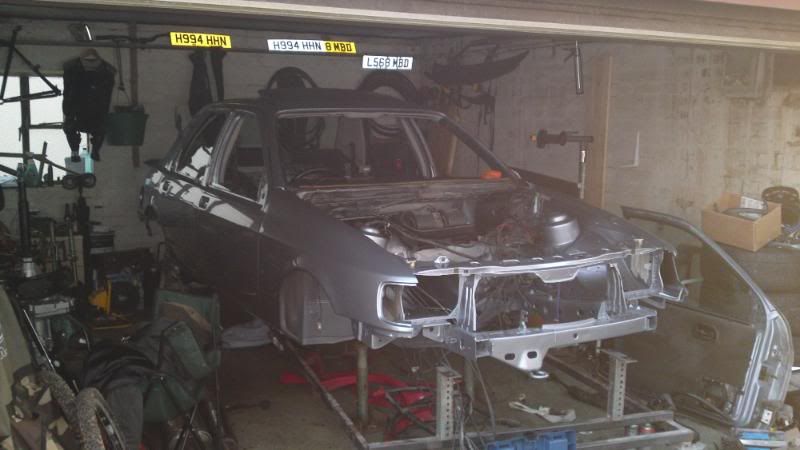
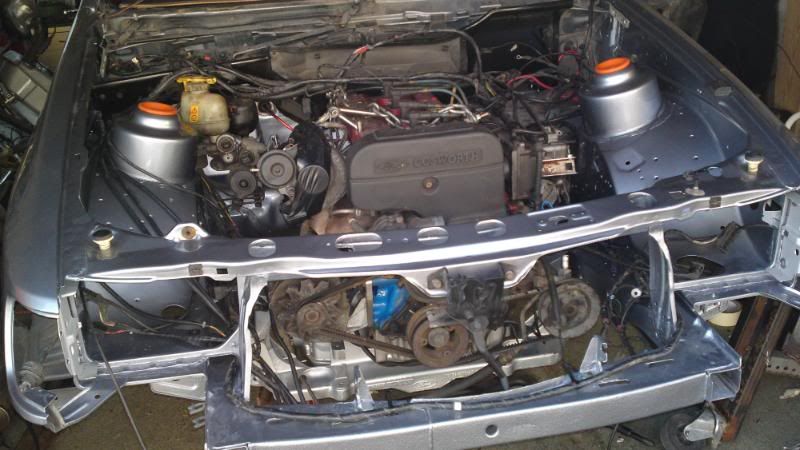
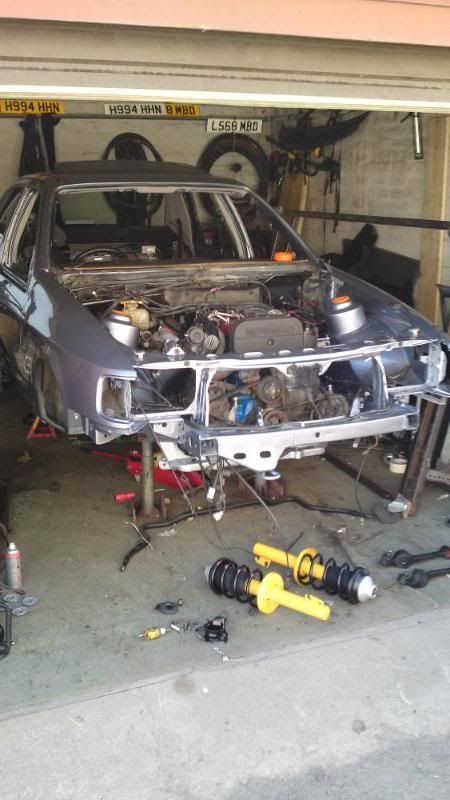
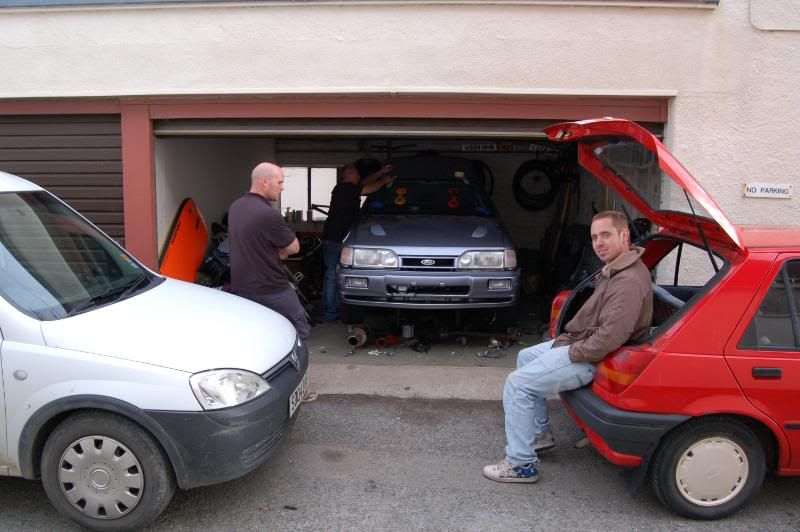
2010 - A new year and a new start... Following my failure to get into the RAF this year, i dived straight into the Cos once i got home. First problem lay in getting getting the welding done. i borrowed a welder, but after finding out i could only use proper size bottles, i decided the money would be better spent getting it to my work, and welding it up there. So i fabricated up some legs to get her mobile....
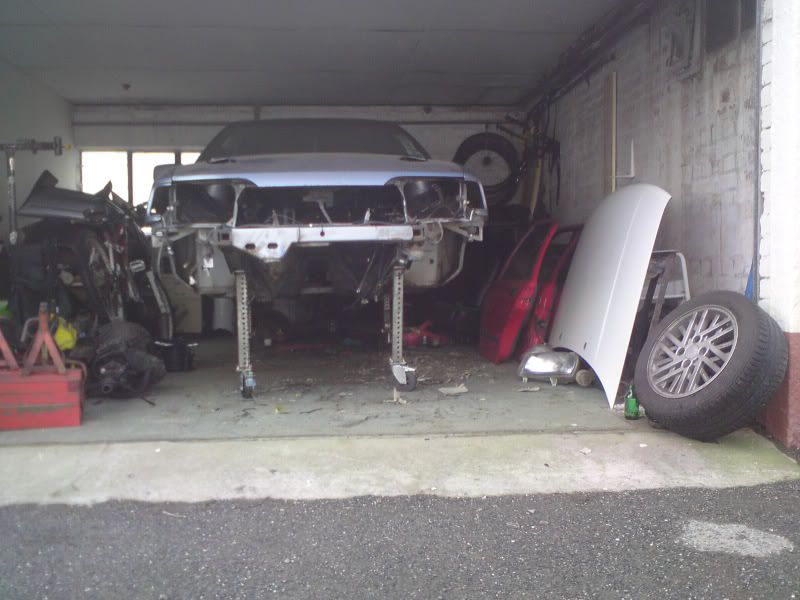
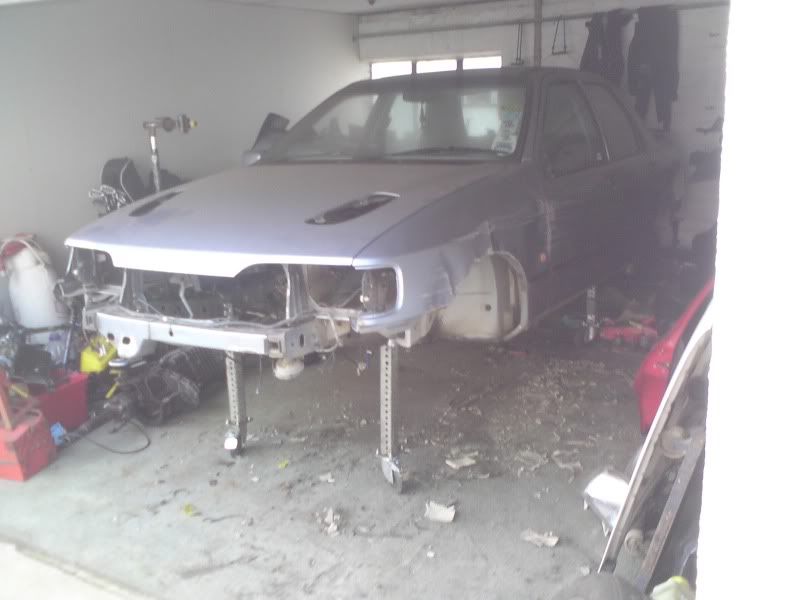
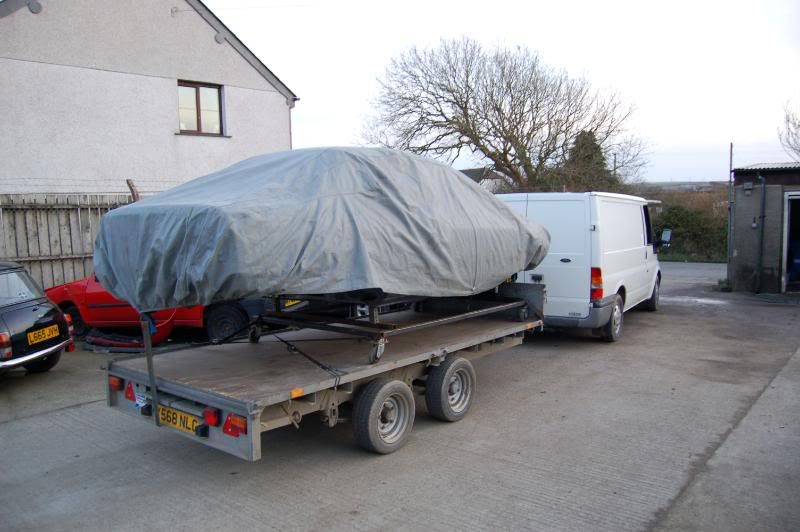
if i'm honest, they didn't work very well, i only had access to L channel when i was making them, and had a miss-calculation with the rear one, which resulted in it starting to collapse if we pushed it back wards but she came out the garage and onto my borrowed trailer.
this is when i worked out the legs were quite long, too :S
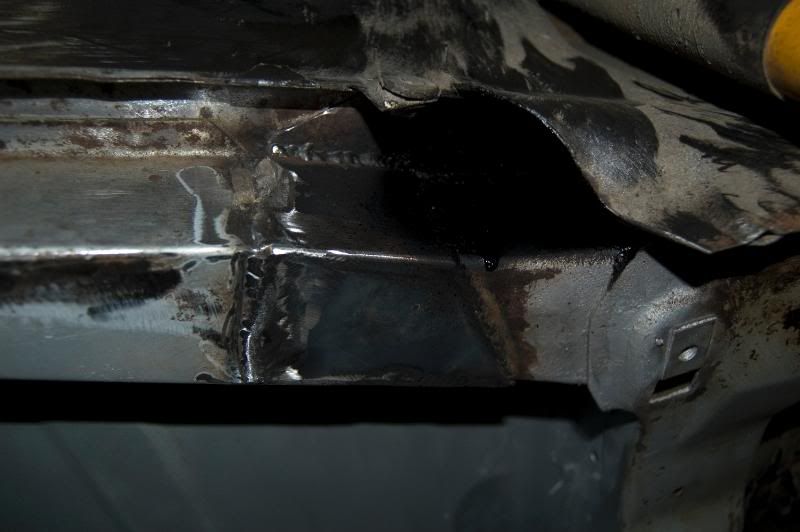
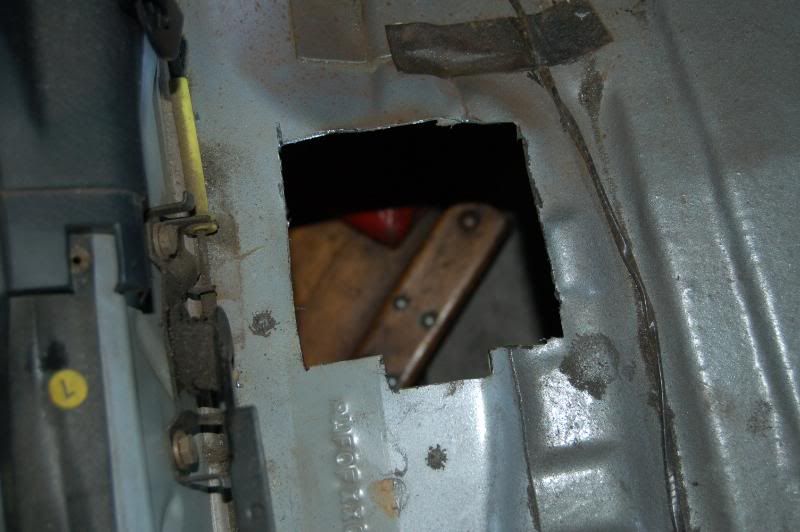
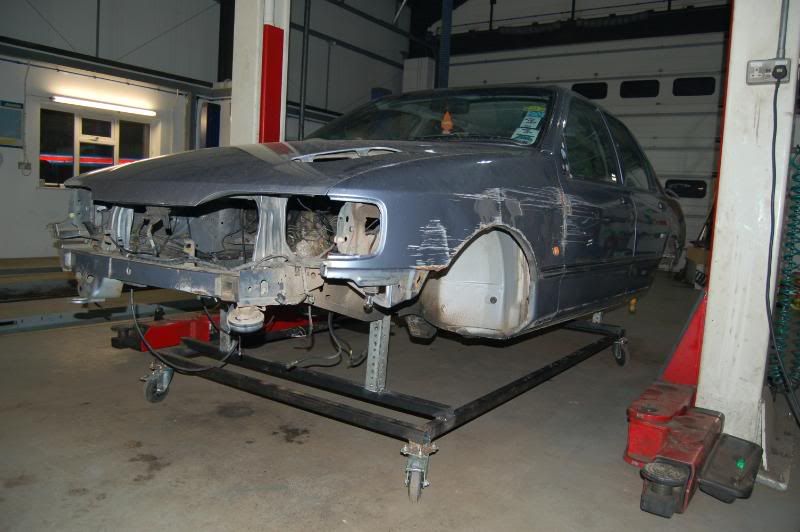
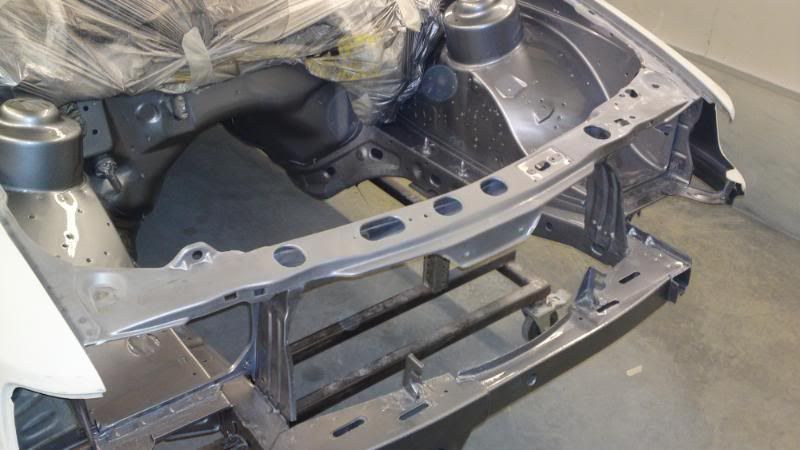
Then the fun started, with the welding. So far, i've sorted the rear of the drivers sill, the drivers rear chassis leg, the drivers rear seat floor edge, the drivers rear seat mount, the pass side chassis leg near the beam mount and the pass side rear inner arch. its not all had holes, but there been evidence of rust, or bulging panels, so figured best the cut it out now. not the most aesthetic welding in the world, but its strong and functional. will tidy it all up a little better before the sealer goes on..
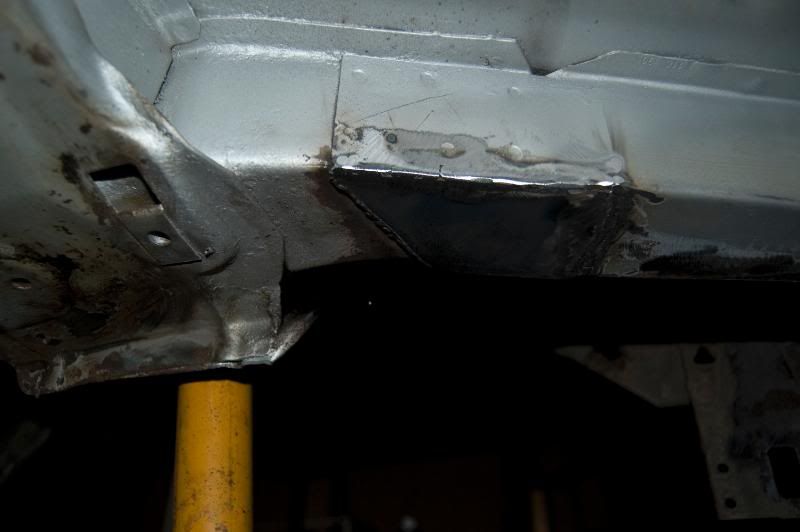
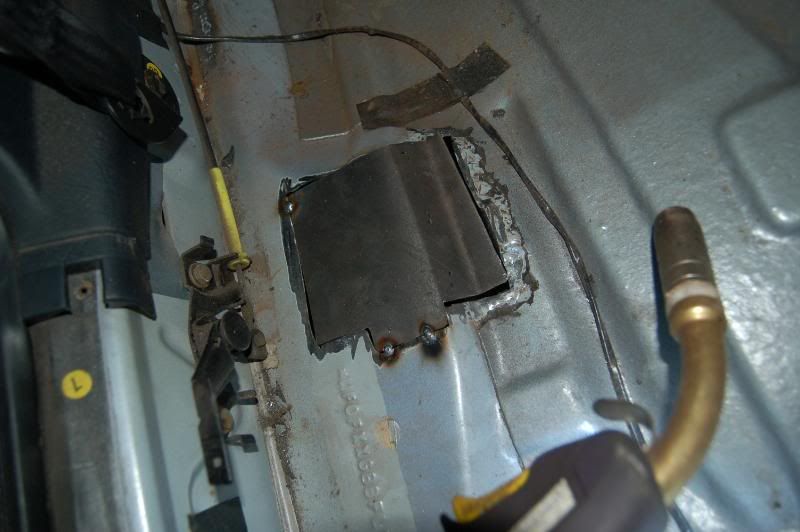
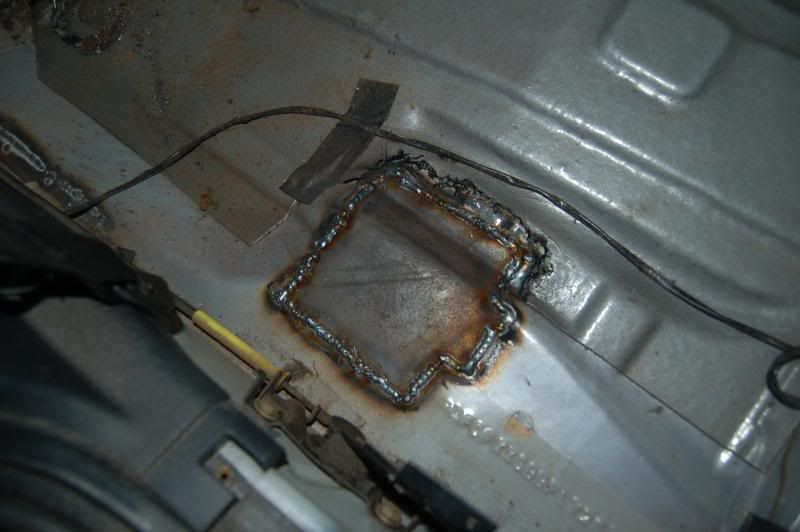
(this one came out well after cleaning up the welds, but needs to as it will look dodgy, being next the the chassis number lol)
Friday night saw me modifing my legs, as they were getting a little precarious on each trip into the workshop. started off with some fresh 40mm box, chopped all my wheels off and stuck them in the corners, for a good even footprint, then shortened and rewelding the mounting posts. its proper solid now and handles like a shopping trolley lol
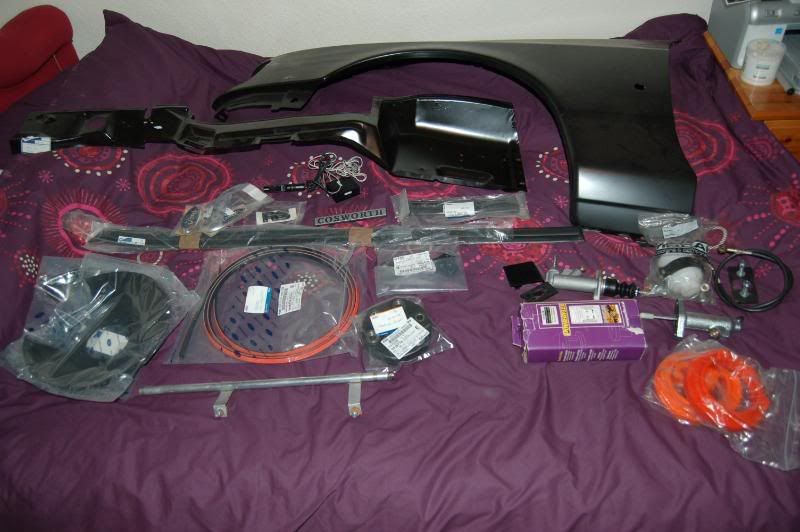
also had a few more bits and pieces turn up for her. proper raped my credit card over the last few months, but now have a new front wing, new bulkhead panel (2nd to last that Ford had), Apexi turbo timer, a nearside set of pointlessly expensive side mouldings, most of the new badges i need, new rear brake dust shields, hydro clutch kit, poly bushes, new ARB links and a new prop donut. still plenty to get, but it least some is out the way...
now the countdown begins, as she is in for paint on the first of march...
Cheers for reading
Dave
if i'm honest, they didn't work very well, i only had access to L channel when i was making them, and had a miss-calculation with the rear one, which resulted in it starting to collapse if we pushed it back wards
this is when i worked out the legs were quite long, too :S
Then the fun started, with the welding. So far, i've sorted the rear of the drivers sill, the drivers rear chassis leg, the drivers rear seat floor edge, the drivers rear seat mount, the pass side chassis leg near the beam mount and the pass side rear inner arch. its not all had holes, but there been evidence of rust, or bulging panels, so figured best the cut it out now. not the most aesthetic welding in the world, but its strong and functional. will tidy it all up a little better before the sealer goes on..
(this one came out well after cleaning up the welds, but needs to as it will look dodgy, being next the the chassis number lol)
Friday night saw me modifing my legs, as they were getting a little precarious on each trip into the workshop. started off with some fresh 40mm box, chopped all my wheels off and stuck them in the corners, for a good even footprint, then shortened and rewelding the mounting posts. its proper solid now and handles like a shopping trolley lol
also had a few more bits and pieces turn up for her. proper raped my credit card over the last few months, but now have a new front wing, new bulkhead panel (2nd to last that Ford had), Apexi turbo timer, a nearside set of pointlessly expensive side mouldings, most of the new badges i need, new rear brake dust shields, hydro clutch kit, poly bushes, new ARB links and a new prop donut. still plenty to get, but it least some is out the way...
now the countdown begins, as she is in for paint on the first of march...
Cheers for reading
Dave
 05-03-2010, 09:35 PM
#47
Cornish Fasty
Thread Starter
iTrader: (1)
Join Date: Jul 2008
Location: Bristol
Posts: 1,097
Likes: 0
Received 0 Likes
on
0 Posts
Time for an update, I feel 
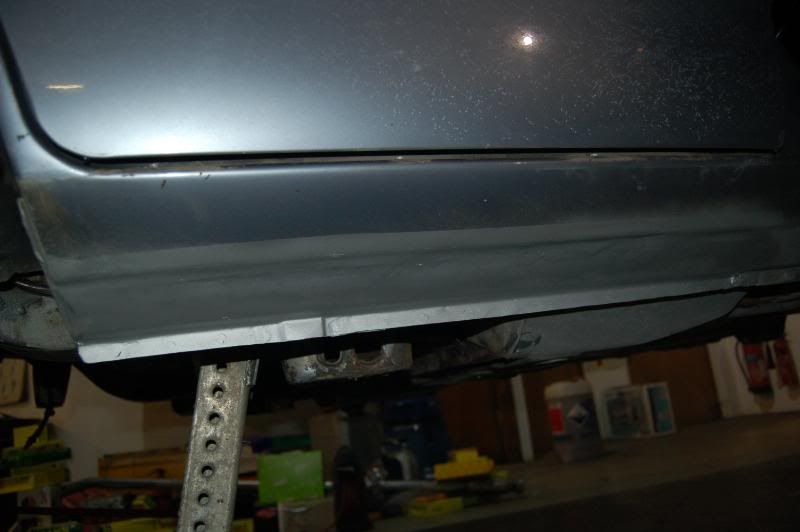
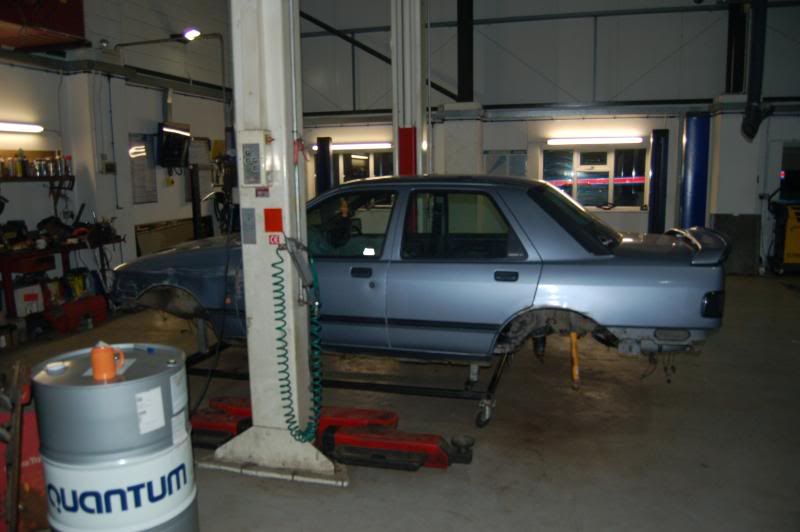
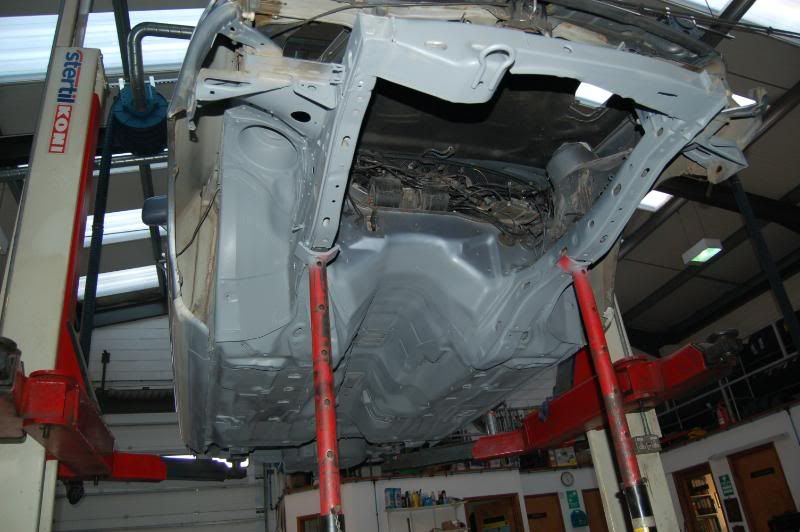
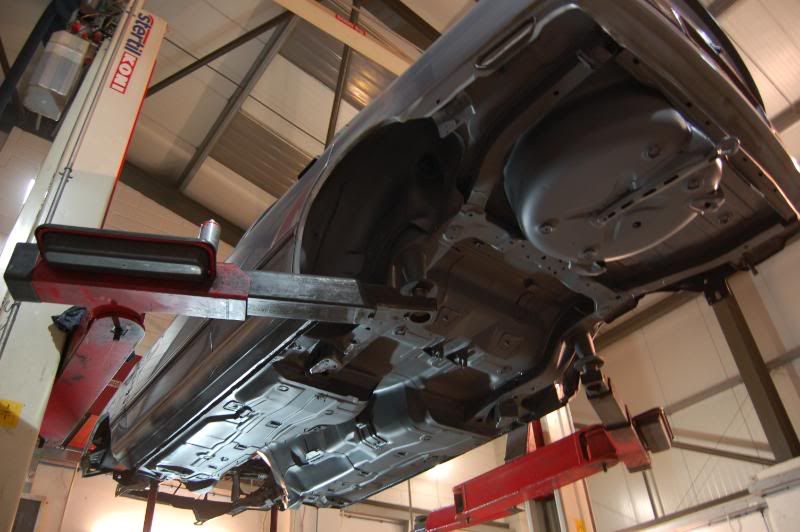
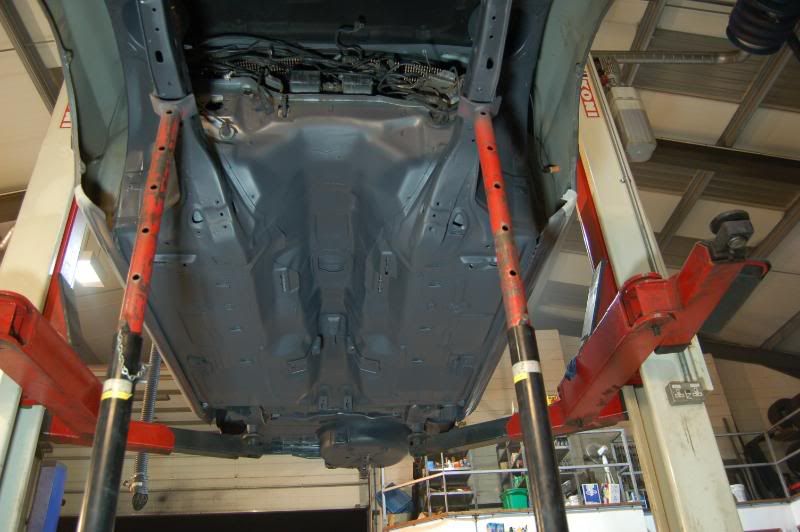
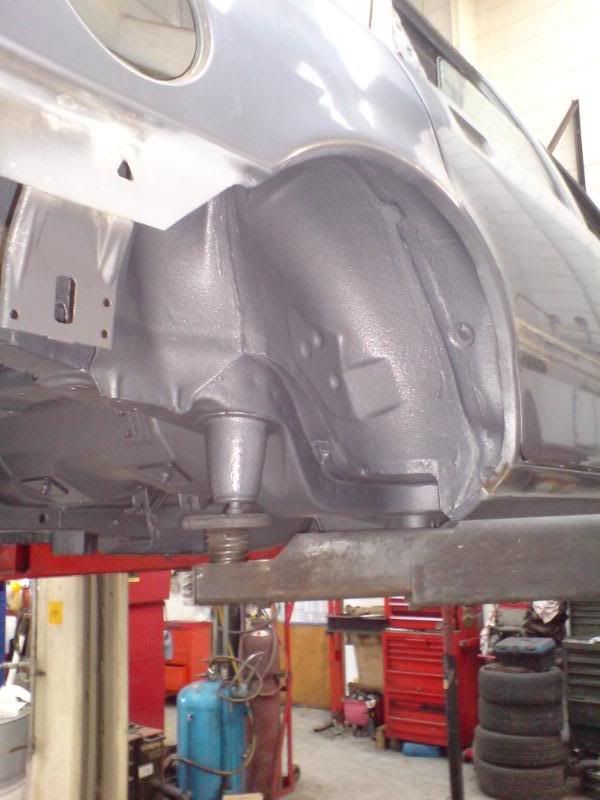
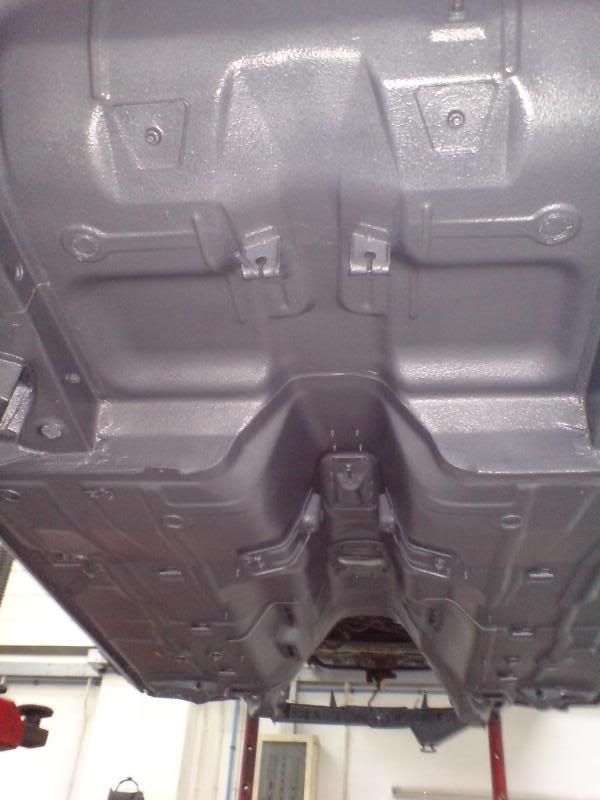
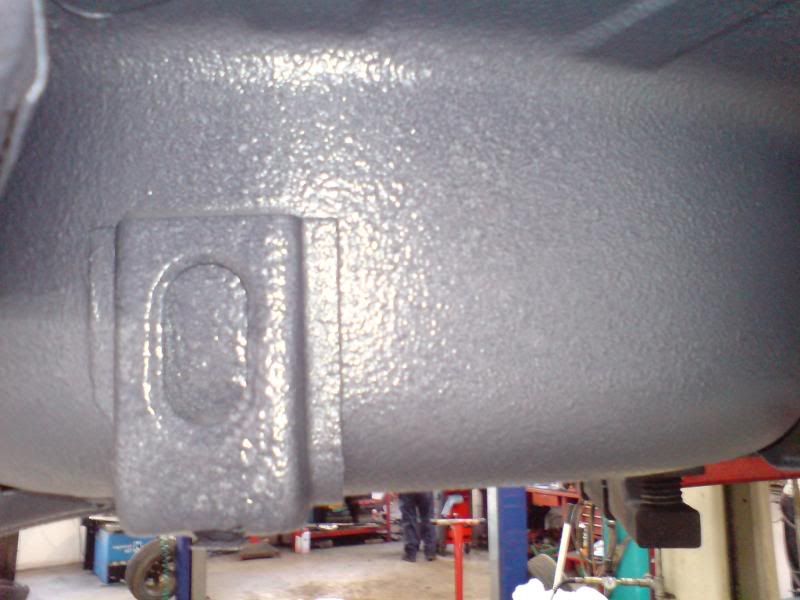
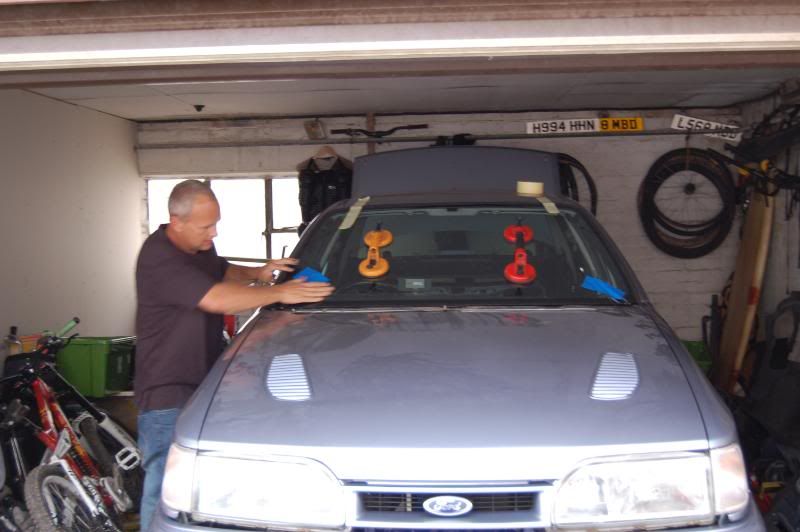
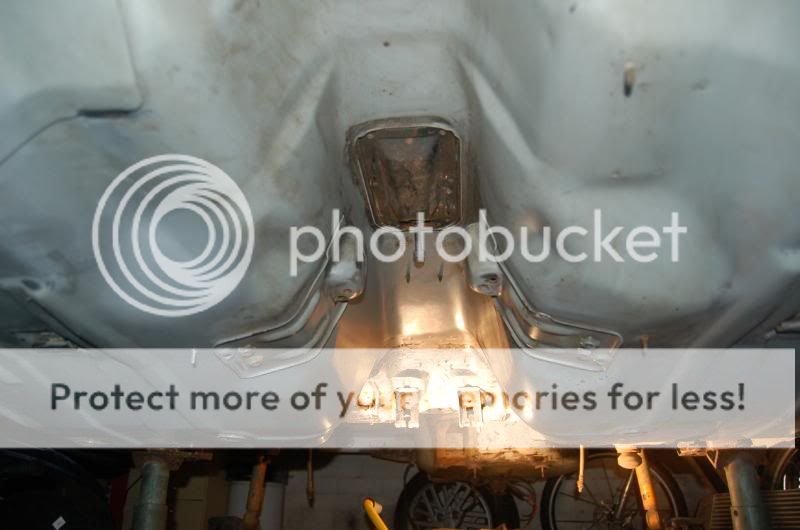
After finally getting all the rust (it's amazing what you find under good underseal :S) either cut out and repaired or treated and sealed, i managed to rope my old man into help clean up the underside ready for paint.
easiest thing is let the pictures do the talking...
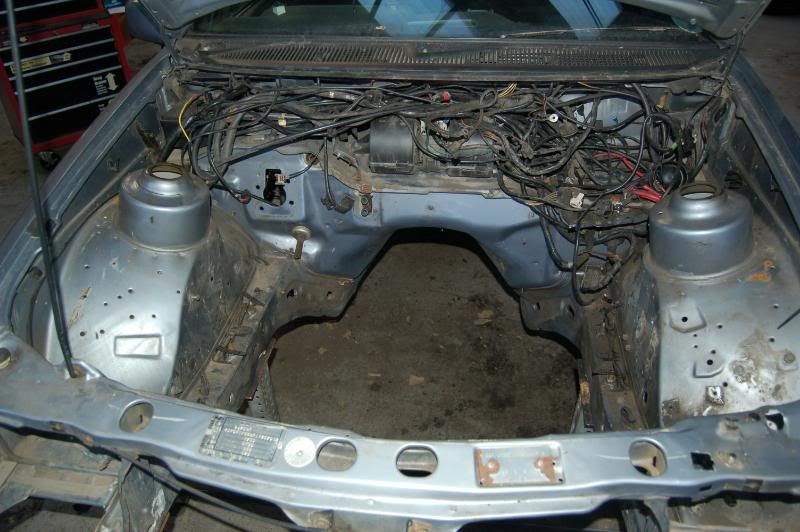
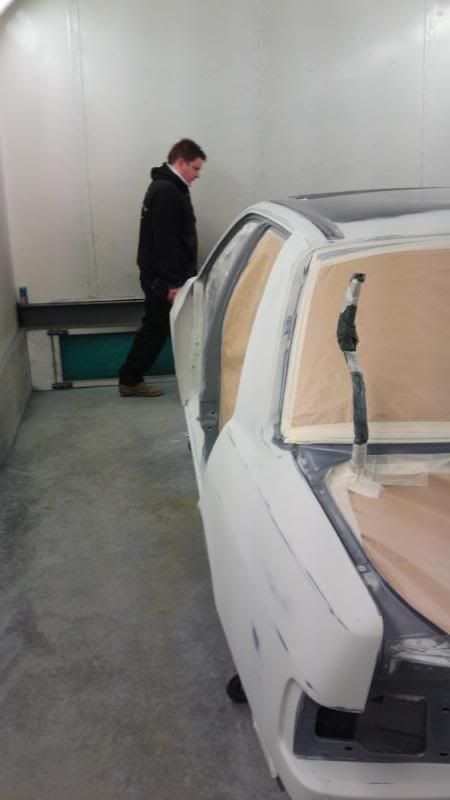
Bay stripped out for paint
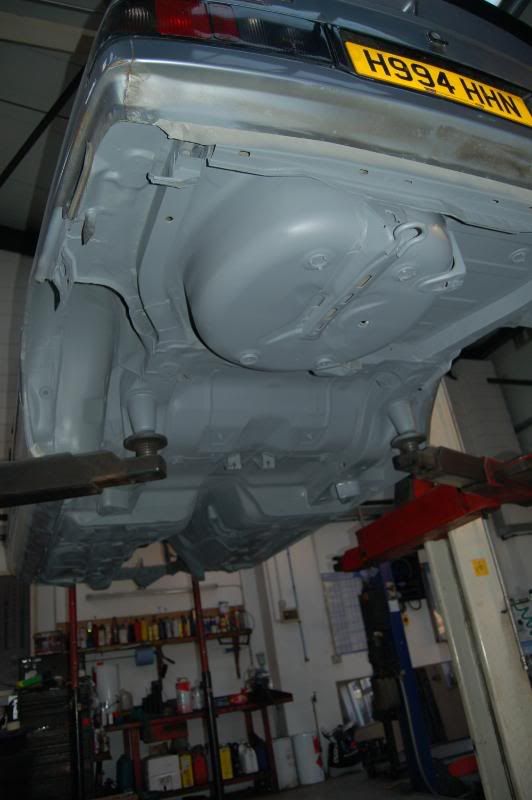
Underside in primer
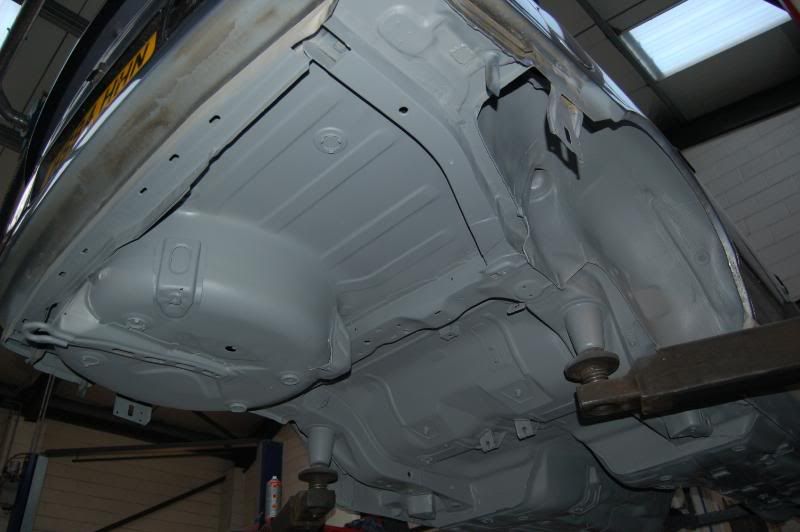
Top coated in Ford Sill Grey satin
Happy
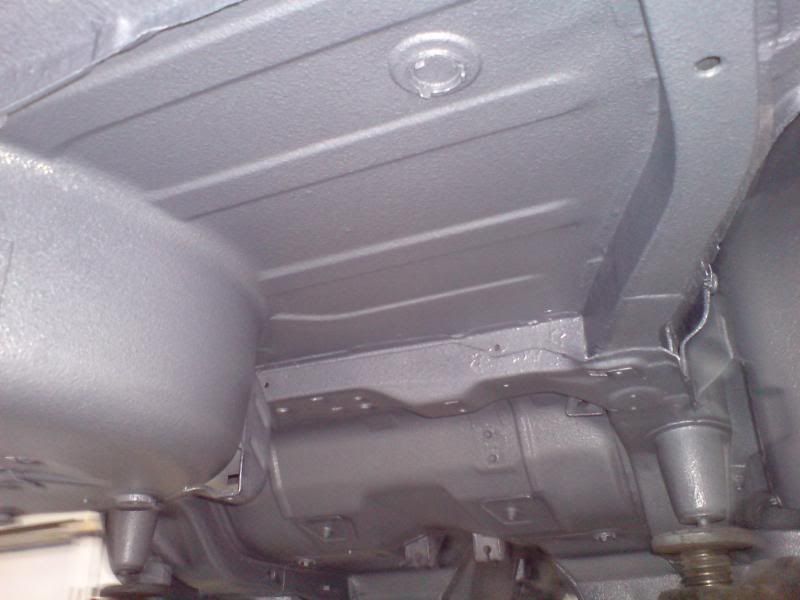
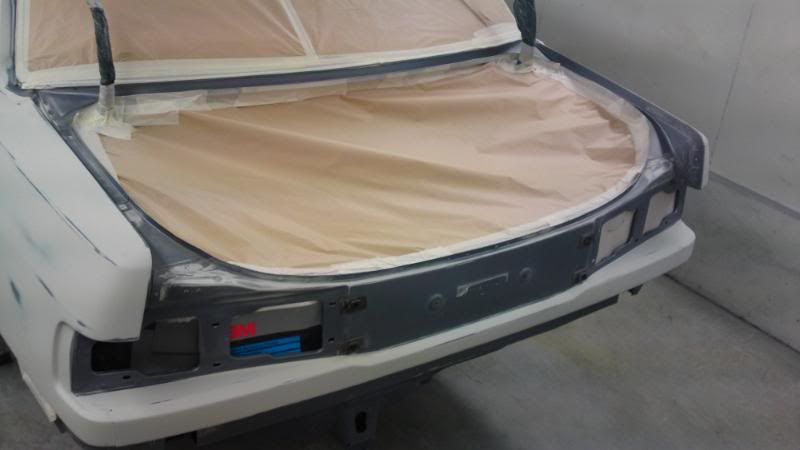
Sealed in Upol Raptor sprayable load liner
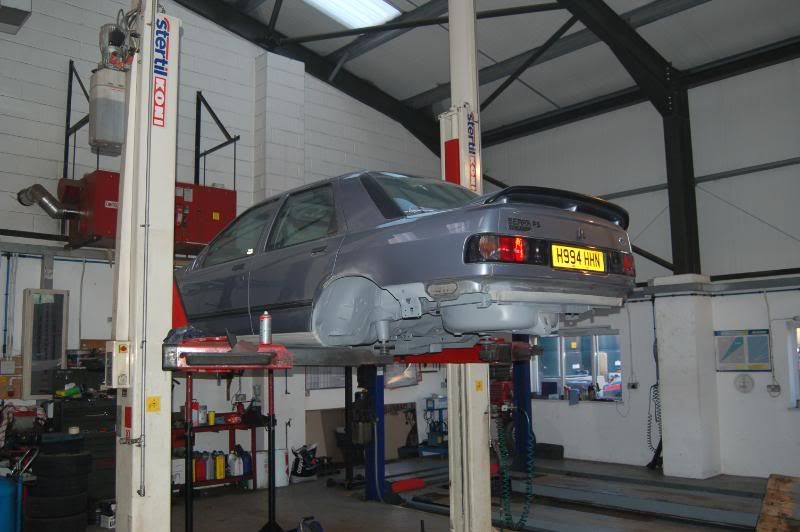
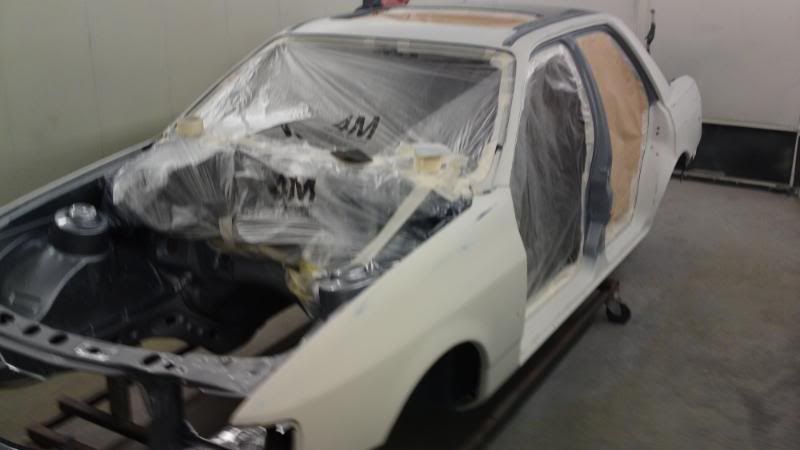
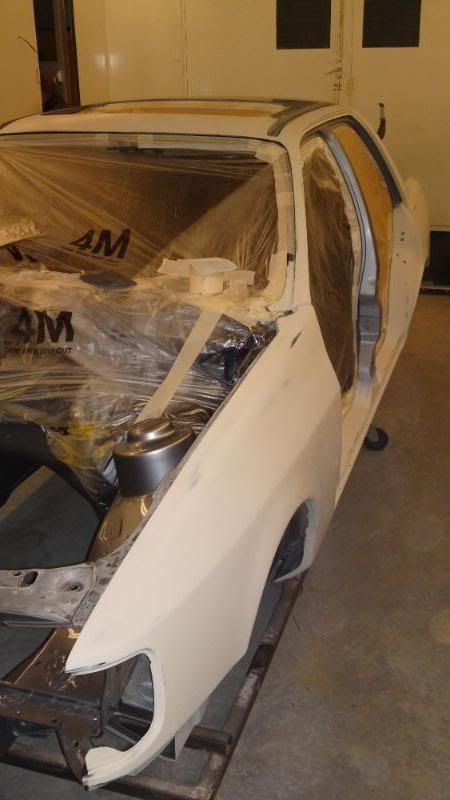
Wrapped up and off for spraying
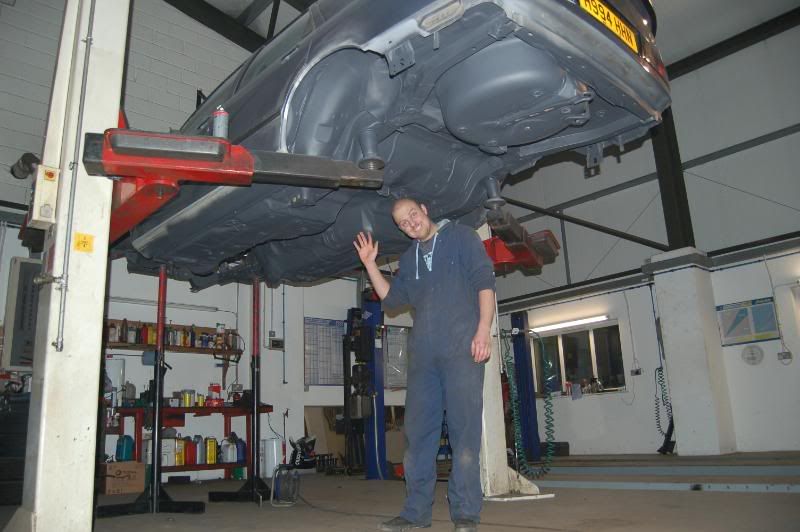
sorry its a whole lot of pictures on paint, but thats about 2 months hard graft to get to this stage lol
After finally getting all the rust (it's amazing what you find under good underseal :S) either cut out and repaired or treated and sealed, i managed to rope my old man into help clean up the underside ready for paint.
easiest thing is let the pictures do the talking...
Bay stripped out for paint
Underside in primer
Top coated in Ford Sill Grey satin
Happy
Sealed in Upol Raptor sprayable load liner
Wrapped up and off for spraying
sorry its a whole lot of pictures on paint, but thats about 2 months hard graft to get to this stage lol
 20-05-2010, 11:23 PM
#51
Cornish Fasty
Thread Starter
iTrader: (1)
Join Date: Jul 2008
Location: Bristol
Posts: 1,097
Likes: 0
Received 0 Likes
on
0 Posts
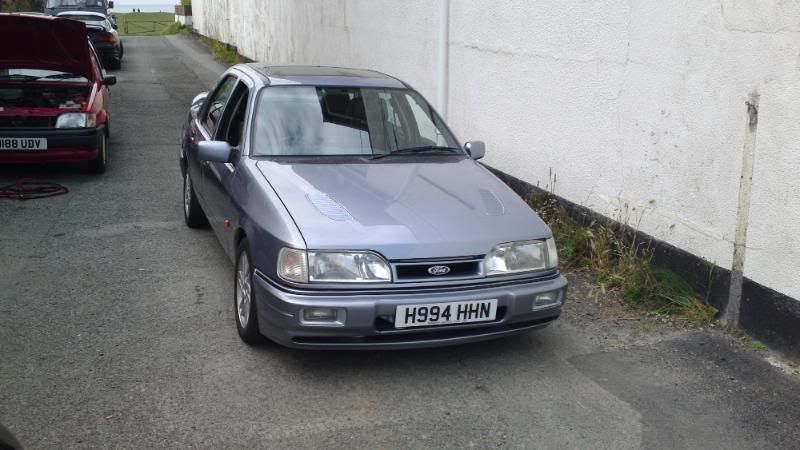
Time for an update...
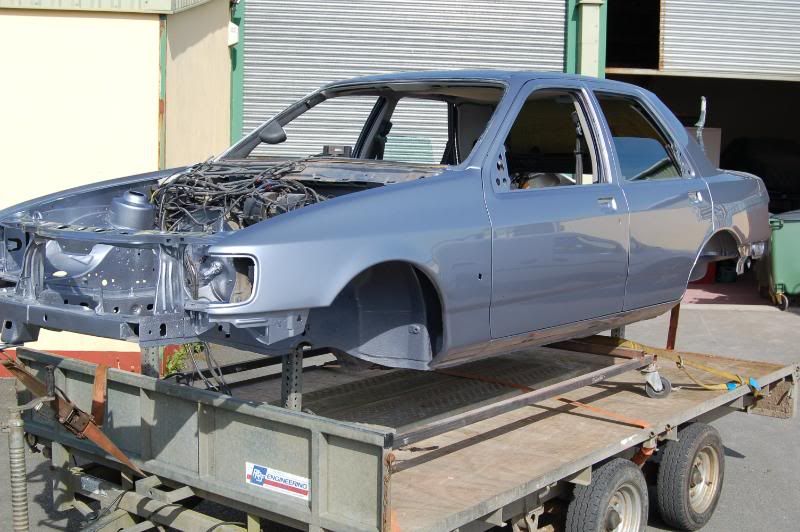
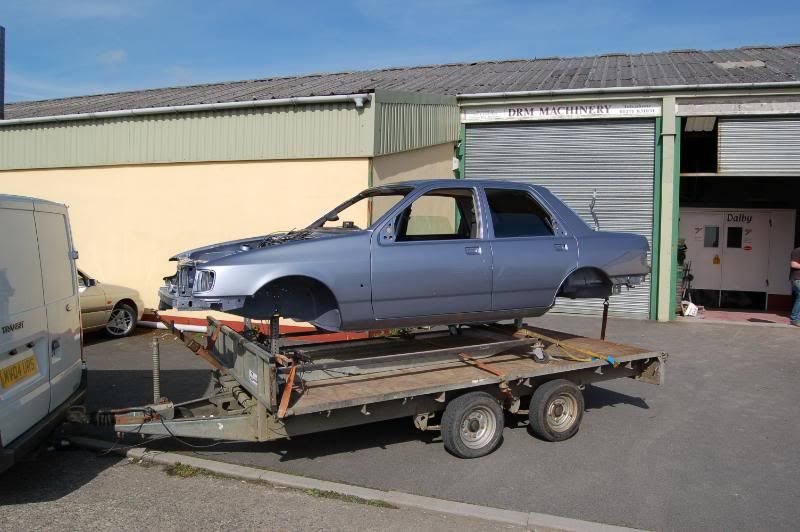
Finally got the car back from the body shop, after they took a fair bit longer than i was origanlly told it would be.
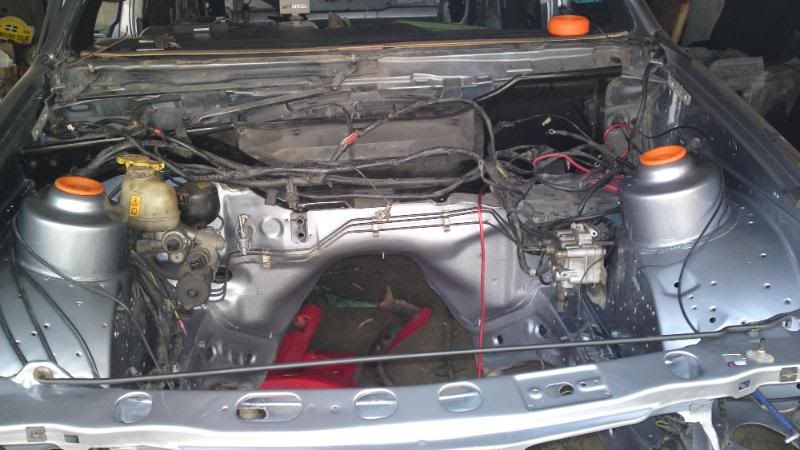
in the mean time, i have been cracking on with all the rest of it
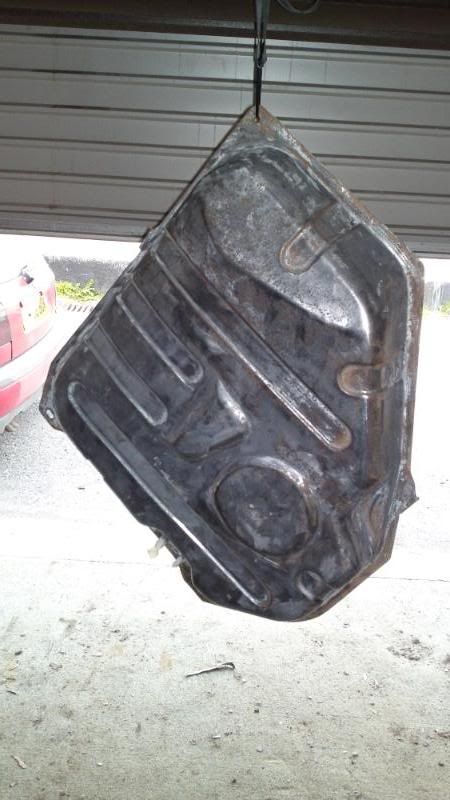
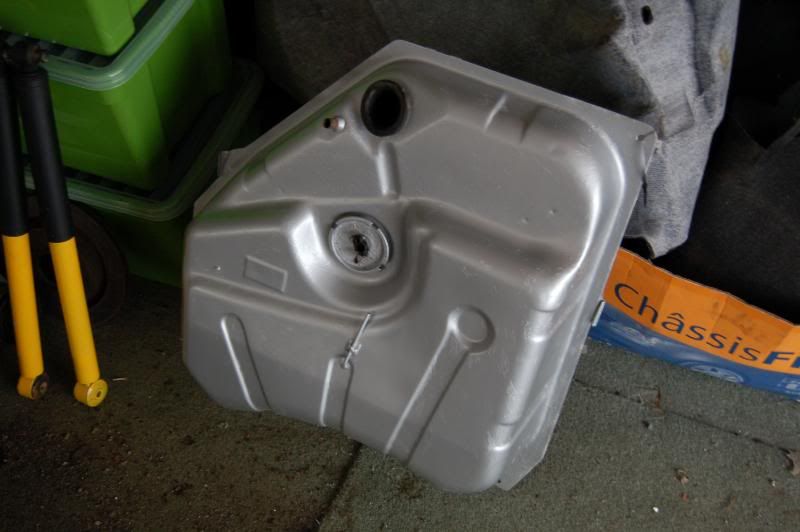
stripped and painted my tank
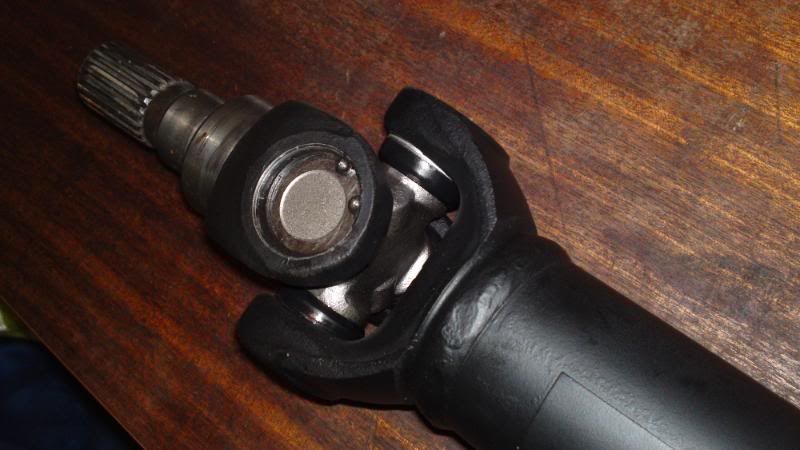
refurbed my props, with new uj's
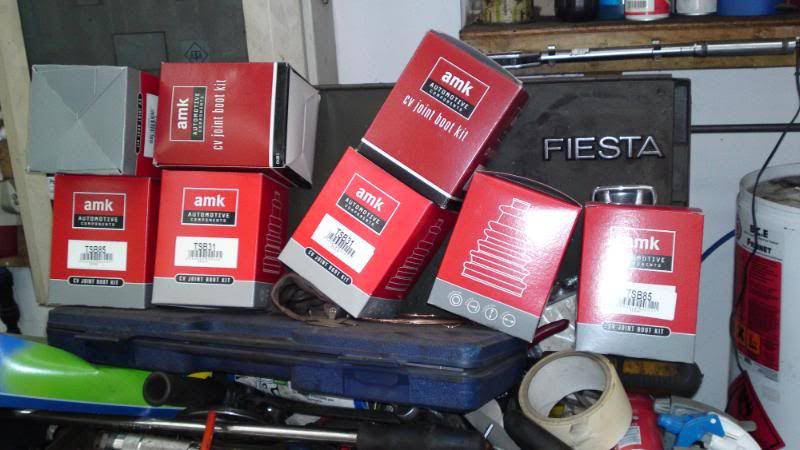
a lot of cv boots
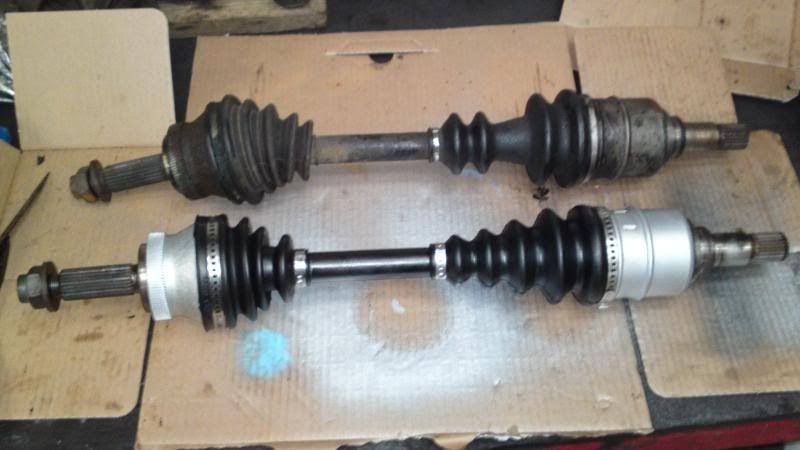
front shaft, before and after
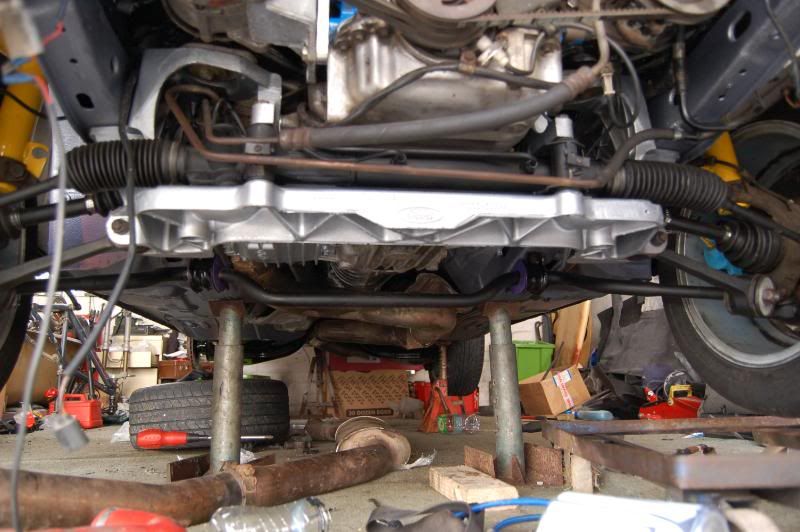
stripped and painted my rear beam, as i couldn't justify sandblasting and powder coating
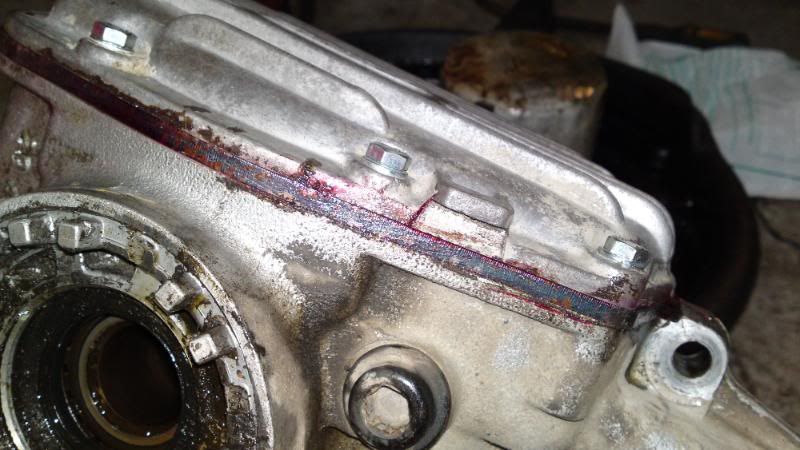
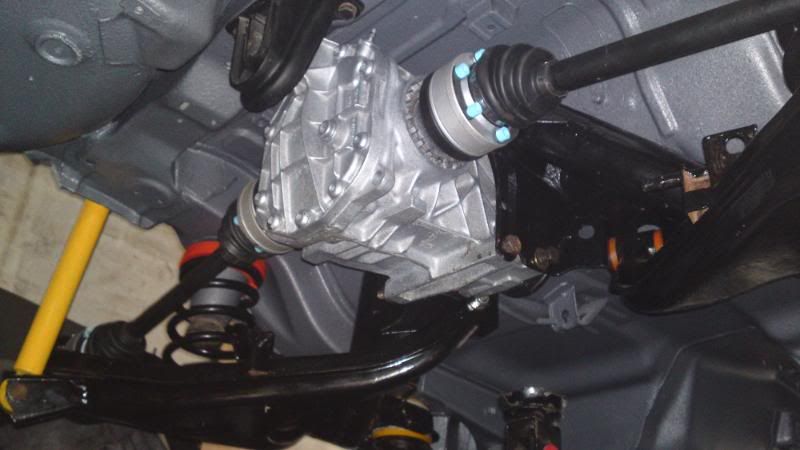
Fitted front diff strengthening plate
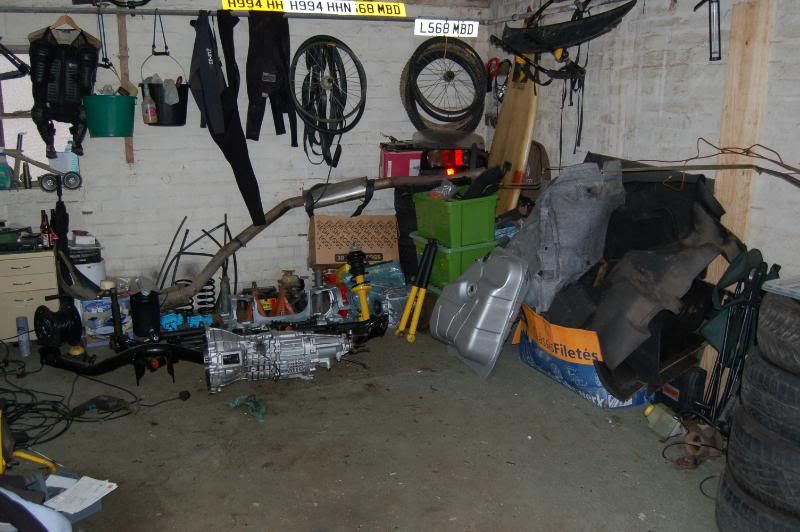
Pile of shiney bits, and a garage full of crap lol
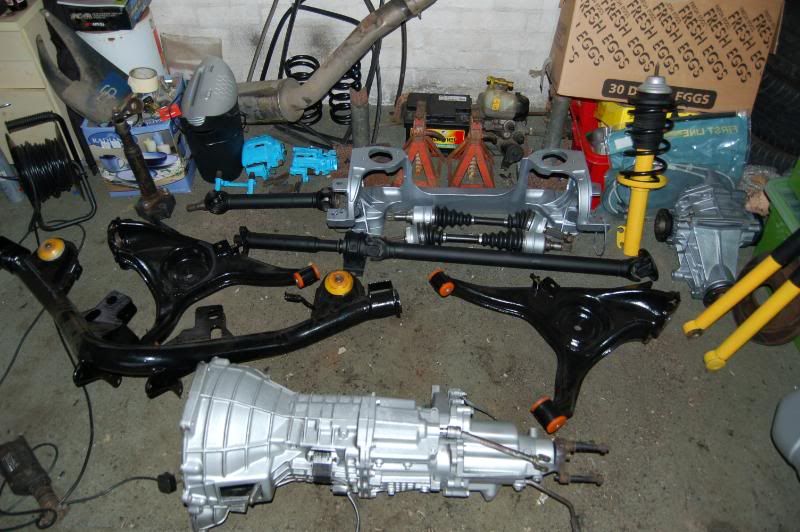
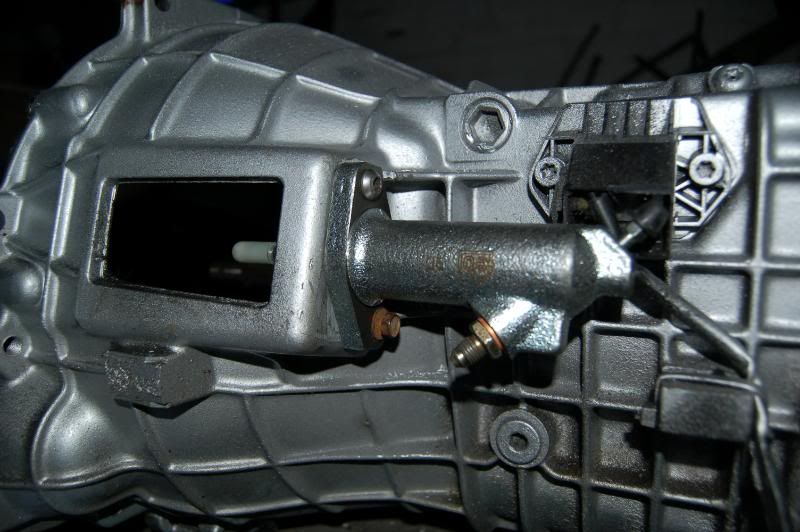
Hydro clutch cylinder fitted
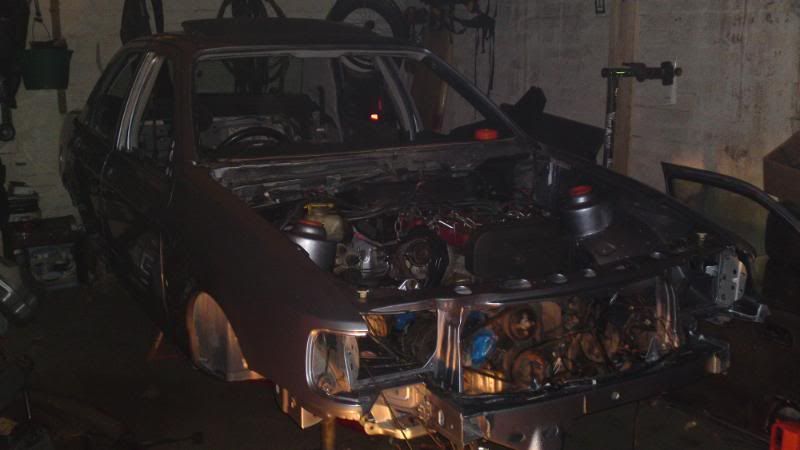
Shell in primer
She returns
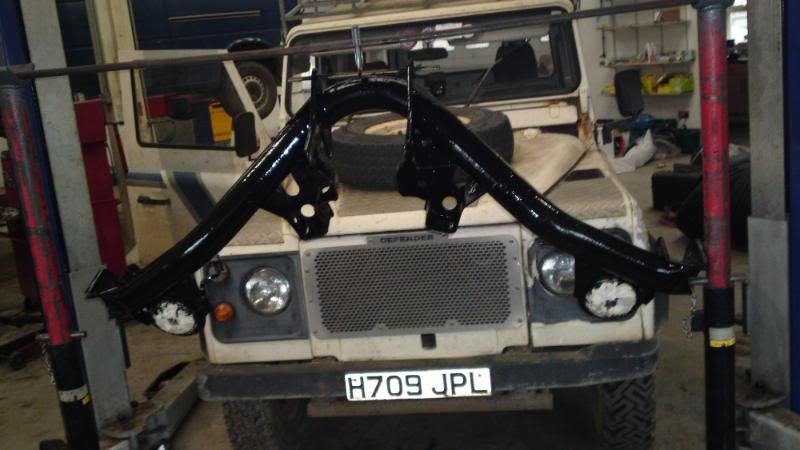
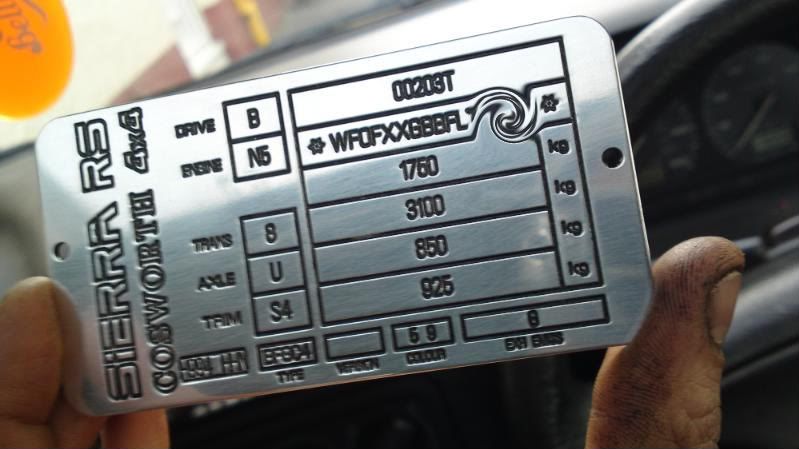
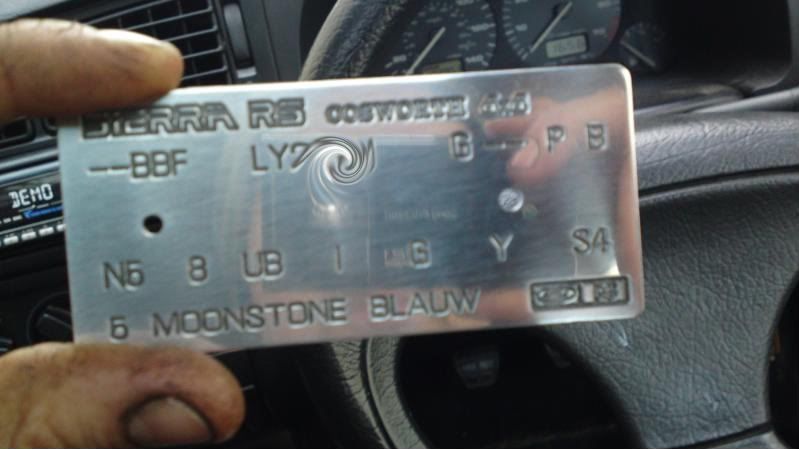
Monster Dave chassis plates :P
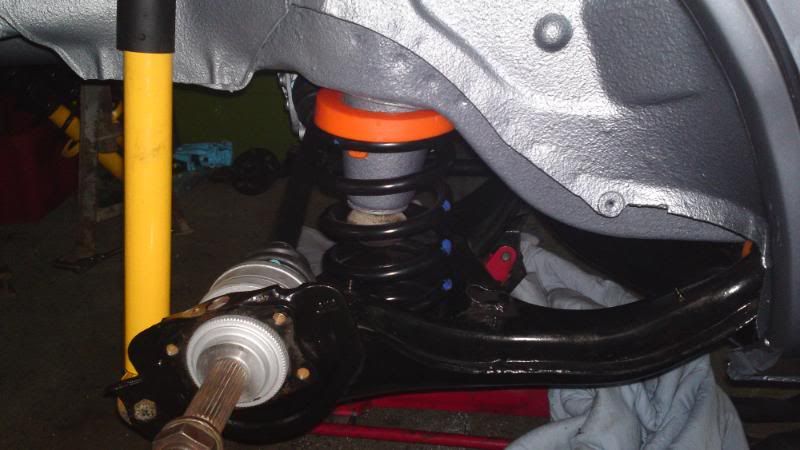
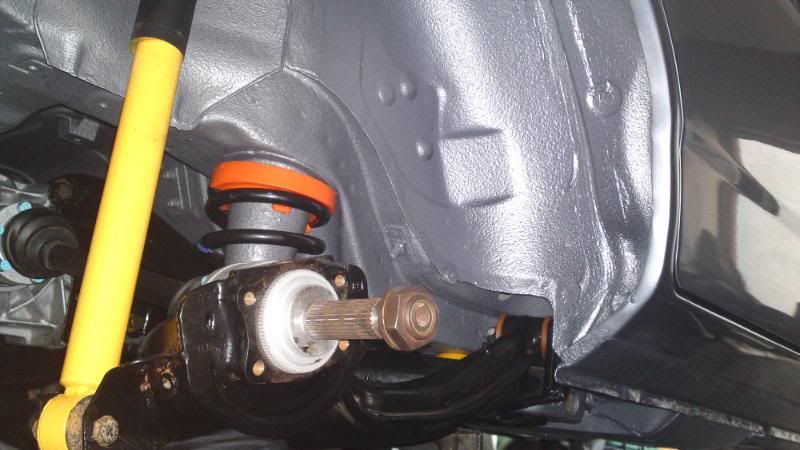
The rebuild begins. Ahmed springs on, polybushes in, just awaiting poly diff mount
sorry its a bit pic heavy, but i didn't think there was much point updating every week, with 'look what i've painted' and 'No, its still not done yet....'
hopefully, progress is about to speed up somewhat....
1 month till the deadline....
Finally got the car back from the body shop, after they took a fair bit longer than i was origanlly told it would be.
in the mean time, i have been cracking on with all the rest of it
stripped and painted my tank
refurbed my props, with new uj's
a lot of cv boots
front shaft, before and after
stripped and painted my rear beam, as i couldn't justify sandblasting and powder coating
Fitted front diff strengthening plate
Pile of shiney bits, and a garage full of crap lol
Hydro clutch cylinder fitted
Shell in primer
She returns
Monster Dave chassis plates :P
The rebuild begins. Ahmed springs on, polybushes in, just awaiting poly diff mount
sorry its a bit pic heavy, but i didn't think there was much point updating every week, with 'look what i've painted' and 'No, its still not done yet....'
hopefully, progress is about to speed up somewhat....
1 month till the deadline....


 13-06-2010, 10:16 PM
#55
Cornish Fasty
Thread Starter
iTrader: (1)
Join Date: Jul 2008
Location: Bristol
Posts: 1,097
Likes: 0
Received 0 Likes
on
0 Posts
Cheers for the kind words, peeps
well, its a week before my deadline, as she's almost finished. been lax on the photos, but that cos i've been cracking on with the build.
sat in the garage on stands. managed to sell the moving frame, which paid for the metal that went into it
bay wiring started going in
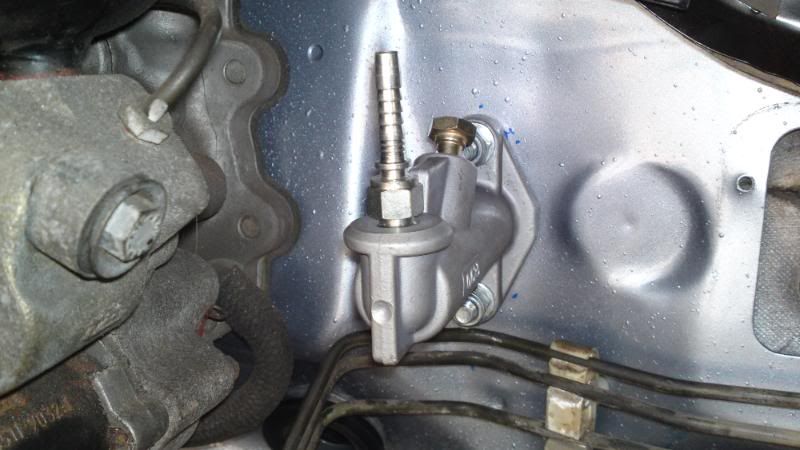
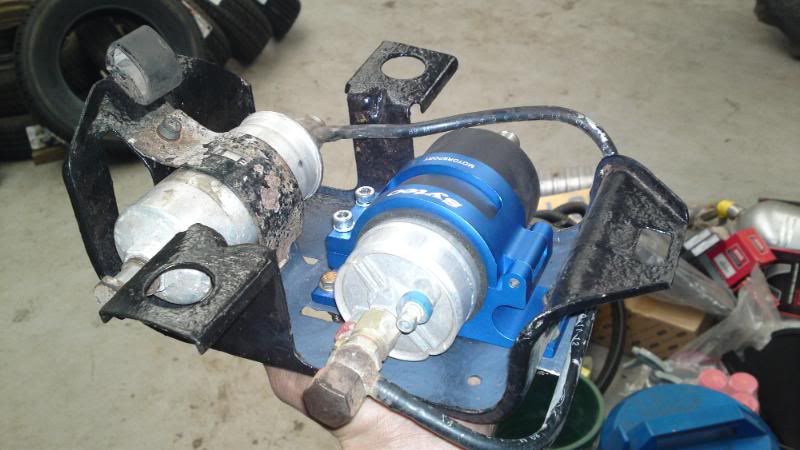
hydralic slave in
worked into the night, but me and my mate Dave got the engine box and cross member on. then spent a couple days plumbing, wiring and fitting the props
front sus going on
lights back in
vin plates on
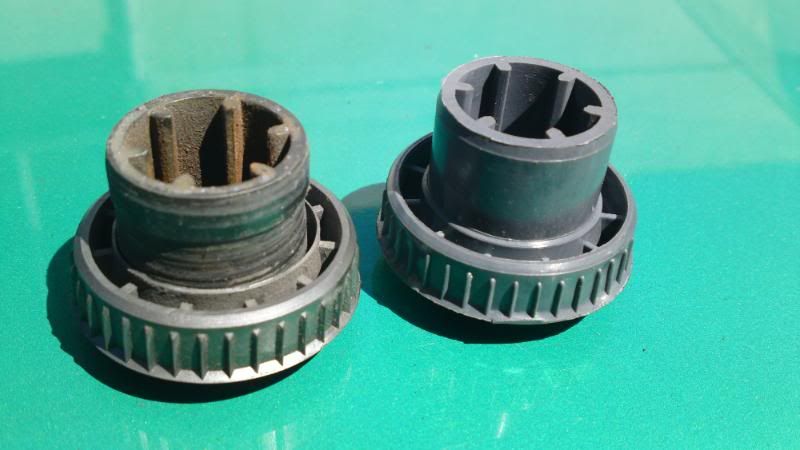
massively worn out steering bush changed
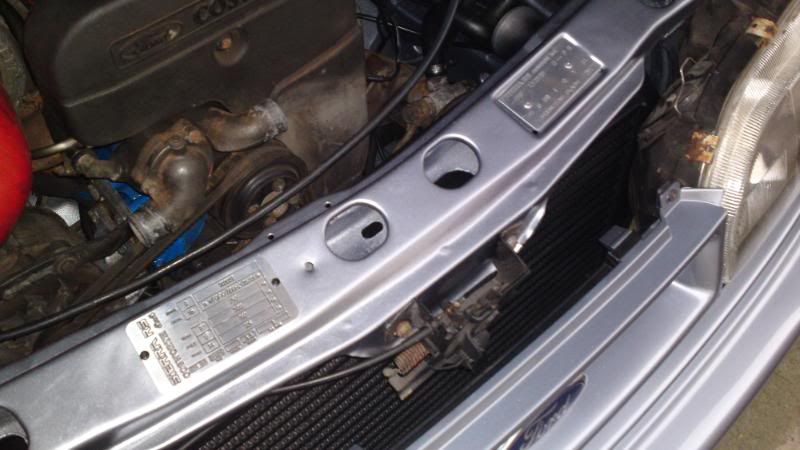
Modified pump cradle

dave being helpful
new heated screen
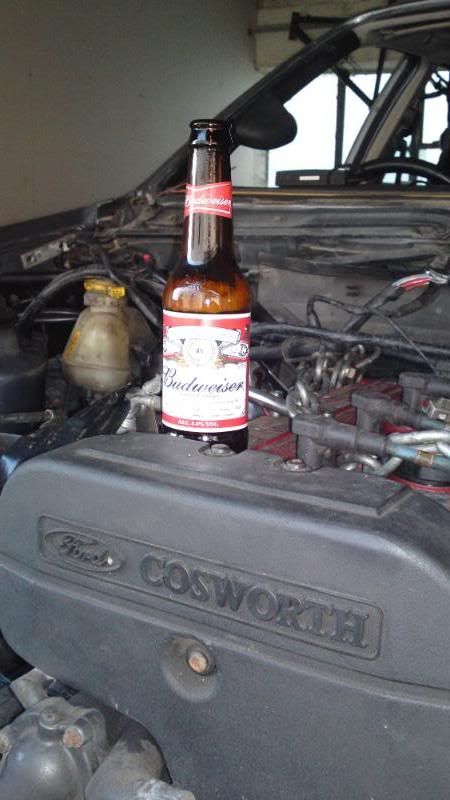
Powered by Bud
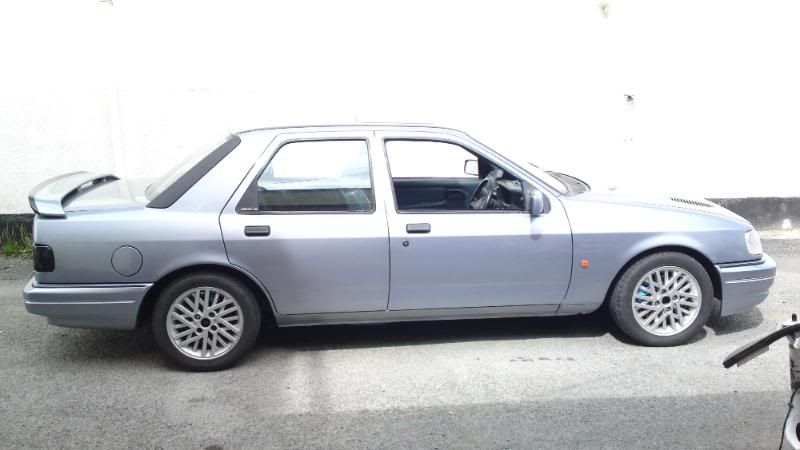

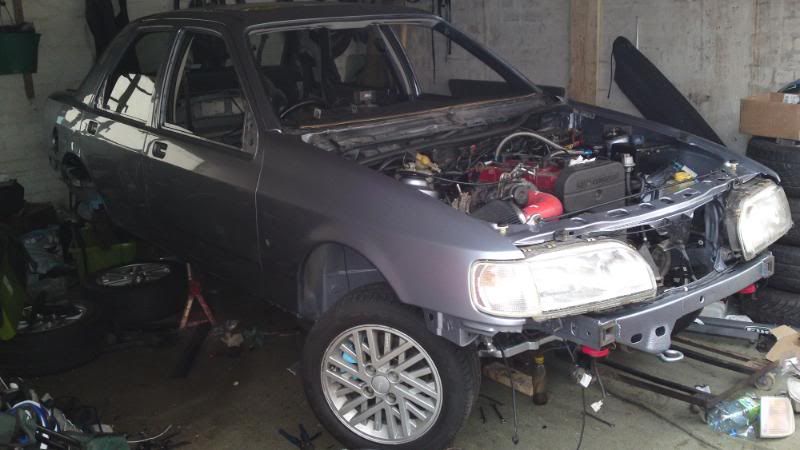
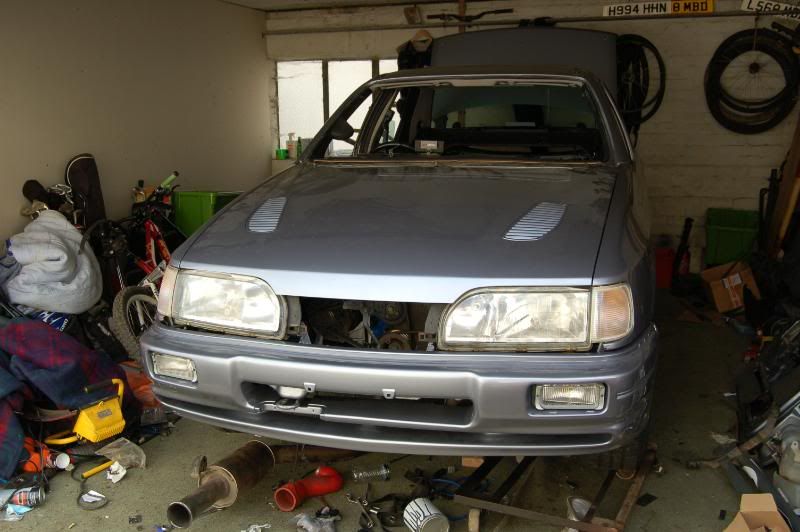
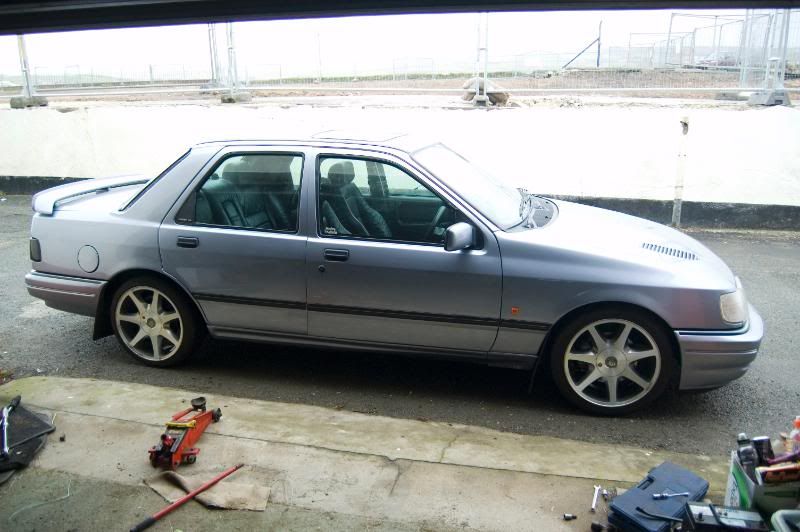
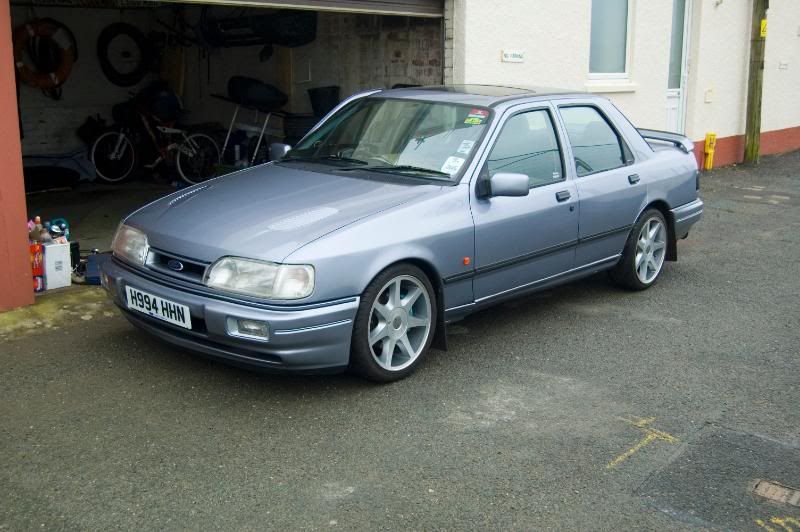
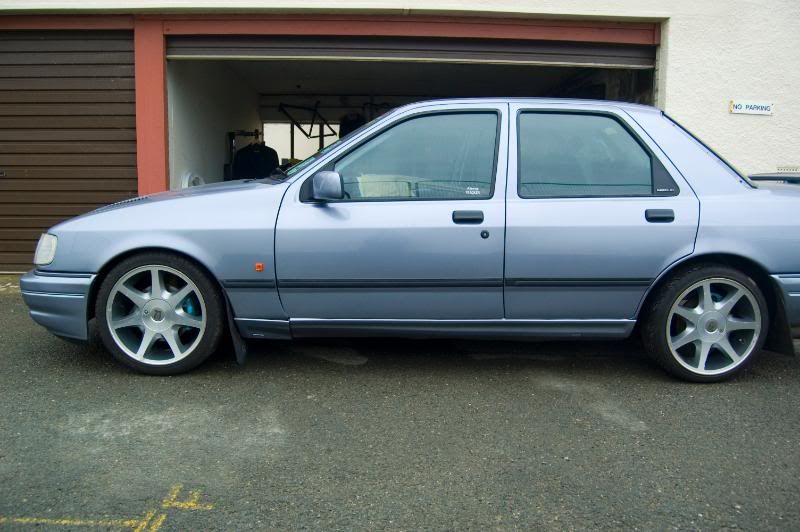
on the floor, and driven out
next step is hopefully mot and insure it tomorrow....
well, its a week before my deadline, as she's almost finished. been lax on the photos, but that cos i've been cracking on with the build.
sat in the garage on stands. managed to sell the moving frame, which paid for the metal that went into it
bay wiring started going in
hydralic slave in
worked into the night, but me and my mate Dave got the engine box and cross member on. then spent a couple days plumbing, wiring and fitting the props
front sus going on
lights back in
vin plates on
massively worn out steering bush changed
Modified pump cradle
dave being helpful
new heated screen
Powered by Bud
on the floor, and driven out
next step is hopefully mot and insure it tomorrow....
Last edited by Bloomers; 13-06-2010 at 10:18 PM.
 14-06-2010, 03:44 PM
#60
Quality work mate, i see you used that raptor truck liner i suggested, what was it like to use and how did you apply it, also im doing mine soon in magenta so how do you tint the product and final question how much did you use and cost �?, Paul.


 14-06-2010, 09:18 PM
#66
Cornish Fasty
Thread Starter
iTrader: (1)
Join Date: Jul 2008
Location: Bristol
Posts: 1,097
Likes: 0
Received 0 Likes
on
0 Posts
Thanks for all the kind words
Brettski - monster dave on here makes them
Coswurv - Now i have done it, i wouldn't use the raptor liner again. its proved to be a bit brittle, so it may have to be waxoiled at the end of the summer. its given a nice covering, though. i used one 4l kit, with 400ml of solvent moonstone base
Brettski - monster dave on here makes them
Coswurv - Now i have done it, i wouldn't use the raptor liner again. its proved to be a bit brittle, so it may have to be waxoiled at the end of the summer. its given a nice covering, though. i used one 4l kit, with 400ml of solvent moonstone base
14-06-2010, 09:52 PM
#67
Thanks for all the kind words
Brettski - monster dave on here makes them
Coswurv - Now i have done it, i wouldn't use the raptor liner again. its proved to be a bit brittle, so it may have to be waxoiled at the end of the summer. its given a nice covering, though. i used one 4l kit, with 400ml of solvent moonstone base
Brettski - monster dave on here makes them
Coswurv - Now i have done it, i wouldn't use the raptor liner again. its proved to be a bit brittle, so it may have to be waxoiled at the end of the summer. its given a nice covering, though. i used one 4l kit, with 400ml of solvent moonstone base
Thats a shame that as it seems to of given good cover in your pics and looks nice, i emailed u-pol before i suggested it to you and he said they have had a few people use it and that it was rubberised and wouldnt crack, so do you think adding the base coat into might of caused it, or maybe paint the base coat over the top rather than mixing it in, Paul.
14-06-2010, 11:30 PM
#68
Regular Contributor

Join Date: Jul 2006
Posts: 202
Likes: 0
Received 0 Likes
on
0 Posts
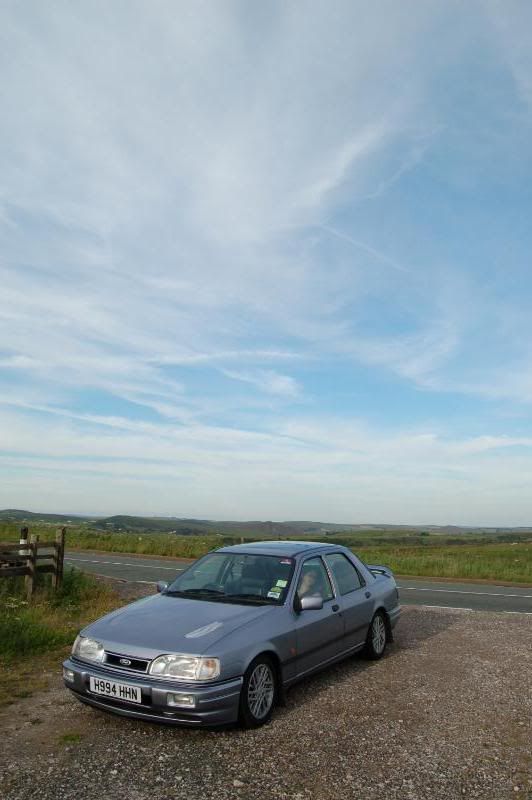
Great work,it must feel good to have it back on the road soon.
Hope to see it on the road possibly,the next time im down Bude
Be good to see another photo of it, with the Falcon Hotel in the background
Hope to see it on the road possibly,the next time im down Bude
Be good to see another photo of it, with the Falcon Hotel in the background
15-06-2010, 10:34 PM
#69
Cornish Fasty
Thread Starter
iTrader: (1)
Join Date: Jul 2008
Location: Bristol
Posts: 1,097
Likes: 0
Received 0 Likes
on
0 Posts
Thats a shame that as it seems to of given good cover in your pics and looks nice, i emailed u-pol before i suggested it to you and he said they have had a few people use it and that it was rubberised and wouldnt crack, so do you think adding the base coat into might of caused it, or maybe paint the base coat over the top rather than mixing it in, Paul.
it could be cos my paint hadn't gone off enough, or i didn't key it deep enough
might be worth another go, though, if your not rushing, like i had to
i'll keep en eye out for someone waving at me

 29-07-2010, 08:28 PM
#75
Regular Contributor
Join Date: Jun 2007
Location: hemel hempstead
Posts: 231
Likes: 0
Received 0 Likes
on
0 Posts
another good car of yours mate! now all i need you to do is sell it, that guy mess it up then i can buy it off of him! no wait already dont that!
looks ace mate well done
looks ace mate well done
 30-07-2010, 09:02 AM
#79
PassionFord Post Whore!!
 Looks mint
15-01-2011, 03:07 PM
Looks mint
15-01-2011, 03:07 PM
#80
Cornish Fasty
Thread Starter
iTrader: (1)
Join Date: Jul 2008
Location: Bristol
Posts: 1,097
Likes: 0
Received 0 Likes
on
0 Posts
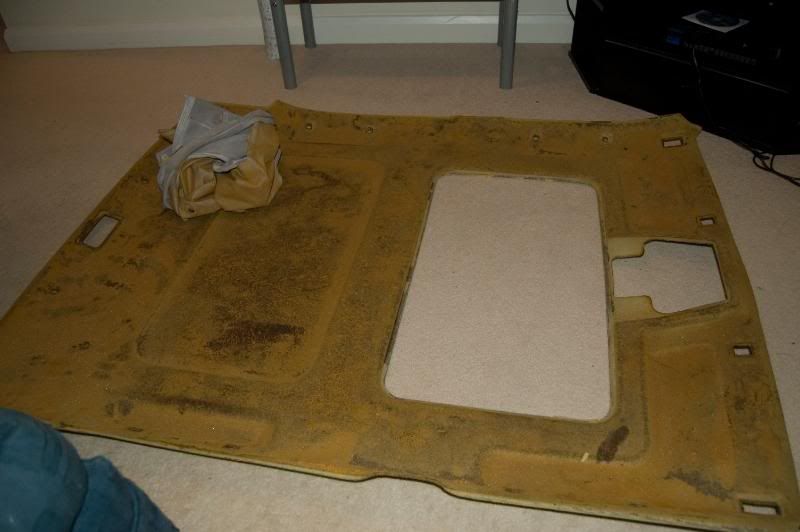
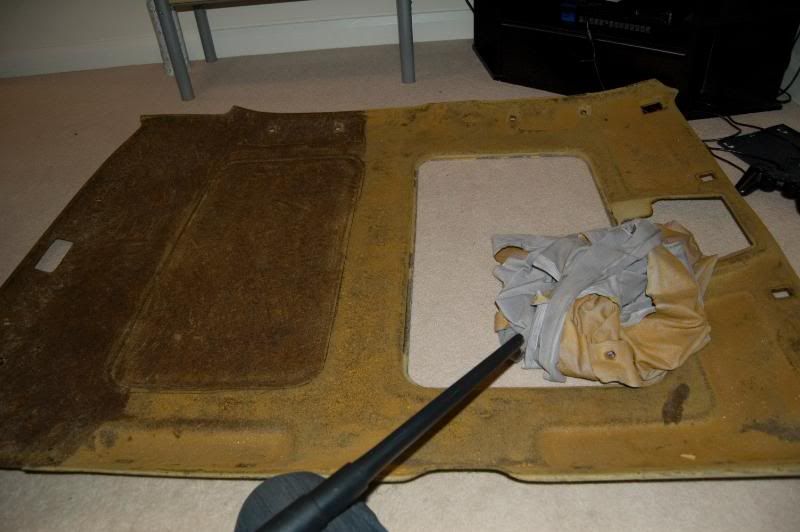
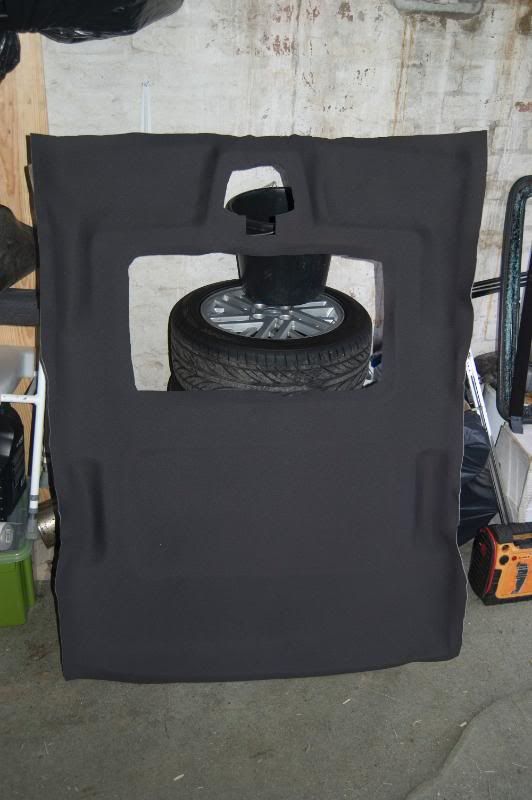
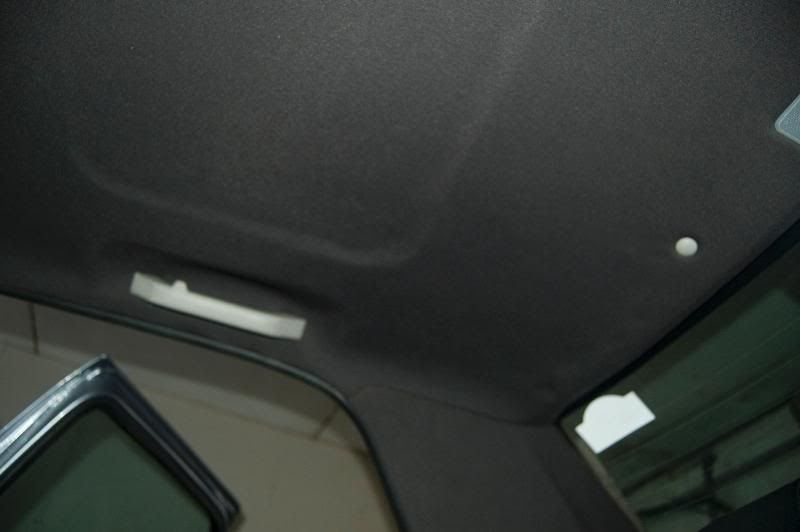
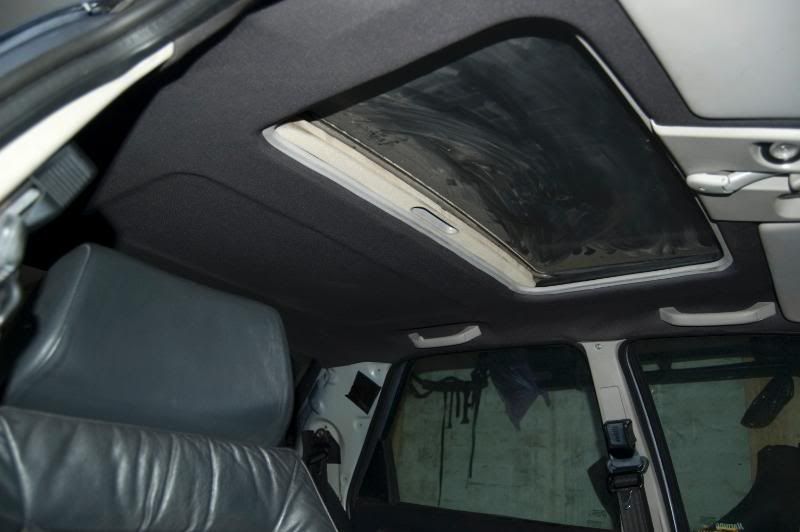
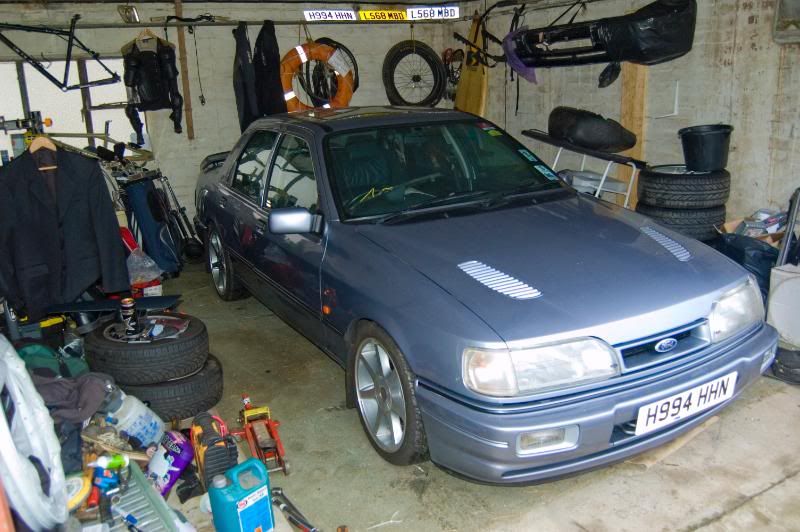
Little update. Had the car off the road since the tax ran out at end of November, to keep her out the salt and snow. thought i would do a few niggly jobs.
first of which was the saggy headlining. whipped it out over xmas, and finally got it back in today. for a first diy attempt, i'm fairly happy. just gotta get the rest of the trim pieces painted/flocked now, to match


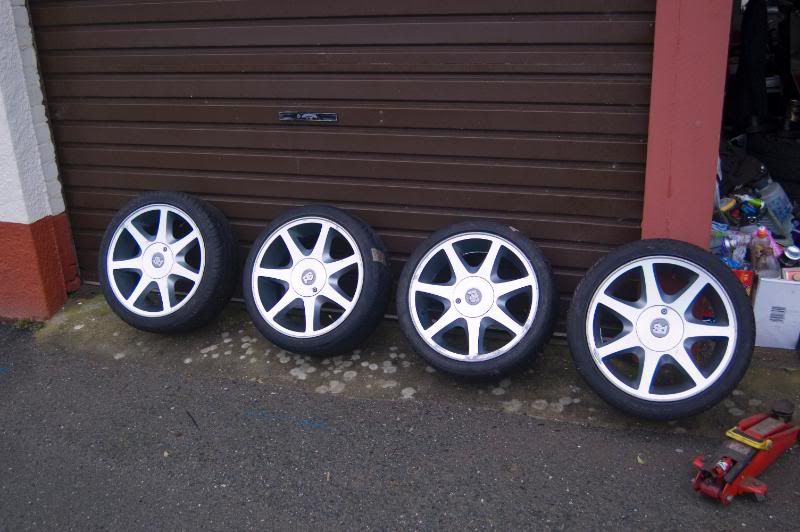
also fitted my new RS7, which turned up thursday
not mint, so will give them a coat of silver for this year, and contemplate re-cutting them next year or something (forgive the camber on the back, didn't move the car after letting the jack down)
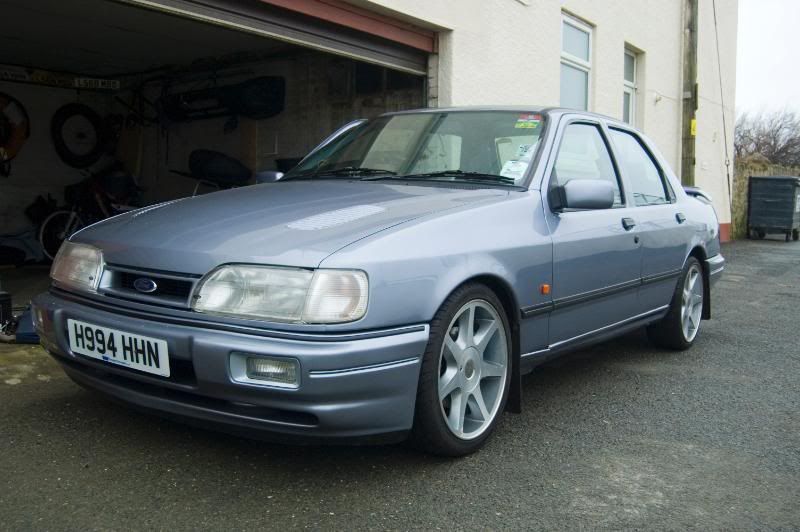
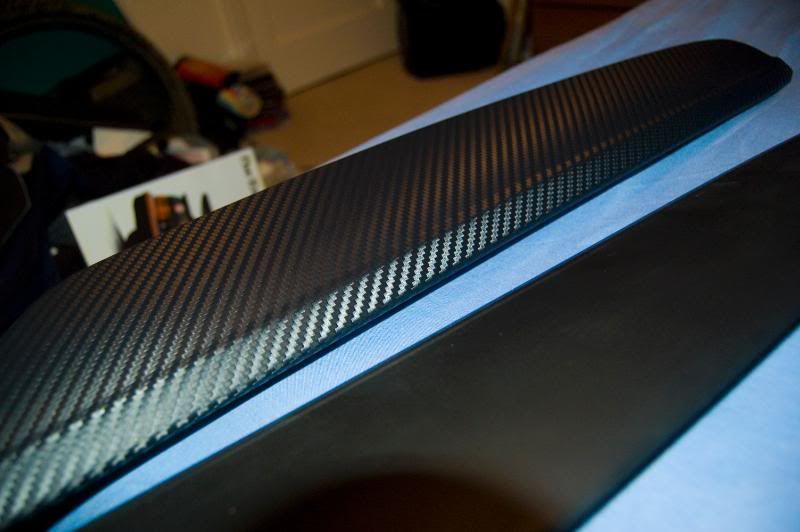
also wrapped my C pillar trims in Di-Noc. got a bubble and crease in one, as i work the other end and left it too near the hairdyer. went to redo it and found my sheet was 20mm short for another go
Oh well, didn't like it enough to buy more, so unpeeled the other one lol
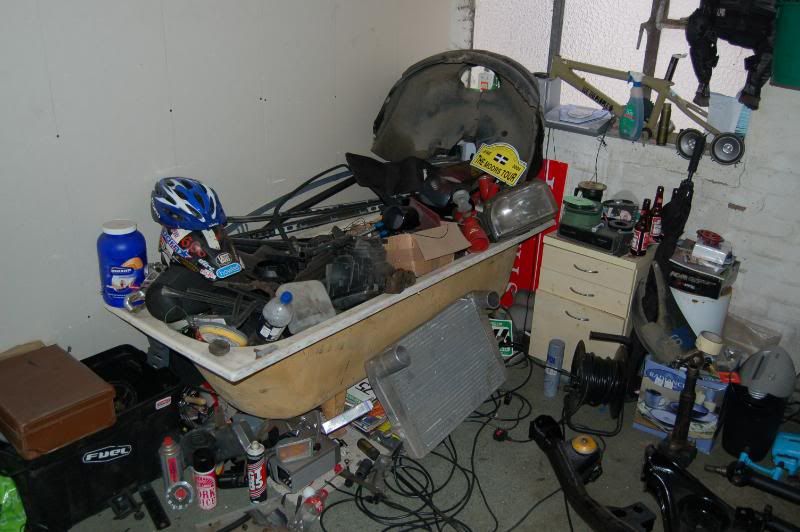
realised my garage is turning into alladins cave of crap :S...
first of which was the saggy headlining. whipped it out over xmas, and finally got it back in today. for a first diy attempt, i'm fairly happy. just gotta get the rest of the trim pieces painted/flocked now, to match
also fitted my new RS7, which turned up thursday
not mint, so will give them a coat of silver for this year, and contemplate re-cutting them next year or something (forgive the camber on the back, didn't move the car after letting the jack down)
also wrapped my C pillar trims in Di-Noc. got a bubble and crease in one, as i work the other end and left it too near the hairdyer. went to redo it and found my sheet was 20mm short for another go
Oh well, didn't like it enough to buy more, so unpeeled the other one lol
realised my garage is turning into alladins cave of crap :S...