
Black 3 door-restoration- ***UPDATED 13/12/13*!** updated 3 years on LOL
 16-06-2010 | 11:50 PM
#410
Looking good Aaron ... the carbon really sets it off ... tops 
Interesting about the harness ... seems theres a few options out there.
Don't know about the wheel's colour mate ... I agree with Linc ... a proper gold (ie BBS) would really shine against the black and have the effect you want ...
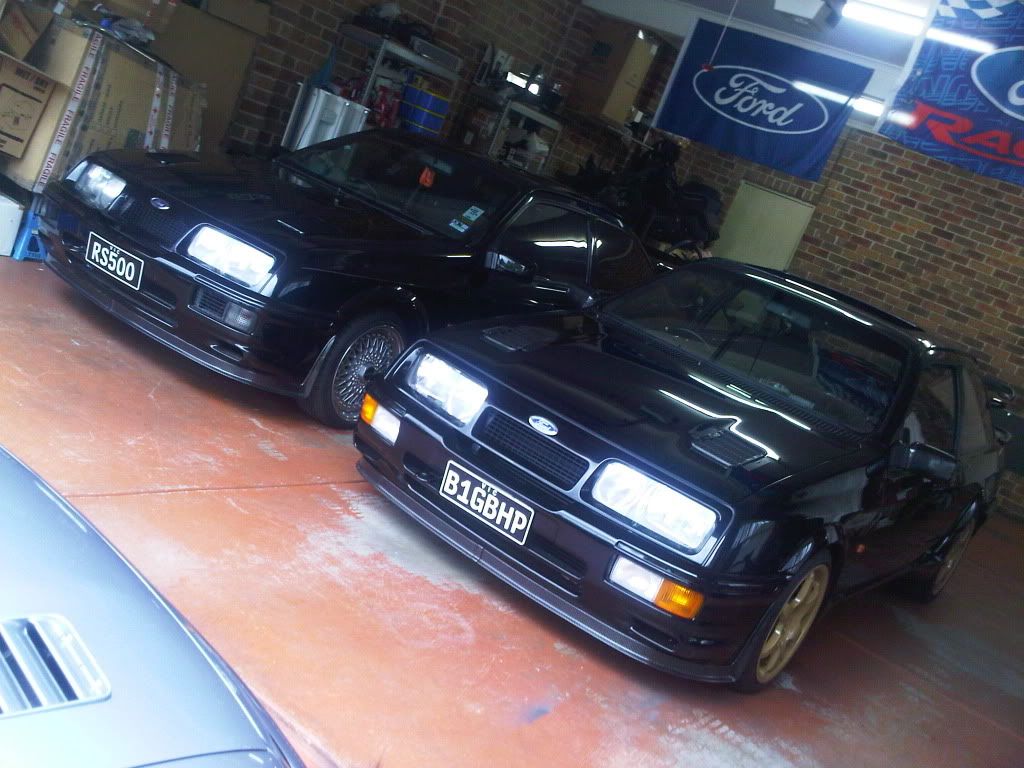
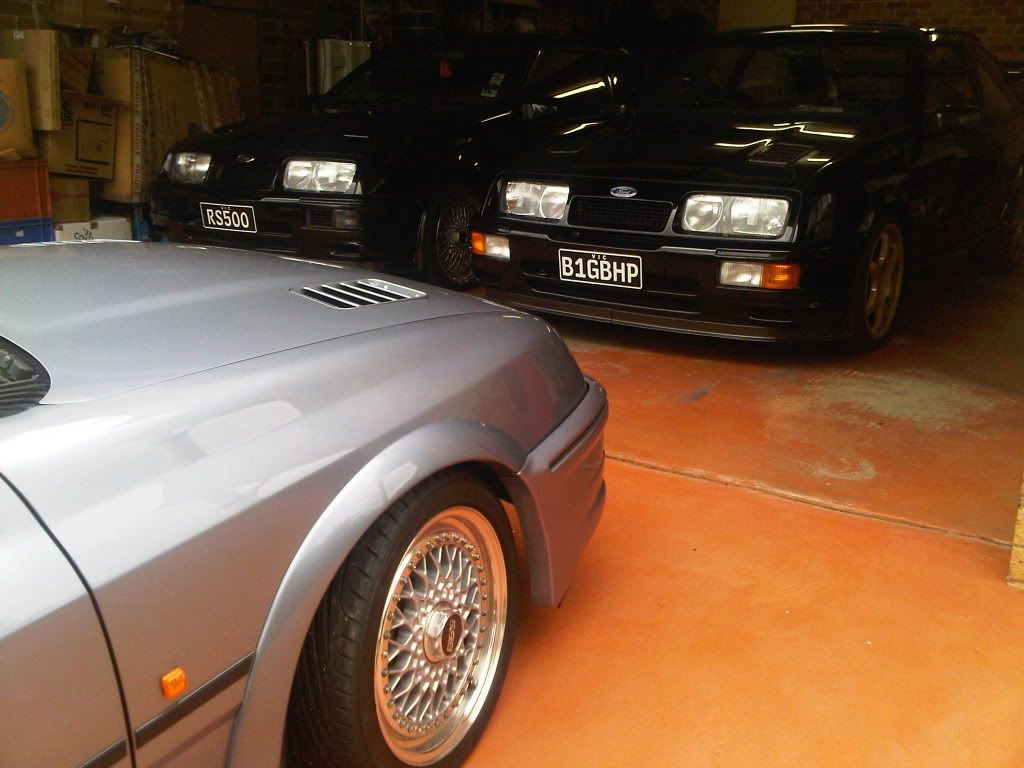
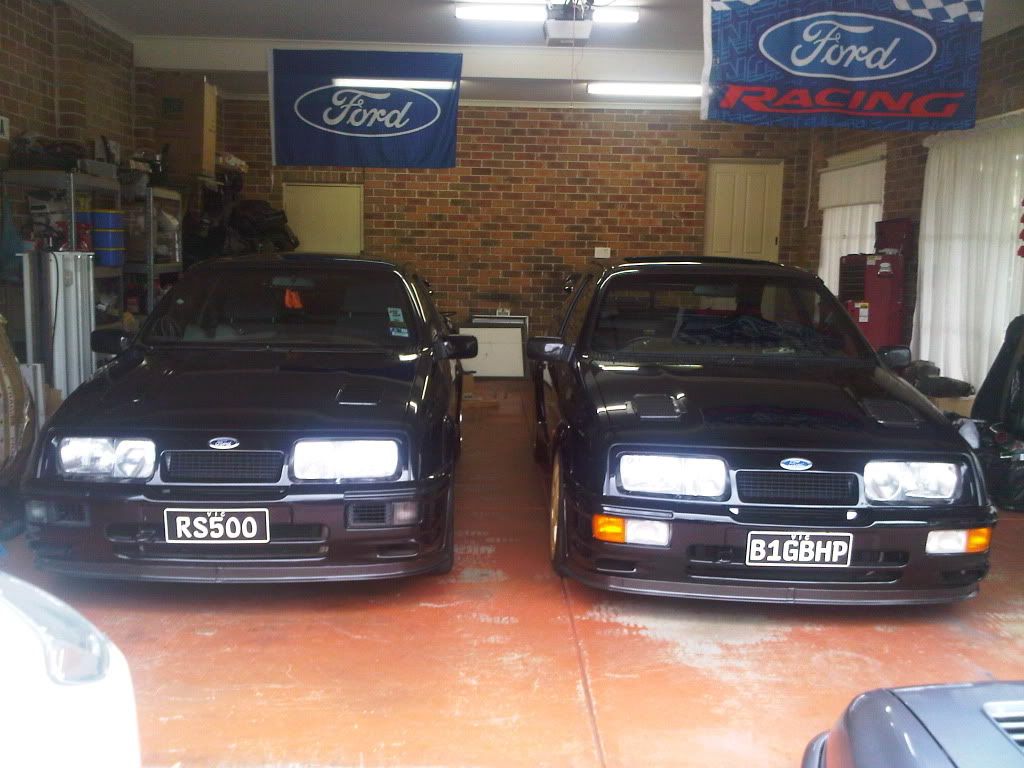
... not in Aus mate ... I reckon it would stand out here with the black / anthracite look ... and will look awesome next to the '500 as well .
.
Good luck ... keep going
Interesting about the harness ... seems theres a few options out there.
Don't know about the wheel's colour mate ... I agree with Linc ... a proper gold (ie BBS) would really shine against the black and have the effect you want ...
... not in Aus mate ... I reckon it would stand out here with the black / anthracite look ... and will look awesome next to the '500 as well
.Good luck ... keep going
 14-11-2010 | 09:08 AM
#414

Thread Starter
10K+ Poster!!
iTrader: (1)
Joined: Jul 2006
Posts: 10,753
Likes: 3
From: wolverhampton/ australia
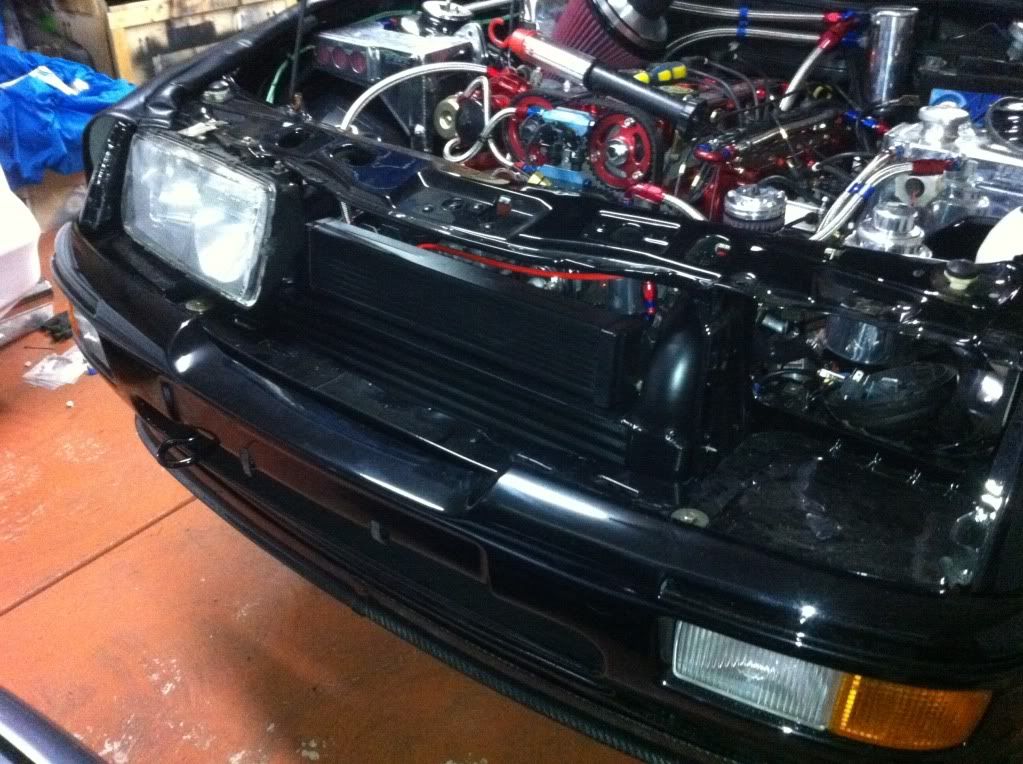
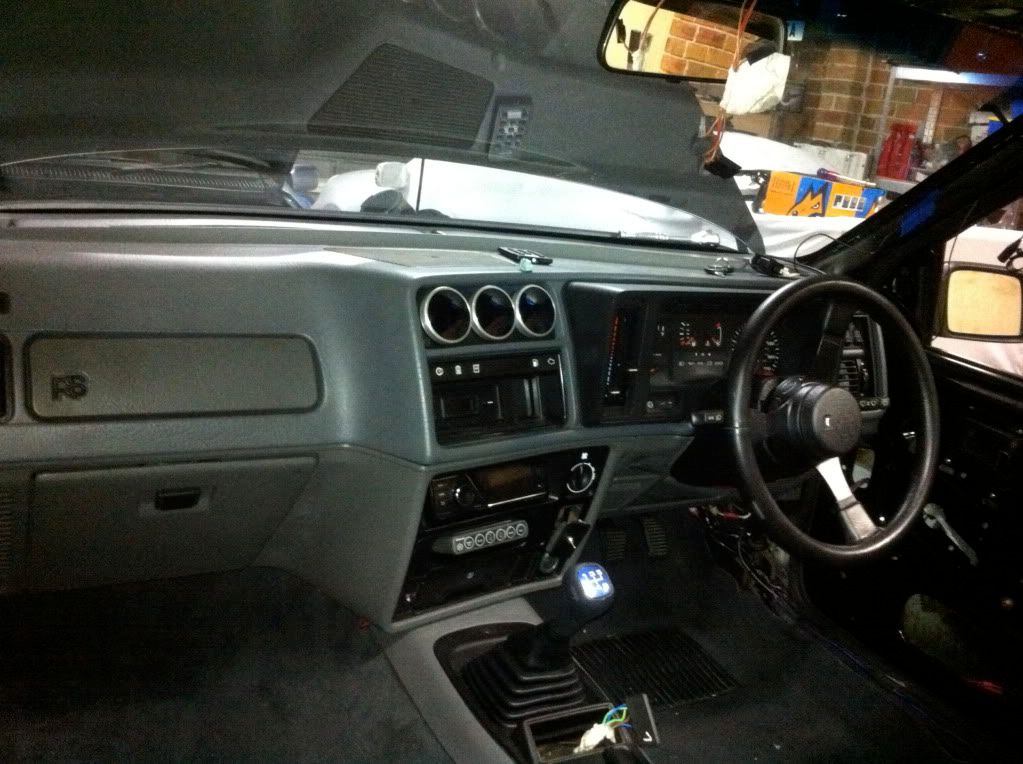
hi guys i haven't updated this in a while but me and my old man have done a fair bit to the car.. Few things left like refit starter, put diff oil in, bleed brakes, bleed clutch and refit interior, and fit intercooler.
This is how the car looked today, I had to drop it down to get the new windscreen in
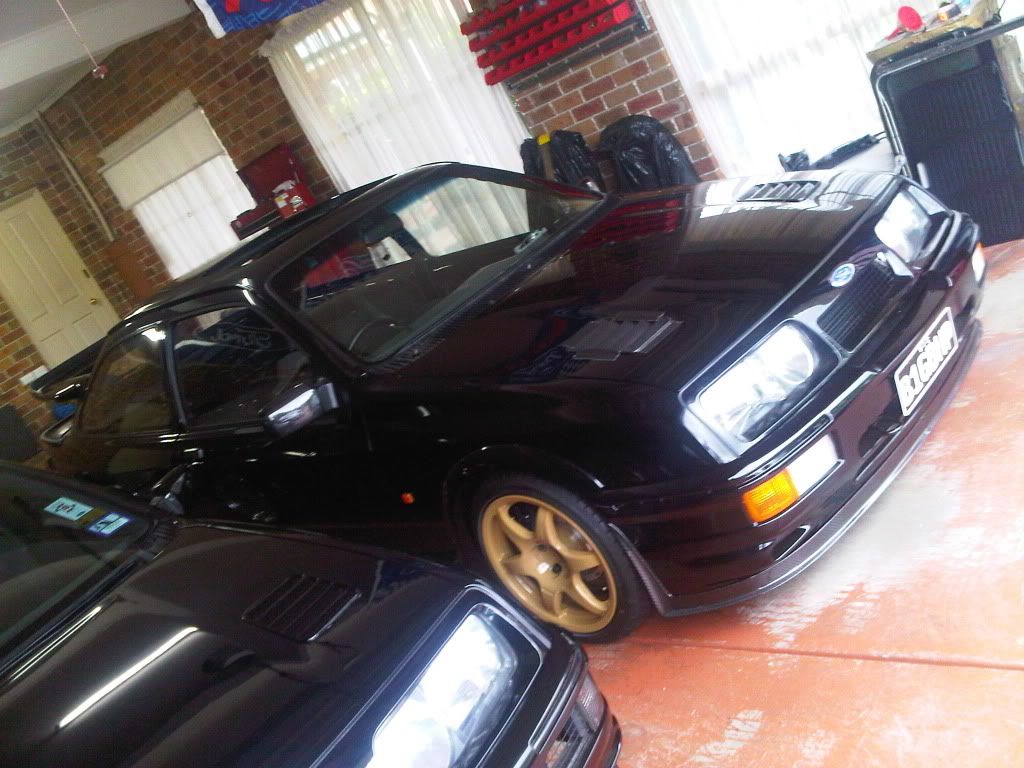
This is how the car looked today, I had to drop it down to get the new windscreen in


 14-11-2010 | 10:24 PM
#420
Thread Starter
10K+ Poster!!
iTrader: (1)
Joined: Jul 2006
Posts: 10,753
Likes: 3
From: wolverhampton/ australia
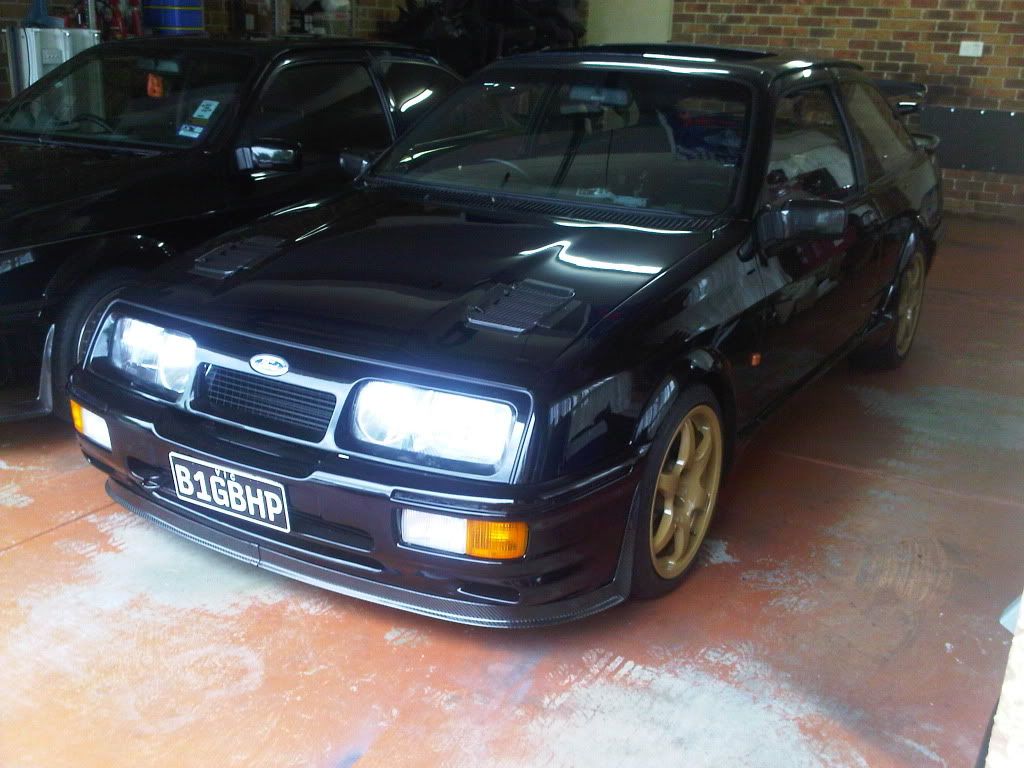
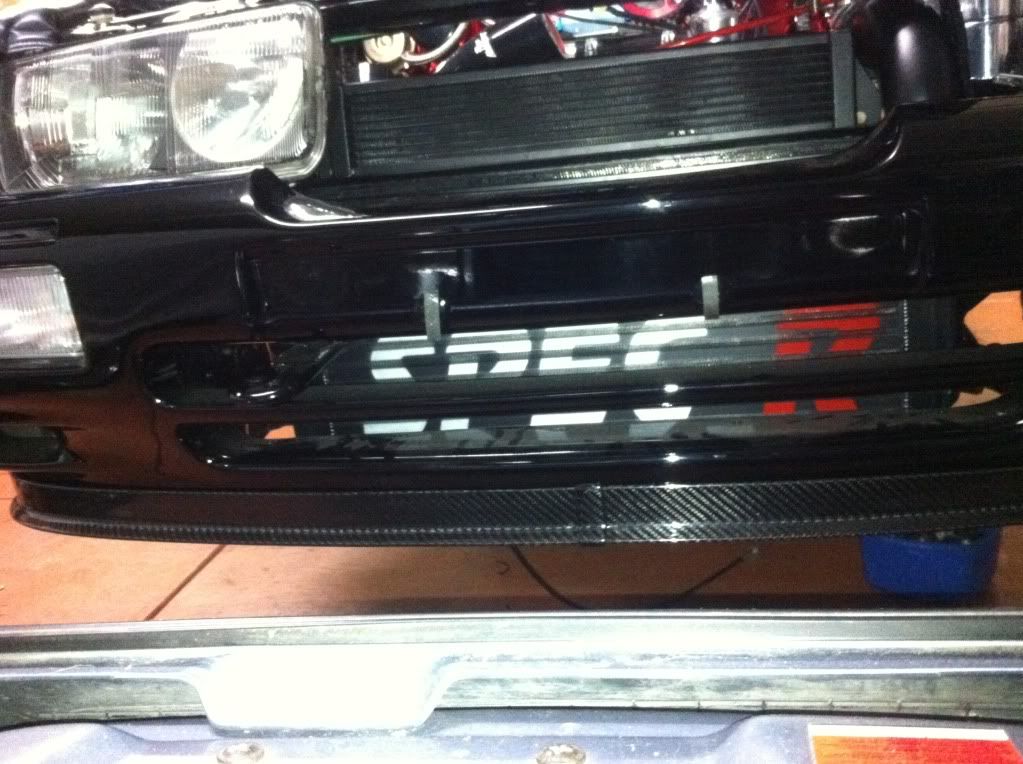
i forgot to take that 'wheel colour change' out the title  i like the wheels now they look heaps better when you see them, The camera cant pick the colour up for some reason..
i like the wheels now they look heaps better when you see them, The camera cant pick the colour up for some reason..
27-11-2010 | 11:15 AM
#425
Thread Starter
10K+ Poster!!
iTrader: (1)
Joined: Jul 2006
Posts: 10,753
Likes: 3
From: wolverhampton/ australia
Been a long day had to do a few lil bits in the bay to get it all ready to fire up the first time.. Came to turning the ignition on and the battery lights on  then the gauges went off.. The alarm had killed the battery So took the old battery out and put another spare I had in an hey presto all gauges, lights etc were at full power
  Turned the engine over and it turned which was a relif, put the spark plugs back in, connected the fuel pump and turnd the ignition once again.. YES it fired first time Only real problem is the aeromotive fuel presure reg is leaking on the return pipe, Iv made sure all the connectors are tight etc but still is leaking Guessing Il have to remake a braided line with a new connector to see if that cures it, if it dosent then I know its the connector to the reg or the reg itself.. Over all really happy Tomorrow going to get the sunroof in and most th interior hopefully
then the gauges went off.. The alarm had killed the battery So took the old battery out and put another spare I had in an hey presto all gauges, lights etc were at full power Turned the engine over and it turned which was a relif, put the spark plugs back in, connected the fuel pump and turnd the ignition once again.. YES it fired first time Only real problem is the aeromotive fuel presure reg is leaking on the return pipe, Iv made sure all the connectors are tight etc but still is leaking Guessing Il have to remake a braided line with a new connector to see if that cures it, if it dosent then I know its the connector to the reg or the reg itself.. Over all really happy Tomorrow going to get the sunroof in and most th interior hopefully
28-11-2010 | 11:54 AM
#427
Thread Starter
10K+ Poster!!
iTrader: (1)
Joined: Jul 2006
Posts: 10,753
Likes: 3
From: wolverhampton/ australia
did abit more work today..
Had a small leak on the fuel reg so stipped down the aeroquip hose and found that the braided hose had come away in the middle so the braid had come way from the rubber pipe and the pipe had split in the middle leaving only a think circle of rubber on the actual fitting cut that section of the pipe off and put a new fitting on and all sorted now.
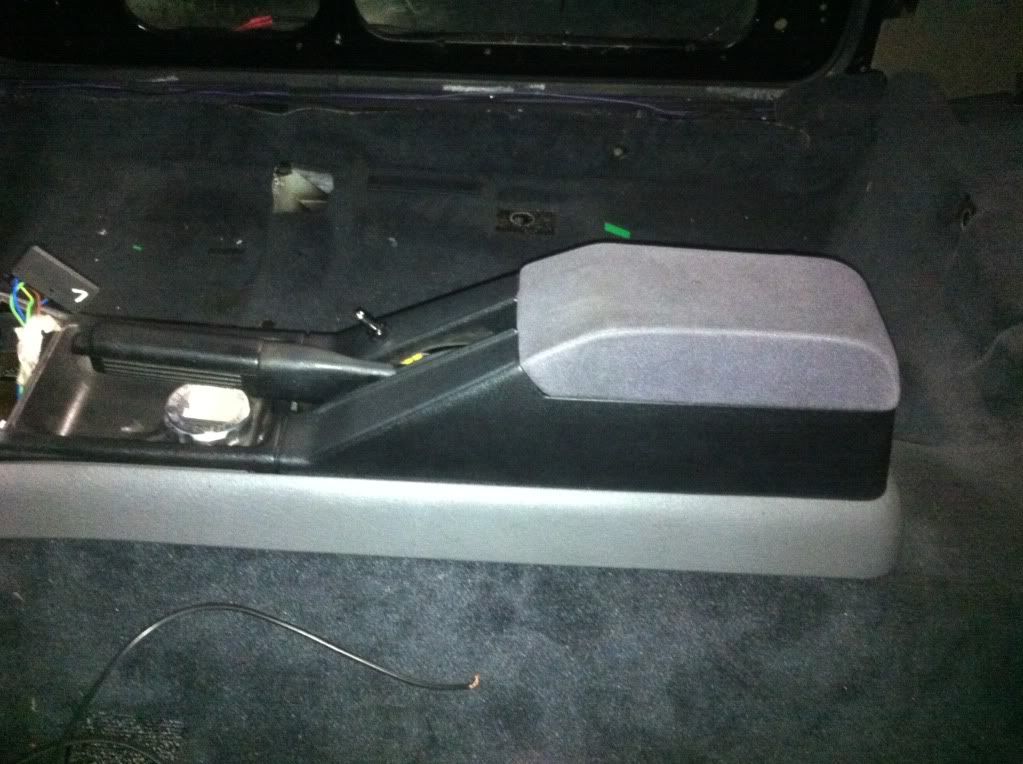
Then got to work on putting the bottom half of the rear seats in which was fun as there was no captive nuts on the rail where the brackets screw into so me and my dad had to piss around with a cable tie . blue tack and some patience but got there in the end..
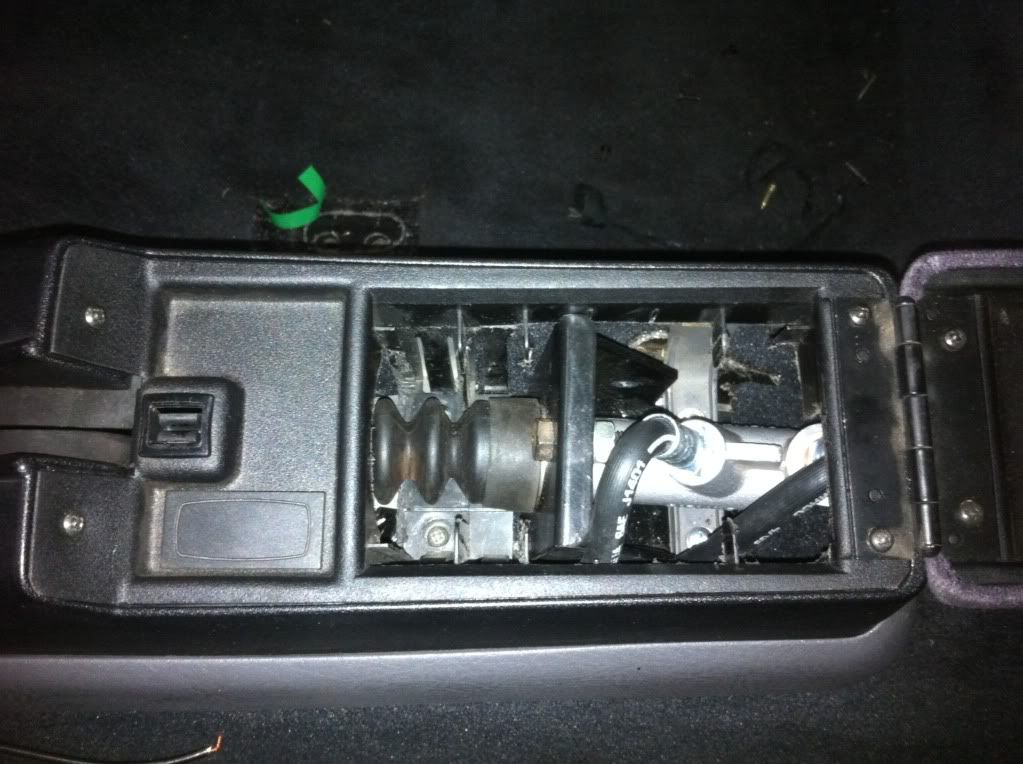
then it came to fitting all the trim around the car which wasnt as easy as it seems
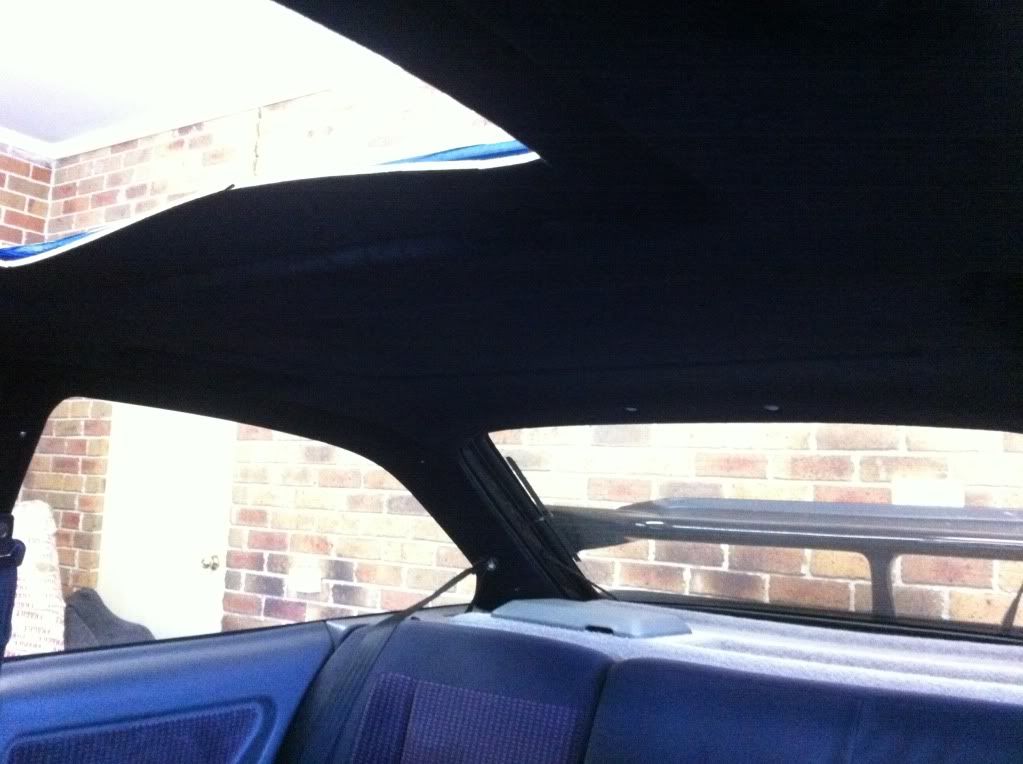
Tomorrows job is to find a small water leak on one of the hoses, fit the remaing trim and hopefully get the front seats in and get prop bolts
Had a small leak on the fuel reg so stipped down the aeroquip hose and found that the braided hose had come away in the middle so the braid had come way from the rubber pipe and the pipe had split in the middle leaving only a think circle of rubber on the actual fitting
cut that section of the pipe off and put a new fitting on and all sorted now. Then got to work on putting the bottom half of the rear seats in which was fun as there was no captive nuts on the rail where the brackets screw into so me and my dad had to piss around with a cable tie . blue tack and some patience but got there in the end..
then it came to fitting all the trim around the car which wasnt as easy as it seems
Tomorrows job is to find a small water leak on one of the hoses, fit the remaing trim and hopefully get the front seats in and get prop bolts
 28-11-2010 | 12:05 PM
#433
Thread Starter
10K+ Poster!!
iTrader: (1)
Joined: Jul 2006
Posts: 10,753
Likes: 3
From: wolverhampton/ australia
lol whats the chances of that happening steve
Yhep all fitted mate, wasn't too much hassle pretty much bolted in, Had to use the rad relocation brackets but mod them slightly so i could move the rad over that little more towards the engine as it was rubbing on the loom which i wasn't happy with.. other than that was easy mate
28-11-2010 | 12:10 PM
#435
lol whats the chances of that happening steve
Yhep all fitted mate, wasn't too much hassle pretty much bolted in, Had to use the rad relocation brackets but mod them slightly so i could move the rad over that little more towards the engine as it was rubbing on the loom which i wasn't happy with.. other than that was easy mate
Yhep all fitted mate, wasn't too much hassle pretty much bolted in, Had to use the rad relocation brackets but mod them slightly so i could move the rad over that little more towards the engine as it was rubbing on the loom which i wasn't happy with.. other than that was easy mate
Steve
28-11-2010 | 12:15 PM
#436
Thread Starter
10K+ Poster!!
iTrader: (1)
Joined: Jul 2006
Posts: 10,753
Likes: 3
From: wolverhampton/ australia
Already have mate
The only other problem which I encountered which is nothing to do with pete was when I was mounting the rad with the rubber bushes there was a hell of alot of play so I then decided to solid mount it ( on advice from pete) only problem was the bolts that hold the bracket to the chassis was fowling on the rad bracket so thats another benefit of modifying the bracket as you have more adjust-ability in left and right which thrn gave me enough leeway to solid mount the rad. Pete has since then fixed the problem by drilling a hole in the brackets which will alow for a counter sink bolt
