Mk6 JWRC fiesta cosworth


 19-05-2011, 03:10 PM
#1283
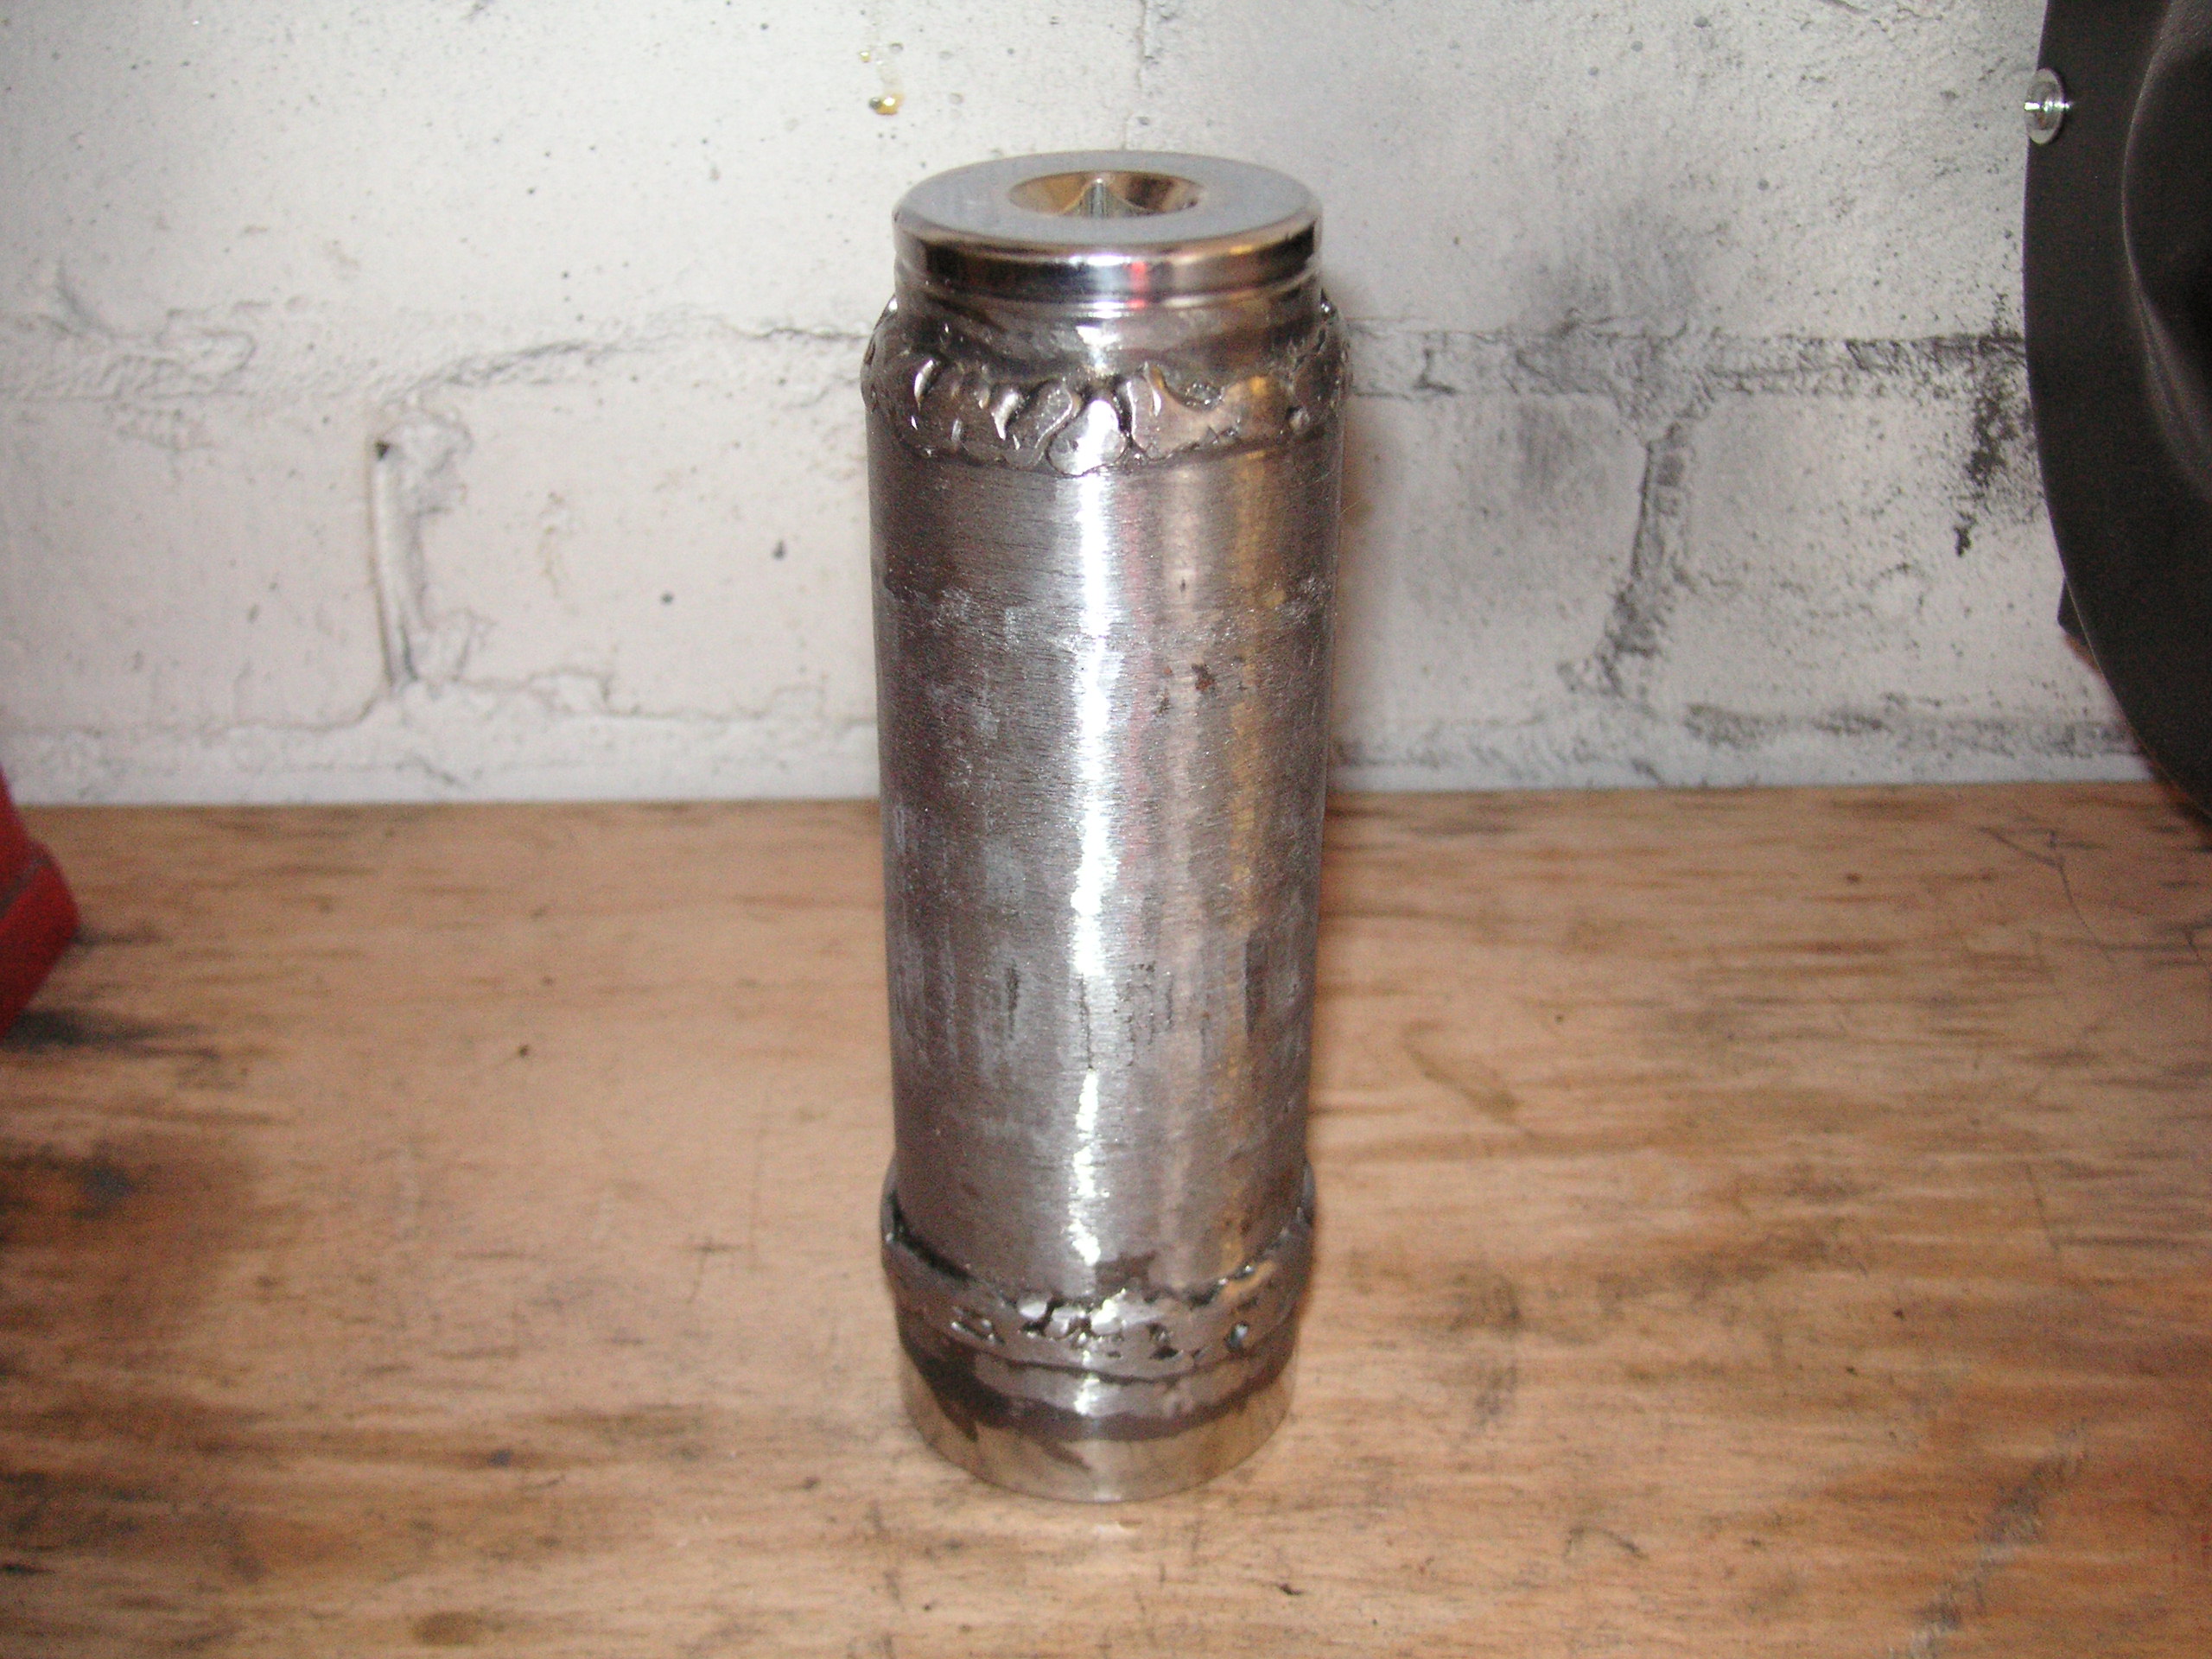
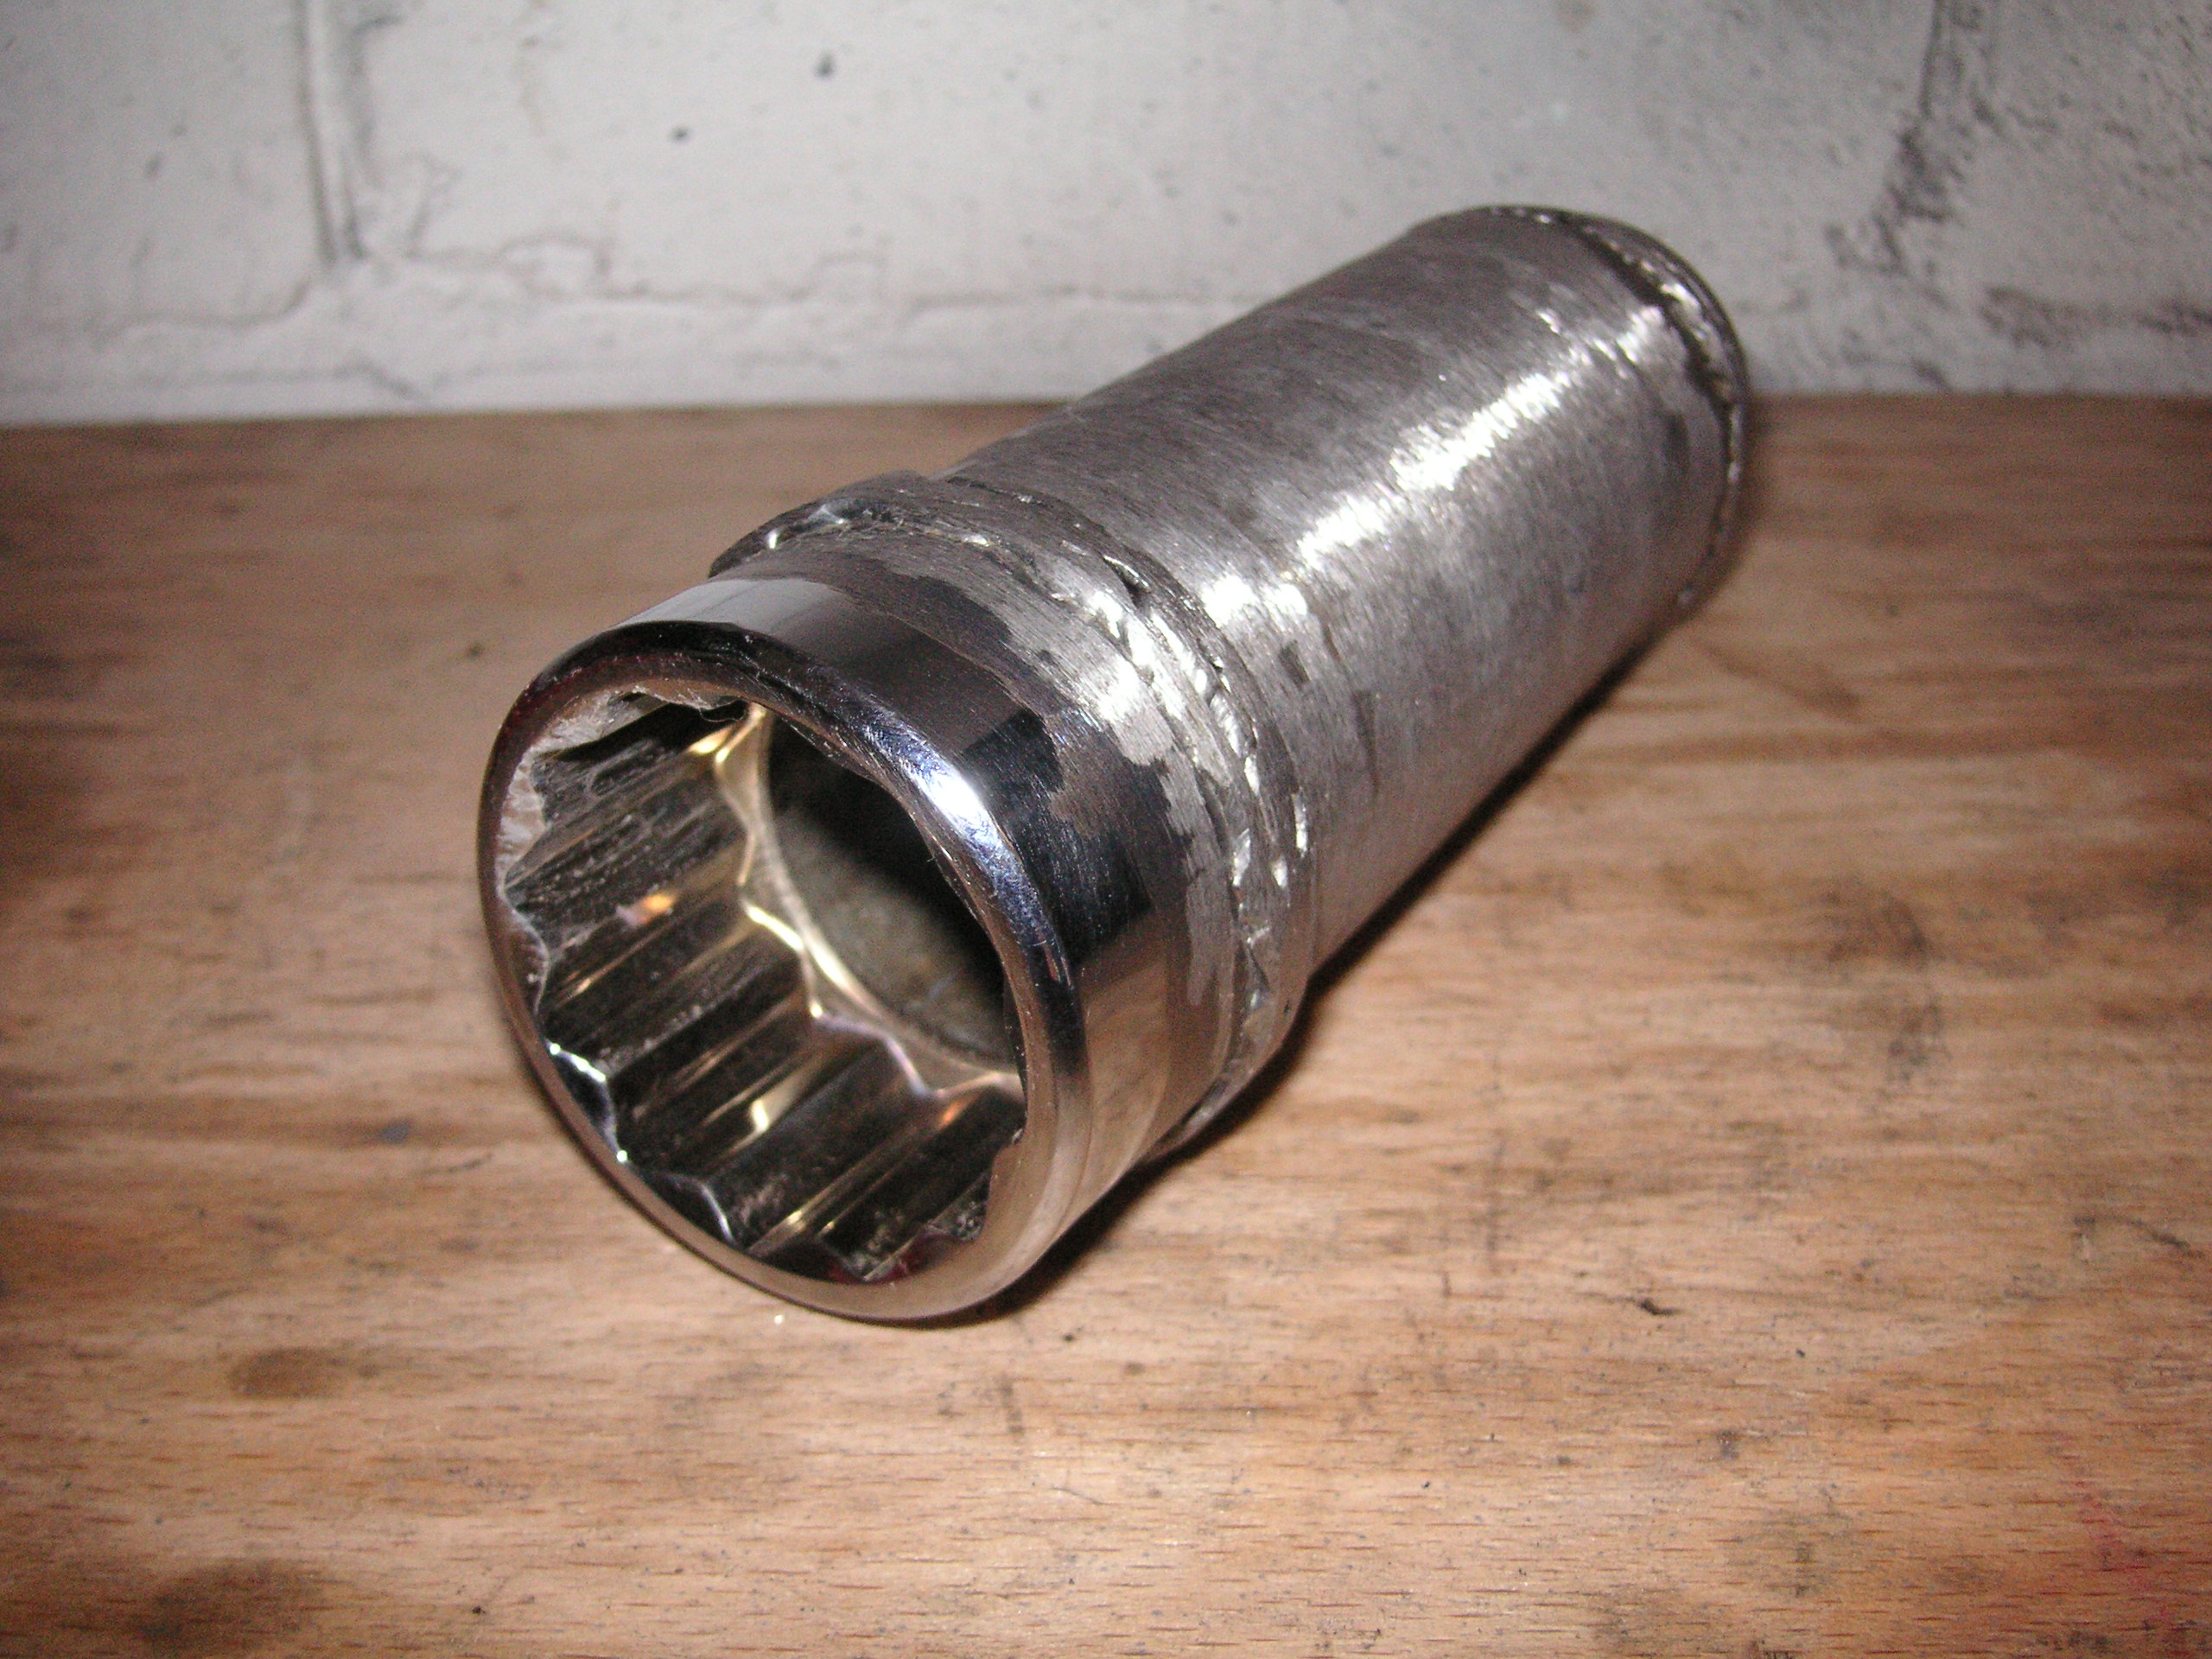
Got a socket sorted today 
I ended up buying a 36mm 12 point shallow socket for �10.80 and a 100mm piece tube from the blacksmiths for �2
Took it home and cut the socket in half then welded the piece of tube in place and jobs a goodun
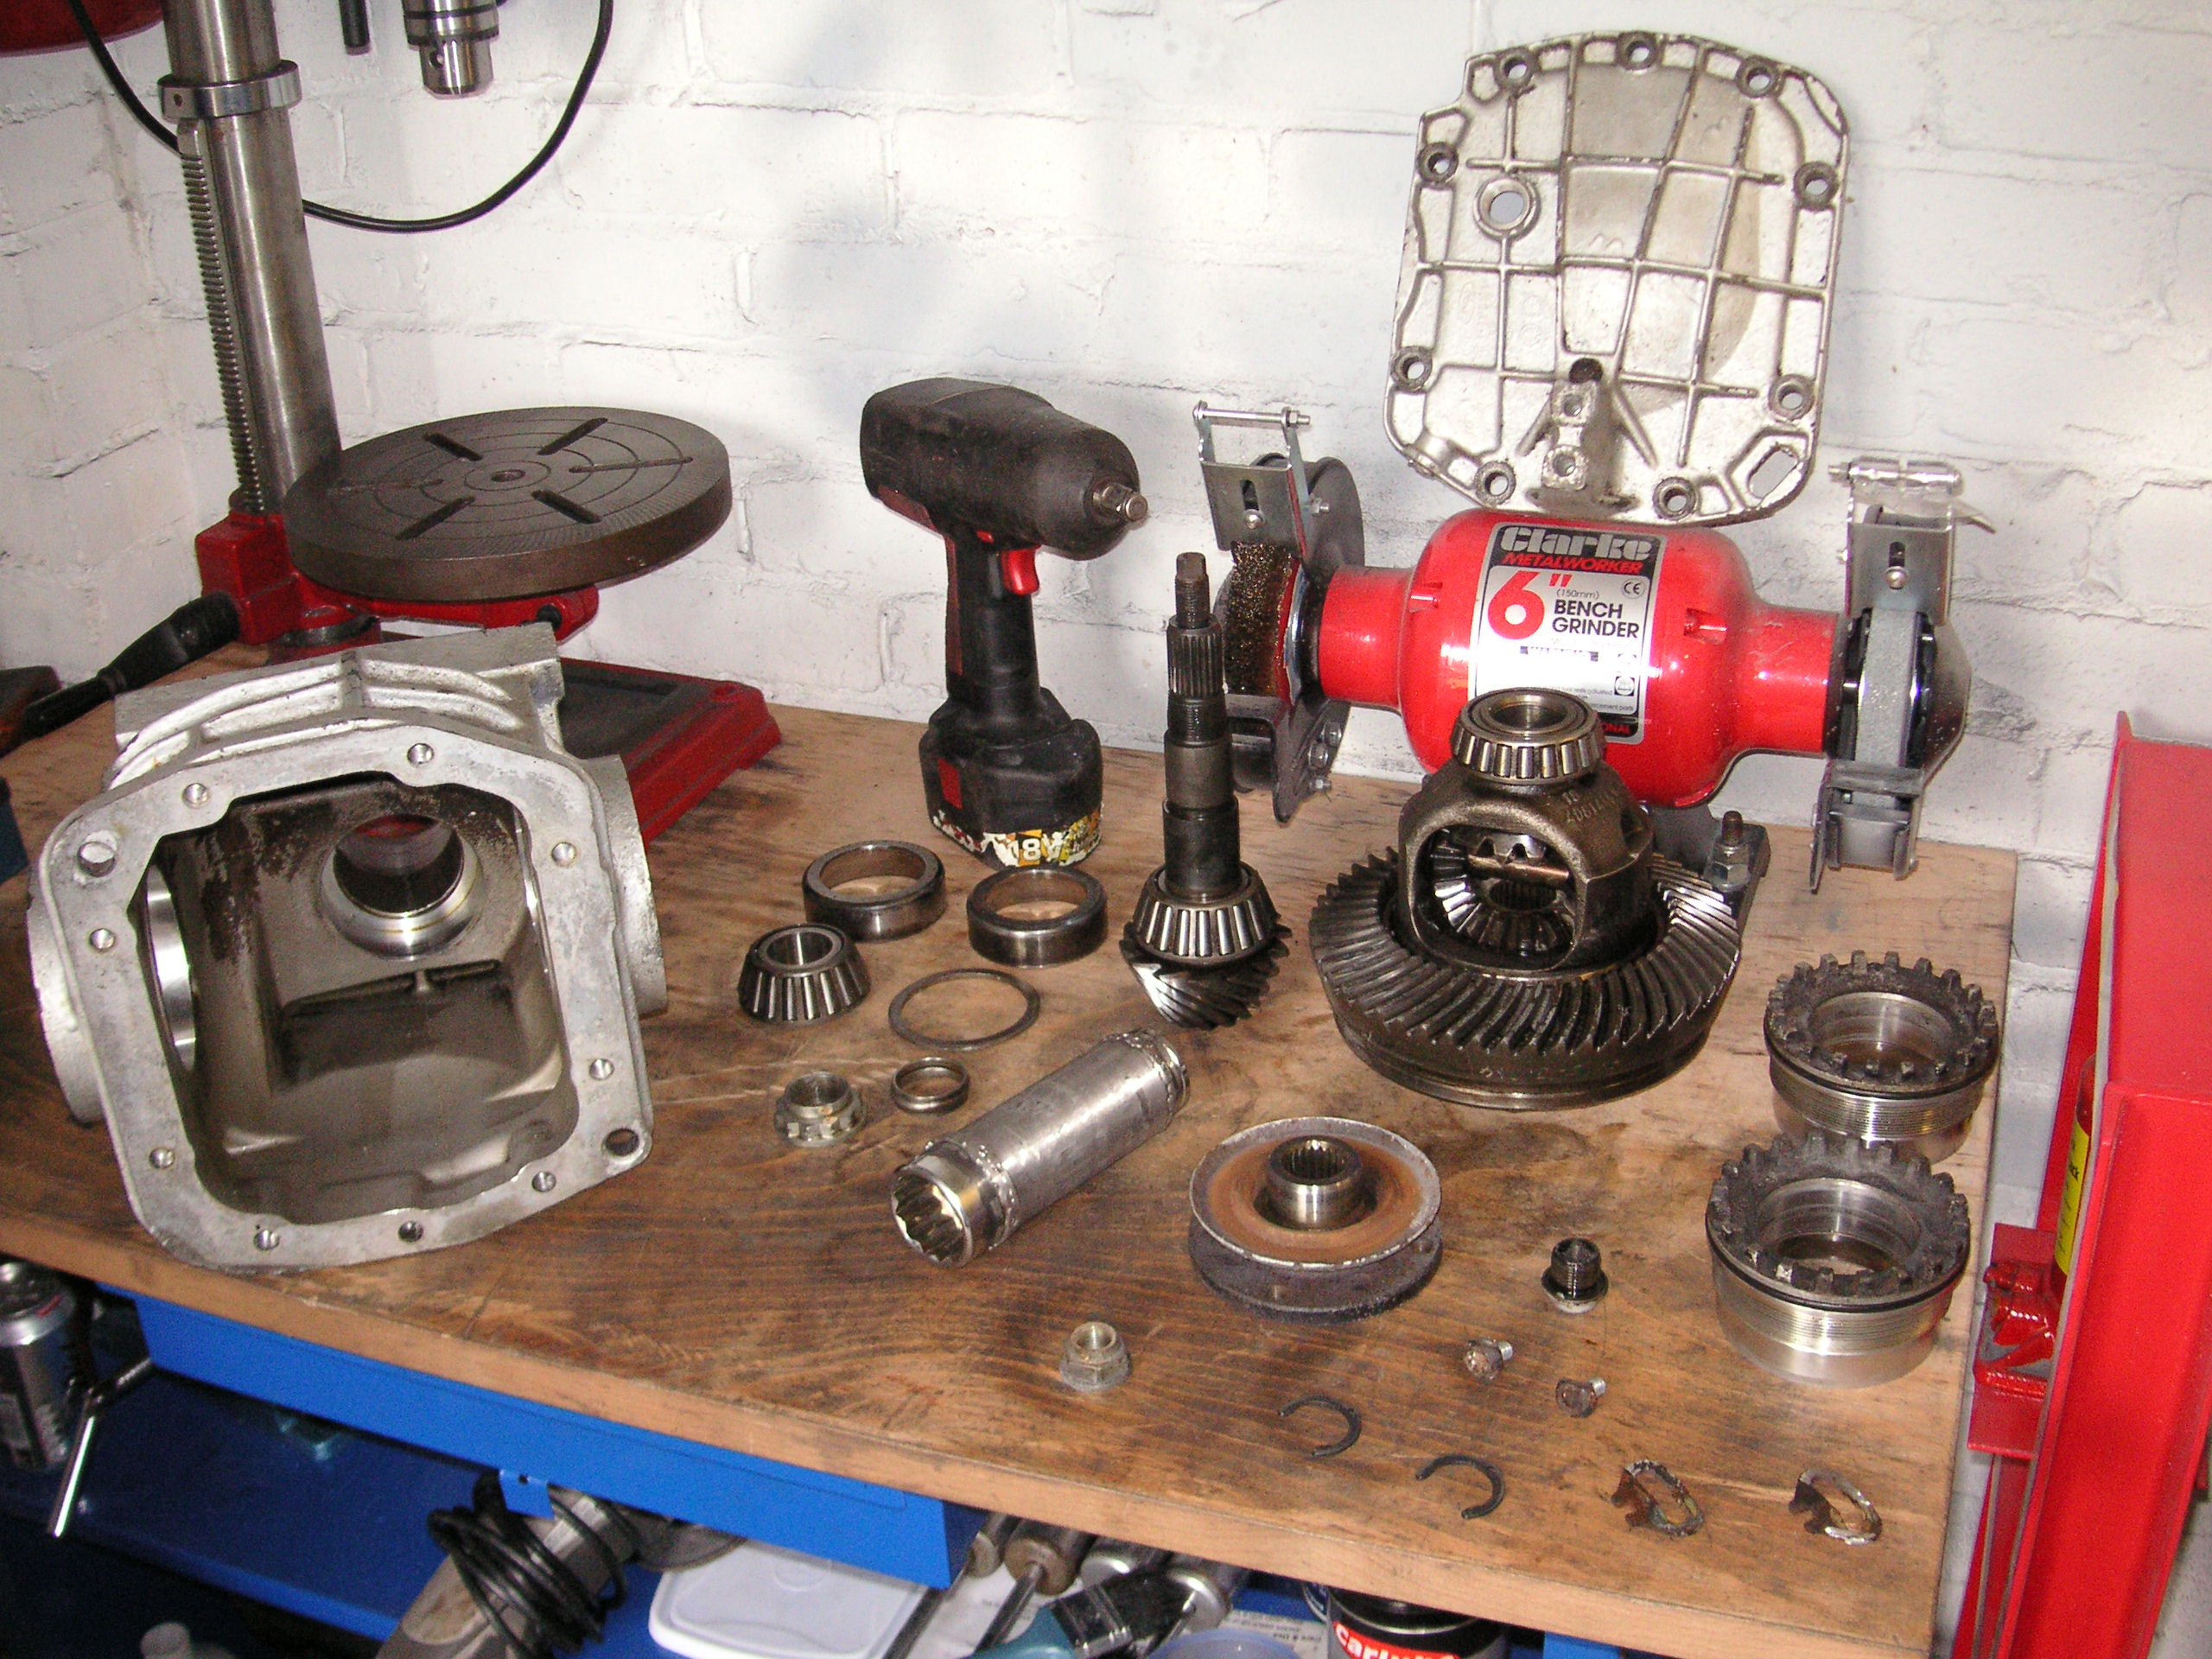
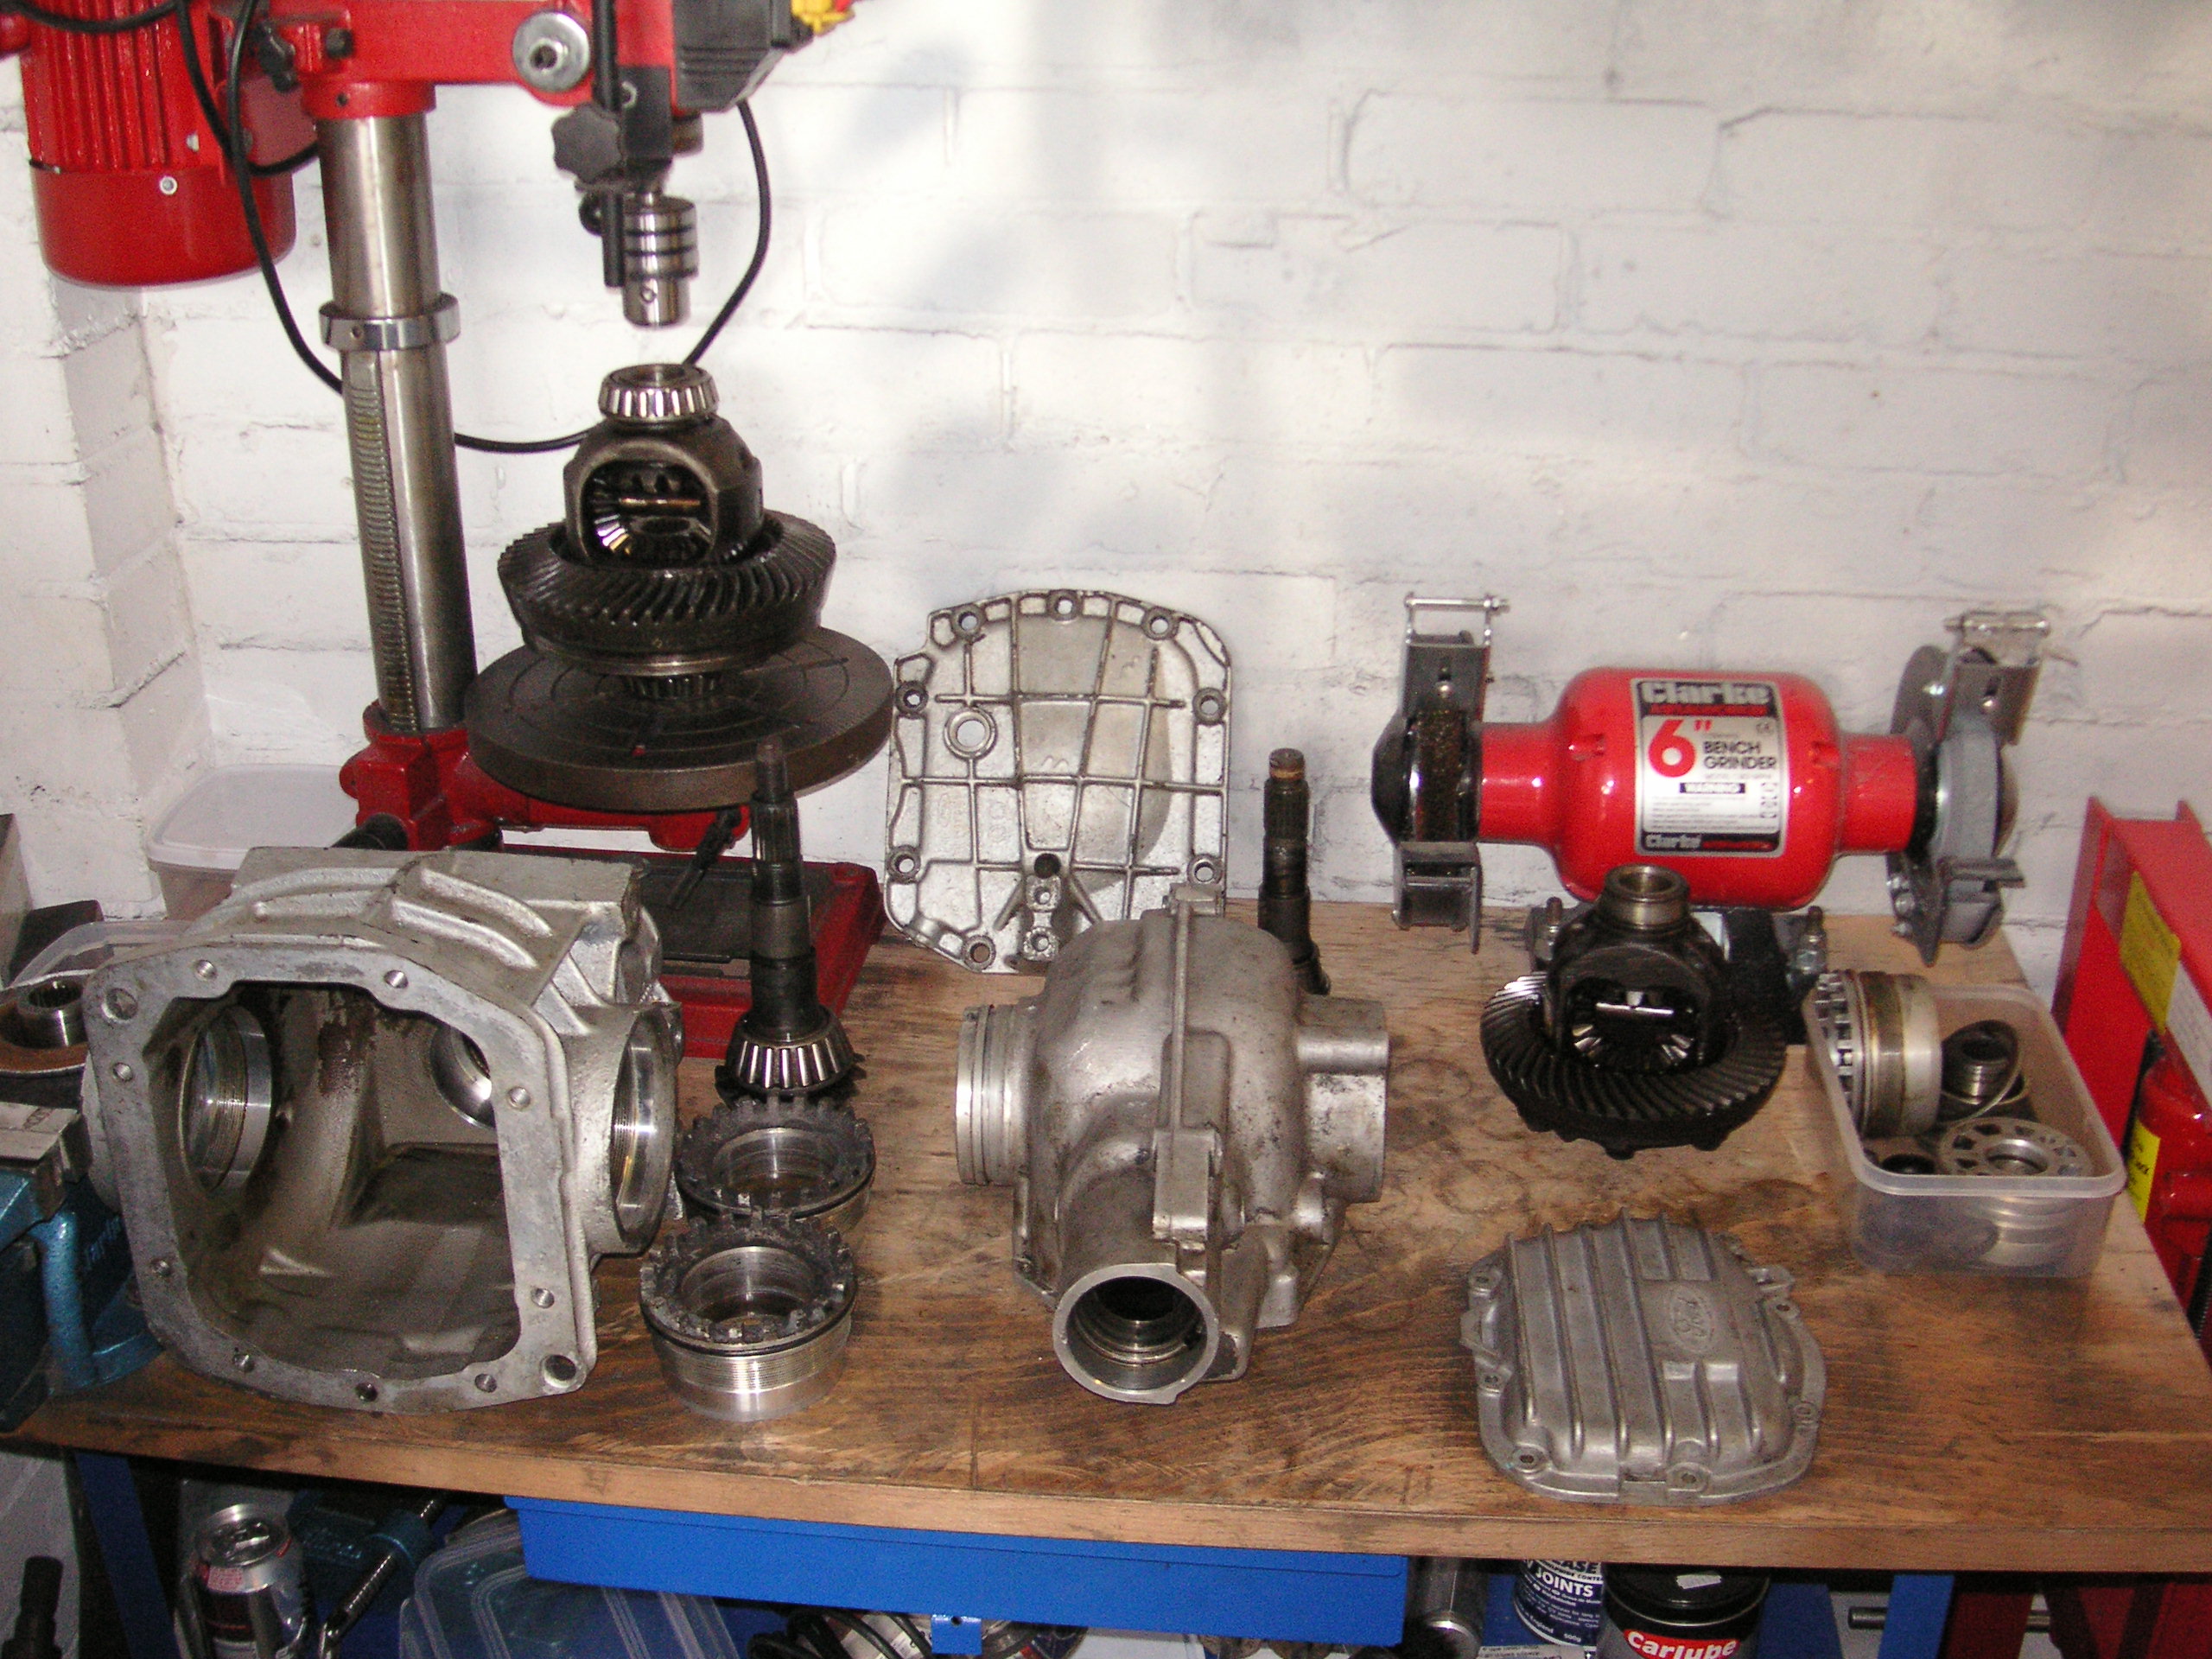
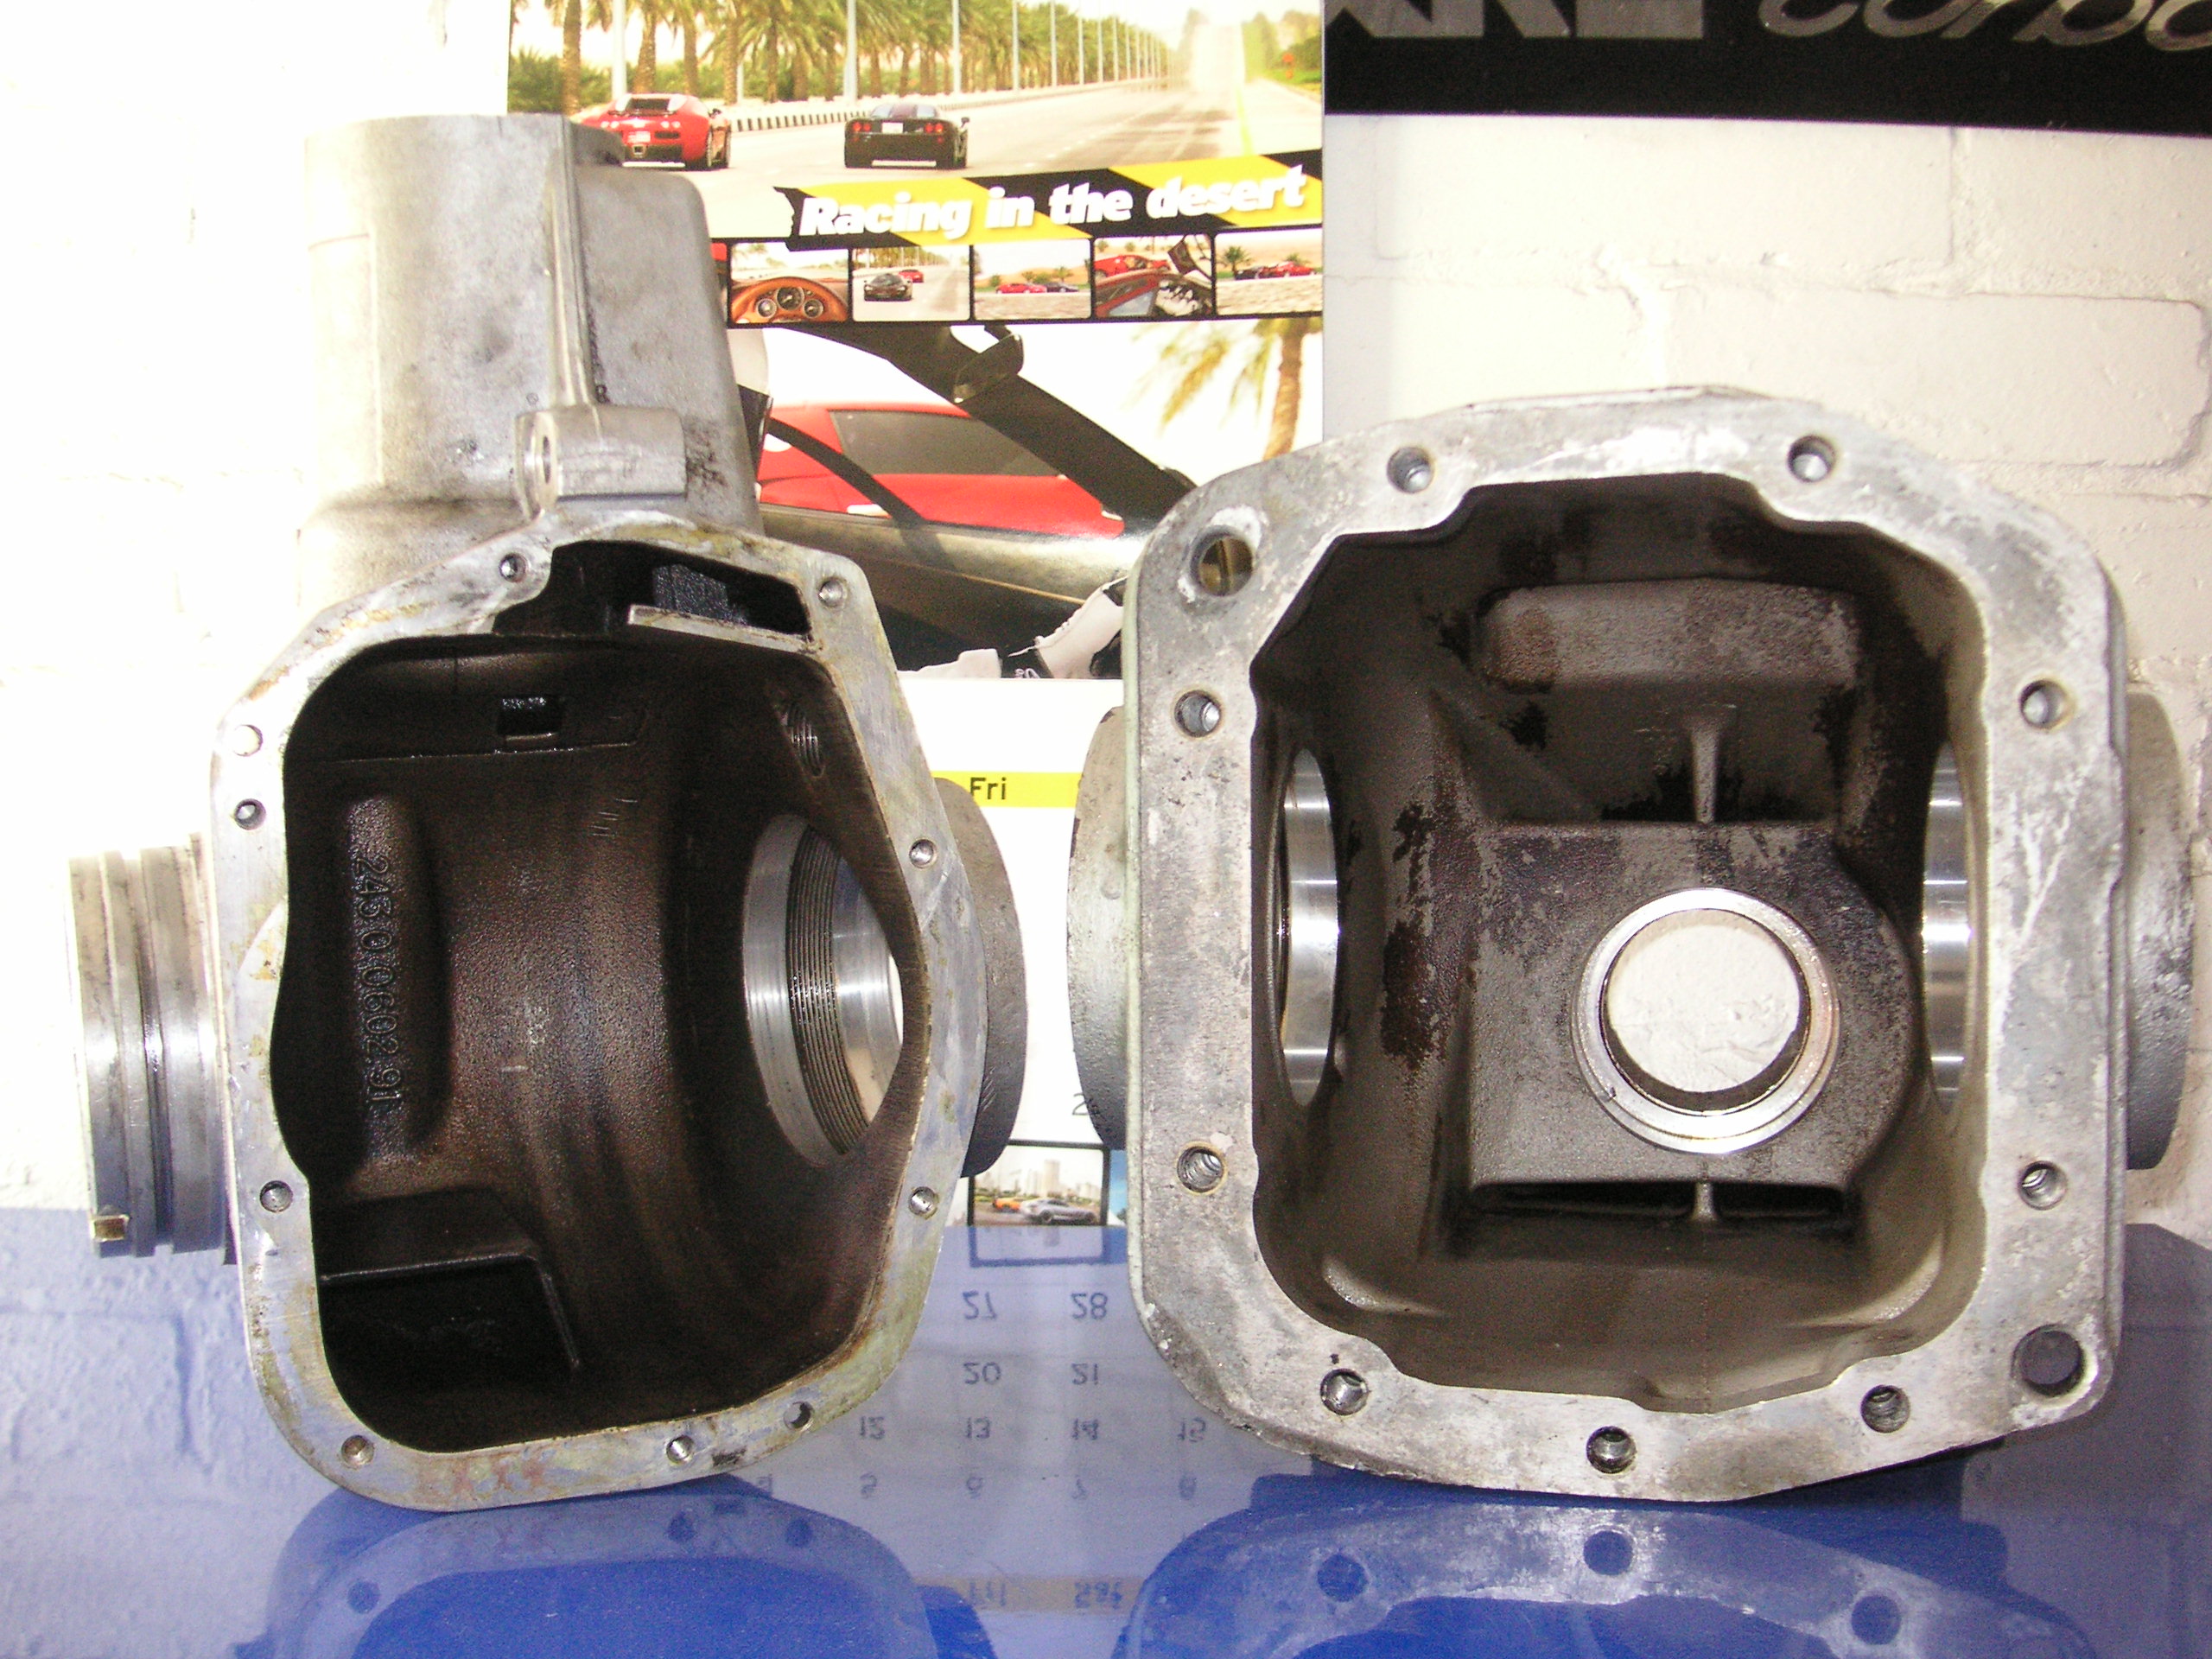
So diffs both stripped down completely ready for cleaning and rebuild, also stud the front diff to M8 studs
Markk - i managed to undo the pinion nut just by holding the pinion with my hand and using the snap on impact gun
I ended up buying a 36mm 12 point shallow socket for �10.80 and a 100mm piece tube from the blacksmiths for �2
Took it home and cut the socket in half then welded the piece of tube in place and jobs a goodun
So diffs both stripped down completely ready for cleaning and rebuild, also stud the front diff to M8 studs
Markk - i managed to undo the pinion nut just by holding the pinion with my hand and using the snap on impact gun
Last edited by M K; 19-05-2011 at 03:12 PM.
20-05-2011, 04:09 PM
#1284
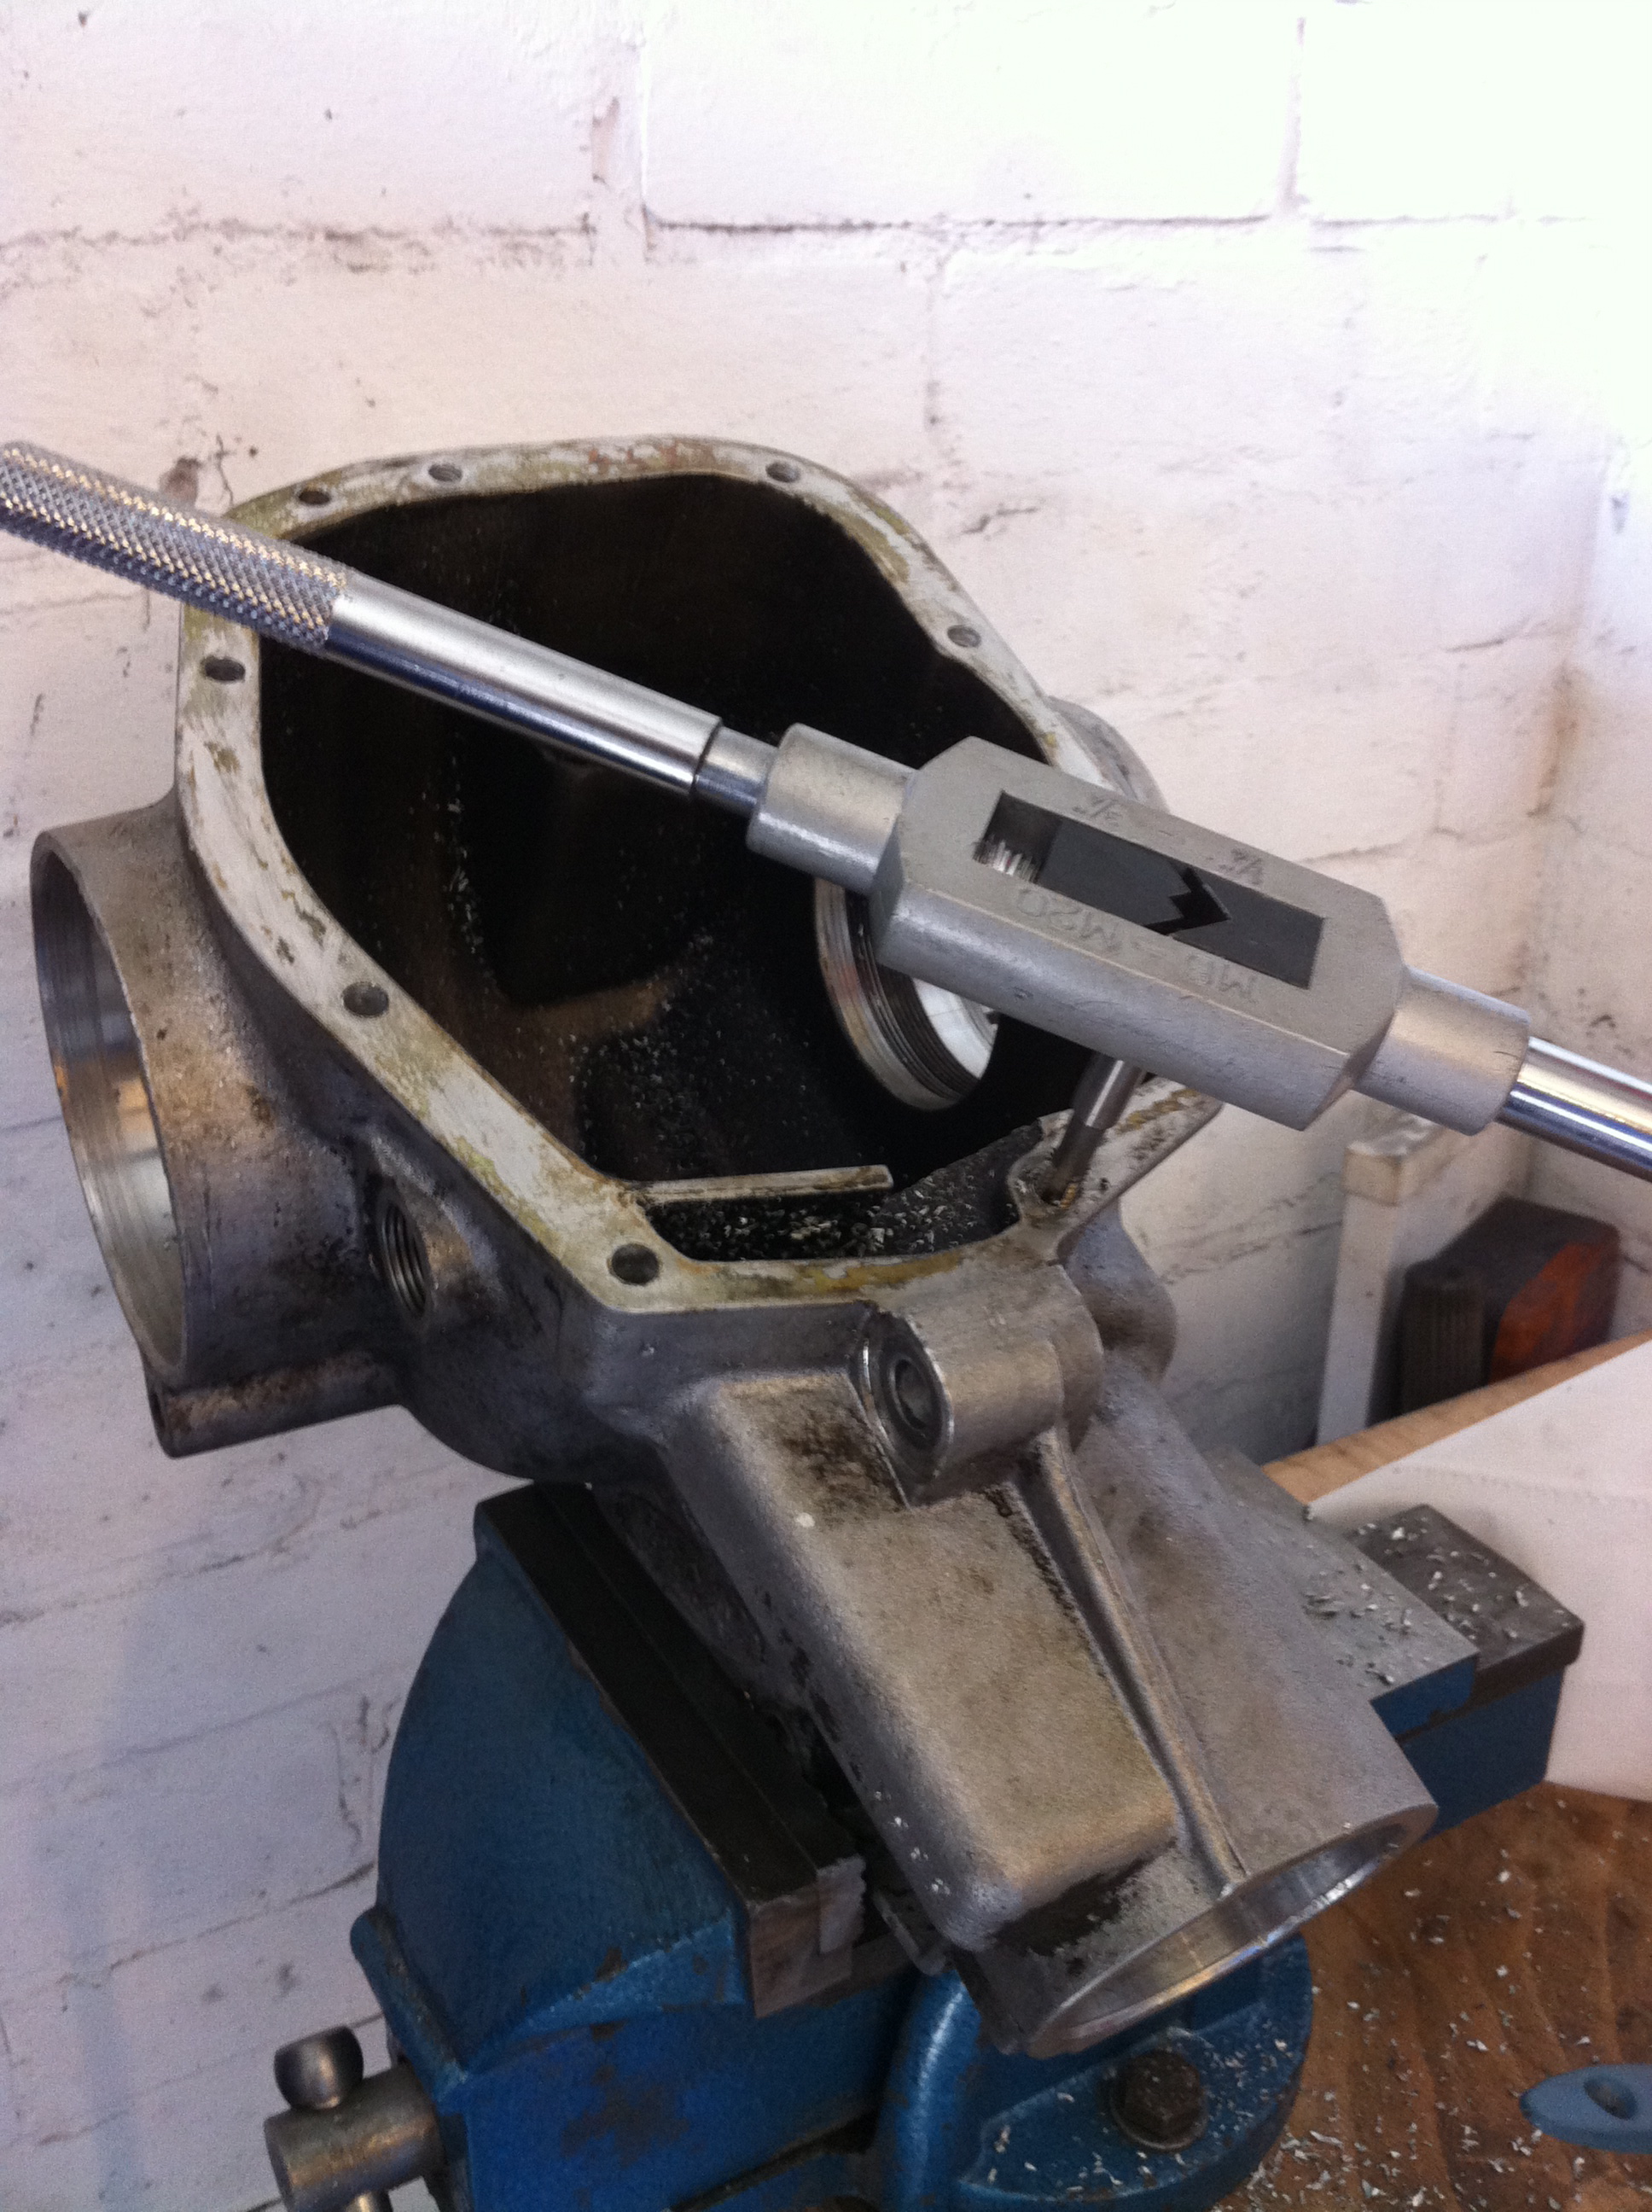
Modded the front diff today to suit the strengthening plate,
Drilled the existing holes to 6.8mm
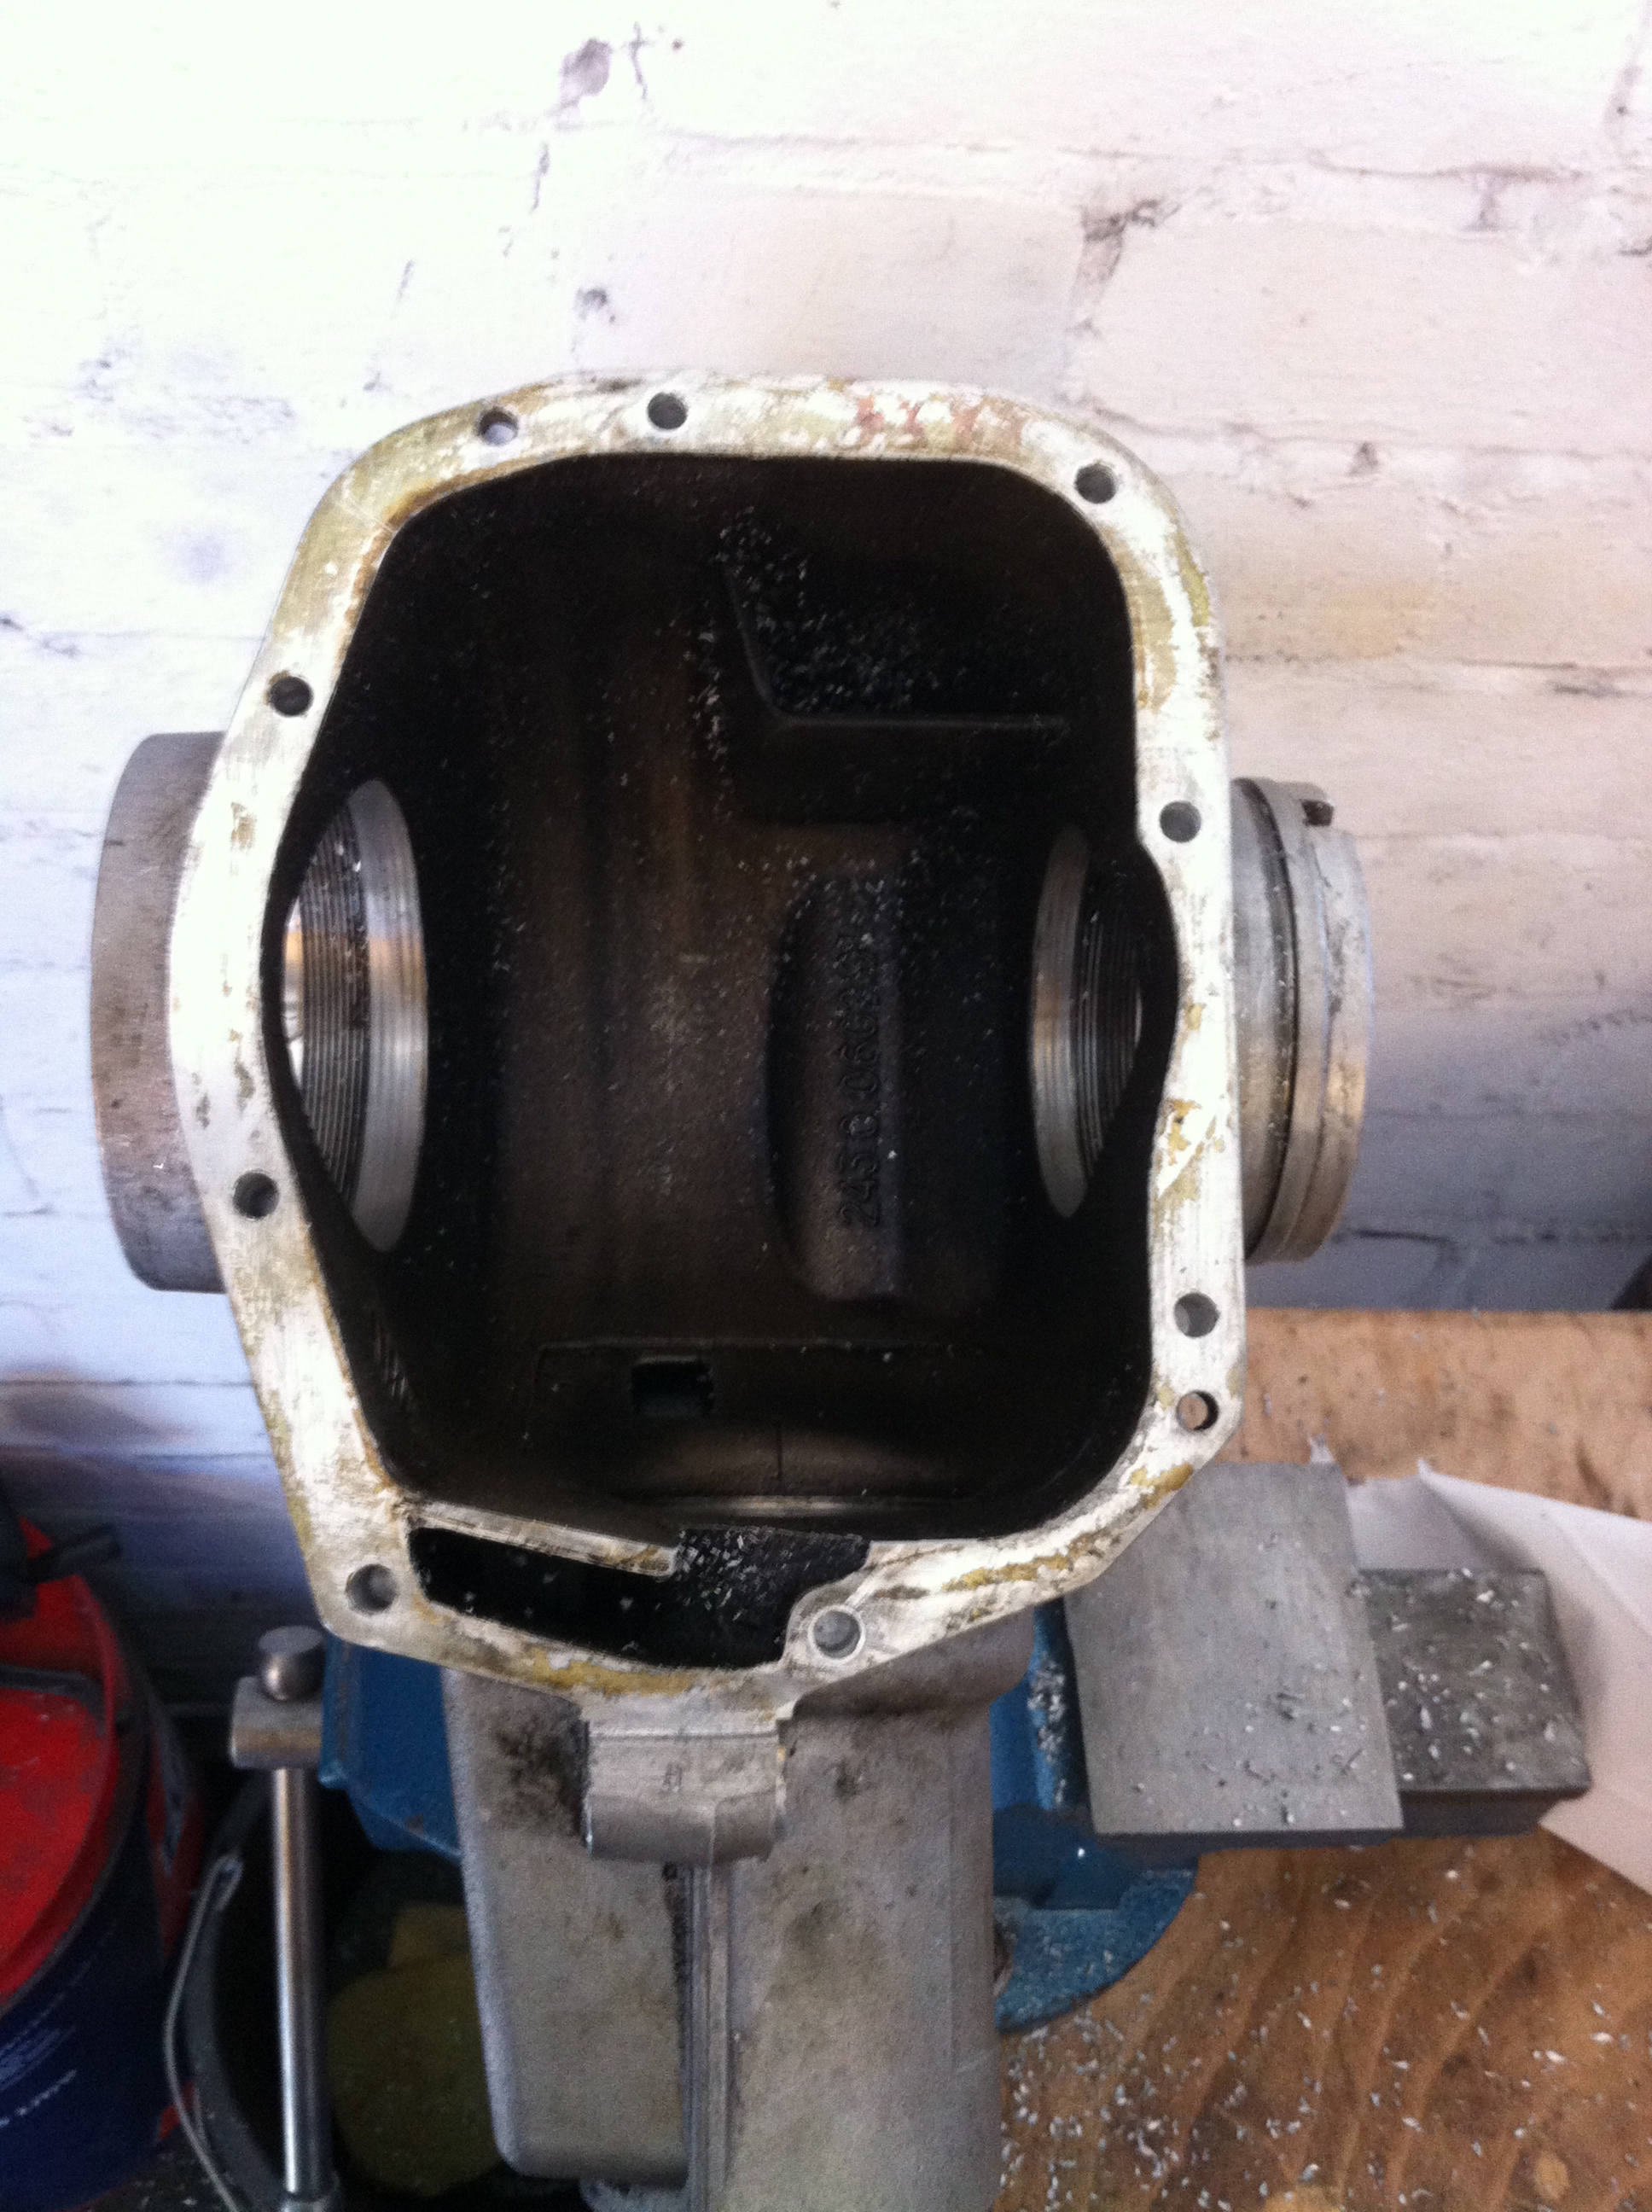
Tapped them for M8x1.25 to suit the new standard M8 studs
Studs fitted
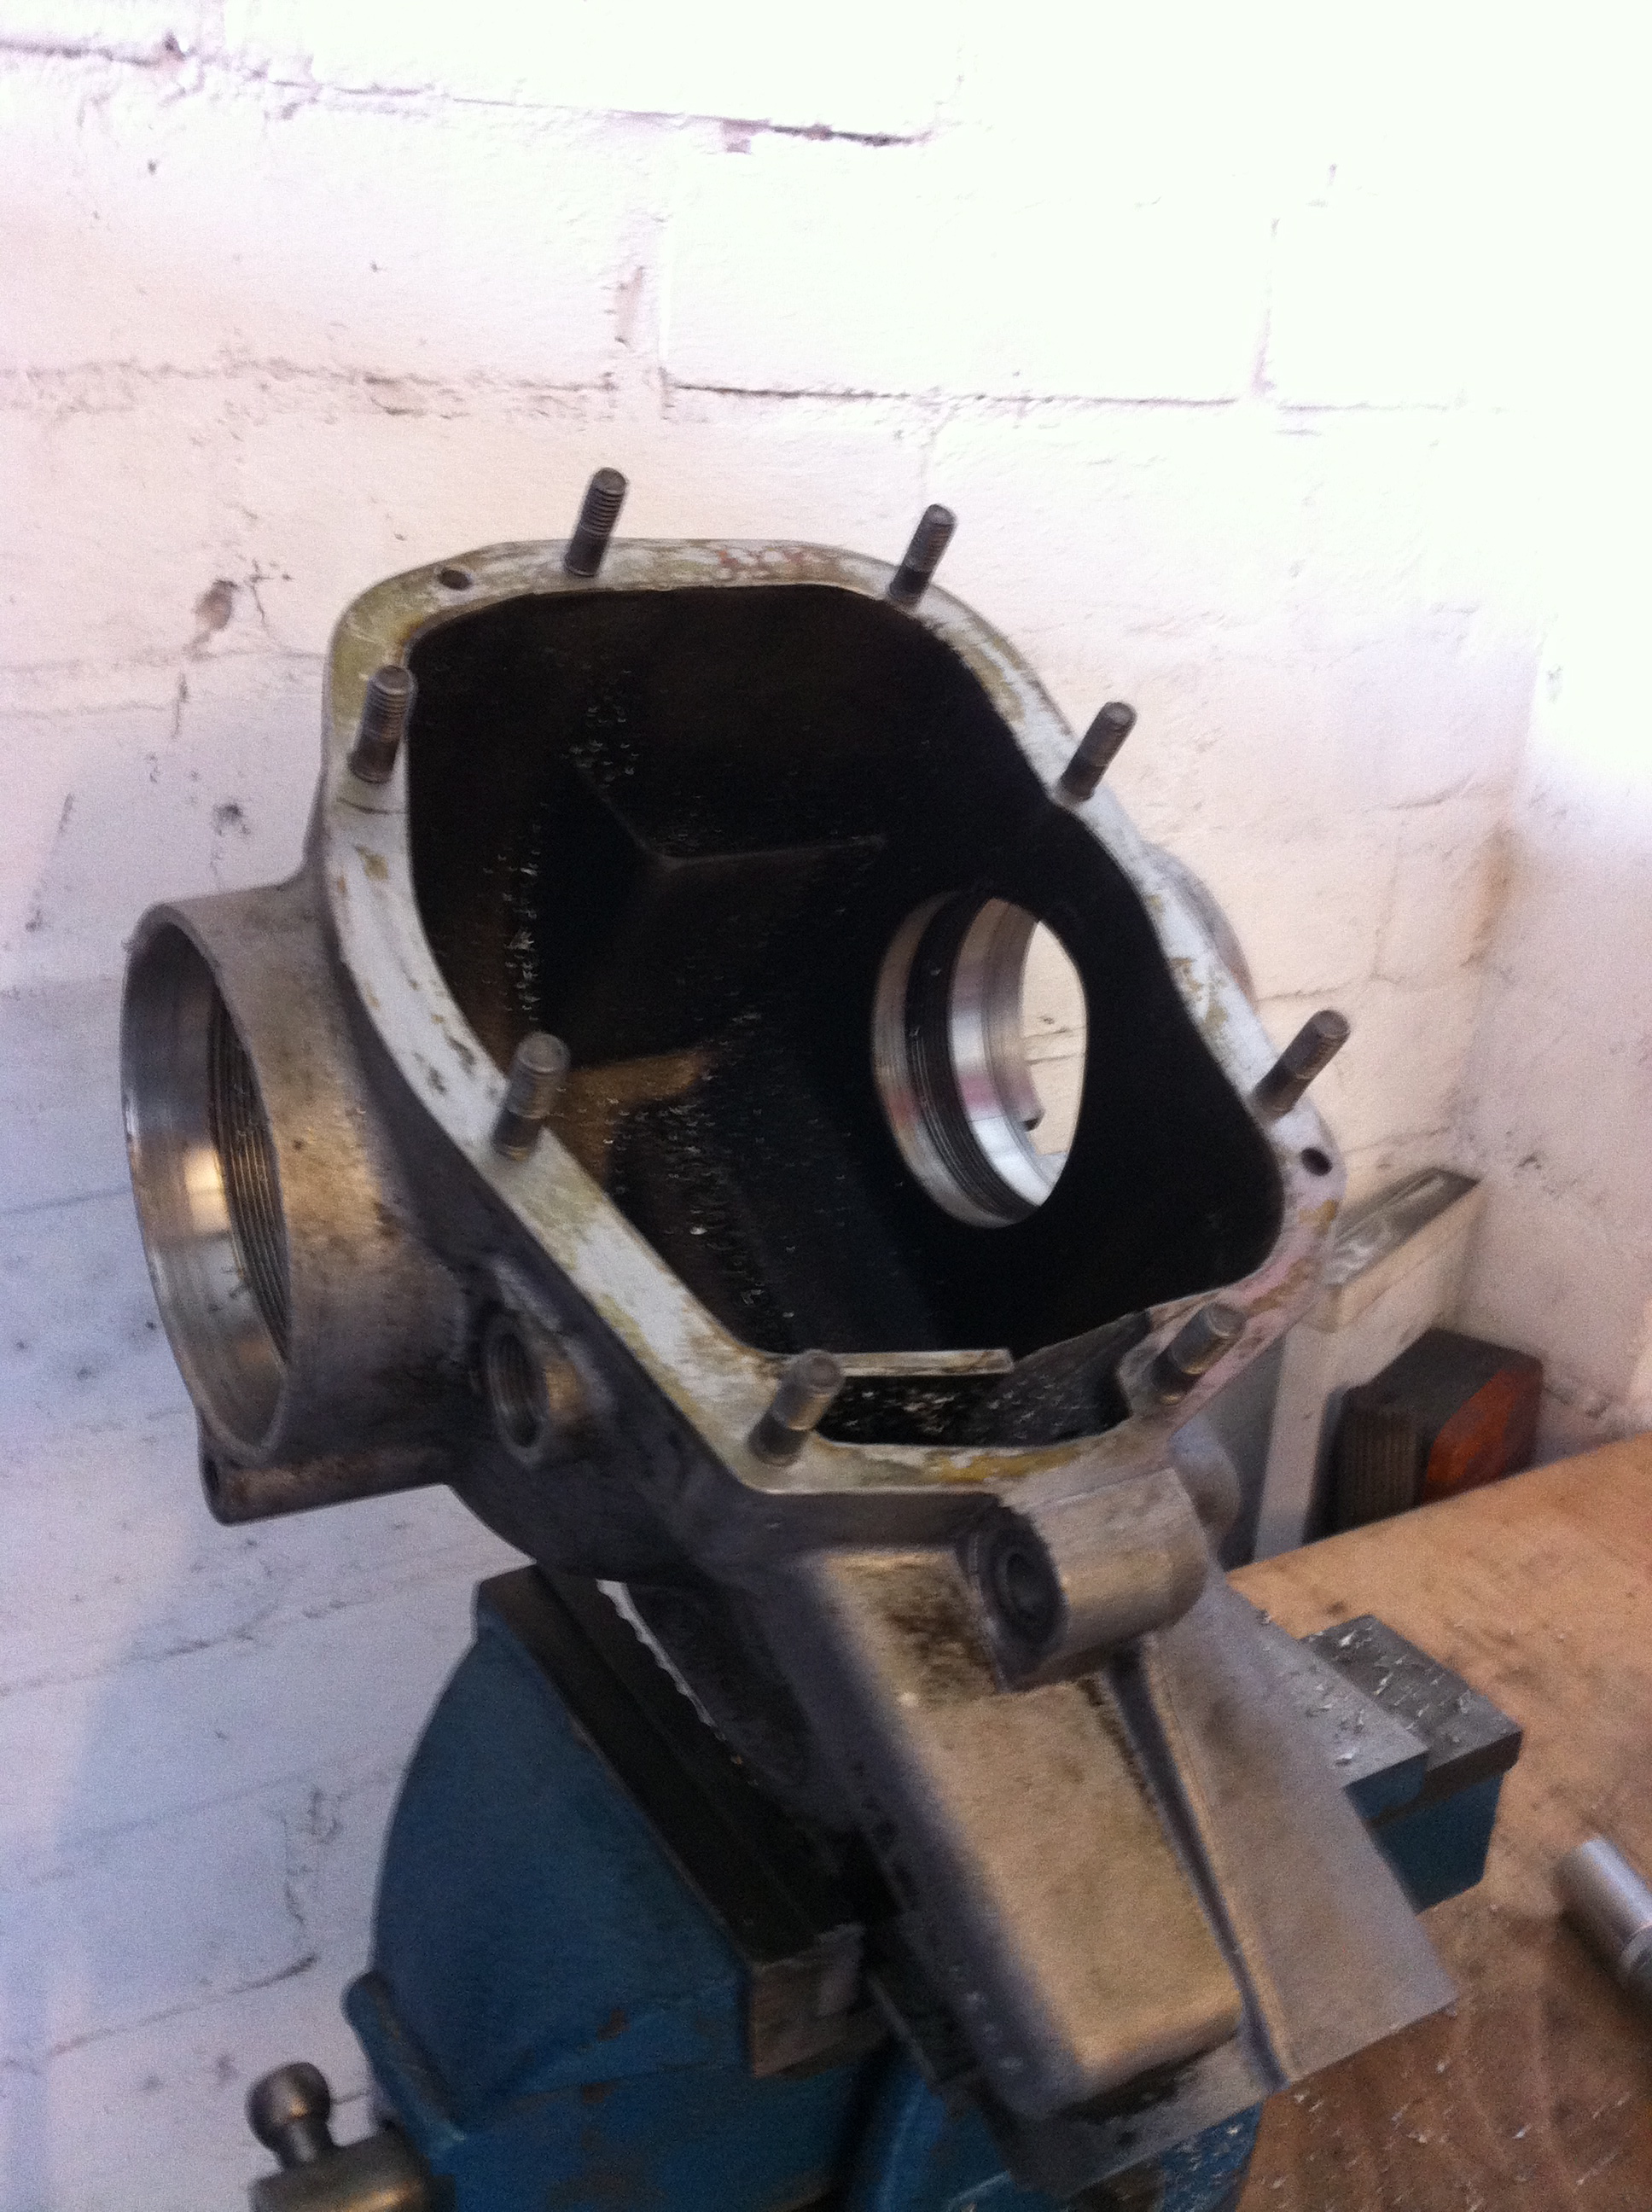
Strengthening plate fitted
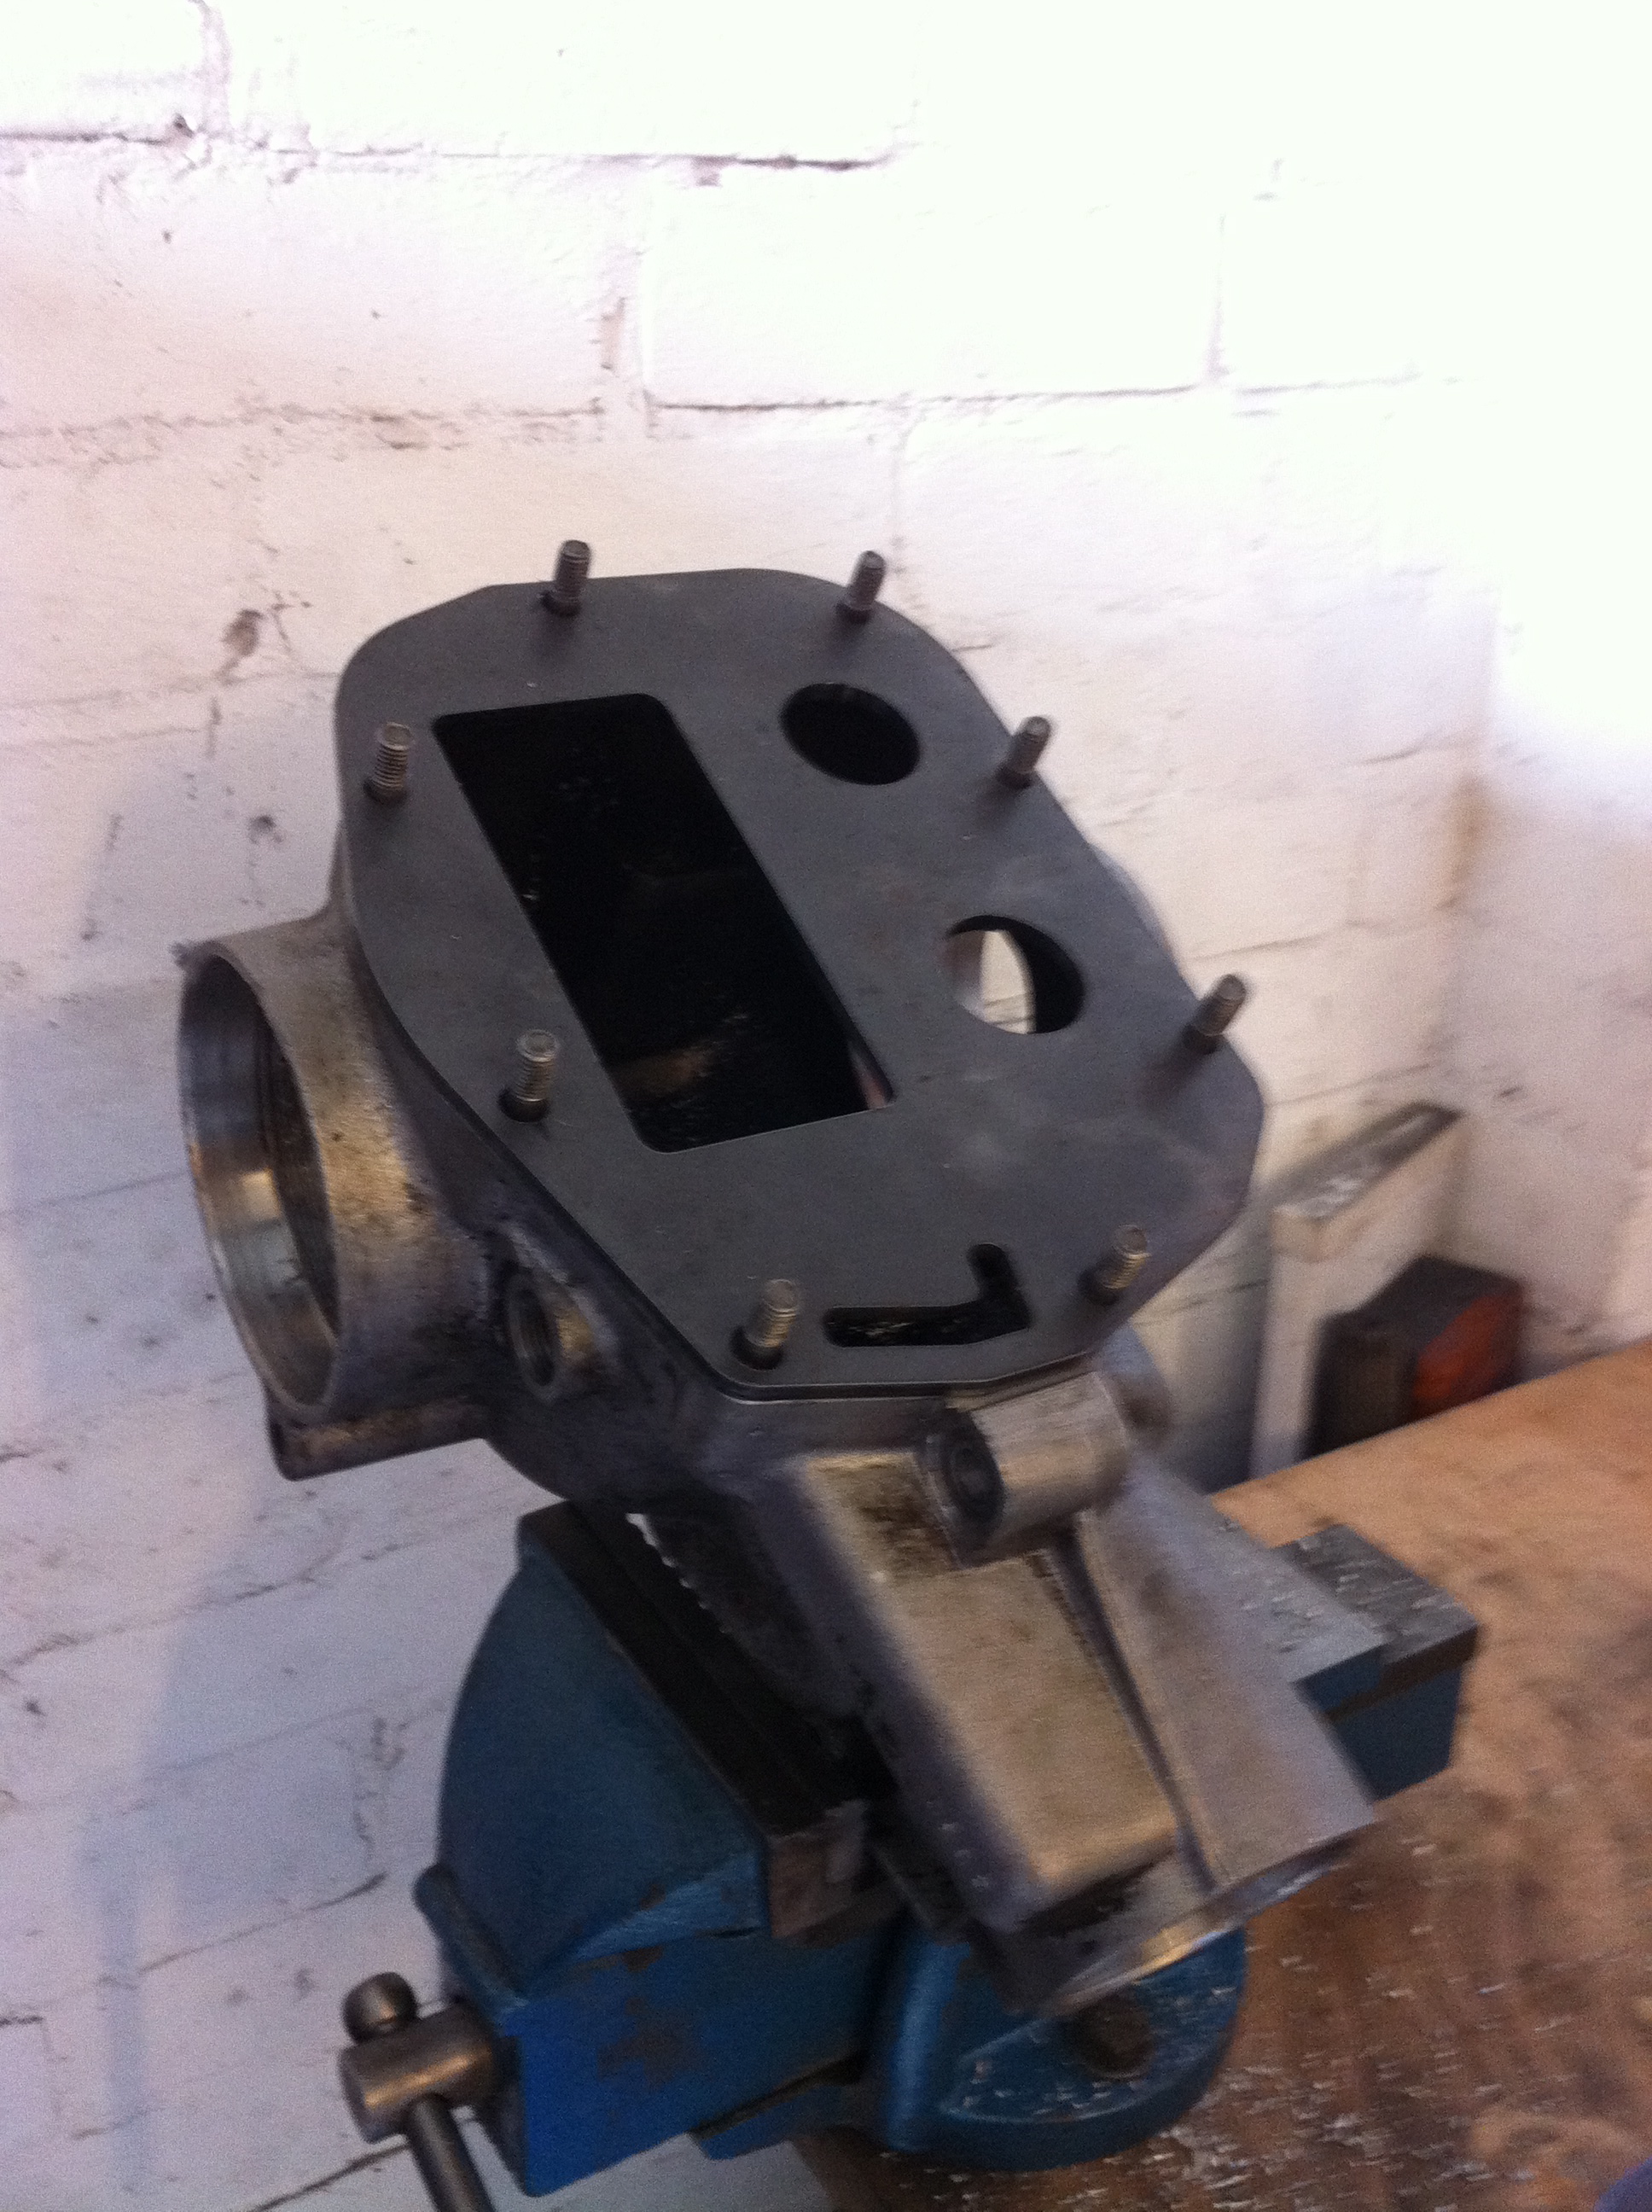
Bolted down
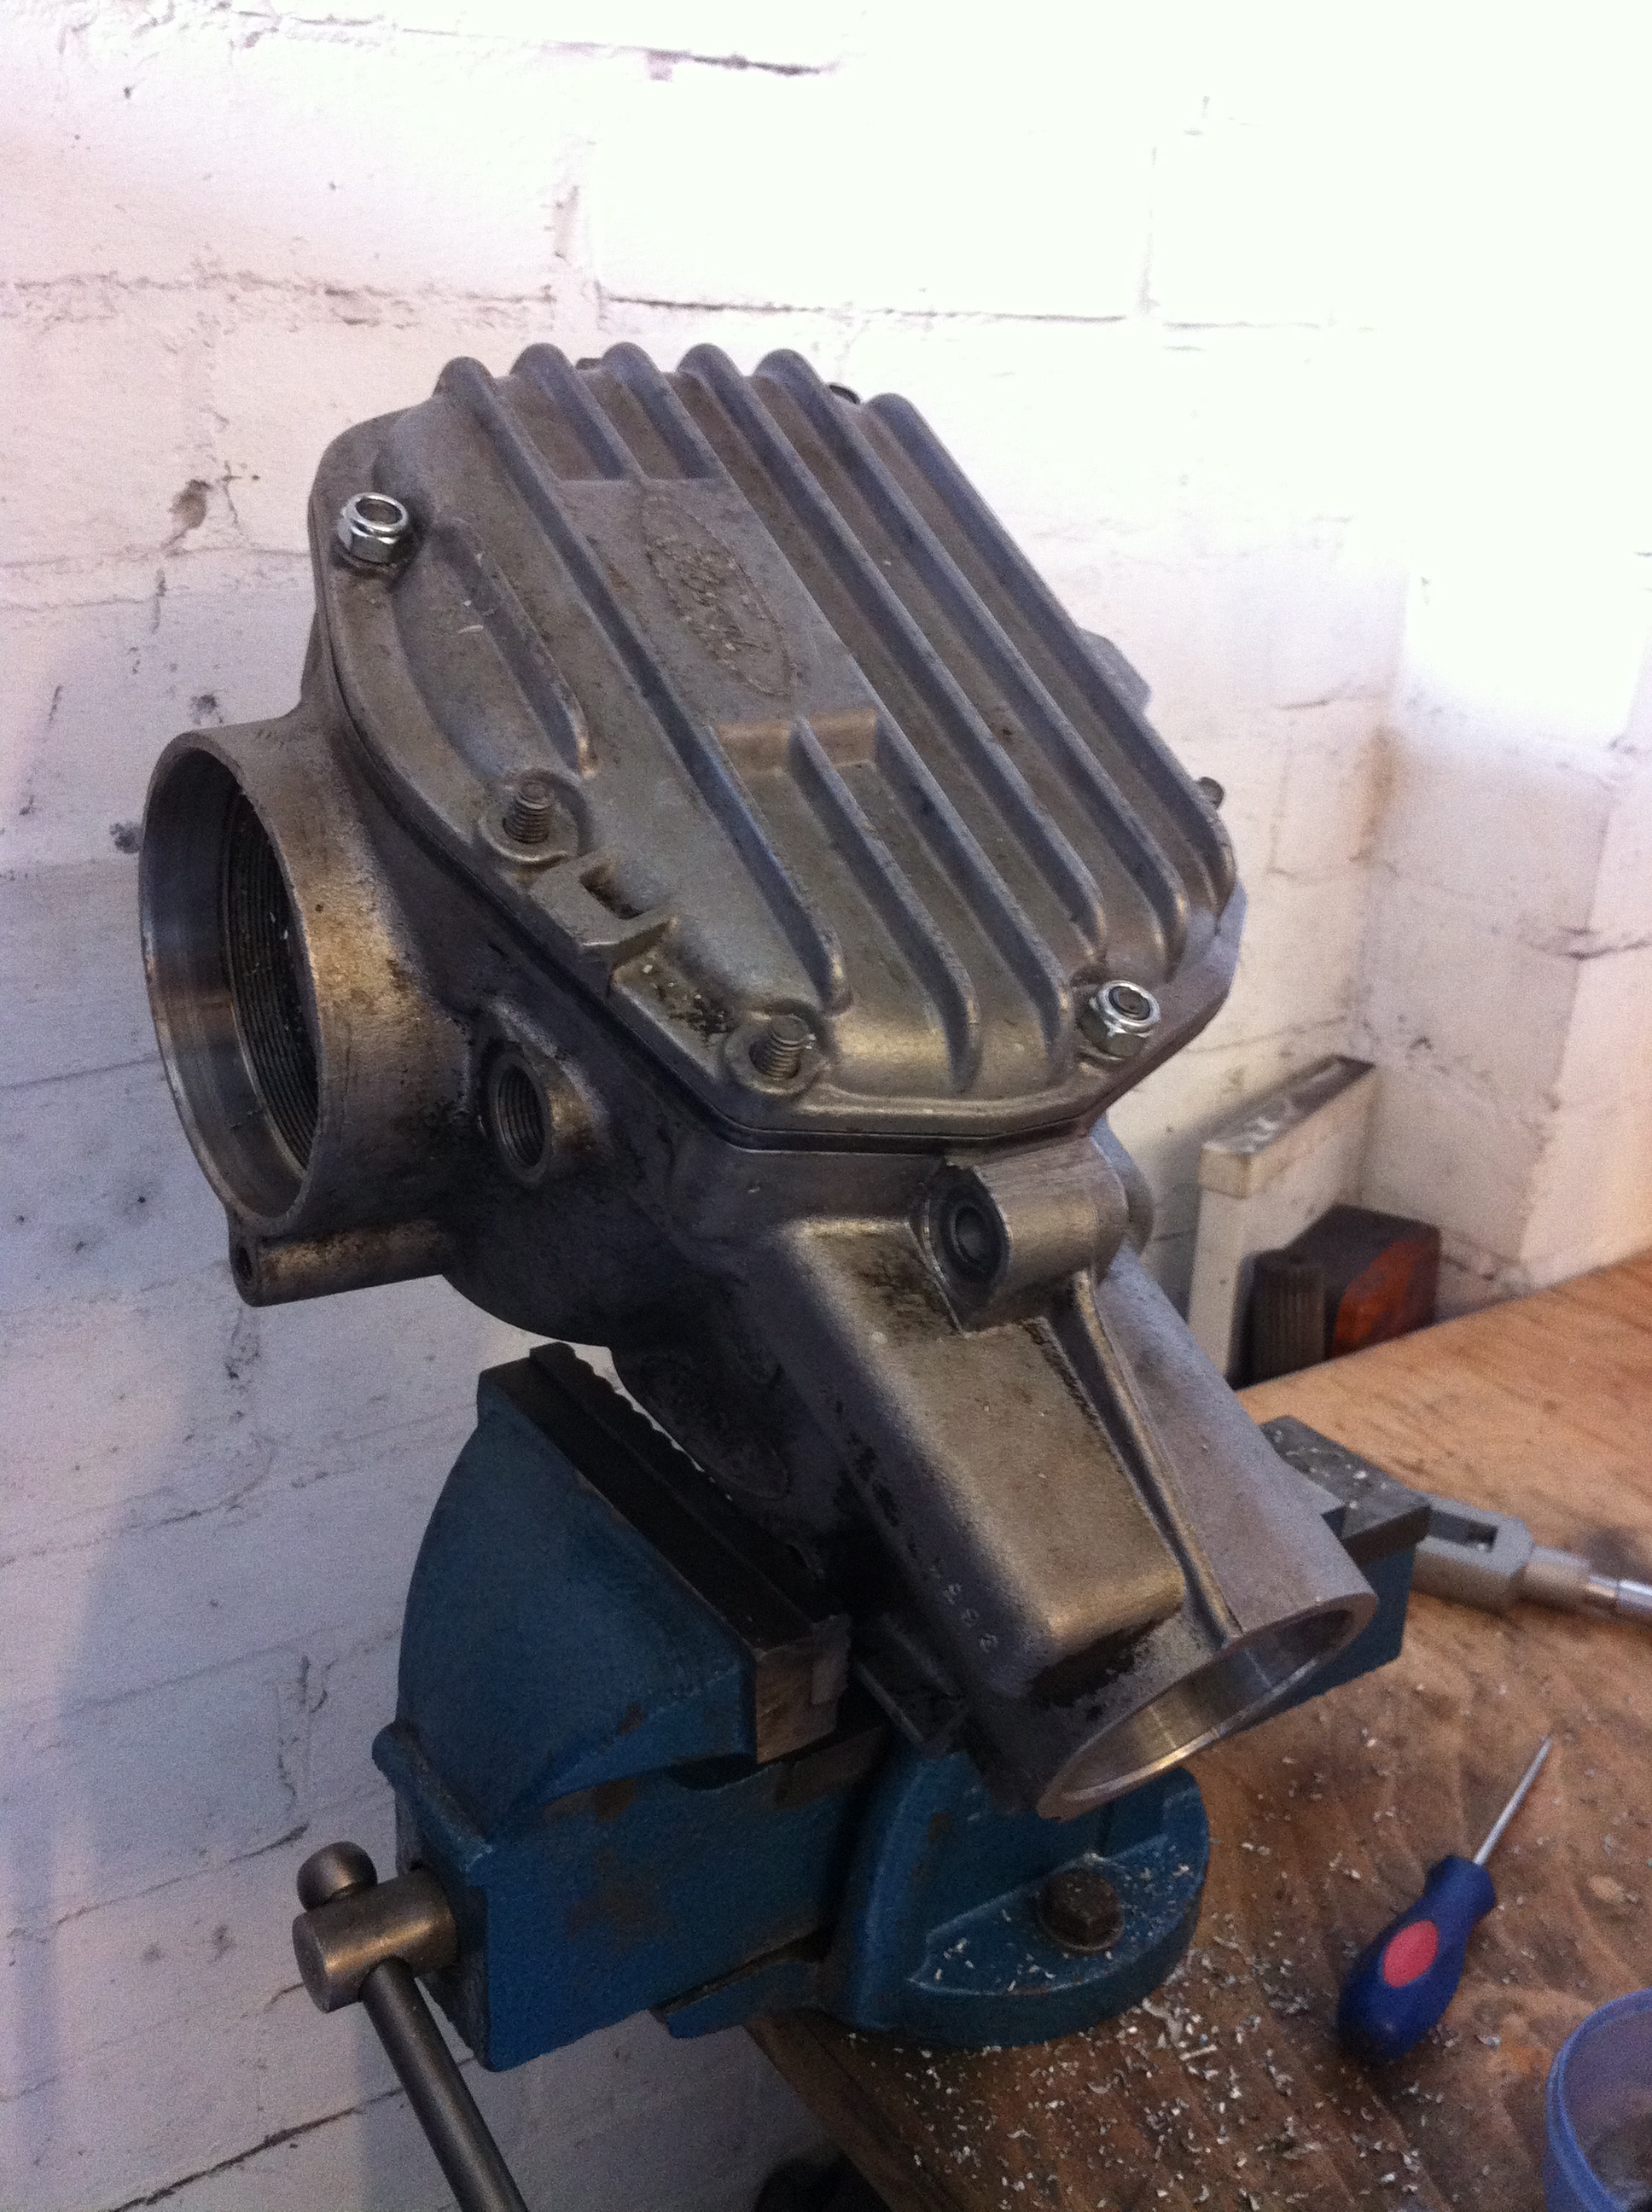
In the pic above there is not enough stud to reach the nyloc so i turned the studs over as one side is loner than the other and its perfect
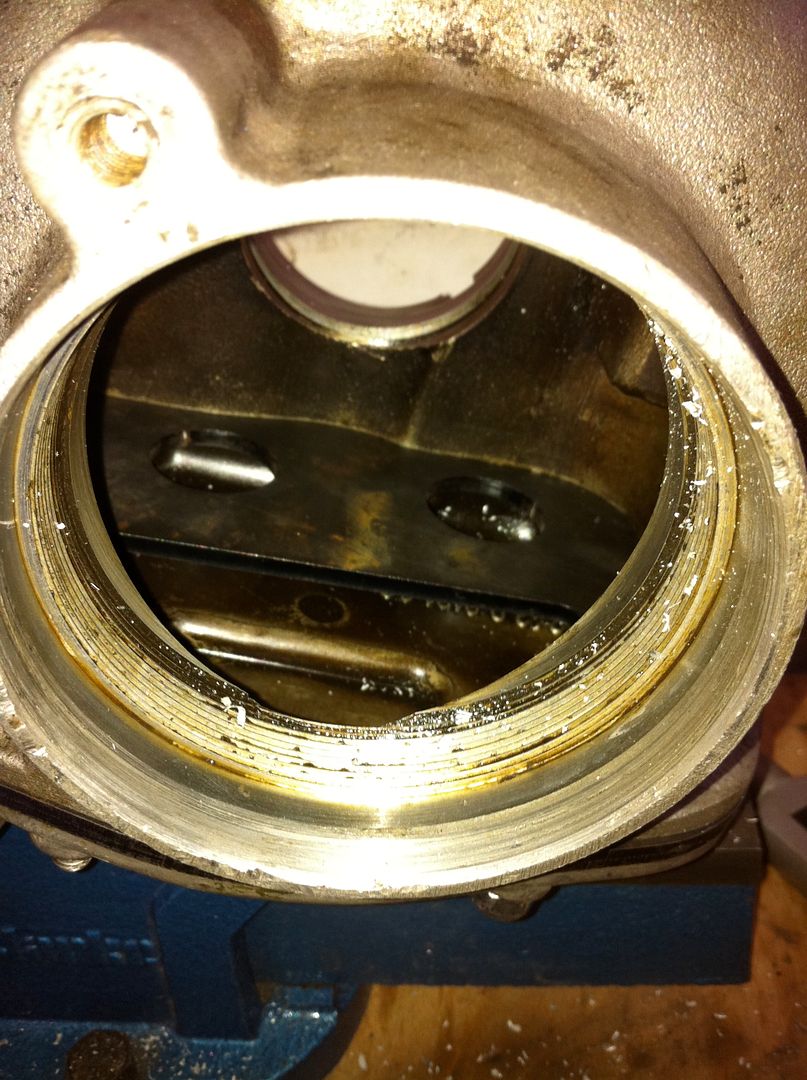
Pic of plate inside
That was todays tinkering
Thanks
Marc
Drilled the existing holes to 6.8mm
Tapped them for M8x1.25 to suit the new standard M8 studs
Studs fitted
Strengthening plate fitted
Bolted down
In the pic above there is not enough stud to reach the nyloc so i turned the studs over as one side is loner than the other and its perfect
Pic of plate inside
That was todays tinkering
Thanks
Marc
20-05-2011, 04:13 PM
#1285
Advanced PassionFord User

Marc you have skills. Thought of doing it for a living?
 21-05-2011, 05:03 AM
#1288
Thanks for the comments and replies guys
Thanks mate, all the stuff i do anybody could do if they gave it a try im sure, i do things for other people if asked and im confident i can do it
Studs are better and easier all round, they distribute the force between the stud and the nut so less stress on both parts when tightened, so greater clamping can be achieved and they make assembling the diff easier as there a guide for the plate and cover, just like it is easier to fit a car wheel that uses studs rather than one that uses bolts,
Anytime mate, would take 2 minutes to re drill and tap the inlet,
Thanks mate, all the stuff i do anybody could do if they gave it a try im sure, i do things for other people if asked and im confident i can do it
Anytime mate, would take 2 minutes to re drill and tap the inlet,
21-05-2011, 02:42 PM
#1290
Regular Contributor
Nice work Mark, you got some nice toys since I was last on here and enjoying making your own parts I see! Reading over the last 10 pages has got me right in the mood for a tinker in the garage!
24-05-2011, 07:36 PM
#1291
Thanks for the comments,
Glad your enjoying the updates Dan
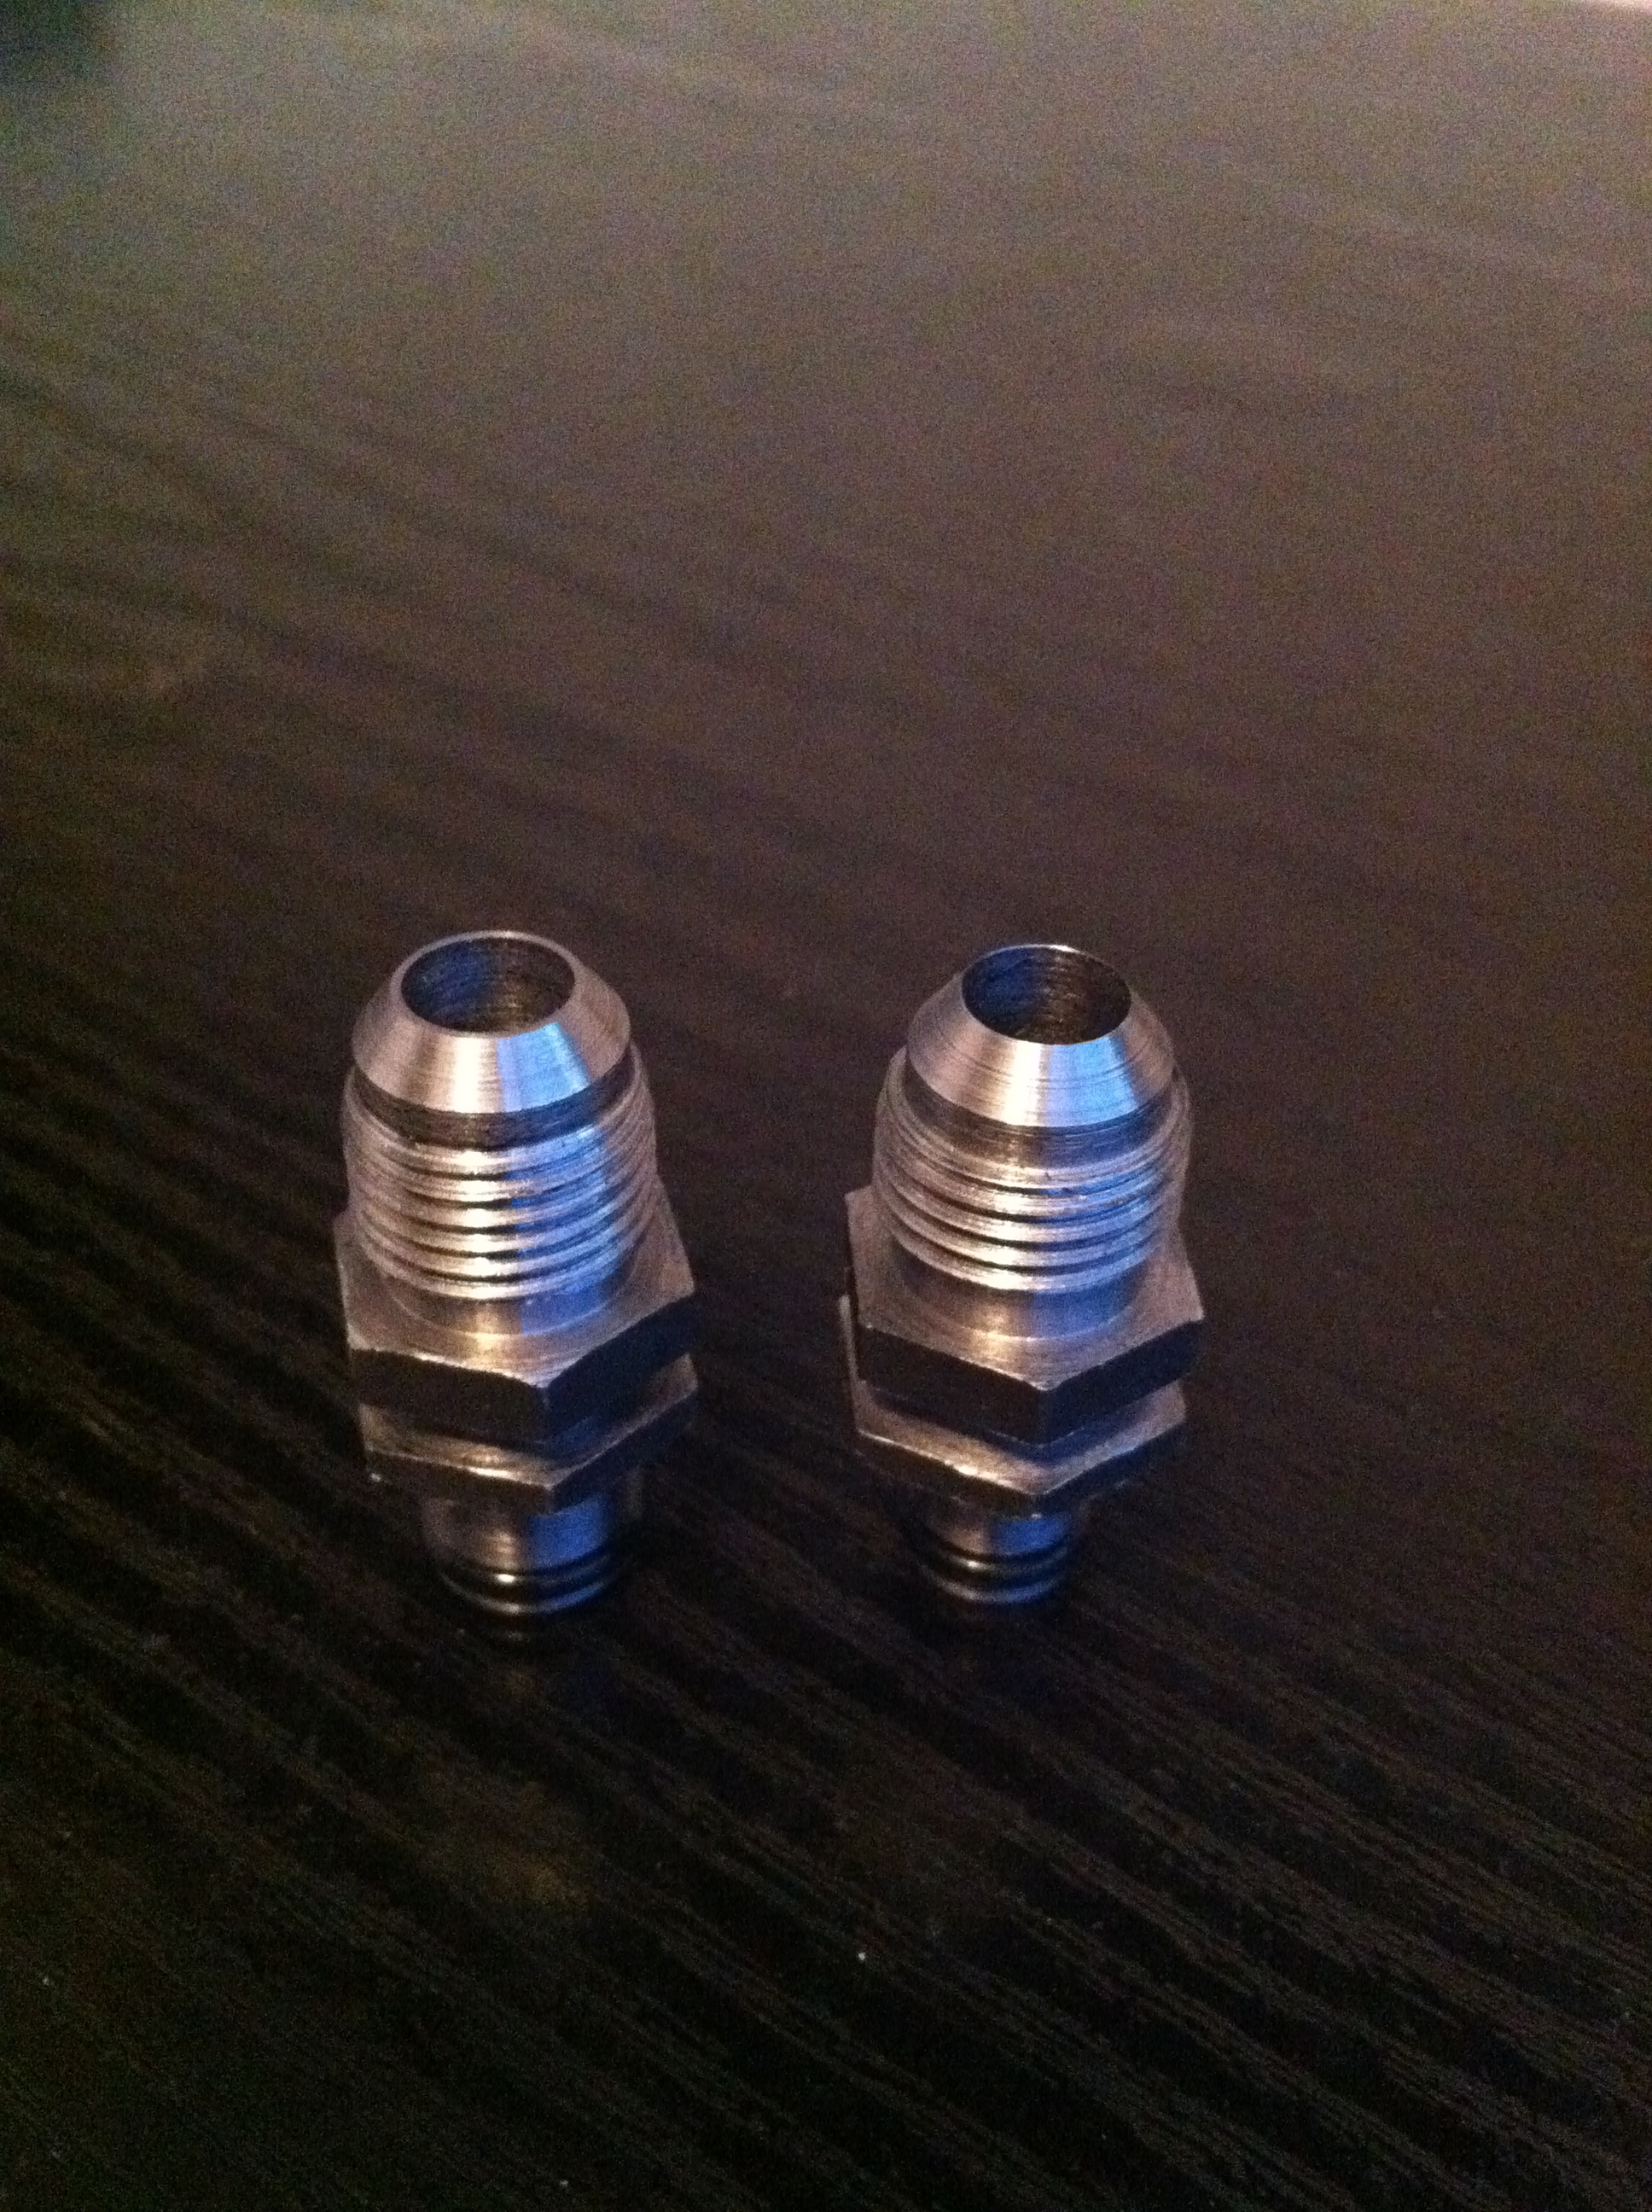
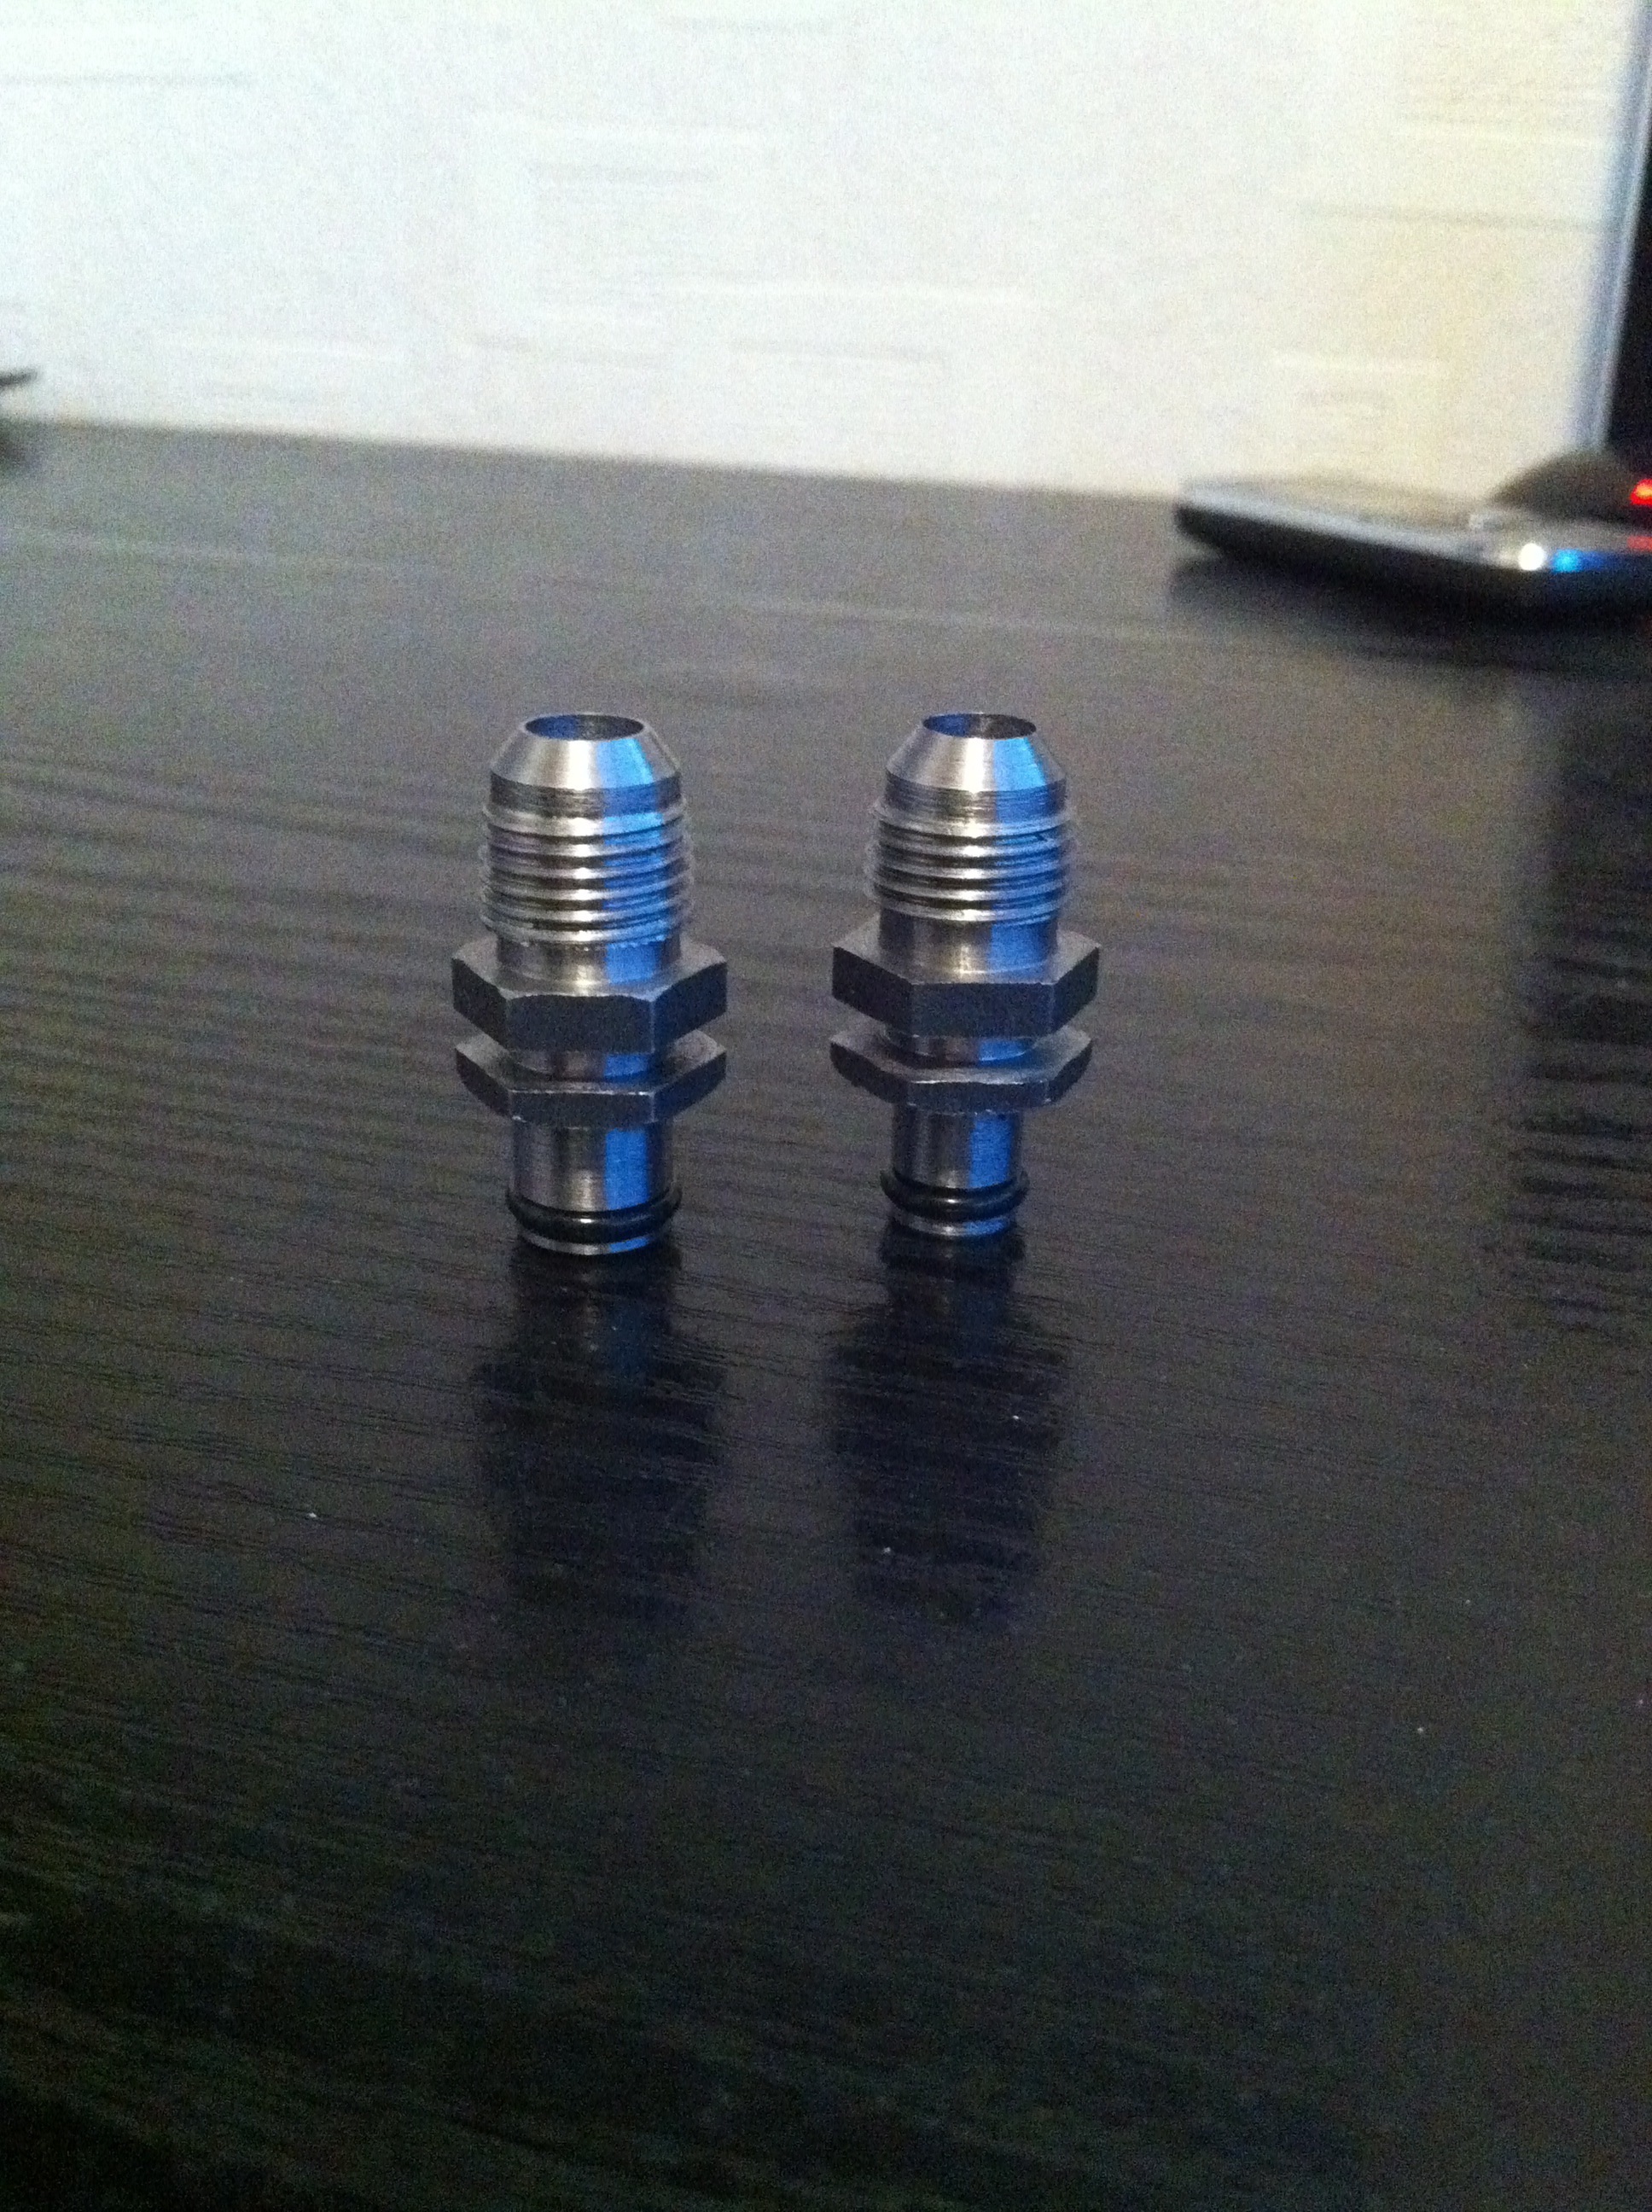
I re-made the Aeroquip adapters for the power steering fittings as i was not happy with the ones from before, done a few sets of these as some other people wanted some, have managed to shorten them to the absolute minimum overall height and shorten the spanner hex,
I also used 0.5mm oversize cross section o'rings so the seal is that little bit tighter than the 15 year old rack o'rings
Not bad for an adapter made in my garage ay
Thanks
Marc
Glad your enjoying the updates Dan
I re-made the Aeroquip adapters for the power steering fittings as i was not happy with the ones from before, done a few sets of these as some other people wanted some, have managed to shorten them to the absolute minimum overall height and shorten the spanner hex,
I also used 0.5mm oversize cross section o'rings so the seal is that little bit tighter than the 15 year old rack o'rings
Not bad for an adapter made in my garage ay
Thanks
Marc
Last edited by M K; 24-05-2011 at 07:38 PM.
 24-05-2011, 09:22 PM
#1296
Cheers guys
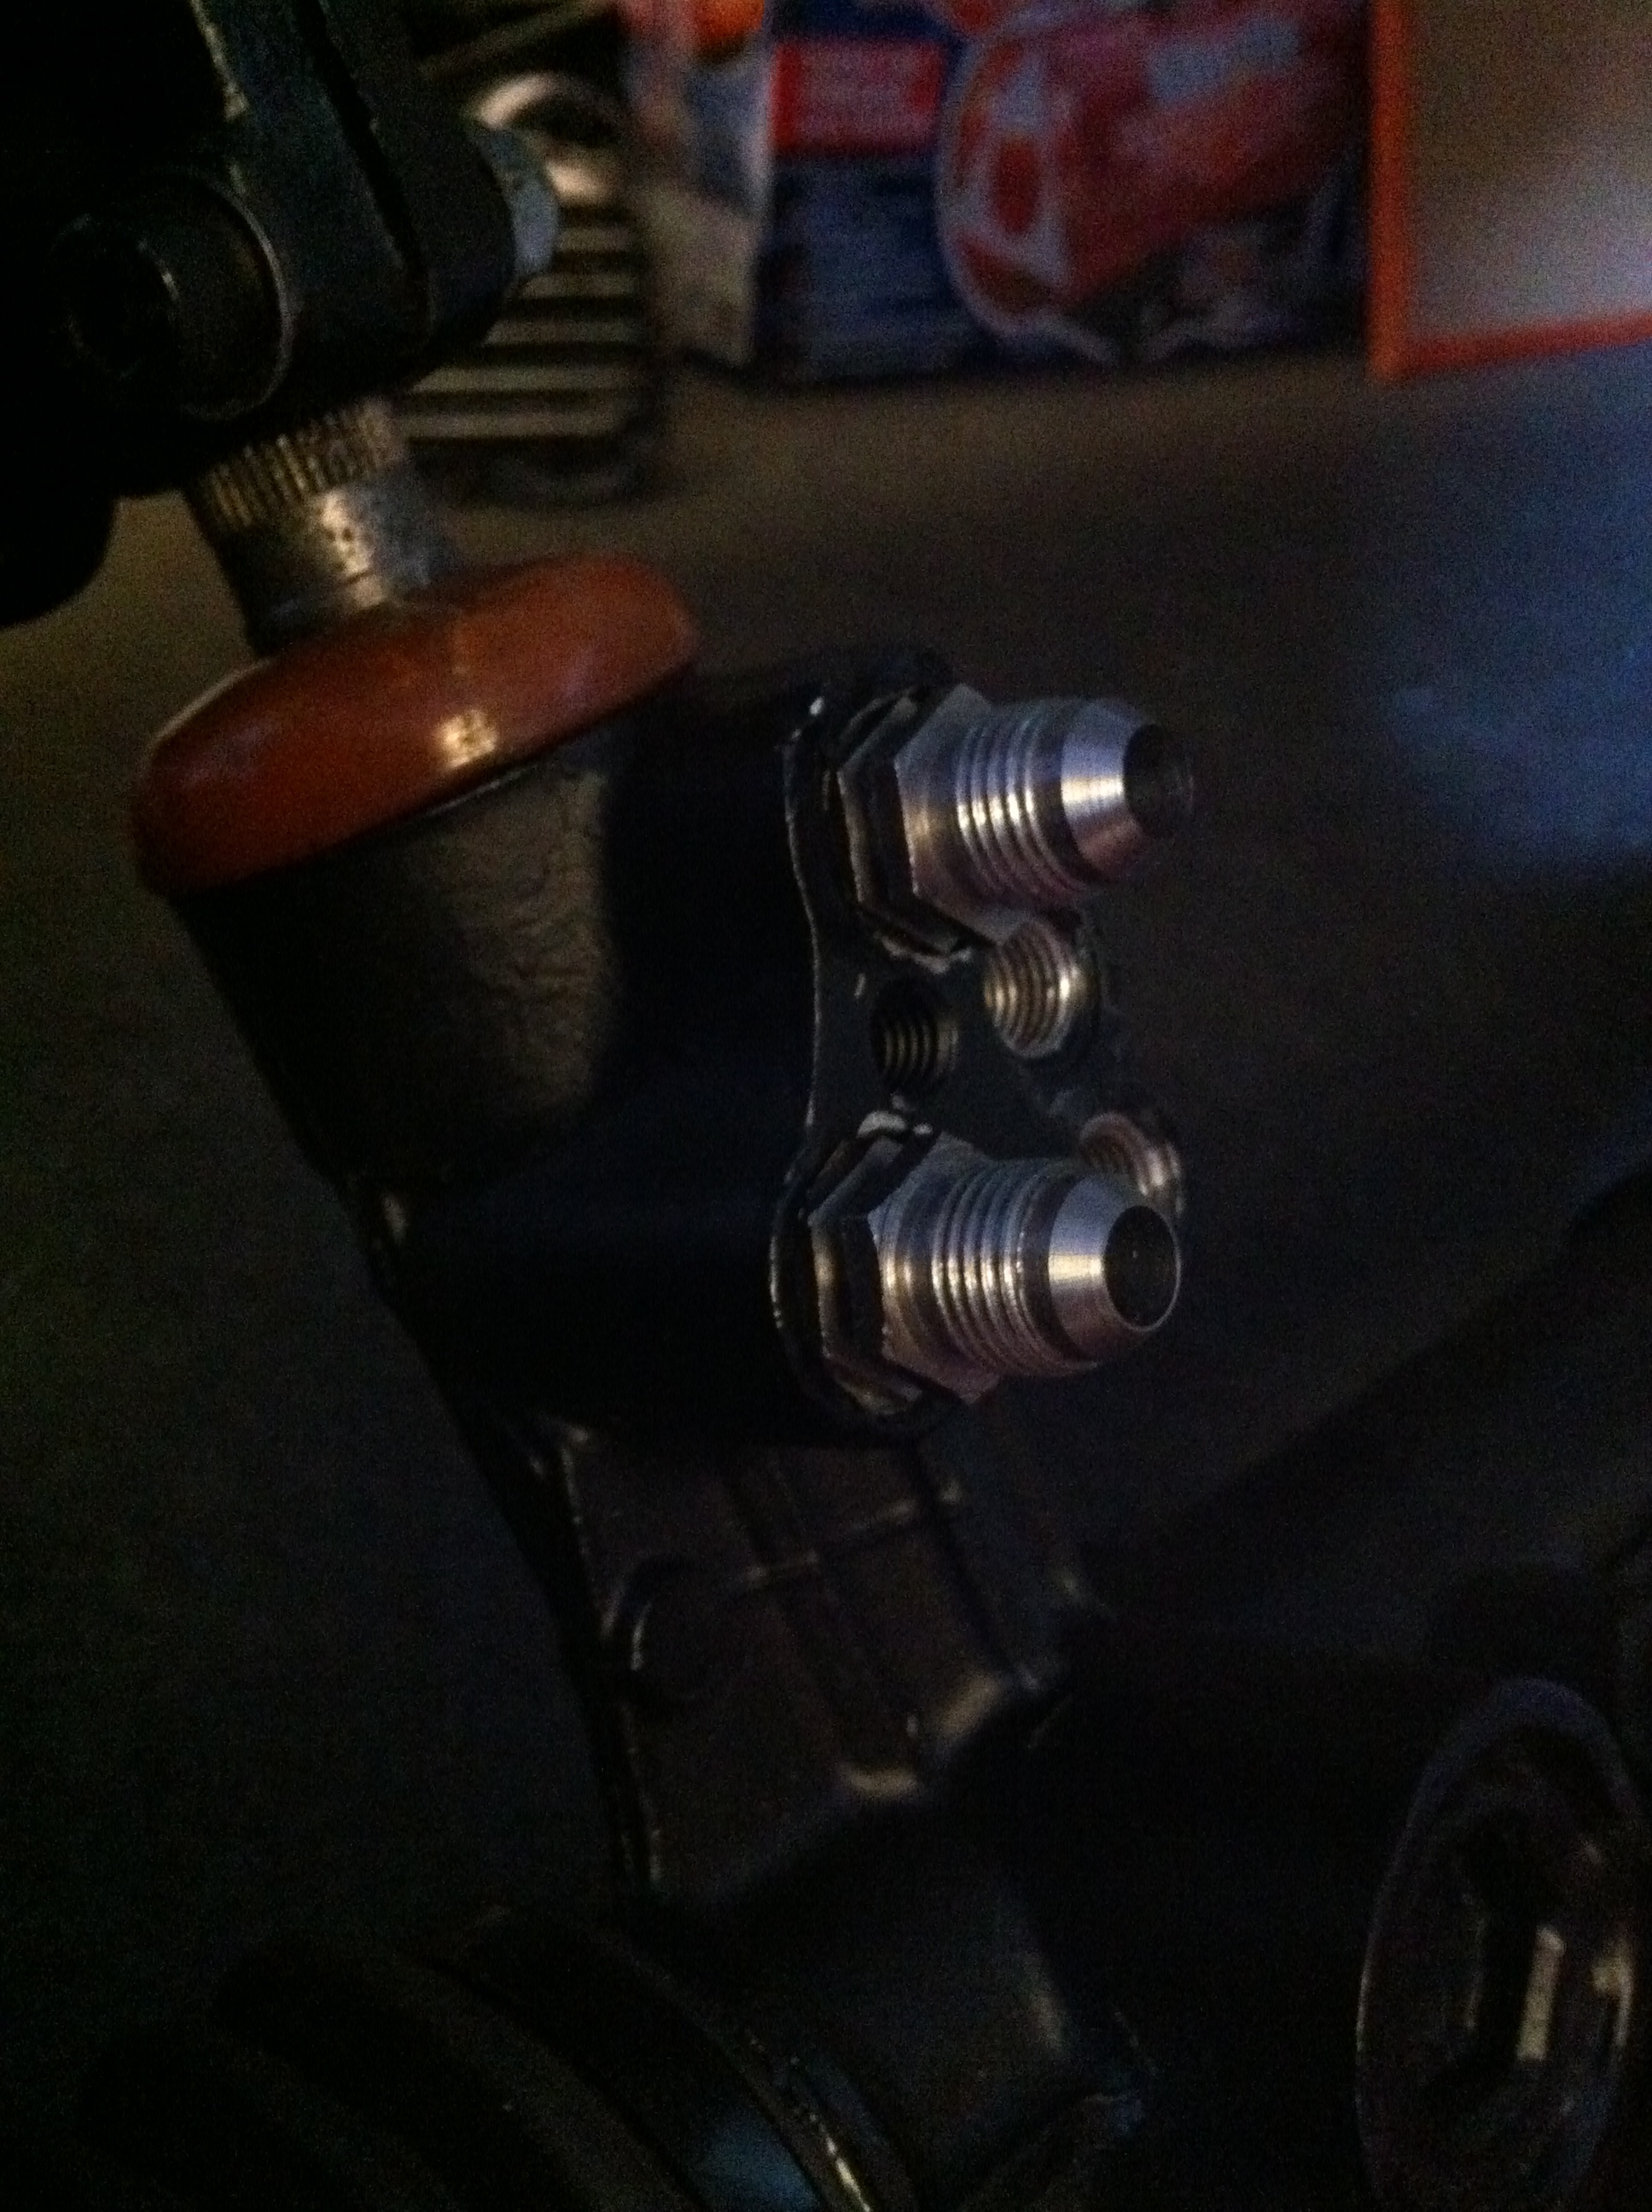
As said above they will be secured with the original plate that holds the standard fittings in place and slots in the groove in the fittings and bolts to the rack, no pics of that as it's been sent away for zinc plating to Chris Latham at passion restoration products, along with everything else which I am hoping will be back this week
As said above they will be secured with the original plate that holds the standard fittings in place and slots in the groove in the fittings and bolts to the rack, no pics of that as it's been sent away for zinc plating to Chris Latham at passion restoration products, along with everything else which I am hoping will be back this week
 26-05-2011, 04:14 PM
#1301
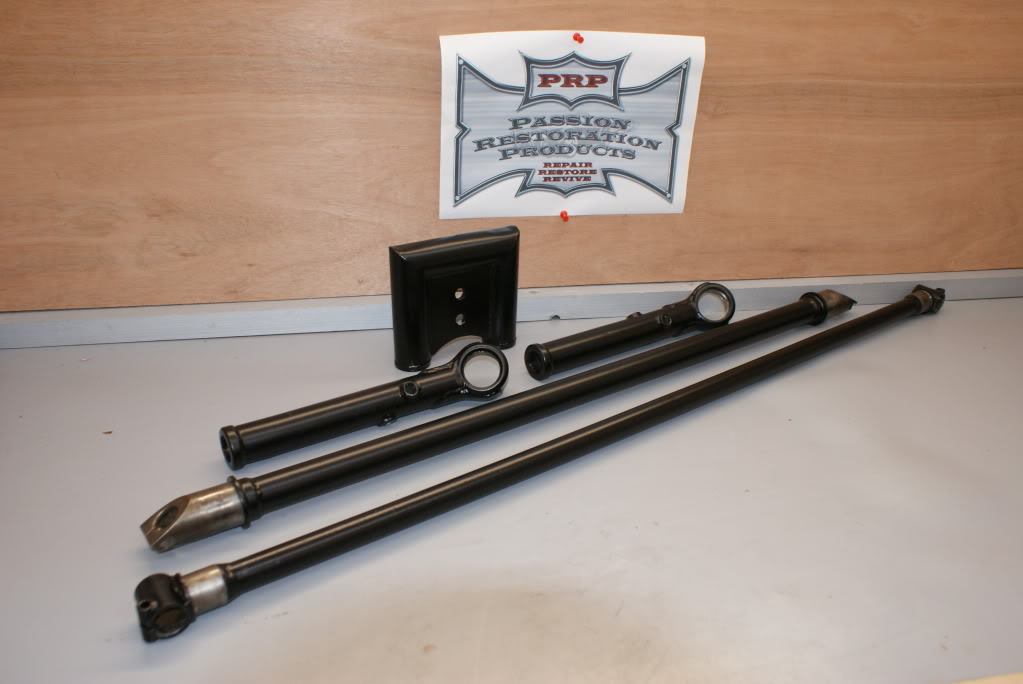
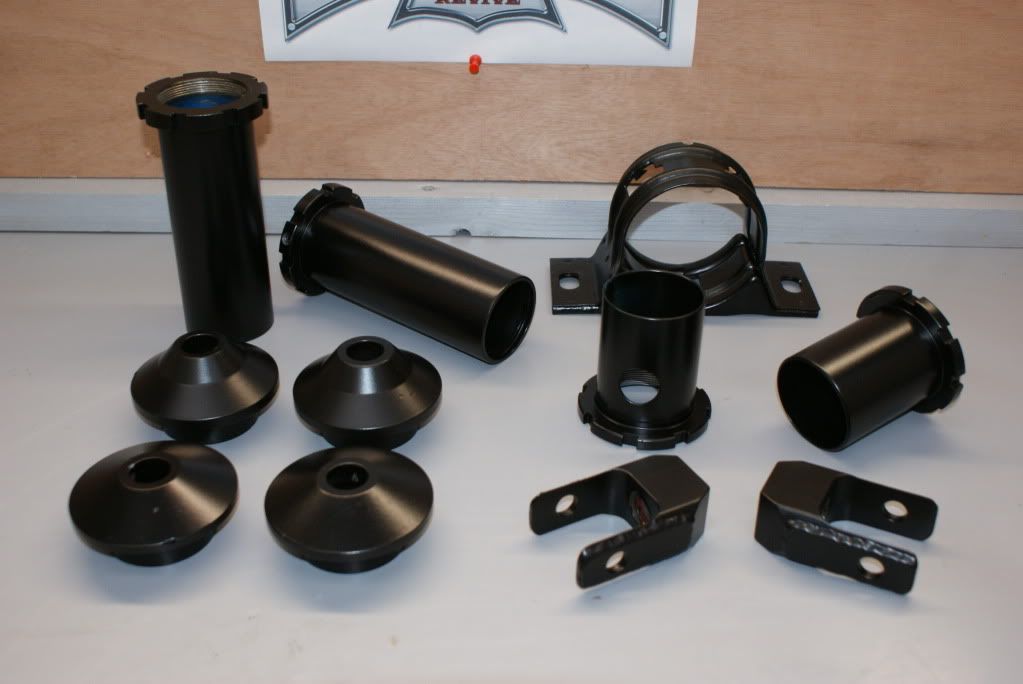
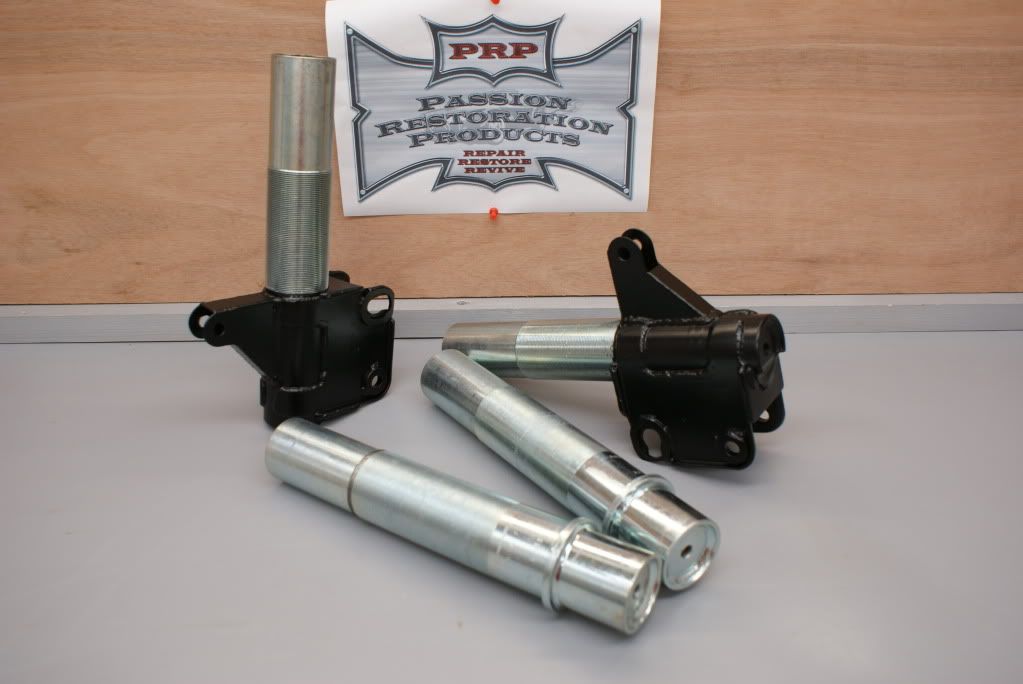
Got an Email from Chris at "Passion Restoration Products" today to say my massive job lot of parts are all done and have been sent via courier today so should get them delivered for Saturday with any luck.
He sent me a couple of preview pics so as im at work i have uploaded them via iphone photobucket app and put them up here as i couldn't wait to show everyone lol
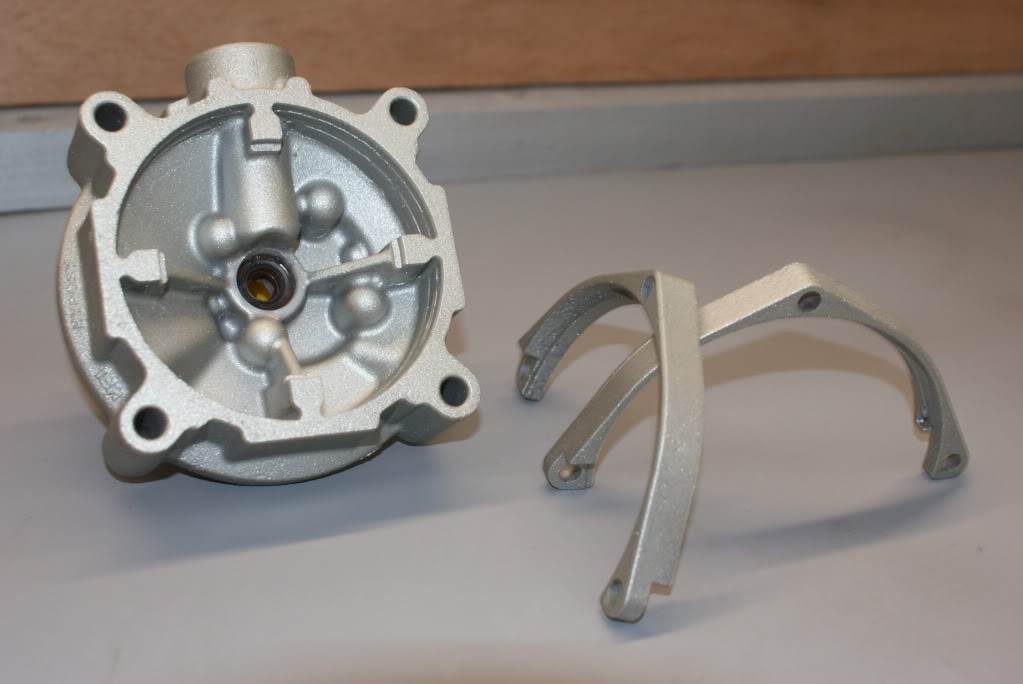
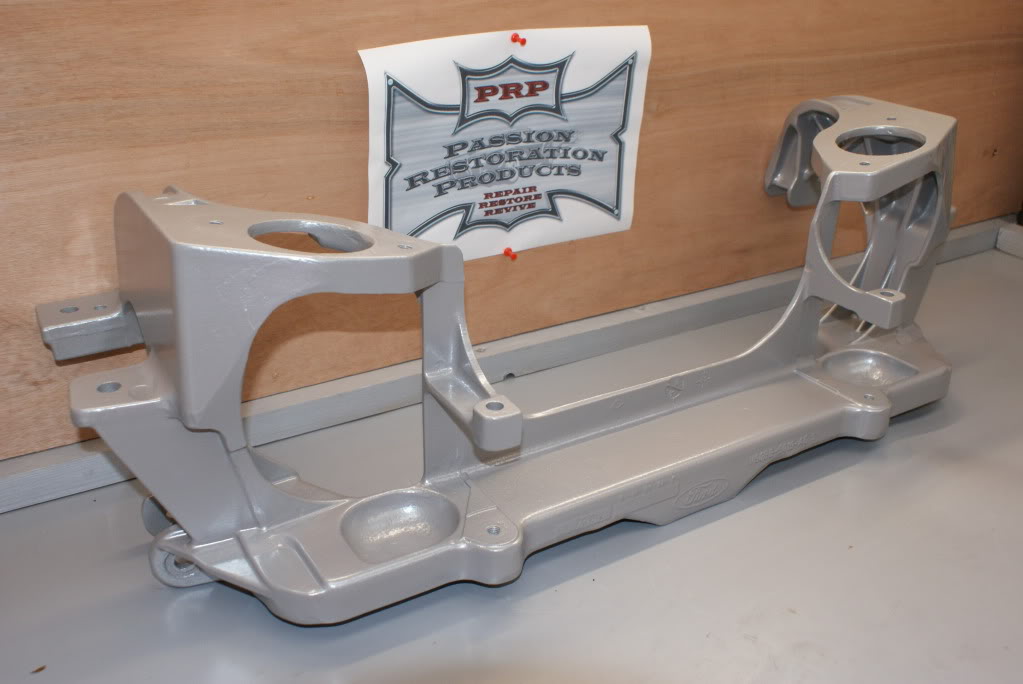
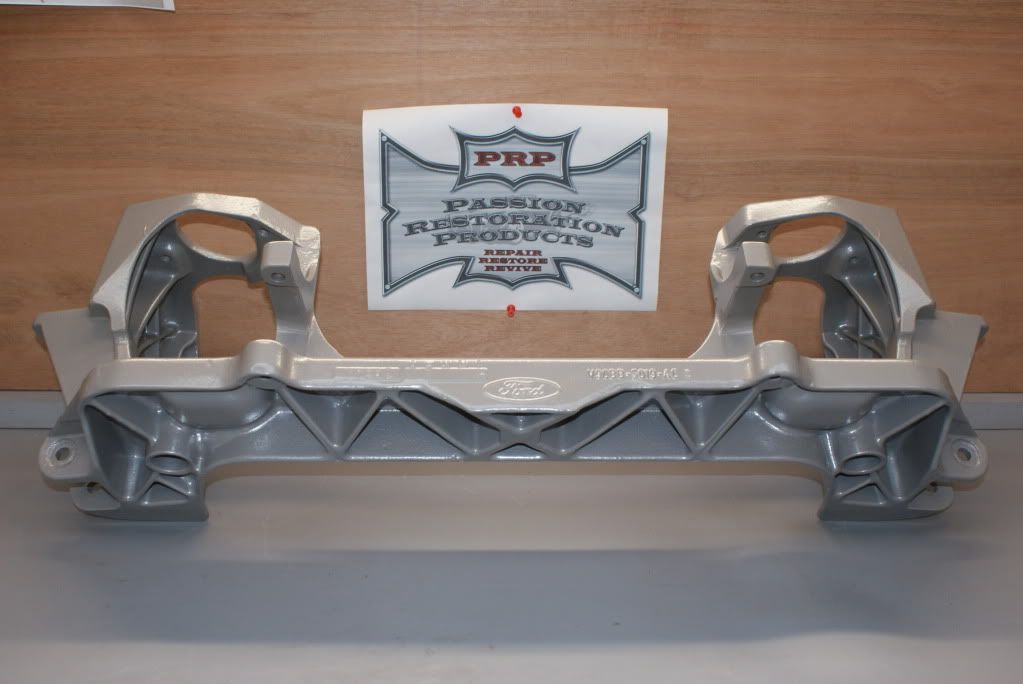
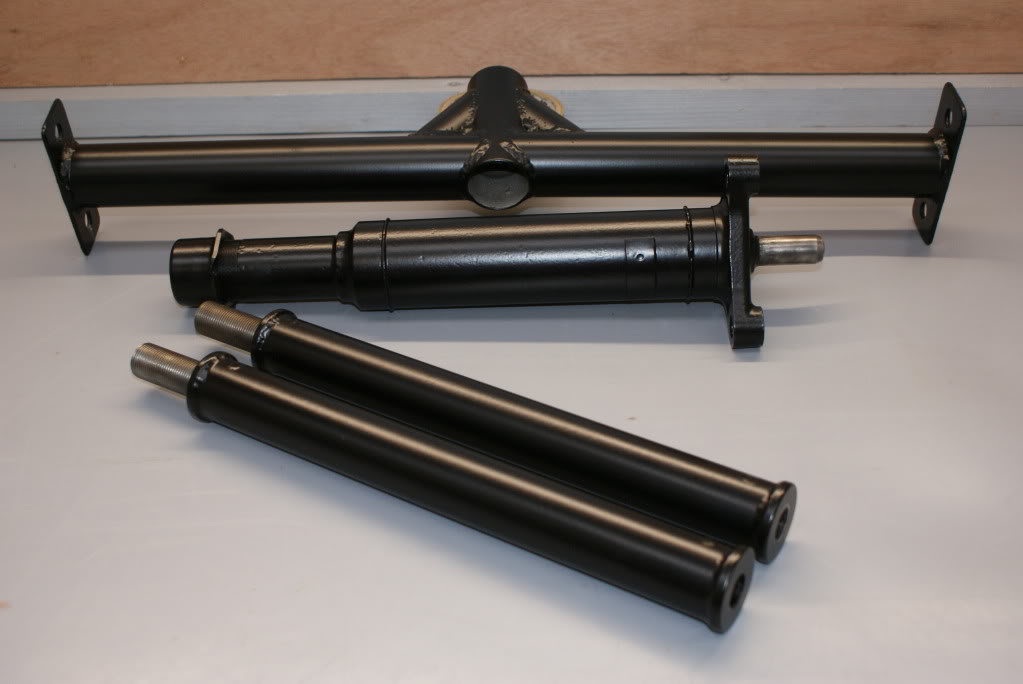
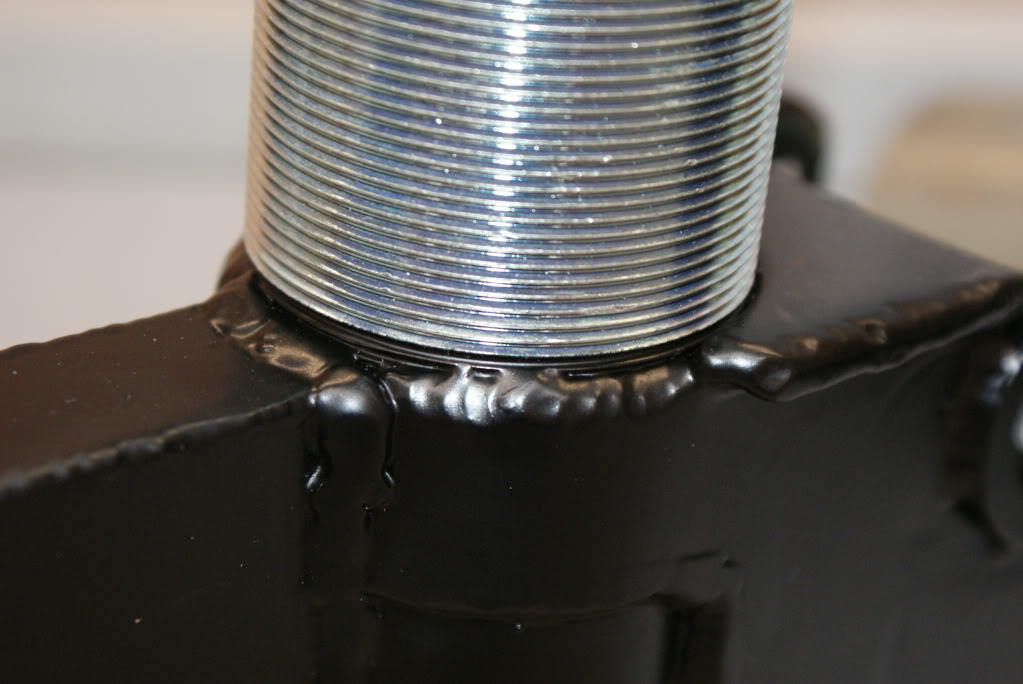
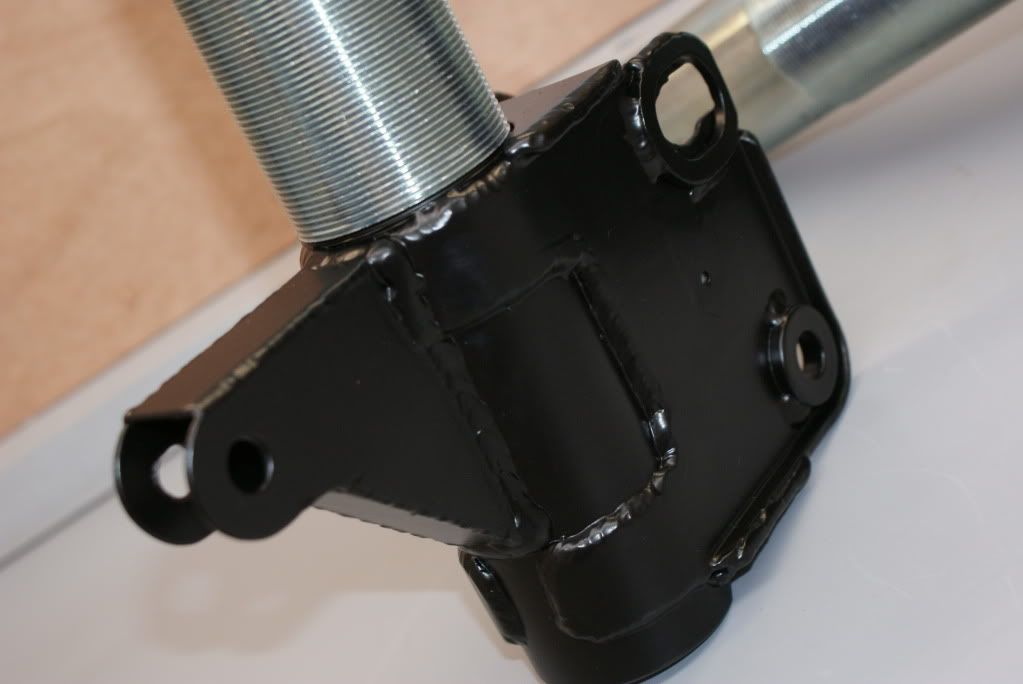
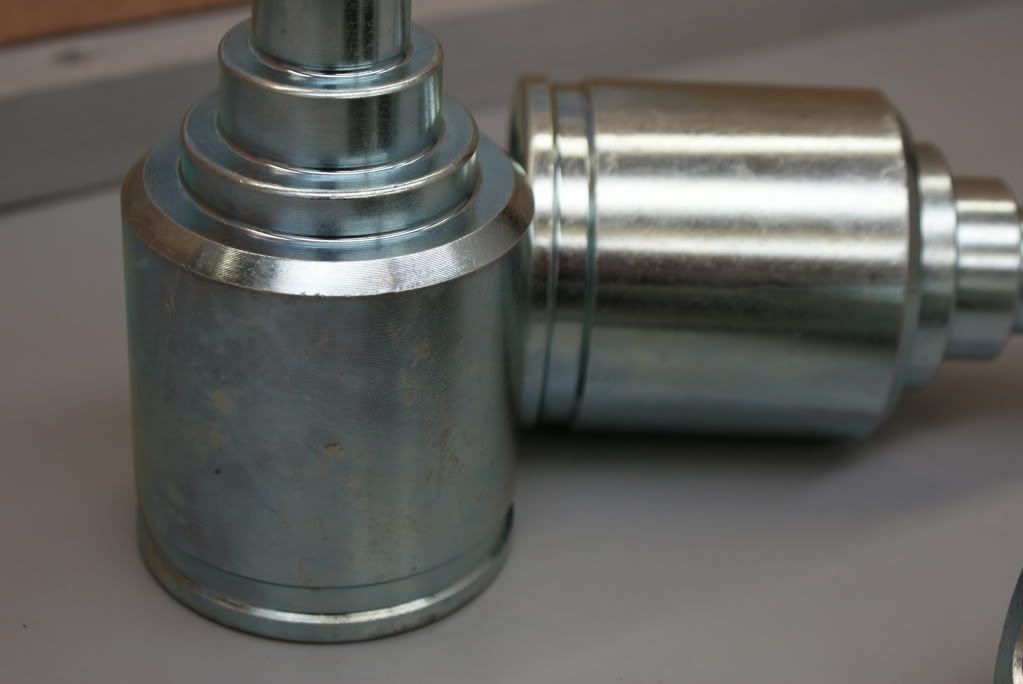
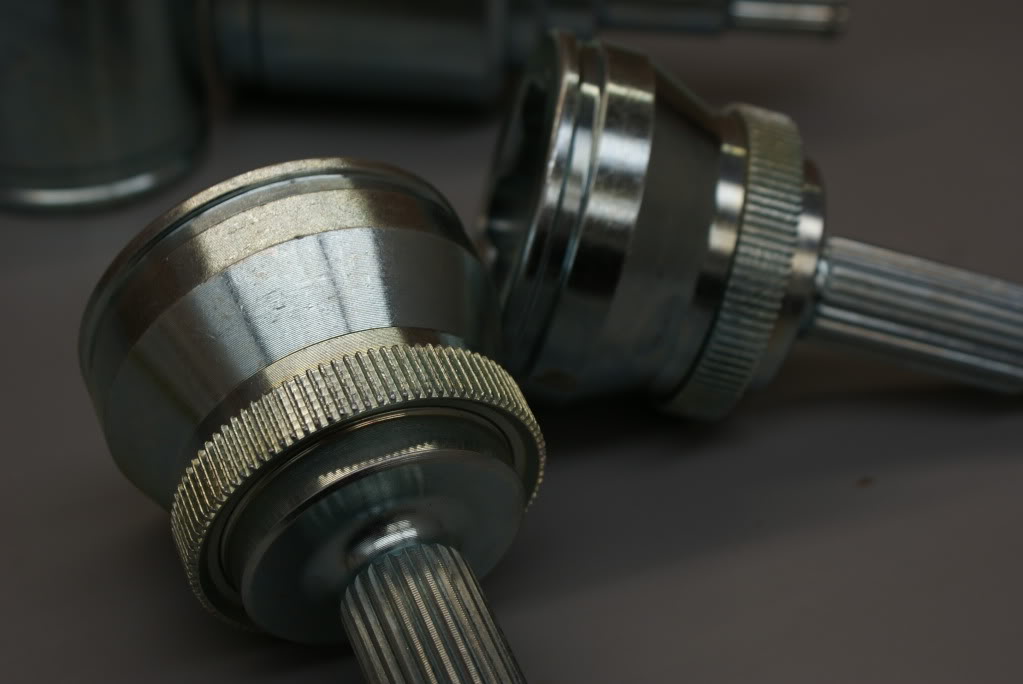
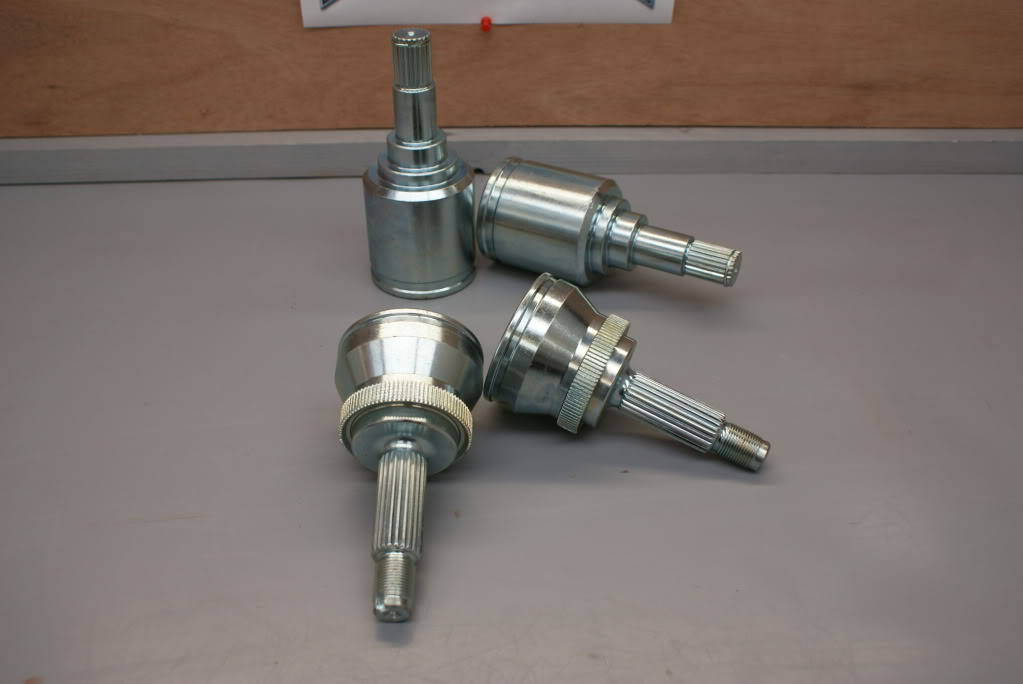
Rear grp a and standard front bilstein damper casings
BEFORE
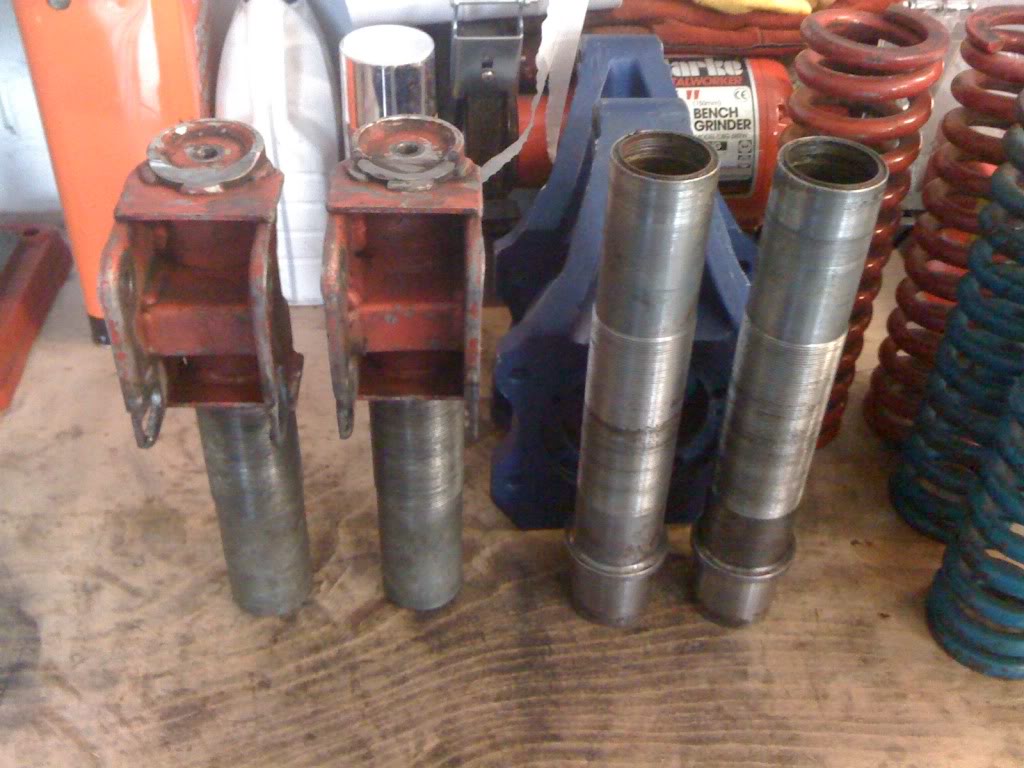
AFTER

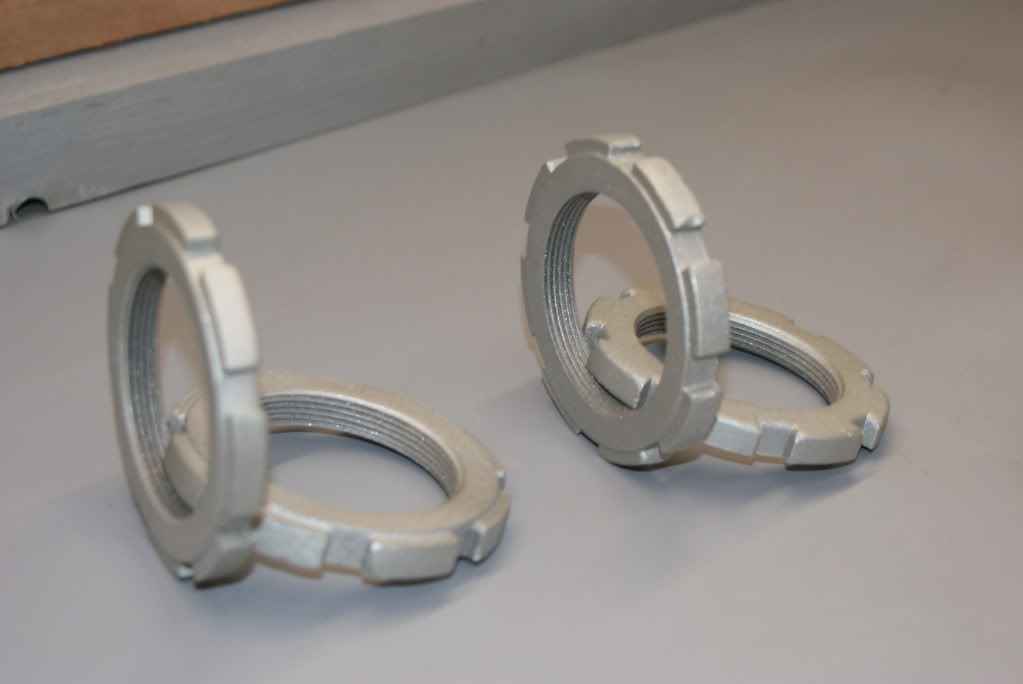
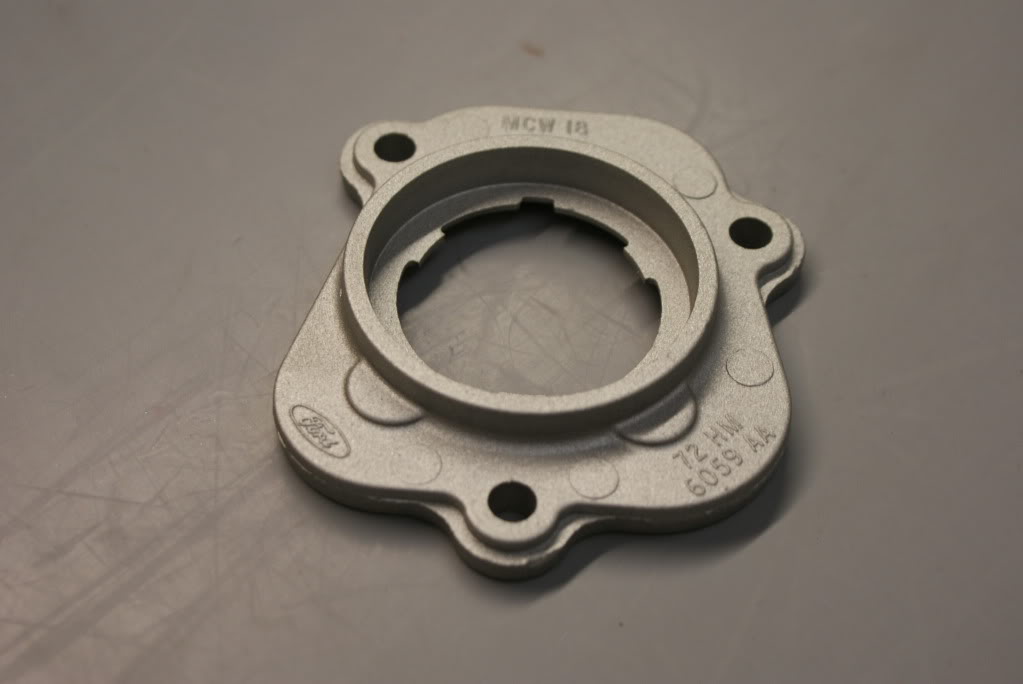
Silver plate and coated mountings on the grp a rears and complete Silver plate on the fronts
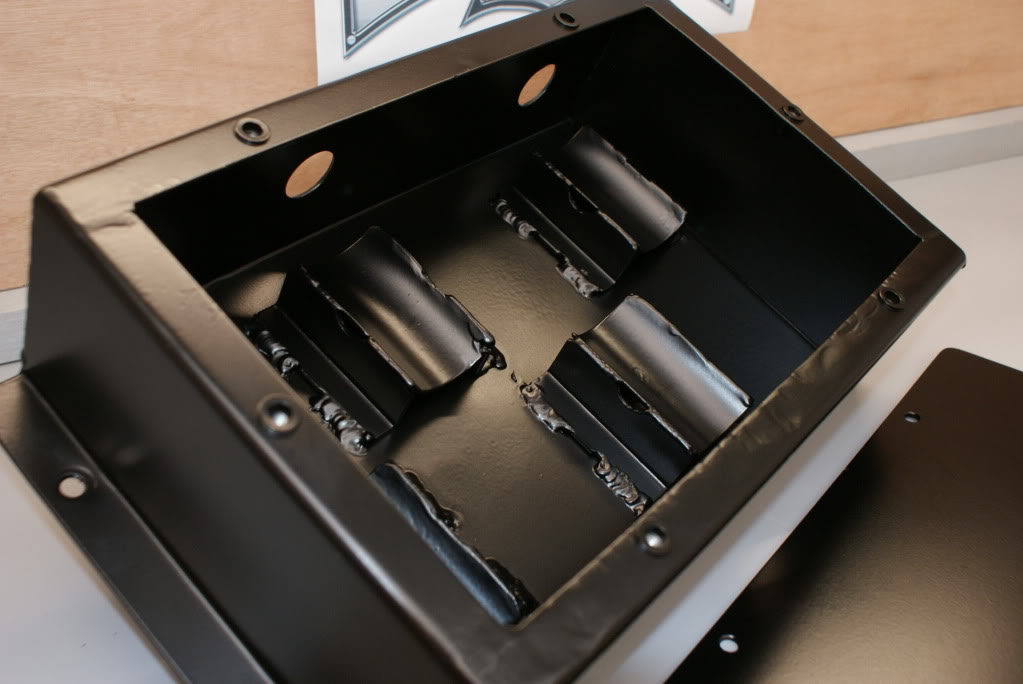
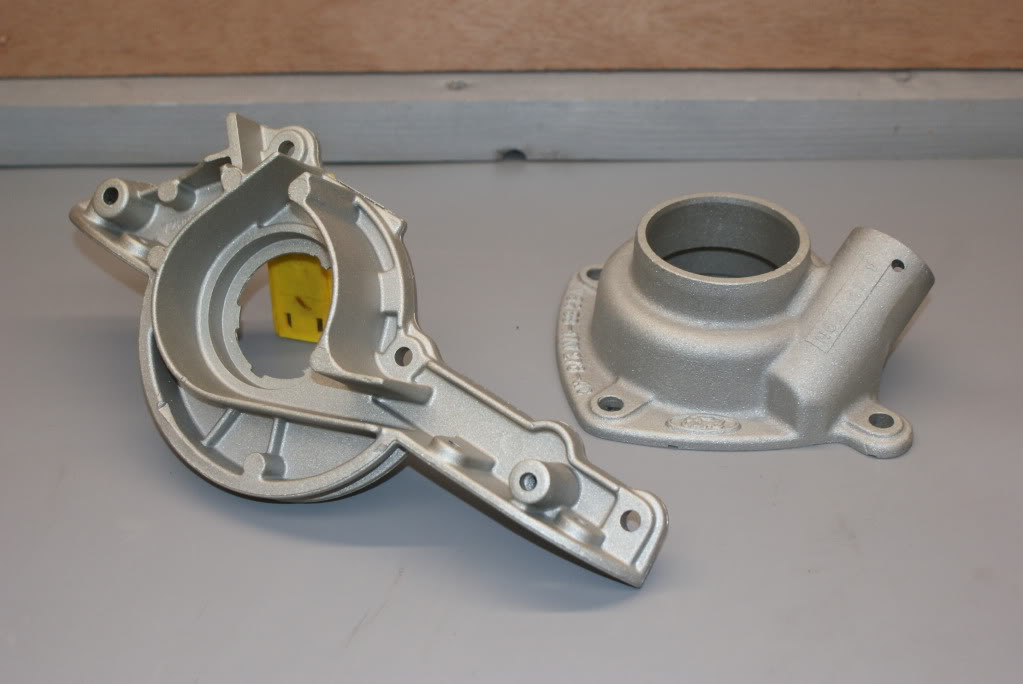
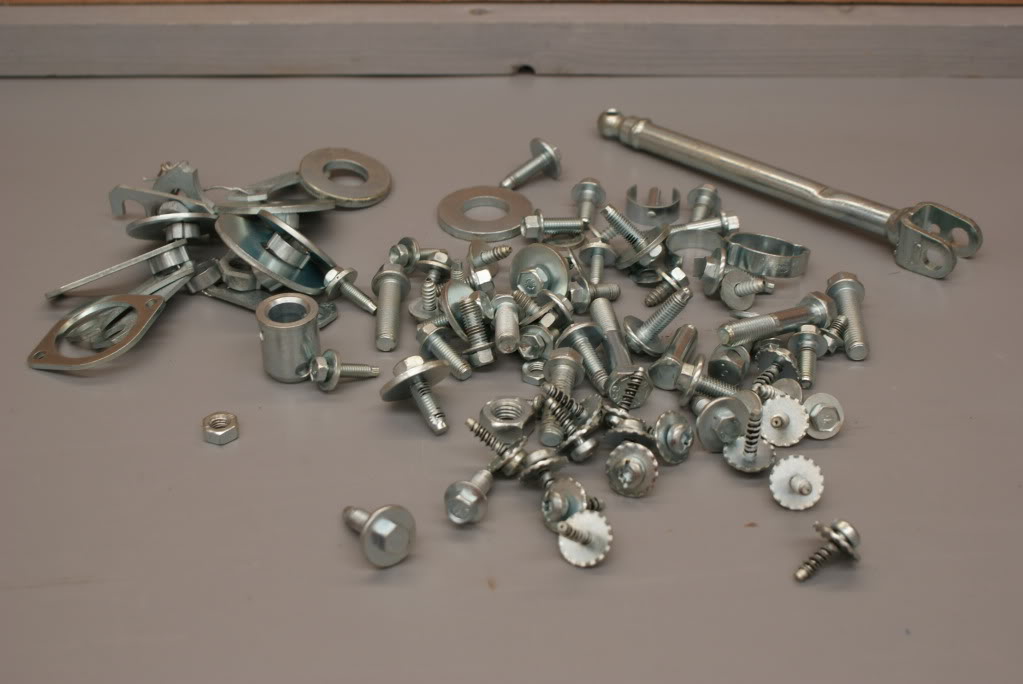
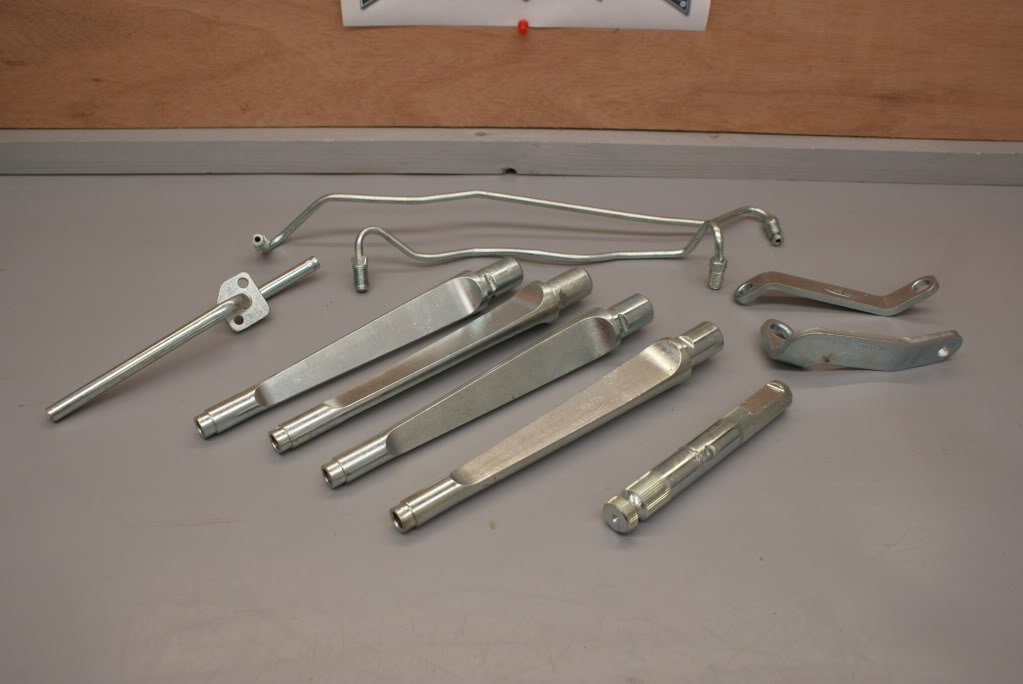
A couple more parts -Pump and filter box
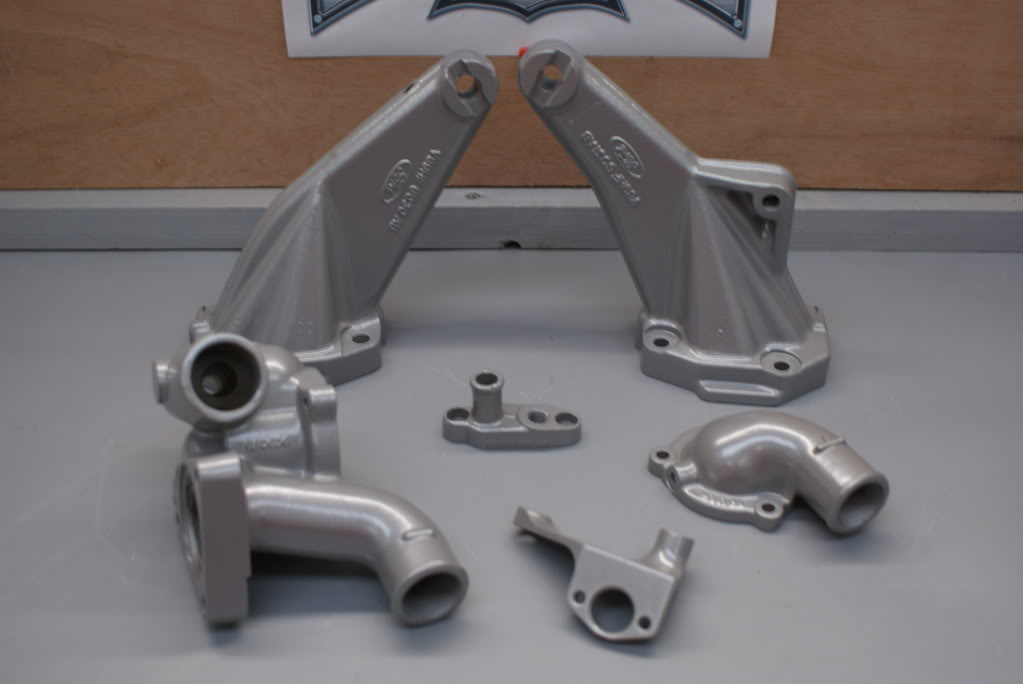
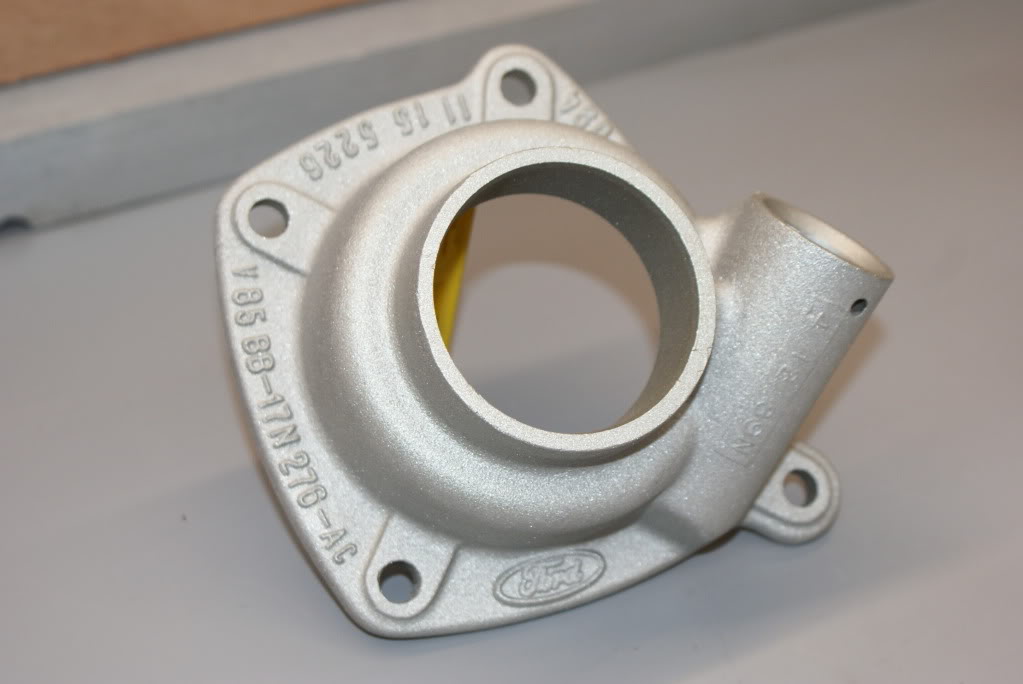
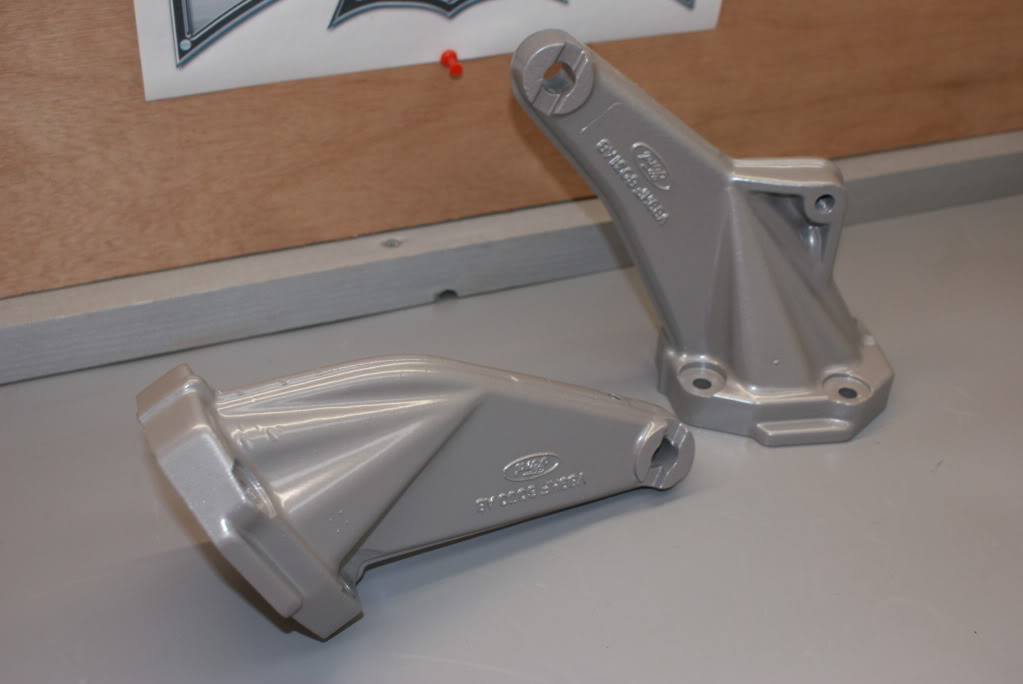
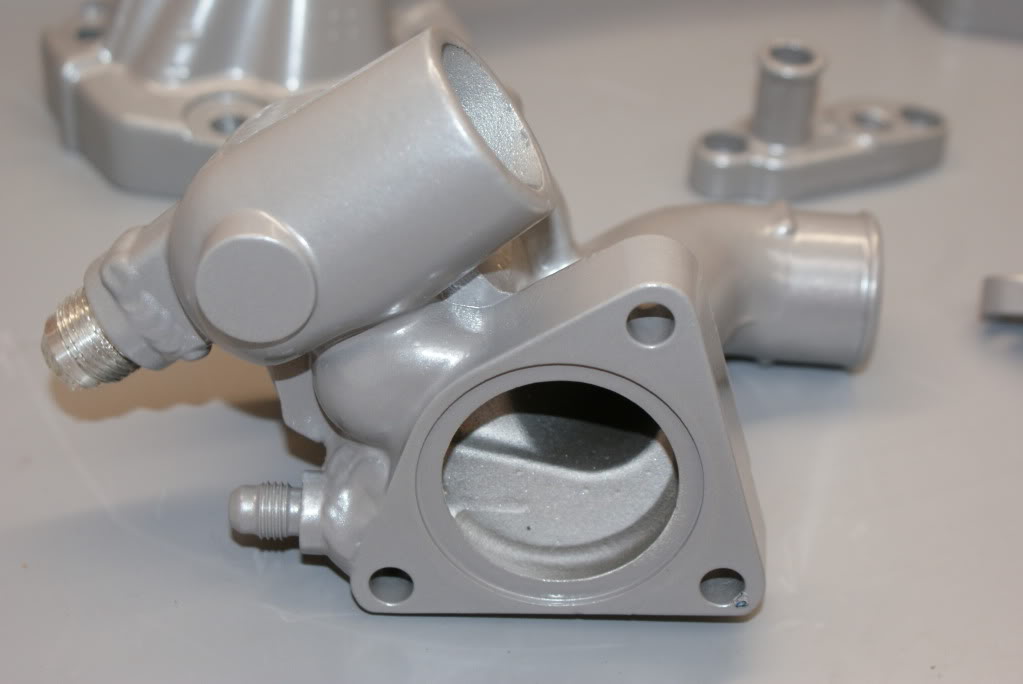
Engine arms, wrc cps bracket, thermo housing and cylinder head water temp sensor fitting
More pics when the whole lot turns up as Chris has also done a cd full of photo's of all the parts for me
MASSIVE THANKS TO "PASSION RESTORATION PRODUCTS"
thanks
Marc
He sent me a couple of preview pics so as im at work i have uploaded them via iphone photobucket app and put them up here as i couldn't wait to show everyone lol
Rear grp a and standard front bilstein damper casings
BEFORE
AFTER
Silver plate and coated mountings on the grp a rears and complete Silver plate on the fronts
A couple more parts -Pump and filter box
Engine arms, wrc cps bracket, thermo housing and cylinder head water temp sensor fitting
More pics when the whole lot turns up as Chris has also done a cd full of photo's of all the parts for me
MASSIVE THANKS TO "PASSION RESTORATION PRODUCTS"
thanks
Marc
 26-05-2011, 04:27 PM
#1303
Advanced PassionFord User
Are you going to dare to drive this? i don't really need an answer to that. i remember your mint xr2 and you gave that the beans. Beautiful work as always Marc
 26-05-2011, 05:35 PM
#1308
Spanner monkey


 31-05-2011, 07:08 PM
#1315
10K+ Poster!!

Looking good Marc, one slight mistake, the faces of the flanges need to be cleaned as you can't bolt a disc ontop of the powder coat.
I just sent my bits away and typically now wish I'd of had the roll bar powder coated instead of zinc coated ! Quick phone call in the morning I reckon lol
I just sent my bits away and typically now wish I'd of had the roll bar powder coated instead of zinc coated ! Quick phone call in the morning I reckon lol
