
Escort RS Turbo Cabriolet Restoration - (update 09.03.06)
 21-02-2005, 10:59 AM
#41
Regular Contributor
Thread Starter

Join Date: Jul 2003
Location: Herts
Posts: 343
Likes: 0
Received 0 Likes
on
0 Posts
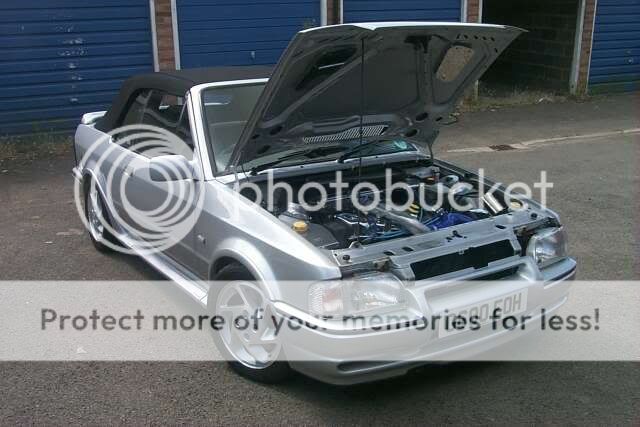
Beginning to make some major progress and it's good to see the car slowly coming back together! First of all it got the front panel in primer as you'll see below:


Then this arrived in the post on Thursday!!!!!

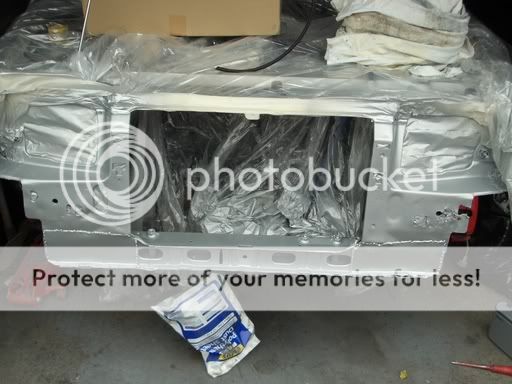
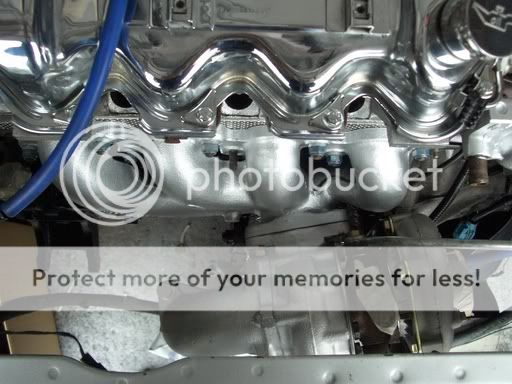
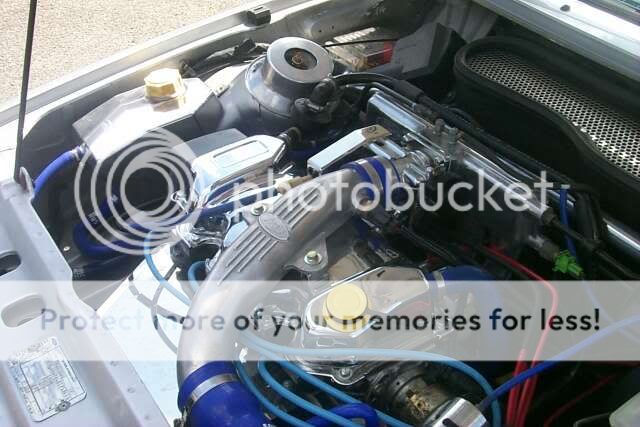
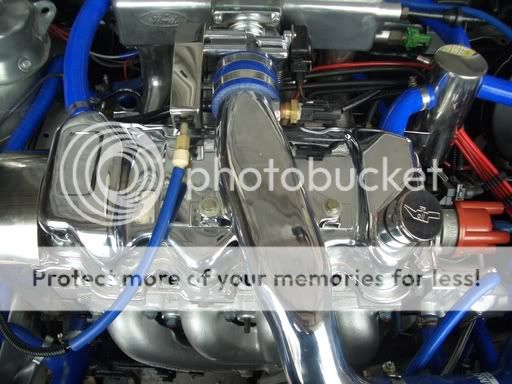
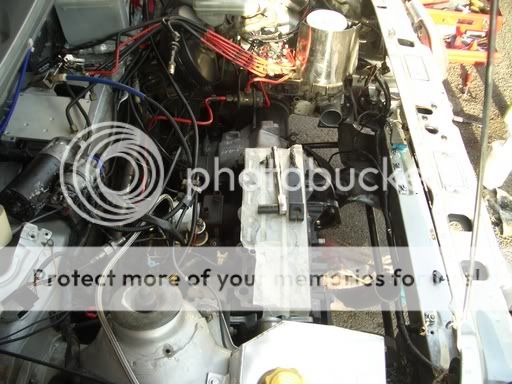
Which gave me a bit of inspiration to get craking over the weekend. The front has now been painted in Stardust Silver and I'm quite pleased with the results. It's by no means the best finish in the world but it certainly isn't the worst! Looks much better than how it was previously. Still haven't been able to sort out the rust patch where the bumper mounts - I'm gonna have to wait until the car is moving again to get that fixed. Here's the pics of the painted front panel and also refitted turbo and manifold:


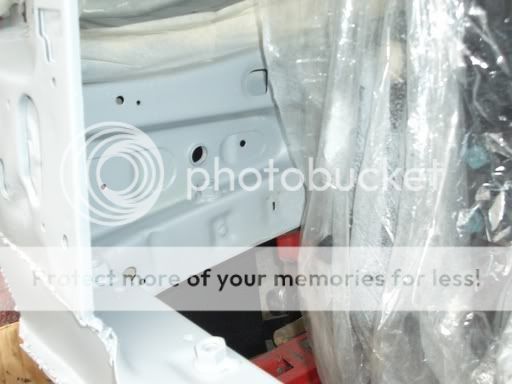
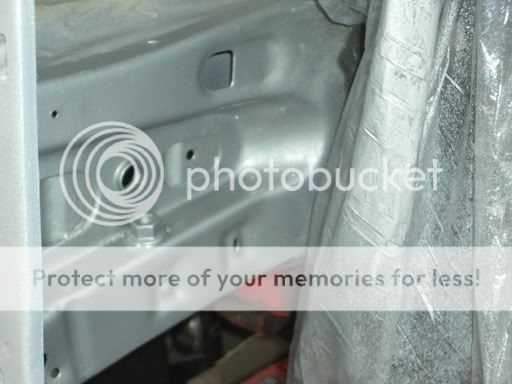
I've also given the loom a good tidy up, checking for any signs of wear etc�
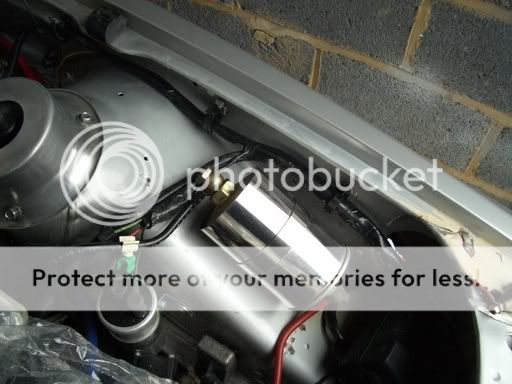
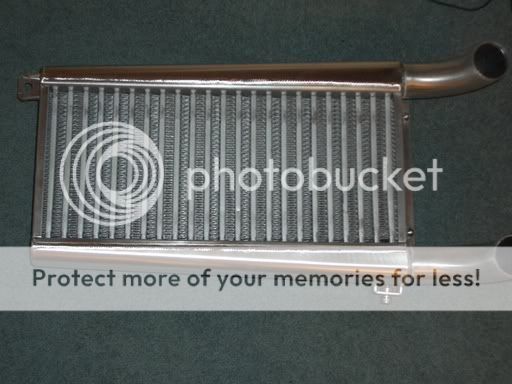
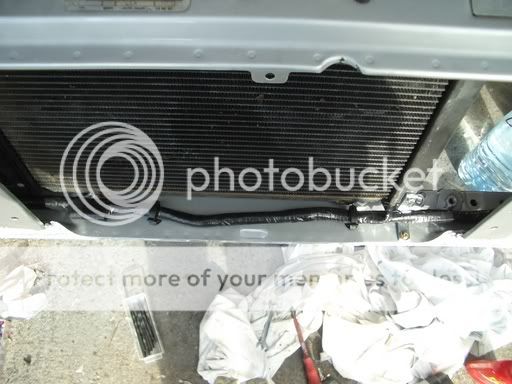
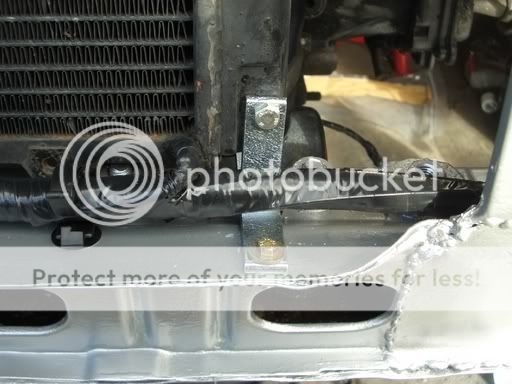
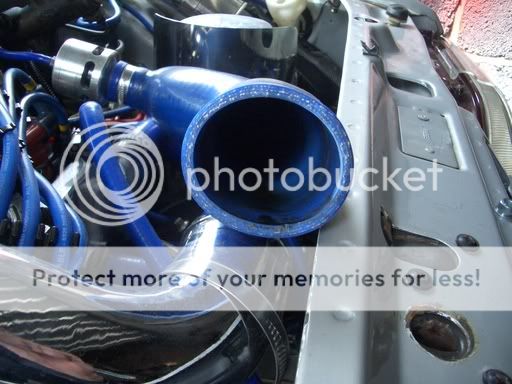
Once that was sorted it was time to refit the radiator and get the intercooler in place. Think I've fitted it right, didn't get any instructions so there was a bit of guess work involved

Then this arrived in the post on Thursday!!!!!
Which gave me a bit of inspiration to get craking over the weekend. The front has now been painted in Stardust Silver and I'm quite pleased with the results. It's by no means the best finish in the world but it certainly isn't the worst! Looks much better than how it was previously. Still haven't been able to sort out the rust patch where the bumper mounts - I'm gonna have to wait until the car is moving again to get that fixed. Here's the pics of the painted front panel and also refitted turbo and manifold:
I've also given the loom a good tidy up, checking for any signs of wear etc�
Once that was sorted it was time to refit the radiator and get the intercooler in place. Think I've fitted it right, didn't get any instructions so there was a bit of guess work involved
 21-02-2005, 12:16 PM
#42
Too many posts.. I need a life!!

Join Date: Oct 2003
Location: under the cabby... i think.
Posts: 975
Likes: 0
Received 0 Likes
on
0 Posts
YAY UPDATE! lookin excellent mate well impressed, did you re tapethe loom or just clean it up? cant wait to see her when shes finished! 
21-02-2005, 12:56 PM
#43
Regular Contributor
Thread Starter
Join Date: Jul 2003
Location: Herts
Posts: 343
Likes: 0
Received 0 Likes
on
0 Posts
did you re tapethe loom or just clean it up?

 07-03-2005, 10:53 AM
#47
Regular Contributor
Thread Starter
Join Date: Jul 2003
Location: Herts
Posts: 343
Likes: 0
Received 0 Likes
on
0 Posts
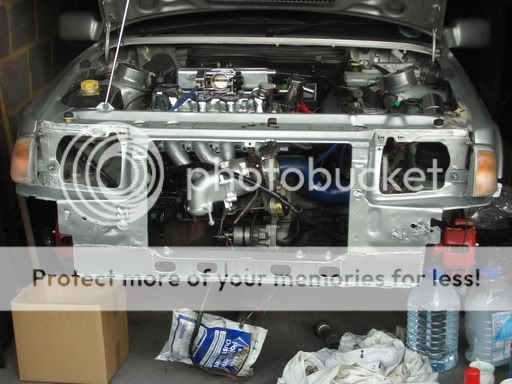
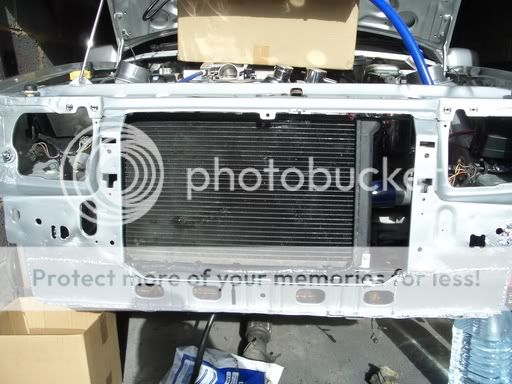
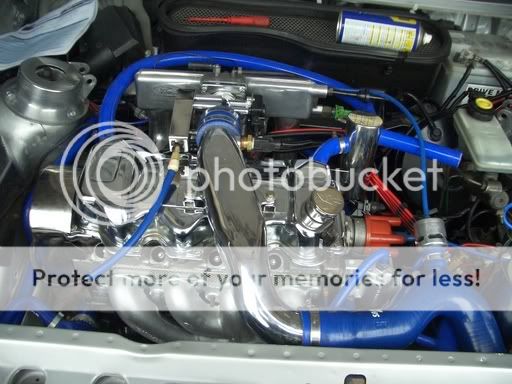
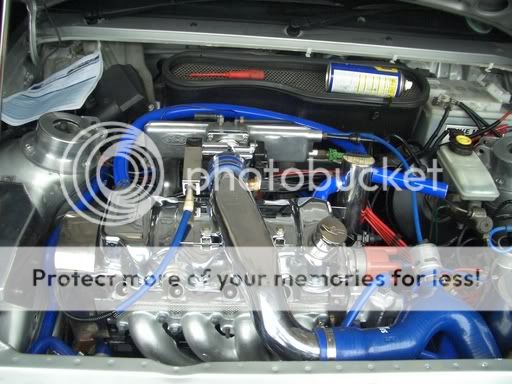
Not really a great deal to update you all on at the moment - beginning to get everything back in place under the engine bay (and trying to remember what goes where!). I'll try and get some more pics up in the next day or so...
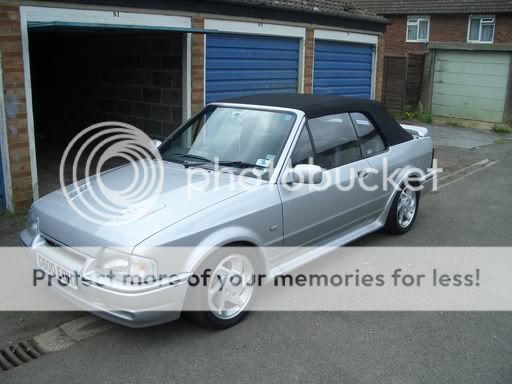
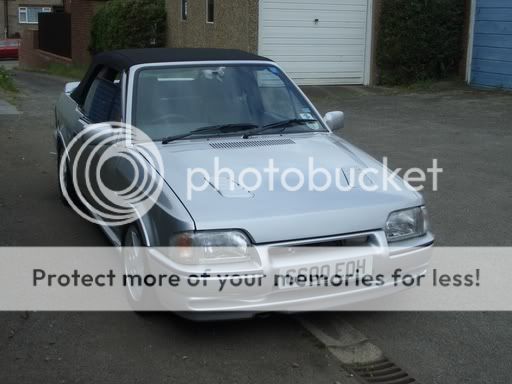
Anyway, I'd forgotten what the car looked like in one piece so here's a few photos I've dug out...


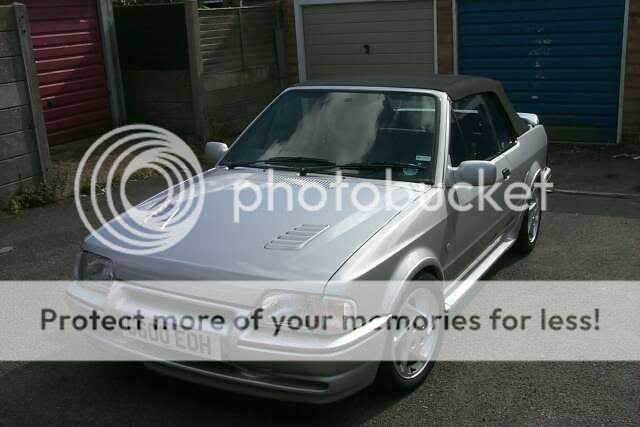


Anyway, I'd forgotten what the car looked like in one piece so here's a few photos I've dug out...
08-03-2005, 01:23 PM
#48
Regular Contributor
Thread Starter
Join Date: Jul 2003
Location: Herts
Posts: 343
Likes: 0
Received 0 Likes
on
0 Posts
Before the pics I've got a quick question�were there several different types/sizes of started motor used on the Series 2 engine and are they inter-changeable? The one I removed from the car was slightly larger then the one I've replaced it with and the push-on connector was a different fitting to. This was easily overcome, was just wonering if there were slightly different motors used - any info welcome!
Right then�Beginning to make a bit of progress in the right direction. Fitted the new injectors which will hopefully make a difference considering the ones I removed had lasted about 80,000 miles! Are all four injectors exactly the same or does each have it's specific number???

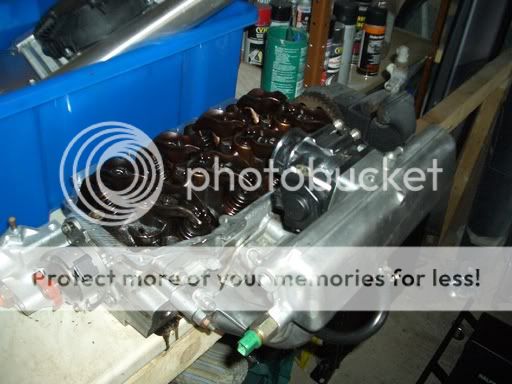
Also got the cam cover on which I needed to remove the header tank to do
The rest of my time has been taken up with getting the hoses back in place and fitting the oil breather. Just need to get hold of a bit more silicone hose before that's sorted.
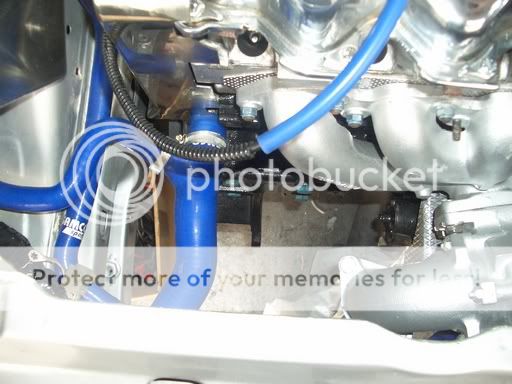

Right then�Beginning to make a bit of progress in the right direction. Fitted the new injectors which will hopefully make a difference considering the ones I removed had lasted about 80,000 miles! Are all four injectors exactly the same or does each have it's specific number???
Also got the cam cover on which I needed to remove the header tank to do
The rest of my time has been taken up with getting the hoses back in place and fitting the oil breather. Just need to get hold of a bit more silicone hose before that's sorted.


 03-05-2005, 02:26 PM
#54
Regular Contributor
Thread Starter
Join Date: Jul 2003
Location: Herts
Posts: 343
Likes: 0
Received 0 Likes
on
0 Posts
I've been rather quiet on the restoration front hence no update for a couple of months. Basically, I got the car back running and believed that everything was in order. However a recent setback has meant that there is still plenty of work to be done over the coming weeks...
All seemed well once I had put everything back together - once the battery was charged the engine started fine. Passed the MOT and all seemed well. A couple of weeks later I was checking everything was still in order and noticed the below:


It would appear the issues I was experiencing a few months ago that had been diagnosed as a faulty turbo charger could indeed prove more serious. Oil is still finding it's way into the breather system as it was previously. It's also managing to get out of the oil filler cap and if it wasn't secured with a grub screw then it would be dislodged at regular intervals!
I took the car off to SCC this weekend and got them to check it over. A compression test was carried out and showed that the compression was down in number 1 cylinder. Although piston rings and a bottom end re-build could be on the cards there is some hope that it won't be that serious. As the car is still driving well and does not seem to lack power I'm hoping that the problem might be caused by valve damage, in which case it would need a bit of work on the head to bring it back to life. Obviously, without taking the head off I'm still in the dark at present but will know more in the next couple of weeks.
So, for the time being I thought I'd give the car a good clean to smarten her up on the outside at least:
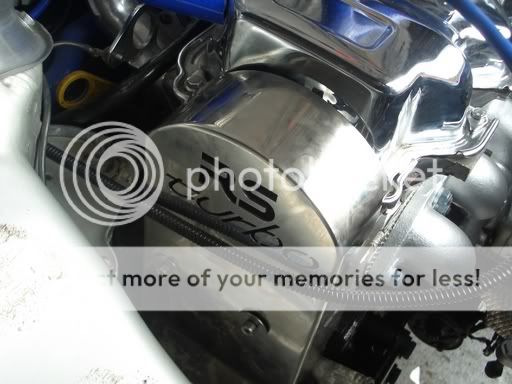
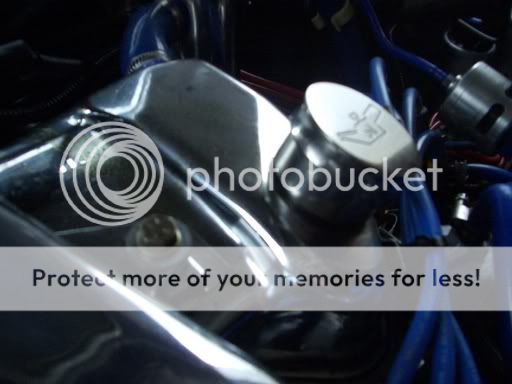
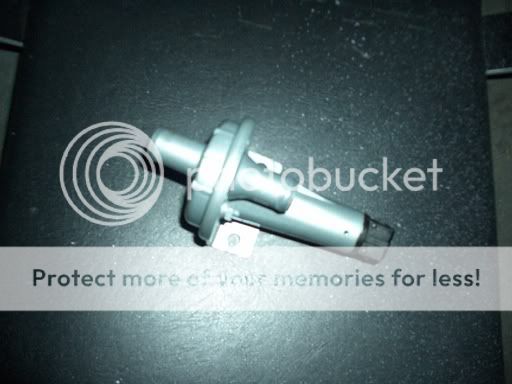
And these bits arrived in the post last week so cheered me up:
The finish is awesome but I'm not fitting them until the under bonnet oil-spray problem has been sorted


Will update again as soon as I have some news - wish me luck...
All seemed well once I had put everything back together - once the battery was charged the engine started fine. Passed the MOT and all seemed well. A couple of weeks later I was checking everything was still in order and noticed the below:
It would appear the issues I was experiencing a few months ago that had been diagnosed as a faulty turbo charger could indeed prove more serious. Oil is still finding it's way into the breather system as it was previously. It's also managing to get out of the oil filler cap and if it wasn't secured with a grub screw then it would be dislodged at regular intervals!
I took the car off to SCC this weekend and got them to check it over. A compression test was carried out and showed that the compression was down in number 1 cylinder. Although piston rings and a bottom end re-build could be on the cards there is some hope that it won't be that serious. As the car is still driving well and does not seem to lack power I'm hoping that the problem might be caused by valve damage, in which case it would need a bit of work on the head to bring it back to life. Obviously, without taking the head off I'm still in the dark at present but will know more in the next couple of weeks.
So, for the time being I thought I'd give the car a good clean to smarten her up on the outside at least:
And these bits arrived in the post last week so cheered me up:
The finish is awesome but I'm not fitting them until the under bonnet oil-spray problem has been sorted
Will update again as soon as I have some news - wish me luck...
 07-07-2005, 12:25 PM
#58
Regular Contributor
Thread Starter
Join Date: Jul 2003
Location: Herts
Posts: 343
Likes: 0
Received 0 Likes
on
0 Posts
It's been a couple of months since I've had anything to report. Was beginning to lose interest and toyed with the idea of breaking the car for spares. However, looking at some of the other restorations on here convinced me that it was far from a lost cause.
Therefore, update of what I've been doing:
Firstly, removed all ancillaries to take the head off
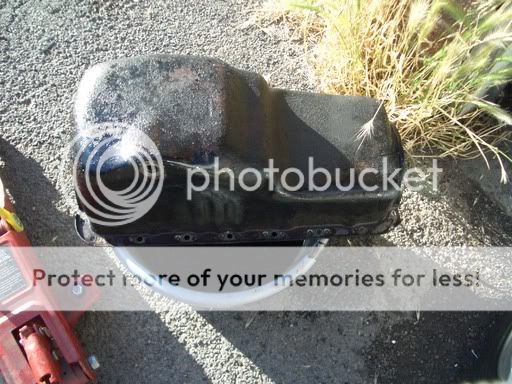
Got the sump off
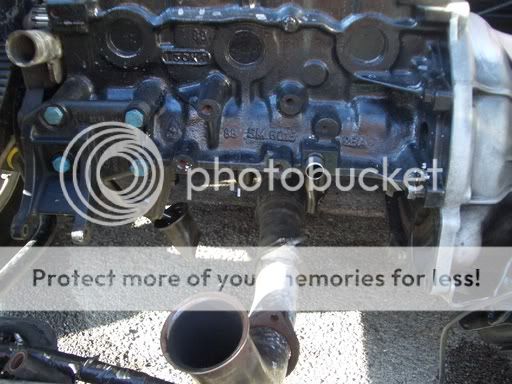
Gonna replace the sump as it's getting a bit old and rusty
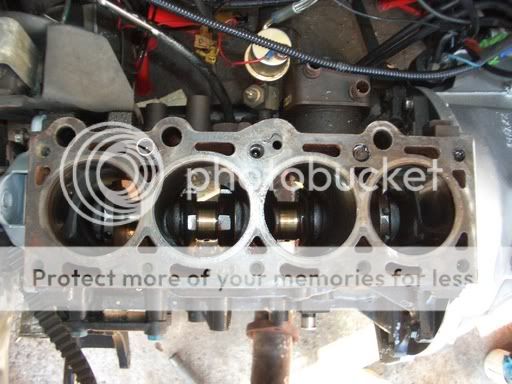
Compression was down in the first cylinder so this was the first one I got to work on:
And this is what I found (sorry the picture is slightly out of focus)
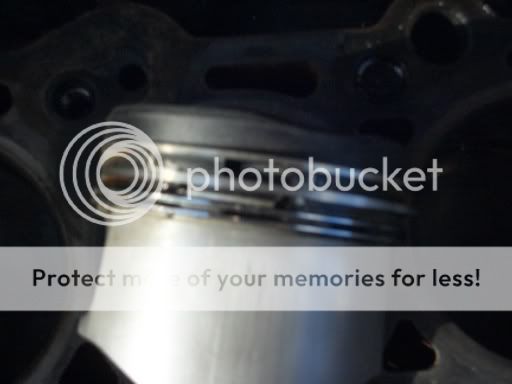
So, looks like this piston has been the cause of my troubles. Going to get all the others out aswell and check the condition. On a positive note the bore doesn't appear to be worn or damaged so looks like it could have been worse.
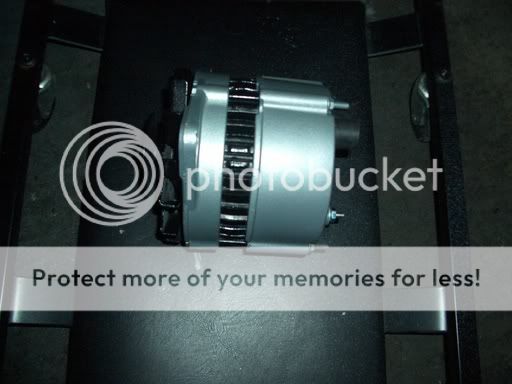
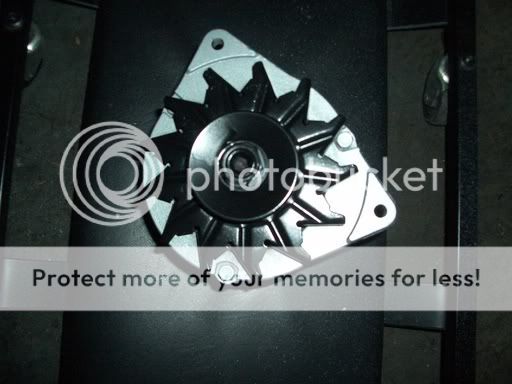
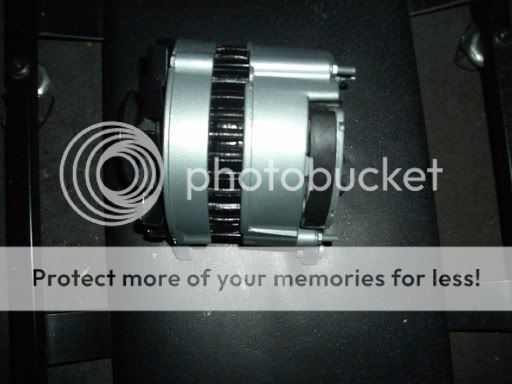
Anyway, a few pics of other bits I've been tidying up with a lick of paint:


And finally, as she stands at the moment�will hopefully have more updates early next week.
Therefore, update of what I've been doing:
Firstly, removed all ancillaries to take the head off
Got the sump off
Gonna replace the sump as it's getting a bit old and rusty
Compression was down in the first cylinder so this was the first one I got to work on:
And this is what I found (sorry the picture is slightly out of focus)
So, looks like this piston has been the cause of my troubles. Going to get all the others out aswell and check the condition. On a positive note the bore doesn't appear to be worn or damaged so looks like it could have been worse.
Anyway, a few pics of other bits I've been tidying up with a lick of paint:
And finally, as she stands at the moment�will hopefully have more updates early next week.

 08-07-2005, 12:58 PM
#64
Regular Contributor
Thread Starter
Join Date: Jul 2003
Location: Herts
Posts: 343
Likes: 0
Received 0 Likes
on
0 Posts
where did you get the heat resitant paint and how much ?
11-07-2005, 06:27 PM
#65
I'm Finding My Feet Here Now

Join Date: Mar 2005
Posts: 106
Likes: 0
Received 0 Likes
on
0 Posts
Have a look here: http://www.frost.co.uk/item_Detail.asp?productID=8395[/quote]
got some ordered, good price as well. thanks
got some ordered, good price as well. thanks
12-07-2005, 04:18 PM
#66
Regular Contributor
Thread Starter
Join Date: Jul 2003
Location: Herts
Posts: 343
Likes: 0
Received 0 Likes
on
0 Posts
Just a quick update and some pics of what I've been up to over the last few days (as well as getting well and truly sun-burned on Sunday!)
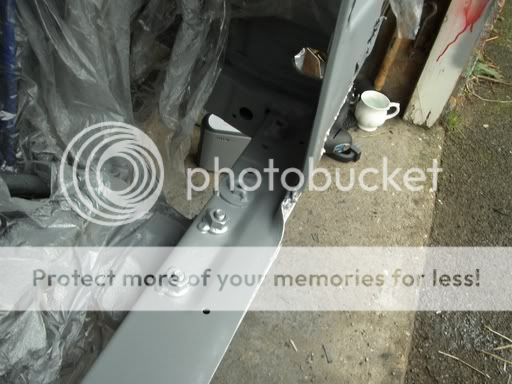
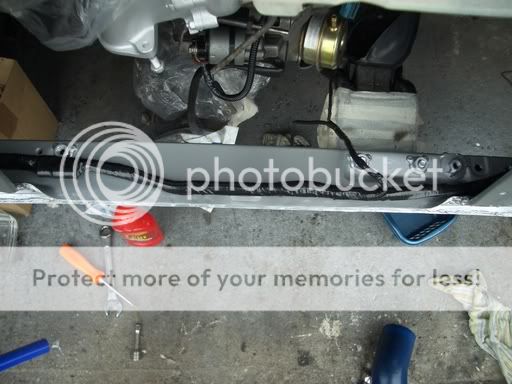
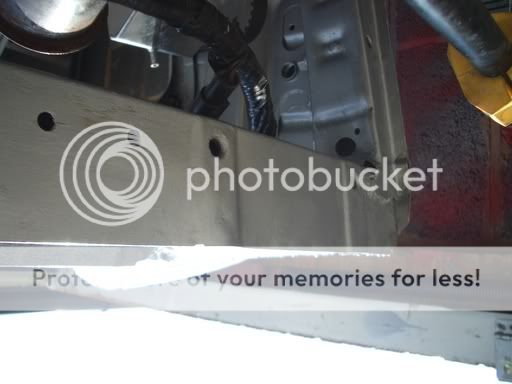
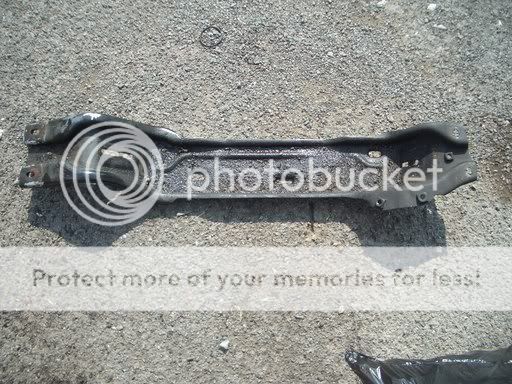
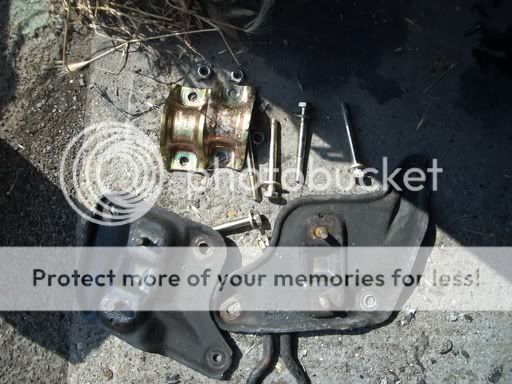
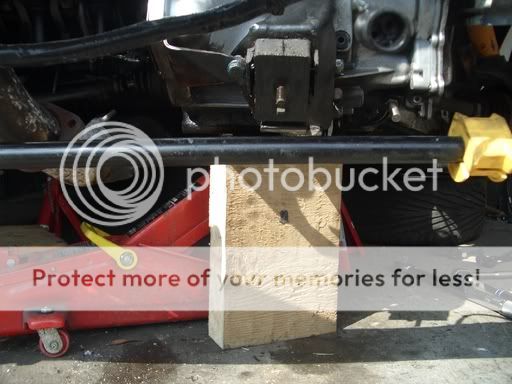
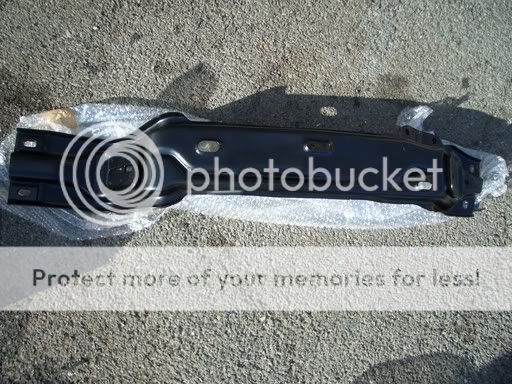
Gave underneath the front crossmember a few coats of paint to keep any would-be rust at bay for a bit longer...
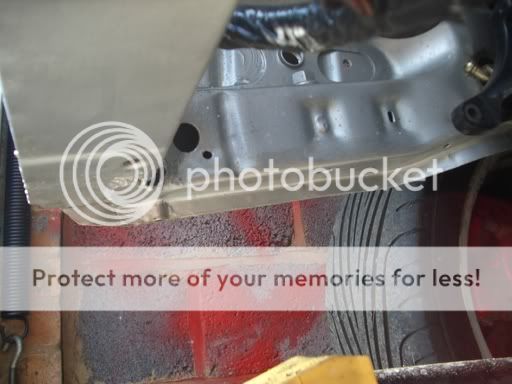
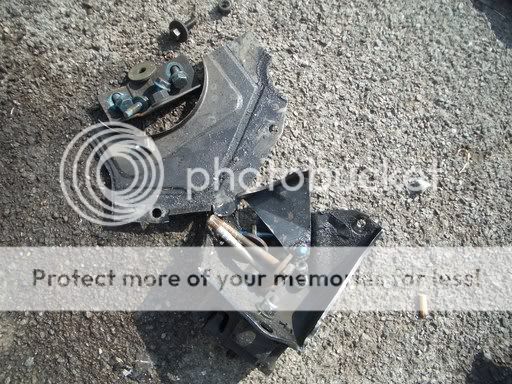
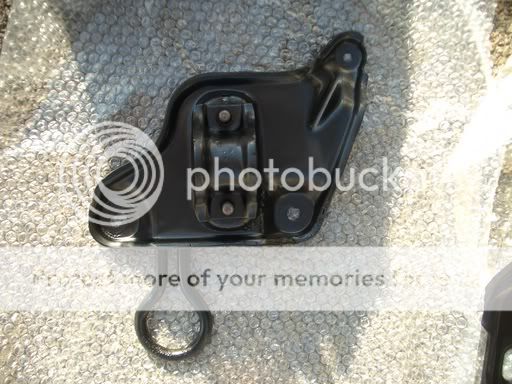
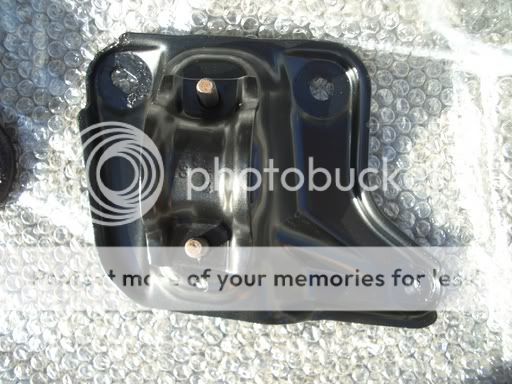
Took a while to get all the mountings and components off - guess they've not been removed for a while. Judging by the amount of oil/grease/stones etc it was covered in it's gonna take me a while to clean it all up. Then of to the powder-coaters...
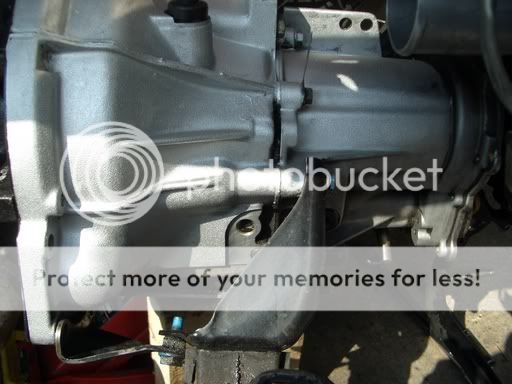
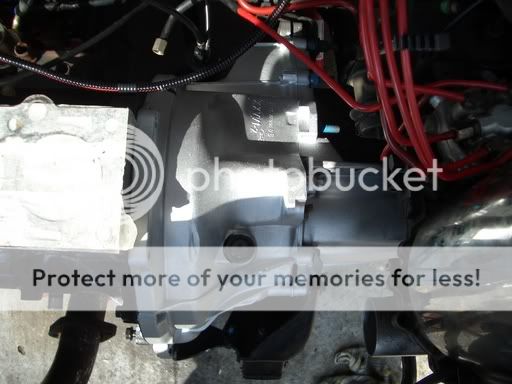
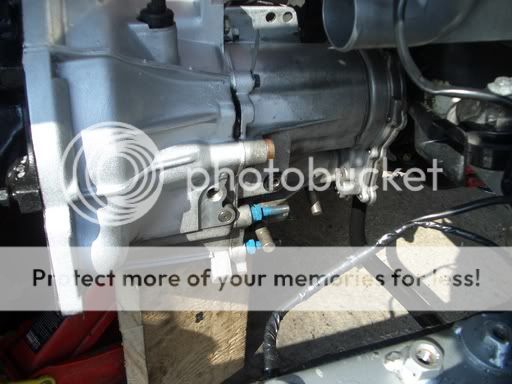
Continued with cleaning up the gearbox a gave it a lick of paint that certainly brightens it up! The 4th pic shows the job finished...
More to come later in the week.
Gave underneath the front crossmember a few coats of paint to keep any would-be rust at bay for a bit longer...
Took a while to get all the mountings and components off - guess they've not been removed for a while. Judging by the amount of oil/grease/stones etc it was covered in it's gonna take me a while to clean it all up. Then of to the powder-coaters...
Continued with cleaning up the gearbox a gave it a lick of paint that certainly brightens it up! The 4th pic shows the job finished...
More to come later in the week.
12-07-2005, 09:54 PM
#69
Regular Contributor
Thread Starter
Join Date: Jul 2003
Location: Herts
Posts: 343
Likes: 0
Received 0 Likes
on
0 Posts
Thanks gents! Are you both lost for words? 
Seriously though, by seeing the extent of work you guys have put into your cars has helped me to stay motivated, so to you!
Seriously though, by seeing the extent of work you guys have put into your cars has helped me to stay motivated, so
to you!
 with me next time so i can get to him
  20-07-2005, 10:21 PM
#75
Regular Contributor
Thread Starter
Join Date: Jul 2003
Location: Herts
Posts: 343
Likes: 0
Received 0 Likes
on
0 Posts
At last, managed to get the pics uploaded
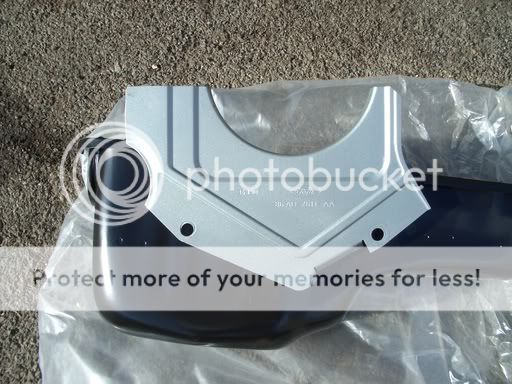
Been a busy few days. Firstly the new sump has arrived. I've also painted the plate that sits between the sump and gearbox:


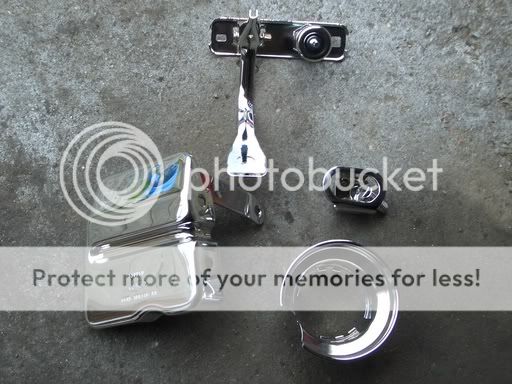
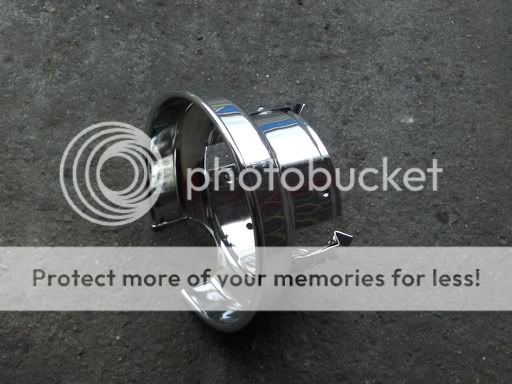
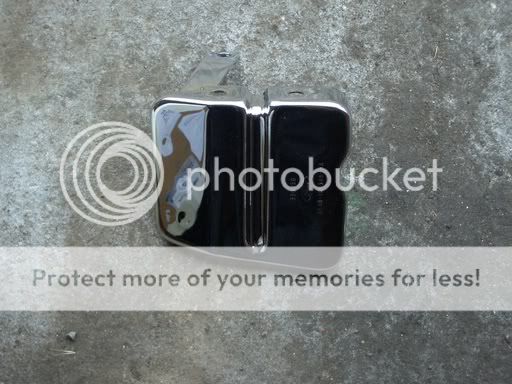
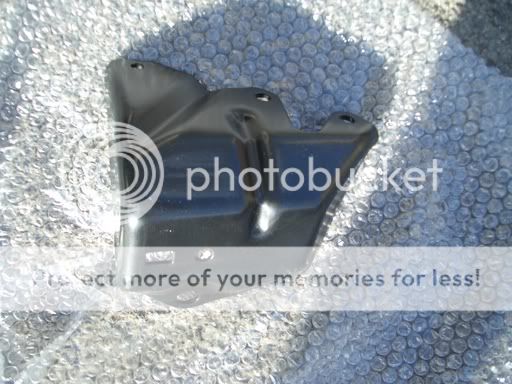
Also, collected my parts from the powder coaters today. Think they'll look a lot better now and am really pleased with the finish.


Fianlly, I've removed the rest of the pistons. Number 4 appears to be going the same way as Number 1, with the wall of the piston between the rings starting to crack and shatter.
Next up is to get the block out at the weekend and off to get the bores checked out for wear.
Been a busy few days. Firstly the new sump has arrived. I've also painted the plate that sits between the sump and gearbox:
Also, collected my parts from the powder coaters today. Think they'll look a lot better now and am really pleased with the finish.
Fianlly, I've removed the rest of the pistons. Number 4 appears to be going the same way as Number 1, with the wall of the piston between the rings starting to crack and shatter.
Next up is to get the block out at the weekend and off to get the bores checked out for wear.
31-07-2005, 01:00 AM
#78
Virgin

Join Date: Jul 2005
Location: scotland
Posts: 7
Likes: 0
Received 0 Likes
on
0 Posts
nice lookin motor. just about to recieve a cab myself, not sure about the details on the car. its a h reg with power roof and rs kit. efi engine. dont know the power output or anything any sugestions on what i should expect and do. also i need the skirts for it. knoticed yours is a turbo is that converted or standard ford?
any help and tech info is much appreciated, cheers
any help and tech info is much appreciated, cheers
03-08-2005, 10:32 AM
#79
Regular Contributor
Thread Starter
Join Date: Jul 2003
Location: Herts
Posts: 343
Likes: 0
Received 0 Likes
on
0 Posts
nice lookin motor. just about to recieve a cab myself, not sure about the details on the car. its a h reg with power roof and rs kit. efi engine. dont know the power output or anything any sugestions on what i should expect and do. also i need the skirts for it. knoticed yours is a turbo is that converted or standard ford?
Ford didn't produce an RS turbo version of the Carbiolet for the public so mine is converted. If yours is an EFi then the Fiesta RS Turbo engine and transmission will drop straight in without the need to alter the loom.
I've got a spare set of side-skirts and arch extensions in Mercury Grey if you're interested? Let me know
03-08-2005, 01:12 PM
#80
Virgin
Join Date: Jul 2005
Location: scotland
Posts: 7
Likes: 0
Received 0 Likes
on
0 Posts
ah that clears up the matter some what. cheers, yeah i'll be interested in the skirts it looks odd without them. i should have the car next week at some point.  its been painted mazda pearl. i'll post some pictures its gunna turn into a big project no doubt.
but yeah how much for the skirts and arch spats.
nice one
its been painted mazda pearl. i'll post some pictures its gunna turn into a big project no doubt. but yeah how much for the skirts and arch spats.
nice one