Muz's Escort RS Turbo Track Car. Bumper painted and fitted.
 28-10-2015, 06:36 PM
#1081
Advanced PassionFord User

Looking lovely mate, bonnet looks wicked!
Cheer Paul
Cheer Paul

 08-11-2015, 09:49 PM
#1083
Wye Valley Hardcore
Thread Starter
09-11-2015, 09:48 AM
#1084
Wye Valley Hardcore
Thread Starter
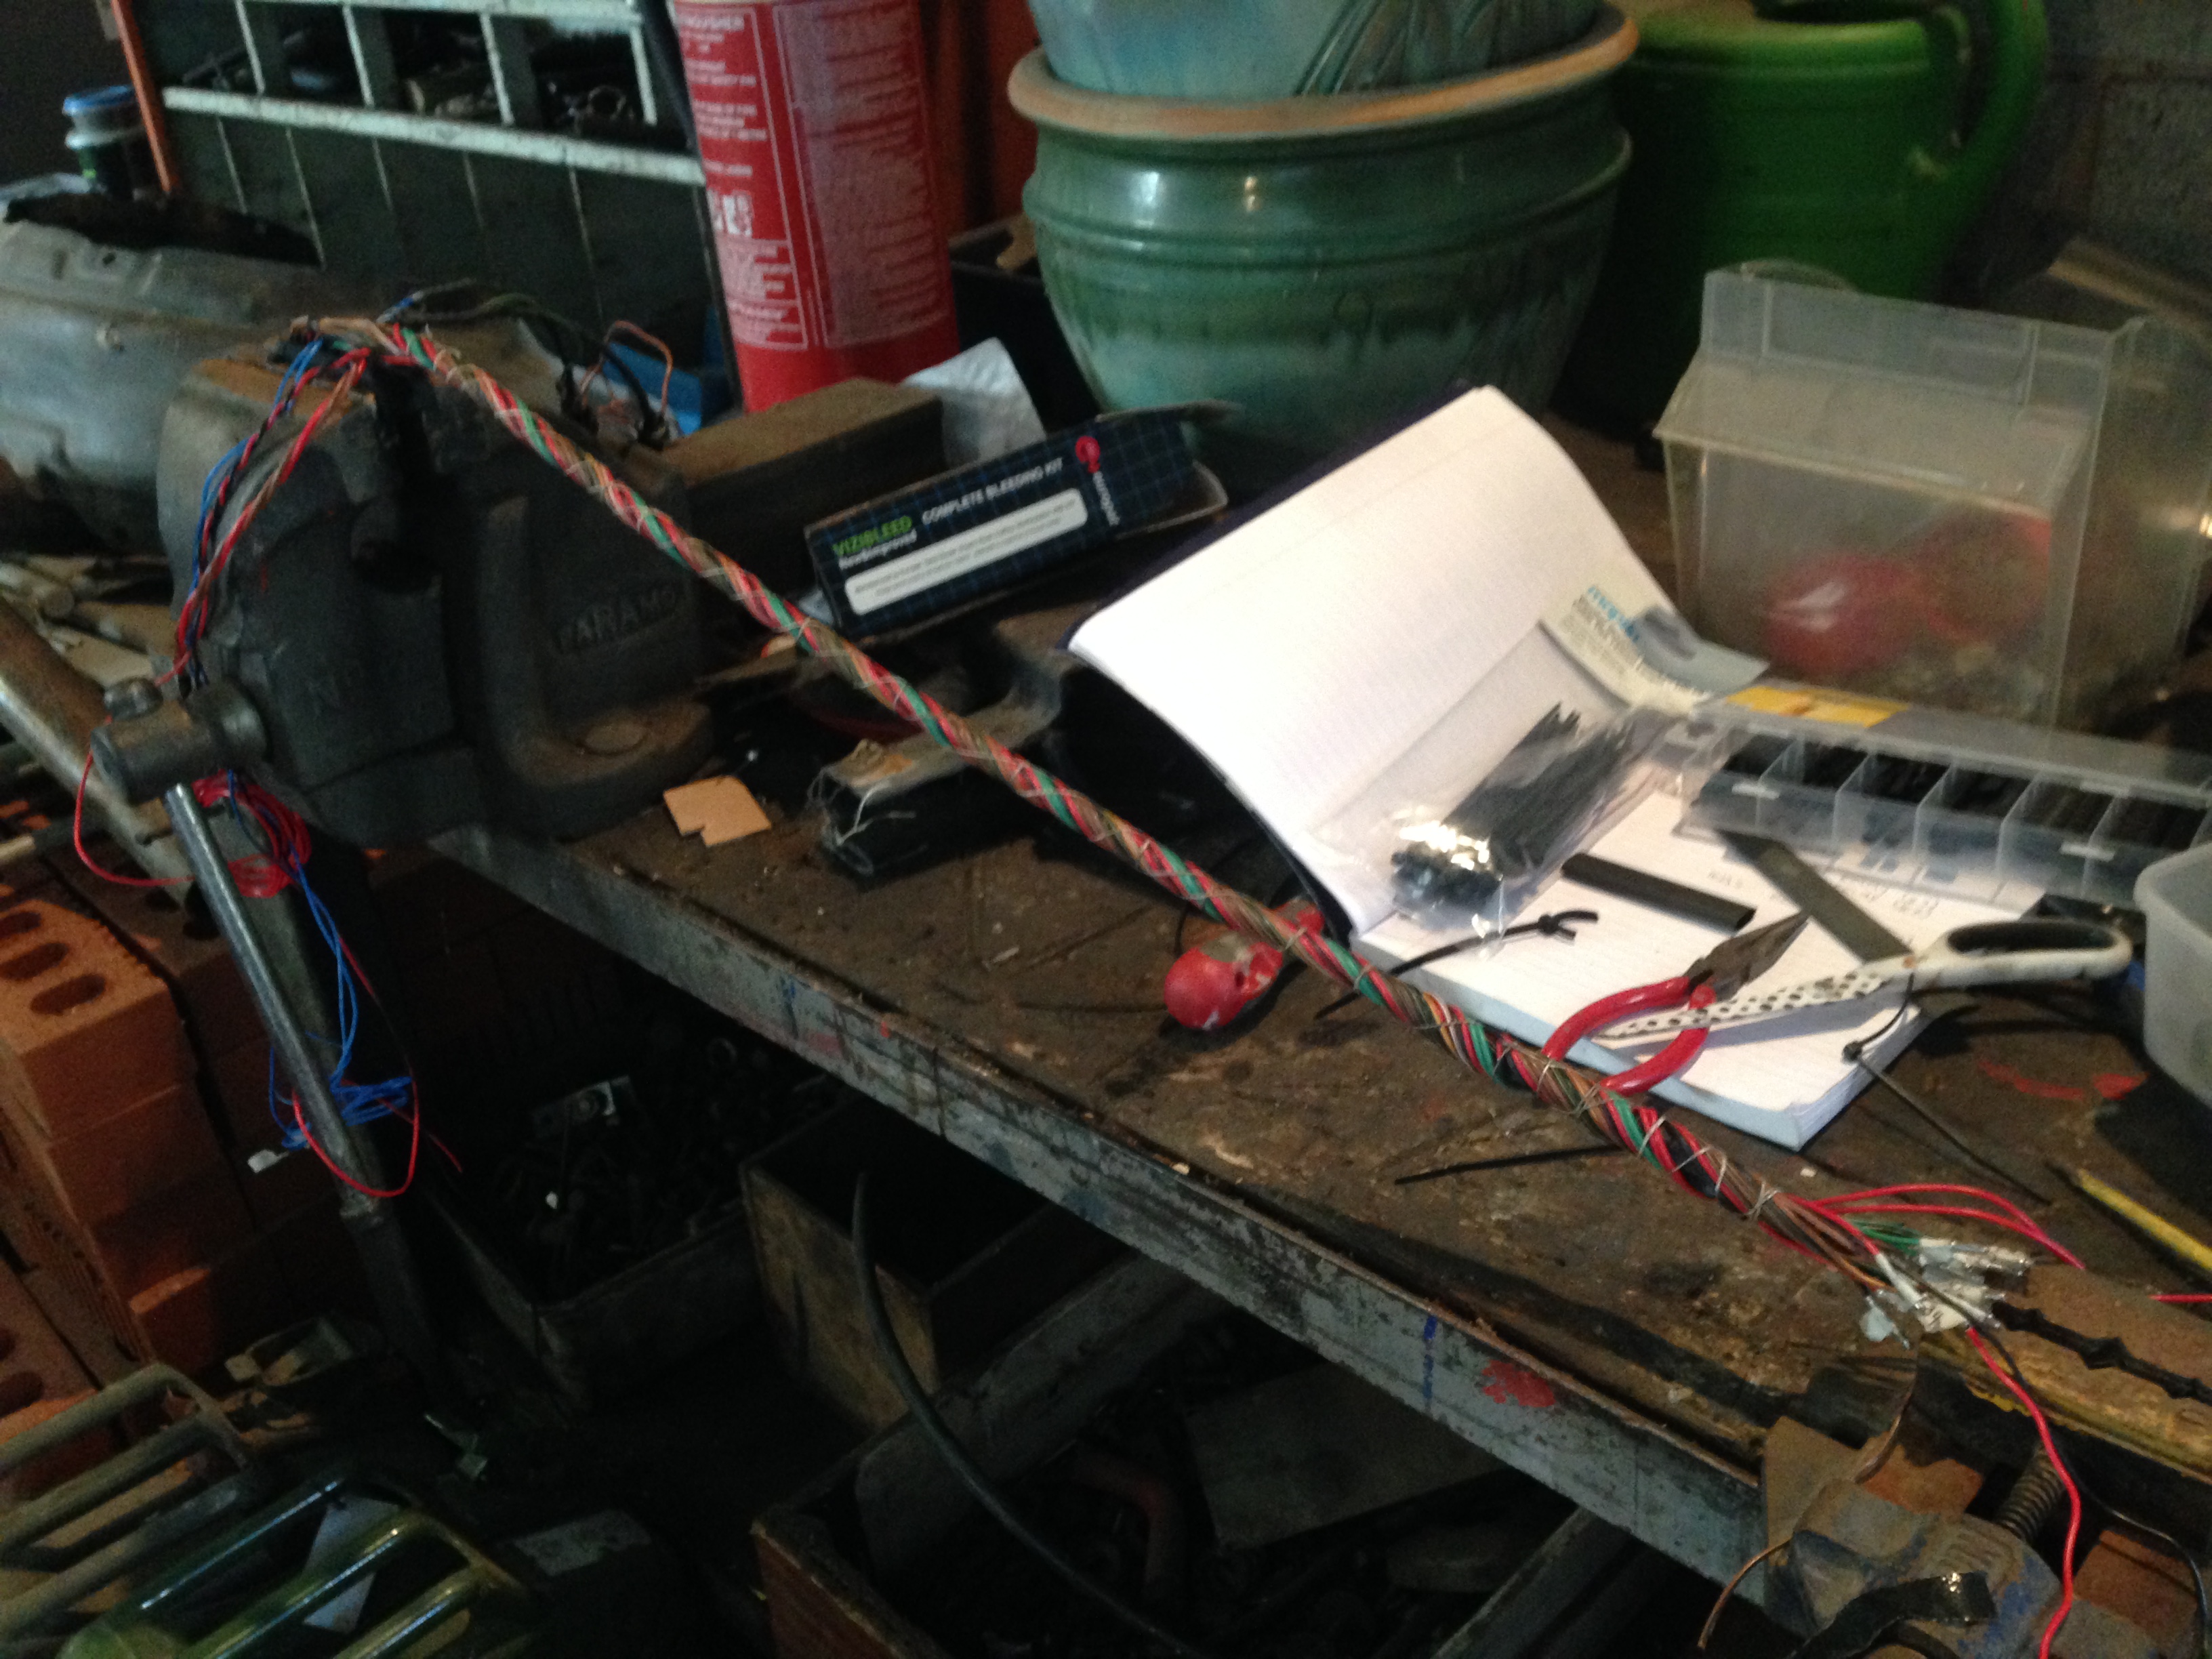
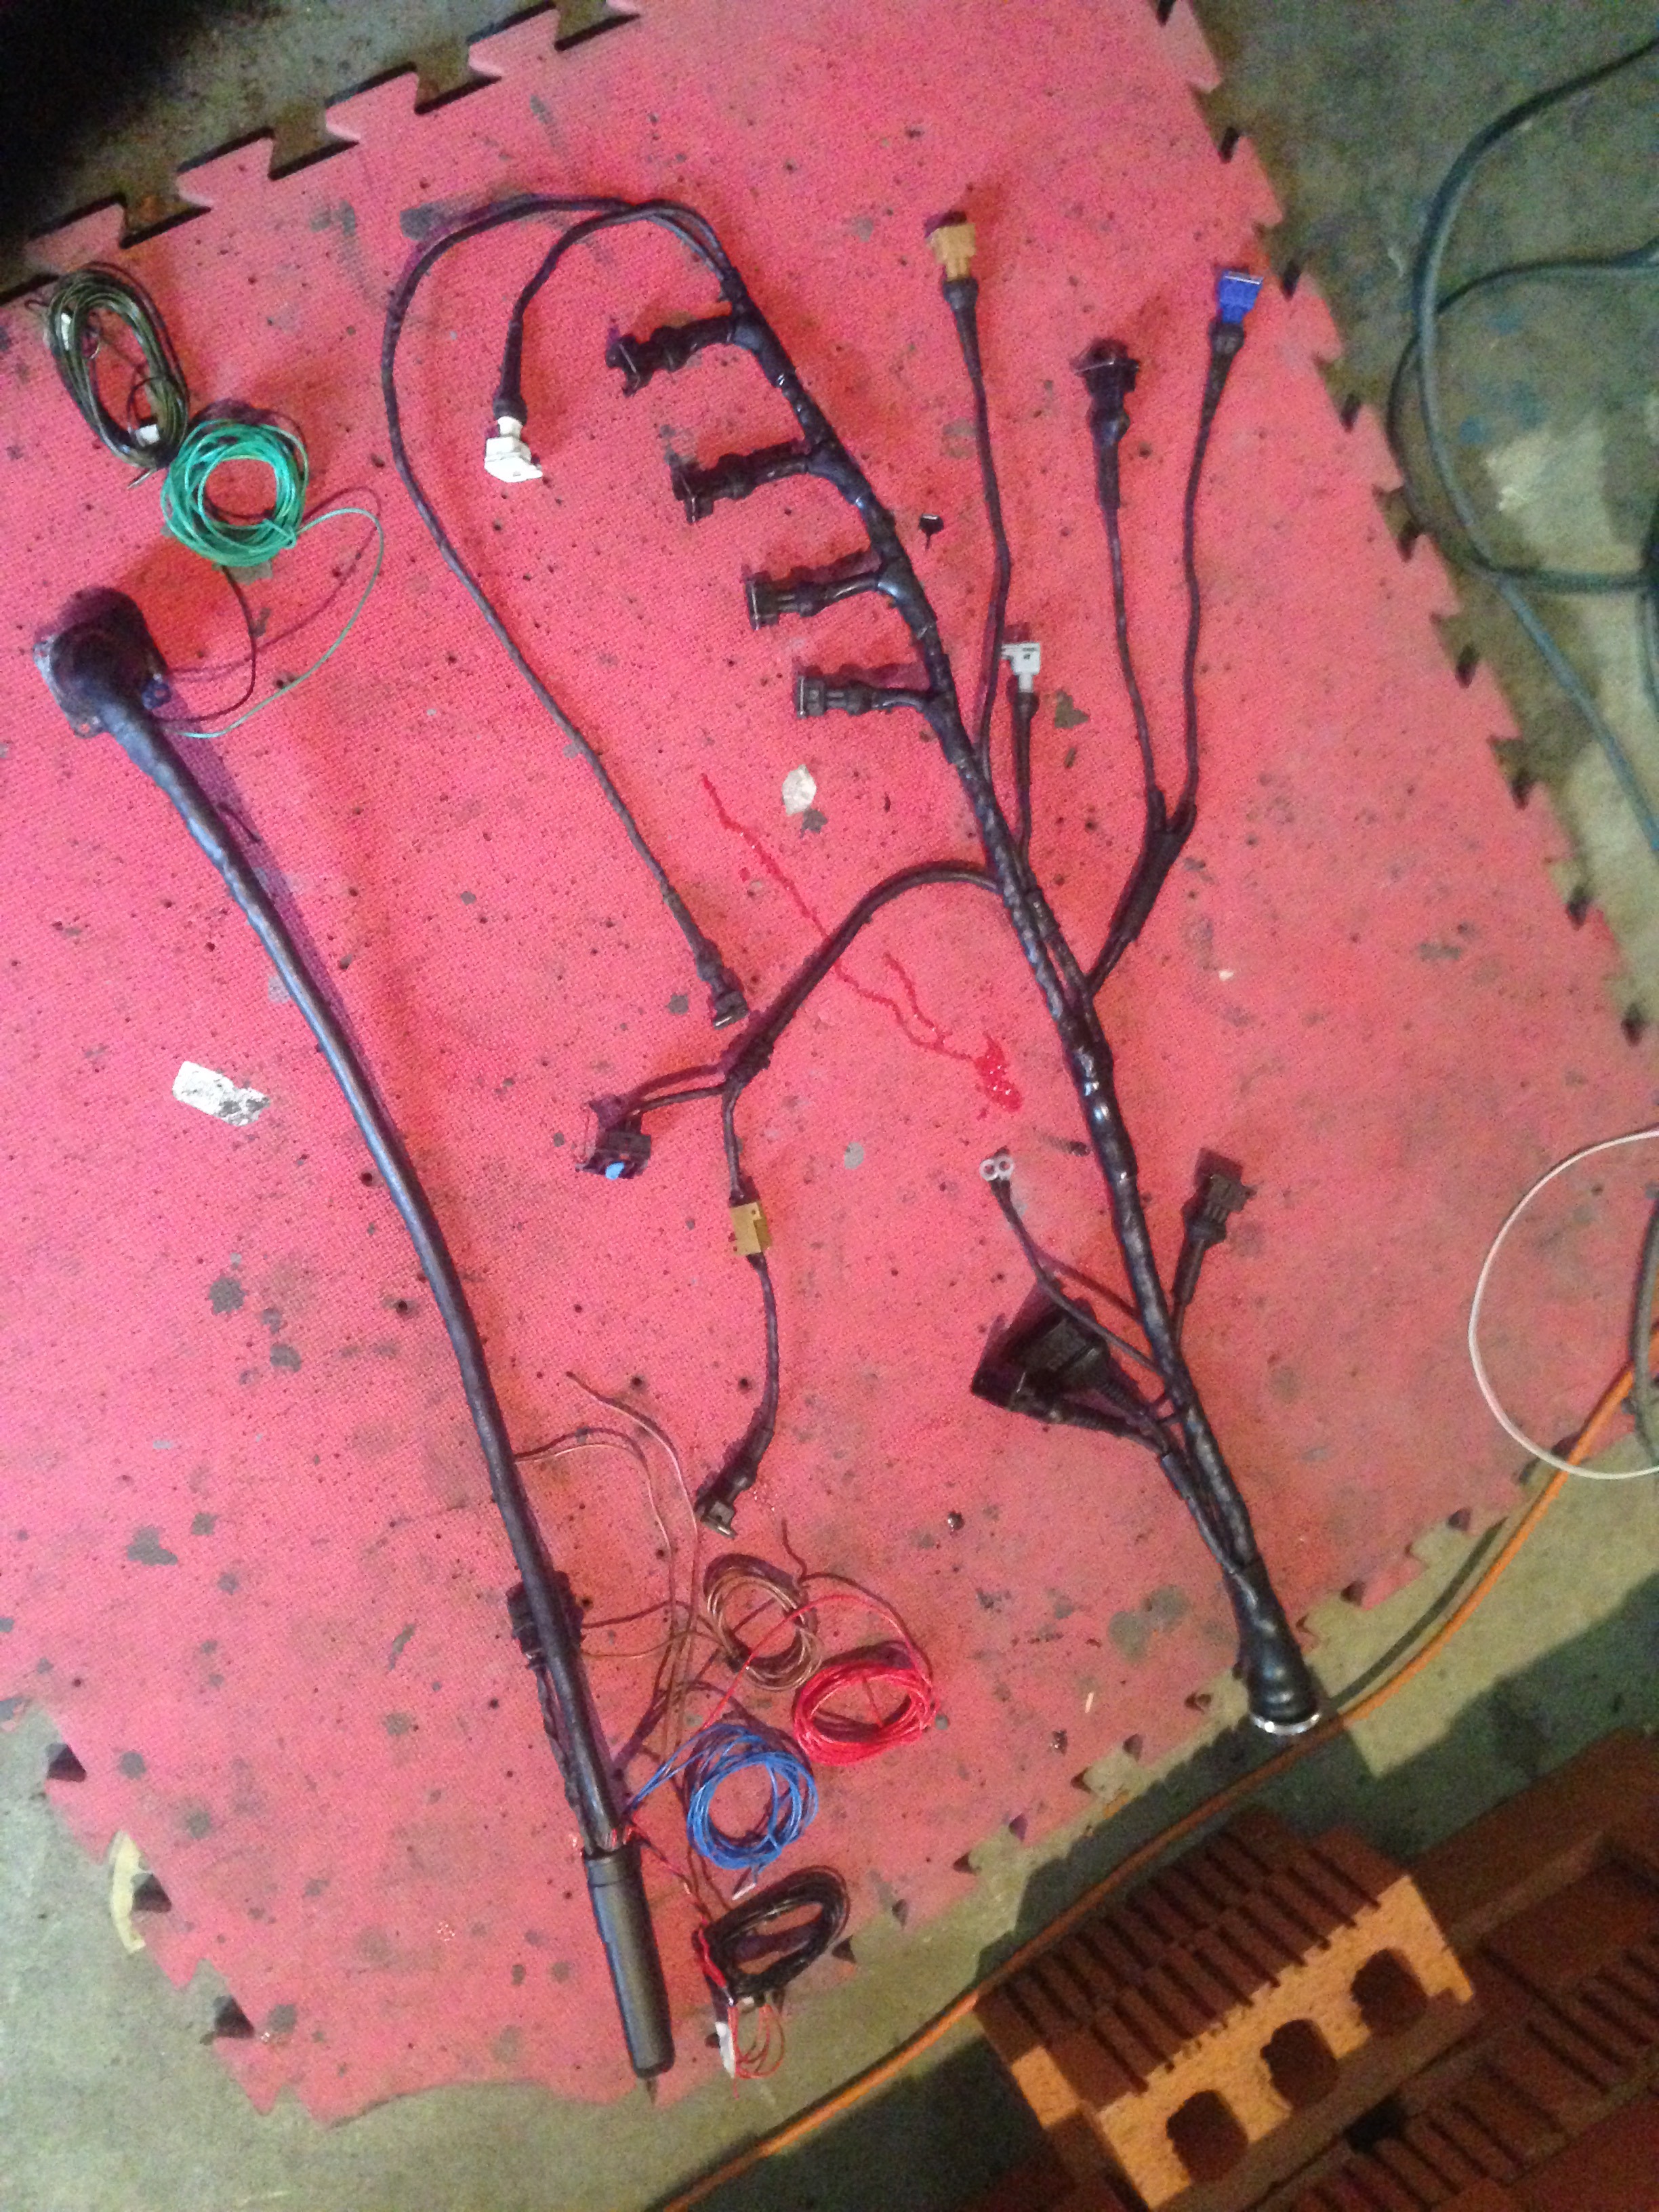
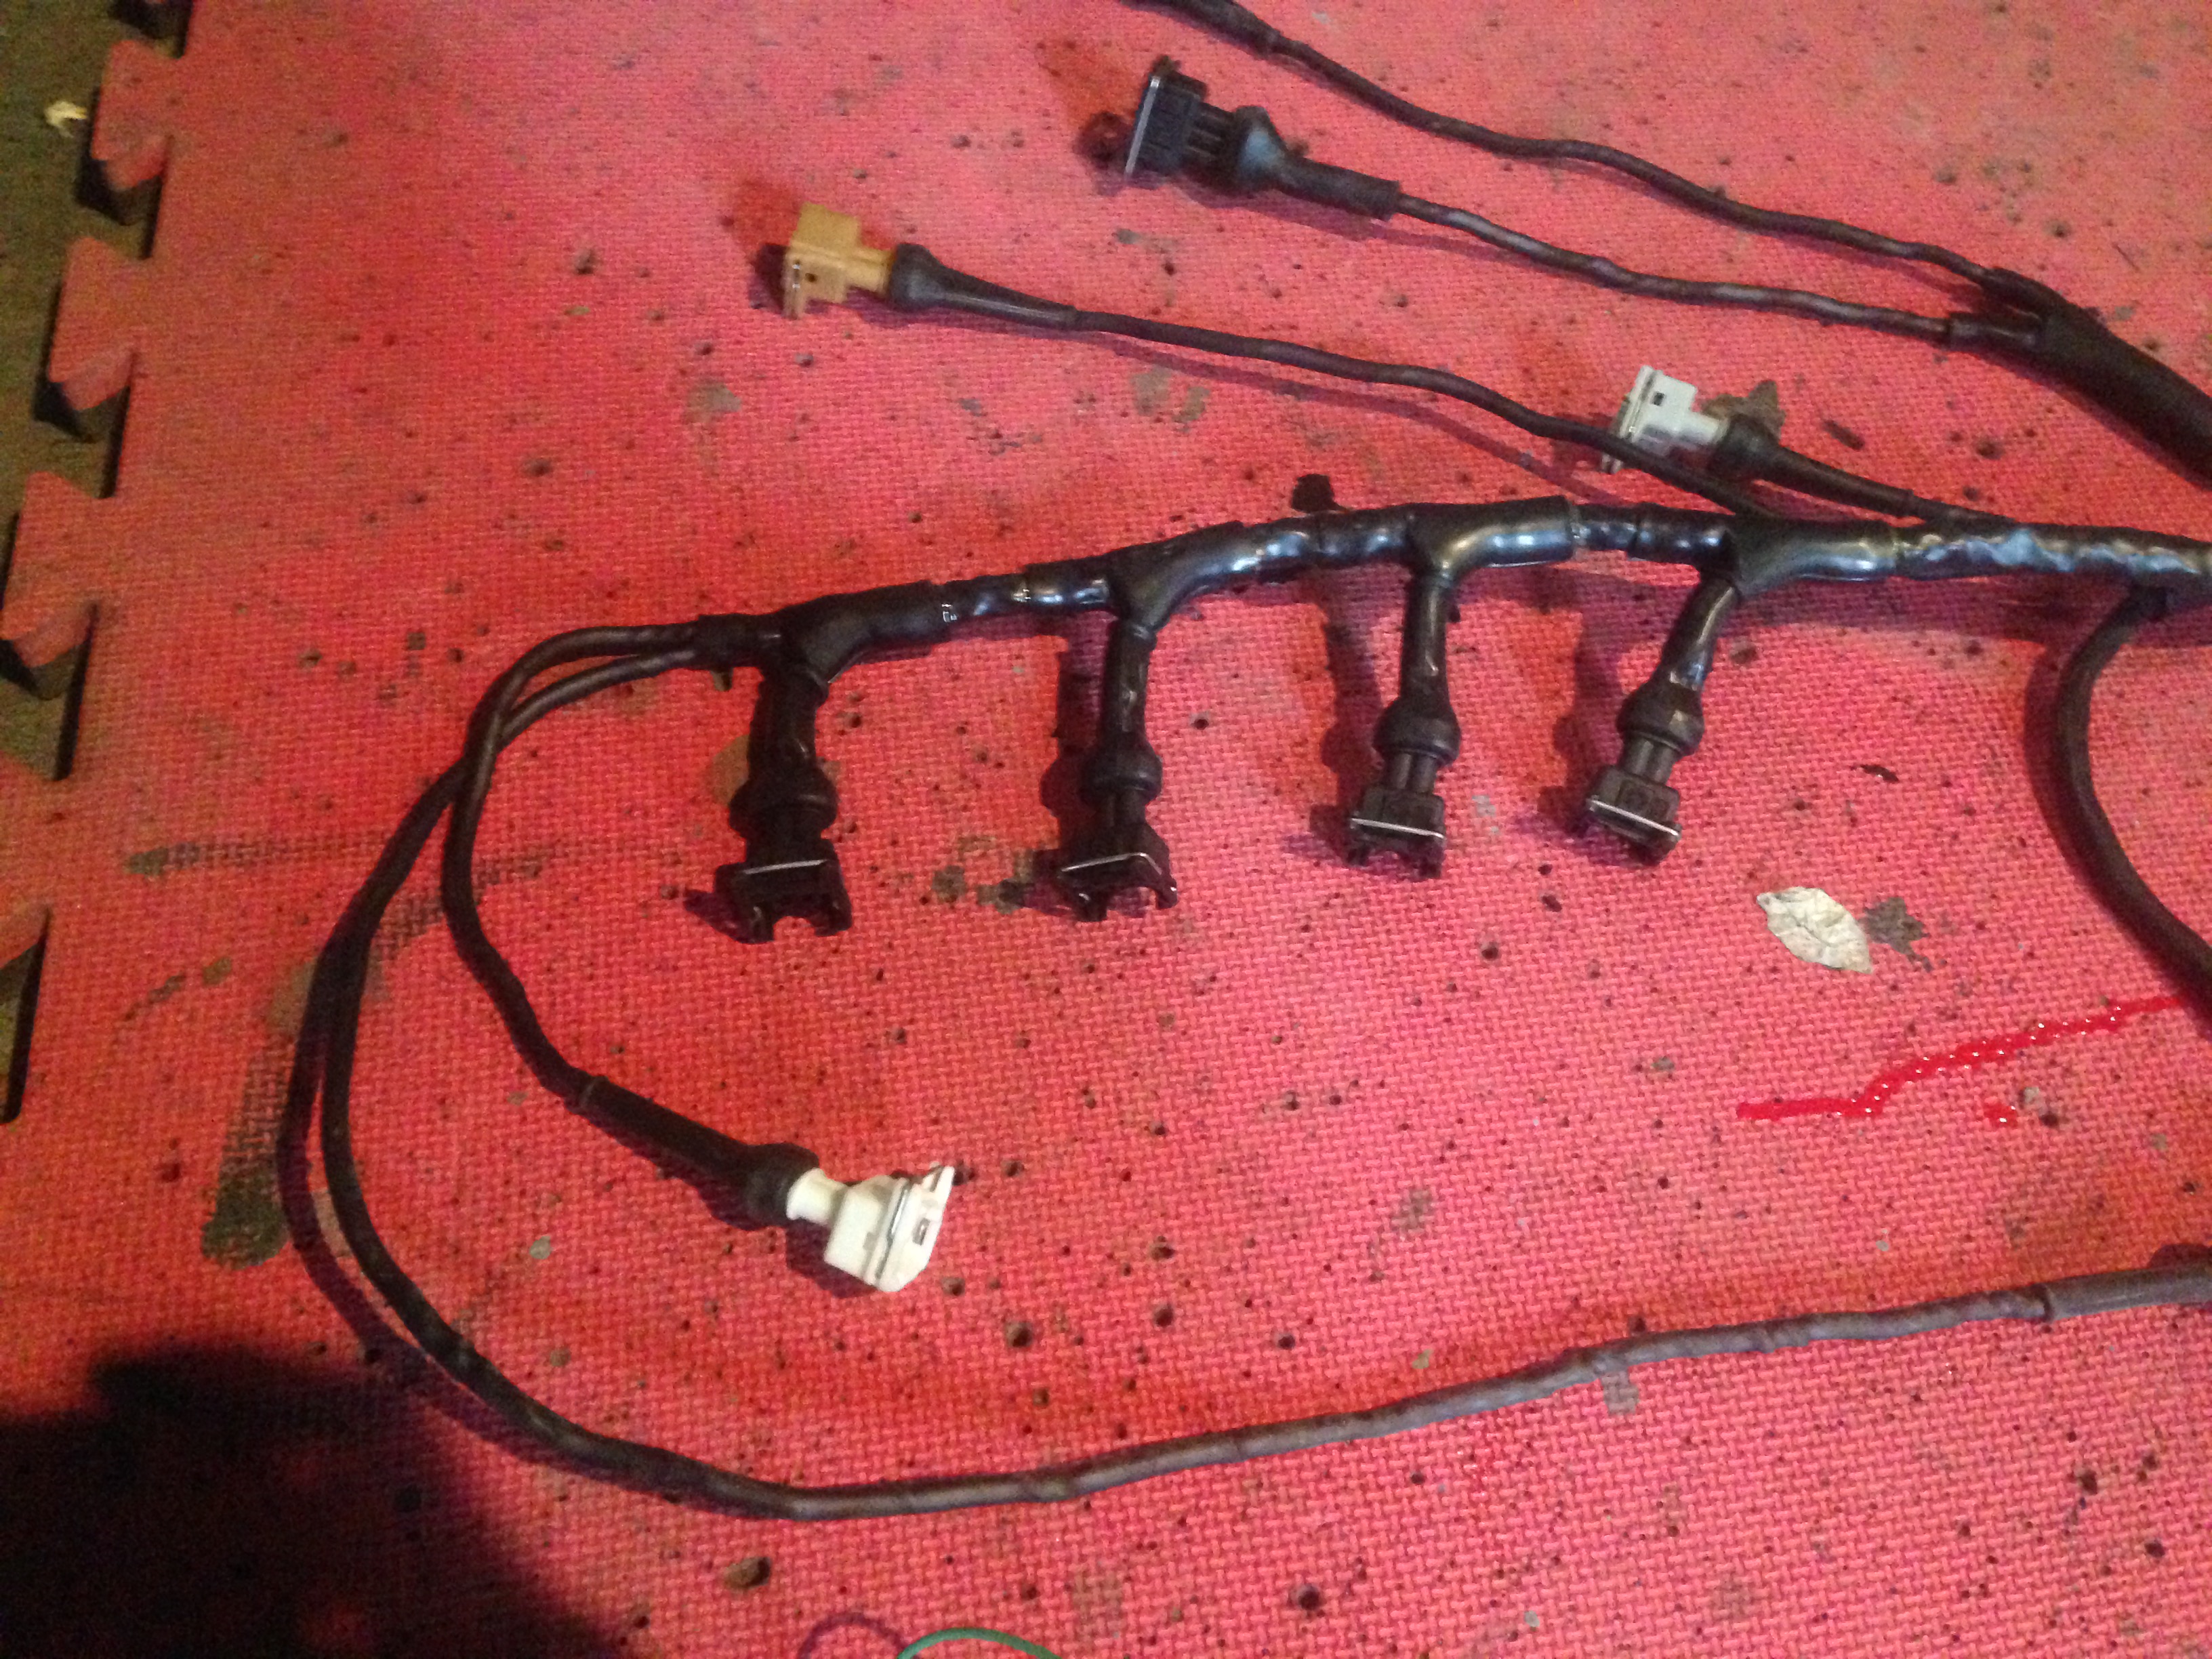
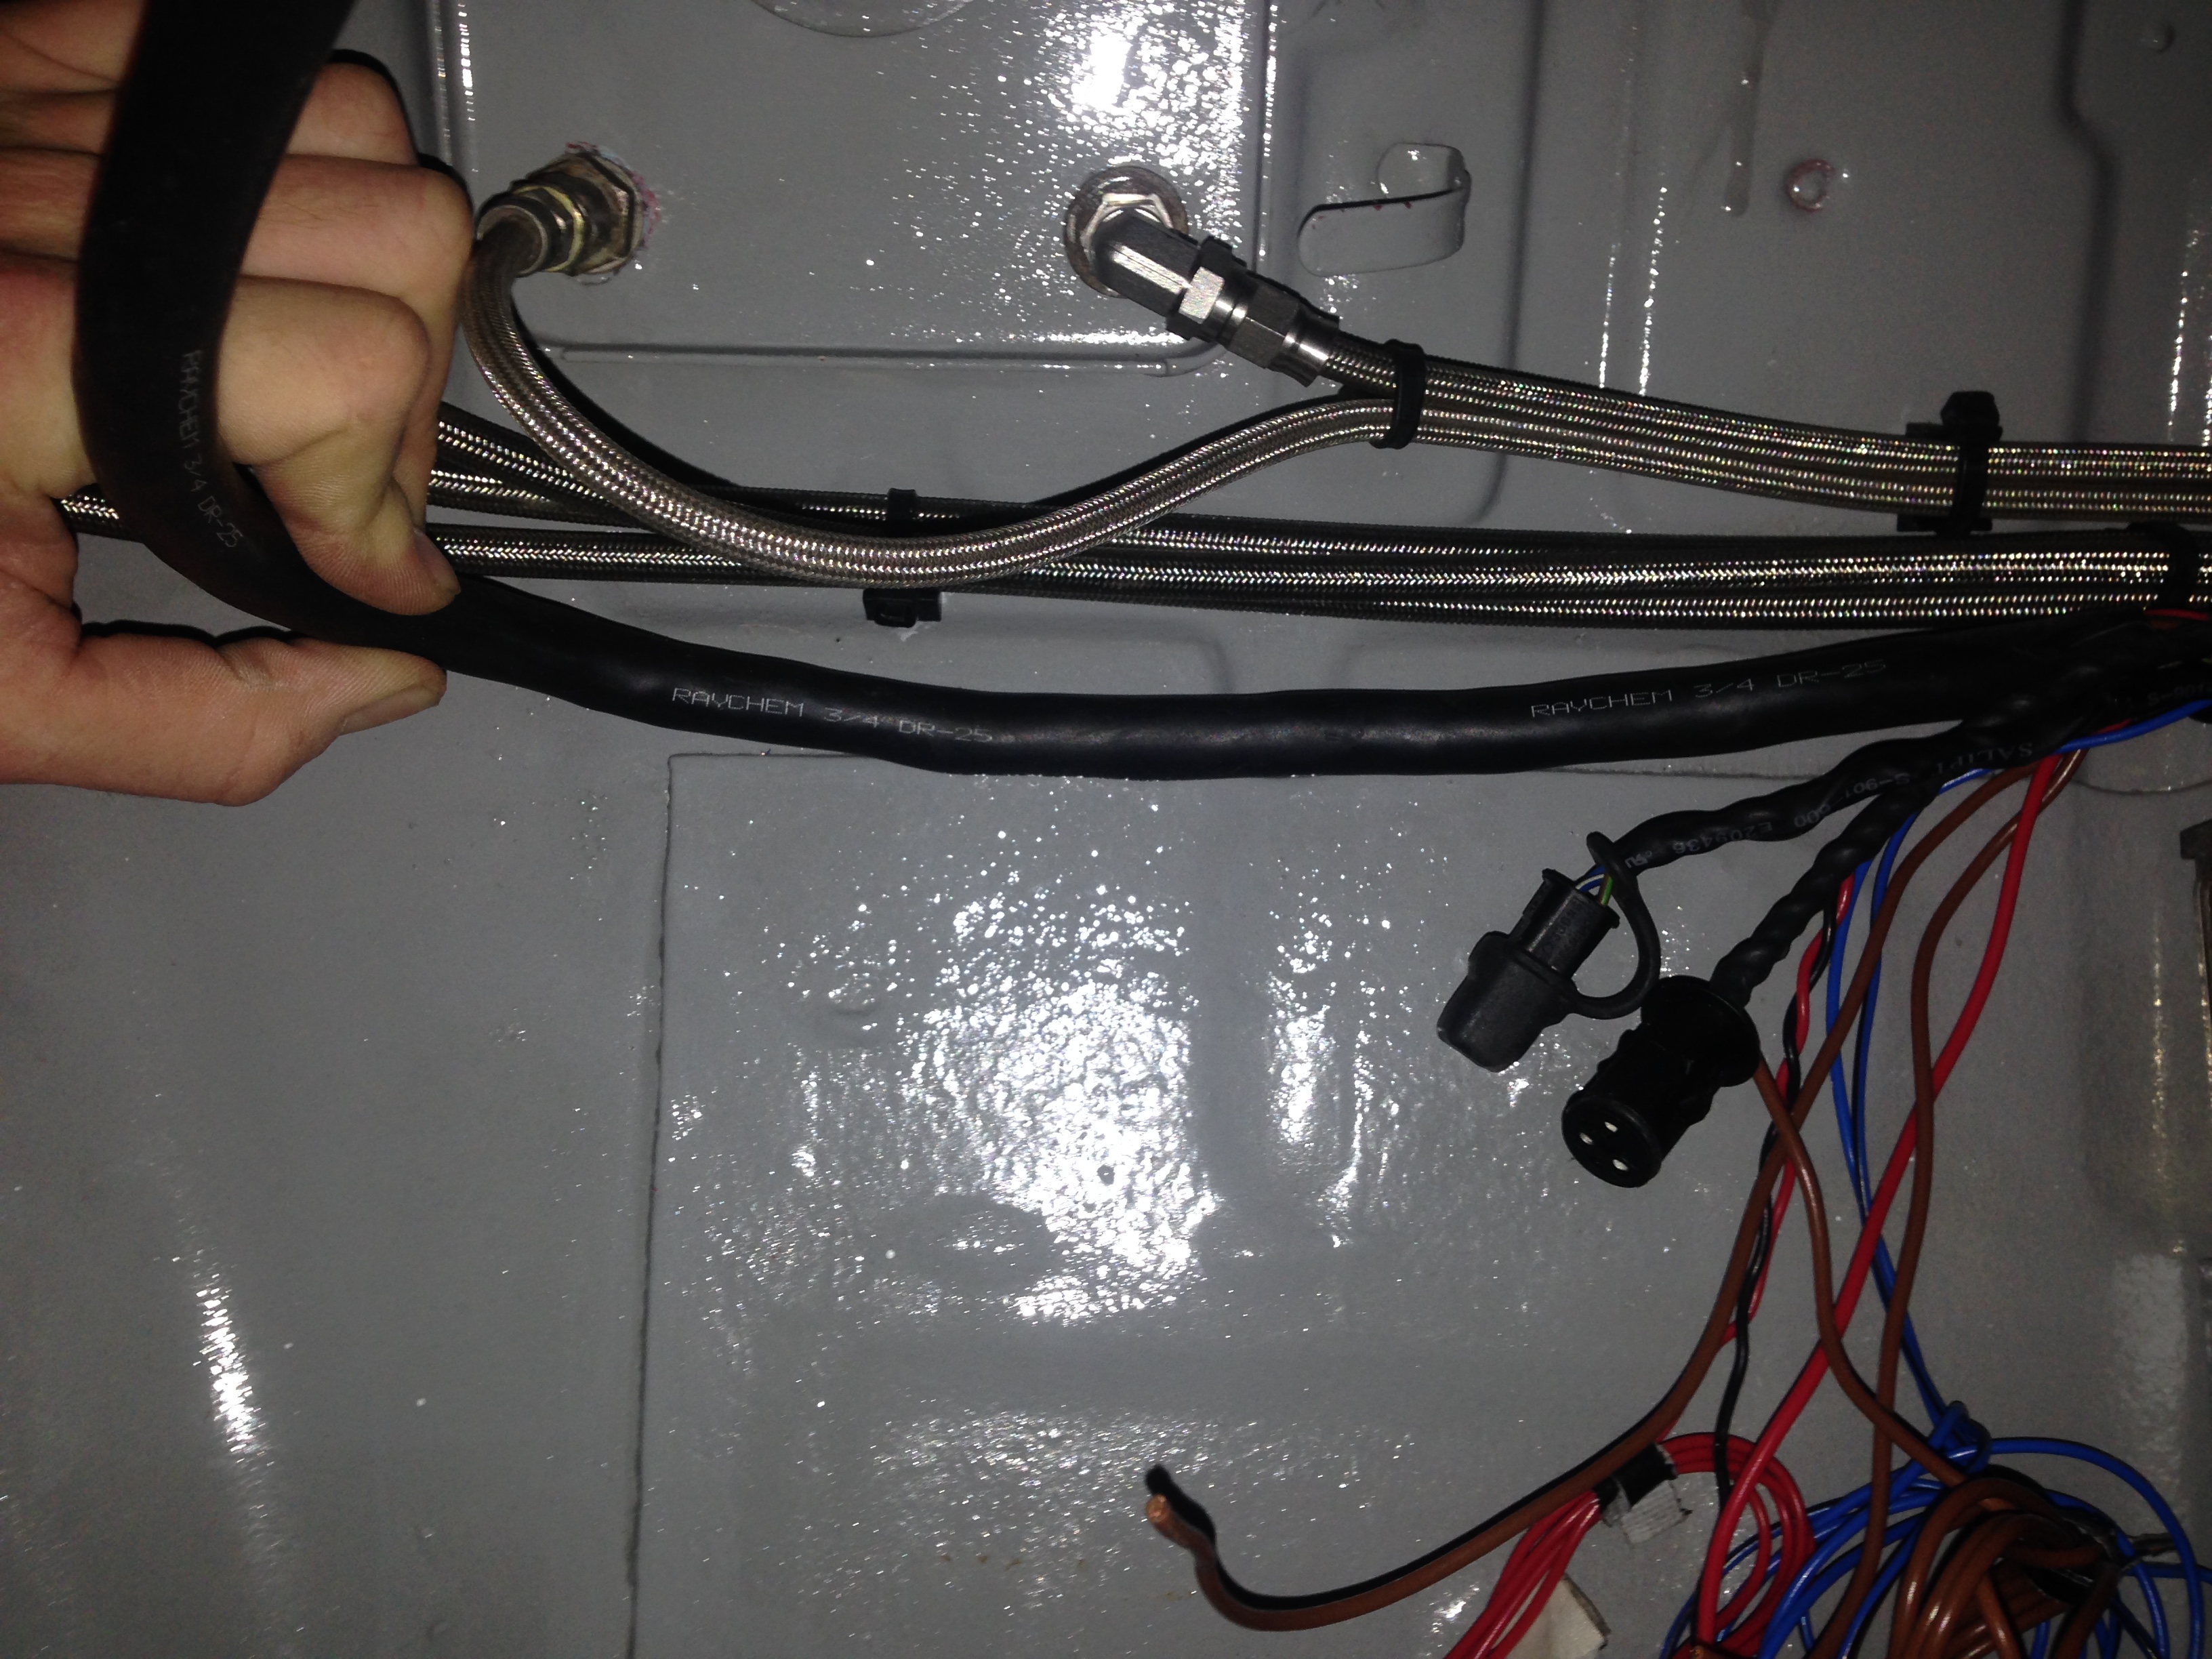
Here's the finished loom.
Not bad for a first effort at loom building and considering its a bespoke, fitted loom, with all new cable and connectors, covered in Hellermann and DR-25 with a Mil-Spec bulkhead connector it came in around �250, so I'm happy.
I can also add it to the list of things on the car I've done myself, which I'm pleased with.
Some pics
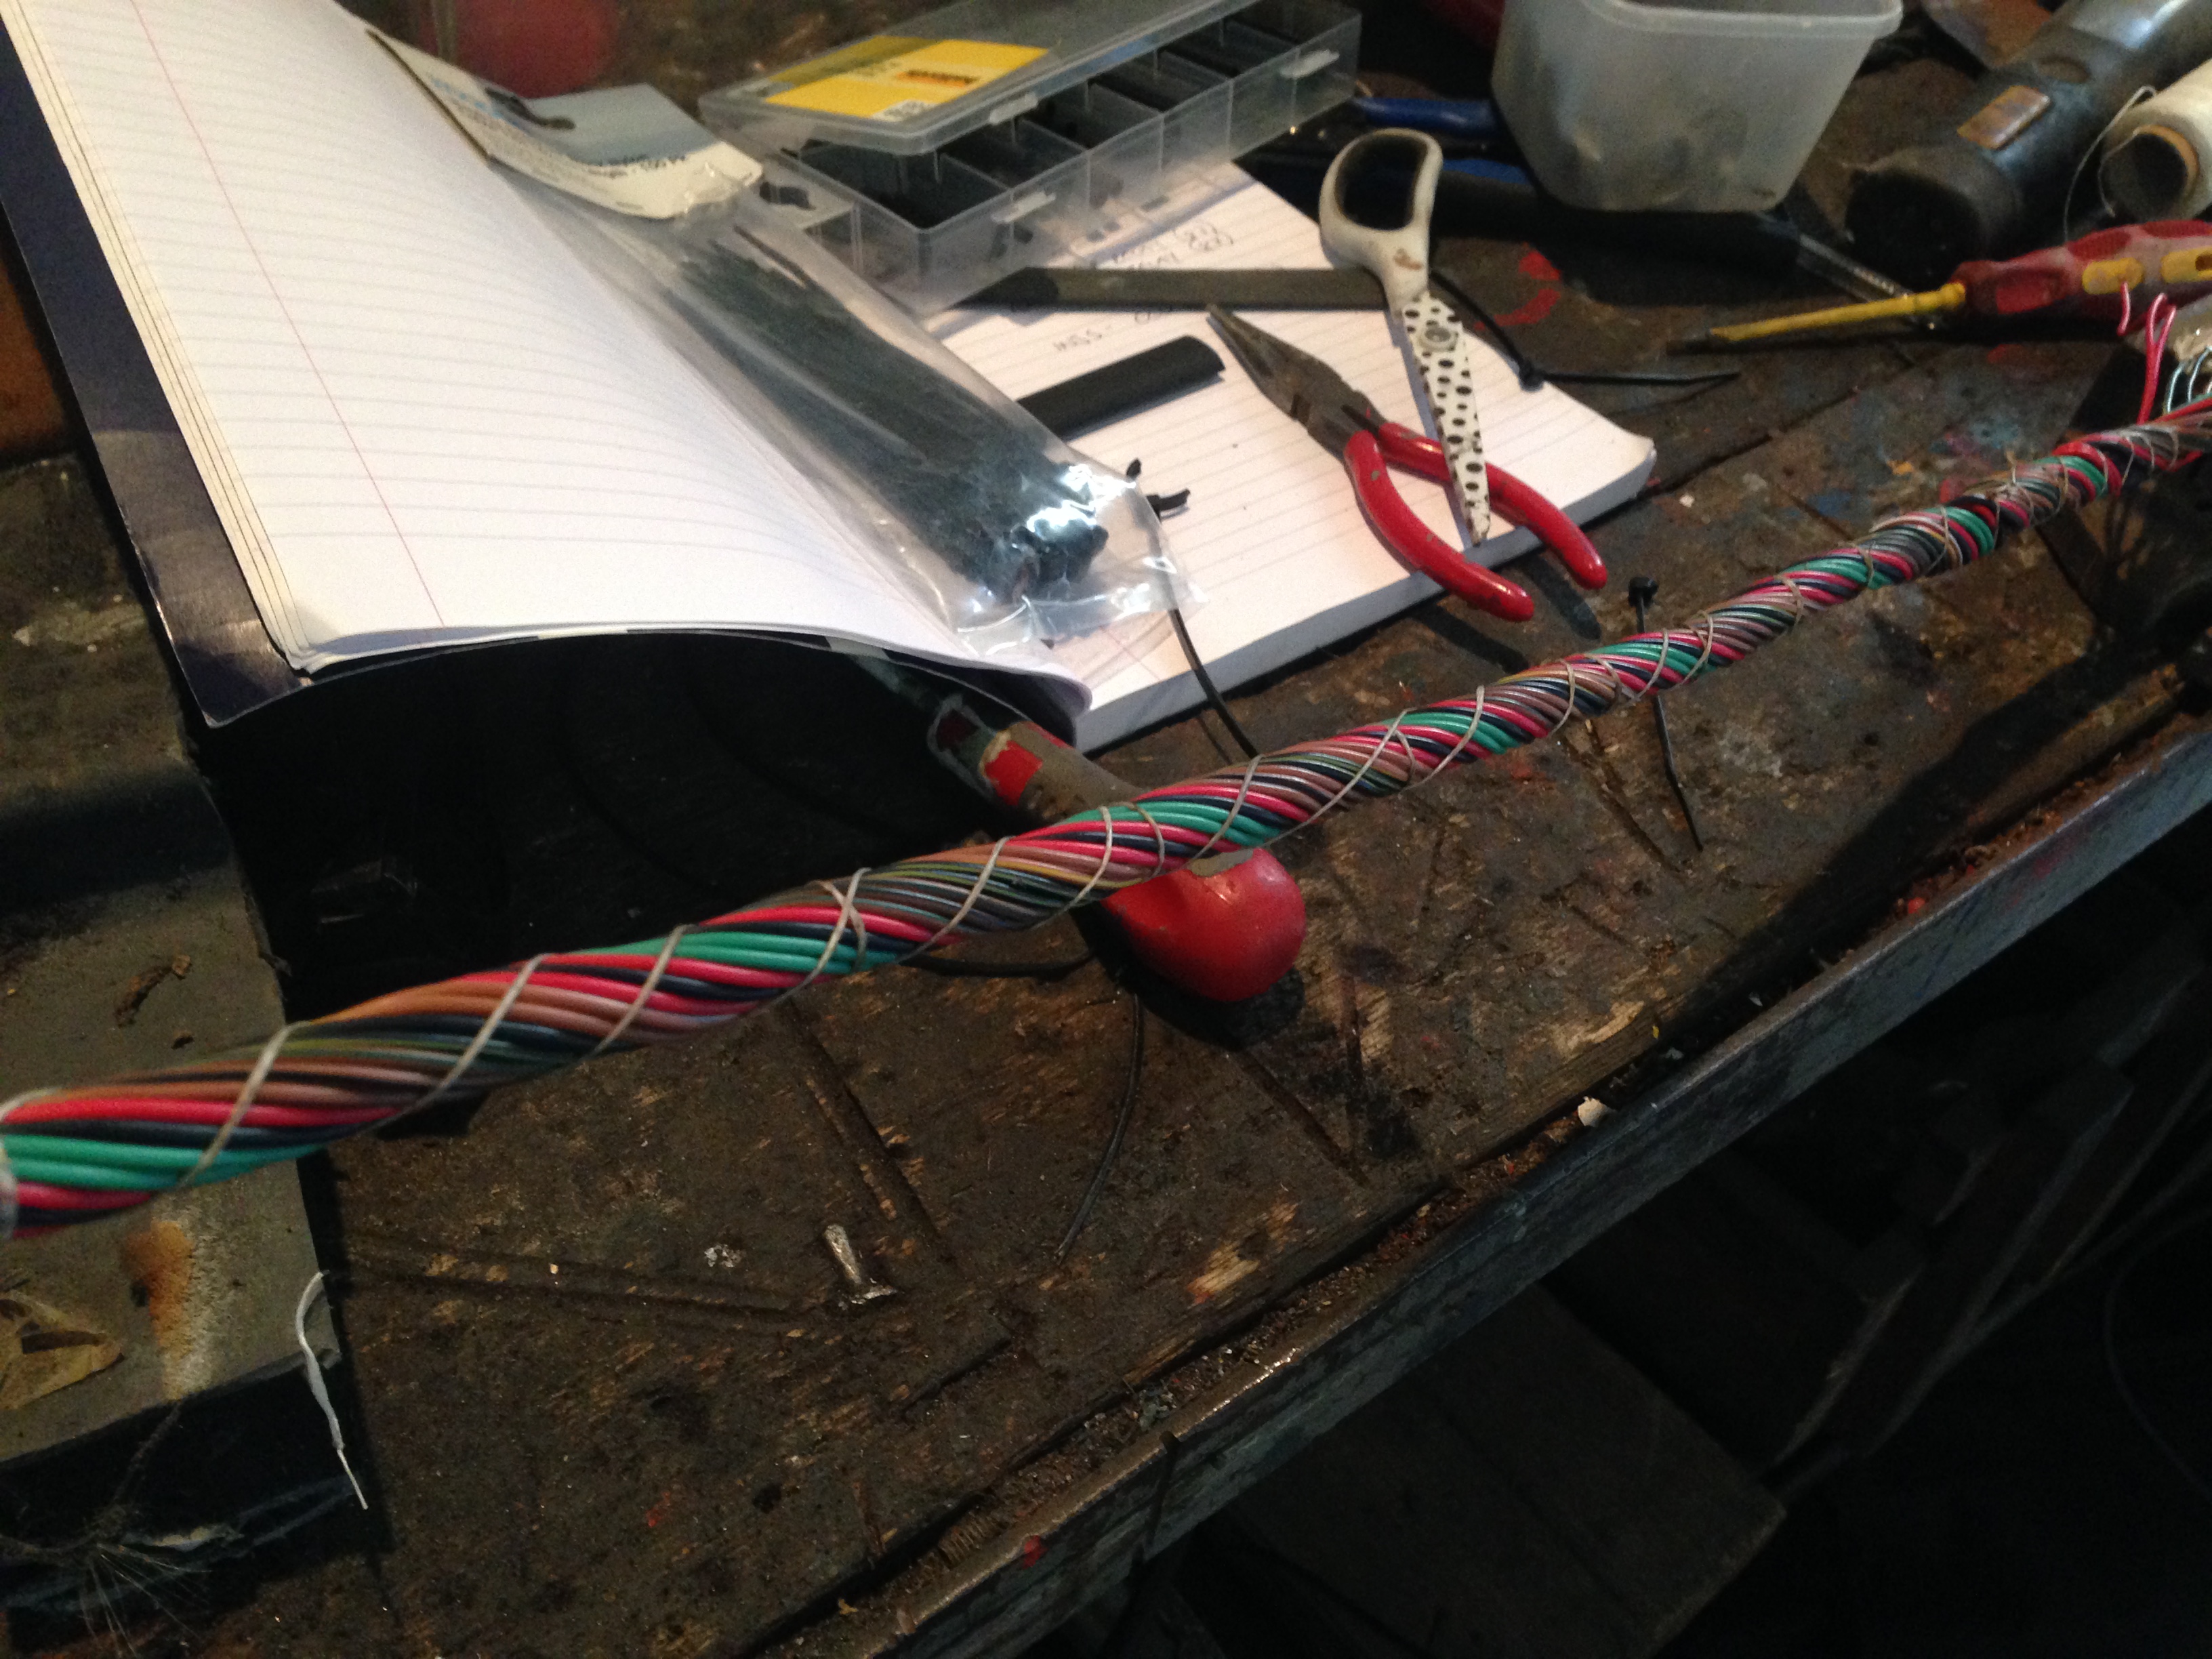
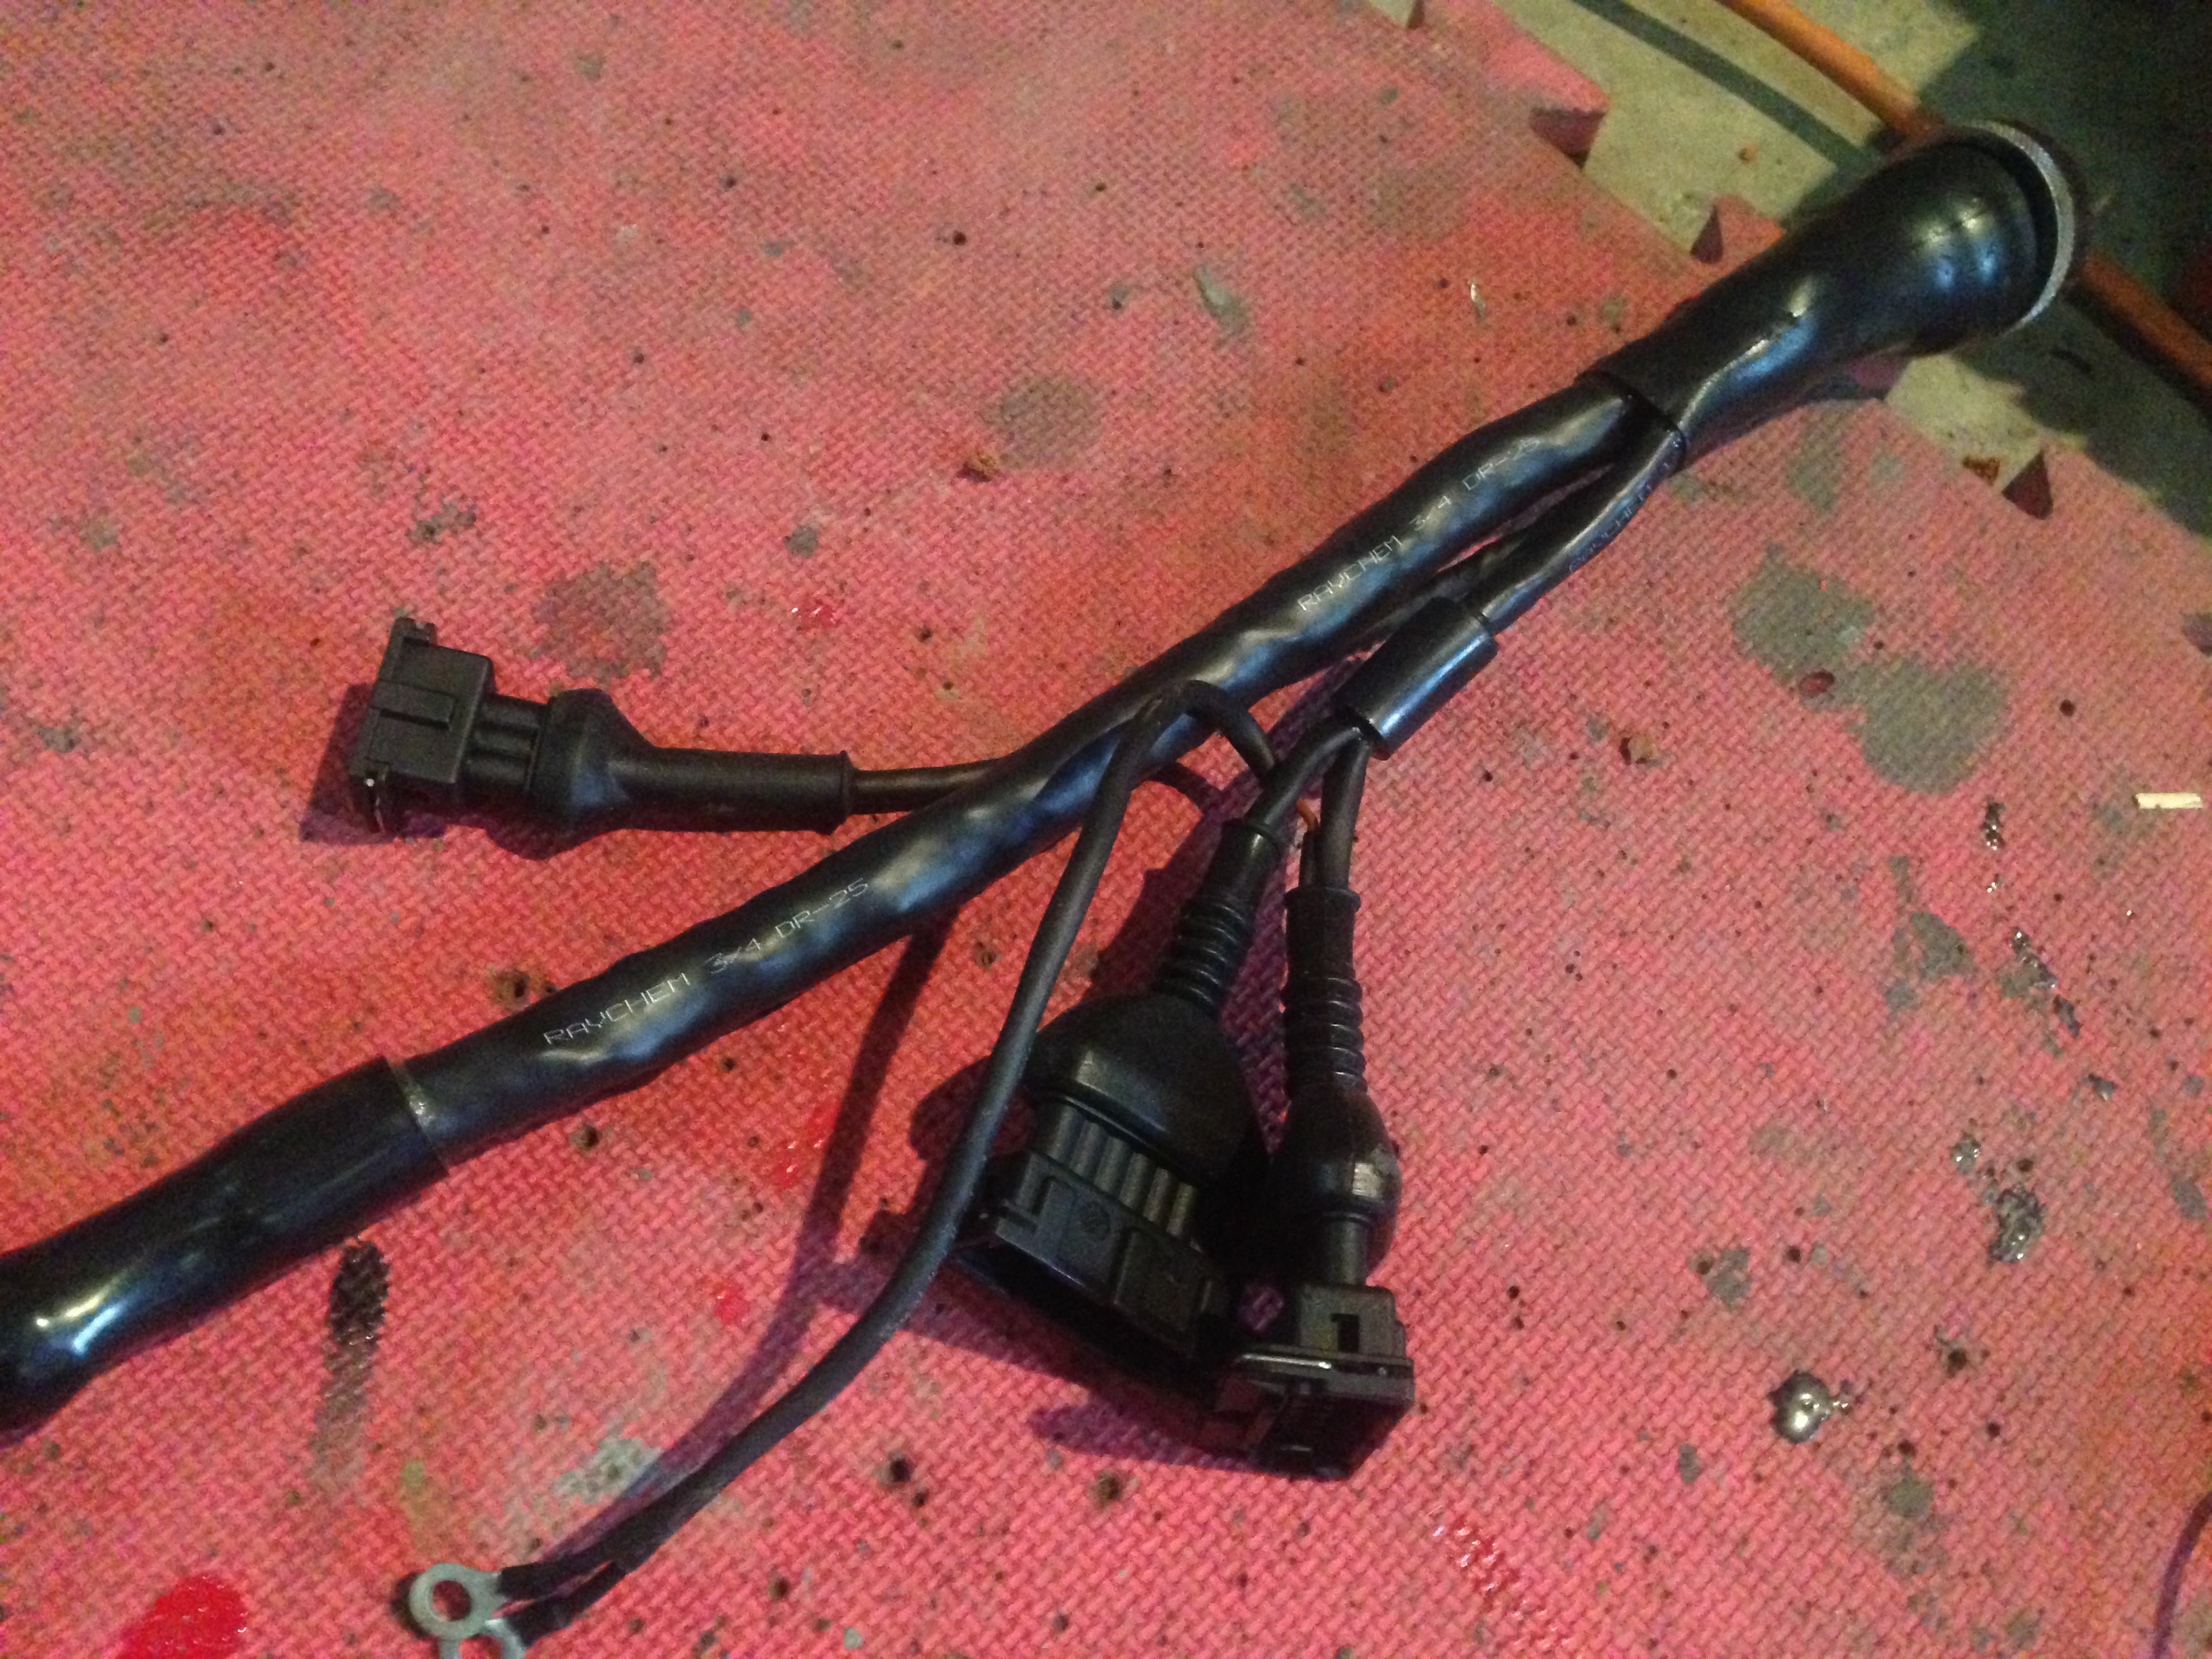
I added some 'filler wires' through the loom, especially around the injector area to 'bulk' it out and keep the twists neater.
Tied with waxed nylon cord.
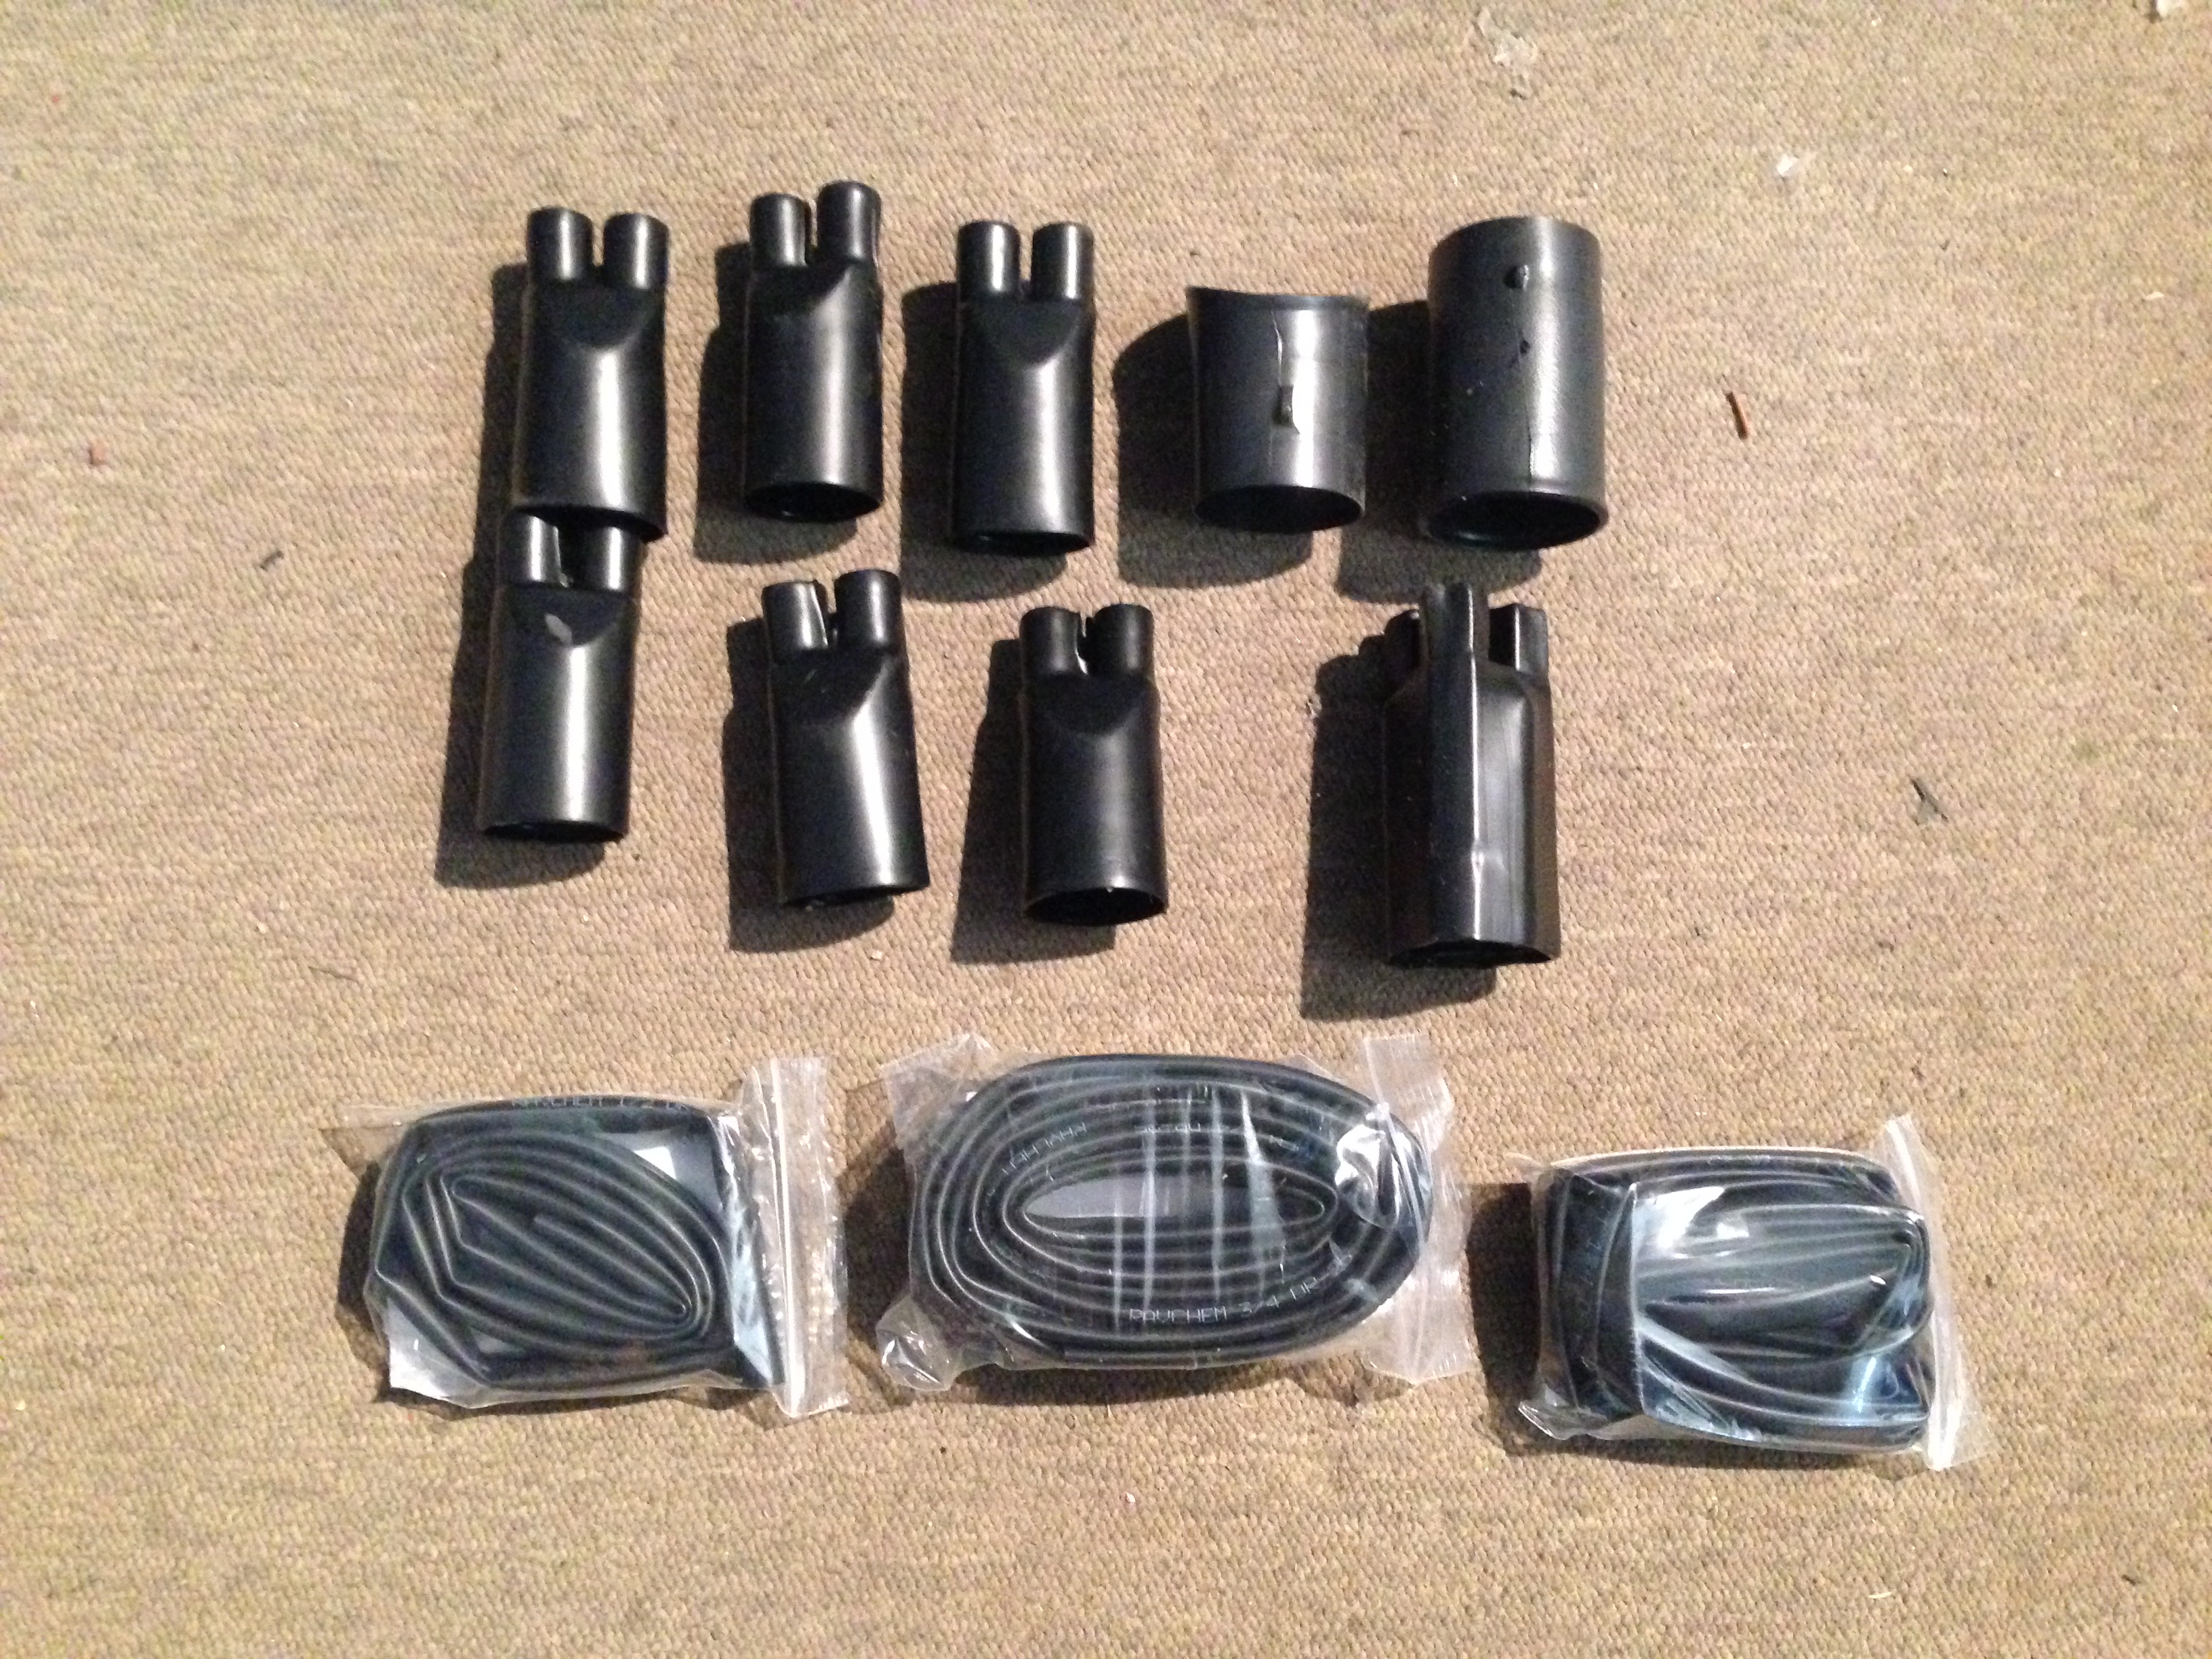
Hellermann shrink boots and Raychem DR-25.
And done. The cables not sleeved need to go to fuse box, power feeds, relays etc.
Test fit.
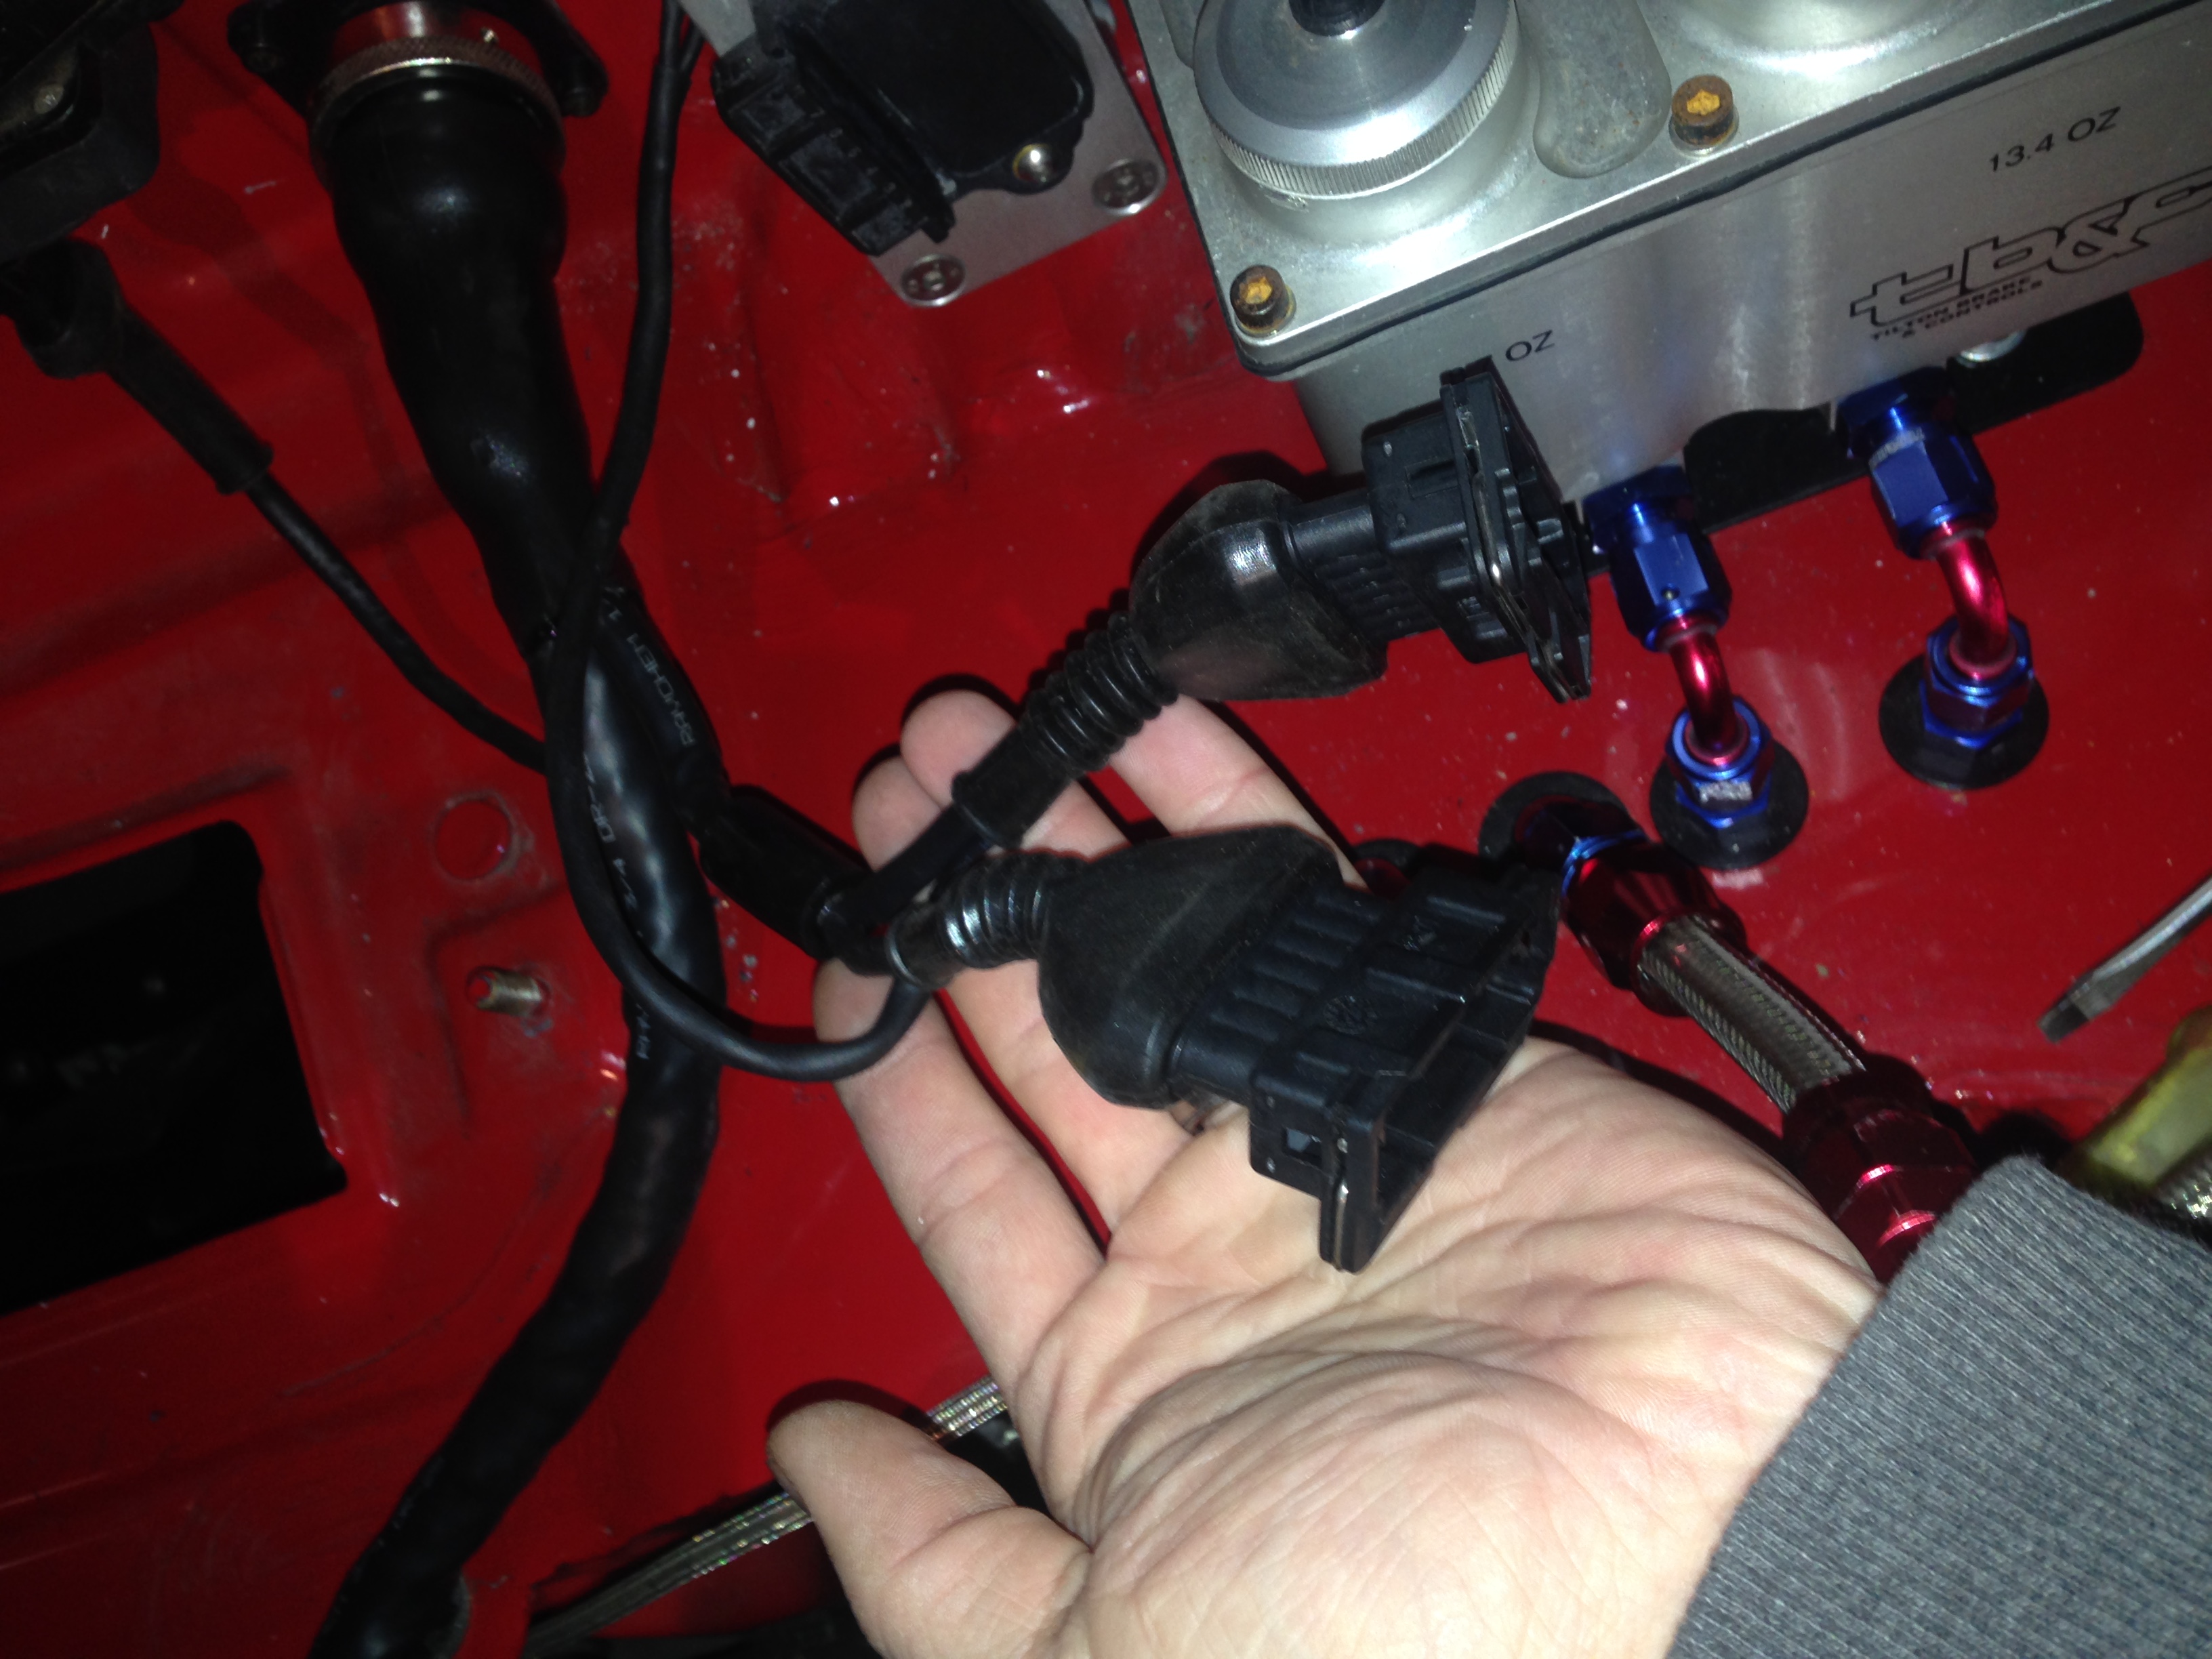
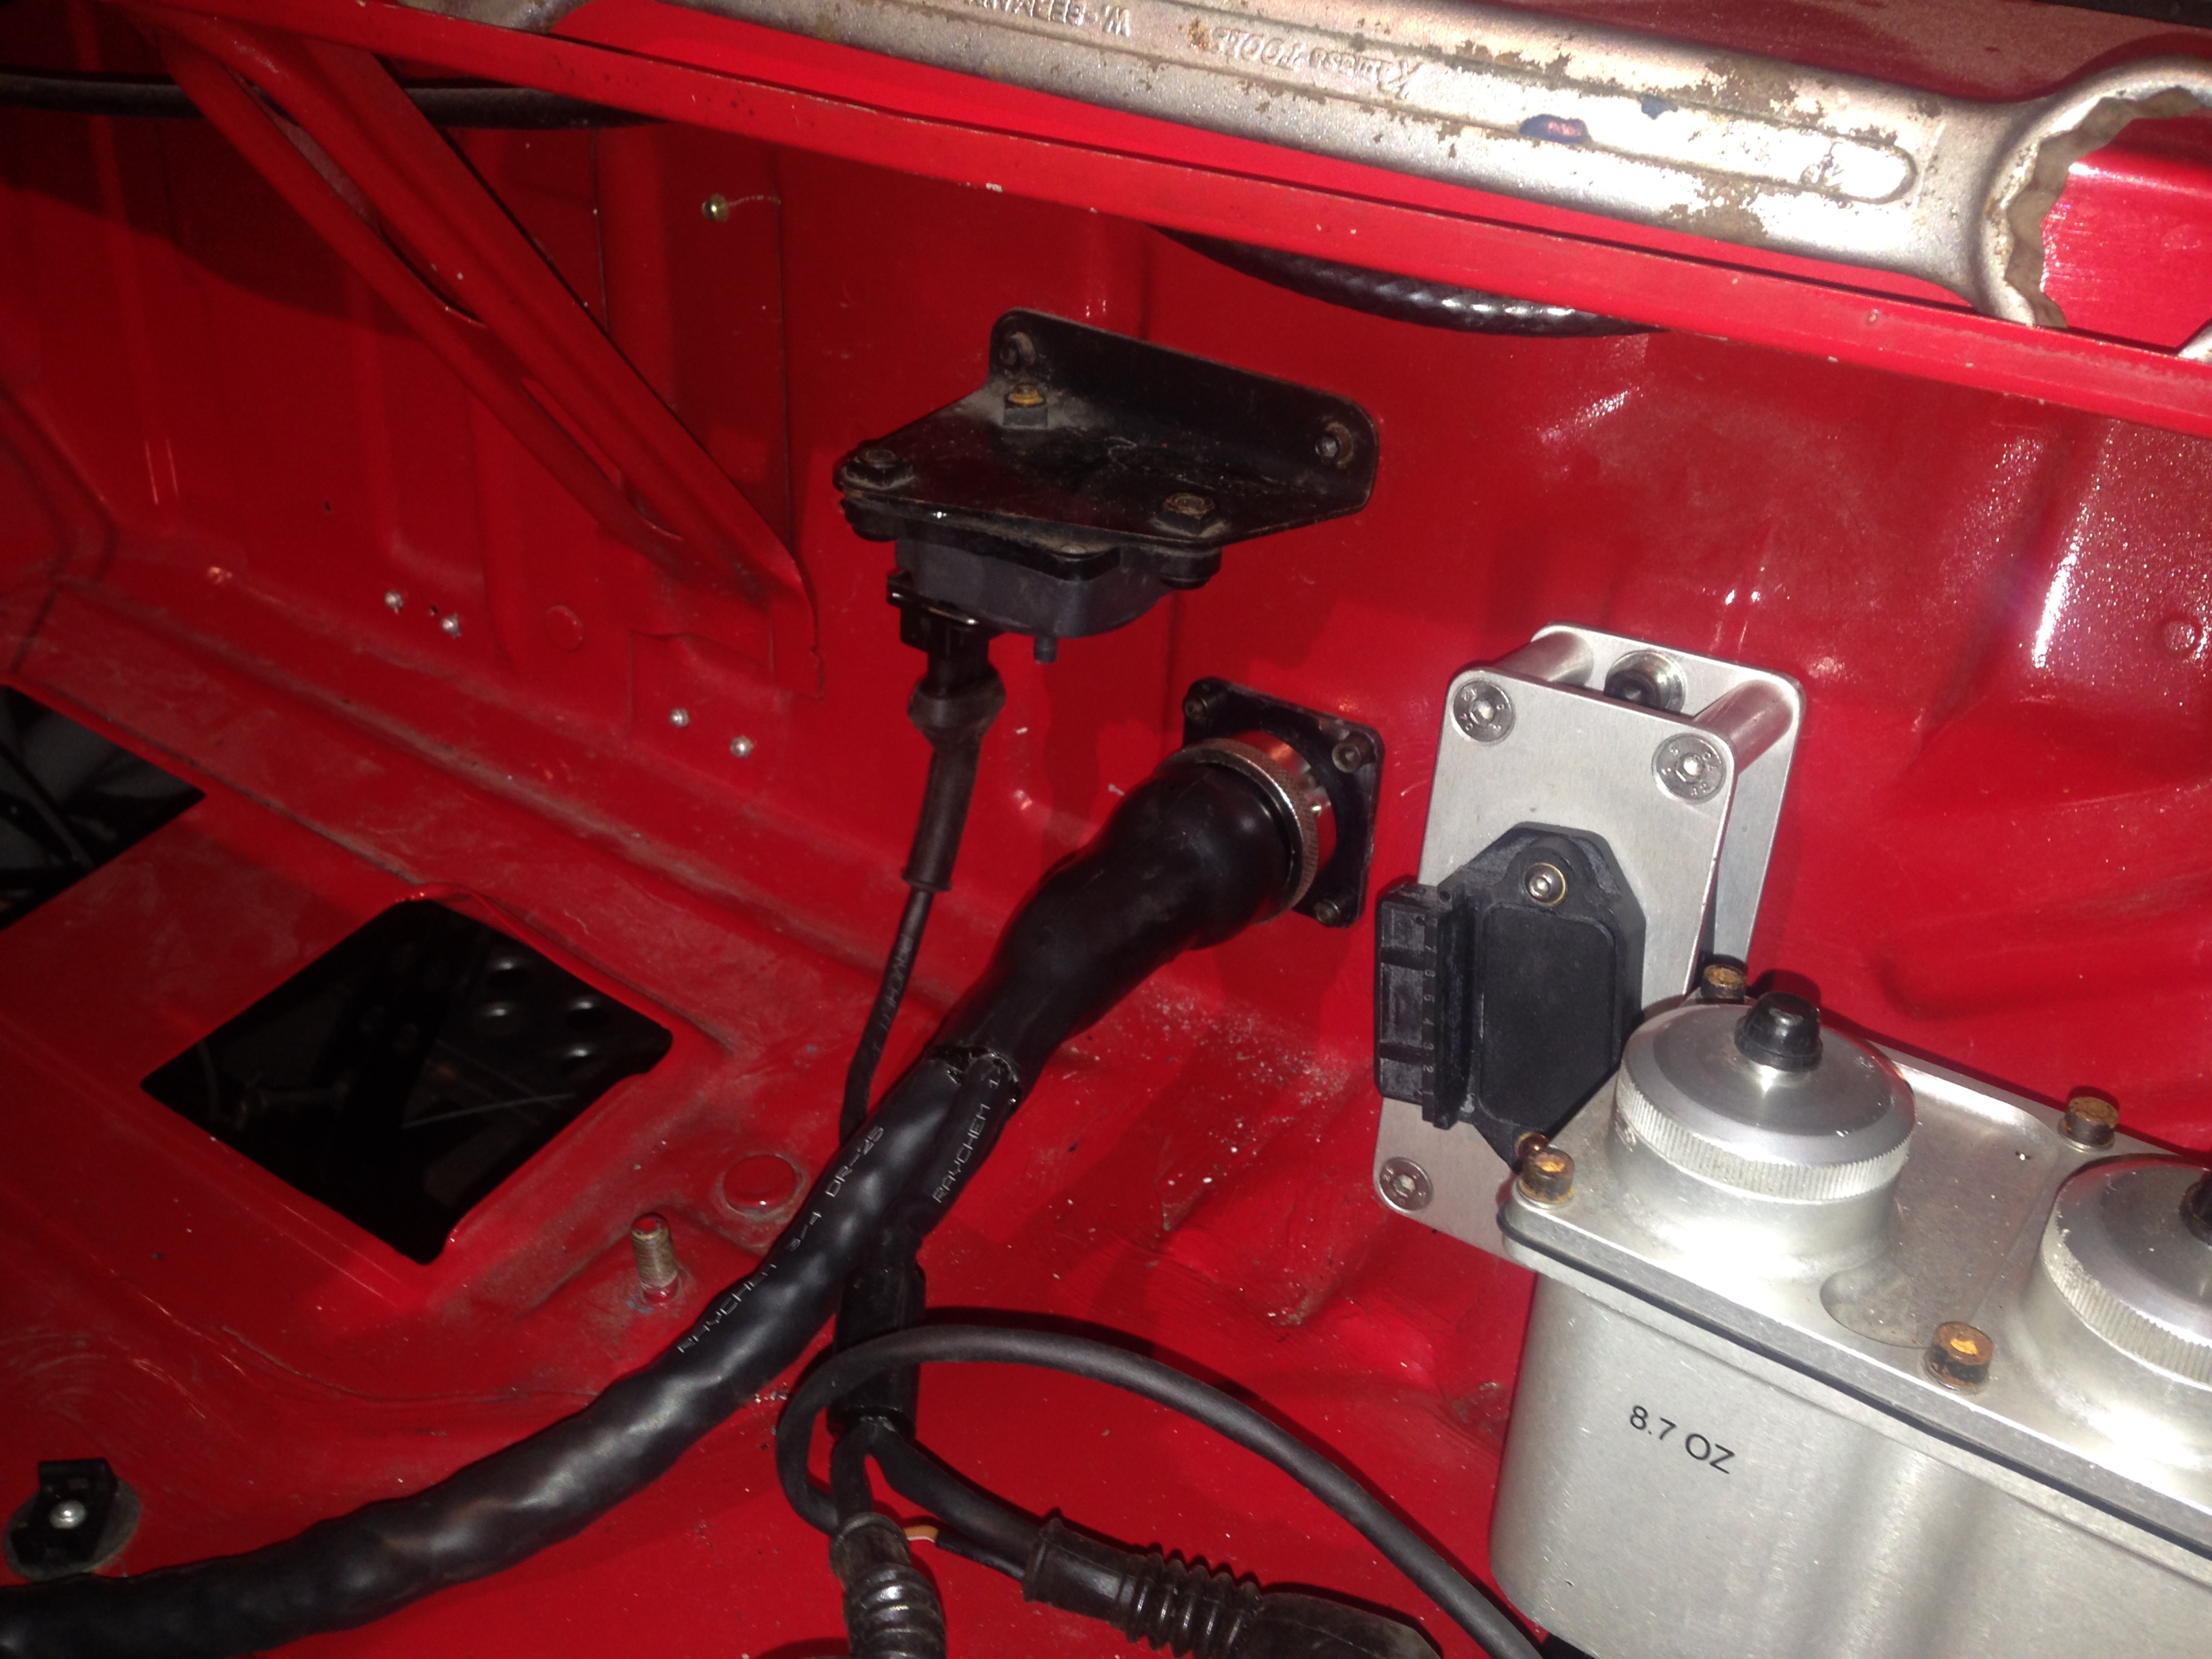
Looks a bit messy as nothing's clipped in and tucked away, that will have to wait until I'm with the car again.
Not bad for a first effort at loom building and considering its a bespoke, fitted loom, with all new cable and connectors, covered in Hellermann and DR-25 with a Mil-Spec bulkhead connector it came in around �250, so I'm happy.
I can also add it to the list of things on the car I've done myself, which I'm pleased with.
Some pics
I added some 'filler wires' through the loom, especially around the injector area to 'bulk' it out and keep the twists neater.
Tied with waxed nylon cord.


Hellermann shrink boots and Raychem DR-25.

And done. The cables not sleeved need to go to fuse box, power feeds, relays etc.


Test fit.


Looks a bit messy as nothing's clipped in and tucked away, that will have to wait until I'm with the car again.
 09-11-2015, 10:04 AM
#1086
Wye Valley Hardcore
Thread Starter
The DR-25 and Hellermann boots were from www.m-cal.com and the 2 and 3 way breakouts were from www.hilltop-products.co.uk
12-11-2015, 07:47 PM
#1087
PassionFord Post Troll
Loom on my car scares me, never considered these typre of connectors until i saw this, stupidly never really gave it much thought but its only now i realise how useful these connectors would be.
Looking great as always Muz
Looking great as always Muz
25-11-2015, 03:27 PM
#1089
Wye Valley Hardcore
Thread Starter
Fitted a wasted spark board this week then popped down to Jano for a new chip to get it started.
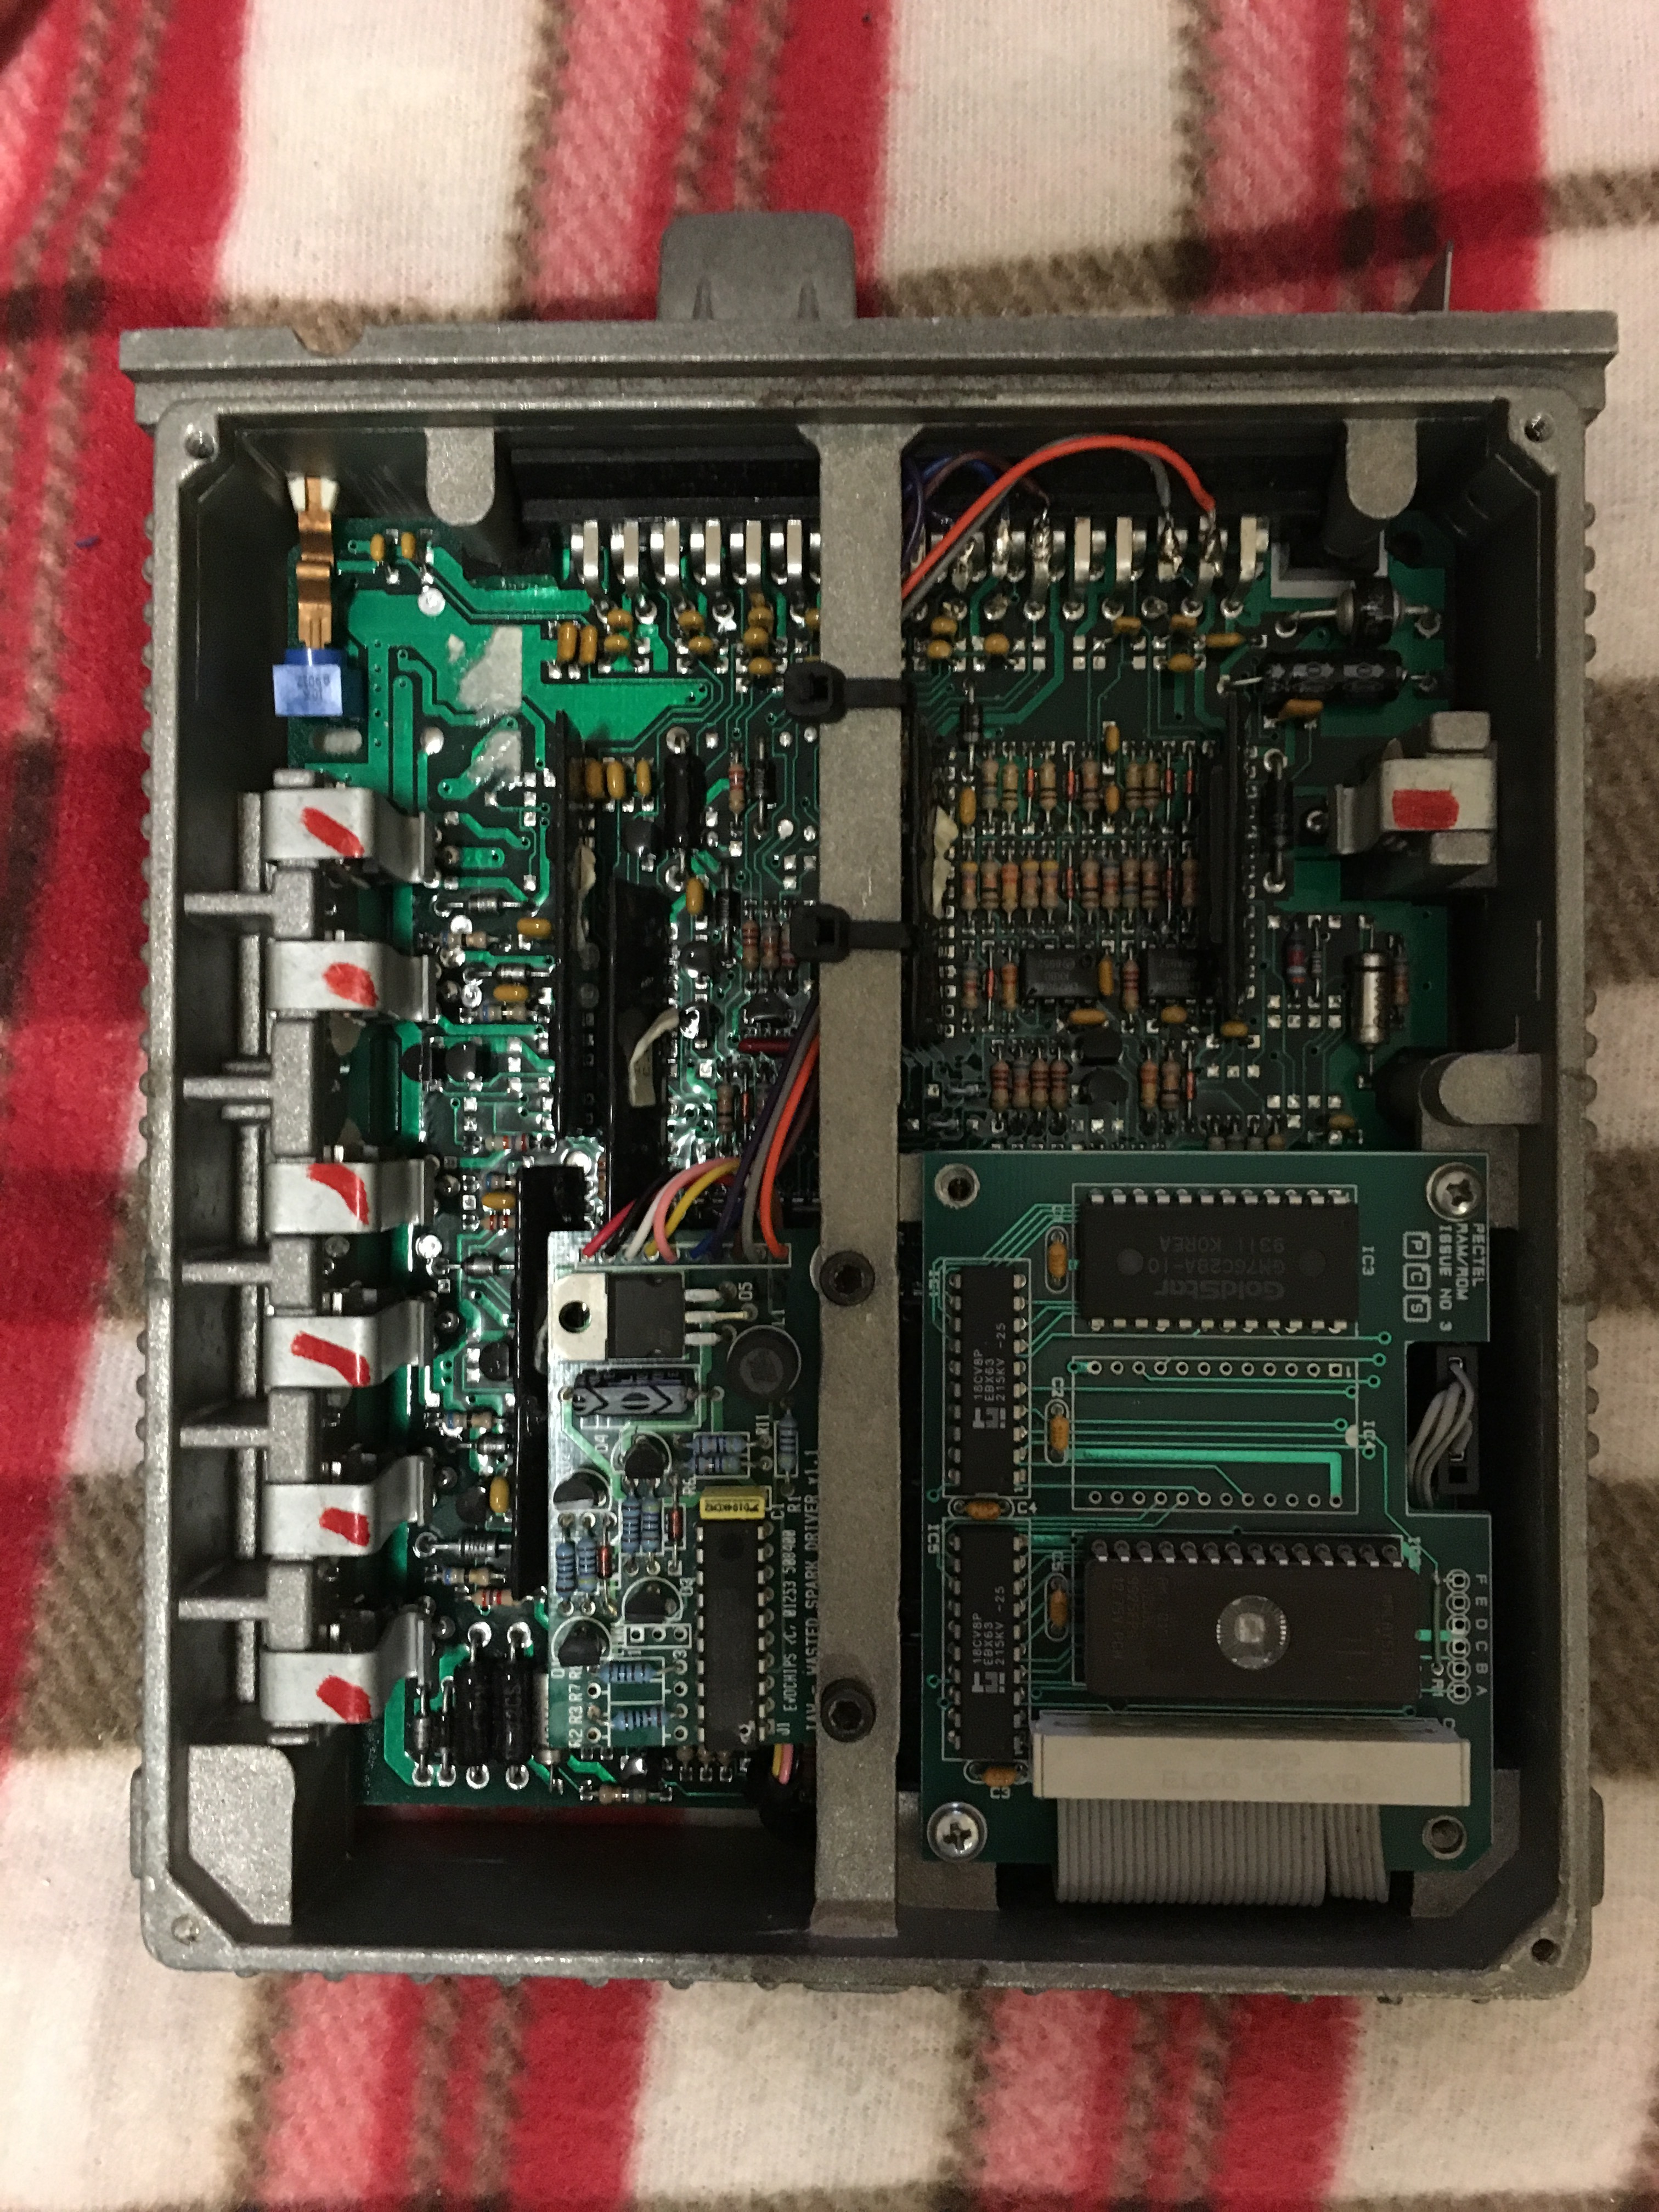
Hoping to turn the key in the next few weeks depending on how quickly I can finish the car loom.

Hoping to turn the key in the next few weeks depending on how quickly I can finish the car loom.
28-11-2015, 05:52 PM
#1091
Wye Valley Hardcore
Thread Starter
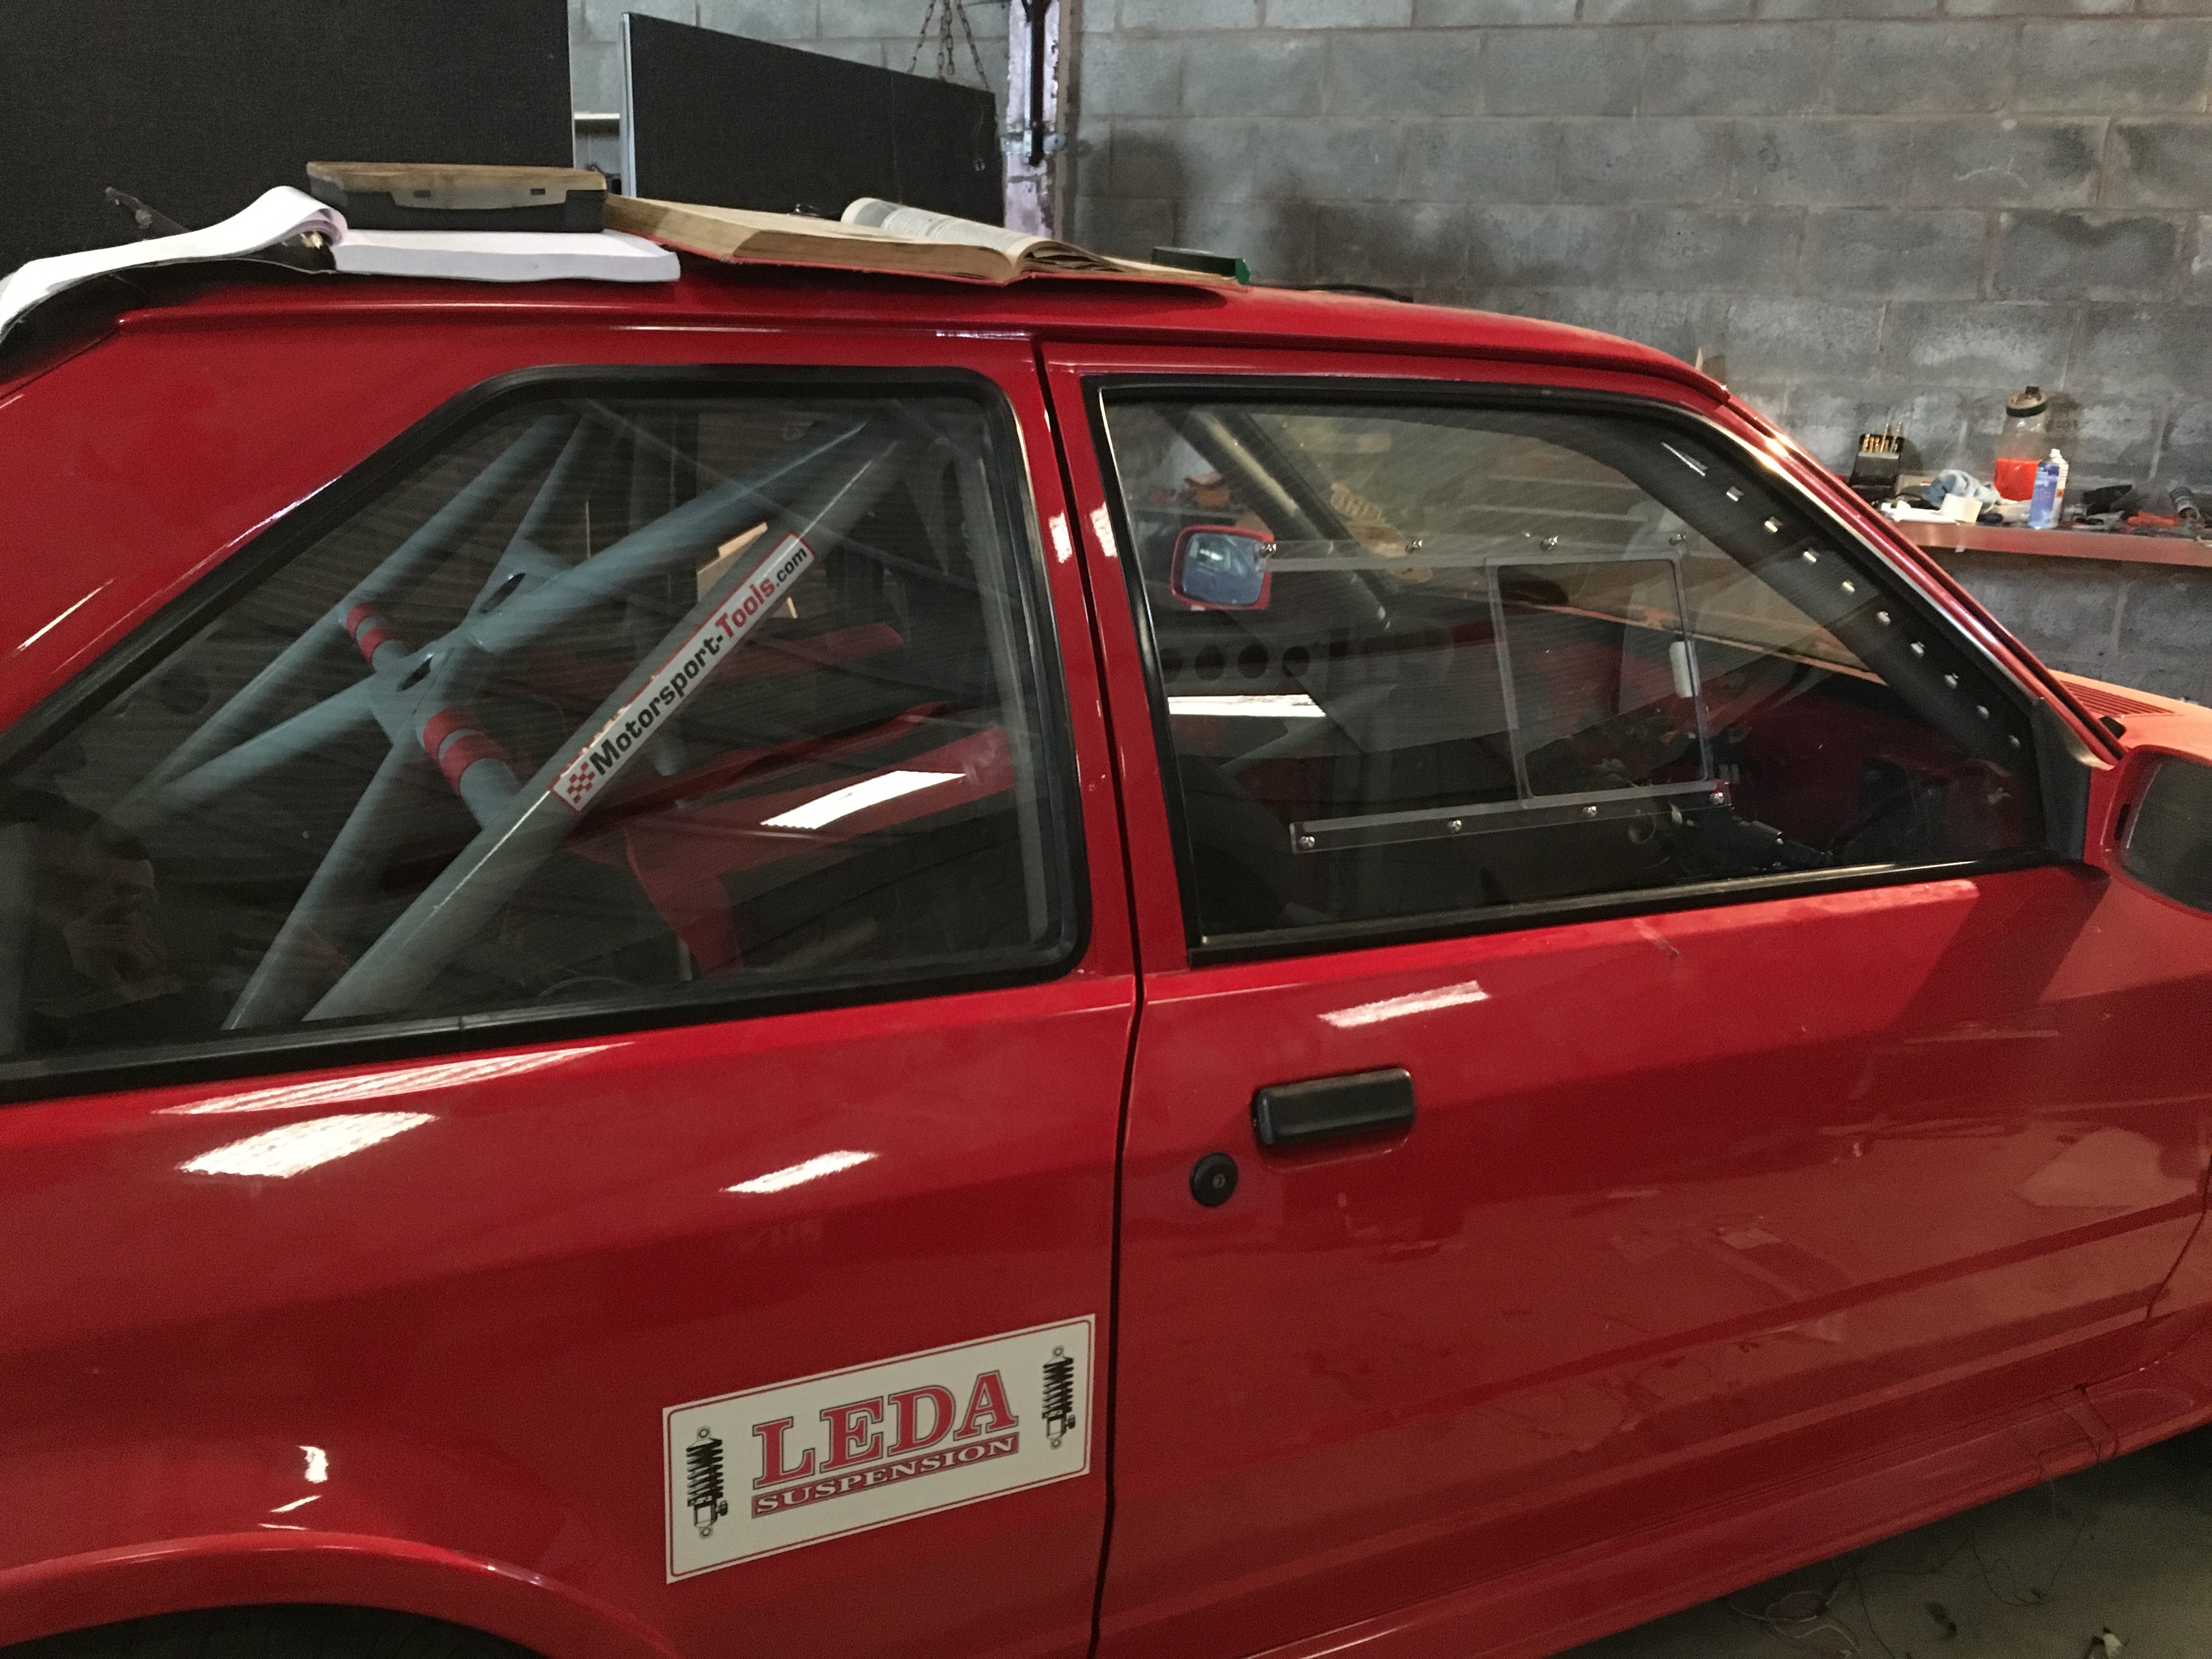
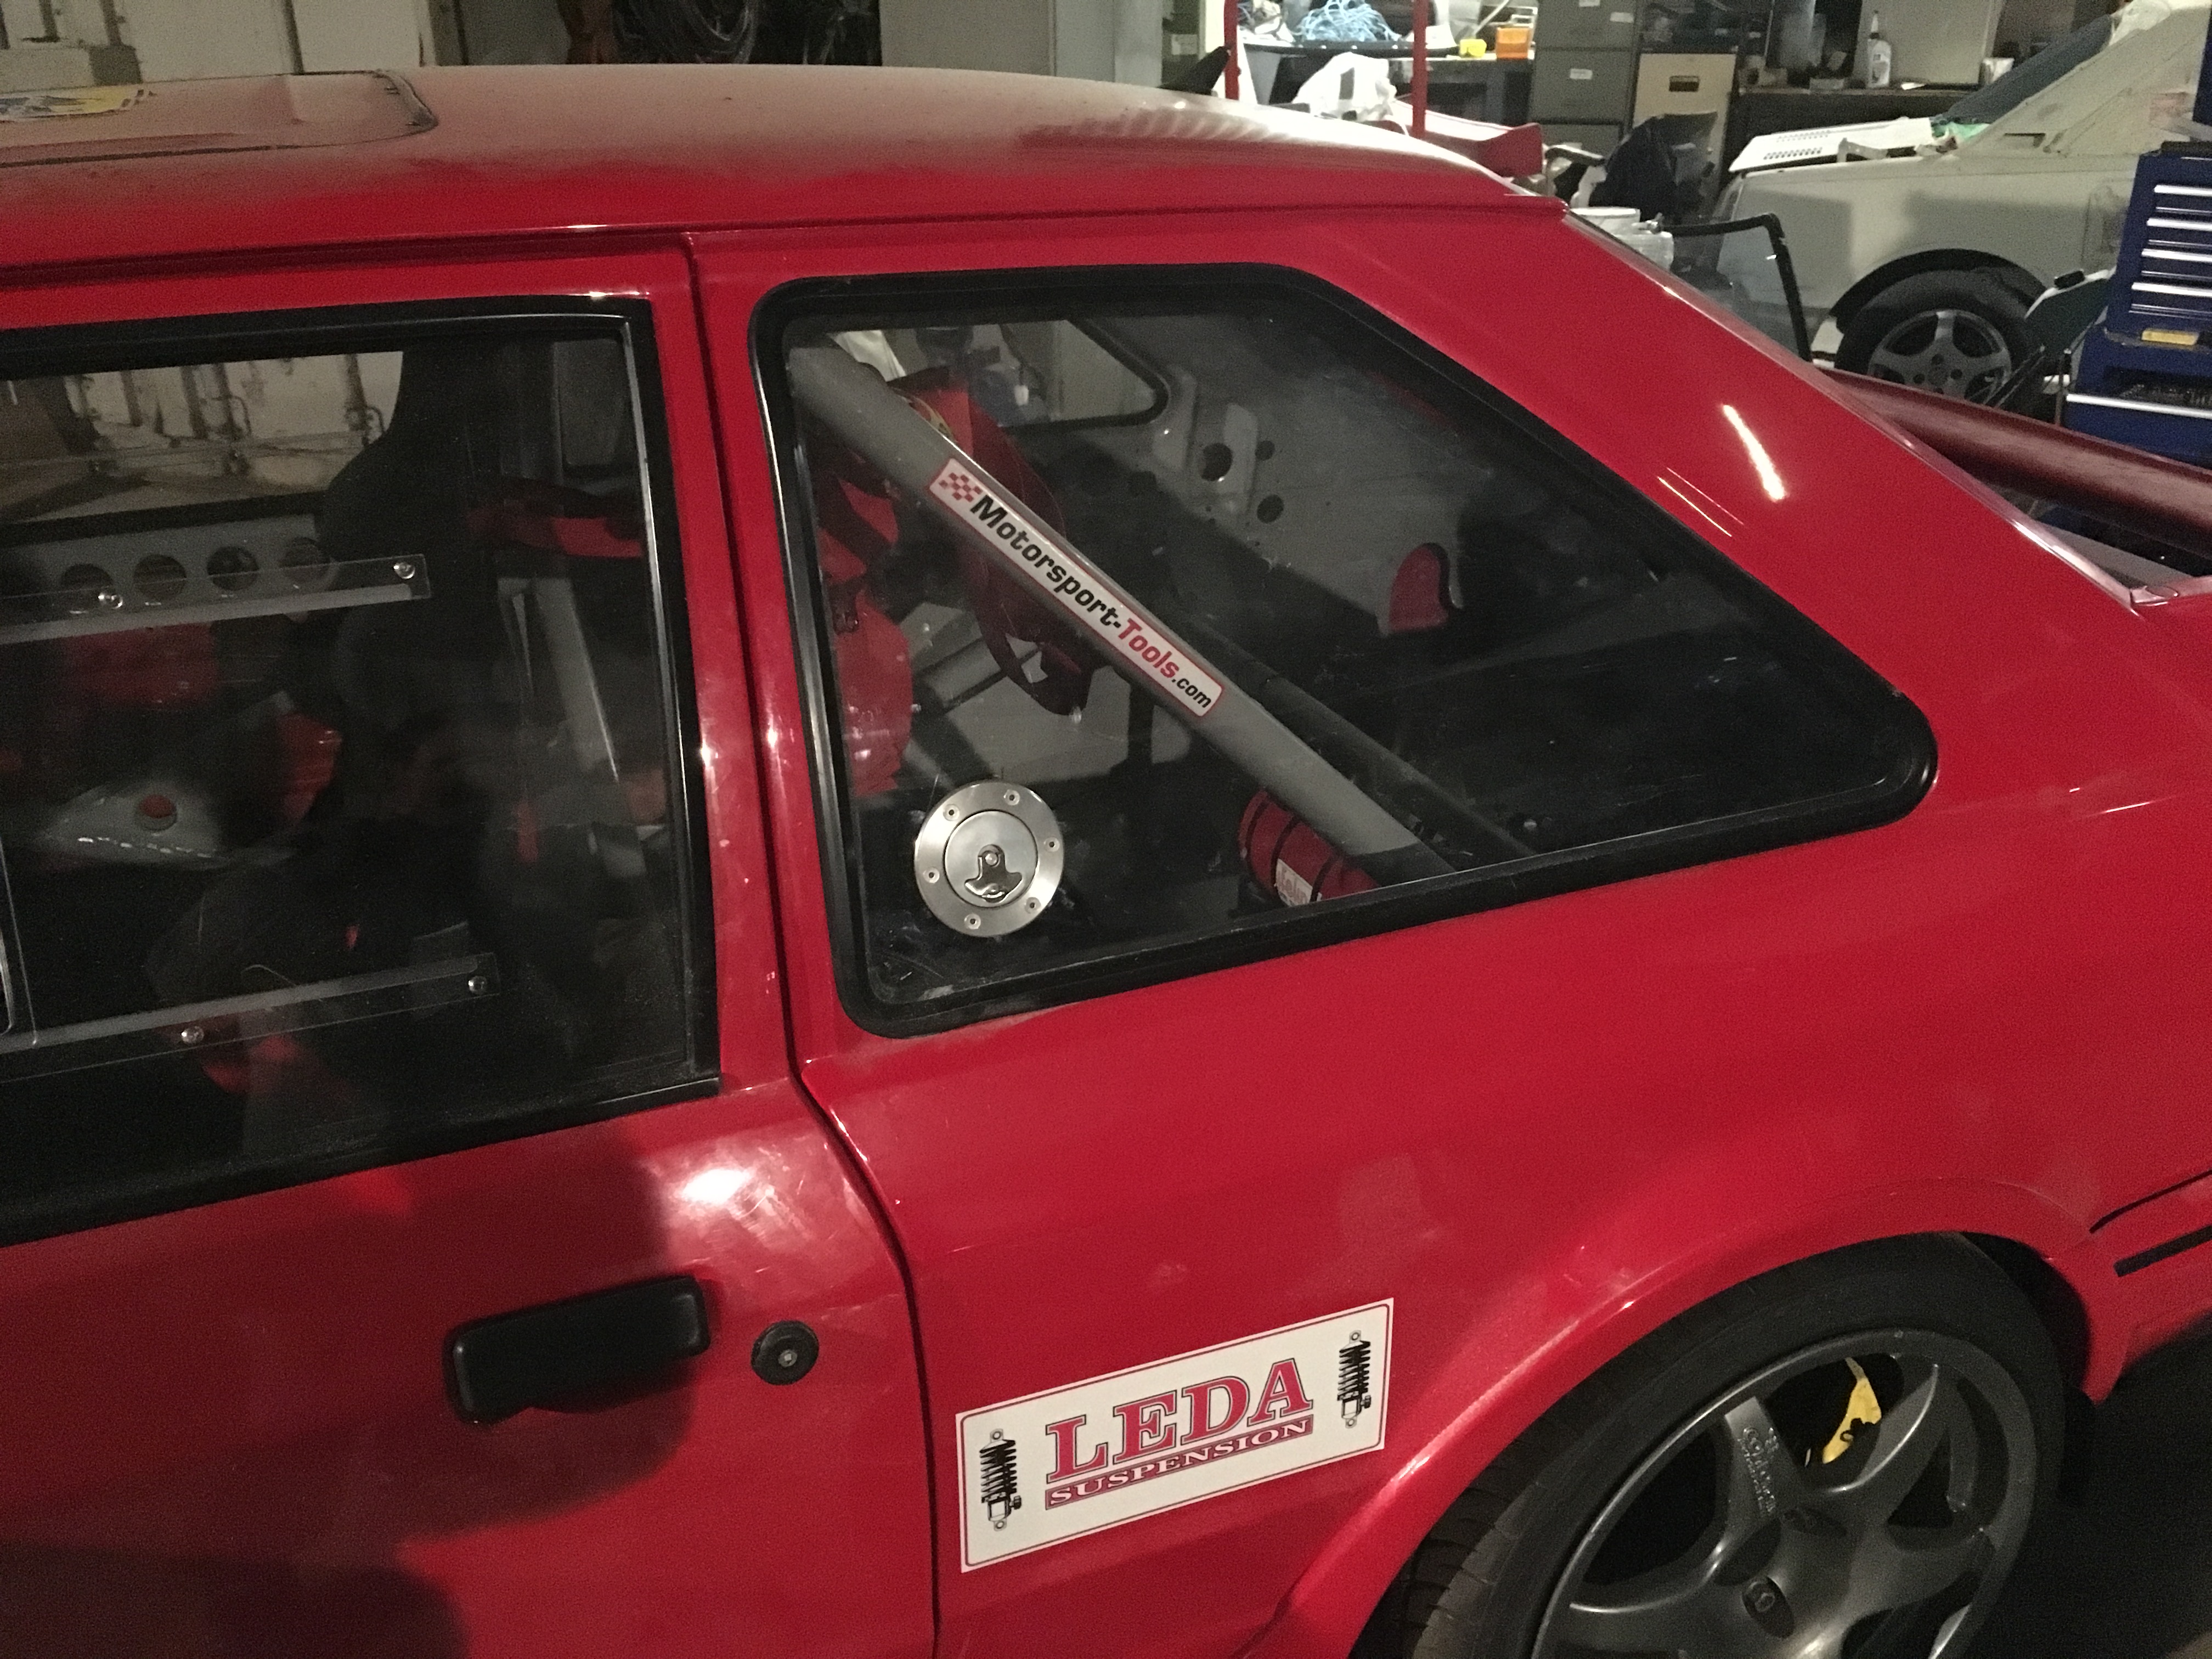
Only had a few hours hours this morning and wanted a break from wiring, so fitted my polycarb windows.
Fronts are in the more expensive Lexon Margard which is the tough coated "scratch resistant" polycarbonate (we'll see!) with sliders on both sides and regular Lexon 1/4's and rear screen.
Fronts I fitted into the standard runners and winder mech so go up and down, however I probably won't do this in case they do scratch but there's the option to crack them an inch for extra ventilation.
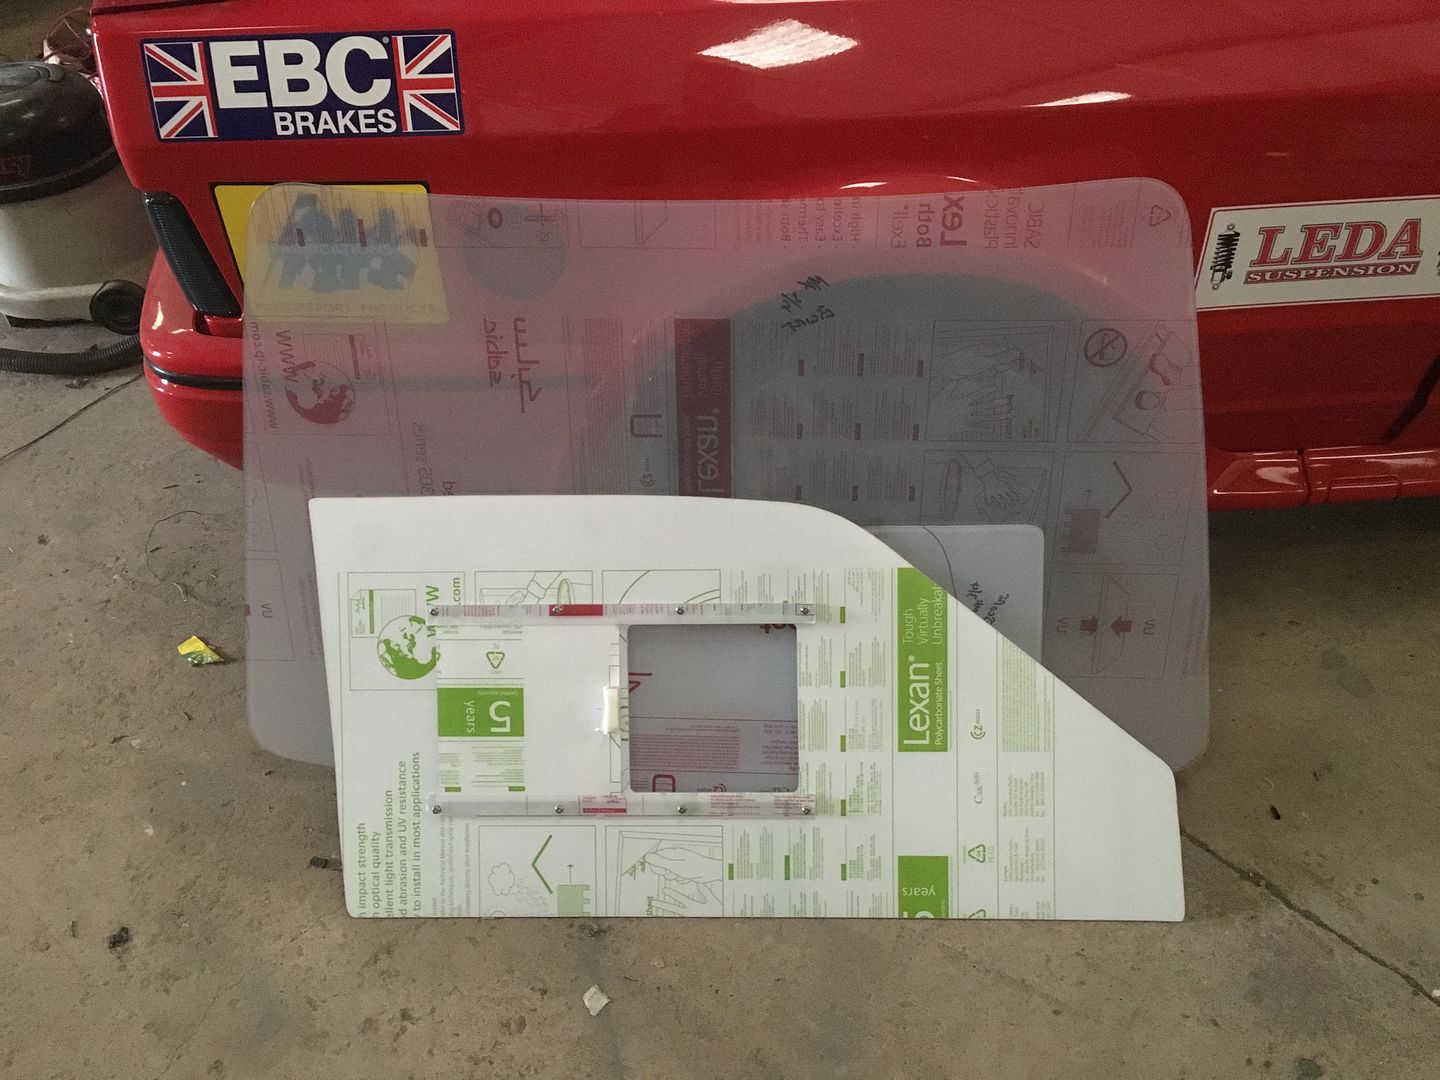
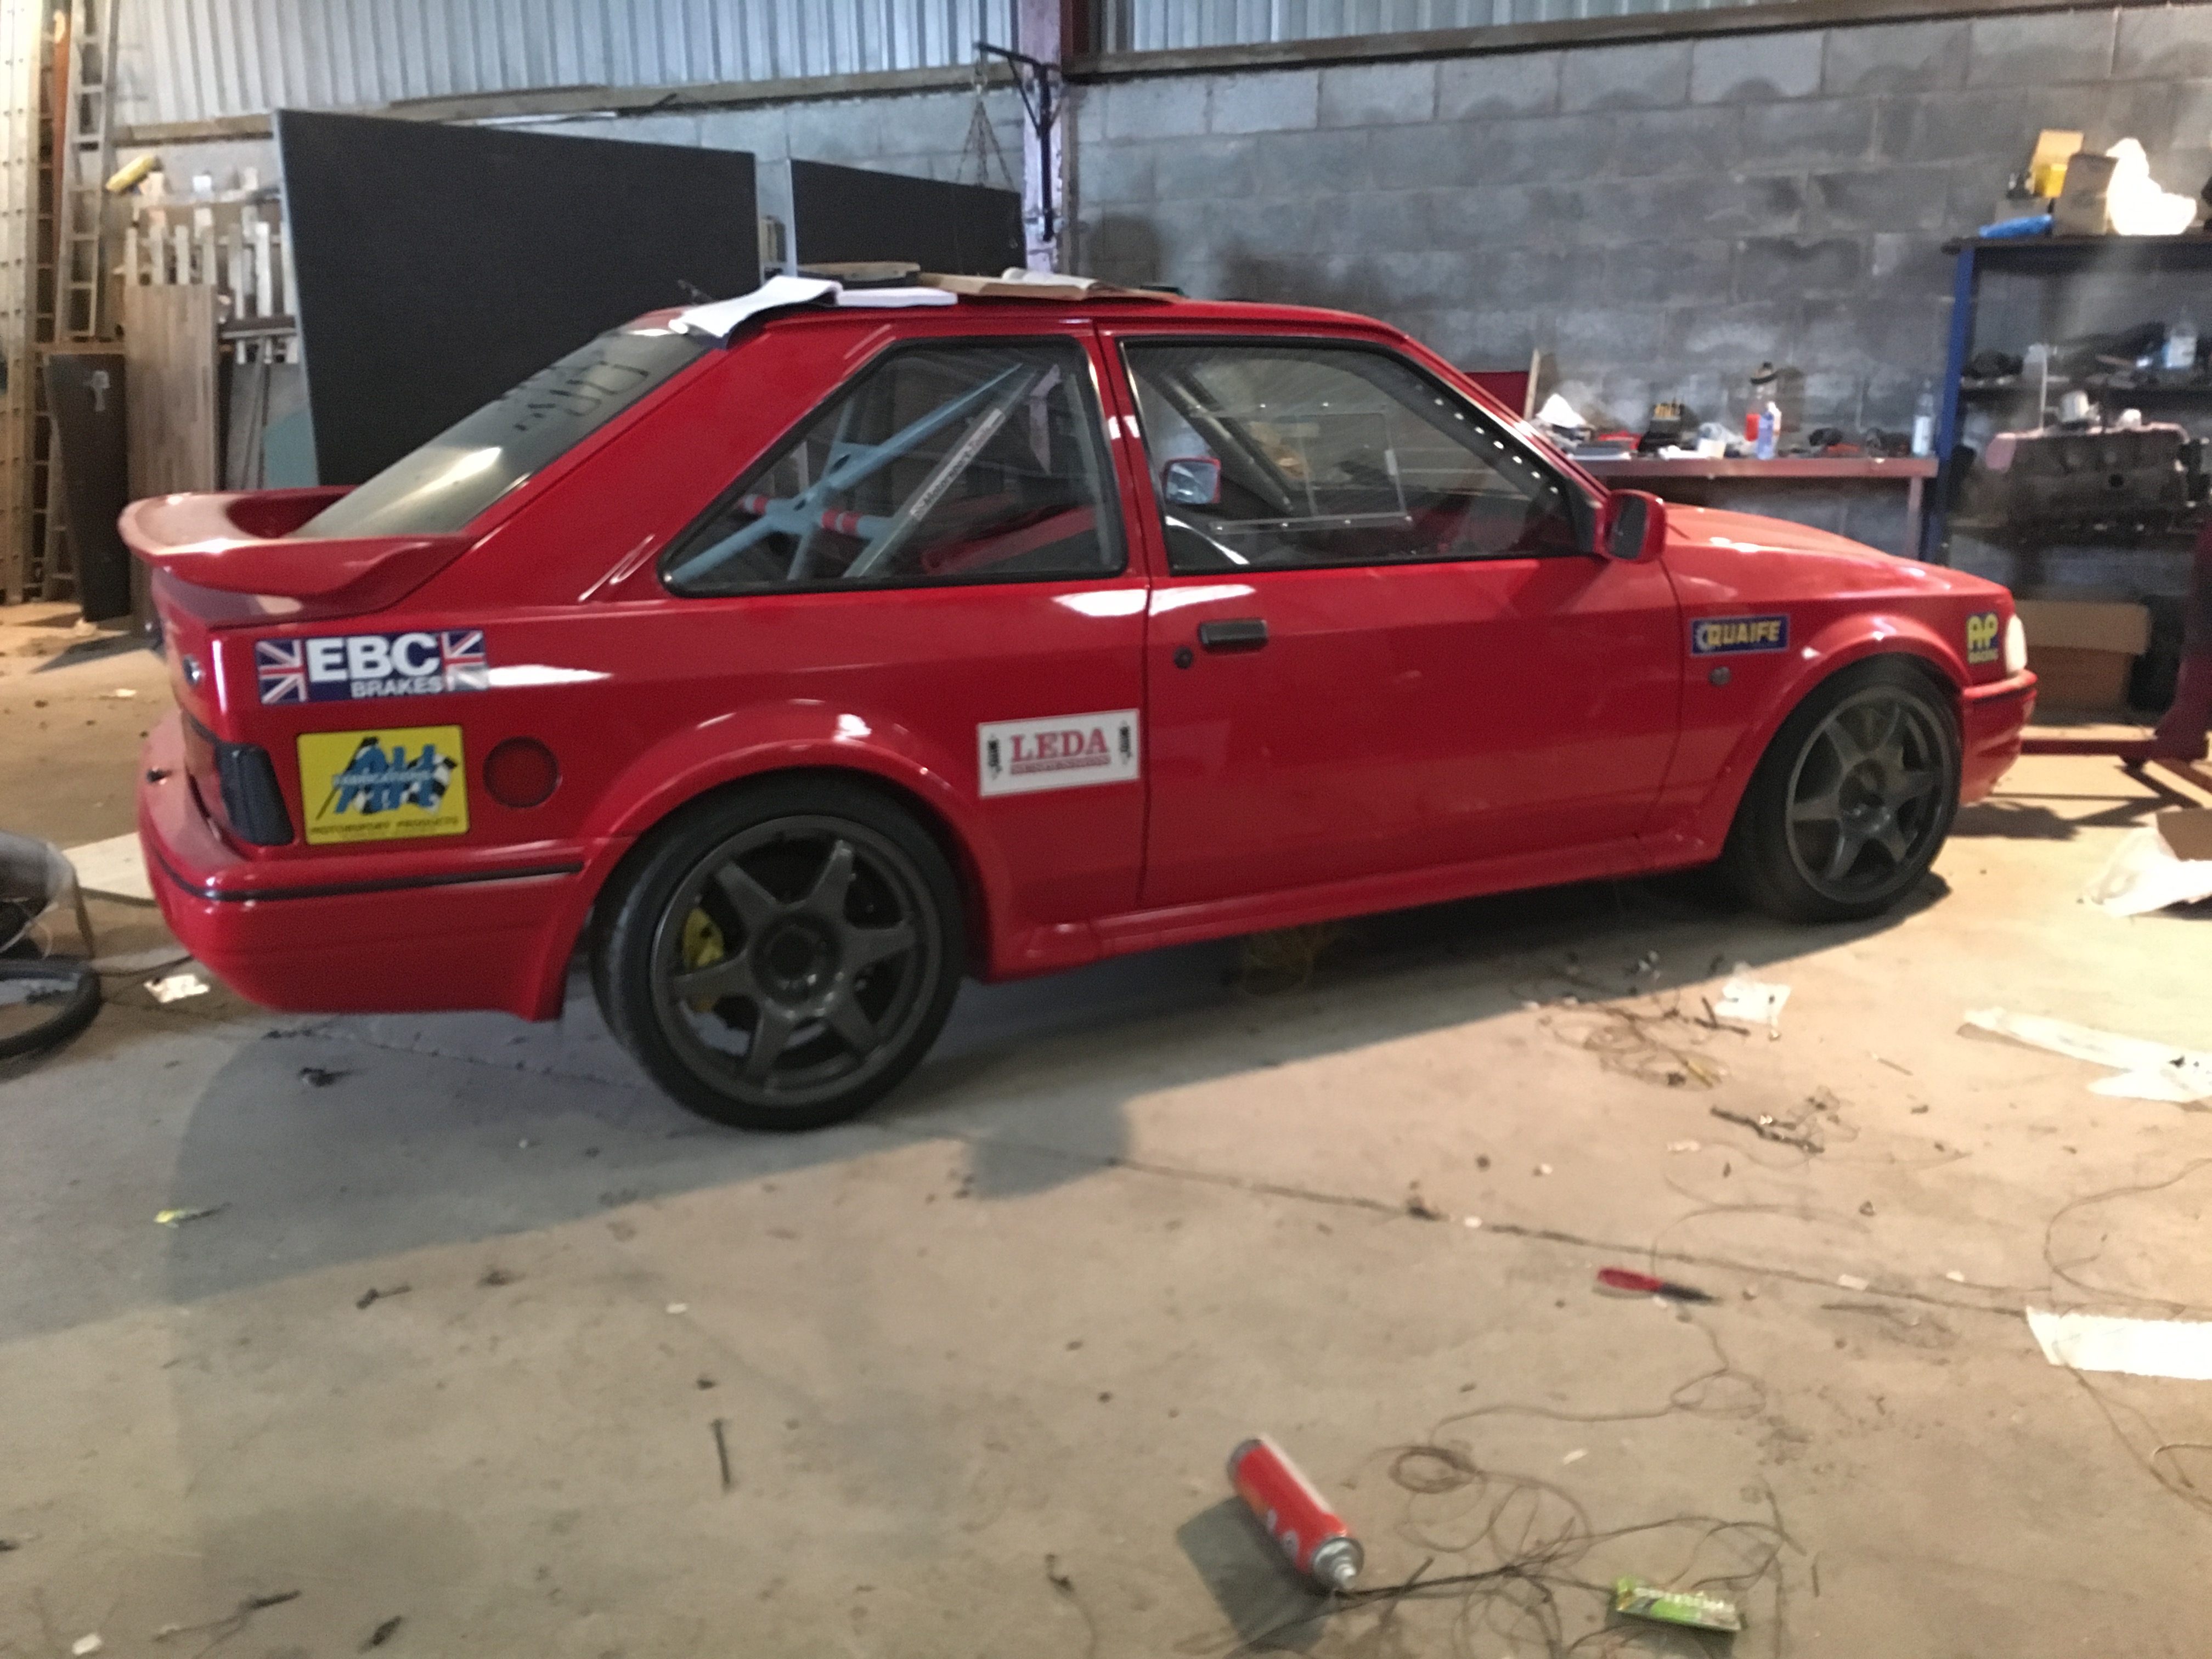
Still need to fit the rear screen as I need to 'modify' it with the router first....
 29-11-2015, 10:47 PM
#1094
Wye Valley Hardcore
Thread Starter
 30-11-2015, 03:09 PM
#1097
10K+ Poster!!


Great work on the loom. I love that bonnet, great job and lovely car.
30-11-2015, 05:13 PM
#1098
..BS Motorsport..
30-11-2015, 07:28 PM
#1099
Wye Valley Hardcore
Thread Starter
No fancy ideas, just some holes like Jano and Gus have then don't drive it in the rain 
I was thinking about putting a rivnut either side of the hole and making some covers which can bolt on/off as I please.
I was thinking about putting a rivnut either side of the hole and making some covers which can bolt on/off as I please.
30-11-2015, 07:29 PM
#1100
Wye Valley Hardcore
Thread Starter
The following users liked this post:
james kiely (30-11-2015)
30-11-2015, 09:43 PM
#1103
Wye Valley Hardcore
Thread Starter
15-12-2015, 06:32 PM
#1104
Wye Valley Hardcore
Thread Starter
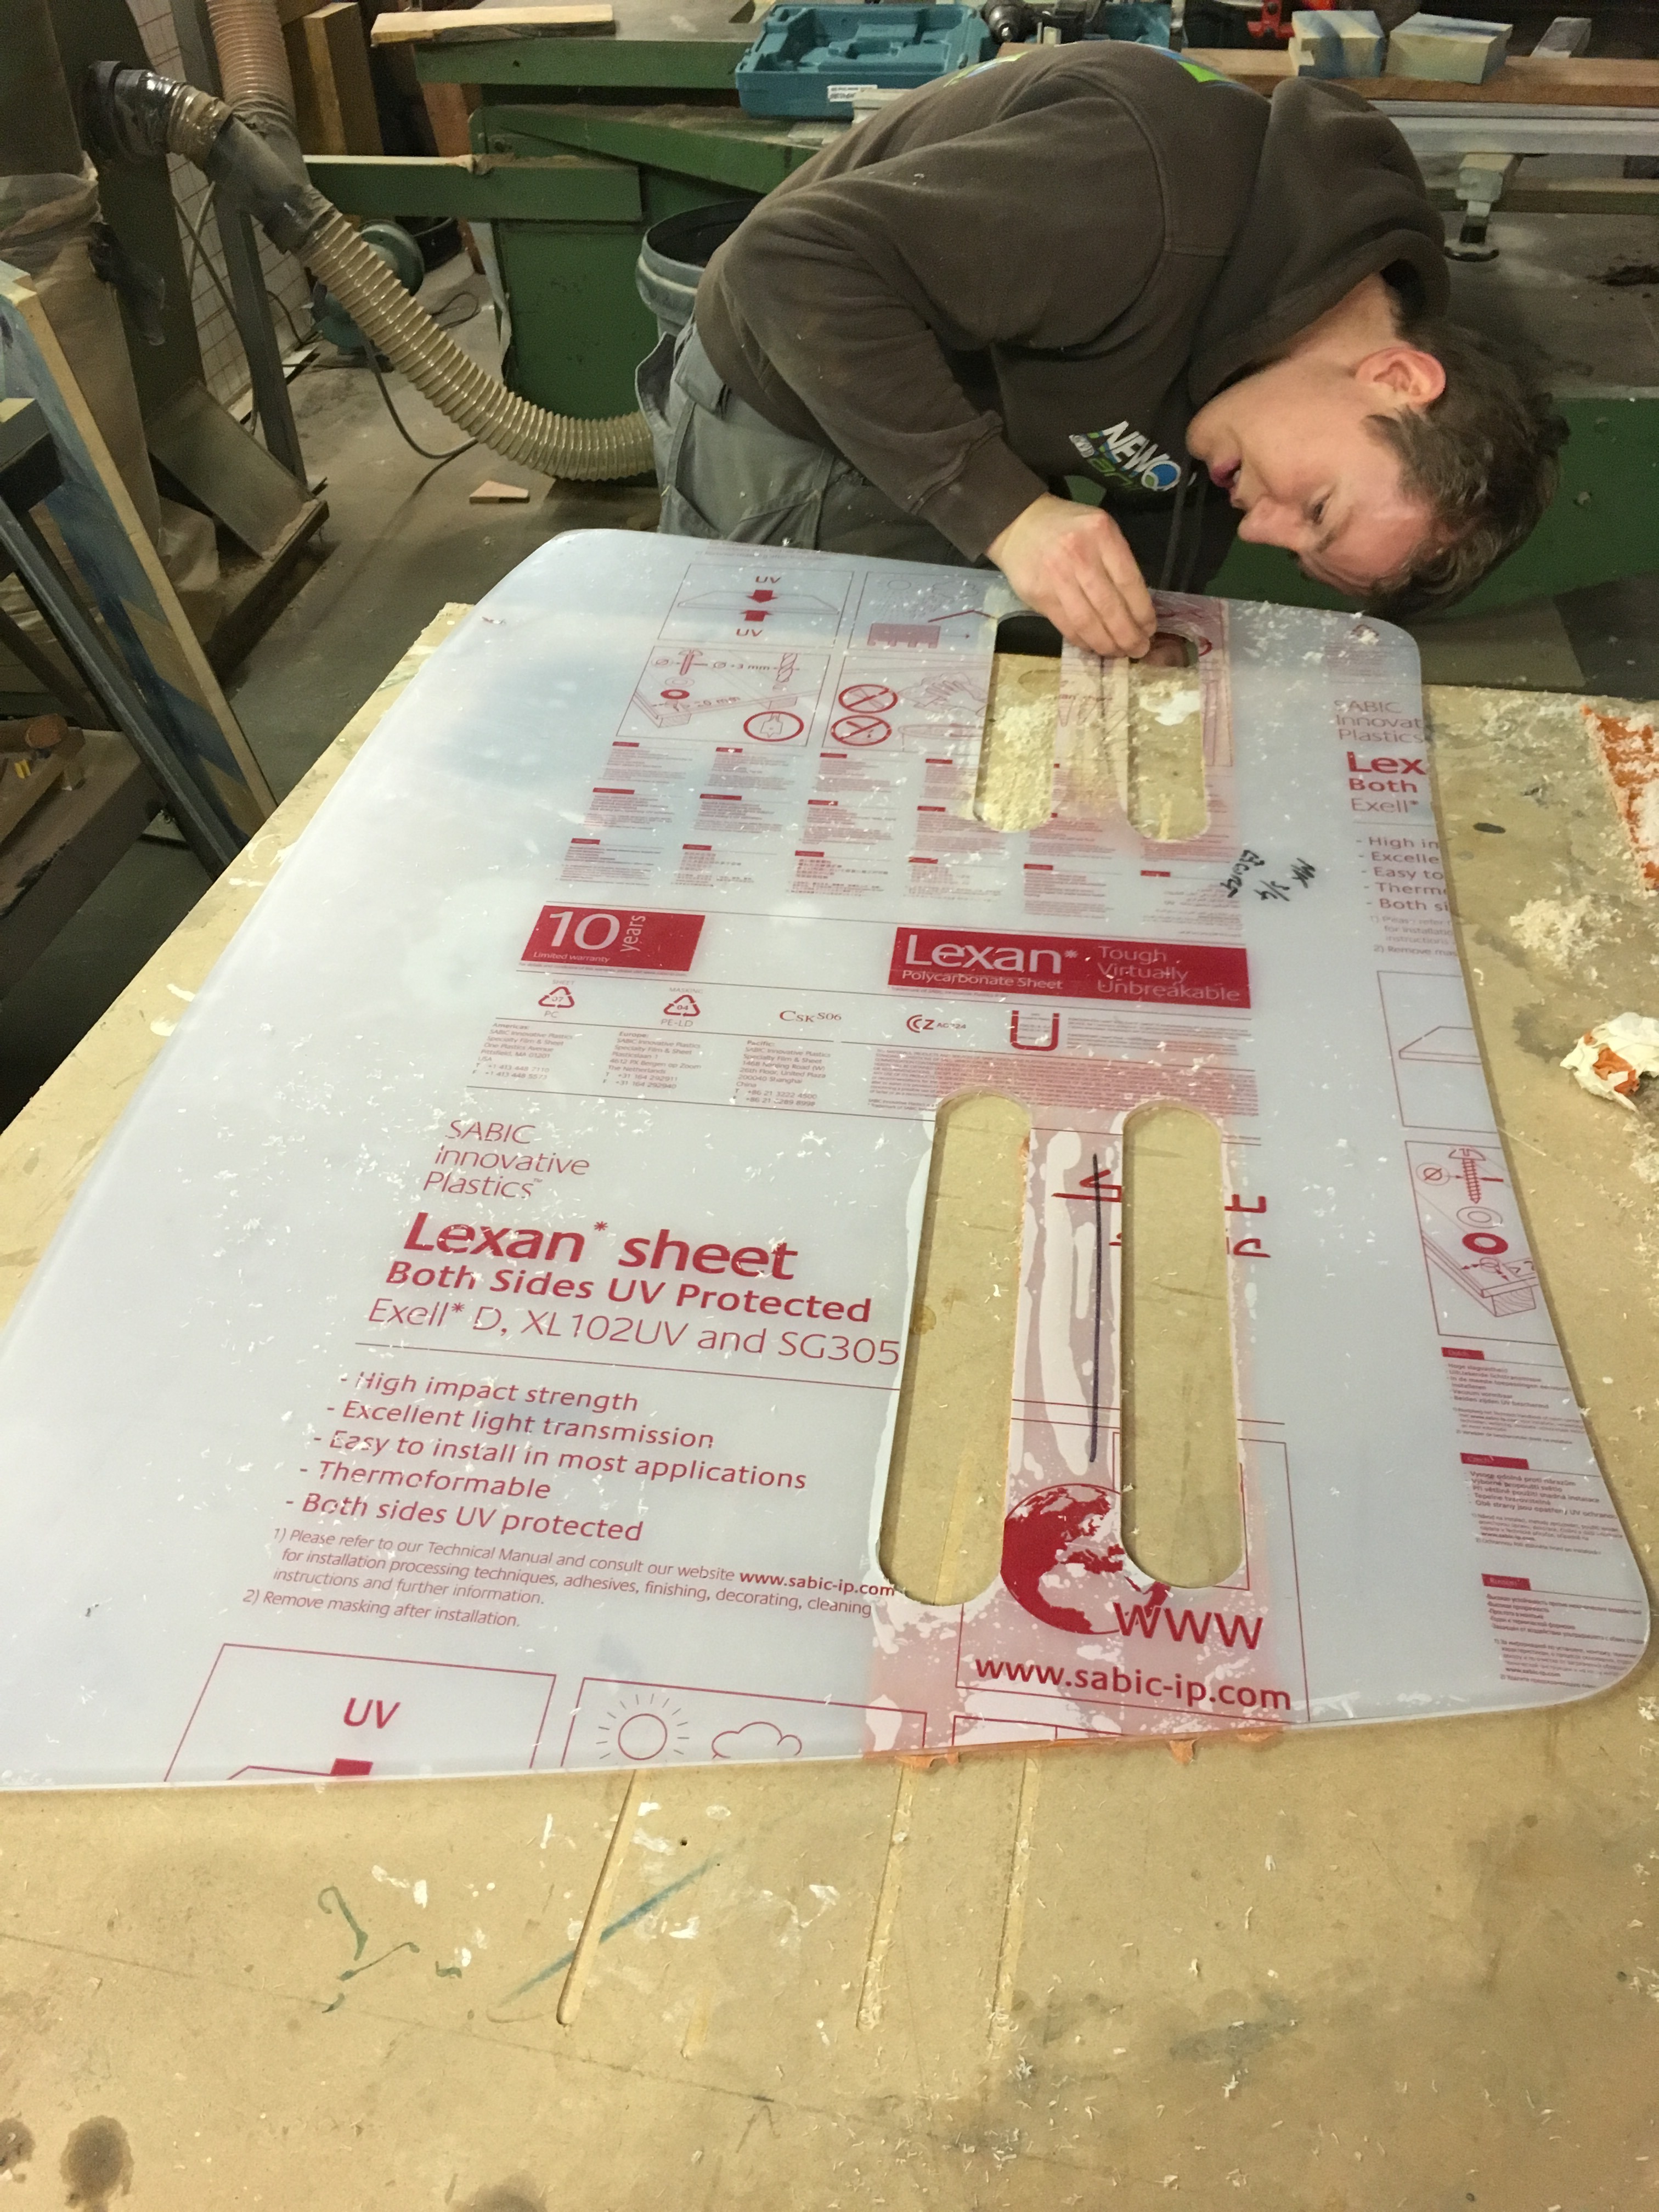
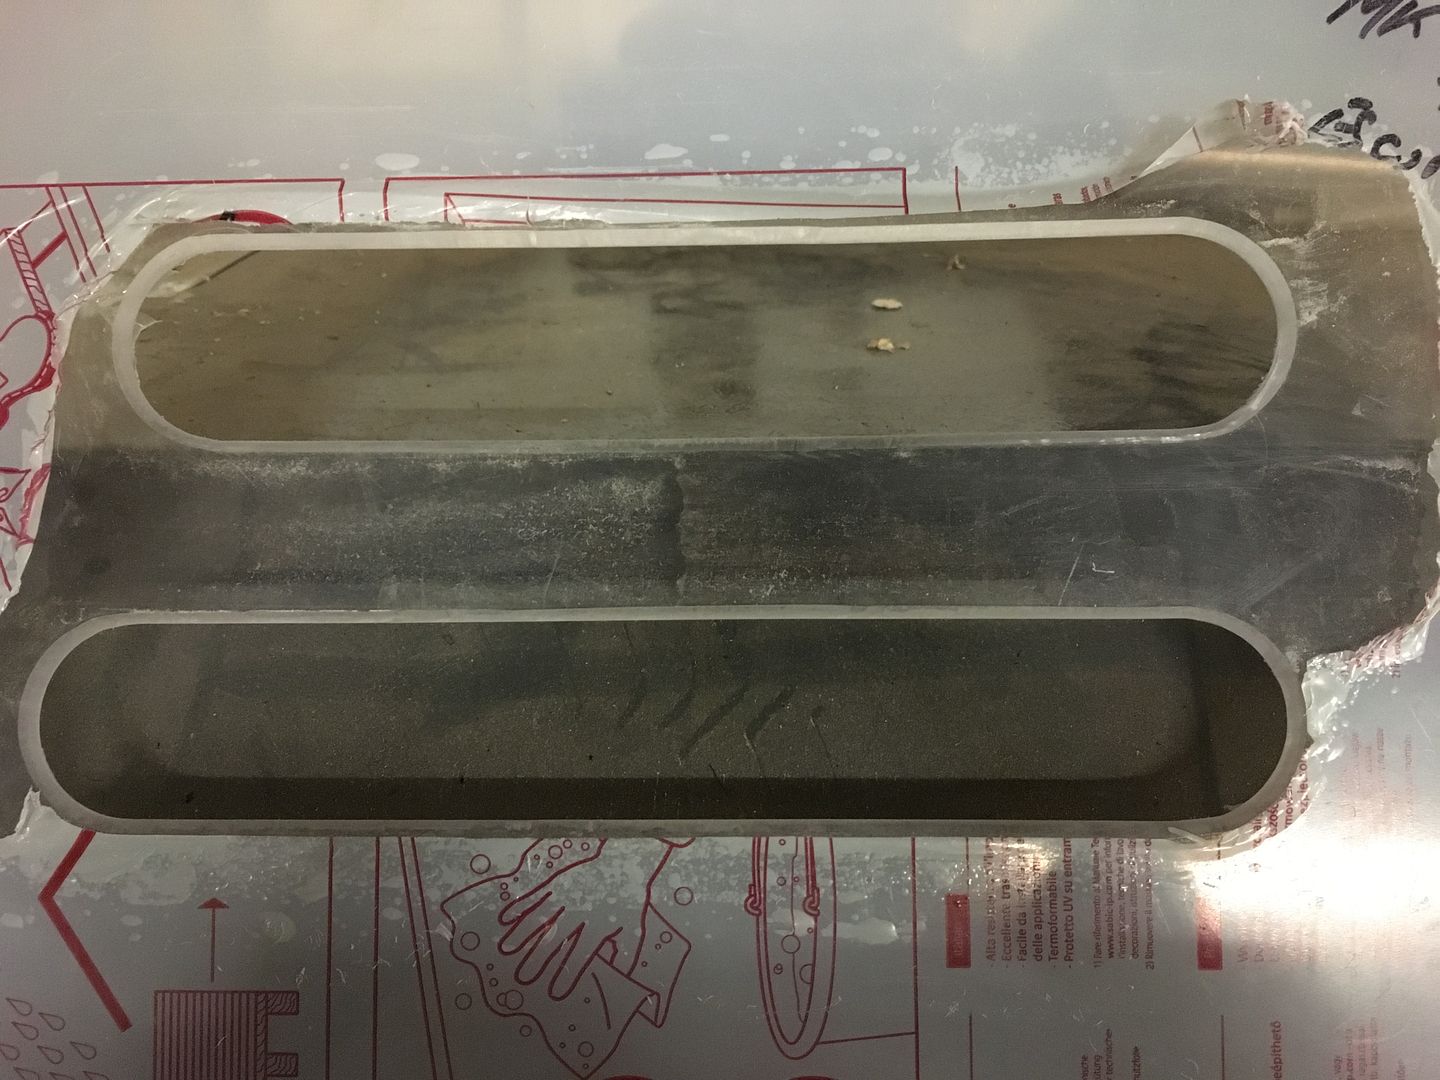
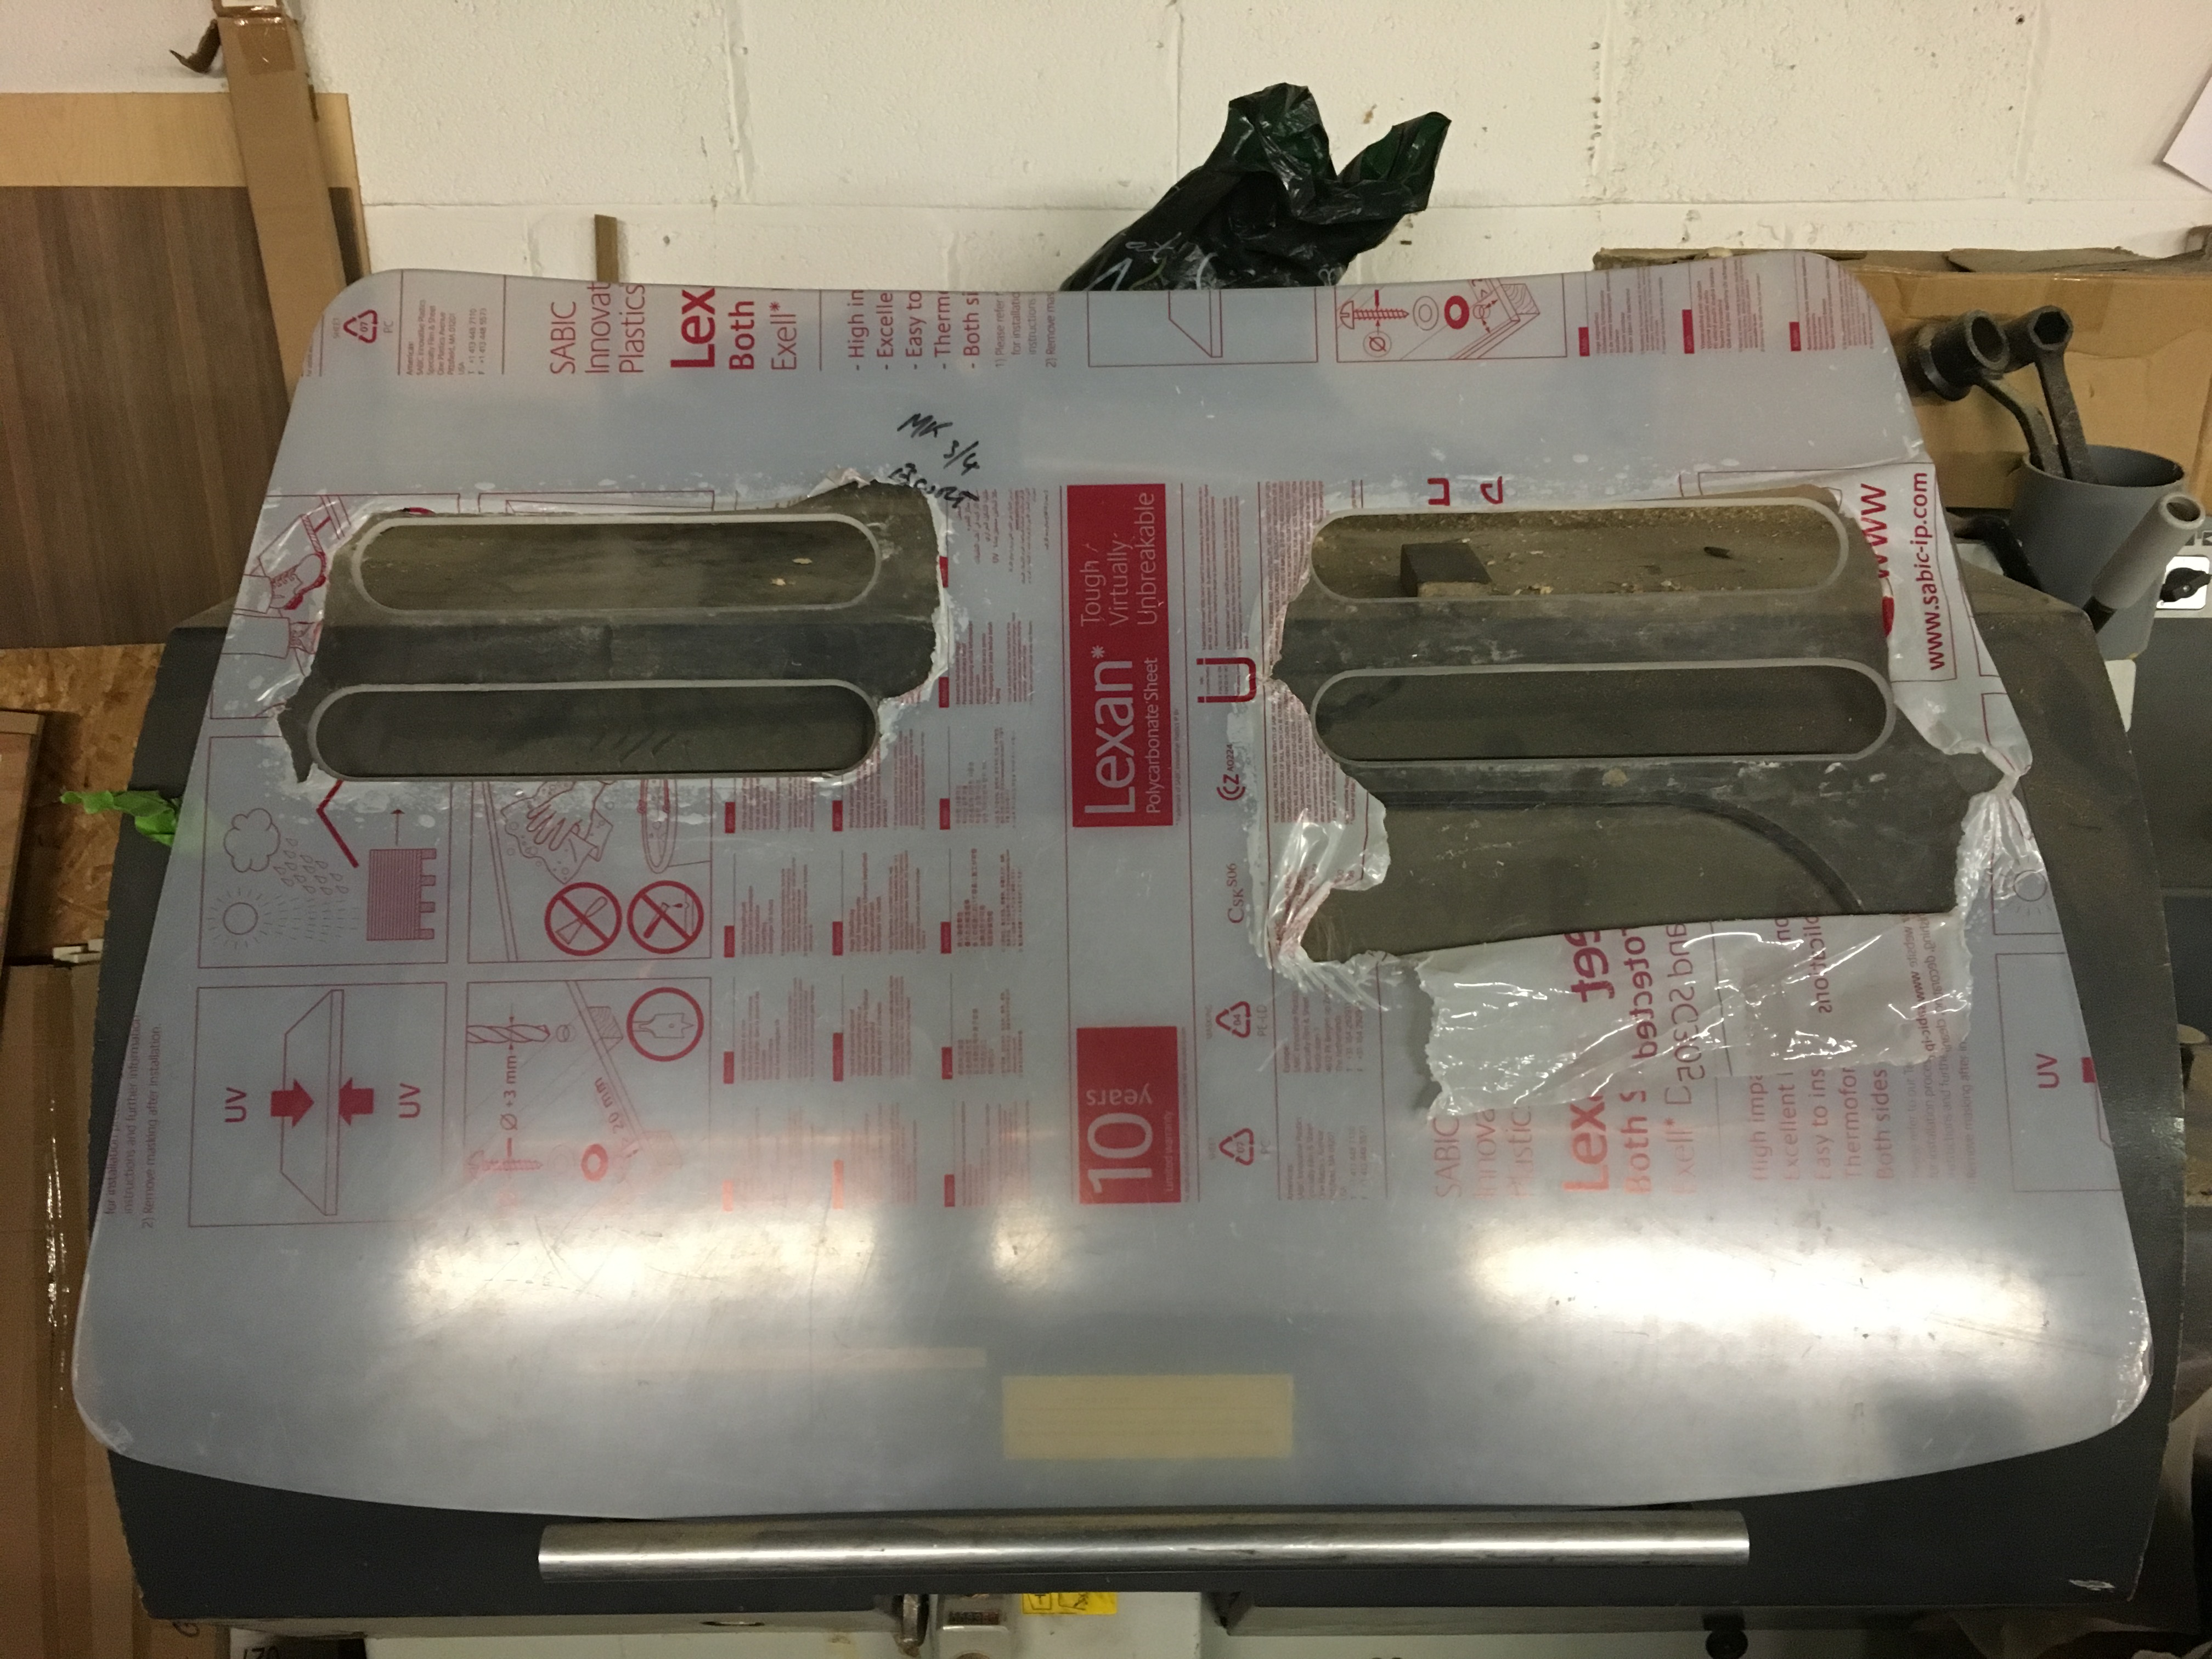
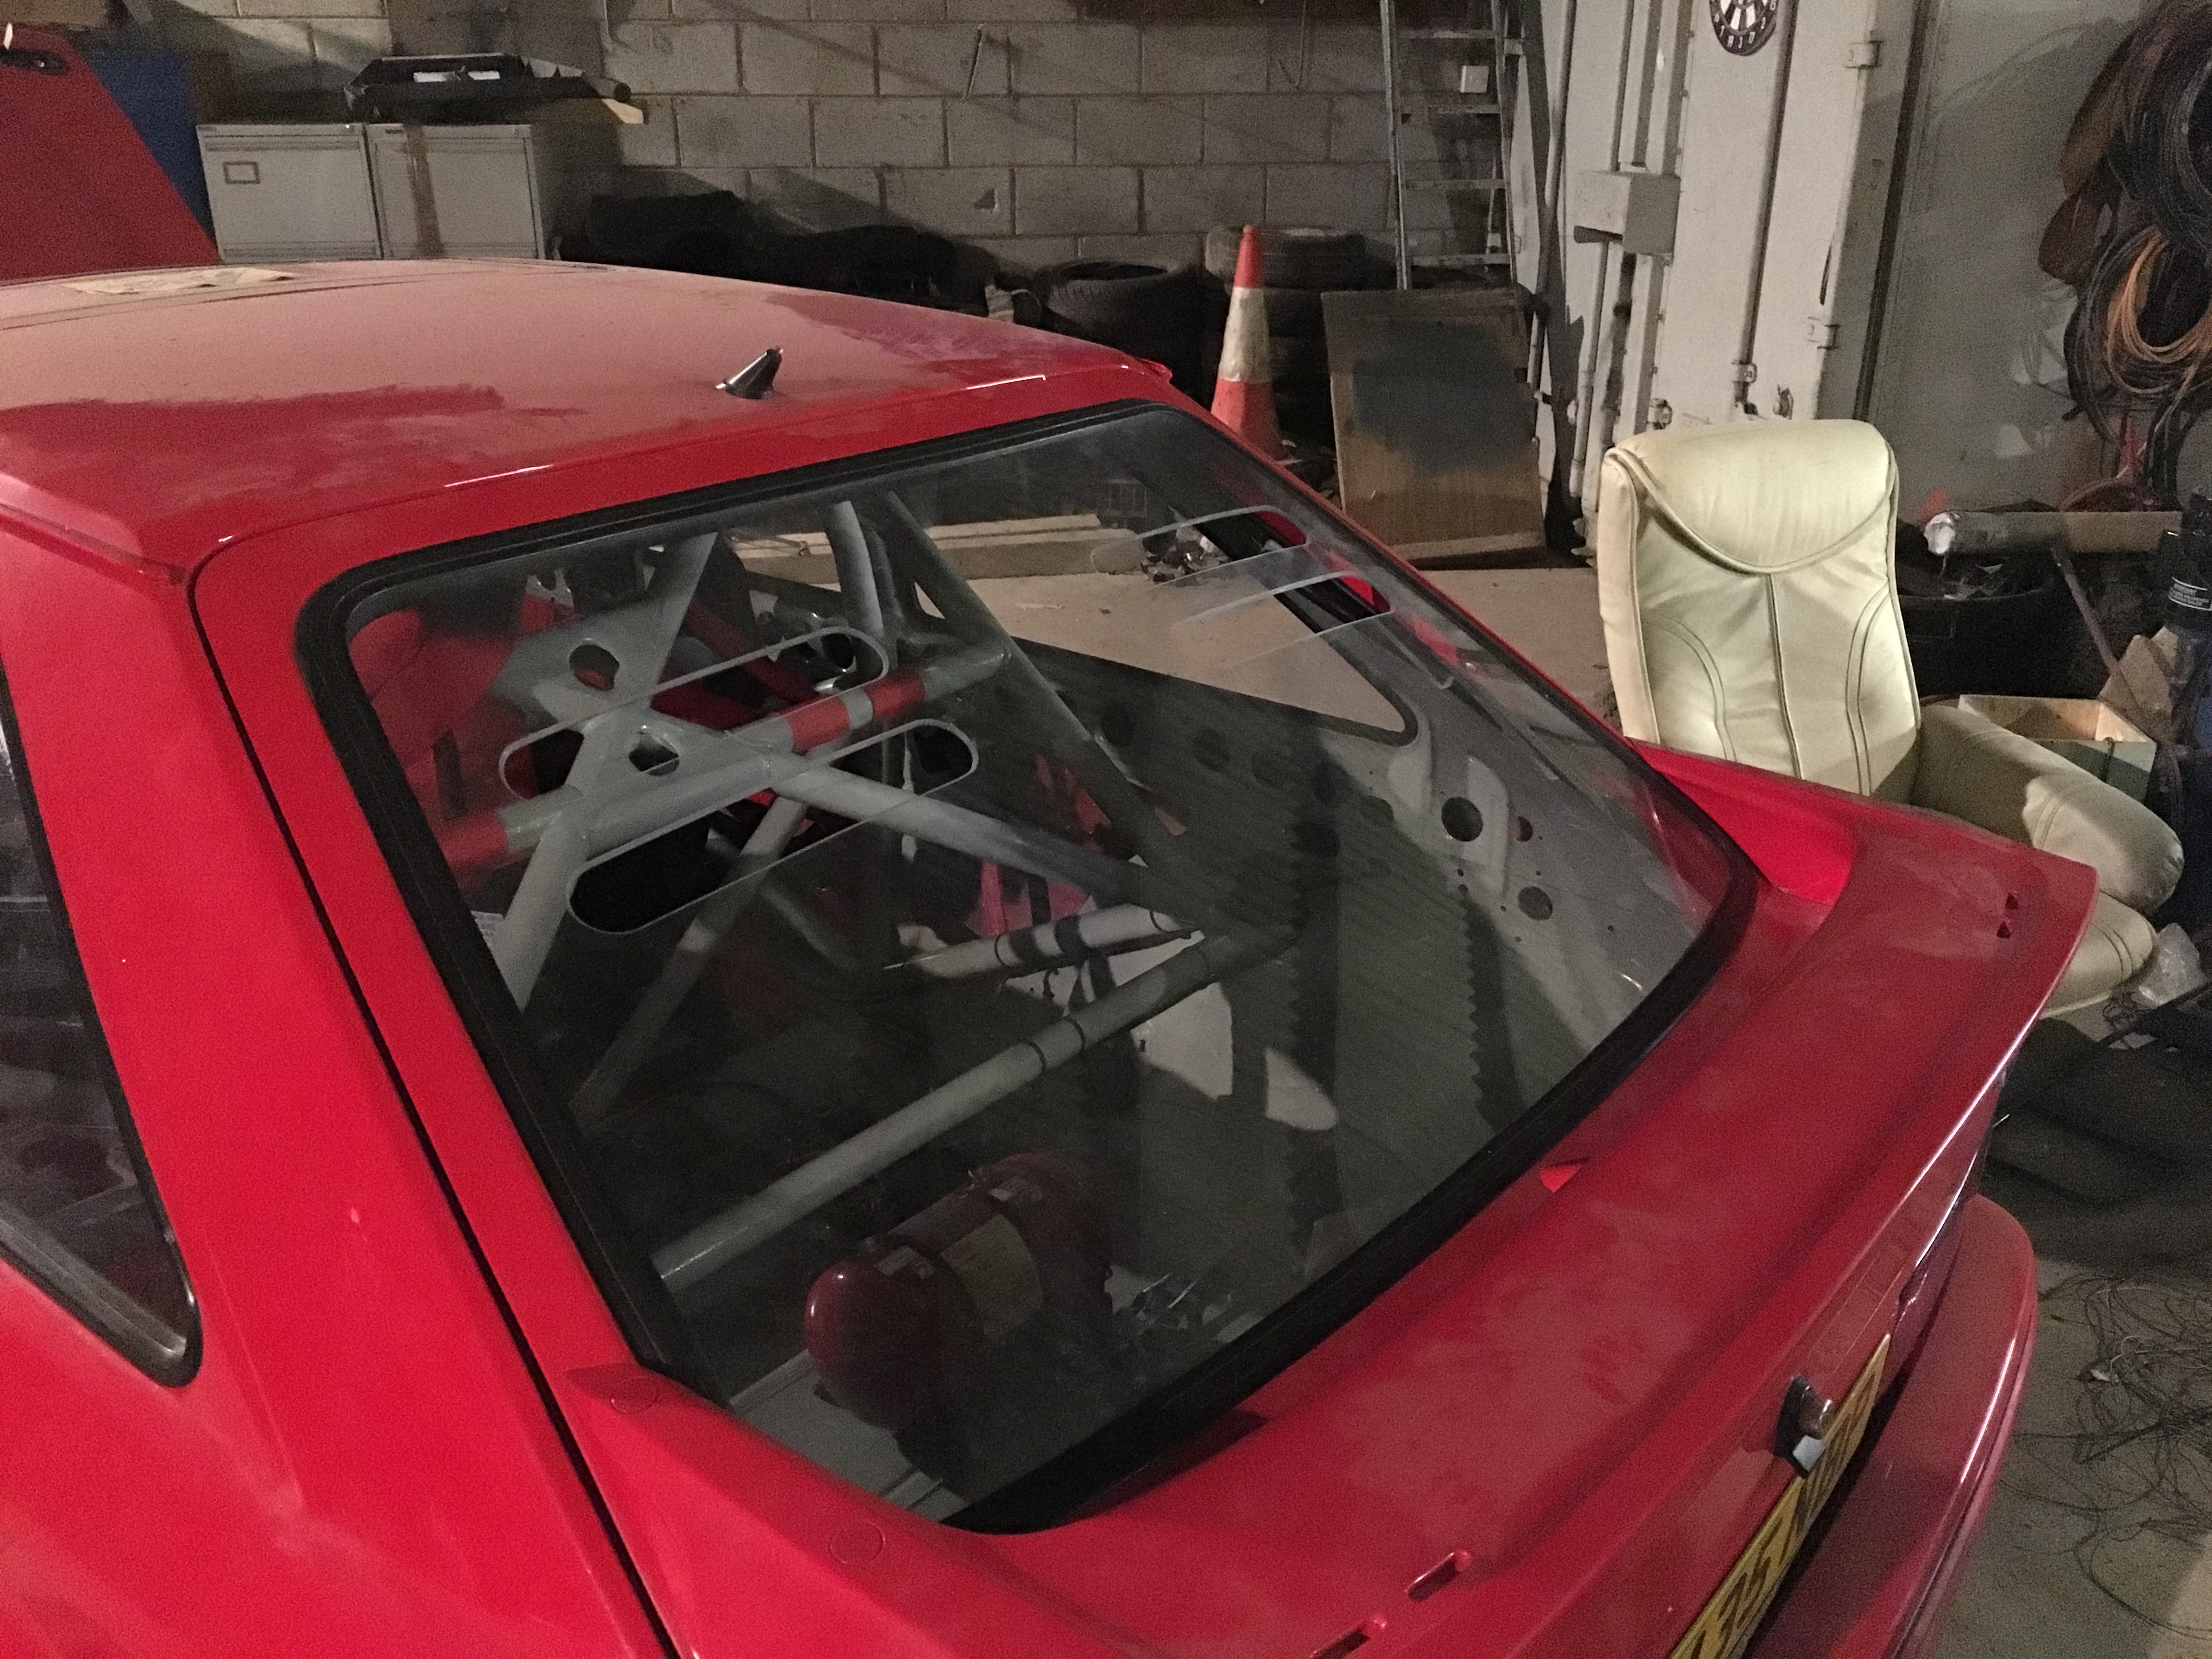
Got the rear screen done this afternoon. Went down to see my brother the wood butcher and use his router then after I marked it out I just kinda left him to do it while I watched
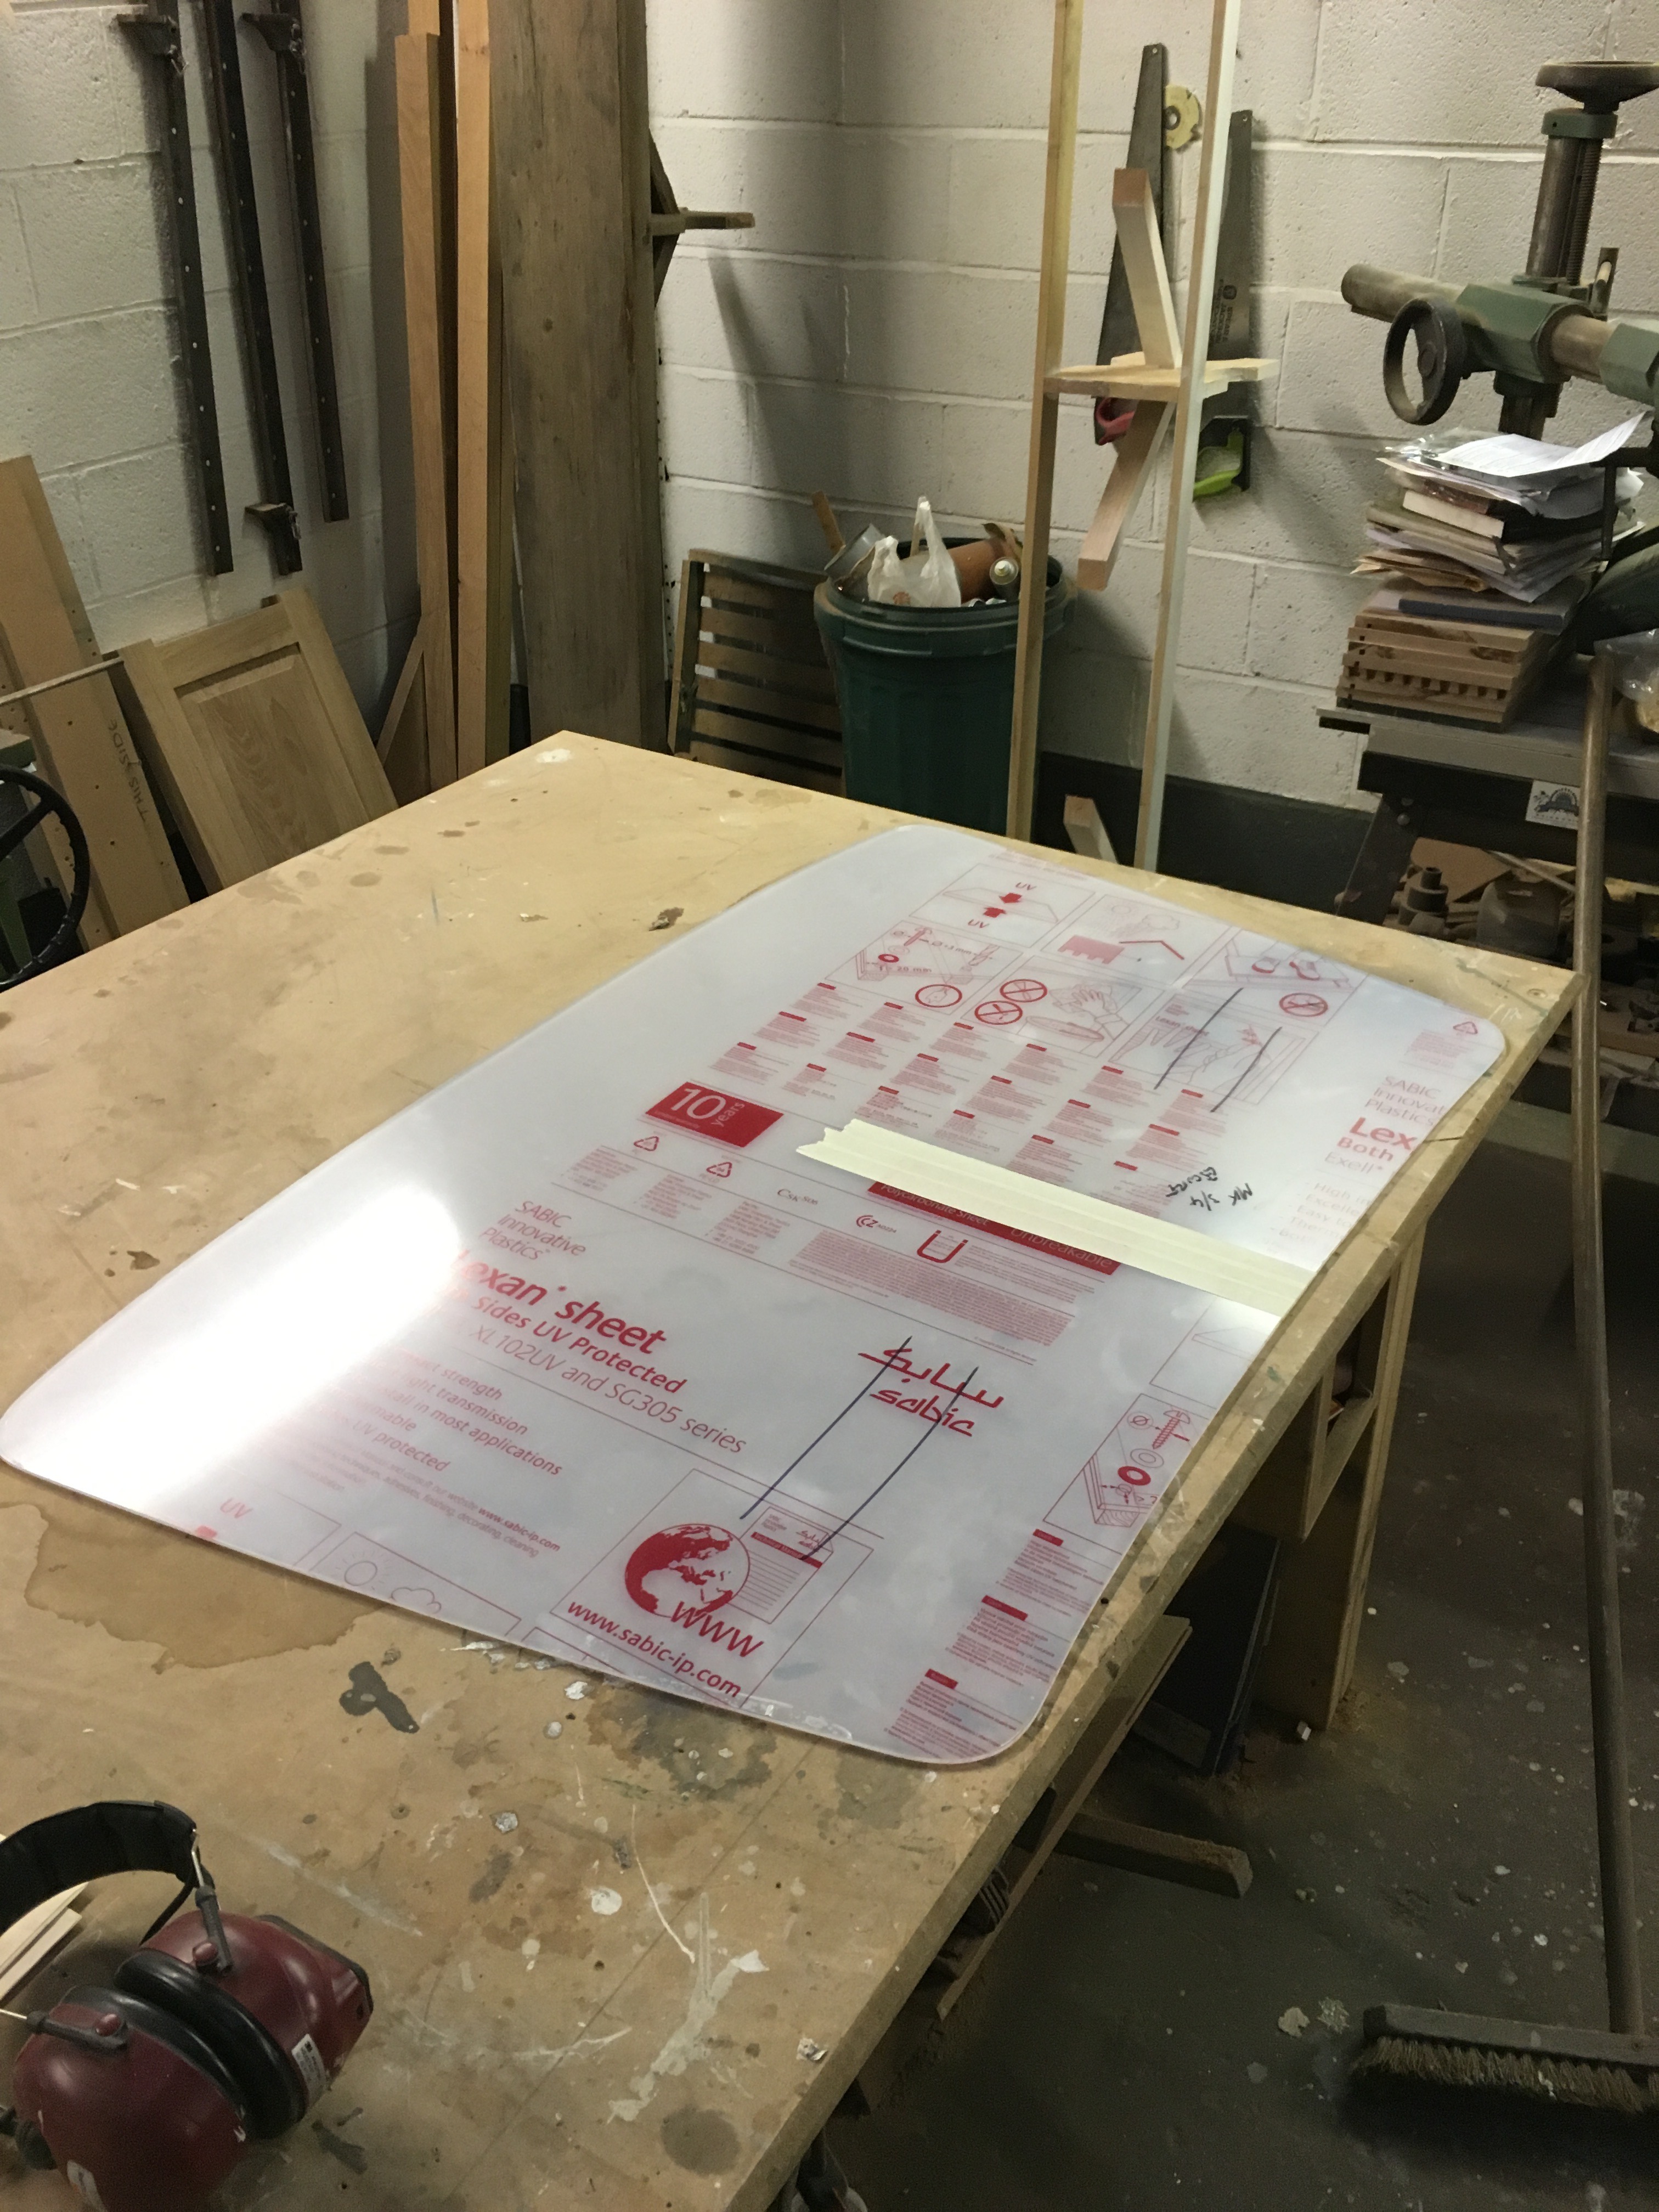
I've looked at others who have done the same thing, like Gus, Jano and they've all gone a lightly individual route so I decided to make mine slightly different and have the bottom holes slightly longer so they follow the edge of the window rubber.
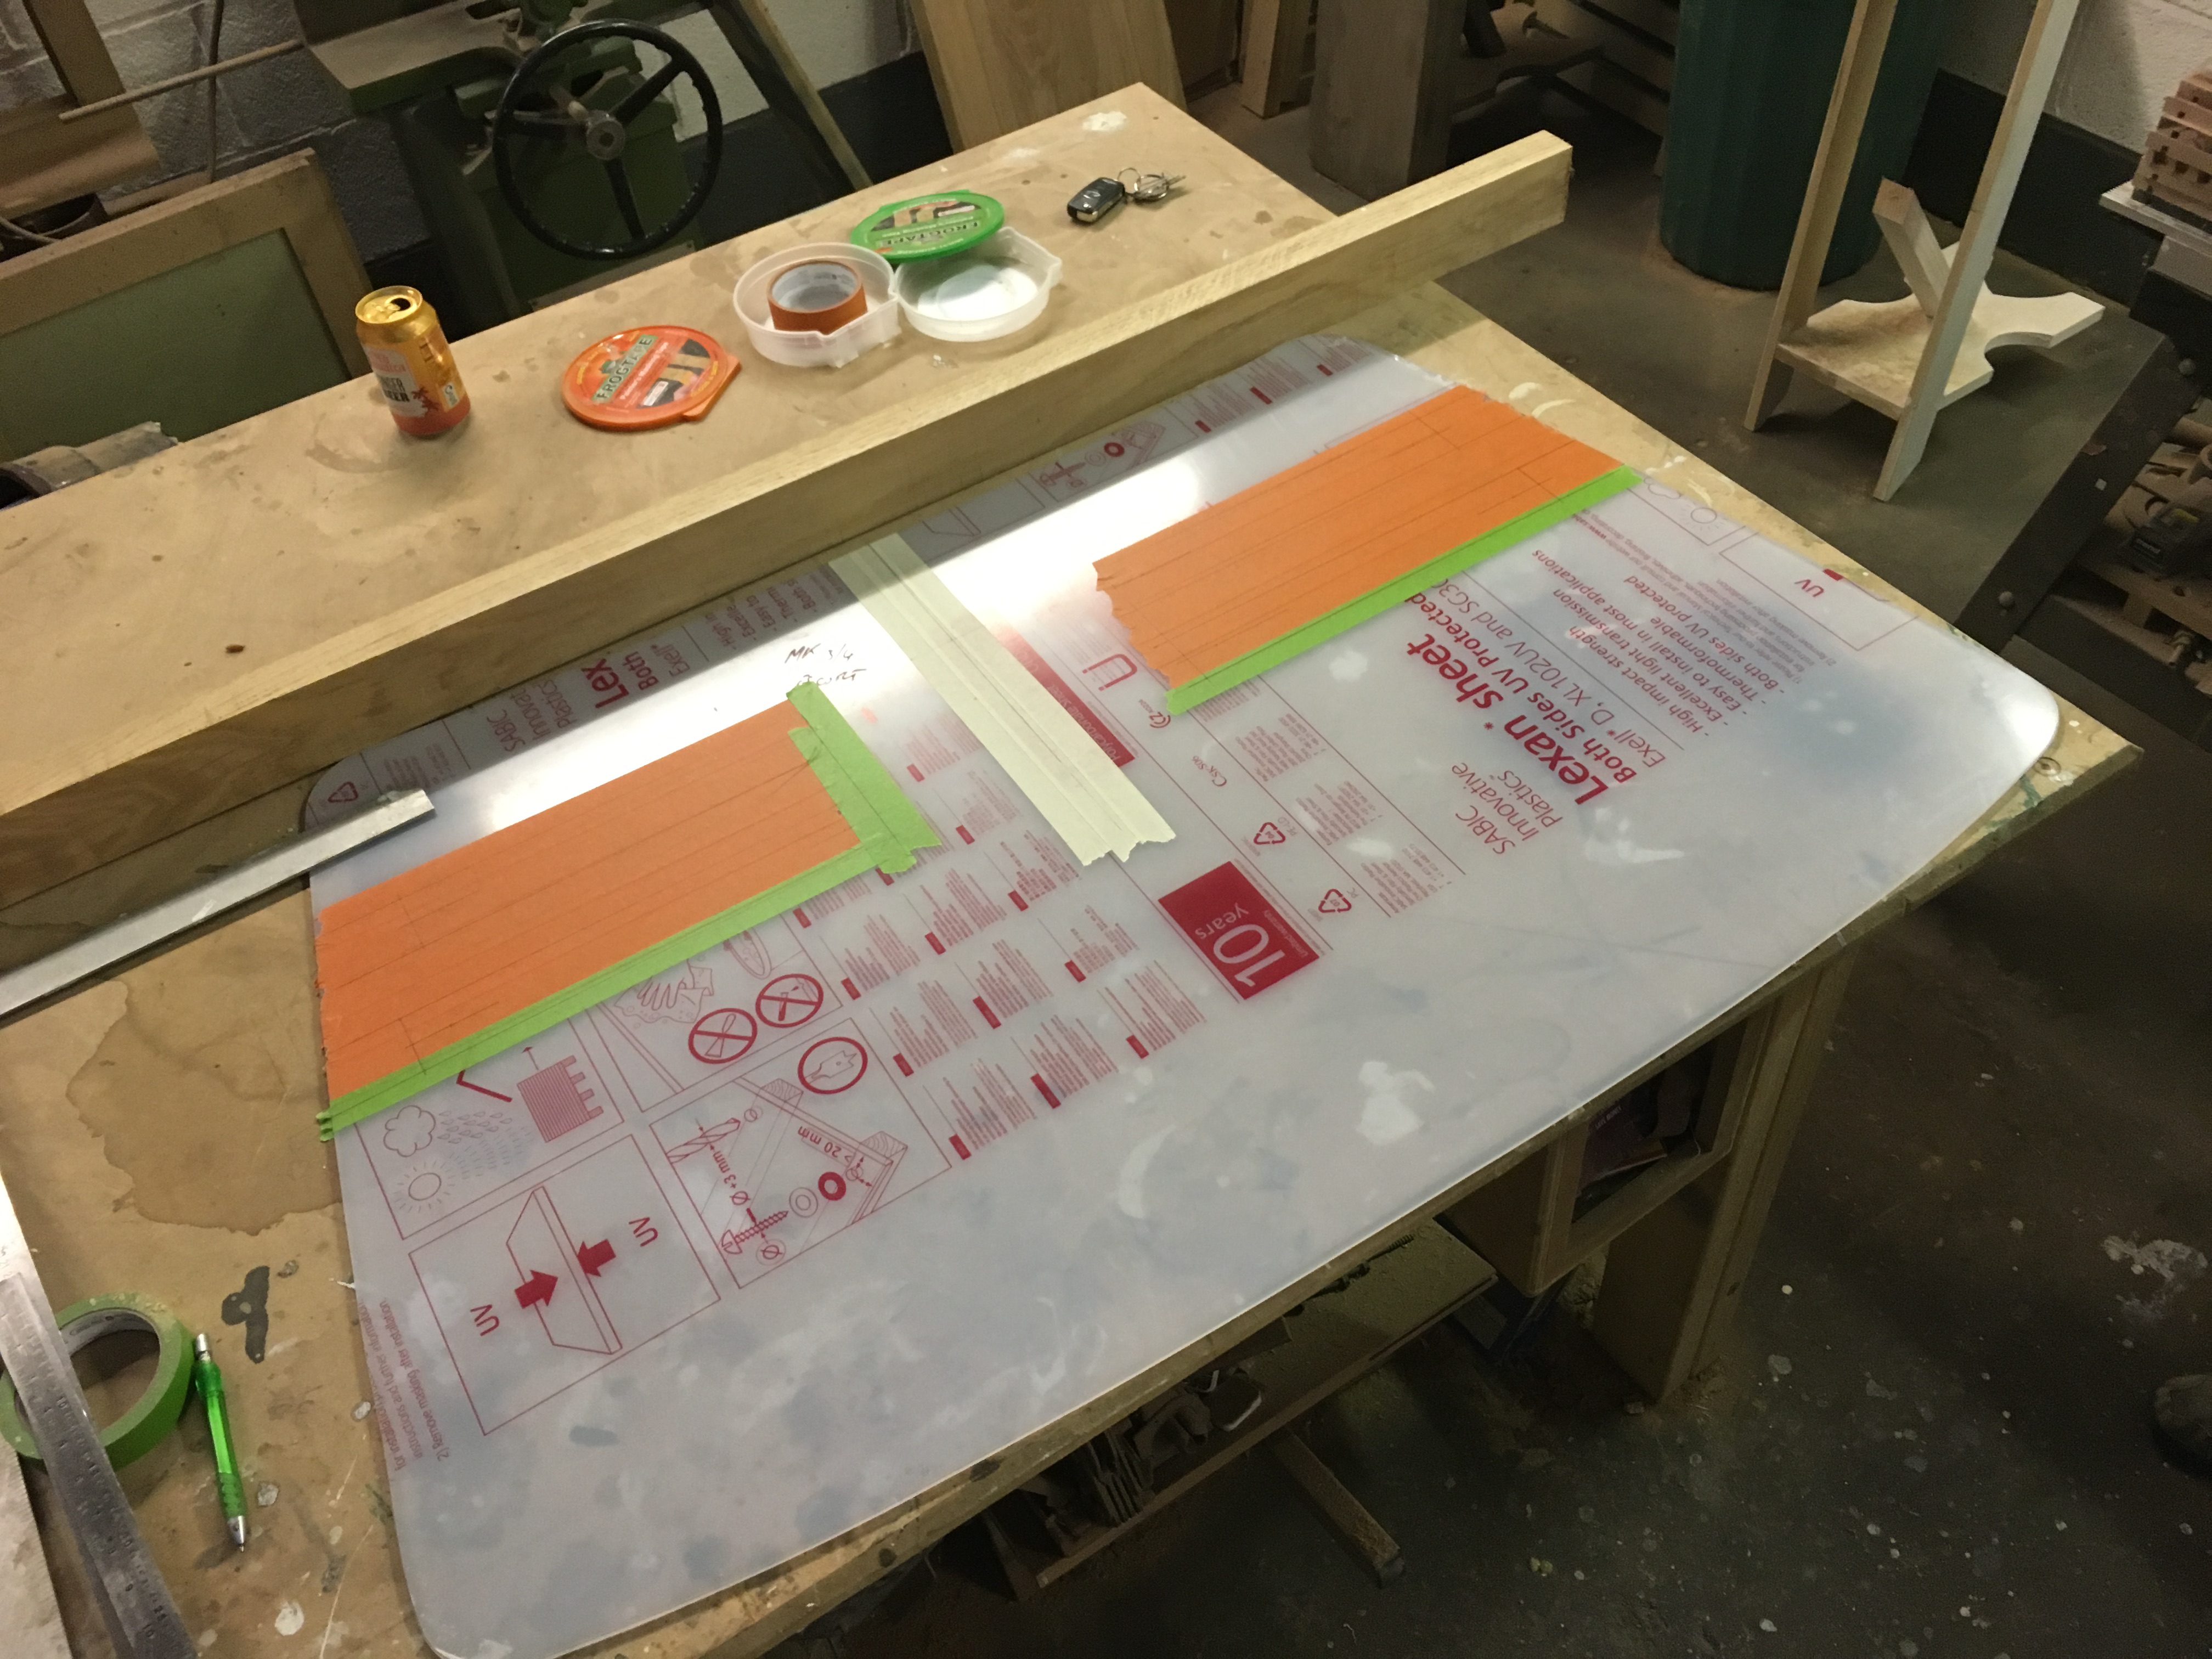
Then let him loose.
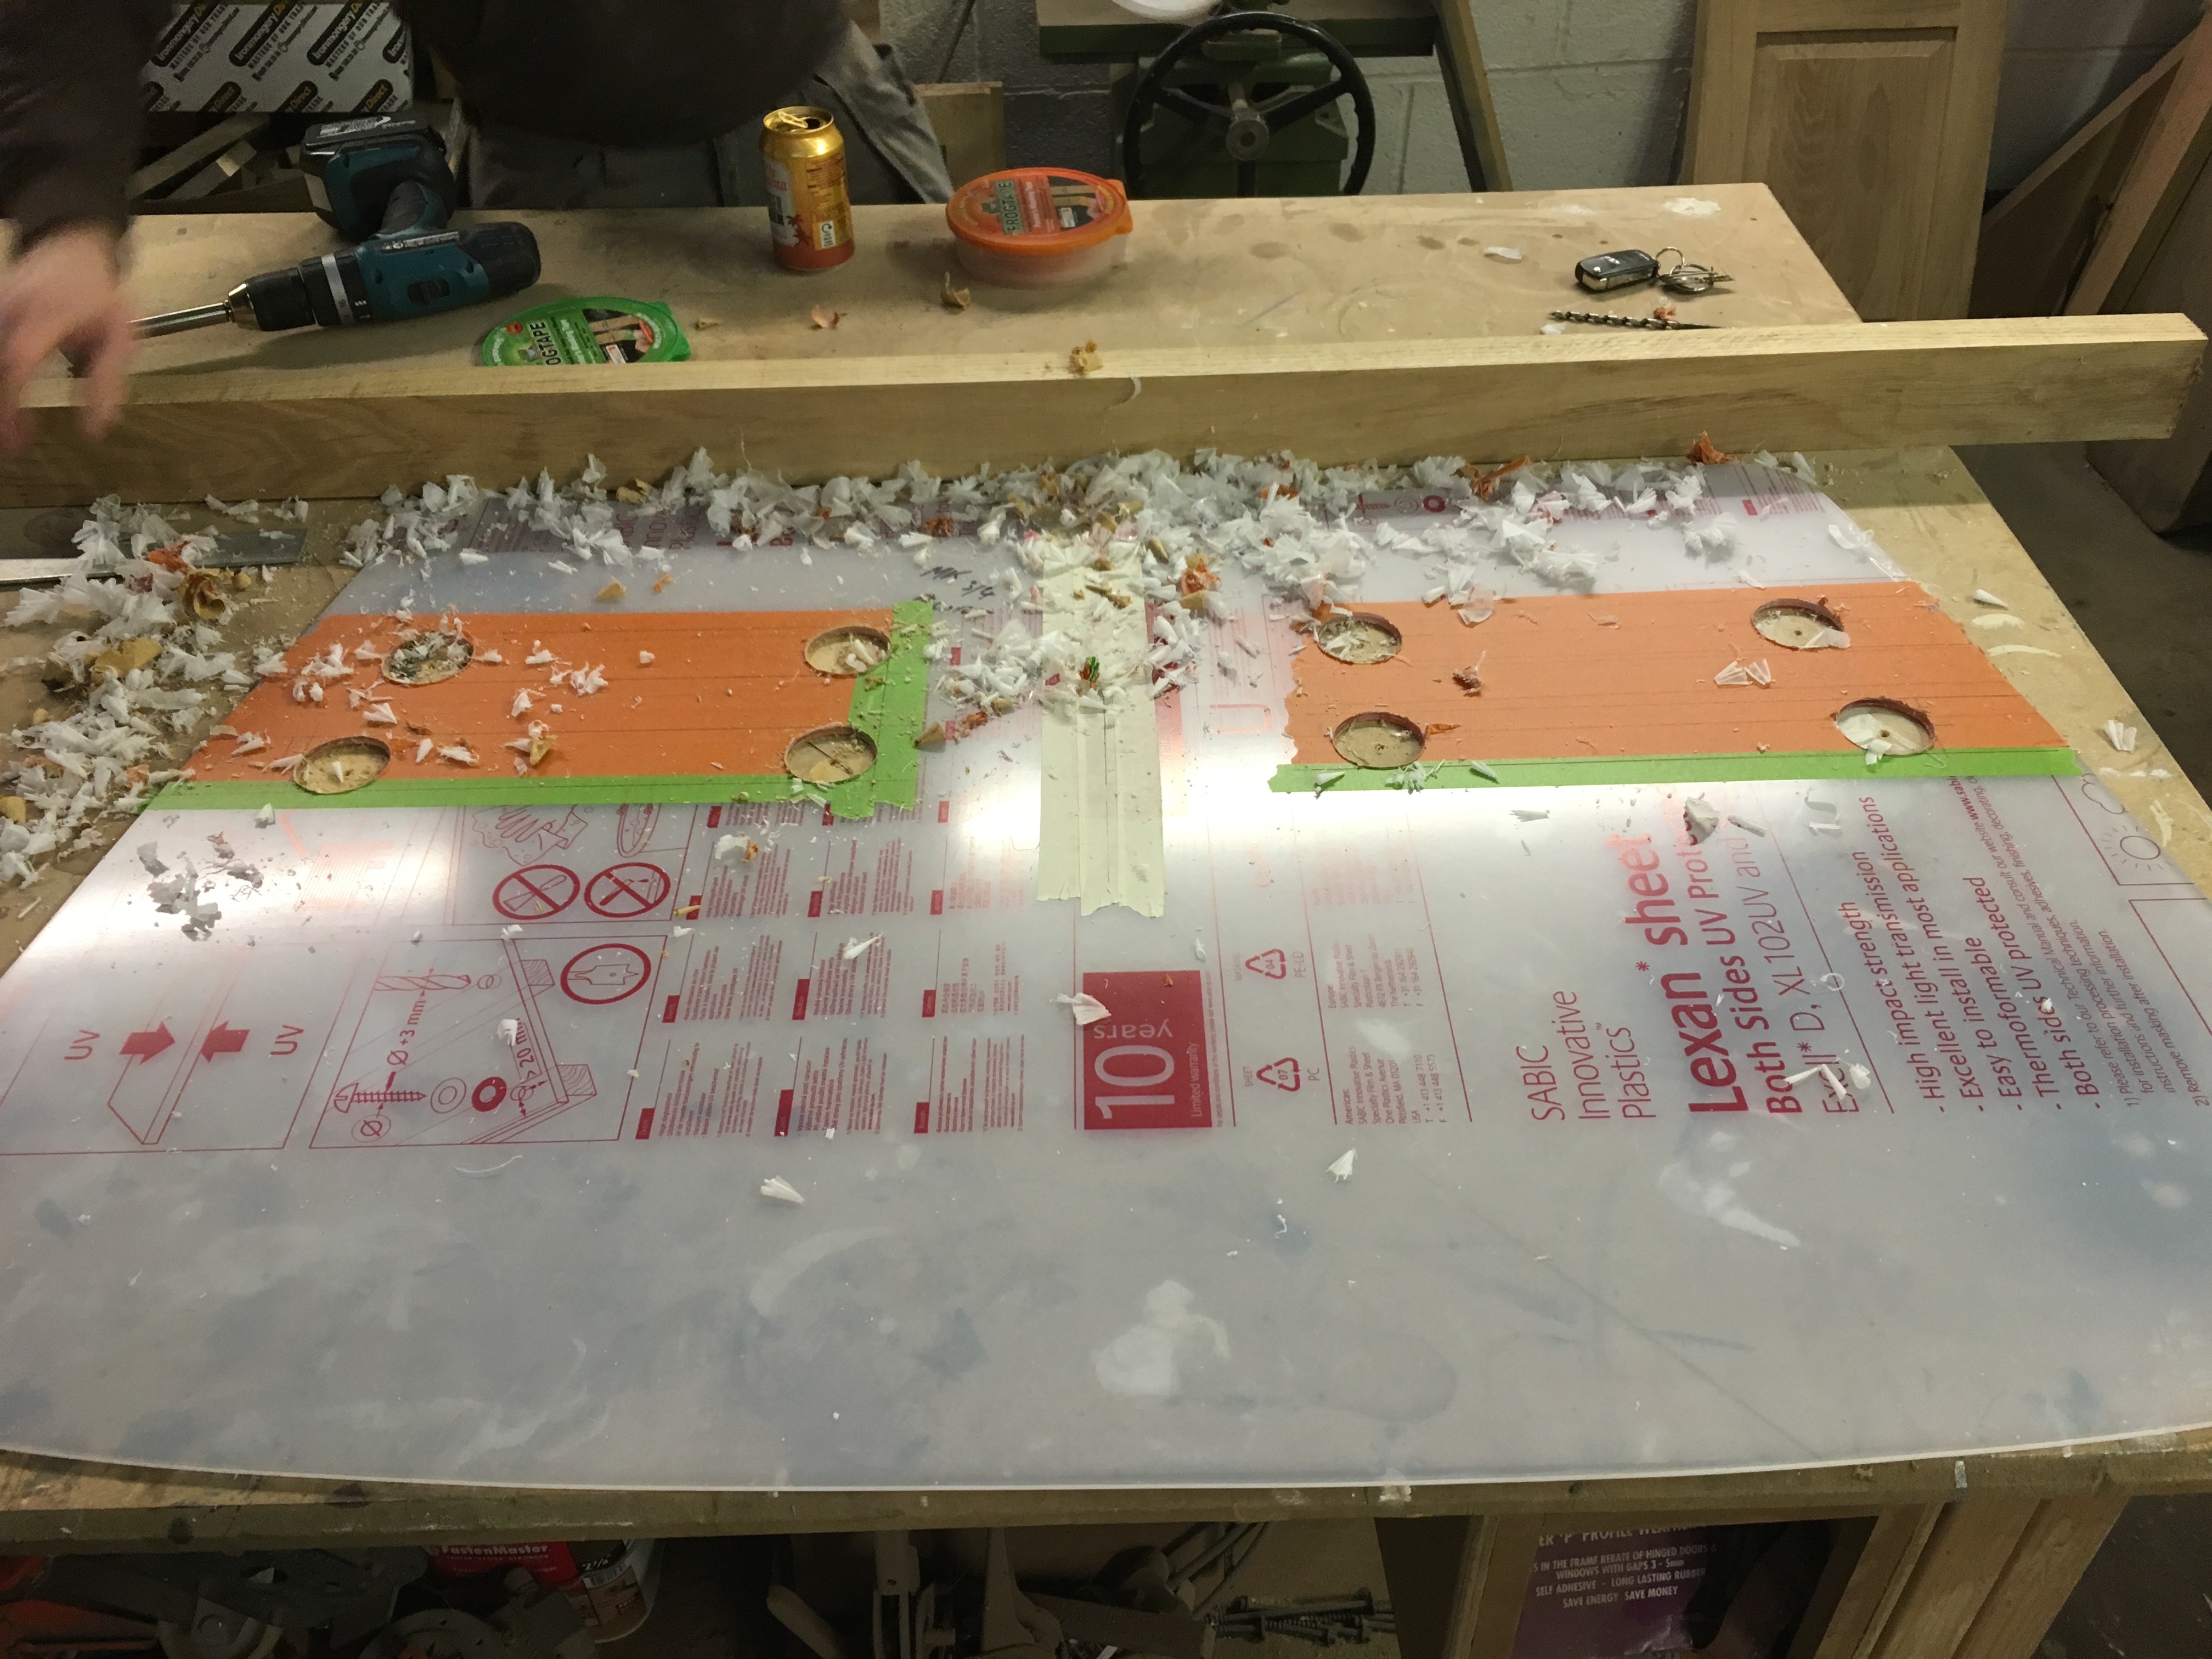

Then we decided that just plain holes looked a bit like an afterthought and as he's got the tools we chamfered them.
Made a little form for the router to follow on the ends.
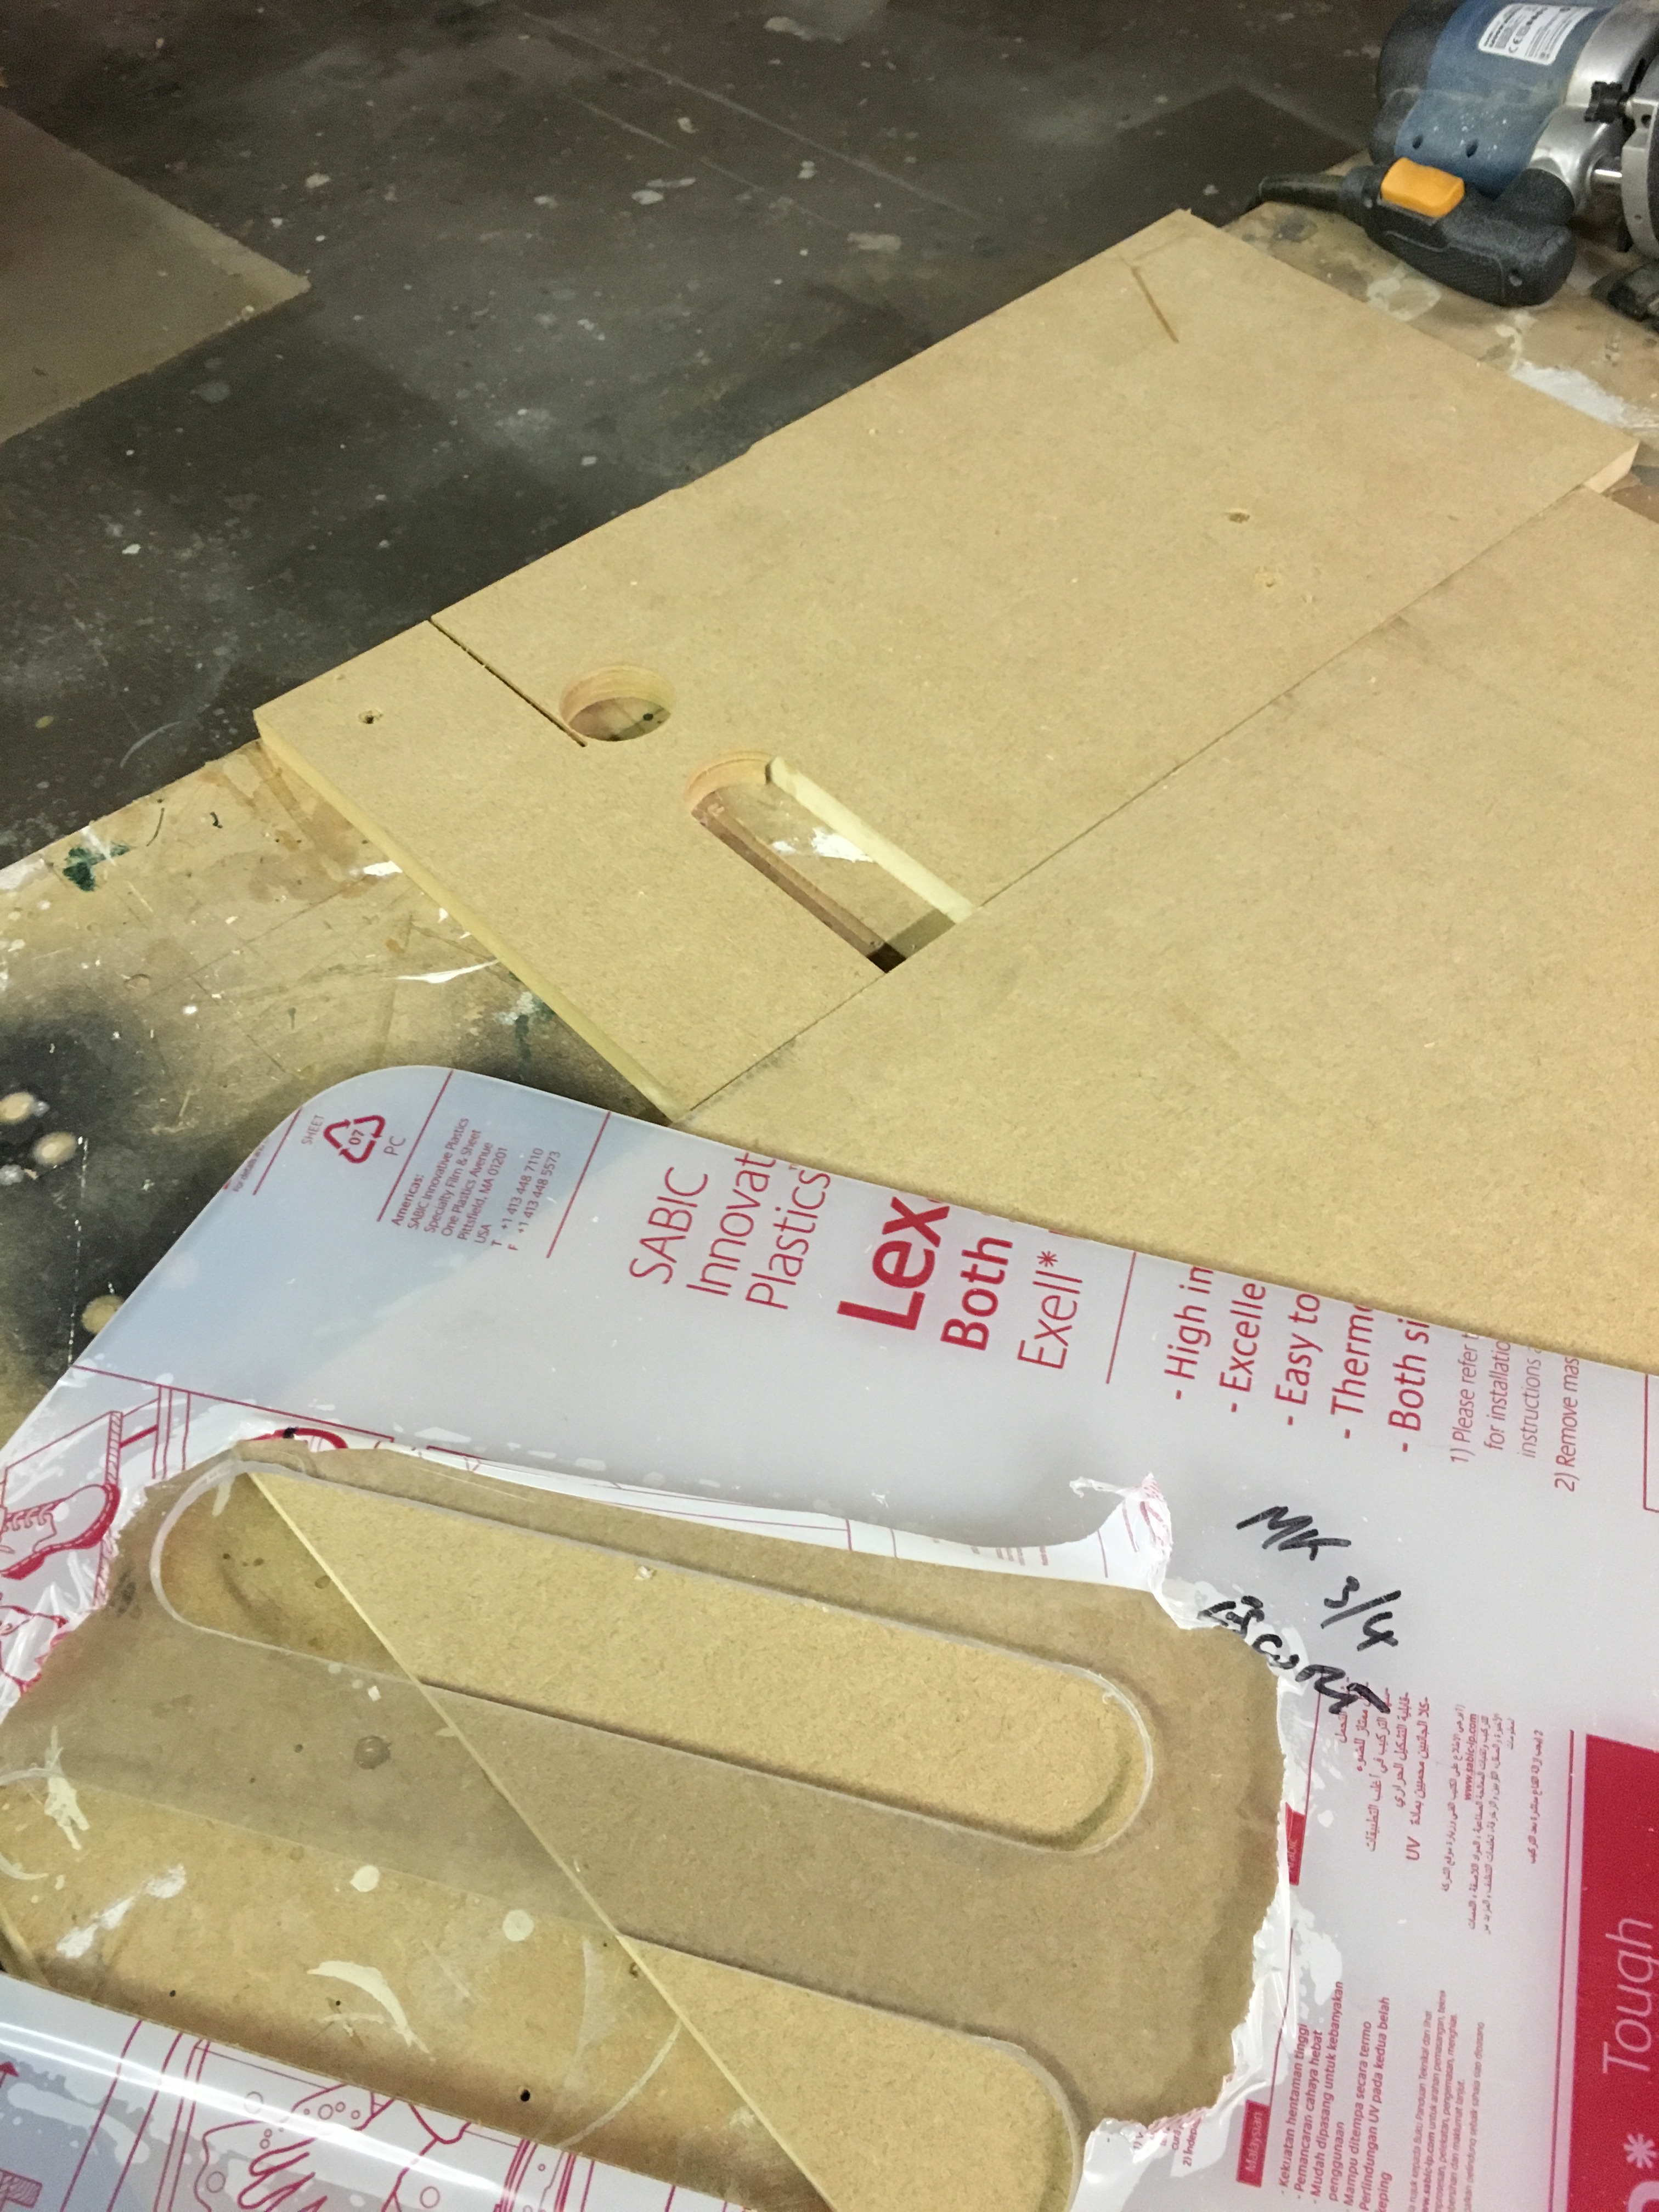
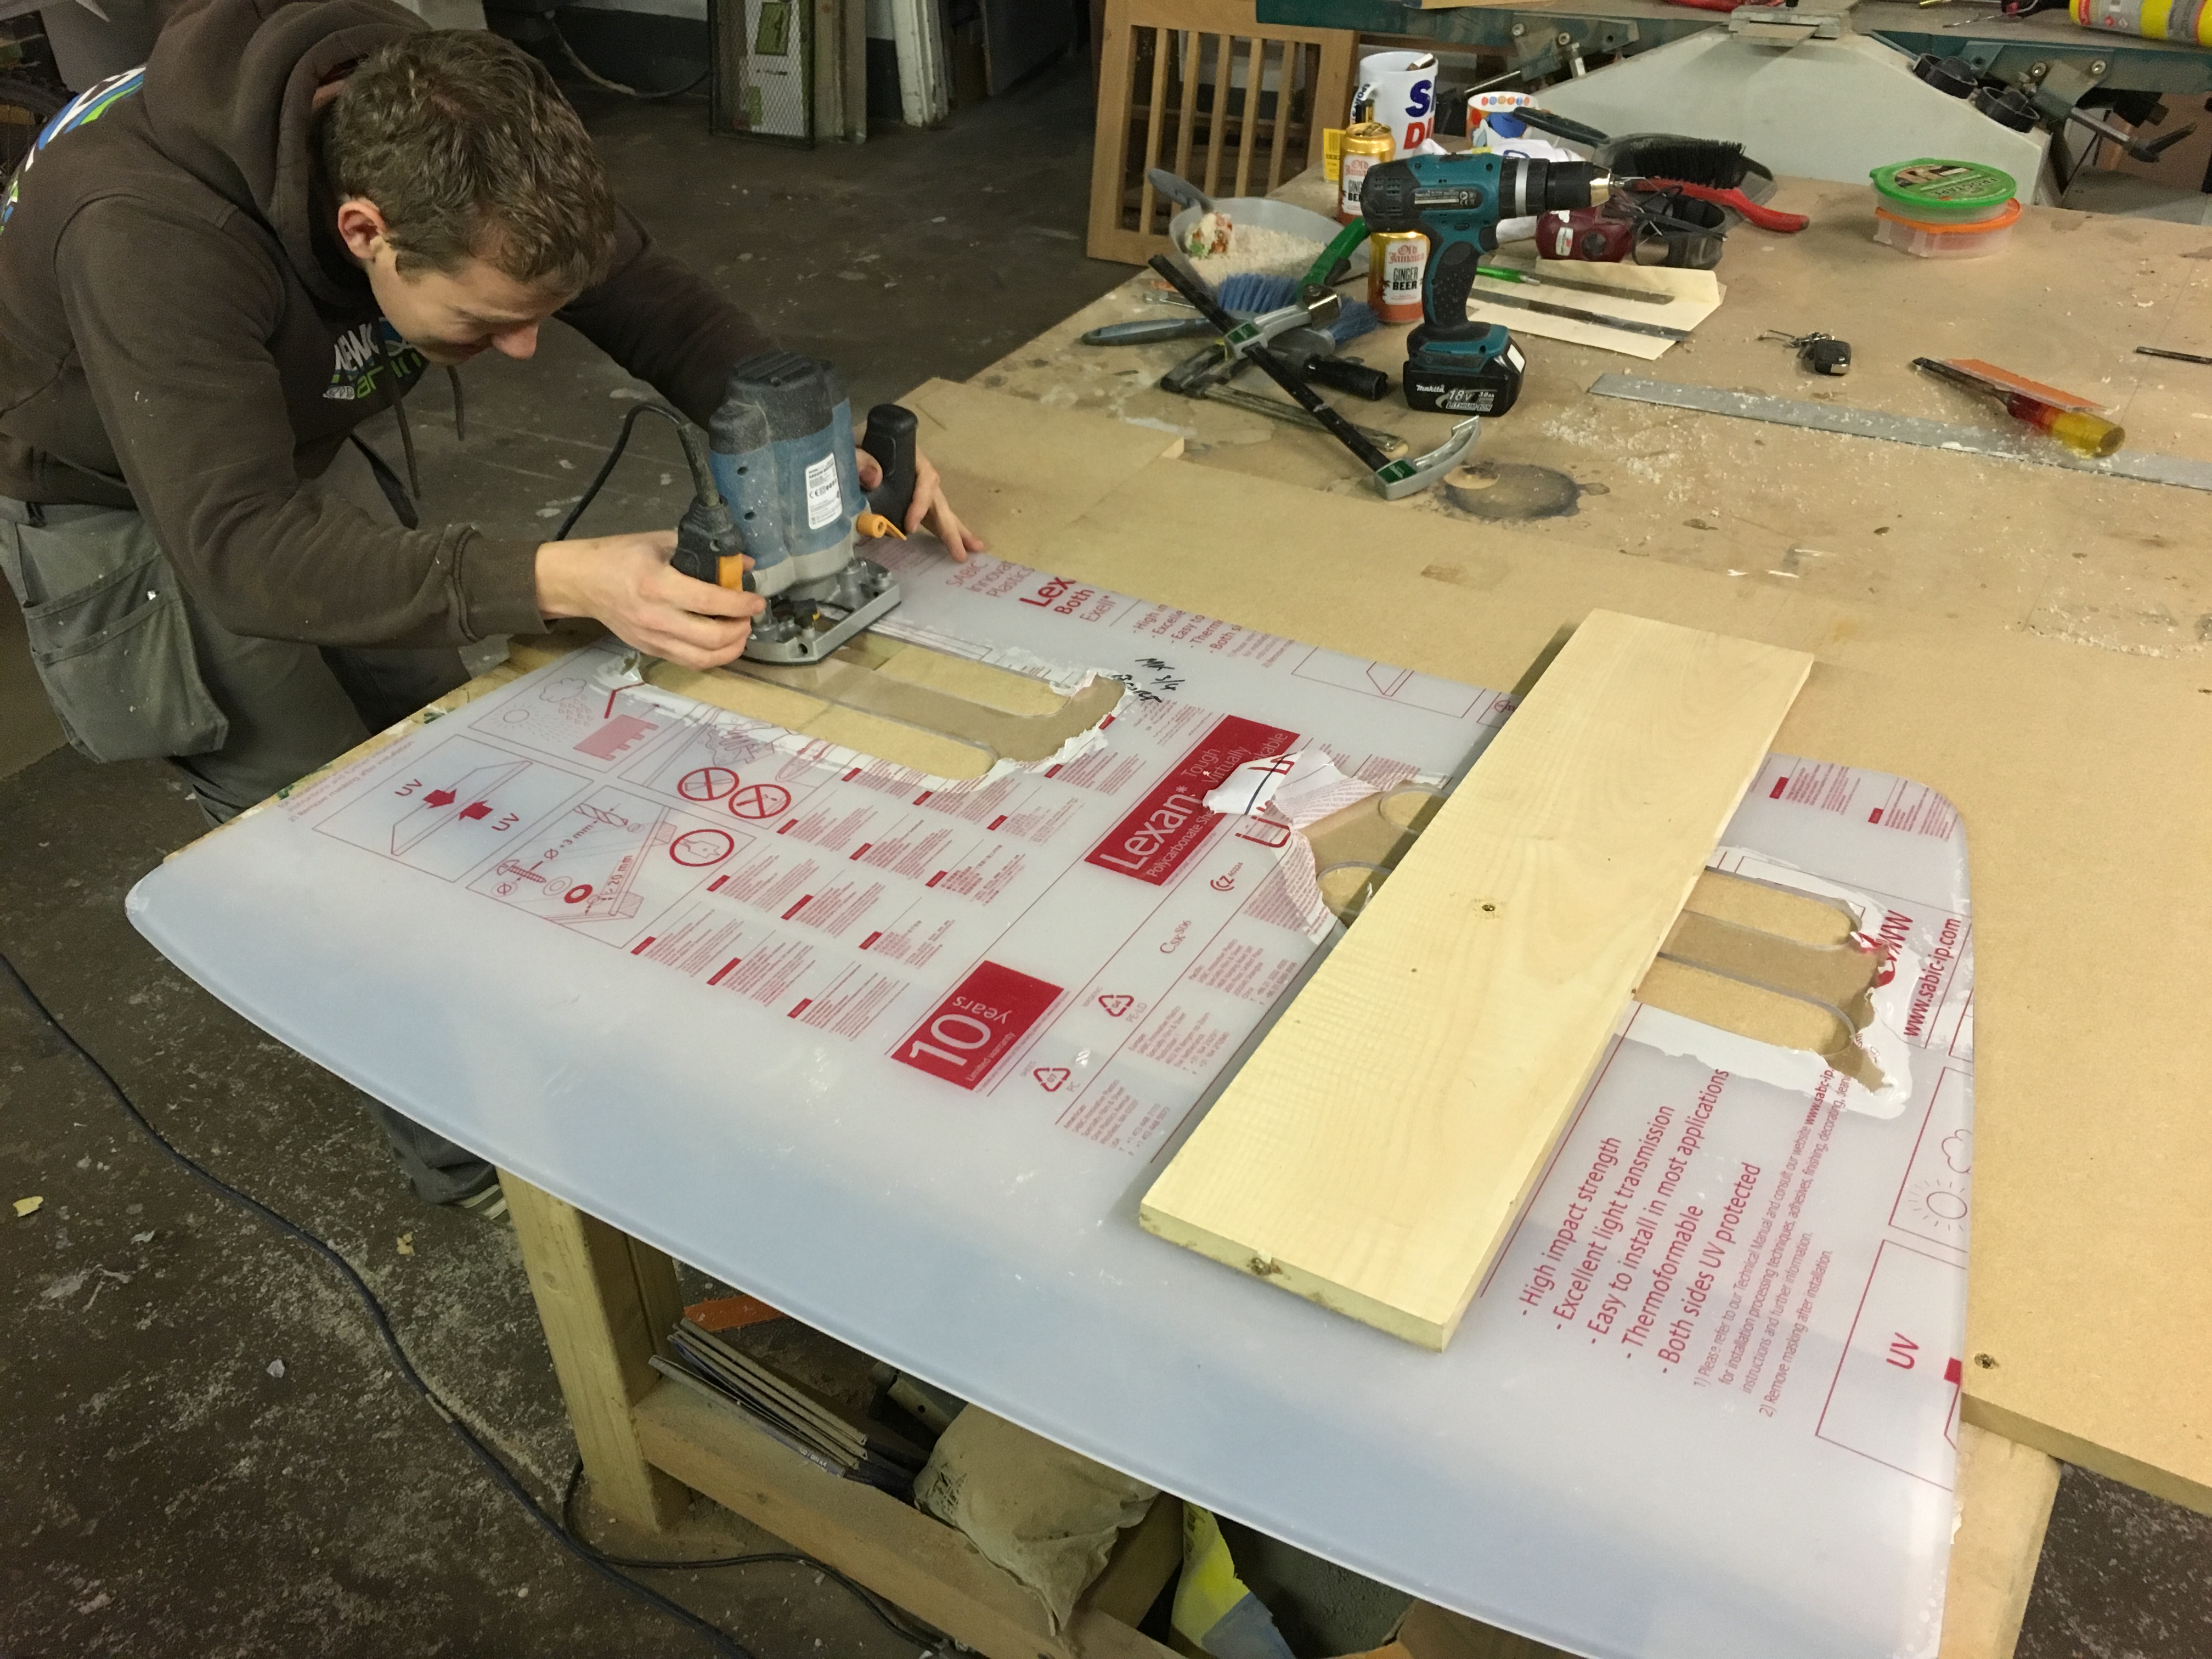
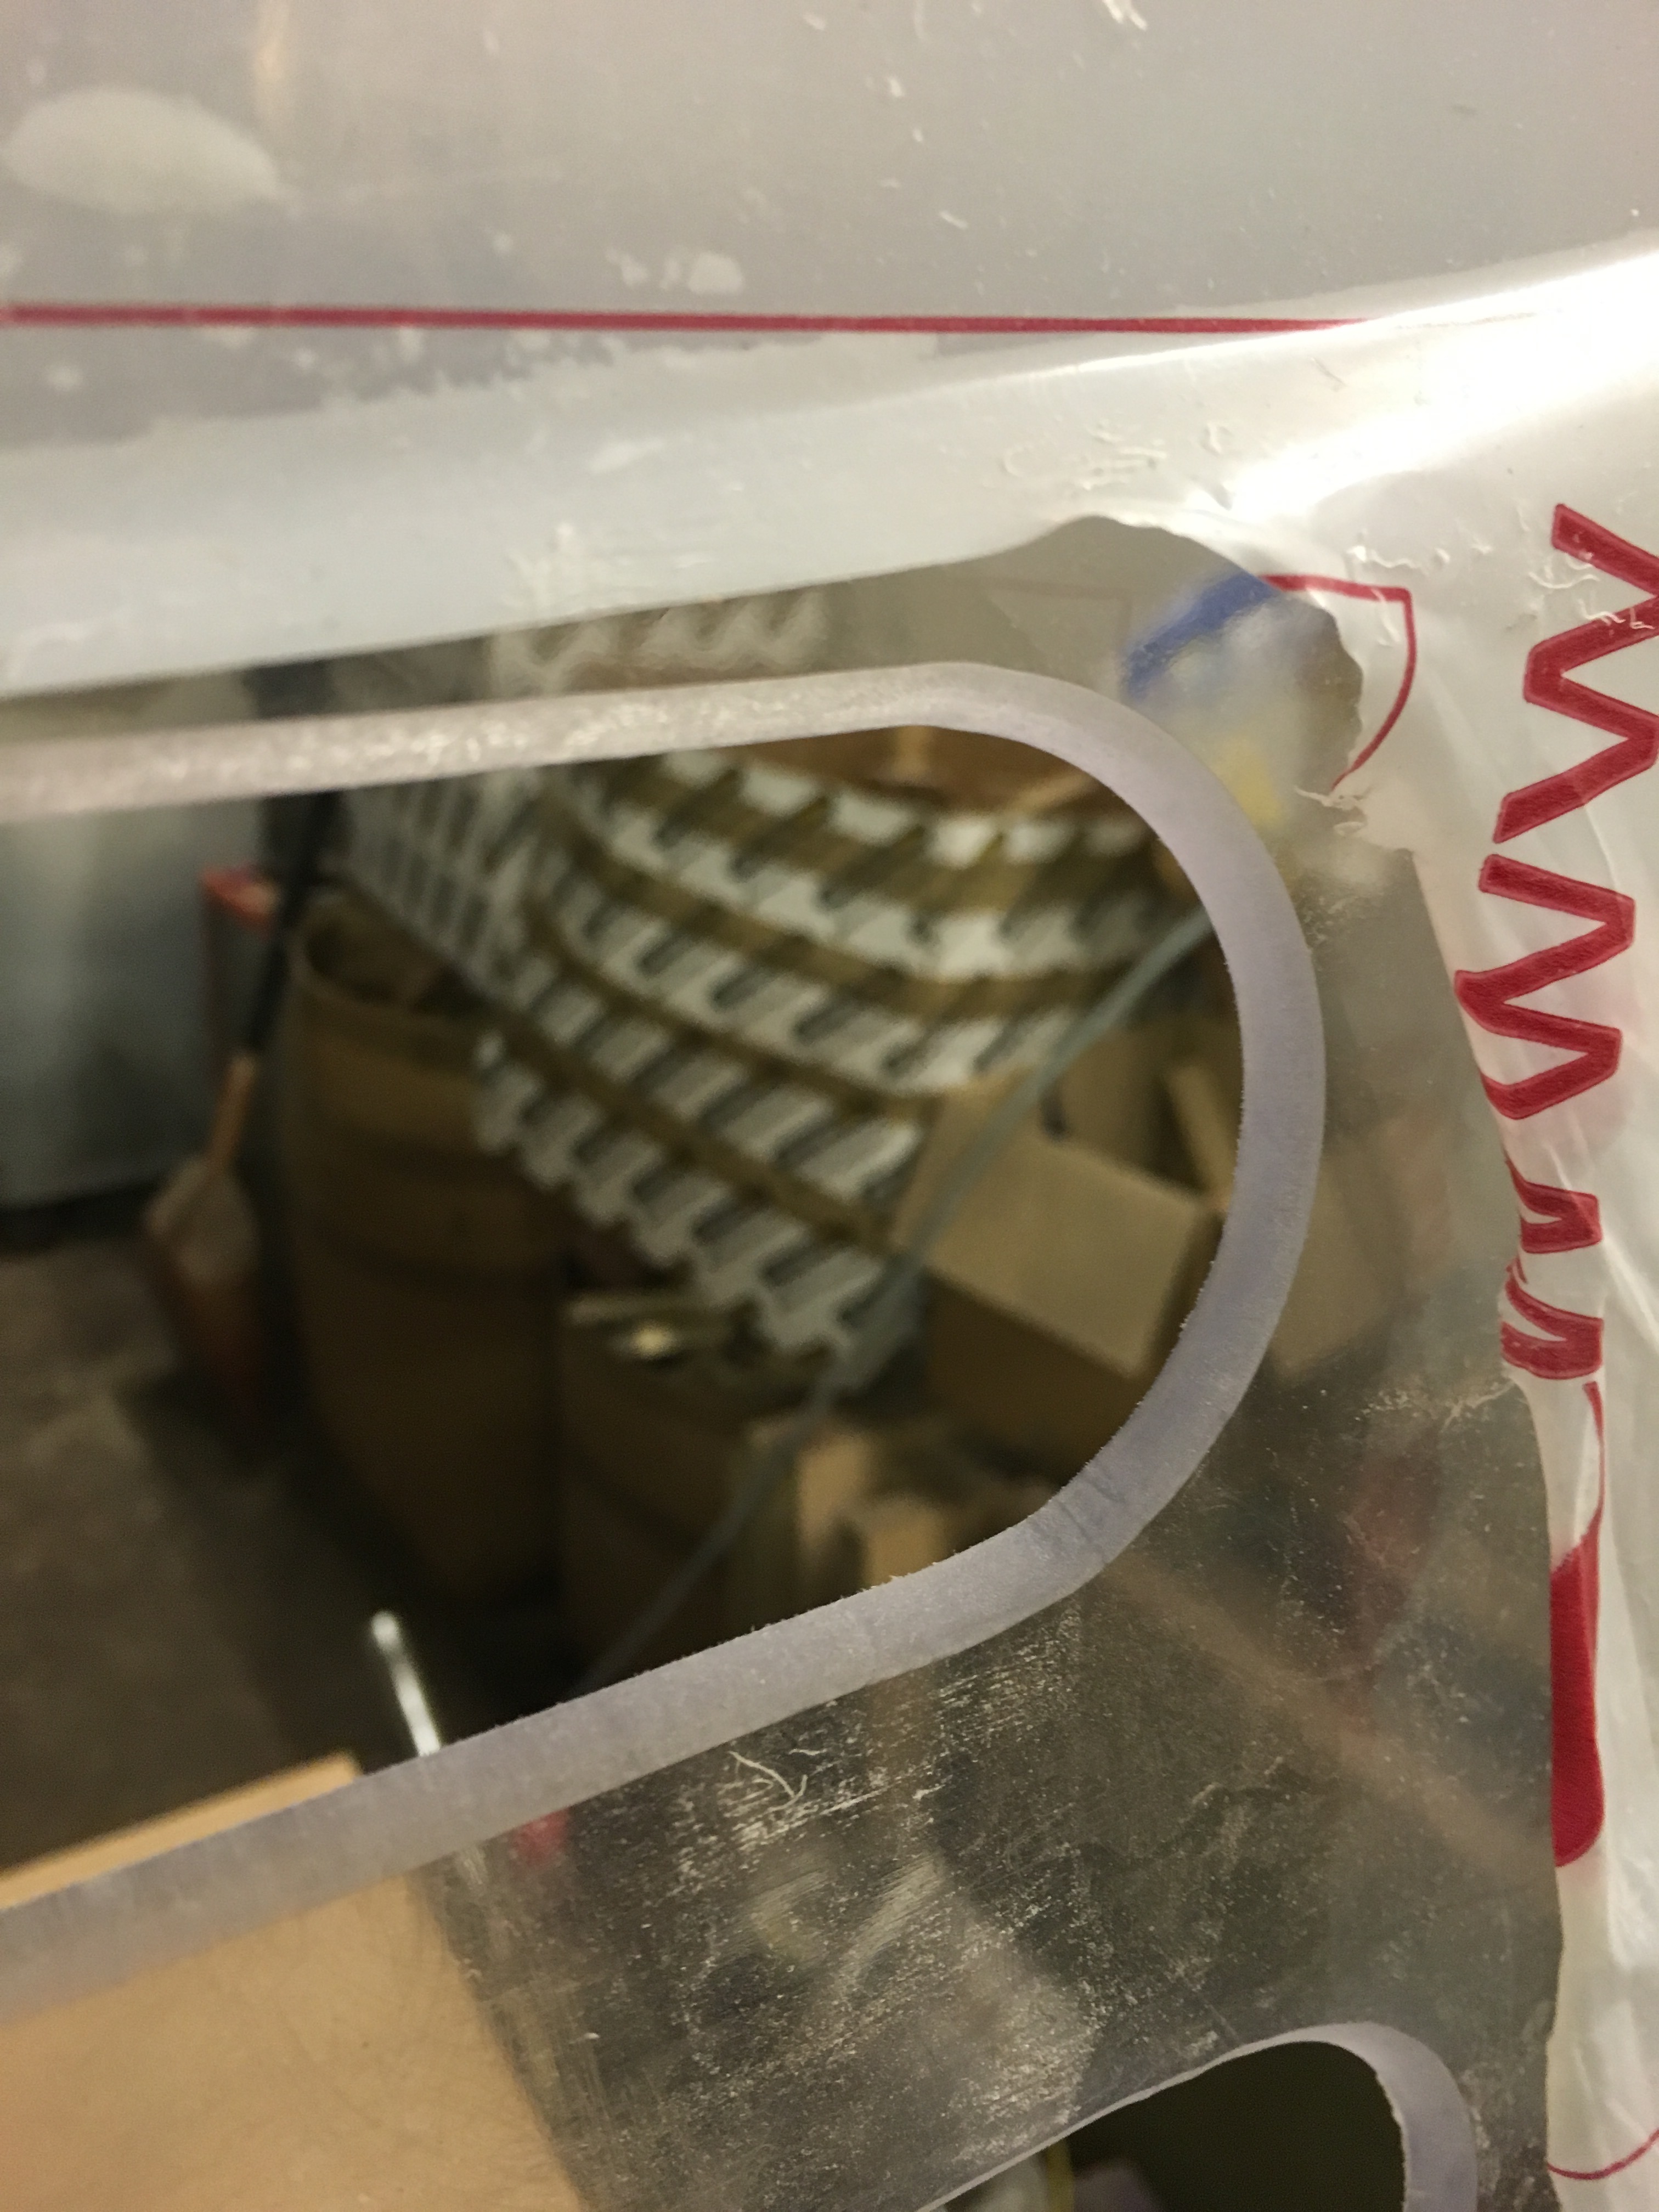
Nice curved edge to finish them off.
Should get it fitted tomorrow but now I owe him half a days labour so see what tomorrow brings...

I've looked at others who have done the same thing, like Gus, Jano and they've all gone a lightly individual route so I decided to make mine slightly different and have the bottom holes slightly longer so they follow the edge of the window rubber.

Then let him loose.


Then we decided that just plain holes looked a bit like an afterthought and as he's got the tools we chamfered them.
Made a little form for the router to follow on the ends.


Nice curved edge to finish them off.


Should get it fitted tomorrow but now I owe him half a days labour so see what tomorrow brings...
29-12-2015, 04:50 PM
#1106
Wye Valley Hardcore
Thread Starter
Yeah, was easier with the router. I like the edges too.
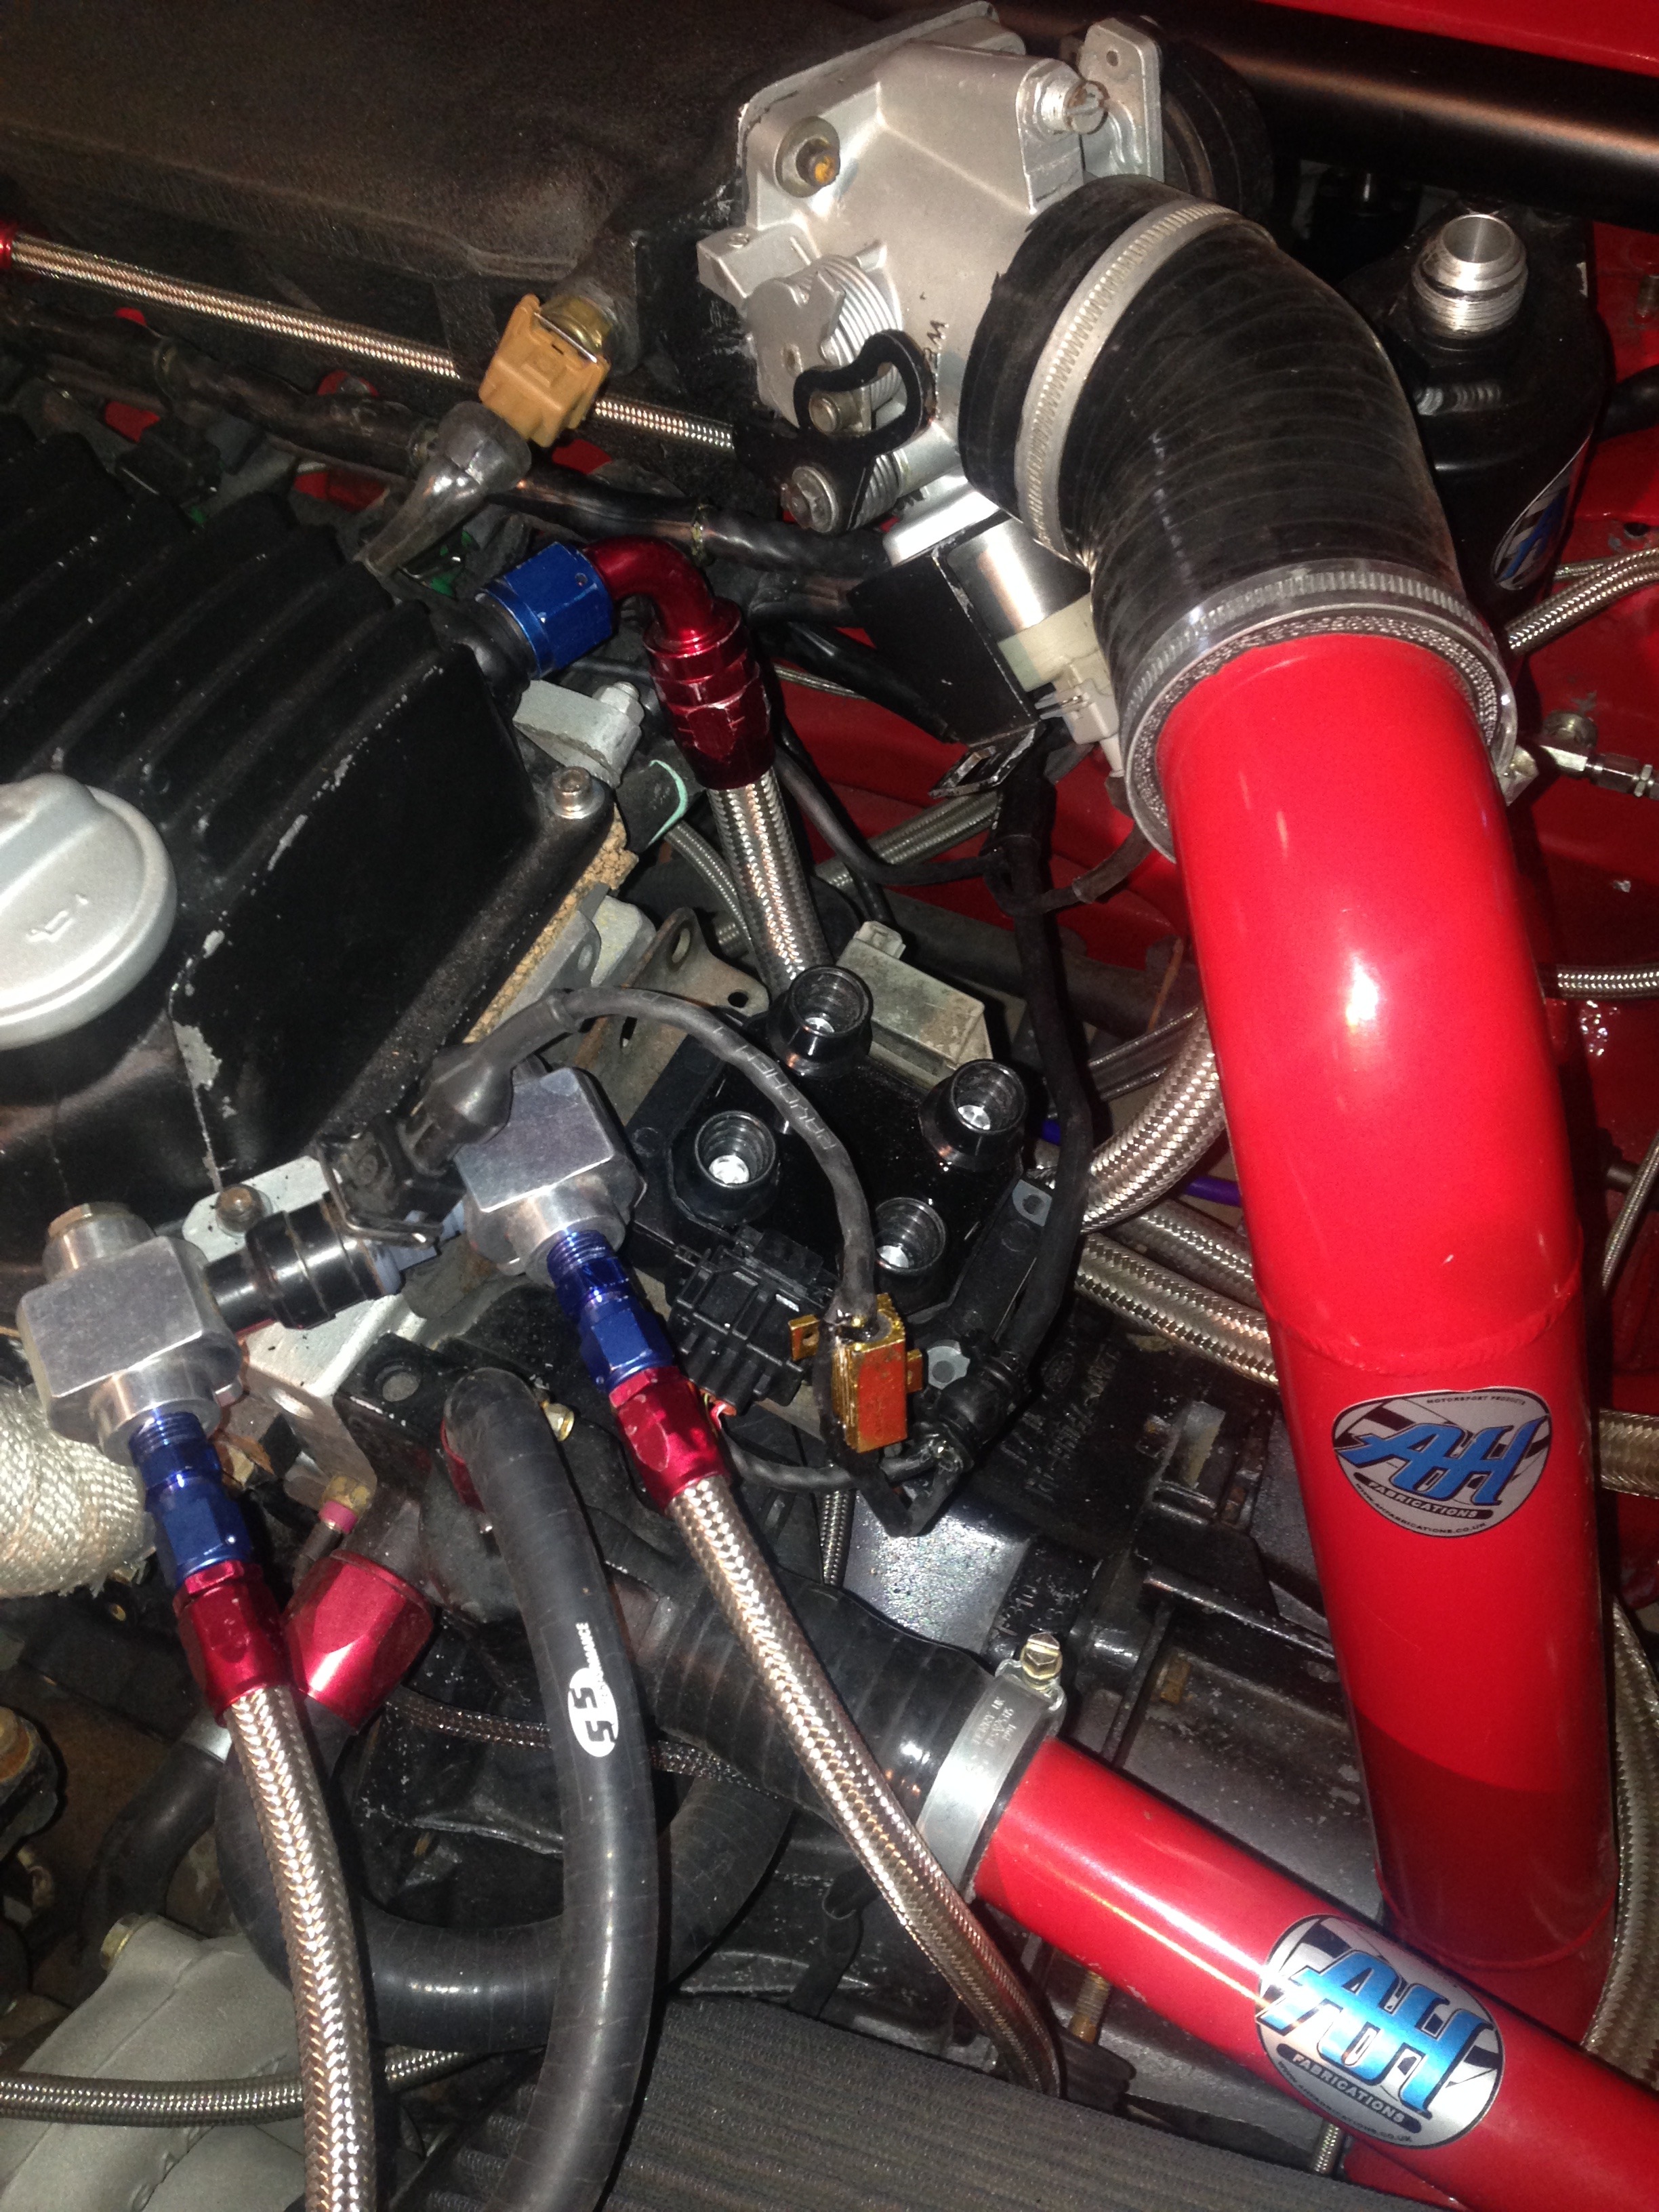
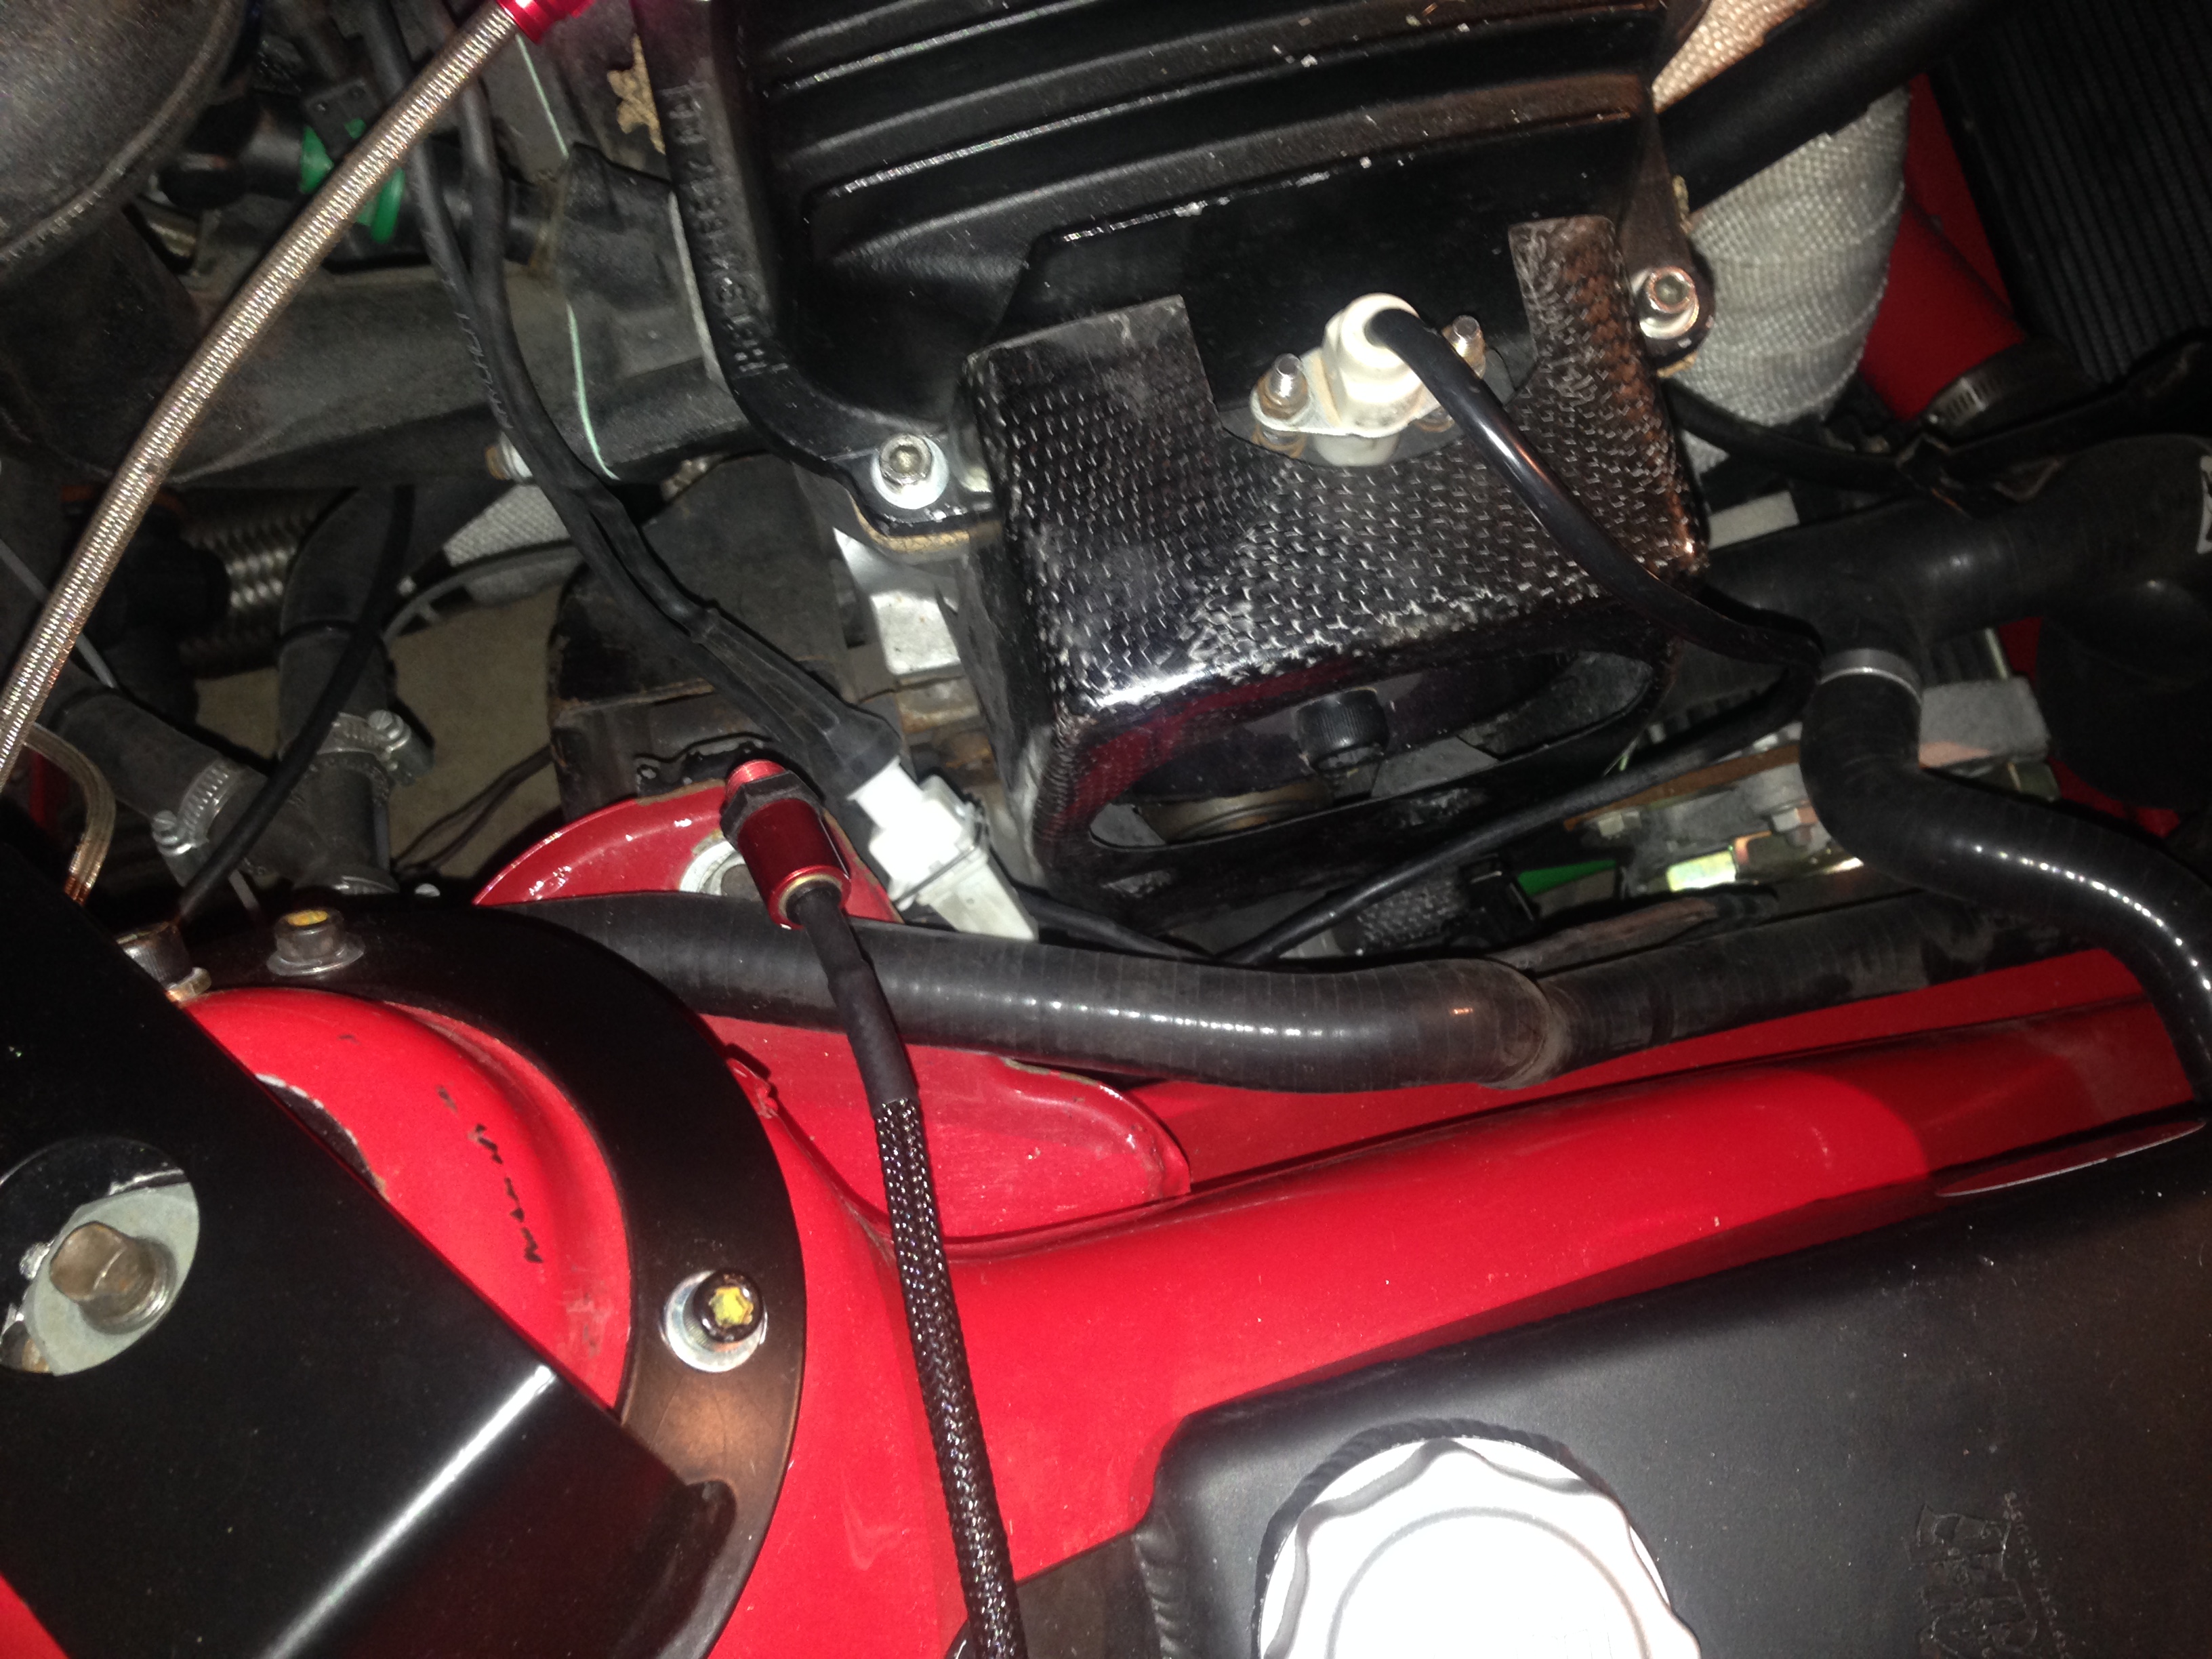
Can't do much until my wiring bits turn up so decided to make a mount for my air injector with a heat shield. Just need some proper cap head bolts to finish it off.
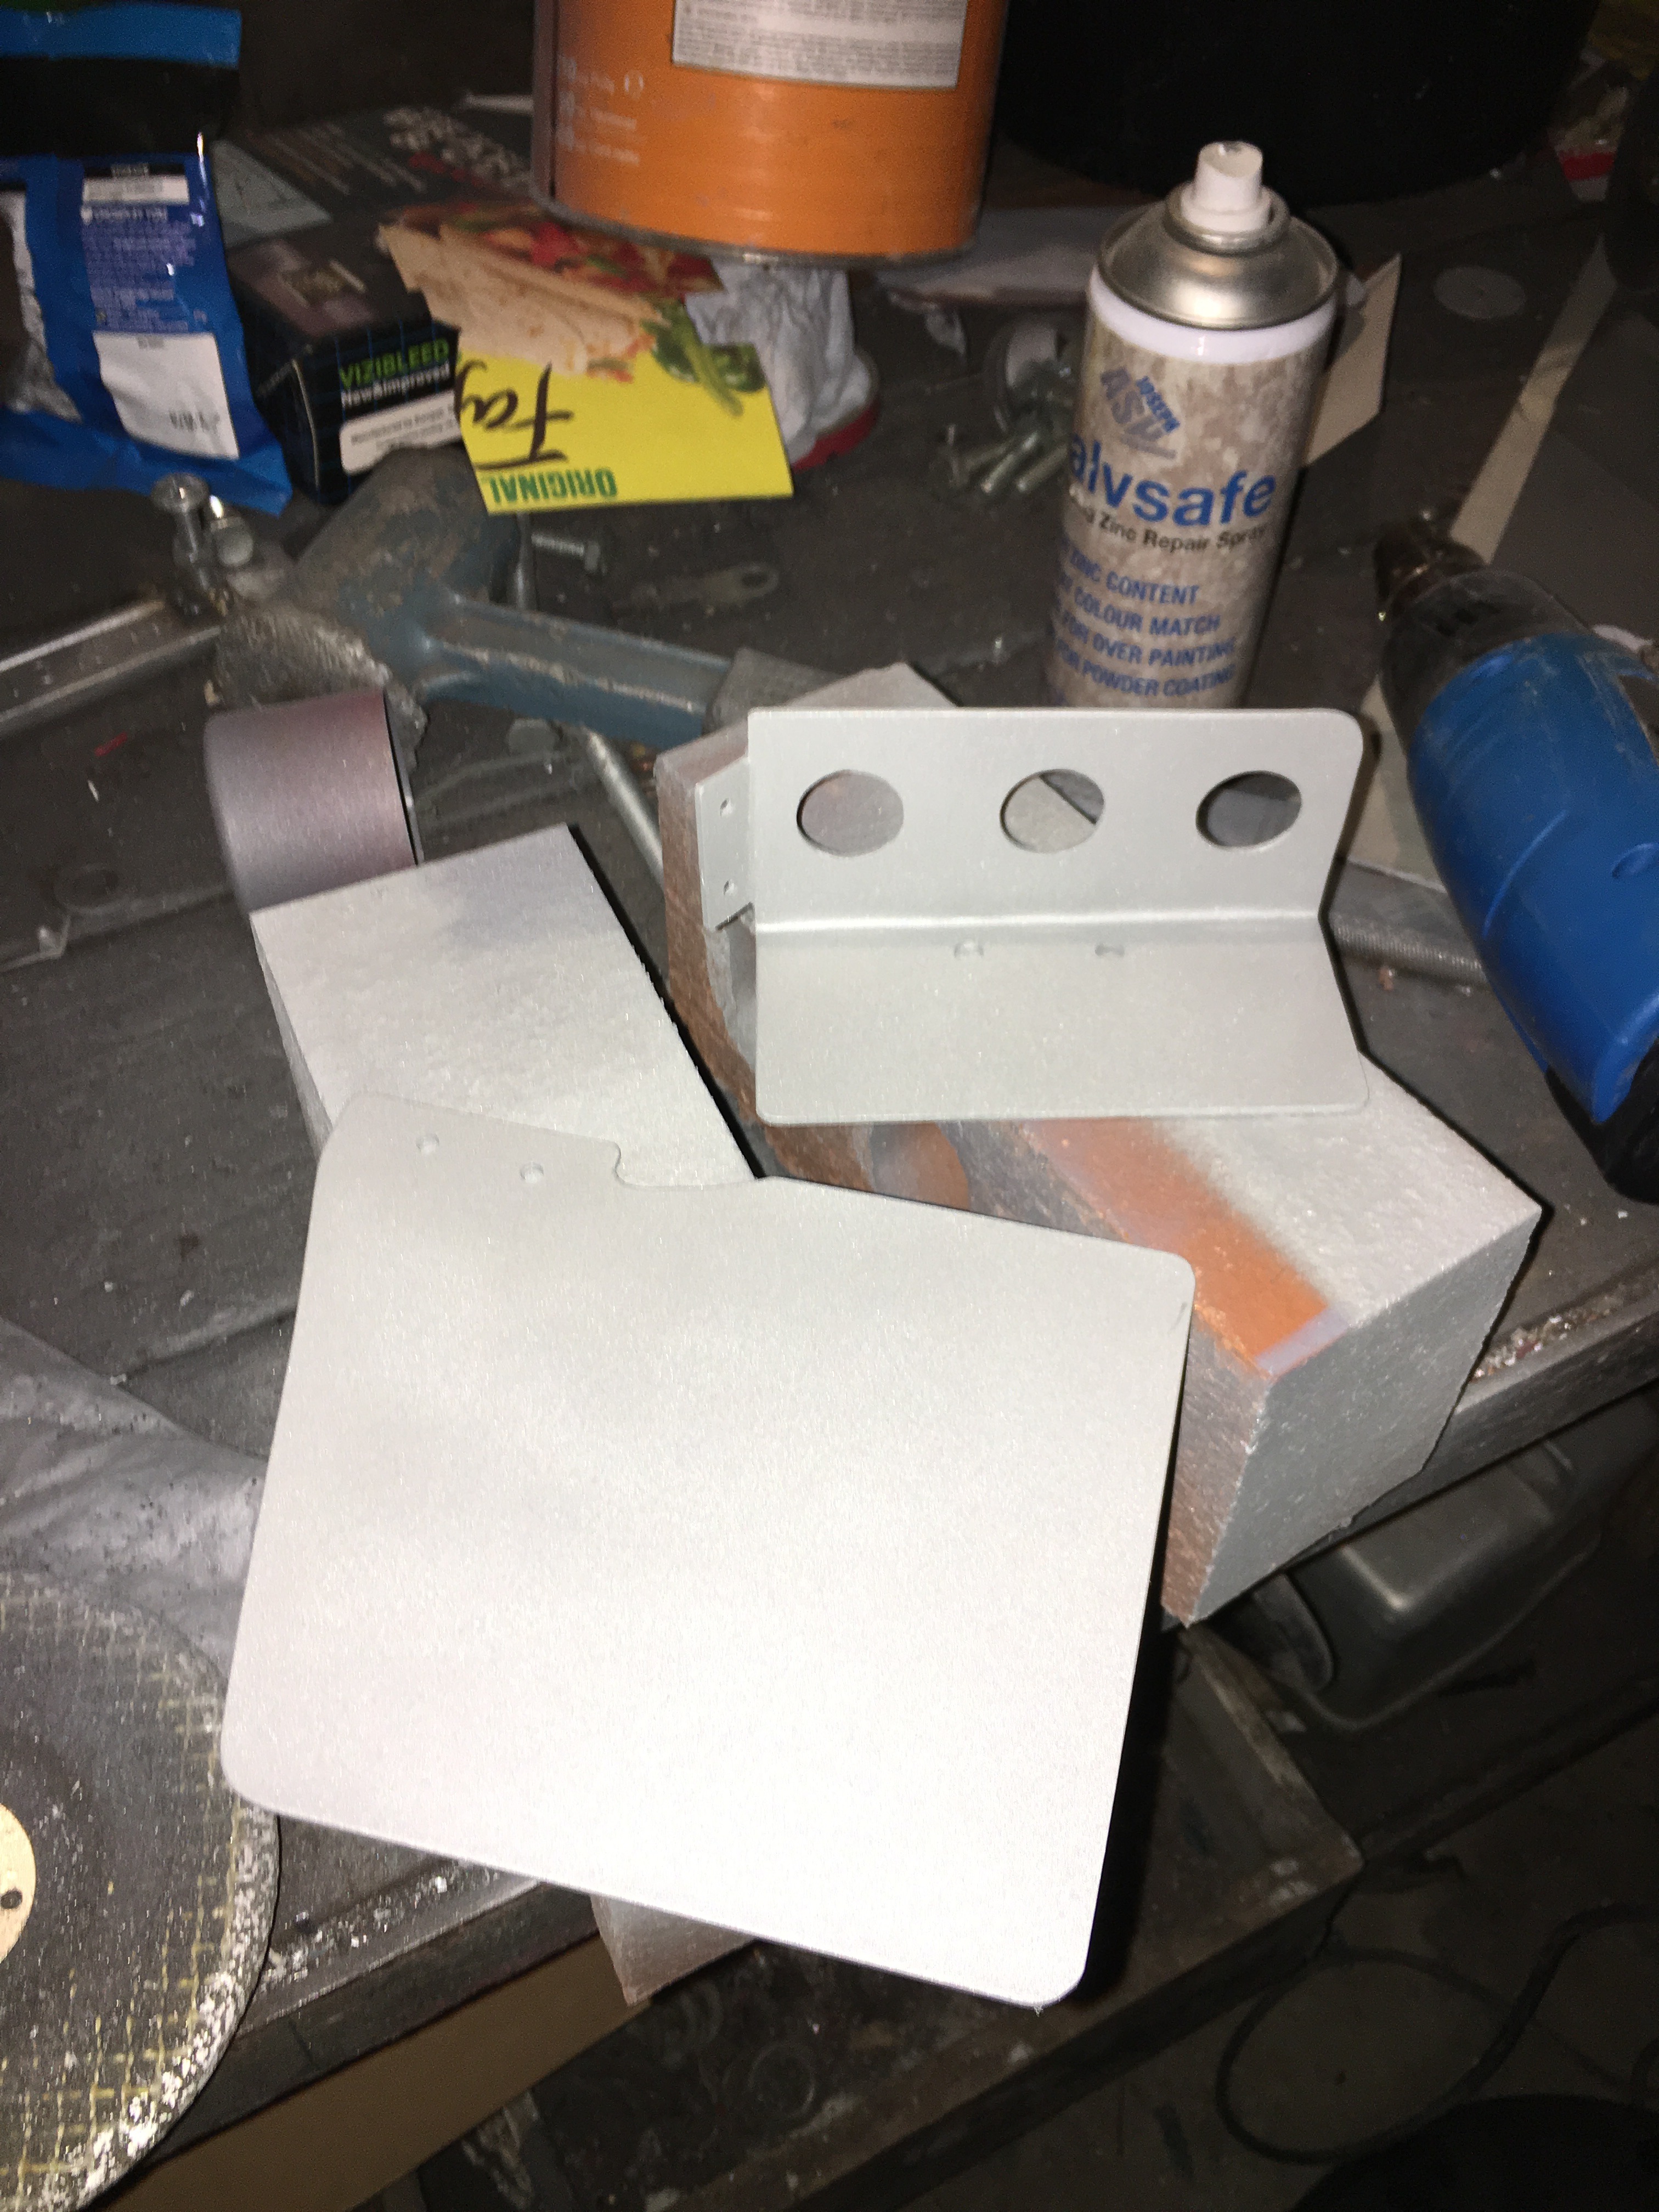
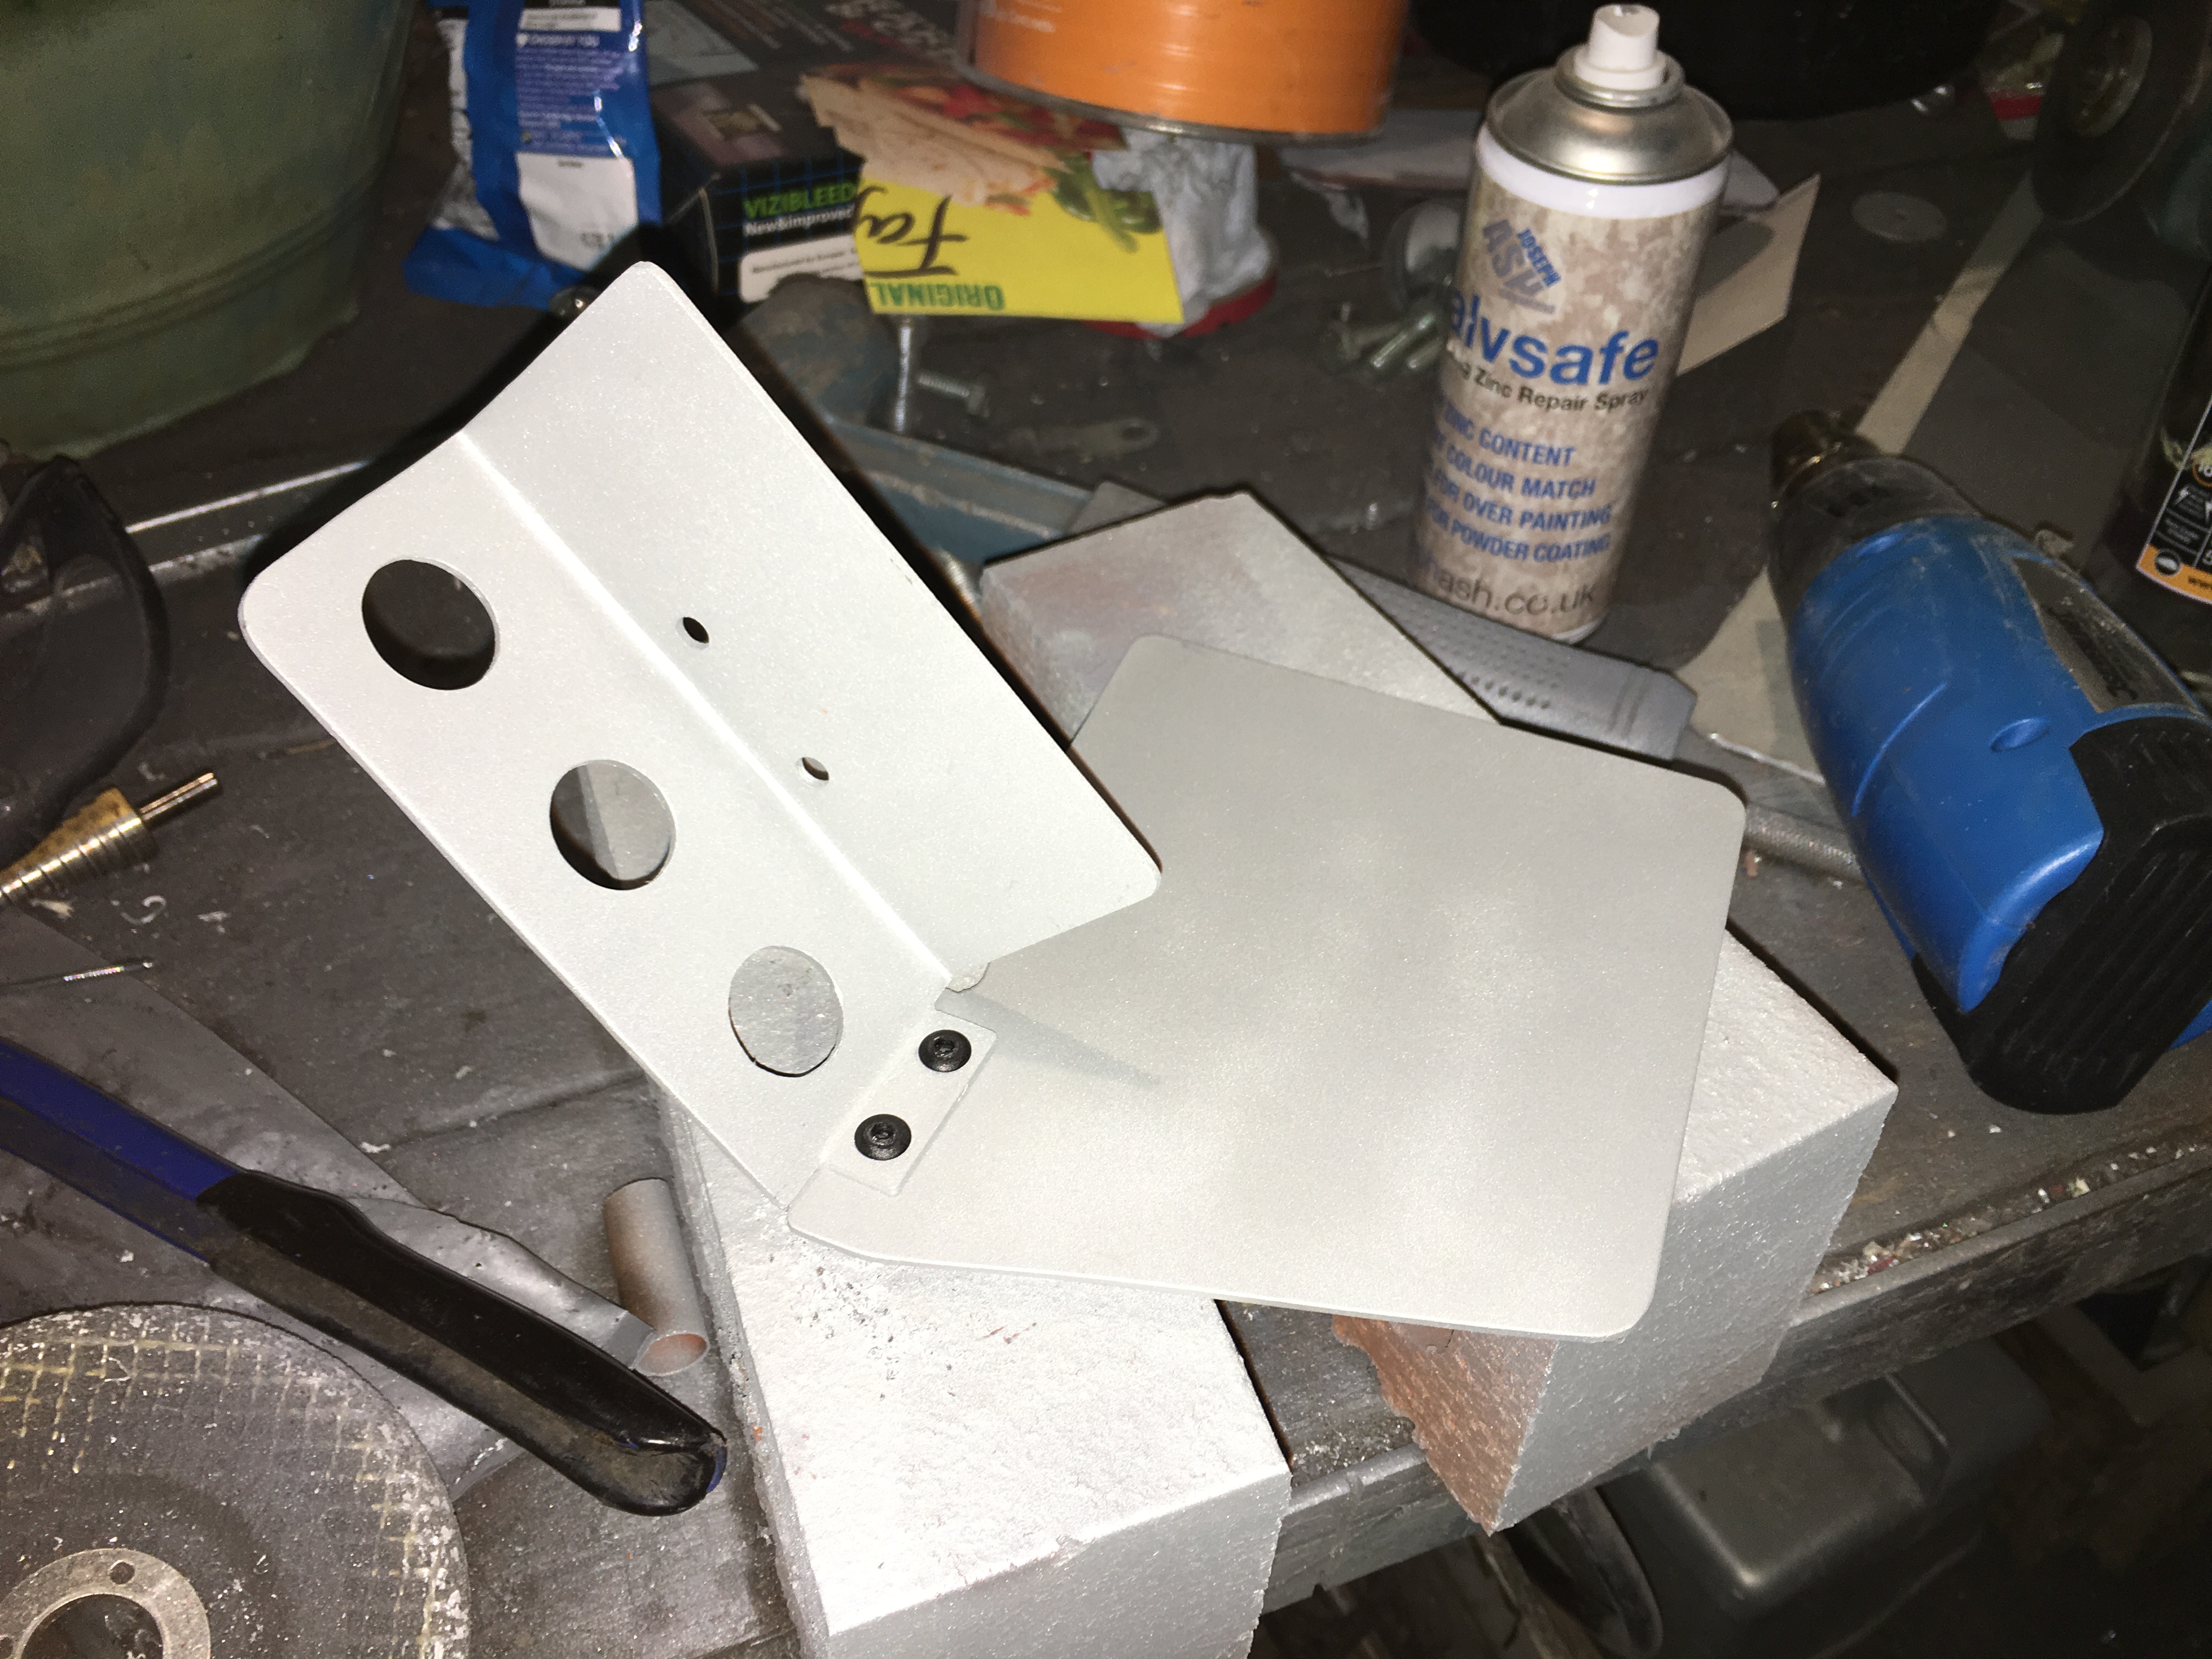
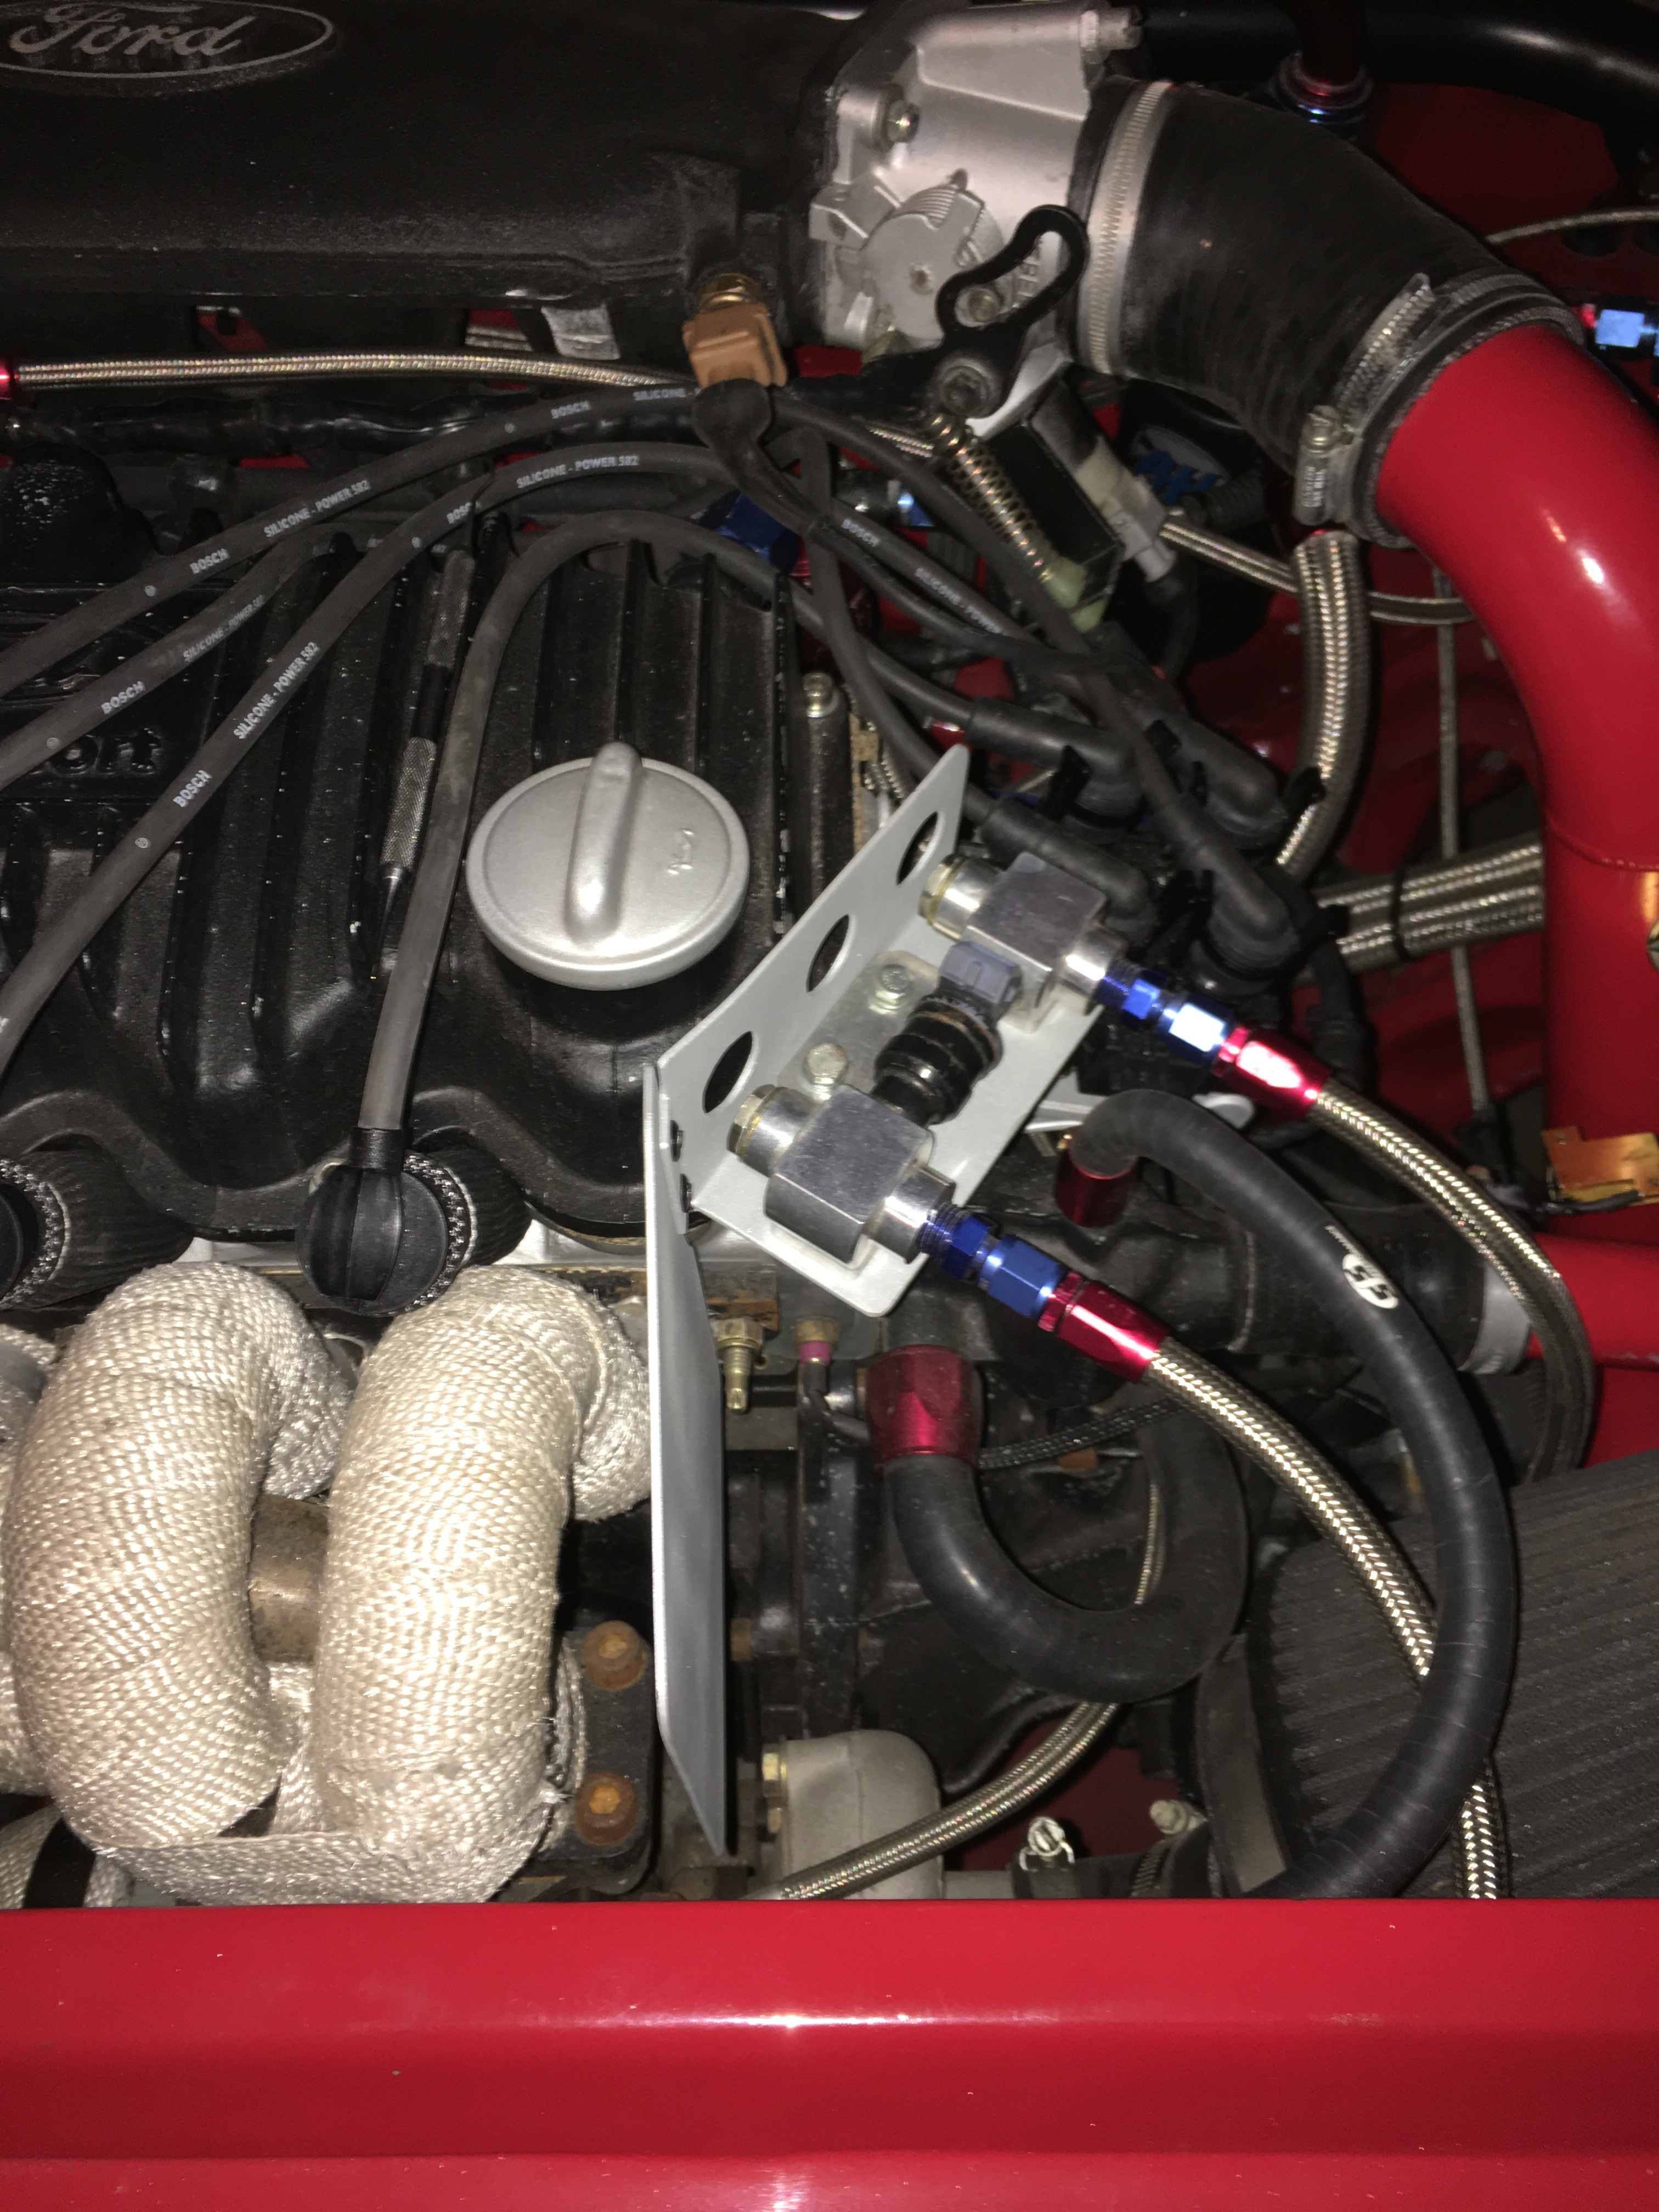
Can't do much until my wiring bits turn up so decided to make a mount for my air injector with a heat shield. Just need some proper cap head bolts to finish it off.


 29-12-2015, 05:17 PM
#1108
Wye Valley Hardcore
Thread Starter
The following users liked this post:
james kiely (29-12-2015)
30-12-2015, 03:54 PM
#1109
Wye Valley Hardcore
Thread Starter
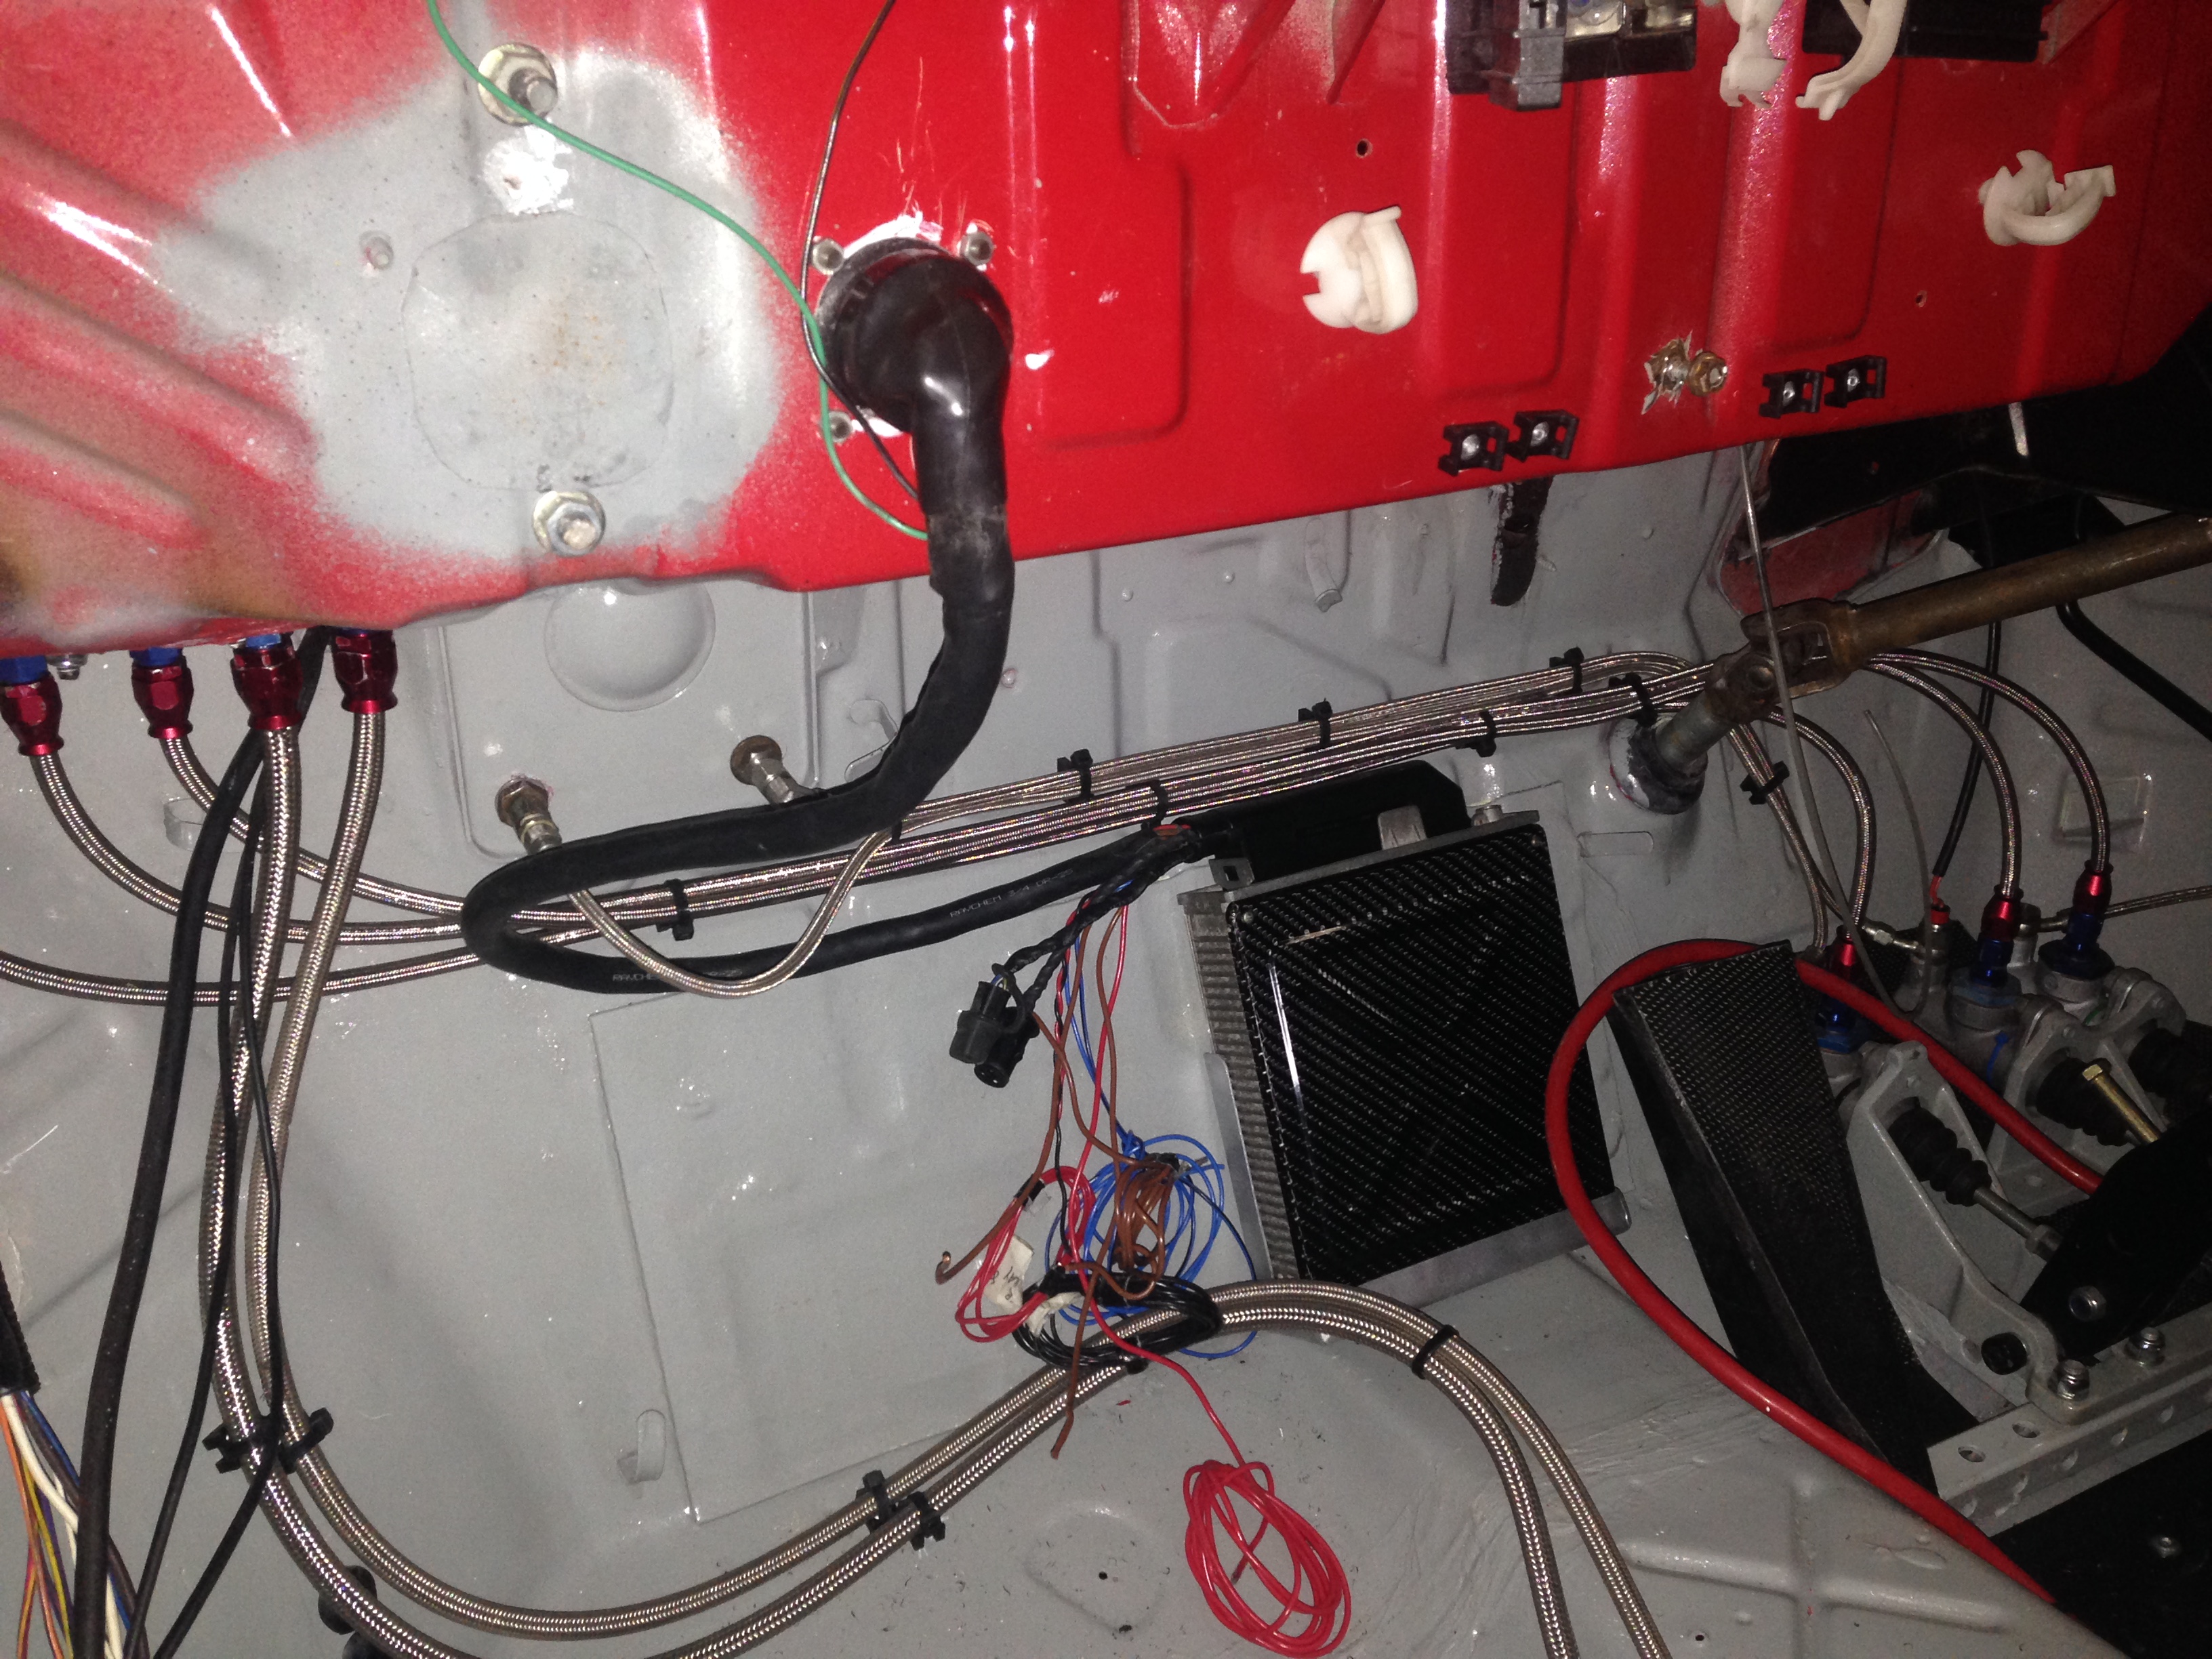
My gubbins arrived for me to finish the fuel pump looms and battery cables. Had to buy bloody 10 M4 and 10 M5 ring terminals just to use one of each! Oh, well.
Need some more 3mm zip ties to tie it all away.
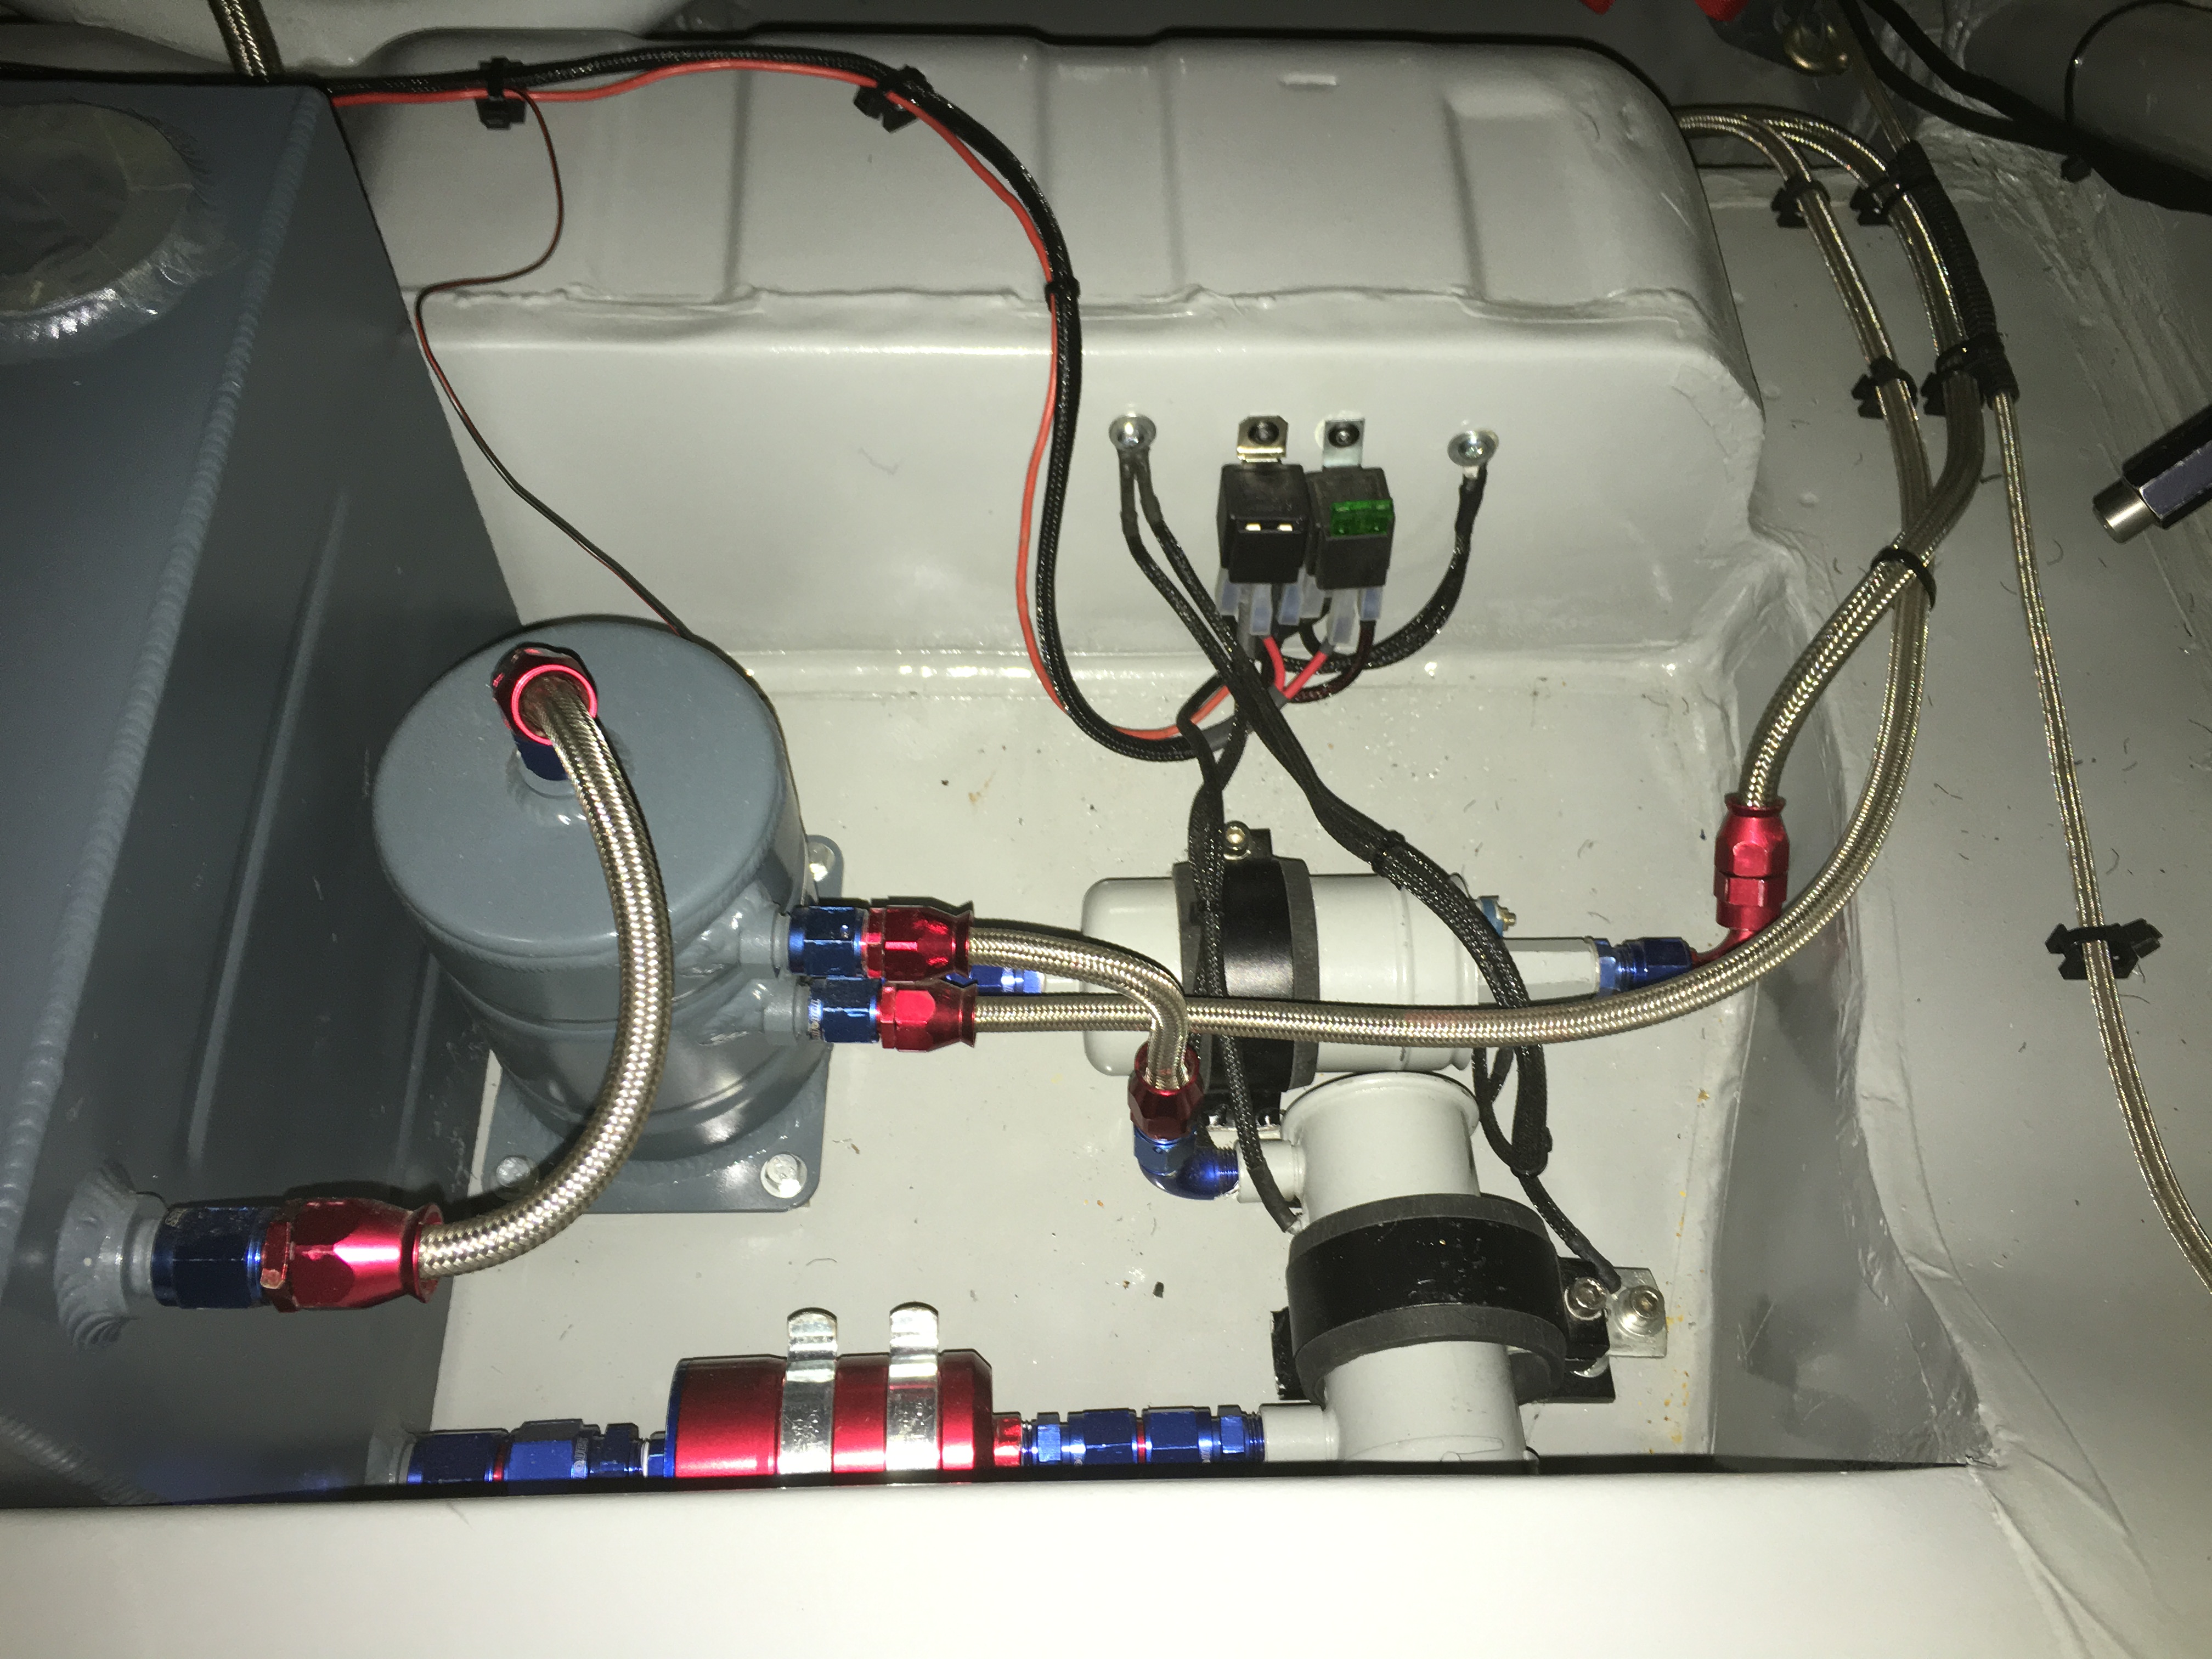
Battery fitted.

Filler in the window fitted
And one of the rear screen in.
Need some more 3mm zip ties to tie it all away.

Battery fitted.

Filler in the window fitted

And one of the rear screen in.

 01-01-2016, 10:09 AM
#1111
Wye Valley Hardcore
Thread Starter
Cheers, mate. It's really coming together now.
I was hopeful that I could start it yesterday but had a little problem with getting oil pressure. It's my own fault for not priming it first, but it's been stood so long I forgot all about it. I tried everything to back prime the oil pump, poured oil into the oil filer stub, filled the filter to the top before screwing it in, poured a litre down the return line from the oil cooler but it just wouldn't build pressure while cranking. In the end all I did was remove the relief valve and re fit it, hey presto, it worked. Wasn't easy getting to the relief valve though as I had to remove said full filter and oil cooler sandwich plate to get at it = me covered in oil.
Then by the time I checked I had fuel I ran out of time to check spark etc. I tried turning it over but the battery was nearly flat from getting oil pressure so it wouldn't start.
Can hopefully fire it up tomorrow providing everything else works.
I can't see why it shouldn't. I tested all the sensors on the ECU hairbrush and all the readings came back as normal so fingers crossed!
02-01-2016, 07:26 AM
#1112
PassionFord Post Troll
Awesome as always.....
Hoping to get some time on mine in the new year things just seem to keep getting in the way or the goal posts change its rather annoying!!
Hoping to get some time on mine in the new year things just seem to keep getting in the way or the goal posts change its rather annoying!!
02-01-2016, 03:52 PM
#1113
Wye Valley Hardcore
Thread Starter
Well, she's alive. Ran the cam in at 2250 RPM for 30 minutes and got everything up to temp. Everything works as it should, no leaks, the monitor shows no errors or anything untoward, so very happy.
I'm going to check the gaps on the cam now it's ran in as it sounds a little tappy to me.
Few vids, it doesn't sound very loud on the videos but it is. The whole car shakes when you Rev it.
http://smg.photobucket.com/user/murr...rekzu.mp4.html
http://smg.photobucket.com/user/murr...hwk2f.mp4.html
I'm going to check the gaps on the cam now it's ran in as it sounds a little tappy to me.
Few vids, it doesn't sound very loud on the videos but it is. The whole car shakes when you Rev it.
http://smg.photobucket.com/user/murr...rekzu.mp4.html
http://smg.photobucket.com/user/murr...hwk2f.mp4.html
Last edited by muz; 04-01-2016 at 08:42 AM.
03-01-2016, 03:14 AM
#1116
Lucifer II - 666
Great news, well done Muz.
 11-01-2016, 06:12 PM
#1120
Wye Valley Hardcore
Thread Starter
Same way I built the loom in my room at work, I've been thinking about other little jobs I can take to work and work on in my spare time.
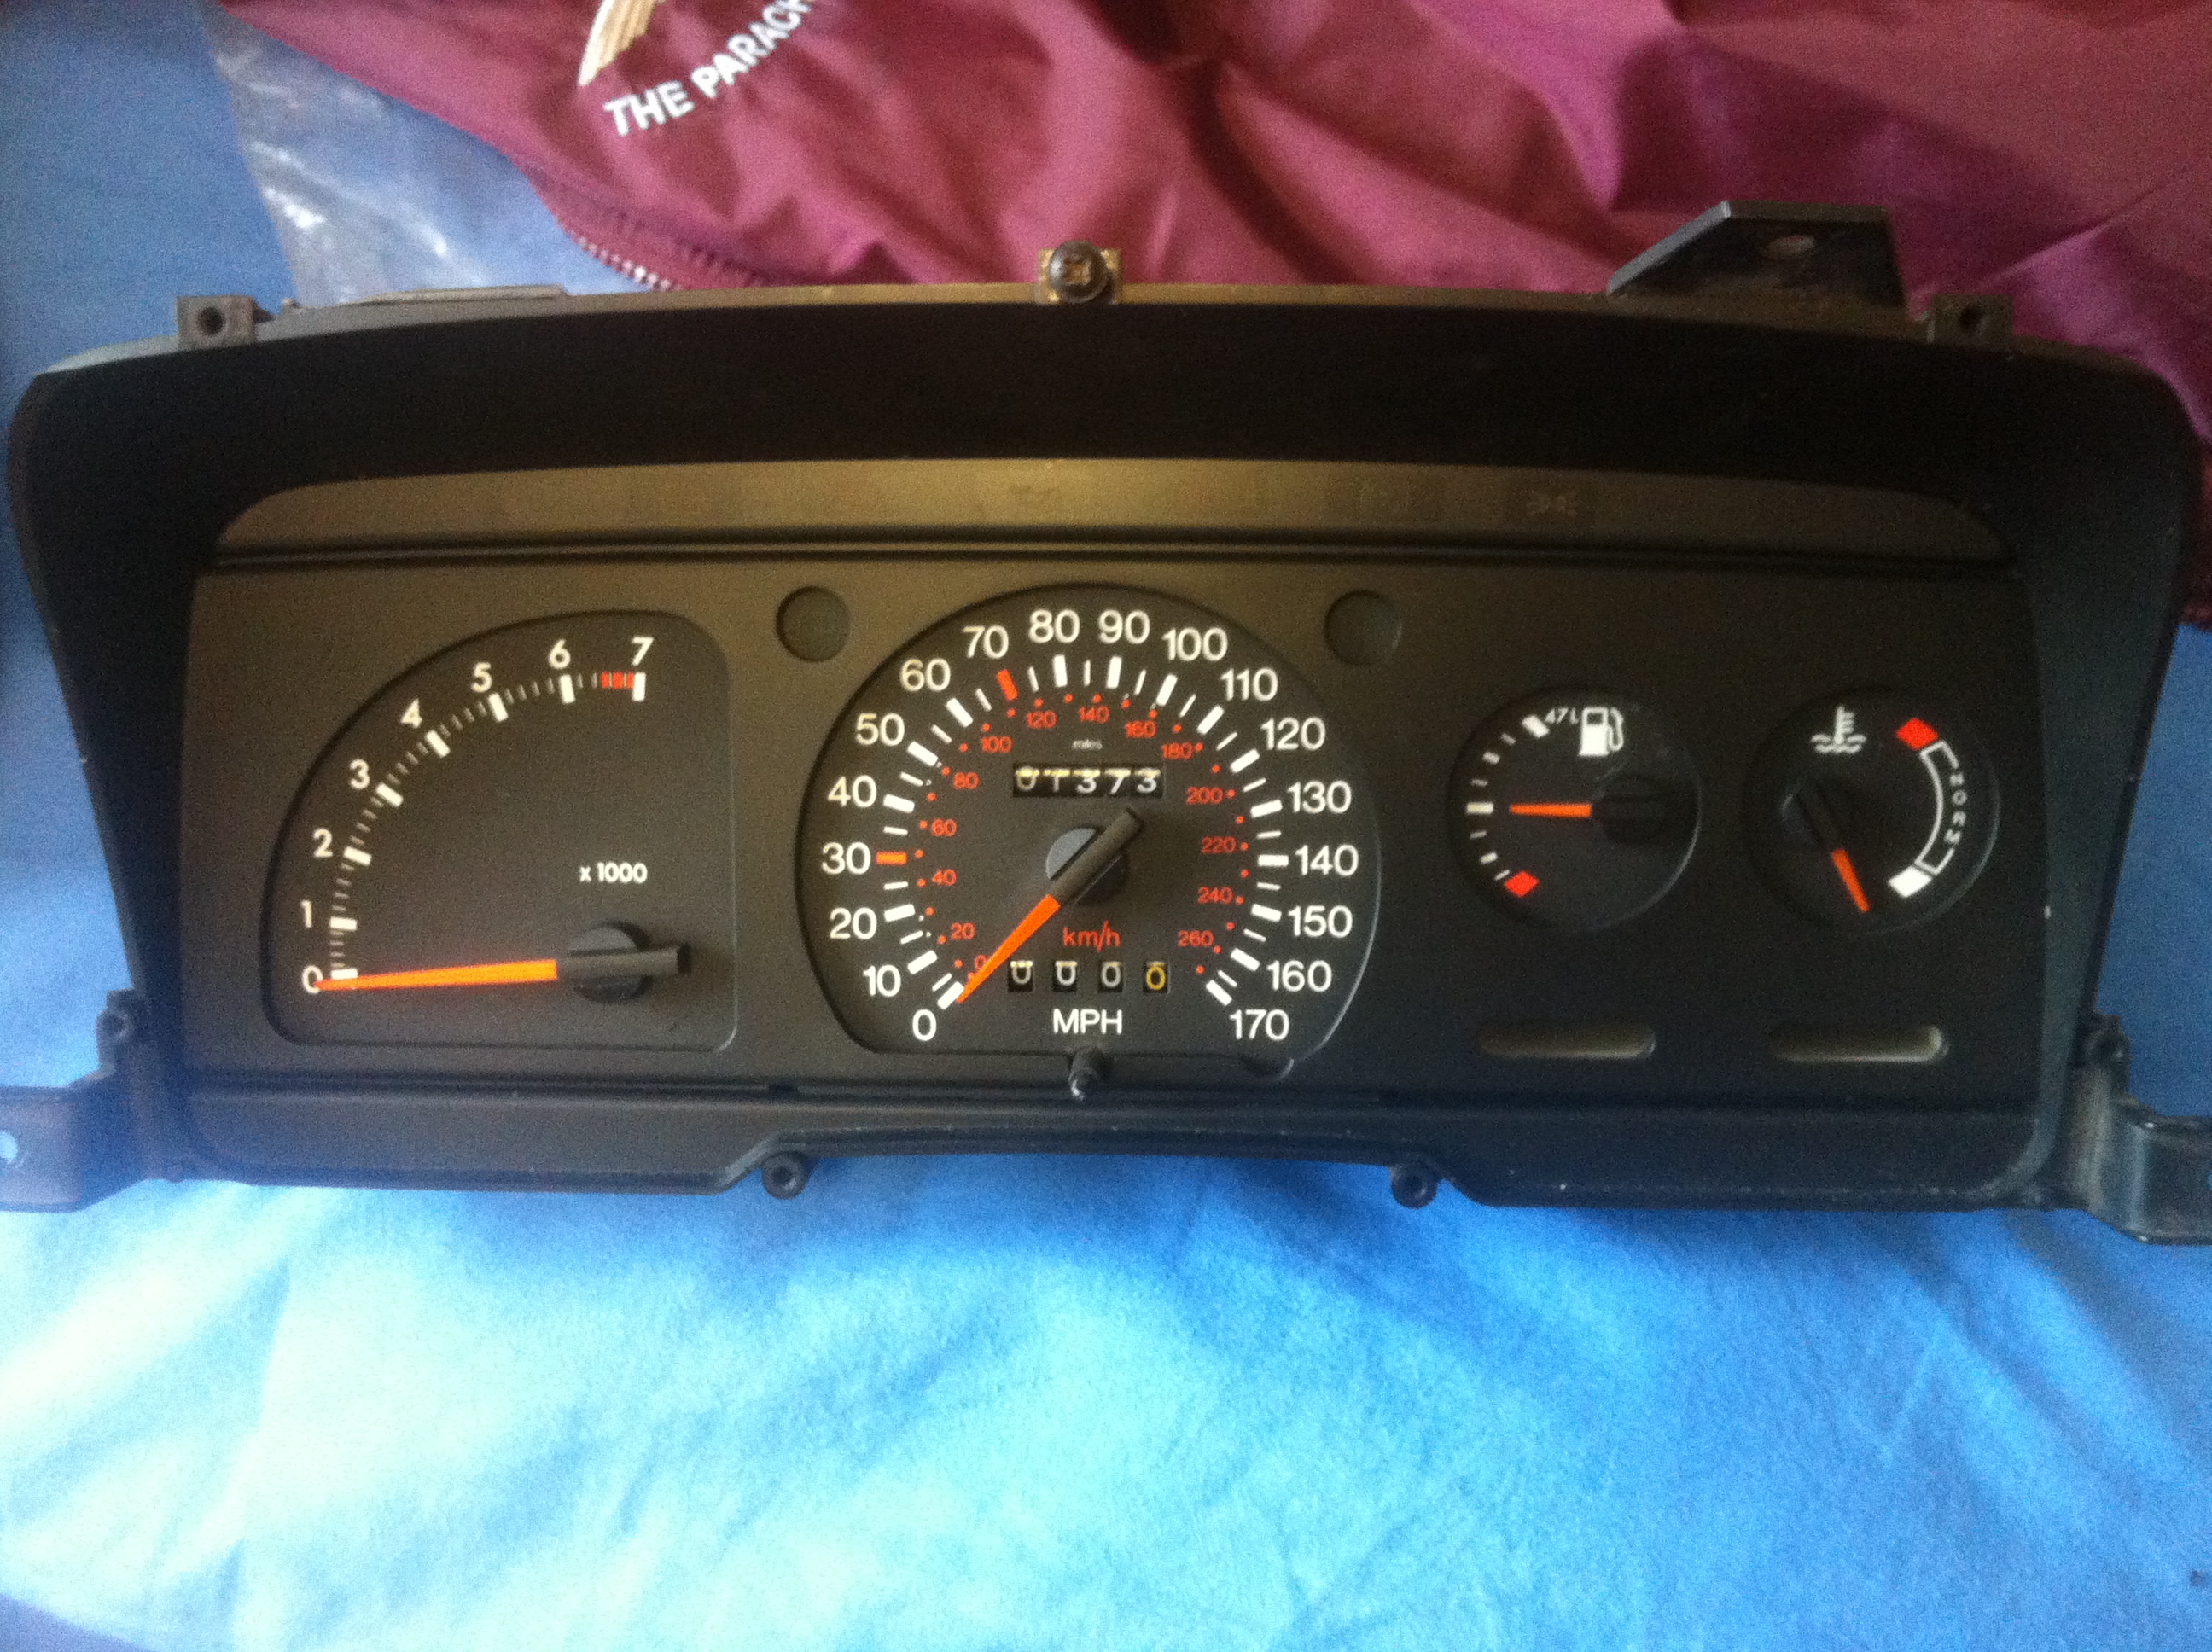
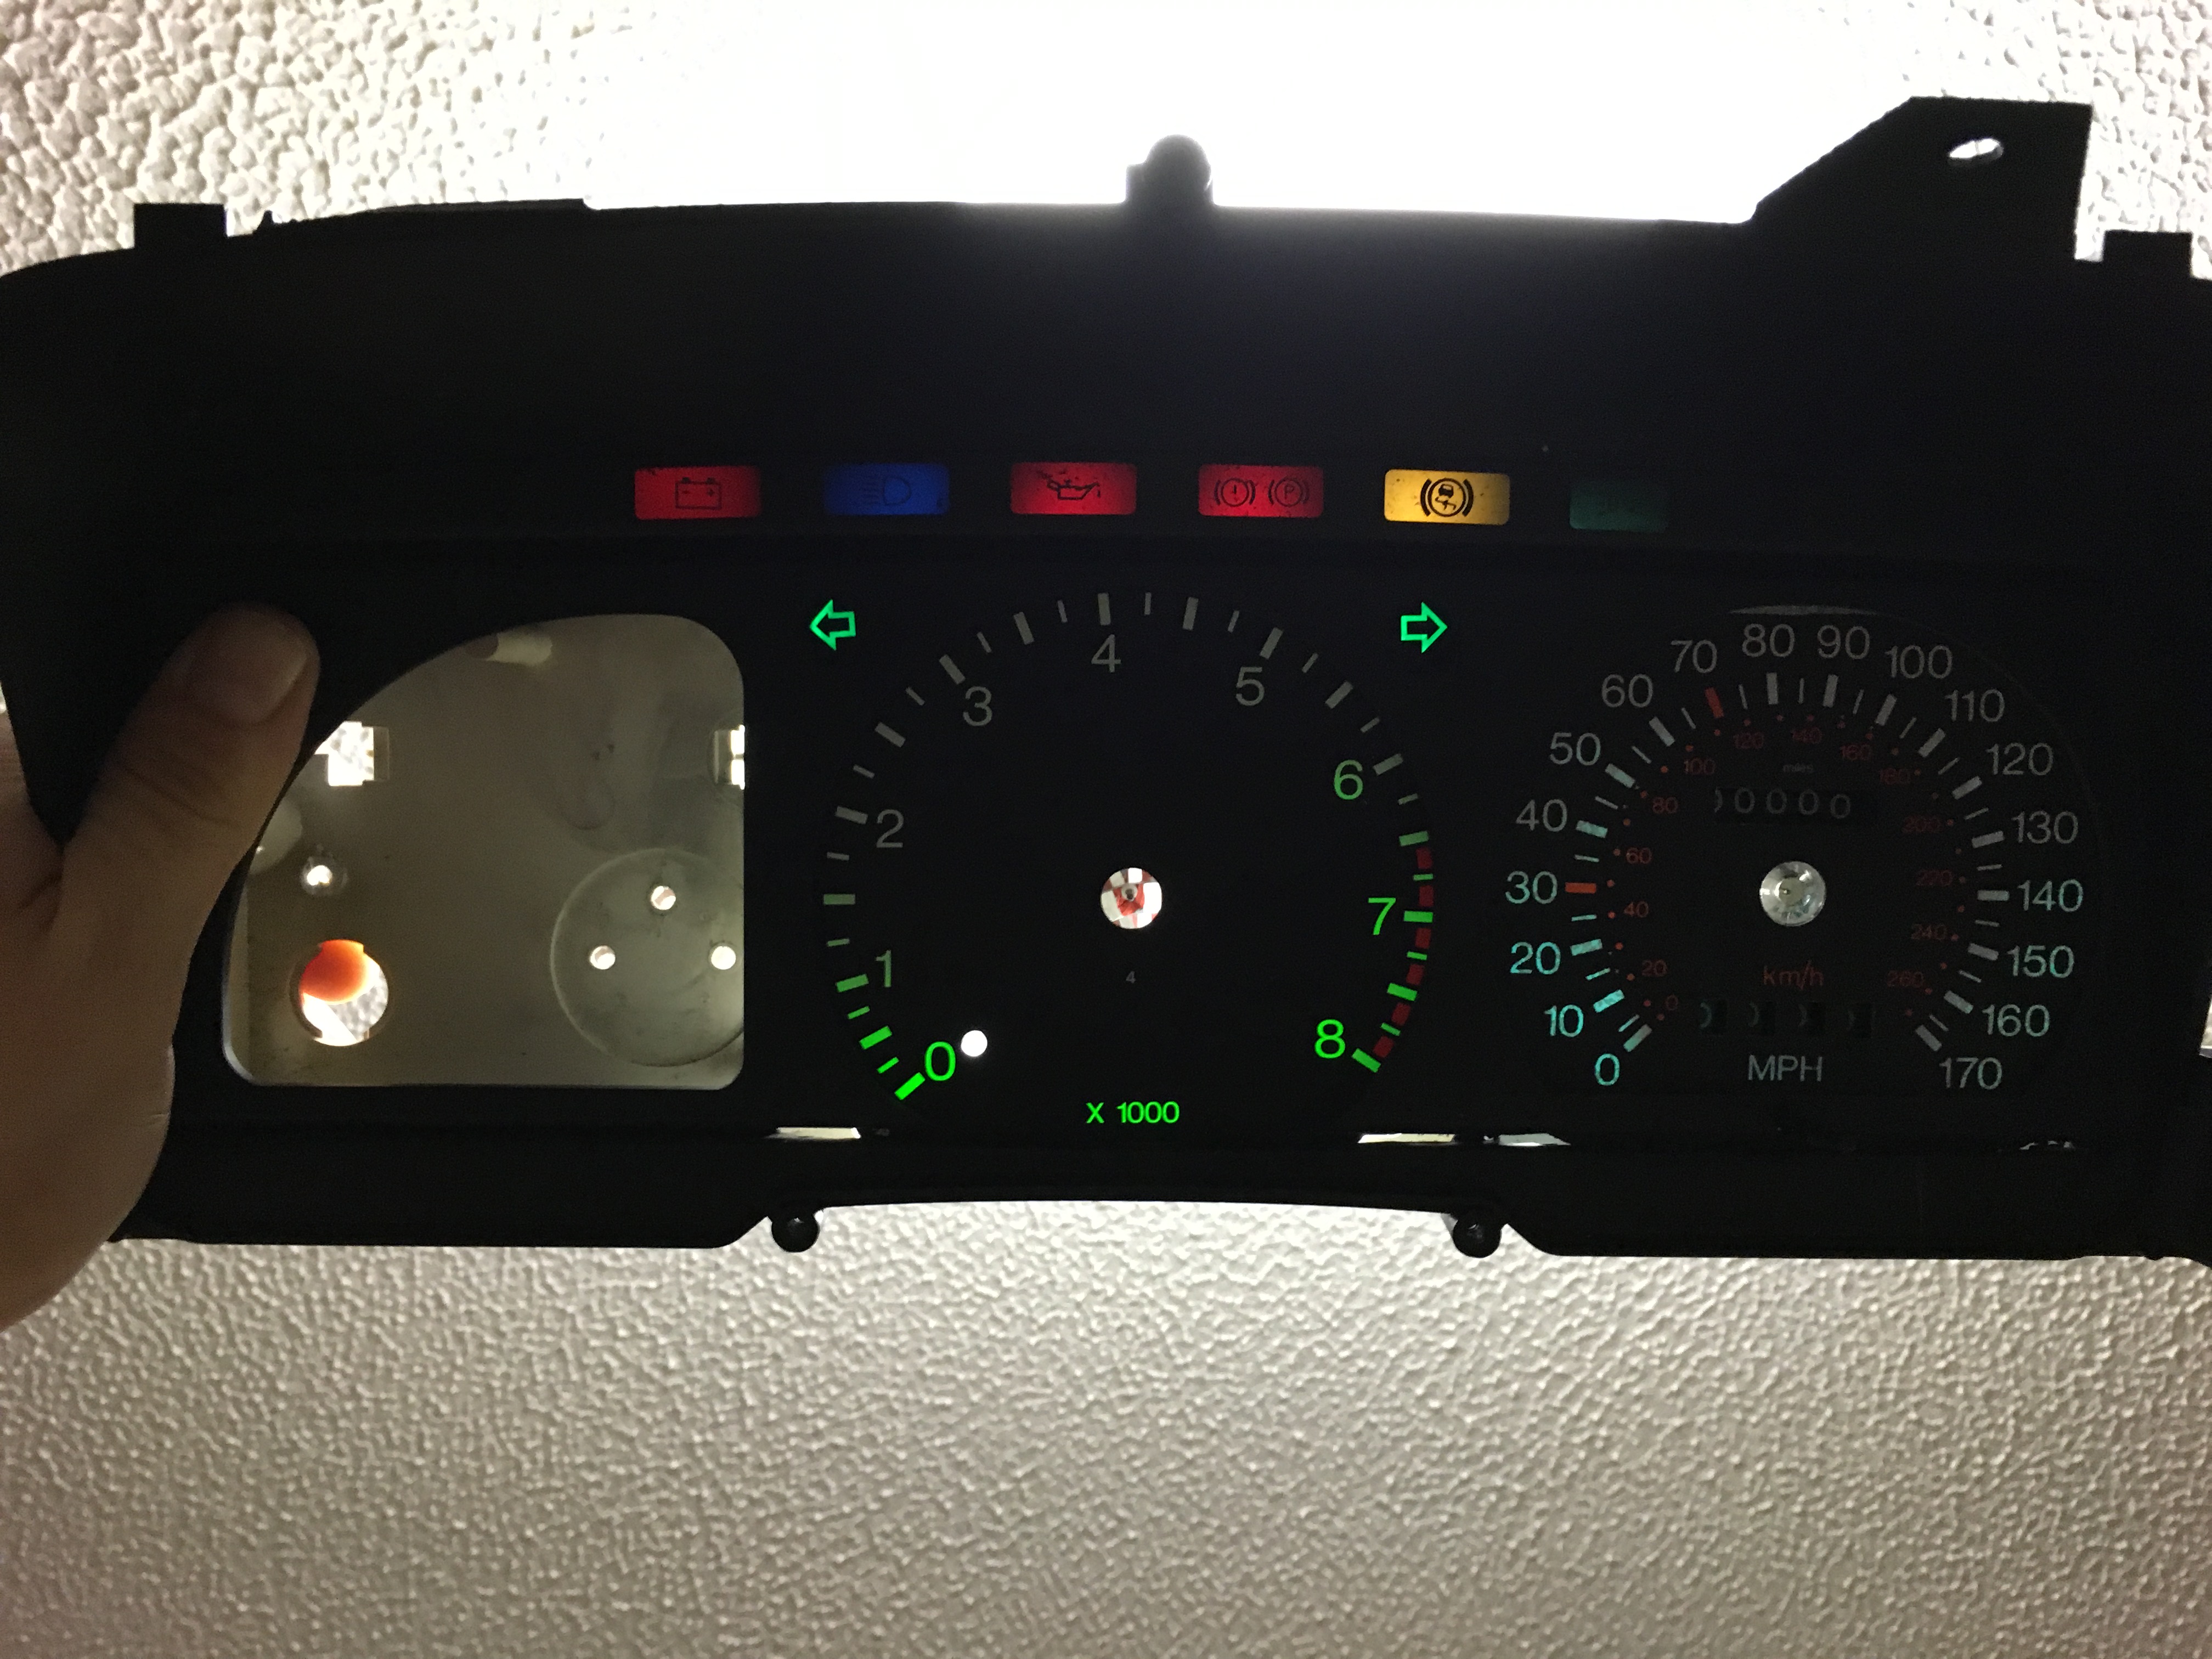
This week I decided to have a play with my instrument cluster.
I've already done a Cosworth speedo conversion
But because of the wasted spark I need to swap the Rev counter to one from an EFI car. Which got me thinking, why not do something a bit different?
I really want Stack gauges but with a kid on the way and money being tight it's not an option. Then I saw Mondeo Rev counters have an 8k range and have the right 'look' so I bought a MK2 Mondeo cluster for a bargain �10 and set about seeing what I could do.
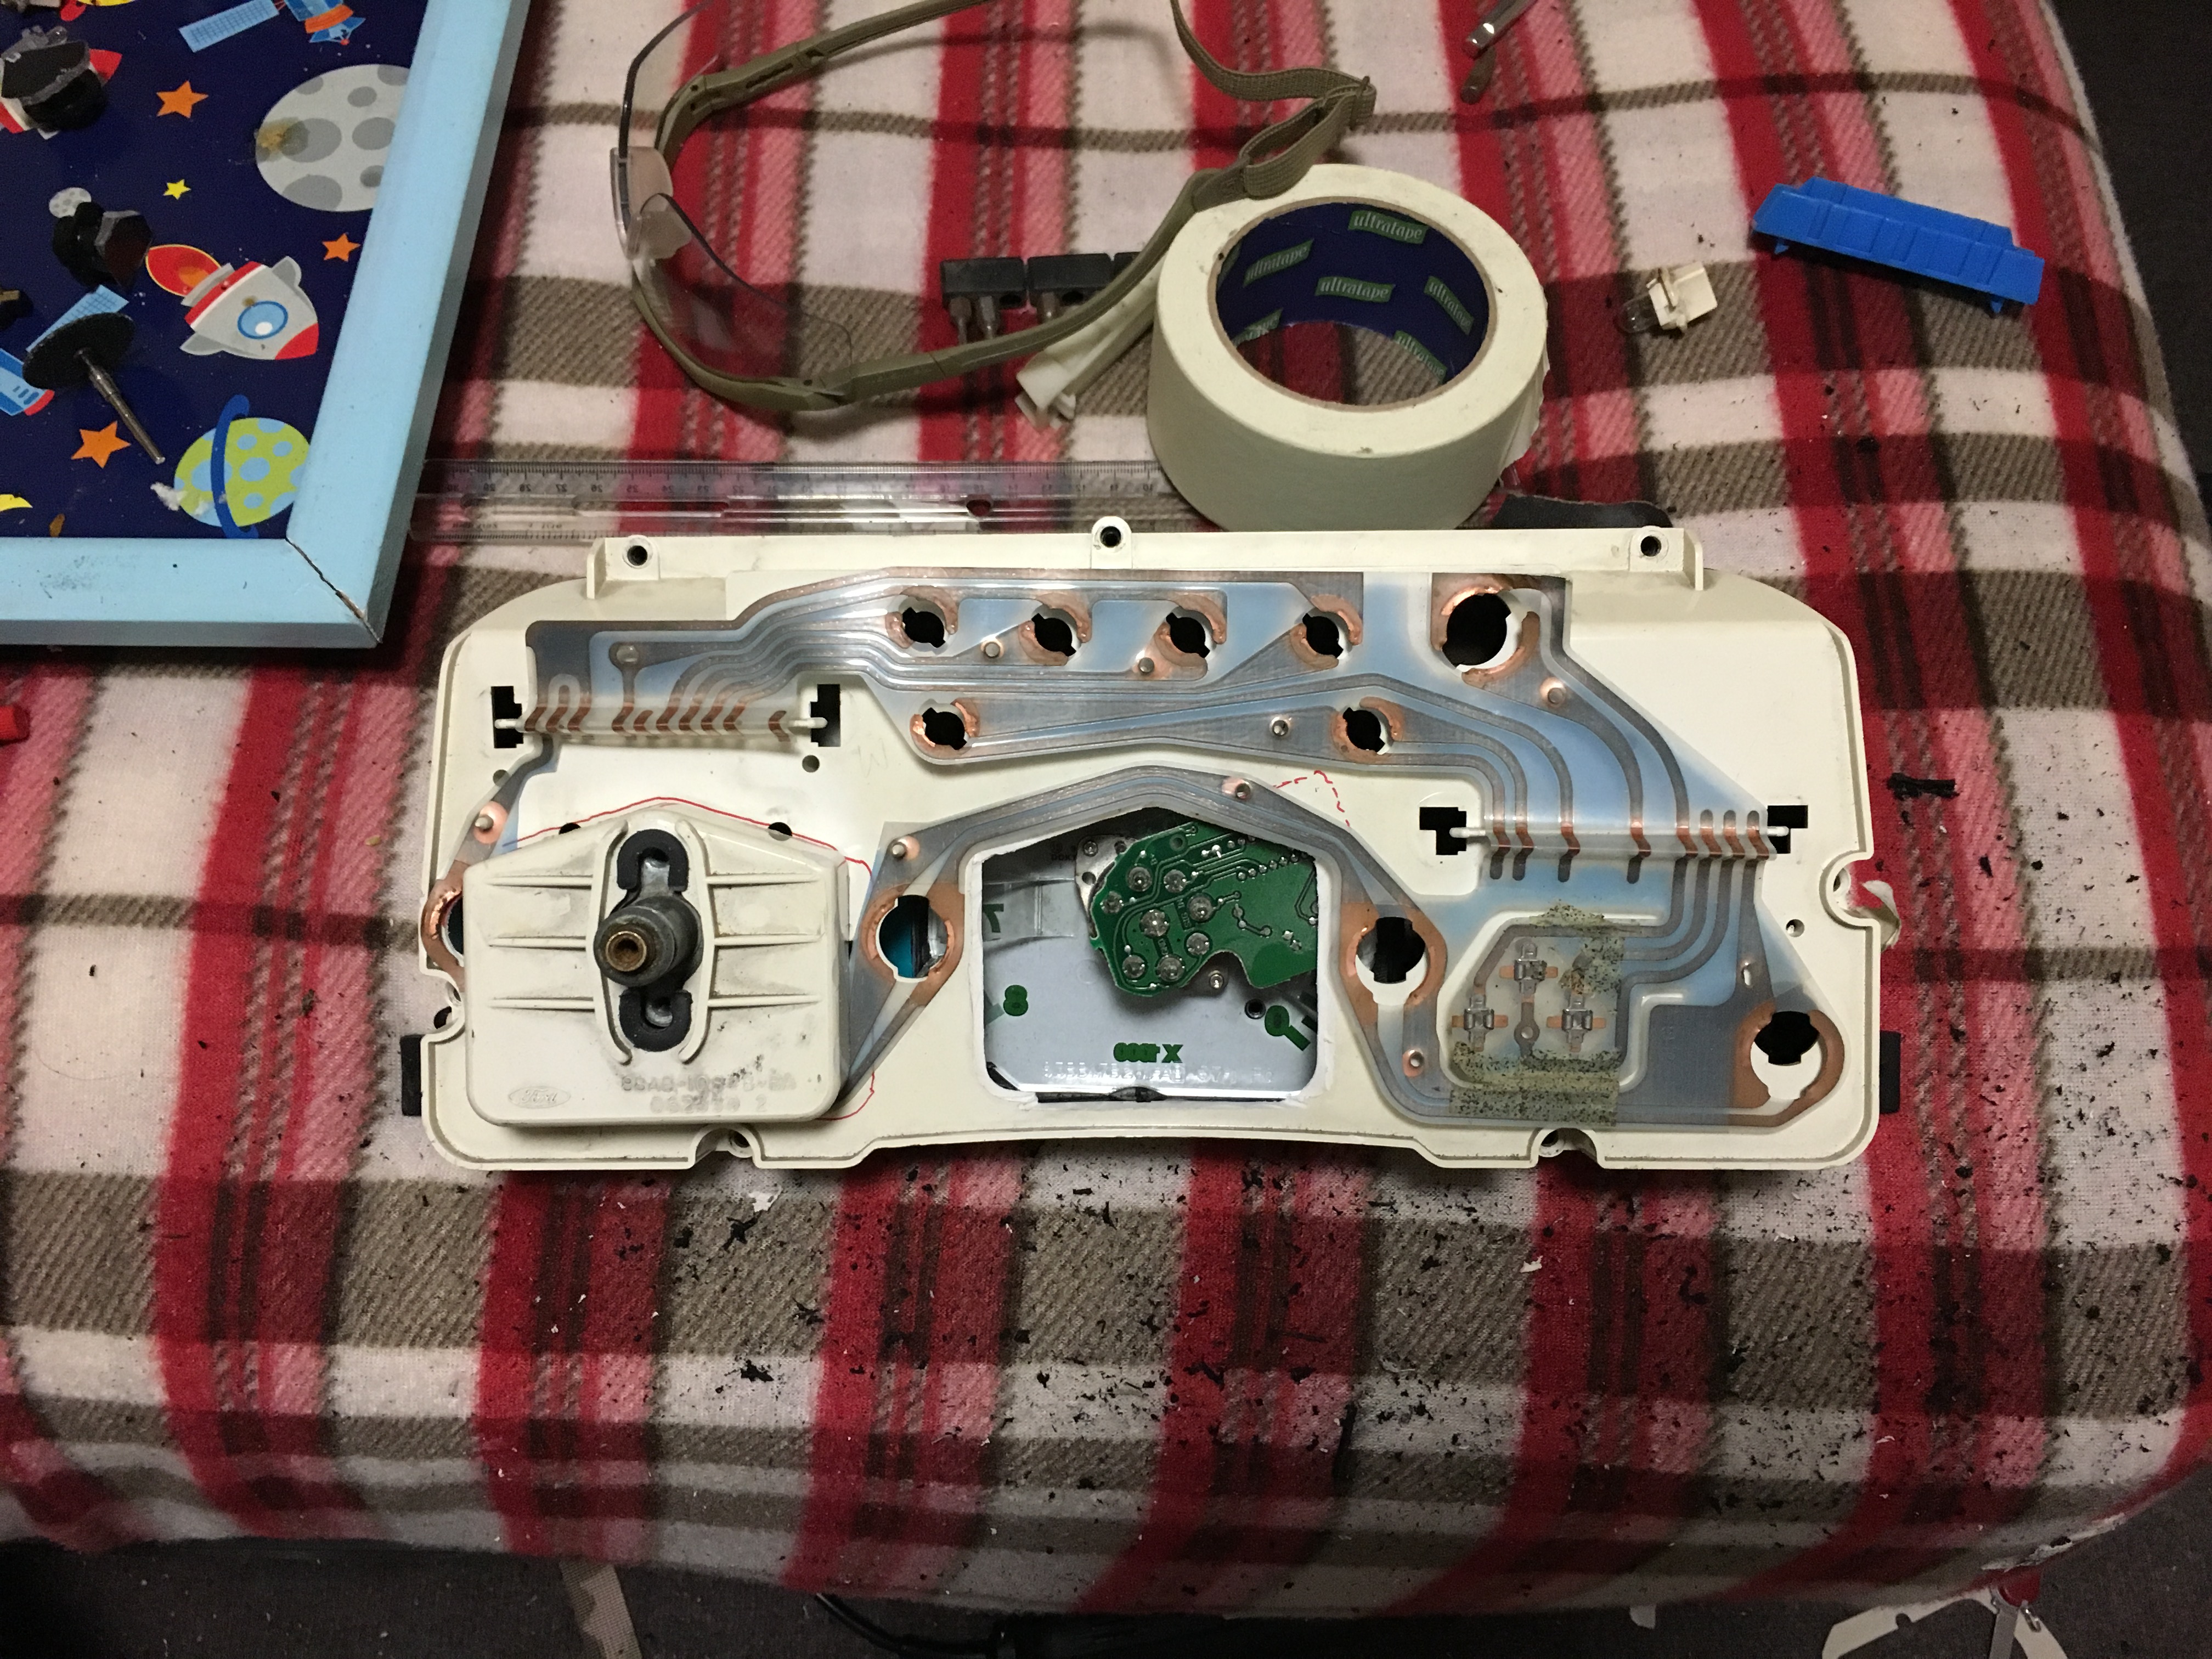
So stripped the cluster right down and had a look.
I had a play around and really fancied a mid mounted Rev counter so this happened,
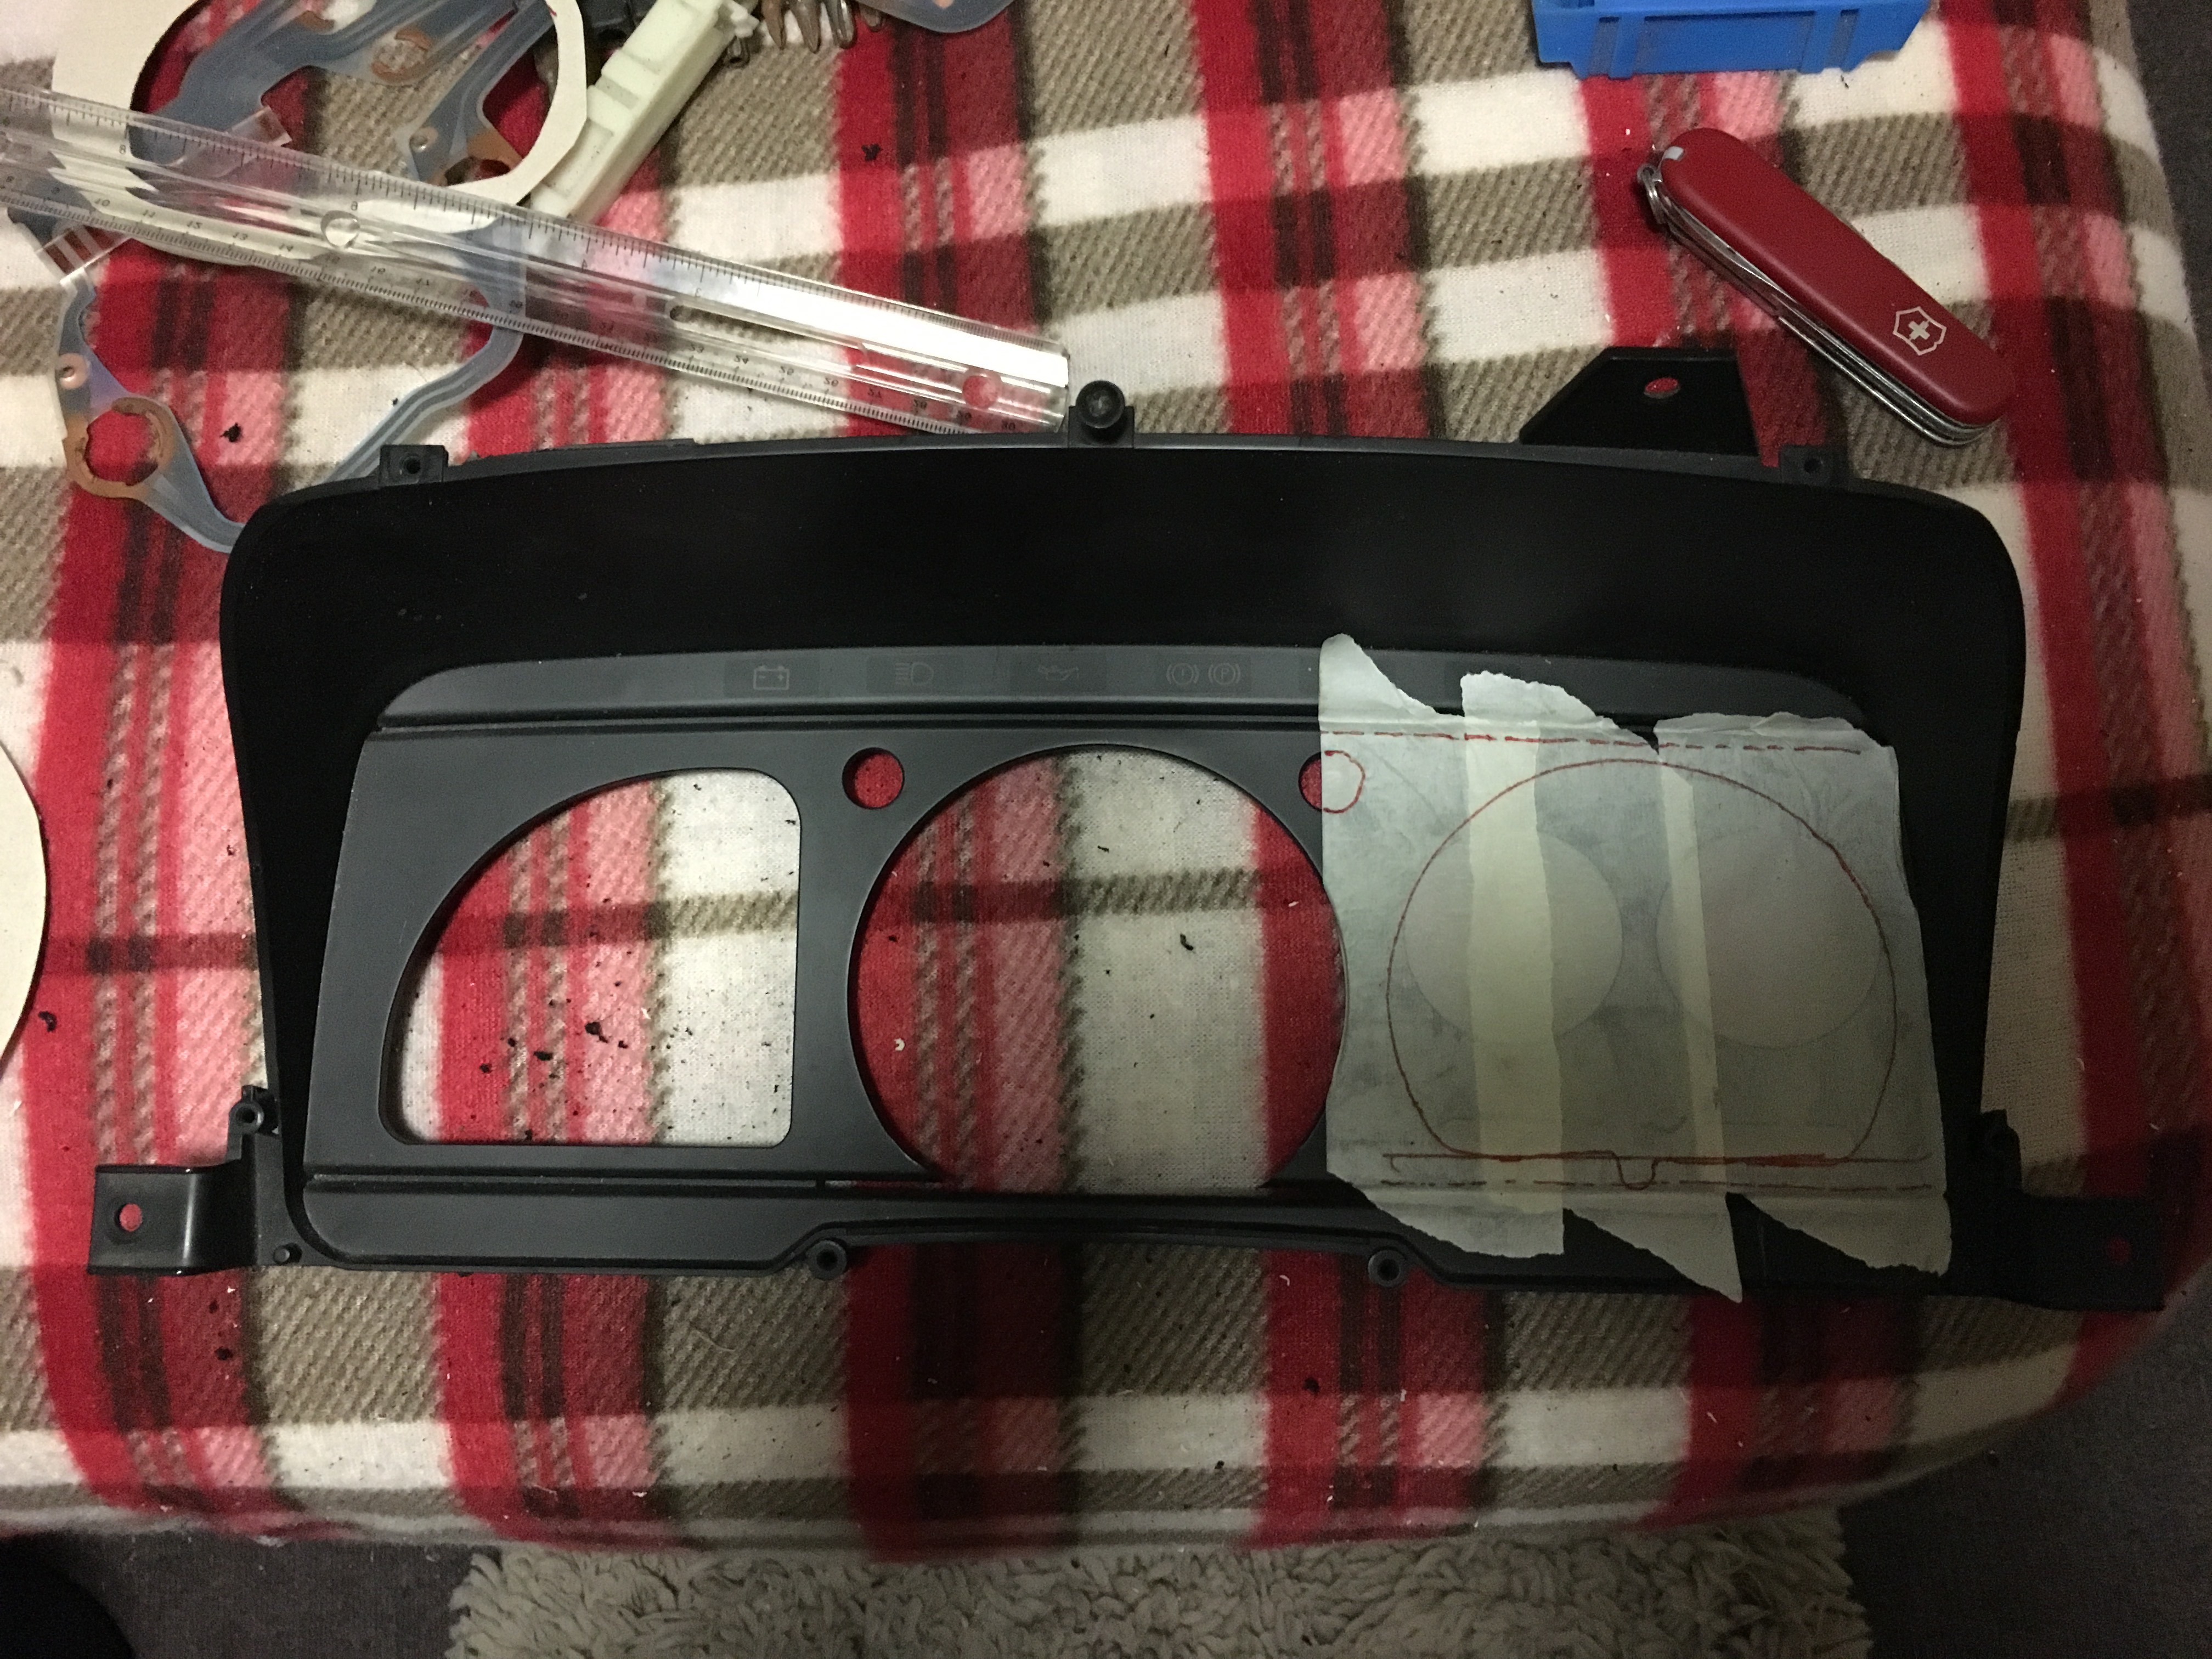
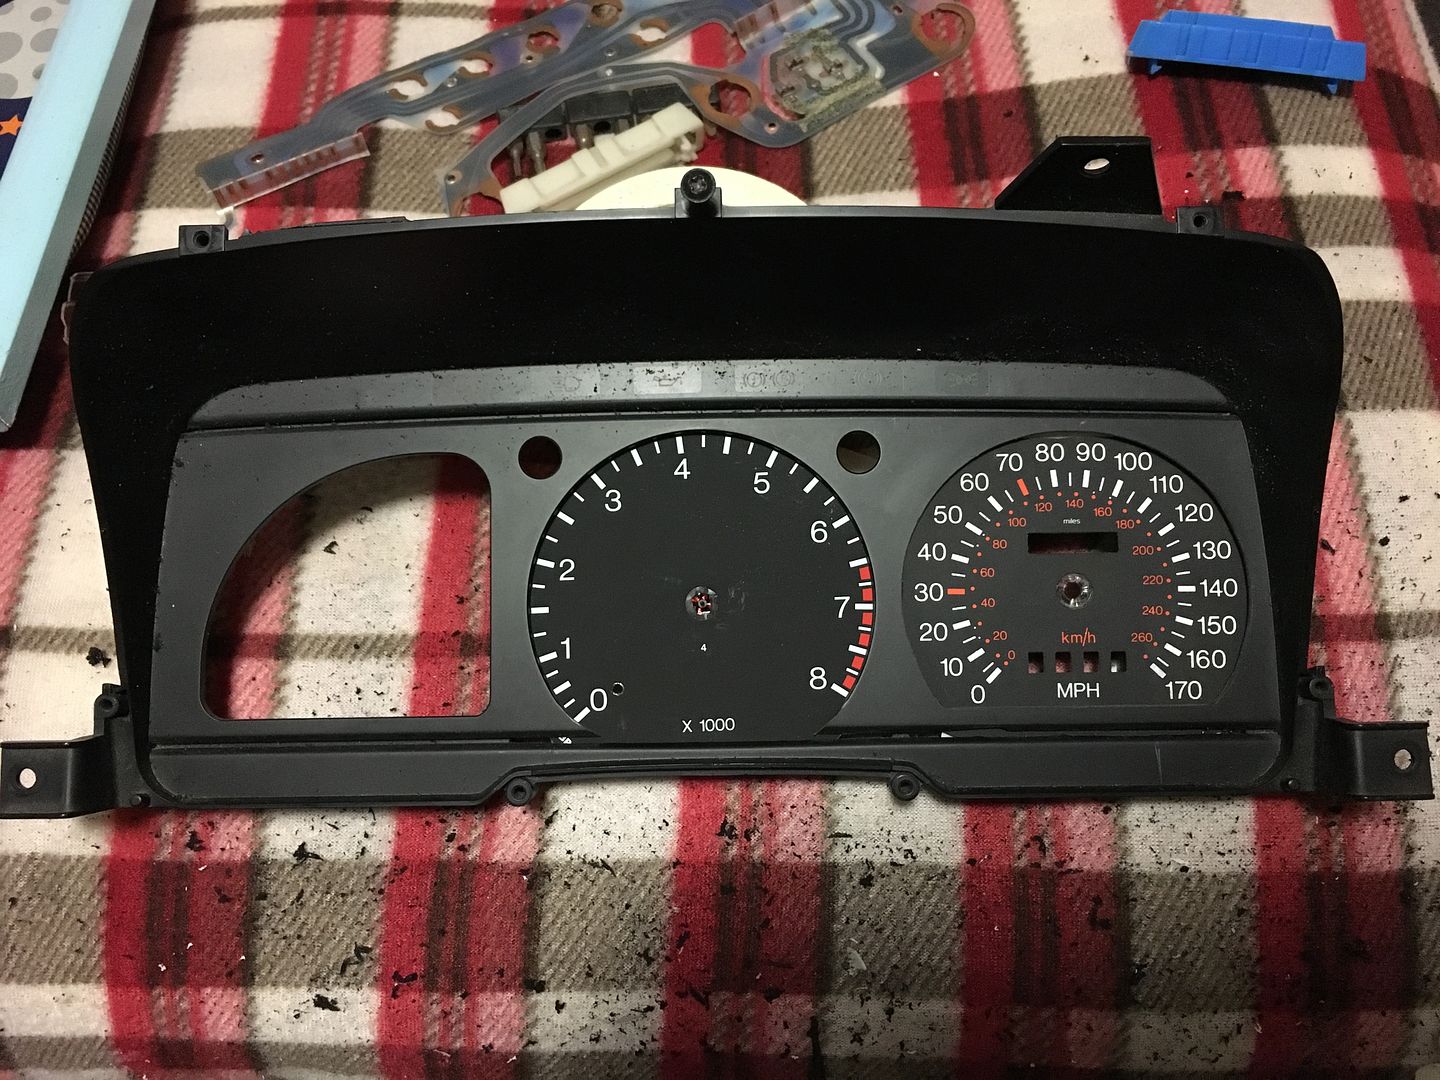
Done away with the ford fuel and water gauges as I have Stack gauges for these and the two will just squeeze into the old Rev counter space to the right. Pretty happy with it so far.
Few little problem to overcome such as moving bulbs to get them to illuminate better and a bit of fibreglass in places but seems to be working so far.
This week I decided to have a play with my instrument cluster.
I've already done a Cosworth speedo conversion

But because of the wasted spark I need to swap the Rev counter to one from an EFI car. Which got me thinking, why not do something a bit different?
I really want Stack gauges but with a kid on the way and money being tight it's not an option. Then I saw Mondeo Rev counters have an 8k range and have the right 'look' so I bought a MK2 Mondeo cluster for a bargain �10 and set about seeing what I could do.
So stripped the cluster right down and had a look.
I had a play around and really fancied a mid mounted Rev counter so this happened,


Done away with the ford fuel and water gauges as I have Stack gauges for these and the two will just squeeze into the old Rev counter space to the right. Pretty happy with it so far.
Few little problem to overcome such as moving bulbs to get them to illuminate better and a bit of fibreglass in places but seems to be working so far.
