1.8 Vauxhall Powered Mini Track Car Build- Engine in 24-10

 08-12-2008, 05:44 PM
#82
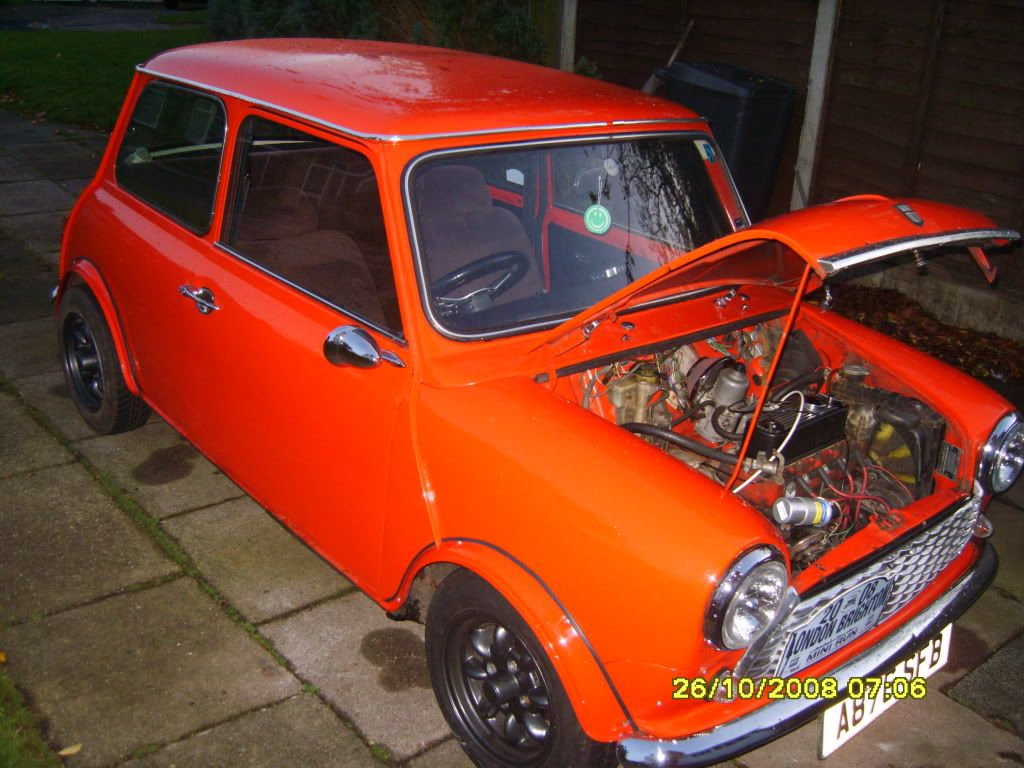
i got fed up of people messing us about and ordered an OMP cage from demon thieves which i'll add a few extra bars to when its in the car. 
The shell is now back in the garage after sitting at a mates farm for a while, the etch primer hasn't proved too water resistant, and a few little bits are starting to show surface rust already where i've not used filler primer.
On a brighter note, i have ordered my carbon roofskin and arches, should be picking them up a week on saturday,
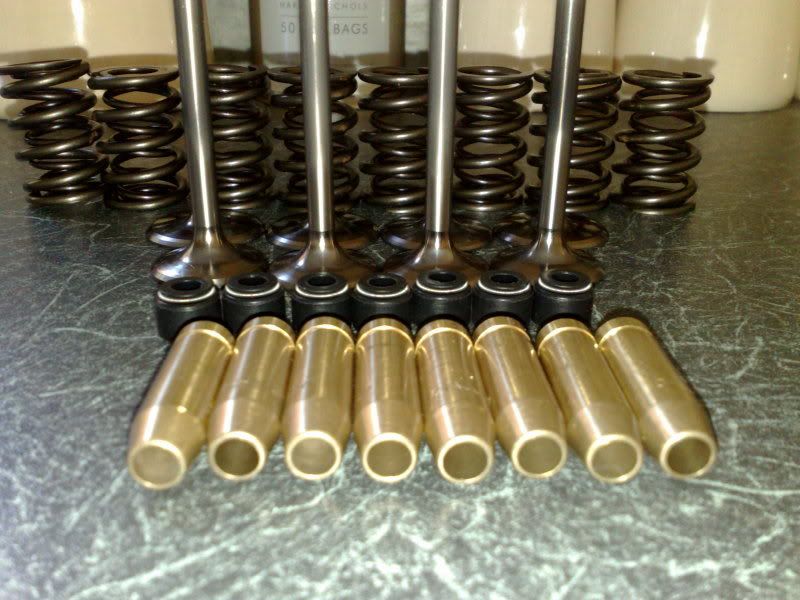
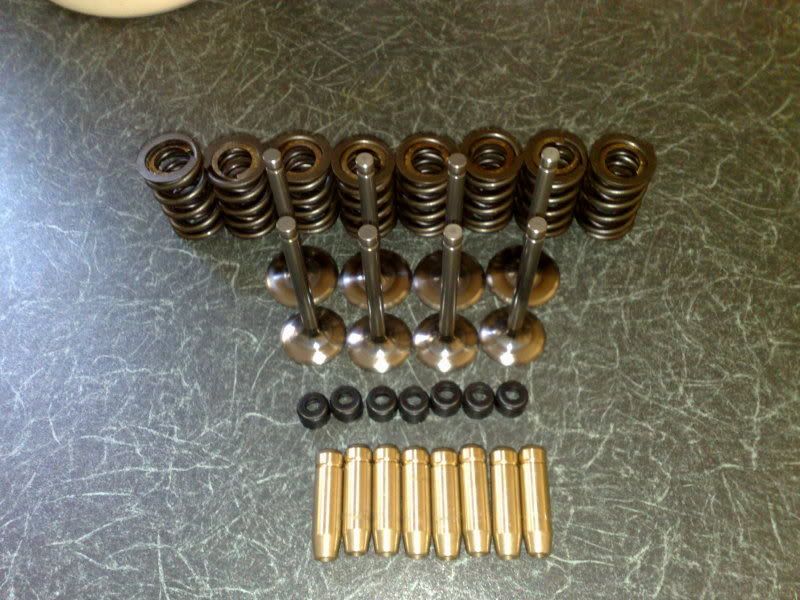
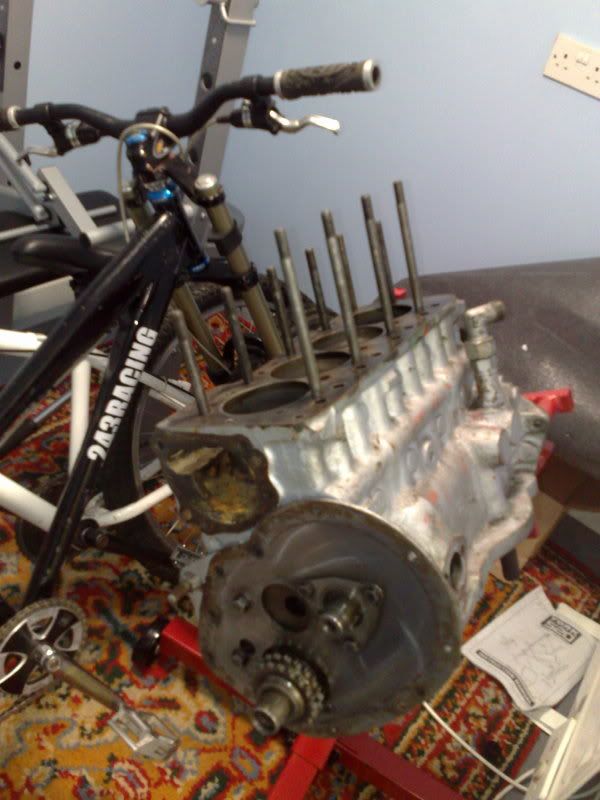
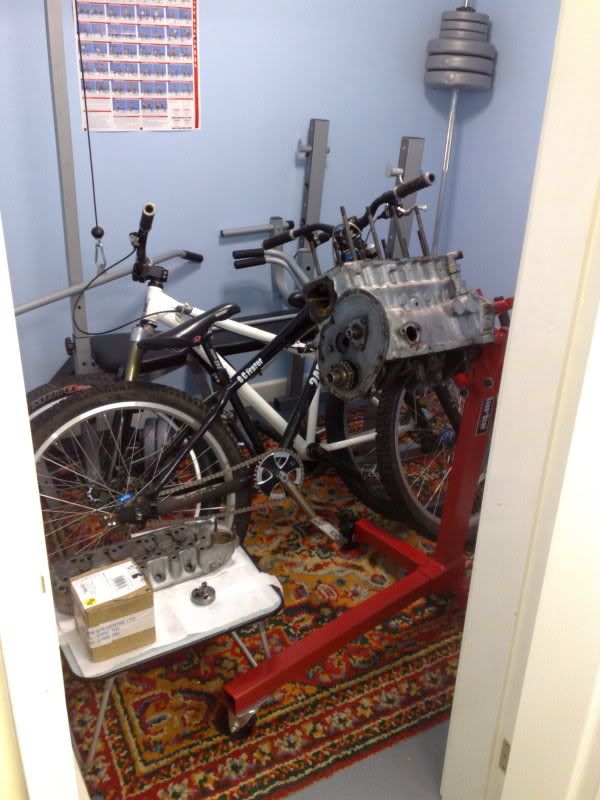
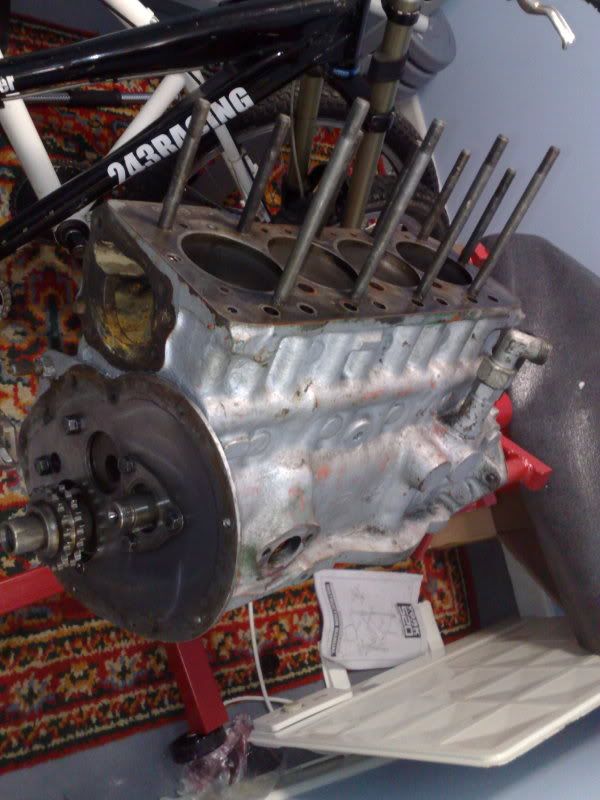
I've picked up an engine stand and cleared some space in what used to be the gym, and all the bits to rebuild my head have arrived, apart from rocker assembly,
I've ended up with 35.7mm minispares race spec inlet valves, and matching 31mm exhaust, 280lb mini spares race spec double valve springs (standard cooper S are 160lb), bronze magonese Valve guides, to match the type of steel, (en421n or summat) used to make the valves
i'll post up some pics of the new bits in a min.
The shell is now back in the garage after sitting at a mates farm for a while, the etch primer hasn't proved too water resistant, and a few little bits are starting to show surface rust already where i've not used filler primer.
On a brighter note, i have ordered my carbon roofskin and arches, should be picking them up a week on saturday,
I've picked up an engine stand and cleared some space in what used to be the gym, and all the bits to rebuild my head have arrived, apart from rocker assembly,
I've ended up with 35.7mm minispares race spec inlet valves, and matching 31mm exhaust, 280lb mini spares race spec double valve springs (standard cooper S are 160lb), bronze magonese Valve guides, to match the type of steel, (en421n or summat) used to make the valves
i'll post up some pics of the new bits in a min.
 19-12-2008, 06:14 PM
#84
well i picked up the first of the stuff tonight, not impressed to be honest.
I'll let the pics do the talking
(all the damage is one area btw, not all over, so i do have a bit of a plan)
oh and this is brand spanking new, not 2nd hand...

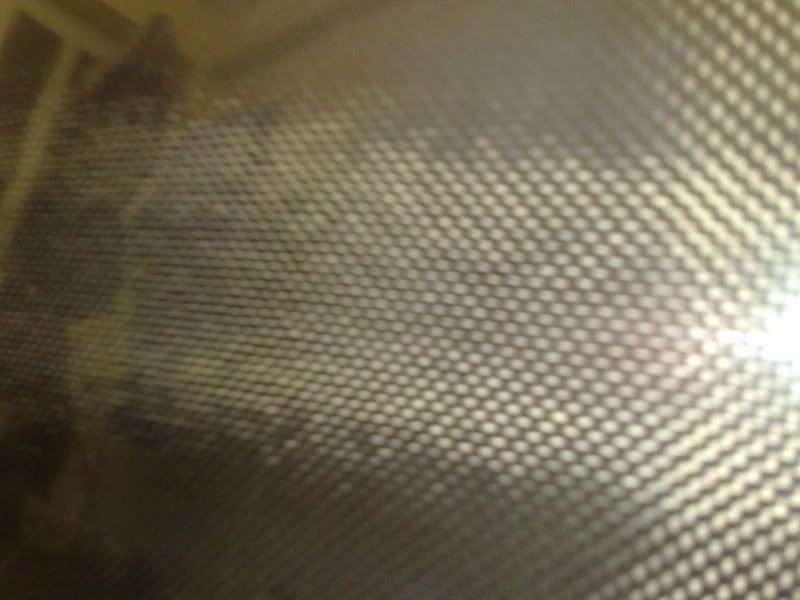
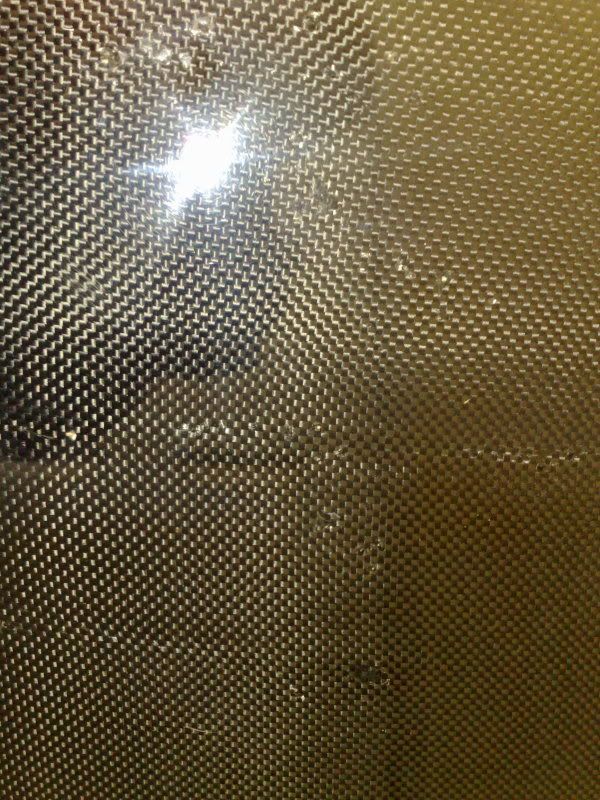
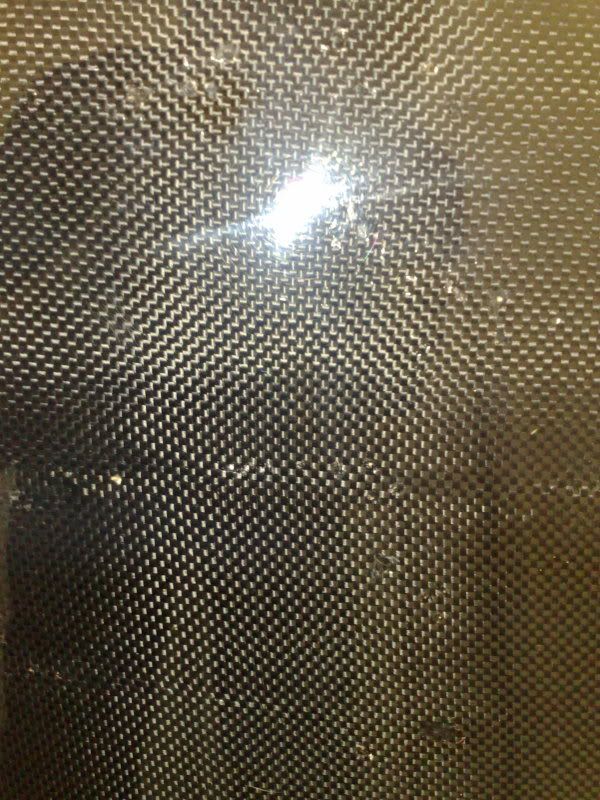
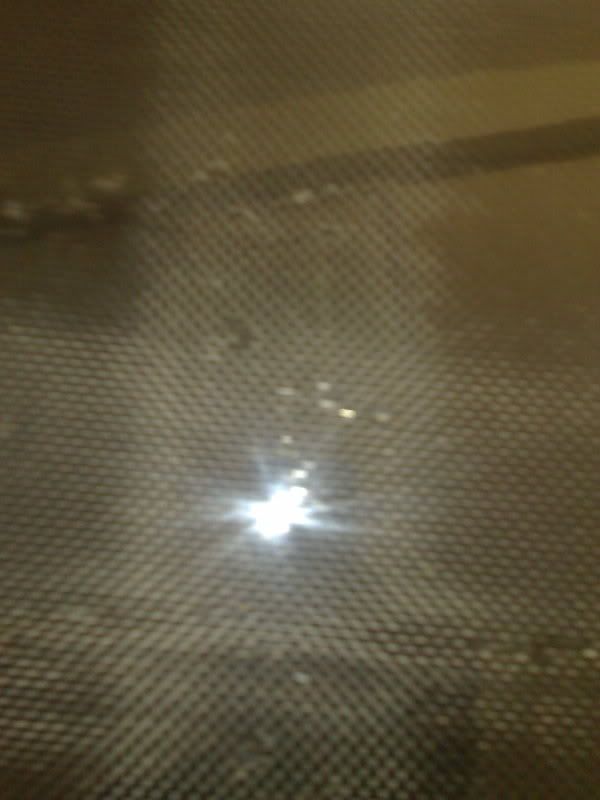
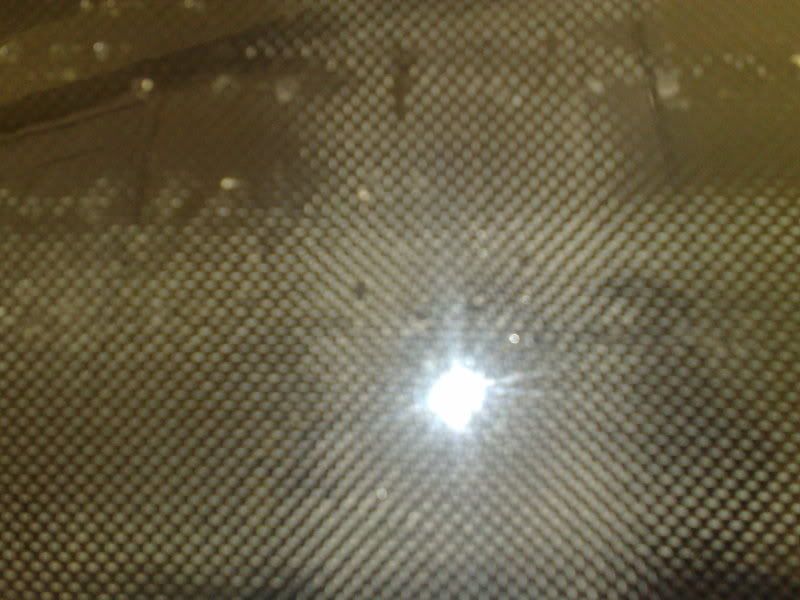
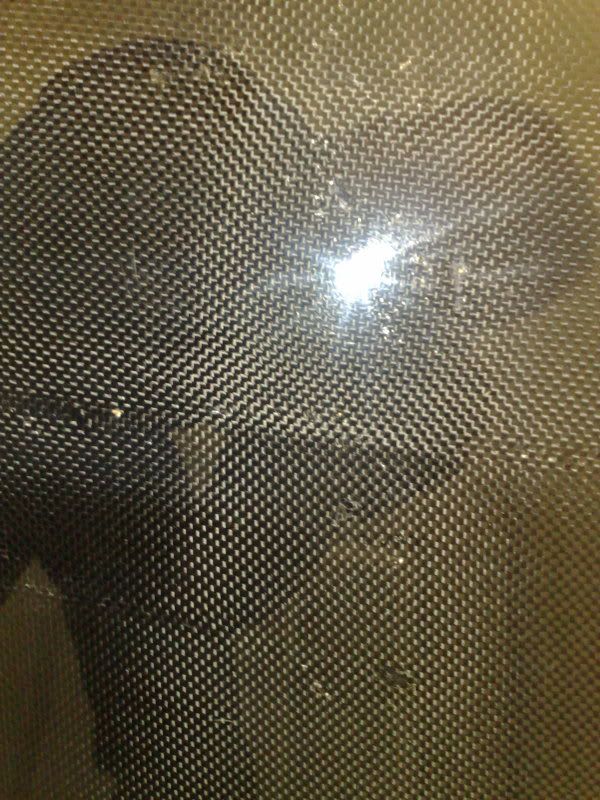

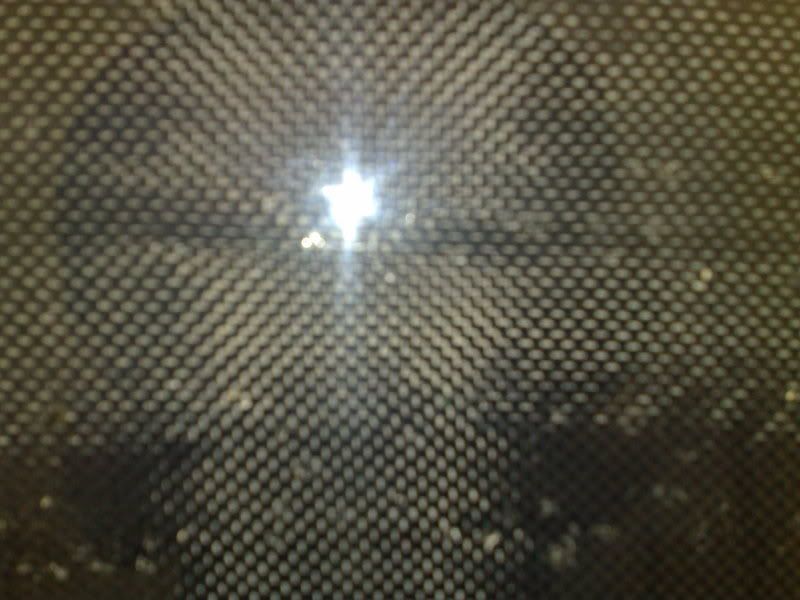
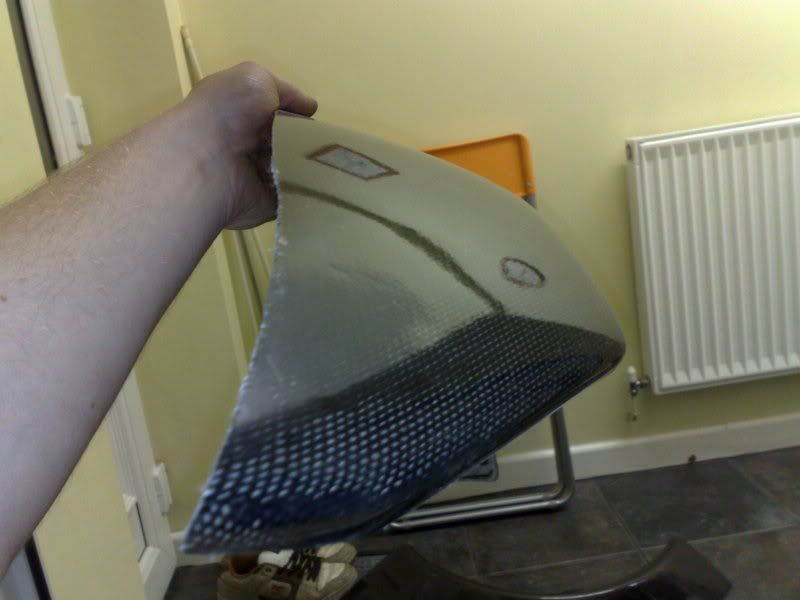
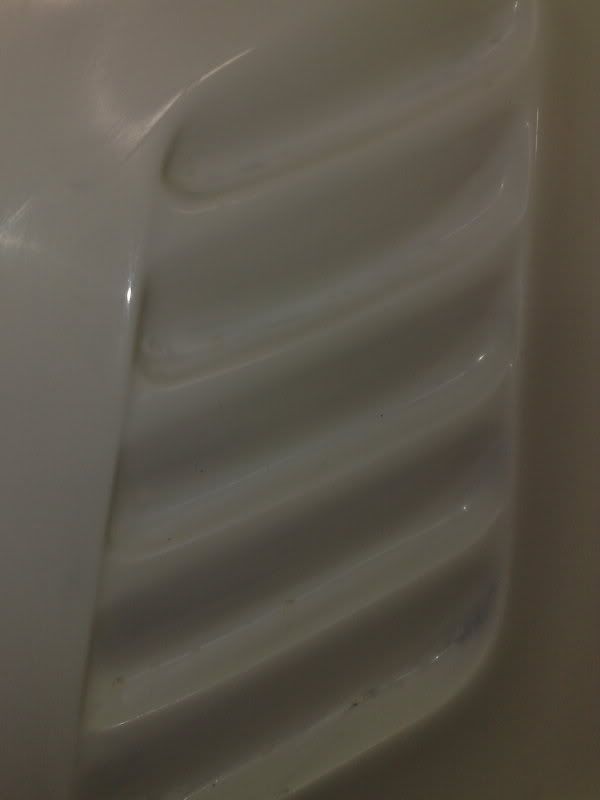
i know he said he had to join the sheets of carbon matting together to keep the costs down but i would have thought he could have made a straight line
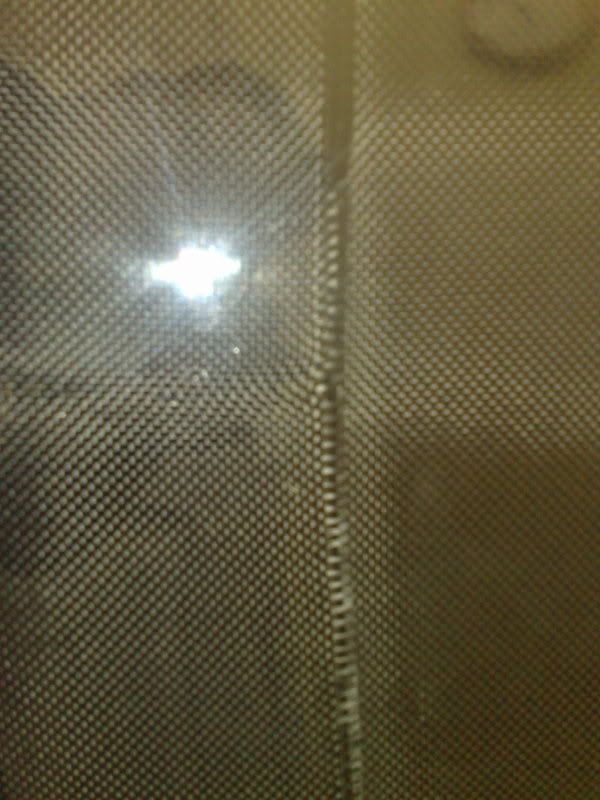
nice shine though
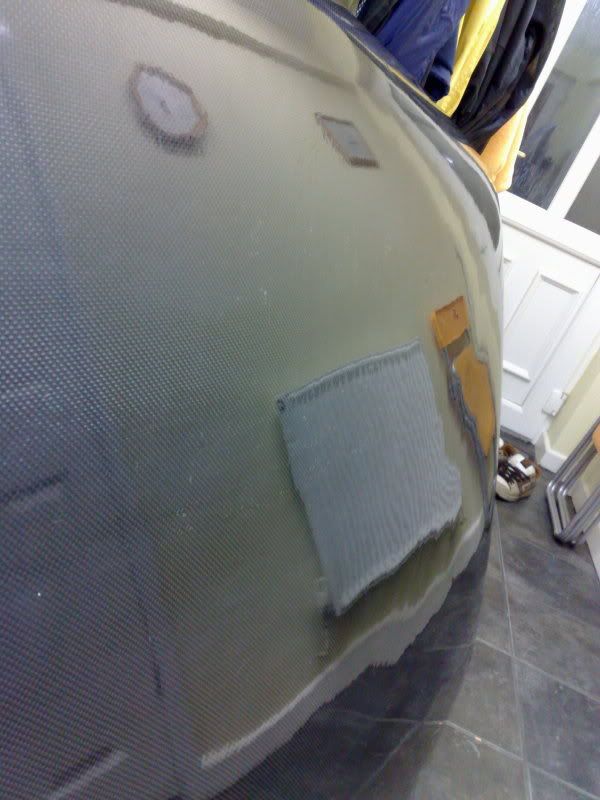
The arches arent toooooo bad
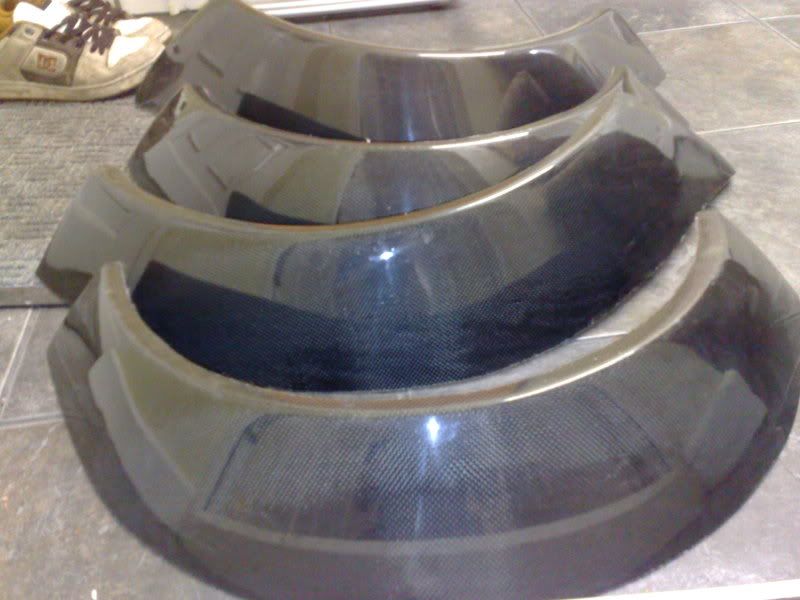

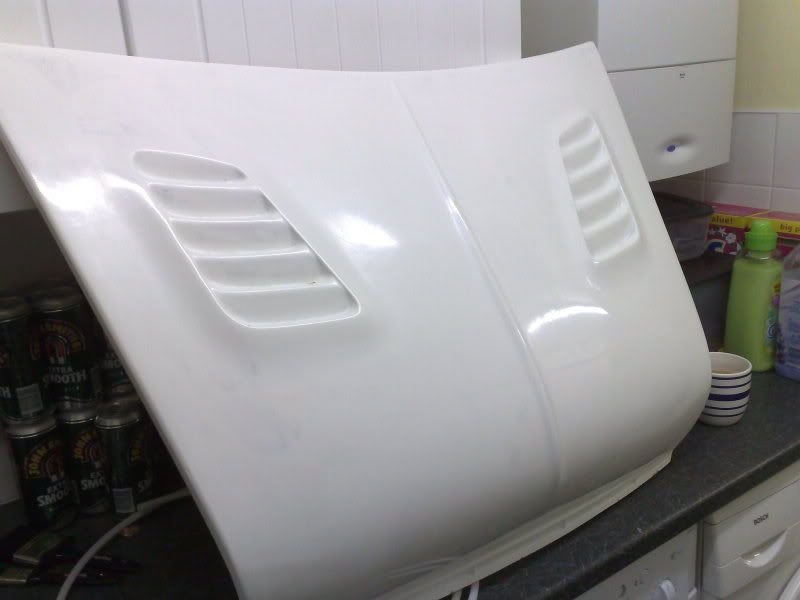
quite like the bonnet, just needs the bottom of the vents cutting out
i guess there is a reason why they are the cheapest around... should have known better really
the backup plan is to have a very subtle dark grey union jack, off centre, covering 99.9% of the bad bits, and then prob have the roof and the vinyl laquered, shouldn't look that bad
its either that or paint it, but then i may as well bought a fibreglass one.
hopefully a more sucessfull update tomorrow
I'll let the pics do the talking
(all the damage is one area btw, not all over, so i do have a bit of a plan)
oh and this is brand spanking new, not 2nd hand...
i know he said he had to join the sheets of carbon matting together to keep the costs down but i would have thought he could have made a straight line
nice shine though
The arches arent toooooo bad
quite like the bonnet, just needs the bottom of the vents cutting out
i guess there is a reason why they are the cheapest around... should have known better really
the backup plan is to have a very subtle dark grey union jack, off centre, covering 99.9% of the bad bits, and then prob have the roof and the vinyl laquered, shouldn't look that bad
its either that or paint it, but then i may as well bought a fibreglass one.
hopefully a more sucessfull update tomorrow
 19-12-2008, 06:34 PM
#86
the ones i have seen in the past that he has done have been a clean black line running from front to back of the car down the centre, which i could live with but this way looks cheap and half arsed
think i'm gonna have to cover up the dodgy bits with a strange off centre union jack, should look ok when done i suppose but not what i wanted
20-12-2008, 05:50 PM
#87
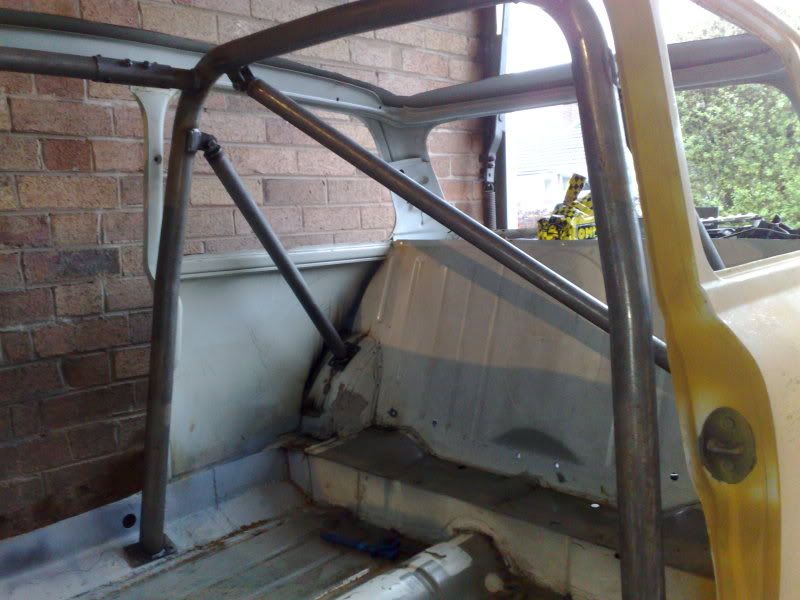
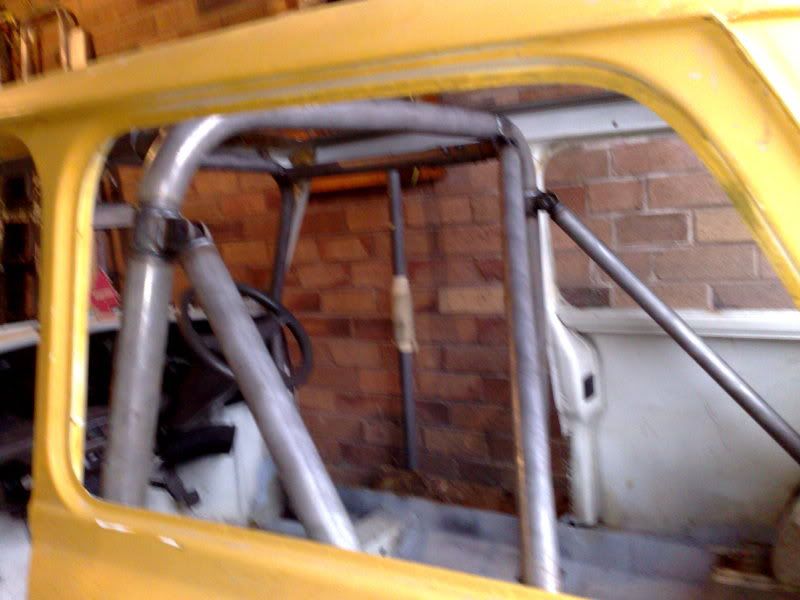
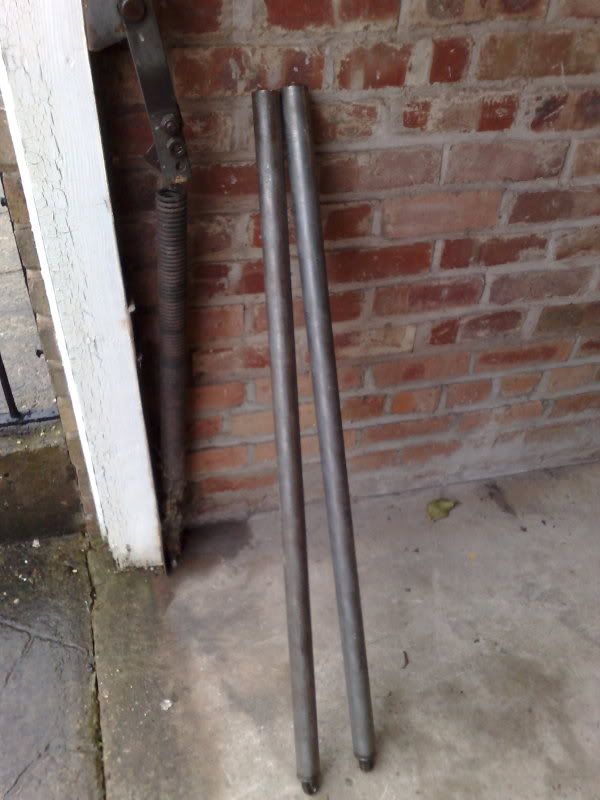
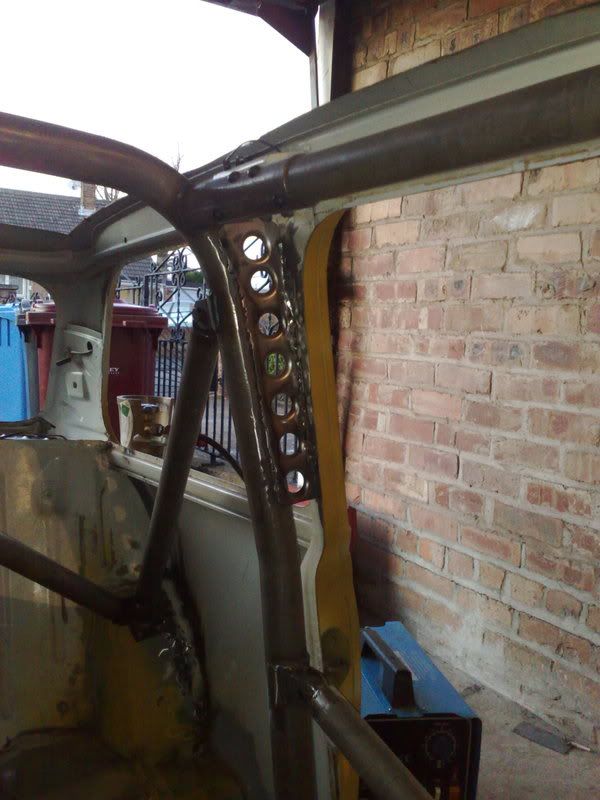
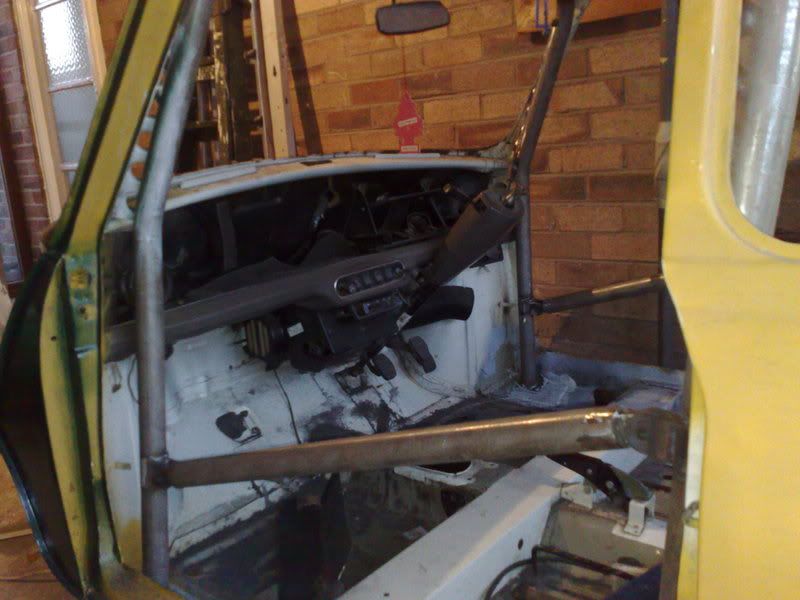
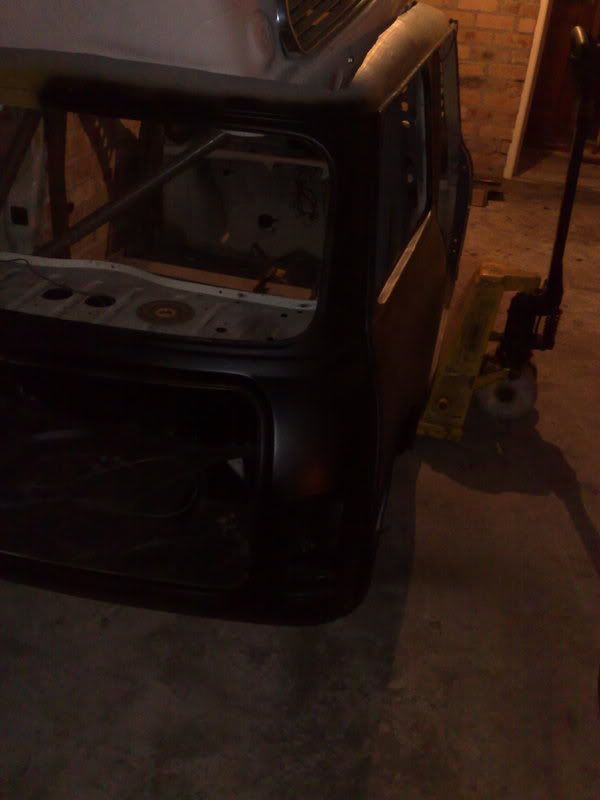
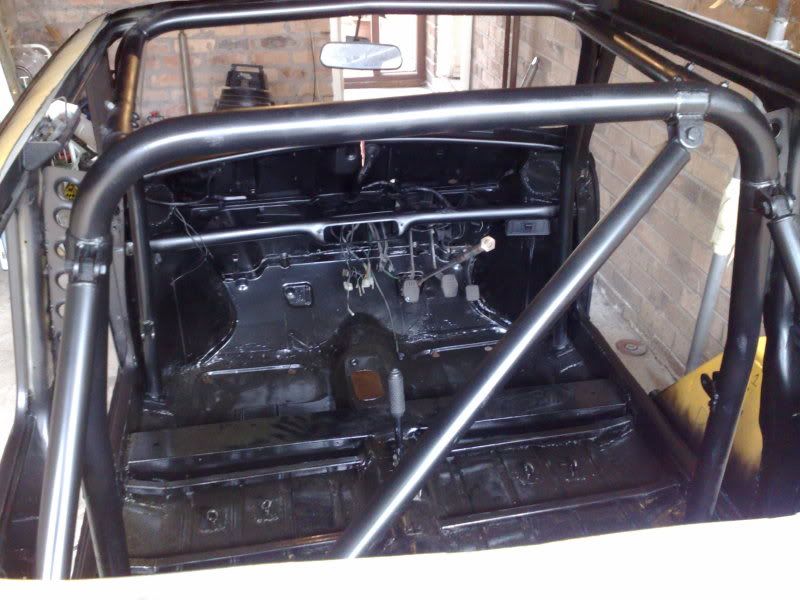
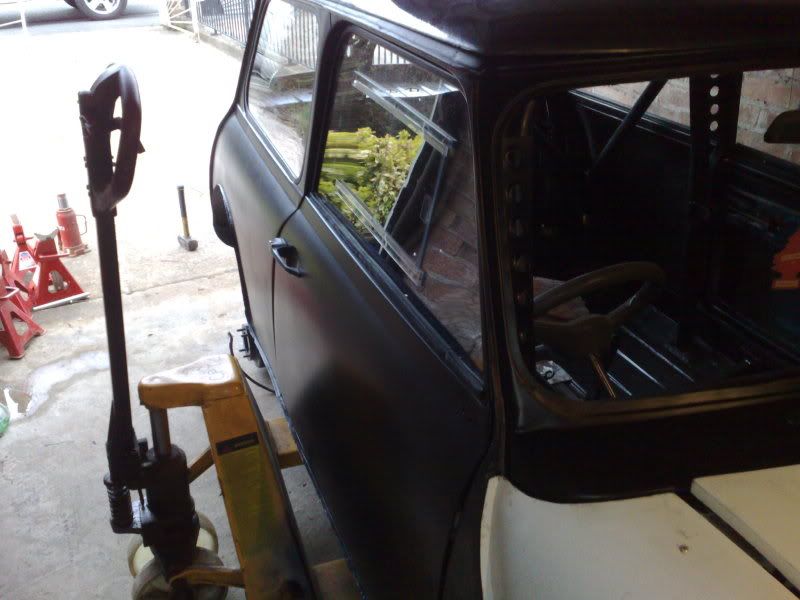
rollcage collected and trial fitted today
i wouldnt recommend anyone fitting one with a roof still on! it was hard enough work to get it in as it is!
should be going back tomorrow armed with a welder to fit it properly, although maybe not as i managed to tip my van on its side down a ditch on the way home
i wouldnt recommend anyone fitting one with a roof still on! it was hard enough work to get it in as it is!
should be going back tomorrow armed with a welder to fit it properly, although maybe not as i managed to tip my van on its side down a ditch on the way home
 20-12-2008, 10:16 PM
#89
i'm fine, and the van is too really, just a few small dents, luckily it was only very soft mud, just missed a huge tree stump
Really dont know how i did it!, was down a very narrow, very muddy back lane, touched a bit of mud which sucked us in, was hardly moving and just kinda fell off the road!
Really dont know how i did it!, was down a very narrow, very muddy back lane, touched a bit of mud which sucked us in, was hardly moving and just kinda fell off the road!
20-12-2008, 11:32 PM
#90
Too many posts.. I need a life!!
iTrader: (1)
Join Date: Aug 2006
Location: Newcastle upon tyne
Posts: 553
Likes: 0
Received 0 Likes
on
0 Posts
Now this is getting even better, tell you this it's going to have some go in the little sod sweet.. as for the roof i'd have kick his arse hard lol should have done a better Job that he has done though
21-12-2008, 09:11 PM
#91
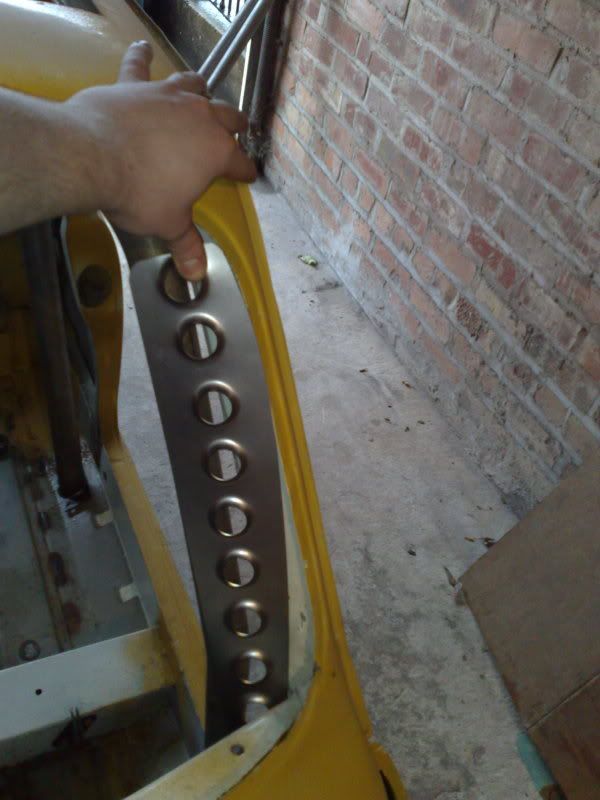
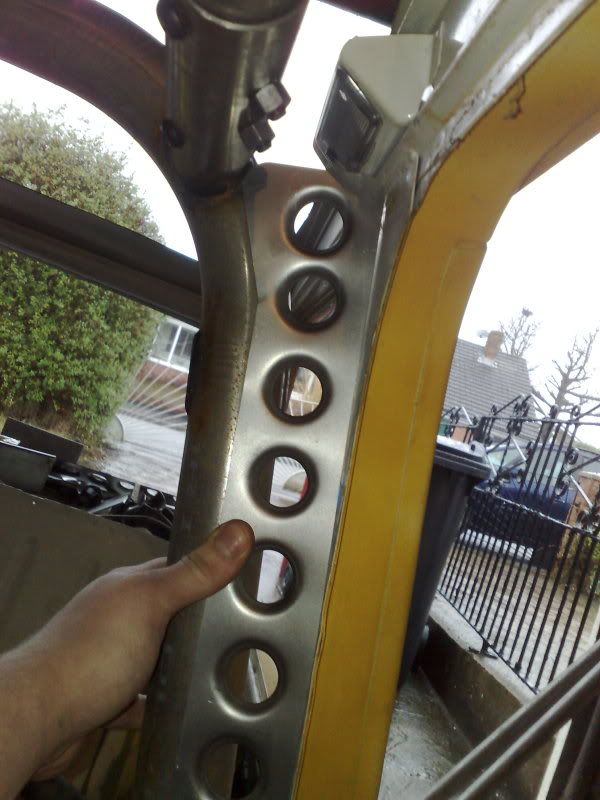
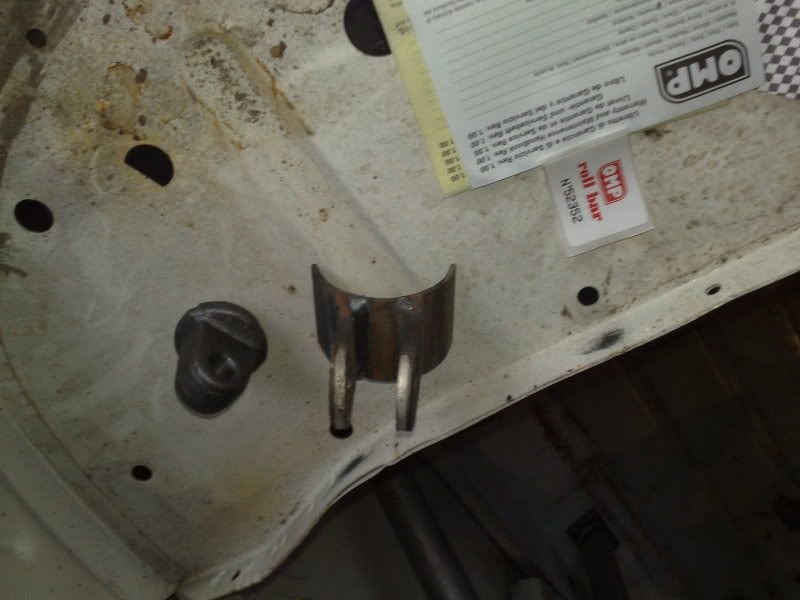
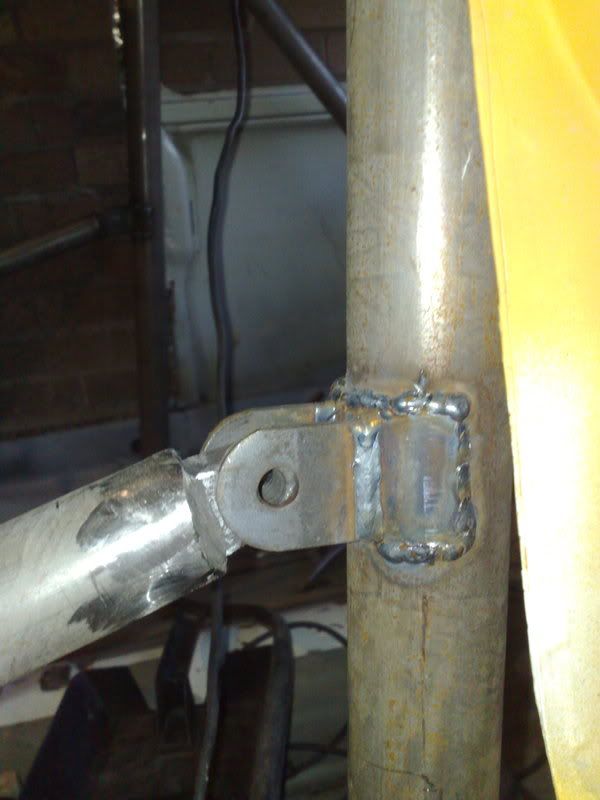
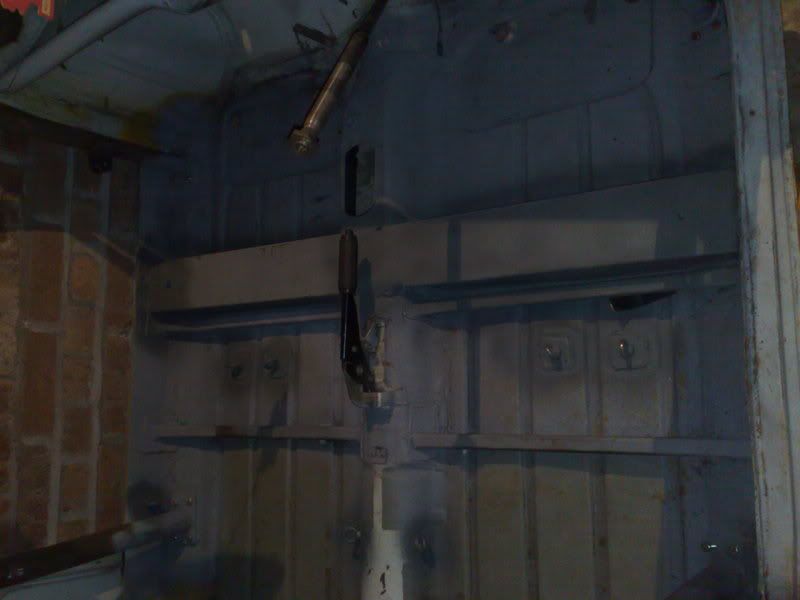
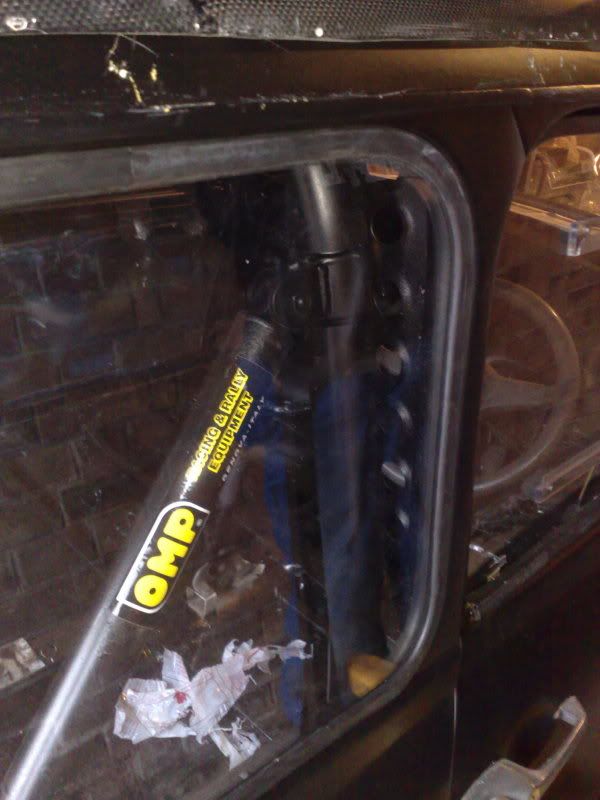
rollcage nearly fitted, all the load spreading plates are welded in, and all the holes drilled, just need some bolts as i only had odds n ends in my toolbox.
welded one stiffner plate in, another hour or two next weekend and jobs a good 'un
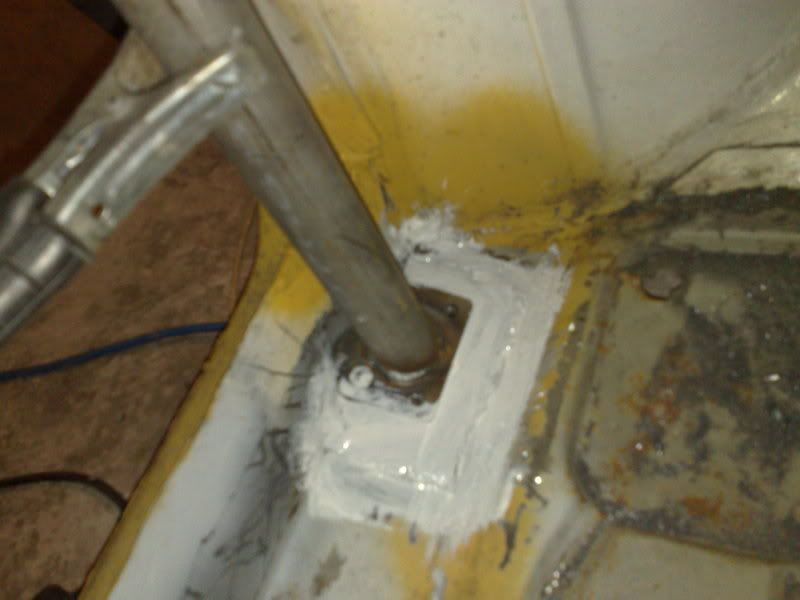
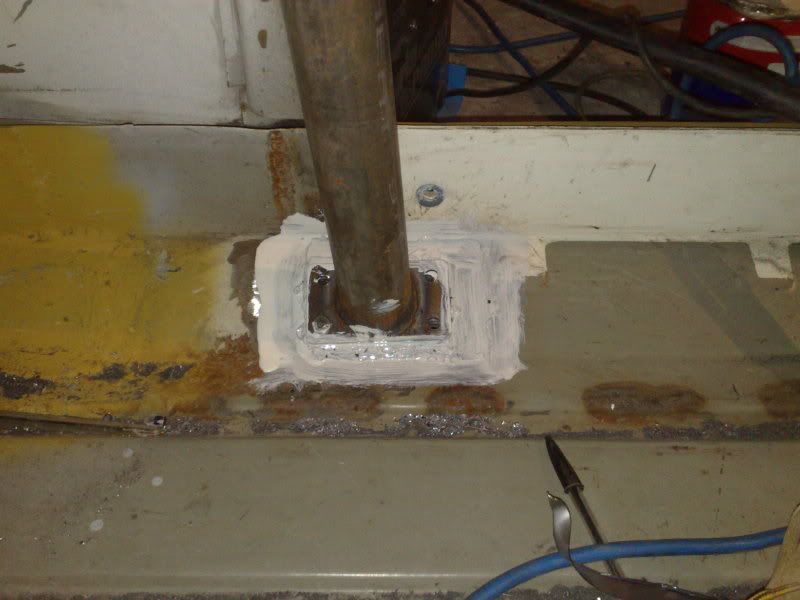
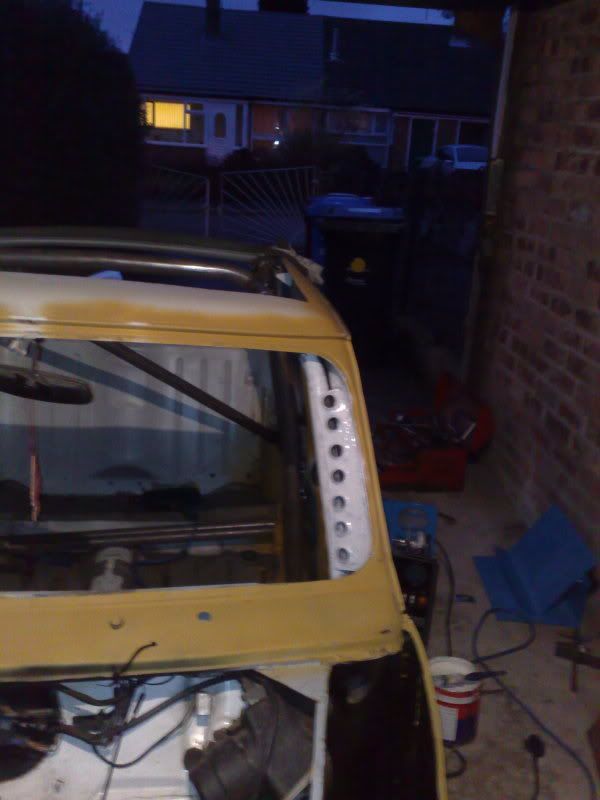
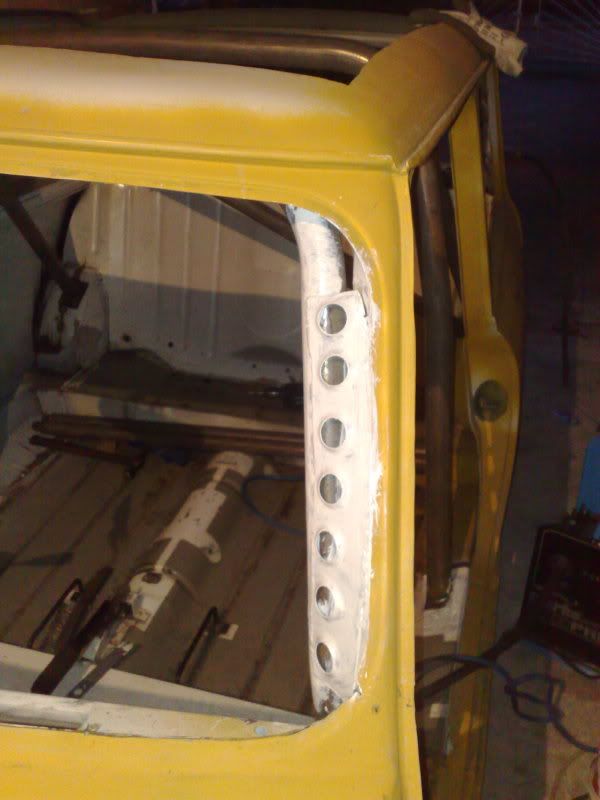
ignore the paintwork, i thought i best put summat on it, but i dont think there was much point really.
welded one stiffner plate in, another hour or two next weekend and jobs a good 'un
ignore the paintwork, i thought i best put summat on it, but i dont think there was much point really.
21-12-2008, 09:42 PM
#93
RWD PUMA :)

Join Date: Sep 2005
Location: UK
Posts: 264
Likes: 0
Received 0 Likes
on
0 Posts
just incase your interested this is the last mini i did and sold it in 2002
http://sdsefi.com/features/june02mini.htm
http://sdsefi.com/features/june02mini.htm
21-12-2008, 09:51 PM
#95
just incase your interested this is the last mini i did and sold it in 2002
http://sdsefi.com/features/june02mini.htm
http://sdsefi.com/features/june02mini.htm

nice one!
28-12-2008, 10:57 PM
#96
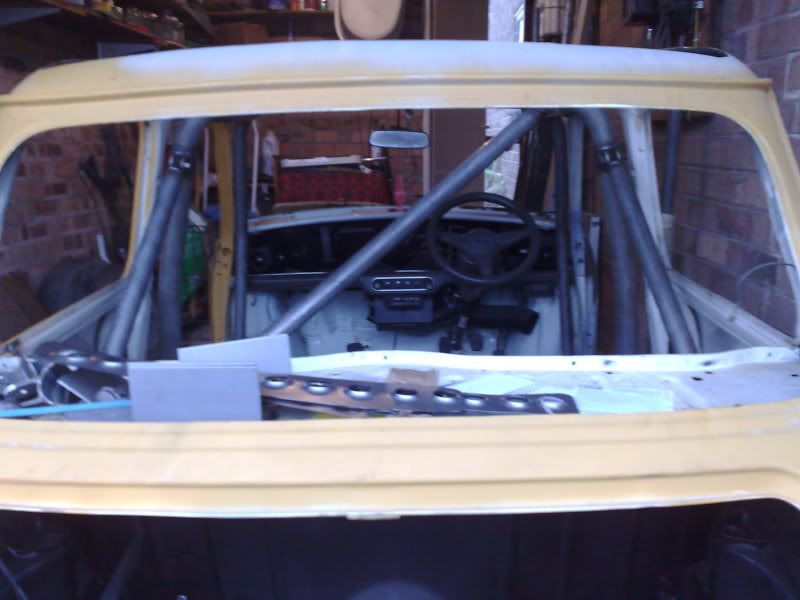
rollcage is done now, just need to order some seats and crack on with some proper mounts
I went doen to demon tweeks yesterday to have a look at a few and decided i wanted cobra classics, with heardrests and harness holes in the sides, but they want nearly �400!!!
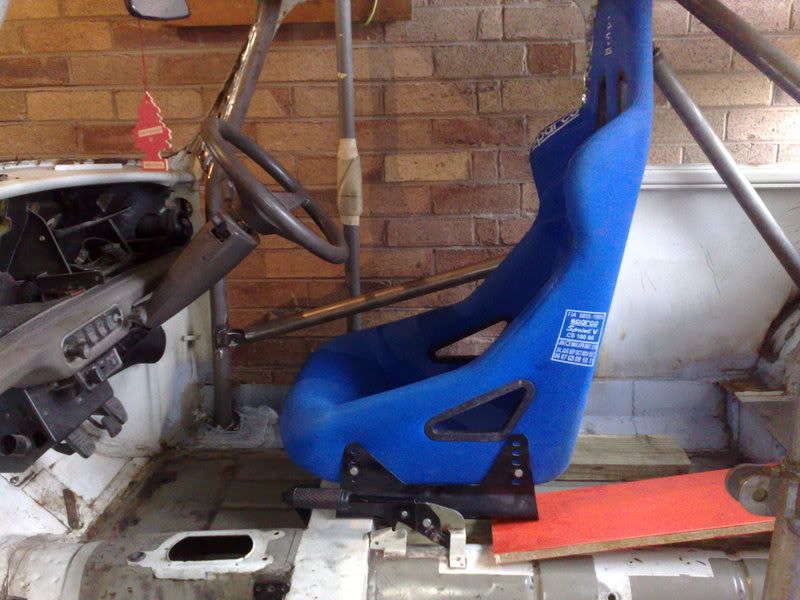
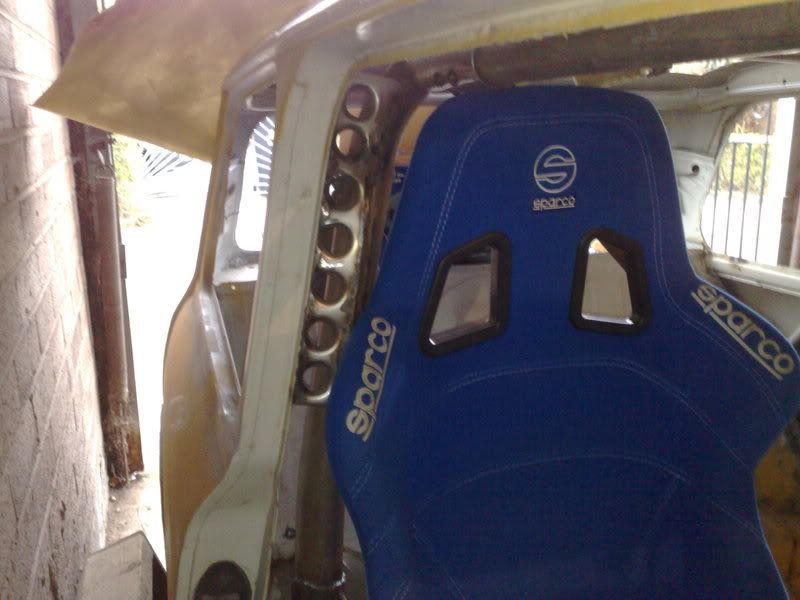
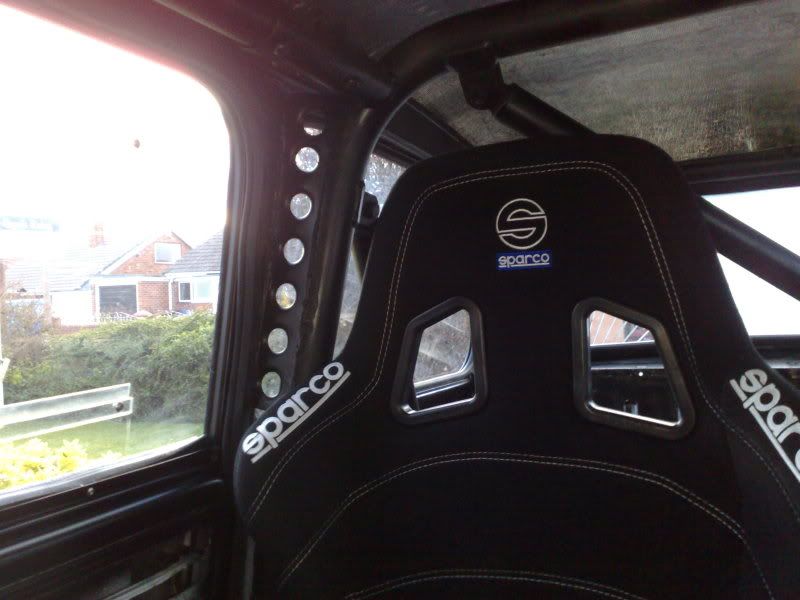
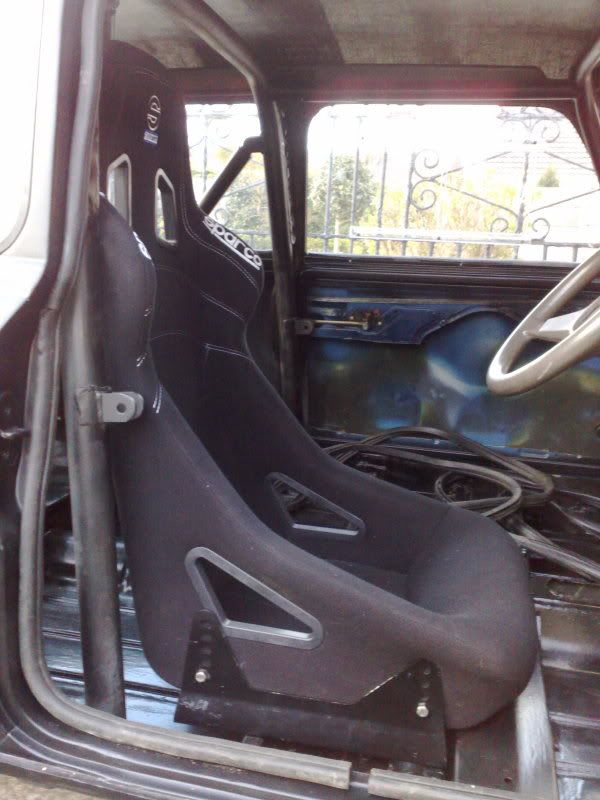
so i think im gonna use some Sparco Sprint 5's, same as in the 205. they arent the best looking seats but are by far the comfiest and most supportive, i can quite easily sit in them all day.
Plus they are side mounted, and i can use Proper 3 inch wide 6 point harnesses with them.
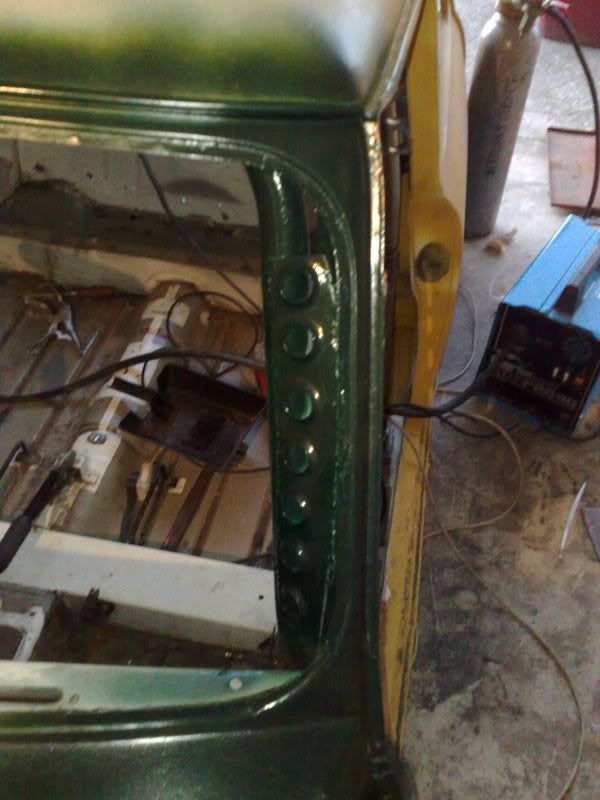
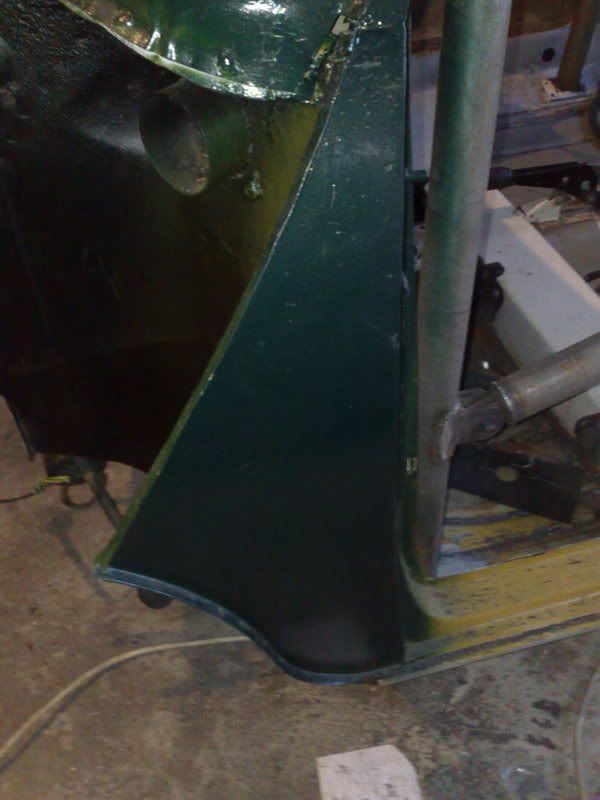
Also got a bit of colour on today, this is pretty much the colour i want, this is renault brooklands green, its actually a metalic colour so i will get something mixed that is a similar flat colour.
the pictures dont o the colour any justice at all, and the paints a bi thin so you can see the filler primer through it.
Pictures:
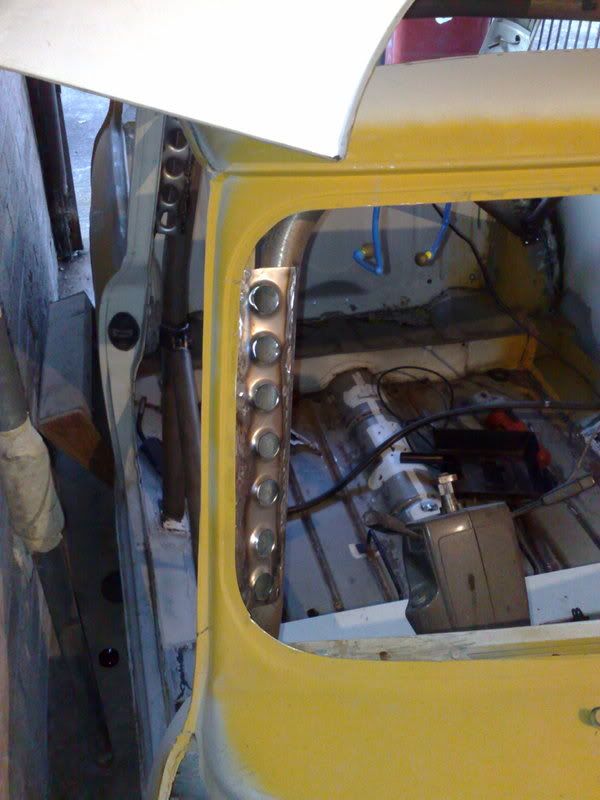

The door bars are quite high, but will probably be taken out for road use.
more midweek hopefully
I went doen to demon tweeks yesterday to have a look at a few and decided i wanted cobra classics, with heardrests and harness holes in the sides, but they want nearly �400!!!
so i think im gonna use some Sparco Sprint 5's, same as in the 205. they arent the best looking seats but are by far the comfiest and most supportive, i can quite easily sit in them all day.
Plus they are side mounted, and i can use Proper 3 inch wide 6 point harnesses with them.
Also got a bit of colour on today, this is pretty much the colour i want, this is renault brooklands green, its actually a metalic colour so i will get something mixed that is a similar flat colour.
the pictures dont o the colour any justice at all, and the paints a bi thin so you can see the filler primer through it.
Pictures:
The door bars are quite high, but will probably be taken out for road use.
more midweek hopefully
03-01-2009, 06:41 PM
#98
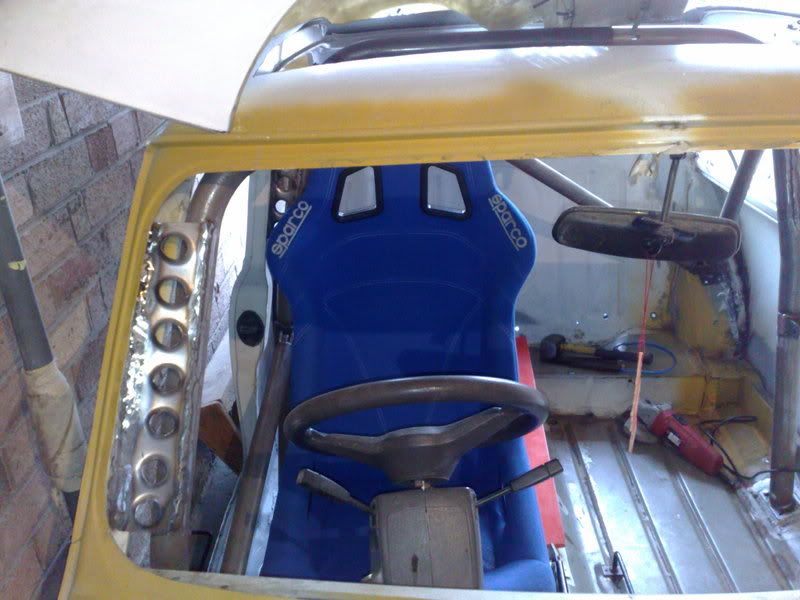
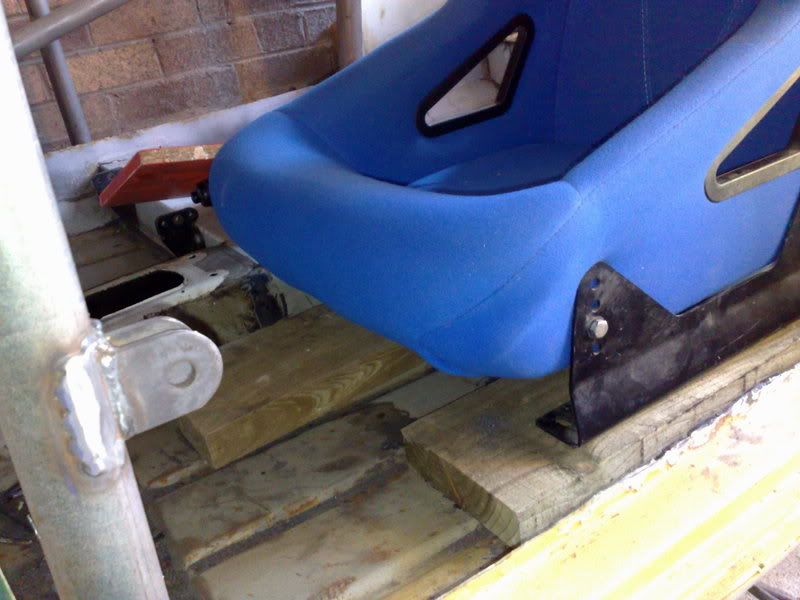
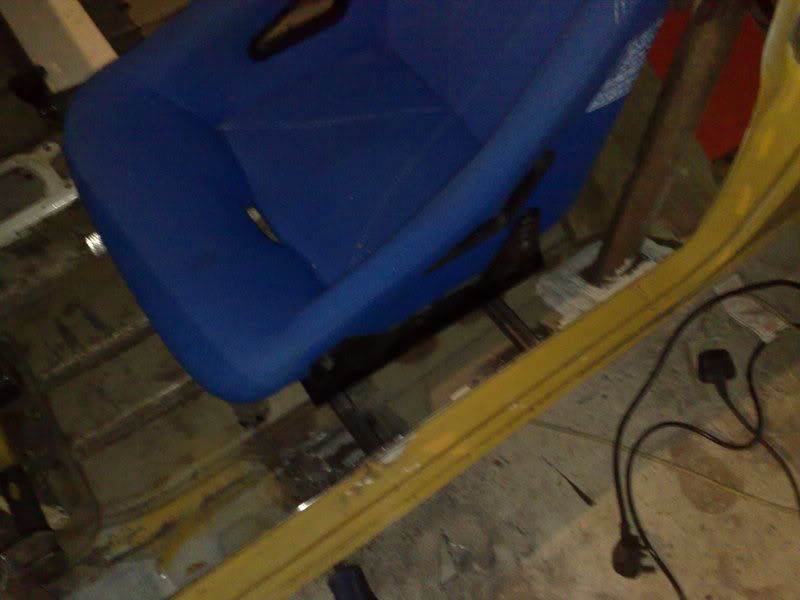
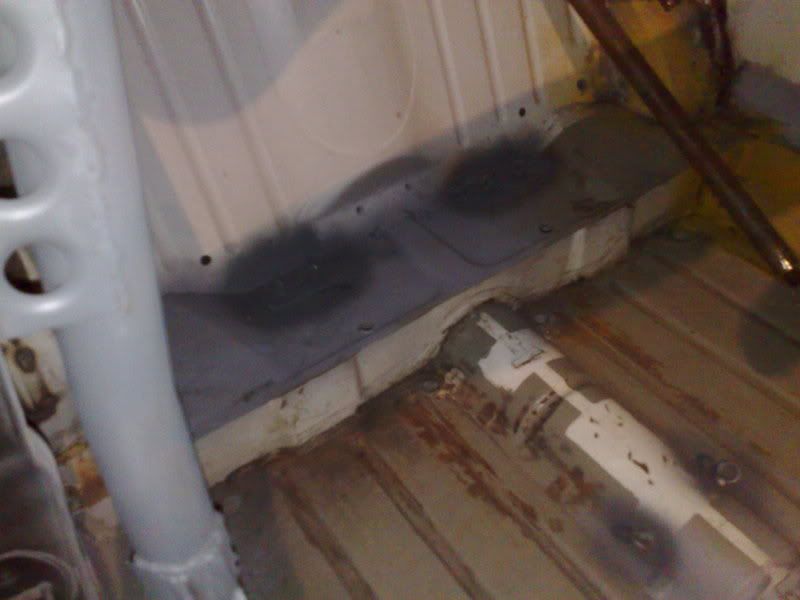
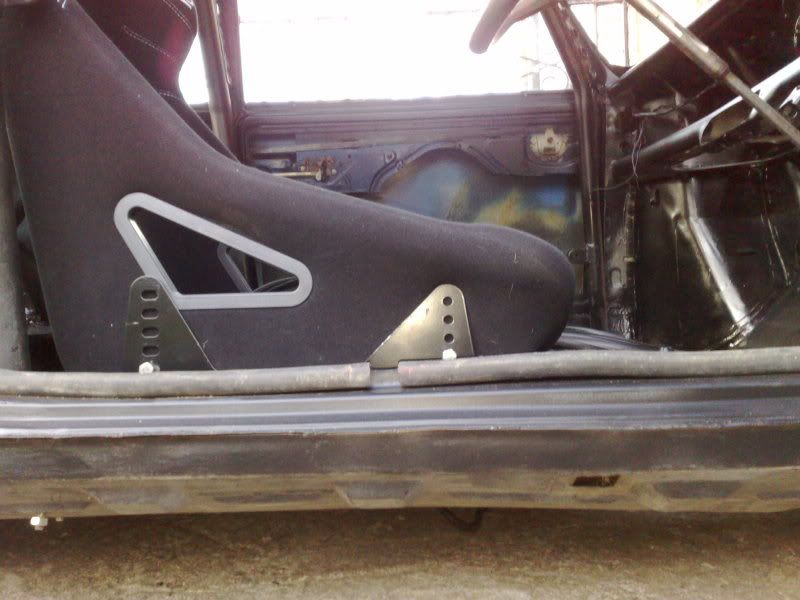
Done a bit more today, i had decided to use sparco sprint 5 seats, same as in the 205, so i whipped one out last night to make up some mounts,
i placed it in on some blocks of wood and instantly came across one problem, the rollcage is in the way! Had a sit in and the distance isnt too bad, but it was far to high, my head was nearly touching what would be the roof, and too close to the cage.
so i sat and drunk 4 cups of tea trying to come up with a solution
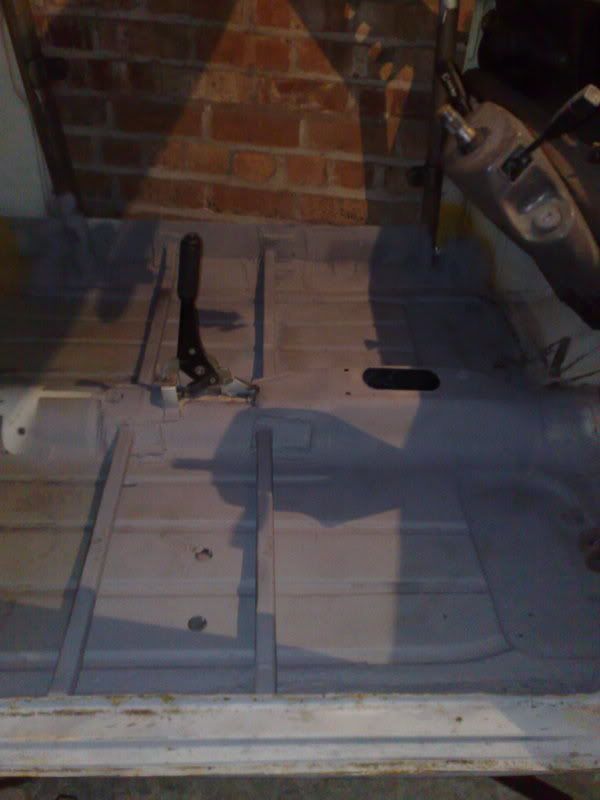
then i went mad with the grinder:
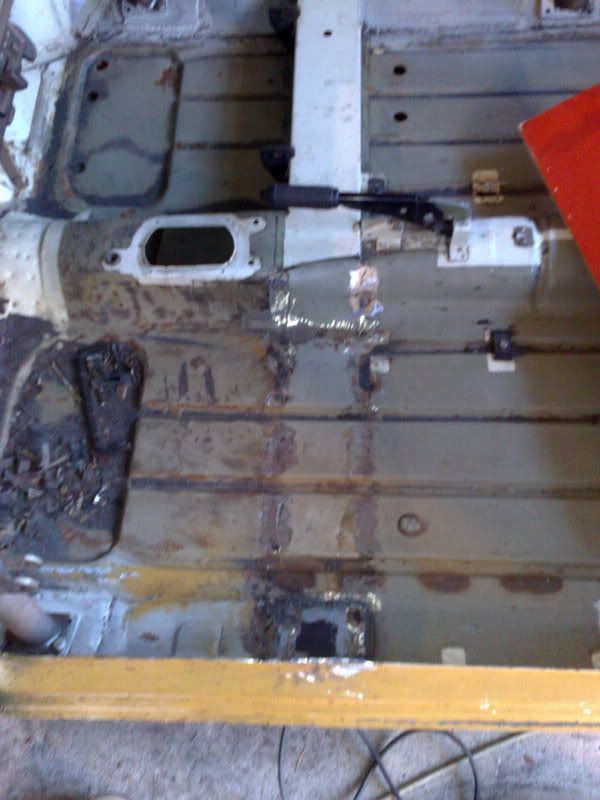
then welded a few 3mm end plates in, and some box section kinked down at the sill end so 99% of it runs parallel to the floor
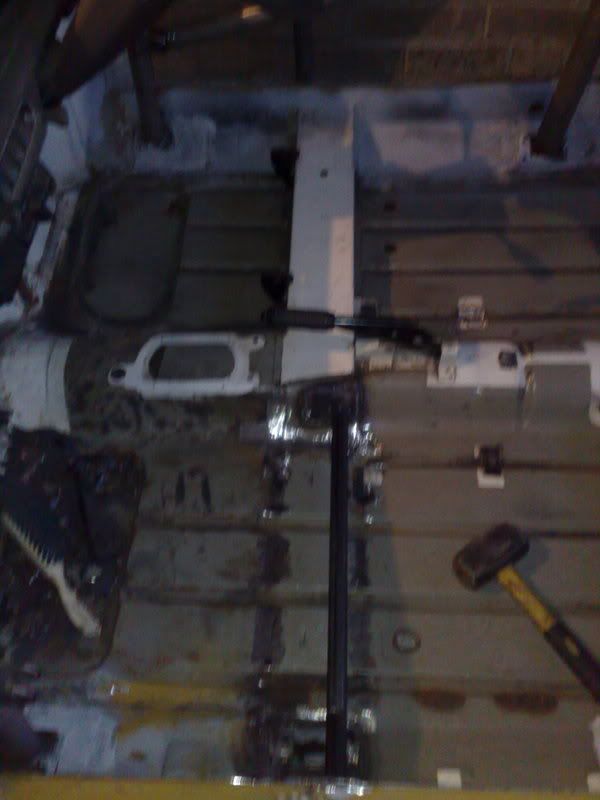
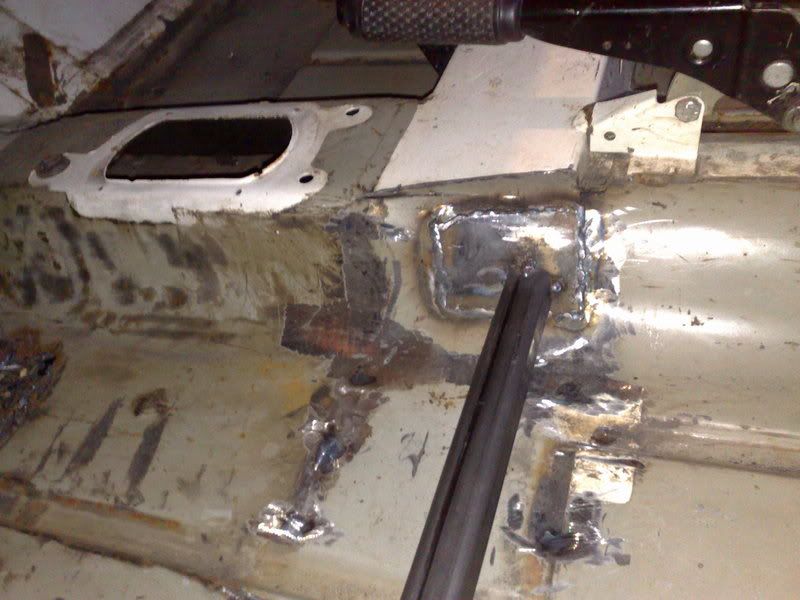
i will add some legs off the bottom of the box section to stiffen the floorpan again, and i will run a few lengths of flat bar across the tunnel brace that.
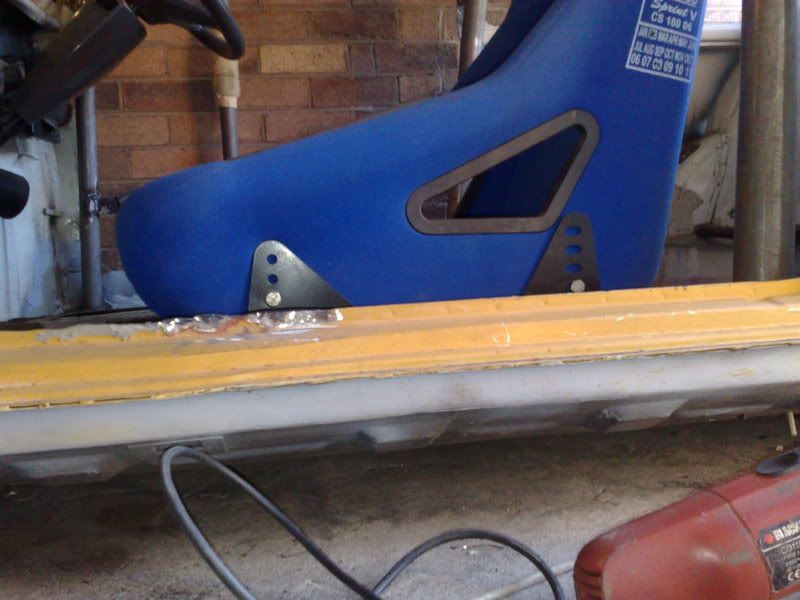
it probably works out a bit heavier than standard mounts, bit its FAR safer, i really dont like standard mini seat mounts, and the seats will sit pretty much on the floor.
Going back tomorrow to finish off, then its paint time!
i placed it in on some blocks of wood and instantly came across one problem, the rollcage is in the way! Had a sit in and the distance isnt too bad, but it was far to high, my head was nearly touching what would be the roof, and too close to the cage.
so i sat and drunk 4 cups of tea trying to come up with a solution
then i went mad with the grinder:
then welded a few 3mm end plates in, and some box section kinked down at the sill end so 99% of it runs parallel to the floor
i will add some legs off the bottom of the box section to stiffen the floorpan again, and i will run a few lengths of flat bar across the tunnel brace that.
it probably works out a bit heavier than standard mounts, bit its FAR safer, i really dont like standard mini seat mounts, and the seats will sit pretty much on the floor.
Going back tomorrow to finish off, then its paint time!
04-01-2009, 07:54 AM
#99
Part of the Furniture
Join Date: May 2004
Location: Wordsley, West Mids
Posts: 178
Likes: 0
Received 0 Likes
on
0 Posts
The seat mounts look great. I was going to ask about whether it was safe to remove the cross-member from the floor when I first saw it but looks like you've sorted that!
Could you add extra bars across the cage from side to side? Or isn't that necessary?
Could you add extra bars across the cage from side to side? Or isn't that necessary?
04-01-2009, 08:12 AM
#100

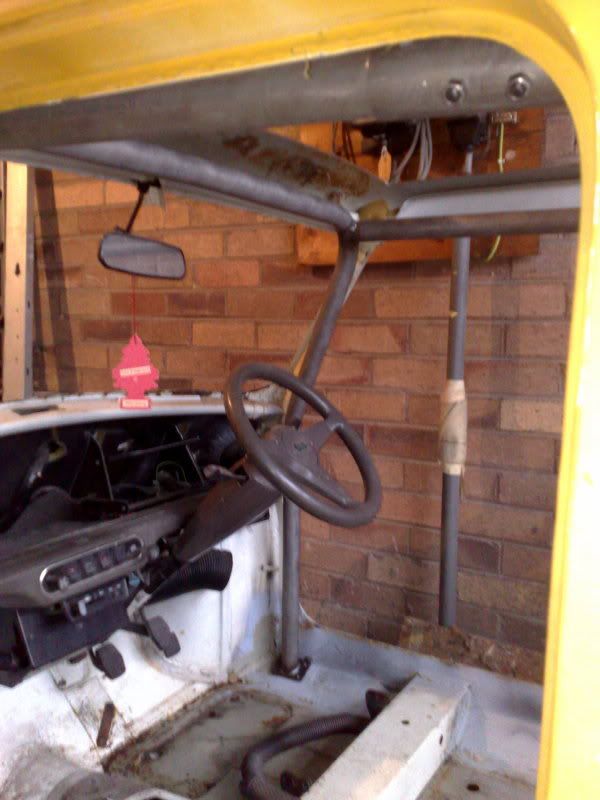
I May be adding some extra bars, but i dont want to go below the stearing column because of bashing your shins, i need to get a centre clock setup fitted to see if i have enough clearence up top.
As for the box section, im now not convinced that it is safe, so i think i might be welding in a new one about 3 inches further forward so the seat will sit just behind it.
11-01-2009, 07:14 PM
#101
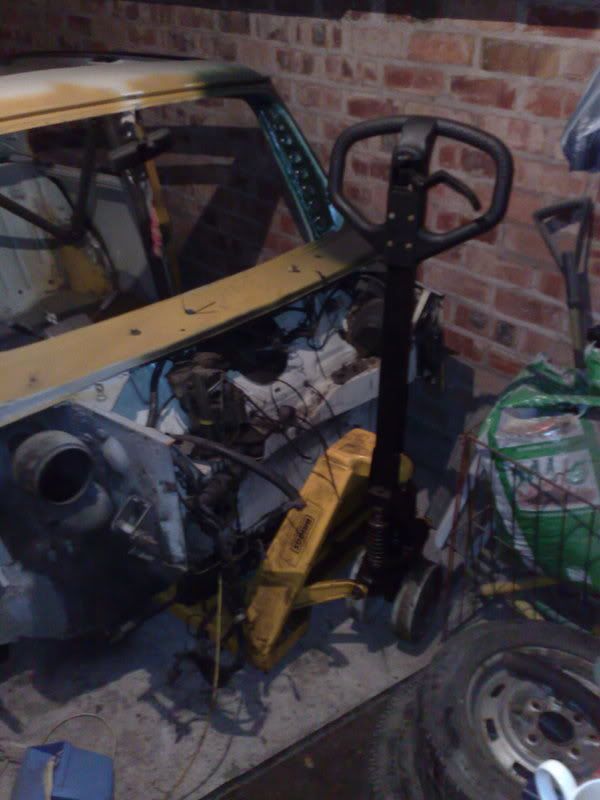
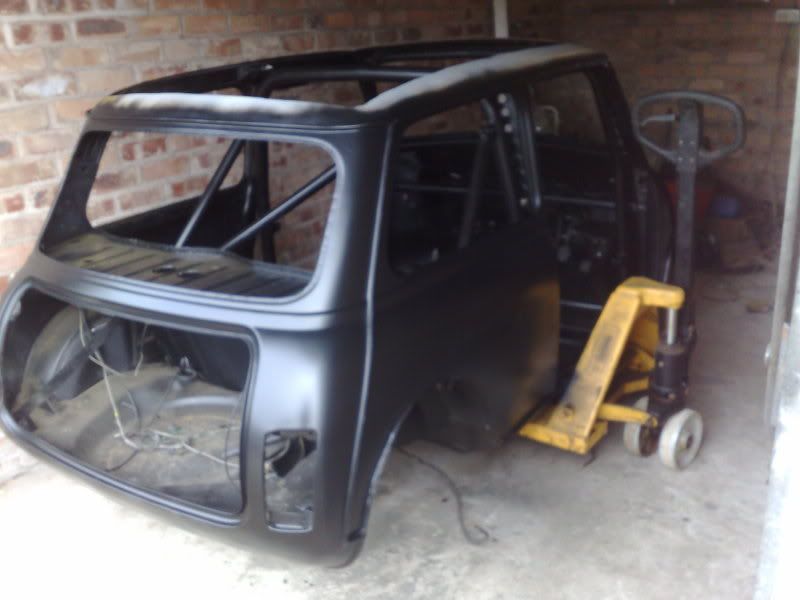
bit more done today, i took my new toy over, rescued from a skip in work, just needed a new wheel, and i knew where there was some hidden away
Its perfect for shifting the shell round the garage.
finished off the drivers seat mount and gave it a damn good clean out inside and a splash of primer
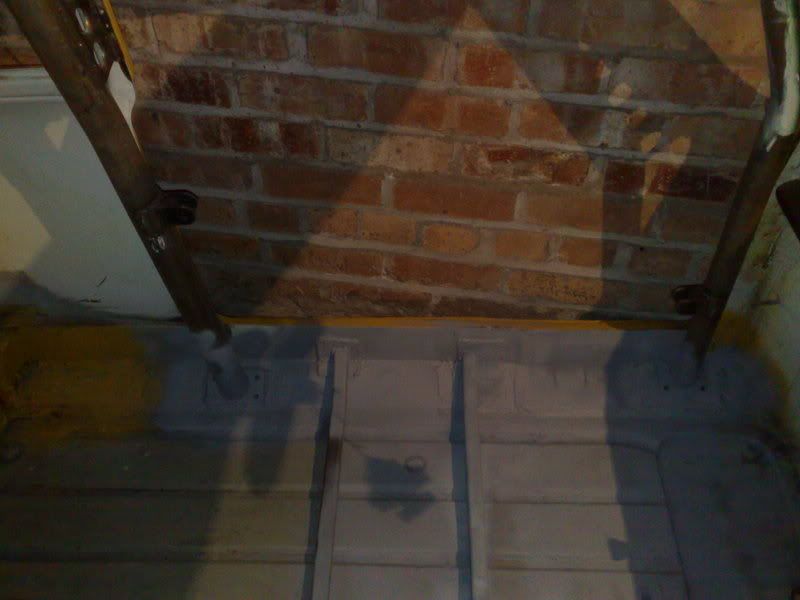
just need to weld in the new crossmember next weekend, should only be an inch n a half further forward so i shouldnt need another in the back.
Ive ordered a few bits aswell, new seats, same as the ones above but in black with white stitching and writing, side mounts which will need to be modified slightly to fit around the box section when it goes back in,
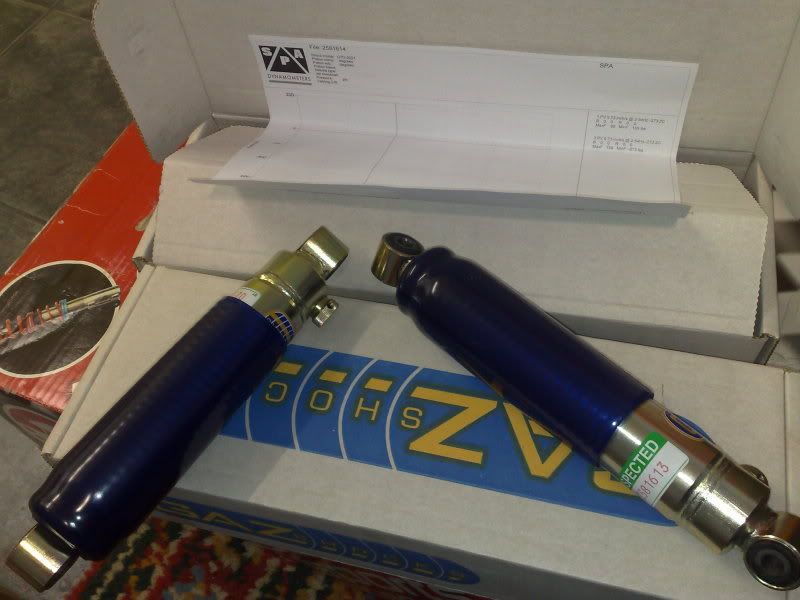
New heavy duty adjustable rose jointed bottom arms, Gaz 36pt adjustable shocks, no idea wether they are supposed to be any good on minis but i have always been impressed with the quality on other cars, each shock is tested before it leaves the factory and they supply the graphs to show their individual performance which i thought was pretty impressive.
Gonna order a set of minitastic springs hopefully tomorrow, their website has disappeared but i think i have a phone number.
i think im gonna go with a set of full race springs, its not exactly turning into a road car!
More soon!
Its perfect for shifting the shell round the garage.
finished off the drivers seat mount and gave it a damn good clean out inside and a splash of primer
just need to weld in the new crossmember next weekend, should only be an inch n a half further forward so i shouldnt need another in the back.
Ive ordered a few bits aswell, new seats, same as the ones above but in black with white stitching and writing, side mounts which will need to be modified slightly to fit around the box section when it goes back in,
New heavy duty adjustable rose jointed bottom arms, Gaz 36pt adjustable shocks, no idea wether they are supposed to be any good on minis but i have always been impressed with the quality on other cars, each shock is tested before it leaves the factory and they supply the graphs to show their individual performance which i thought was pretty impressive.
Gonna order a set of minitastic springs hopefully tomorrow, their website has disappeared but i think i have a phone number.
i think im gonna go with a set of full race springs, its not exactly turning into a road car!
More soon!
 11-03-2009, 09:38 PM
#105
been a bit crap at keeping this updated! kinda got fed up with it tbh, bought a new van and spent the week i had booked off work for painting messing about with that.
anywho, the car is currently in my nans garage, and her house is now up for sale so the its got to be moved pretty soon!
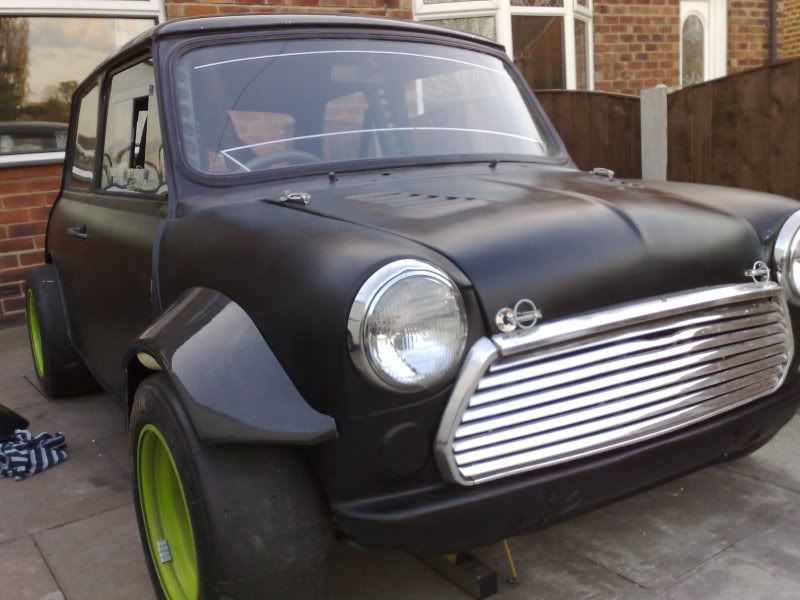
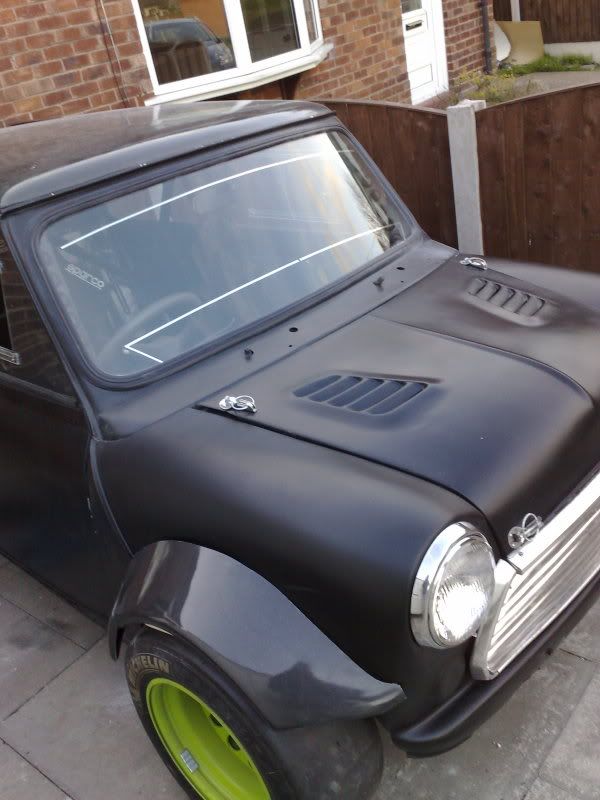
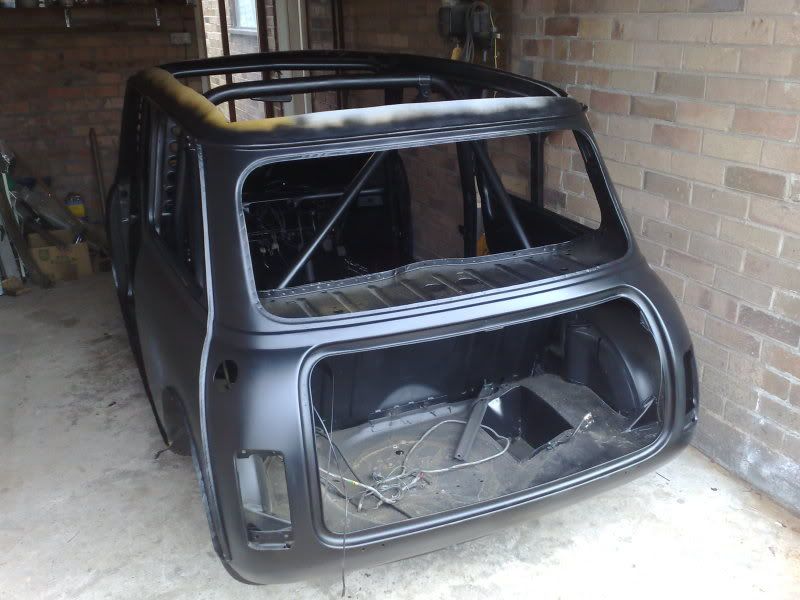
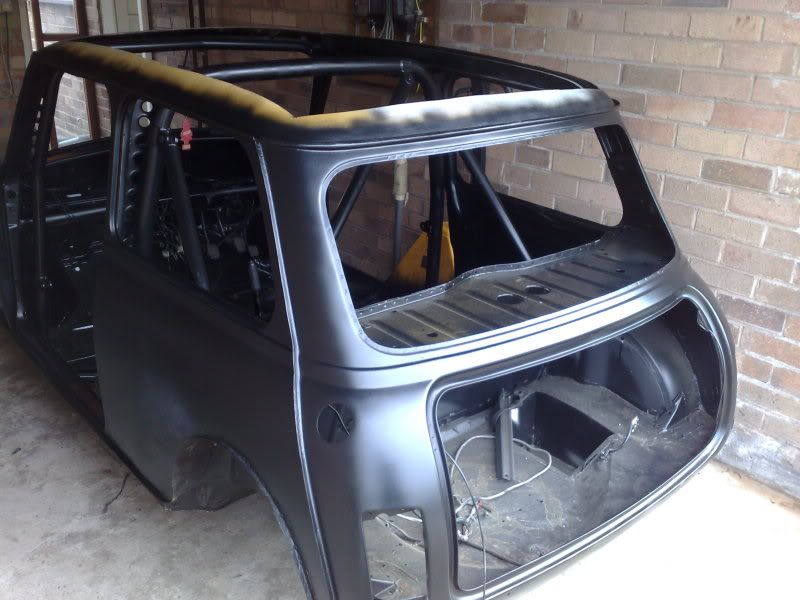
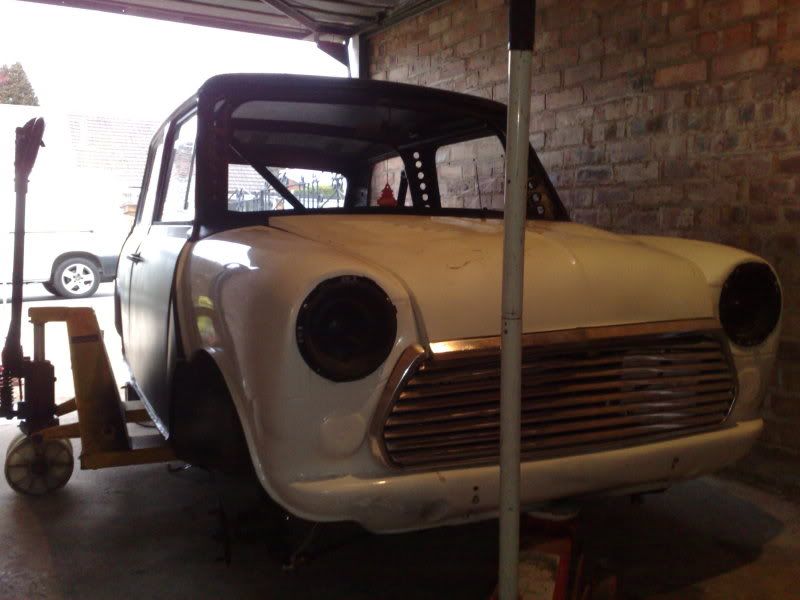
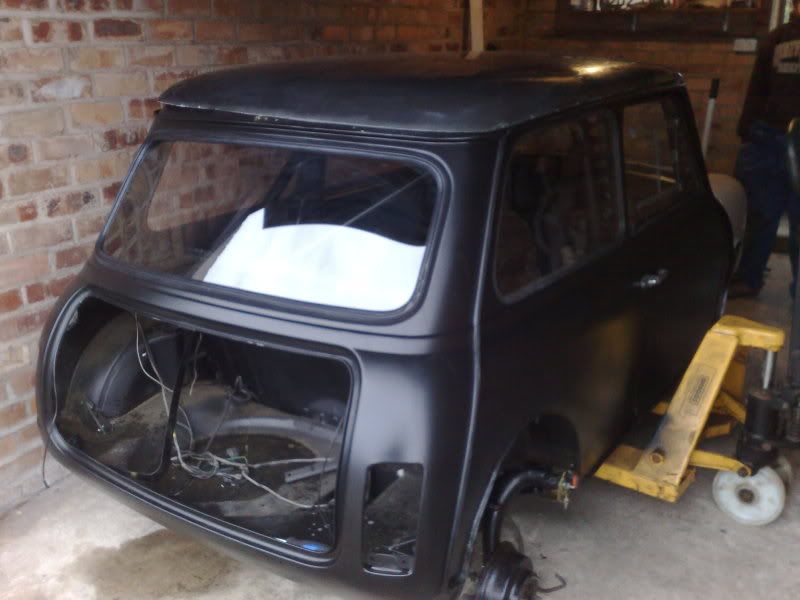
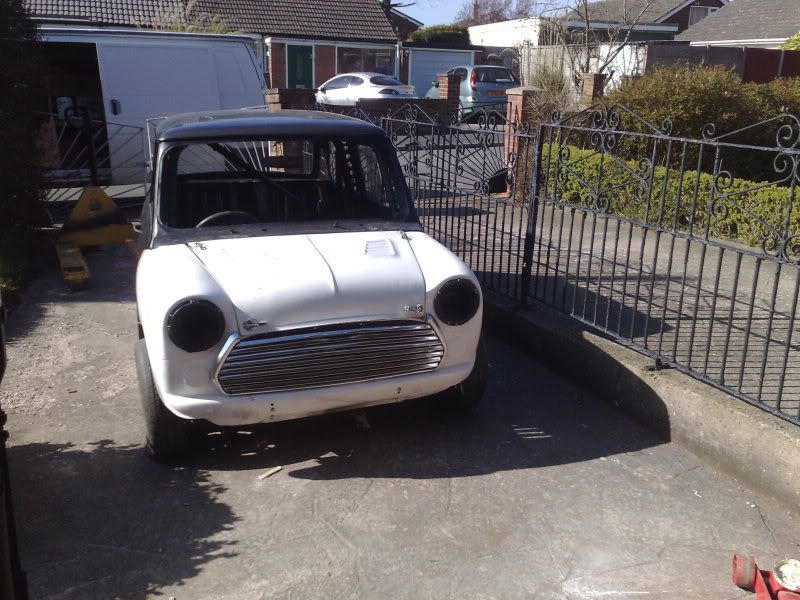
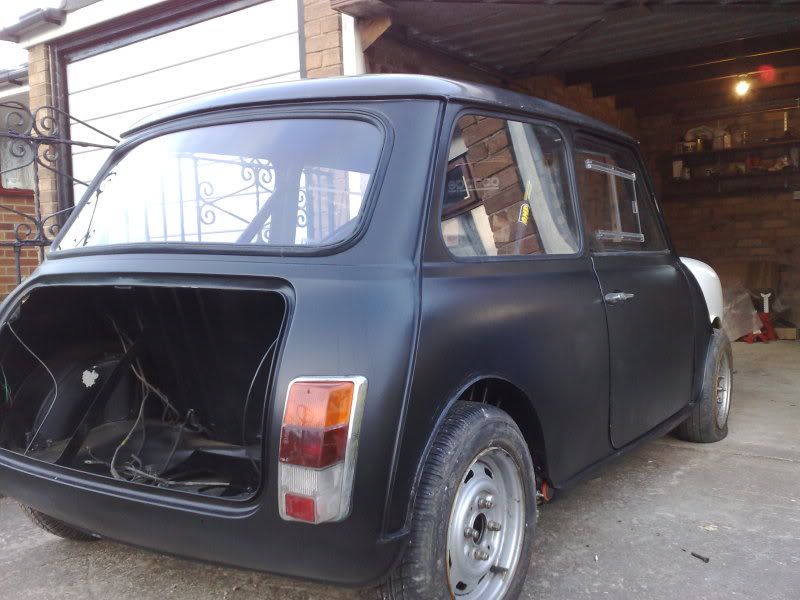
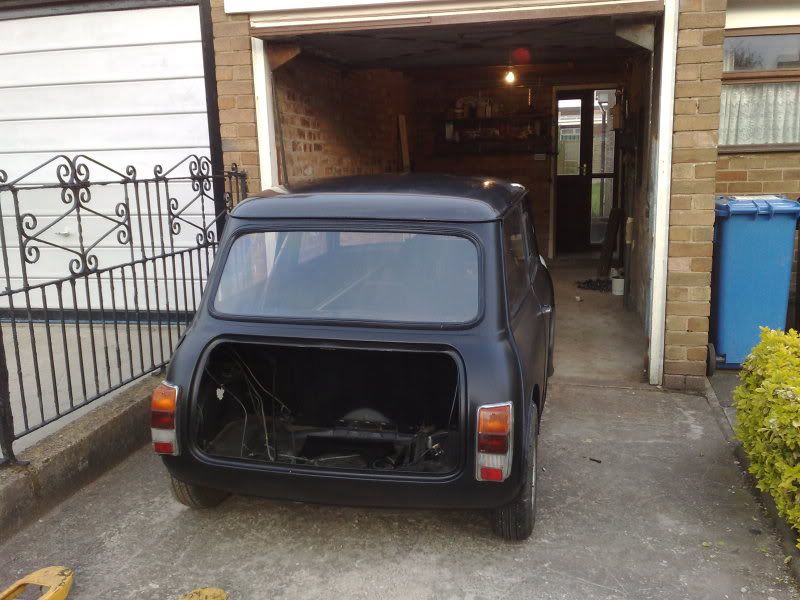
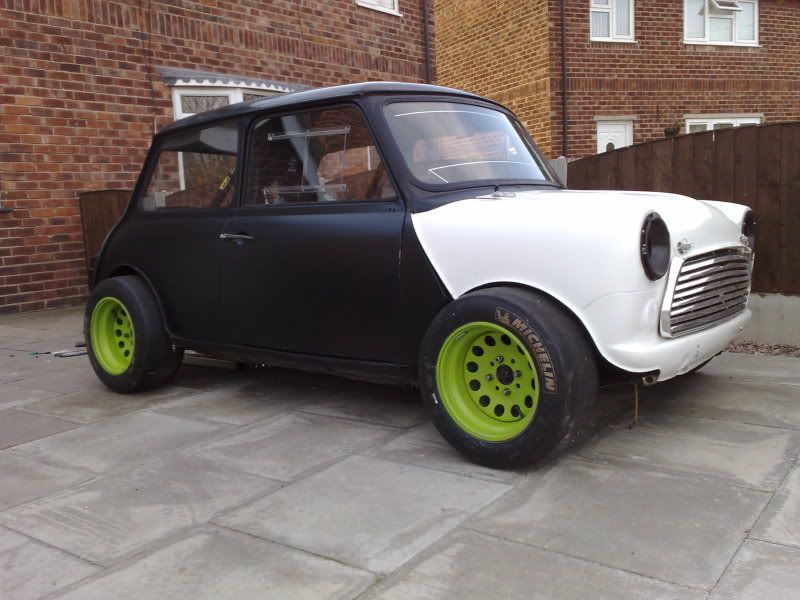
so ive been doing a bit more, decided on a colour, ive always liked matt black cars, but never gone for it coz it seems to be a bugger to keep clean, so i tried some funny satin black stuff that gives a nice smooth finish but a matt colour.
and i love it!
also finished the seat mounts completely, welded in the plates for the harness eyebolts.
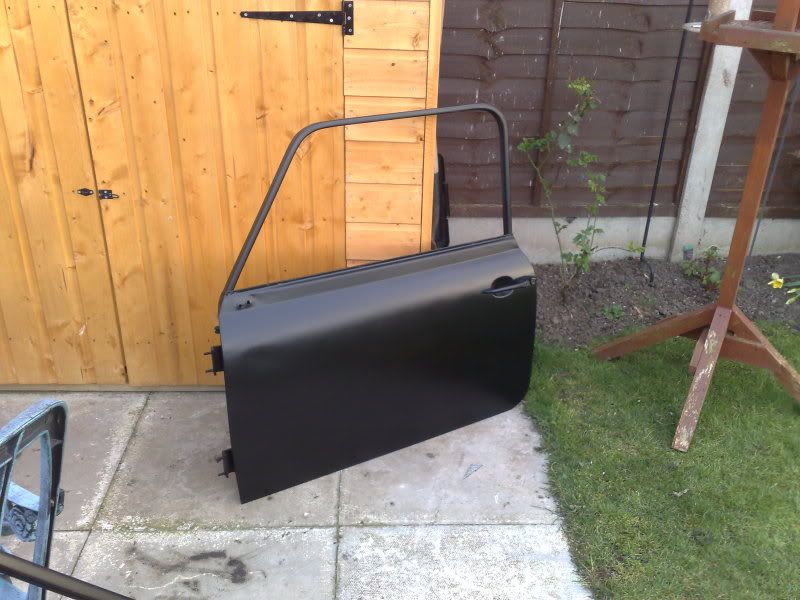
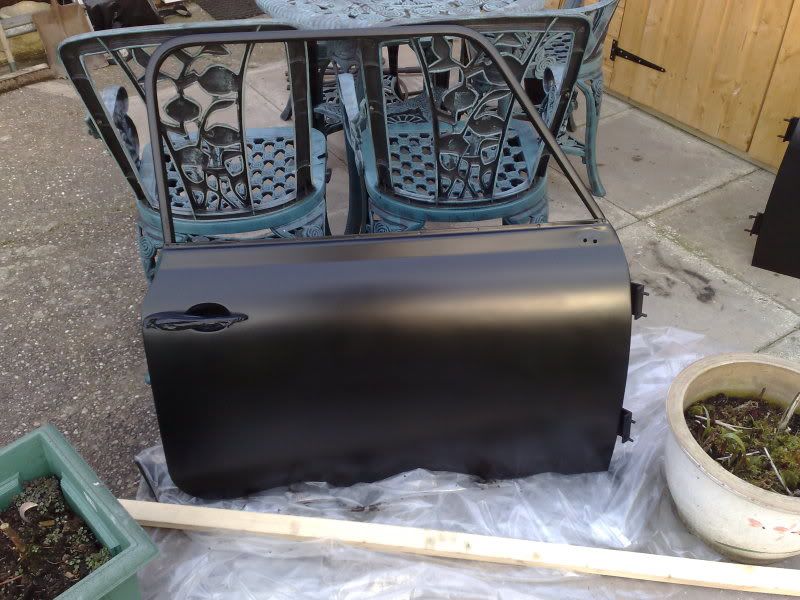
also been prepping my doors etc. and painting a few bits
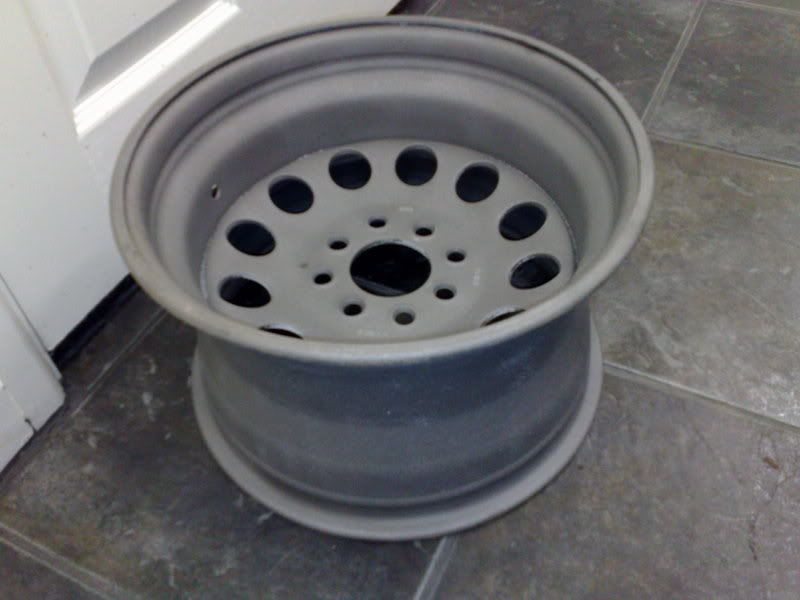
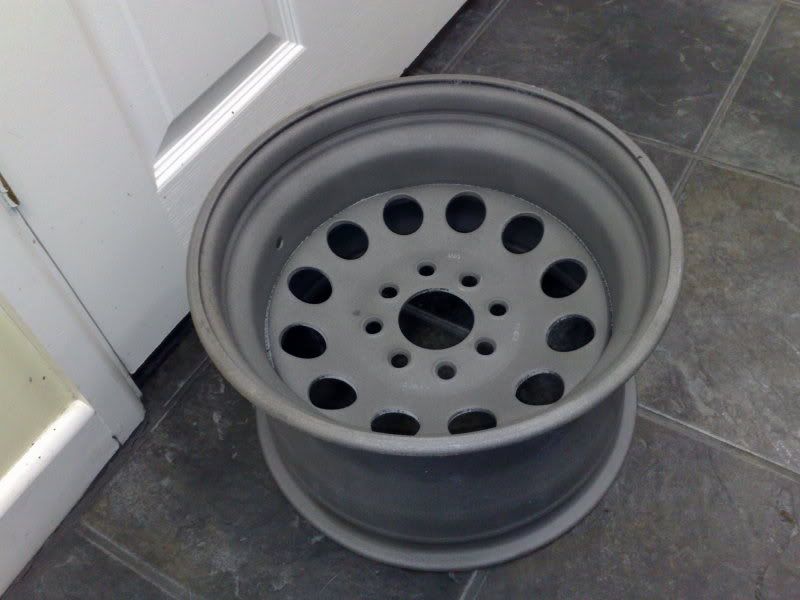
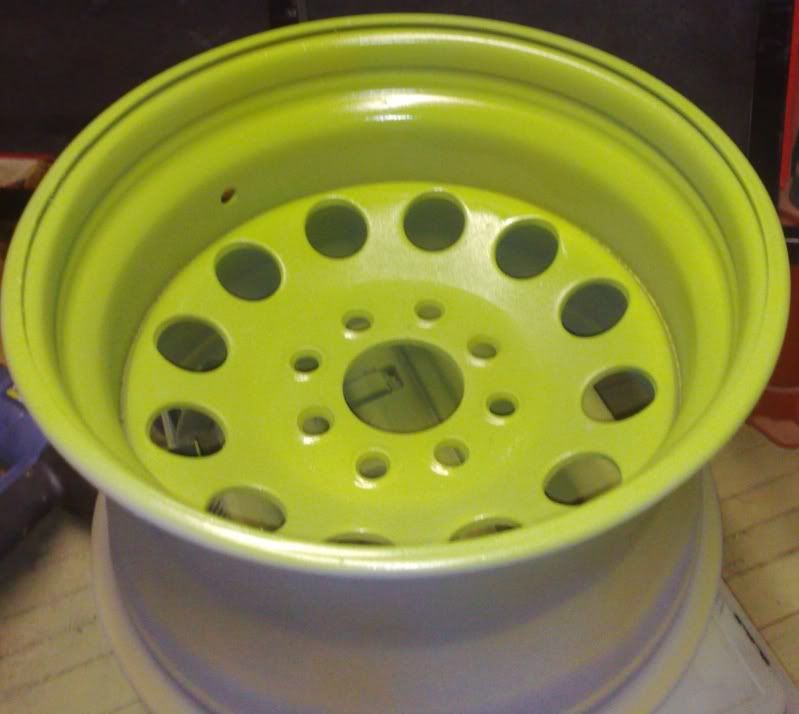
including the wheels
how awesome are these?! should look great next to the satin black and carbon fibre
(carbon will be wet flatted to give it a matt finish to match the paint)
also been buying some bits
Gaz 36 pt adjustable shocks
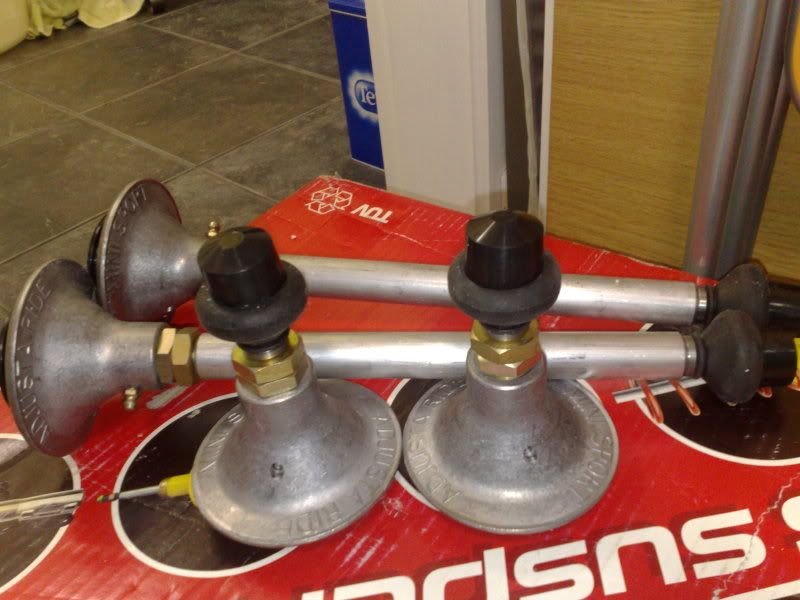
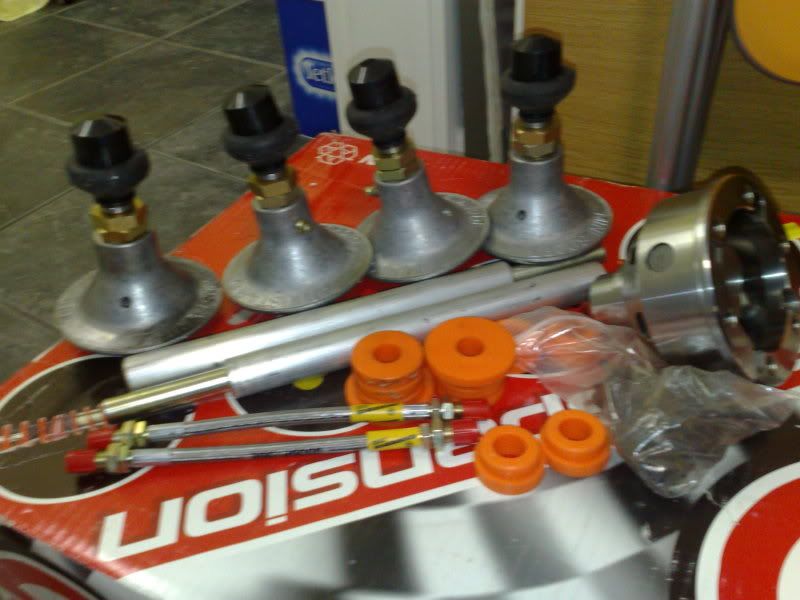
High'los (ride height adjusters)
4 pinion diff, rear brakelines, rear subby polybush kit
minitastic full race springs (stoopidly hard)

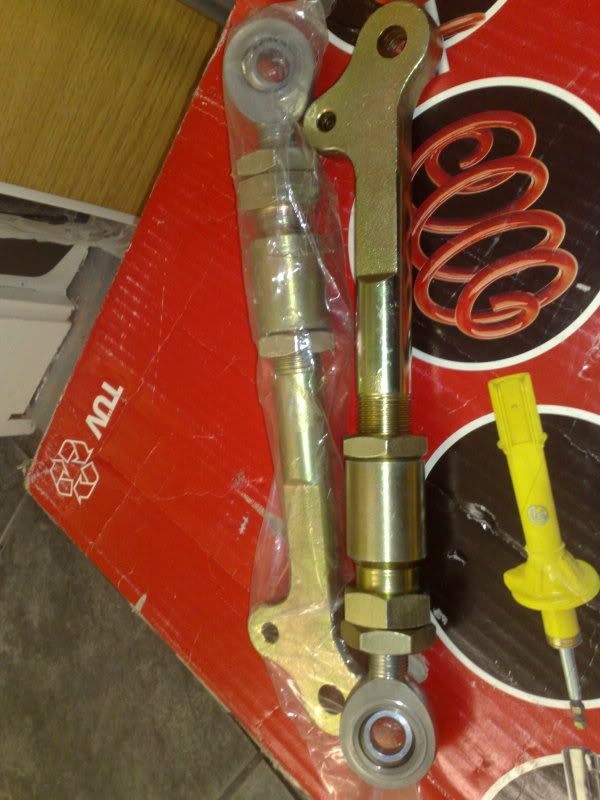
fully adjustable, heavy duty, rose jointed bottom arms
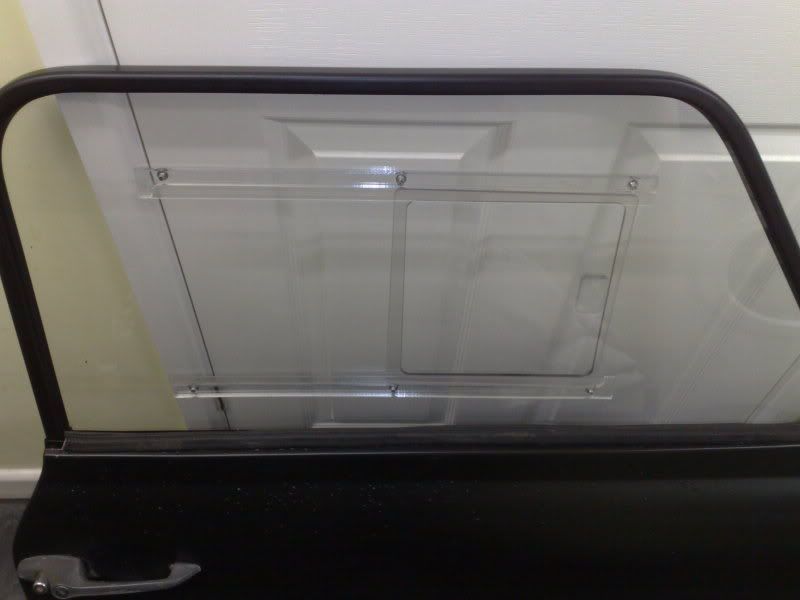
and ive ordered polycarb rear, door and side windows windows with sliders in both doors, and a heated front screen, picking these up on friday
anywho, the car is currently in my nans garage, and her house is now up for sale so the its got to be moved pretty soon!
so ive been doing a bit more, decided on a colour, ive always liked matt black cars, but never gone for it coz it seems to be a bugger to keep clean, so i tried some funny satin black stuff that gives a nice smooth finish but a matt colour.
and i love it!
also finished the seat mounts completely, welded in the plates for the harness eyebolts.
also been prepping my doors etc. and painting a few bits
including the wheels
how awesome are these?! should look great next to the satin black and carbon fibre
(carbon will be wet flatted to give it a matt finish to match the paint)
also been buying some bits
Gaz 36 pt adjustable shocks
High'los (ride height adjusters)
4 pinion diff, rear brakelines, rear subby polybush kit
minitastic full race springs (stoopidly hard
)fully adjustable, heavy duty, rose jointed bottom arms
and ive ordered polycarb rear, door and side windows windows with sliders in both doors, and a heated front screen, picking these up on friday
Last edited by fraser9764; 11-03-2009 at 10:09 PM.
 22-03-2009, 06:25 PM
#109
i never want to see a tin of paint ever again
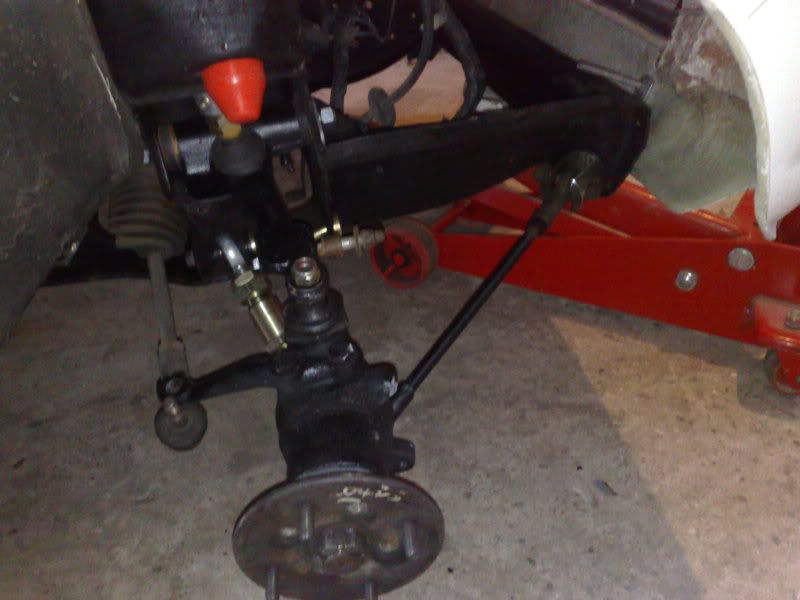
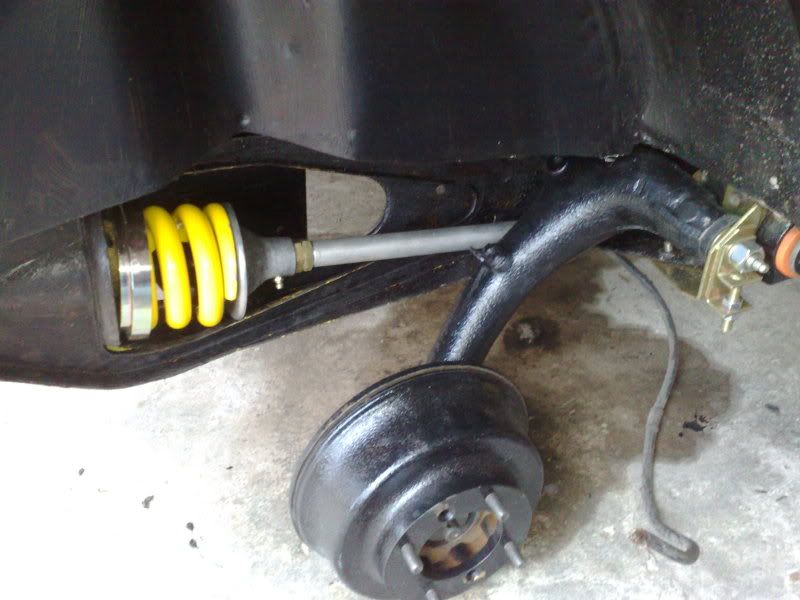
subframes are also painted, and all the suspension bits im re-using done in gloss black
ive ordered the last (hopefully!) of the bits n bobs i need to get it rolling again so when they turn up its full steam ahead,
windows have already arrived,just waiting on seals. well impressed with how light they are
should be some good updates this next week or so
also picked up a few michelin slicks
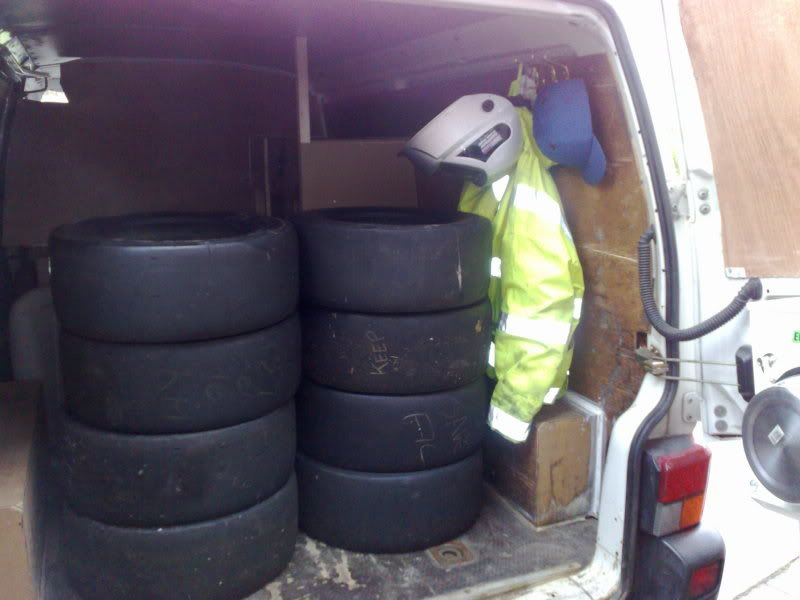
not bad for a tenner each
6 of them are only just scrubbed and the other 2 are in damn good nick
subframes are also painted, and all the suspension bits im re-using done in gloss black
ive ordered the last (hopefully!) of the bits n bobs i need to get it rolling again so when they turn up its full steam ahead,
windows have already arrived,just waiting on seals. well impressed with how light they are
should be some good updates this next week or so
also picked up a few michelin slicks
not bad for a tenner each
6 of them are only just scrubbed and the other 2 are in damn good nick


 28-03-2009, 08:39 PM
#115
looks good luke, love the colour!
todays updates!
fitted my polycarb windows to the doors during the week
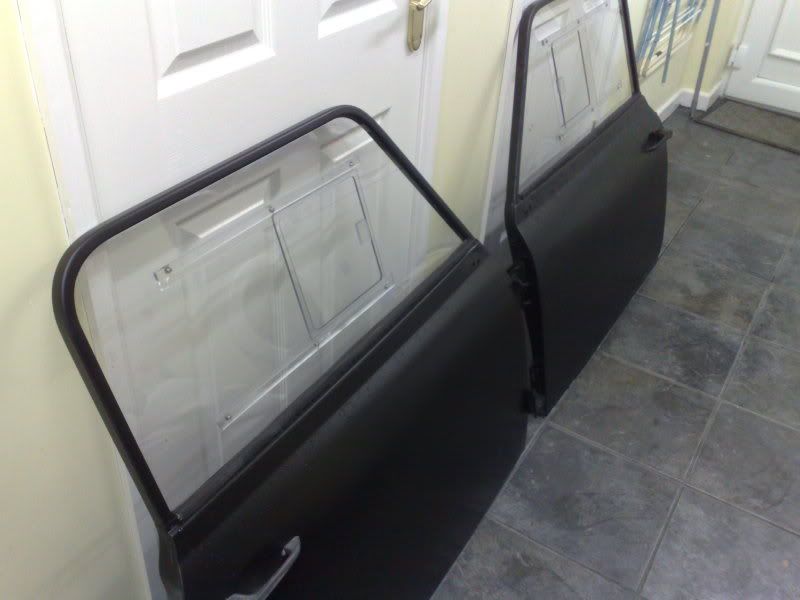
and today ive fitted both fully built subframes (minus the one brand new knuckle joint from the rear trumpet which ive somehow lost, a new one arrived today though)
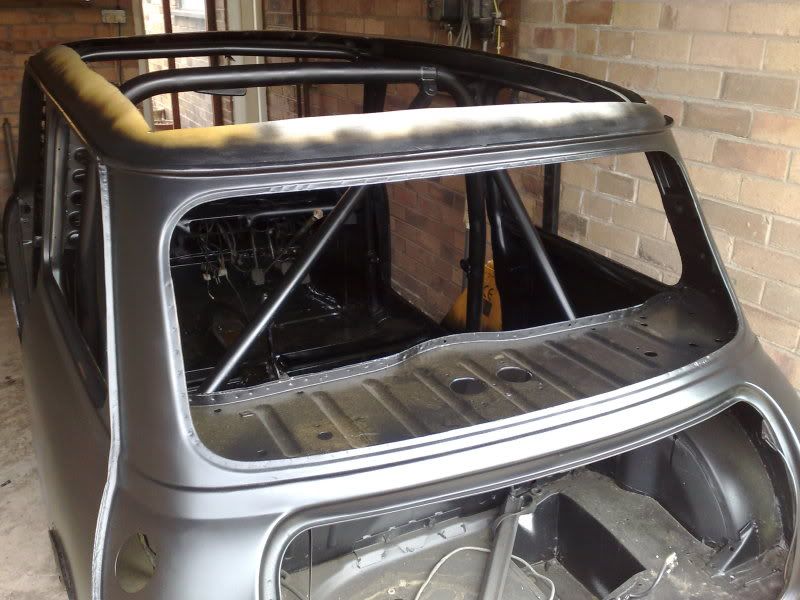
also rear quater windows and rear window, both doors, front end, placed the bonnet on and placed the roof on, although this needs some more trimming so it can drop into the gutter.


should have some wheels on tomorrow and be rolling again
will be back off over there as soon as the F1 finishes, come on Jenson!
todays updates!
fitted my polycarb windows to the doors during the week
and today ive fitted both fully built subframes (minus the one brand new knuckle joint from the rear trumpet which ive somehow lost, a new one arrived today though)
also rear quater windows and rear window, both doors, front end, placed the bonnet on and placed the roof on, although this needs some more trimming so it can drop into the gutter.
should have some wheels on tomorrow and be rolling again
will be back off over there as soon as the F1 finishes, come on Jenson!
Last edited by fraser9764; 28-03-2009 at 08:40 PM.
29-03-2009, 06:03 PM
#116

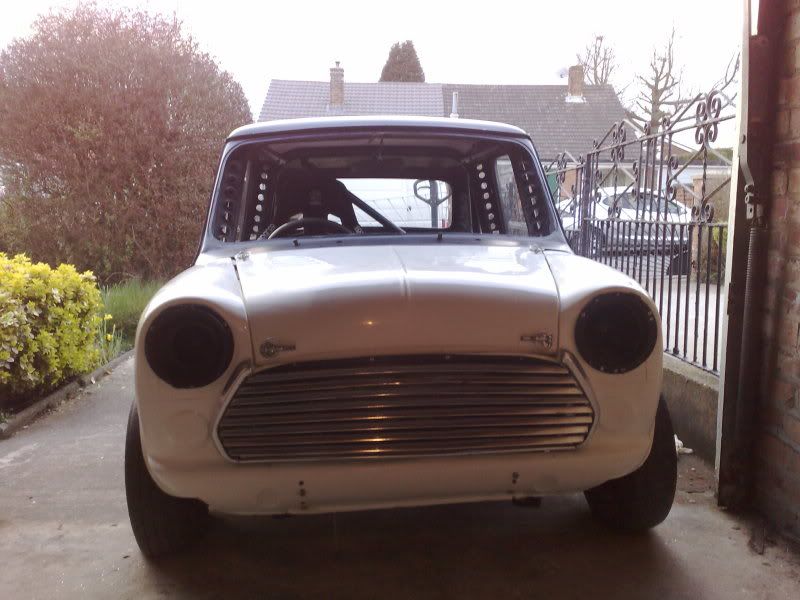
first time out of the garage in months! got the front end nearly done, just need to fit the dzeus fastners to the a panel join, got called in to work so i had to cust the day short
wheels are all pointing in strange directions and the suspension is on its highest coz the suspension is just stuck together, desperatly needs a rough set up at least
the springs are amazingly soft, no shocks fitted yet but i expected them to be a lot harder.
05-04-2009, 10:01 PM
#117
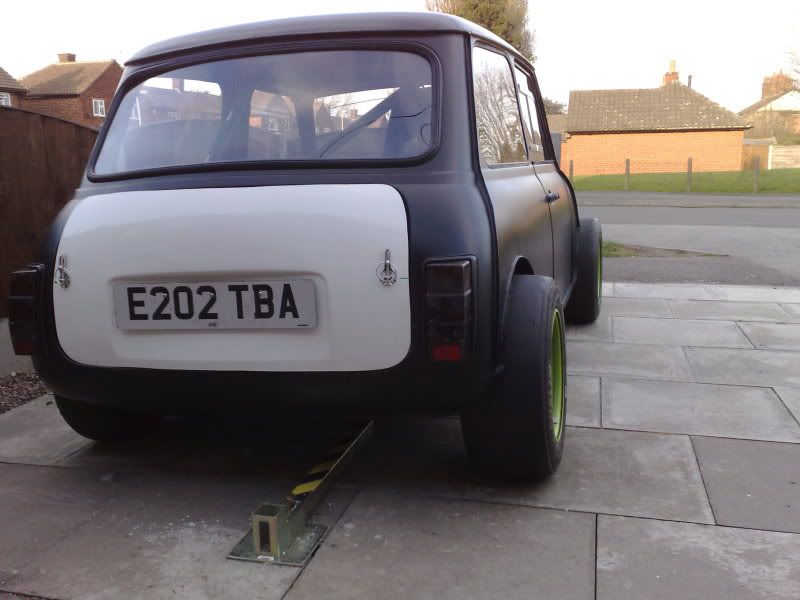
bit more today, bonded the roof on and fitted a drivers seat, nice and low away from the cage unlike a lot of minis

also popped the rear lights back on just for something to do, they look huge for some reason!
maybe have the heated screen next weekend
also popped the rear lights back on just for something to do, they look huge for some reason!
maybe have the heated screen next weekend
 12-04-2009, 08:17 PM
#119
well its back home, so no more 2 hour round trips to work on it
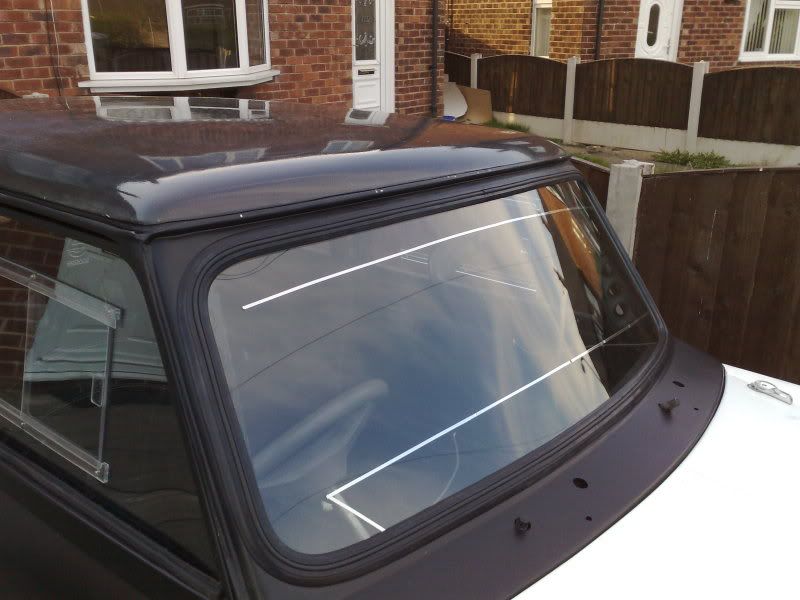
picked up the windscreen on thursday, aparently the monte style ones work best, and im not too fussed about looks, and it was cheaper
stuck a couple of wheels on, fitted the bootlid, tried tinting the rear lights (not sure yet) and the last bit of fettling the front end fitment
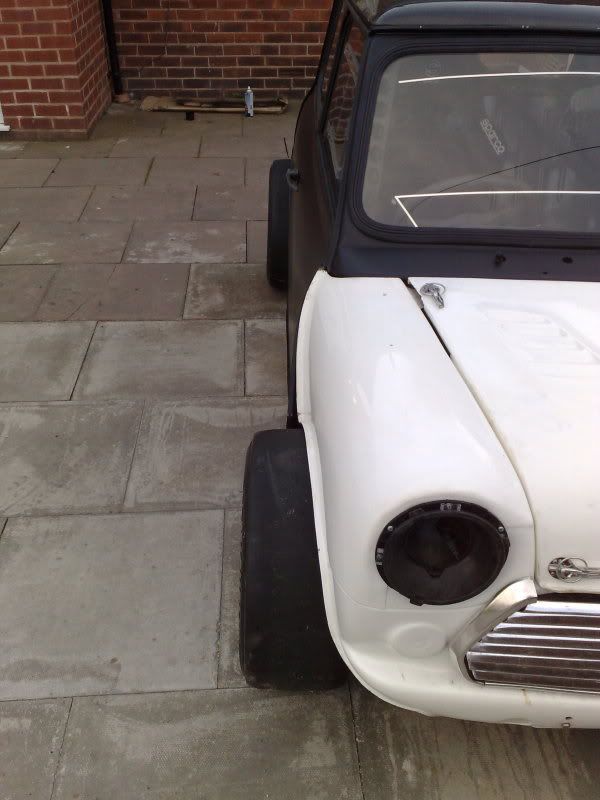
just hope the miglia arches will cover them, and i think ill have to re think my final drive choice now as theyre a bit bigger than normal.
although im now seriously considering selling the a series and going vauxhall...
picked up the windscreen on thursday, aparently the monte style ones work best, and im not too fussed about looks, and it was cheaper
stuck a couple of wheels on, fitted the bootlid, tried tinting the rear lights (not sure yet) and the last bit of fettling the front end fitment
just hope the miglia arches will cover them, and i think ill have to re think my final drive choice now as theyre a bit bigger than normal.
although im now seriously considering selling the a series and going vauxhall...