FIESTA MK3 TRACK CAR
 07-01-2007, 08:08 PM
#41
Advanced PassionFord User
Thread Starter
Join Date: Jan 2006
Location: preston
Posts: 1,639
Likes: 0
Received 0 Likes
on
0 Posts
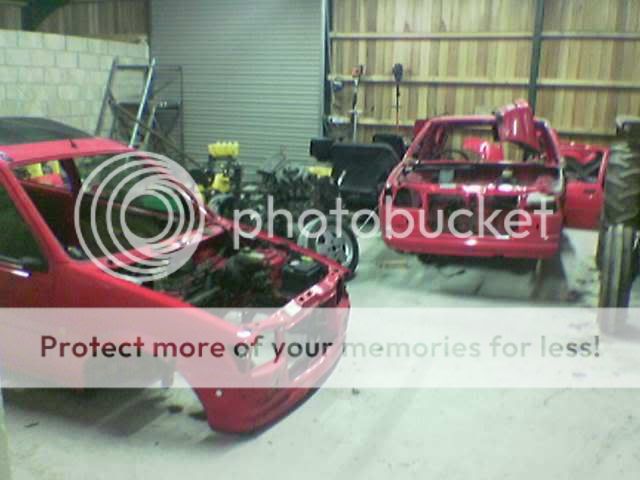
one engine removed via tracktor power all good workshops sud ave 1 lol
[img]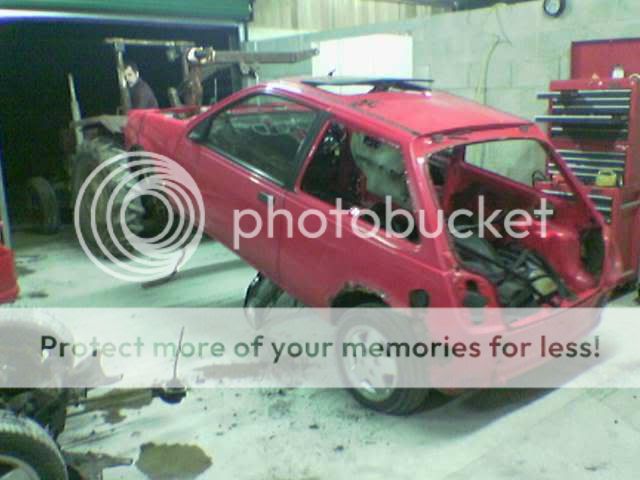
[/img]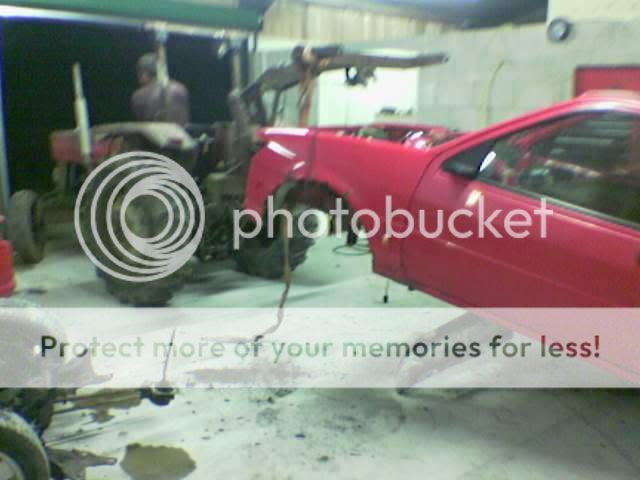
car back on the deck and the engine next to the track car seems a bloody long way off till it will be in there
[img]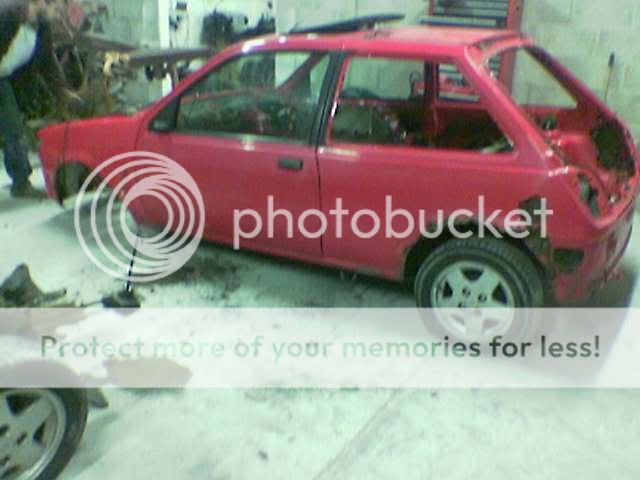
[/img]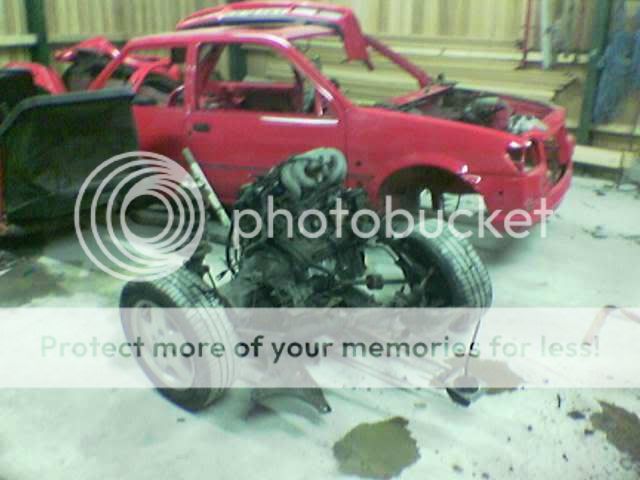
[img]
[/img]
car back on the deck and the engine next to the track car seems a bloody long way off till it will be in there
[img]
[/img]

 07-01-2007, 08:50 PM
#43
Advanced PassionFord User
Thread Starter
Join Date: Jan 2006
Location: preston
Posts: 1,639
Likes: 0
Received 0 Likes
on
0 Posts
back down there first thing today main job today take the tank and fuel lines out for my mate and remove all the rear runnin gear which was fun as the back of the car was well rotten includin all the mountin bolts 
[img]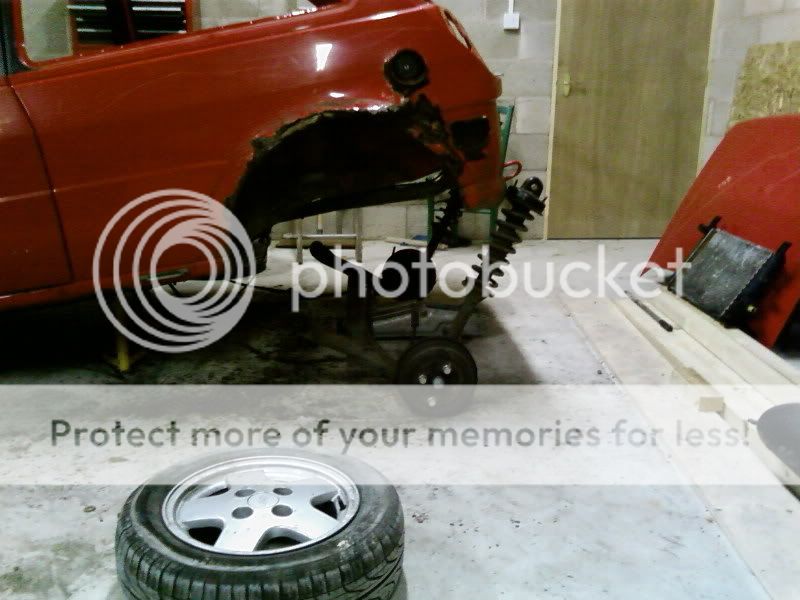
this was alot of fun as the only place to support it was the floor and the wooden beem between the stands was pushin through the rotten floor
[/img]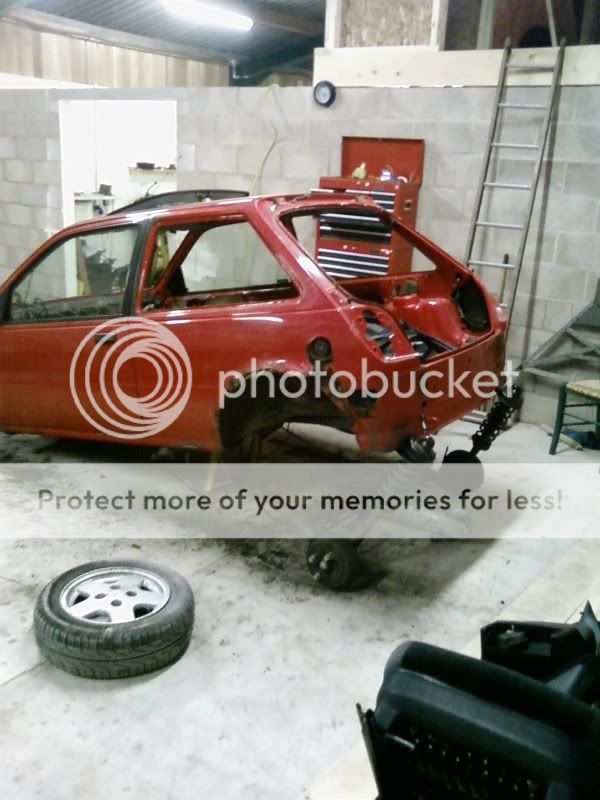
but we got it out in the end
[img]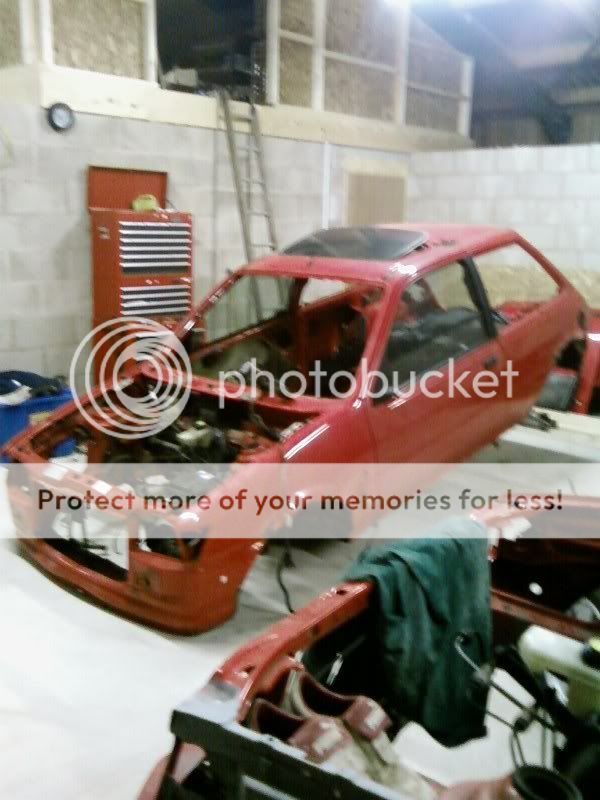
all the running gear now stripped out ready 4 over hauling
[/img]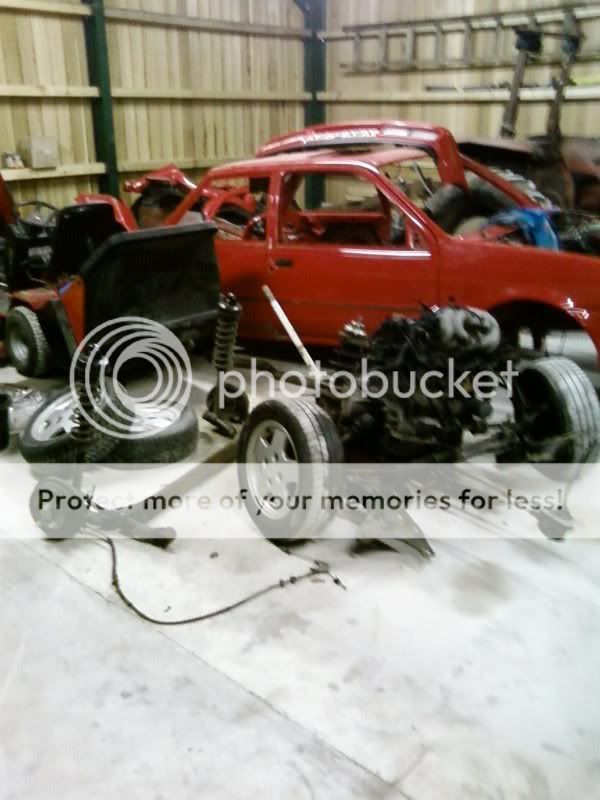
thought b4 we get rid of the shell wud be a good idea to remove the outer skins of the top n bottom of the passenger a pillat as the one on the track car are well corroded and would be a sod to fabricate also cut the doors off to keep as spares
[img]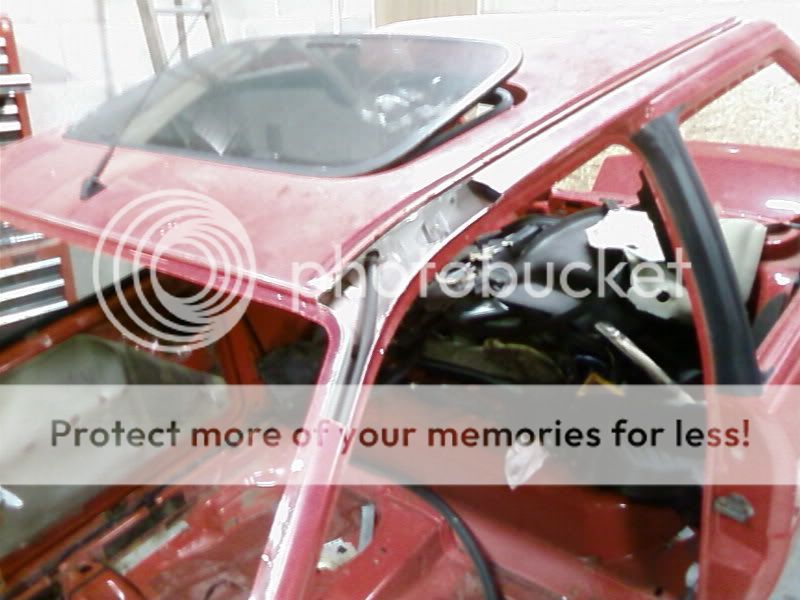
[/img]
cut off n ready to be trimmed to fit on the track car
[img]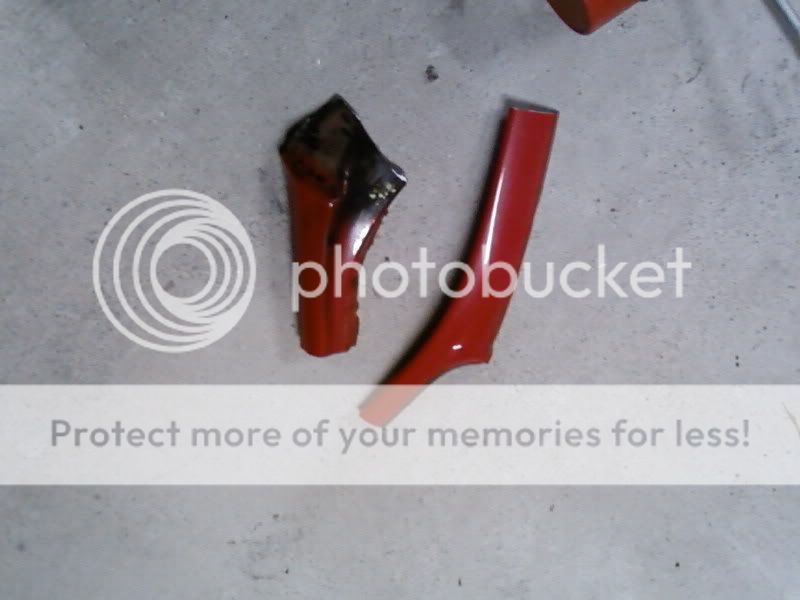 [/img]
[img]
this was alot of fun as the only place to support it was the floor and the wooden beem between the stands was pushin through the rotten floor
[/img]
but we got it out in the end
[img]
all the running gear now stripped out ready 4 over hauling
[/img]
thought b4 we get rid of the shell wud be a good idea to remove the outer skins of the top n bottom of the passenger a pillat as the one on the track car are well corroded and would be a sod to fabricate also cut the doors off to keep as spares
[img]
[/img]
cut off n ready to be trimmed to fit on the track car
[img]
[/img]

 15-01-2007, 09:00 PM
#49
Advanced PassionFord User
Thread Starter
Join Date: Jan 2006
Location: preston
Posts: 1,639
Likes: 0
Received 0 Likes
on
0 Posts
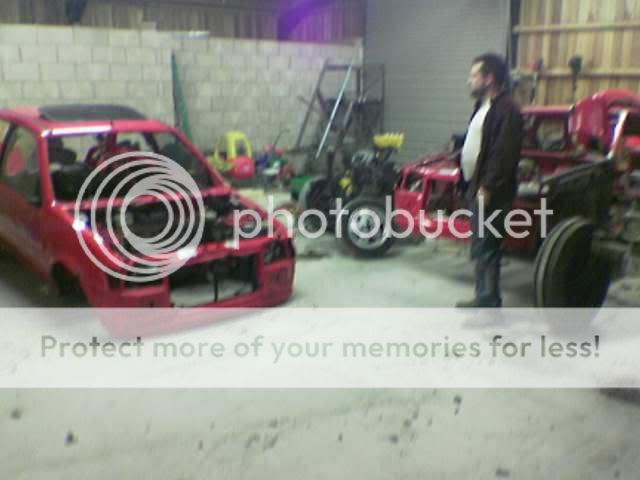
right its update time as u can see by the pics with my doppy ass in the middle the 2i is stripped of all the gear we needed . in the process of doin this we found one way not to take a door off and thats with a gas axe as u end up havin a fire 
[img]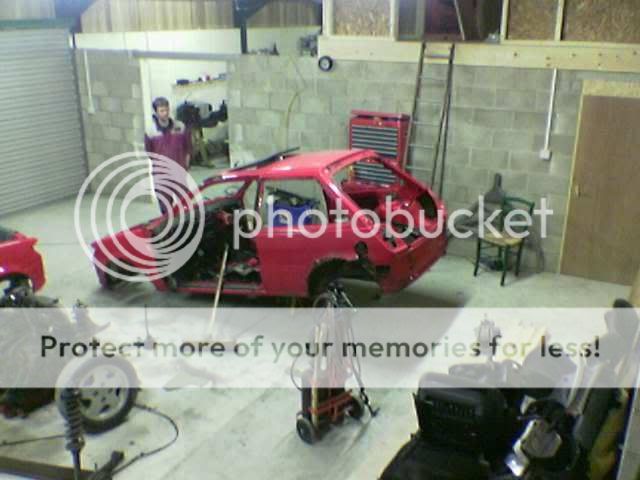
[/img]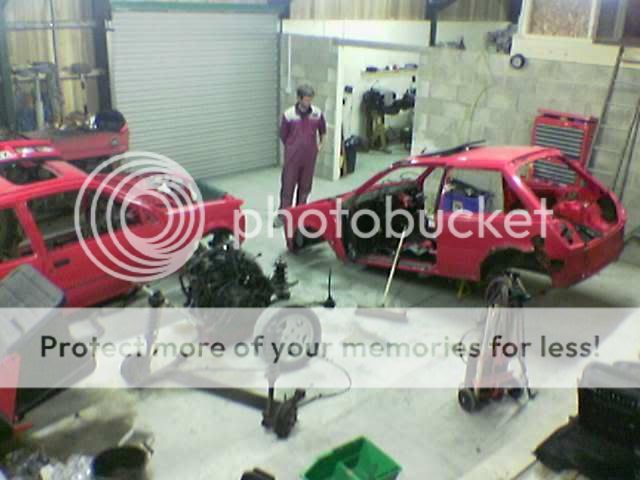
i think its time for it to go so the track car can come back out of the corner where its hiding in fear after seeing what we did to this
[img]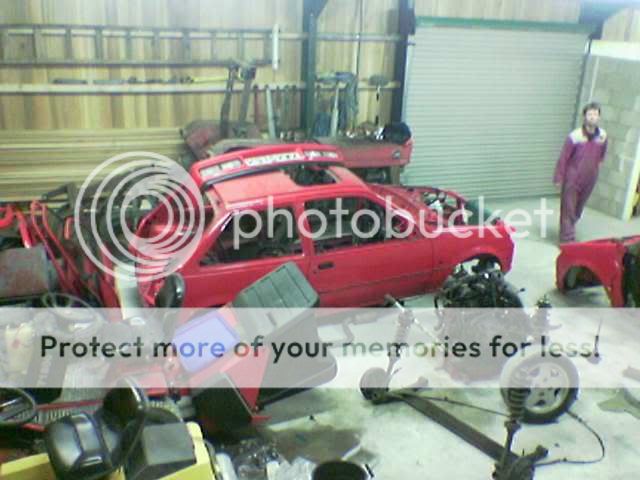 [/img]
[img]
[/img]
i think its time for it to go so the track car can come back out of the corner where its hiding in fear after seeing what we did to this
[img]
[/img]
 15-01-2007, 09:11 PM
#51
Advanced PassionFord User
Thread Starter
Join Date: Jan 2006
Location: preston
Posts: 1,639
Likes: 0
Received 0 Likes
on
0 Posts
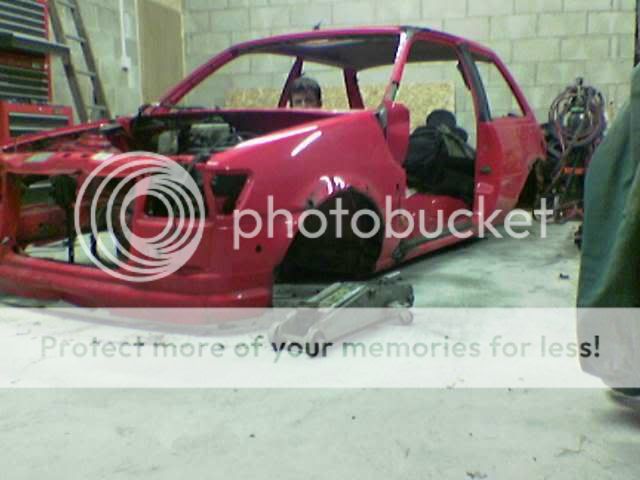
right back to the proper stuff , cut the bottom of the post off the track car last night then treated the steel underneath
[img]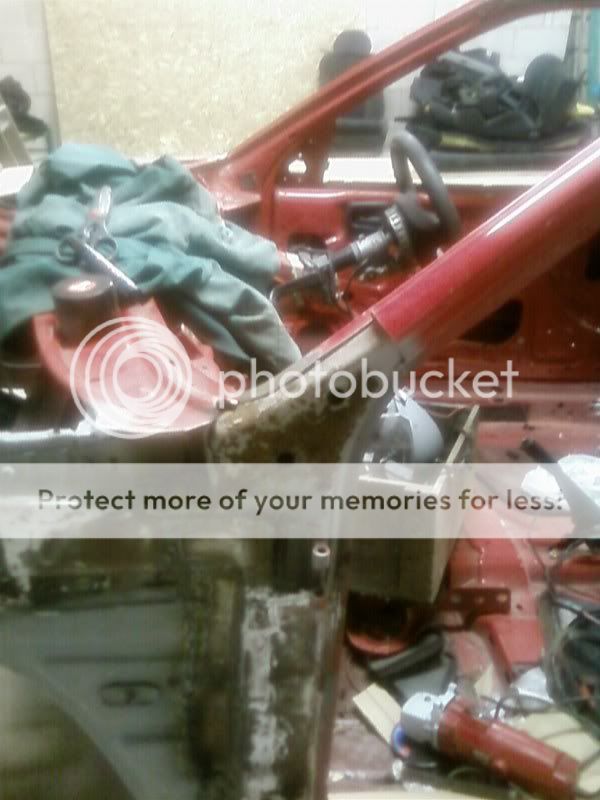
then set about cutting the panel from the 2i to shape n tackin it in b4 weldin it up
[/img]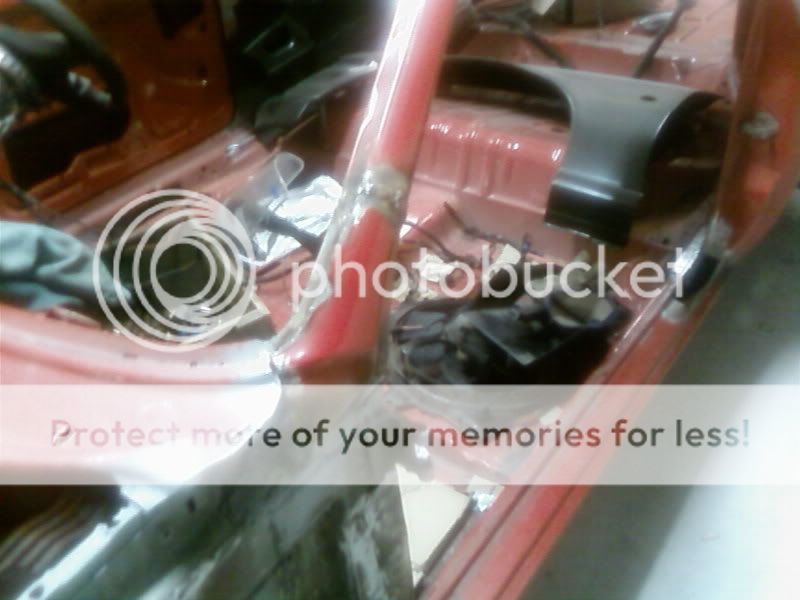
[img]
that saved a hell of alot of fabricating [/img]
[img]
then set about cutting the panel from the 2i to shape n tackin it in b4 weldin it up
[/img]
[img]
that saved a hell of alot of fabricating
[/img]
15-01-2007, 09:16 PM
#52
Advanced PassionFord User
Thread Starter
Join Date: Jan 2006
Location: preston
Posts: 1,639
Likes: 0
Received 0 Likes
on
0 Posts
did the little patch on the bottom of the pillar tonight then seam welded all the arch up
starting to get somewhere now
[img]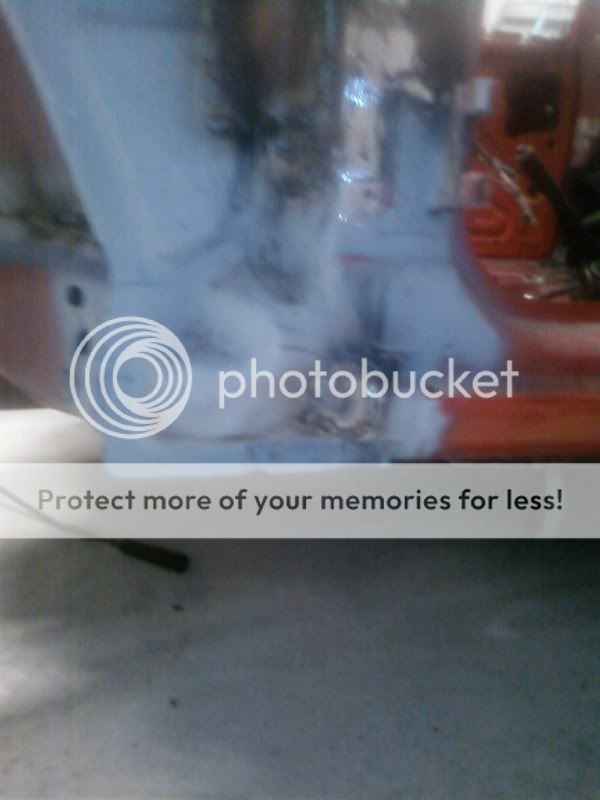
seam welds
[/img]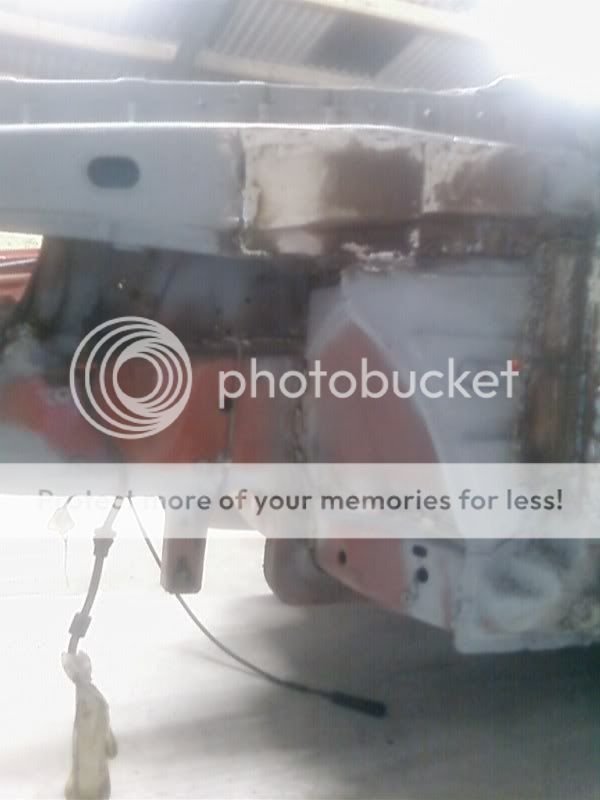
[img]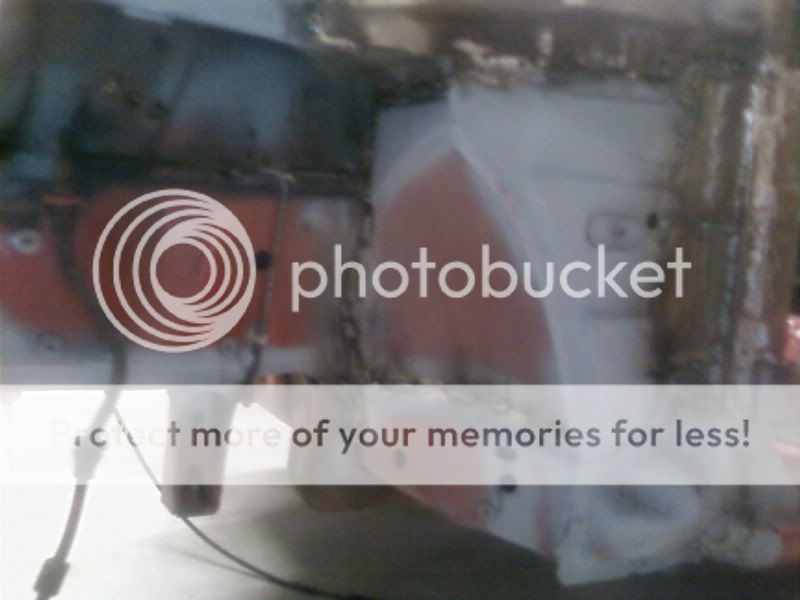
[/img]
also seamed up the drivers side turret top and started on the engine bay seams ill get some pics tomorrow
starting to get somewhere now
[img]
seam welds
[/img]
[img]
[/img]
also seamed up the drivers side turret top and started on the engine bay seams ill get some pics tomorrow
15-01-2007, 09:21 PM
#53
Advanced PassionFord User
Thread Starter
Join Date: Jan 2006
Location: preston
Posts: 1,639
Likes: 0
Received 0 Likes
on
0 Posts
any ideas on what we should do with the front bumper lads???
ive taken out the lights as they wont be needed if anyone wants them pm me
[img] [/img]
ive taken out the lights as they wont be needed if anyone wants them pm me
[img]
[/img]
 [/img]
20-01-2007, 04:45 PM
[/img]
20-01-2007, 04:45 PM
#55
Advanced PassionFord User
Thread Starter
Join Date: Jan 2006
Location: preston
Posts: 1,639
Likes: 0
Received 0 Likes
on
0 Posts
right got some more welding wire the othe night time to tackle the top of the piller .
first job is to cut the old steal out n see what kind of state its in under that , thank fully not to bad just needed cleaning up treating then zinc coating
[img]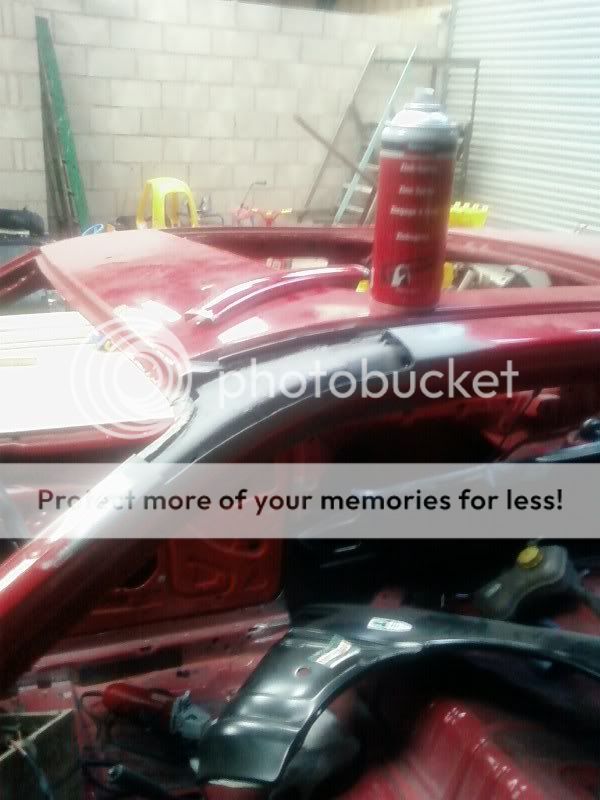
then trimed the new panel to size b4 welding it in place
[/img]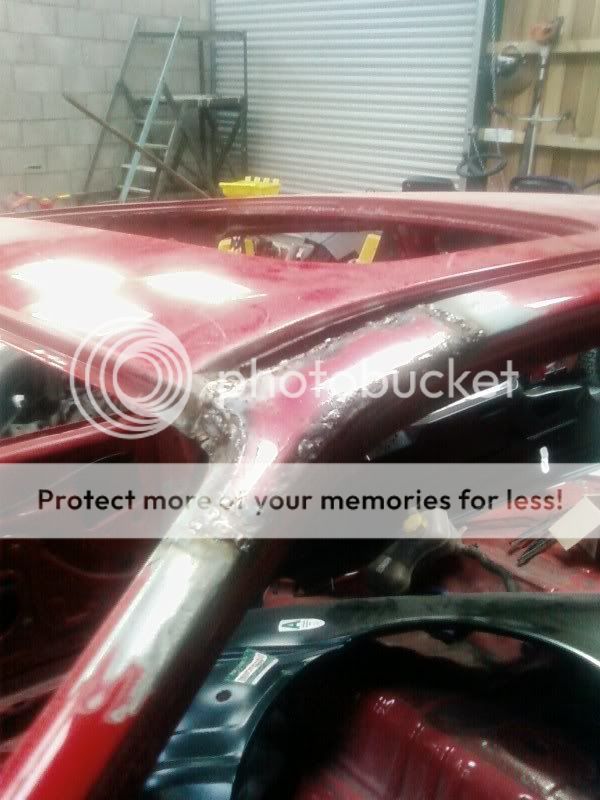
then ground down the welds ready for filler , we are gettin some where now
[img]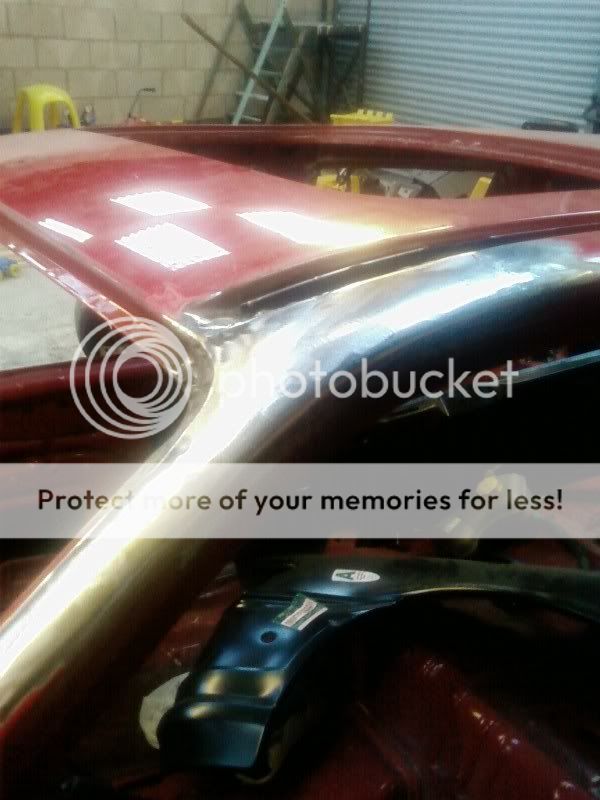 [/img]
first job is to cut the old steal out n see what kind of state its in under that , thank fully not to bad just needed cleaning up treating then zinc coating
[img]
then trimed the new panel to size b4 welding it in place
[/img]
then ground down the welds ready for filler , we are gettin some where now
[img]
[/img]
20-01-2007, 04:49 PM
#56
Advanced PassionFord User
Thread Starter
Join Date: Jan 2006
Location: preston
Posts: 1,639
Likes: 0
Received 0 Likes
on
0 Posts
while i was getting going with the welding thought i might as well do the plate at the bottom of the door post / sill
we had already cut this one out so just needed to form the plate n weld it in
[img]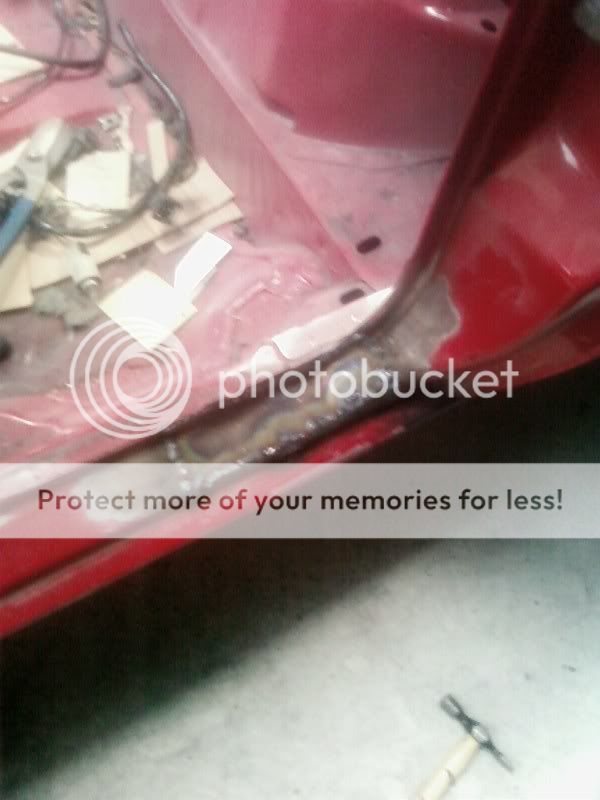
then grind it up
[/img]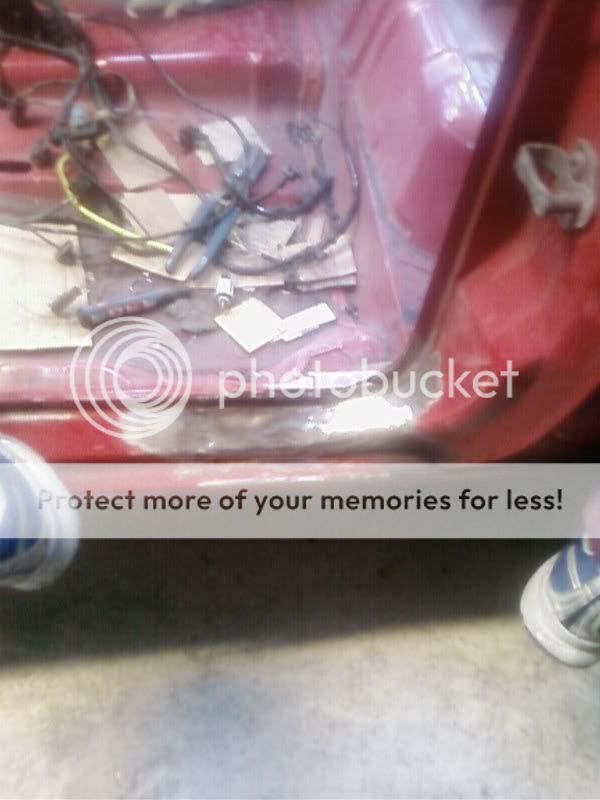
we had already cut this one out so just needed to form the plate n weld it in
[img]
then grind it up
[/img]
20-01-2007, 05:05 PM
#57
Advanced PassionFord User
Thread Starter
Join Date: Jan 2006
Location: preston
Posts: 1,639
Likes: 0
Received 0 Likes
on
0 Posts
right back to today with all the welding work on the post done and ground down now its about time to get some gob on it so i skimed up all 3 plates this morning
[img]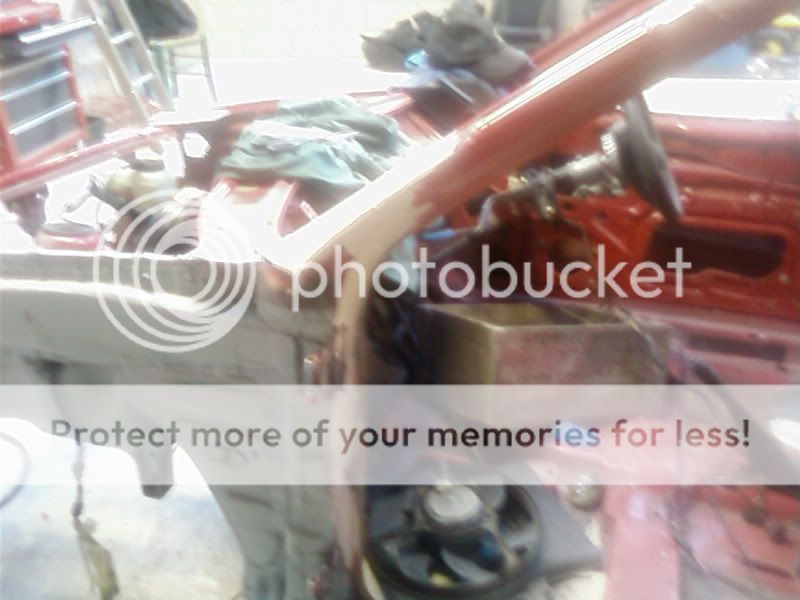
[/img]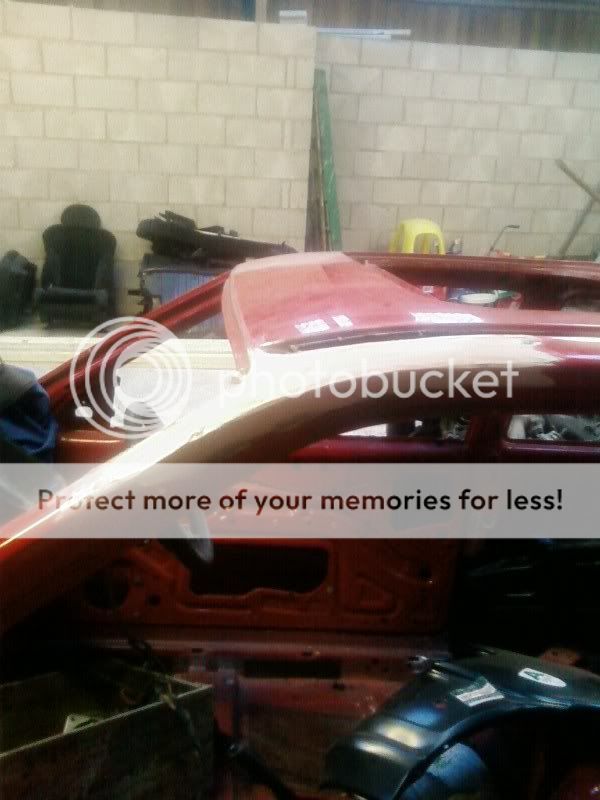
the filler is now rubbed down given a thin skim over again b4 a final rub down
[img]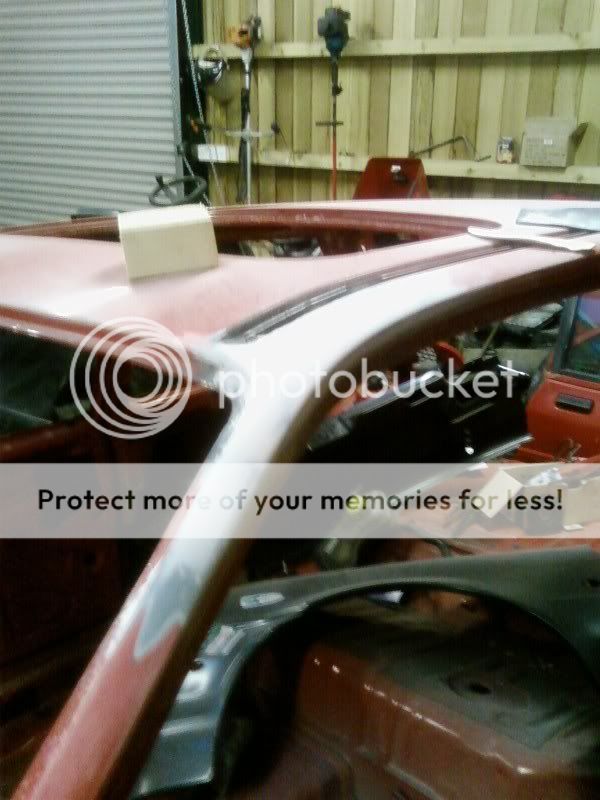
thats it all done bar the bit at the bottom of the b post , given it a quick lick of primer to seal it for now
[/img]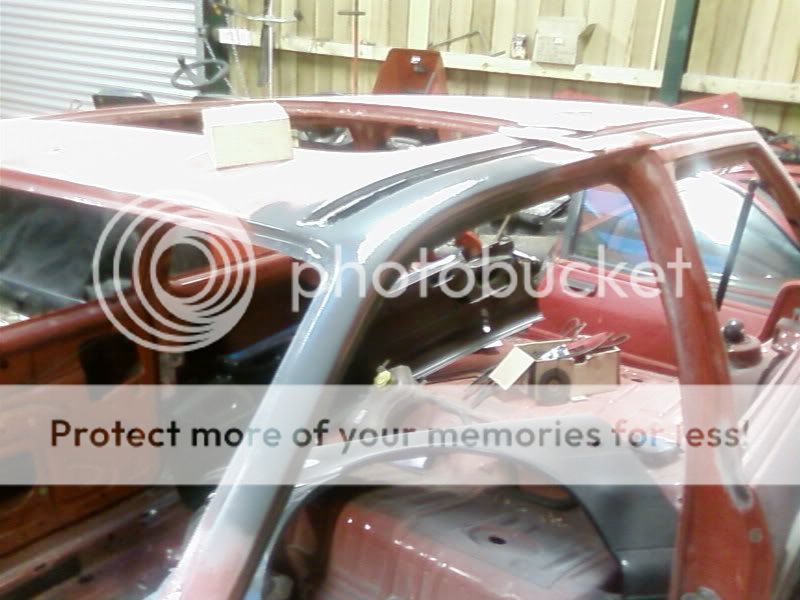
[img]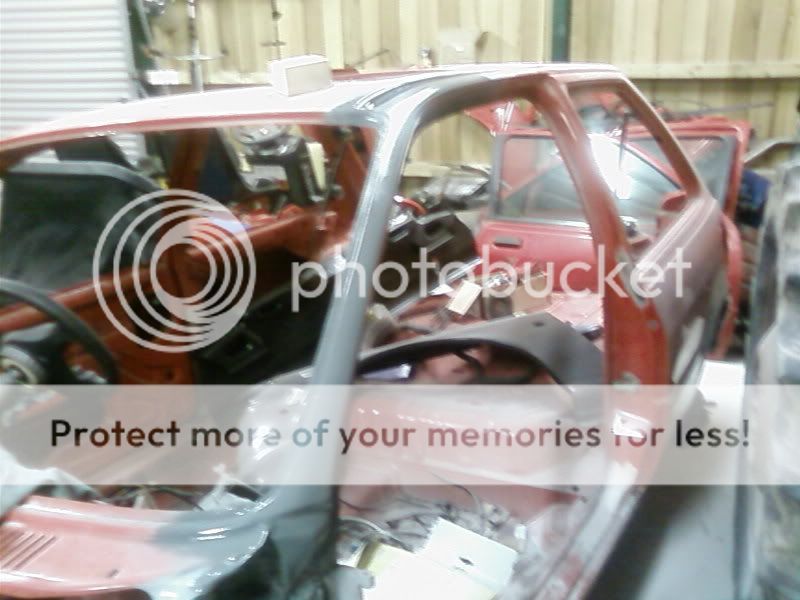
[/img]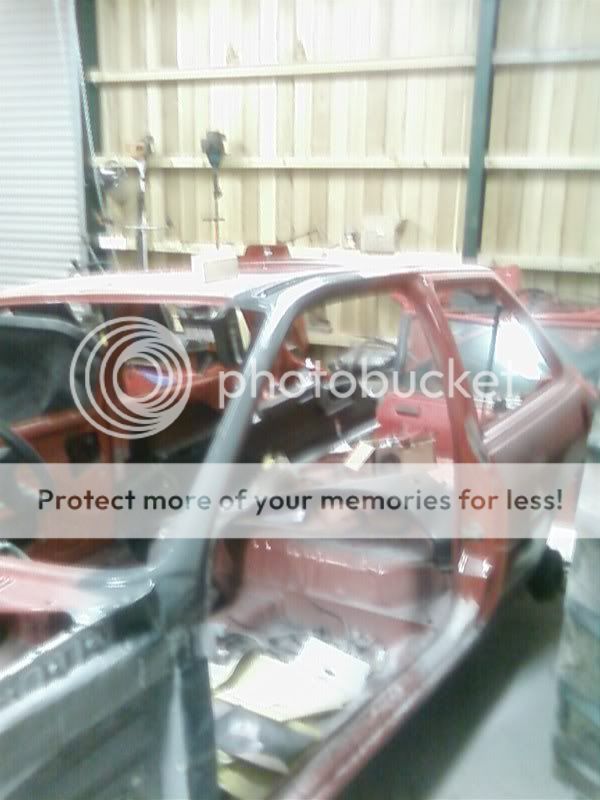
[img]
[/img]
the filler is now rubbed down given a thin skim over again b4 a final rub down
[img]
thats it all done bar the bit at the bottom of the b post , given it a quick lick of primer to seal it for now
[/img]
[img]
[/img]
21-01-2007, 03:27 PM
#58
Advanced PassionFord User
Thread Starter
Join Date: Jan 2006
Location: preston
Posts: 1,639
Likes: 0
Received 0 Likes
on
0 Posts
well finished off the post today at last
[img]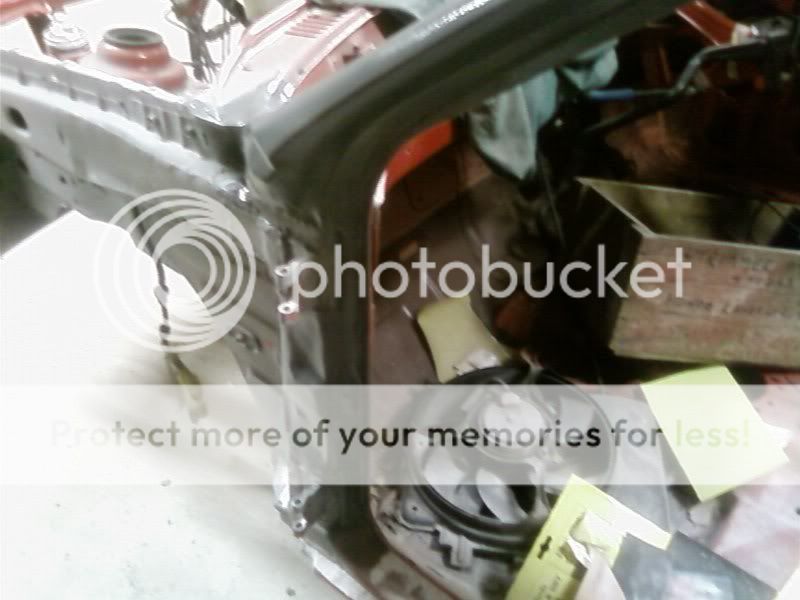
and the bottom of the b post
[/img]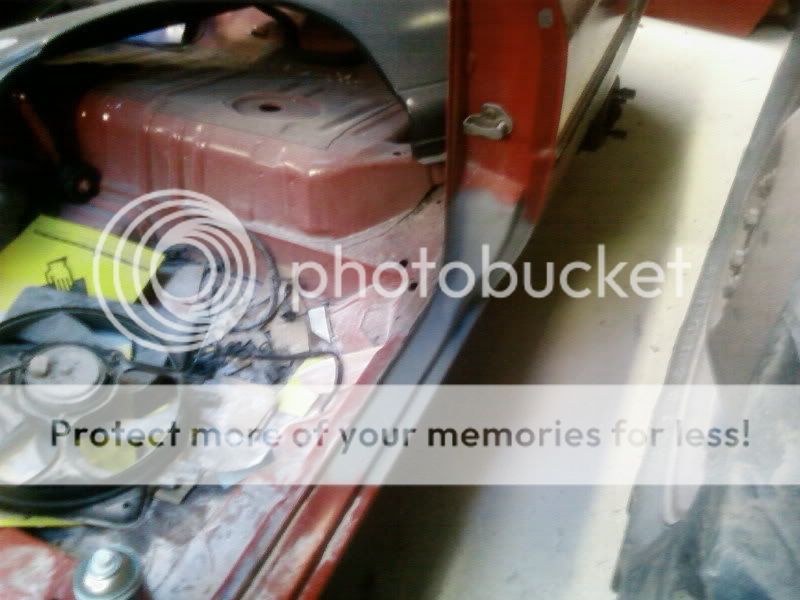
thought while i was there id get a bit more seam welding done so done the passenger strut top and some of the bulk head
[img]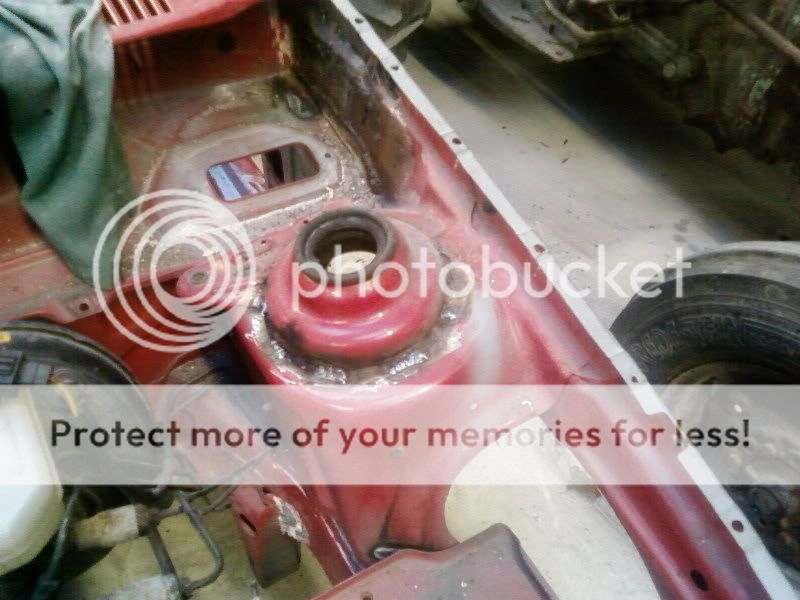
[/img]
[img]
and the bottom of the b post
[/img]
thought while i was there id get a bit more seam welding done so done the passenger strut top and some of the bulk head
[img]
[/img]
18-02-2007, 08:25 AM
#59
Advanced PassionFord User
Thread Starter
Join Date: Jan 2006
Location: preston
Posts: 1,639
Likes: 0
Received 0 Likes
on
0 Posts
time to update again not been on for a while but done loads on the car
started the massive job of seam welding all the inside up last week first up was the front floor brace
[img]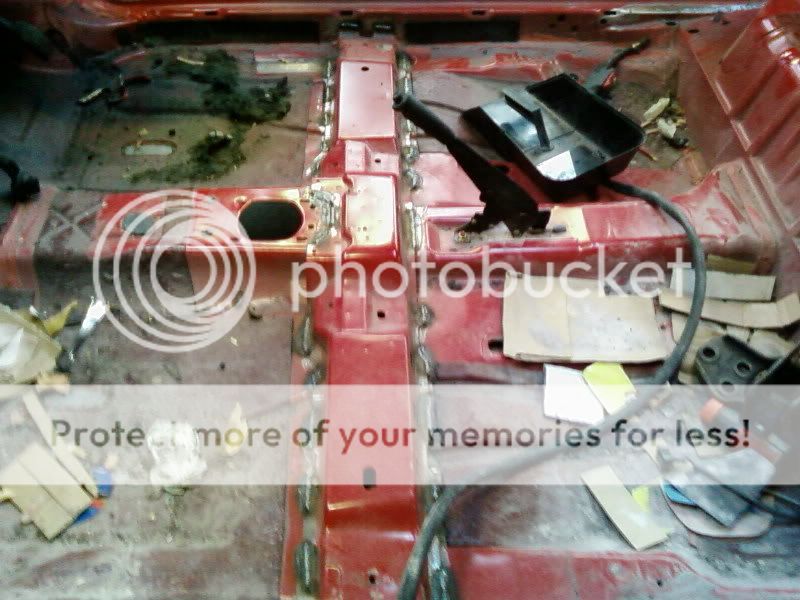
followed by the sides of the boot floor
[/img]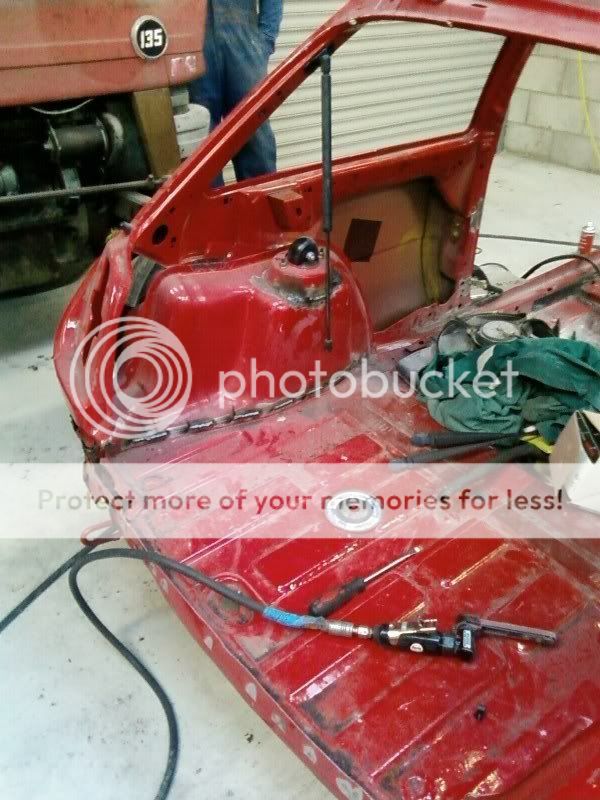
all the front seams have now been cleaned up ready for welding we at a later date are going to strip all the sound deaderning off the floor to save more wait
[img]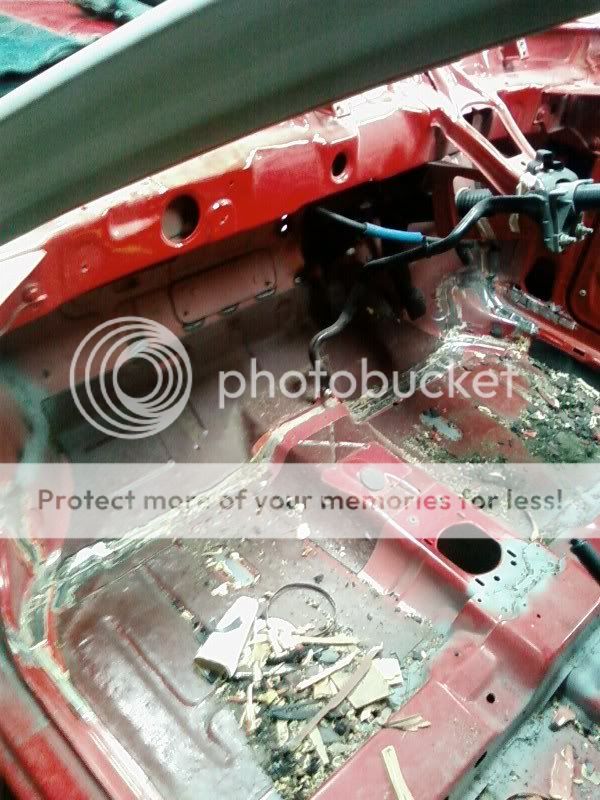
all the passenger side off the floor got seamed up on friday plus the wheel arch and bulk head
[/img]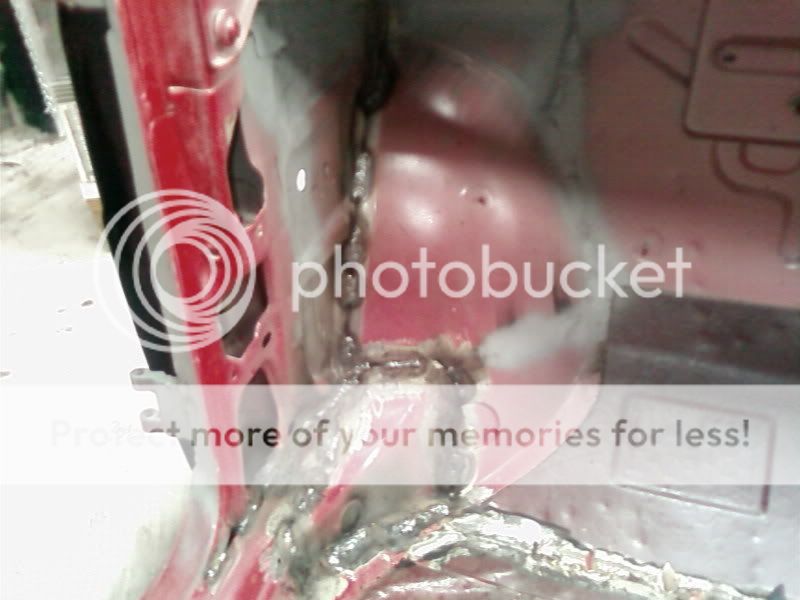
[img]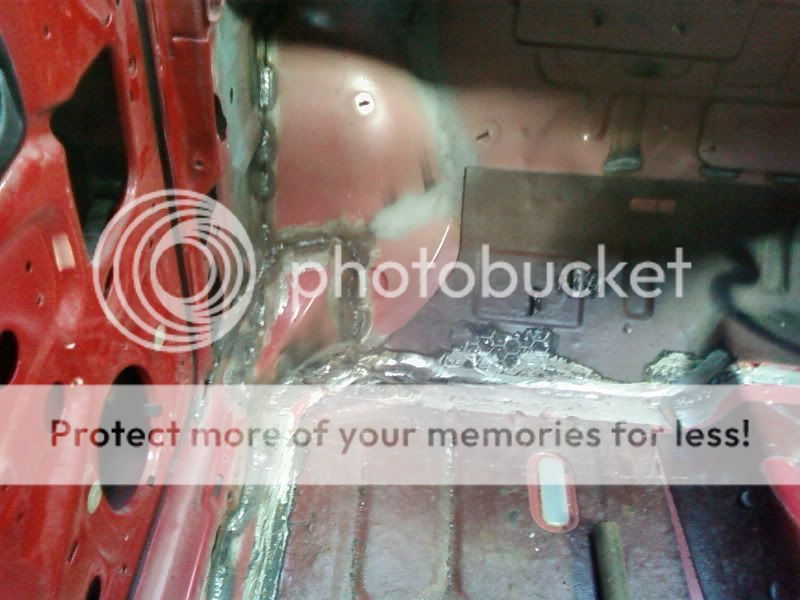
[/img]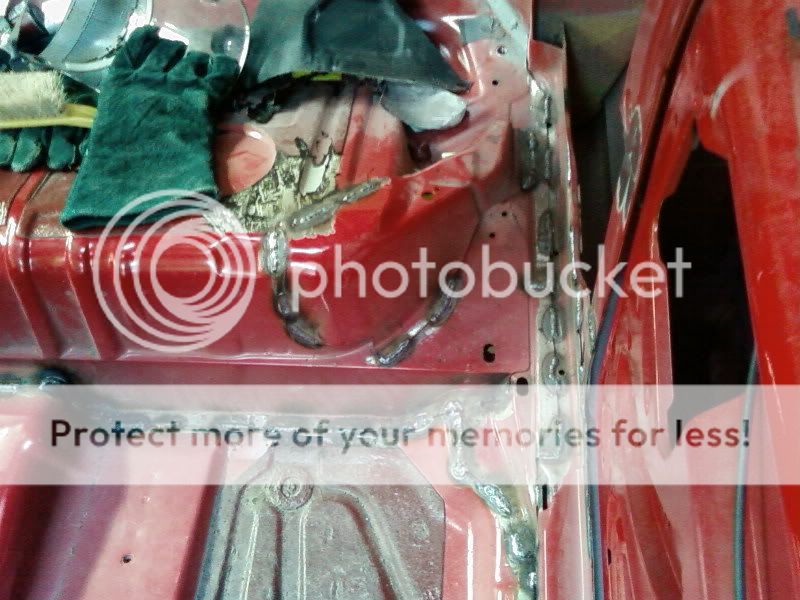
[img]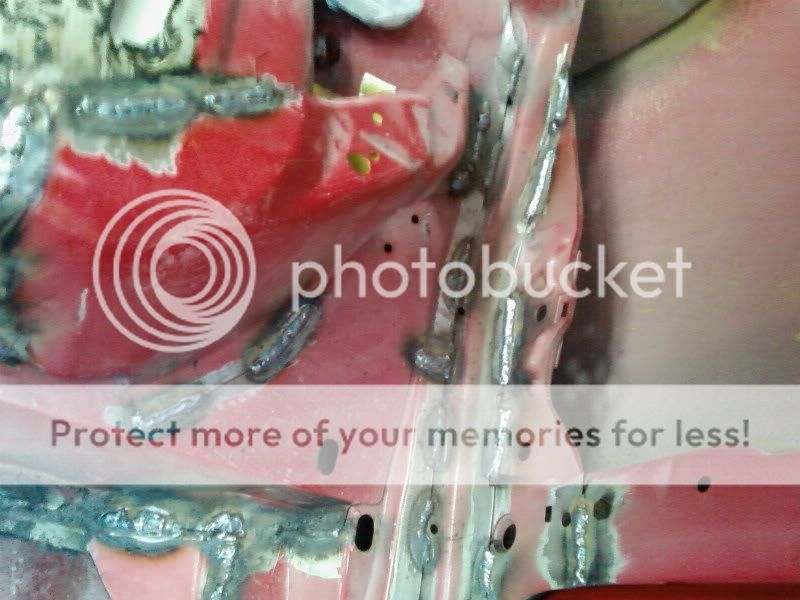
super stiff [/img]
started the massive job of seam welding all the inside up last week first up was the front floor brace
[img]
followed by the sides of the boot floor
[/img]
all the front seams have now been cleaned up ready for welding we at a later date are going to strip all the sound deaderning off the floor to save more wait
[img]
all the passenger side off the floor got seamed up on friday plus the wheel arch and bulk head
[/img]
[img]
[/img]
[img]
super stiff
[/img]
18-02-2007, 08:35 AM
#60
Advanced PassionFord User
Thread Starter
Join Date: Jan 2006
Location: preston
Posts: 1,639
Likes: 0
Received 0 Likes
on
0 Posts
cut the section of rear wheel arch that was rotten out on friday night and cleaned it up ready for new piece , while i was at it i also prepped the filler cap . being a 3.5 its got the opening cap so i ground off all the plastic hindge and catch then ground off the the finger slot , the idea being i can then bed whats left in fibre glass n smooth it over
[img]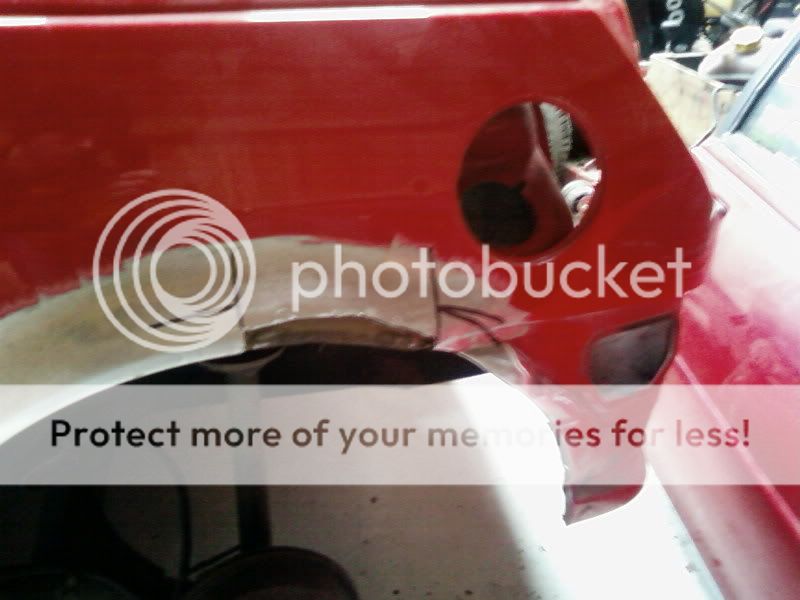
saturday morning welded in the new arch section and bed the filler cap in
[/img]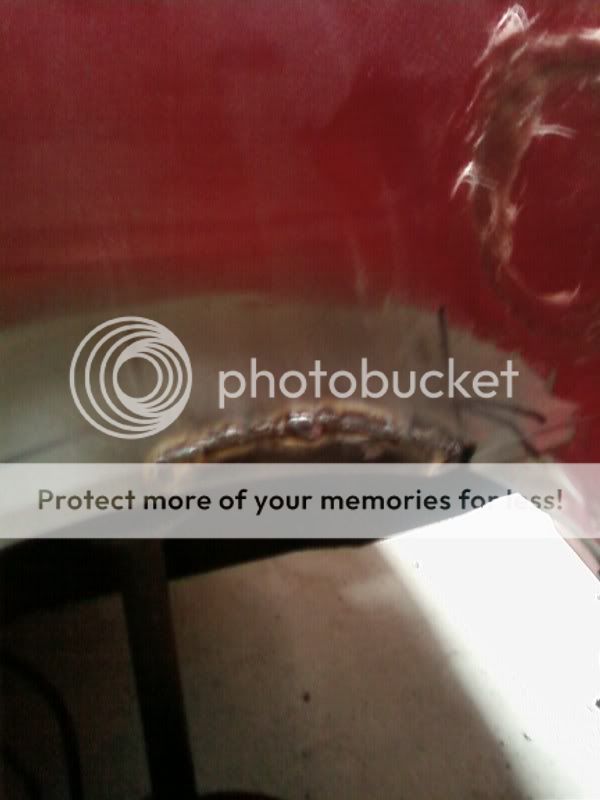
also ground the welds down ready for skimming
[img]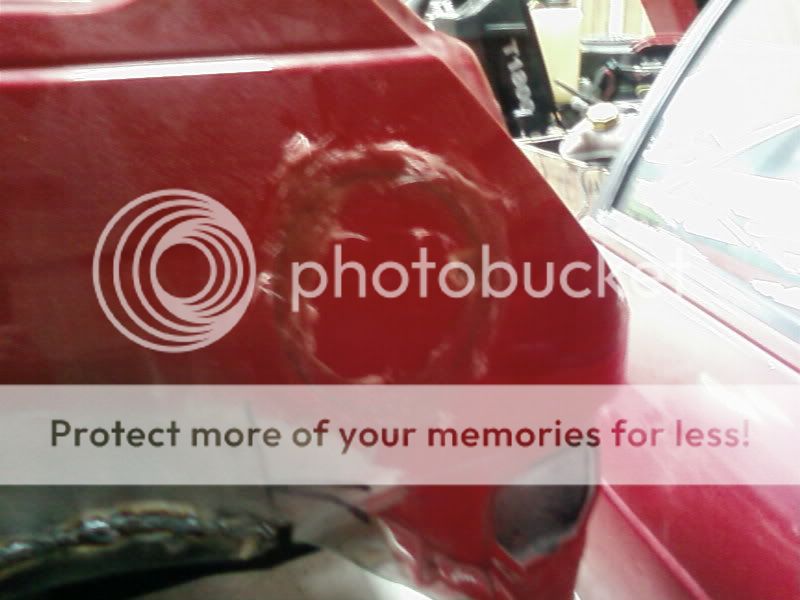 [/img]
[img]
saturday morning welded in the new arch section and bed the filler cap in
[/img]
also ground the welds down ready for skimming
[img]
[/img]
18-02-2007, 08:46 AM
#61
Advanced PassionFord User
Thread Starter
Join Date: Jan 2006
Location: preston
Posts: 1,639
Likes: 0
Received 0 Likes
on
0 Posts
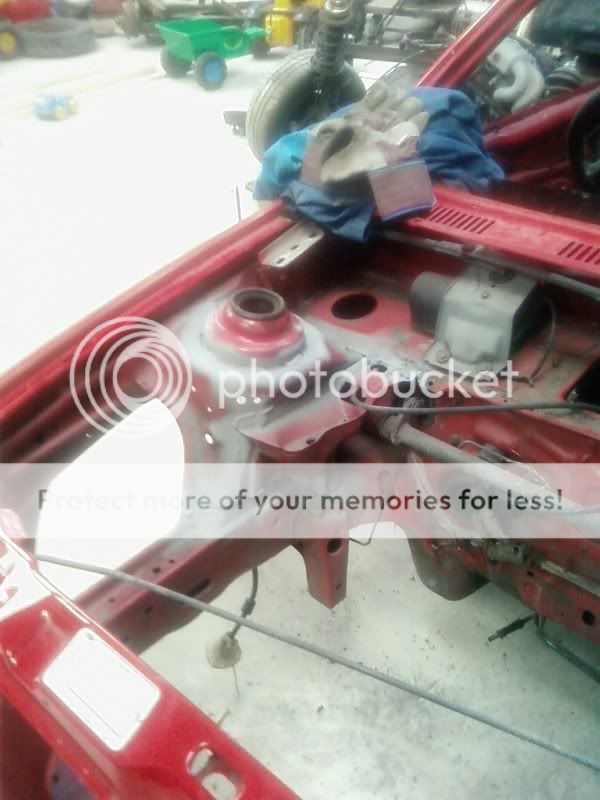
main job saturday though was fitting the new wing on at last
b4 i could do that though i needed to temp refit the bonnet and door this was made harded as some how the bonnet hingde got bent while off the car
[img]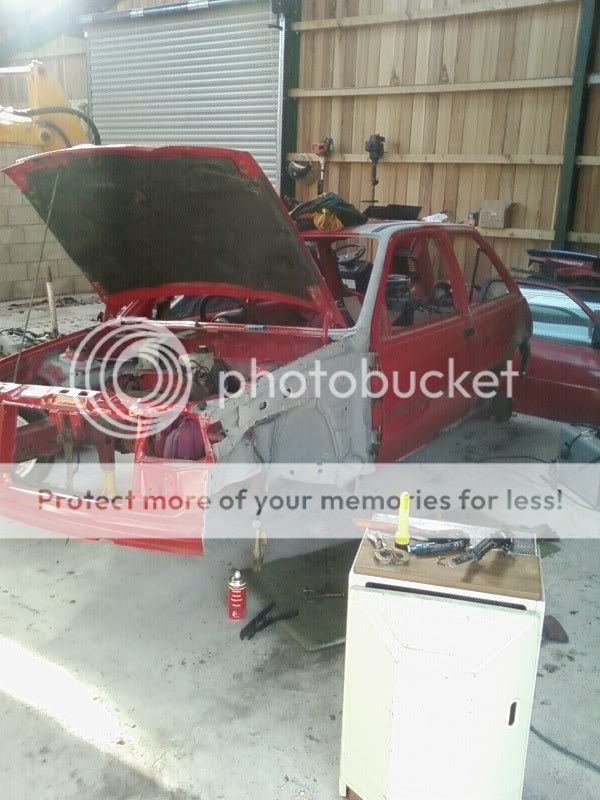
once that was sorted spent about 2 hours trying to get the wing to fit properly these copy panels are shite had to trim n bend it in quite a few places but once it was sorted n clamped n screwed in place i was ready to weld
[/img]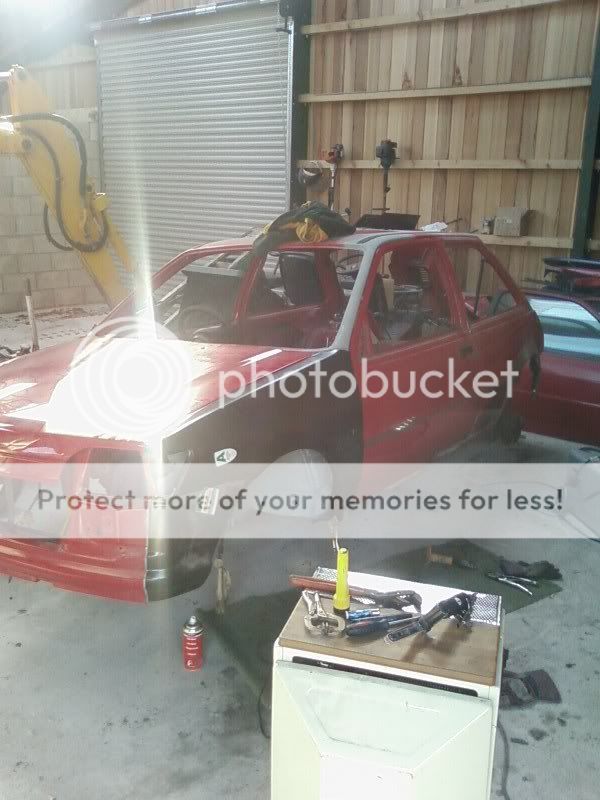
just whipped the wing back off b4 welding so i could clean it up and put some holes along the top edge to spot weld through
[img]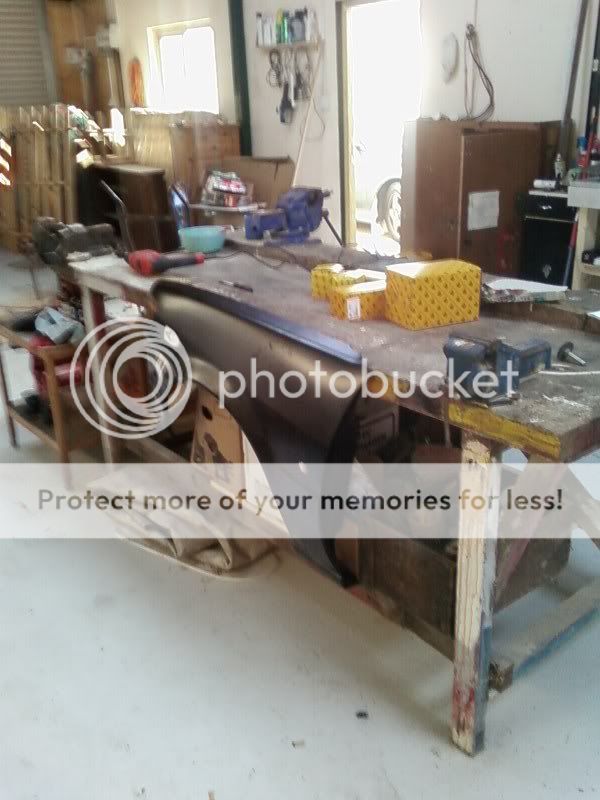
and there you go less than an hour later one wing welded on
[/img]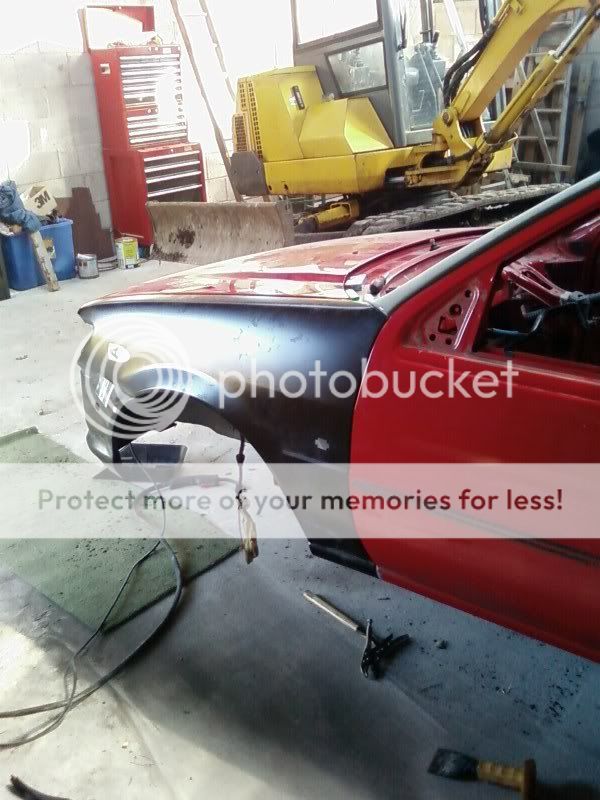
to add to the strength i have seam welded both the back and front ends of the wing ill do the same to the drivers side when i get round there
[img]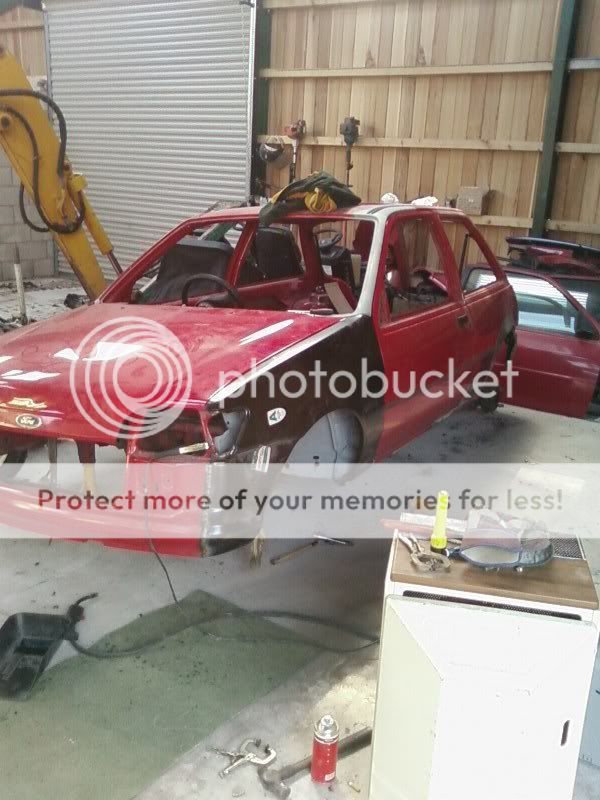
thought id js try the bumper on lol
[/img]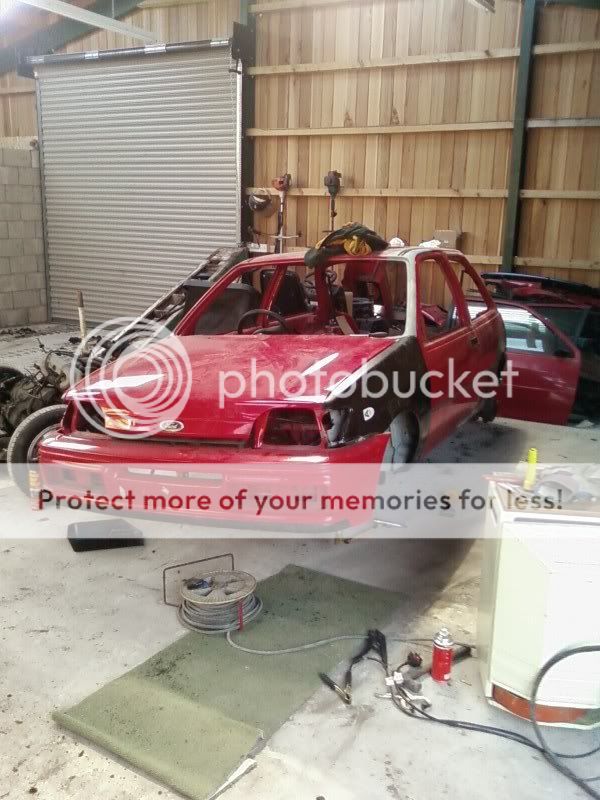

 15-03-2007, 07:44 PM
#70
Advanced PassionFord User
Thread Starter
Join Date: Jan 2006
Location: preston
Posts: 1,639
Likes: 0
Received 0 Likes
on
0 Posts
long time no post but dont worry we have been busy lol!!!
we spent one whole day just clearing out some of the junk and making some room as between the track car and the donnor car there was parts spreading all over the place so now we look like this all tidy and with everything hanging up
[img]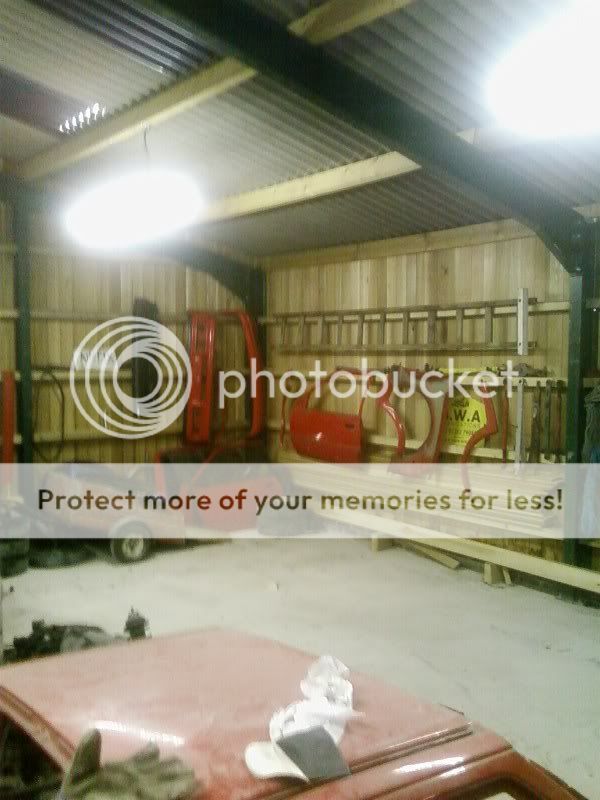
while i have been getting on with the bodywork pete has been doing the shite job of stripping all the sound deaderning out we lobbed it all in a box after and weighed it and it was just over 2 stone so that was well worth doing all he has left to do now is get rid of the residue
[/img]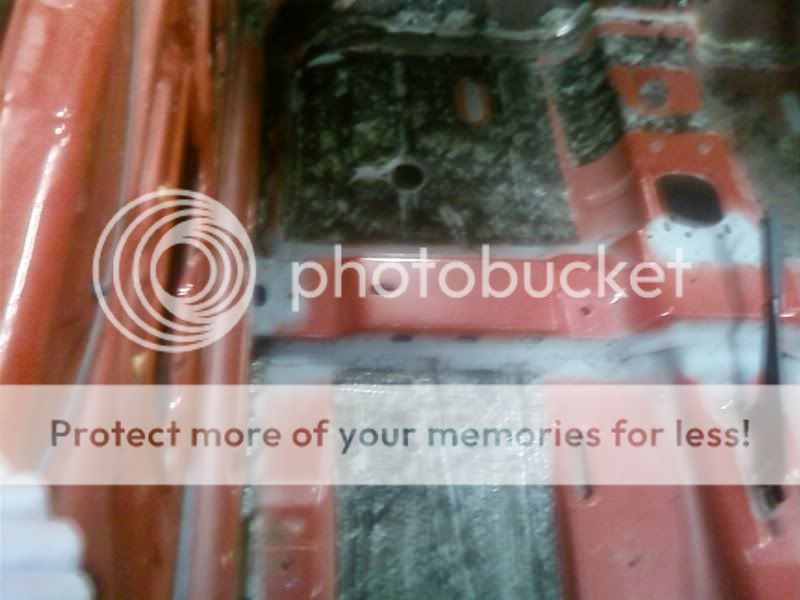
[img]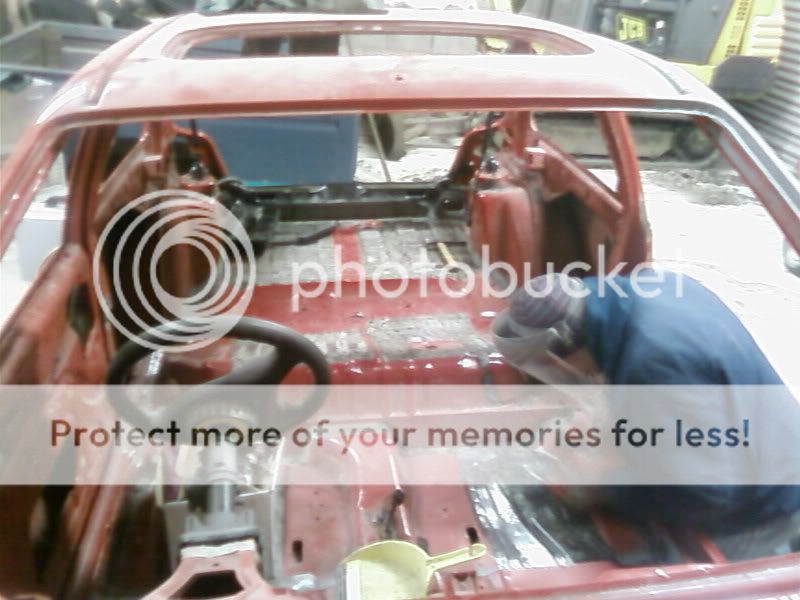 [/img]
we spent one whole day just clearing out some of the junk and making some room as between the track car and the donnor car there was parts spreading all over the place so now we look like this all tidy and with everything hanging up
[img]
while i have been getting on with the bodywork pete has been doing the shite job of stripping all the sound deaderning out we lobbed it all in a box after and weighed it and it was just over 2 stone so that was well worth doing all he has left to do now is get rid of the residue
[/img]
[img]
[/img]
15-03-2007, 07:57 PM
#71
Advanced PassionFord User
Thread Starter
Join Date: Jan 2006
Location: preston
Posts: 1,639
Likes: 0
Received 0 Likes
on
0 Posts
well after doing the wing thought id better go back to the rear arch n cap , ground down the welds and gave it a quick skim over thankfully it didn't need to much gob as i only replaced a small section
[img]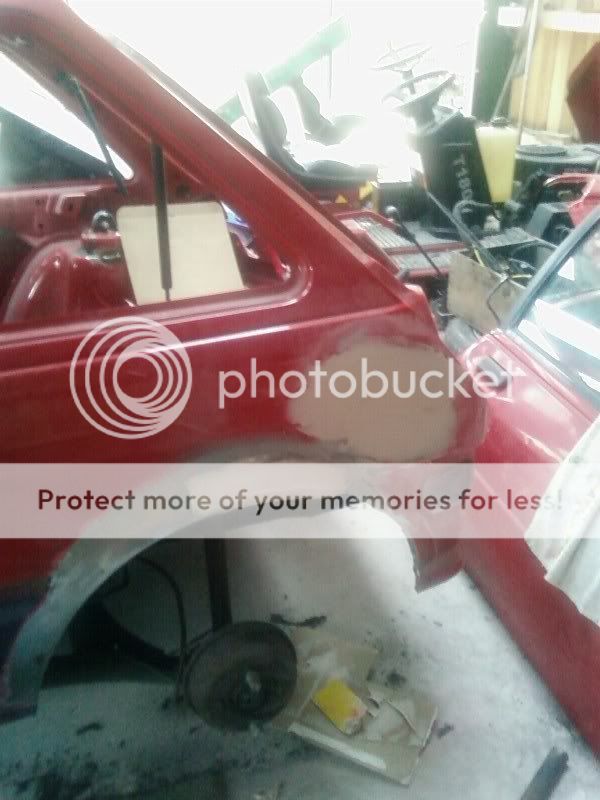
once that was set just gave it a rub down a skim of stopper then rub again and it was done one new arch n de-capped quarter panel

[/img]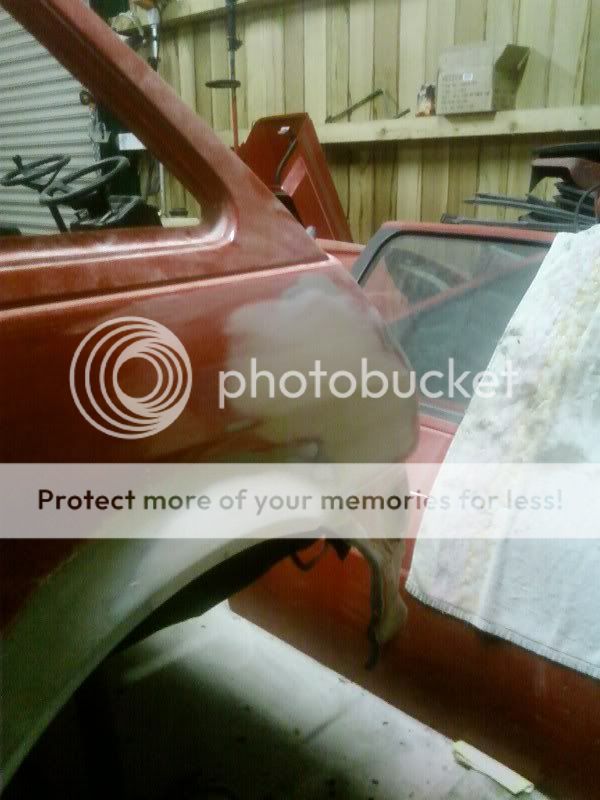
also removed the door again to gain access to the floor a bit easier
[img]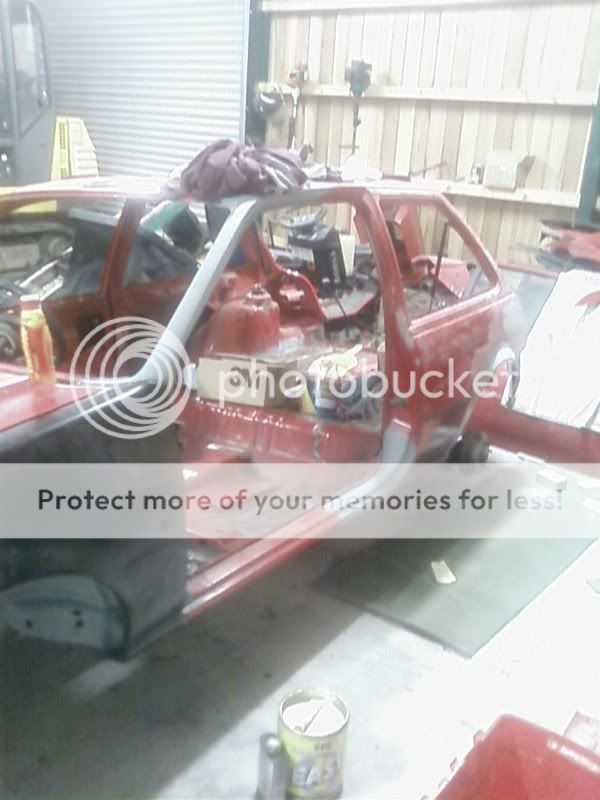 [/img]
[img]
once that was set just gave it a rub down a skim of stopper then rub again and it was done one new arch n de-capped quarter panel
[/img]
also removed the door again to gain access to the floor a bit easier
[img]
[/img]
15-03-2007, 08:07 PM
#72
Advanced PassionFord User
Thread Starter
Join Date: Jan 2006
Location: preston
Posts: 1,639
Likes: 0
Received 0 Likes
on
0 Posts
now the job ive really not been lookin foward to the bloody back panel , the pics do not do this justic the back end is rotten its untrue both egdes of the quarter panels have rotted out and the boot floor was slighty bent . first job was to remove the last remaining bits of the back panel and straighten that floor up
[img]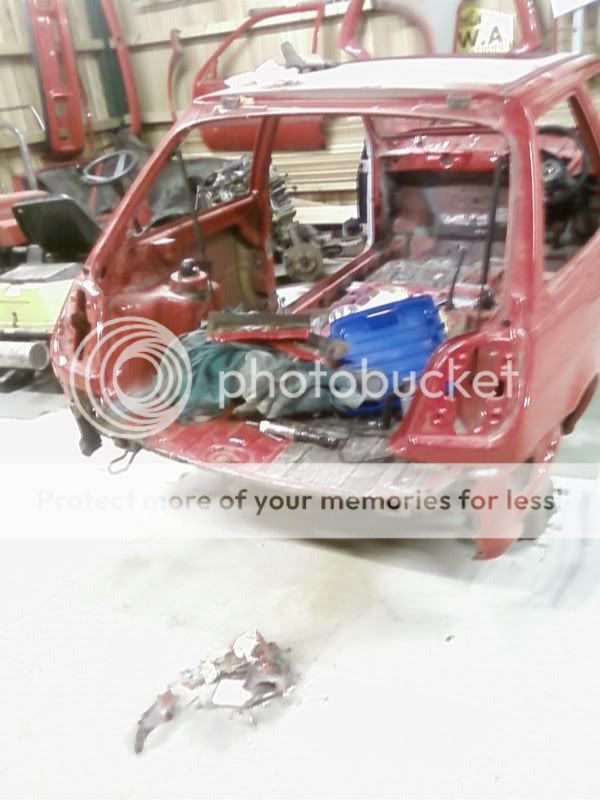
then cut all the rust out from the quarter's
[/img]
now all straight and treated ive tacked the new panel in
[img]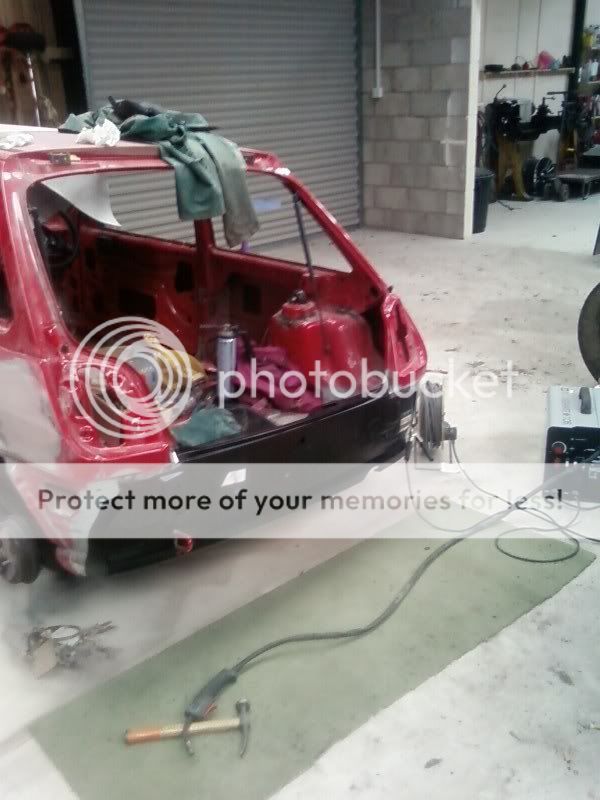
i have welded it all in since this pic and repaired the drivers side quarter but aint taken any pics yet [/img]
[img]
then cut all the rust out from the quarter's
[/img]
now all straight and treated ive tacked the new panel in
[img]
i have welded it all in since this pic and repaired the drivers side quarter but aint taken any pics yet
 16-06-2007, 10:06 PM
#77
Advanced PassionFord User
Thread Starter
Join Date: Jan 2006
Location: preston
Posts: 1,639
Likes: 0
Received 0 Likes
on
0 Posts
thought its about time i did an update alot has gone on since last done one and just aint had the time to get on here and do so here goes
the back panel has now been finished off including making the new panels where the quarter panels should have met up .
after this we made a start on stripping all the floor back to bare metal as after removing the sound deaderning we found there was still alot of residue
[img]
we pritty much have stripped it all back from front to back also means i got a nice clean surface to weld to when the cage goes in
[/img]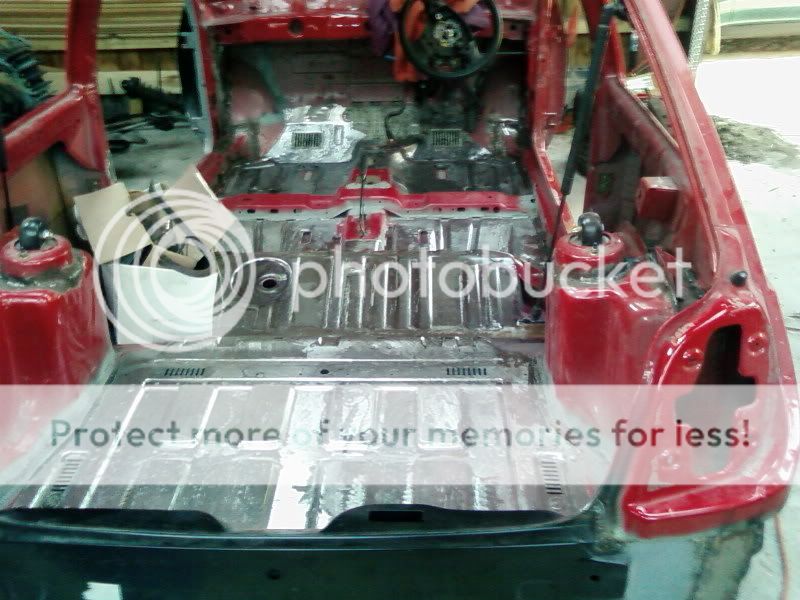
after this the next big job was to sort out the last of the outer shell (small dents and such) while i was at it i took the oppatunity to weld up the side repeaters and the hole in the roof for the ariel
[img]
[/img]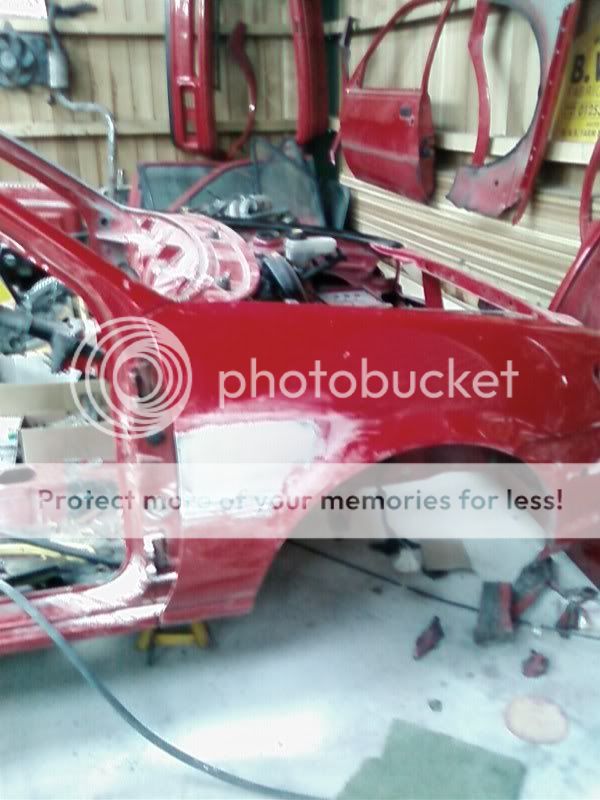
[img]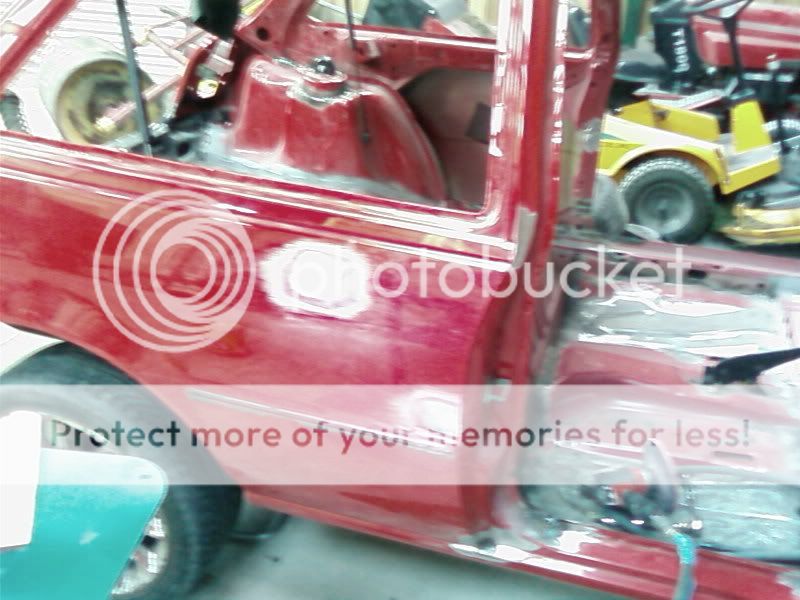
[/img]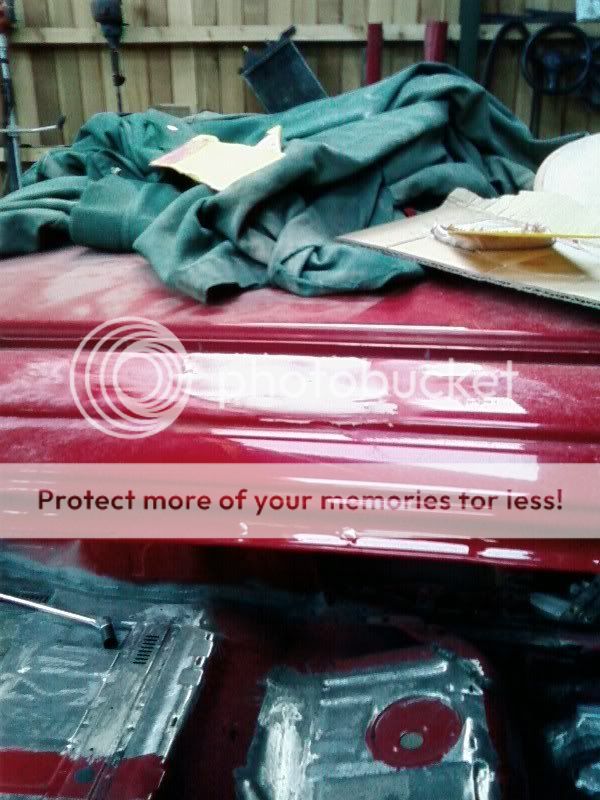
once this was done pete could get on with rubbing the shell down while i start on the boot and bumper
alot has gone on since last done one and just aint had the time to get on here and do so here goesthe back panel has now been finished off including making the new panels where the quarter panels should have met up .
after this we made a start on stripping all the floor back to bare metal as after removing the sound deaderning we found there was still alot of residue
[img]
we pritty much have stripped it all back from front to back also means i got a nice clean surface to weld to when the cage goes in
[/img]
after this the next big job was to sort out the last of the outer shell (small dents and such) while i was at it i took the oppatunity to weld up the side repeaters and the hole in the roof for the ariel
[img]
[/img]
[img]
[/img]
once this was done pete could get on with rubbing the shell down while i start on the boot and bumper
16-06-2007, 10:15 PM
#78
Advanced PassionFord User
Thread Starter
Join Date: Jan 2006
Location: preston
Posts: 1,639
Likes: 0
Received 0 Likes
on
0 Posts
finally worked out what i was going to do with the bumper
first up was to remove the fog and spot lights these then had thin metal plates fibre glassed into the holes with a brake cooling duck moulded into them
[img]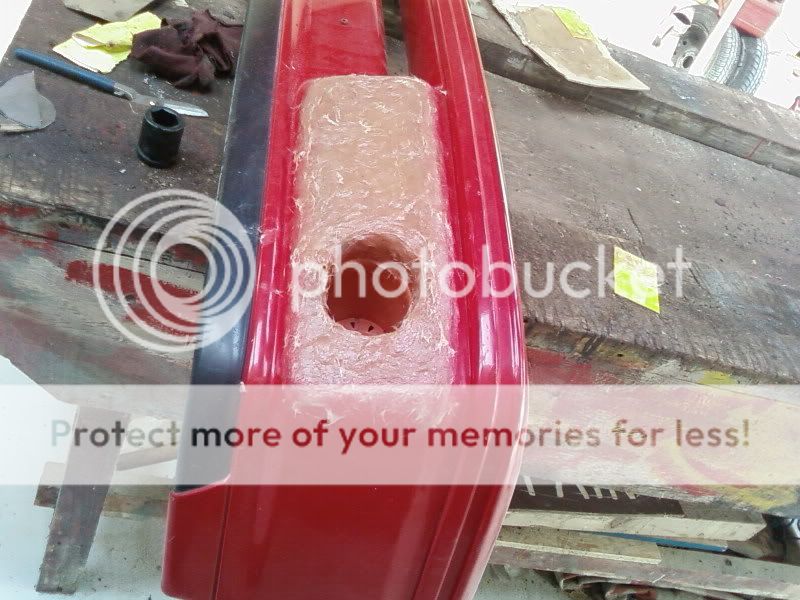
then i decided to smooth it aswell and taking the centre out to aid air flow
[/img]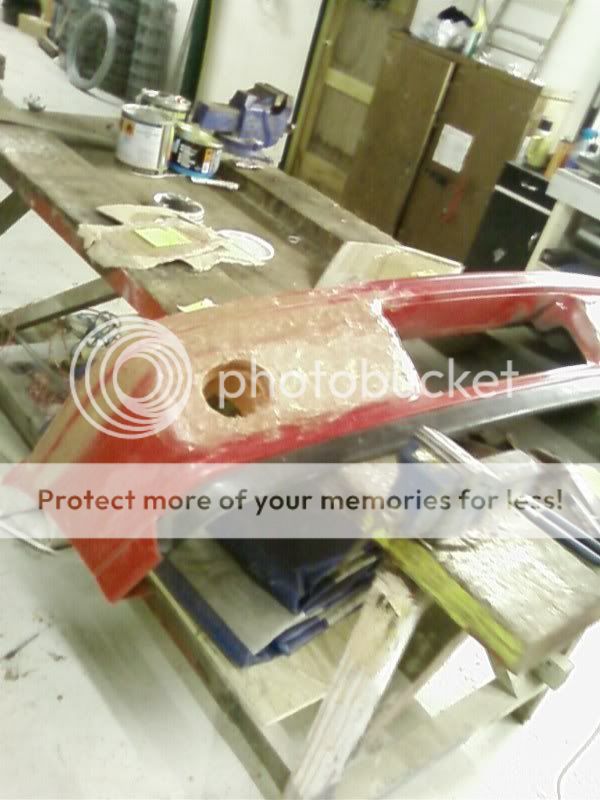
then came hours of rubbing bloody fibre glass down before i could skim it with light weight filler
[img]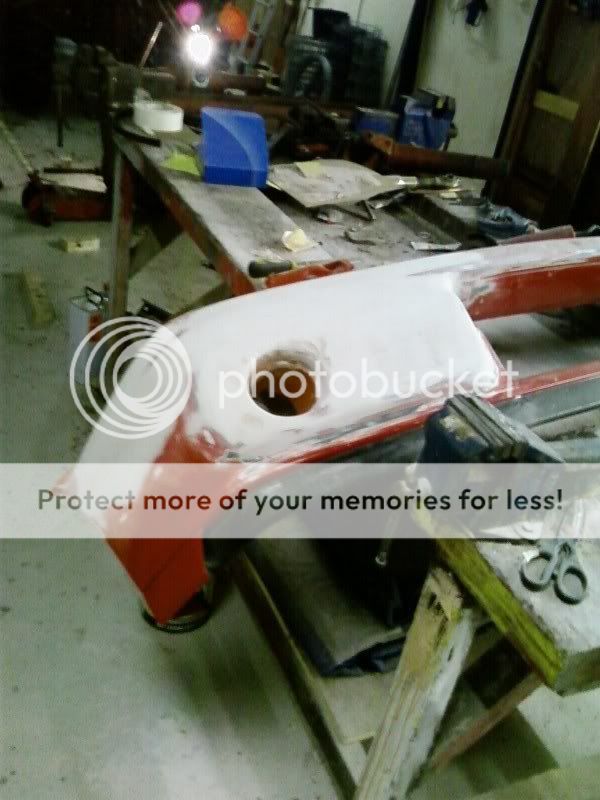
then yet more rubbing down till i had a finnish i was happy with
only thing is i now have shorter fingers lol
[/img]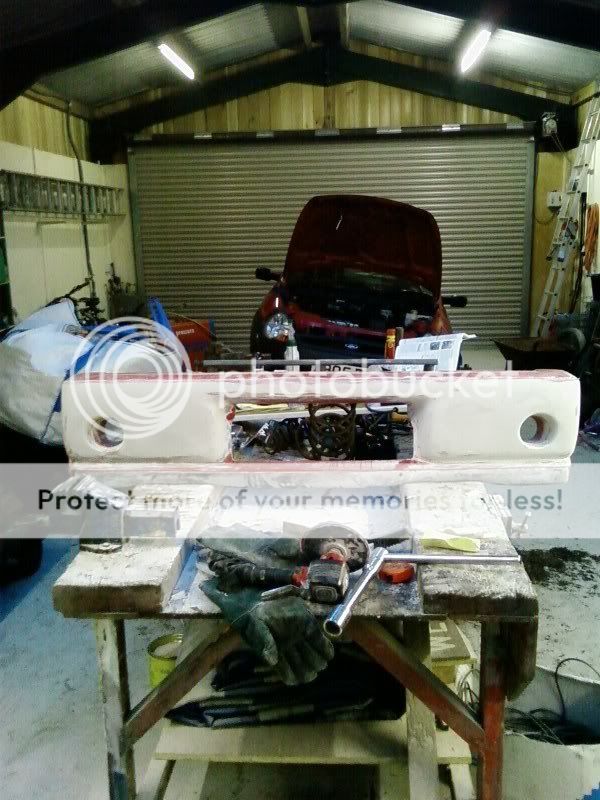
16-06-2007, 10:23 PM
#79
Advanced PassionFord User
Thread Starter
Join Date: Jan 2006
Location: preston
Posts: 1,639
Likes: 0
Received 0 Likes
on
0 Posts
next up was the boot lid , i had got hold of a saxo vtr spoiler so the idea came to me to fit that and what a ball ache that was lol
after alot of arseing about we finally got it to fit with alot of trimming to the top of the xr spoiler , for now its just a trial fit eventually it will be smoothed in but for the mean time here are the pics
[img]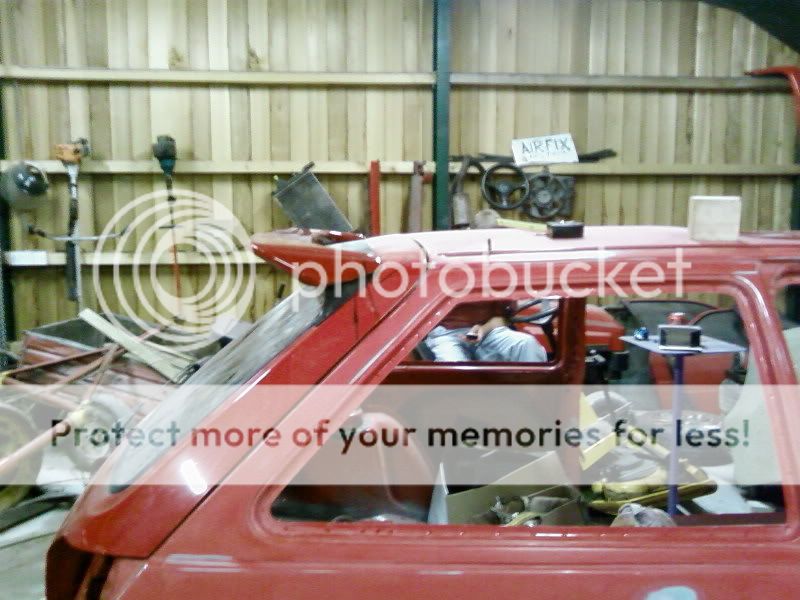
[/img]
while i was on the boot i thought i might aswell loose the lock and wiper ............................
and oh dear the bloody rust had got there first meaning there was a loverly big hole to plate and to make matters worse when i took the number plate off i found 2 more
[img]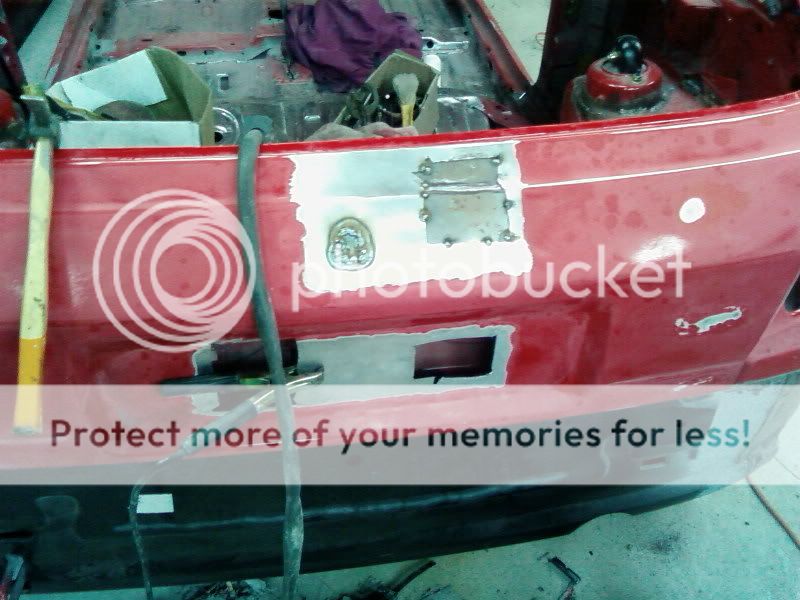
[/img]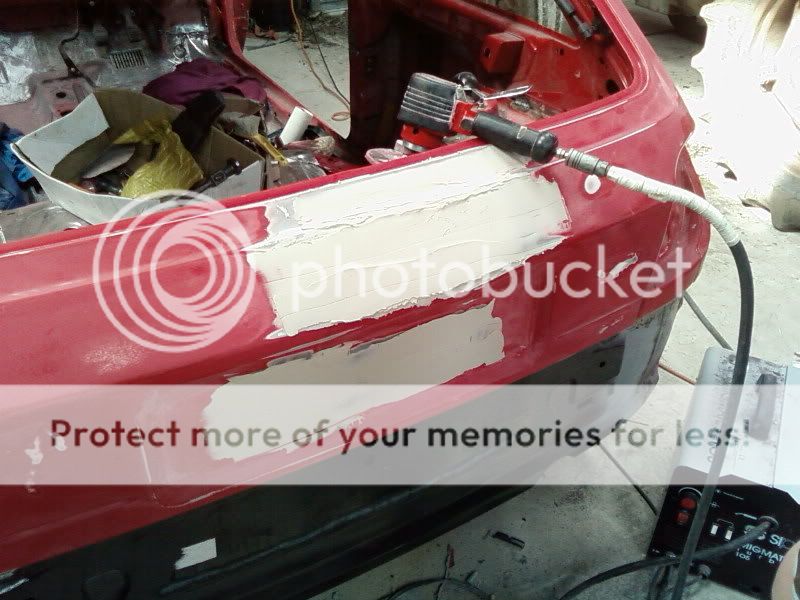