


My Walbro 255 install - Focus mk1

Thread Starter
Zetec Turbo Baby Yeahhhh
Joined: Oct 2009
Posts: 393
Likes: 0
From: Essex
 My Walbro 255 install - Focus mk1
Hi everyone, i pestered you for a while about how to go about fitting my Walbro GSS342 (I think it is). Anyway I've done it now and thought I'd share with you how I did it.
and here's a quick video of test running it dry.
After cutting off the original plastic hose from the tank sealing plate (not sure of what this is called)
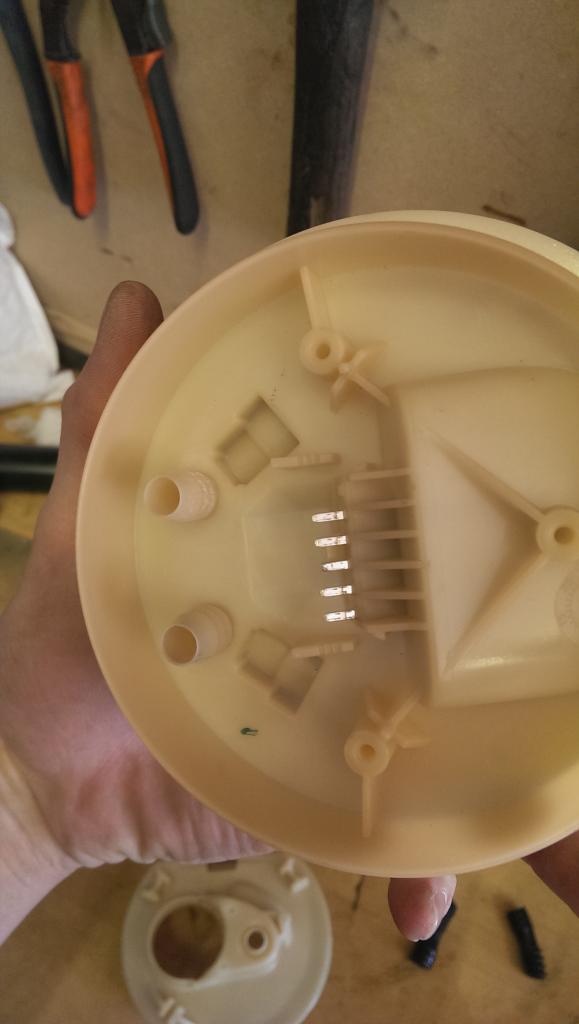
The old shit thin plastic hose you get as standard on the swirl pot
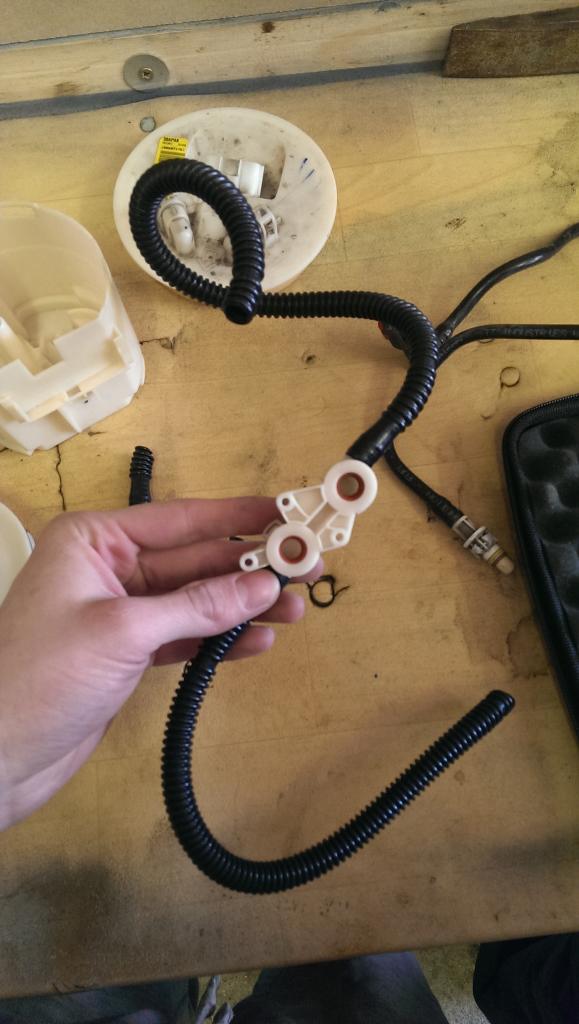
The old fuel pump from a 1.8
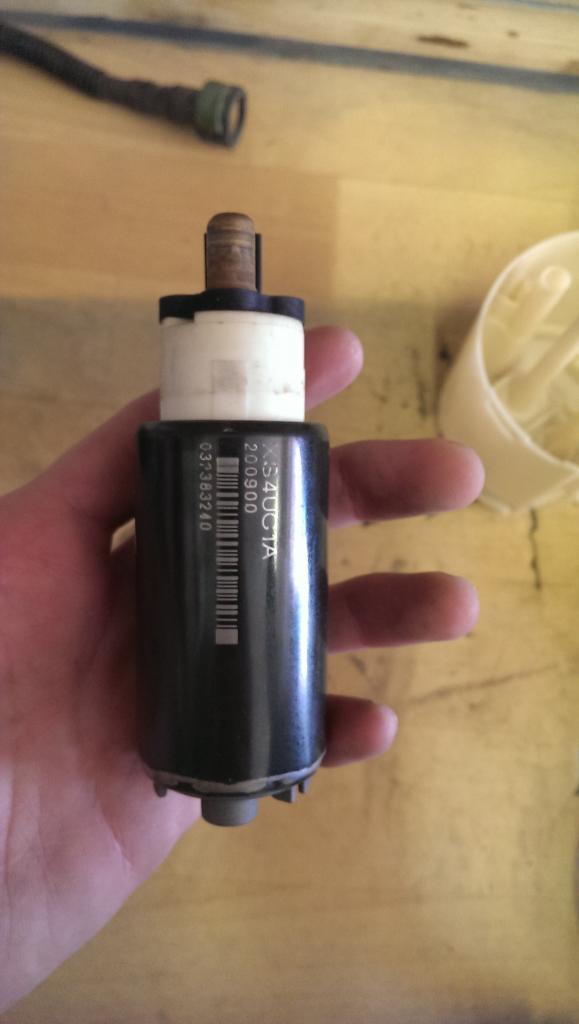
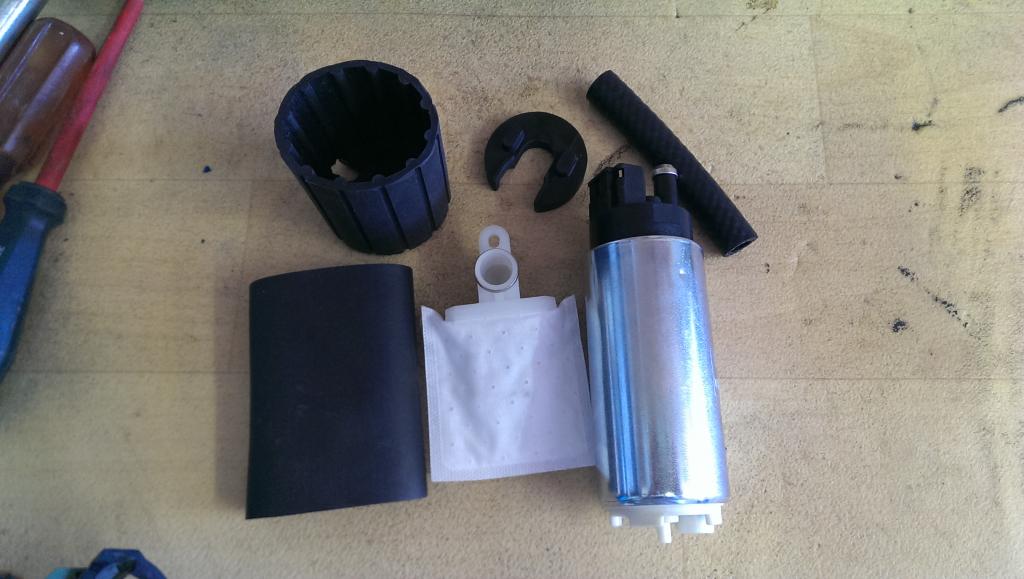
The Walbro GSS342 kit
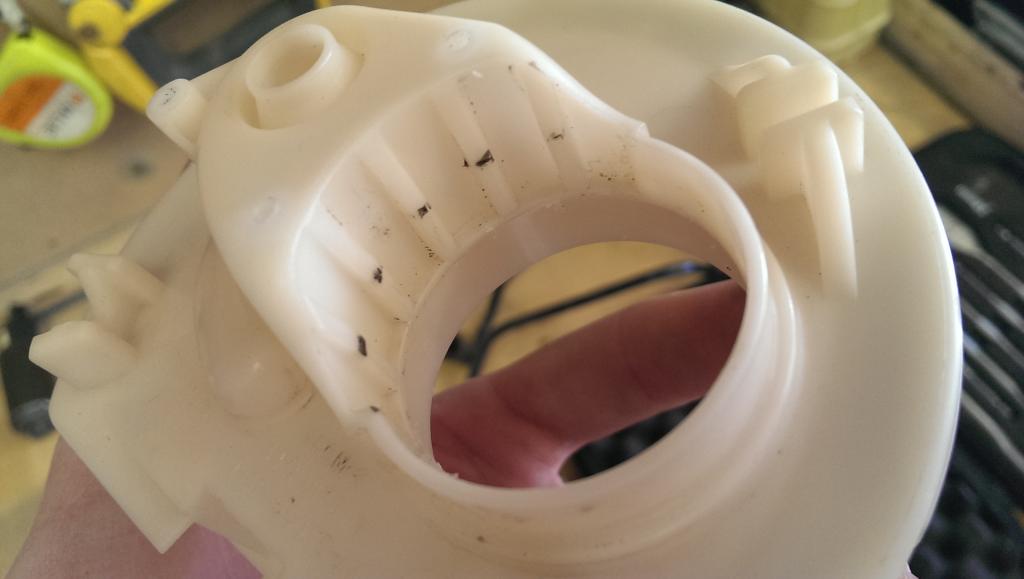
You will notice when trying to fit the new pump that the Walbro is about an inch taller and about 0.75mm wider so we had to bore out the hole. We marked out a line as to how far up we wanted the cut as you need to keep a lip above the line to stop the pump sliding up and out of the swirl pot.
after gently attacking it with this..
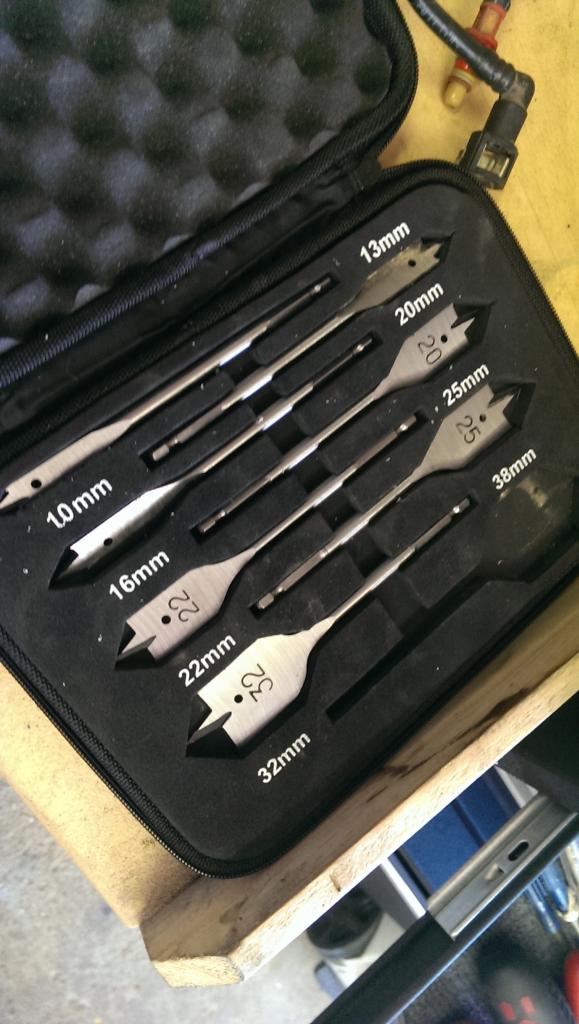
we was left with not much of a difference..
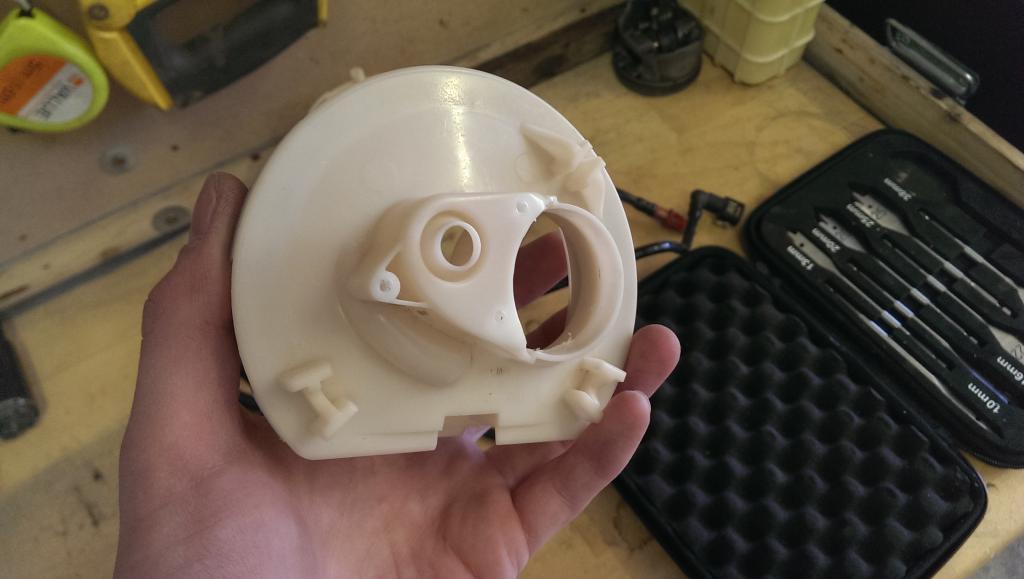
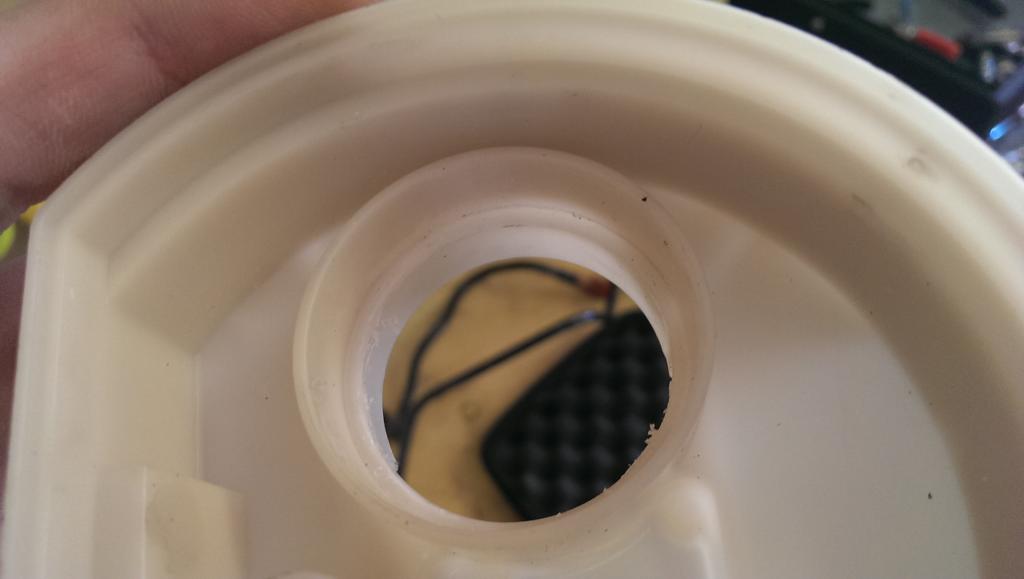
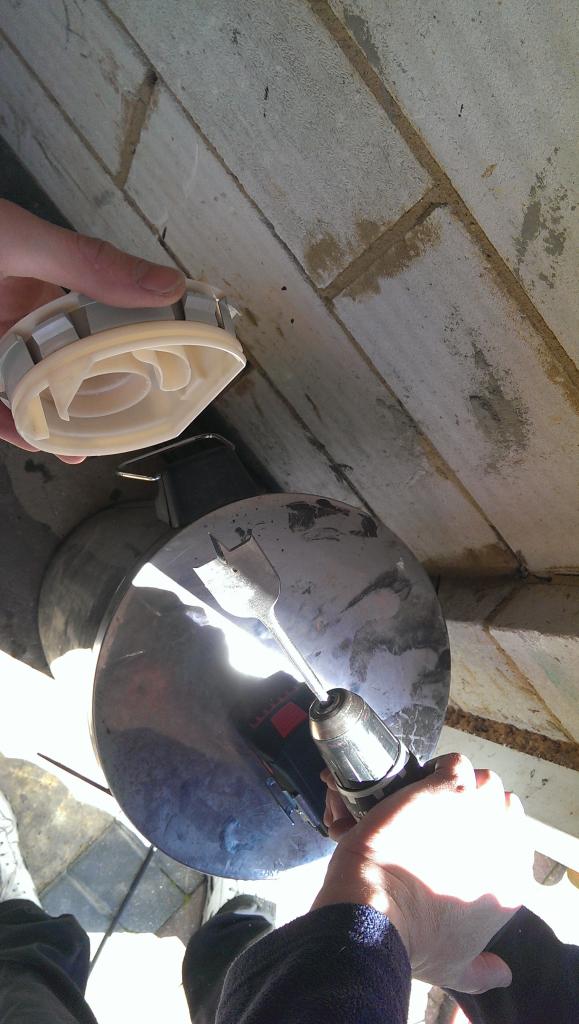
So we moved on to a normal drill bit and it seemed to be much quicker and less catchy! Here's the finished article after drilling
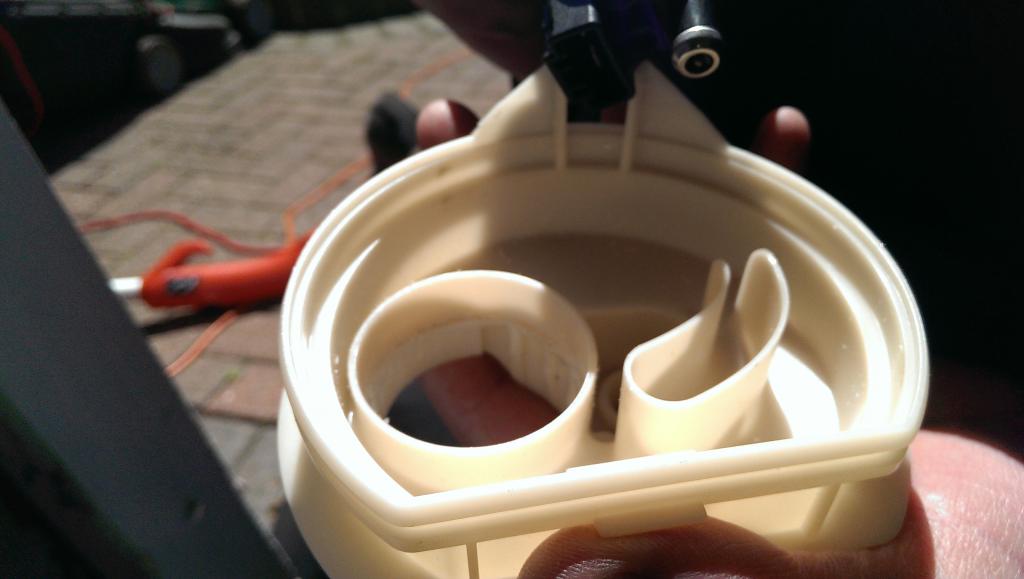
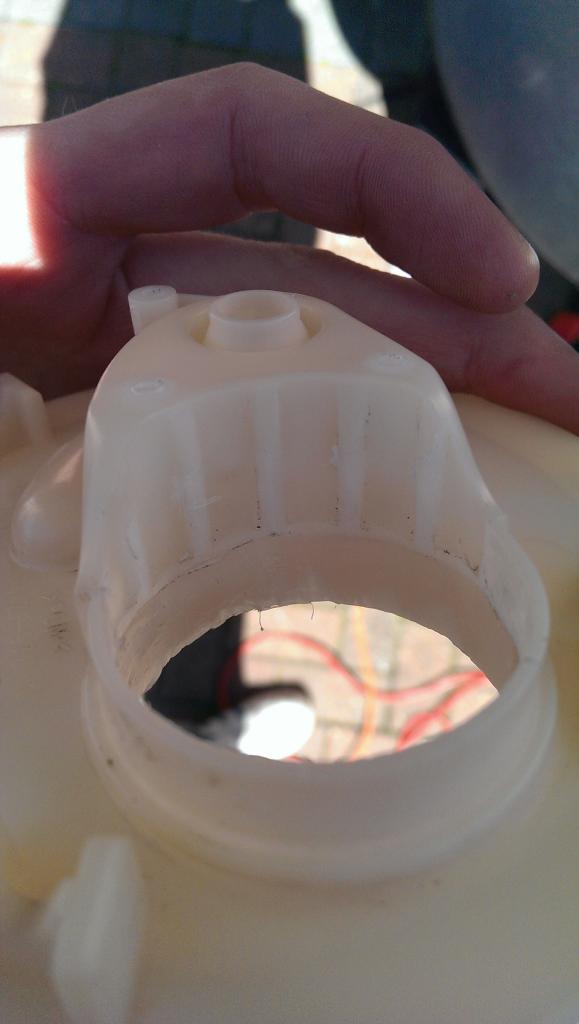
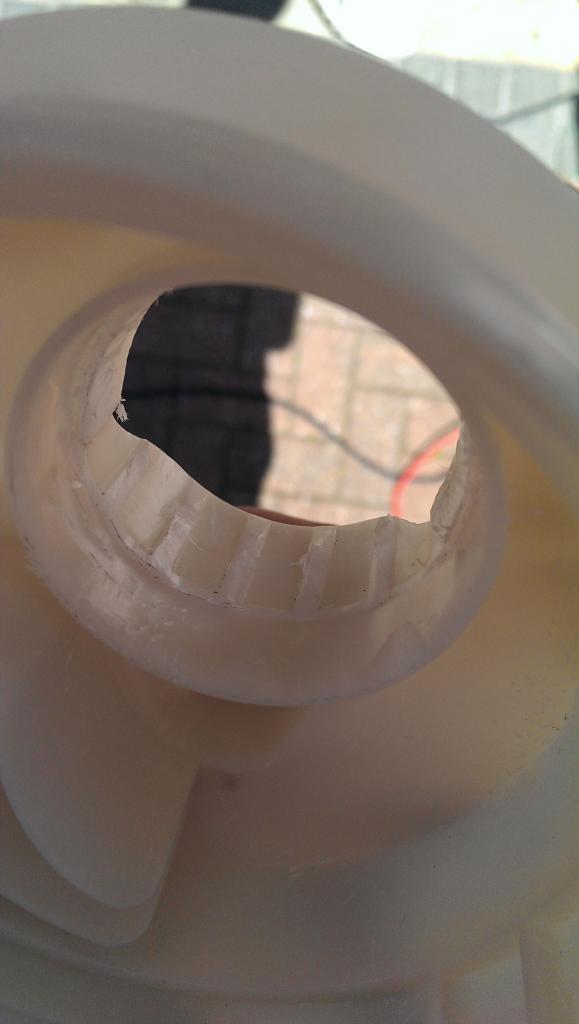
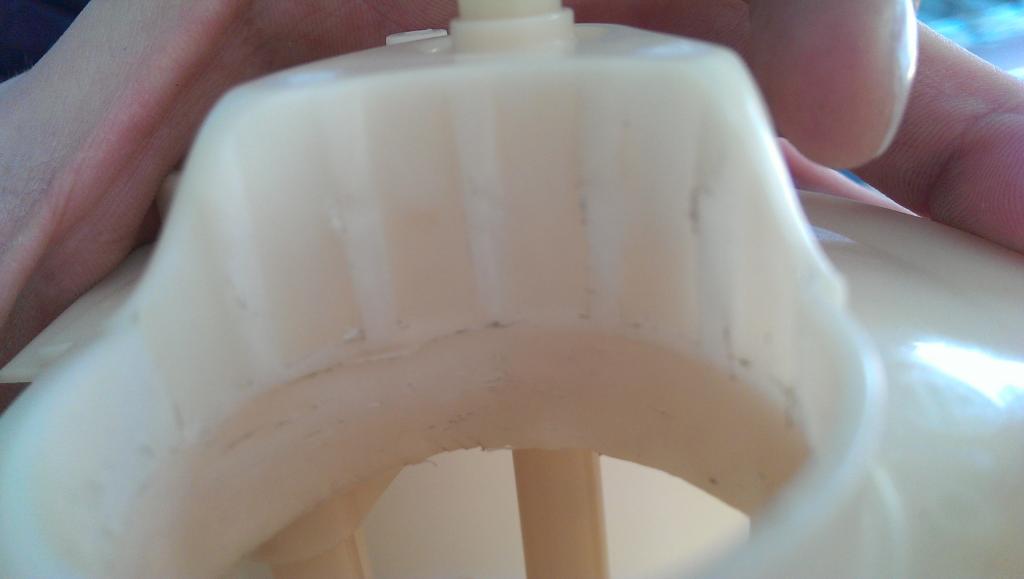
Sitting in the new whole nice and tight and flush.
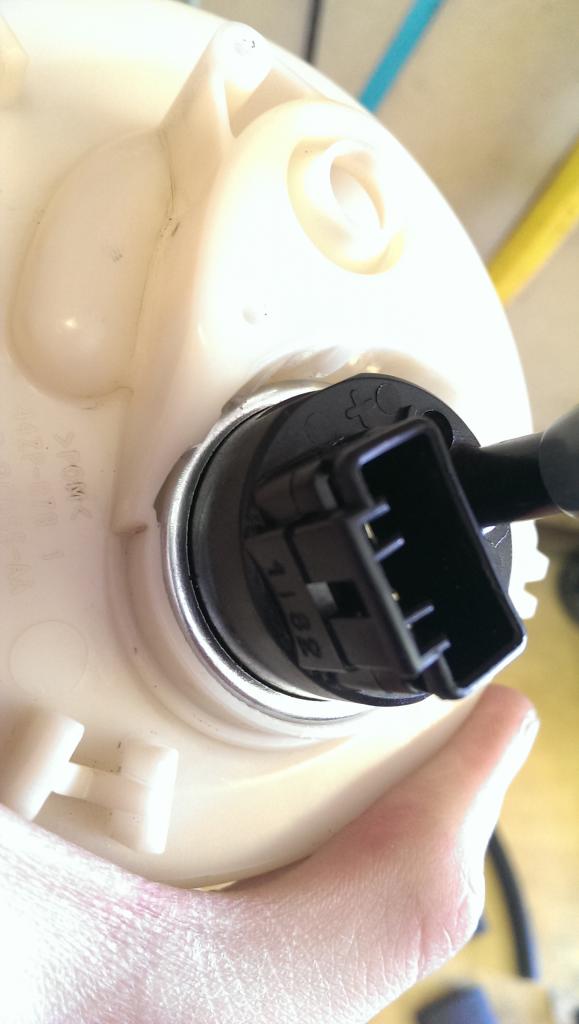
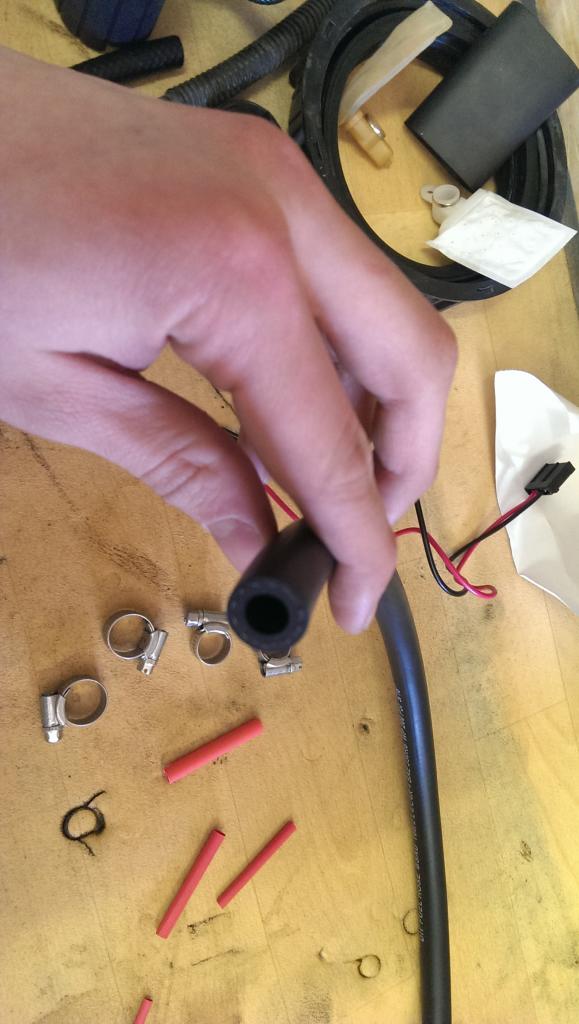
Then had to go and purchase extra fuel hose, securing clips and heat shrink.
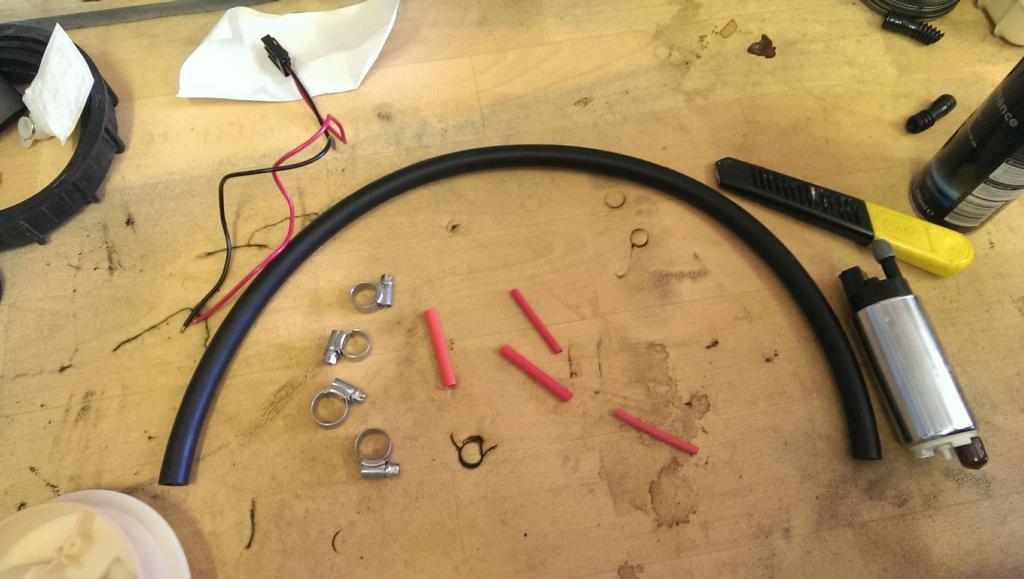
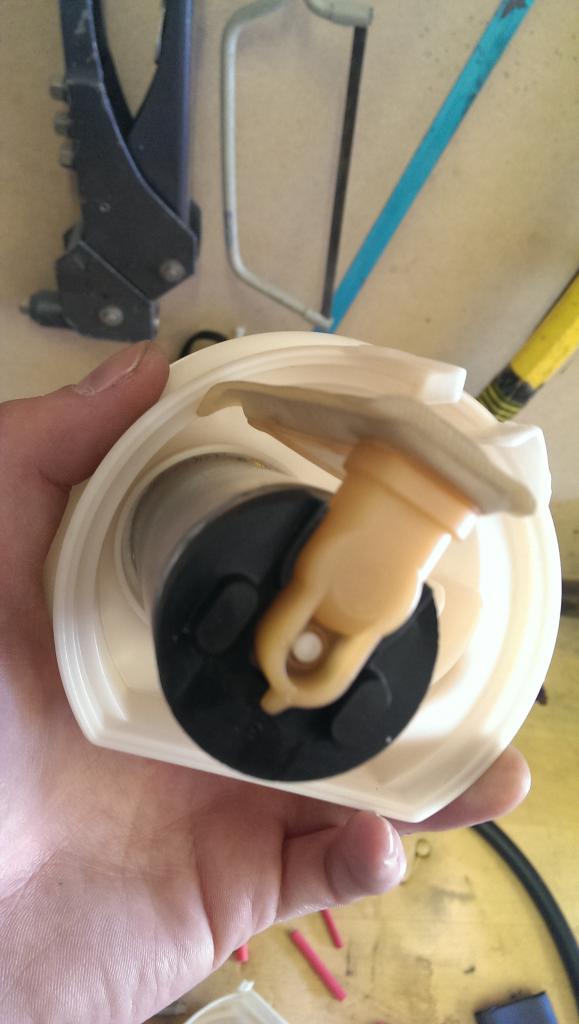
Decided on using the standard filter as after a wash, it flowed better than the Walbro and plus it fit into the swirl pot!
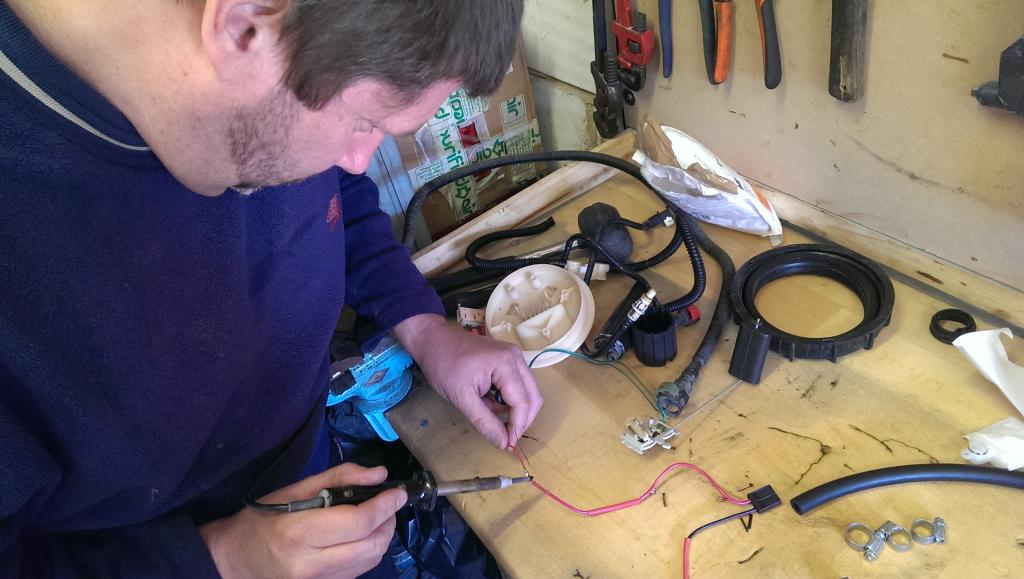
My Dad working the solder magic, joining up the new Warlbro connector wires to the old wires.
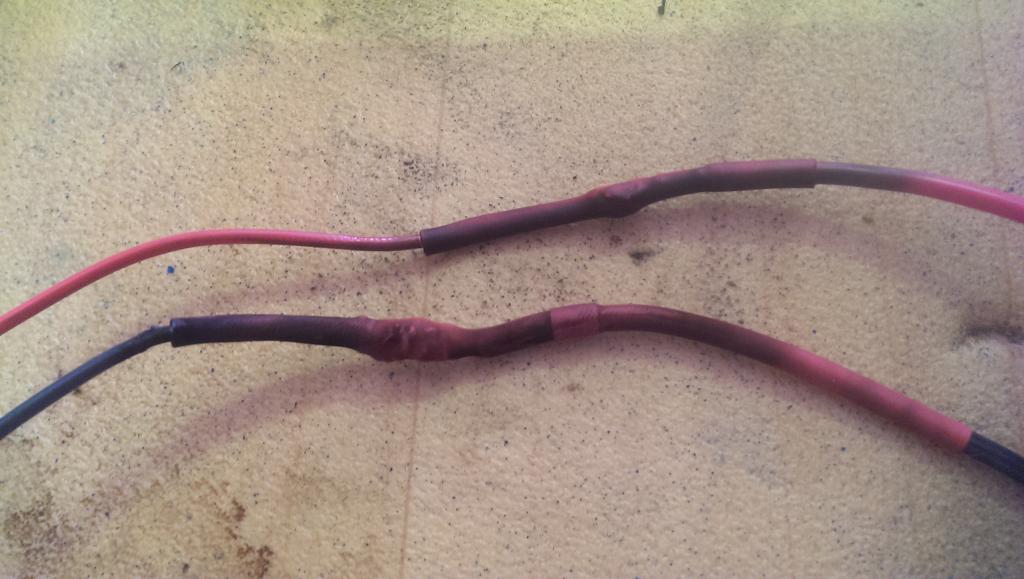
We staggered the cut between the wires so theres no chance of them ever touching and then soldered and heat shrinked, looks a bit dirty because we used a lighter as the heat source
Swirl pot assembled together
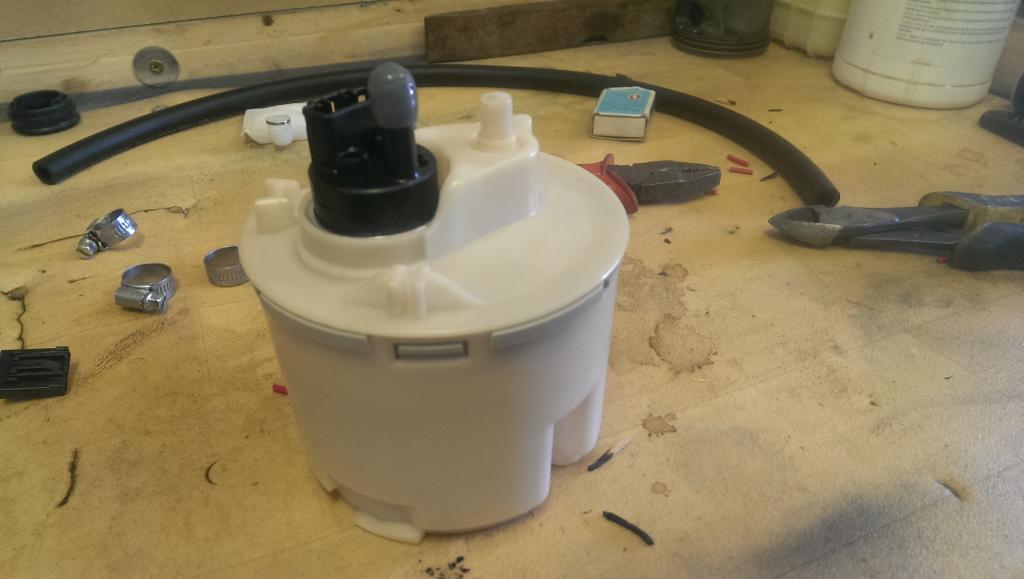
We used short hose pieces rather than long bendy bits for a few reasons: the space in-between the fuel inlet and outlet bosses was so short that it was impossible to not create a slight kink and restrict flow from the pump, secondly we didn't want to have so much hose in there that it hard the chance of hitting the sender arm, and also it was the best way to get a straight-through flow! All clamps were fitted tightly to the hoses (but not too tight because it is plastic remember!)
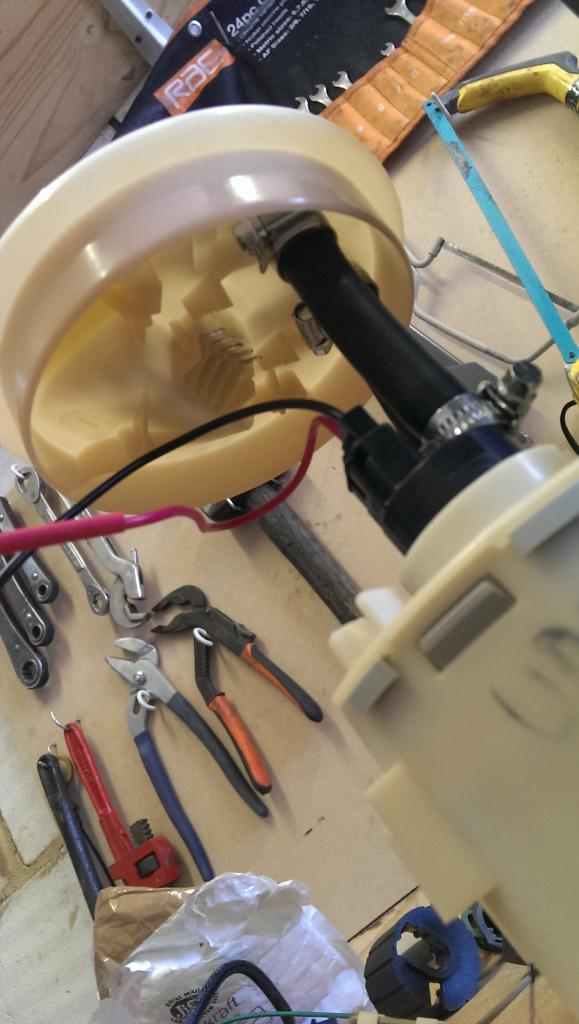
We left a spare bit of loose heat shrink on the cable just because we could
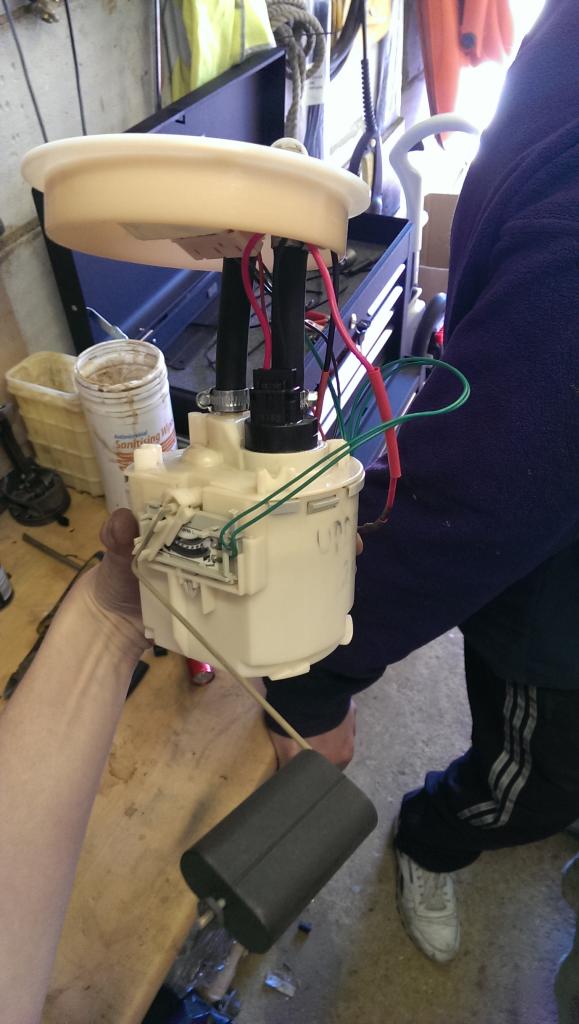
And that's it, tips:
- Always cut more fuel hose than you need and keep test fitting it until you find the point that it will be easiest to fit the plate and sealing ring on.
- Make sure you stagger the connections by a long way so that there is no chance that if the heat shrink comes off they will touch.
- Have a long large flat screwdriver to hand for when you need to lock the swirpot in to place, as due to this type of setup, there isn't a lot of room left once the swirlpot is touching the bottom of the tank as the plate on top is practically closed over the hole. This sounds fiddly but there is a couple of thick bits of plastic on the swirl pot lid that you will be able to hit clockwise into place. You will hear a click when it's locked.
Thanks for reading. Hope this helps anyone.
and here's a quick video of test running it dry.
After cutting off the original plastic hose from the tank sealing plate (not sure of what this is called)

The old shit thin plastic hose you get as standard on the swirl pot

The old fuel pump from a 1.8

The Walbro GSS342 kit

You will notice when trying to fit the new pump that the Walbro is about an inch taller and about 0.75mm wider so we had to bore out the hole. We marked out a line as to how far up we wanted the cut as you need to keep a lip above the line to stop the pump sliding up and out of the swirl pot.

after gently attacking it with this..

we was left with not much of a difference..


So we moved on to a normal drill bit and it seemed to be much quicker and less catchy! Here's the finished article after drilling


Sitting in the new whole nice and tight and flush.

Then had to go and purchase extra fuel hose, securing clips and heat shrink.


Decided on using the standard filter as after a wash, it flowed better than the Walbro and plus it fit into the swirl pot!

My Dad working the solder magic, joining up the new Warlbro connector wires to the old wires.

We staggered the cut between the wires so theres no chance of them ever touching and then soldered and heat shrinked, looks a bit dirty because we used a lighter as the heat source

Swirl pot assembled together

We used short hose pieces rather than long bendy bits for a few reasons: the space in-between the fuel inlet and outlet bosses was so short that it was impossible to not create a slight kink and restrict flow from the pump, secondly we didn't want to have so much hose in there that it hard the chance of hitting the sender arm, and also it was the best way to get a straight-through flow! All clamps were fitted tightly to the hoses (but not too tight because it is plastic remember!)

We left a spare bit of loose heat shrink on the cable just because we could

And that's it, tips:
- Always cut more fuel hose than you need and keep test fitting it until you find the point that it will be easiest to fit the plate and sealing ring on.
- Make sure you stagger the connections by a long way so that there is no chance that if the heat shrink comes off they will touch.
- Have a long large flat screwdriver to hand for when you need to lock the swirpot in to place, as due to this type of setup, there isn't a lot of room left once the swirlpot is touching the bottom of the tank as the plate on top is practically closed over the hole. This sounds fiddly but there is a couple of thick bits of plastic on the swirl pot lid that you will be able to hit clockwise into place. You will hear a click when it's locked.
Thanks for reading. Hope this helps anyone.
Thread Starter
Zetec Turbo Baby Yeahhhh
Joined: Oct 2009
Posts: 393
Likes: 0
From: Essex

ADD:
The rubber sleeve in the kit is useless, chuck it.
The foam sleeve needs to go on before fitting into the swirl pot and put a bit of WD40 on the pump to make it easier to slide the sleeve up and down.
Make sure EVERYTHING IS PLUGGED BACK TOGETHER BEFORE FITTING!!!! Connector plug on the cover plate, connector on the sender unit, connector on the pump and the connector on top of the tank when you go to fit it onto the car!
The rubber sleeve in the kit is useless, chuck it.
The foam sleeve needs to go on before fitting into the swirl pot and put a bit of WD40 on the pump to make it easier to slide the sleeve up and down.
Make sure EVERYTHING IS PLUGGED BACK TOGETHER BEFORE FITTING!!!! Connector plug on the cover plate, connector on the sender unit, connector on the pump and the connector on top of the tank when you go to fit it onto the car!

Thread
Thread Starter
Forum
Replies
Last Post
