
Help With Spraying My Plastic Bumpers


Thread Starter
Virgin
Joined: Mar 2012
Posts: 8
Likes: 0
From: UK
Hi,
I have a white Ford Fiesta Encore 1.3 1998. Some of the paint has come off both bumpers. I'm intending to get a can or two of Ford matching paint and primer from Halfords.
Can someone explain the steps I need to take to spray up the areas where the paint has come off? Spraying the primer on the area concerned, then the white top coat on that seems straightforward enough. I think.
I'm wondering though, about flatting down to provide a key? What grit, wet or dry? Don't the flatted sanded area and the sprayed primed area need to be exactly the same size and how do I do that? If I sand an area and then prime it, but say if there is a 1 inch over spray boarder around the flatted area, will the primer not adhere there, and the scratch marks will be visable?
I know what I mean but is a bit hard to explain.
Also same as painting a door where paint has flaked of, will be an uneven surface and the flaked areas will be clear even though has been painted.
Will I have same sort of problems with bumpers if so, how do I avoid.
Cheers.


Joined: Jun 2009
Posts: 8,308
Likes: 25
From: catterick/sunny yorkshire
first off you need to sand the area back were the paint has come off till there is no edge ,1200wet an dry will be fine or 800 ,you need to flat past the arear you intend to primer and dont prime rite up to ur taped edge so when you flat the primer down you wount be left with a edge ,also you will need a plastic primer

PassionFord Post Troll
Joined: Oct 2008
Posts: 2,867
Likes: 3
From: telly tubby land
Firstly you will need plastic primer, colour paint, then laquar.
I'd recommend 800+ wet and dry, used wet.
Flat down the area quiet a good way around the area, dry, spray primer, wet flat, dry, colour, laquar, wet flat and polish
Use finer grades the further along the spraying process you are, you may need filler primer depending on how deep the scratch is, in witch case, use after you've flatter the plastic primer down, then flat that down before colour.
One more thing, mask off the area not to be sprayed, try and tie this into lines of the car if possible, note the colour will be more vivid as it's not exactly matched to your car, the whole bumper will need flagging and polishing to help it blend in
This is based on my limited knowledge of spraying so don't take it as gospil
Thread Starter
Virgin
Joined: Mar 2012
Posts: 8
Likes: 0
From: UK
first off you need to sand the area back were the paint has come off till there is no edge ,1200wet an dry will be fine or 800 ,you need to flat past the arear you intend to primer and dont prime rite up to ur taped edge so when you flat the primer down you wount be left with a edge ,also you will need a plastic primer
I follow what you say up to here. " you need to flat past the arear you intend to primer and dont prime rite up to ur taped edge" I don't quite follow you here, could you explain more clearly to me please?
Cheers,
Peter.
Thread Starter
Virgin
Joined: Mar 2012
Posts: 8
Likes: 0
From: UK
Firstly you will need plastic primer, colour paint, then laquar.
I'd recommend 800+ wet and dry, used wet.
Flat down the area quiet a good way around the area, dry, spray primer, wet flat, dry, colour, laquar, wet flat and polish
Use finer grades the further along the spraying process you are, you may need filler primer depending on how deep the scratch is, in witch case, use after you've flatter the plastic primer down, then flat that down before colour.
One more thing, mask off the area not to be sprayed, try and tie this into lines of the car if possible, note the colour will be more vivid as it's not exactly matched to your car, the whole bumper will need flagging and polishing to help it blend in
This is based on my limited knowledge of spraying so don't take it as gospil
I'd recommend 800+ wet and dry, used wet.
Flat down the area quiet a good way around the area, dry, spray primer, wet flat, dry, colour, laquar, wet flat and polish
Use finer grades the further along the spraying process you are, you may need filler primer depending on how deep the scratch is, in witch case, use after you've flatter the plastic primer down, then flat that down before colour.
One more thing, mask off the area not to be sprayed, try and tie this into lines of the car if possible, note the colour will be more vivid as it's not exactly matched to your car, the whole bumper will need flagging and polishing to help it blend in
This is based on my limited knowledge of spraying so don't take it as gospil
" laquar " I thought the Halford paint would be a gloss do I need the laquere? Again polish, do I need it? I just want to tidy the car up, not put it in a show sort of thing.
Thanks mate,
Peter.
Joined: Jun 2009
Posts: 8,308
Likes: 25
From: catterick/sunny yorkshire
so thats first set flat arear down thats flaking with 800 till there is no edge ,mask the arear off so no primer gets on wing ect ,plastic prime ,dosnt need sanding at all then primer witch will need flatting ,flat the old paint to the nearest edge or line remask and put the topcoat on
Thread Starter
Virgin
Joined: Mar 2012
Posts: 8
Likes: 0
From: UK
if your just priming the bumper you normly mask off the arear that you dont want paint on or primer like this altho its just a guid to show you what i mean

so thats first set flat arear down thats flaking with 800 till there is no edge ,mask the arear off so no primer gets on wing ect ,plastic prime ,dosnt need sanding at all then primer witch will need flatting ,flat the old paint to the nearest edge or line remask and put the topcoat on
so thats first set flat arear down thats flaking with 800 till there is no edge ,mask the arear off so no primer gets on wing ect ,plastic prime ,dosnt need sanding at all then primer witch will need flatting ,flat the old paint to the nearest edge or line remask and put the topcoat on
Cheers.
Trending Topics

PassionFord Post Whore!!
iTrader: (2)
Joined: Jan 2010
Posts: 5,904
Likes: 26
From: in someone elses garage
Try and use a sanding block where ever you can to reduce any uneven flatting
let the paper do the work. Dont press too hard
and use washing up liquid in your water to help lubricate the paper.
let the paper do the work. Dont press too hard
and use washing up liquid in your water to help lubricate the paper.
Thread Starter
Virgin
Joined: Mar 2012
Posts: 8
Likes: 0
From: UK
Thread Starter
Virgin
Joined: Mar 2012
Posts: 8
Likes: 0
From: UK
Thread Starter
Virgin
Joined: Mar 2012
Posts: 8
Likes: 0
From: UK
Hi,
Here is a link to bumper photos.
http://s807.photobucket.com/albums/y...mper%20Photos/
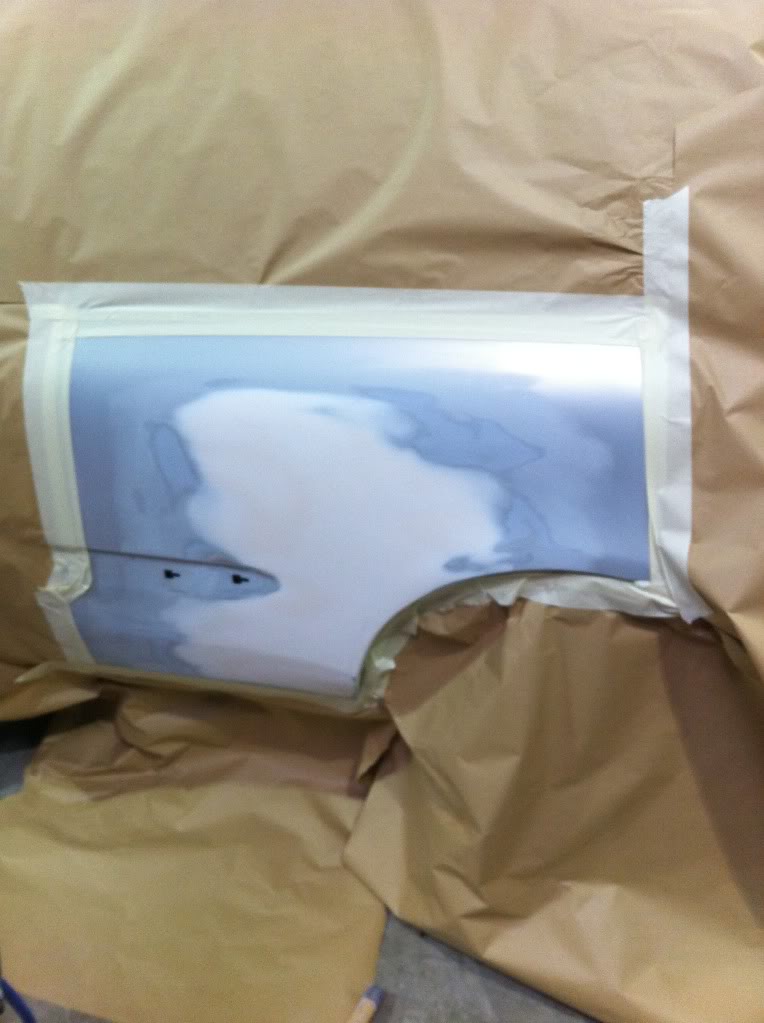
Wet and dry what grits and how many sheets to do the work? One bumper on corner is scuffed with scratches, in front bumper crack on top in two places, see ringed pictures. Also some rust on rear cills. How do I remedy these problems and what materials, products do I need to get, from Halfords or other motor factor.
Wing mirror needs tidying, replacement unit for other side needs painting. I have several sheets of good stout wrapping paper, thought much better than newspaper, that might allow bleed through, even if doubled up, fathing about trying to double up and stick down with masking tape. I have some Wickes 1 inch wide decorating masking tape, assume OK to use this.
All help and tips on this, much appreciated, I really havn't a clue.
Cheers,
Peter.
Here is a link to bumper photos.
http://s807.photobucket.com/albums/y...mper%20Photos/
Wet and dry what grits and how many sheets to do the work? One bumper on corner is scuffed with scratches, in front bumper crack on top in two places, see ringed pictures. Also some rust on rear cills. How do I remedy these problems and what materials, products do I need to get, from Halfords or other motor factor.
Wing mirror needs tidying, replacement unit for other side needs painting. I have several sheets of good stout wrapping paper, thought much better than newspaper, that might allow bleed through, even if doubled up, fathing about trying to double up and stick down with masking tape. I have some Wickes 1 inch wide decorating masking tape, assume OK to use this.
All help and tips on this, much appreciated, I really havn't a clue.
Cheers,
Peter.
Thread Starter
Virgin
Joined: Mar 2012
Posts: 8
Likes: 0
From: UK
That link was bad, I'll try again.
http://s807.photobucket.com/albums/y...mper%20Photos/
Yeah that seems to be working OK.
http://s807.photobucket.com/albums/y...mper%20Photos/
Yeah that seems to be working OK.

Thread
Thread Starter
Forum
Replies
Last Post
nicodinho
Ford Non RS / XR / ST parts for sale.
6
Oct 7, 2015 12:56 PM
rsguy
General Car Related Discussion.
44
Sep 29, 2015 03:29 PM