
mk4 Brazilian Escort Ignition Button


Thread Starter
Escort s2 1.6
Joined: Nov 2009
Posts: 66
Likes: 0
From: Brazil - Brasilia
Hello,
i'm new here, have been looking all over the projects and decided to make my own.
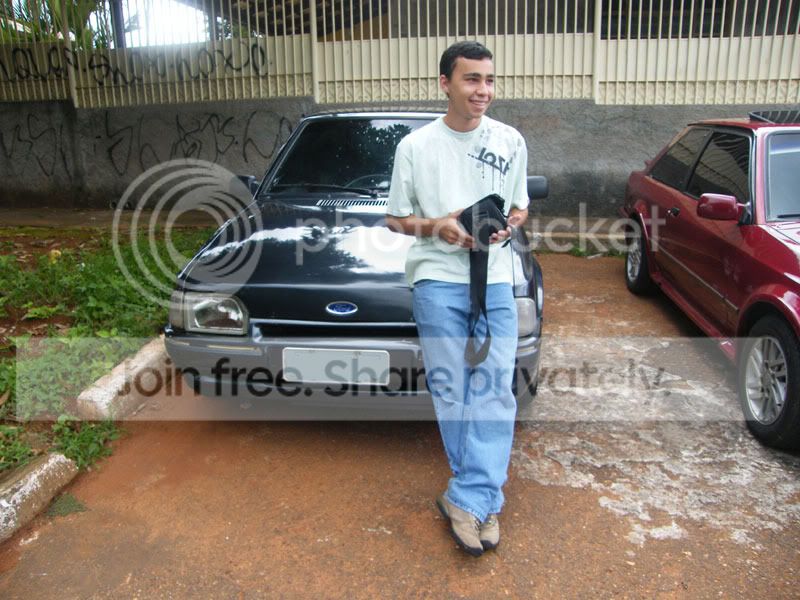
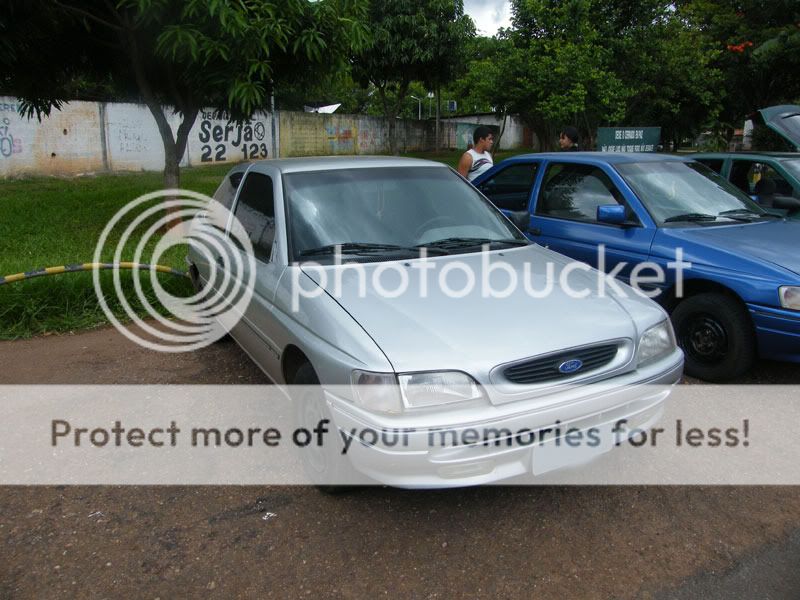
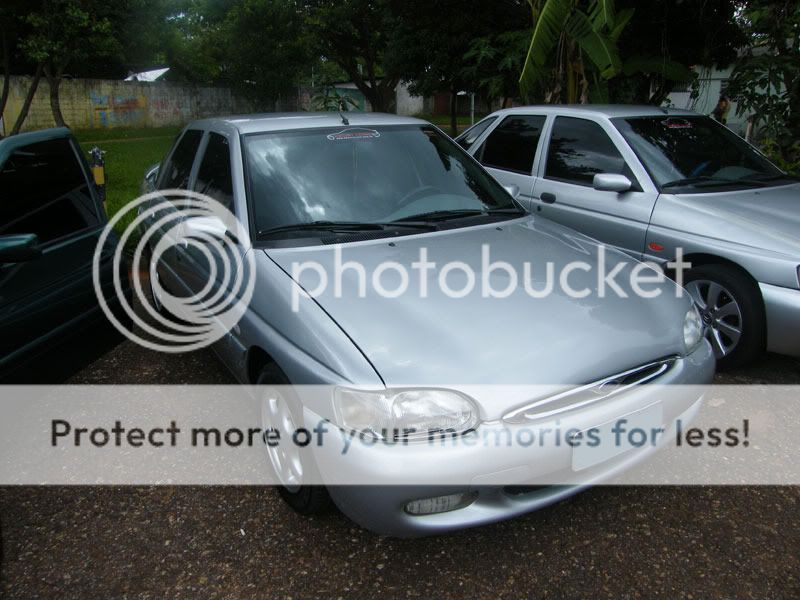
This is actually my Dad's car, which I drive every day.
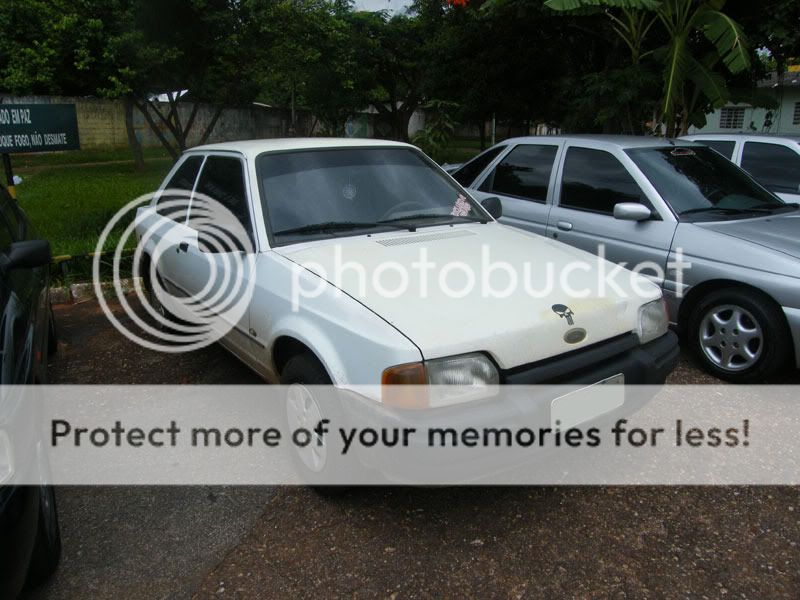
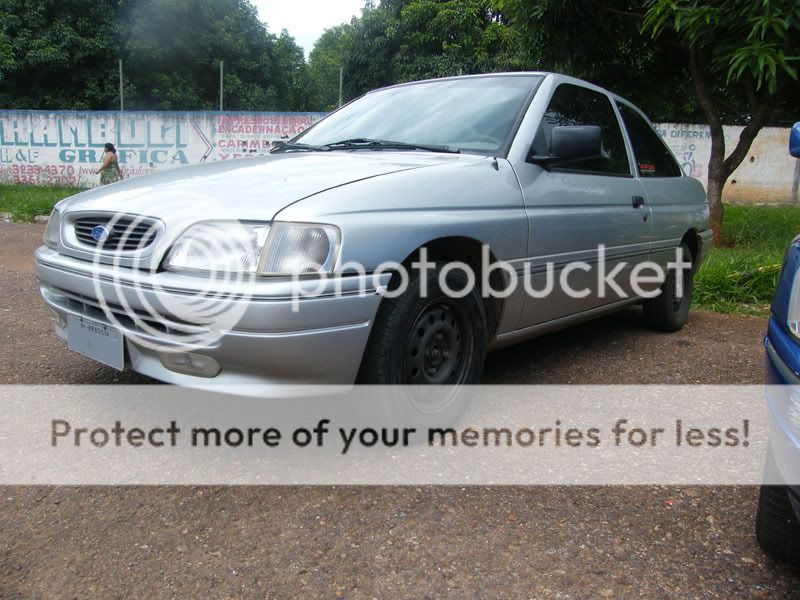
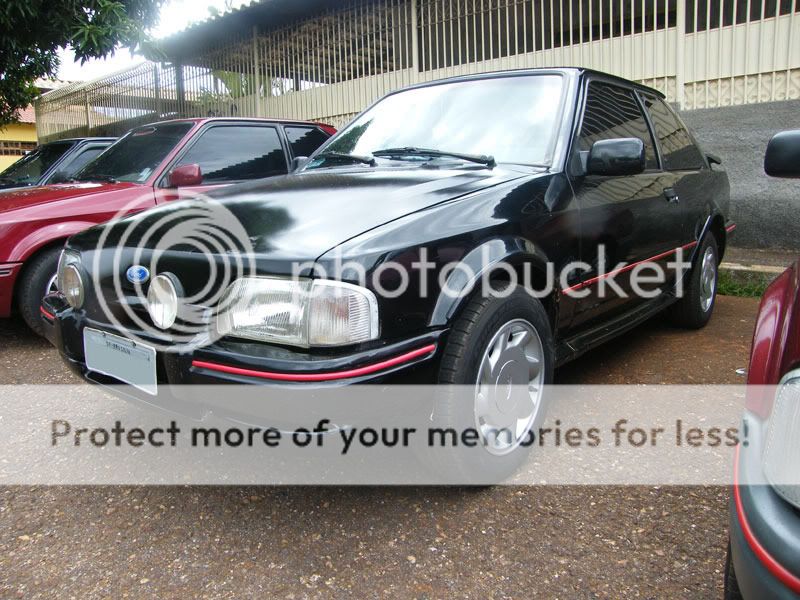
It's a MK4 Hobby 1.6 Alcool
---------------------
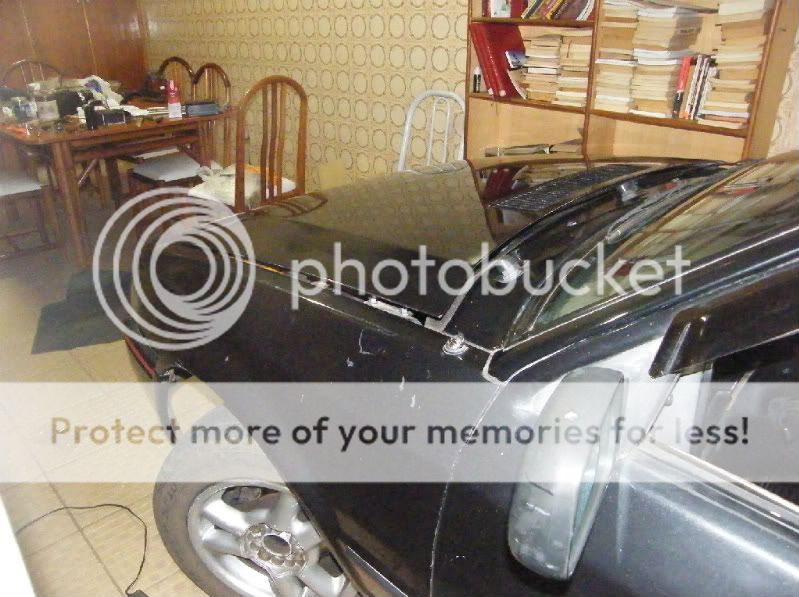
When I started to drive this car it was like this:

A couple days after i took this pic unfortunantly i crashed the front, Headlights were gone, radiator, hood and other things..
went to fix all of it
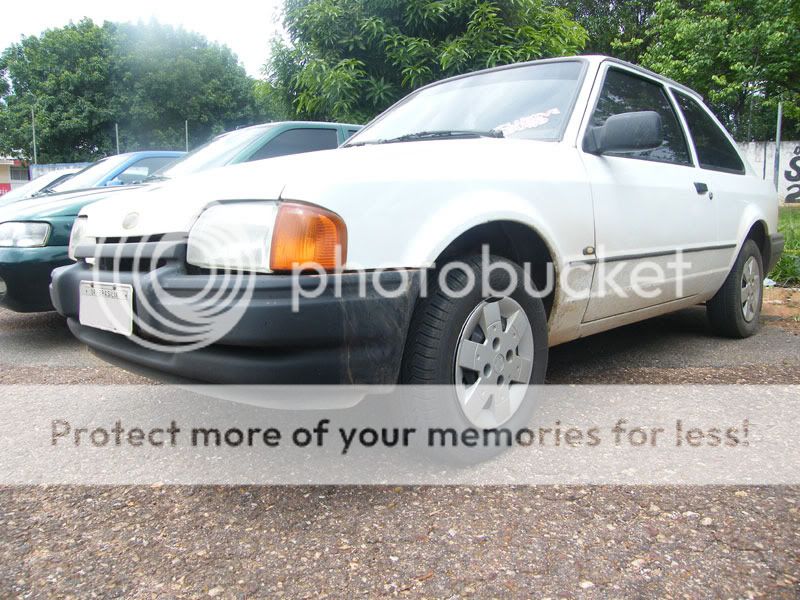
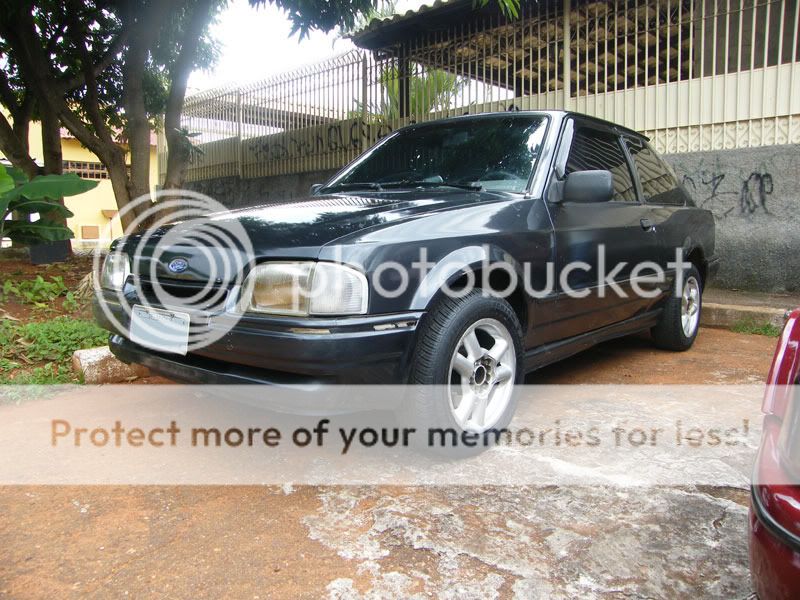
The hood was fixed and painted (not changed) headlights changed, the mile lights were broken and stayed, radiator changed, we also took the spoiler out because it was all broken
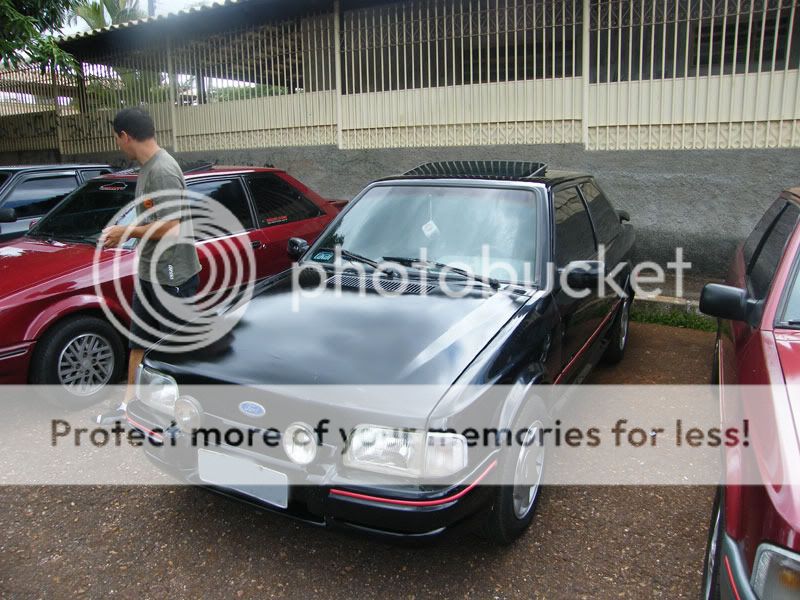
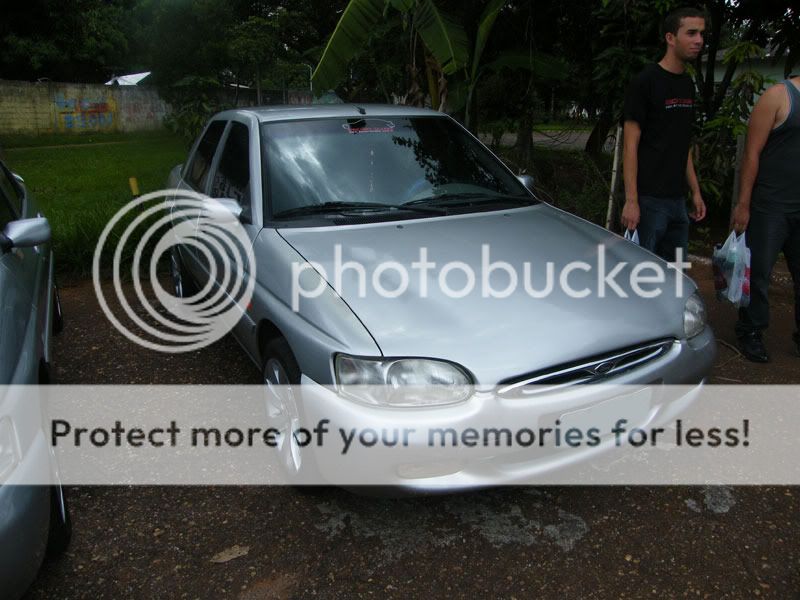
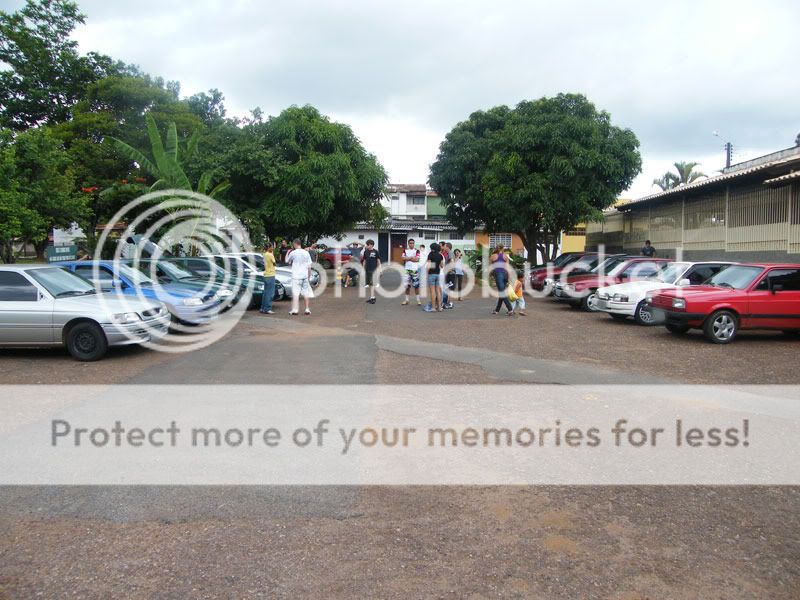
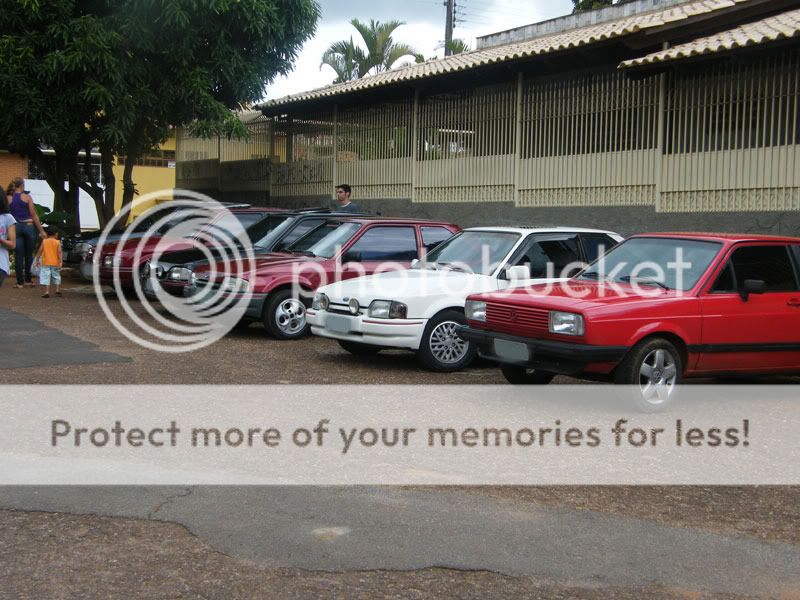
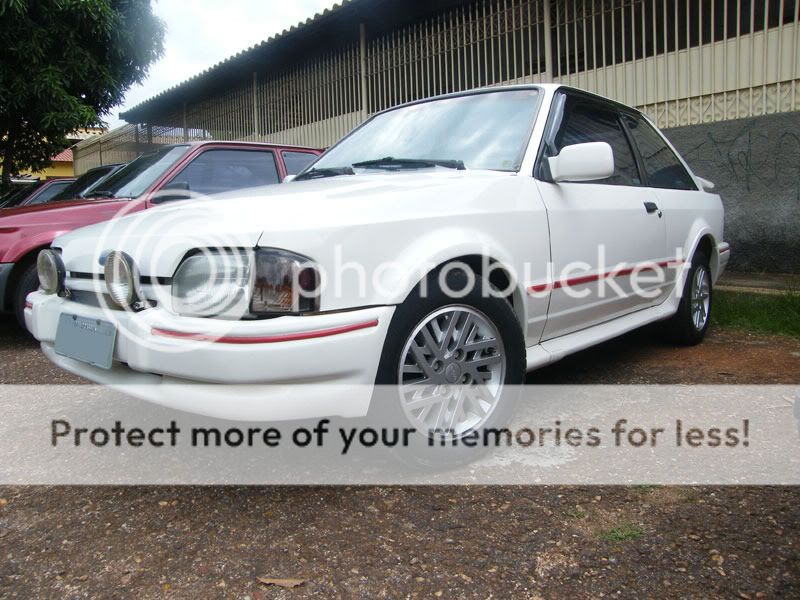
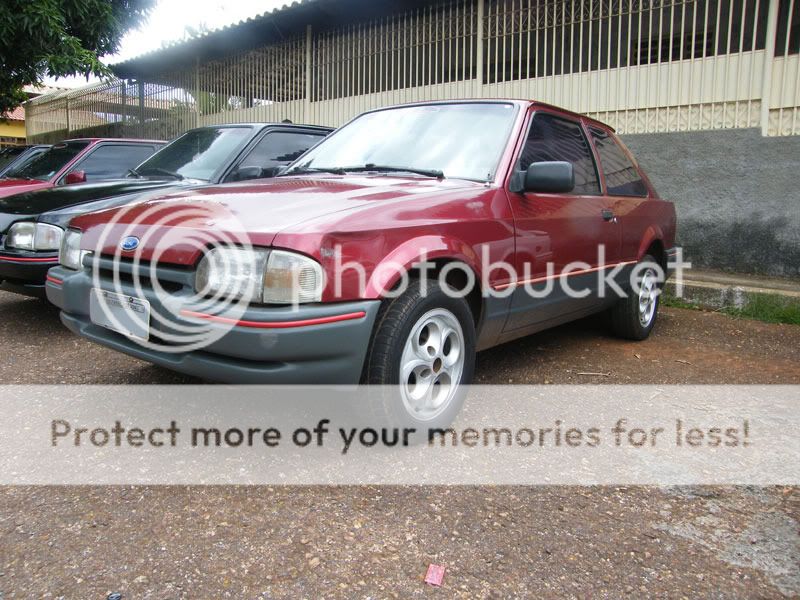
Today
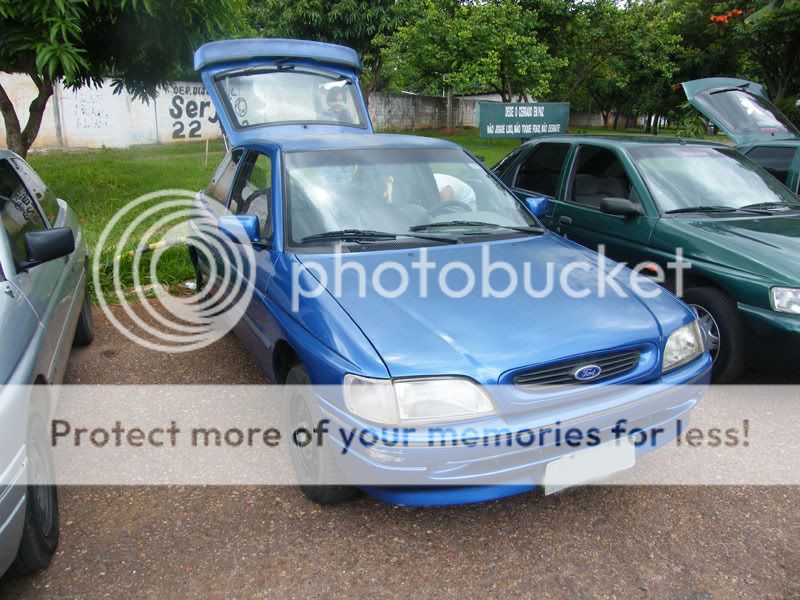
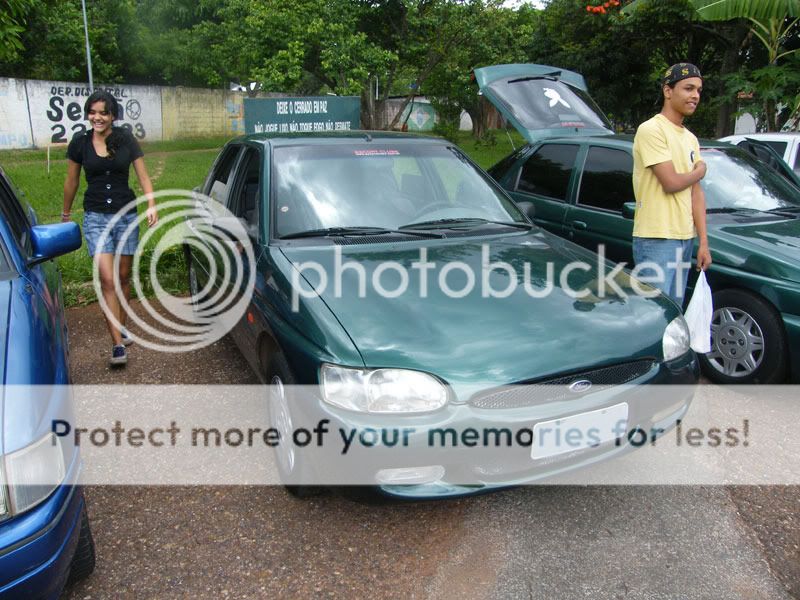
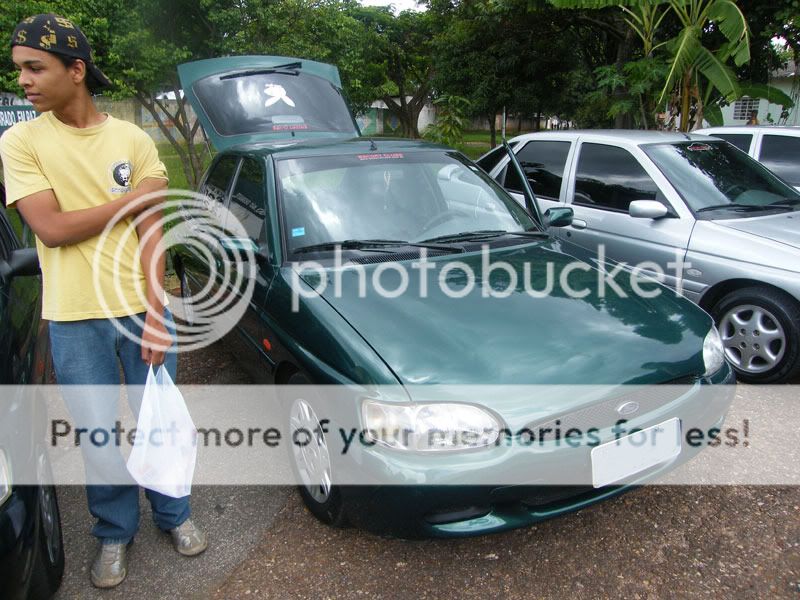
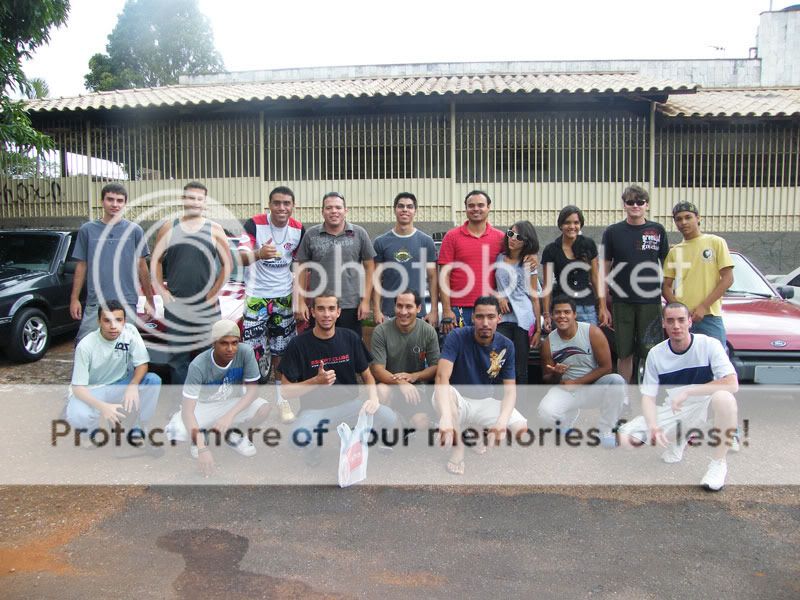
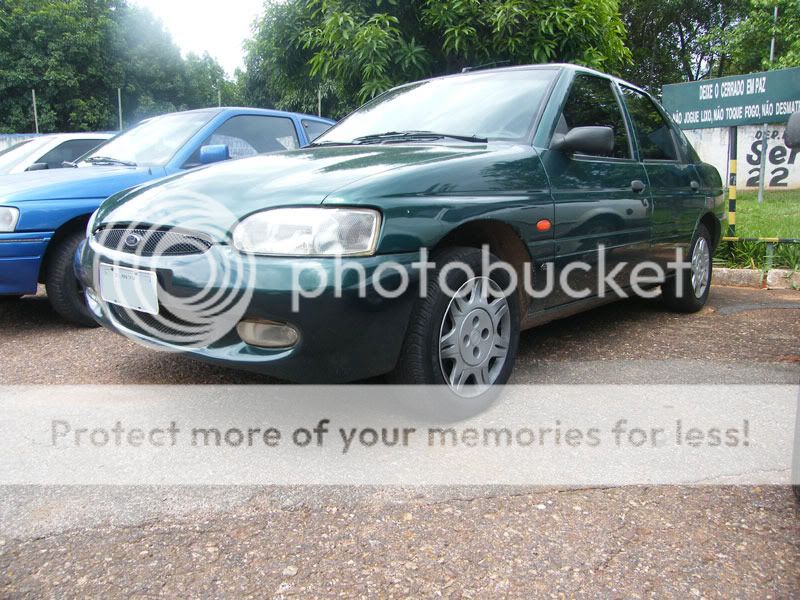
 Picture from 11/07/2009 (escort Meeting)
Exhaust Changing
First upgrade made on my commando, not my father's
The exhaust before that didn't have the 2nd muffler, it was a straight tube, so the noise was kinda loud and "thin"
Sport muffler (idk the model) and i really liked the results
http://www.youtube.com/watch?v=35qXEzbihuI
LEDs
Another quick UP
I'm working on my front panel leds, meanwhile i put 2 leds on driver's feet and 2 on passenger's feet
The button already had a led inside which wasnt working, i had to make a whole over it

New button led in position

Button in place (i couldn't make a "transparent" plastic to cover the whole)

Positives

Button ON

Driver's side

Passenger's side

I adapted the mile headlights button to it, since i don't have the mile headlights anymore
I liked it but imo its not as bright as I want (it's not as dark as the pic either, camera problems) i might double the led numbers.
That's it for now.
Hugs from Brazil,
Pedro.
i'm new here, have been looking all over the projects and decided to make my own.
This is actually my Dad's car, which I drive every day.
It's a MK4 Hobby 1.6 Alcool
---------------------
When I started to drive this car it was like this:
A couple days after i took this pic unfortunantly i crashed the front, Headlights were gone, radiator, hood and other things..
went to fix all of it
The hood was fixed and painted (not changed) headlights changed, the mile lights were broken and stayed, radiator changed, we also took the spoiler out because it was all broken
Today
Picture from 11/07/2009 (escort Meeting)Exhaust Changing
First upgrade made on my commando, not my father's
The exhaust before that didn't have the 2nd muffler, it was a straight tube, so the noise was kinda loud and "thin"
Sport muffler (idk the model) and i really liked the results
http://www.youtube.com/watch?v=35qXEzbihuI
LEDs
Another quick UP
I'm working on my front panel leds, meanwhile i put 2 leds on driver's feet and 2 on passenger's feet
The button already had a led inside which wasnt working, i had to make a whole over it
New button led in position
Button in place (i couldn't make a "transparent" plastic to cover the whole)
Positives
Button ON
Driver's side
Passenger's side
I adapted the mile headlights button to it, since i don't have the mile headlights anymore
I liked it but imo its not as bright as I want (it's not as dark as the pic either, camera problems) i might double the led numbers.
That's it for now.
Hugs from Brazil,
Pedro.
Last edited by pedro.caribe; Dec 13, 2009 at 02:18 AM.
Thread Starter
Escort s2 1.6
Joined: Nov 2009
Posts: 66
Likes: 0
From: Brazil - Brasilia
Thread Starter
Escort s2 1.6
Joined: Nov 2009
Posts: 66
Likes: 0
From: Brazil - Brasilia
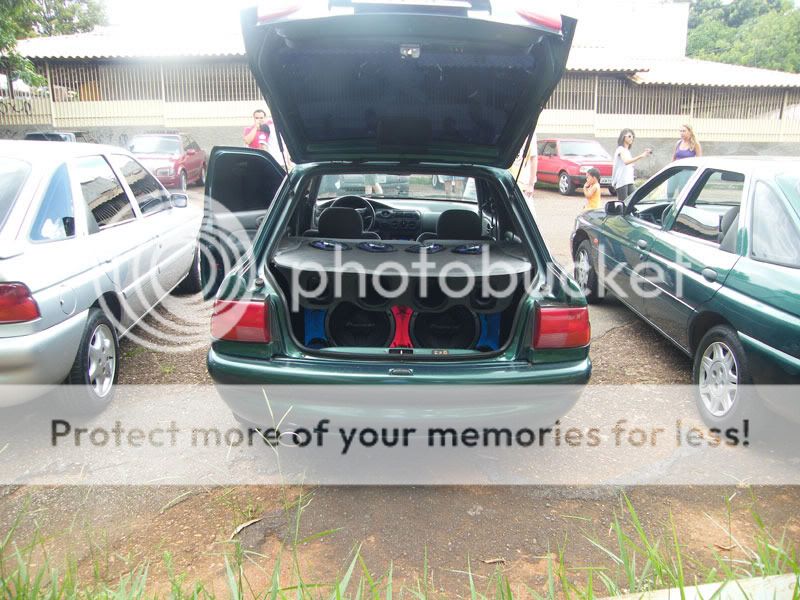
SOUND SYSTEM
Ah. I was missing that
New aquisition (=

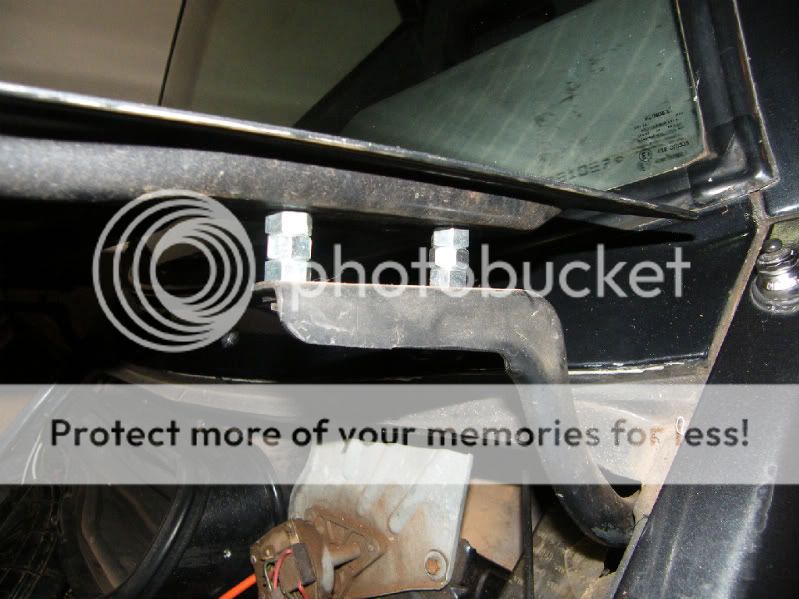
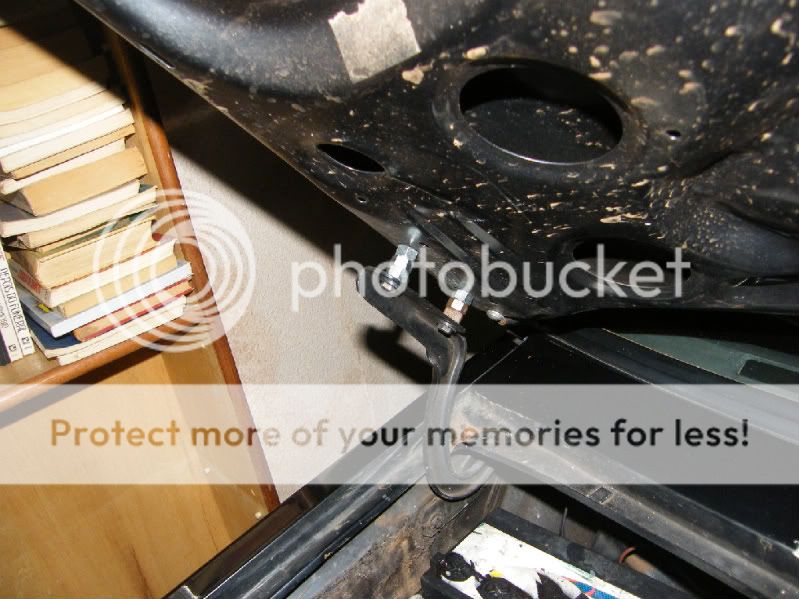
Extending the cable hole

Old box (No Botton)

Subs positioned

Bolting the module on the box

Box in position

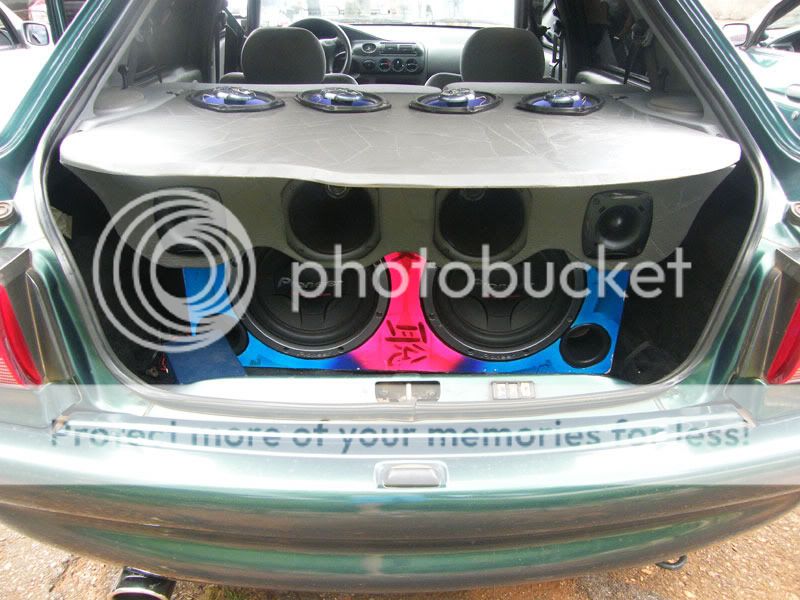
Details of config and instalation


The sound is simply perfect! I didn't know this sub was that good with the right boxes
PS.: The box volume is 80Liters, 40 Liters for each sub
I made a video trying to show how the car was shaking, but the camera has a function that excludes the shaking witch i don't know how to disable. hehe
Hugs from Brazil,
Pedro
Ah. I was missing that
New aquisition (=
Extending the cable hole
Old box (No Botton)
Subs positioned
Bolting the module on the box
Box in position
Details of config and instalation
The sound is simply perfect! I didn't know this sub was that good with the right boxes
PS.: The box volume is 80Liters, 40 Liters for each sub
I made a video trying to show how the car was shaking, but the camera has a function that excludes the shaking witch i don't know how to disable. hehe
Hugs from Brazil,
Pedro
Thread Starter
Escort s2 1.6
Joined: Nov 2009
Posts: 66
Likes: 0
From: Brazil - Brasilia


Thread Starter
Escort s2 1.6
Joined: Nov 2009
Posts: 66
Likes: 0
From: Brazil - Brasilia
Well mates,
for a long time i've been hearing a buggy noise coming from under the car, i looked down there today and saw that the exhaust was breaking in the middle, went to a mechanic and changed the middle exhaust.
Photos of process down and a small vid to show how it is now (=
Disgusting

Closer

Starting to create a hole on the 2nd muffler

1st muffler changed last time

New Middle exhaust

On it's place, perfect

Mig weld, All the best to the Escort

And the video (=
Hugs from Brazil,
Pedro
for a long time i've been hearing a buggy noise coming from under the car, i looked down there today and saw that the exhaust was breaking in the middle, went to a mechanic and changed the middle exhaust.
Photos of process down and a small vid to show how it is now (=
Disgusting
Closer
Starting to create a hole on the 2nd muffler
1st muffler changed last time
New Middle exhaust
On it's place, perfect
Mig weld, All the best to the Escort
And the video (=
Hugs from Brazil,
Pedro
Trending Topics

st170 breaking
Joined: May 2004
Posts: 5,298
Likes: 1
From: norfolk
cool, do you have pictures of the bay and generally pics around the car, looks like a few different thinks to out model, the dash/switches seem to mbe mk3 switches in a panel on a mk4 dash, like the rear openers (euro hi spec got em we didnt)never seen those skirst either

Thread Starter
Escort s2 1.6
Joined: Nov 2009
Posts: 66
Likes: 0
From: Brazil - Brasilia
cool, do you have pictures of the bay and generally pics around the car, looks like a few different thinks to out model, the dash/switches seem to mbe mk3 switches in a panel on a mk4 dash, like the rear openers (euro hi spec got em we didnt)never seen those skirst either
Hi sir, i don't have pics of that right now, but i can take them later, tomorrow i think
Thread Starter
Escort s2 1.6
Joined: Nov 2009
Posts: 66
Likes: 0
From: Brazil - Brasilia
New ups ppl
Just finished the installation proccess of tachometer, the other gauges are not working right now, gotta buy all the cables and stuff
No proccess picture because i had no battery on my camera
Tachometer working perfectly

Gauges Column, screwed

Just finished the installation proccess of tachometer, the other gauges are not working right now, gotta buy all the cables and stuff
No proccess picture because i had no battery on my camera
Tachometer working perfectly
Gauges Column, screwed


Thread Starter
Escort s2 1.6
Joined: Nov 2009
Posts: 66
Likes: 0
From: Brazil - Brasilia
Thread Starter
Escort s2 1.6
Joined: Nov 2009
Posts: 66
Likes: 0
From: Brazil - Brasilia

Thread Starter
Escort s2 1.6
Joined: Nov 2009
Posts: 66
Likes: 0
From: Brazil - Brasilia


Thread Starter
Escort s2 1.6
Joined: Nov 2009
Posts: 66
Likes: 0
From: Brazil - Brasilia


Thread Starter
Escort s2 1.6
Joined: Nov 2009
Posts: 66
Likes: 0
From: Brazil - Brasilia
Thread Starter
Escort s2 1.6
Joined: Nov 2009
Posts: 66
Likes: 0
From: Brazil - Brasilia
Cleaning the Valves Cover (Not sure if this is the right name) and also Valve Regulation
Inside

From a distance

Valves

Closer

Cover + Gasoline + tow

Beggining the proccess

After the cleaning, I decided to paint it black and make a detail that was a long time in order to make

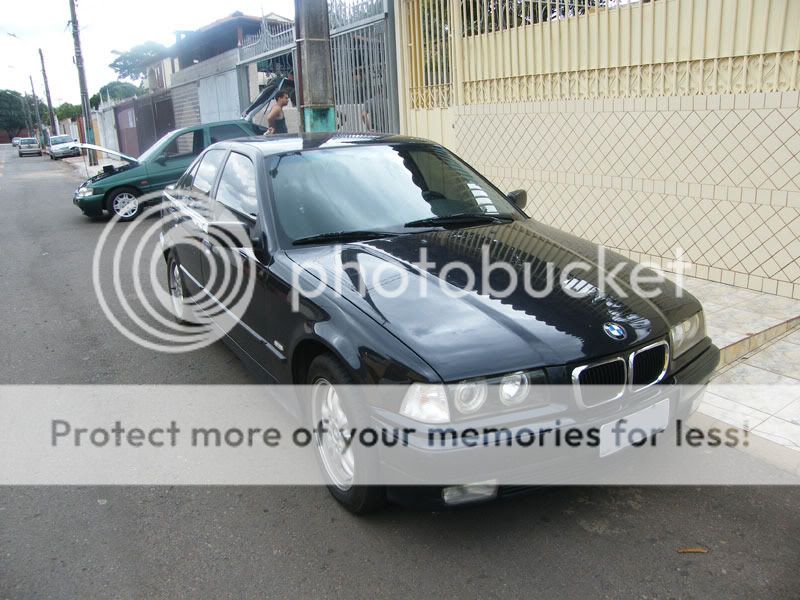
Meanwhile my father was fixing the Fuel Pump of his 318is

And changing something about the oil

Closer

There's the detail that i talked about

New Bushes


In it's place

Screws after a gasoline shower

Beautiful IMO

Inside
From a distance
Valves
Closer
Cover + Gasoline + tow
Beggining the proccess
After the cleaning, I decided to paint it black and make a detail that was a long time in order to make
Meanwhile my father was fixing the Fuel Pump of his 318is
And changing something about the oil
Closer
There's the detail that i talked about
New Bushes
In it's place
Screws after a gasoline shower
Beautiful IMO
Thread Starter
Escort s2 1.6
Joined: Nov 2009
Posts: 66
Likes: 0
From: Brazil - Brasilia
"New" sound system
Some pics
After a while trying to figure out which wires would be the speaker ones, little Gel battery to test

New "Bagagito" or "Tamp�o" that's how we call it, i have no idea how it's named on english, already with 2 Super tweeters


Me trying to cut something that i do'nt remember right now

Subs on it's place and the 6" waiting

Finishing the weld of the RCA cables for the 6x9


A little bit of disorganization, but it's perfect as it is

Say "Bleeeh"

Isolating with silicone (I was out of tape)

Almost done

In this picture all that was remaining to do was screw a screen on the 6x9 hole, then we stopped to take pictures

Cheers from Brazil.
Some pics
After a while trying to figure out which wires would be the speaker ones, little Gel battery to test
New "Bagagito" or "Tamp�o" that's how we call it, i have no idea how it's named on english, already with 2 Super tweeters
Me trying to cut something that i do'nt remember right now
Subs on it's place and the 6" waiting
Finishing the weld of the RCA cables for the 6x9
A little bit of disorganization, but it's perfect as it is
Say "Bleeeh"
Isolating with silicone (I was out of tape)
Almost done
In this picture all that was remaining to do was screw a screen on the 6x9 hole, then we stopped to take pictures
Cheers from Brazil.

Grey Mk4 Early XR3I
Joined: Aug 2005
Posts: 1,771
Likes: 0
From: Devon England drives Grey XR3I mk4
very nice to see different variations what are these different headlamps you talk about??
and also you have no side repeators and no stickers to identify variations of escort by the seams of it?
keep up the good work!
and also you have no side repeators and no stickers to identify variations of escort by the seams of it?
keep up the good work!
Thread Starter
Escort s2 1.6
Joined: Nov 2009
Posts: 66
Likes: 0
From: Brazil - Brasilia
Thank you,
I think none of the escorts came with side repeaters, the stickers I removed them because i sincerily dislike
I didn't understand the question about the headlamps, what did you mean?
Last edited by pedro.caribe; Dec 12, 2010 at 11:12 PM.
Thread Starter
Escort s2 1.6
Joined: Nov 2009
Posts: 66
Likes: 0
From: Brazil - Brasilia
Well,
long time without posting here. Let's continue.
Today i took the day to reinstall the sound system. AGAIN.
Bought 2 more 6x9" pioneer speakers, same model as the ones that i already had
Taking everything off

Trying to clean up a little bit

New Wires

2 New 6x9"s and one of the old ones


In it's place


And here a video to show how it is
long time without posting here. Let's continue.
Today i took the day to reinstall the sound system. AGAIN.
Bought 2 more 6x9" pioneer speakers, same model as the ones that i already had
Taking everything off
Trying to clean up a little bit
New Wires
2 New 6x9"s and one of the old ones
In it's place
And here a video to show how it is
Thread Starter
Escort s2 1.6
Joined: Nov 2009
Posts: 66
Likes: 0
From: Brazil - Brasilia

Thread
Thread Starter
Forum
Replies
Last Post
3dr cossie
Alloy wheels and ICE for sale
1
Sep 2, 2015 08:58 PM