View Single Post
Old Feb 17, 2017 | 08:23 PM
  #26  
dms04's Avatar
dms04
Wahay!! I've lost my Virginity!!
 
Joined: May 2015
Posts: 77
Likes: 15
From: Portugal
Default

Hi!!
Some spare time and is moment to share some info about the work i've been on it.

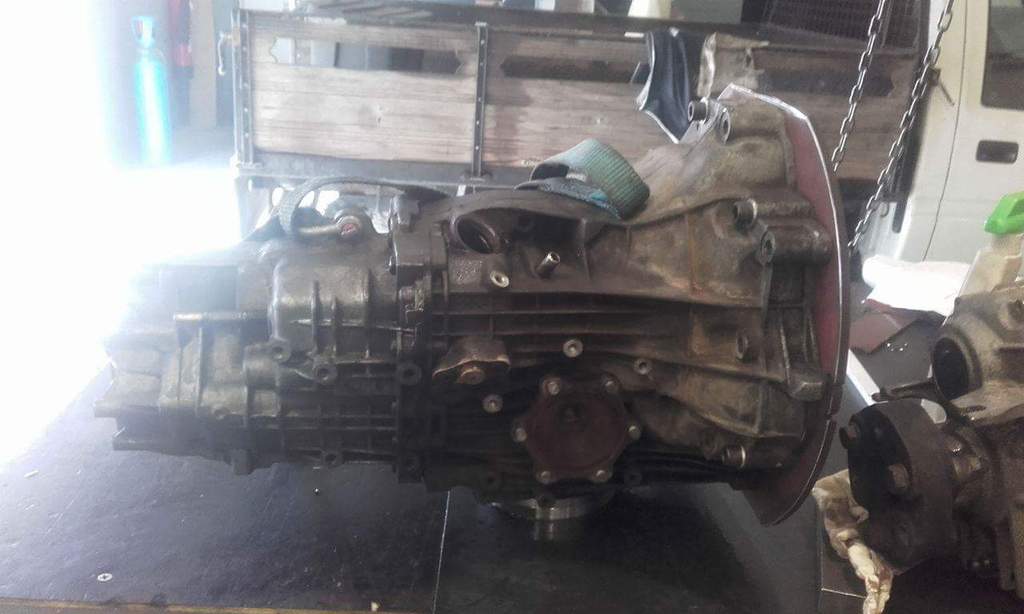
As you can imagine, the gearbox is the main part needed by now.. Is not forgoten, only is building by a precision tecnician, in order to be more than perfect! but the same way i chose him to do it, so many other people does the same, and the time doenst stretches...

This is the progress until now:
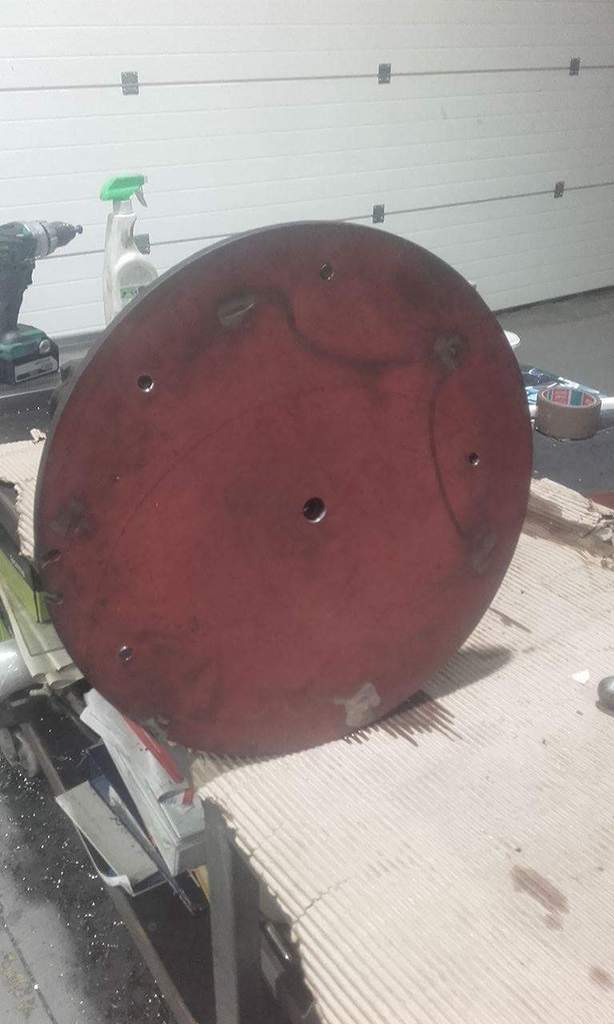
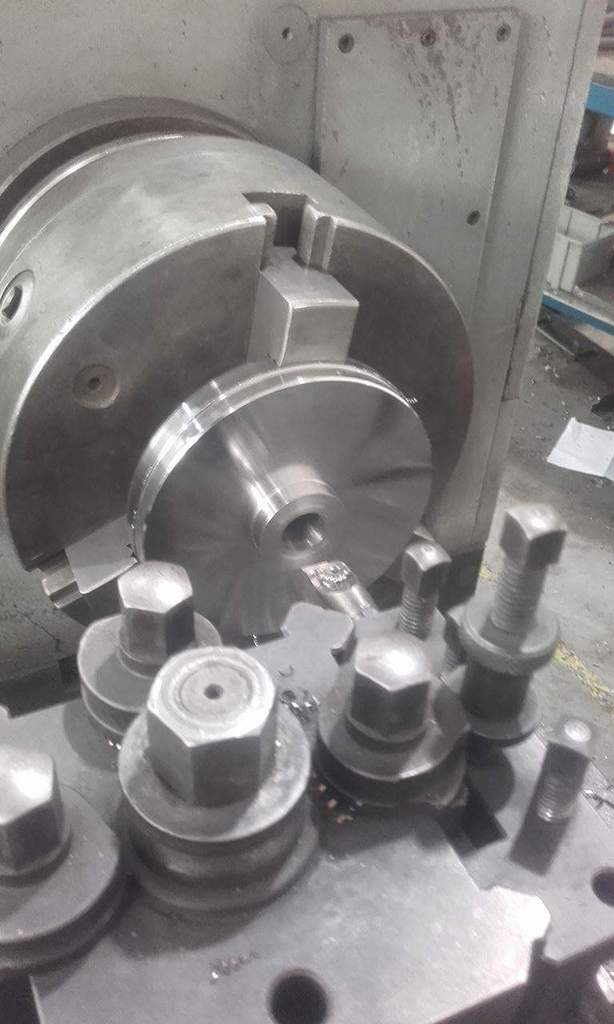
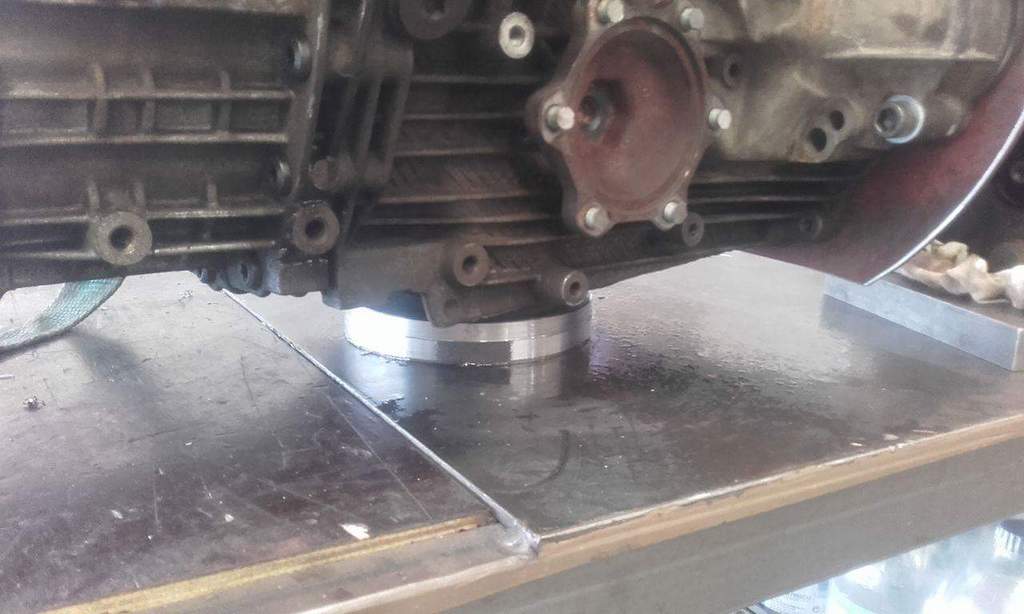
At first, he made a nylon center to perfectly align the main shaft (is that the right therm? ) of the BMW box and the box pathern:
Name:  IMG_20170222_101350.jpg
Views: 1744
Size:  318.3 KB

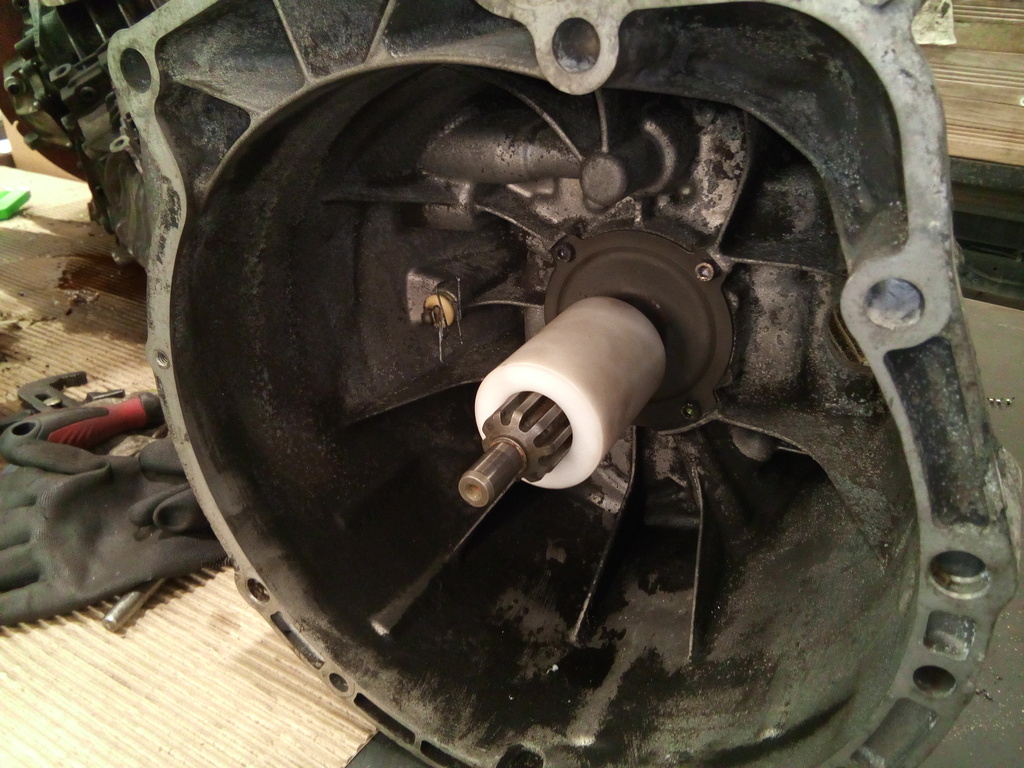
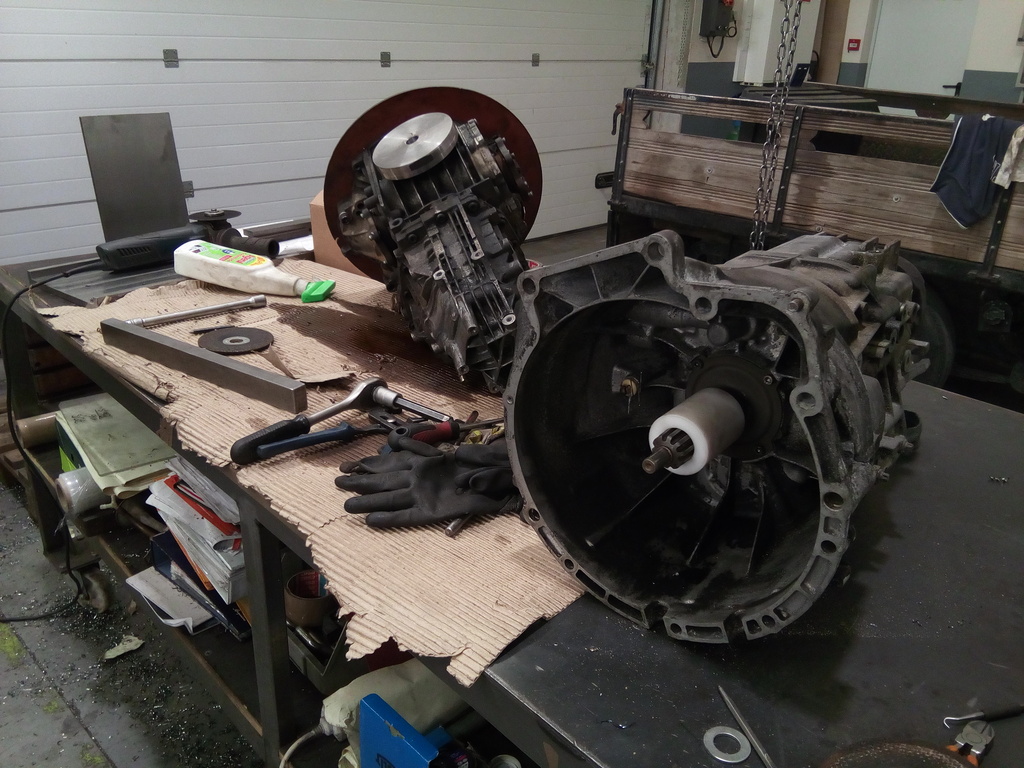
Made a Pattern base aswell, after chop it from gearbox will be the way to center in BMW box
Name:  received_1238933642858363.jpeg
Views: 1705
Size:  35.6 KB

Name:  received_1238934359524958.jpeg
Views: 1715
Size:  44.7 KB

Name:  received_1238934656191595.jpeg
Views: 1545
Size:  60.9 KB

Name:  received_1238934739524920.jpeg
Views: 1721
Size:  48.5 KB


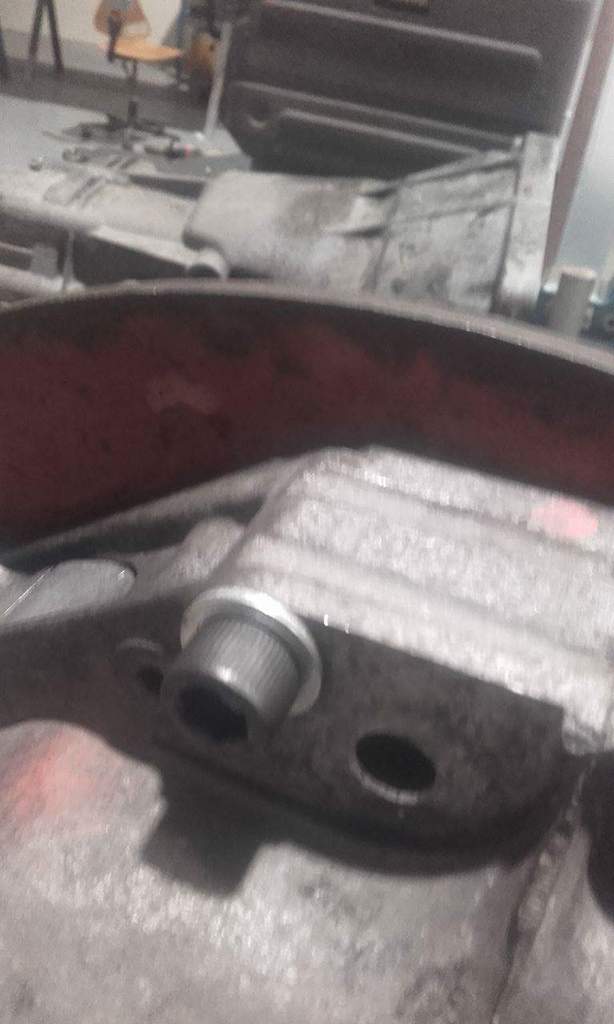
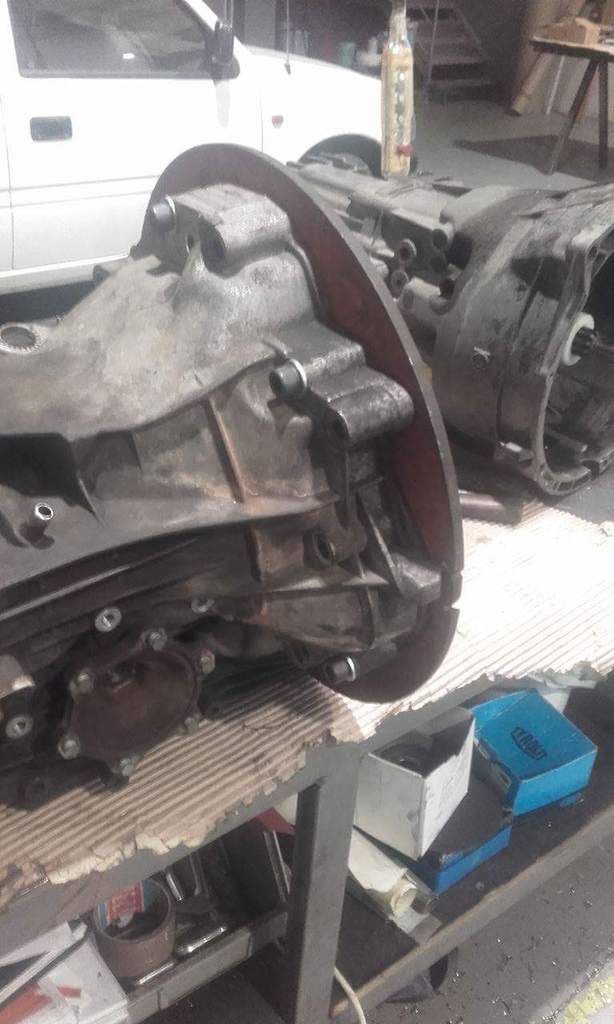
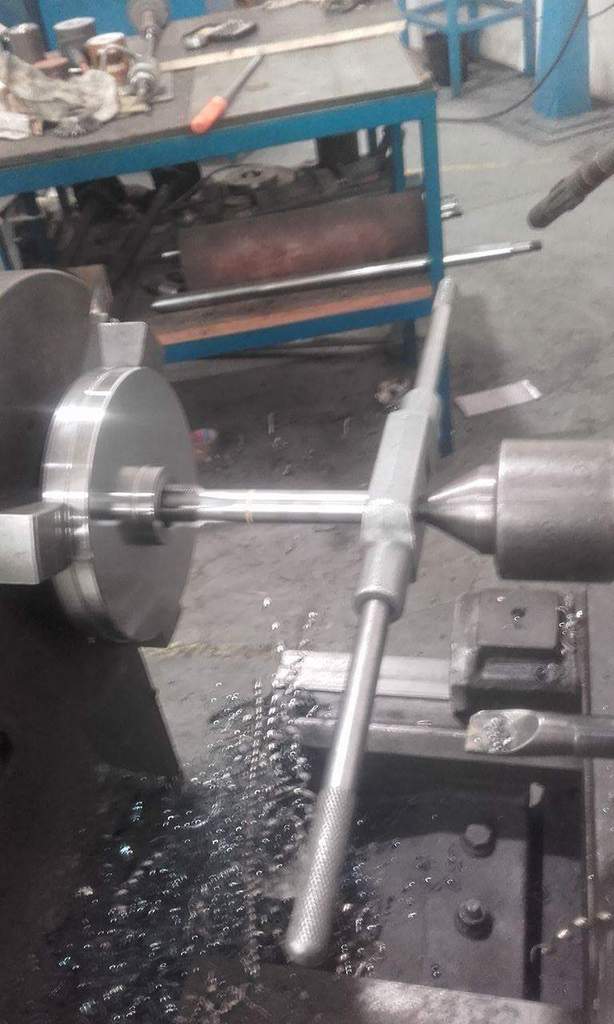
Then, must built a base to fix the gearbox to chop it perfectly aligned

Name:  received_1239784896106571.jpeg
Views: 1770
Size:  53.1 KB

Name:  received_1239784722773255.jpeg
Views: 1697
Size:  63.7 KB

Name:  IMG_20170222_101330.jpg
Views: 1732
Size:  320.7 KB

Name:  received_1239784479439946.jpeg
Views: 1699
Size:  57.3 KB

Name:  received_1239784692773258.jpeg
Views: 1756
Size:  52.2 KB

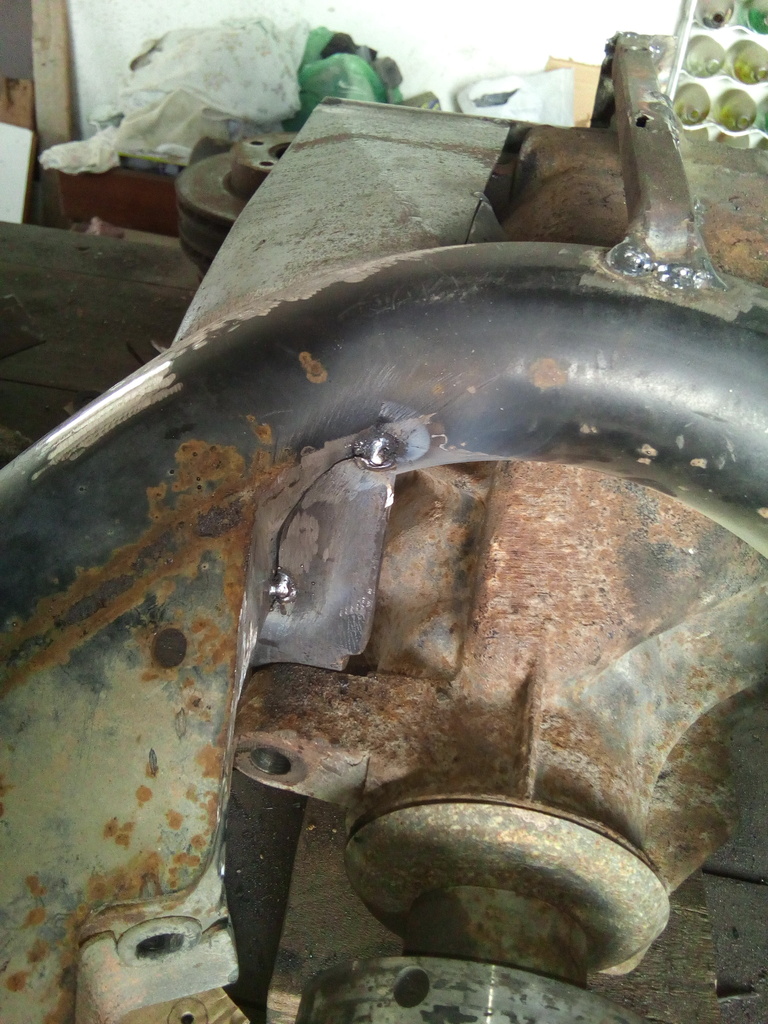
Until we wait for gearbox, there's so much work to do, then the BMW rear axle is on the way:

Been the diff in position, rear cross membre must grow into it, that way some moulding process is required

Name:  IMG_20170221_143832.jpg
Views: 1733
Size:  360.3 KB

Name:  IMG_20170221_164412.jpg
Views: 1755
Size:  312.9 KB

Name:  IMG_20170221_164443.jpg
Views: 1645
Size:  359.8 KB

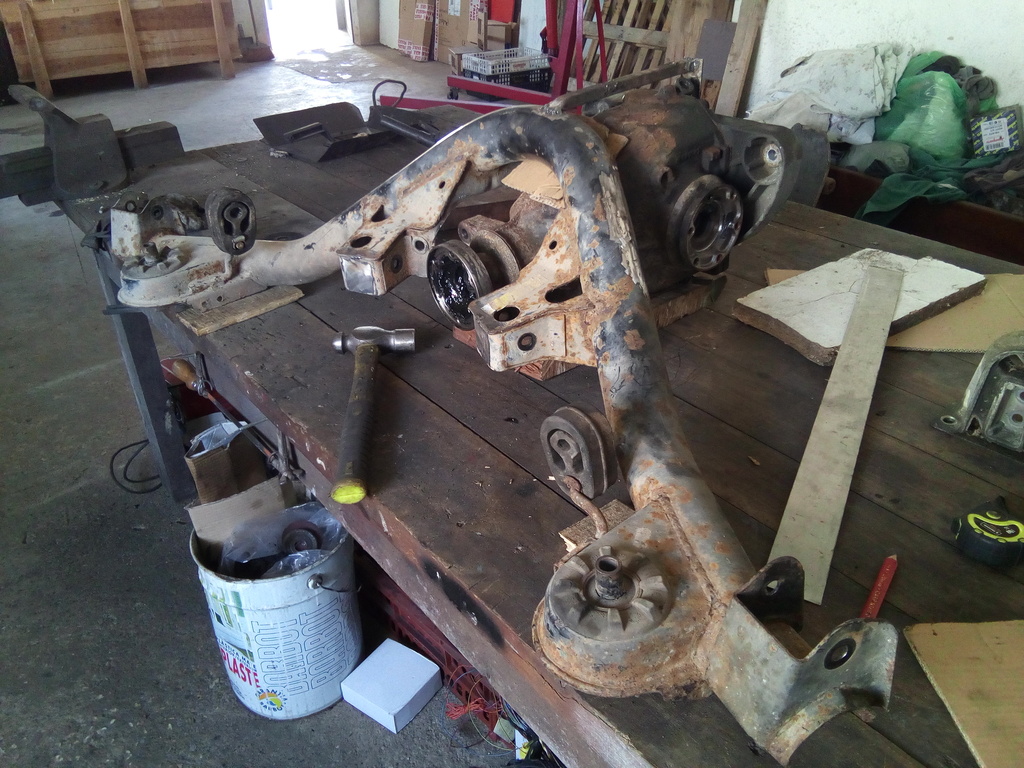
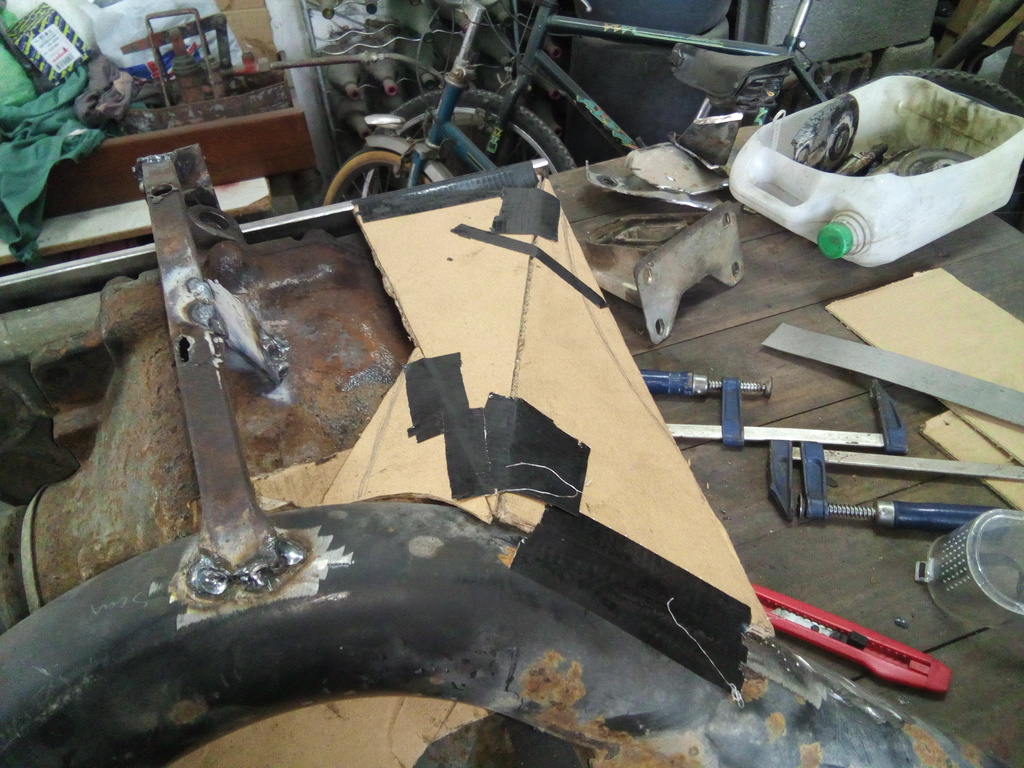
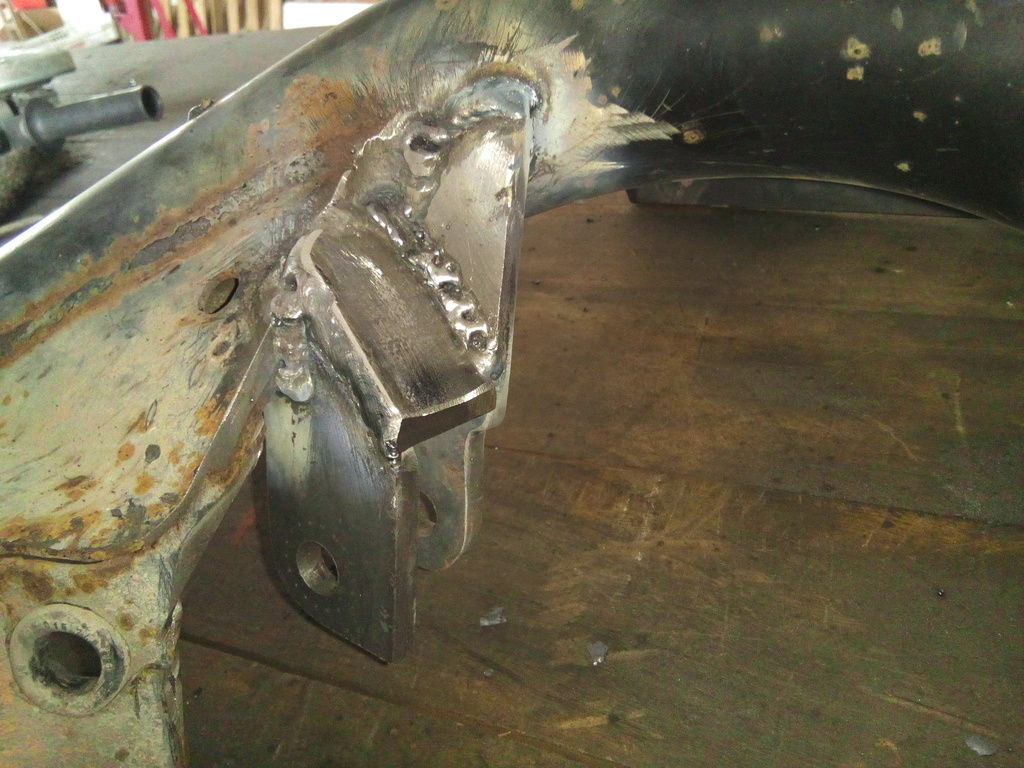
And chop.. and weld...

Name:  IMG_20170221_173059.jpg
Views: 1779
Size:  345.7 KB

Name:  IMG_20170221_173108.jpg
Views: 1788
Size:  346.1 KB

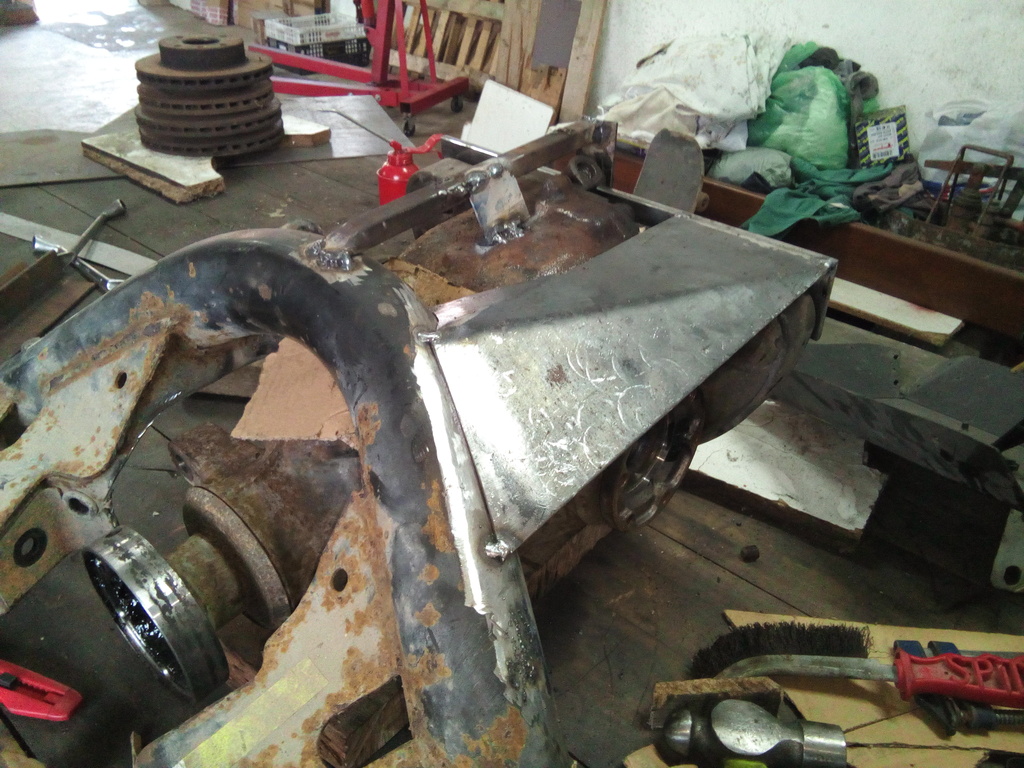
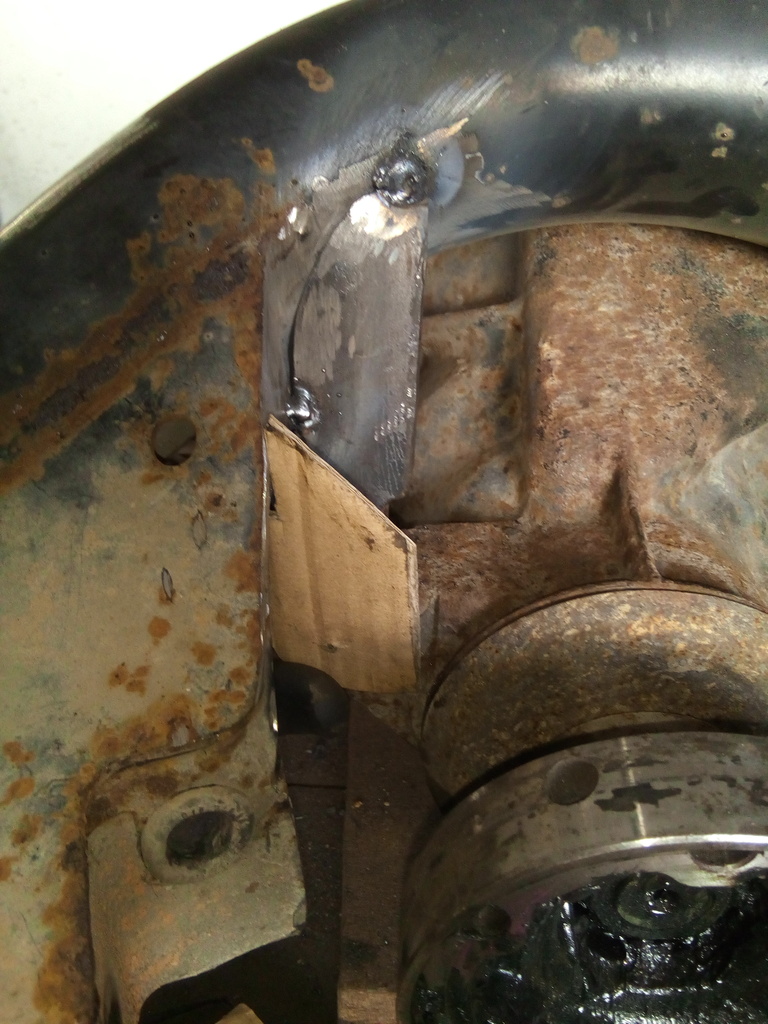
The same to the other side, but because the diff is by nature not aligned, the second part was so much more difficult

Name:  IMG_20170221_211416.jpg
Views: 1753
Size:  354.4 KB

Name:  IMG_20170221_211429.jpg
Views: 1818
Size:  321.2 KB

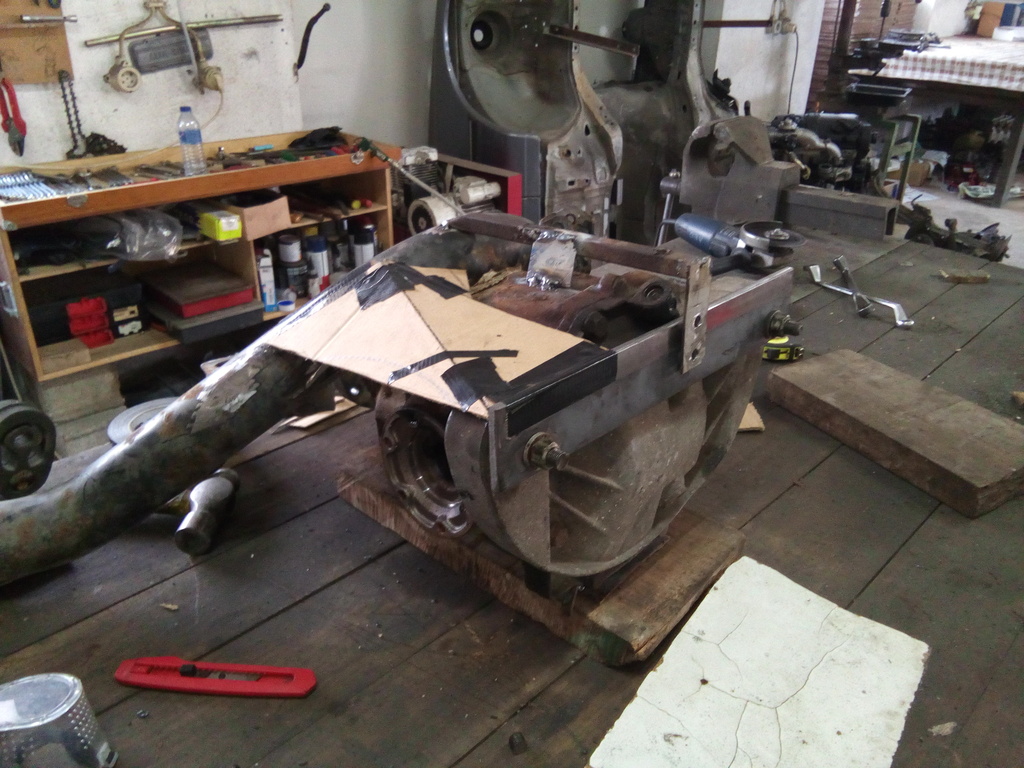
the same way, done the center fitment, this time in some stronger metal

Name:  IMG_20170222_115552.jpg
Views: 1749
Size:  339.7 KB

Name:  IMG_20170222_115614.jpg
Views: 1739
Size:  269.5 KB

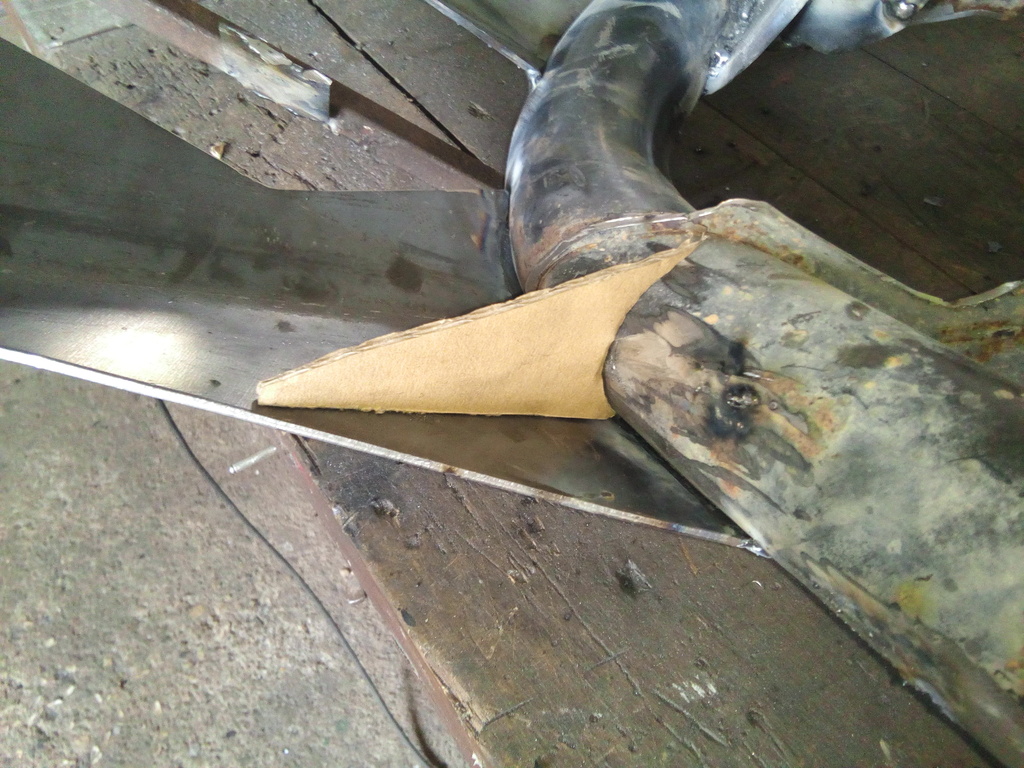
And moulding again...

Name:  IMG_20170222_120015.jpg
Views: 1736
Size:  287.3 KB

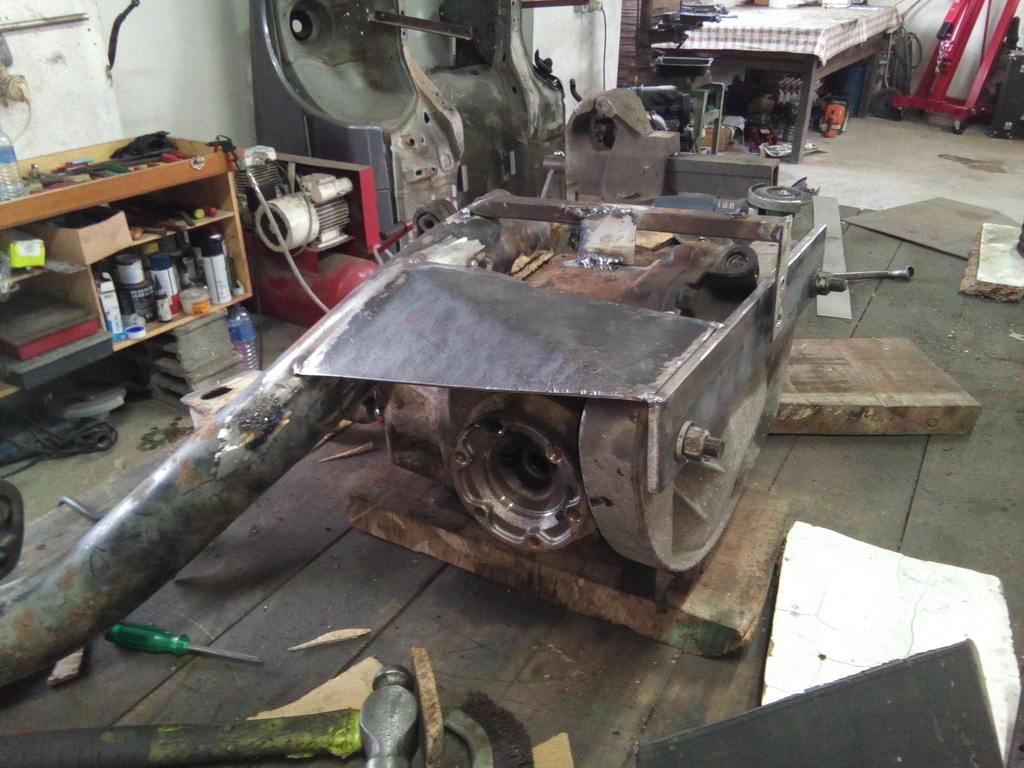
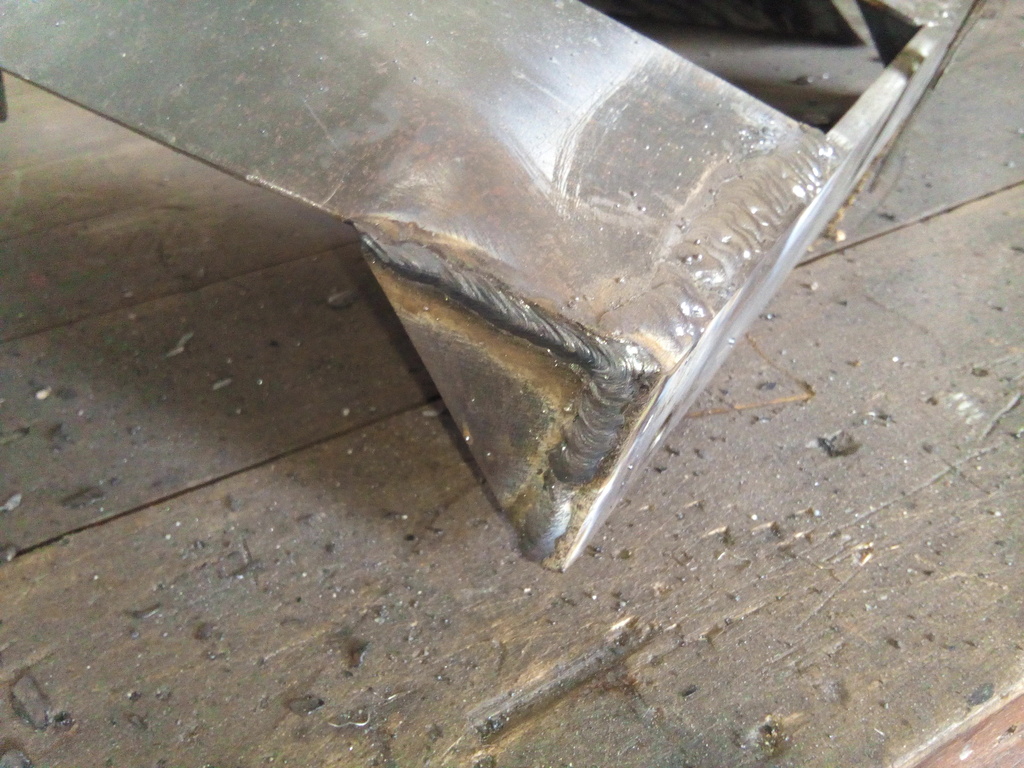
Rater than that, some reinforcements..
Name:  IMG_20170222_125828.jpg
Views: 1752
Size:  372.0 KB

And welding.. almost all evening...

Name:  IMG_20170222_151003.jpg
Views: 1751
Size:  334.4 KB

Name:  IMG_20170222_151012.jpg
Views: 1699
Size:  307.1 KB

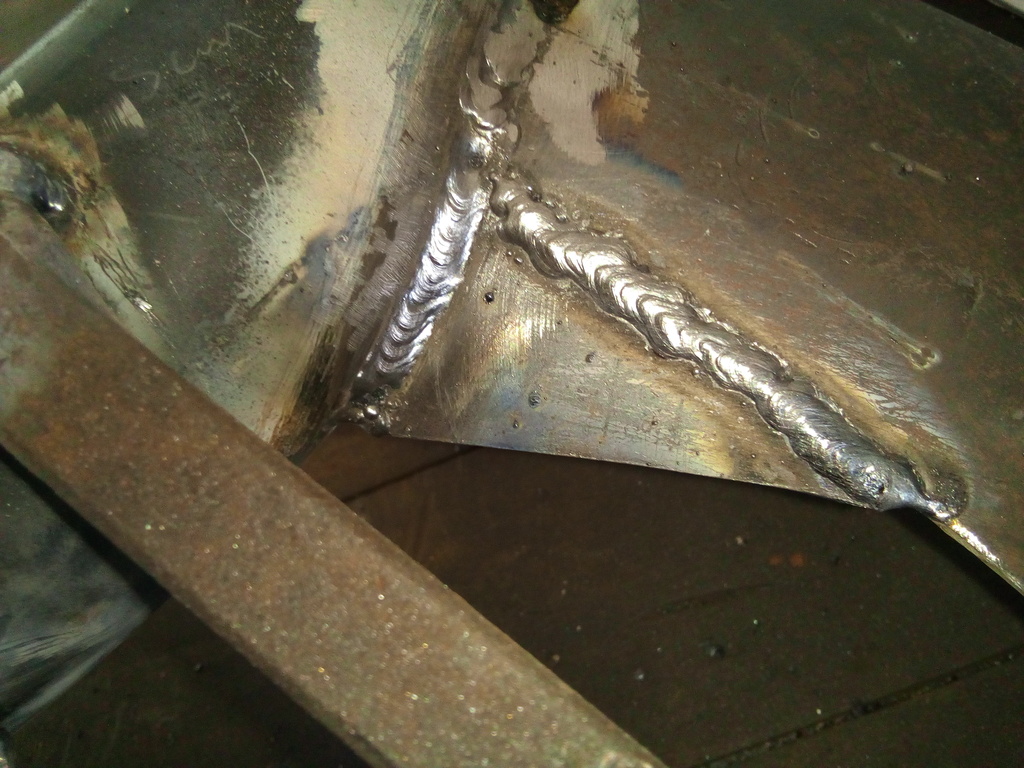
and reinforcements again.. and Welding...

Name:  IMG_20170222_161417.jpg
Views: 1737
Size:  339.4 KB

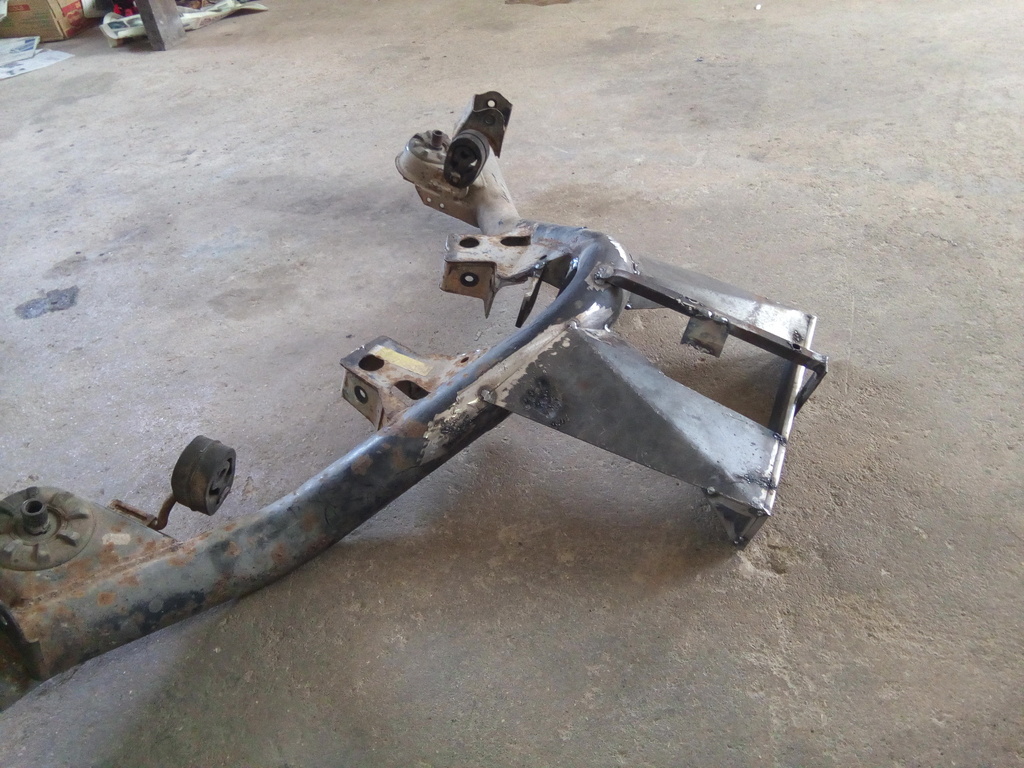
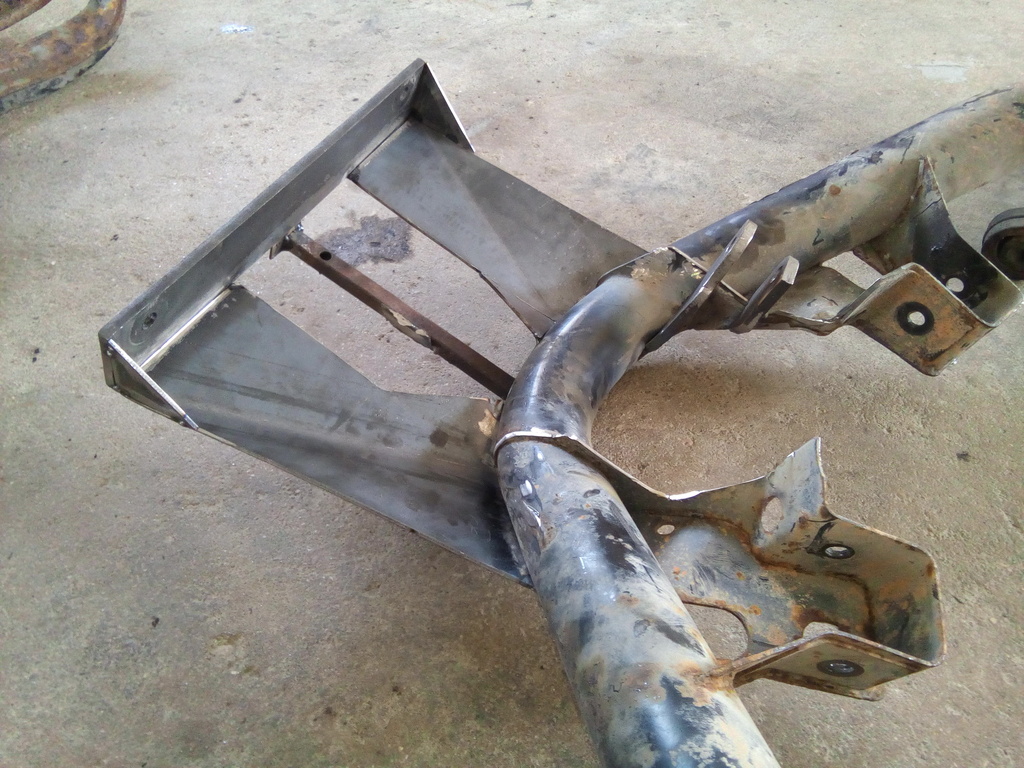
And moulding again for some new reinforcements.. At this moment you may think this crossmember will wheight a Ton, but dont worry, is not that heavy and will stand nicely this massive diff.

Name:  IMG_20170222_161752.jpg
Views: 1741
Size:  345.9 KB

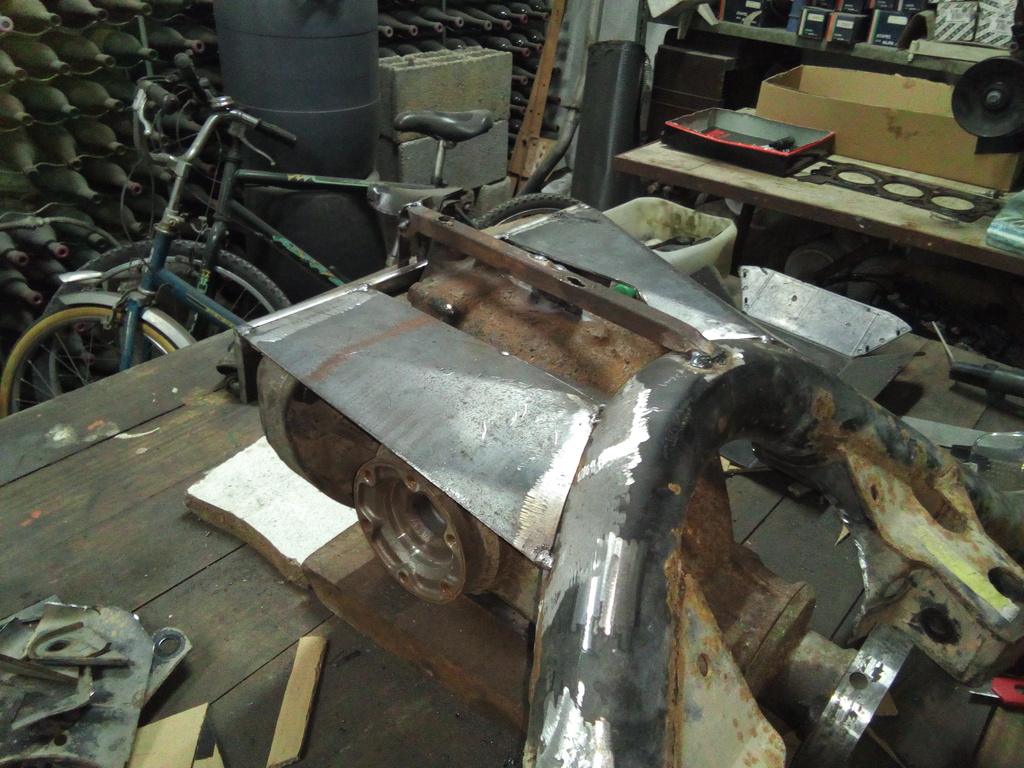
By now this is the aspect it has by now, but still have so many weak points due to diferent diff..

Name:  IMG_20170222_130200.jpg
Views: 1800
Size:  330.9 KB

Name:  IMG_20170222_130237.jpg
Views: 1709
Size:  356.7 KB

By now it is all, new pics soon
​​​​​

Last edited by dms04; Feb 22, 2017 at 10:59 PM.
Reply