so a little more to show
the front inner edge of the bonnet has a large reinforcement where the catch latches on which takes up alot of space , which i want for the airbox
so i thought i would try something we had a new bonnet with a slight dent in so got it for a tenner . i removed the outer skin and then went about lightening the inner frame and shortening it too
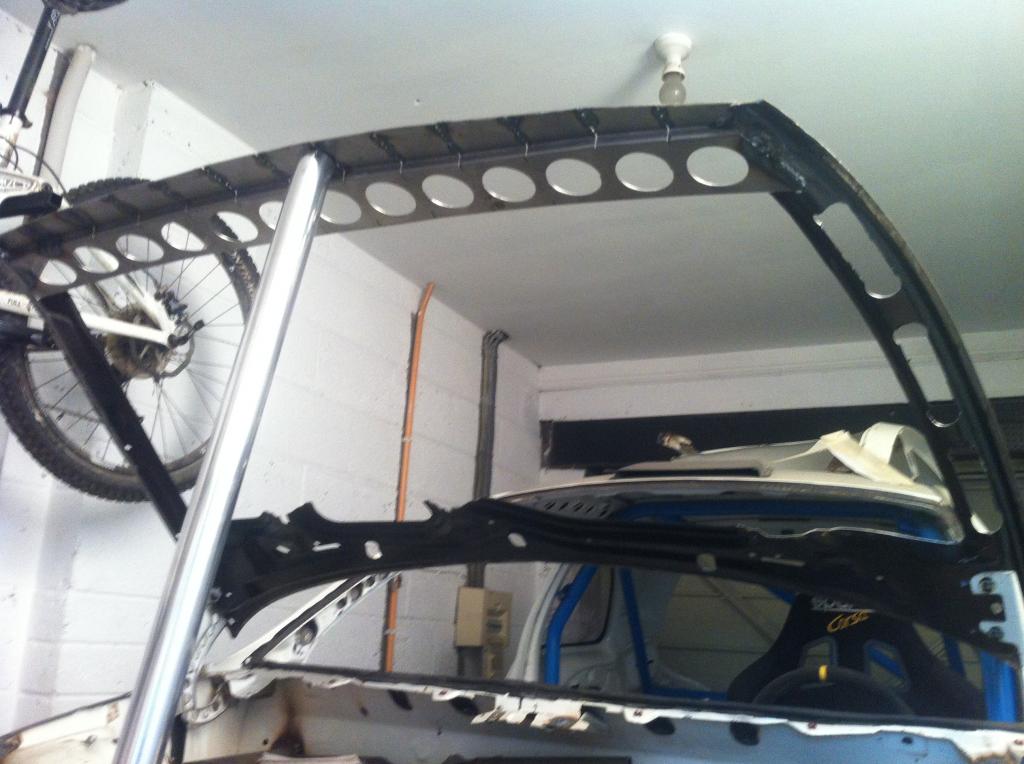
i then made a new reinforcement and cut it and bent it to the shape of the skin and welded all the cuts so it is curved like the original , not finished yet needs a tidy up
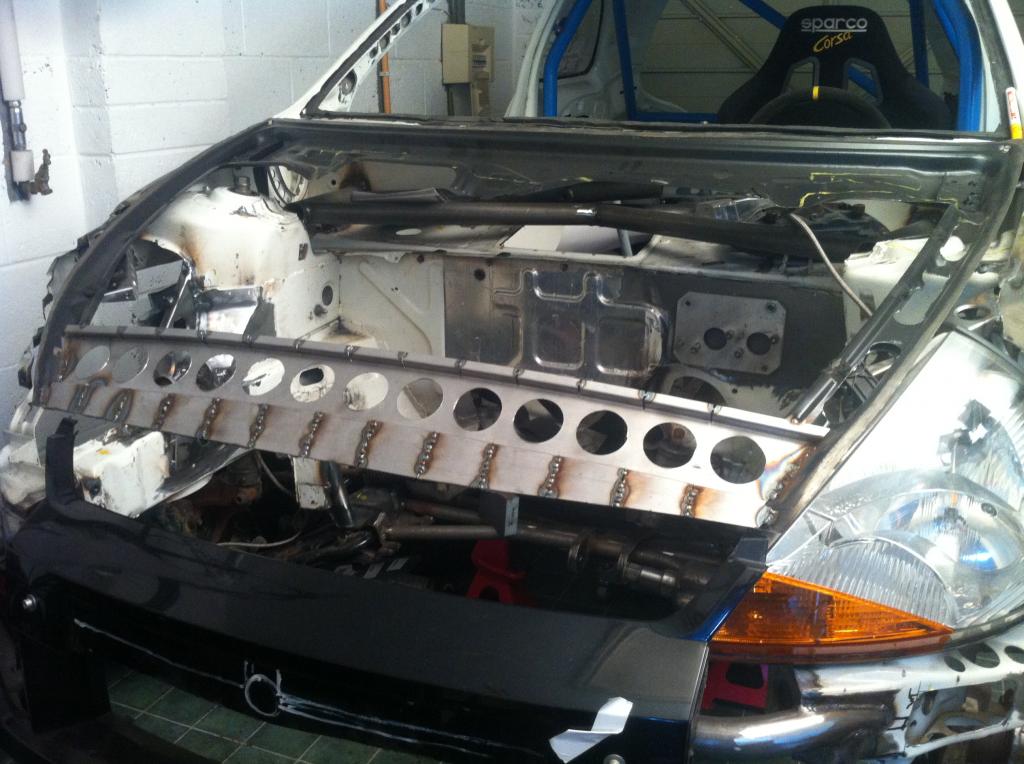
now there is a larger opening for the airbox !!
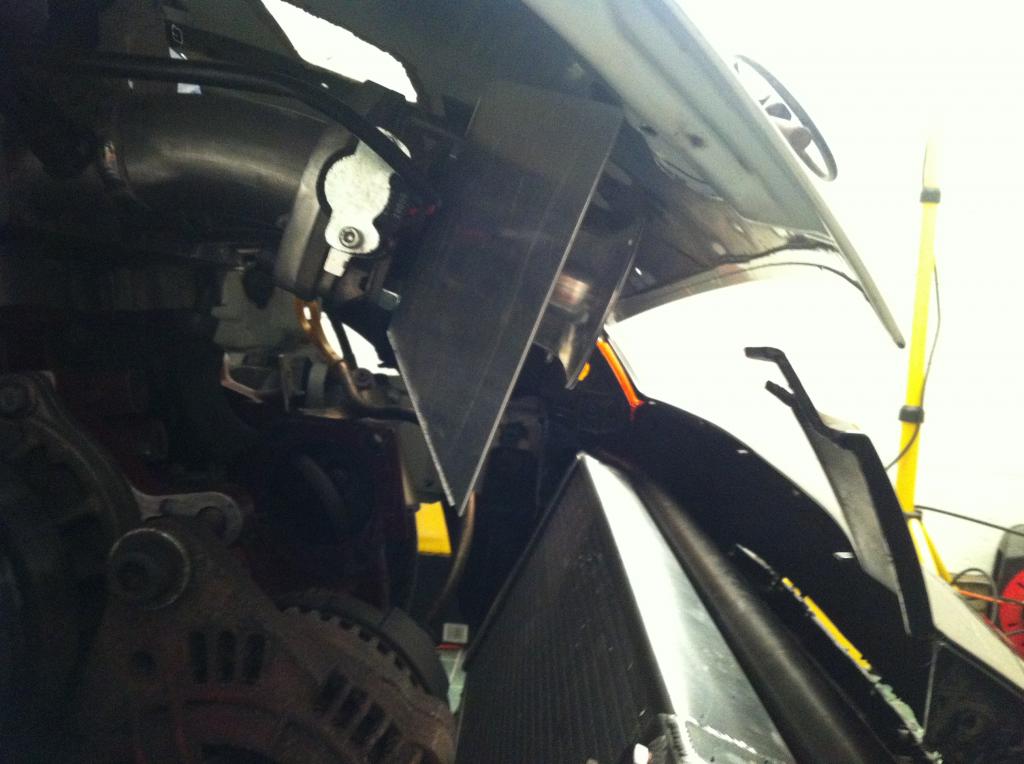
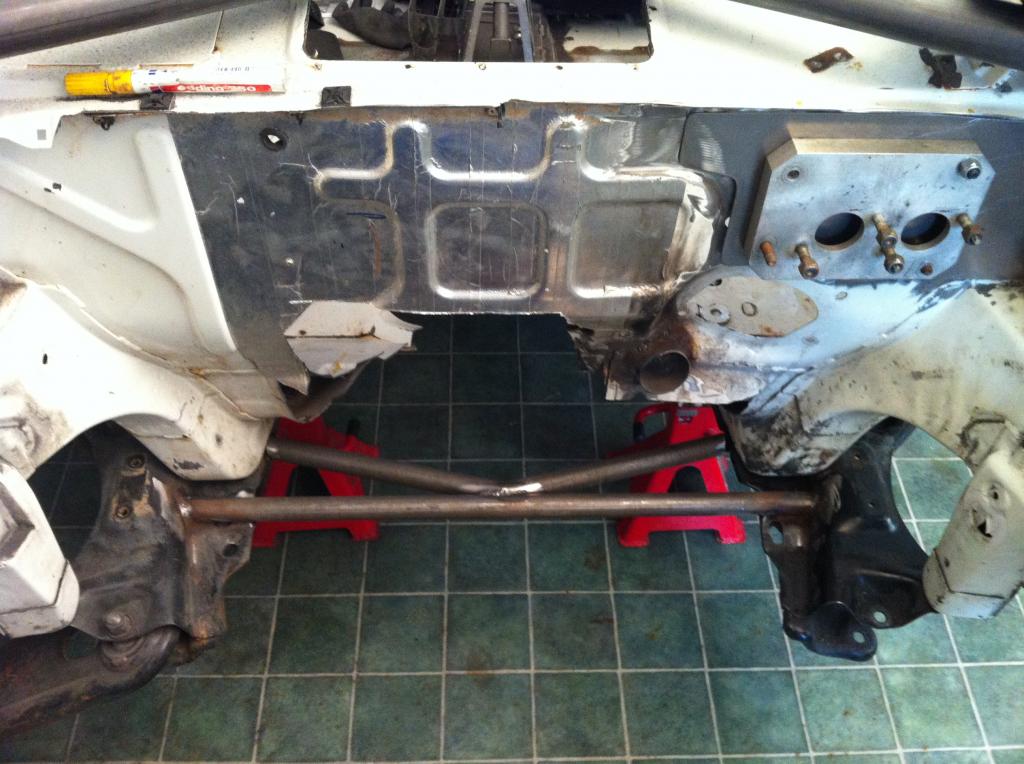
now on to the front suspension
well it not ideal on the front limited travel , quite weak and turrets not in best location , if you lower the car you soon run out of damper travel before the body gets low . this ka runs 15 in gravel tyres which is half the problem but the brakes are to big for anything smaller and i dont think me colleague wants to change the brakes !!
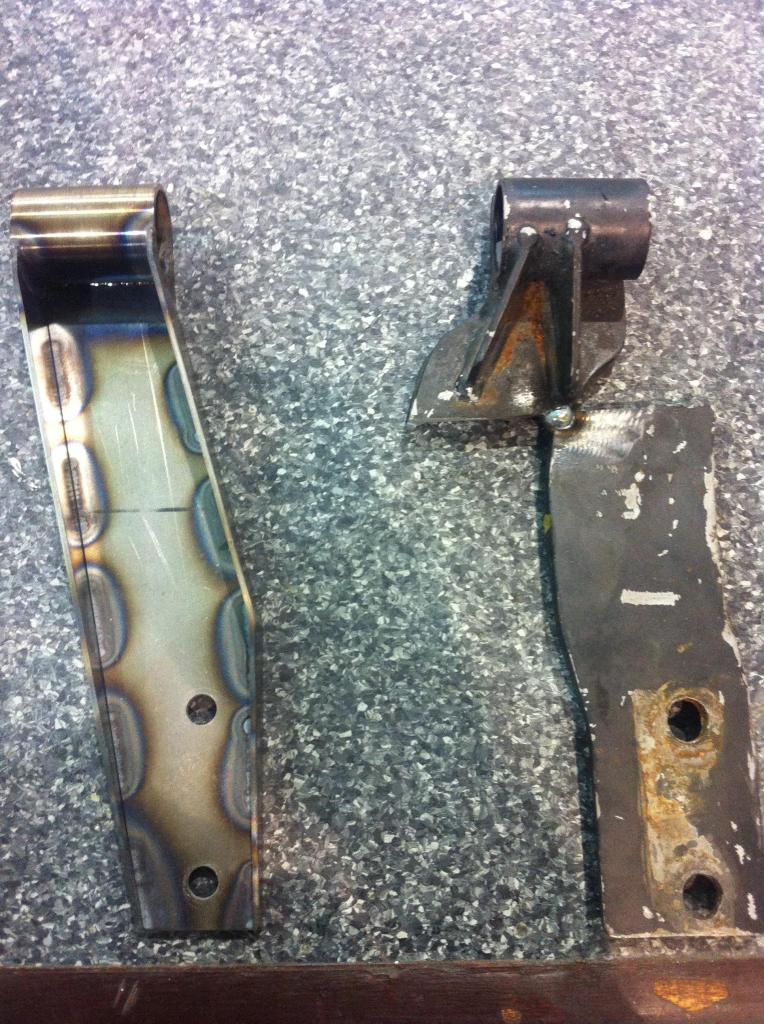
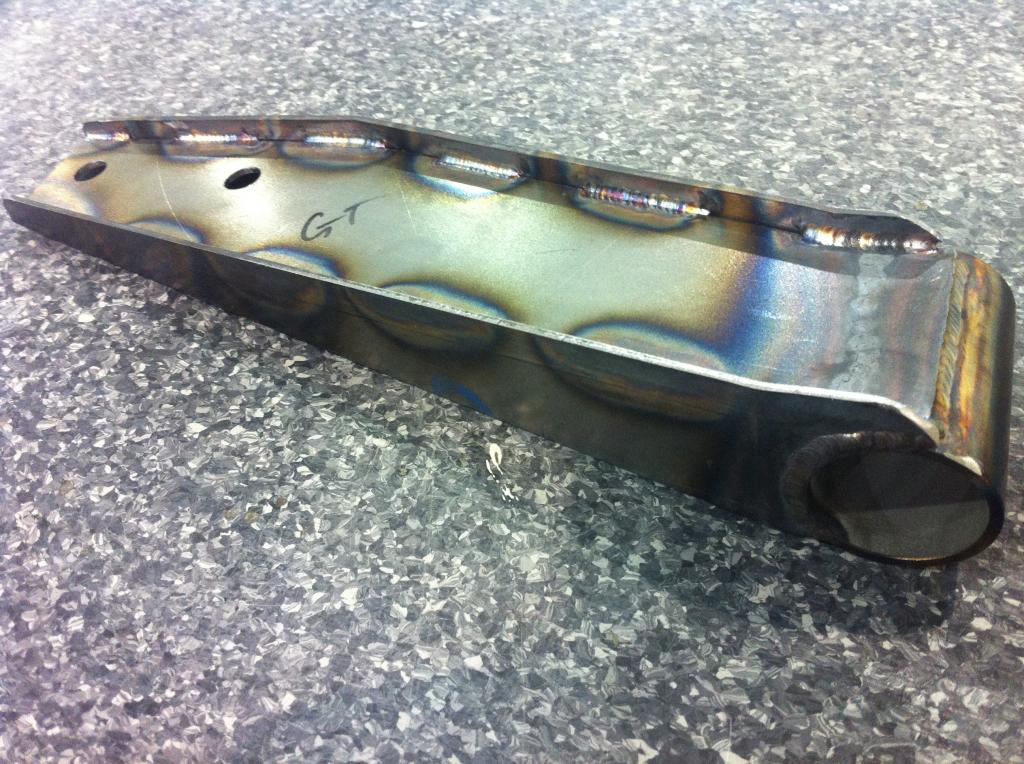
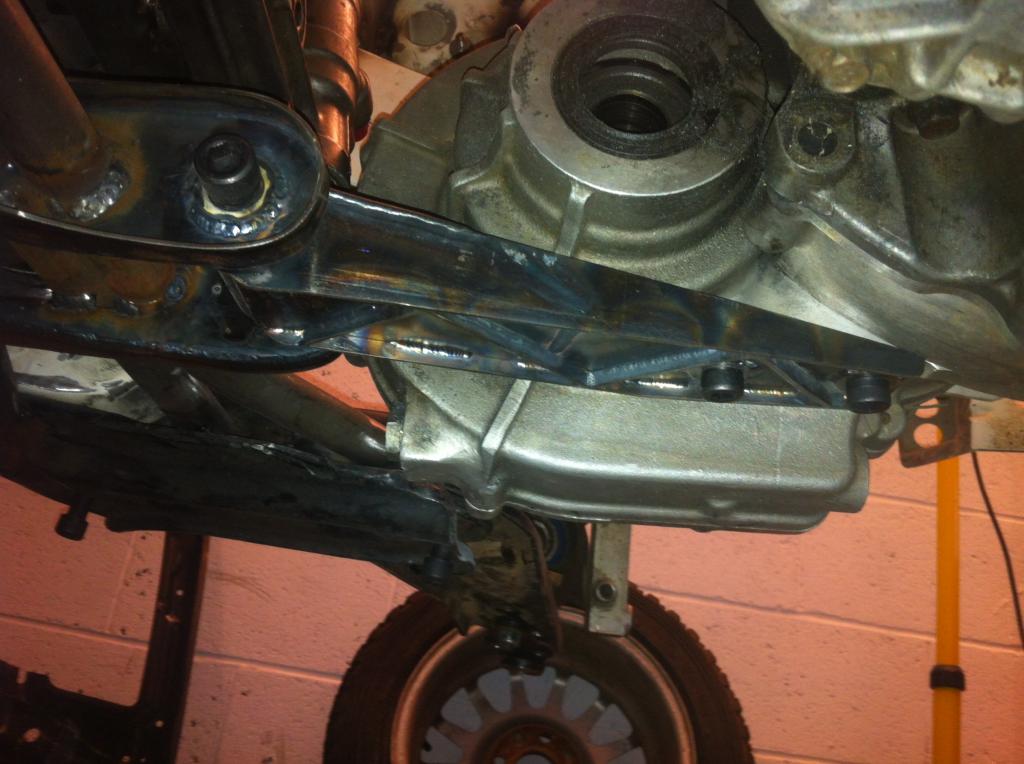
so there is no subframe as such just 2 individual wishbone carriers , so i wanted to strengthen these and also bring the gearbox rear mount closer to the gearbox as the original is massive and comes from the body which makes it very long
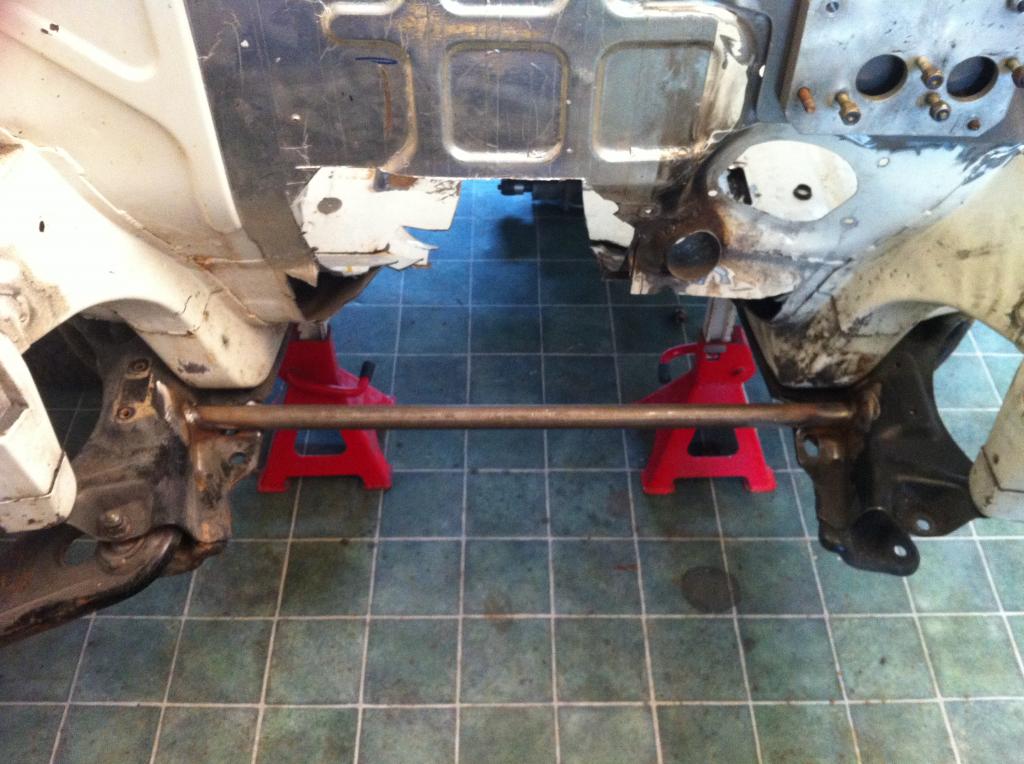

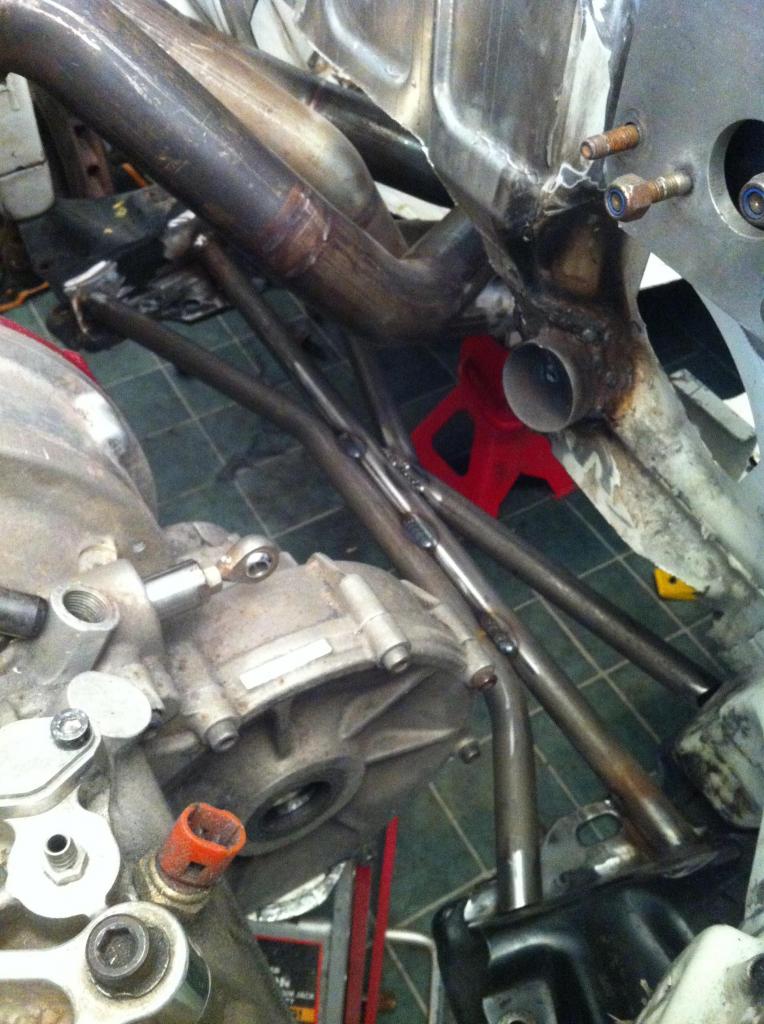
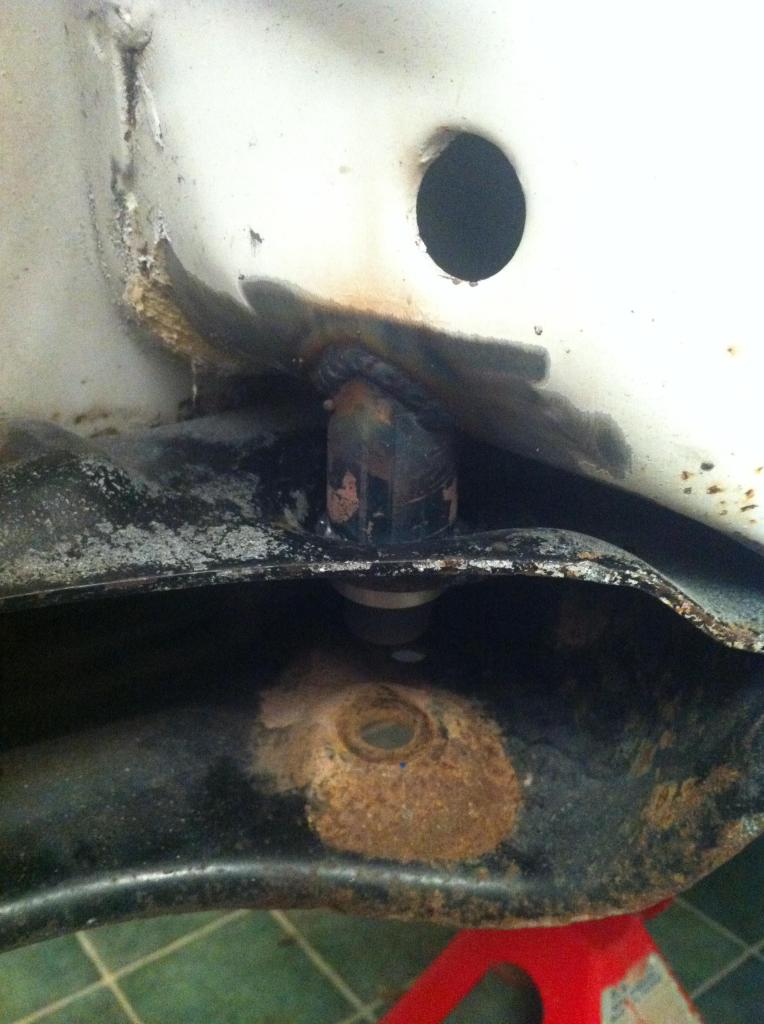
now the wishbones are bolted in with a nut and bolt , which is total shite and when there is a force transmitted up the wishbone to the mount it can flex
so i wanted to make it use a boss and i wanted to transmit the force into the shell which will make it much stronger
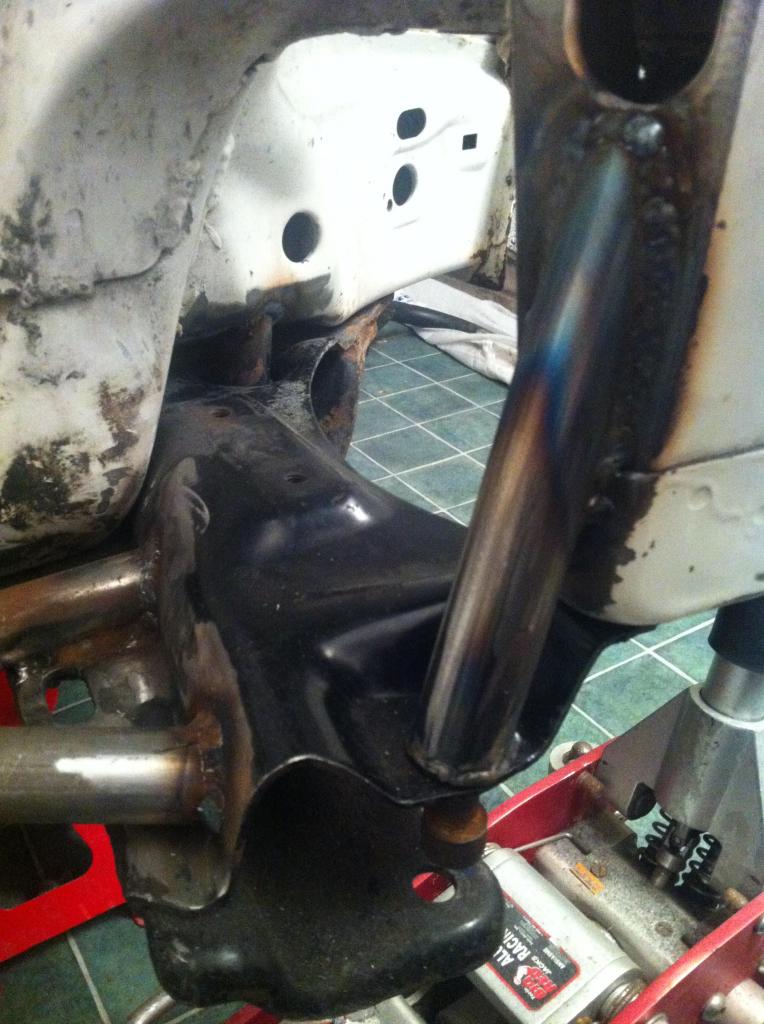
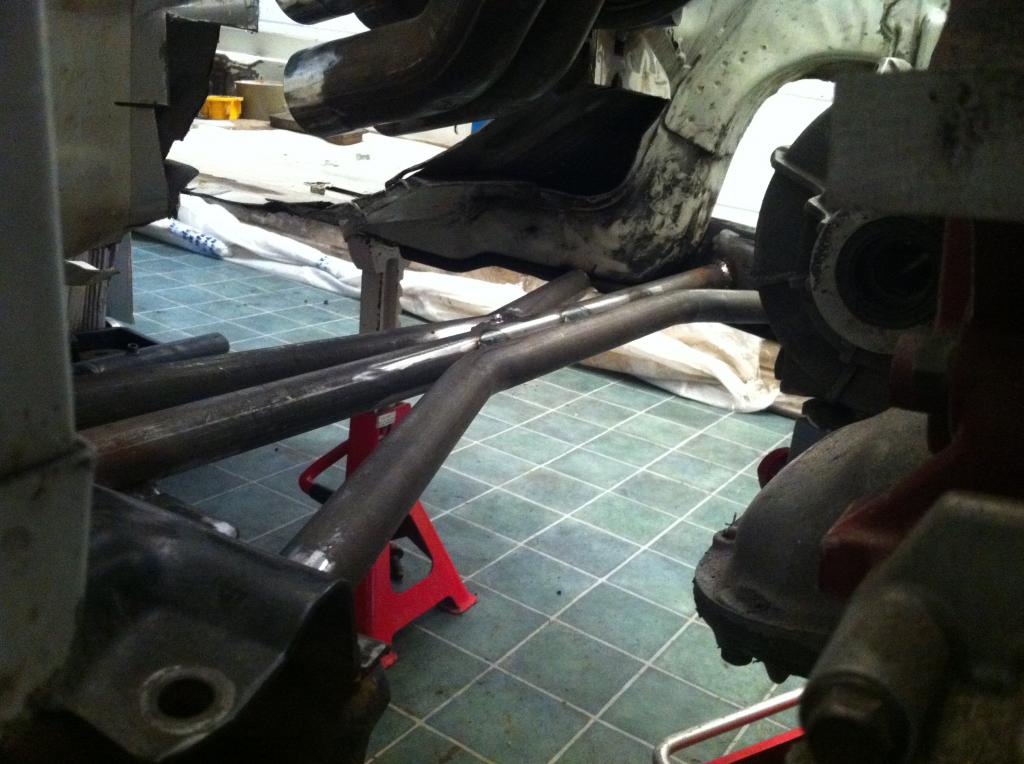
on to the gearbox mount i cut the original and used this as a jig
then back in with the engine and box hold it in position and make the mount on the subframe
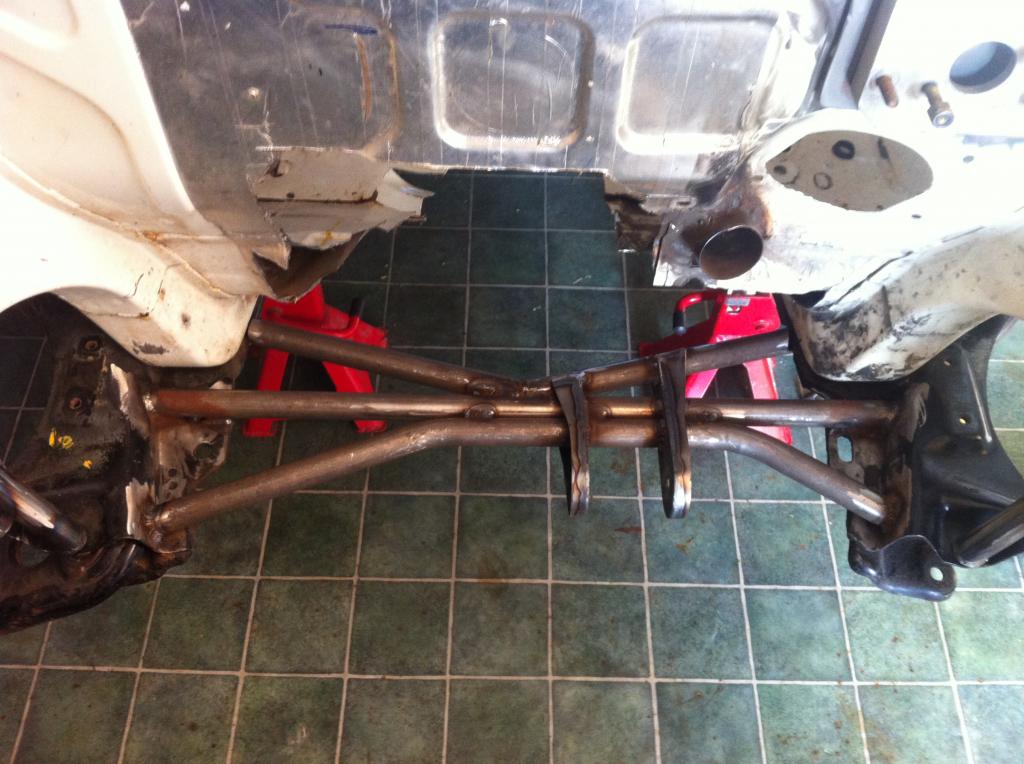
thats it for the moment