I thought I would introduce one of the collection, my other half's Sierra 2000e. It was brought in November 2006 from a member of the Ford Sierra Owners Club that I am involved with. The car is actually a Category C write-off (door got dented by second-previous owner). It is affectionately known as "Christine" and has truly lived up to her name, 3 water hoses, 2 fuel lines splitting and having to change the whole ECU system from standard EFi EEC-IV to closed-loop lambda-controlled system to control the split-personality.
Anyway, back to topic, it had been a bit quiet where I work at the moment (bodyshop as if the pics do not give it away) so I had the chance to drag Christine in for a bit of a makeover.
The drivers rear door has been changed for a better one (has no crumples), the bootlid changed for an almost-immaculate non-drilled version (as the previous one had a spoiler fitted with nuts and bolts) and loads of new (plus a couple of old bits) parts sitting around her.
1st October:
Sitting quite nicely in my workplace ready for an angle-grinder on Monday morning for 2 new sills, 2 replacement rear arches as required, the dent removed from the rear panel under the back light, plus anything else we find. TBH, we are not going to remove EVERY imperfection as she sits next to about 40 armoured vans every day and it will be an everyday car after all.
After that, if it all goes to plan, a full respray in Stratos Silver as a top colour, with the lower half being changed from the original Ford Moonstone Blue a slightly different colour, basically slightly darker and a lot more metallic to go with the nice metallic top colour.
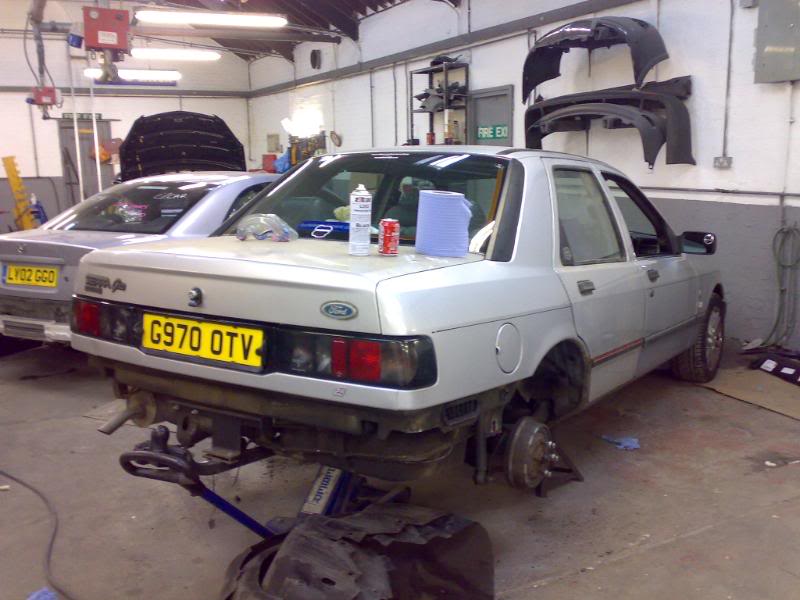
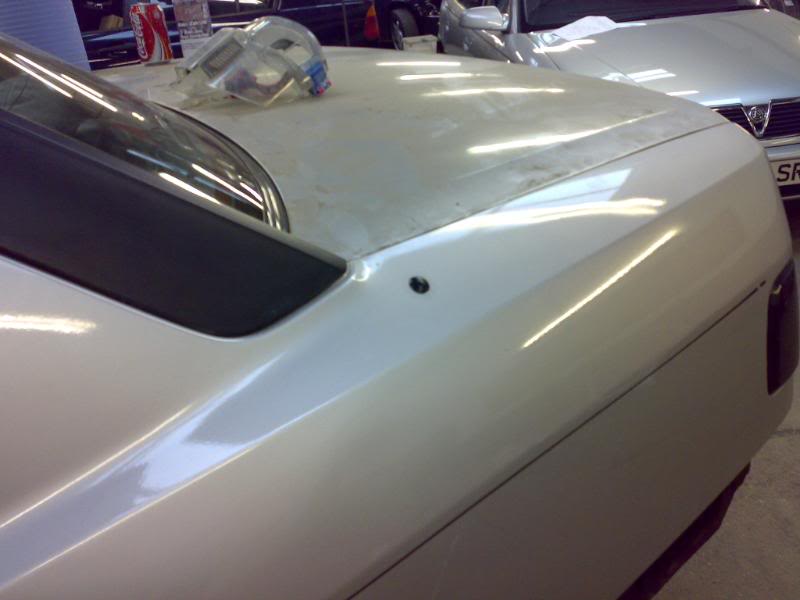
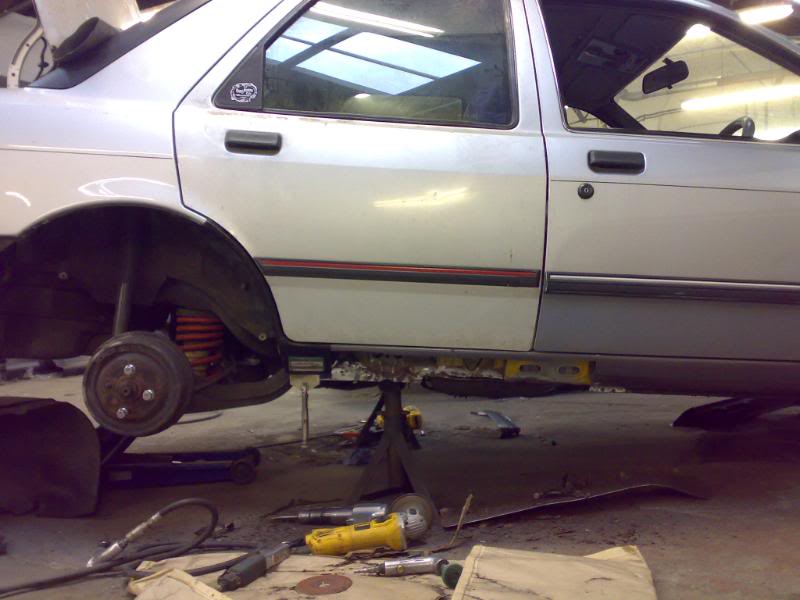
How the car started the morning. Replacement bootlid and drivers rear door were fitted on Saturday in preparation.
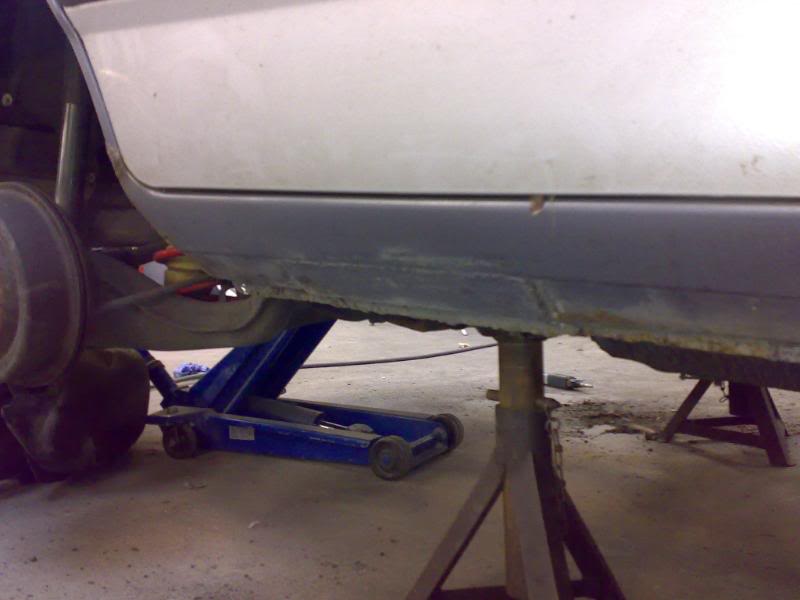
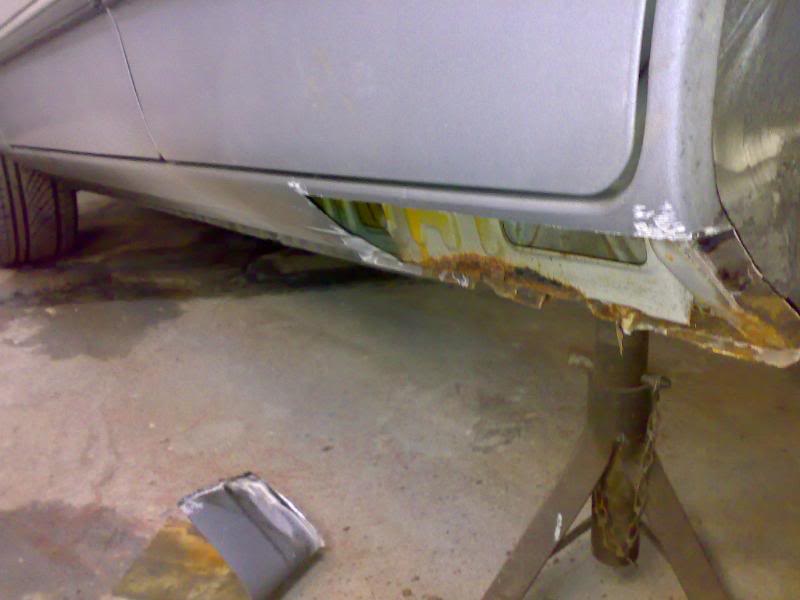
the offending drivers sill (patched up when we got it for the MOT)
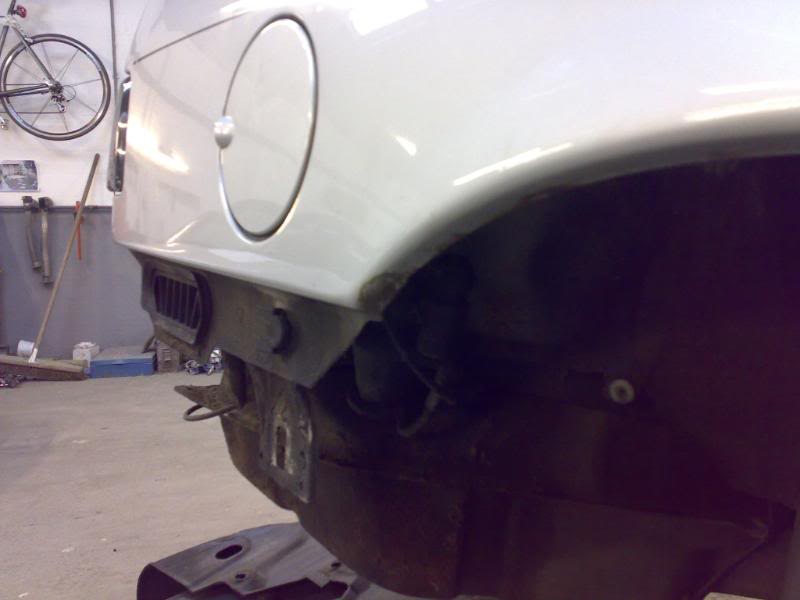
the drivers rear arch starting to show
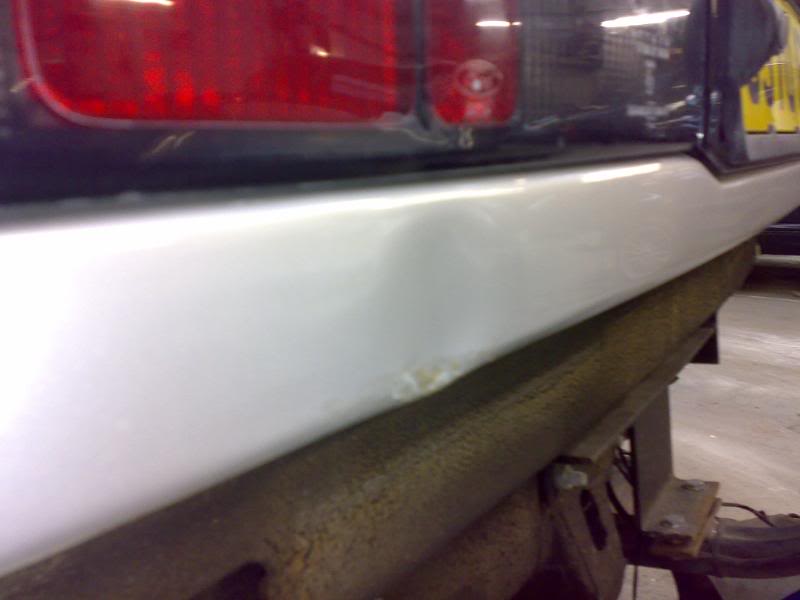
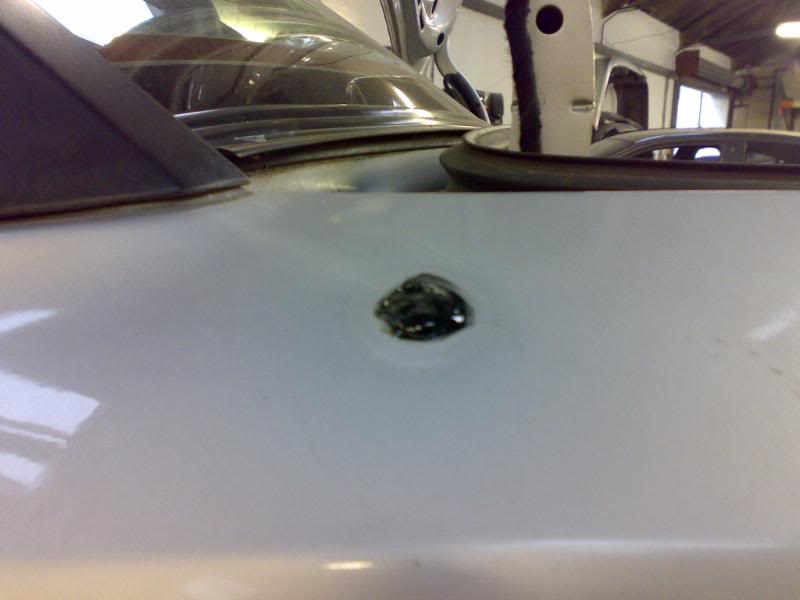
dent in the rear panel below light
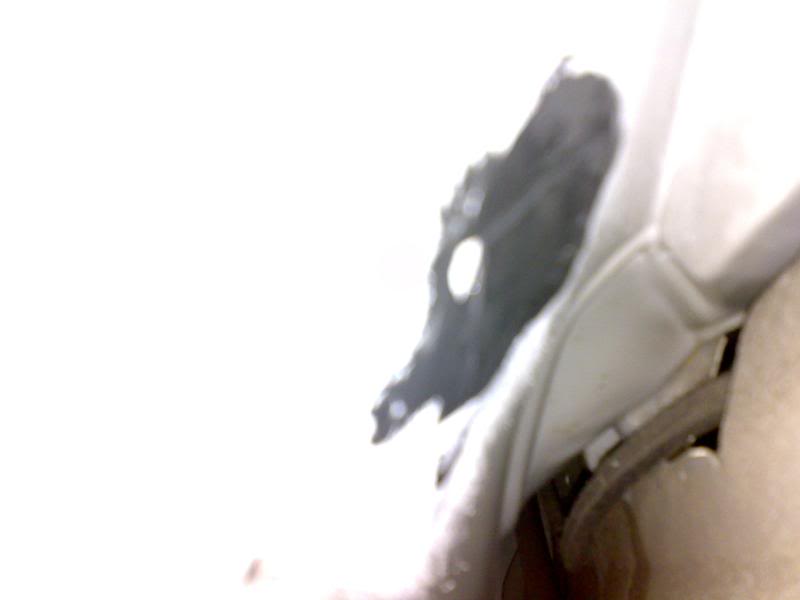
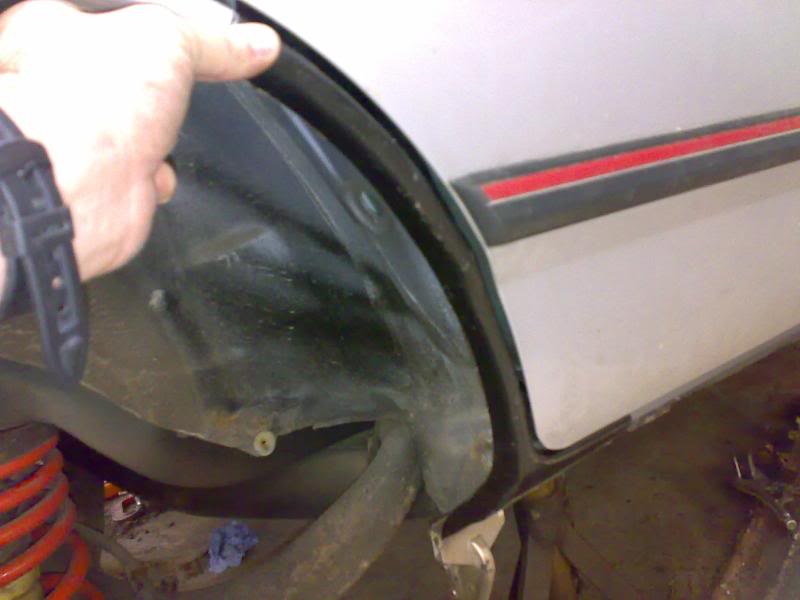
grommet in rear quarter where someone had put some dodgy aerial in @ some time
Passenger sill removed for inspection
All the rust that was there. Not bad for 18 years old. Inner section to be replated accordingly before new sill goes on

New piece to help strengthen the inner as it was looking a bit thin. Was bonded in using a 2k bonding agent as there was a chance of "blowing through" the existing metal when mig-welding. All traces of rust (surface and otherwise were then removed)
New sill section in place. Bonded in using 2k agent again on all the seams and joins. This is left for 12 hours to set before being spot-welded together, ensuring a watertight and factory-sealed join to prevent rusting again. Edges will be mig-welded in and smoothed over accordingly
Aerial hole having had a plate put in using the 2k bonding agent (so as to prevent oxidisation within the tight area in the quarter panel and hole in the wing filled accordingly. Excess will be removed with a grinder when set and will then be ready for primer, no filler required.
A view from inside showing what I mean.
The 2K bonder is commonly used now within the motor trade. It sets like concrete, can be shaped like metal and does not crack like filler. IT is used to bond on many panels, including the mounting brackets for Golfs, quarter panels where applicable and many other applications. This makes it a much more viable option on repairs like this, where it also helps to prevent oxidisation internally which can then rust unseen and bring problems @ a later date. No heat, no oxidisation of good metal, no bare metal on show where you cannot see it.
2nd October:
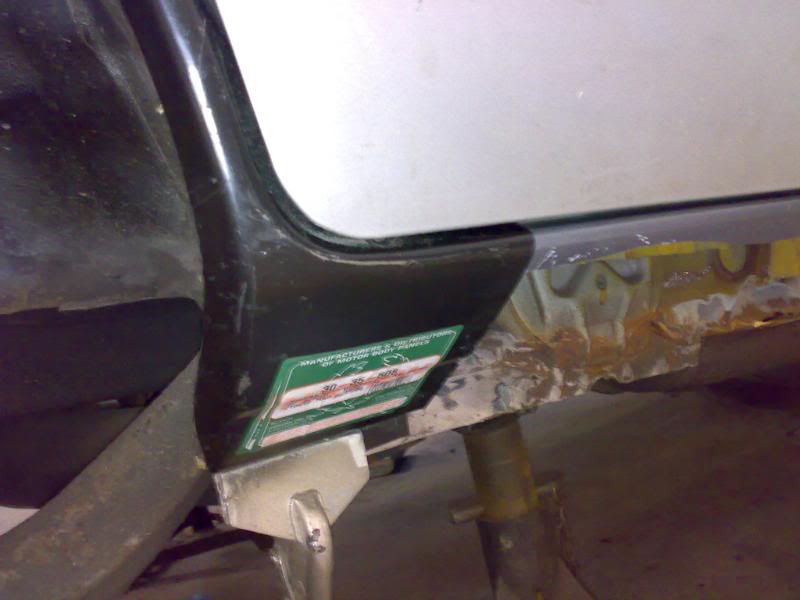
Removal of the rust where the previous damage had been. Not as bad as it looked actually.
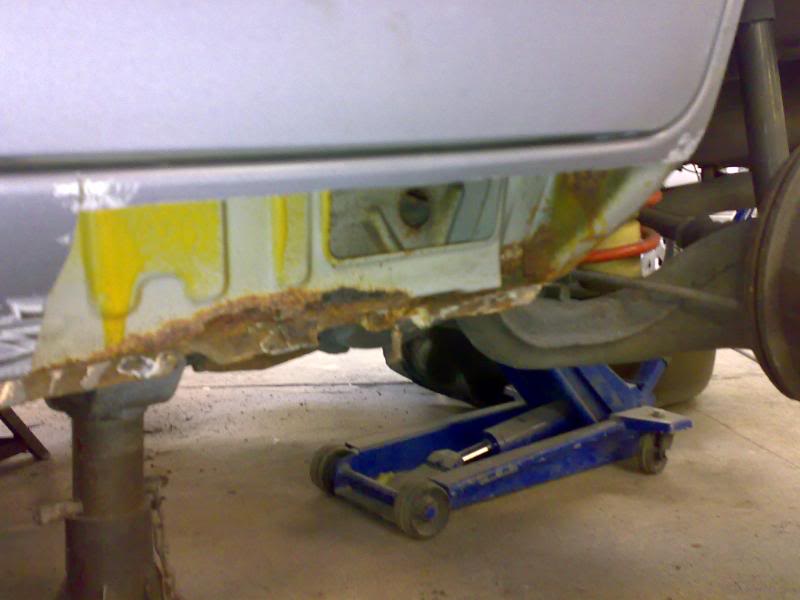
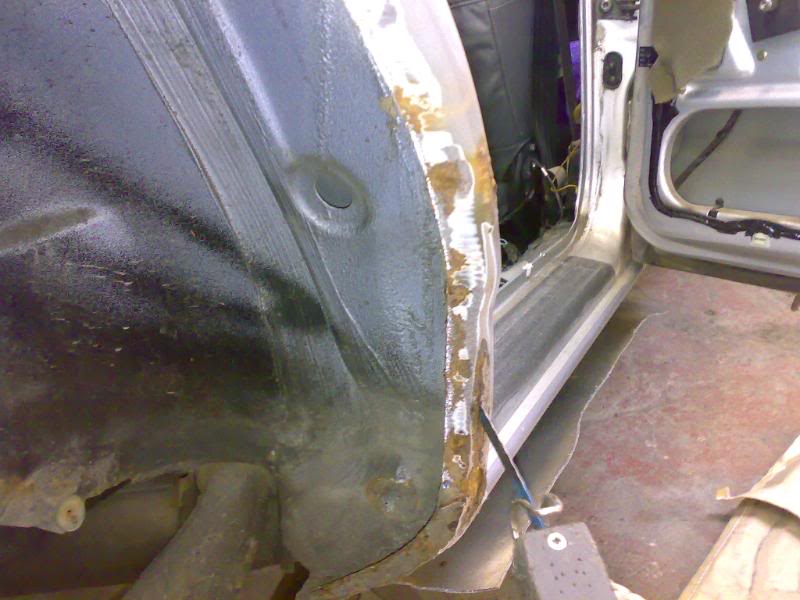
Not so good. Notice the lack of sill section @ the bottom. This was getting quite thin, so out it came. Unfortunately, it means having to go through to the floorpan so strength can be retained.
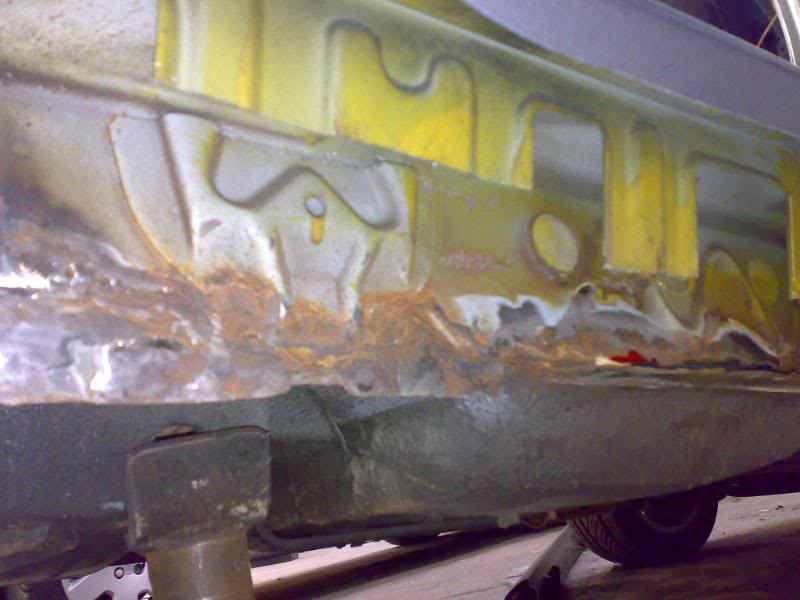
The extent of the corrosion. Note the strengthening plates which have had to be cut back. These will be reinstated with new metal before the sill is replaced.
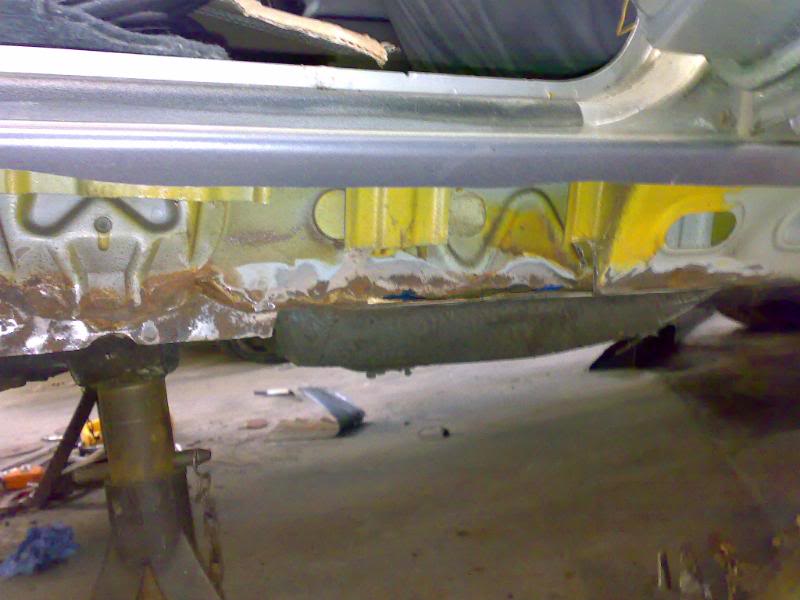
Good news though is that there is no more rust further down the sill section. Note lovely original factory waxoyl.
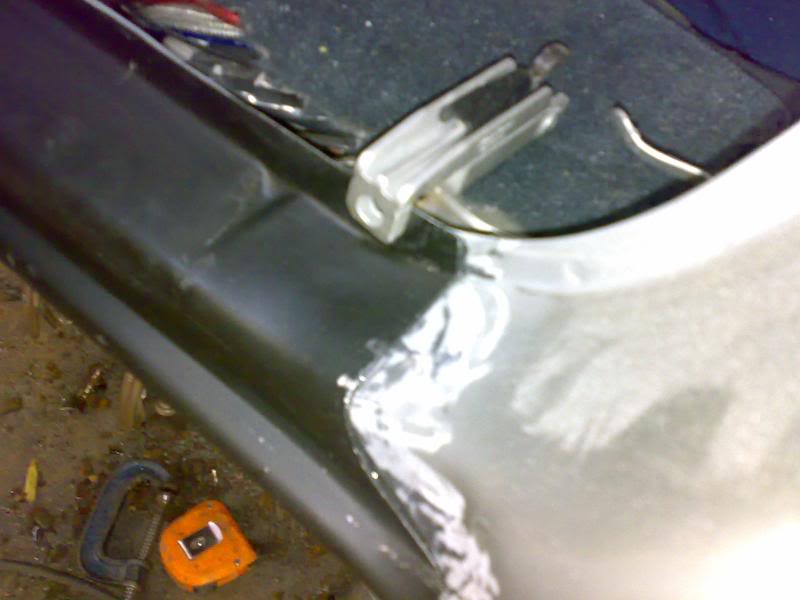
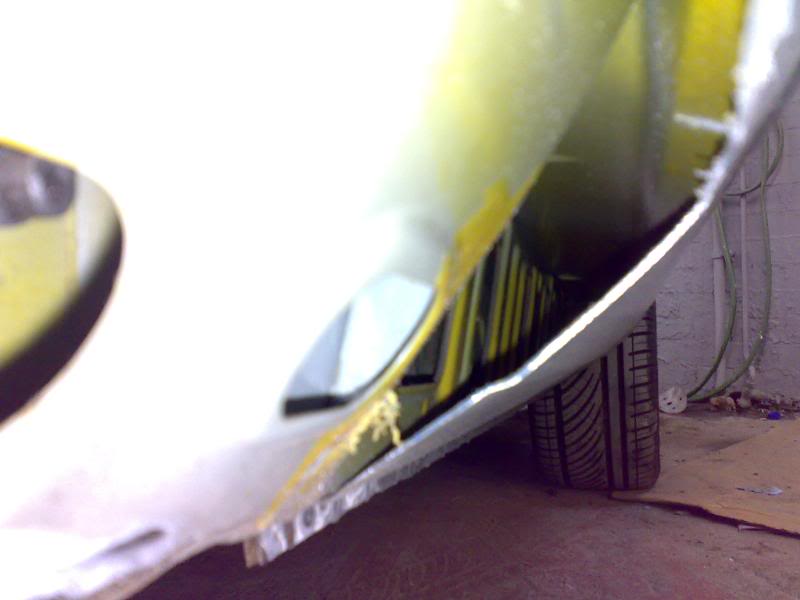
New arch section being laid into place. This will be cut in accordingly.
Nice edge where it goes round the door. How it should be.
Another shot showing the lines of how it will be set. I will probably have the bottom of the arch removed when tacked into place so that the sill is set in as a single section, cutting down on the number of welded joins along the sill.
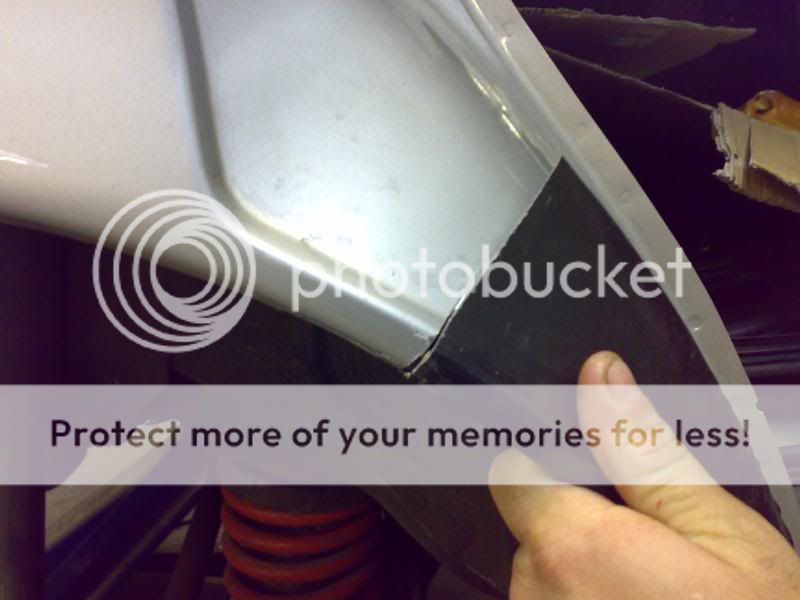
The arch section is cut ready, just not put into place yet.