scottrs1 s1 rebluid
 24-10-2006, 08:39 PM
#1
Part of the Furniture
Thread Starter
Join Date: Dec 2005
Location: fort william ,scotland
Posts: 153
Likes: 0
Received 0 Likes
on
0 Posts
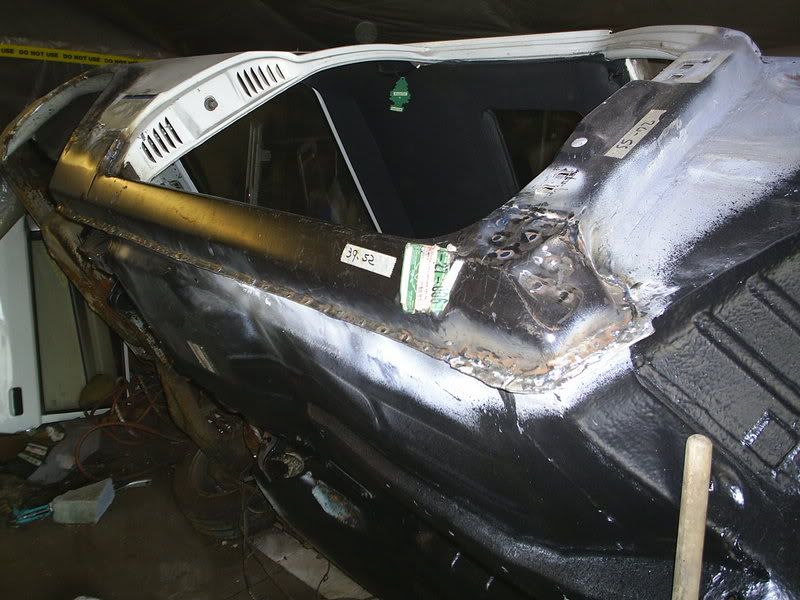
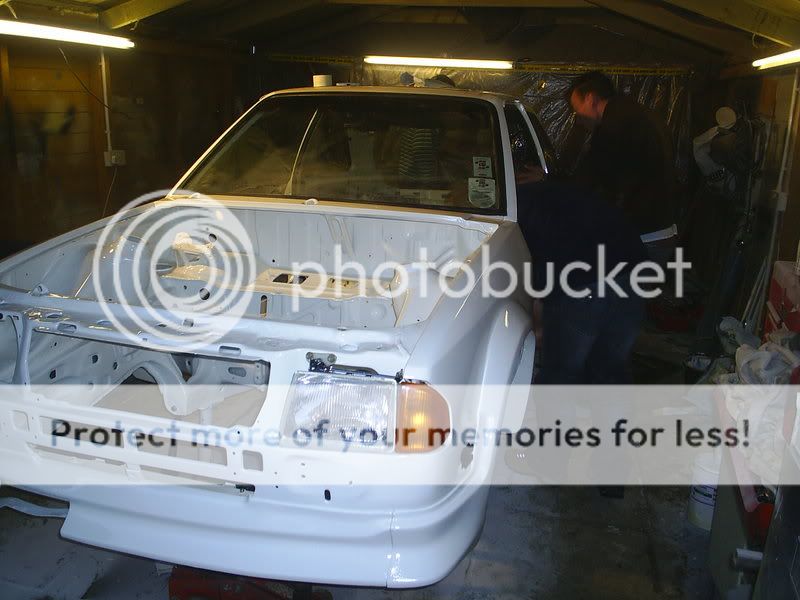
[img]it begins, had the s1 6 months now and its now time for it to get a tidy up (well a complete rebuild)so over the winter i will be knee deep in s1 rust and old panels to transform it into a whiter than white s1 turbo, on top it looks really good but as you will see its got its problems


bodge job this is surposed to be a new scuttle panel fitted for a cost of �300 by the last owner

in need of a new rear panel +rear corners

2x new wings needed

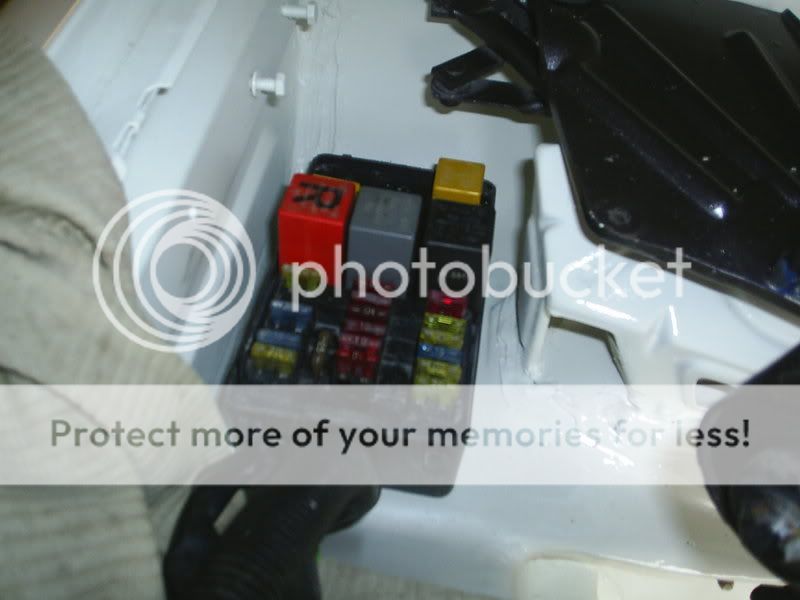
more rot under the fuse box

engine out and engine bay stripped


this is prop the worst bit, same on both sides

so thats how far i hav got ,still tryin to source panels and parts etc ,and then theres the engine thats gona be a bit special but more of that in the future[/img][/b]
bodge job this is surposed to be a new scuttle panel fitted for a cost of �300 by the last owner
in need of a new rear panel +rear corners
2x new wings needed
more rot under the fuse box
engine out and engine bay stripped
this is prop the worst bit, same on both sides
so thats how far i hav got ,still tryin to source panels and parts etc ,and then theres the engine thats gona be a bit special but more of that in the future[/img][/b]
 24-10-2006, 08:41 PM
#2
Part of the Furniture
Thread Starter
Join Date: Dec 2005
Location: fort william ,scotland
Posts: 153
Likes: 0
Received 0 Likes
on
0 Posts
[img]heres a wee update ..
the panels started to arrive

replaced the battery tray after cutting the original tray and a naw one that had been welded on top

then i started on the inner and outer sills


and thats it for this now cant do any more till my front floor pan arrives ,oh and more welding wire for the mig[/img]
the panels started to arrive
replaced the battery tray after cutting the original tray and a naw one that had been welded on top
then i started on the inner and outer sills
and thats it for this now cant do any more till my front floor pan arrives ,oh and more welding wire for the mig[/img]
24-10-2006, 08:43 PM
#3
Part of the Furniture
Thread Starter
Join Date: Dec 2005
Location: fort william ,scotland
Posts: 153
Likes: 0
Received 0 Likes
on
0 Posts
[img]/cut old one out........looks scary eh


new floor pan ready to get welded in


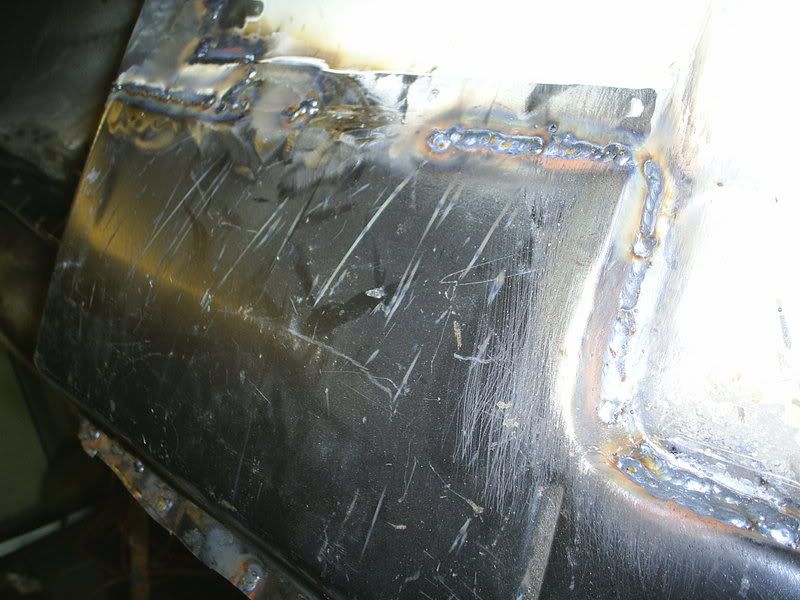
front and rear pans welded in


inner sill welded on

starting to take shape now but it takes time ,outer sill is next job and then its onto the inner wings ,front panel,front cross member wings, bah bah bah[/img]
new floor pan ready to get welded in
front and rear pans welded in
inner sill welded on
starting to take shape now but it takes time ,outer sill is next job and then its onto the inner wings ,front panel,front cross member wings, bah bah bah[/img]
24-10-2006, 08:45 PM
#4
Part of the Furniture
Thread Starter
Join Date: Dec 2005
Location: fort william ,scotland
Posts: 153
Likes: 0
Received 0 Likes
on
0 Posts
[img]after near a week of solid welding and grinding the front end is finished ,only the wings to be welded back on ,


the new driver side floor pans and door jab come tomorrow so hopefully i can totaly finish the front end of in the next week or so ,then its onto the rear ,new chassic legs ,boot floor and rear valance[/img]
the new driver side floor pans and door jab come tomorrow so hopefully i can totaly finish the front end of in the next week or so ,then its onto the rear ,new chassic legs ,boot floor and rear valance[/img]


 Alot of time has went into that, keep at it and keep the updates regular
Trending Topics


 25-10-2006, 08:57 PM
#10
Part of the Furniture
Thread Starter
Join Date: Dec 2005
Location: fort william ,scotland
Posts: 153
Likes: 0
Received 0 Likes
on
0 Posts
[img]ok done the drivers floor pan and the rear one also fitted inner and outer sills .....twat of a job ...
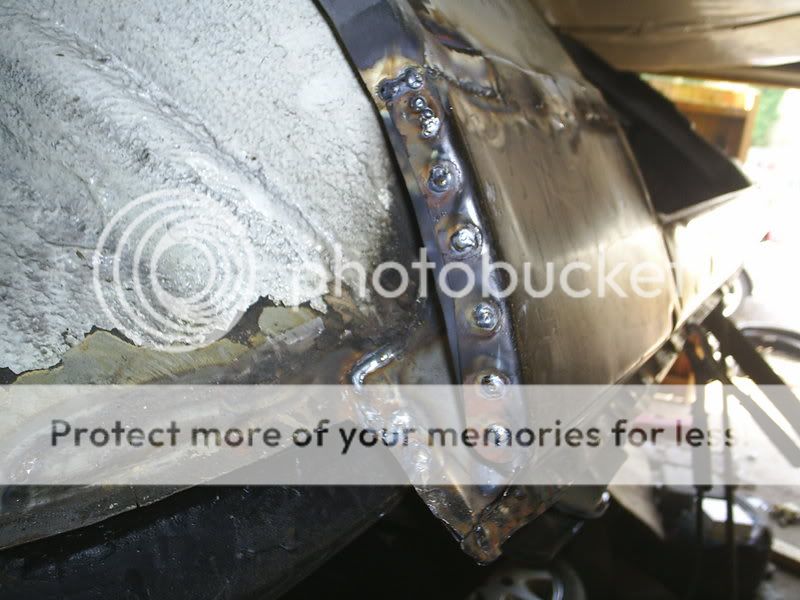
had to do a bit of work on the door post too ,its got 3 layers on it for strengh and the outer one was totaly rotton ,luckly they still make a panel for it ,but it was a nightmare drilling all the spot welds out that hold the outer skin on ,but under that it was sound so it was'nt all bad

 [/img]
had to do a bit of work on the door post too ,its got 3 layers on it for strengh and the outer one was totaly rotton ,luckly they still make a panel for it ,but it was a nightmare drilling all the spot welds out that hold the outer skin on ,but under that it was sound so it was'nt all bad
[/img]


 02-11-2006, 06:06 AM
#18
PassionFord Post Troll

superb work mate - looked like a tidy one to start with too - like mine until the kit came off 
Good to see another one saved - wonder how many are in sunny Scotland now
Good to see another one saved - wonder how many are in sunny Scotland now
 19-11-2006, 06:42 PM
#21
Part of the Furniture
Thread Starter
Join Date: Dec 2005
Location: fort william ,scotland
Posts: 153
Likes: 0
Received 0 Likes
on
0 Posts
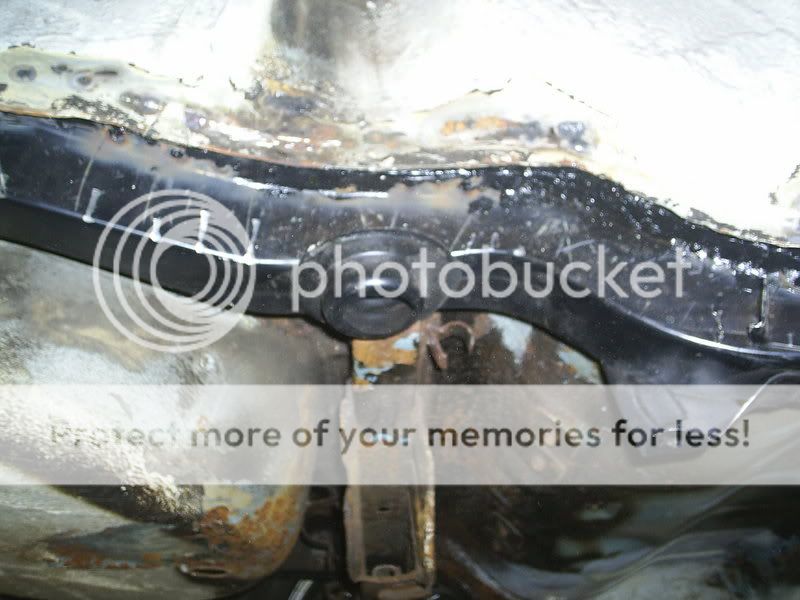
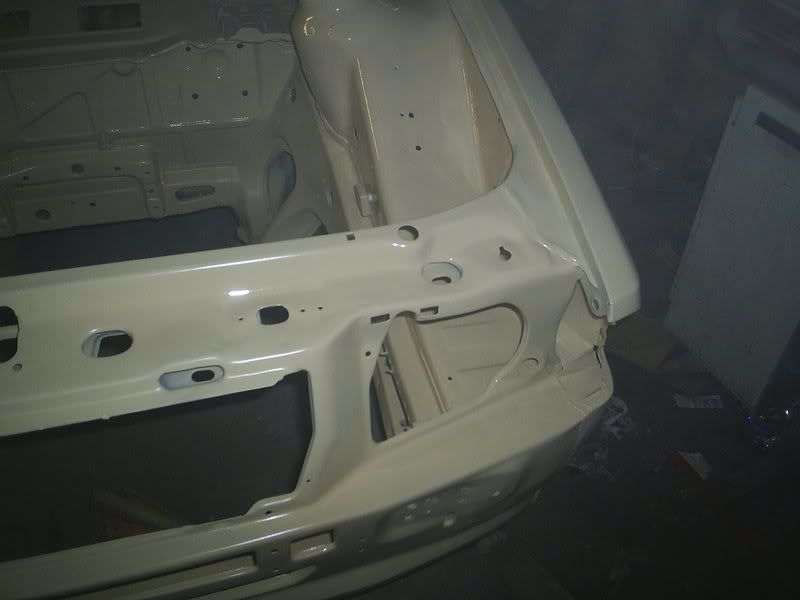
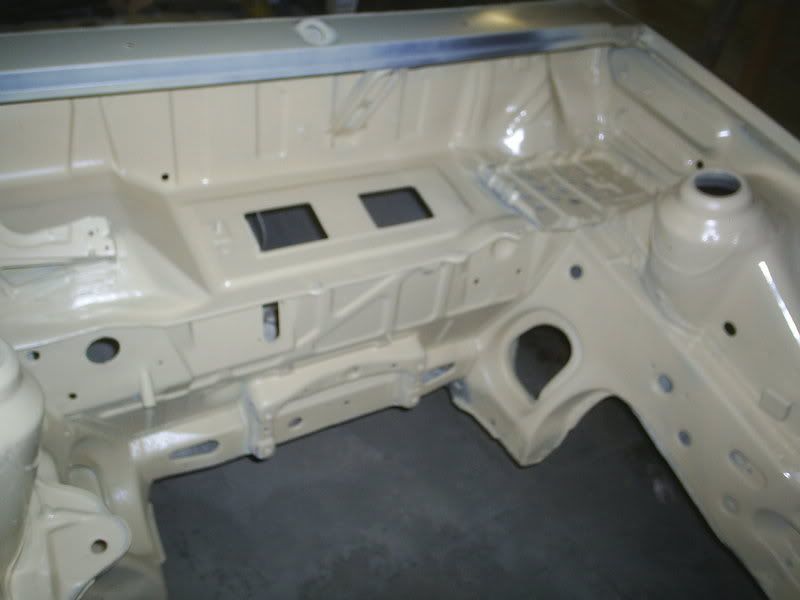
its been a while since my last update been workin alot ,but heres what i have been busy at ,with the help of a few mates we tipped the car on its side so i could start the underside ,then i started to seem weld all the new floor pans in ,also welded them onto the chassis rails for extra strengh ,the rails where in really good condition which was a surprise as the rest had been so rotton ,the worst was scrapin all the old under seal off what a pig of a job and there's loads more to scarp of yet

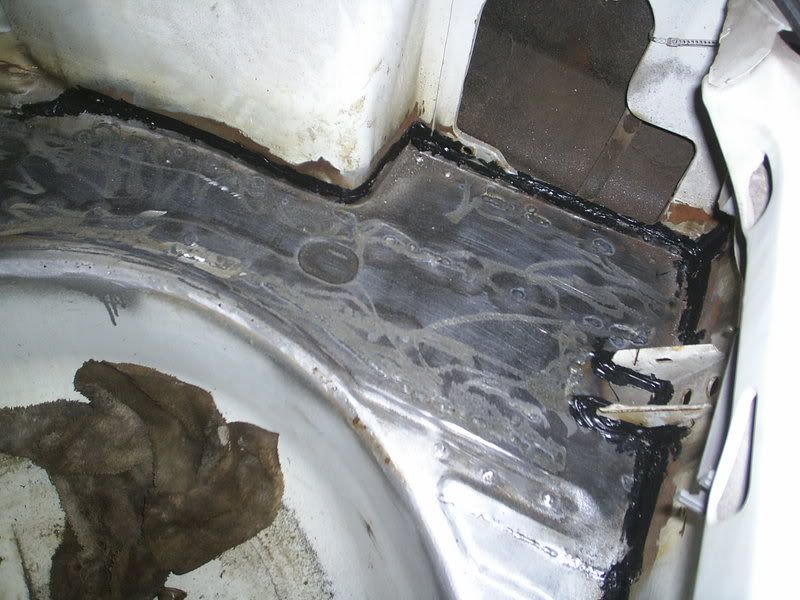
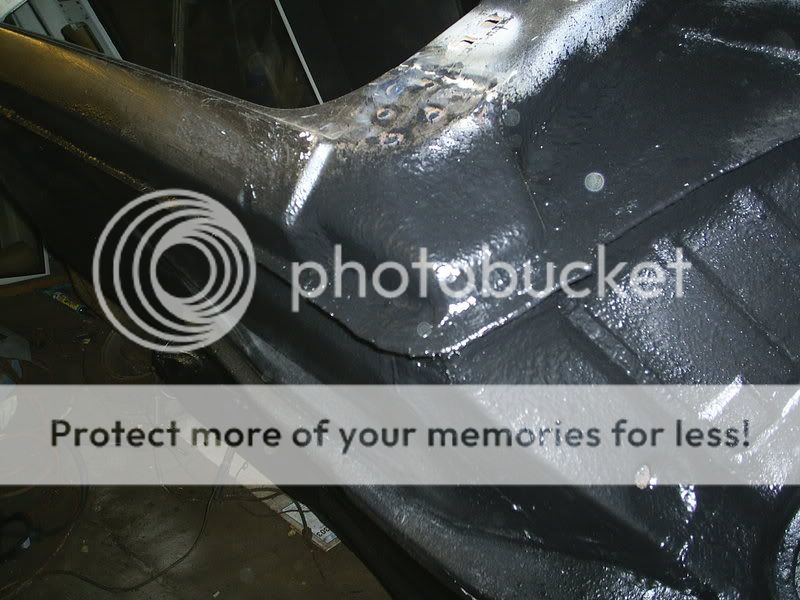
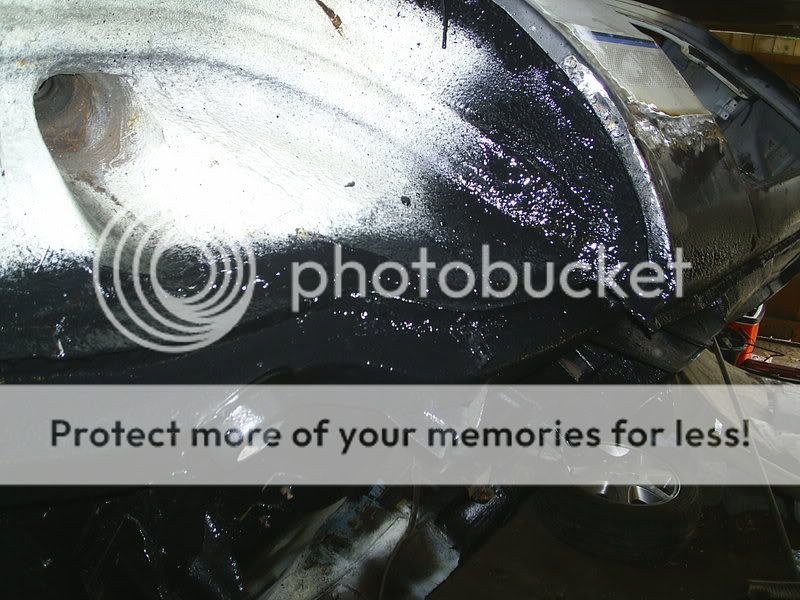
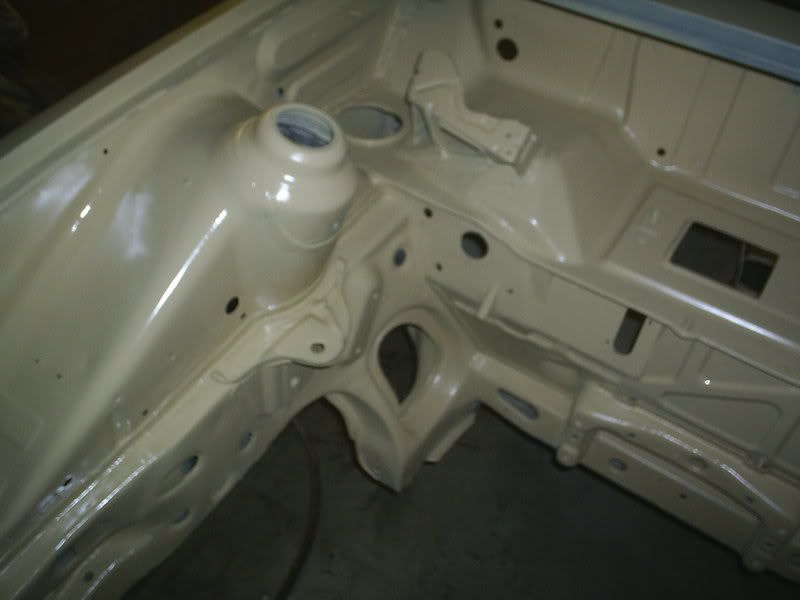
cleaned up the driver side wheel arch and inner wing and then resealed the the joints withbrush on seam sealer

new skuttle panel fitted and the inner wing ,battery tray smoothed in and seam sealed

loads of work to do yet before it see's underseal


f@@kin w@@@@r looks like that s 2x new chassis legs

cleaned up the driver side wheel arch and inner wing and then resealed the the joints withbrush on seam sealer
new skuttle panel fitted and the inner wing ,battery tray smoothed in and seam sealed
loads of work to do yet before it see's underseal
f@@kin w@@@@r looks like that s 2x new chassis legs
15-04-2007, 06:23 PM
#23
Part of the Furniture
Thread Starter
Join Date: Dec 2005
Location: fort william ,scotland
Posts: 153
Likes: 0
Received 0 Likes
on
0 Posts
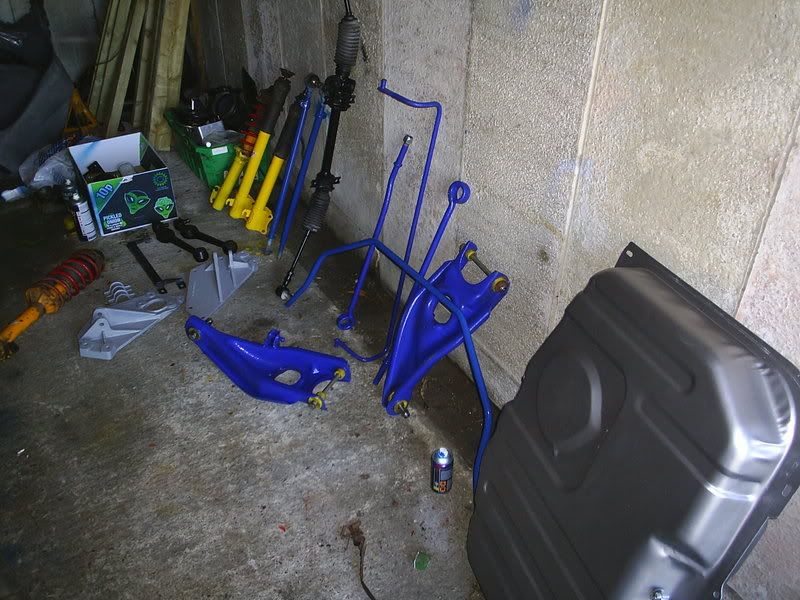
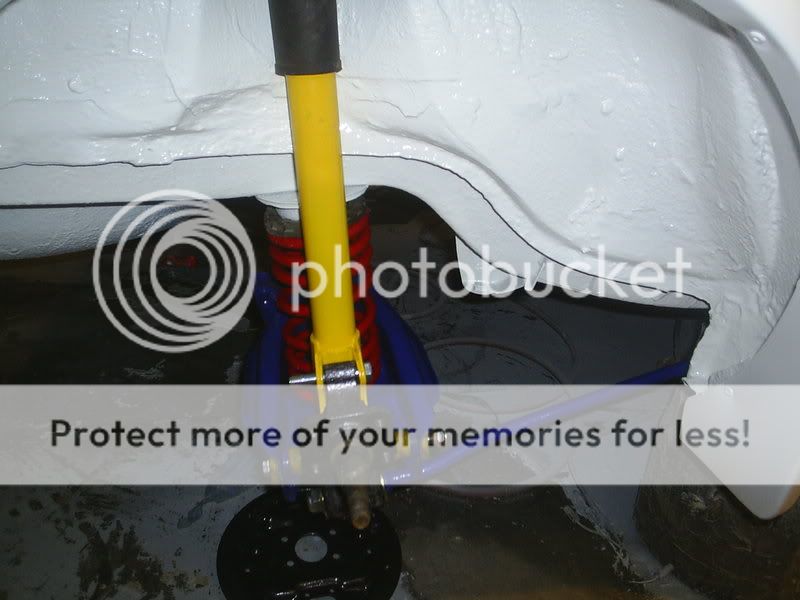
finally got back to my s1 this week ,was gonna carry on welding it up put the welder s on the blink this now so thought i better get crackin on all the other jobs that need done ,,thought i would make a start on all the cleanin and paintin of the underneath stuff ,3 days later and no skin left on ma fingers i have made a good dent on all the bits and bobs ......but still hav loads to do
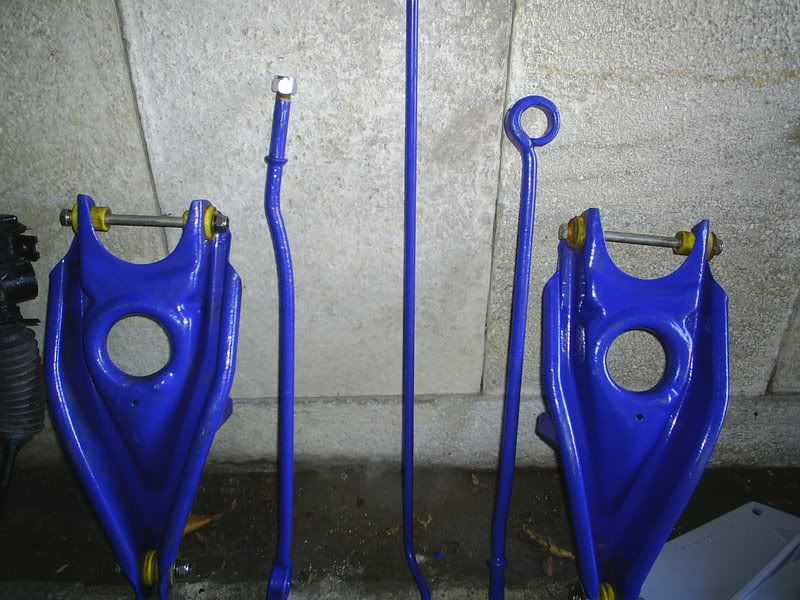
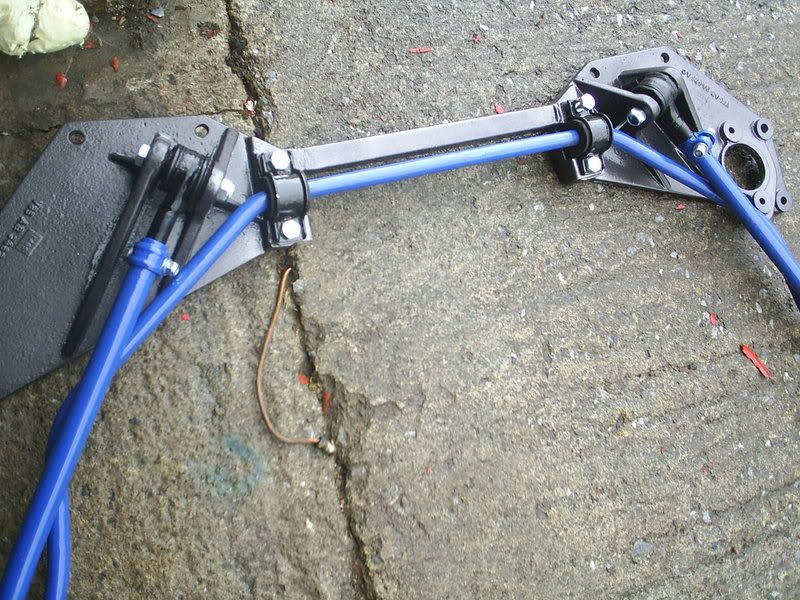
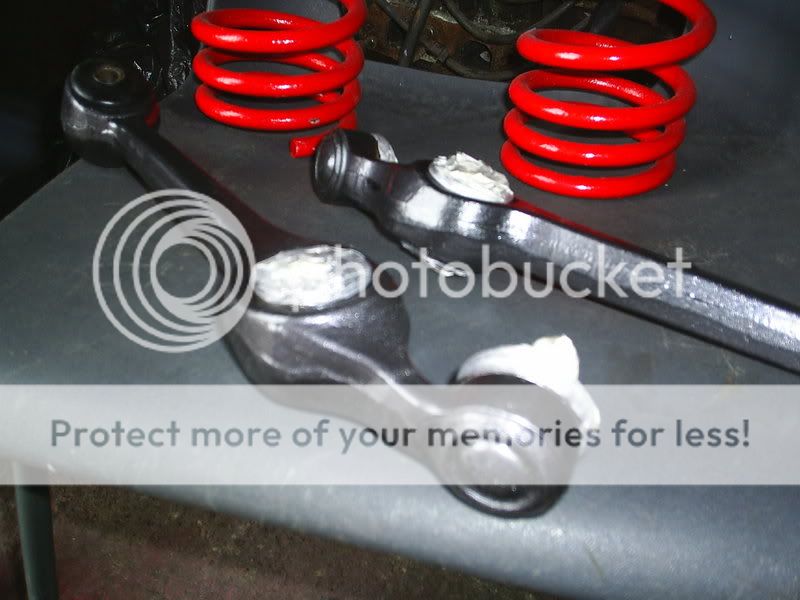
also bought alot of bits and peace,s that i hav been needin rear arms ,suspension kit ,chrome ,and front anti roll bar set up
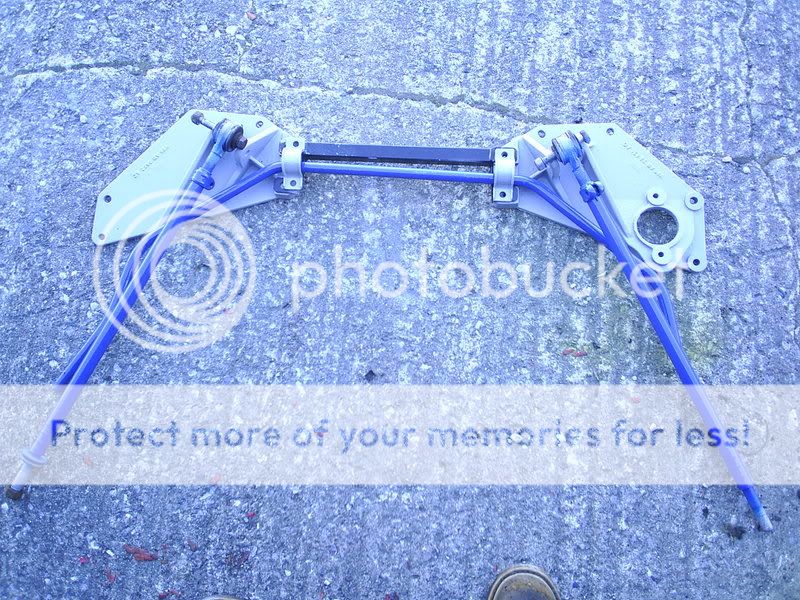
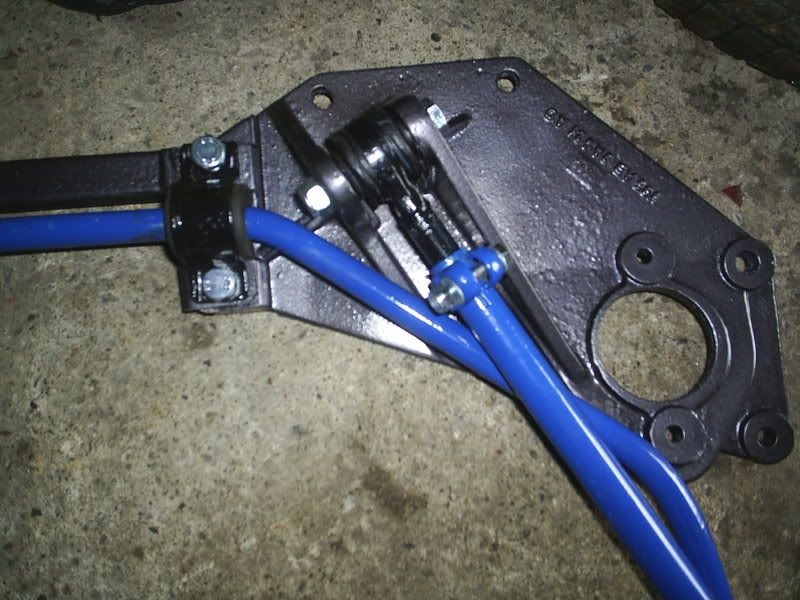
finally managed to get hold of a s1 front anti roll bar set up ,been lookin for age,s after i found out my one was broken and it was of a rs1600i but they always went for big money ,got this for �30 wished i had taken a photo of it before i cleaned it up ,looked like it had been sitting on the bottom of the sea with the amount of rust on it
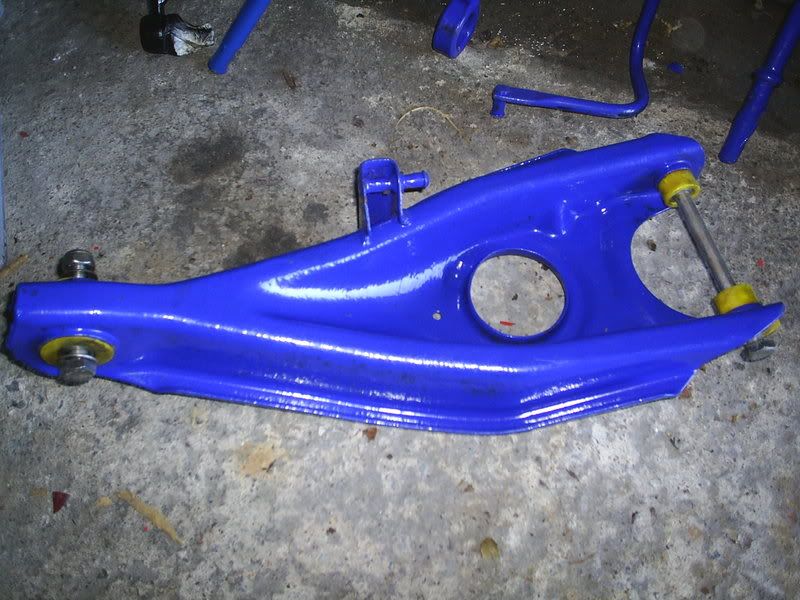
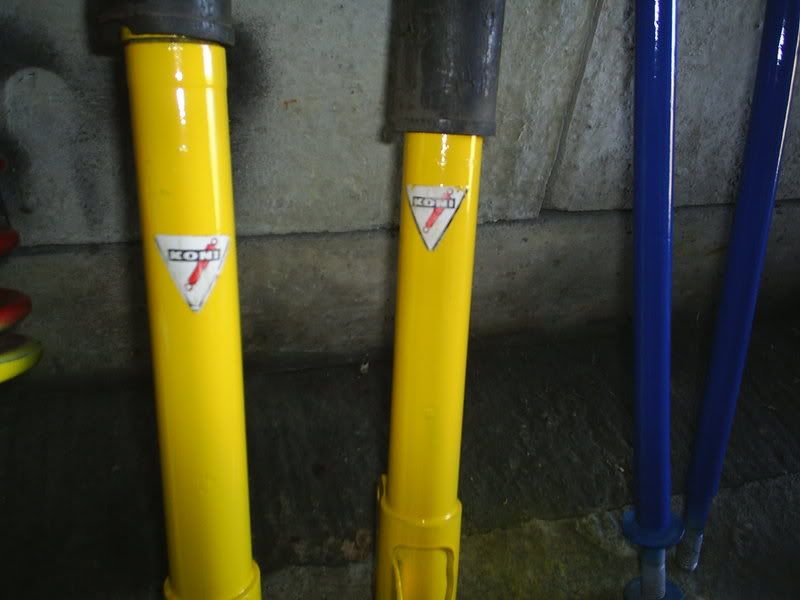
these came the other day all powder coated and power flex bushes and stainless bolts just need to give em a good clean as ma grubby hands hav been all over them lol
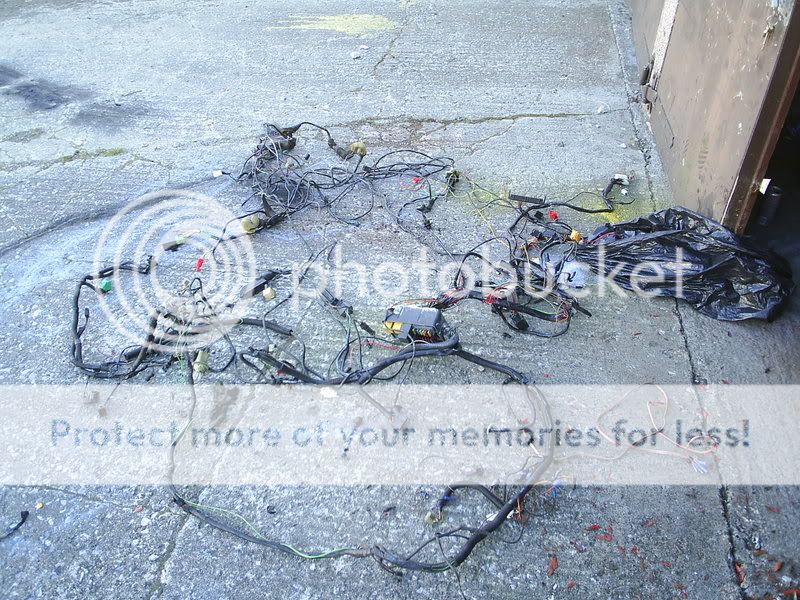
the next f**kin mission the loom ....lets just say its f**ked ha ha

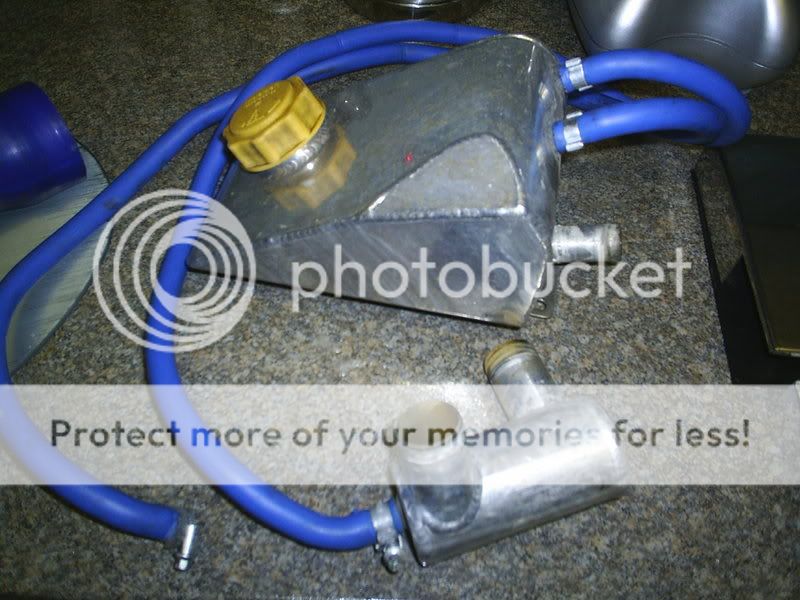
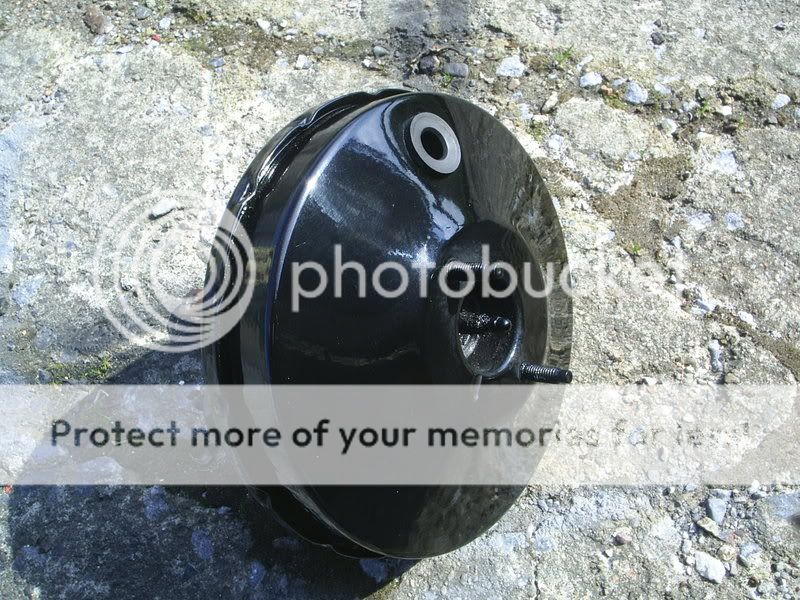
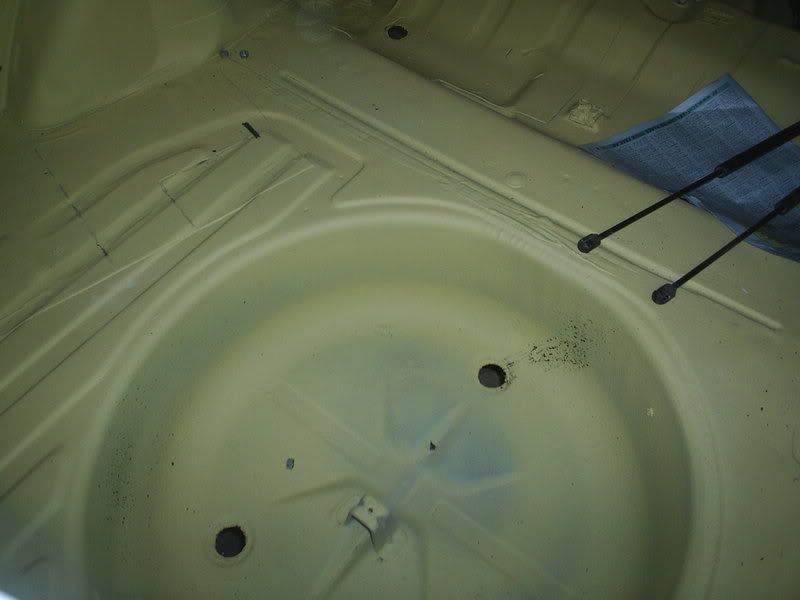
got the tank all painted up
got hold of these to just need a really good polish to bring back the bling
got the front anti roll barr and a few other bits and bobs painted today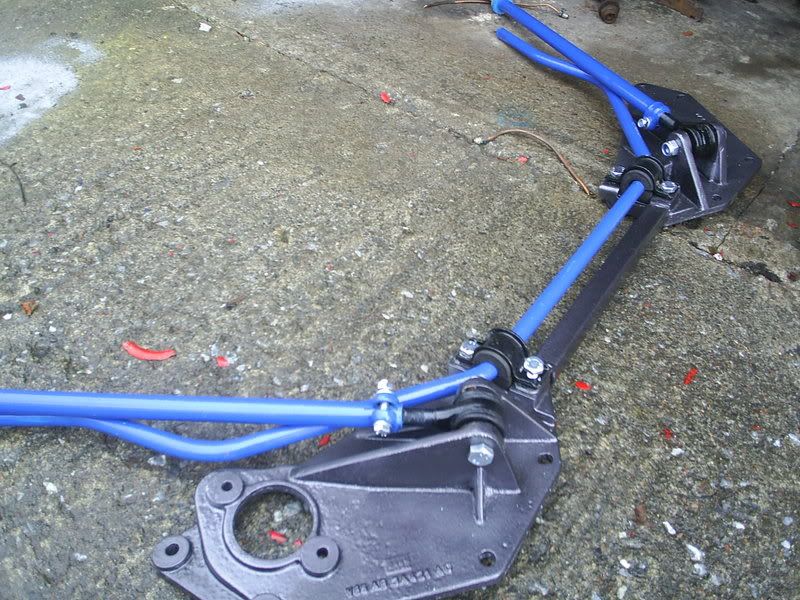
also got back to weldin the old tub up today ,got the boot floor repaired so hopefully thats me ready to fit the neww chassic leg ,i will get some pics of all this up soon
also bought alot of bits and peace,s that i hav been needin rear arms ,suspension kit ,chrome ,and front anti roll bar set up
finally managed to get hold of a s1 front anti roll bar set up ,been lookin for age,s after i found out my one was broken and it was of a rs1600i
but they always went for big money ,got this for �30 these came the other day all powder coated and power flex bushes and stainless bolts just need to give em a good clean as ma grubby hands hav been all over them lol
the next f**kin mission the loom ....lets just say its f**ked ha ha
got the tank all painted up
got hold of these to just need a really good polish to bring back the bling
got the front anti roll barr and a few other bits and bobs painted today
also got back to weldin the old tub up today ,got the boot floor repaired so hopefully thats me ready to fit the neww chassic leg ,i will get some pics of all this up soon
15-04-2007, 06:25 PM
#24
Part of the Furniture
Thread Starter
Join Date: Dec 2005
Location: fort william ,scotland
Posts: 153
Likes: 0
Received 0 Likes
on
0 Posts
before
after some of the bits got repainted

heres a big up date ,been at the s1 all weekend now ,got some more bits painted ,but really spent most my time weldin and scrapin under seal of
got the chassic leg on after a lot of fookin around to get it to sit right also had to put a boot repair panel on as well
fitted the new sill as well ,took a while to get it right as well ,nothing ever goes smooth for me
welded in the new arch as well and started to blend that in with filler

once the sill ,arch,chassic leg and floor where all welded in it was time for a bit of stone chip to protect all my hard work ,was gonna paint the floor white but not gonna do that now i aint no bufty boy and cant be arsed cleanin it after ever run ,i intend to use this car all the time so only the arches r going white ,any way heres some pics of various new panels covered in lovly stone chip


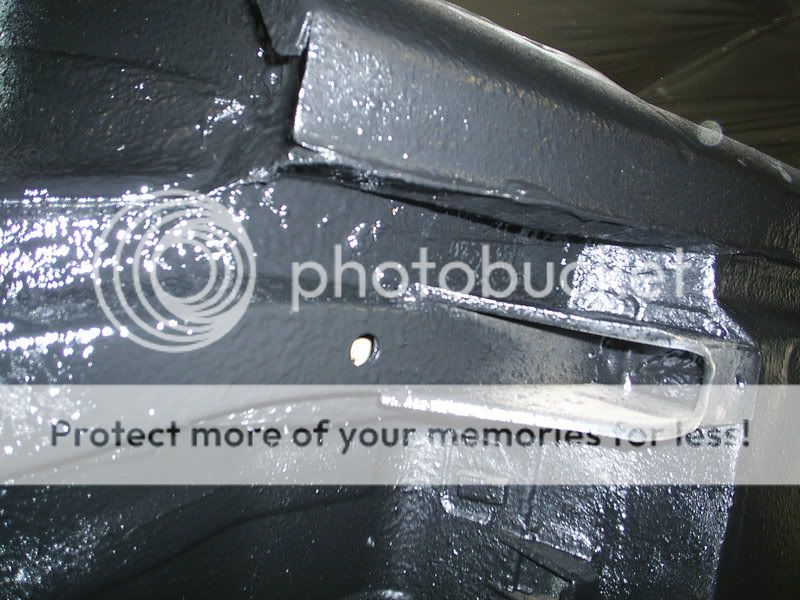
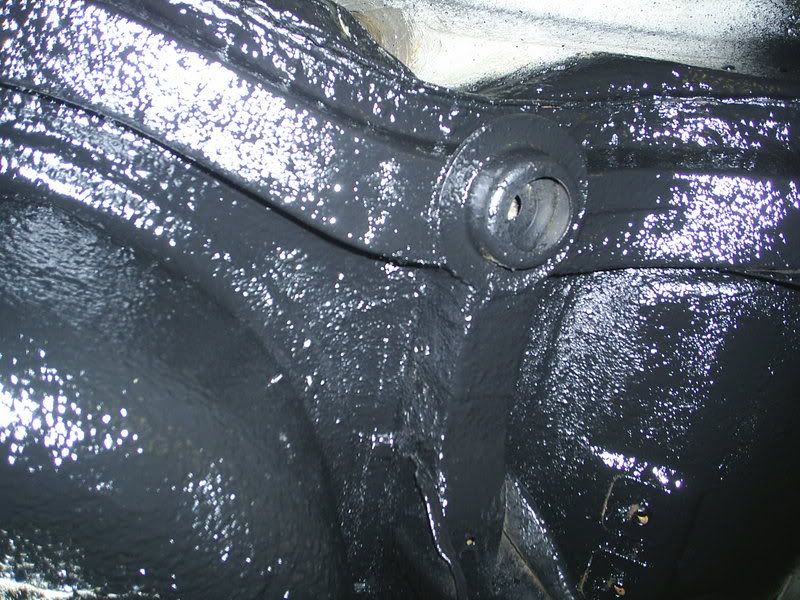
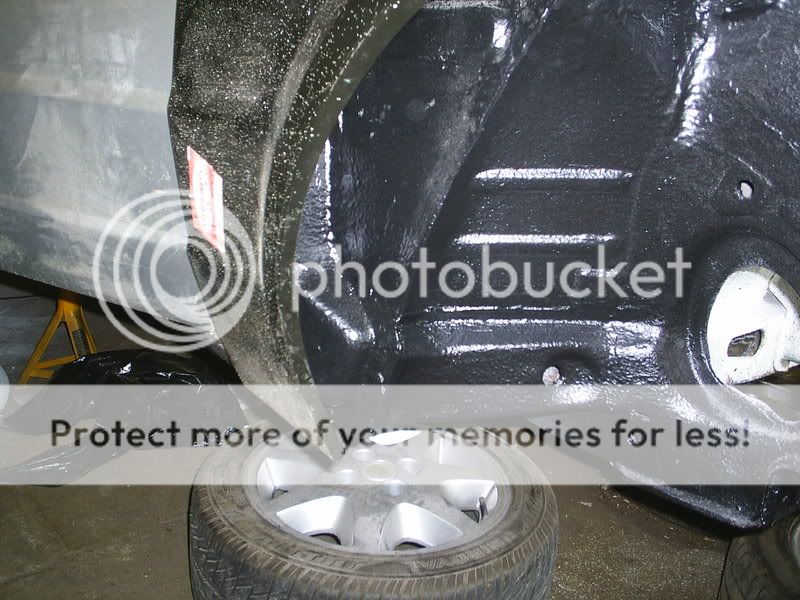
so thats it this now only have some small weldin jobs left now and it will be a solid shell :thumbsup: ,so heres how she looks this now cant wait to get the wings welded on and a coat of primer :thumbsup:
one of the very little welding jobs to finish

i might make a show this year.............eh .....mmmmmmm....dunnnnnnnooo
after some of the bits got repainted
heres a big up date ,been at the s1 all weekend now ,got some more bits painted ,but really spent most my time weldin and scrapin under seal of
got the chassic leg on after a lot of fookin around to get it to sit right also had to put a boot repair panel on as well
fitted the new sill as well ,took a while to get it right as well ,nothing ever goes smooth for me
welded in the new arch as well and started to blend that in with filler
once the sill ,arch,chassic leg and floor where all welded in it was time for a bit of stone chip to protect all my hard work ,was gonna paint the floor white but not gonna do that now i aint no bufty boy and cant be arsed cleanin it after ever run ,i intend to use this car all the time
so only the arches r going white ,any way heres some pics of various new panels covered in lovly stone chip so thats it this now only have some small weldin jobs left now and it will be a solid shell
:thumbsup: ,so heres how she looks this now cant wait to get the wings welded on and a coat of primer :thumbsup: one of the very little welding jobs to finish
i might make a show this year.............eh .....mmmmmmm....dunnnnnnnooo

 21-04-2007, 08:44 AM
#32
Part of the Furniture
Thread Starter
Join Date: Dec 2005
Location: fort william ,scotland
Posts: 153
Likes: 0
Received 0 Likes
on
0 Posts
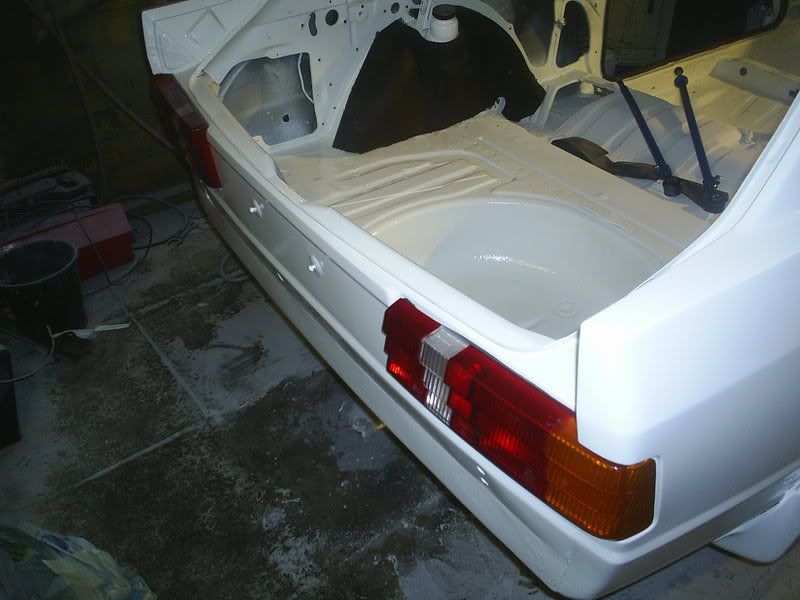
got a few more things done today ,repaired the rear valance on both corners ,i was gonna replace the whole thing but on closer inspection it was really good except the corners ,so i just cut the rot out and repaired them


need to finish blending them in ,was gonna stone chip this bit with the textured stuff up to the rear bumper height ......what you s think good or bad idea :
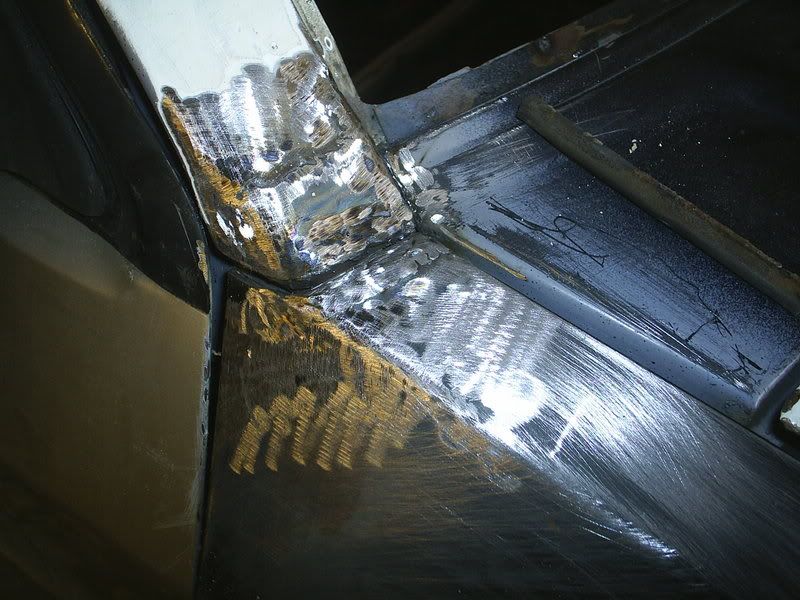
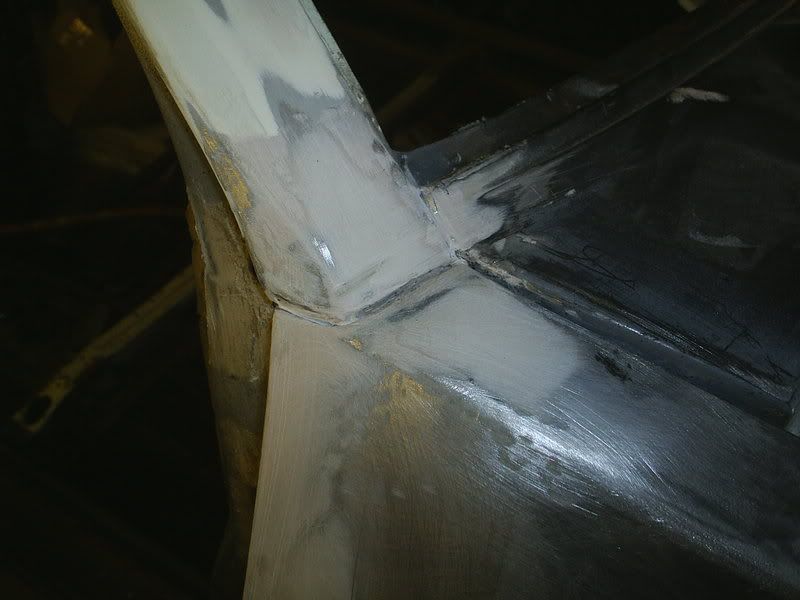
also got the wings on which fitted prefect everywhere except at the a-post and skuttle area ,had to add a wee bit of metal to the wing before i welded it on ,took a wee while to get right but i think it paid of as the gaps are good now
still got to do sand and shape the filler but u get the idea
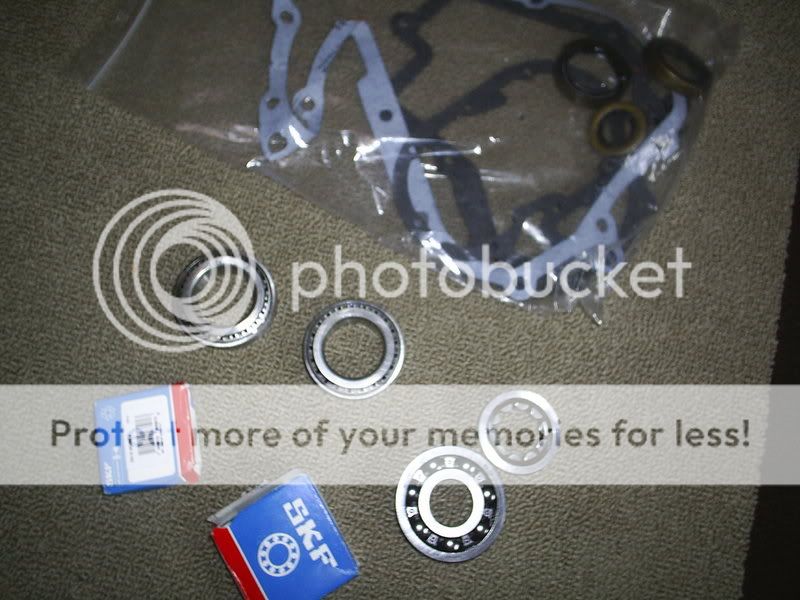
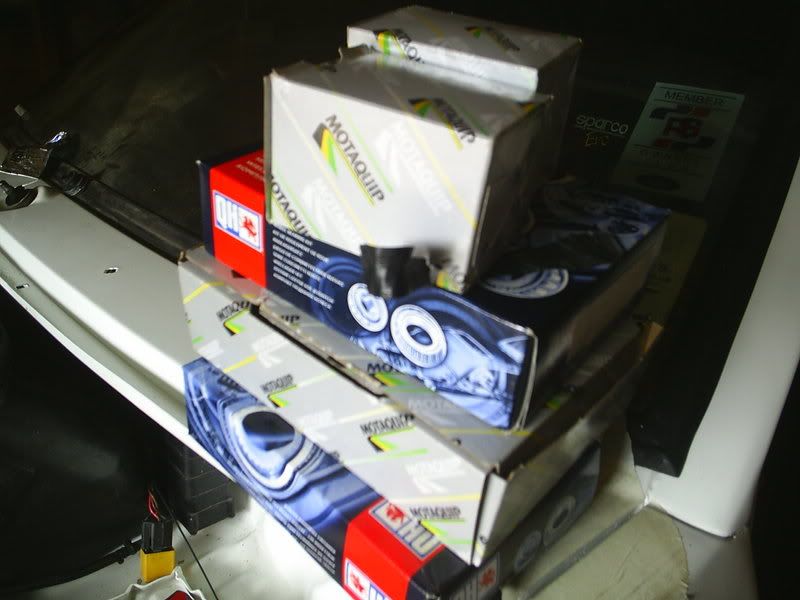
also got my rebluid kit for my gearbox ,gonna do this next week looks like fun eh ale:
ale:
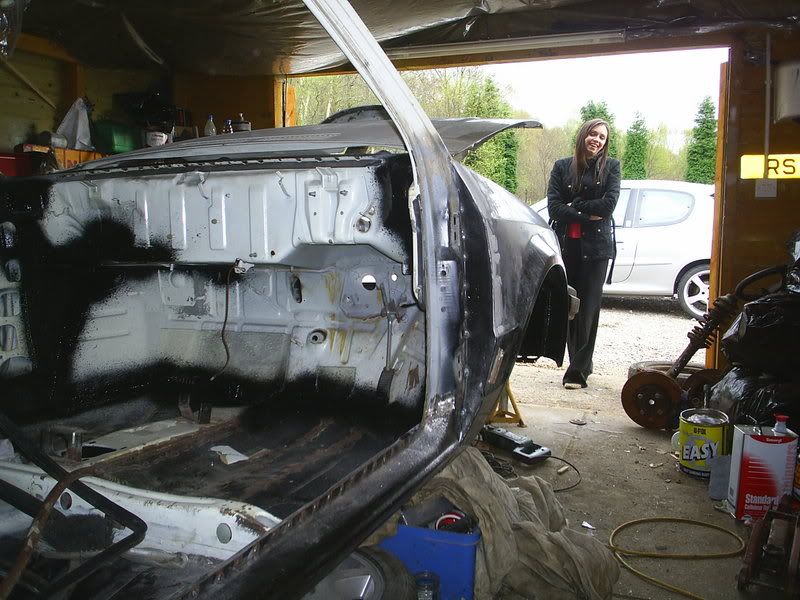
heres the girlfriend happy as fook as she knows she might start seeing more of me as the s1 finally starts to look like its gettin some where:
need to finish blending them in ,was gonna stone chip this bit with the textured stuff up to the rear bumper height ......what you s think good or bad idea :
also got the wings on which fitted prefect everywhere except at the a-post and skuttle area ,had to add a wee bit of metal to the wing before i welded it on ,took a wee while to get right but i think it paid of as the gaps are good now
still got to do sand and shape the filler but u get the idea
also got my rebluid kit for my gearbox ,gonna do this next week looks like fun eh
ale: heres the girlfriend happy as fook as she knows she might start seeing more of me as the s1 finally starts to look like its gettin some where:
21-04-2007, 12:01 PM
#33
Regular Contributor

Join Date: Jun 2003
Location: lancashire
Posts: 224
Likes: 0
Received 0 Likes
on
0 Posts
top job your doin there mate! personally on ths stone chipping of tha back panel I would'nt bother. my rs1600i that I had was chipped on back panel, just didn't look right to me. simon
 24-04-2007, 09:59 PM
#35
Part of the Furniture
Thread Starter
Join Date: Dec 2005
Location: fort william ,scotland
Posts: 153
Likes: 0
Received 0 Likes
on
0 Posts
finally finished welding the s1 up this week .....thank fook its been a long hall to get the old girl back to a solid shell with almost every panel either being replace or repaired so its had
2xsills
2xinner sills
1x front cross member
1x front panel
2x door jabs
2x inner wings
2x wings
1x skuttle panel
2x front floor pans
2x rear floor pans
1x chassic leg
1x battery tray
2x rear arches
1x fuse box tray
also repairs to boot floor ,rear valance,A-pillers ,bulkhead and chassic leg ......fook me what was i thinkin buyin this car ha ha
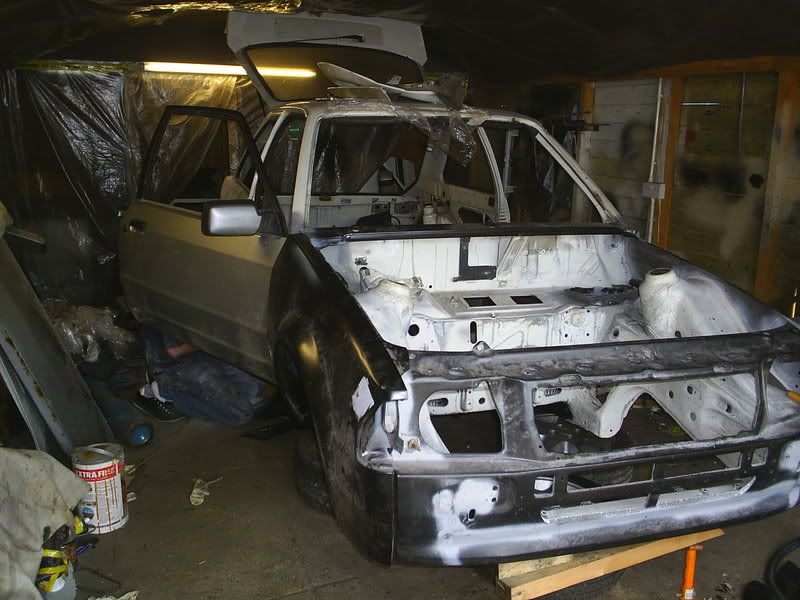
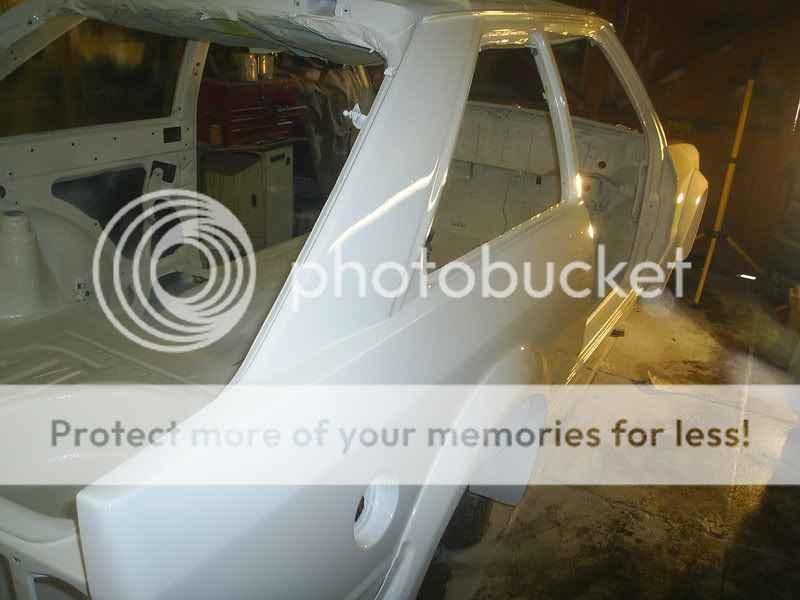
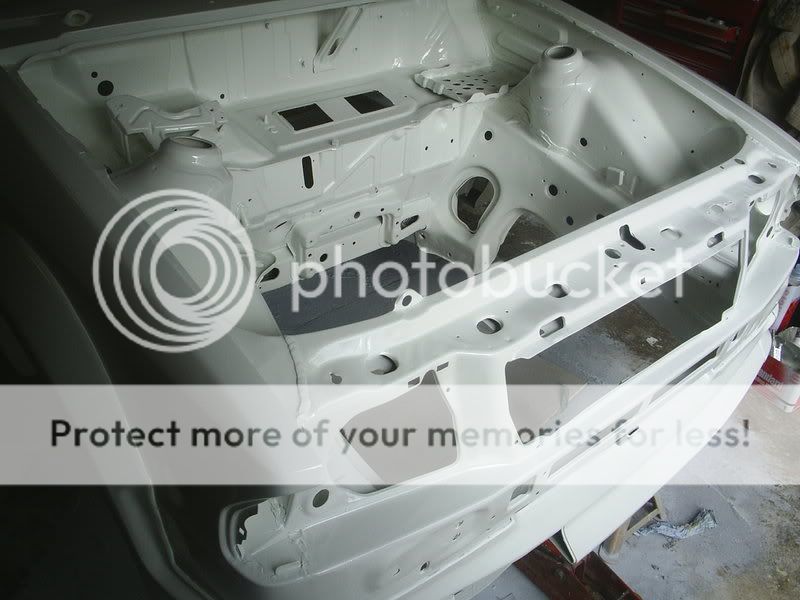
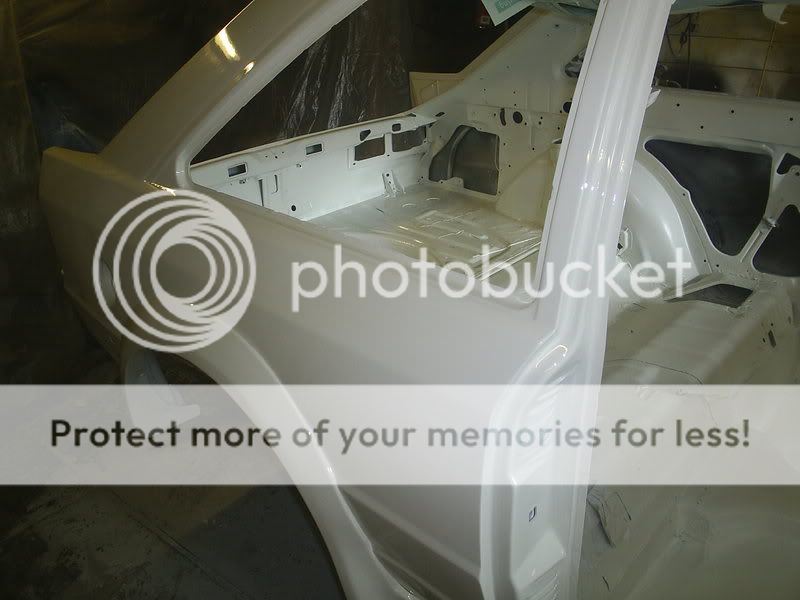
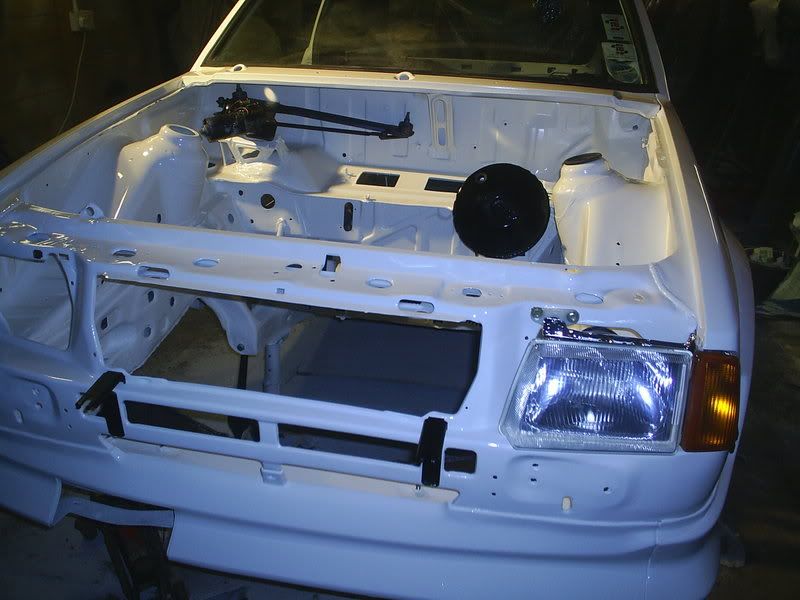
so anyway got a wee got of primmer on her tonight ,well just the engine bay and wings ,
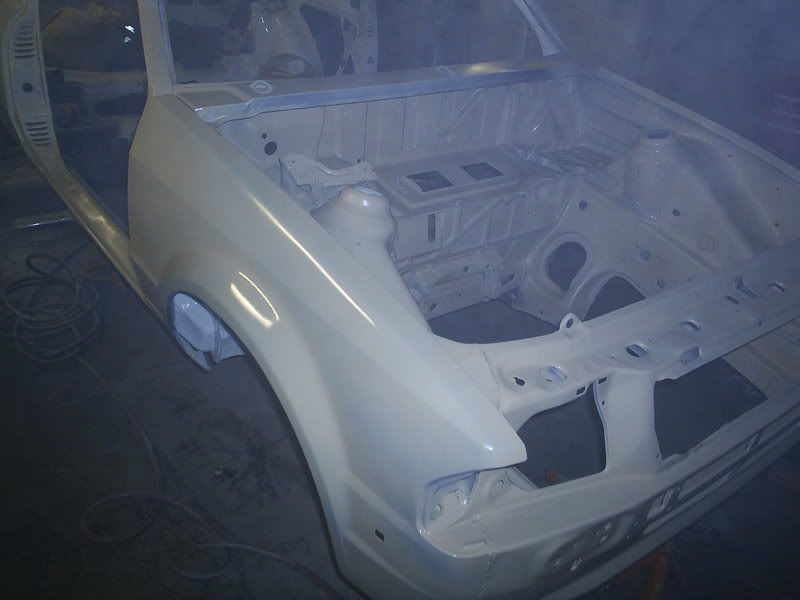
so not long now till it wears a new got of diamond white ,should hav the paint by next week ,so that will give me time to tidy any rough bits up
2xsills
2xinner sills
1x front cross member
1x front panel
2x door jabs
2x inner wings
2x wings
1x skuttle panel
2x front floor pans
2x rear floor pans
1x chassic leg
1x battery tray
2x rear arches
1x fuse box tray
also repairs to boot floor ,rear valance,A-pillers ,bulkhead and chassic leg ......fook me what was i thinkin buyin this car ha ha
so anyway got a wee got of primmer on her tonight ,well just the engine bay and wings ,
so not long now till it wears a new got of diamond white ,should hav the paint by next week ,so that will give me time to tidy any rough bits up

 07-08-2007, 04:09 PM
#40
Part of the Furniture
Thread Starter
Join Date: Dec 2005
Location: fort william ,scotland
Posts: 153
Likes: 0
Received 0 Likes
on
0 Posts
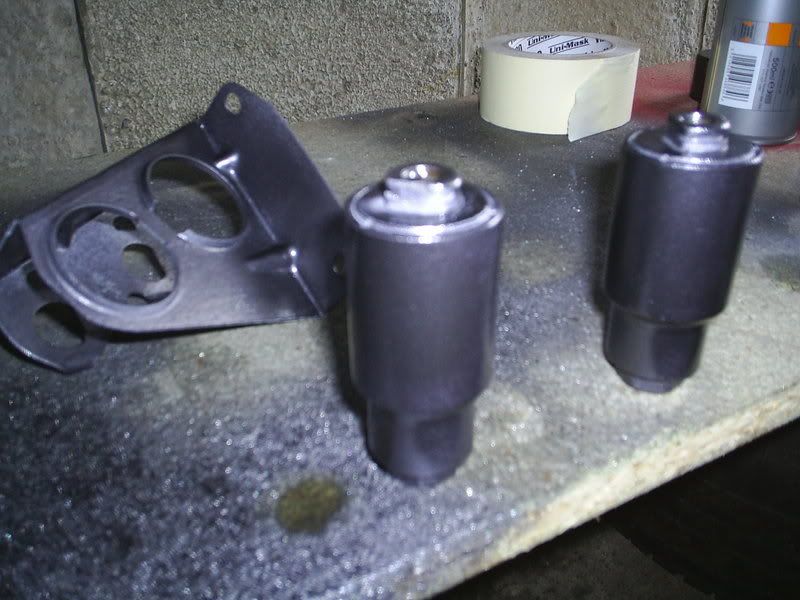
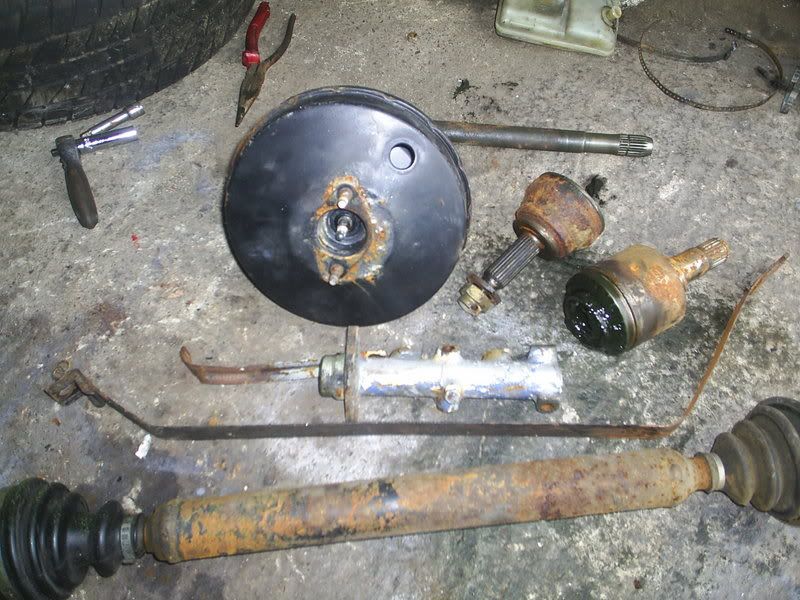
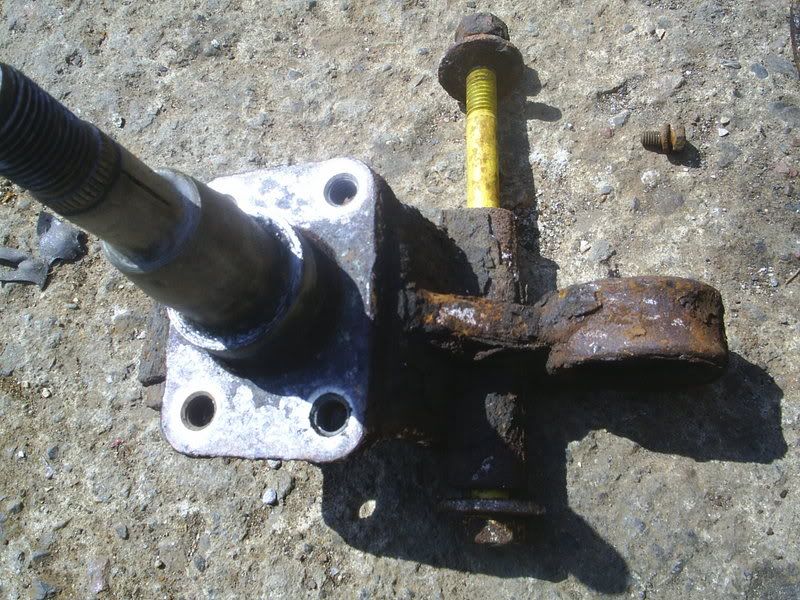
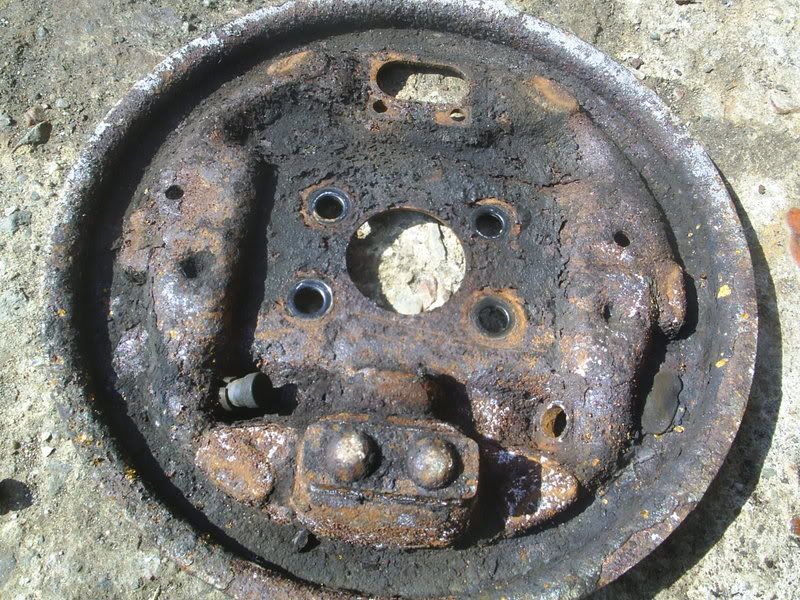
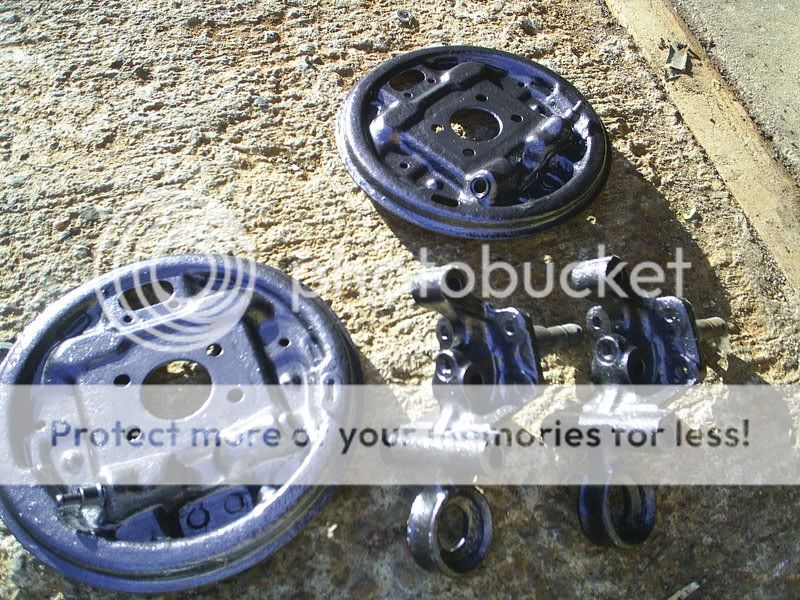
right as u all know this car was covered in rust ...everywhere and the time had come to start tidying the underside parts up ..ie suspension parts ,brake back plates hubs etc
so while lookin through the this web site i seen a guy used vinegar .....yes thats right VINEGAR ,to clean the rust of ,now i thought this would never work but thought it was worth a try
so of i went to morrsions to buy lots of the stuff
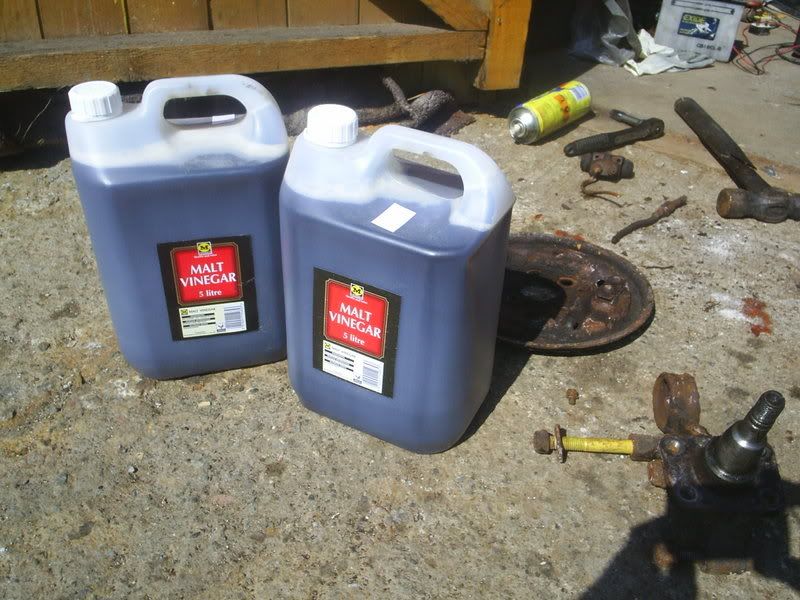
poured all this into a big bucket and left these parts to soak in it (the before pics )
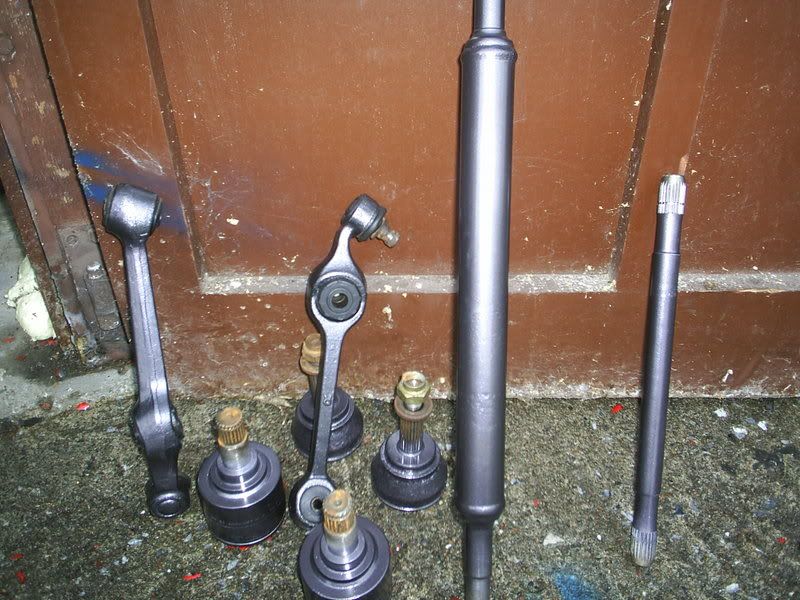
and after 48 hours in the vinegar

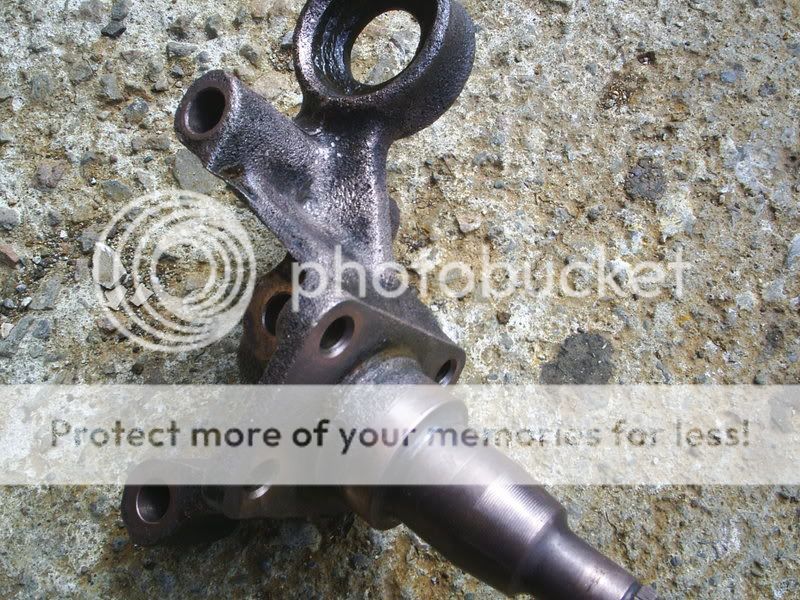
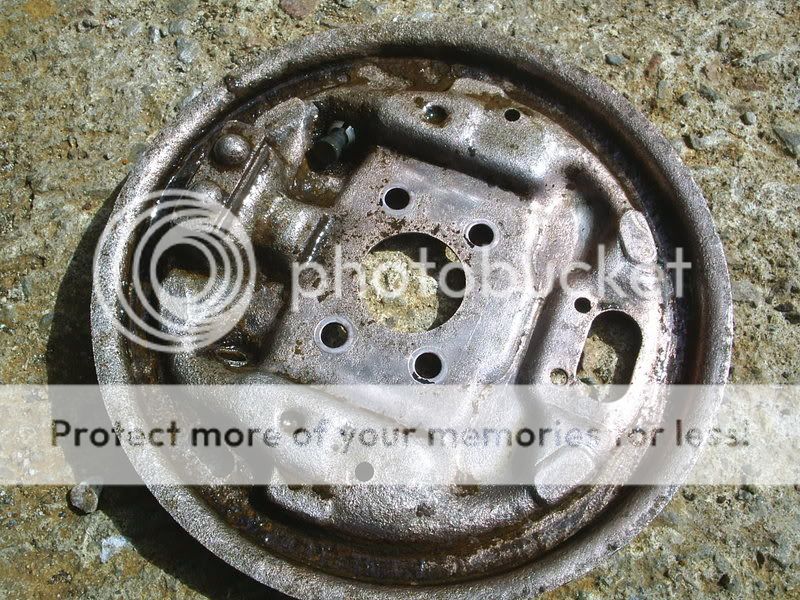
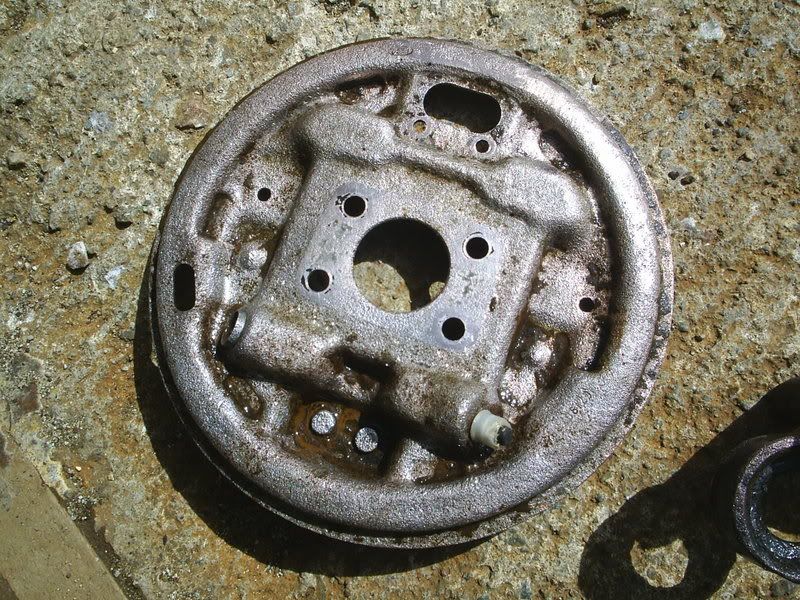
now they still need a wee clean up ,but hey u have to admit its amazing how much the vinegar stripped the rust of ,
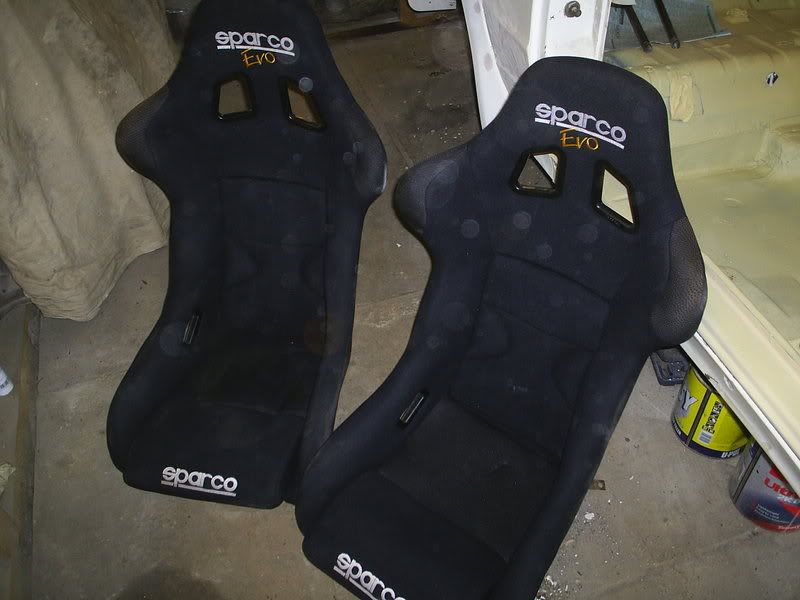
heres another update
got ma seats today ....what you,s think ,,,and before u ask i still hav the originals and there mint ,no wear no marks and there stayin that way ,so they are of up to the attic ,
i want my s1 to be just a little different to the rest of them ,i'am not going crazy just wee things i want to change and make people look twice
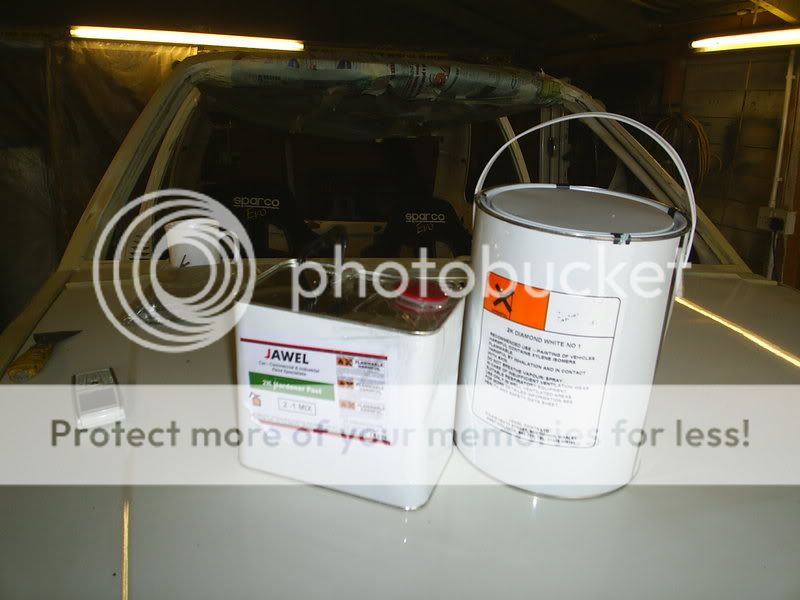
also the paint came today 5litres of candy yellow .............na only jokin,good old diamond white
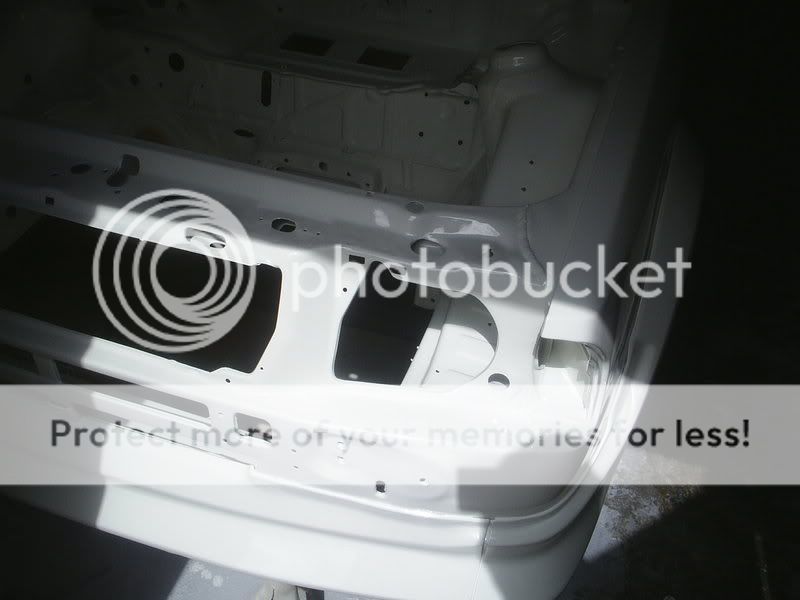
also nearly got the rear panel sorted ,had loads of wee dents in it .....but no more smooth as a babys now
now 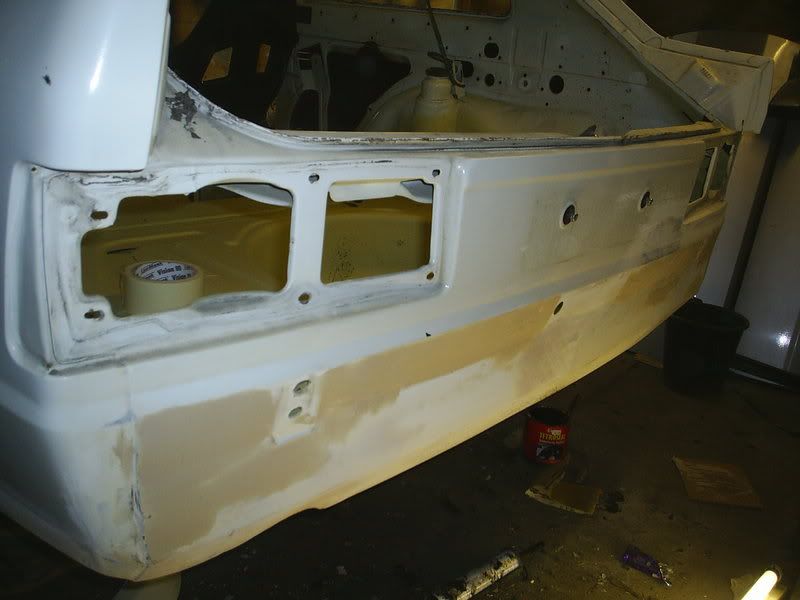
boot floor got a wee splash of primer to
painted the car today ,took me 3 hours just doing light coat after light coat ,dont think i done to bad as i am not a sprayer by trade and only every painted 1 car before

overall it turned out really well ,it will need a flattan and a cut and polish which will hopefully take out a few wee runs and dust marks
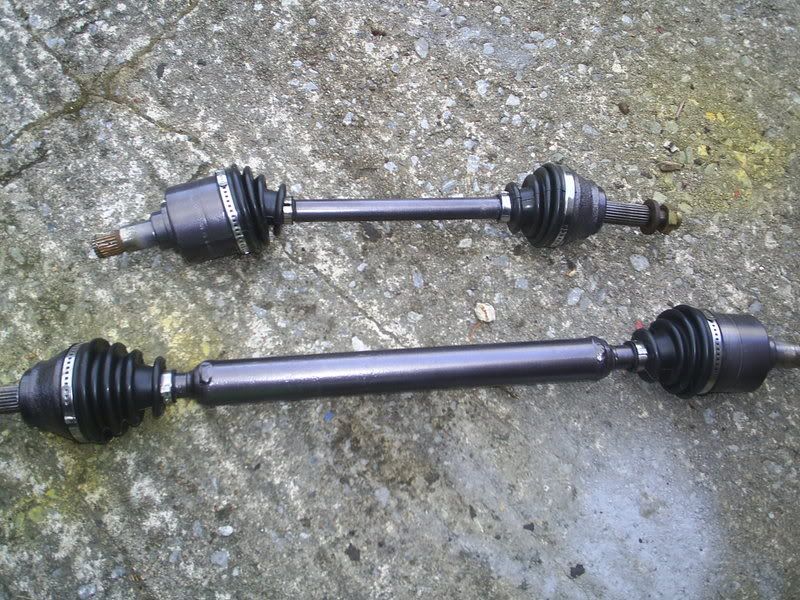
also got my drive shafts put back togeither and back plates and rear hubs painted to
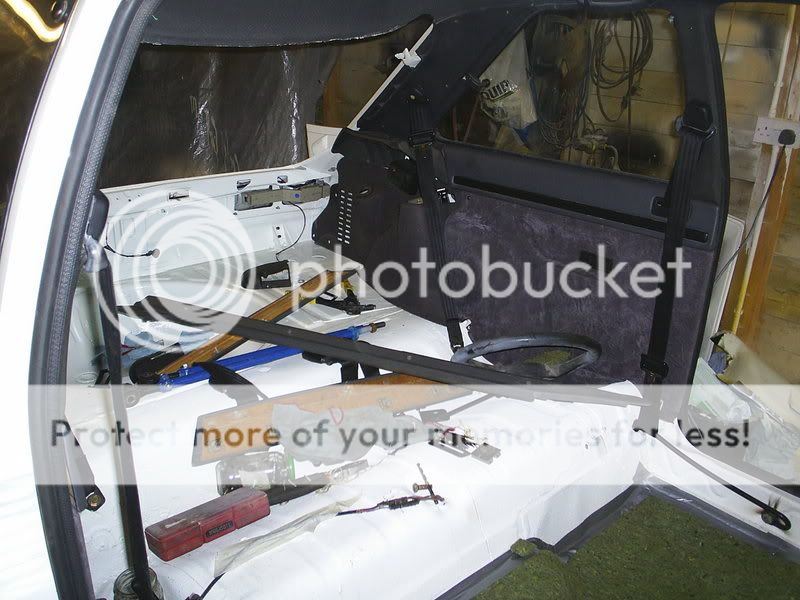
got the boys round tonight to give me a wee hand to try and put the s1 back together ,its been almost a year since i strip her ,but i will be honest and say its a fookin nightmare remembering where every single wire,nut,screw,bolts ,etc go anyway heres a few of tonights action

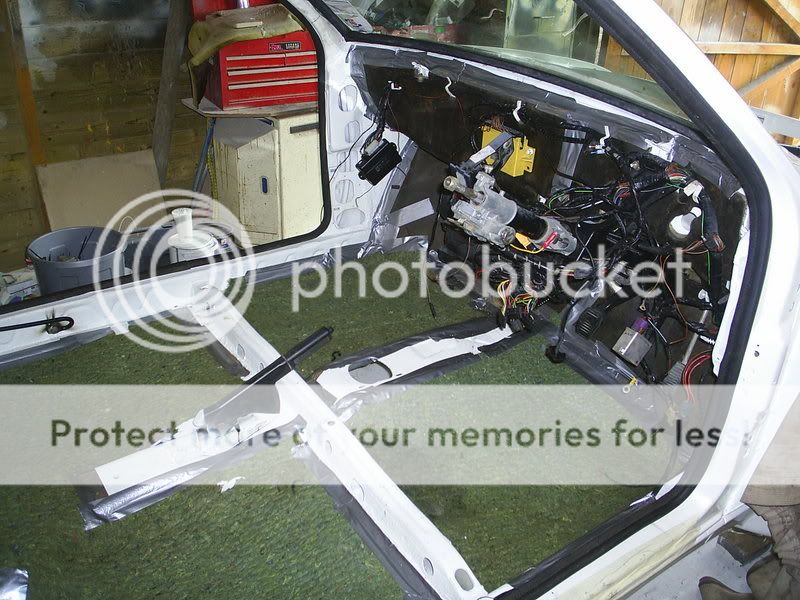
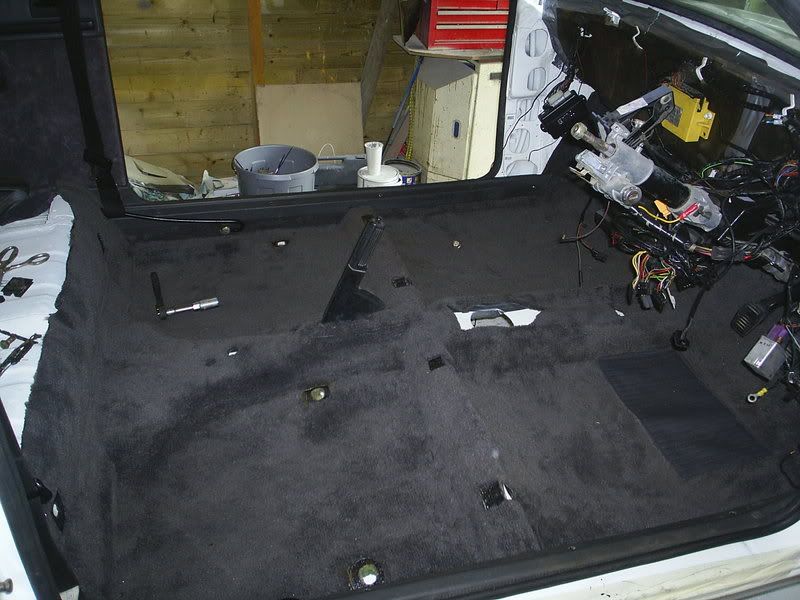
thats another 12 hour day at the s1 ,made a lot of progress with the wiring loom which was in a bad way ,still got the headlight wires to sort but i can do that in place ,
put most of the inside stuff back in ,and i know the sound deading is not original and its stuck down with gaffa tape ,but i am not going for a concours car just a really good s1 i can use all the time and take to a few show and shines
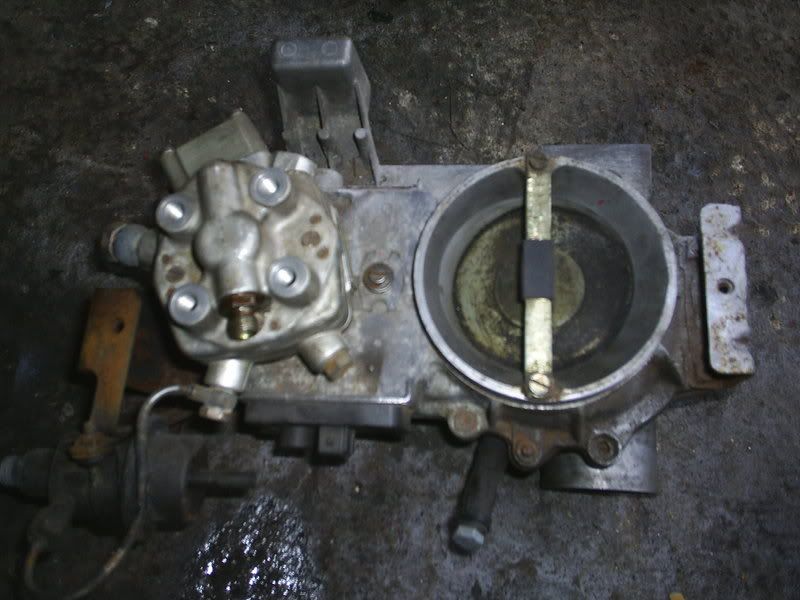
i think over the years this car has had a few resto attempts and the count less spray jobs had taken its toll on all the parts with over spray on every thing and it takes me ages to scrub and clean all the part ,took me 3 hours on the fuse box alone and i am still not that happy with it ,but we will see ,might try and source a good second hand loom ..........
heres some of todays pics
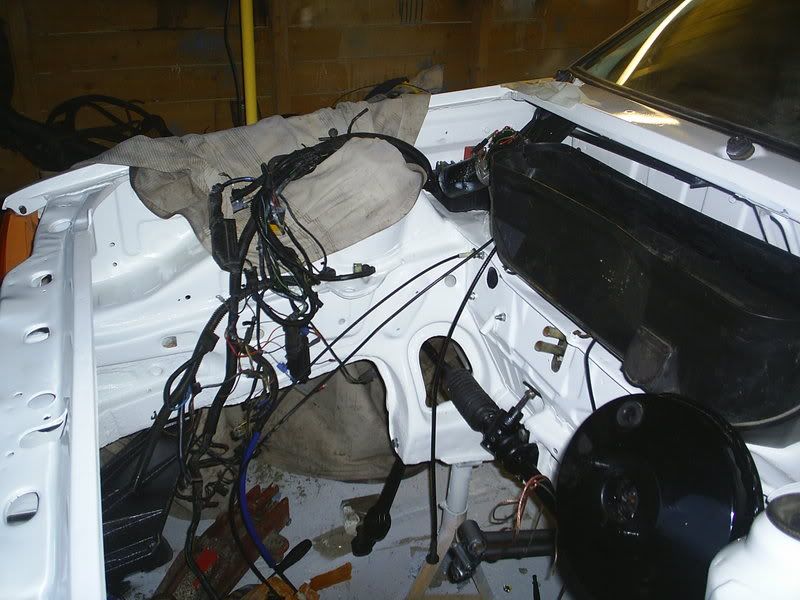
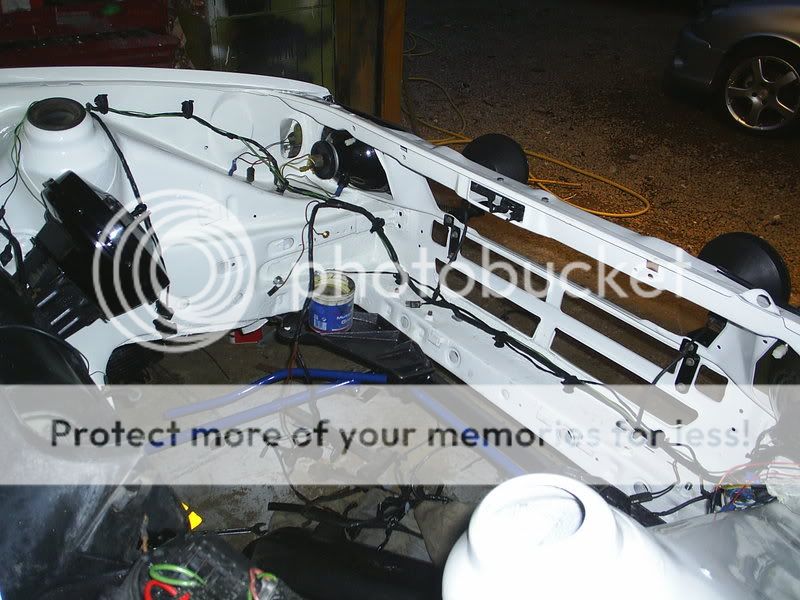
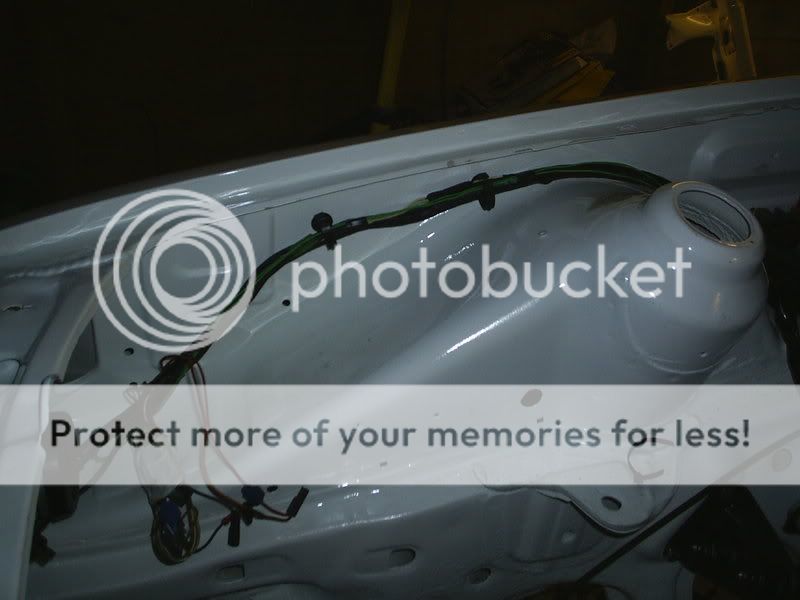
been busy again today ,decided i would tackle the wiring in the engine bay what a nightmare the whole loom was covered in overspray from a past respray
tired to rub it of using paint thinners but it soon became clear this would,nt work ,so i decided to strip it right back and re-tape the whole loom ...... ...what a nightmare that was, some of the loom had 3 layers of back tape on ...oh and some red,blue and white tape to
well after hours and hours it started to look a lot cleaner so all i need to do now is repair the loom where is been cut or damaged over the years ,mostly to do with the horn and side lights and jobs a good-un :thumbsup:
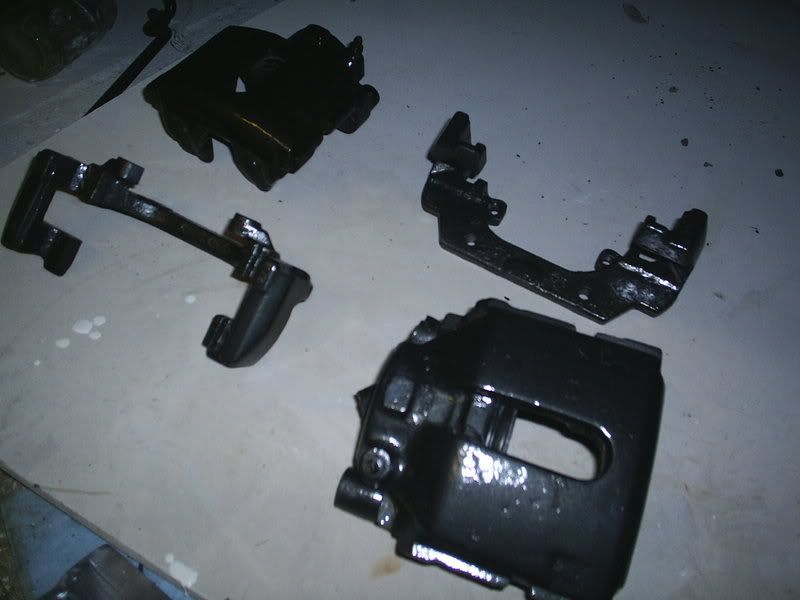
also stripped down the front hubs and threw them in the vinegar to soak ,while i cleaned and painted my cossie brake cailpers up :rsg:
heres some more pics
well started of today tryin to fit the headlights and indercators in ,every thing was going well un-till i found out i did,nt have half the bits ,
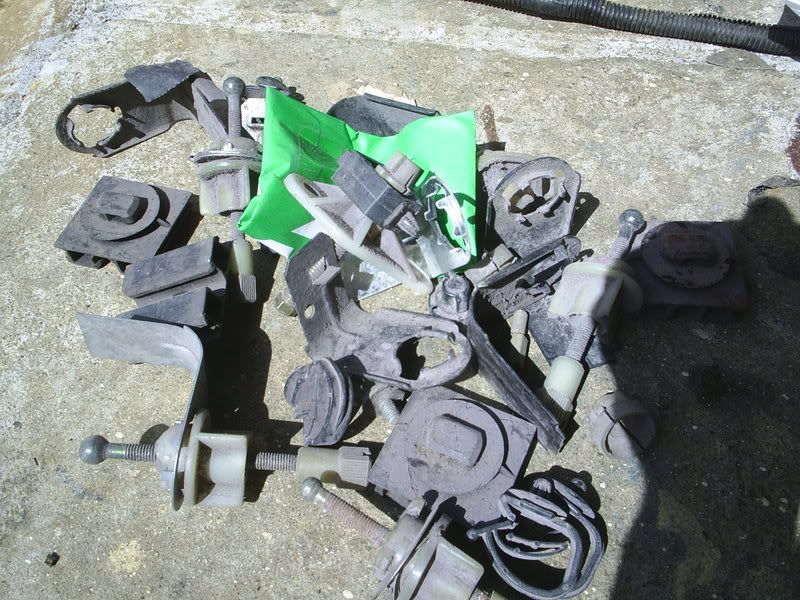
the new headlights came with new top mounts ,but i was still missing the bottom mounts and the bolt and plastic clip that held the indercator to wing and headlight............(well i had some of the bits but they where fooked)
anyway was round seeing lad i know who has a body shop and was telling him about hassle i was havin .....when of he walk into the back of his garage and pulled out a box which was full of every type of clip ,bracket,screws etc for all different makes of cars ....................so as luck would hav it i managed to find everything i needed ,a bit dusty but mostly brand new .....how lucky ehhhh
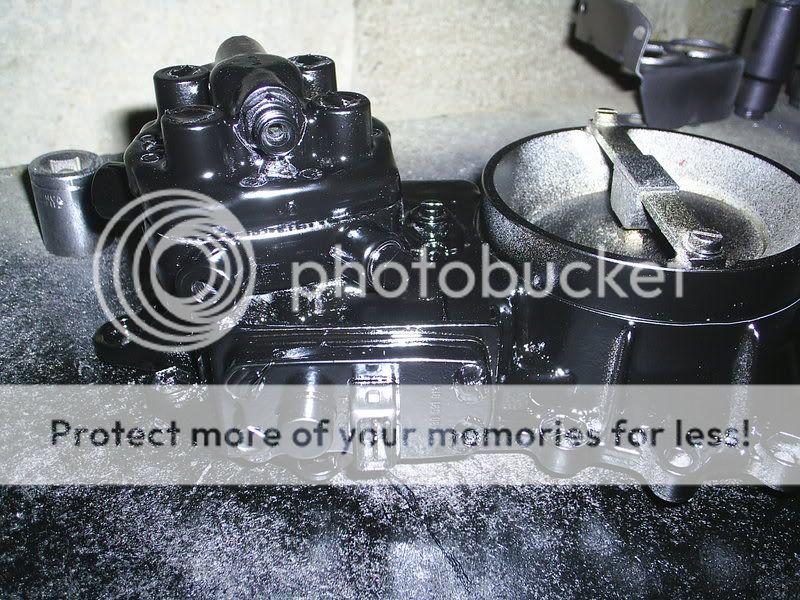
polished up the header tank to (before)
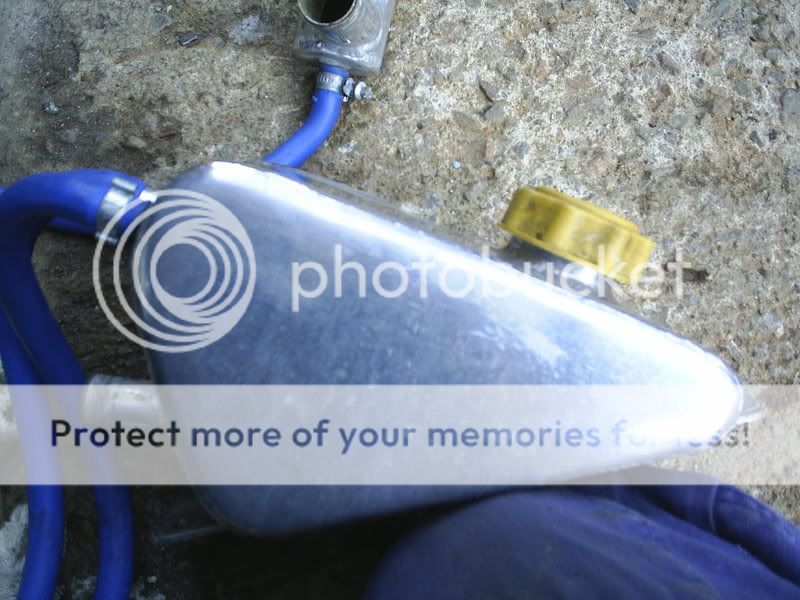
(after)
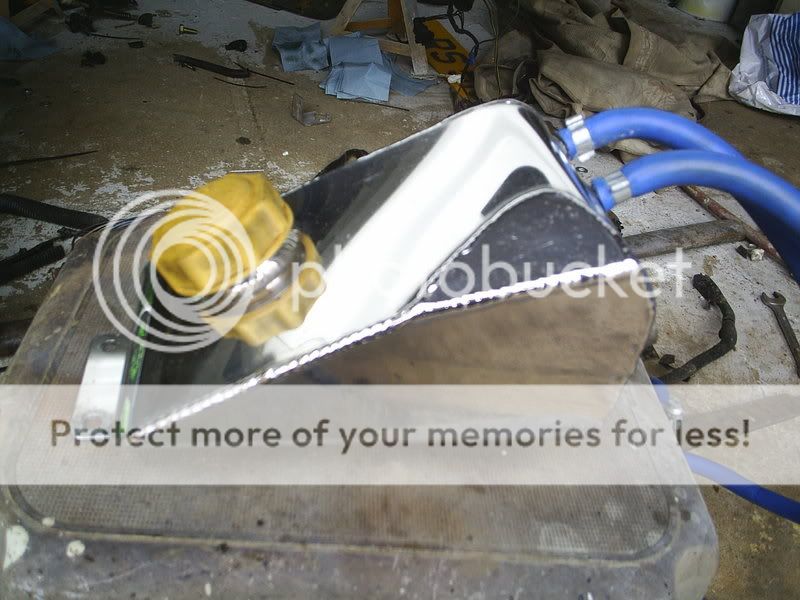
done this as well ,this might change again as i dont know if i like it or not

started to make a start on the exhaust as well ,took hours to clean it up and polish it up ....worth it i think

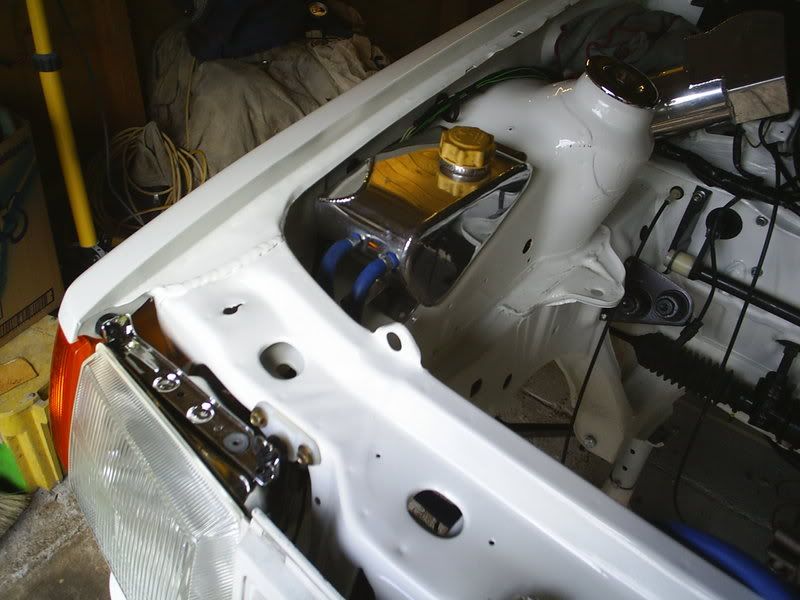
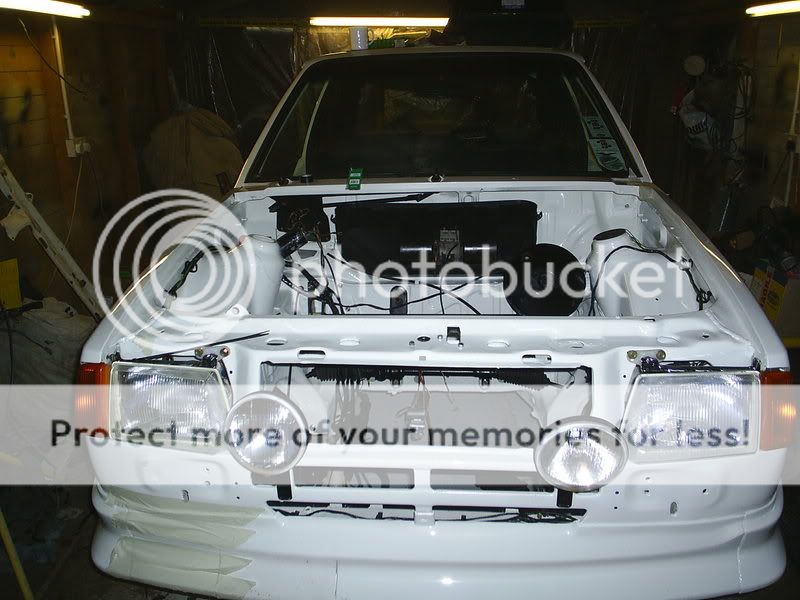
got the front sort of built up but i am still waiting on new bits so it will all need to come of again ,just put it on for a photo
so thats it for a while back to work next week then i am of to sunny tenariffe for two weeks ,so prob wont be back near the car for a month
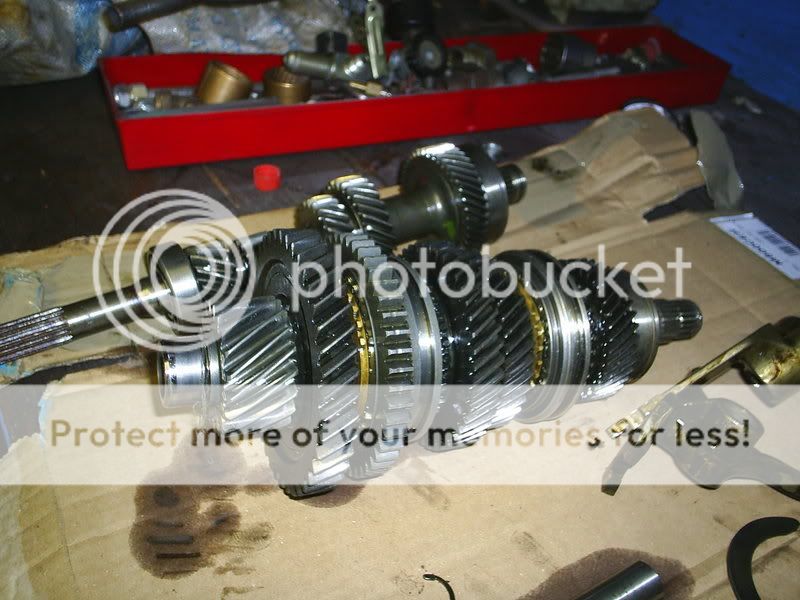
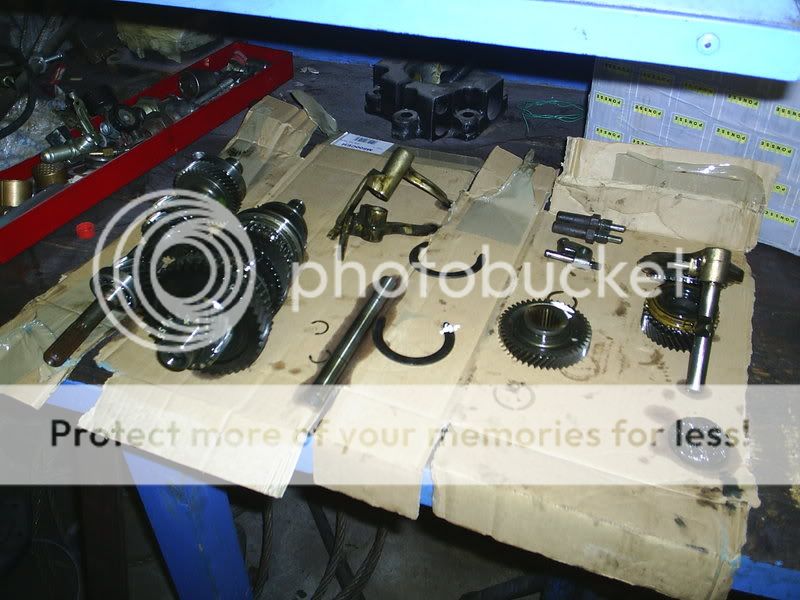
thought i better do the gearbox ,managed to do it at work which was magic as they had all the tools i needed ,
the box was a wee bit nosiey so a while back i bought a rebluild kit ,bearings,seals ,gaskets etc ,as u can see in the photos all did,nt go to plan as the bearings where as hard as fook to come of even with a bit of heat and the bearing puller the bearings on the diff would not shift ,in the end had to get the grinder out and cut what was left of the bearing
in all honestly it was a bit of a nightmare to do but we will see if it was worth the effort
hers some pics
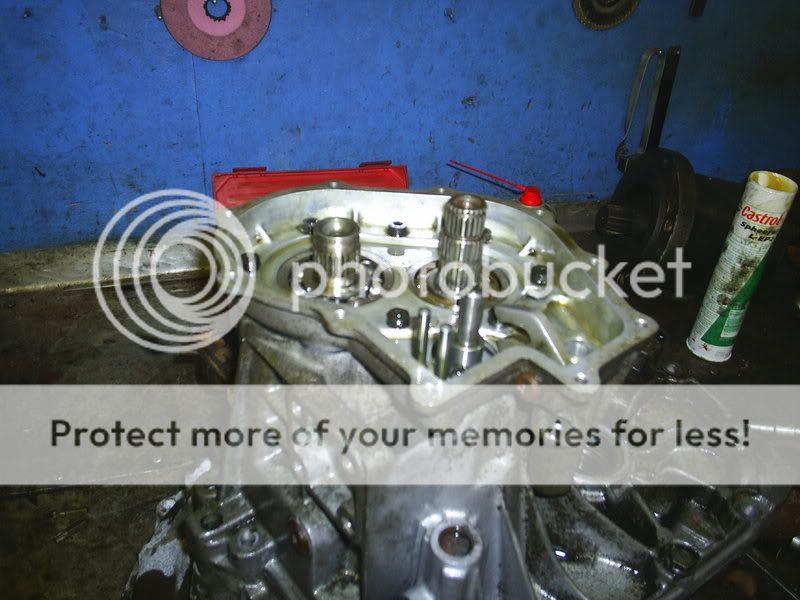

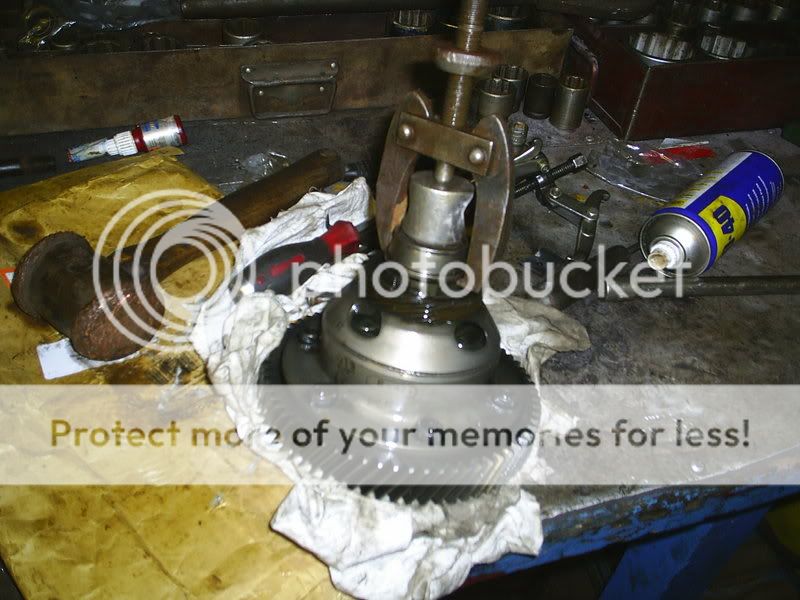
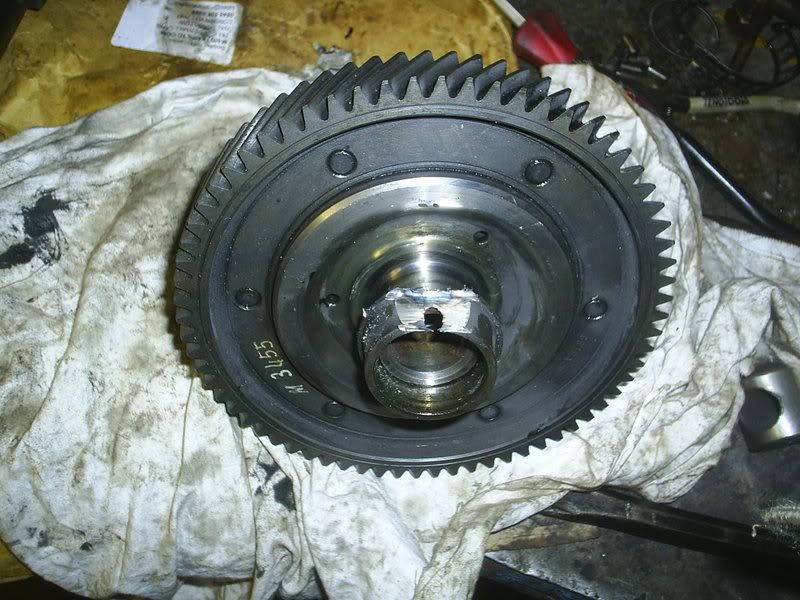

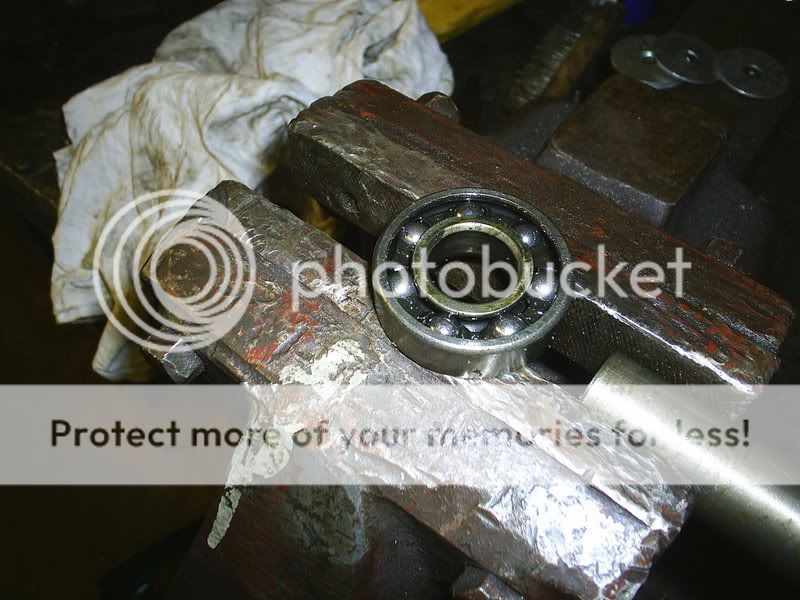
this the fooked bearing
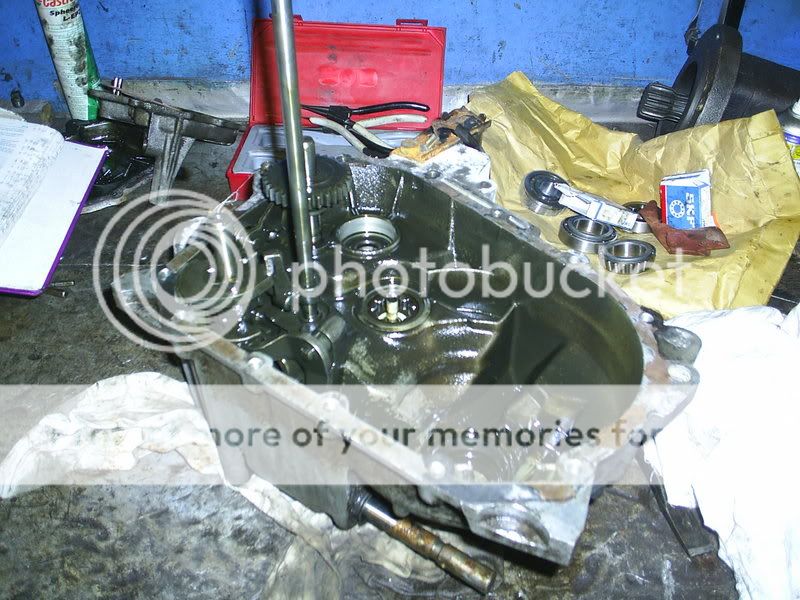
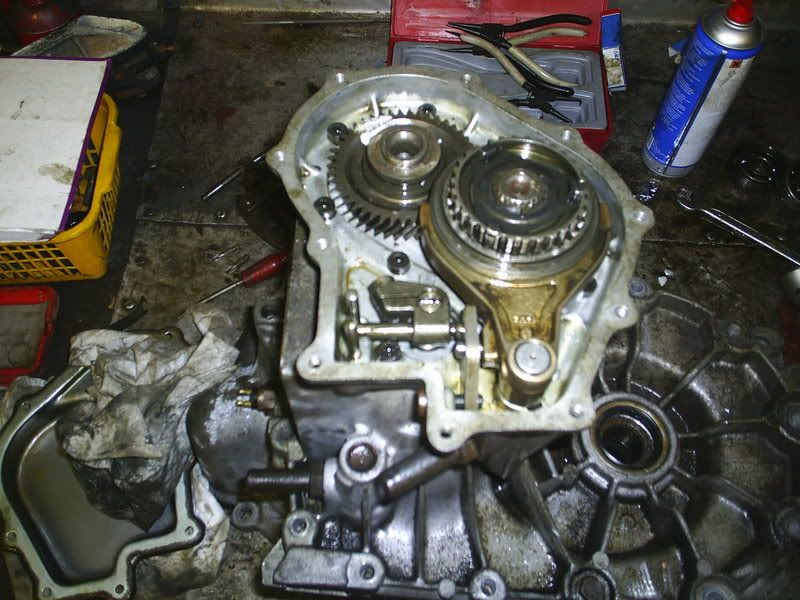
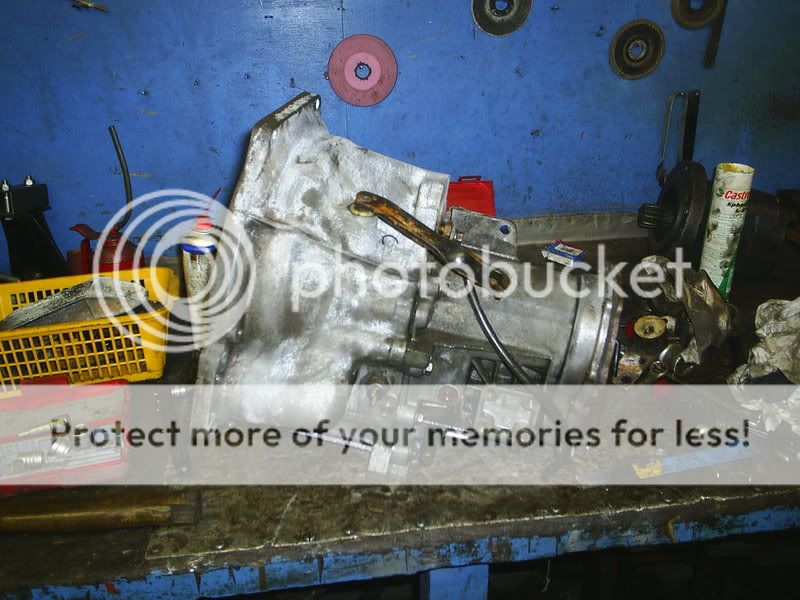
then i stuck it back together
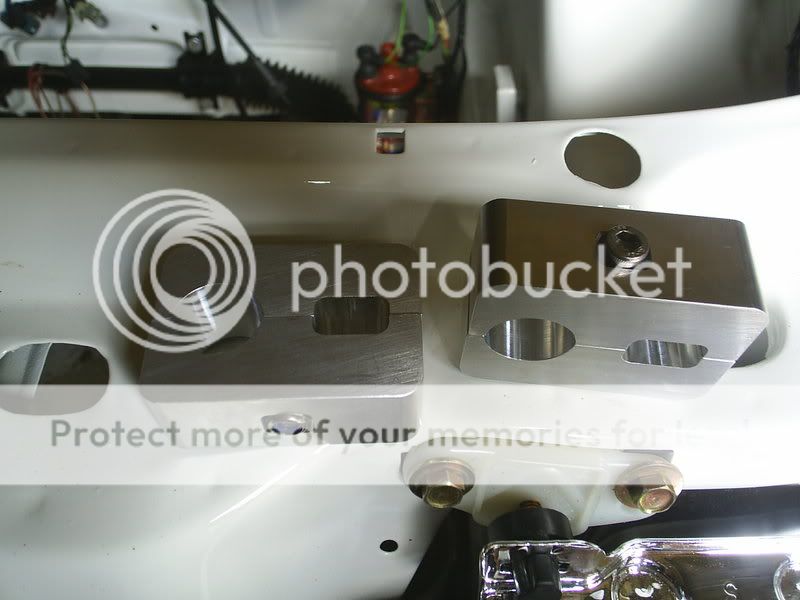
and thats it ,prob took me 4 hours in all to do ,and also got some more bits today as well ,new front bearings ,rear shoes ,clutch cable ,rear wheel cylinders ,handbrake cable and new alloy anti-roll bar clamps
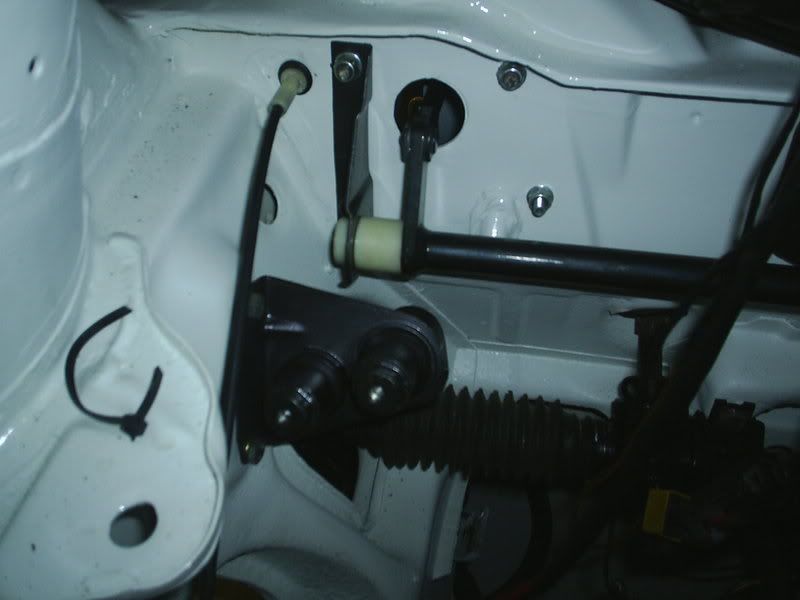
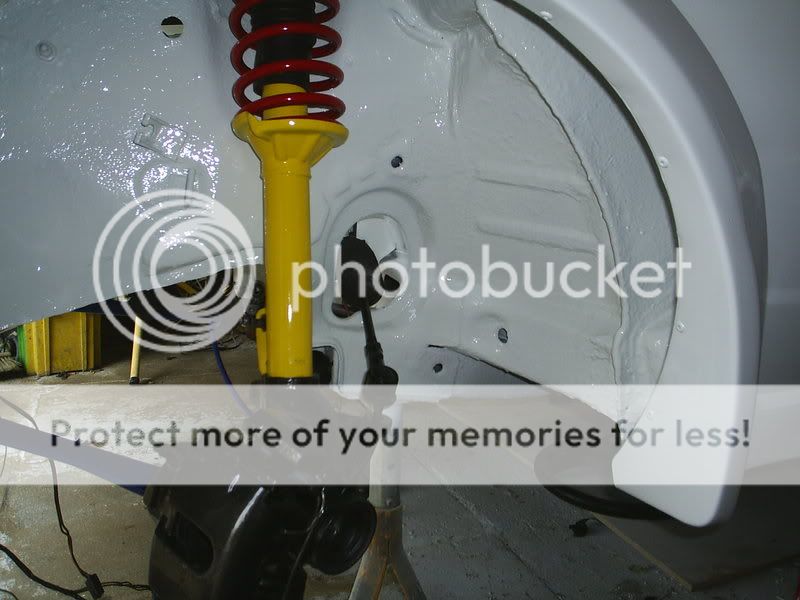
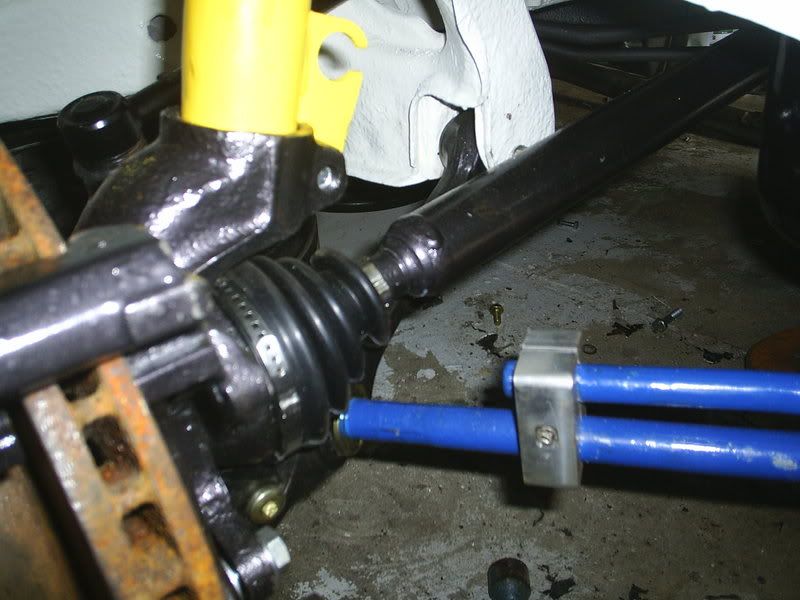
well finally got the engine put back in ,still got to plumb a lot of it in but at least iam nearly done
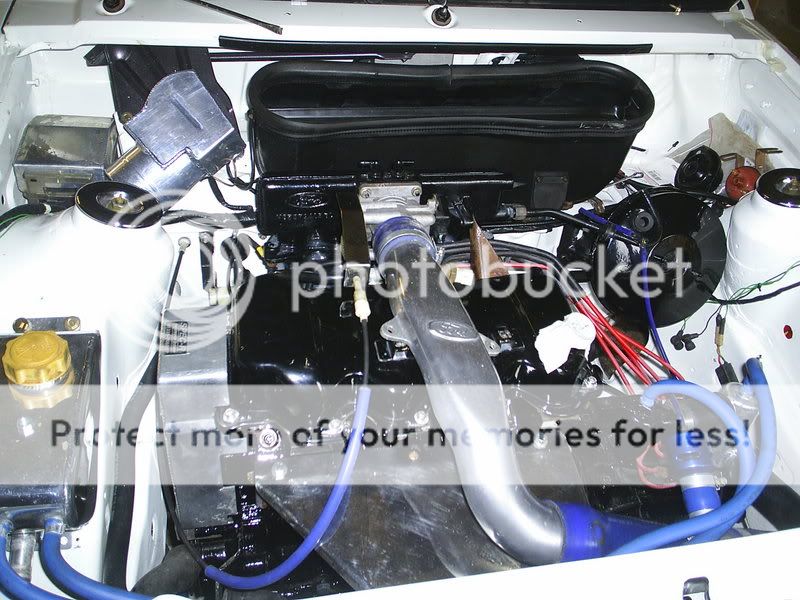
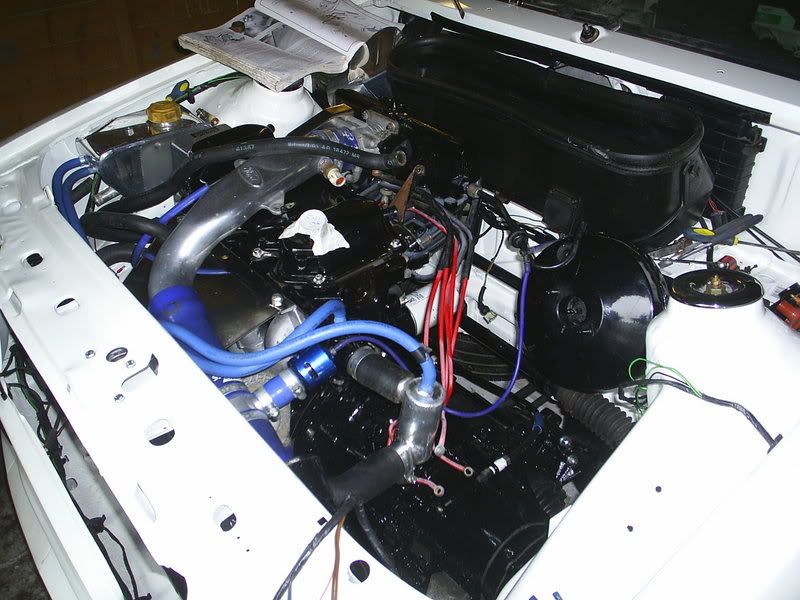
also got the back brakes done ,hand,brake cable etc all replaced just need the fuel lines and brake lines done and that pretty much the back end done
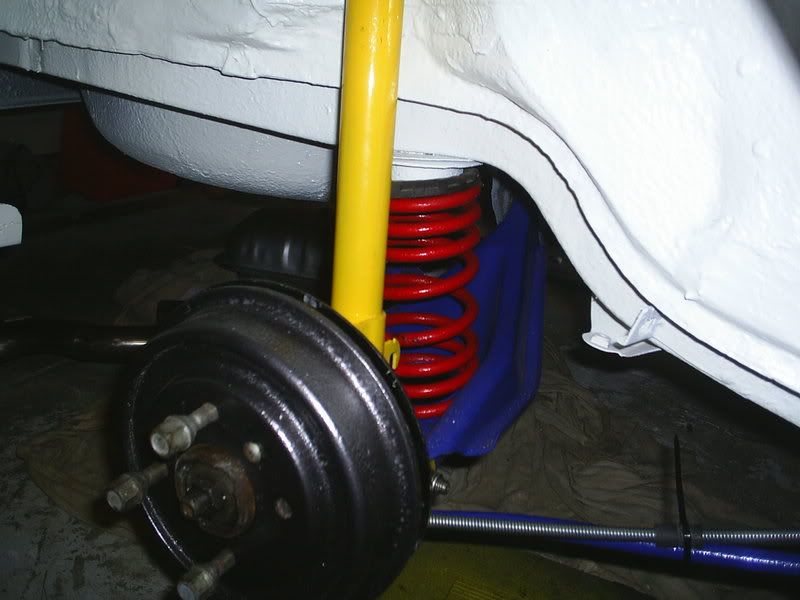
fronts all done to ,new bearings etc ,gonna fit new disc to just not got em yet
and the time had come to start tidying the underside parts up ..ie suspension parts ,brake back plates hubs etc so while lookin through the this web site i seen a guy used vinegar .....yes thats right VINEGAR ,to clean the rust of ,now i thought this would never work but thought it was worth a try
so of i went to morrsions to buy lots of the stuff
poured all this into a big bucket and left these parts to soak in it (the before pics )
and after 48 hours in the vinegar
now they still need a wee clean up ,but hey u have to admit its amazing how much the vinegar stripped the rust of ,
heres another update
got ma seats today ....what you,s think ,,,and before u ask i still hav the originals and there mint ,no wear no marks and there stayin that way ,so they are of up to the attic ,
i want my s1 to be just a little different to the rest of them ,i'am not going crazy just wee things i want to change and make people look twice
also the paint came today 5litres of candy yellow .............na only jokin,good old diamond white
also nearly got the rear panel sorted ,had loads of wee dents in it .....but no more smooth as a babys
boot floor got a wee splash of primer to
painted the car today ,took me 3 hours just doing light coat after light coat ,dont think i done to bad as i am not a sprayer by trade and only every painted 1 car before
overall it turned out really well ,it will need a flattan and a cut and polish which will hopefully take out a few wee runs and dust marks
also got my drive shafts put back togeither and back plates and rear hubs painted to
got the boys round tonight to give me a wee hand to try and put the s1 back together
thats another 12 hour day at the s1 ,made a lot of progress with the wiring loom which was in a bad way ,still got the headlight wires to sort but i can do that in place ,
put most of the inside stuff back in ,and i know the sound deading is not original and its stuck down with gaffa tape ,but i am not going for a concours car just a really good s1 i can use all the time and take to a few show and shines
i think over the years this car has had a few resto attempts and the count less spray jobs had taken its toll on all the parts with over spray on every thing and it takes me ages to scrub and clean all the part ,took me 3 hours on the fuse box alone and i am still not that happy with it ,but we will see ,might try and source a good second hand loom ..........
heres some of todays pics
been busy again today ,decided i would tackle the wiring in the engine bay
what a nightmare the whole loom was covered in overspray from a past respray tired to rub it of using paint thinners but it soon became clear this would,nt work ,so i decided to strip it right back and re-tape the whole loom ......
...what a nightmare that was, some of the loom had 3 layers of back tape on ...oh and some red,blue and white tape to well after hours and hours it started to look a lot cleaner so all i need to do now is repair the loom where is been cut or damaged over the years ,mostly to do with the horn and side lights and jobs a good-un :thumbsup:
also stripped down the front hubs and threw them in the vinegar to soak ,while i cleaned and painted my cossie brake cailpers up :rsg:
heres some more pics
well started of today tryin to fit the headlights and indercators in ,every thing was going well un-till i found out i did,nt have half the bits ,
the new headlights came with new top mounts ,but i was still missing the bottom mounts and the bolt and plastic clip that held the indercator to wing and headlight............(well i had some of the bits but they where fooked)
anyway was round seeing lad i know who has a body shop and was telling him about hassle i was havin .....when of he walk into the back of his garage and pulled out a box which was full of every type of clip ,bracket,screws etc for all different makes of cars
polished up the header tank to (before)
(after)
done this as well ,this might change again as i dont know if i like it or not
started to make a start on the exhaust as well ,took hours to clean it up and polish it up ....worth it i think
got the front sort of built up but i am still waiting on new bits so it will all need to come of again ,just put it on for a photo
so thats it for a while back to work next week then i am of to sunny tenariffe for two weeks ,so prob wont be back near the car for a month
thought i better do the gearbox ,managed to do it at work which was magic as they had all the tools i needed ,
the box was a wee bit nosiey so a while back i bought a rebluild kit ,bearings,seals ,gaskets etc ,as u can see in the photos all did,nt go to plan as the bearings where as hard as fook to come of even with a bit of heat and the bearing puller the bearings on the diff would not shift ,in the end had to get the grinder out and cut what was left of the bearing
in all honestly it was a bit of a nightmare to do but we will see if it was worth the effort
hers some pics
this the fooked bearing
then i stuck it back together
and thats it ,prob took me 4 hours in all to do ,and also got some more bits today as well ,new front bearings ,rear shoes ,clutch cable ,rear wheel cylinders ,handbrake cable and new alloy anti-roll bar clamps
well finally got the engine put back in ,still got to plumb a lot of it in but at least iam nearly done
also got the back brakes done ,hand,brake cable etc all replaced just need the fuel lines and brake lines done and that pretty much the back end done
fronts all done to ,new bearings etc ,gonna fit new disc to just not got em yet