

Hello guys & girls, I've been on here a while now so I'd thought I'd share with you my trials and tribulations that I've had with my Focus
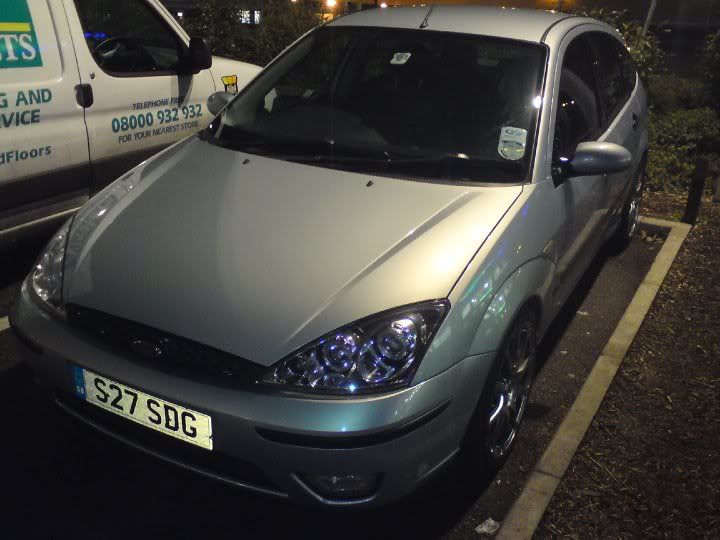
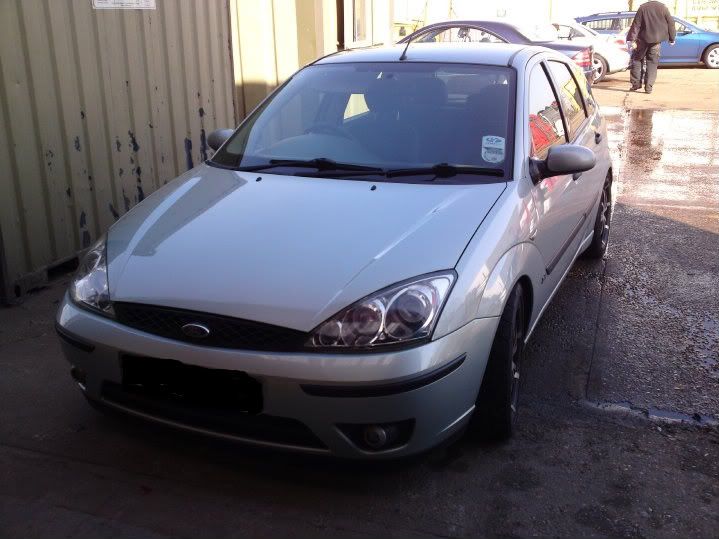
Here she is in pretty much std form apart from wheels and Angel Eye Headlights
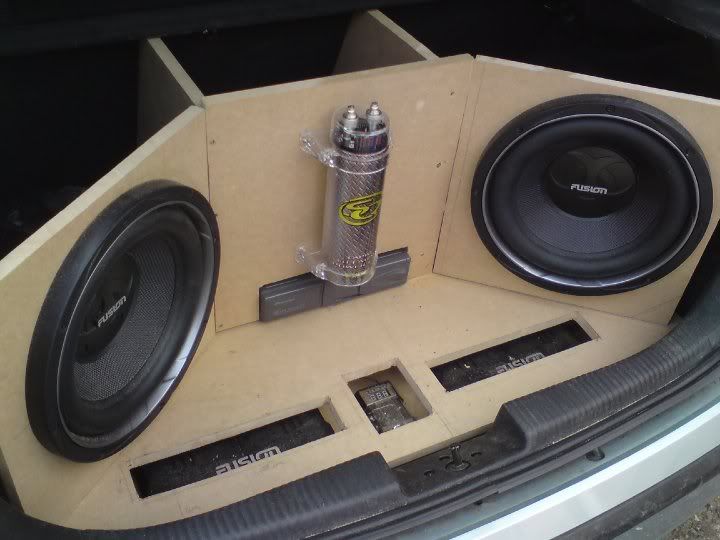
As I like my music I slowly began to build a boot install
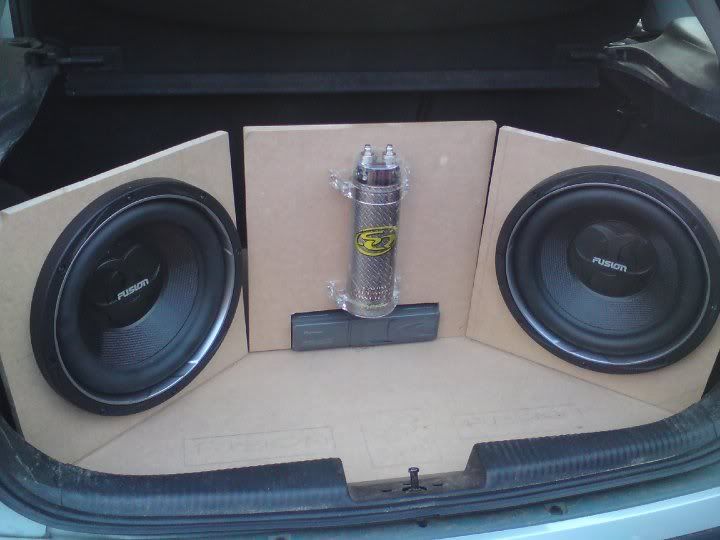
Boot install still in progress
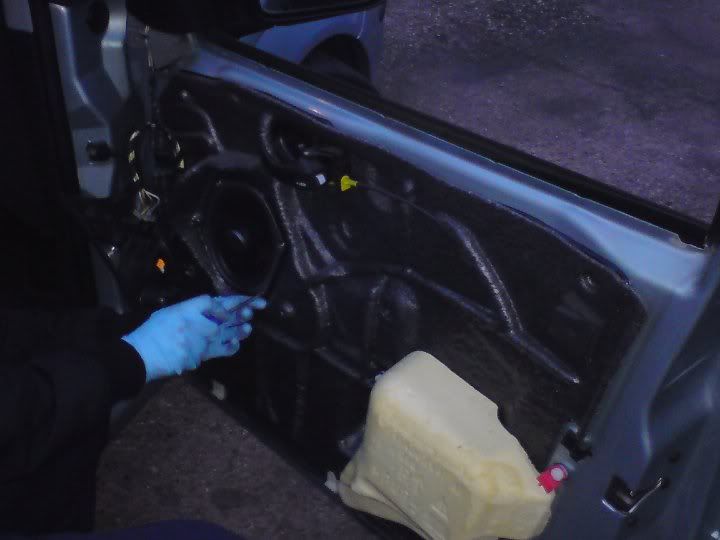
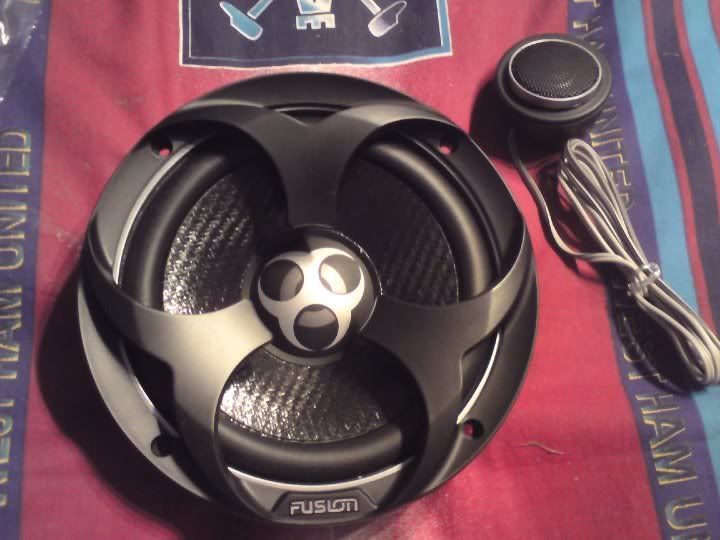
I now wanted better quality sounds upfront so here's my mate installing new speakers (Fusion Powerplant incase ya wondering lol)
Again different speakers but they'll be for something else which is later on
Now due to poss one to many arguments with kerbs etc, I hit the plunge and bought new wheels
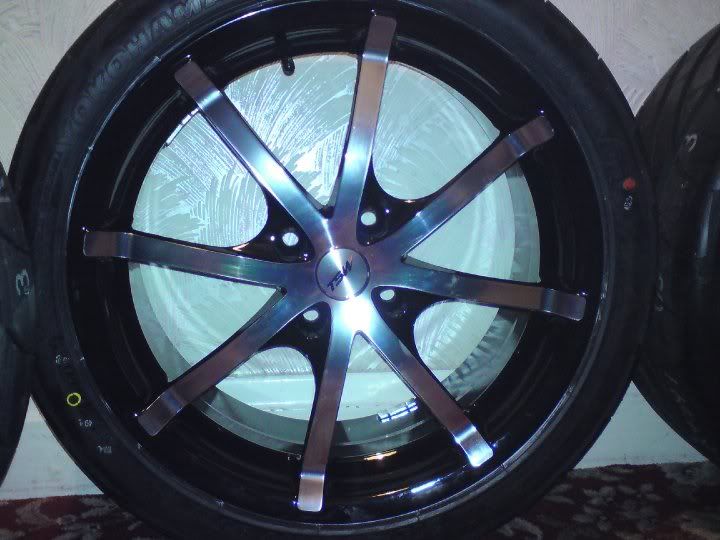
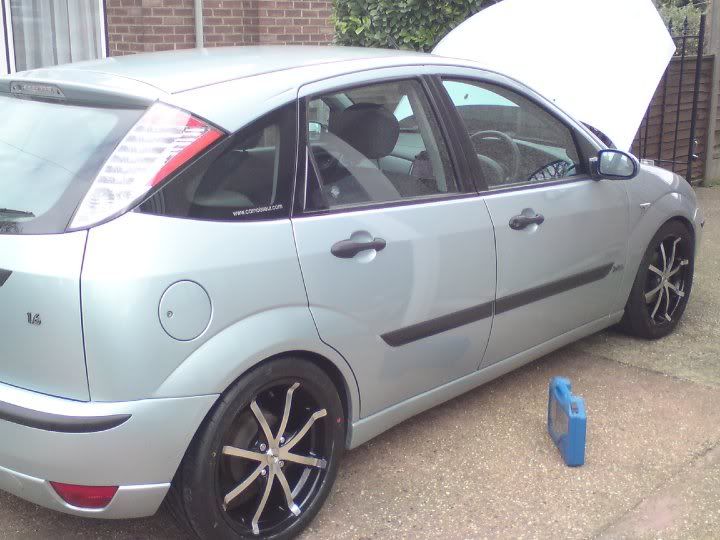
And here they are on the car
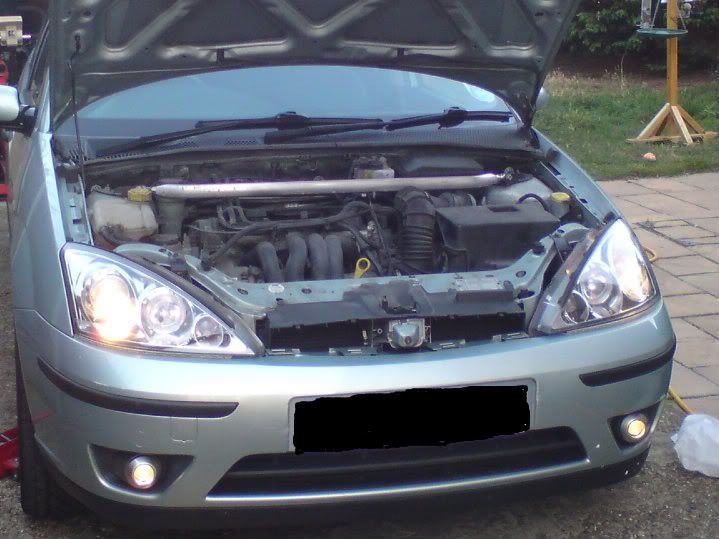
I then installed ST170 Fog lights/a strut brace and some daytime running lights
With too many Focus's goin about that were fairly std I bit the bullit and decided to make mine one of a kind, here's it as it stands the day I dropped it off at the bodyshop
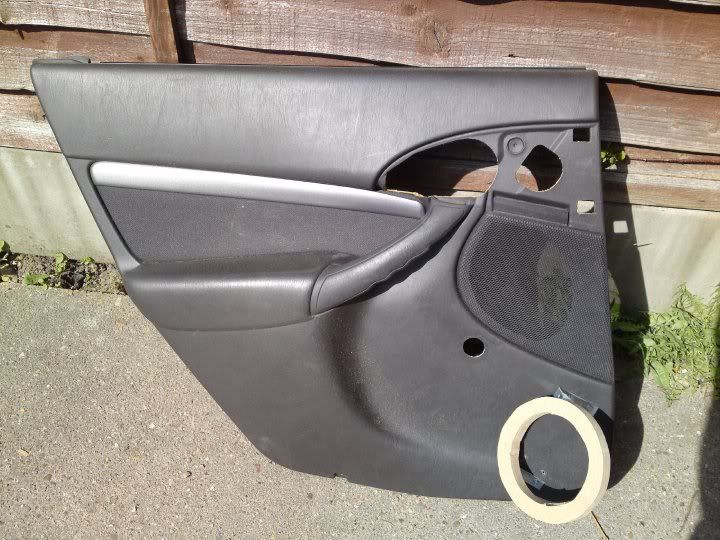
While the car was in the bodyshop I decided to start playing with the interior, I mocked up sum custom speaker mounts for all 4 doors
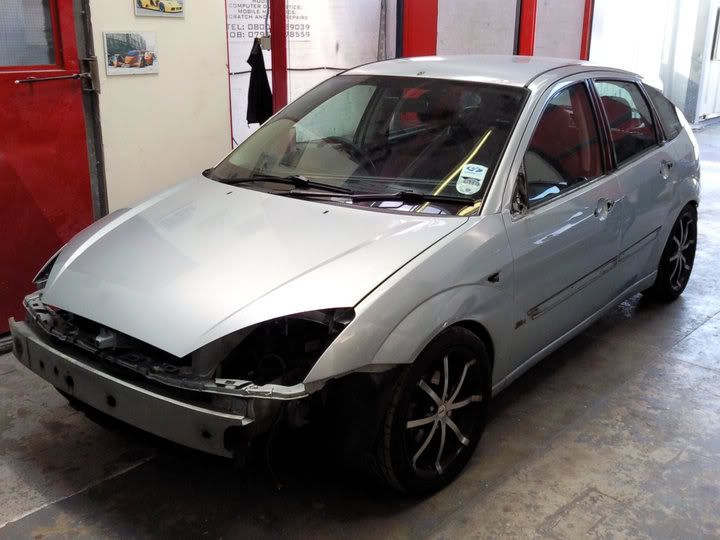
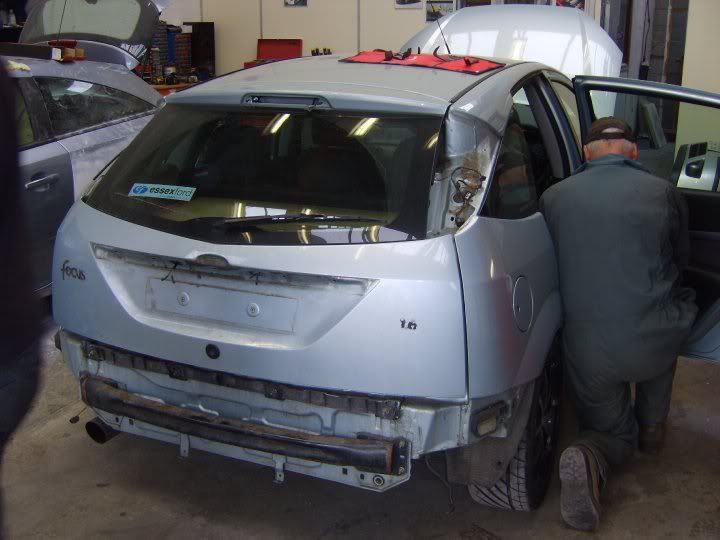
And so the strip down of the car began
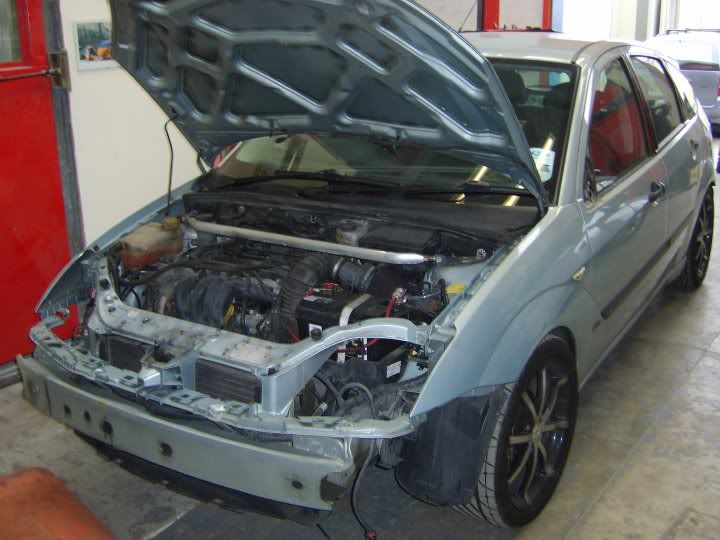
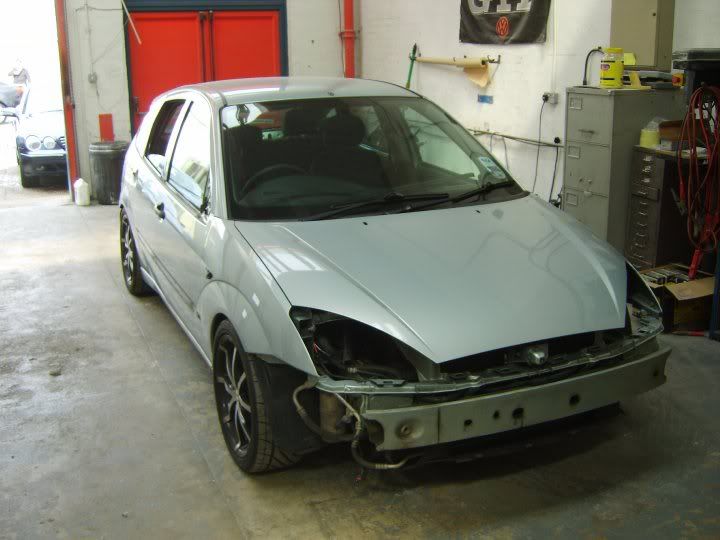
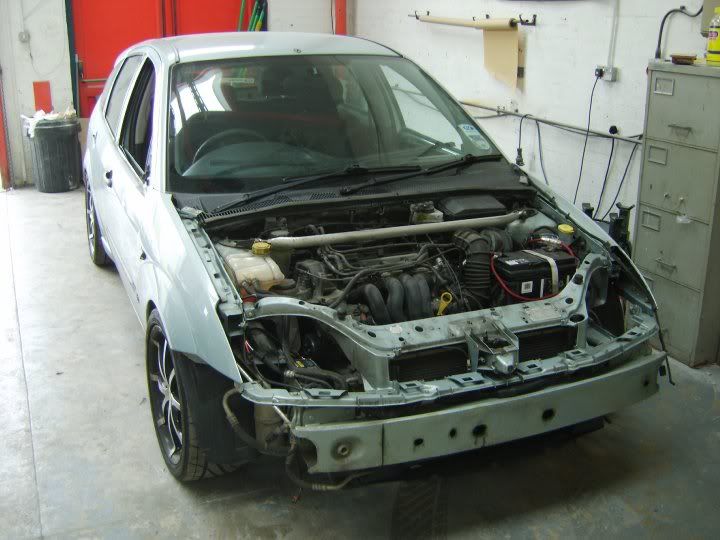
Sideskirts mock up
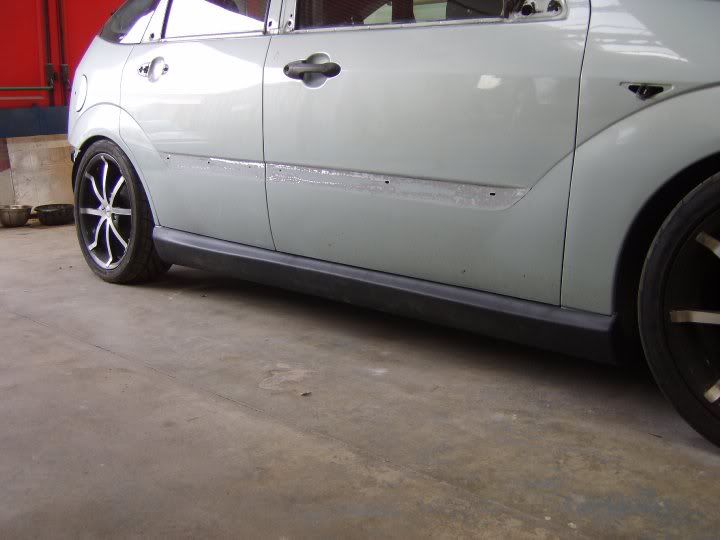
I've never liked the mouldings that are going down the side of the car so I got them removed to create a smoother look down the sides
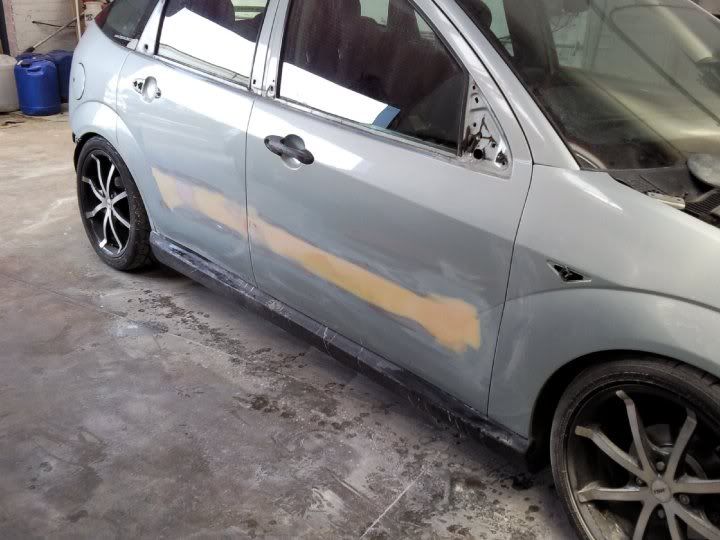
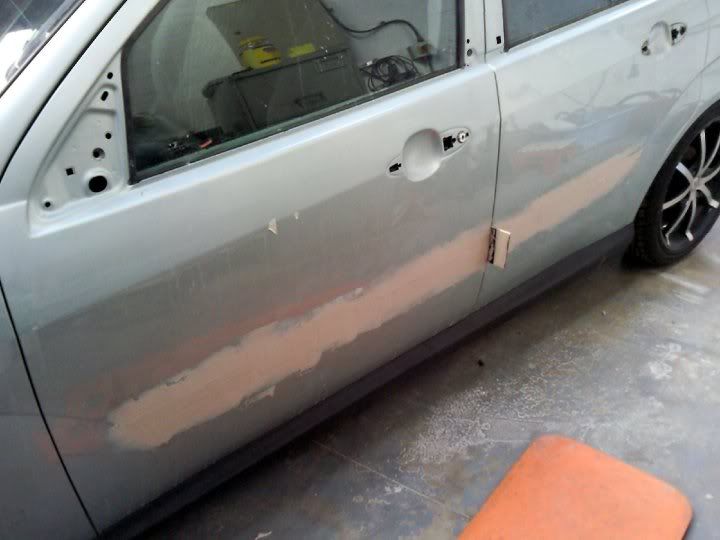
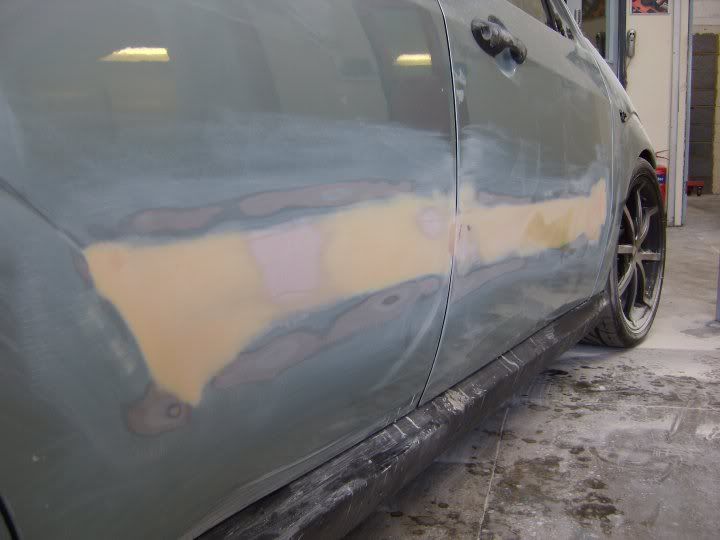
Mmm...thats better
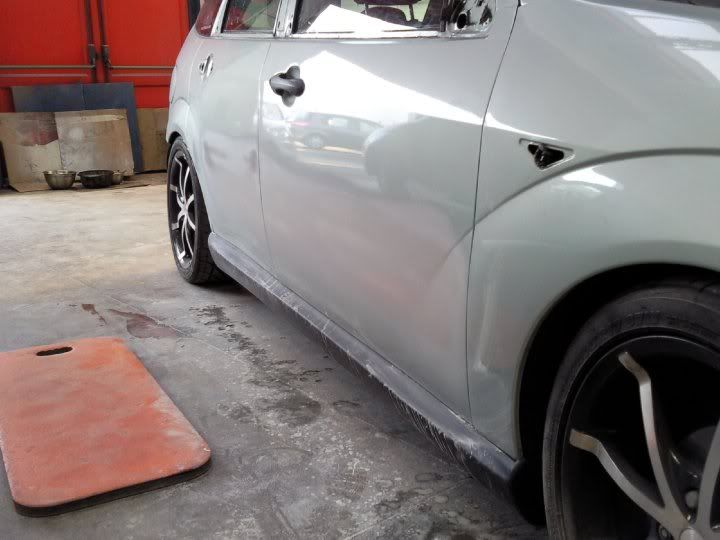
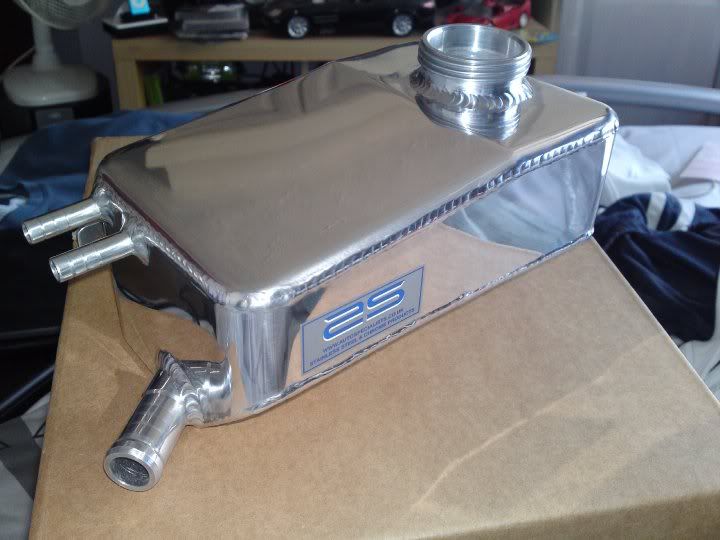
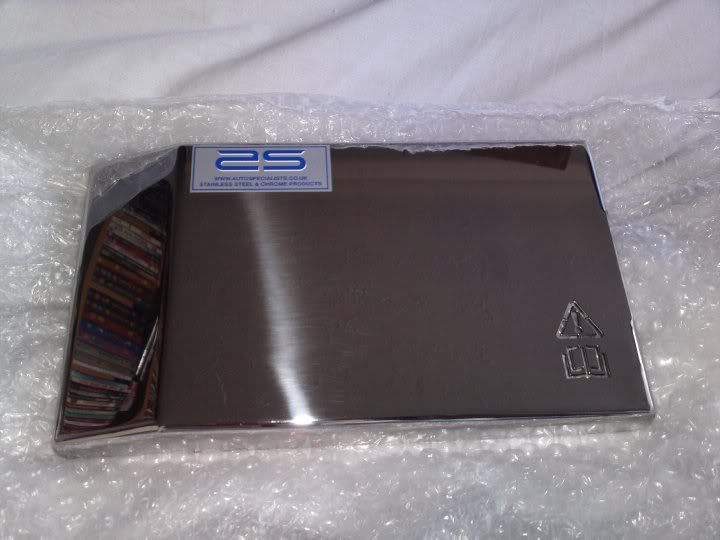
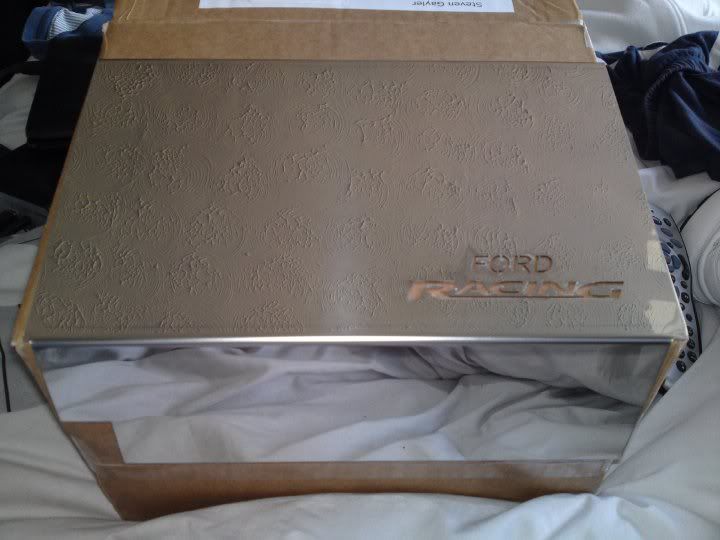
Now no show car is complete with some shiny bits Haha
Again I've neva liked the mouldings on the car so sod it...off they come aswell lol
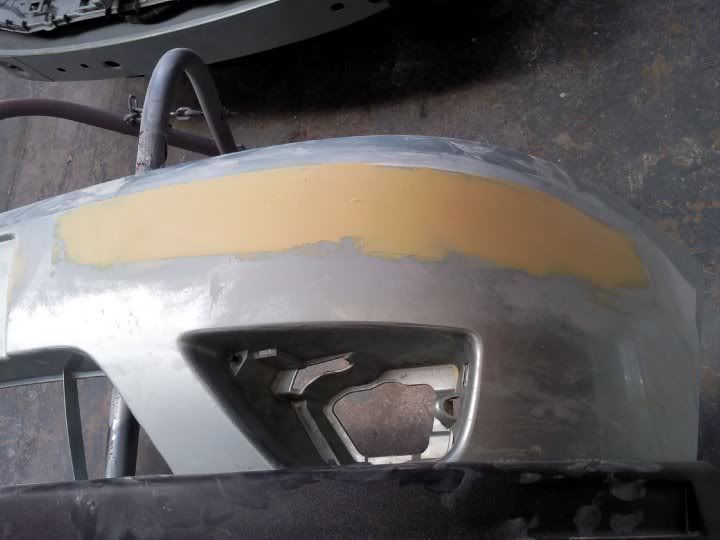
You can see the front skirt mock up aswell
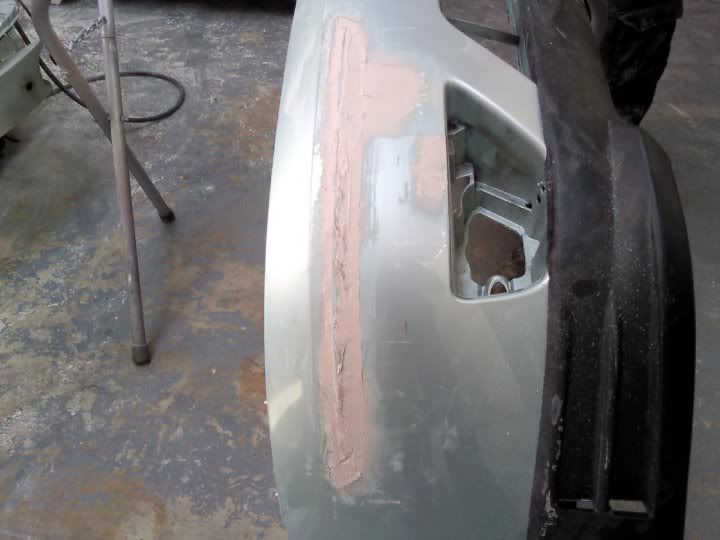
Same with the back (no mouldings)
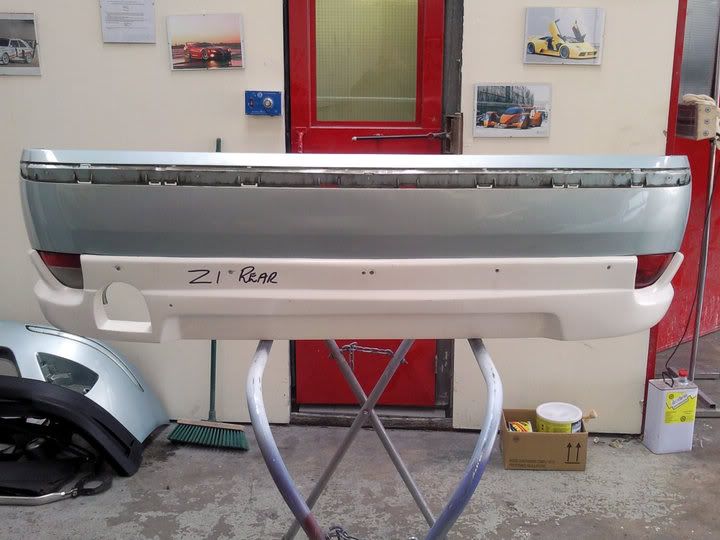
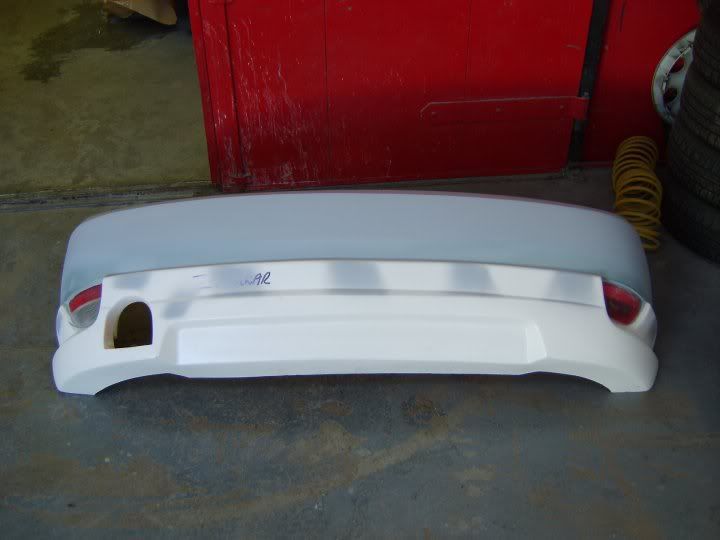
Rear bumper finally all ready for paint
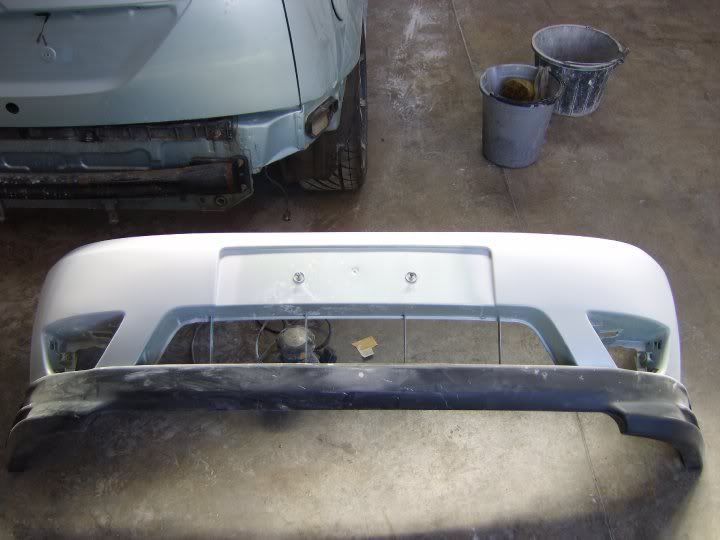
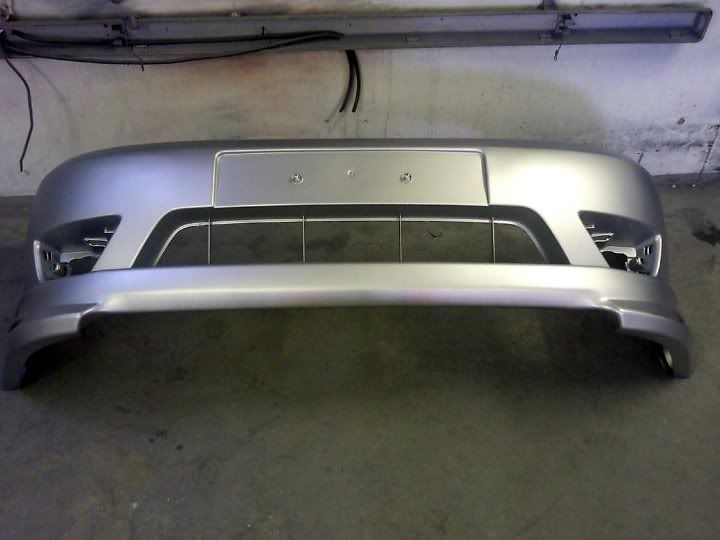
Front bumper ready for paint
And the painting/priming process begins, I'll let the pics talk for themselves
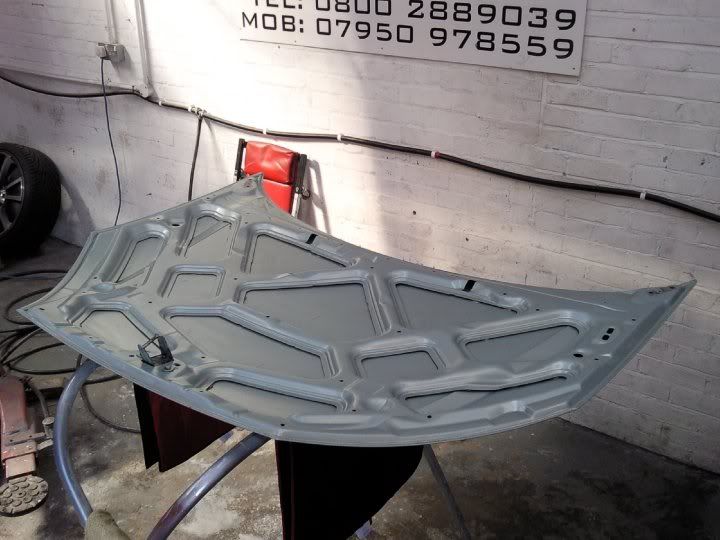
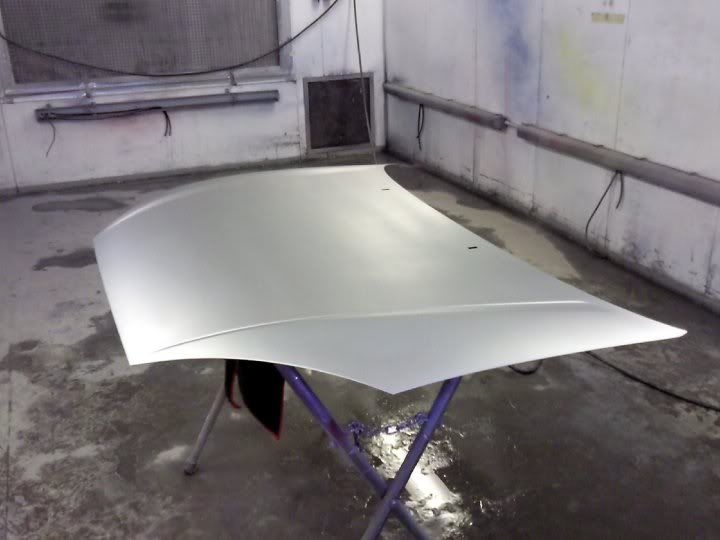
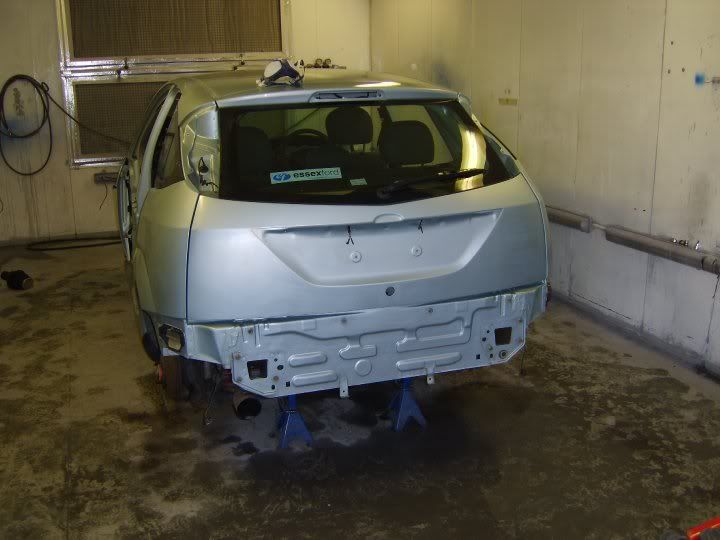
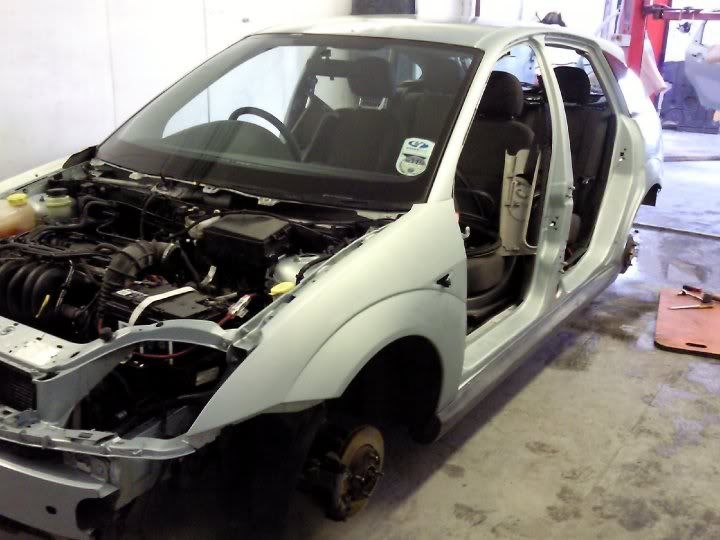
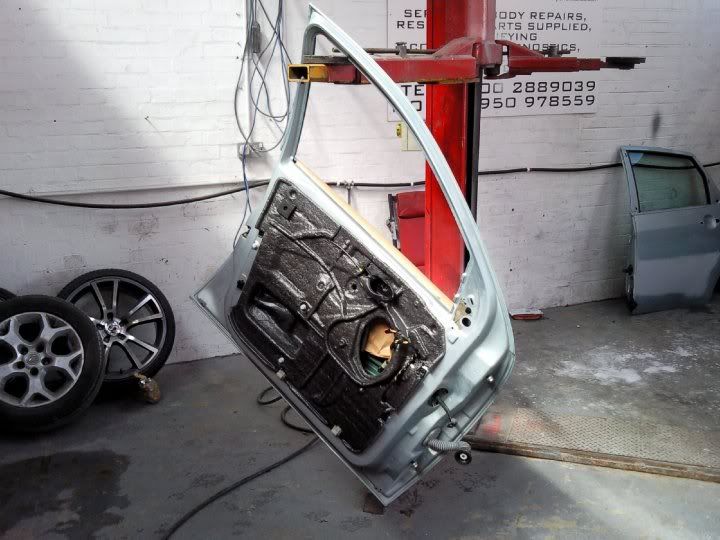
A sneaky peak at the colour ;P
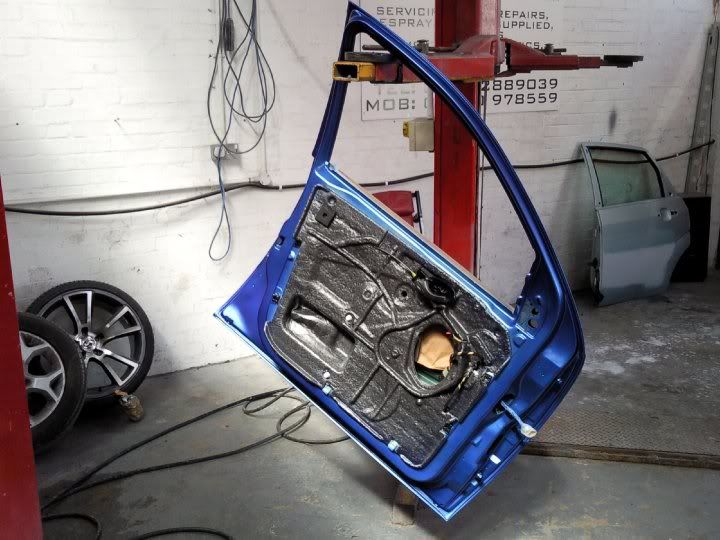
Paint process still continuing
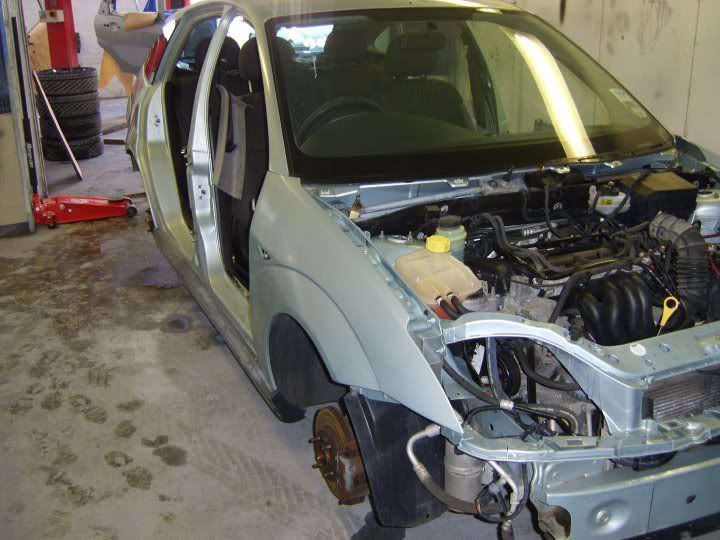
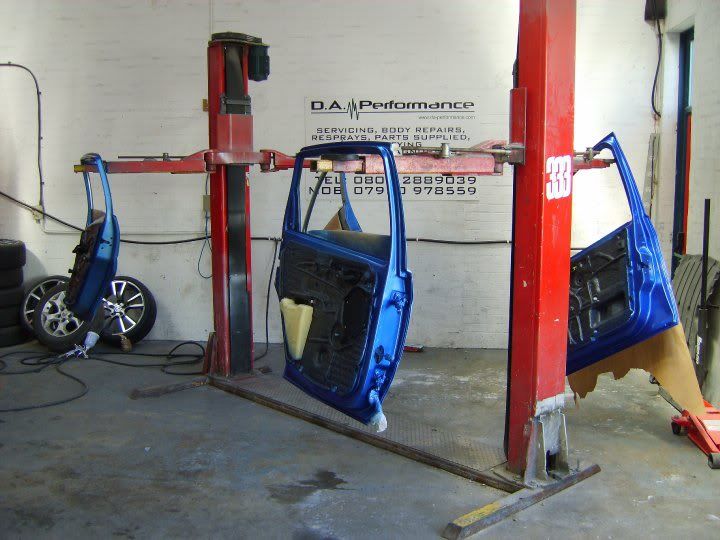
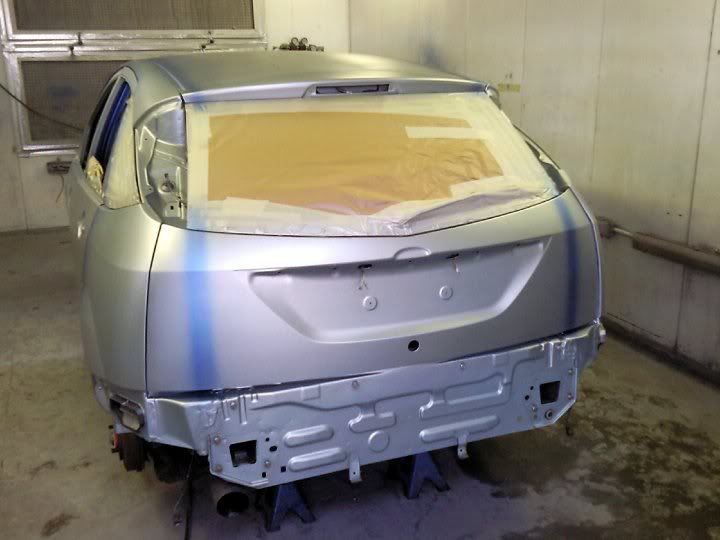
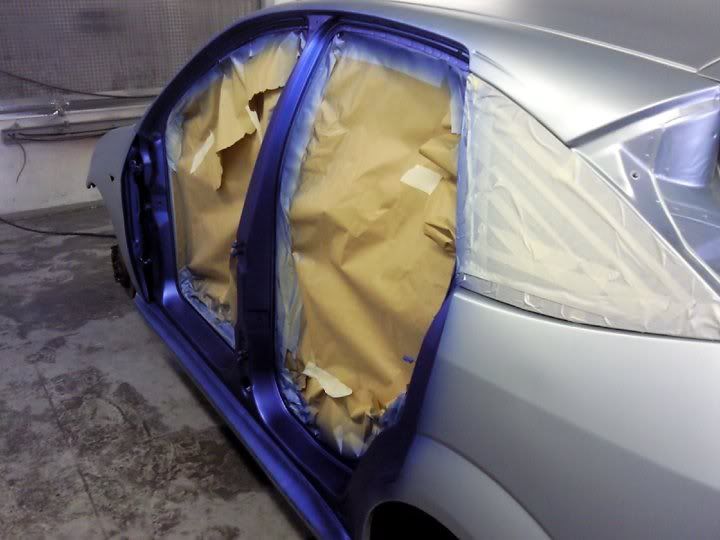
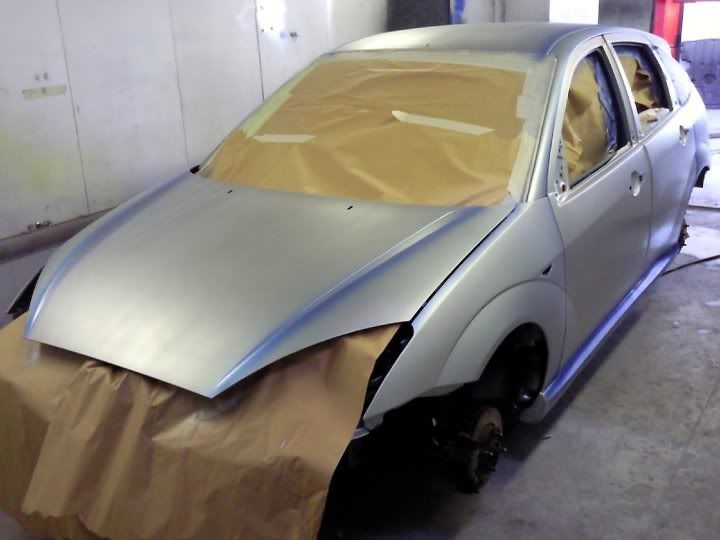
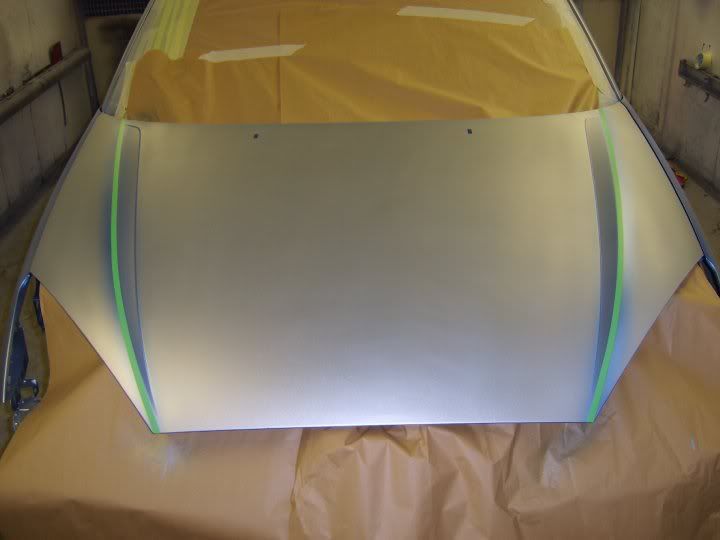
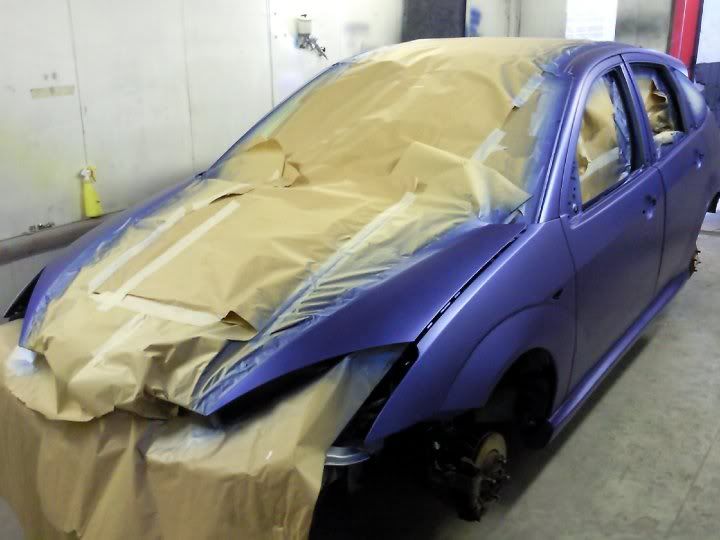
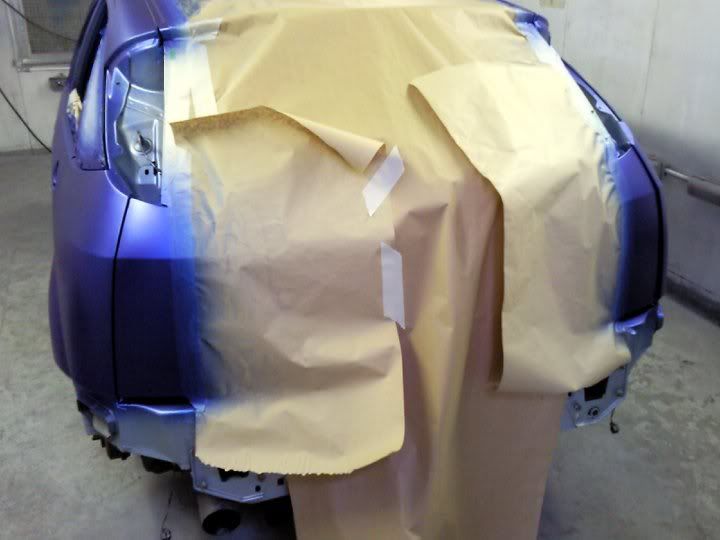
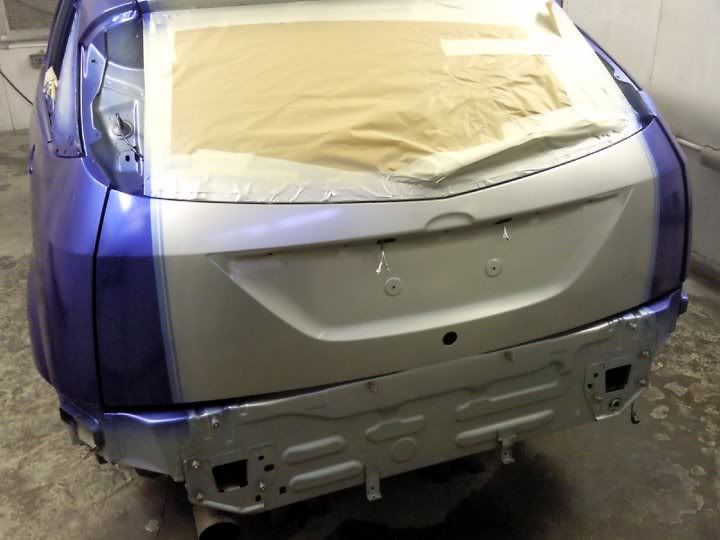
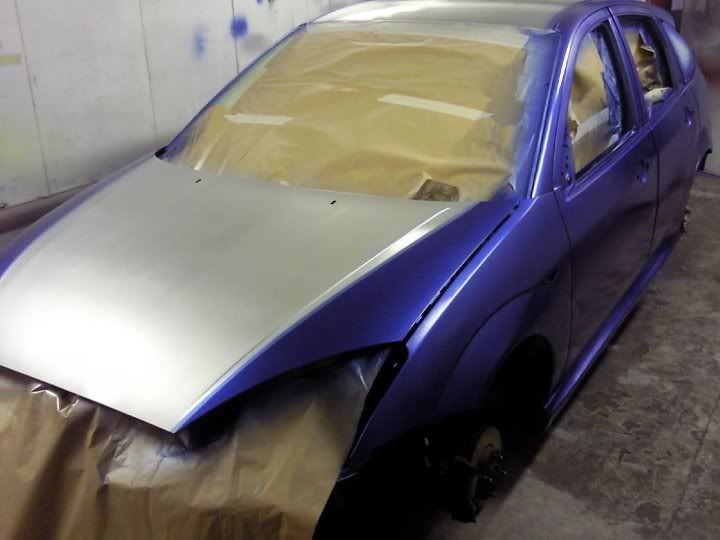
Bumper in primer
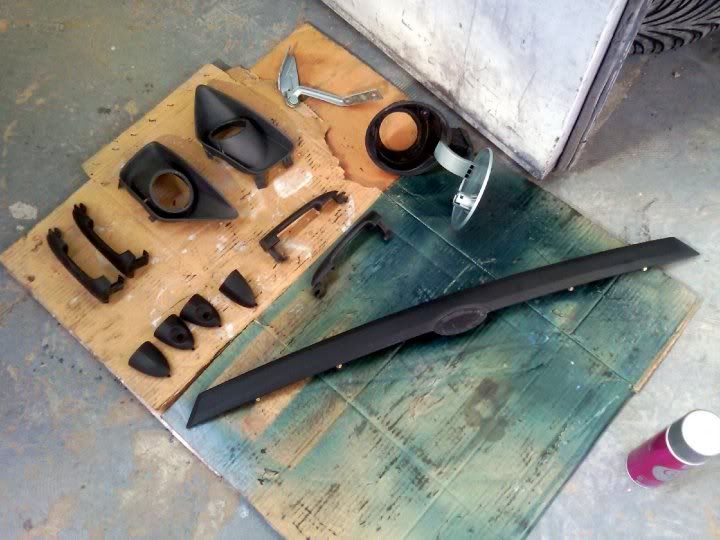
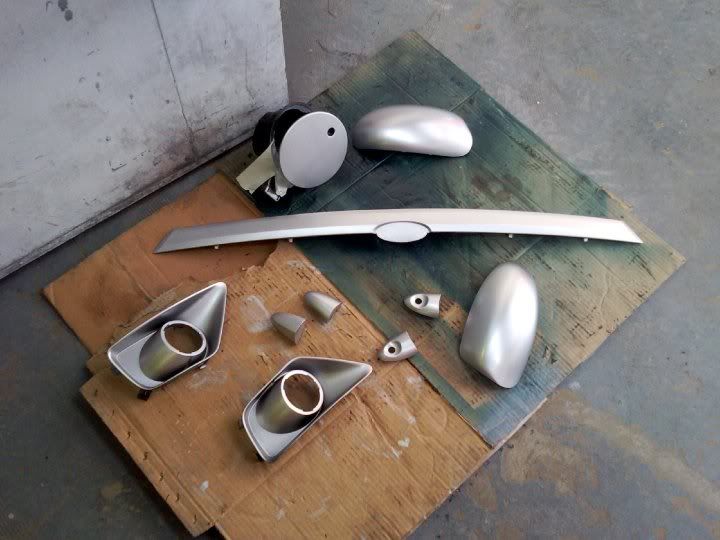
Little bits just left to be paint now
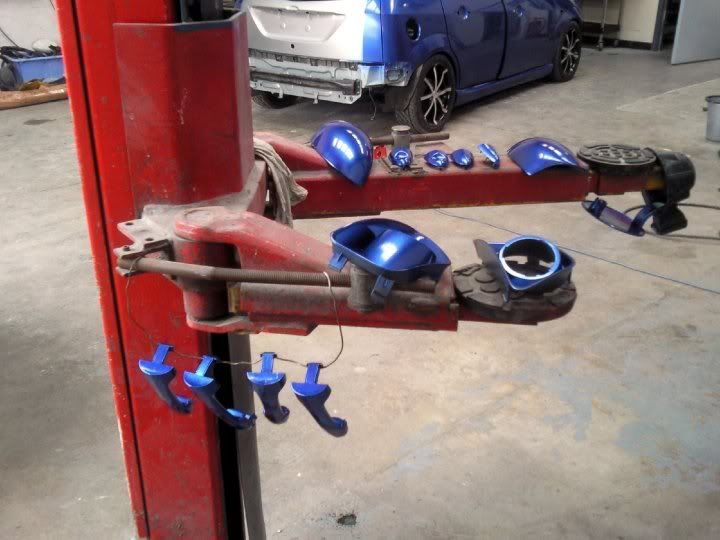
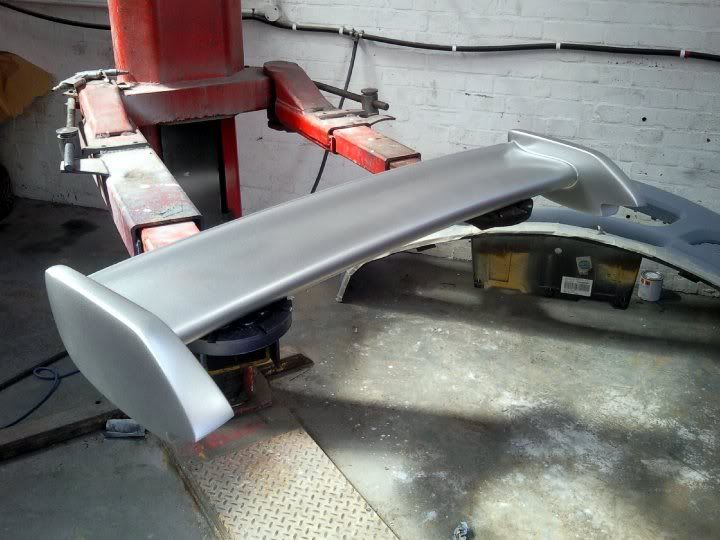
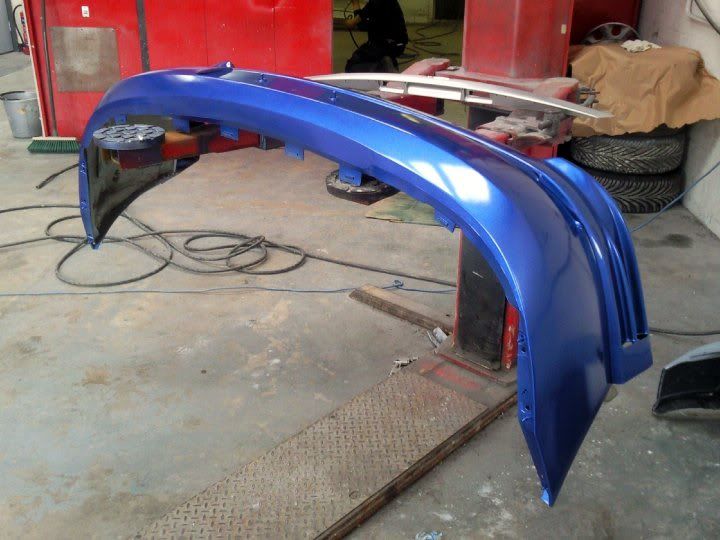
Car slowly coming back together
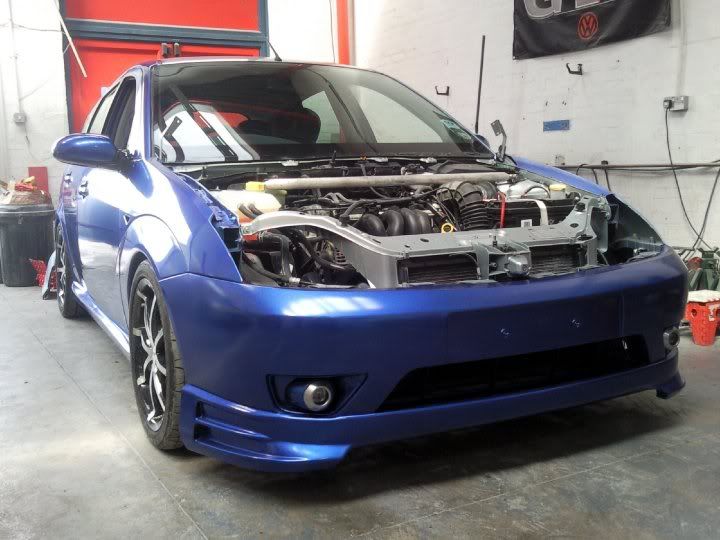
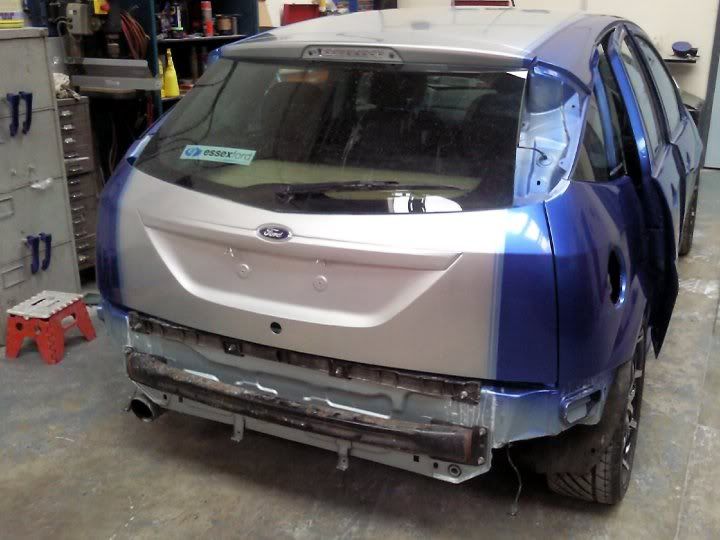
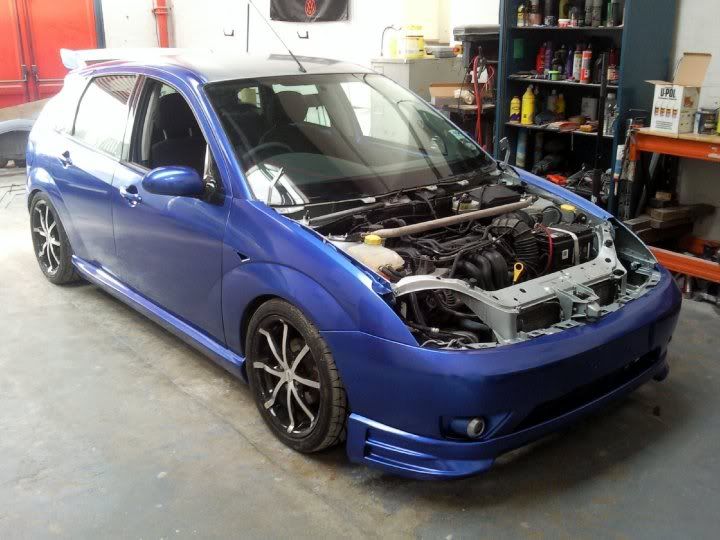
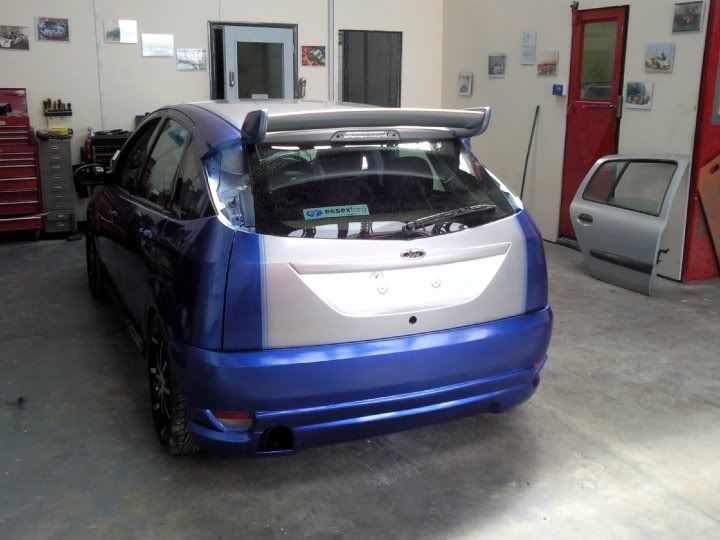
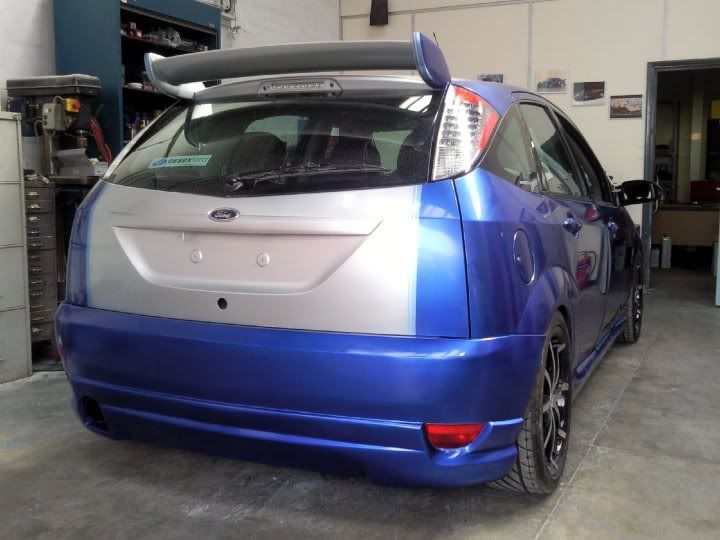
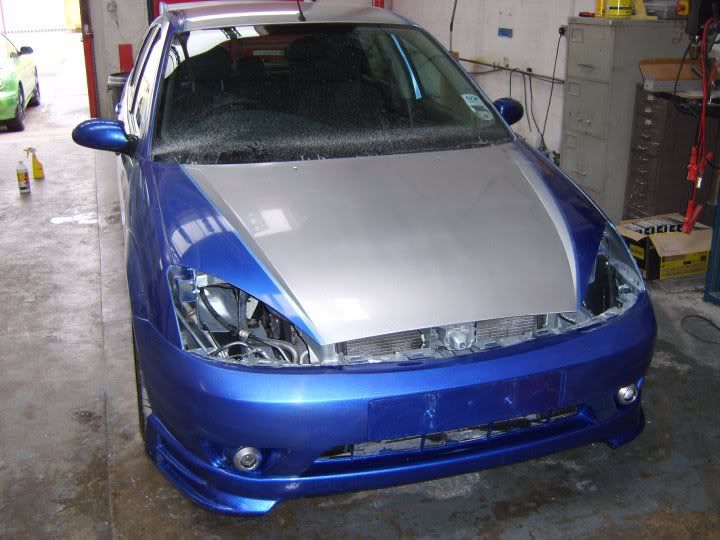
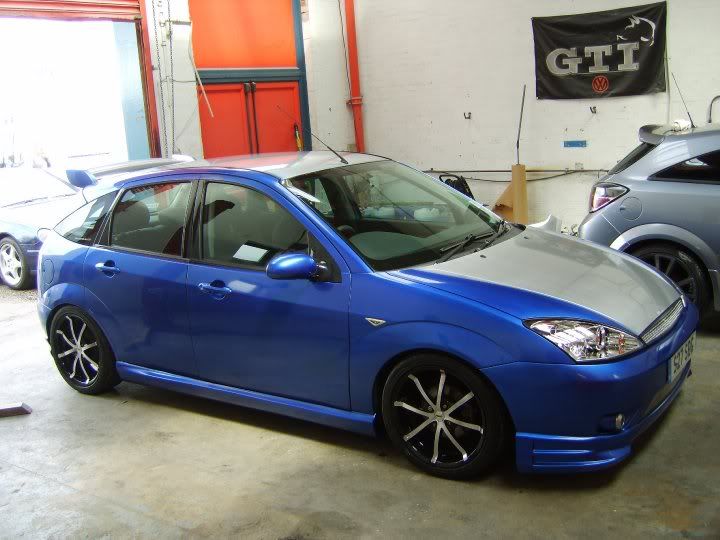
Completed car
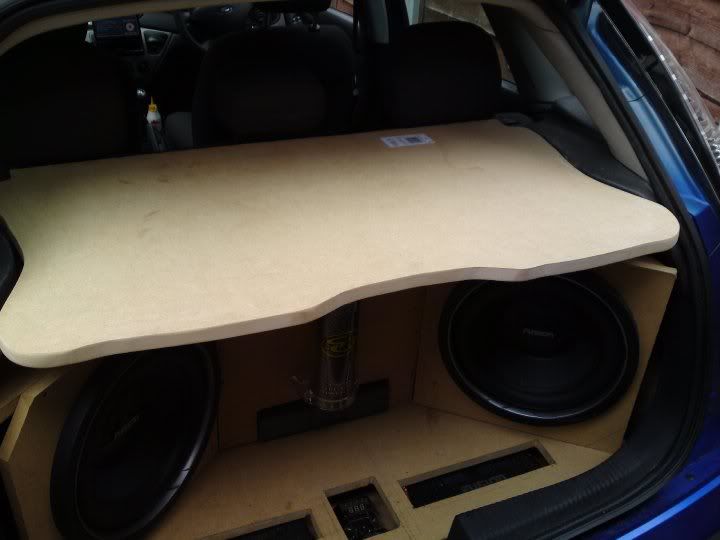
Now that I had the car back I could continue with my plan for the boot install
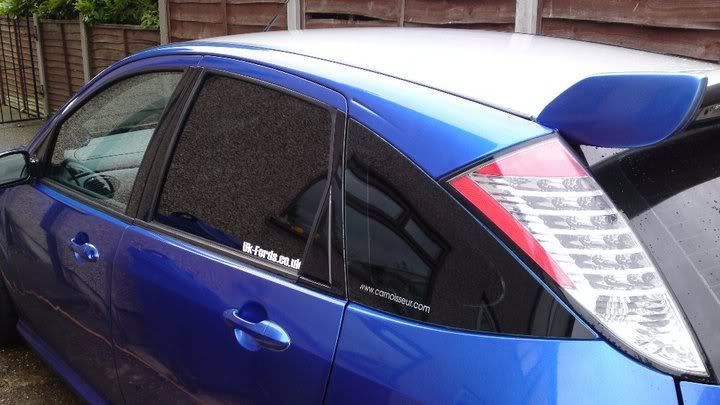
Oh and me tinted windows
With a car show round the corner I couldn't leave the boot install as it was so in its carpeted stage
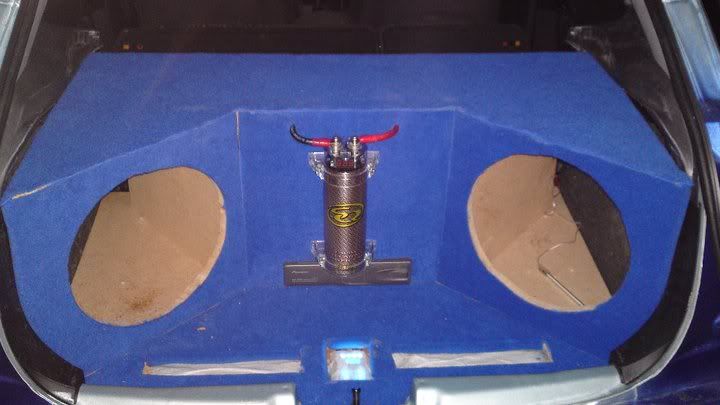
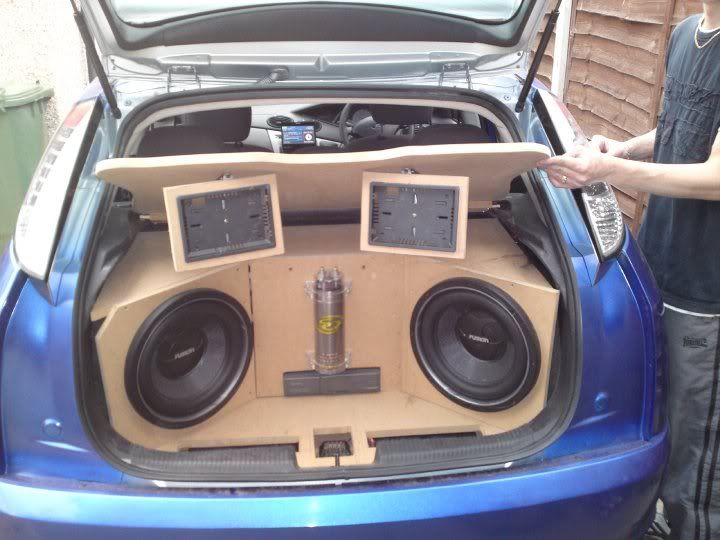
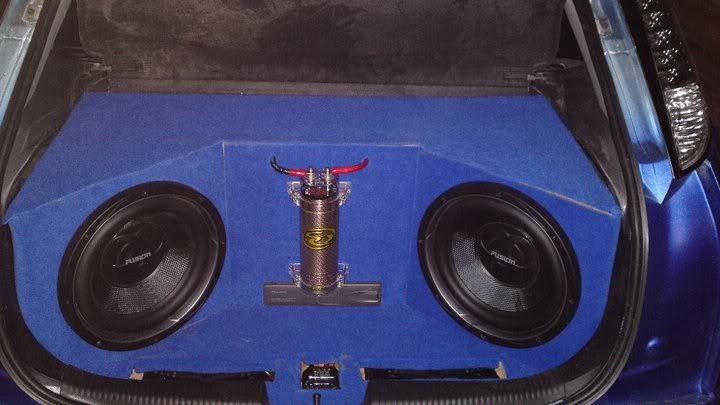
Boot install finished, well for now neway
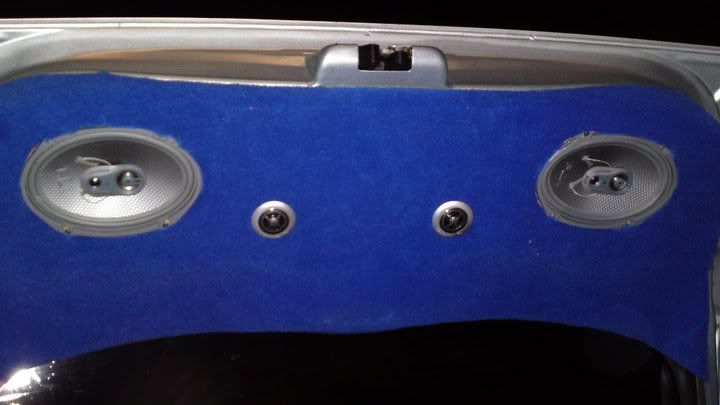
Oh and speakers above your head
Unfortunatley due the crap road conditions around my way, my alloy wheel actually cracked and because they don't make the wheel nemore, make that the 3rd set of wheels on the car since I started tinkering
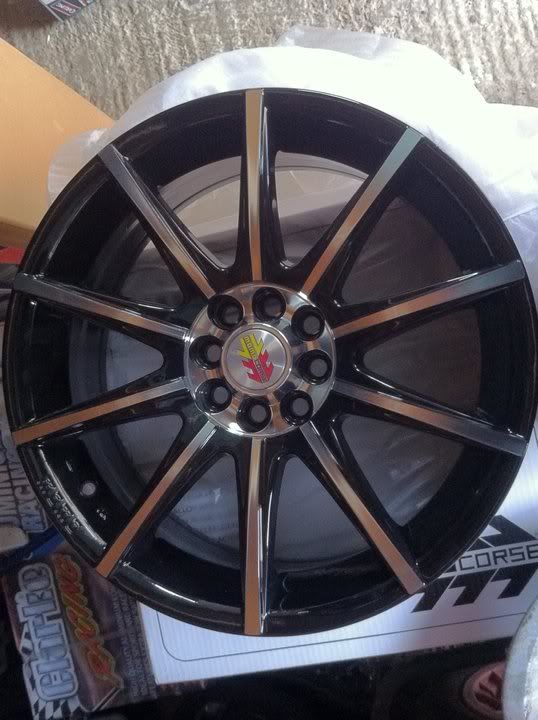
On the car
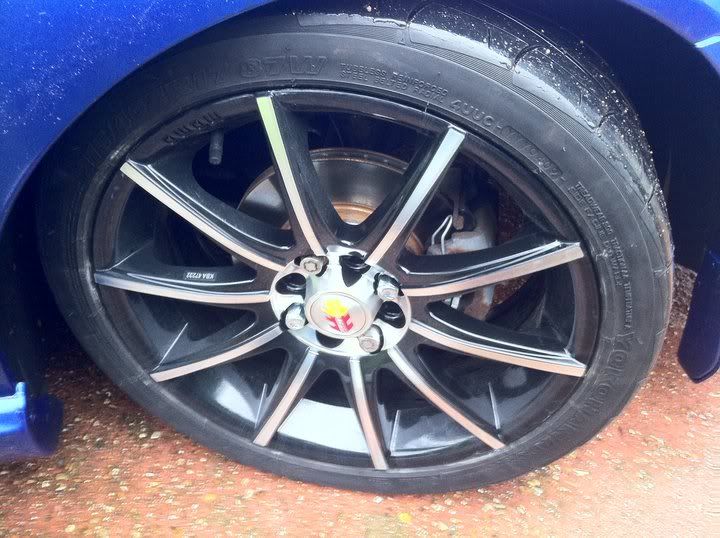
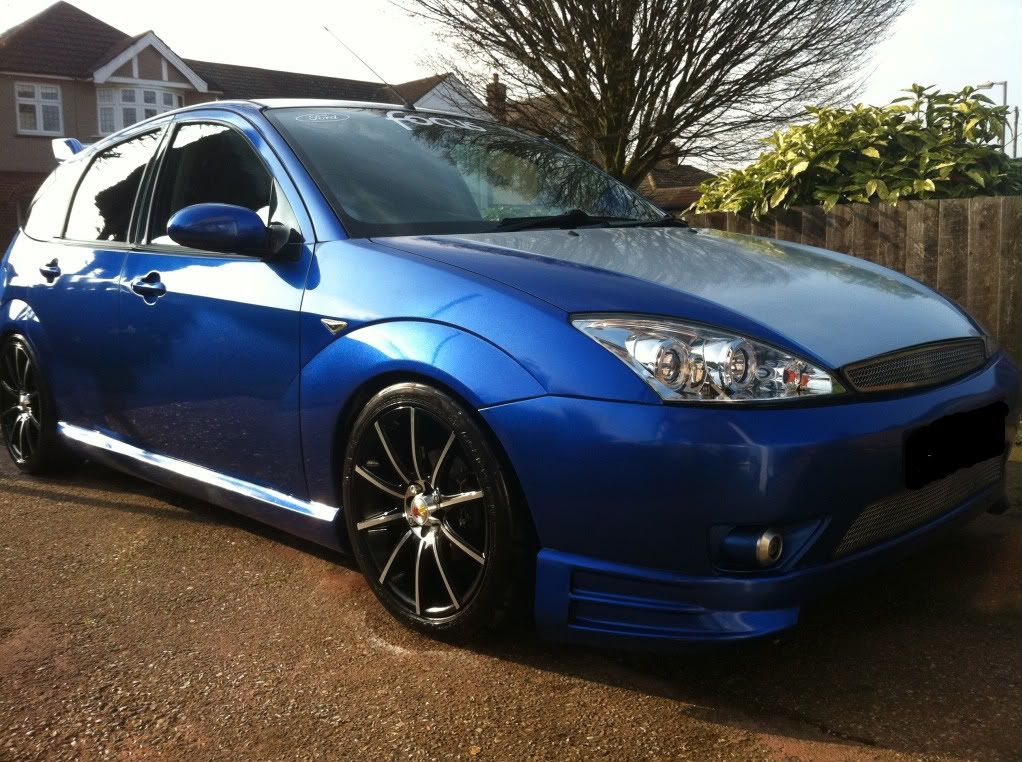
Here's how the car stands today after 2 trips back to the bodyshop due
the filler or fibreglass dropping where I removed the mouldings on the side n now due its 3rd trip back as its happened again but only on the nearside which is confusing
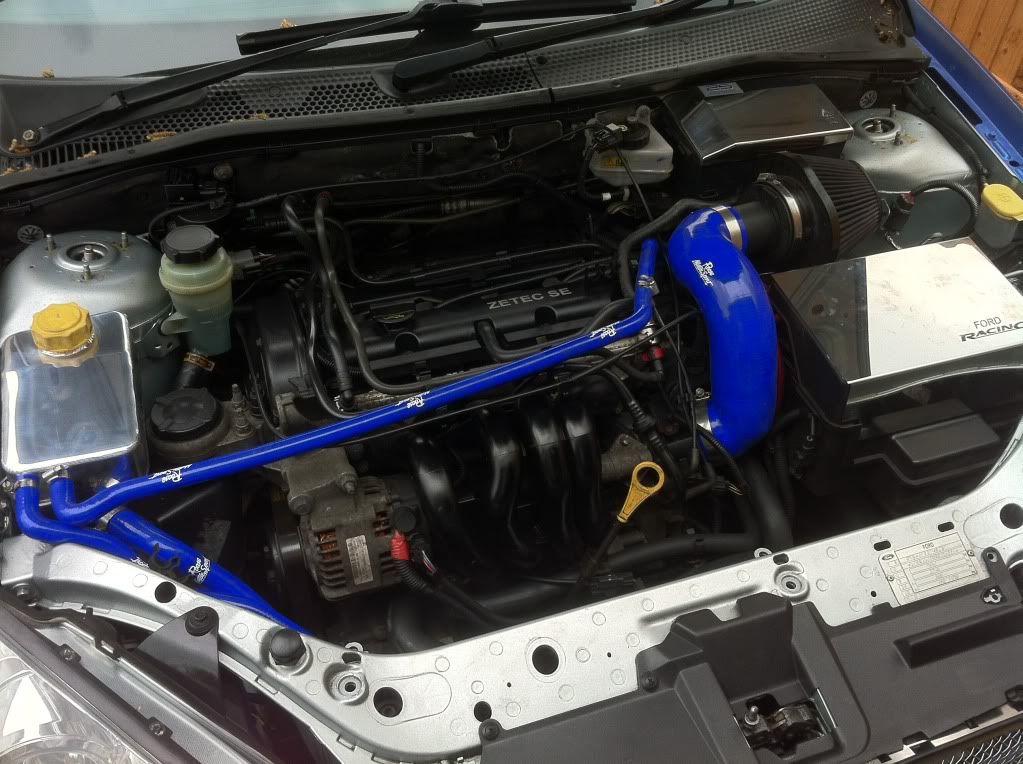
Underbonnet
I then bought this, already in its striped stage, can ya guess what it is yet? Lol
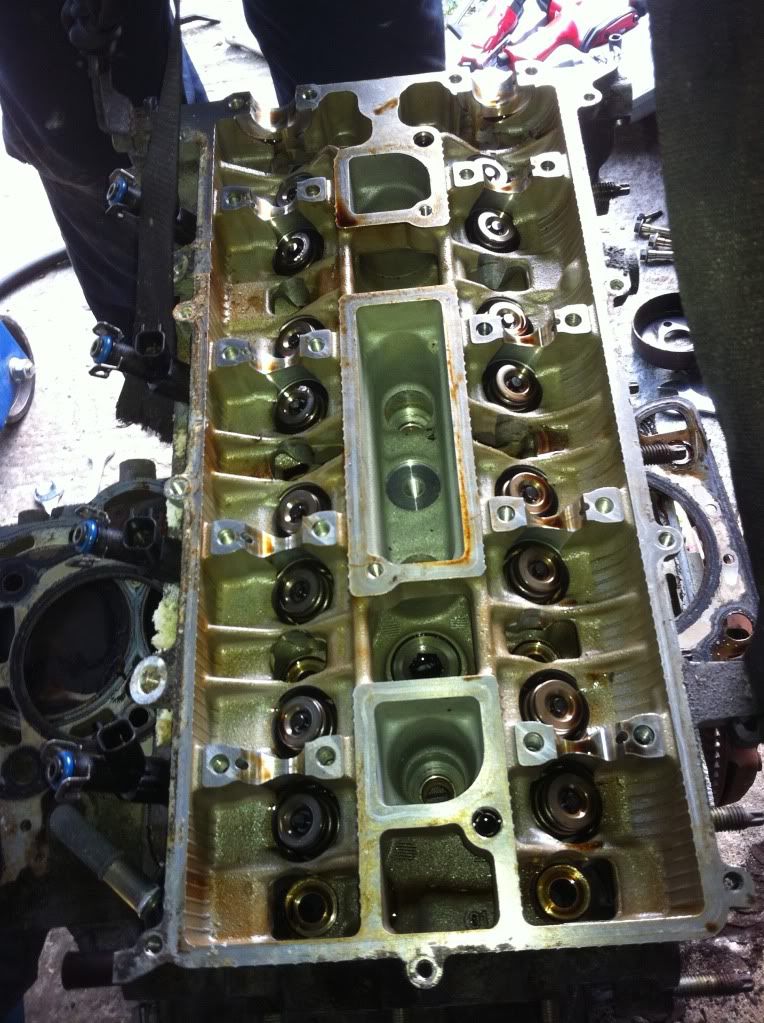
With uprated cams, polished/ported head, poss either throttle bodies or did some1 say turbo, I could poss be seeing the better part of 230bhp easily
So there you go passionford peeps, my car, all comments, ideas are welcome
Here she is in pretty much std form apart from wheels and Angel Eye Headlights
As I like my music I slowly began to build a boot install
Boot install still in progress
I now wanted better quality sounds upfront so here's my mate installing new speakers (Fusion Powerplant incase ya wondering lol)
Again different speakers but they'll be for something else which is later on
Now due to poss one to many arguments with kerbs etc, I hit the plunge and bought new wheels
And here they are on the car
I then installed ST170 Fog lights/a strut brace and some daytime running lights
With too many Focus's goin about that were fairly std I bit the bullit and decided to make mine one of a kind, here's it as it stands the day I dropped it off at the bodyshop
While the car was in the bodyshop I decided to start playing with the interior, I mocked up sum custom speaker mounts for all 4 doors
And so the strip down of the car began
Sideskirts mock up
I've never liked the mouldings that are going down the side of the car so I got them removed to create a smoother look down the sides
Mmm...thats better
Now no show car is complete with some shiny bits
HahaAgain I've neva liked the mouldings on the car so sod it...off they come aswell lol
You can see the front skirt mock up aswell
Same with the back (no mouldings)
Rear bumper finally all ready for paint
Front bumper ready for paint
And the painting/priming process begins, I'll let the pics talk for themselves
A sneaky peak at the colour ;P
Paint process still continuing
Bumper in primer
Little bits just left to be paint now
Car slowly coming back together
Completed car
Now that I had the car back I could continue with my plan for the boot install
Oh and me tinted windows
With a car show round the corner I couldn't leave the boot install as it was so in its carpeted stage
Boot install finished, well for now neway
Oh and speakers above your head
Unfortunatley due the crap road conditions around my way, my alloy wheel actually cracked and because they don't make the wheel nemore, make that the 3rd set of wheels on the car since I started tinkering
On the car
Here's how the car stands today after 2 trips back to the bodyshop due
the filler or fibreglass dropping where I removed the mouldings on the side n now due its 3rd trip back as its happened again but only on the nearside which is confusing
Underbonnet
I then bought this, already in its striped stage, can ya guess what it is yet?
LolWith uprated cams, polished/ported head, poss either throttle bodies or did some1 say turbo, I could poss be seeing the better part of 230bhp easily
So there you go passionford peeps, my car, all comments, ideas are welcome

I'm Finding My Feet Here Now
loving the work - shame about the filler dropping
not a fan of the wheels but each to there own
not a fan of the wheels but each to there own
Ahh yeh it was mate, just one of those things tho eh? I was struggling 2 make a good decision on the wheels coz they can easily make or break a car but as you say each 2 their own

Advanced PassionFord User
Not keen on the rear spoiler but otherwise nicely done mate!
Chris
Chris

Thanx Chris
Richie, yeh I know its not every1's cuppa tea but its defo one of a kind
Richie, yeh I know its not every1's cuppa tea but its defo one of a kind


Everything but the paint is (your) age related.
However very nice colours and paint scheme.
.
However very nice colours and paint scheme.
.

PassionFord Post Whore!!
whizzisat114
PassionFord Post Whore!!
close
Feb 4, 2020
- Join DateJan 2010
- Locationin someone elses garage
- Posts:5,904
-
iTrader Positive Feedback100
-
iTrader Feedback Score(2)
-
Likes:110
-
Liked:26 Times in 26 Posts
Looks great m8 well done

Wye Valley Hardcore
It's a shame as the paint looks really well done, but I was going to say as soon as I saw the side molding smoothing thats going to crack/fall out. An area that big/deep needs a plate welding in and skimming rather than filled with fibreglass/filler. It doesn't even look like they took it down to bare metal which you should with large areas like that, especially on doors which will be slammed shut.
Thanx Whizzisat Yeh muz I thought the same 2 b honest ya know n I originally thought thats wot they were originally gonna do but obviously not! I know the people that did it so I'm gonna get them 2 do n hopefully they'll b able 2 sort it properly
Yeh muz I thought the same 2 b honest ya know n I originally thought thats wot they were originally gonna do but obviously not! I know the people that did it so I'm gonna get them 2 do n hopefully they'll b able 2 sort it properly
I've found that life I needed.. It's HERE!!
Lol ;p Just the reflection of my ceilin incase ya hadnt guessed
I'm not sure if this works but we will give it a go as I haven't updated in a while
Started prepping my winter wheels
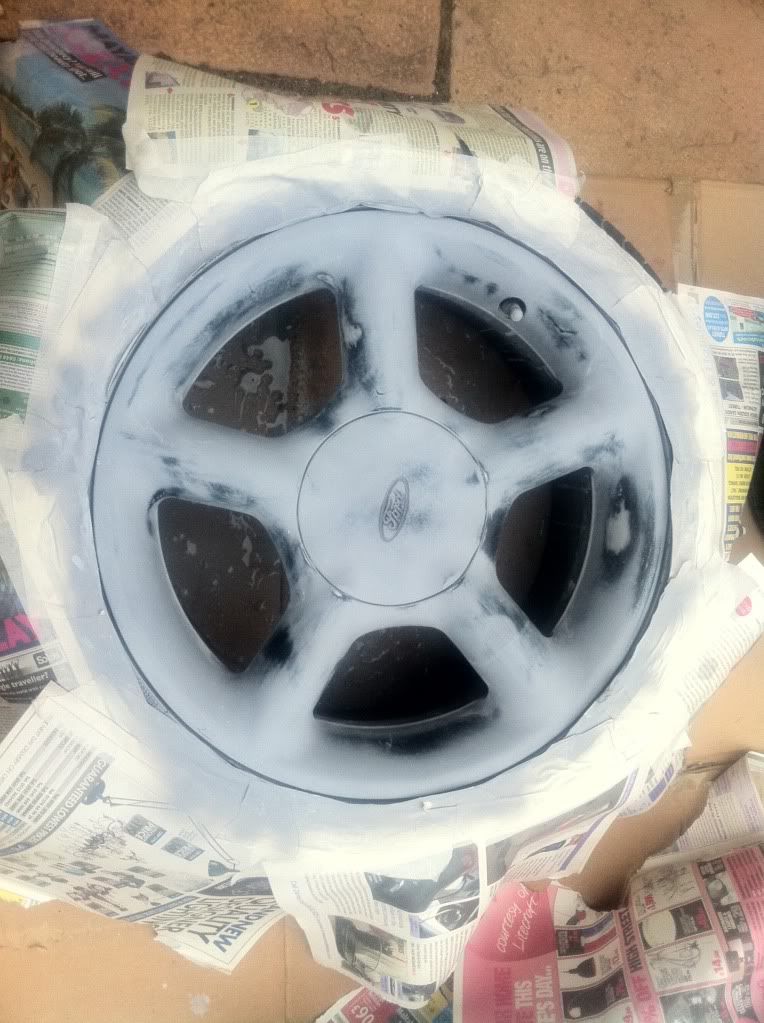
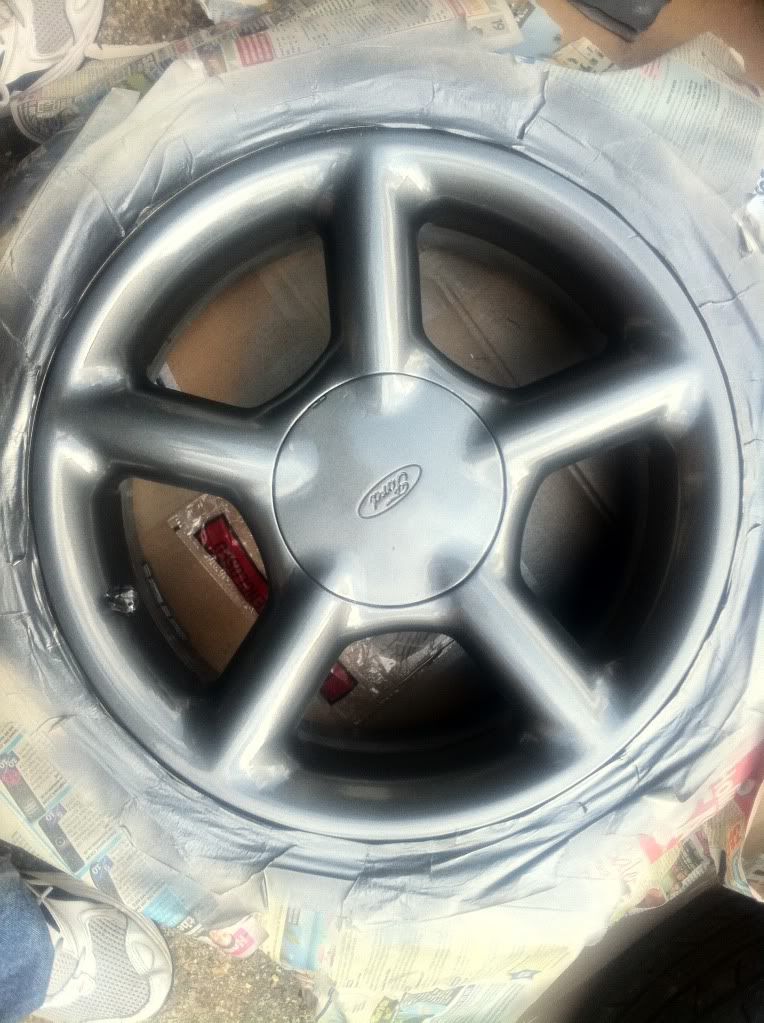
The finished product -
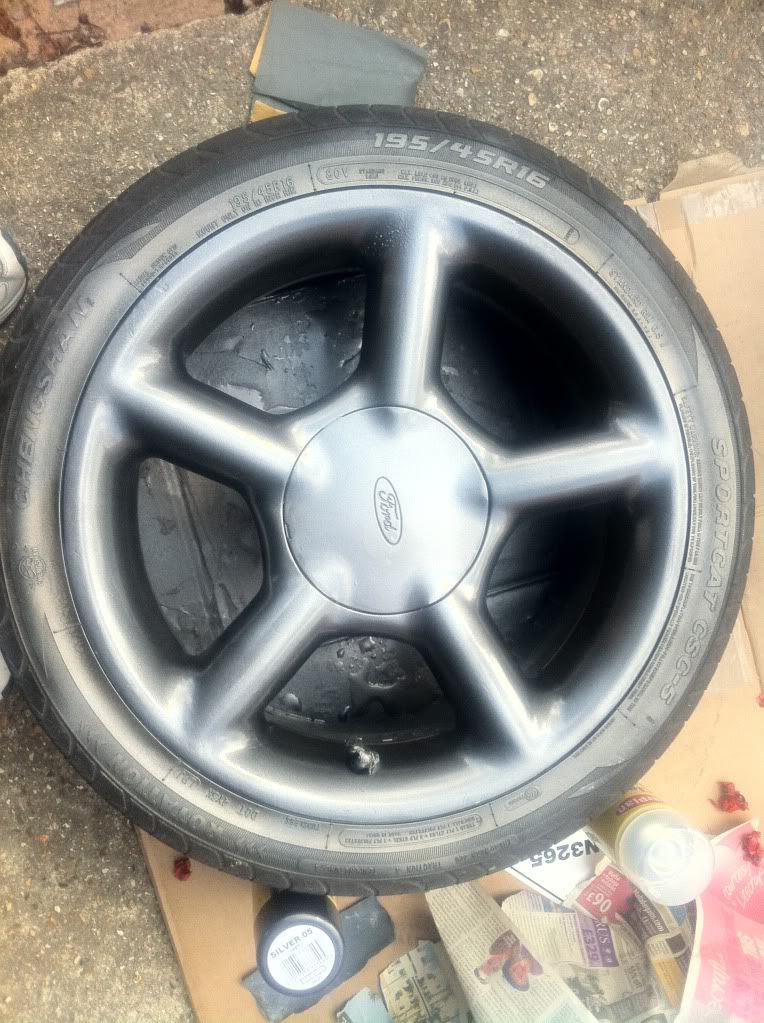
Rear seats out ready for retrimming:
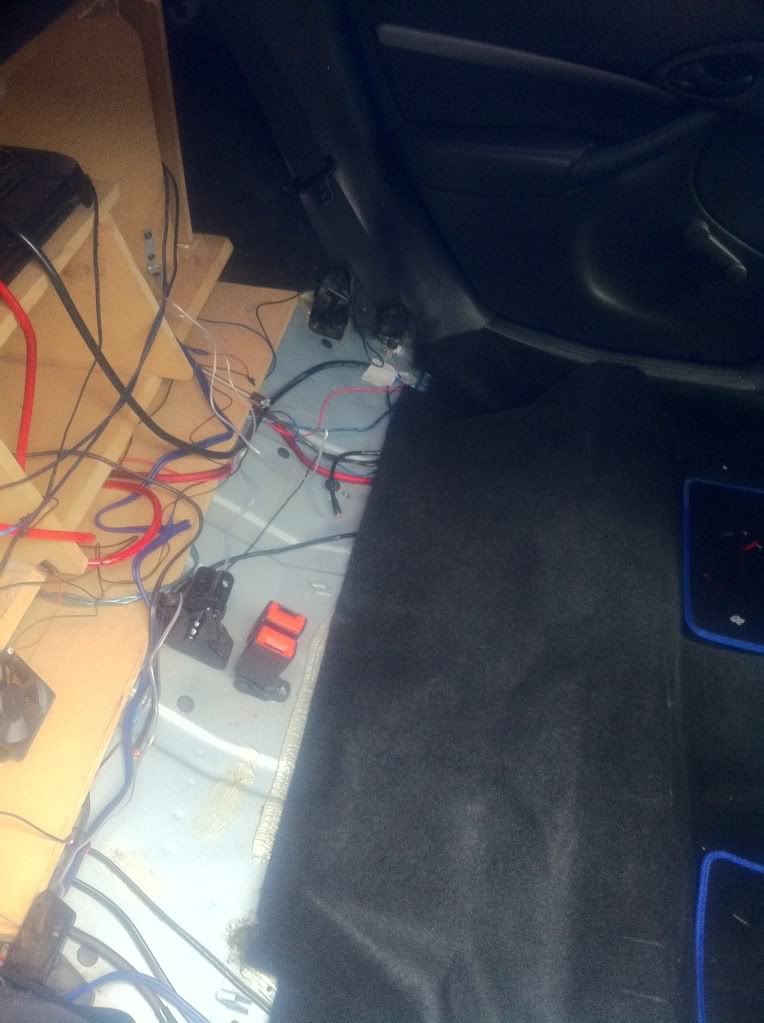
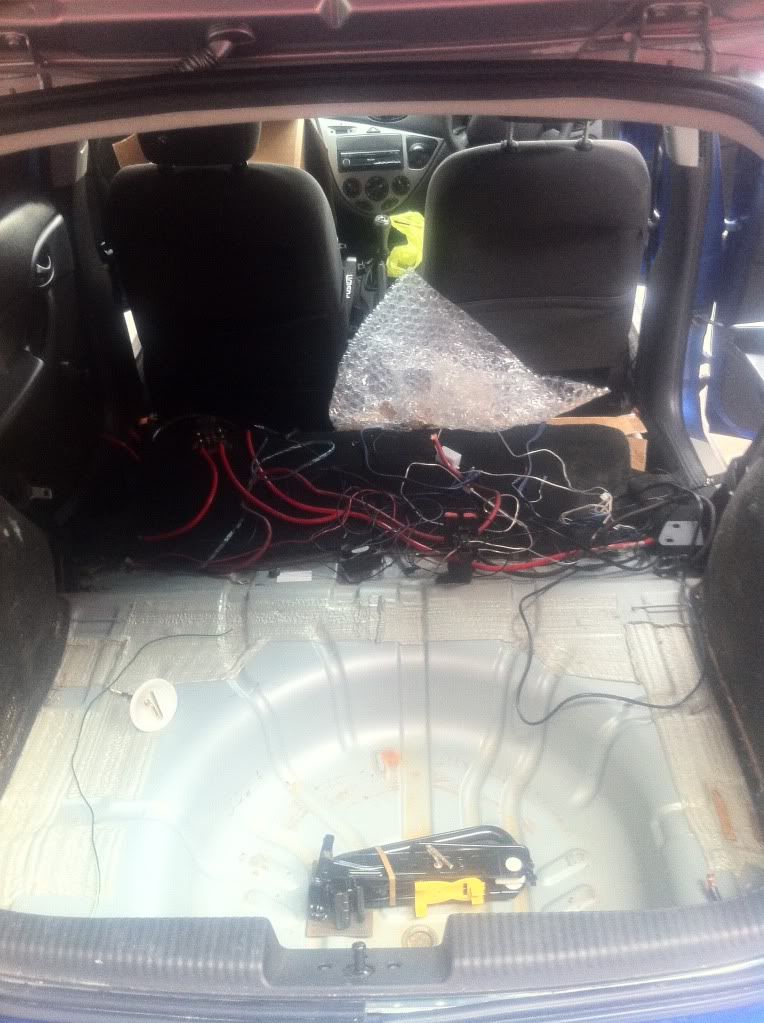
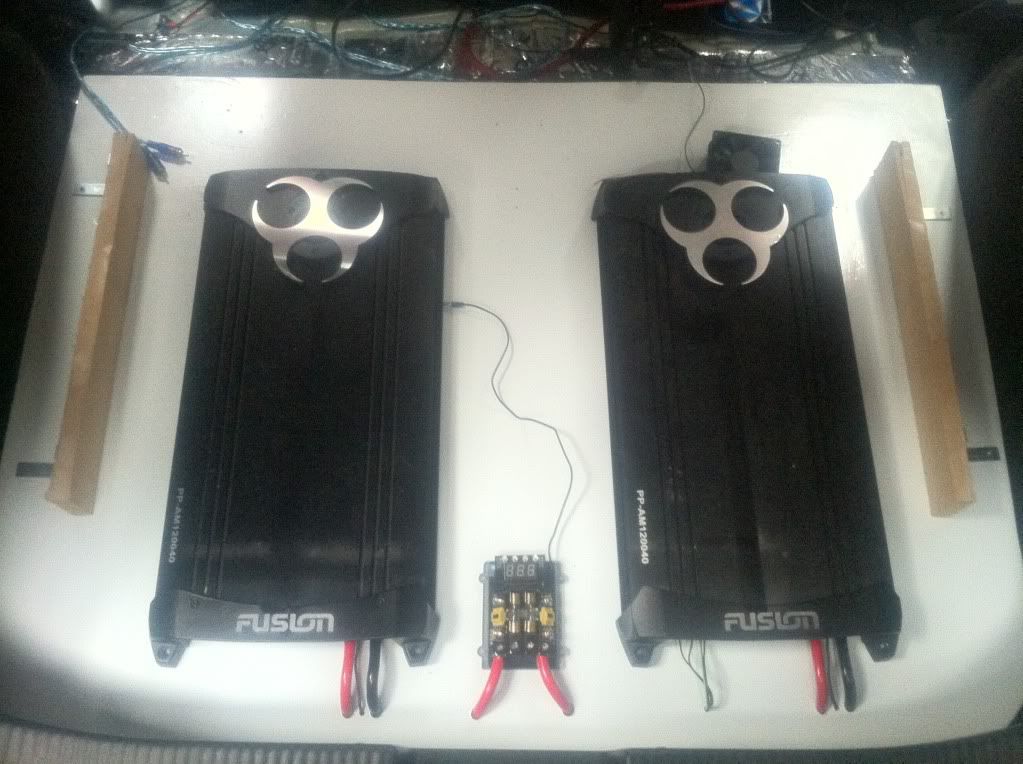
Boot install out aswell for painting
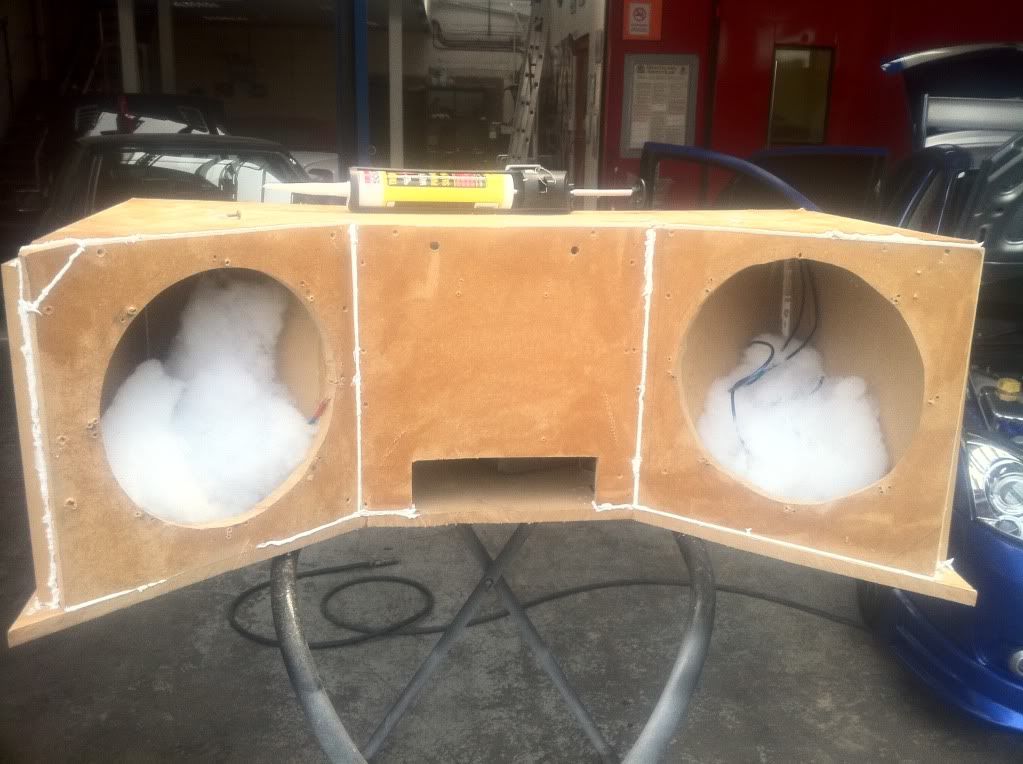
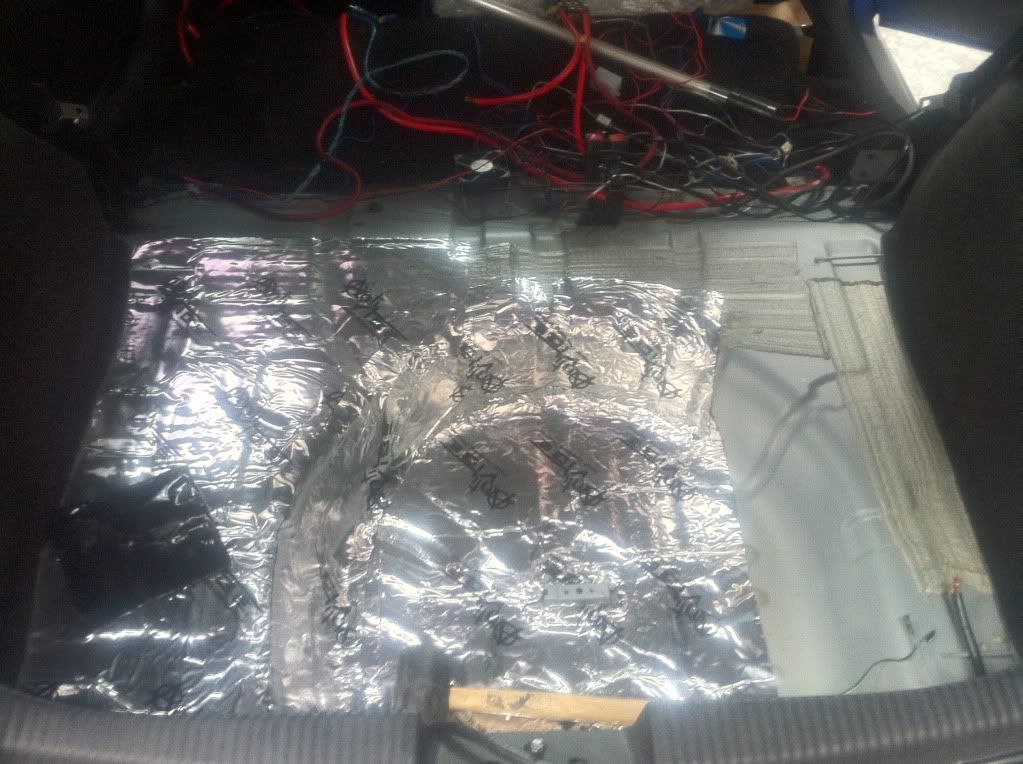
Sound deadening going in -
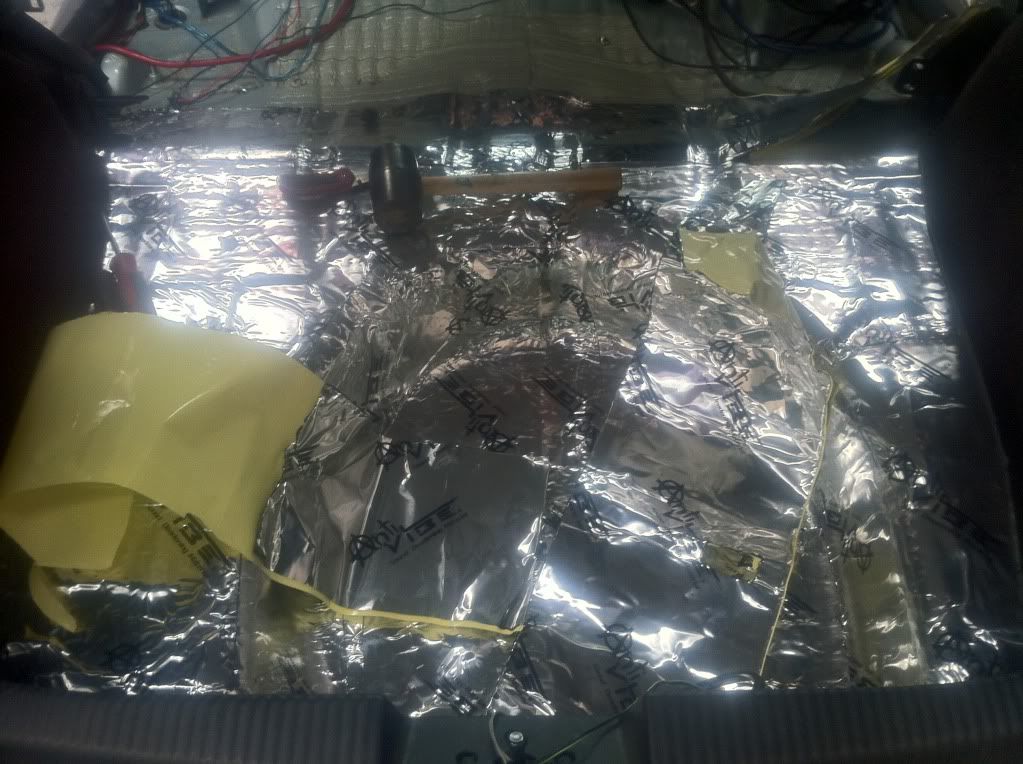
All finished
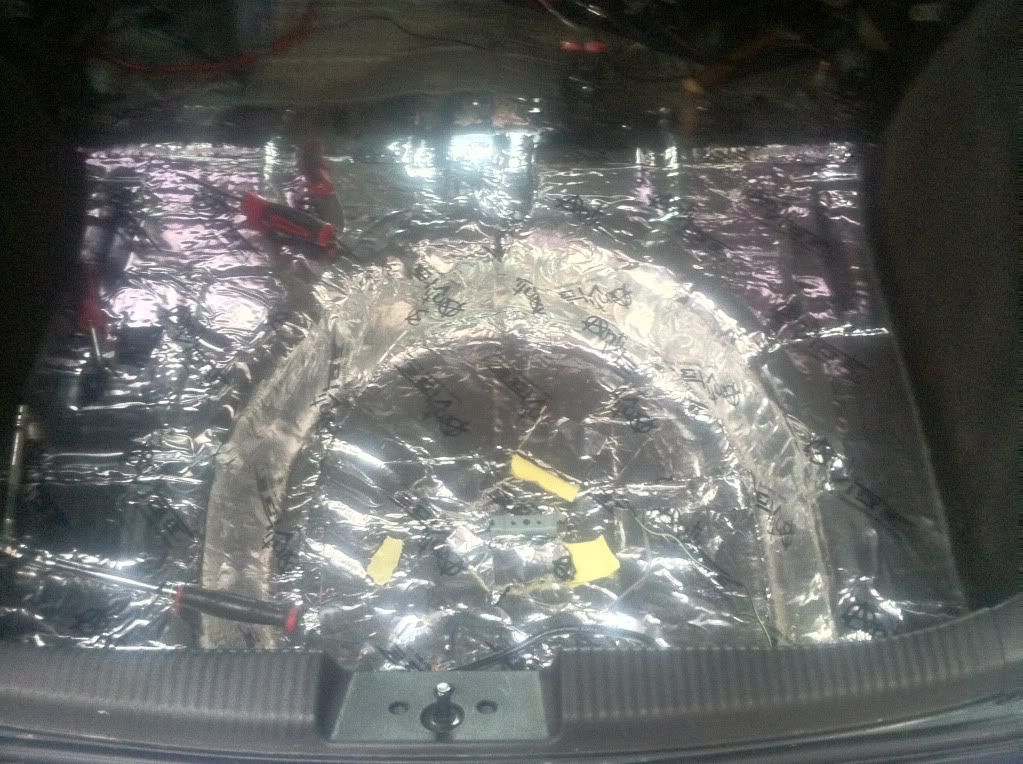
Everything goin back in slowly
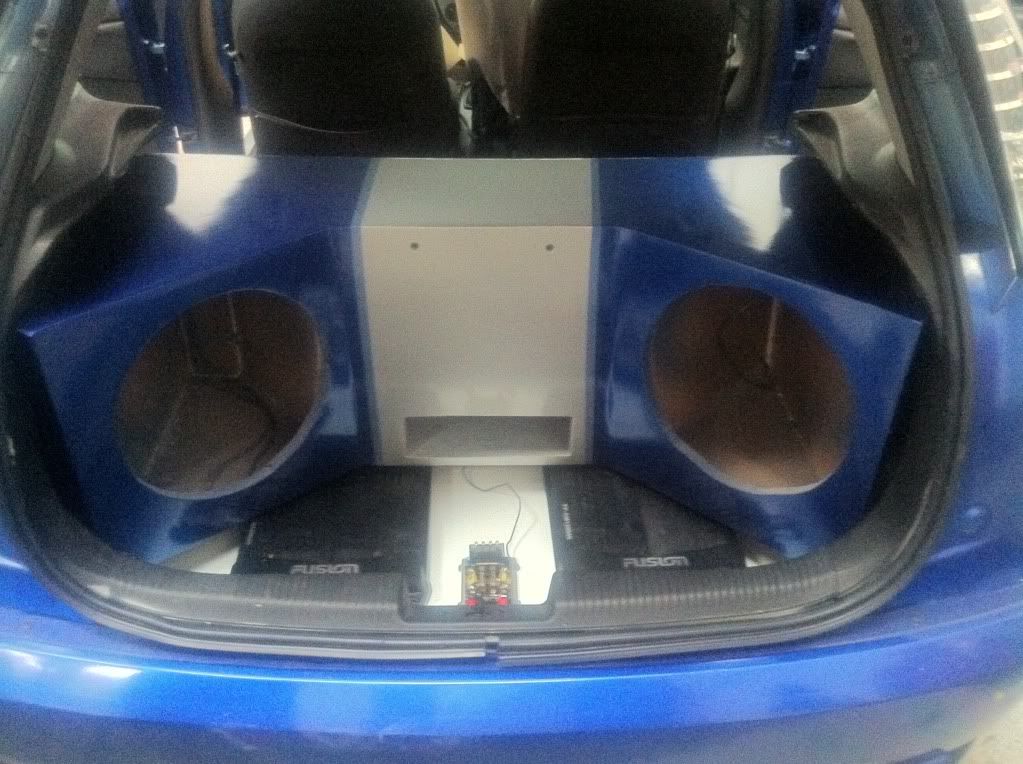
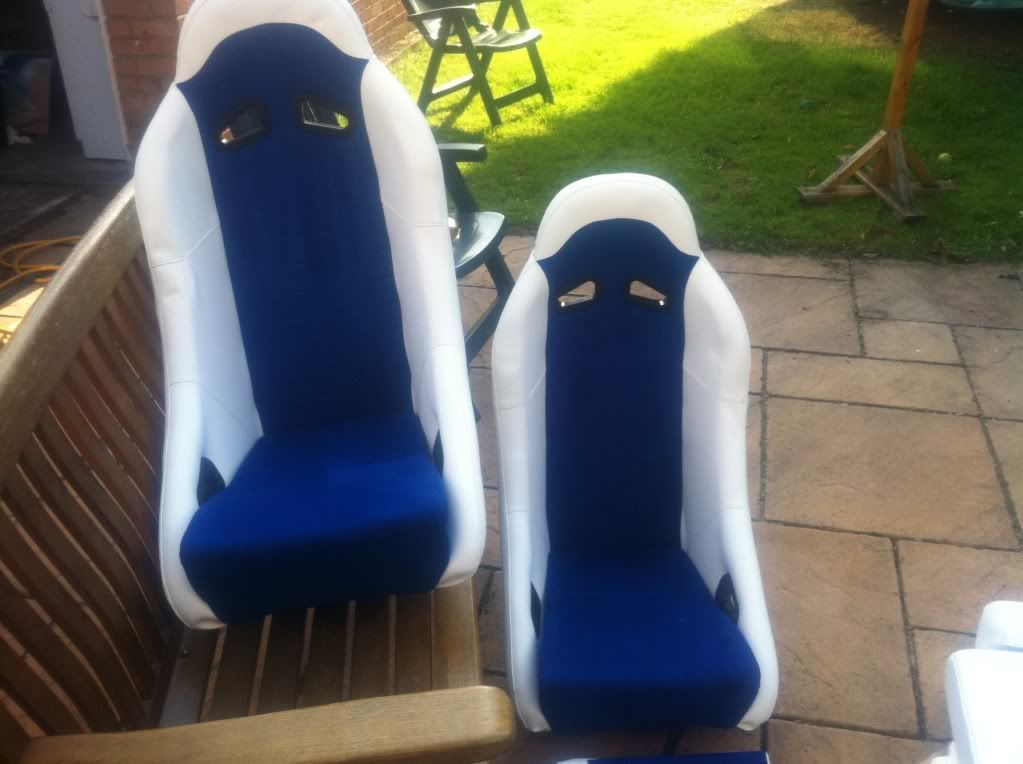
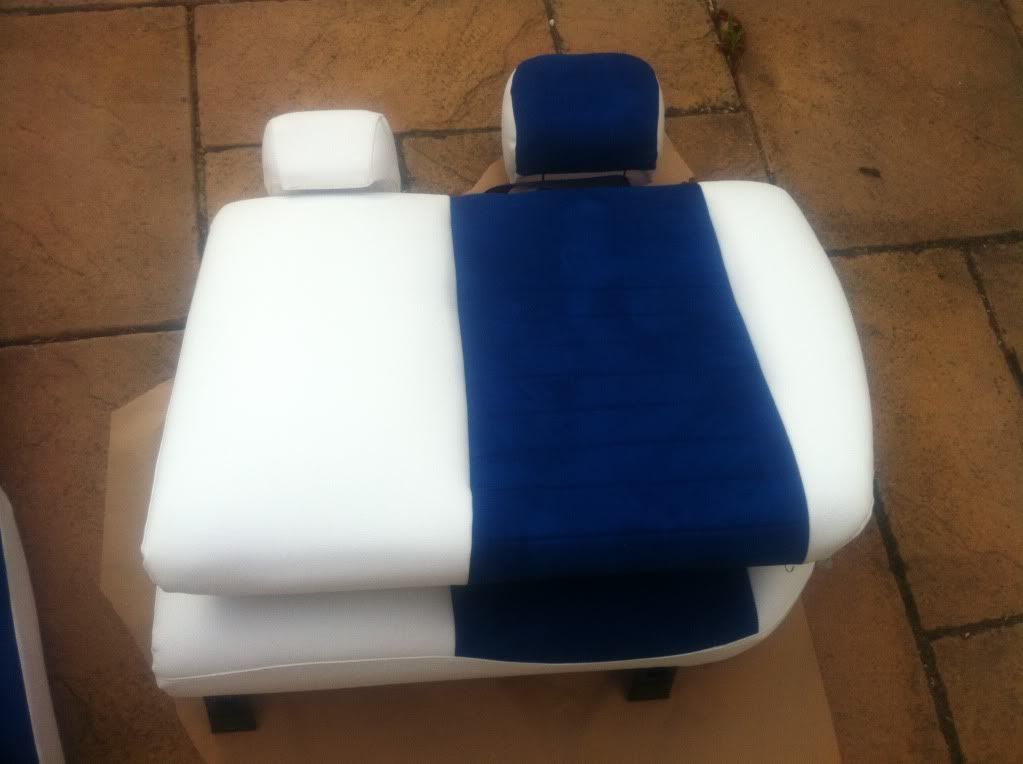
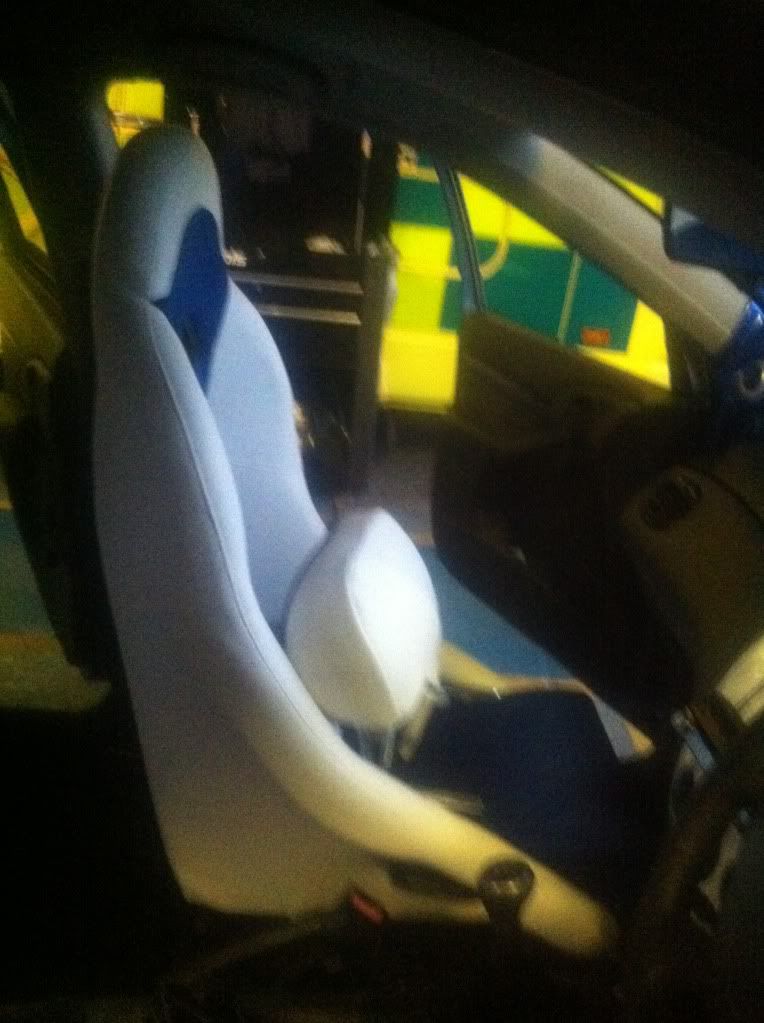
My newly retrimmed seats, very pleased with them I must say
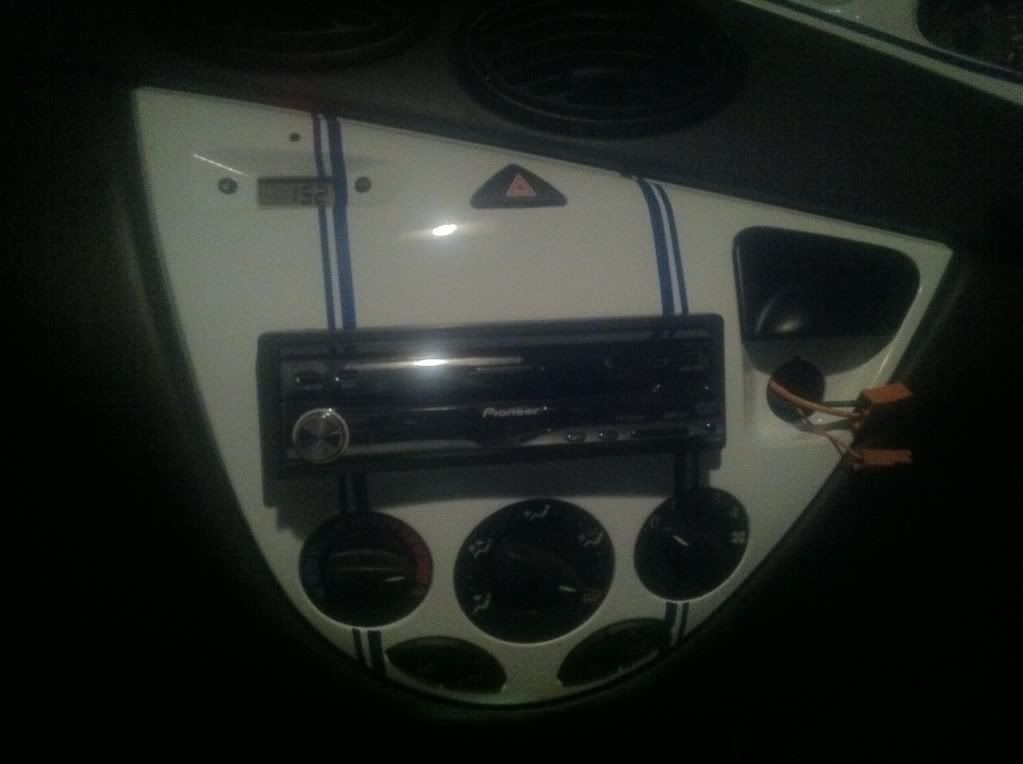
Radio surround
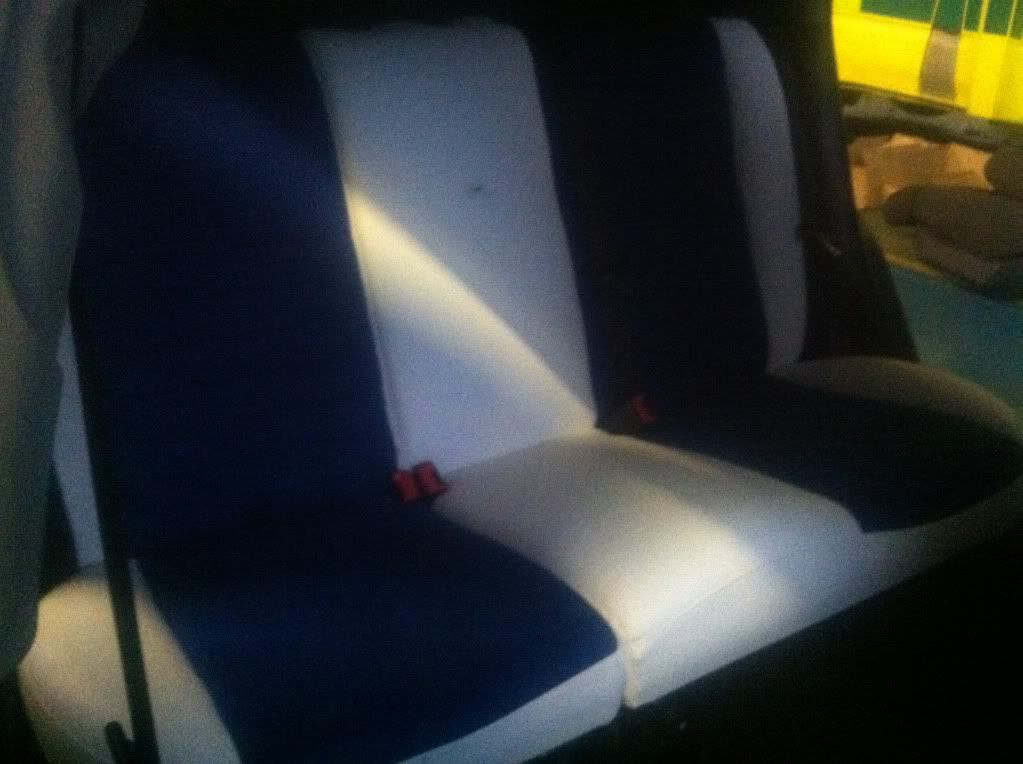
Rear seats in
Fronts almost in so you get the idea
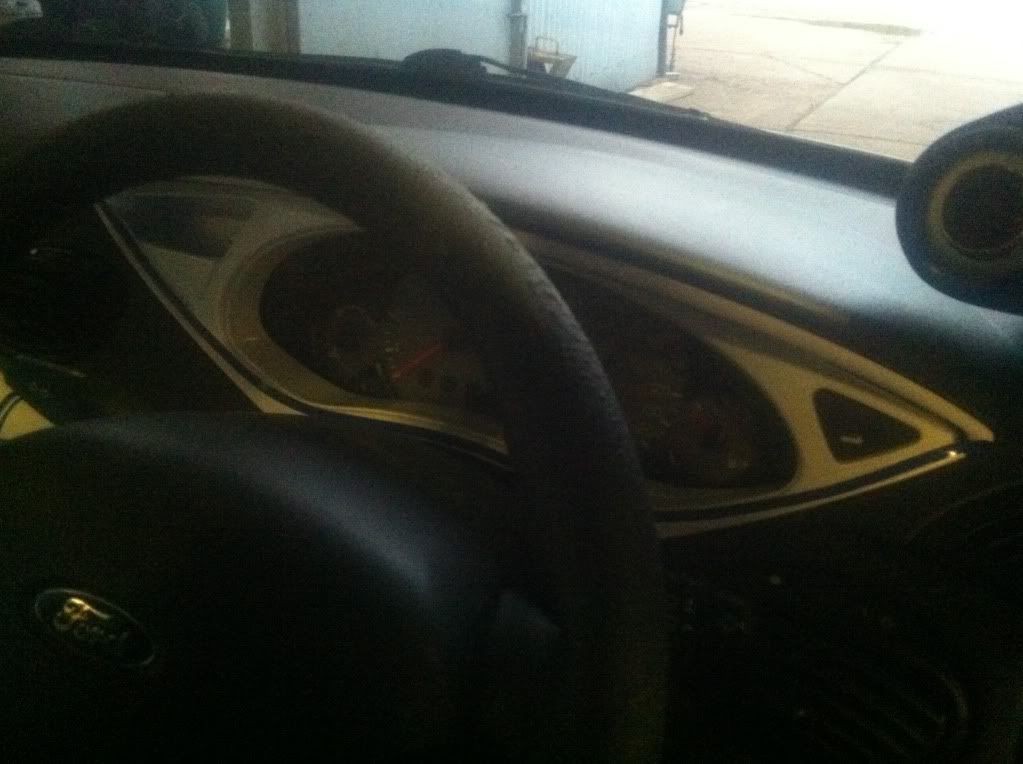
Clock surround
Thats all for now folks
Hope you like
Started prepping my winter wheels
The finished product -
Rear seats out ready for retrimming:
Boot install out aswell for painting
Sound deadening going in -
All finished
Everything goin back in slowly
My newly retrimmed seats, very pleased with them I must say
Radio surround
Rear seats in
Fronts almost in so you get the idea
Clock surround
Thats all for now folks
Hope you like