
MK1 escort 2dr 1300xl

Thread Starter
Too many posts.. I need a life!!
Joined: Mar 2006
Posts: 655
Likes: 32
From: surrey
Well the last thing i needed was another project seeing as my saph cossie isnt even half done yet.
So i went out and bought another project.
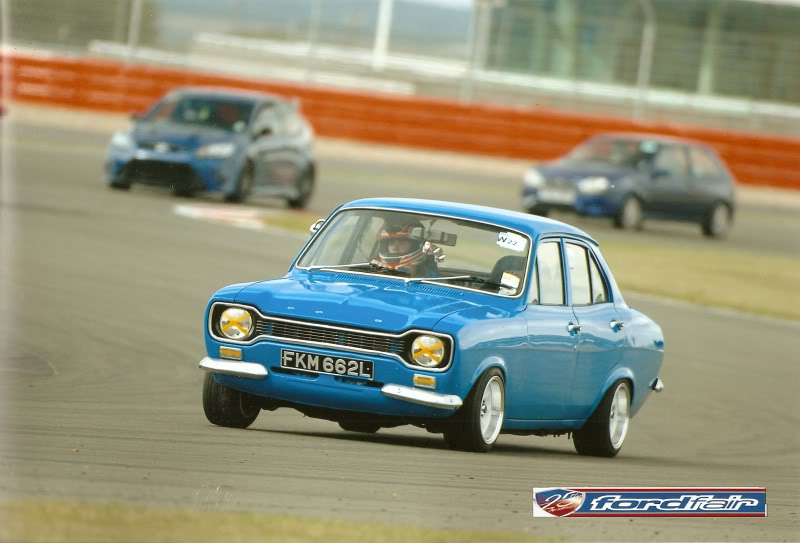
Sold my old mk1 escort just over 3 years ago to put the money towards my 3dr cossie.
Missed it ever since, it was just a standard pinto in a 4 door but it was the most fun car ive ever driven.
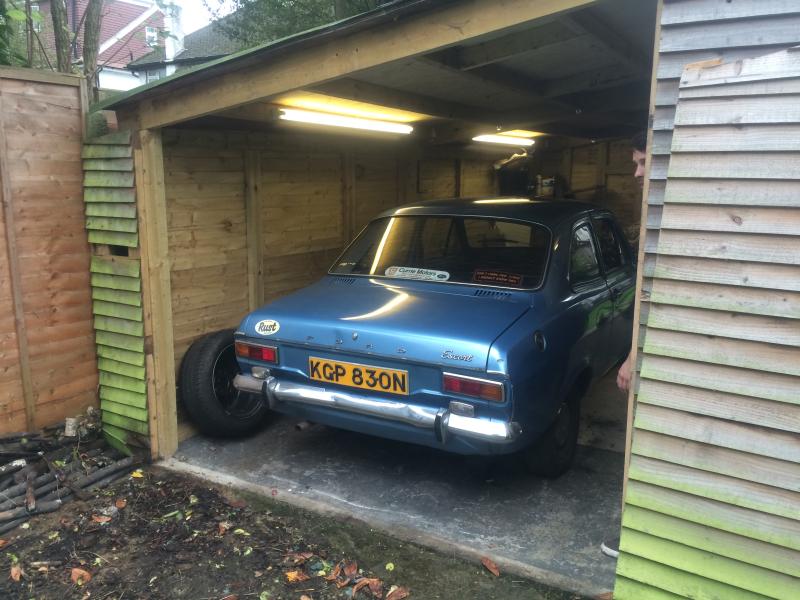
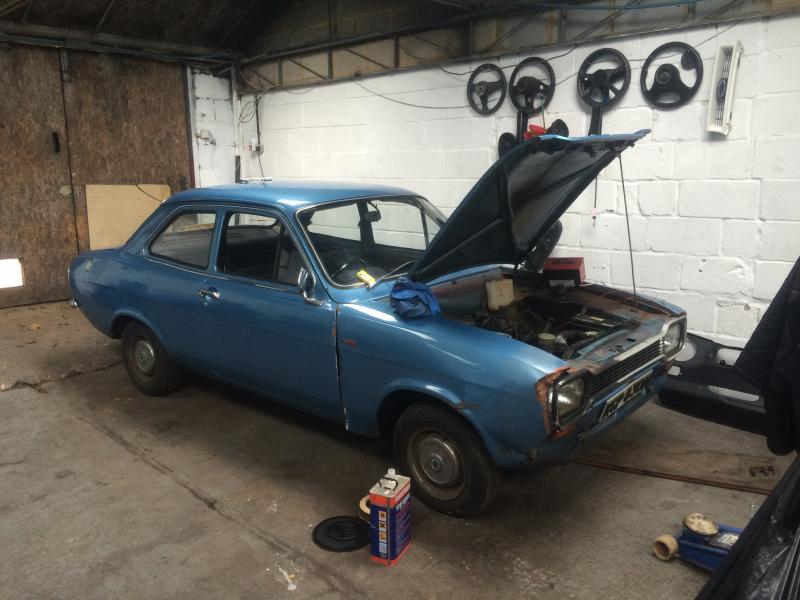
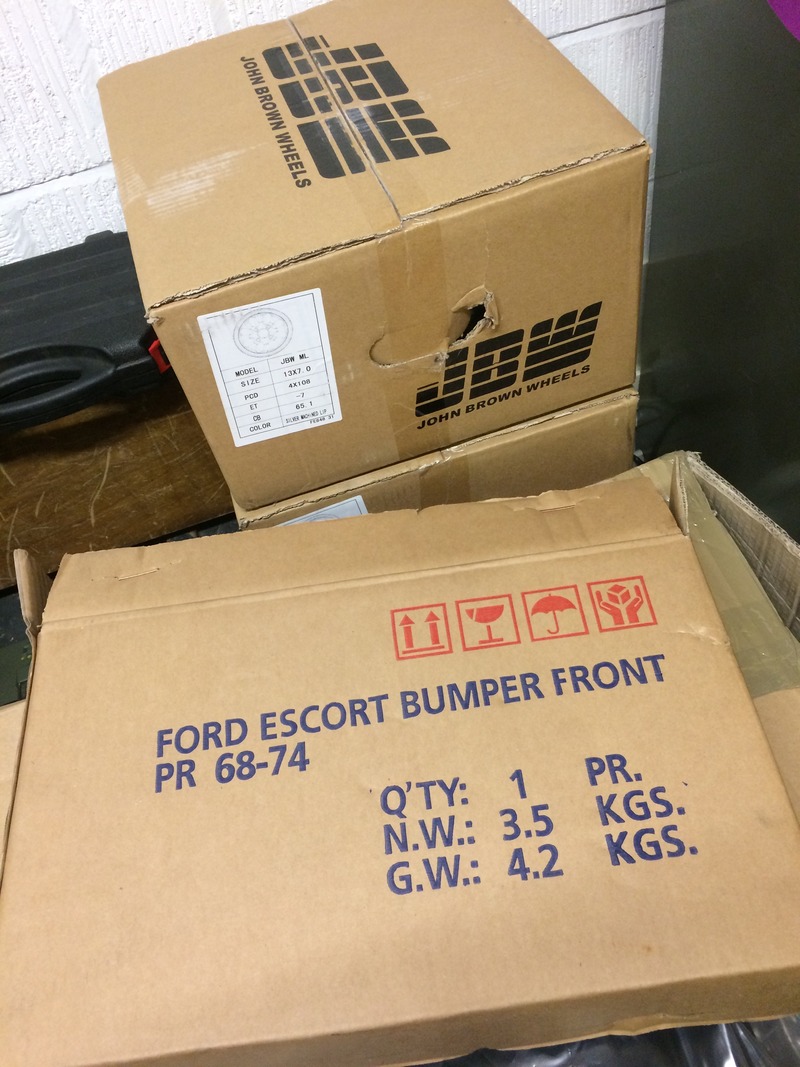
Got told about a little 1300xl that was sitting in a garage local to me. The fella bought it 8 years ago to do something with and got as far as buying a front panel for it.
A mate of mine went round there and bid him a silly low price on the car which was turned down. Once i was told about it i went round there and offered a bit more and she was mine.
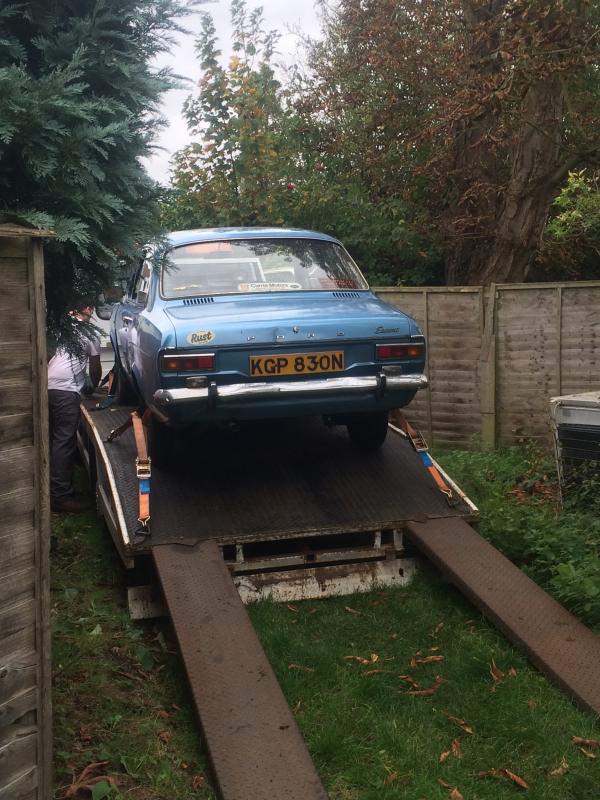
Handed the money over straight away and 20 mins later she was on the back of the recovery truck.
In the Garage
On the truck
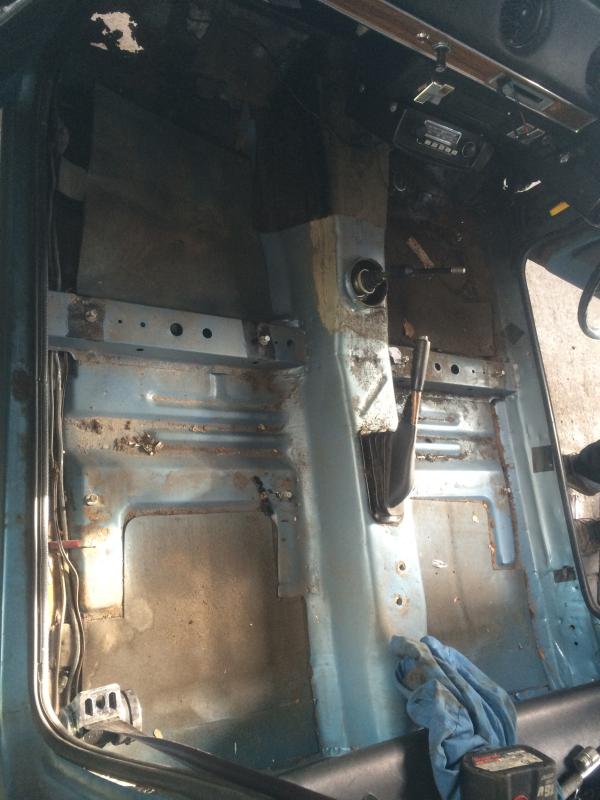
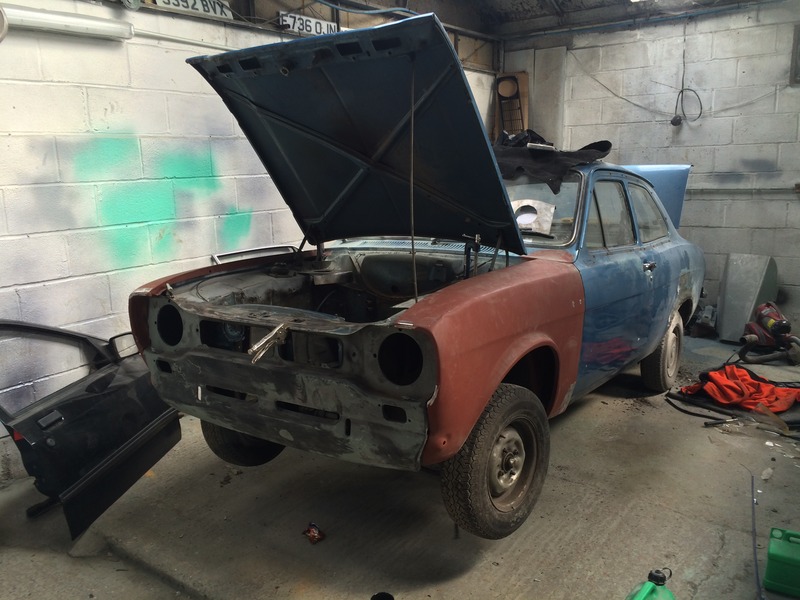
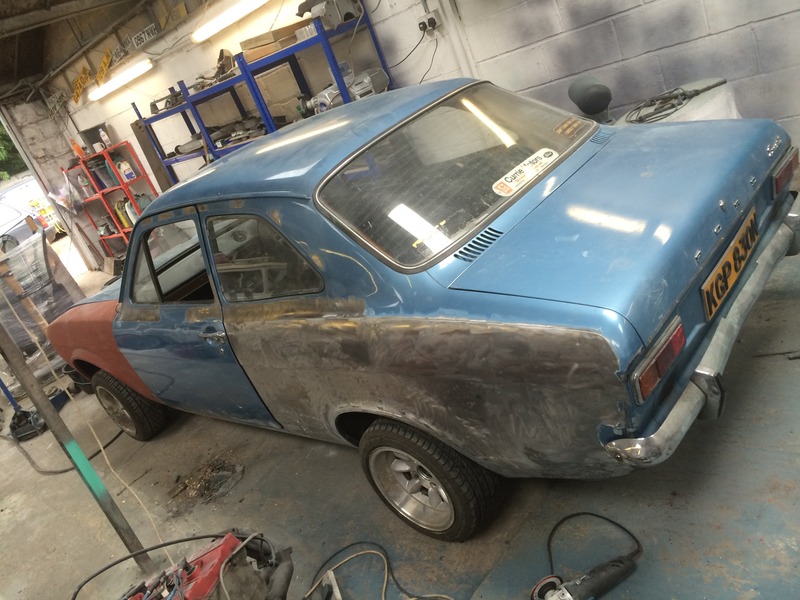
Got her back to my workshop and had a good poke around, underneath is very good. Just needs a couple of small bits in the front footwells.
Chassis legs and all the floors are mint, sills are good and original.
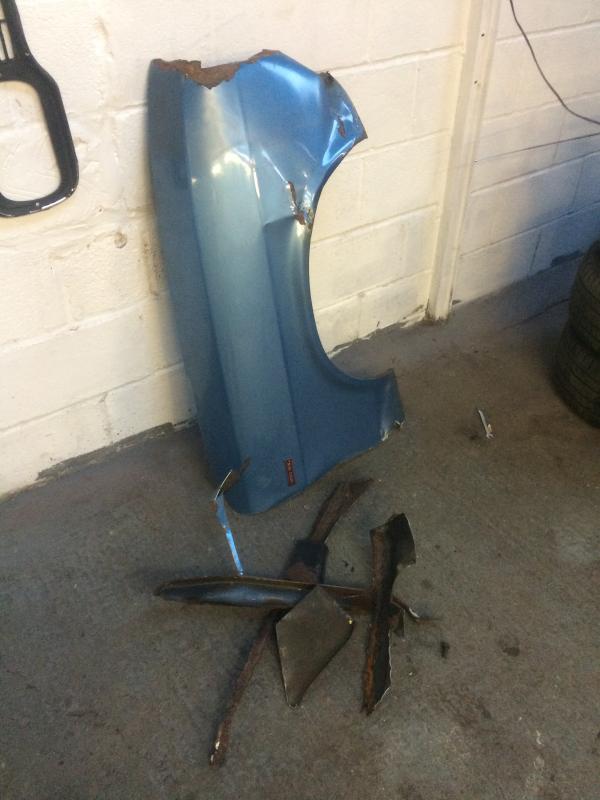
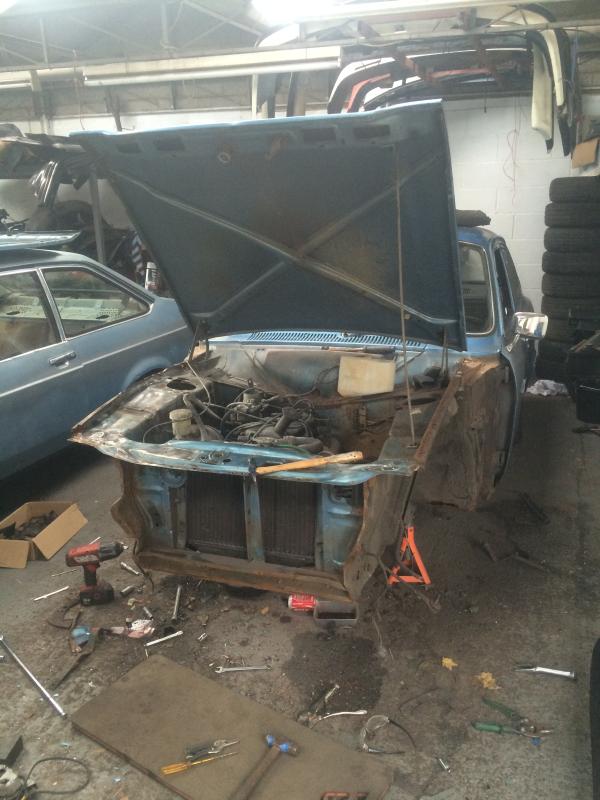
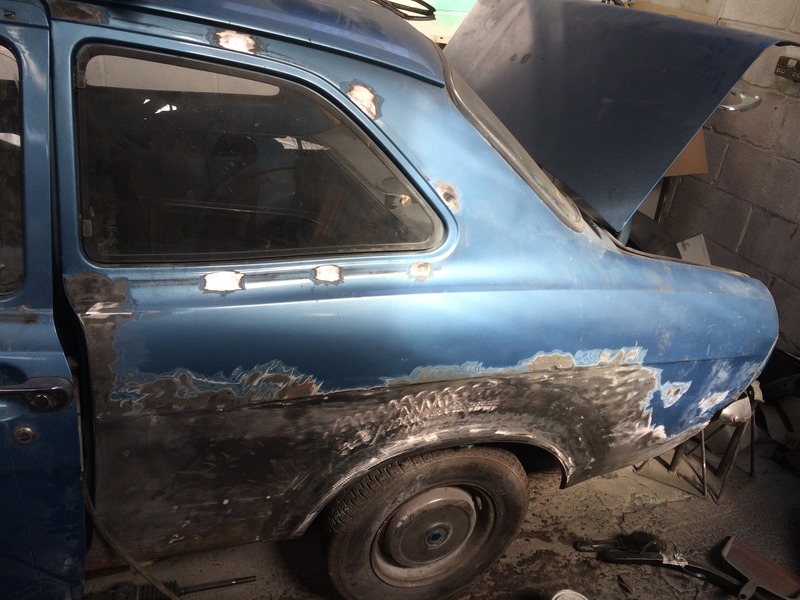
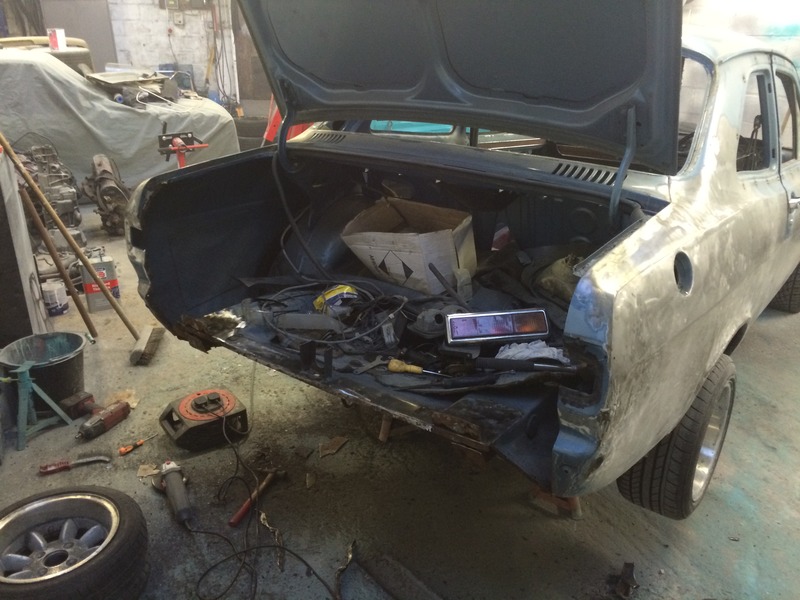
Before the old lady sold it she had a bit of a smack which fucked the front wing and bent the front panel.
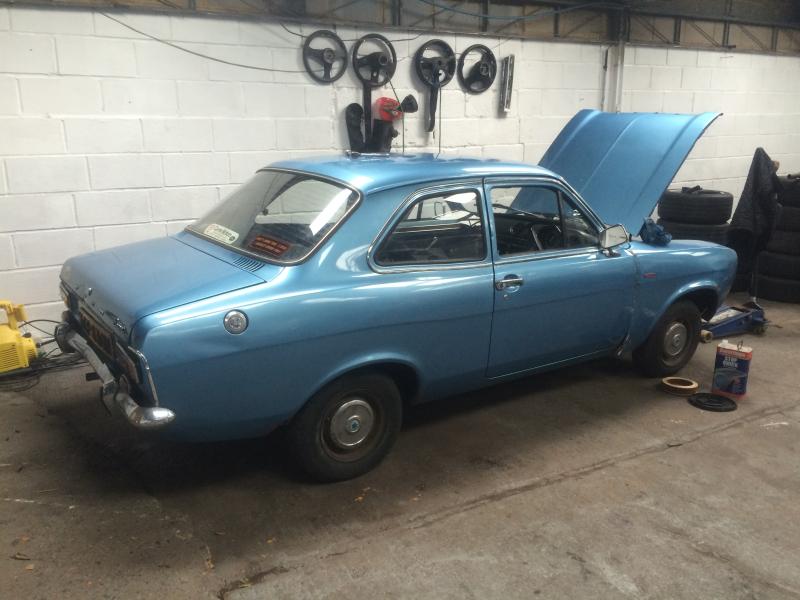
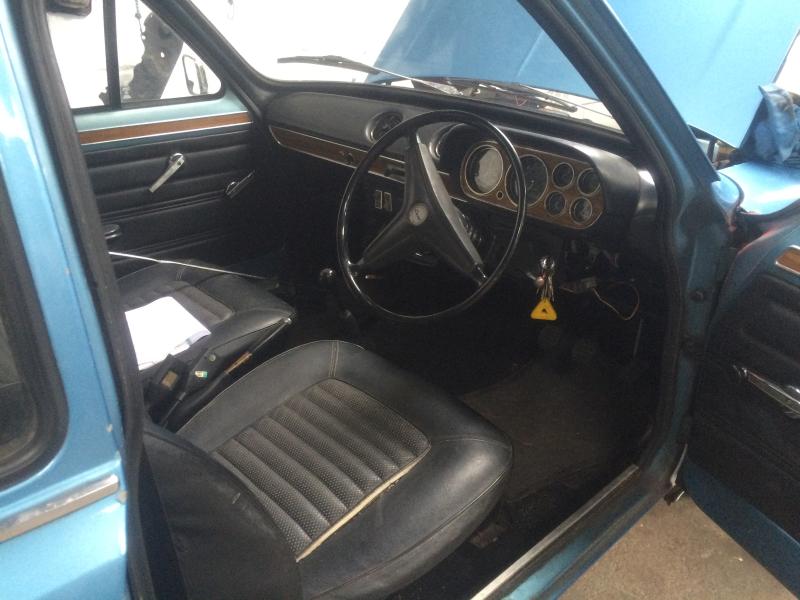
Interior is near mint, just the drivers seat has a split.
And then this happened
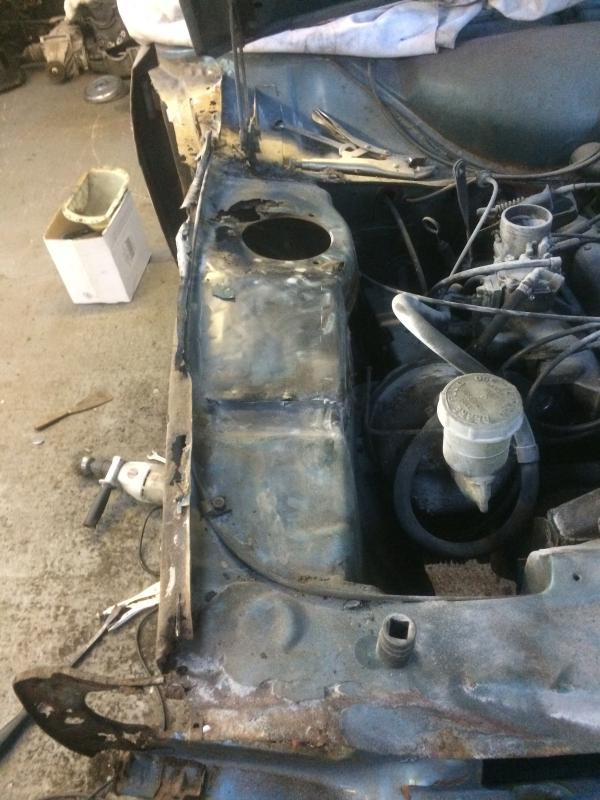
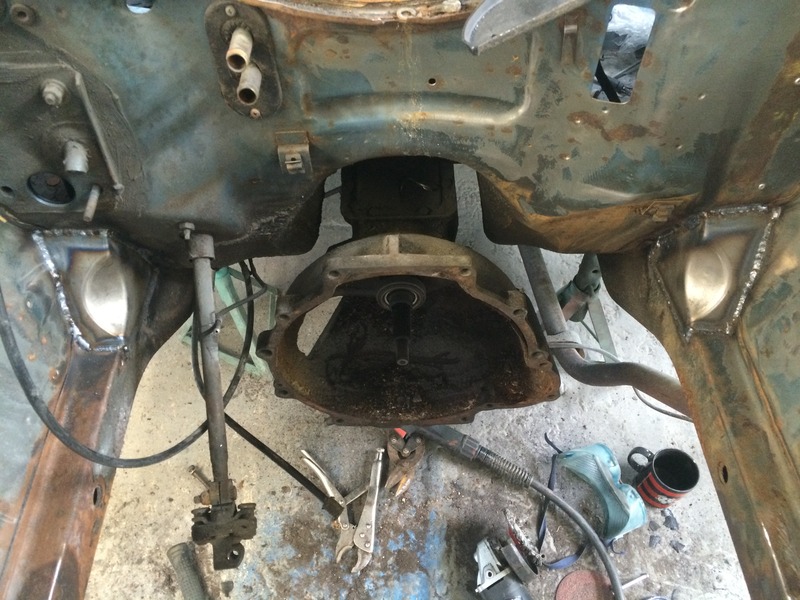
The strut tops had both had repairs, which consisted of new struts being tacked over the top of the old ones, so they got chiseled off.
Over the moon with the condition of the floors
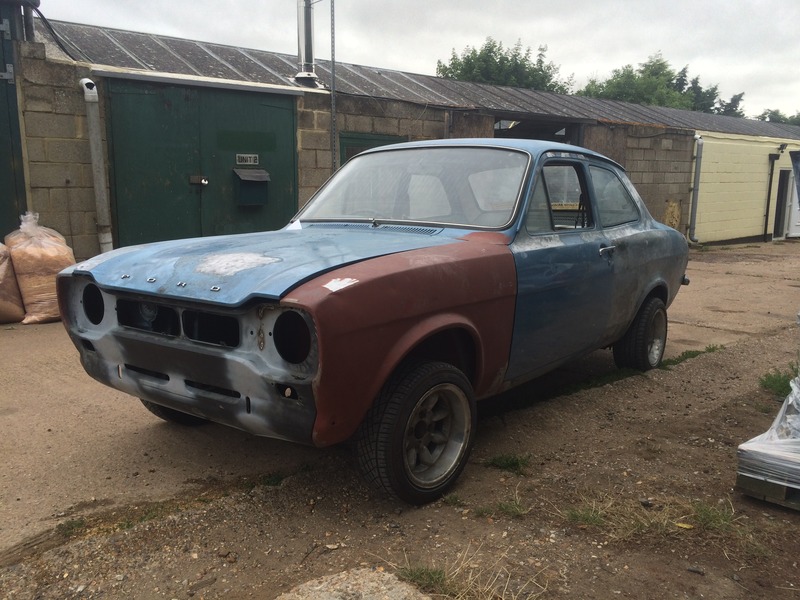
Both wings off as they were rotten
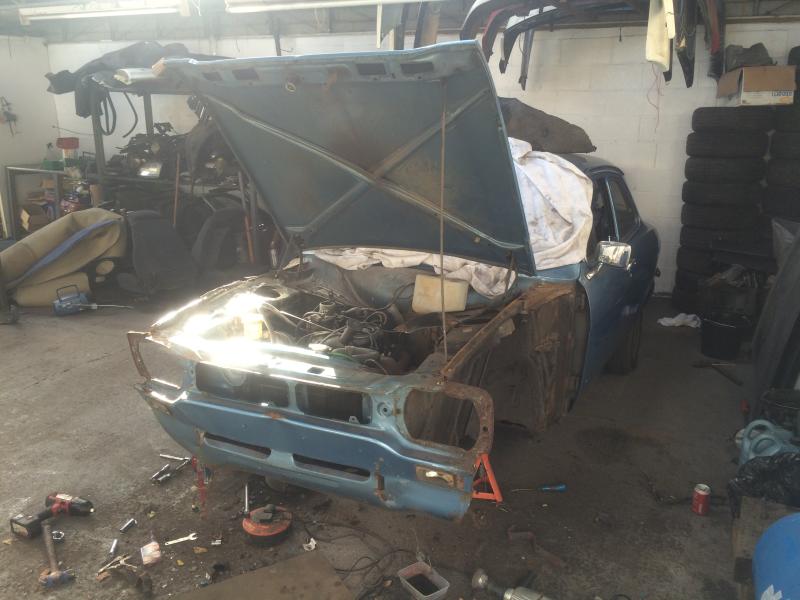
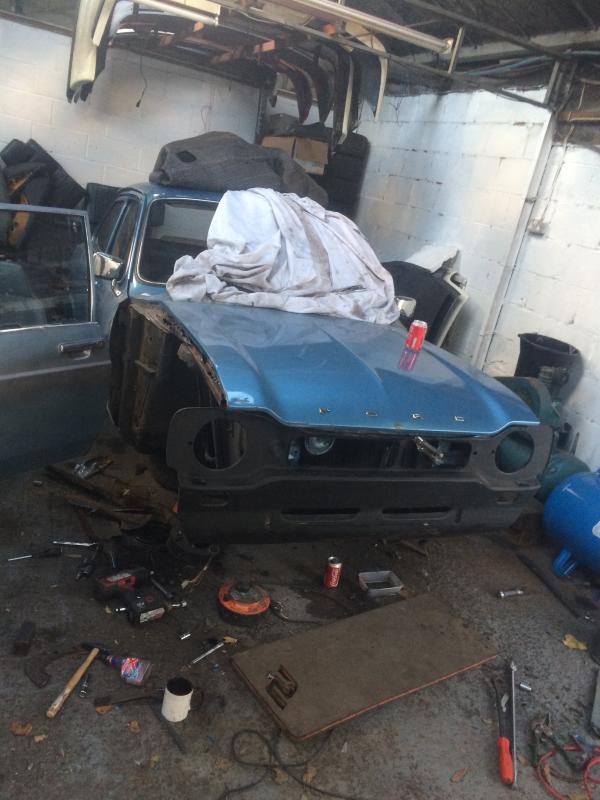
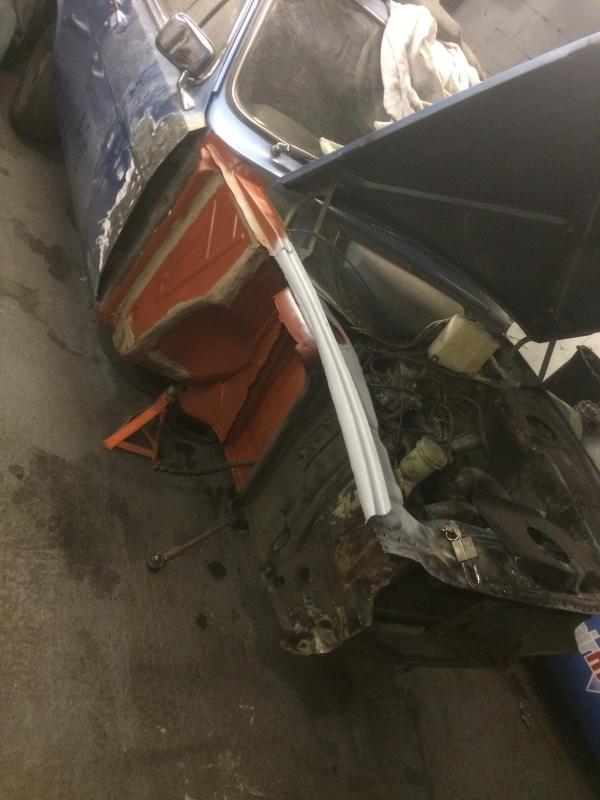
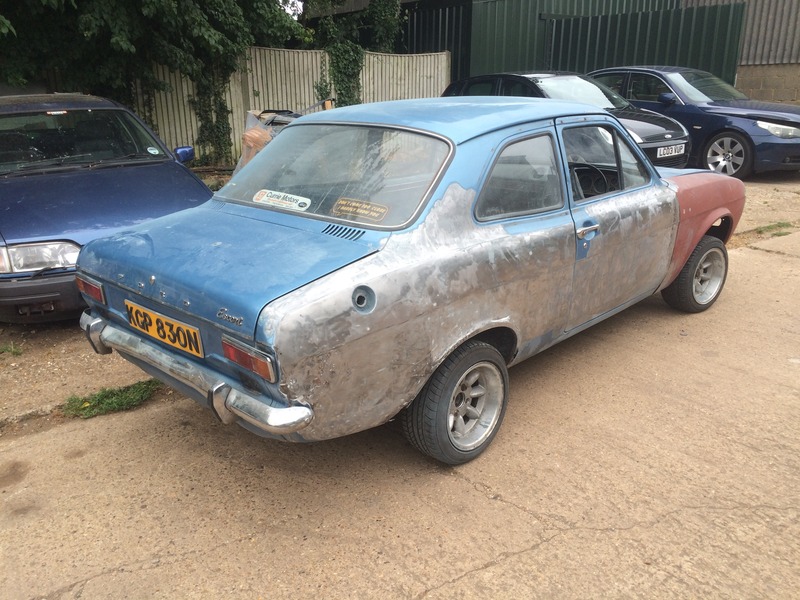
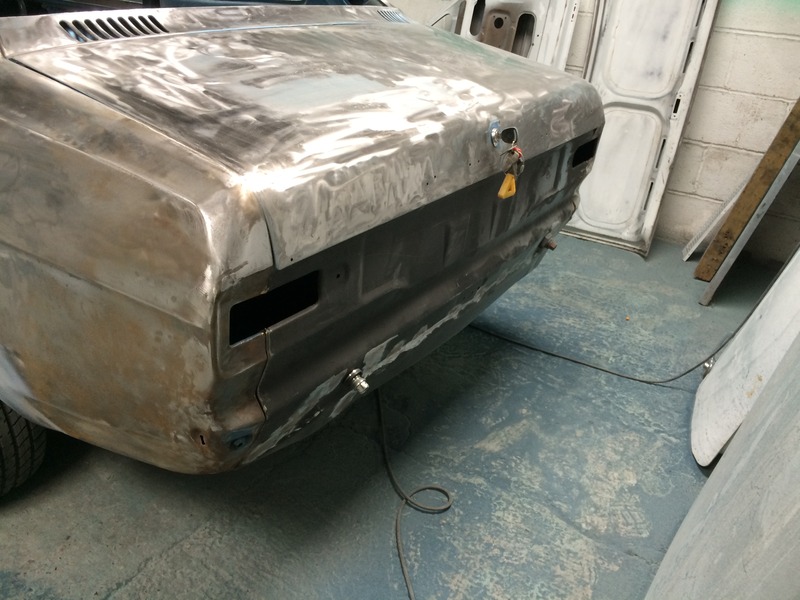
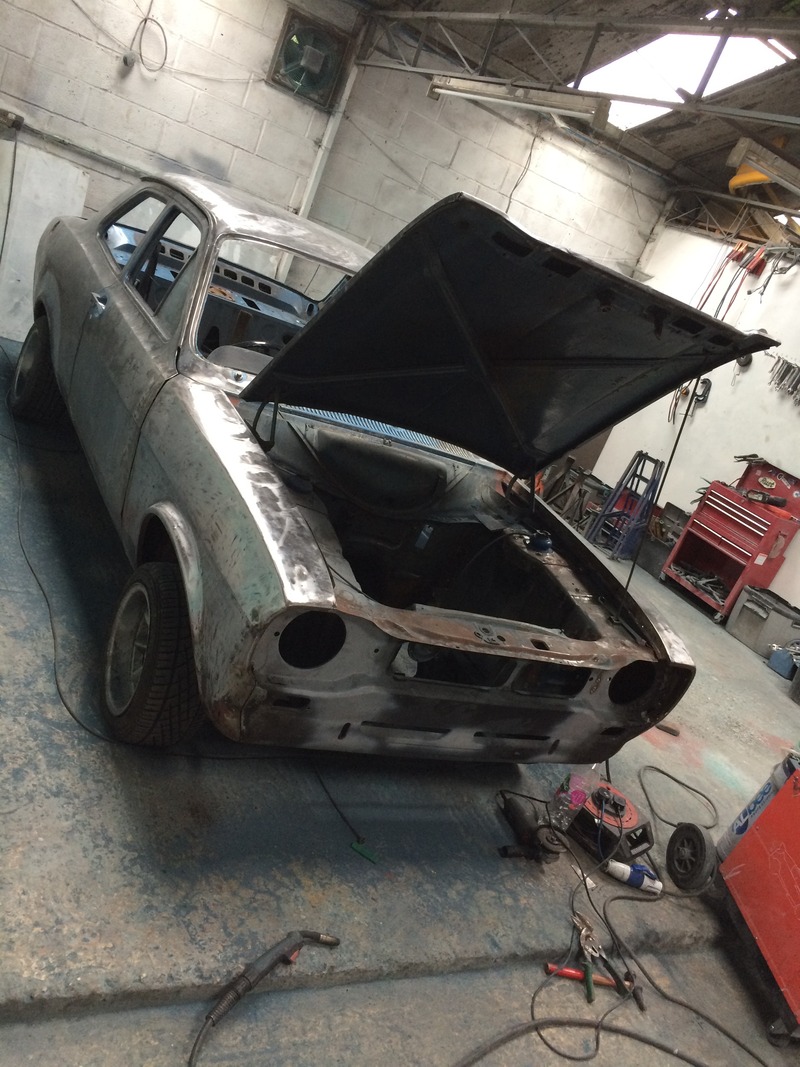
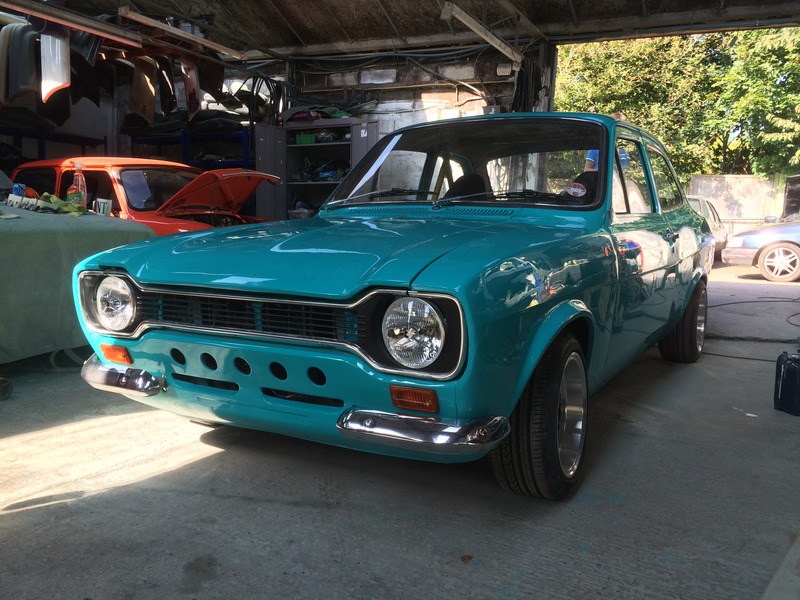
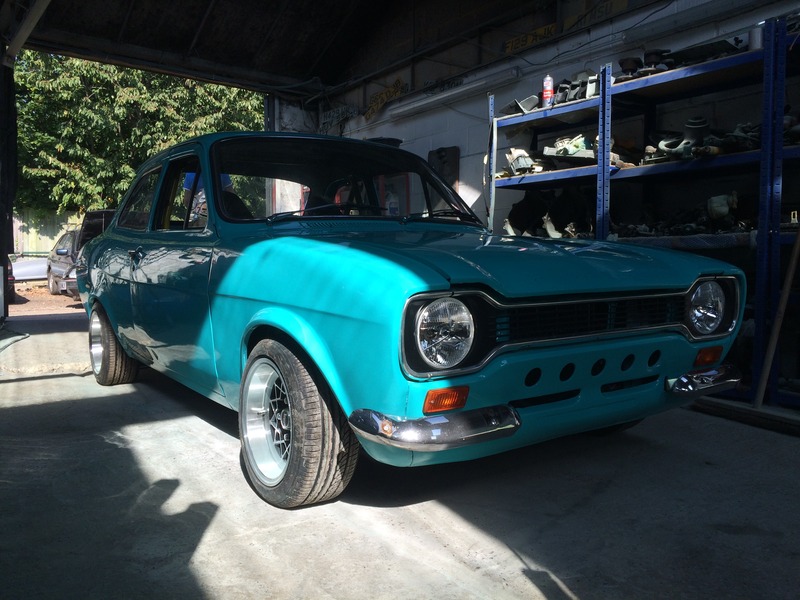
And got the new front panel trimmed up and in place, this time with round lights! Hate the square ones.
Thats up to date, picking up 2 strut top panels, 2 top flitches, one flitch, and one wing rail in the morning and then its time to get welding!
So i went out and bought another project.
Sold my old mk1 escort just over 3 years ago to put the money towards my 3dr cossie.
Missed it ever since, it was just a standard pinto in a 4 door but it was the most fun car ive ever driven.

Got told about a little 1300xl that was sitting in a garage local to me. The fella bought it 8 years ago to do something with and got as far as buying a front panel for it.
A mate of mine went round there and bid him a silly low price on the car which was turned down. Once i was told about it i went round there and offered a bit more and she was mine.
Handed the money over straight away and 20 mins later she was on the back of the recovery truck.
In the Garage

On the truck

Got her back to my workshop and had a good poke around, underneath is very good. Just needs a couple of small bits in the front footwells.
Chassis legs and all the floors are mint, sills are good and original.
Before the old lady sold it she had a bit of a smack which fucked the front wing and bent the front panel.


Interior is near mint, just the drivers seat has a split.

And then this happened

The strut tops had both had repairs, which consisted of new struts being tacked over the top of the old ones, so they got chiseled off.

Over the moon with the condition of the floors

Both wings off as they were rotten


And got the new front panel trimmed up and in place, this time with round lights! Hate the square ones.

Thats up to date, picking up 2 strut top panels, 2 top flitches, one flitch, and one wing rail in the morning and then its time to get welding!


Wahay!! I've lost my Virginity!!
Joined: Aug 2011
Posts: 91
Likes: 3
From: UK


Trending Topics


Thread Starter
Too many posts.. I need a life!!
Joined: Mar 2006
Posts: 655
Likes: 32
From: surrey
Cheers for the comments, plans are.
2.1 pinto 45's etc
Type 9 box
Mex wings
Superlights
Colour change
The drivers side is now pretty much done, will update soon. Just been busy welding chassis legs back in my Cossie!!
2.1 pinto 45's etc
Type 9 box
Mex wings
Superlights
Colour change
The drivers side is now pretty much done, will update soon. Just been busy welding chassis legs back in my Cossie!!
Thread Starter
Too many posts.. I need a life!!
Joined: Mar 2006
Posts: 655
Likes: 32
From: surrey
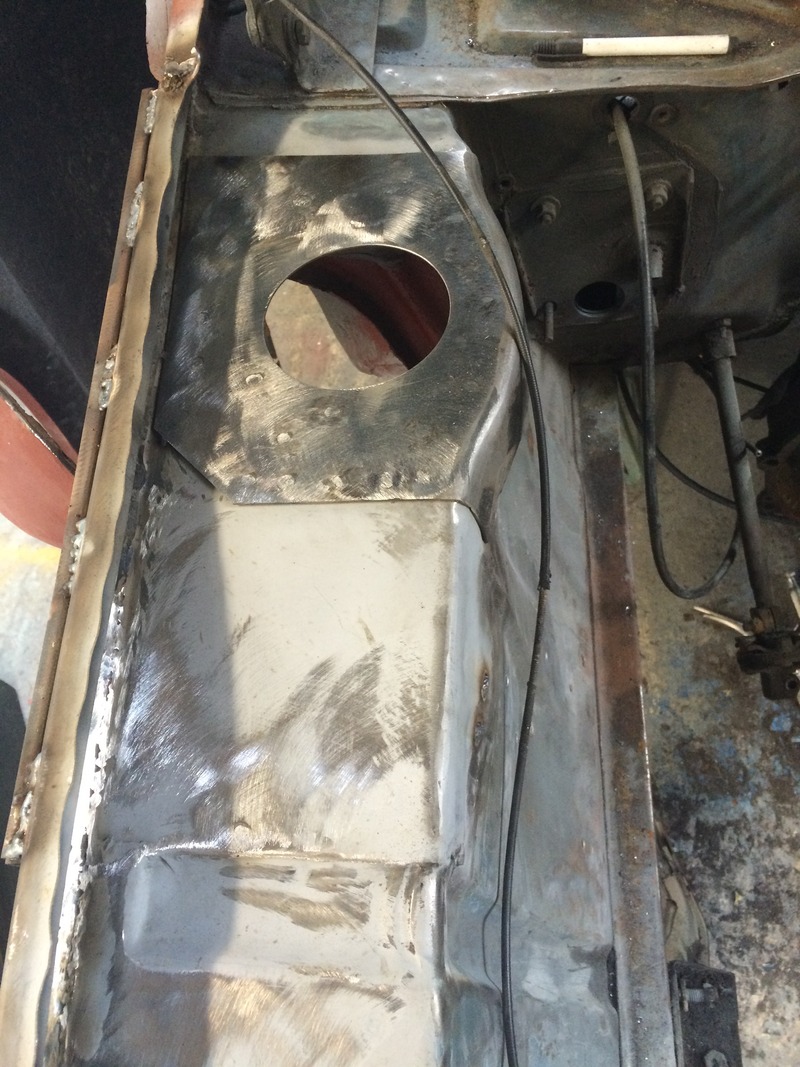
Attacked the strut top
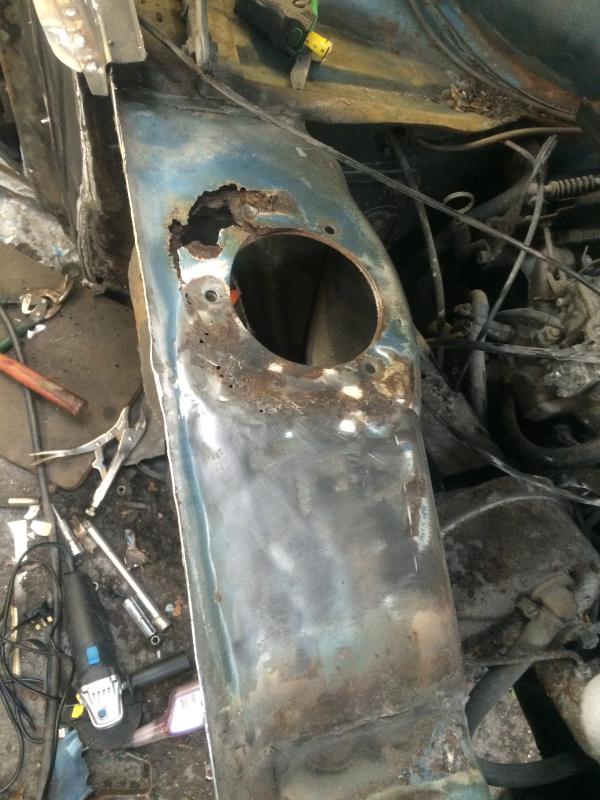
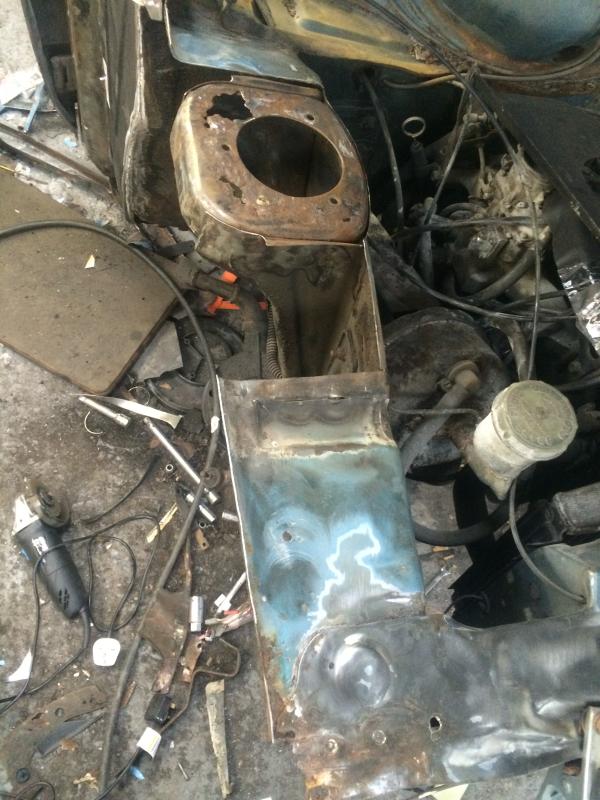
Had to repair the cup
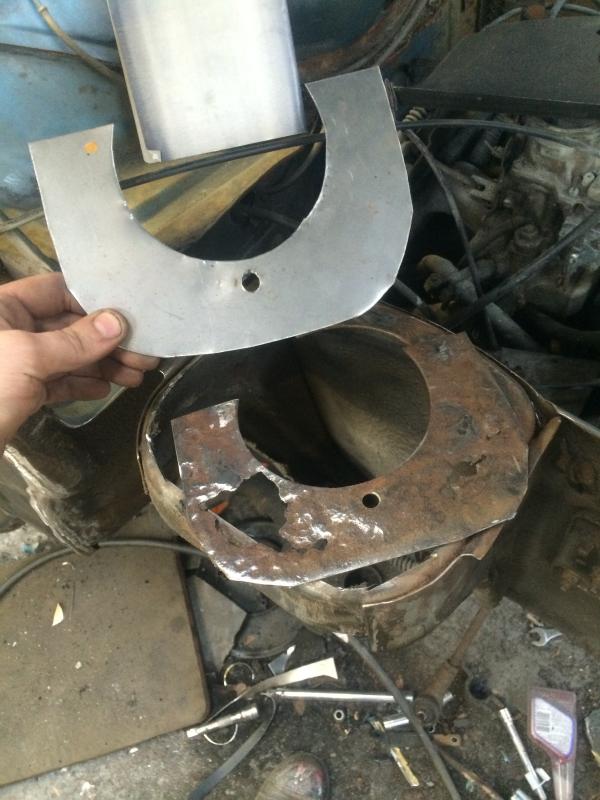
Then fitted the new strut top and new front wing rail
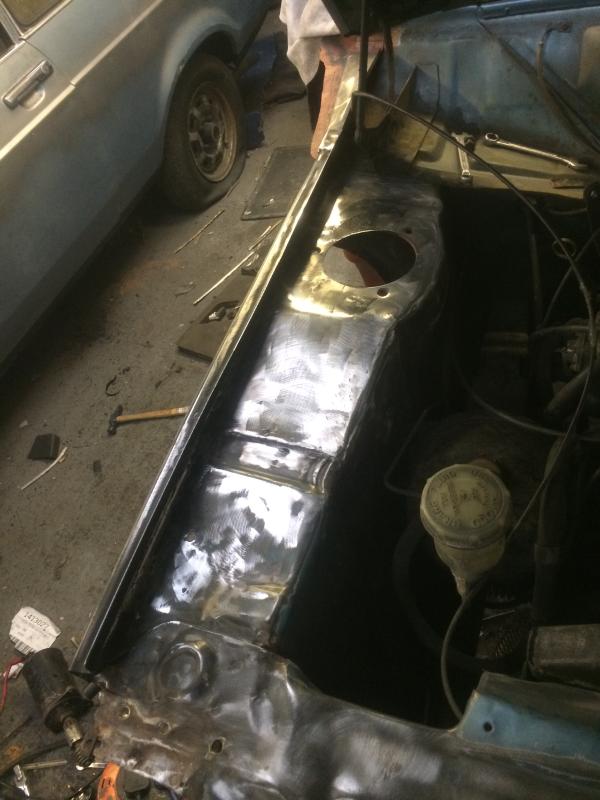
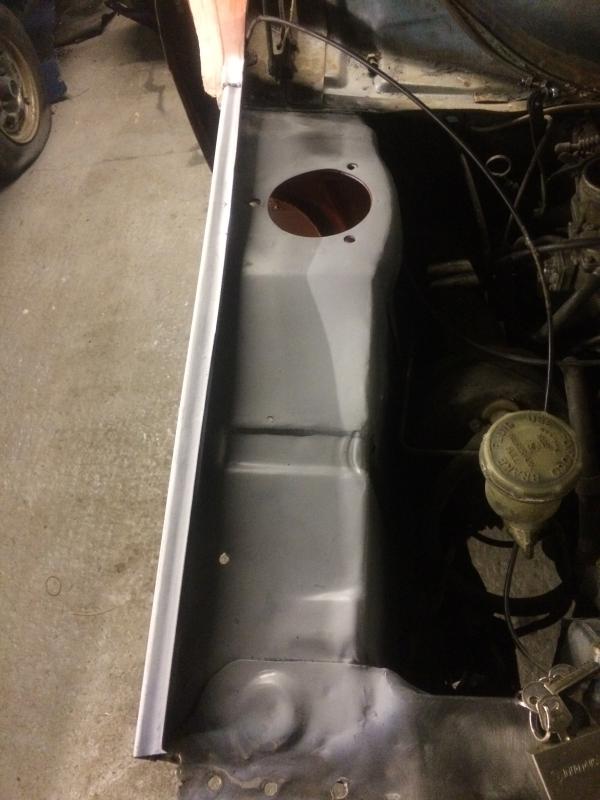
New flitch fitted also repaired the front of the floor pan and the top flitch part by the scuttle
Car is on the back burner for now, going to push to get my saph done first


Had to repair the cup

Then fitted the new strut top and new front wing rail


New flitch fitted also repaired the front of the floor pan and the top flitch part by the scuttle

Car is on the back burner for now, going to push to get my saph done first
Advanced PassionFord User


Joined: Sep 2003
Posts: 2,185
Likes: 2
From: london
got lucky with a great shell there  mex wings have never been cheaper in years
  https://www.gartrac.com/shop/mk1-mexico-front-wing.html
Thread Starter
Too many posts.. I need a life!!
Joined: Mar 2006
Posts: 655
Likes: 32
From: surrey
I've been doing odds and sods on this over the past few months, not made a great deal of progress though.
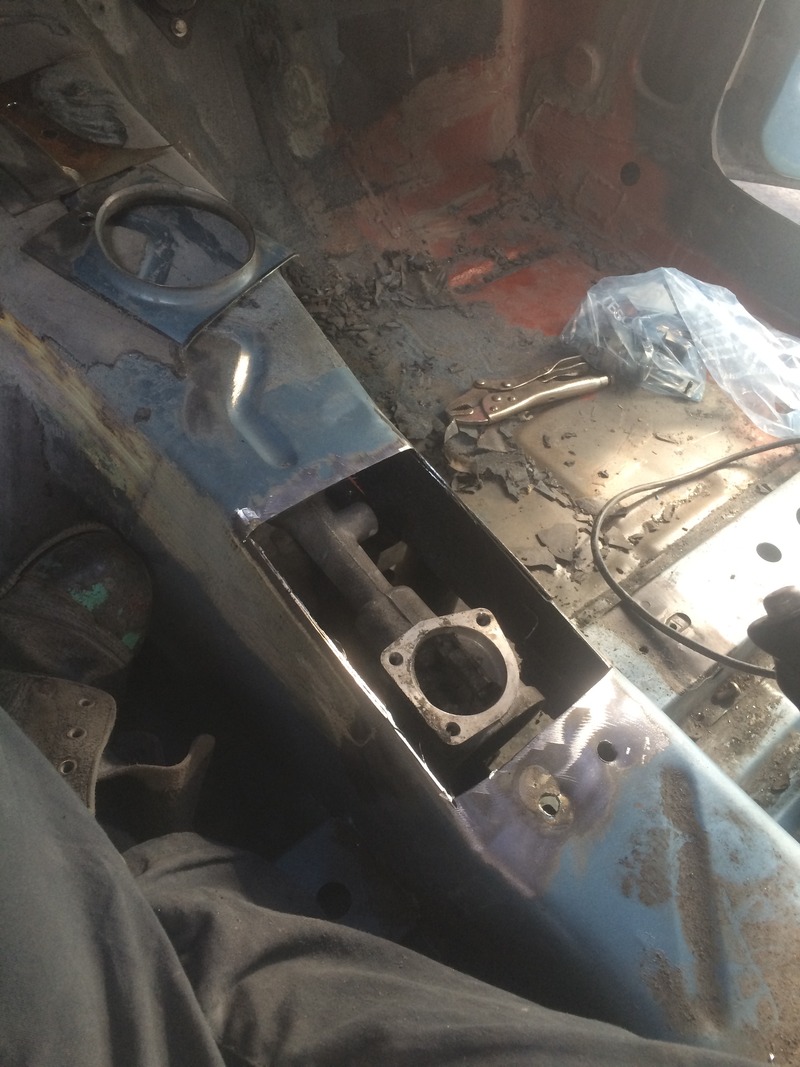
Engine etc came out, and welded in the leg to bulkhead strengtheners
Strut top plates done
Front end mocked up ready to be welded on
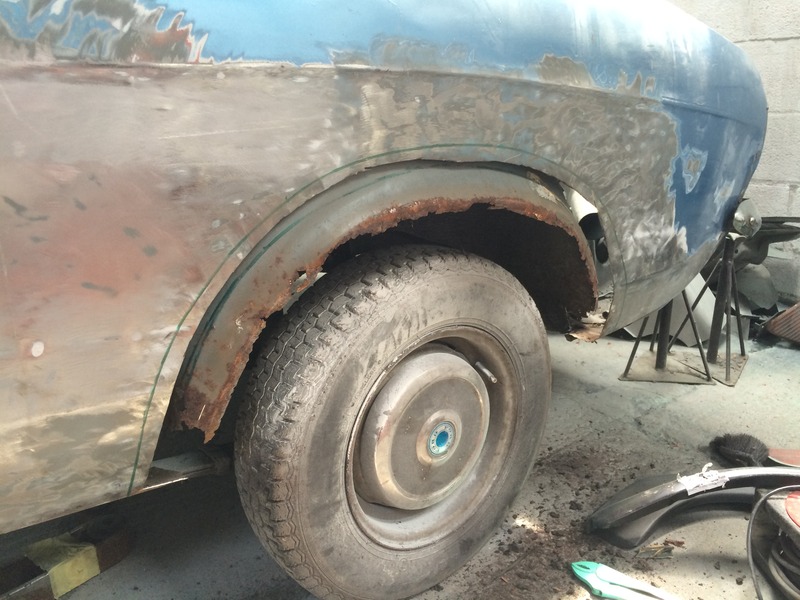
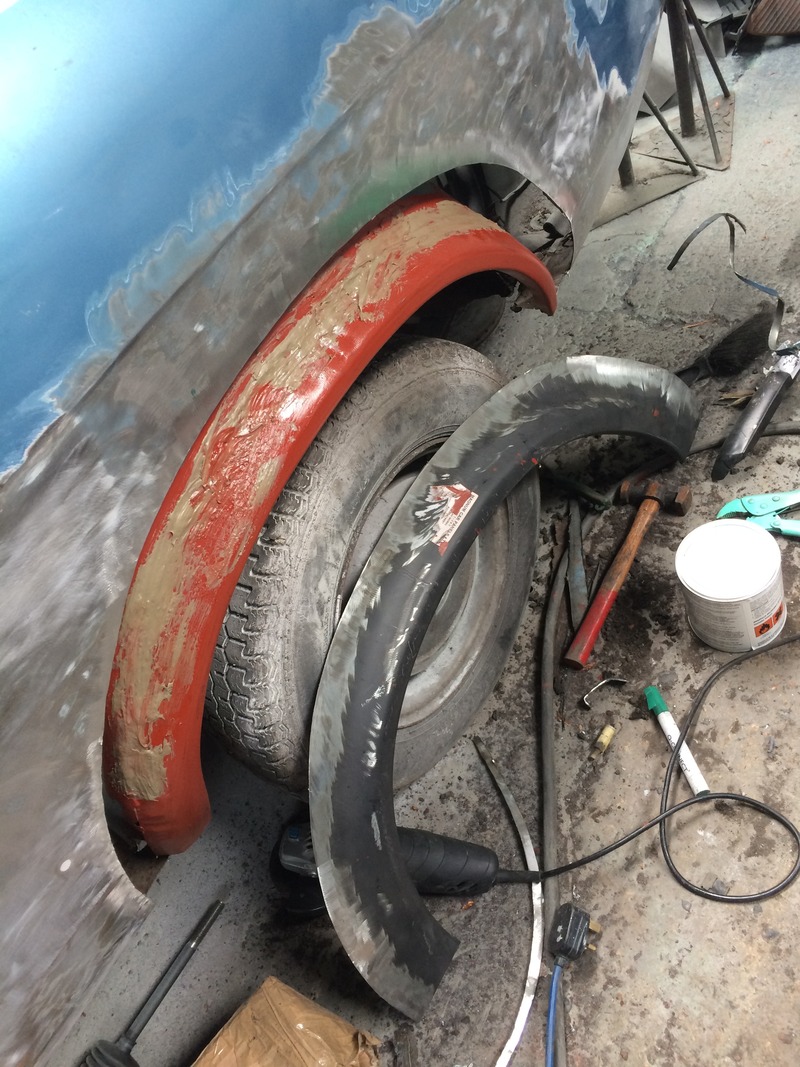
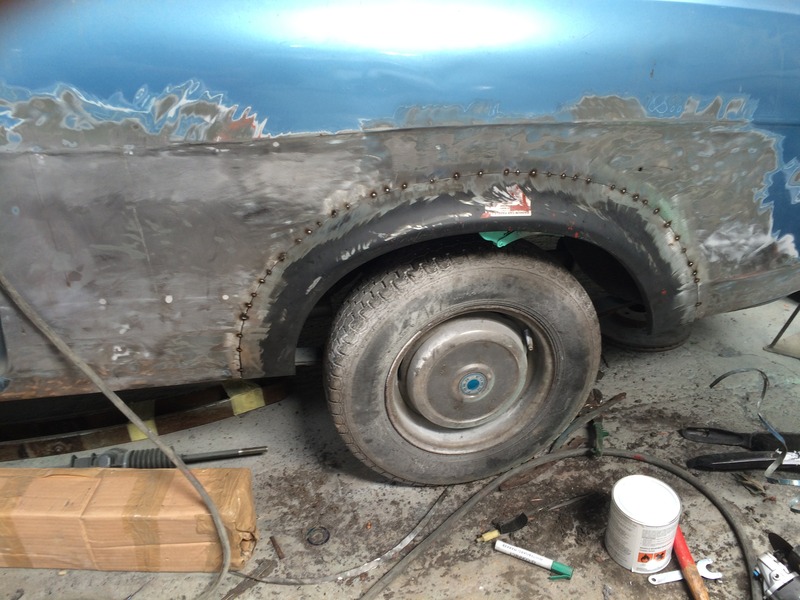
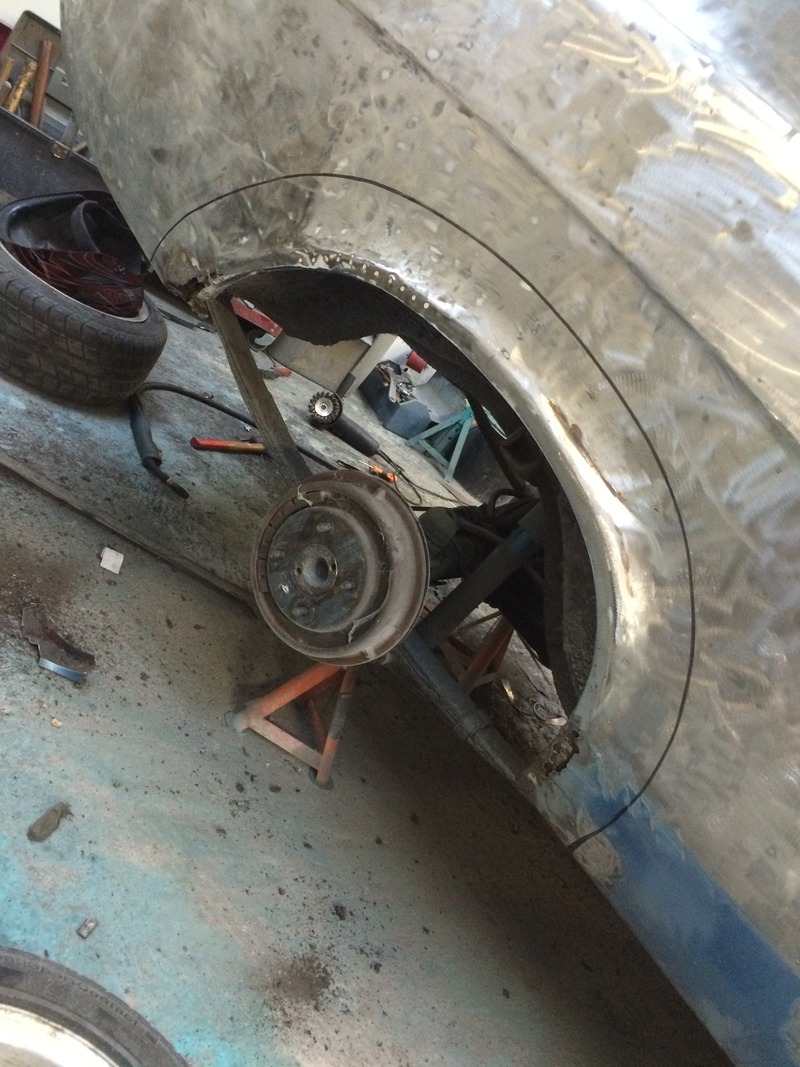
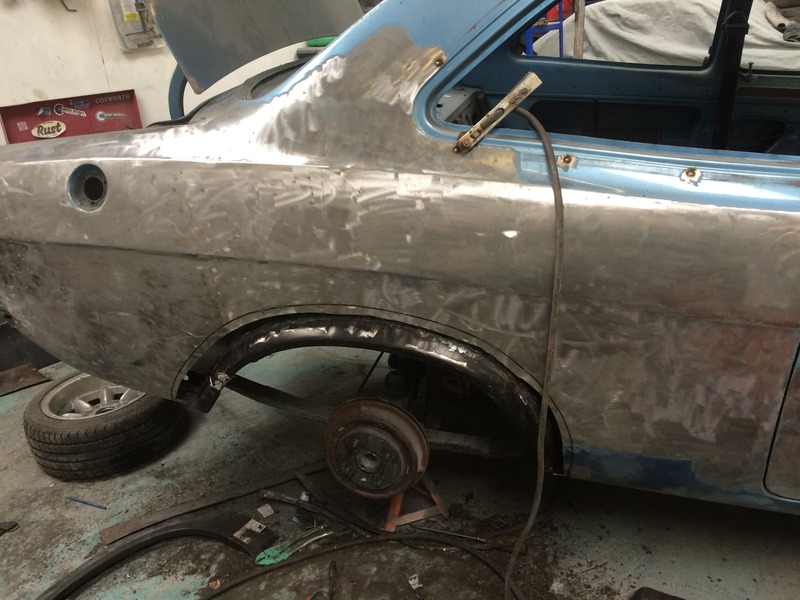
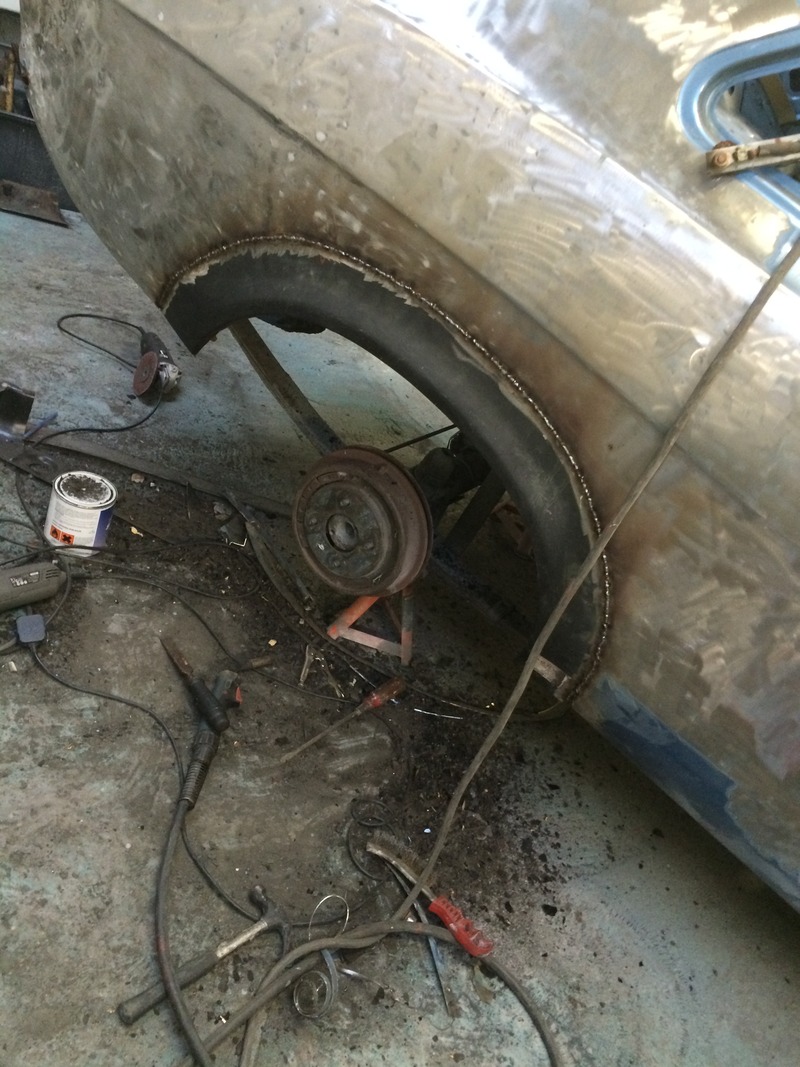
Then it was time for my pet hate, doing wheel arches. But I just got on with it and took my time, inner and outer were rotten.
New inner fitted
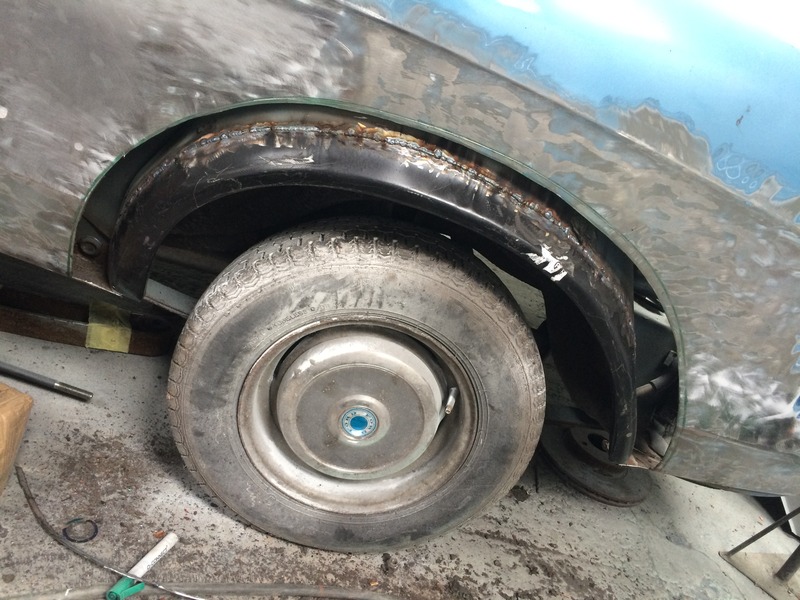
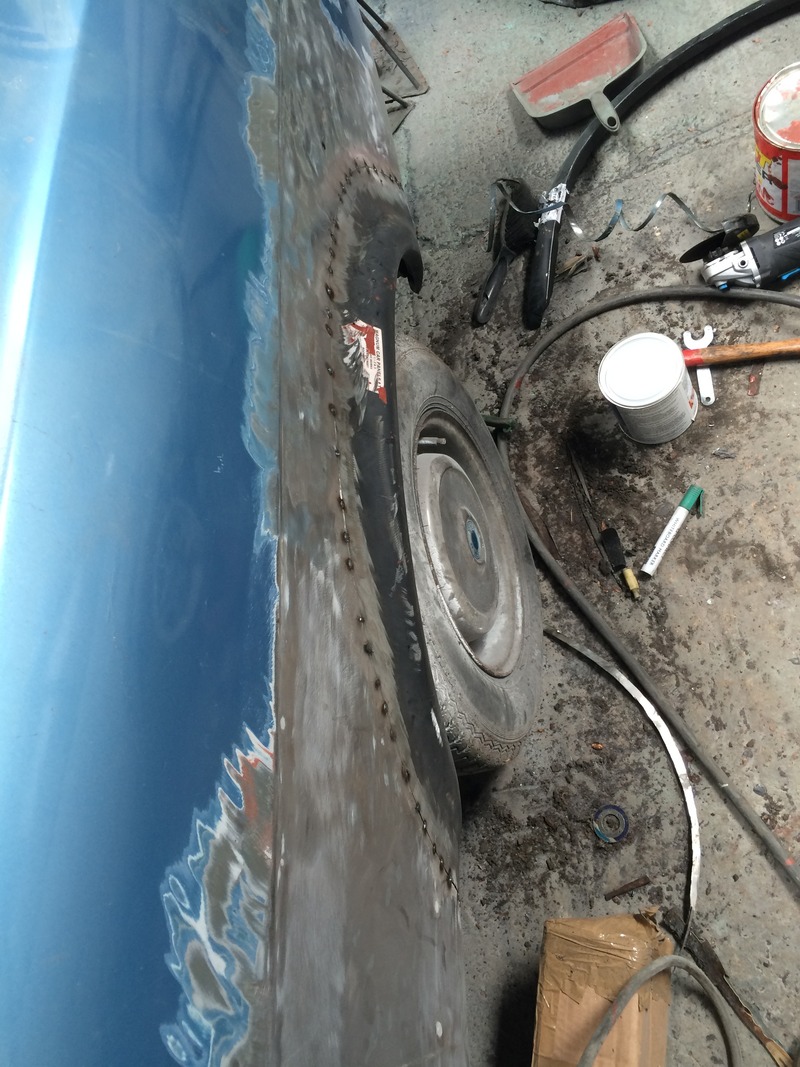
Ready for the outer
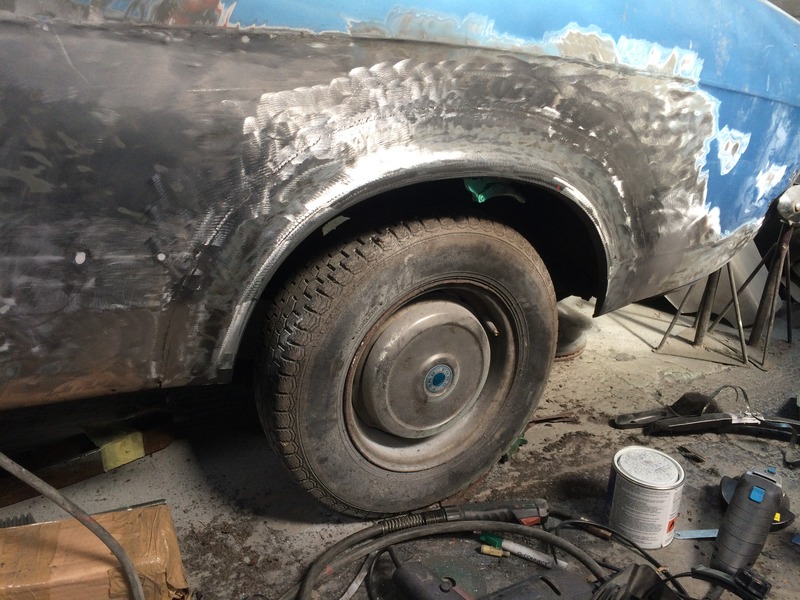
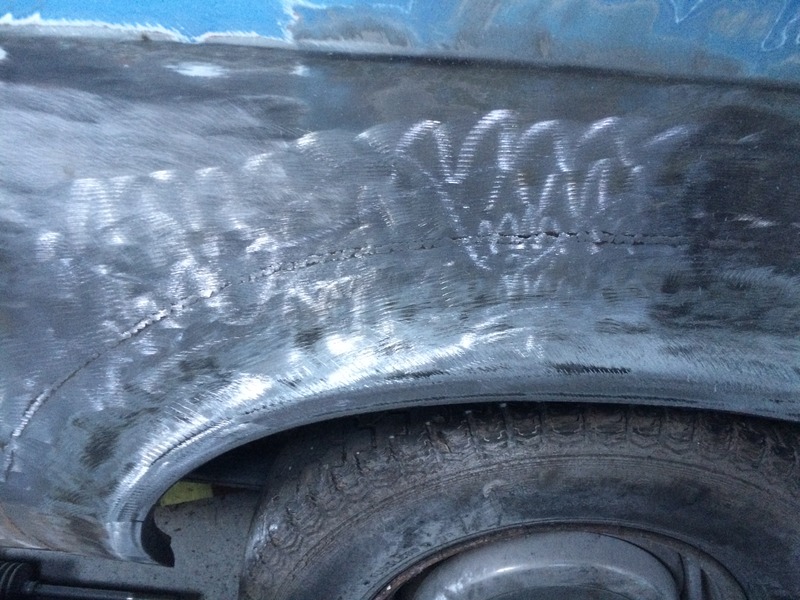
Slowly welding it in
All done and ground back
Chrome window trim holes welded up
Got a set of shagged old superlights and fitted a set of 175/50/13s so I can use them
To mock the car up and not worry about damaging my brand new wheels.
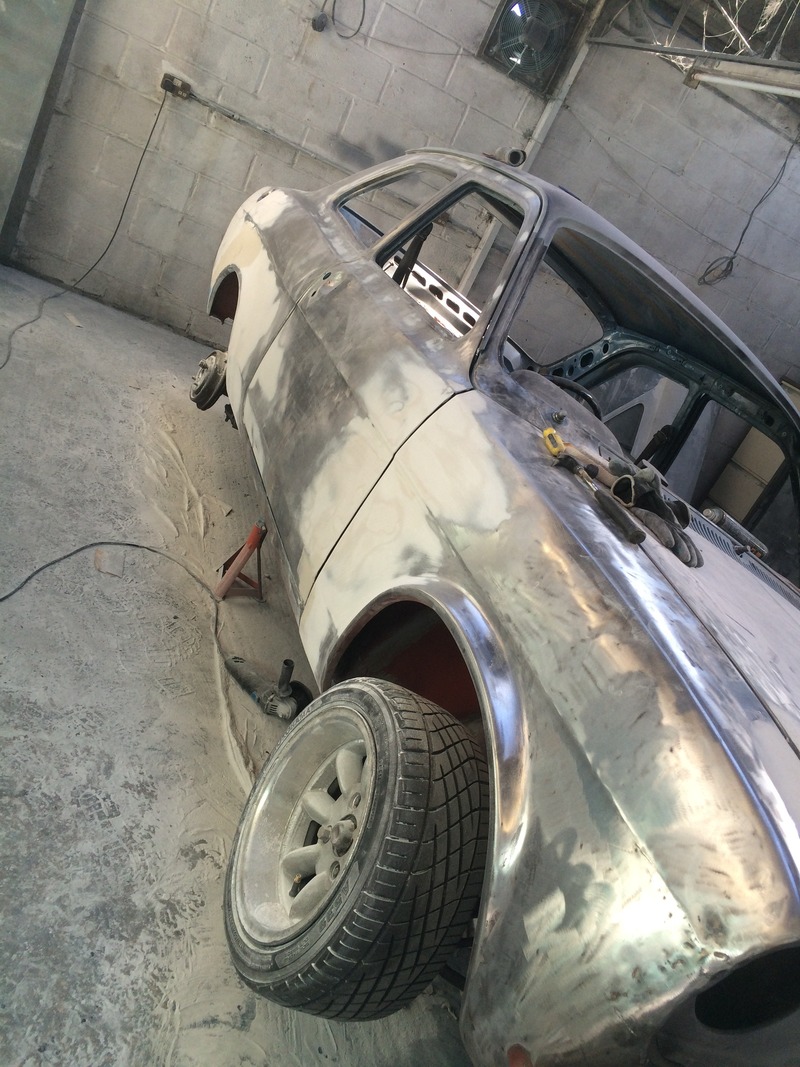
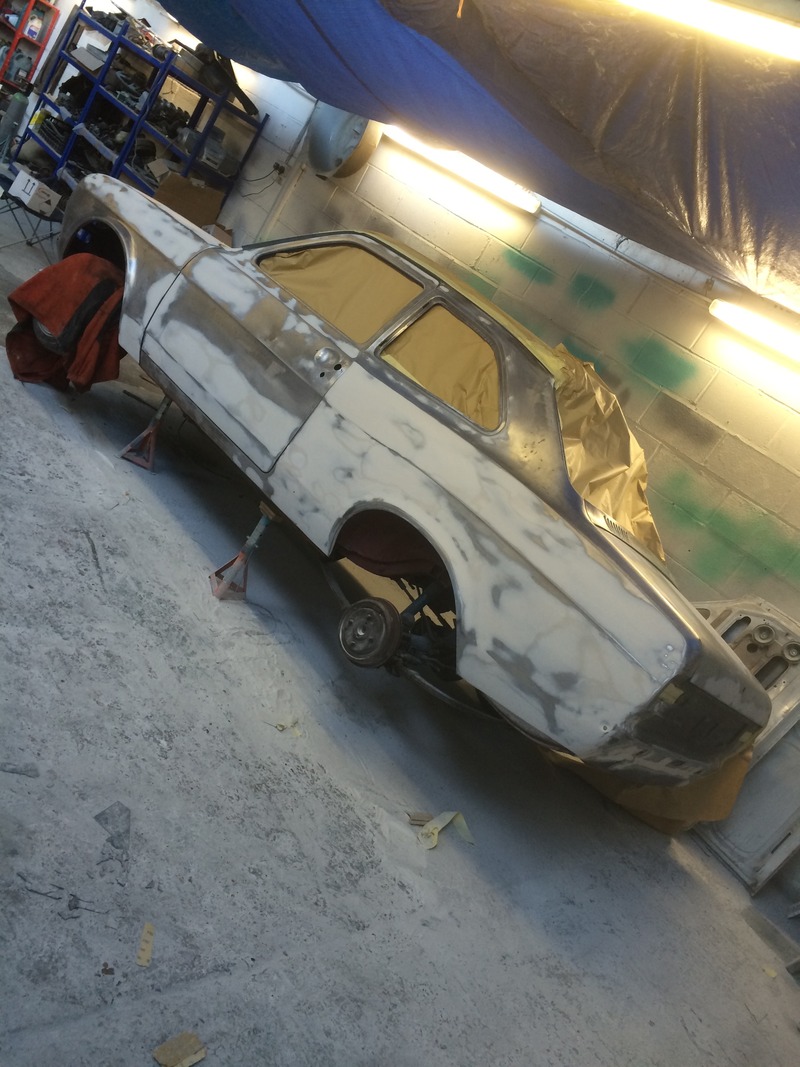
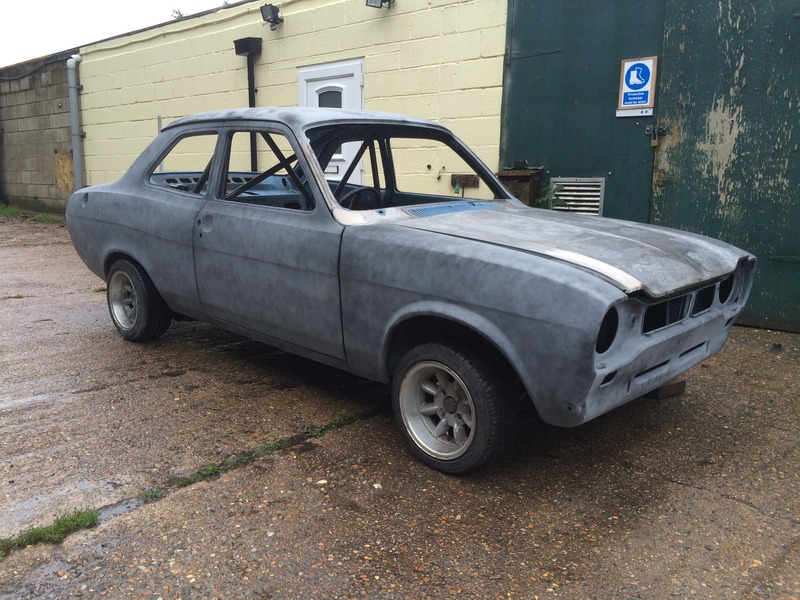
Also made a start on bare metalling some panels

So that's as she sits now, over the next few weeks il be cracking on with finishing the welding, stripping the car and getting the engine etc fitted.
Was supposed to be in paint by now, but fingers crossed I can get some good progress over the next few weeks
Engine etc came out, and welded in the leg to bulkhead strengtheners

Strut top plates done

Front end mocked up ready to be welded on

Then it was time for my pet hate, doing wheel arches. But I just got on with it and took my time, inner and outer were rotten.

New inner fitted

Ready for the outer

Slowly welding it in


All done and ground back


Chrome window trim holes welded up

Got a set of shagged old superlights and fitted a set of 175/50/13s so I can use them
To mock the car up and not worry about damaging my brand new wheels.
Also made a start on bare metalling some panels


So that's as she sits now, over the next few weeks il be cracking on with finishing the welding, stripping the car and getting the engine etc fitted.
Was supposed to be in paint by now, but fingers crossed I can get some good progress over the next few weeks


Thread Starter
Too many posts.. I need a life!!
Joined: Mar 2006
Posts: 655
Likes: 32
From: surrey
Cheers for the comments, thought I would post some pics of the parts I have gathered over the past few months
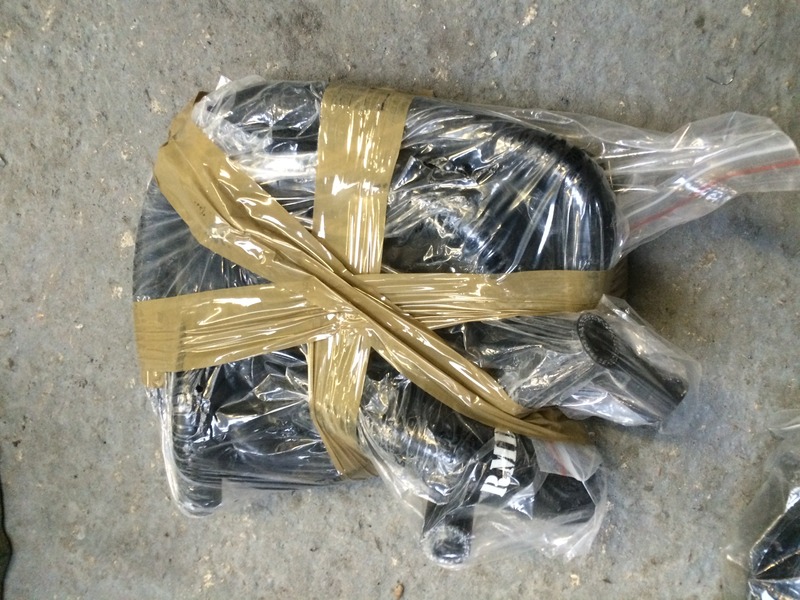
All new rubbers
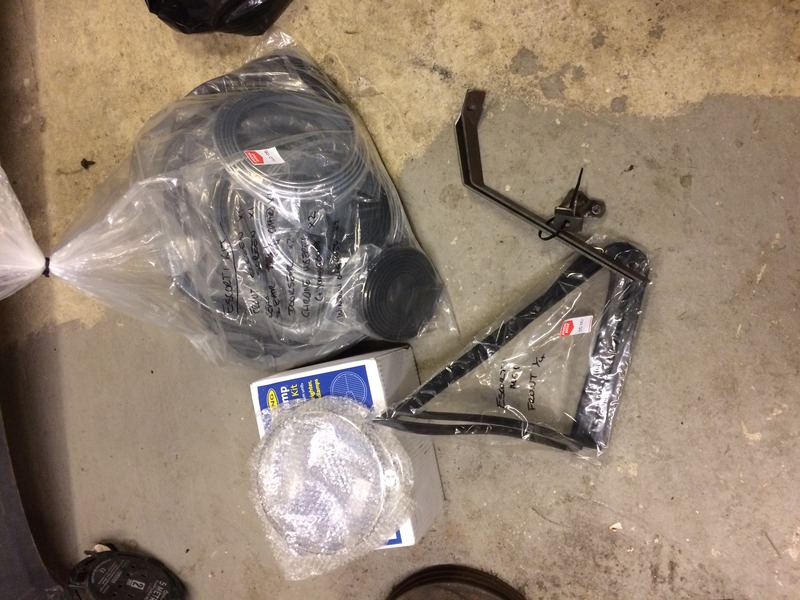
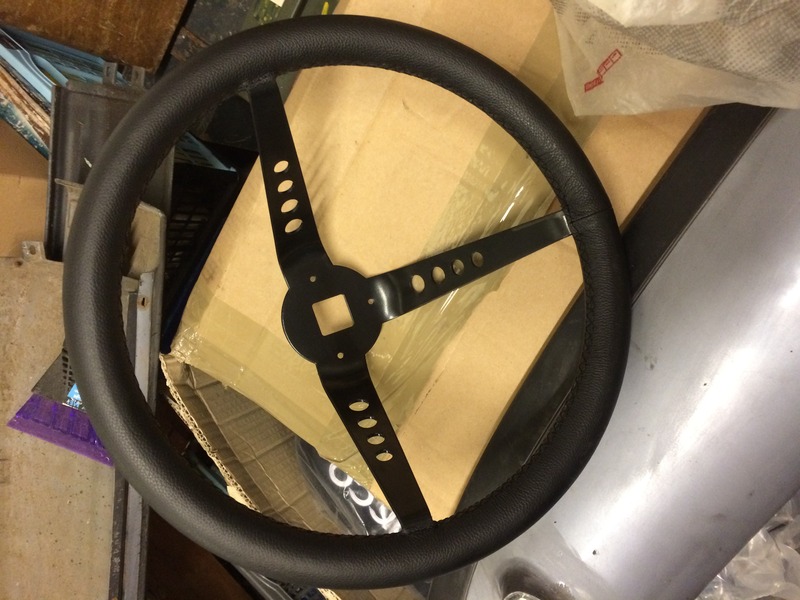
Springalax replica wheel
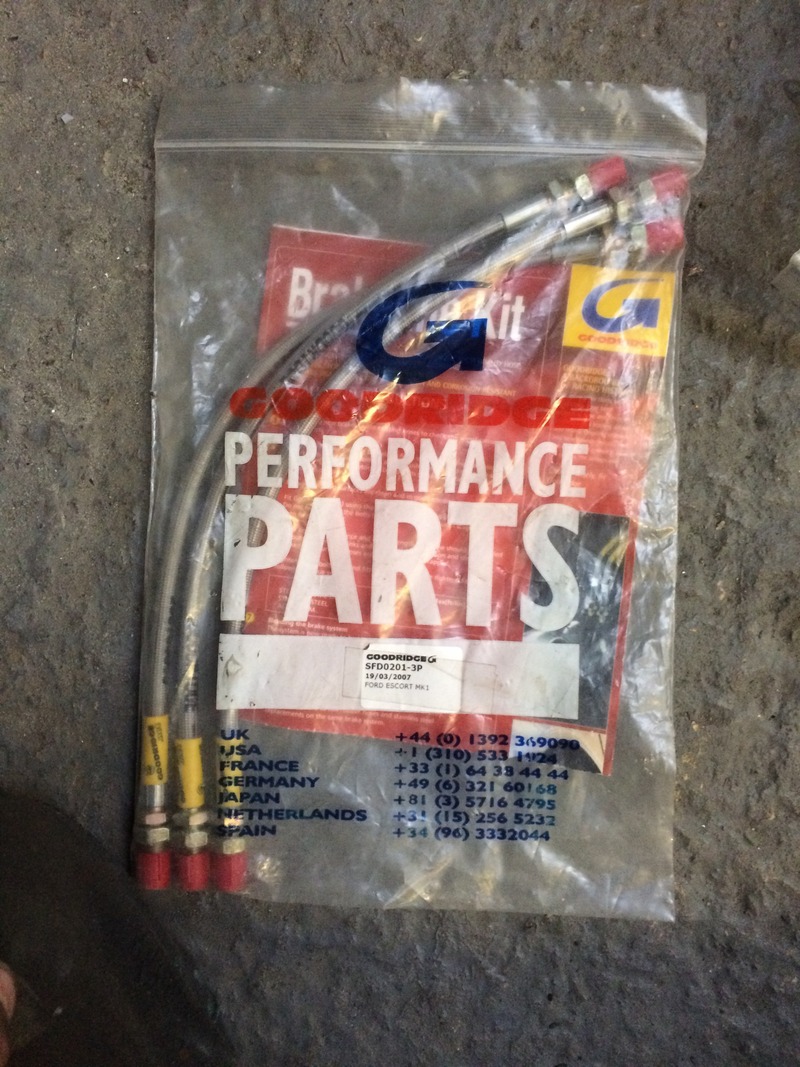
Braided lines
Full gaz suspension and lowering springs

Silicone hose kit
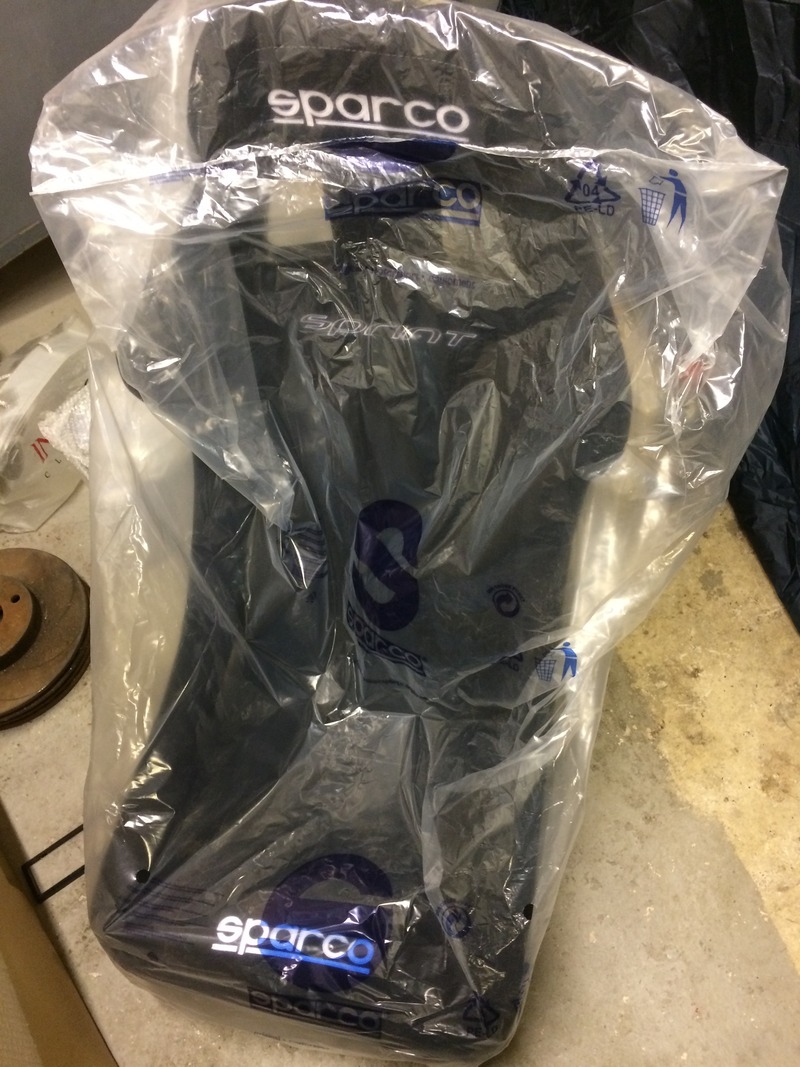
Pair of sparco bucket seats
Roller bearing top mounts and shortened steering arms

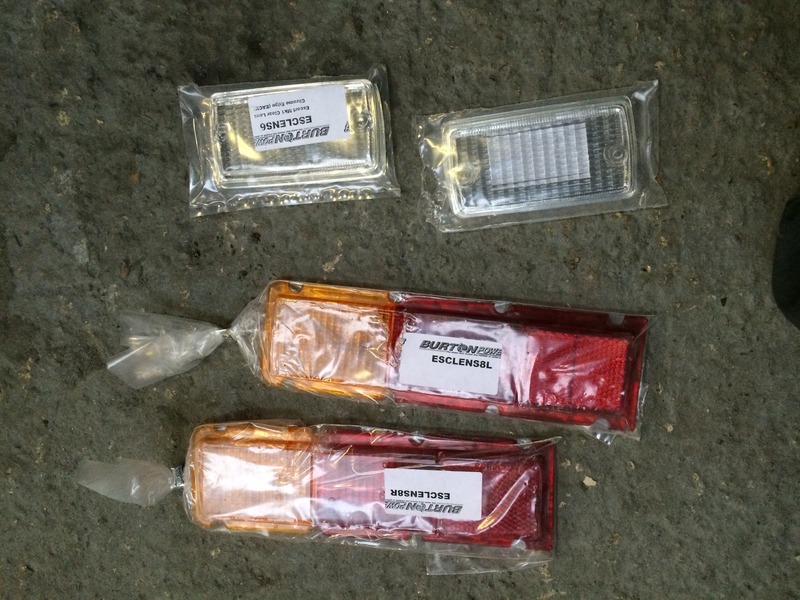
Brand new indicator and rear light lenses
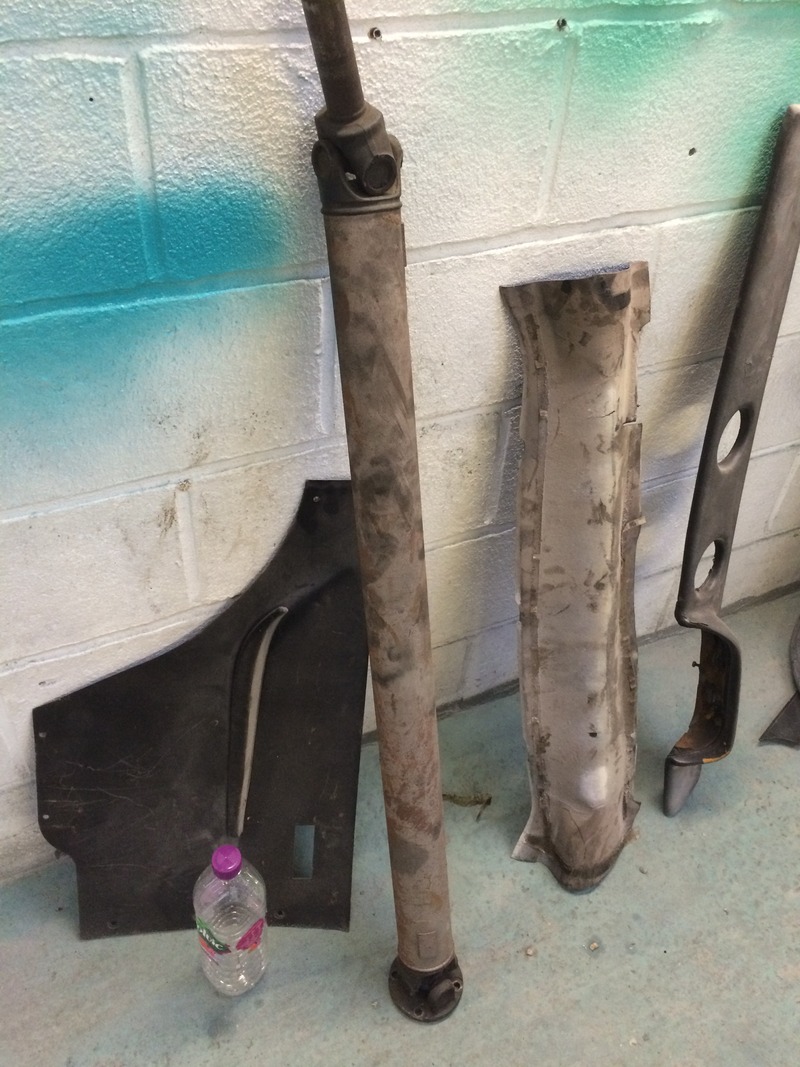
Single piece prop
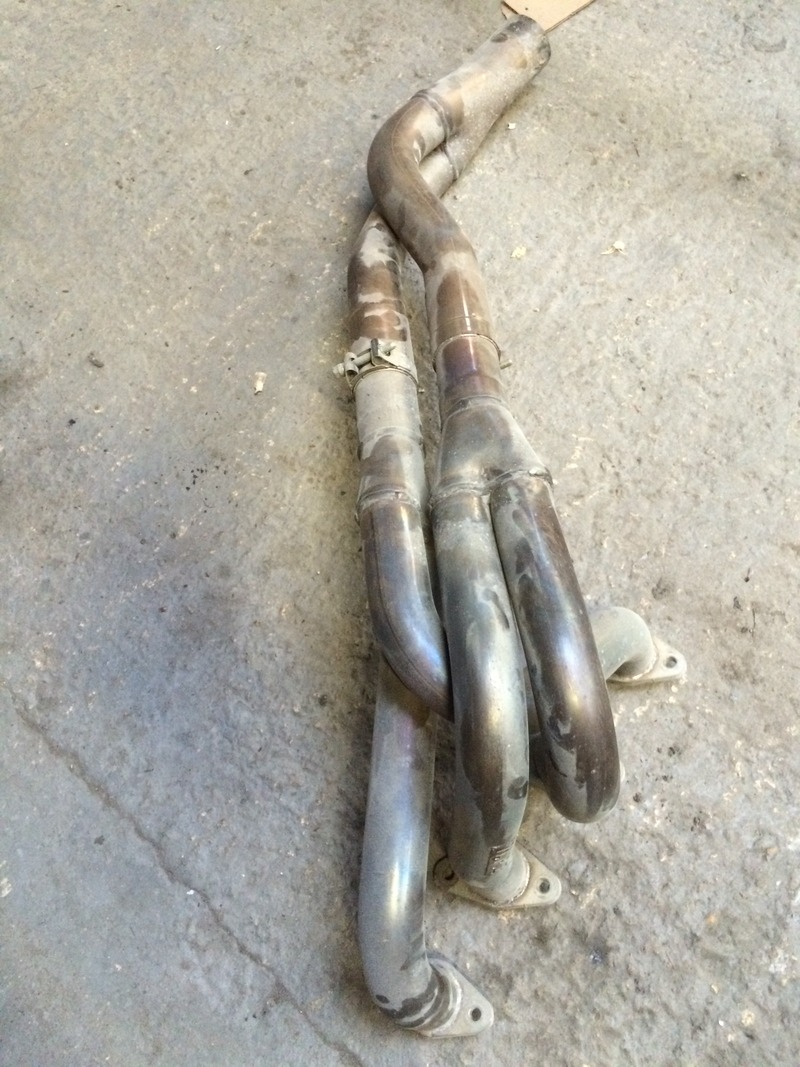
Stainless 3 piece hpe exhaust manifold
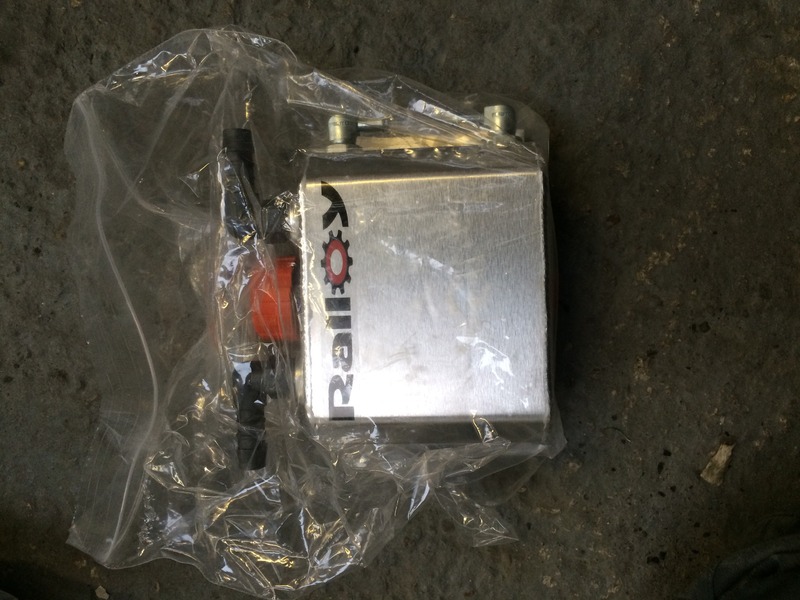
Ralloy breather tank
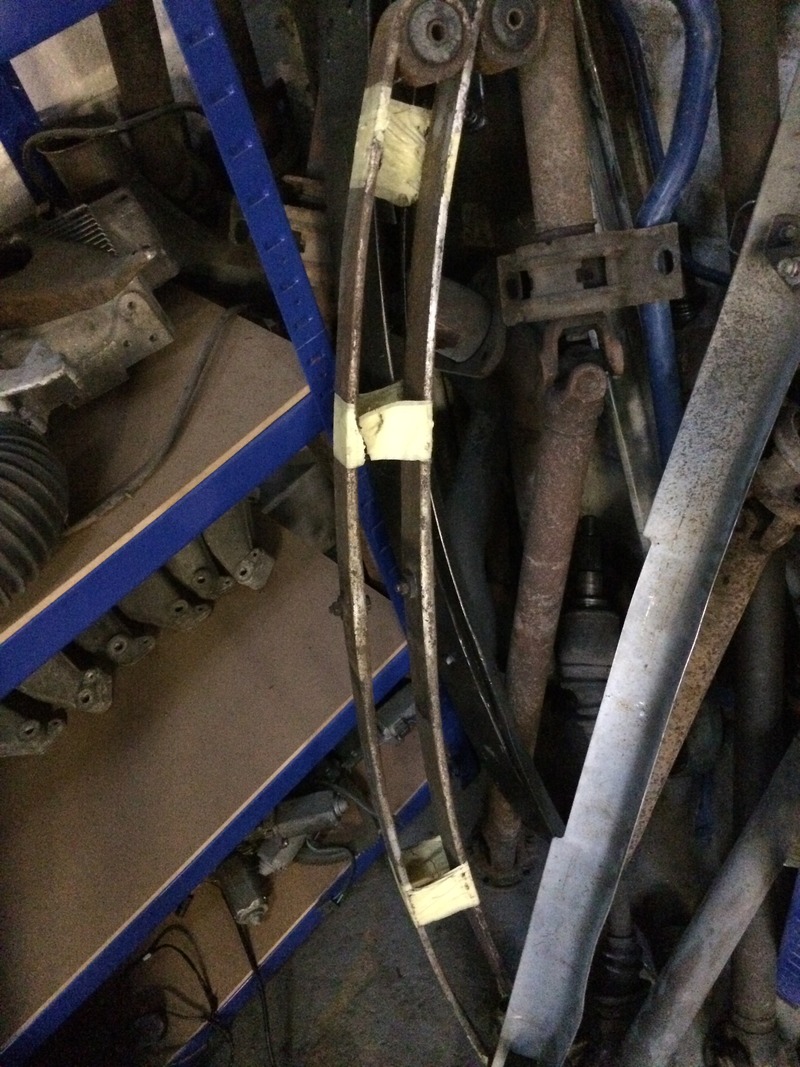
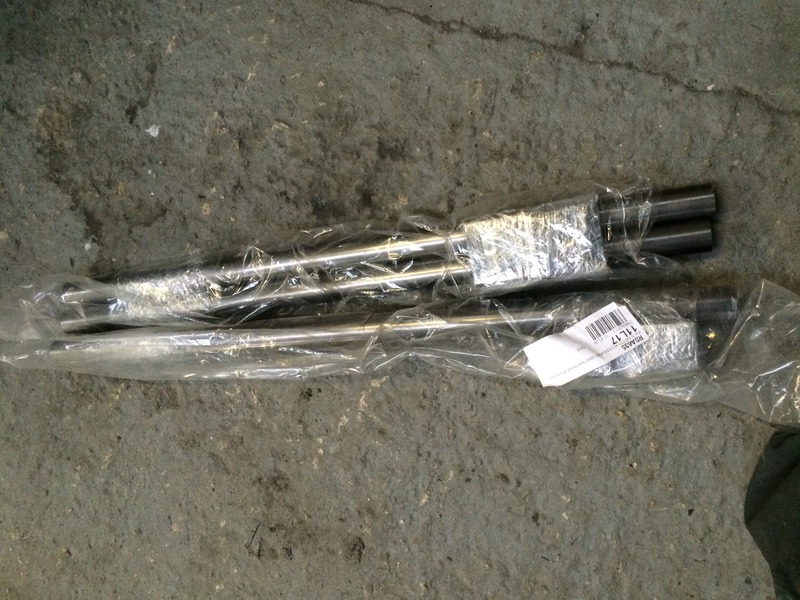
Single leaf springs
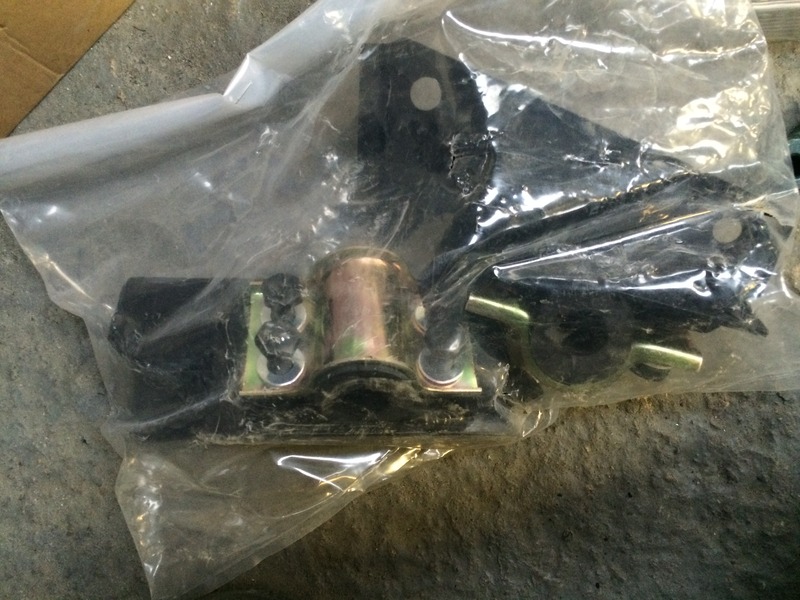
Double width kit to go with my twincam arb
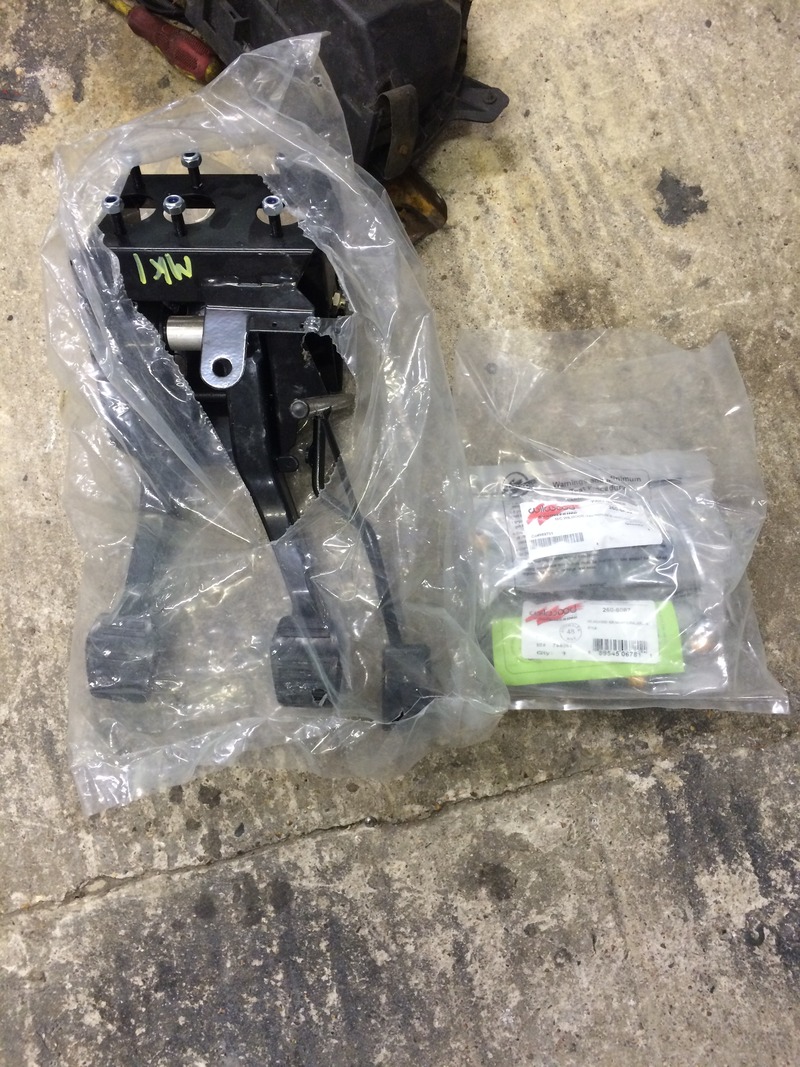
Bias pedal box
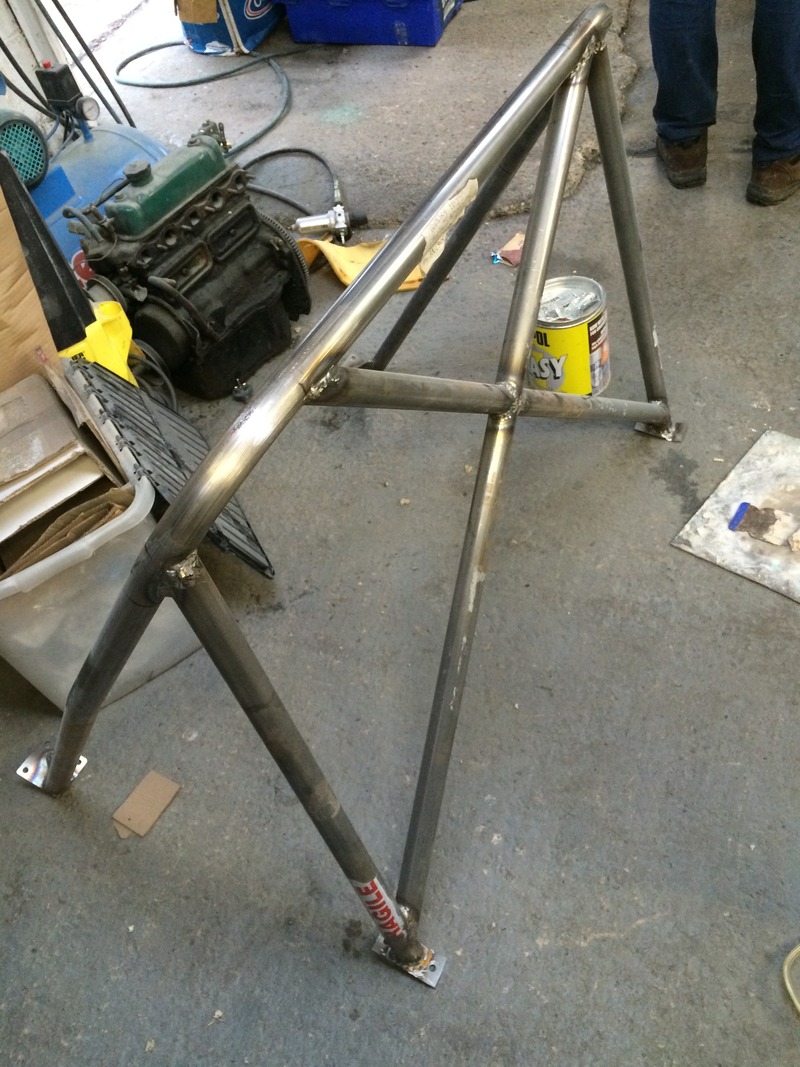
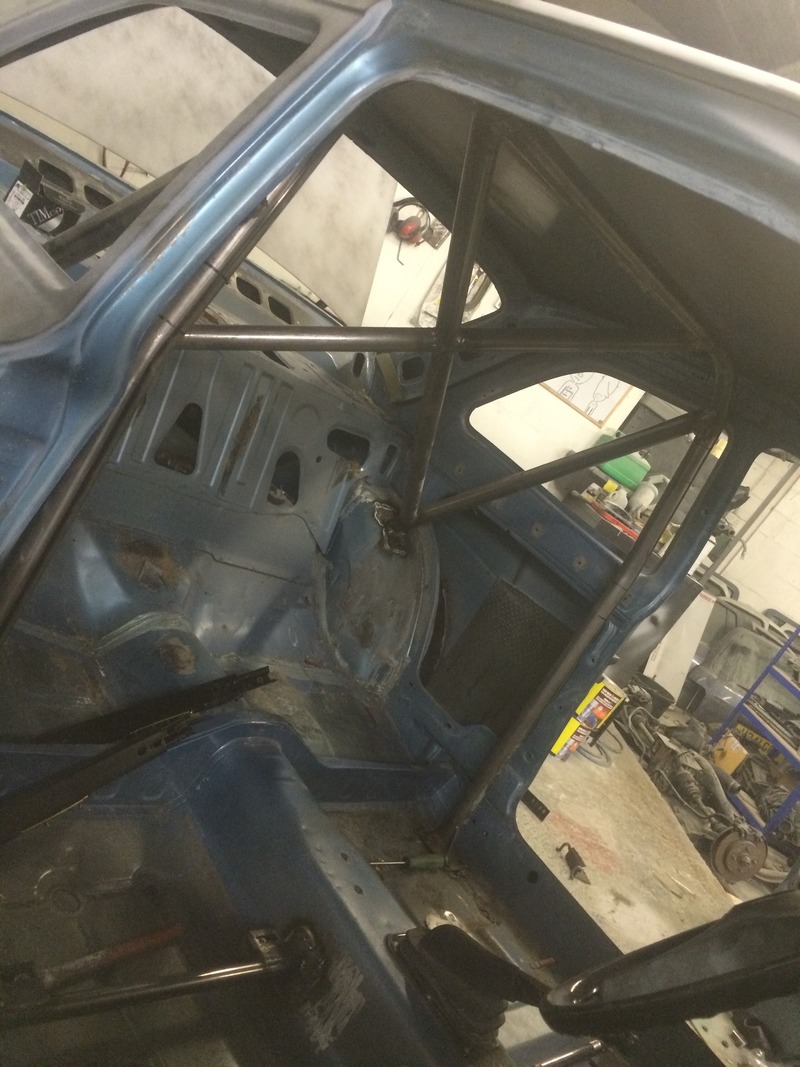
Half cage
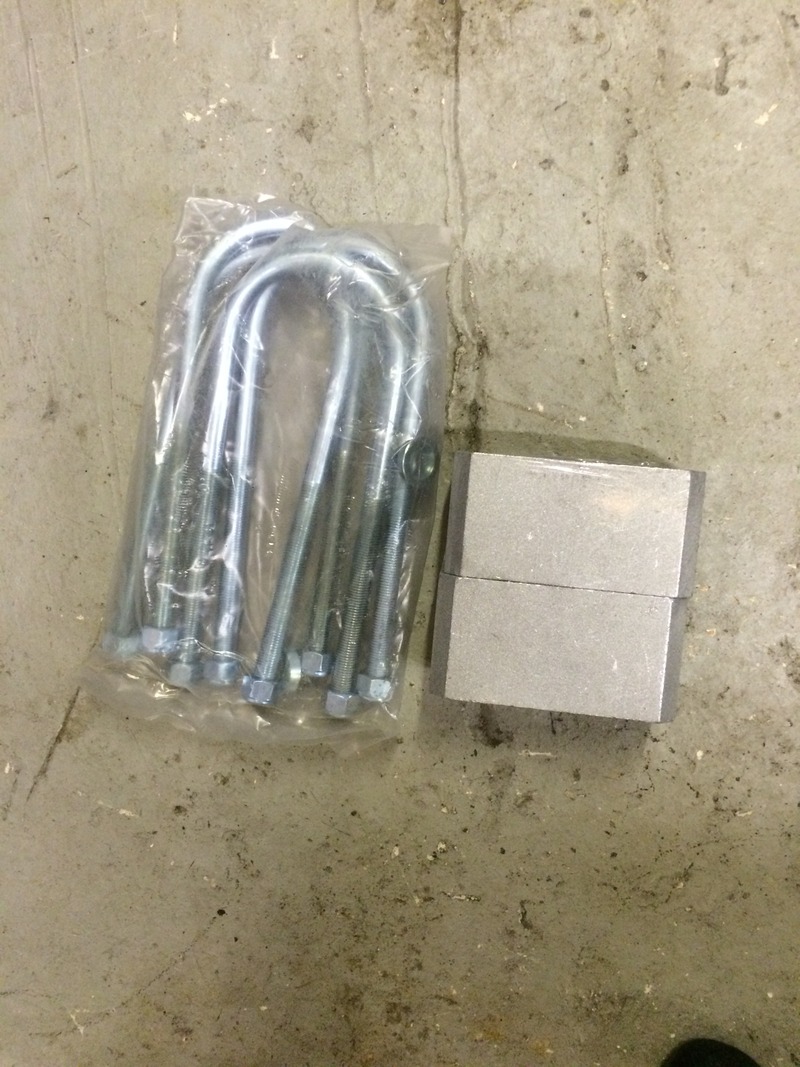
Lowering blocks
Seat bar kit
Brand new superlights and quarter bumpers
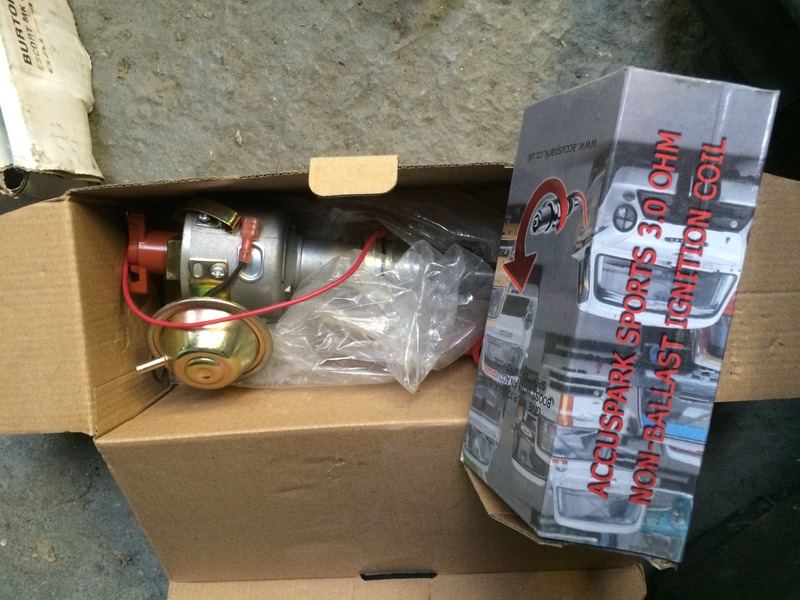
Electronic dizzy and coil
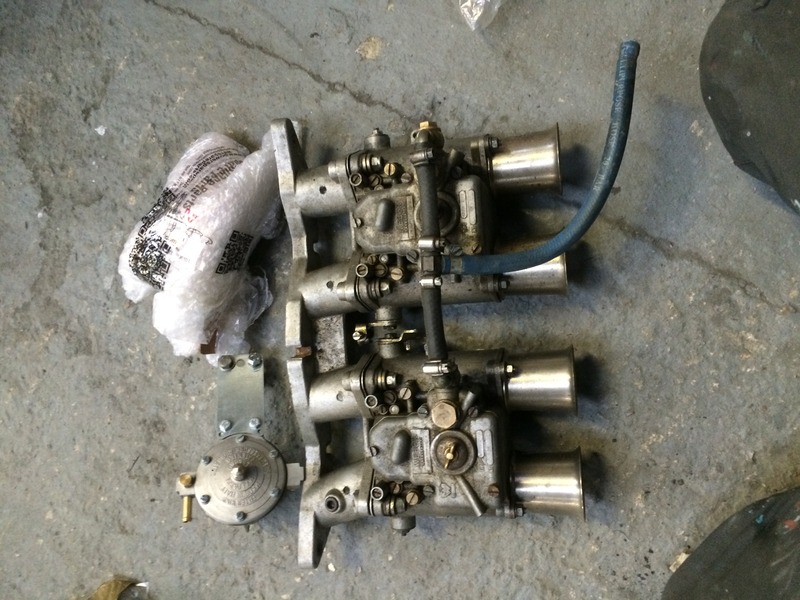
Twin 48 webbers, fuel pressure reg and pump
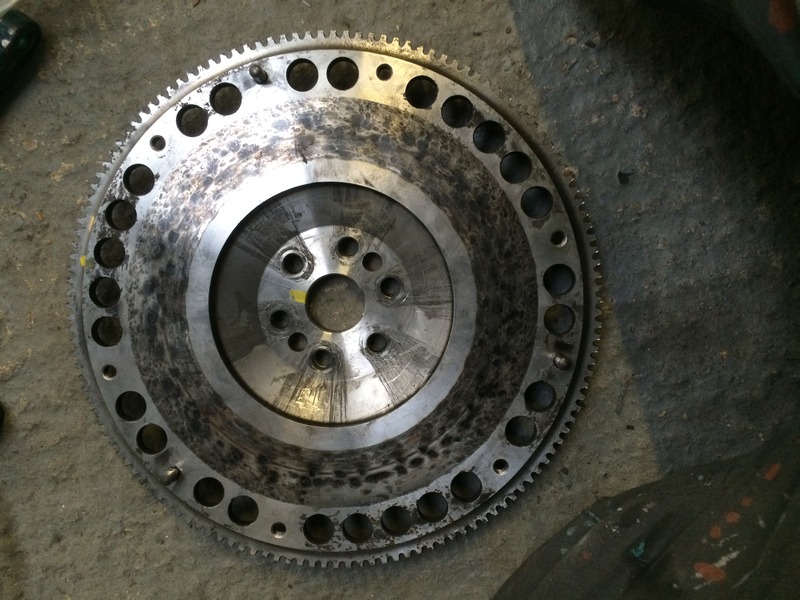
Very light flywheel
Got a few more bits, got my engine, a big spec hpe head, 5 speed type 9 etc.
Welding is coming along well, should be finished by next Tuesday all being well.
All new rubbers

Springalax replica wheel

Braided lines

Full gaz suspension and lowering springs

Silicone hose kit

Pair of sparco bucket seats

Roller bearing top mounts and shortened steering arms

Brand new indicator and rear light lenses

Single piece prop

Stainless 3 piece hpe exhaust manifold

Ralloy breather tank

Single leaf springs

Double width kit to go with my twincam arb

Bias pedal box

Half cage

Lowering blocks

Seat bar kit

Brand new superlights and quarter bumpers

Electronic dizzy and coil

Twin 48 webbers, fuel pressure reg and pump

Very light flywheel

Got a few more bits, got my engine, a big spec hpe head, 5 speed type 9 etc.
Welding is coming along well, should be finished by next Tuesday all being well.
blimey thats some serious shopping there, at least we all know this project will be going in right direction for sure, shows my age as at first glance I thought your ralloy breather was a radio

Thread Starter
Too many posts.. I need a life!!
Joined: Mar 2006
Posts: 655
Likes: 32
From: surrey
Been working hard to get the welding finished on this
Rear panel had a bit of damage and I wasn't really happy with it, so that had to go and be replaced with a new one
All done
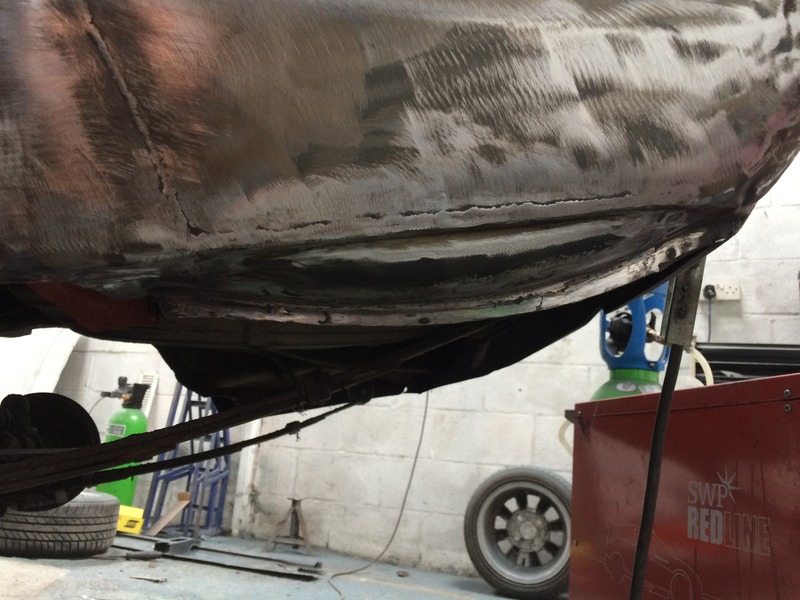
Offside inner and outer wheel arch was next to do
Cut out
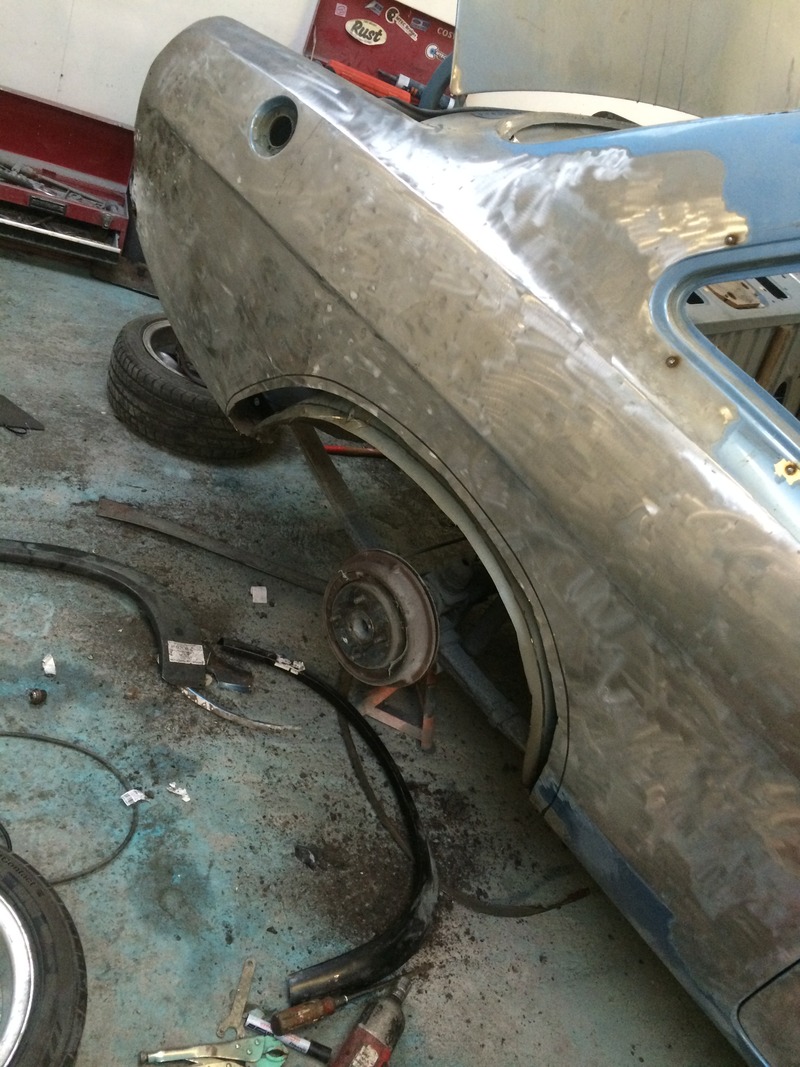
Inner fitted
Outer slowly welded in
Inner and outer spare wheel well we're rotten so replaced both parts with new panels
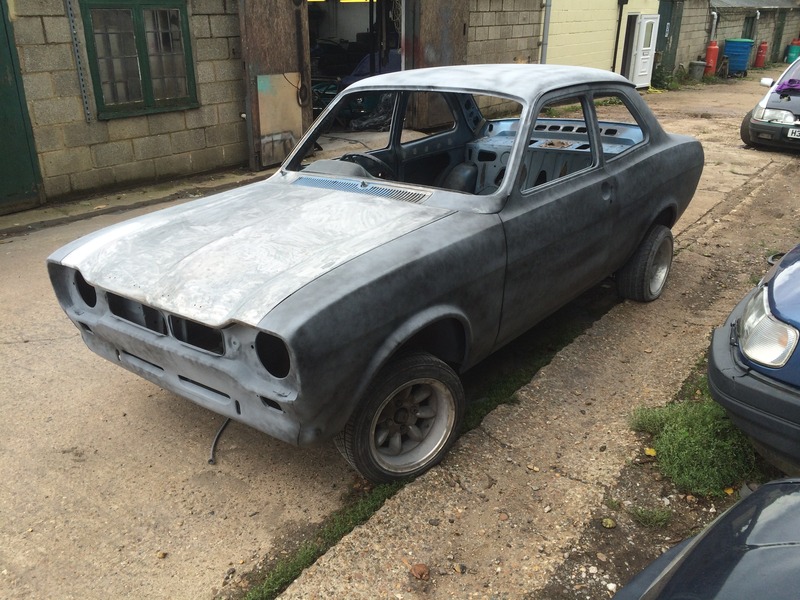
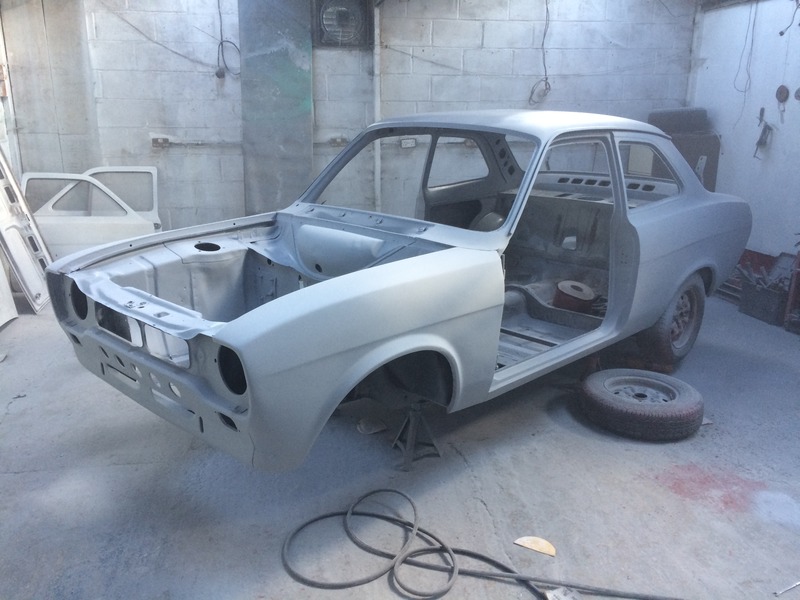
Got the shell down to bare metal
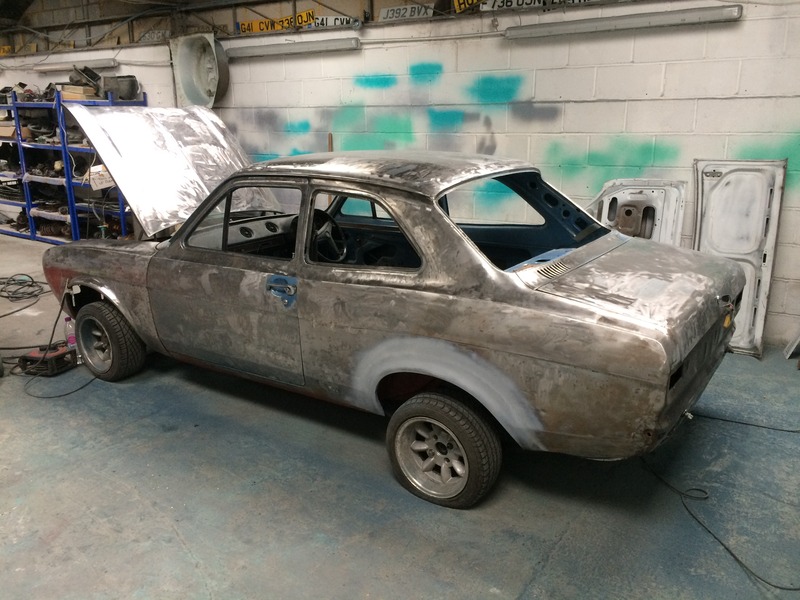
Car is a bit further along than this now. I'm happy with the condition that car was in, it was a fantastic shell overall. But it's your typical old dears car, not a straight panel on it, dings, dents and knocks all over the body.
Rear panel had a bit of damage and I wasn't really happy with it, so that had to go and be replaced with a new one


All done

Offside inner and outer wheel arch was next to do

Cut out

Inner fitted

Outer slowly welded in

Inner and outer spare wheel well we're rotten so replaced both parts with new panels

Got the shell down to bare metal


Car is a bit further along than this now. I'm happy with the condition that car was in, it was a fantastic shell overall. But it's your typical old dears car, not a straight panel on it, dings, dents and knocks all over the body.
Spanner monkey
Joined: May 2003
Posts: 3,556
Likes: 14
From: Peterborough
Great looking project you've got there.
I never realised how much I like the mk1's until I started putting one together for someone.
I've got a few questions if that's ok, do they just have one stalk on the steering column? If so what are the functions of it?
I have one here but the white tell tale is gone from it, I've got a brand new full car Mexico loom that I had on the floor trying to work through what's what as the car is a bare shell and I'm working from boxes of new bits.
And what fuses are in the fusebox? I've got no fusebox just a bunch of wires for it so would be handy to know what the wires are lol.
Cheers, Gary
Thread Starter
Too many posts.. I need a life!!
Joined: Mar 2006
Posts: 655
Likes: 32
From: surrey
Well we've been flat out on this over the past 3 weeks to get it in colour
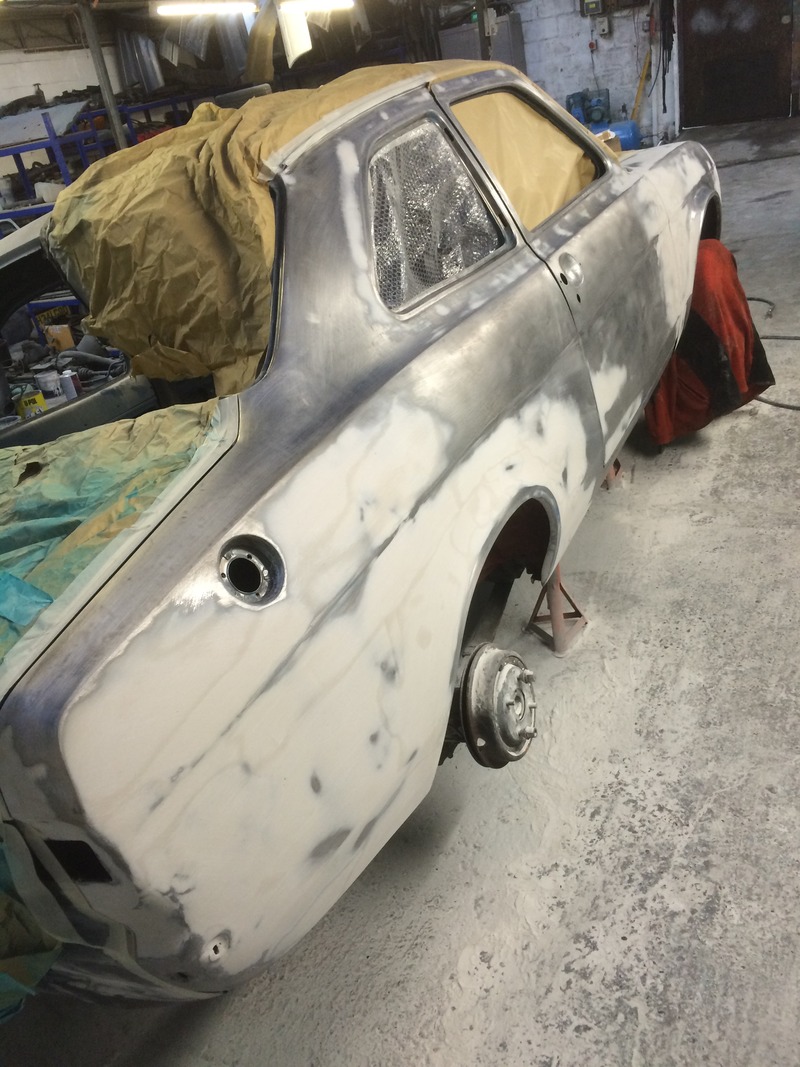
Drivers side repaired
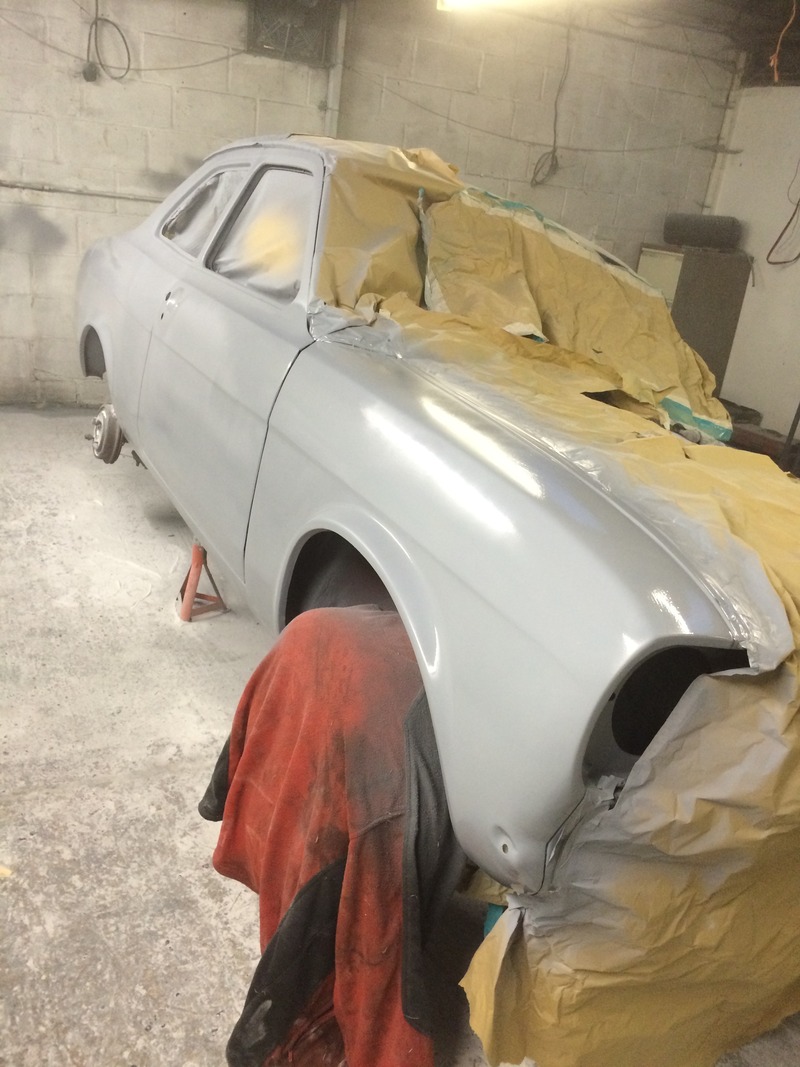
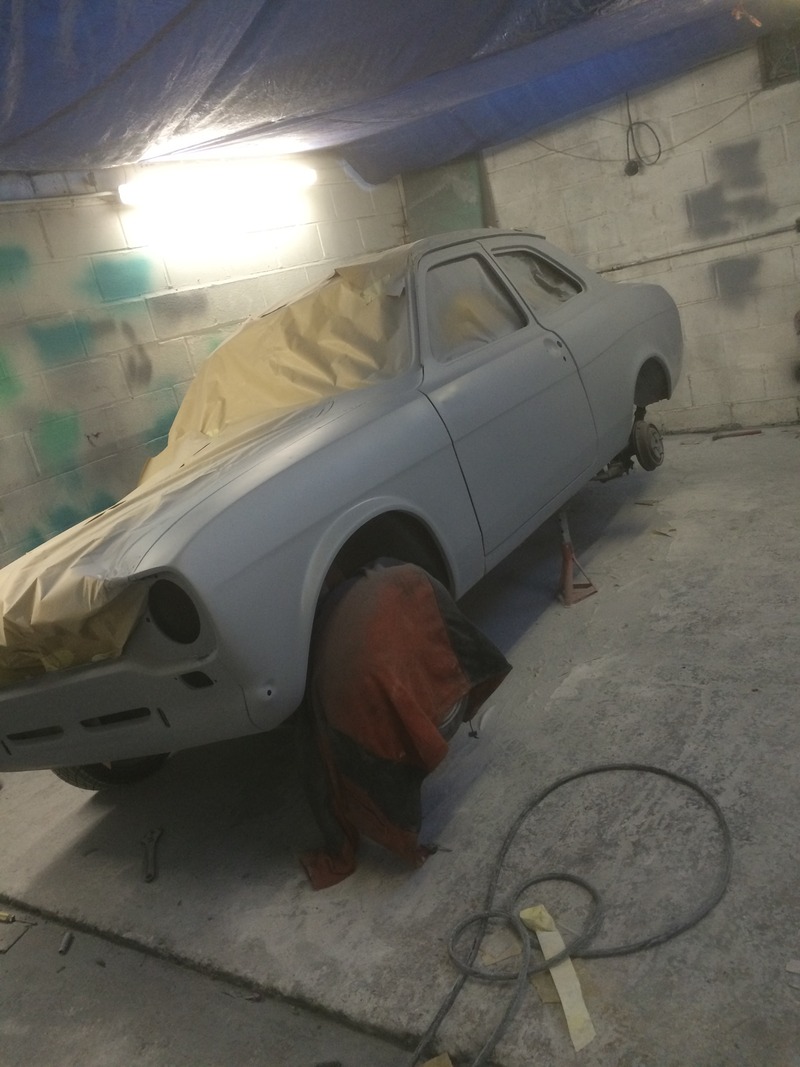
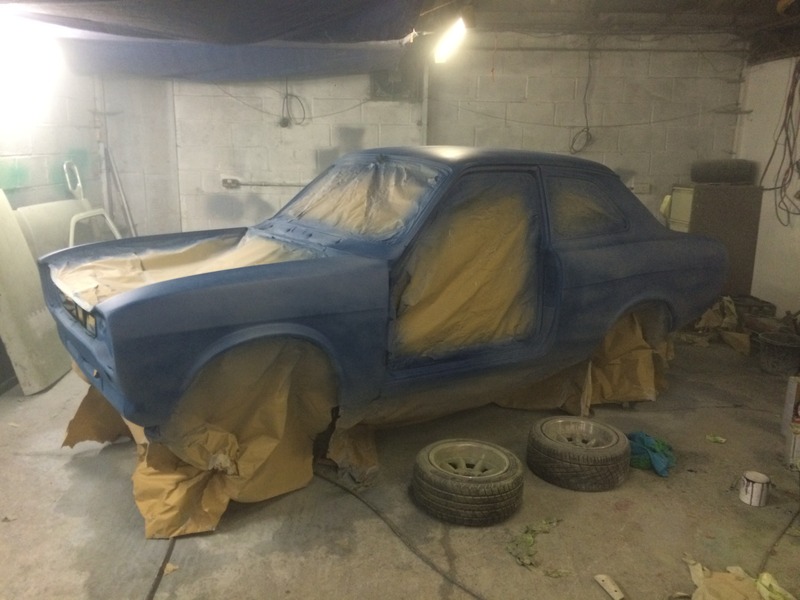
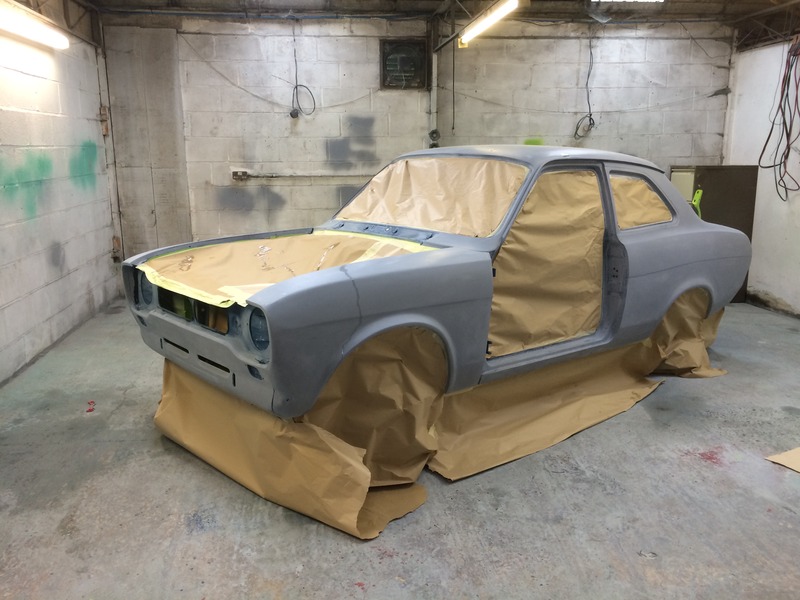
In primer
The into the passenger side
Then into primer
Guide coated and pushed outside
Mock up engine fitted

Gearstick hole moved back
Seat bars and cage fitted
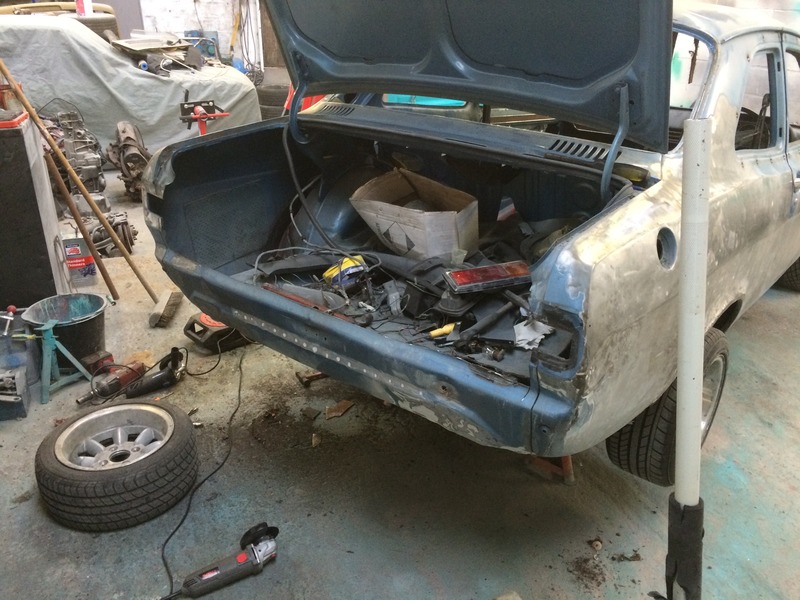
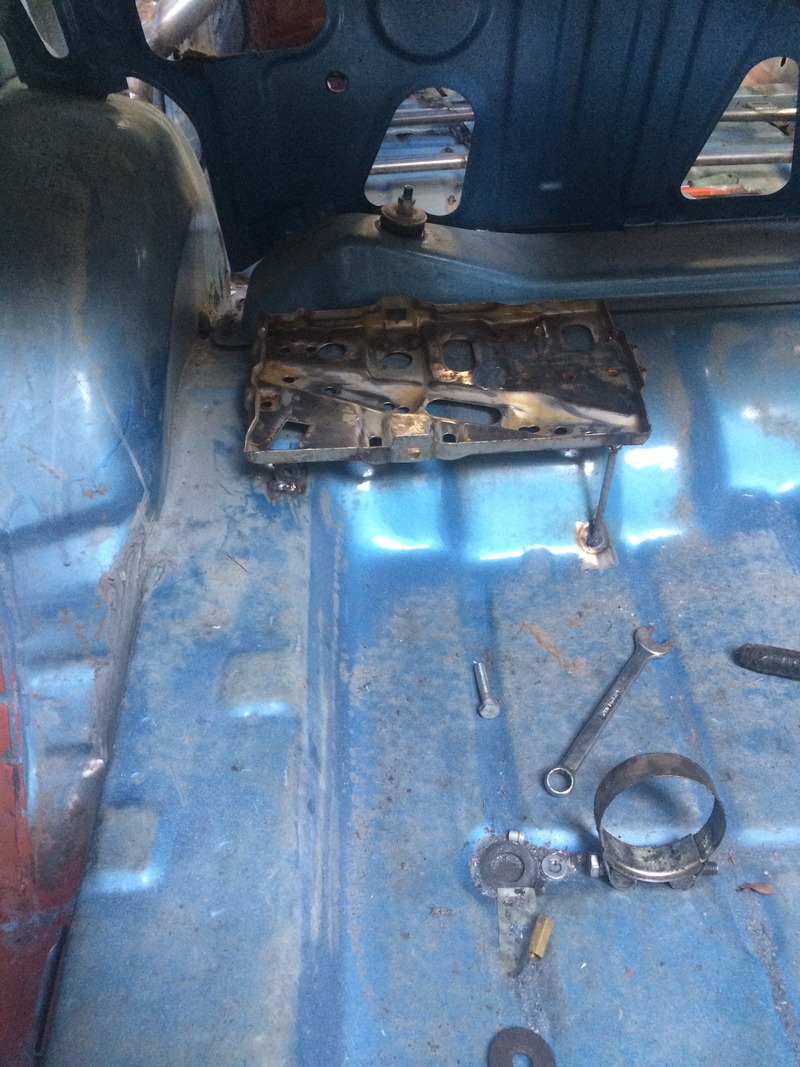
Sierra battery tray welded into the boot
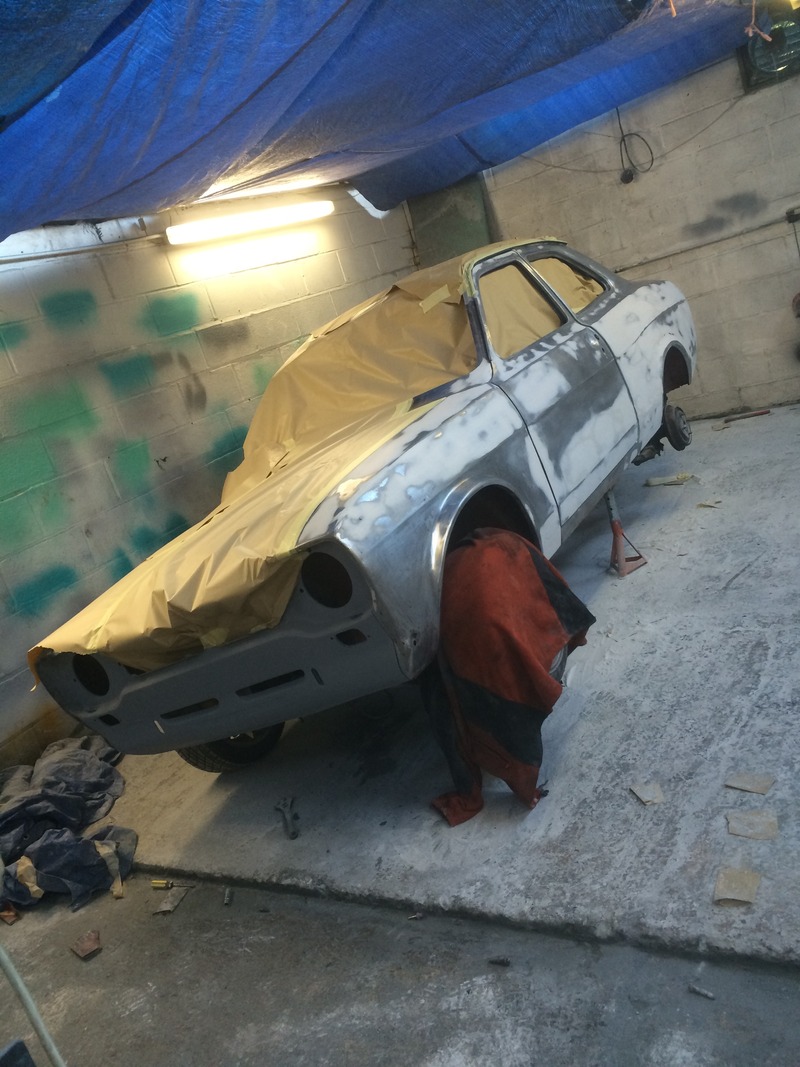
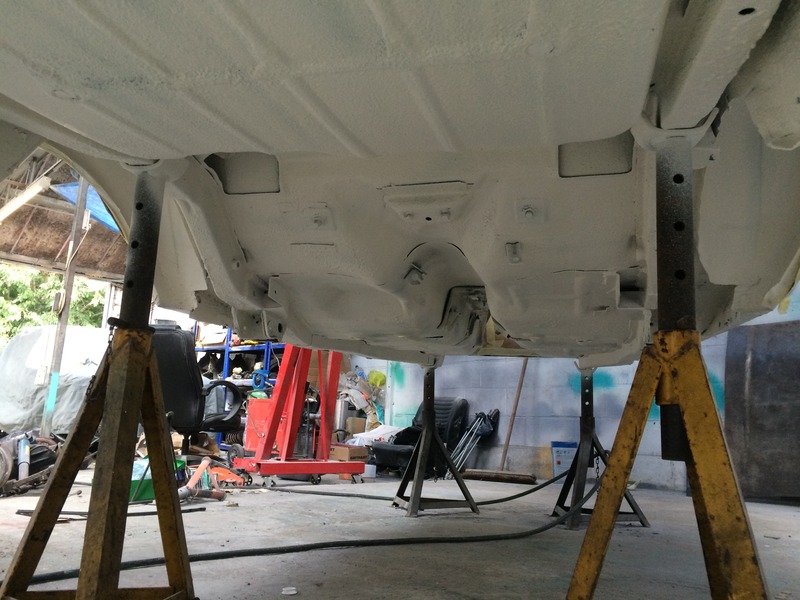
Pushed outside to have the underside washed off
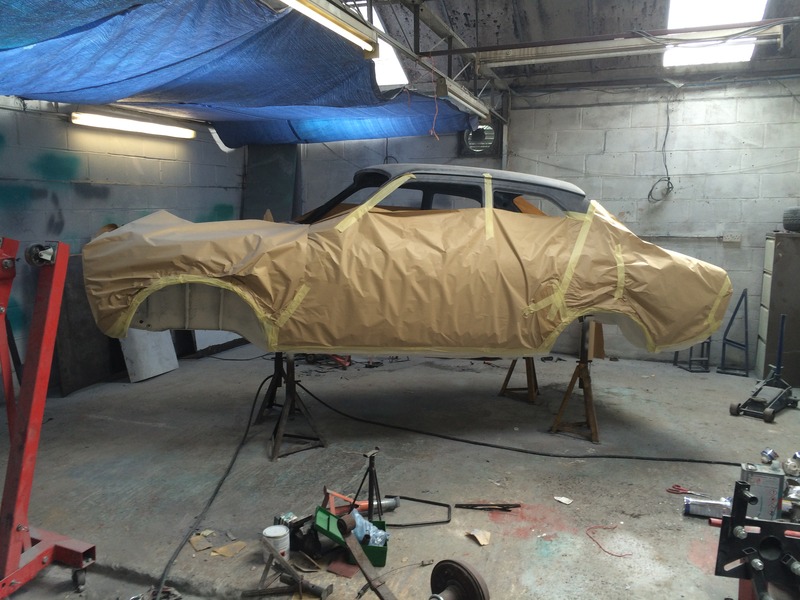
Masked up for stone chip
More updates later
Drivers side repaired


In primer

The into the passenger side


Then into primer

Guide coated and pushed outside

Mock up engine fitted

Gearstick hole moved back

Seat bars and cage fitted

Sierra battery tray welded into the boot

Pushed outside to have the underside washed off

Masked up for stone chip


More updates later
Thread Starter
Too many posts.. I need a life!!
Joined: Mar 2006
Posts: 655
Likes: 32
From: surrey
Well I might as well get on with updating this build.
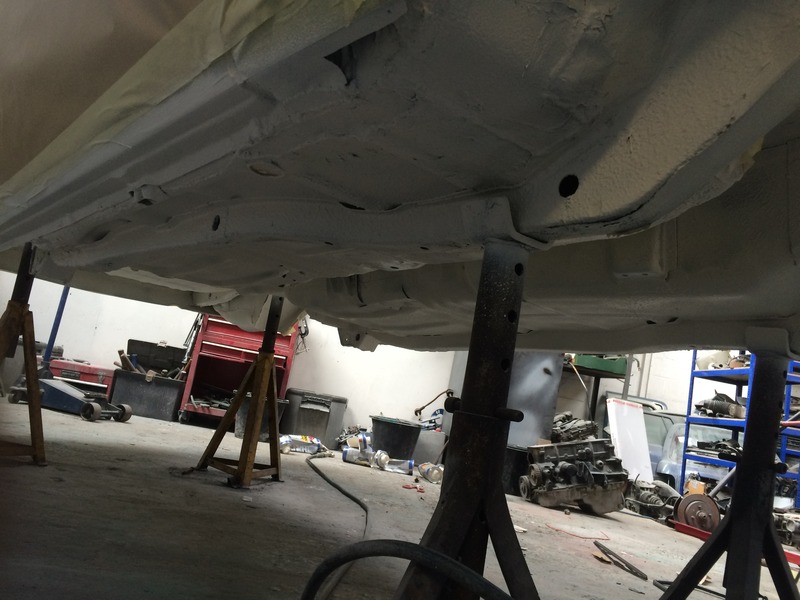
Got the paint ready to do the underside
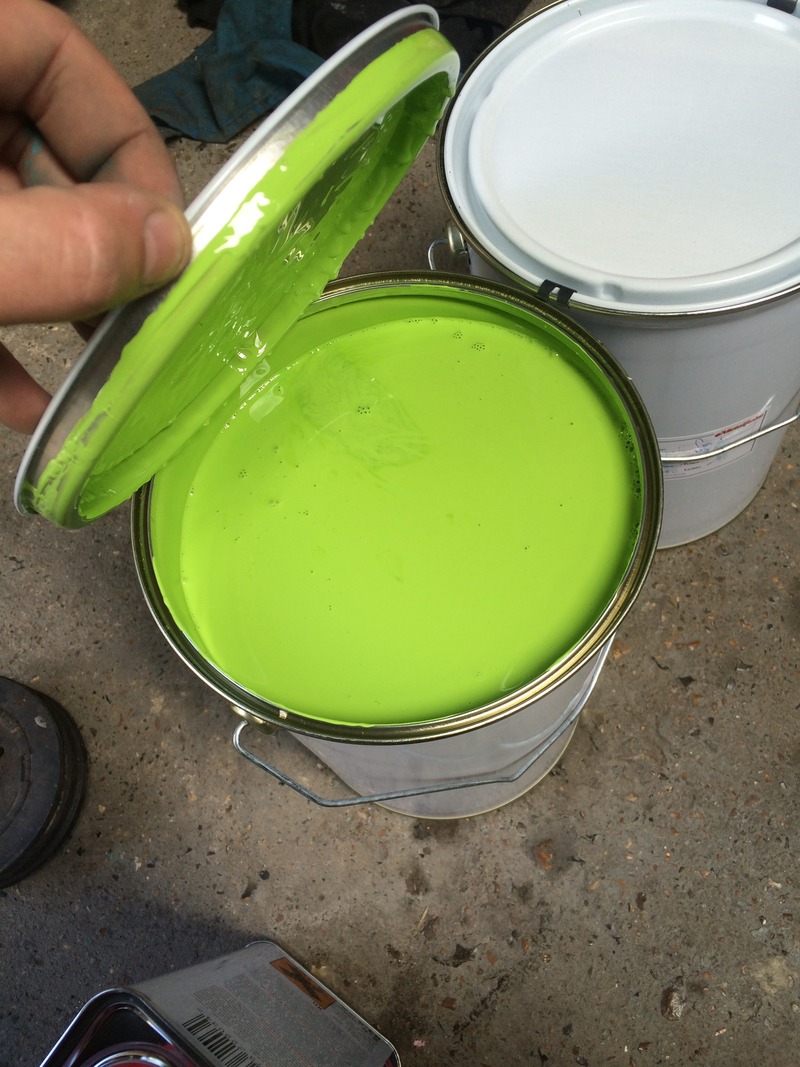
In colour
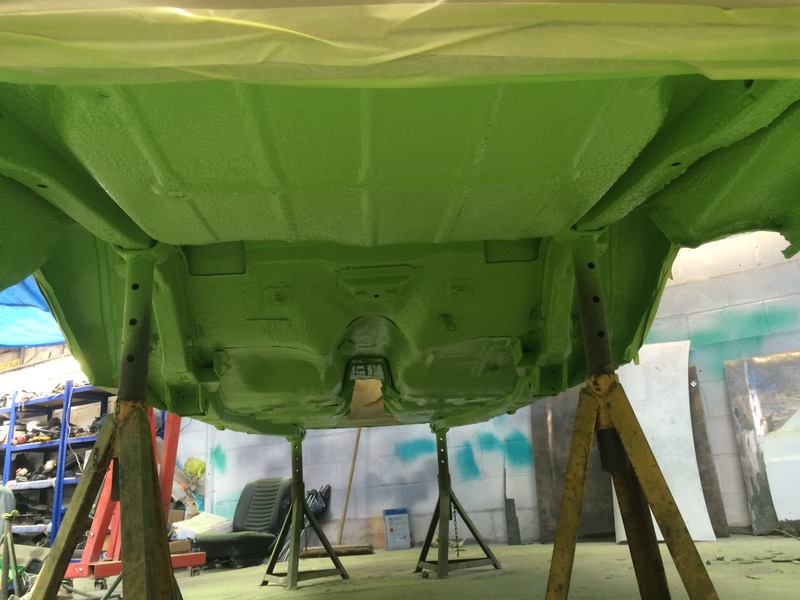
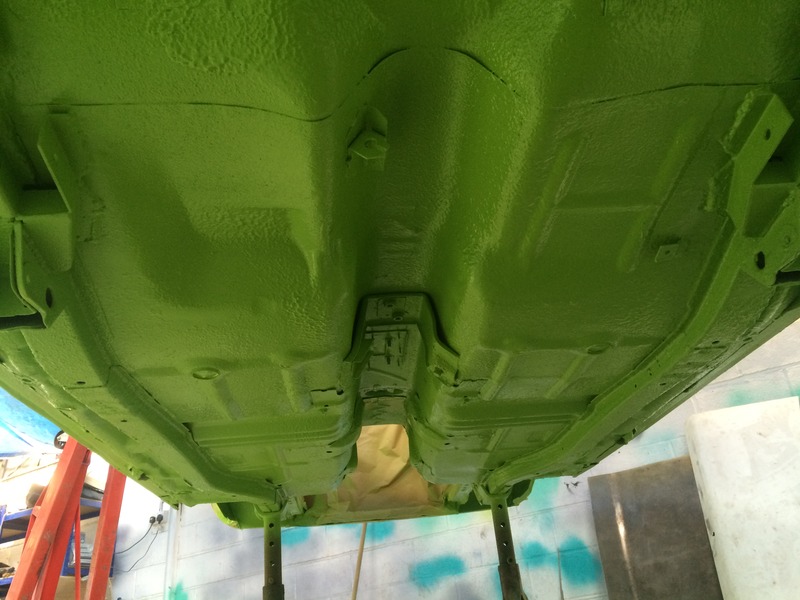
Then it was hours and hours of flatting, re primering and more flatting
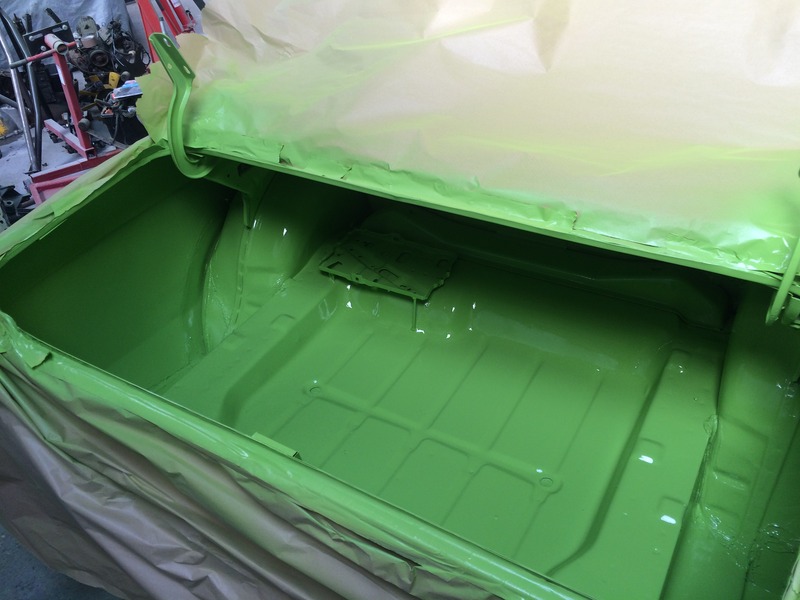
Bay ready
And the boot

And painted
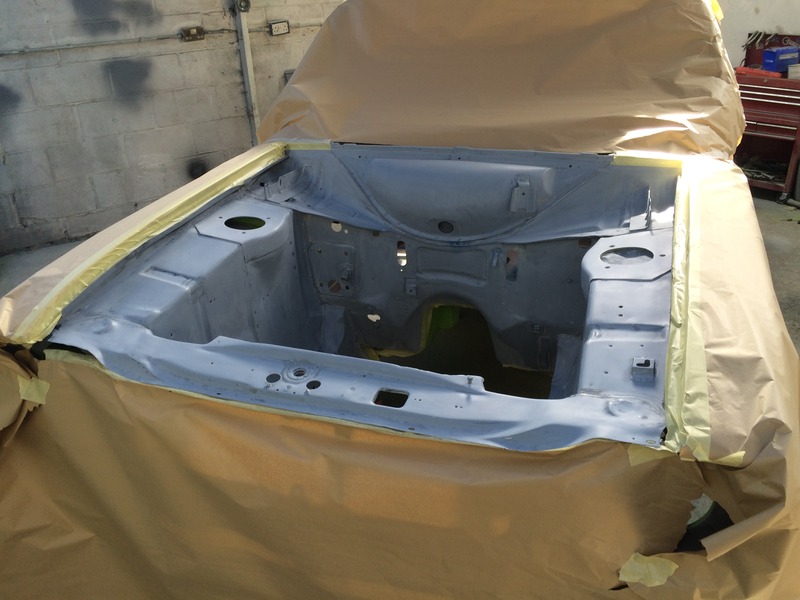
Then the outer shell was hit with another 4 coats of primer and a heavy guide coat. We the wet flatted this all down again
Then it was un masked and dried out ready for the final mask up

Nice shine off the primer
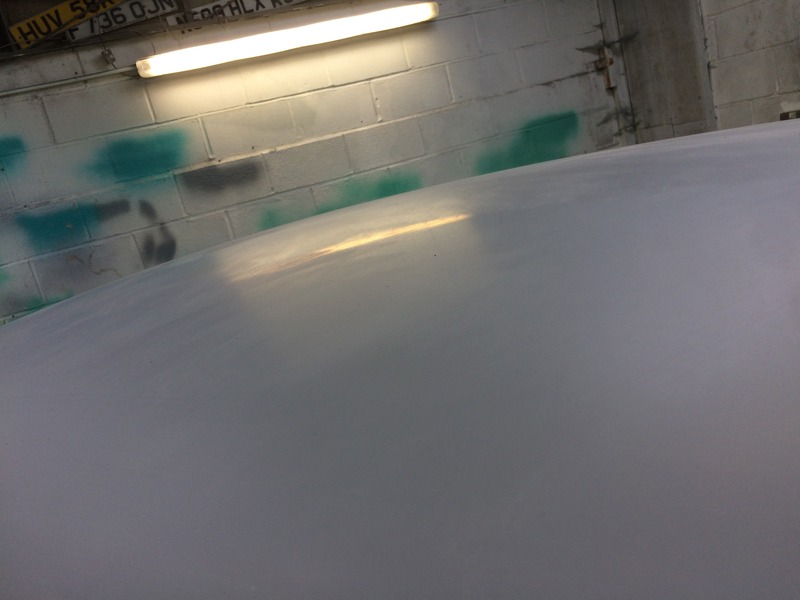
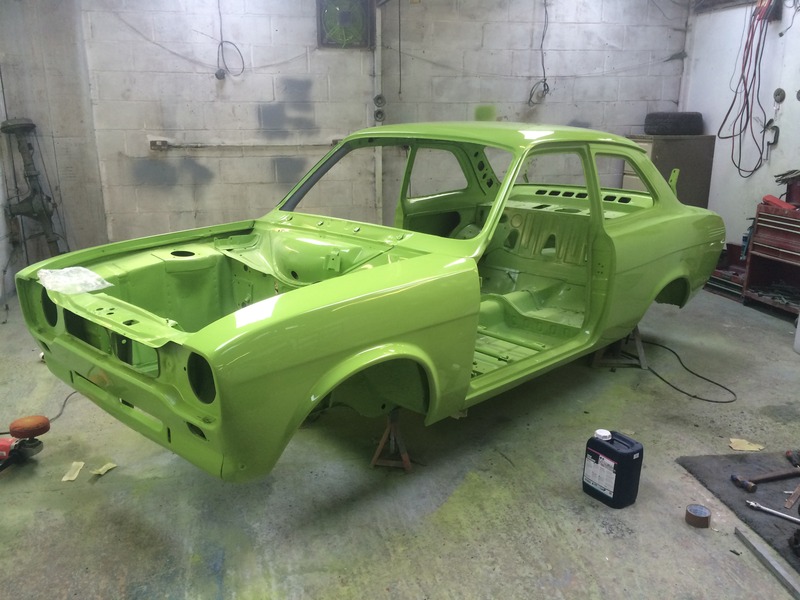
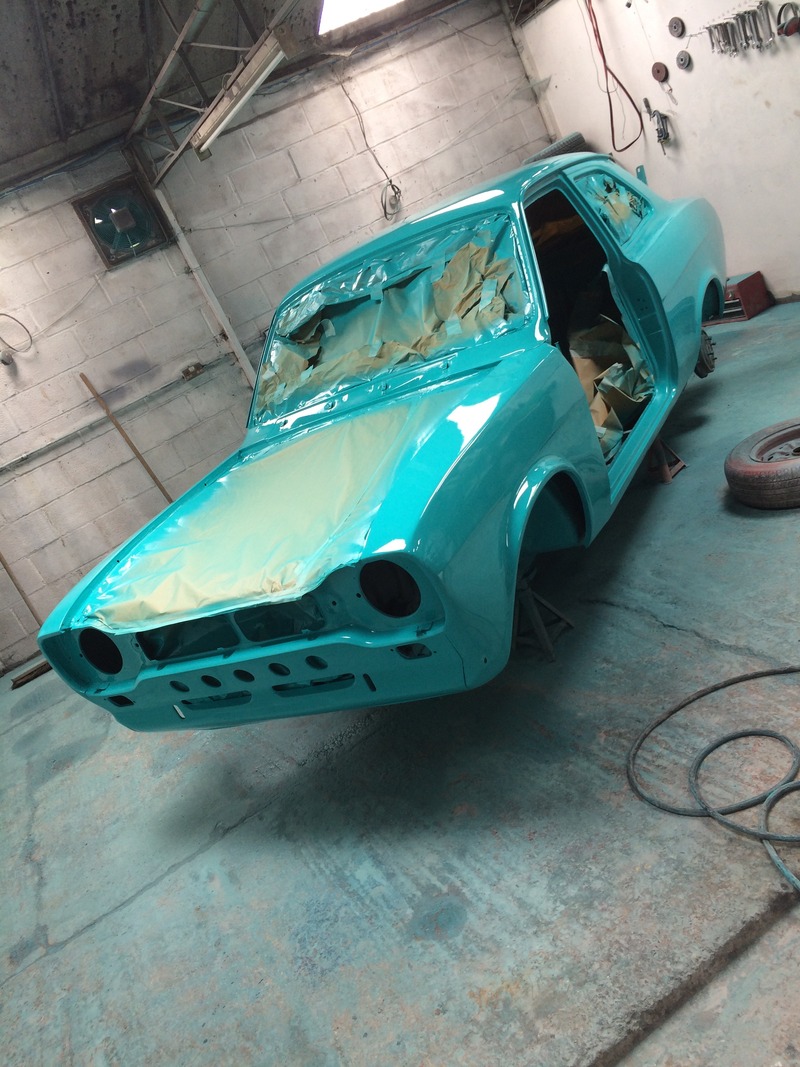
Masked ready for the colour
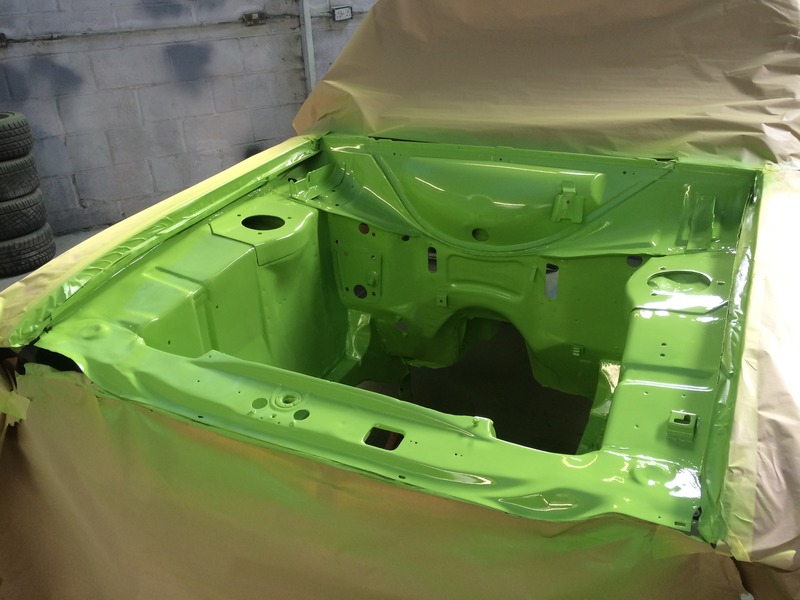
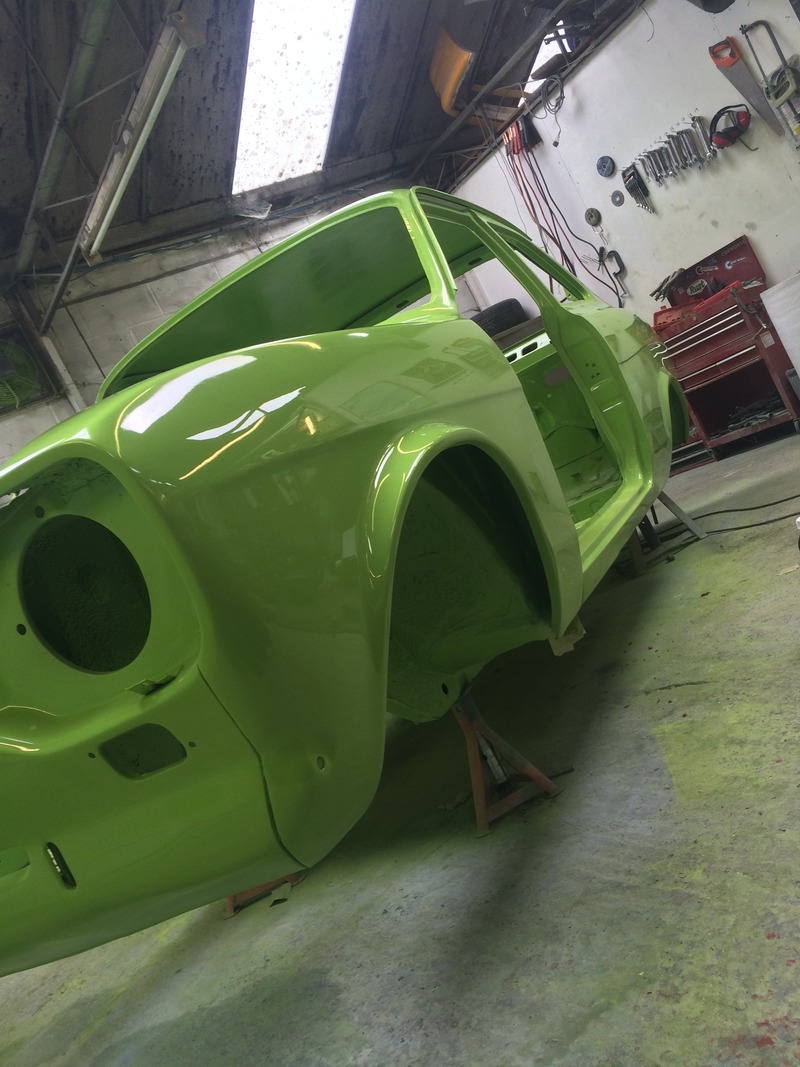
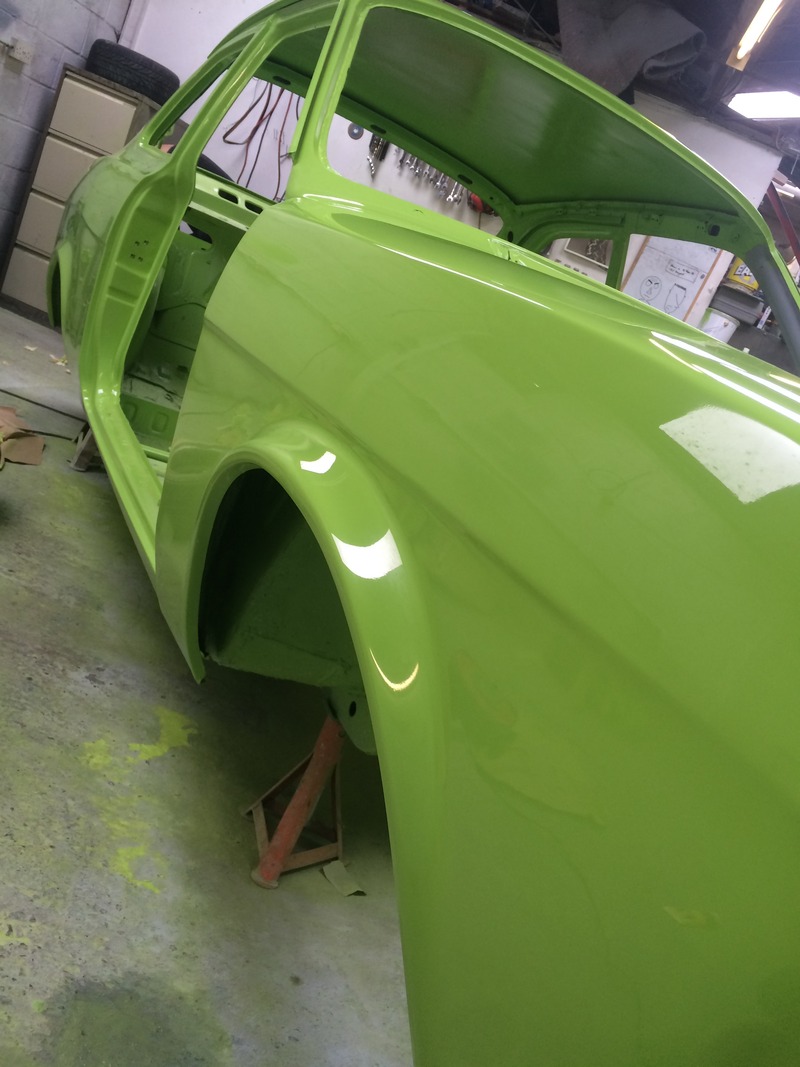
And in colour
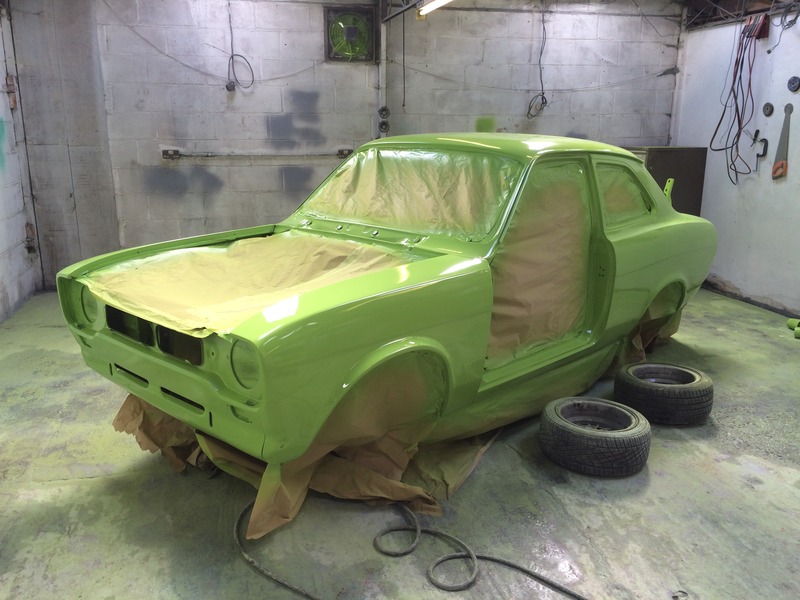
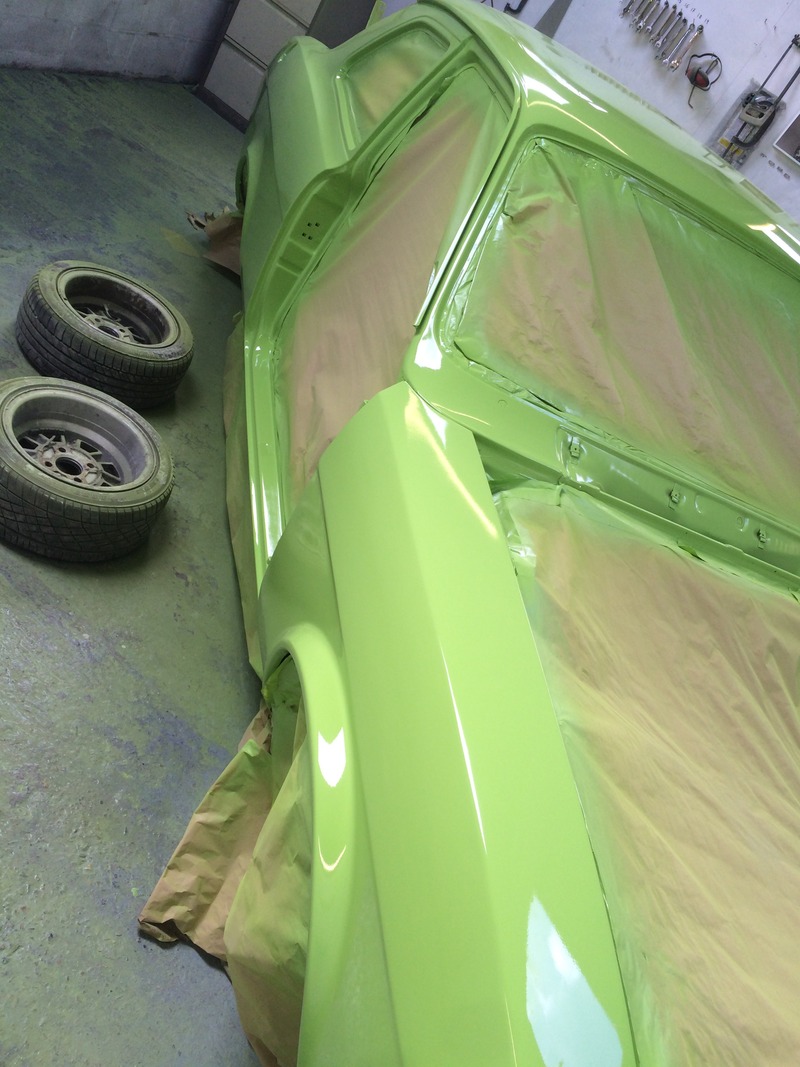

So nice to see the car in colour, just got to put it all back together now. Was a very long 2 weeks, with some very late nights. But worth all the hard work
Got the paint ready to do the underside

In colour


Then it was hours and hours of flatting, re primering and more flatting
Bay ready

And the boot

And painted


Then the outer shell was hit with another 4 coats of primer and a heavy guide coat. We the wet flatted this all down again


Then it was un masked and dried out ready for the final mask up

Nice shine off the primer

Masked ready for the colour

And in colour


So nice to see the car in colour, just got to put it all back together now. Was a very long 2 weeks, with some very late nights. But worth all the hard work
Thread Starter
Too many posts.. I need a life!!
Joined: Mar 2006
Posts: 655
Likes: 32
From: surrey
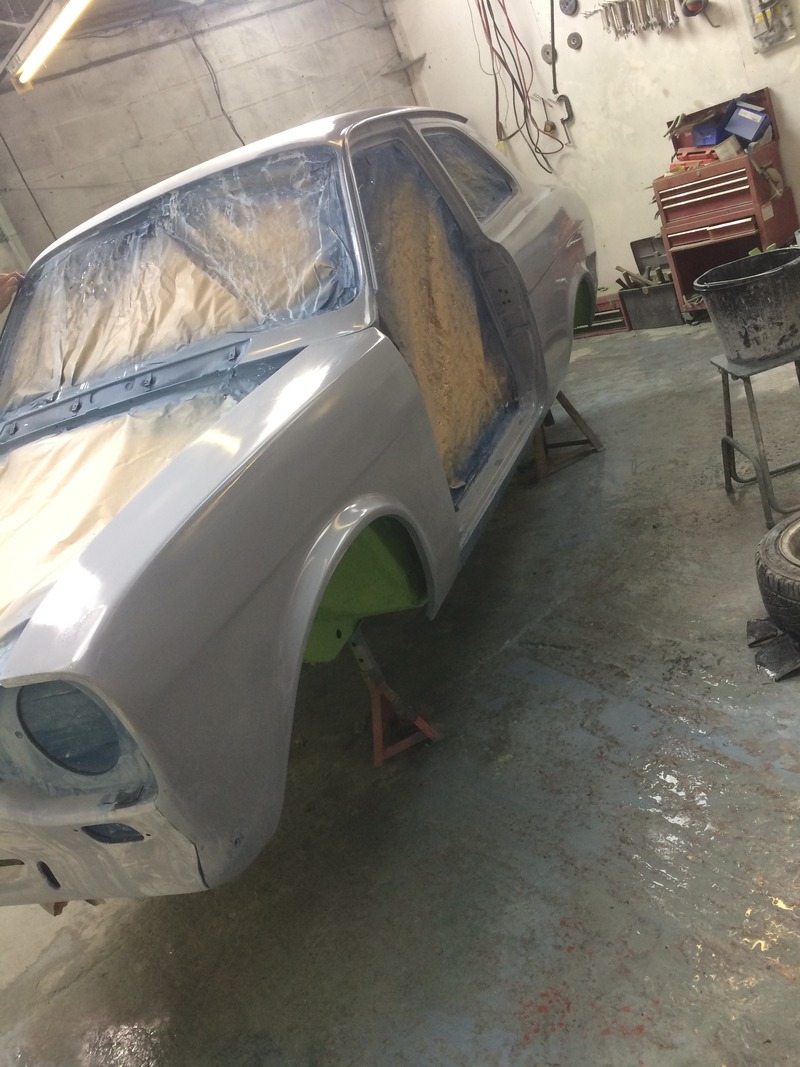
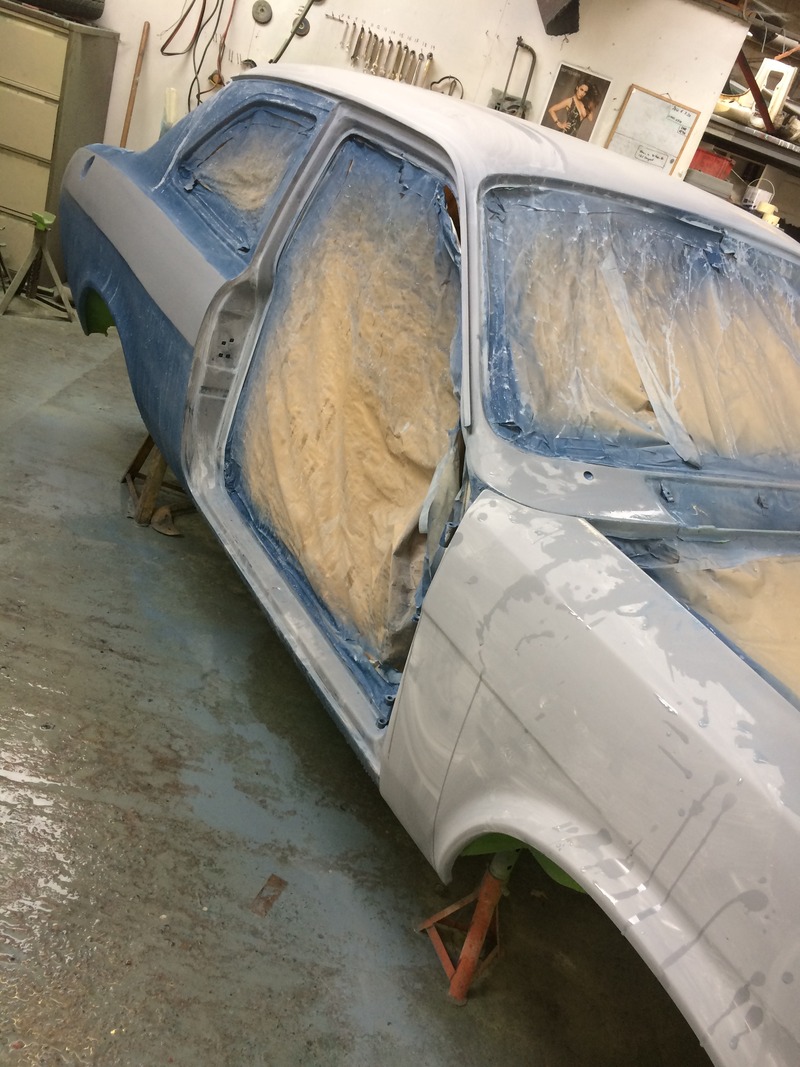
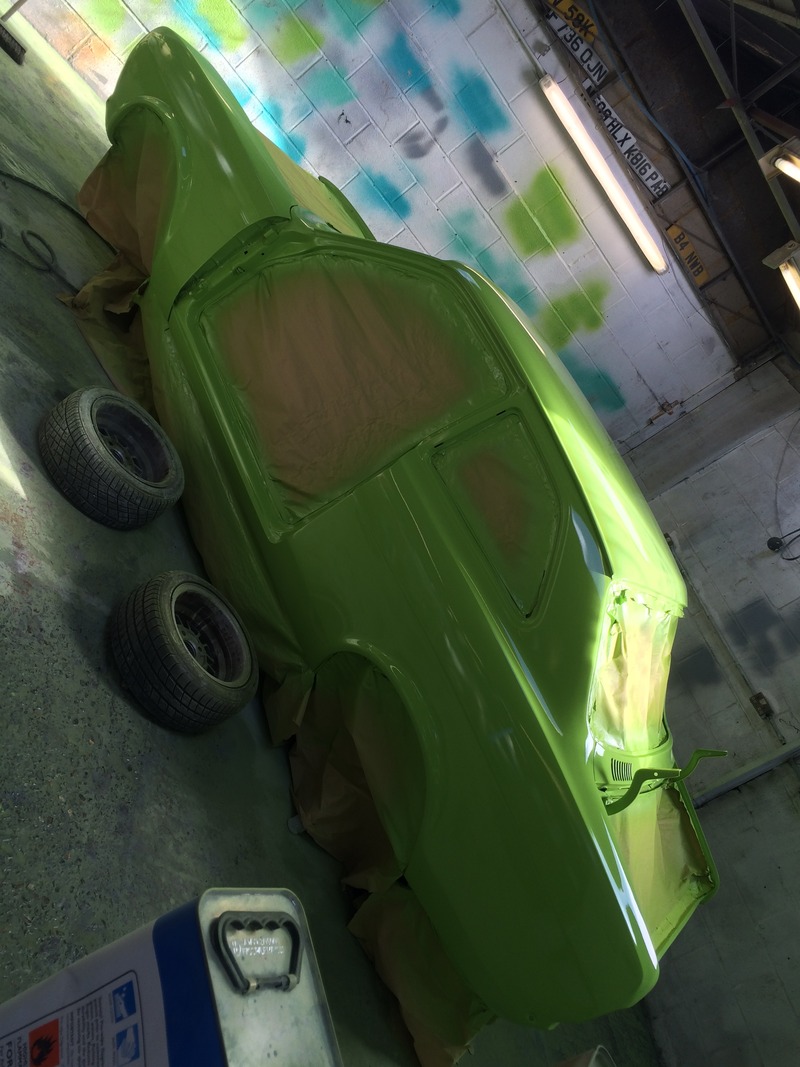
Some pics of the shell after its flat and polish
Love this pic of my workshop, my business partners 2dr mk2, my mates 2dr mk1 ive just colour changed for him and my mk1 in the background
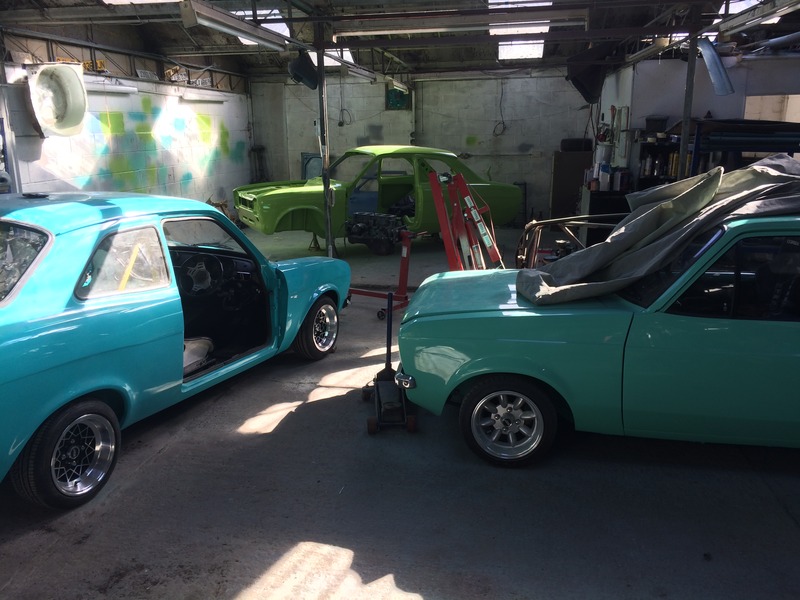
Couple of pics of the mk1 ive just done for my mate. He took the car away yesterday
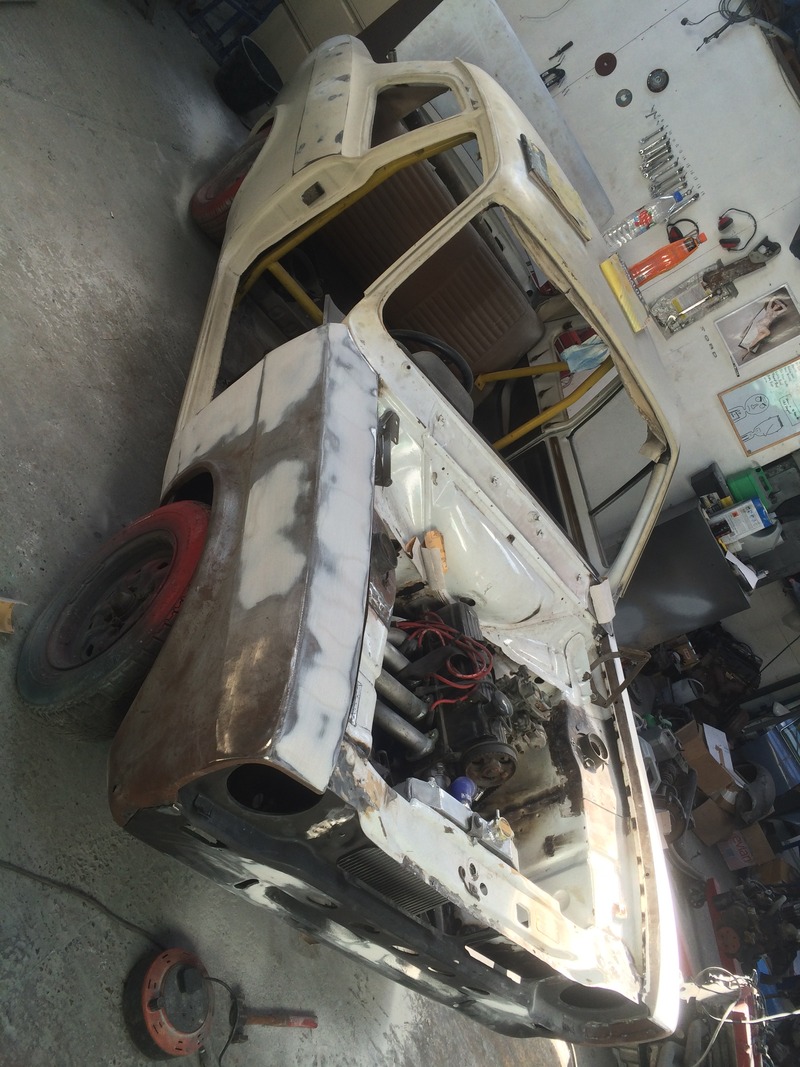
How he gave it to me
And all done a couple of days ago


Love this pic of my workshop, my business partners 2dr mk2, my mates 2dr mk1 ive just colour changed for him and my mk1 in the background

Couple of pics of the mk1 ive just done for my mate. He took the car away yesterday
How he gave it to me


And all done a couple of days ago


PassionFord Post Whore!!
Joined: May 2004
Posts: 5,730
Likes: 150
From: Surrey/Norfolk/Cambs
Looking good!! Going to be another amazing finish once it's done!!
It's the work that you've shown that's gone into this shows why the cost of proper full re spray would cost that bit more than just a blow over!!
Is it Le Mans green?
It's the work that you've shown that's gone into this shows why the cost of proper full re spray would cost that bit more than just a blow over!!
Is it Le Mans green?
