
Mk1 Escort Restoration.


Thread Starter
Professional Waffler


Joined: May 2003
Posts: 25,714
Likes: 129
From: south yorkshire
As some of you ay know I've been into Ford's now for a long time. Had alsorts from RS turbos to Escort cosworths but over recent years favouring the older models. I've had a few RS1600i's, one being the black almost concours one I restored a few years ago and was detailed on here. In that time, however, there was a persistent itch that I had to scratch - owing a proper old skool car. I have never owned a car older than the mk3 escort so it would be new ground for me. Looked at quite a few Mk1 and Mk2 escorts and eventually settled on the one I have now. I have been restoring this now for just gone 2 years. My intention was to build it to a complete finished spec with a 2.1 pinto on twin carbs and all adjustable suspension etc but I have decided to lower the spec for now just to get it back on the road, then it will become a rolling project.
I have updated a couple of threads about the car on seriesoneturbo and rallyesportescorts site but for some reason never thought to put it on here!
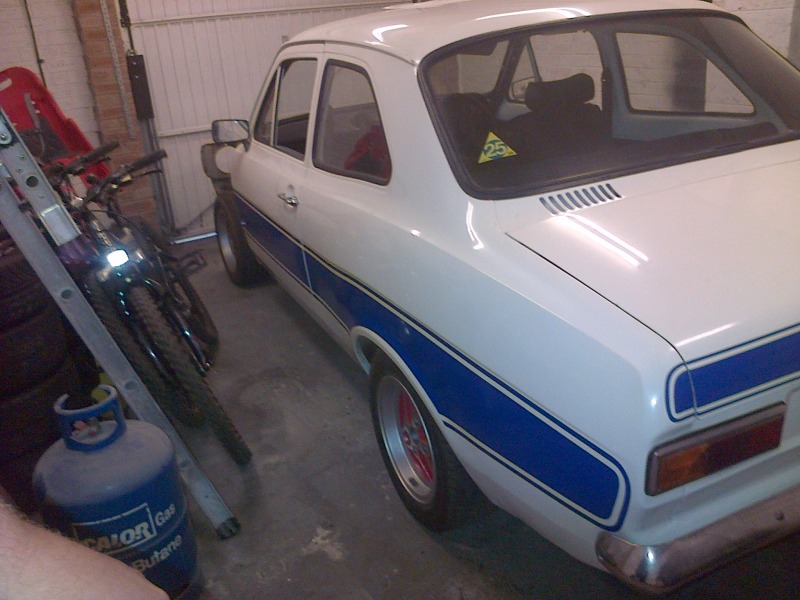
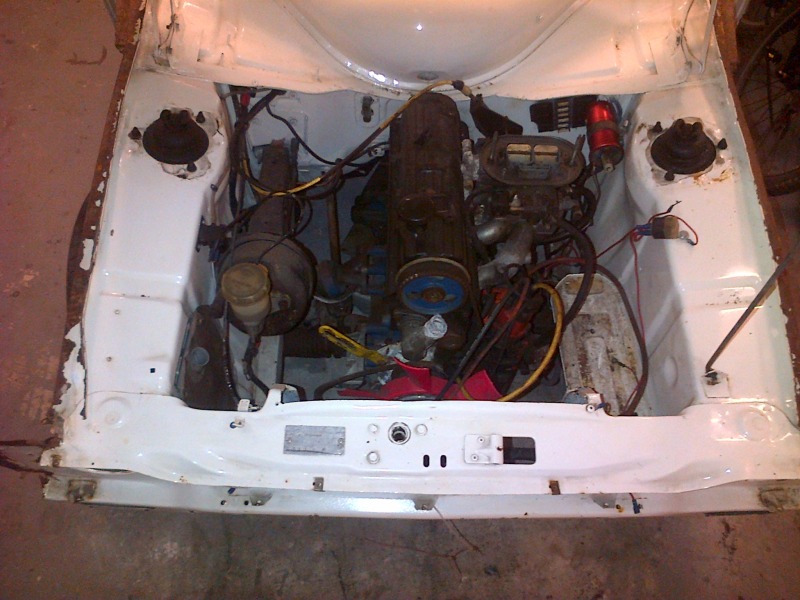
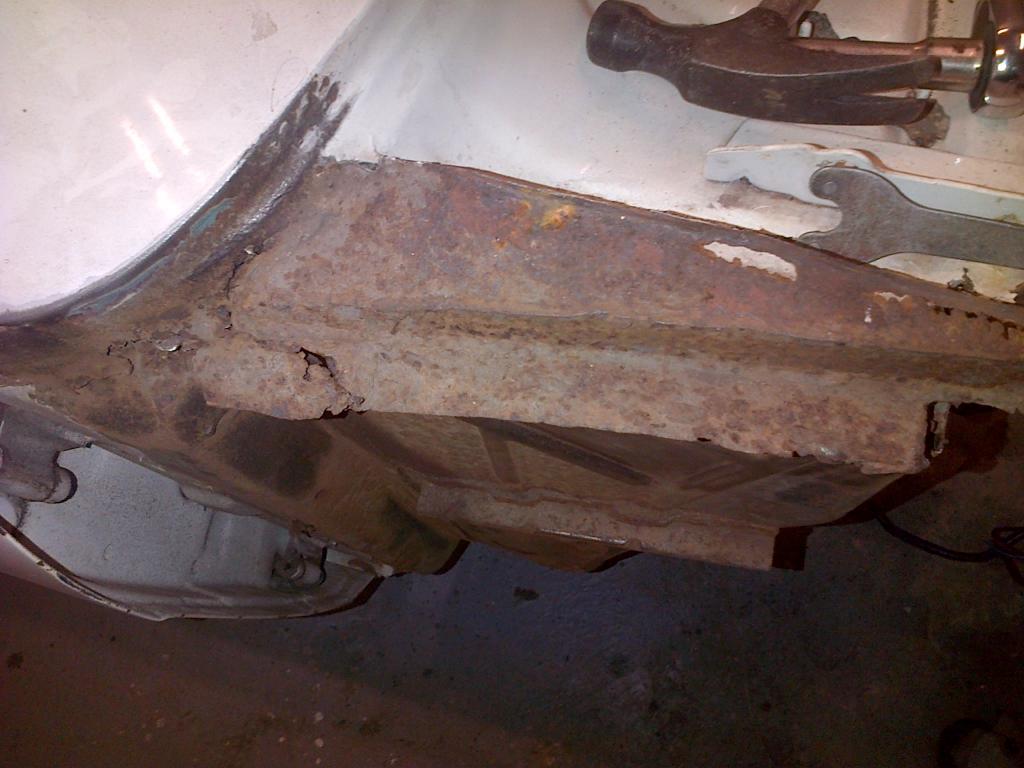
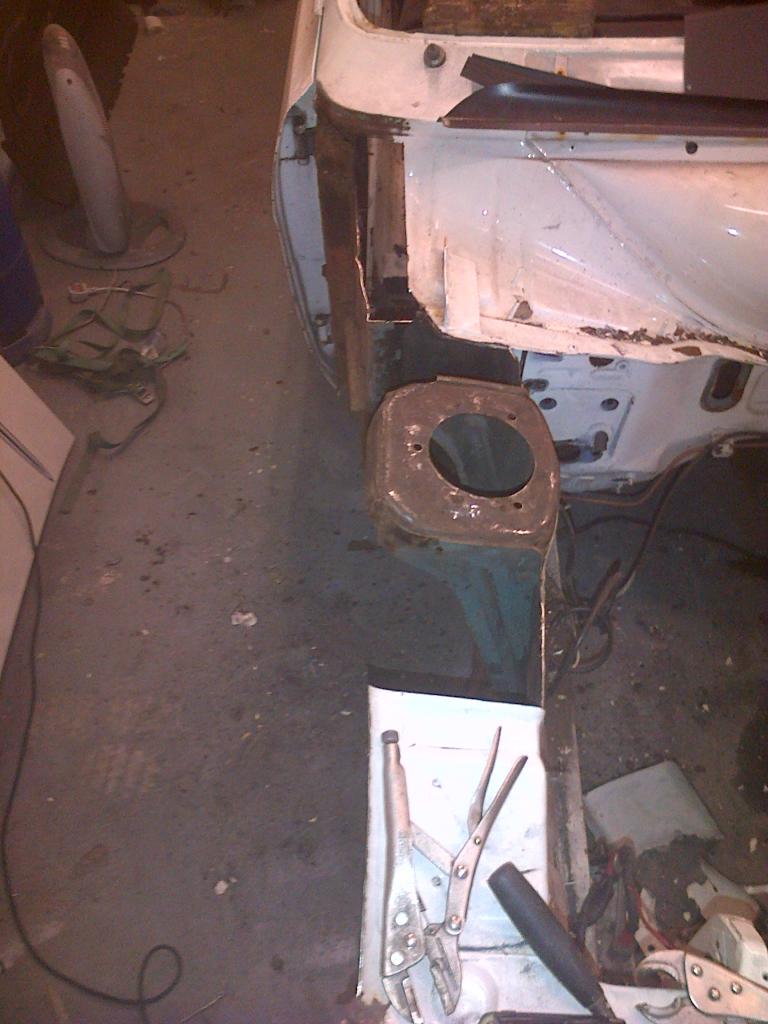
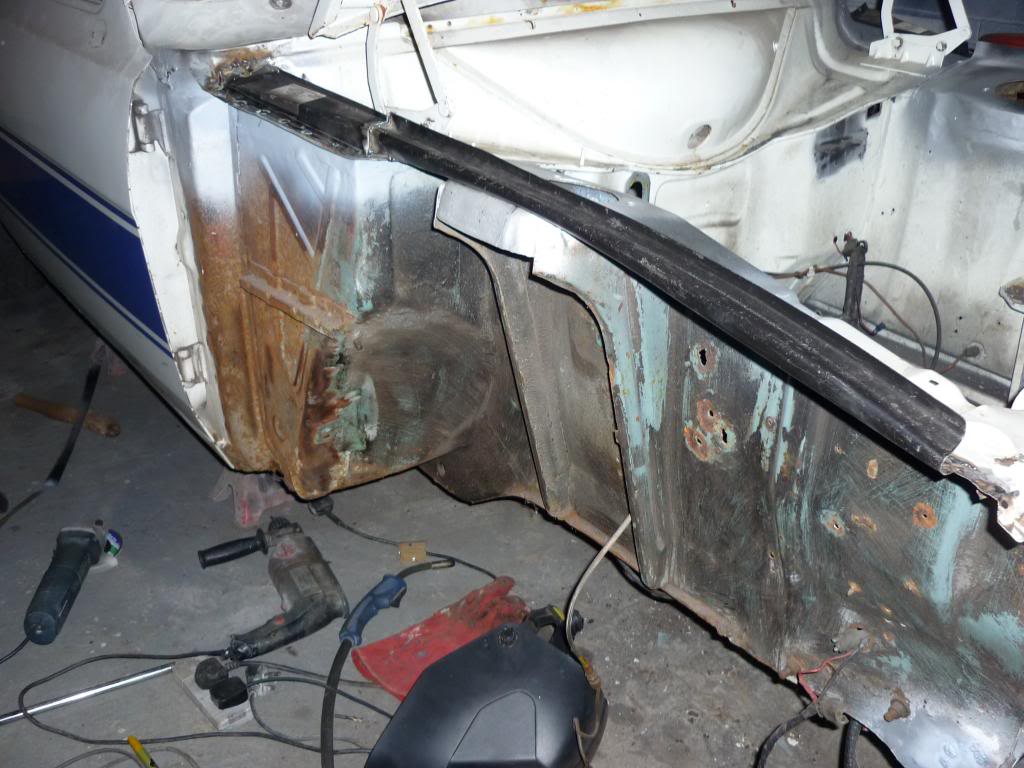
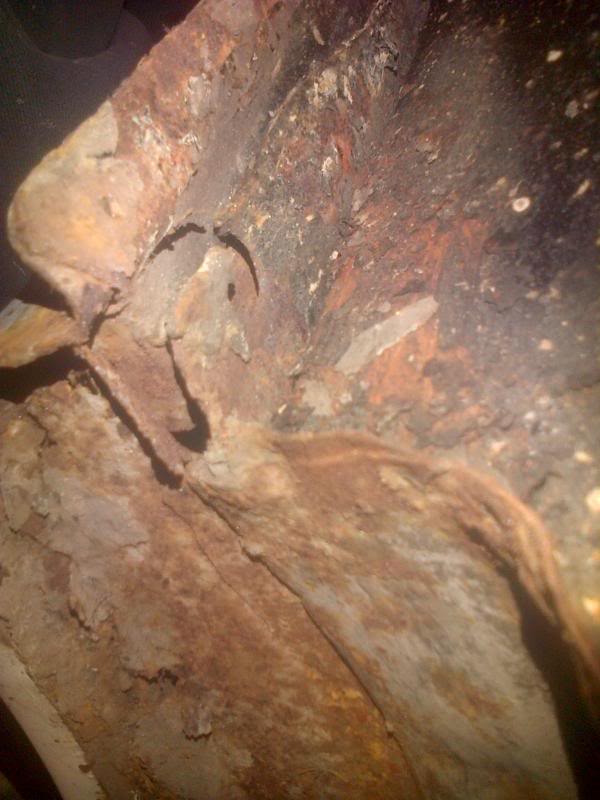
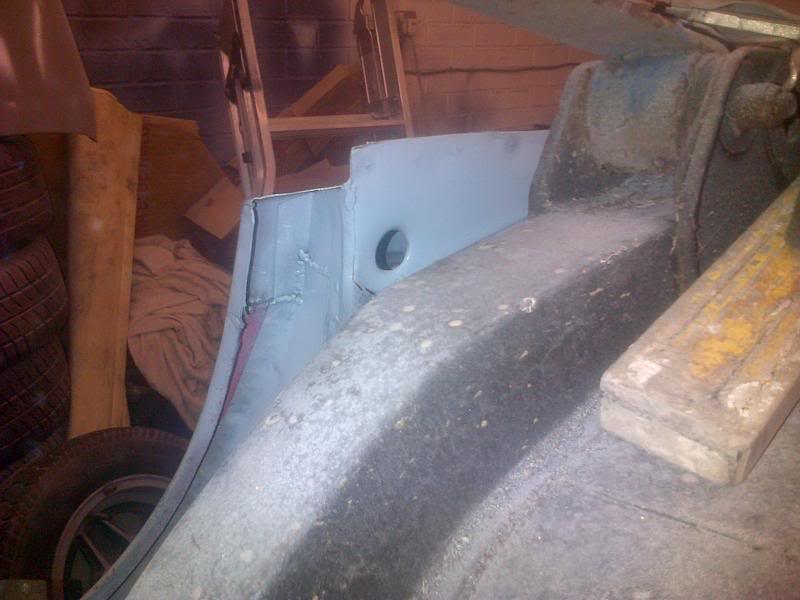
So, here it is. Nothing special shell wise just an early shell that was in good condition with not that much to do just the usual sills, spare wheel and tank wells, front wings and front panel, door bottoms etc.
Here are some pics.
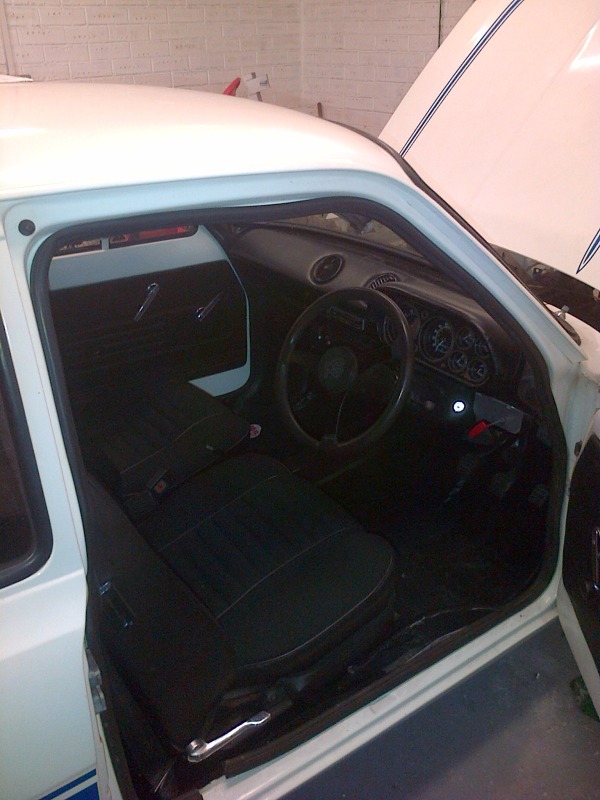
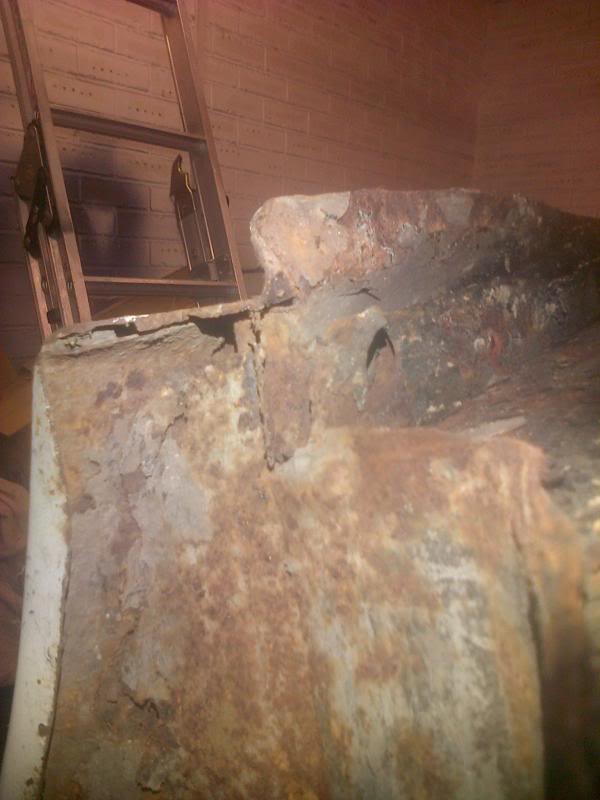
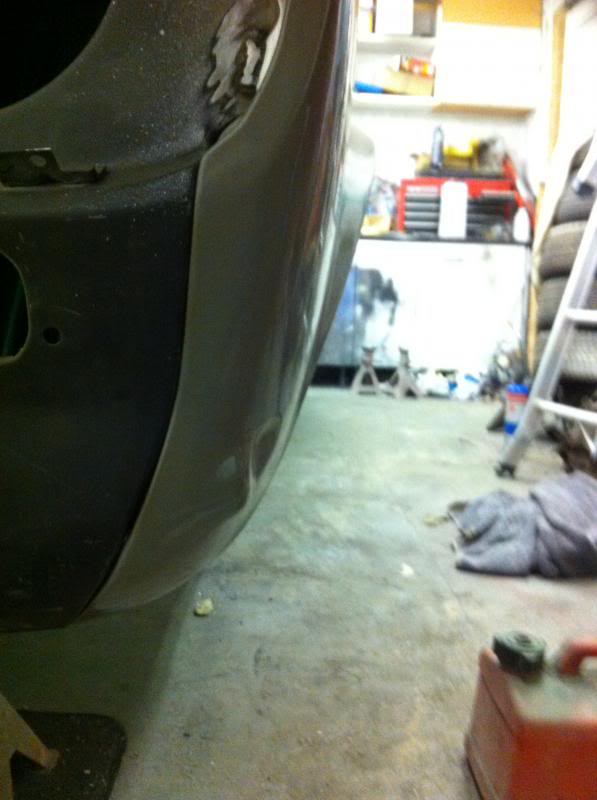
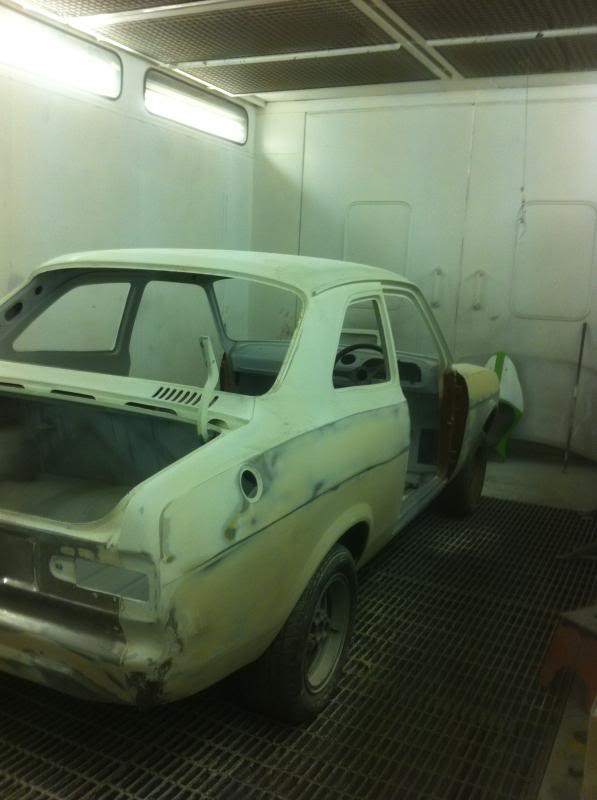
This is how she looked when I got her. RS2000 rep. Decent seats but other than that not much worth salvaging.
 [/QUOTE]
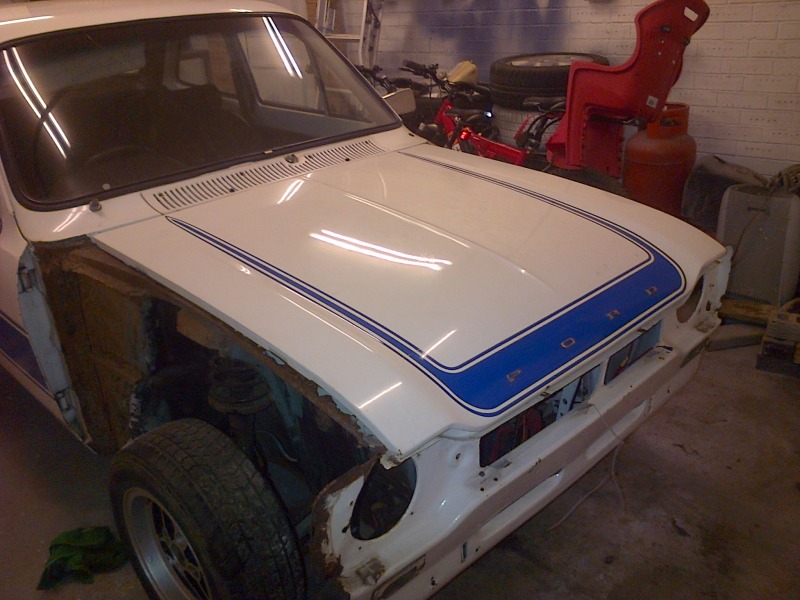
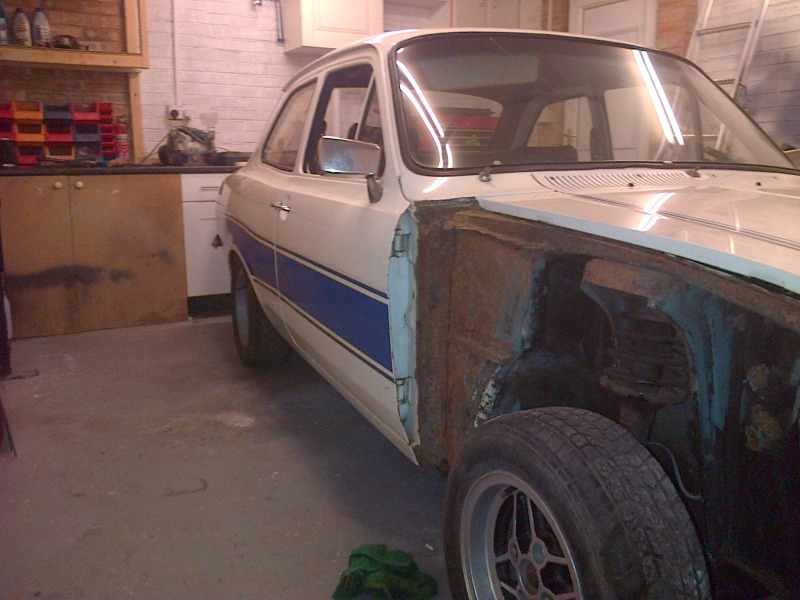
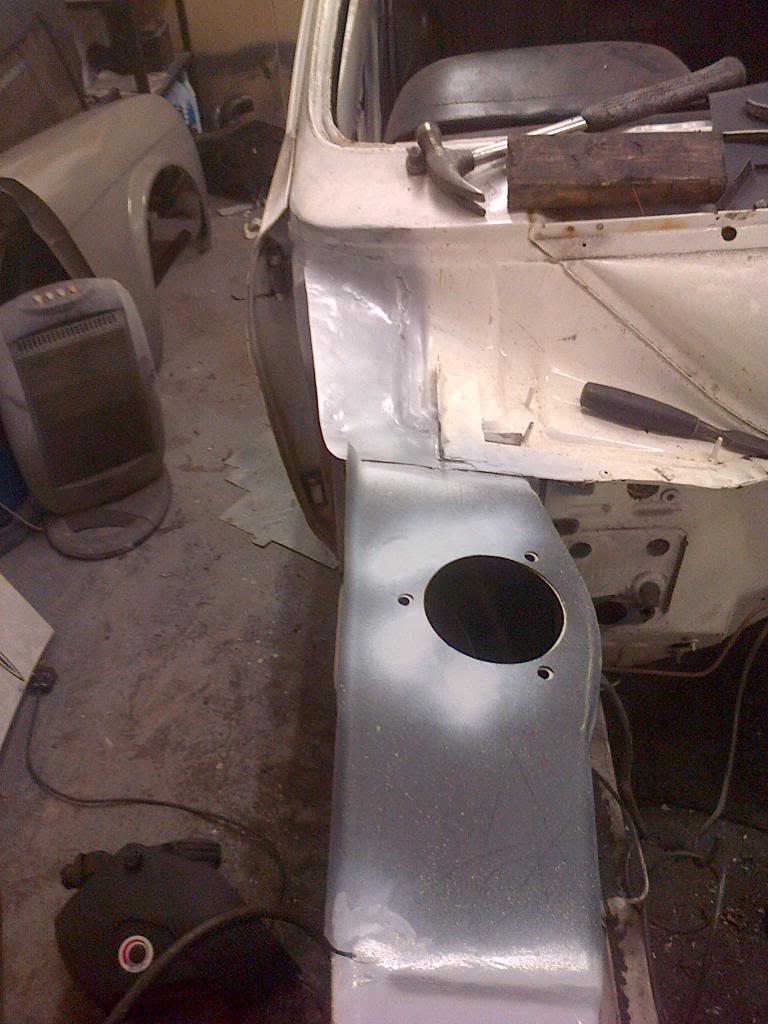
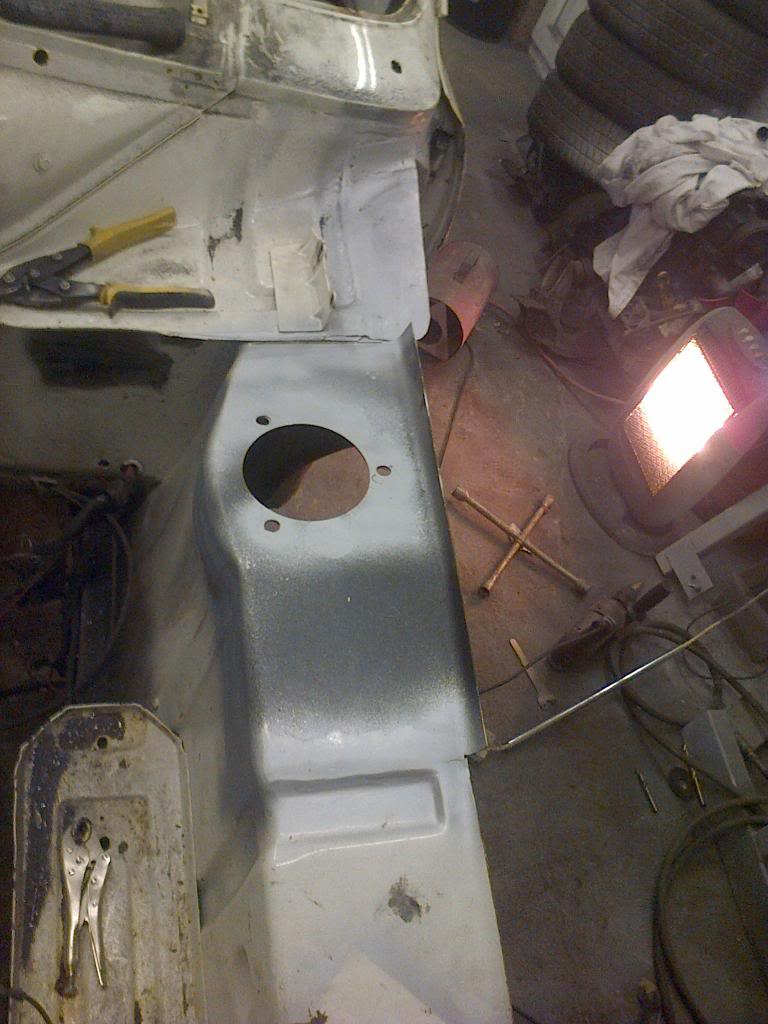
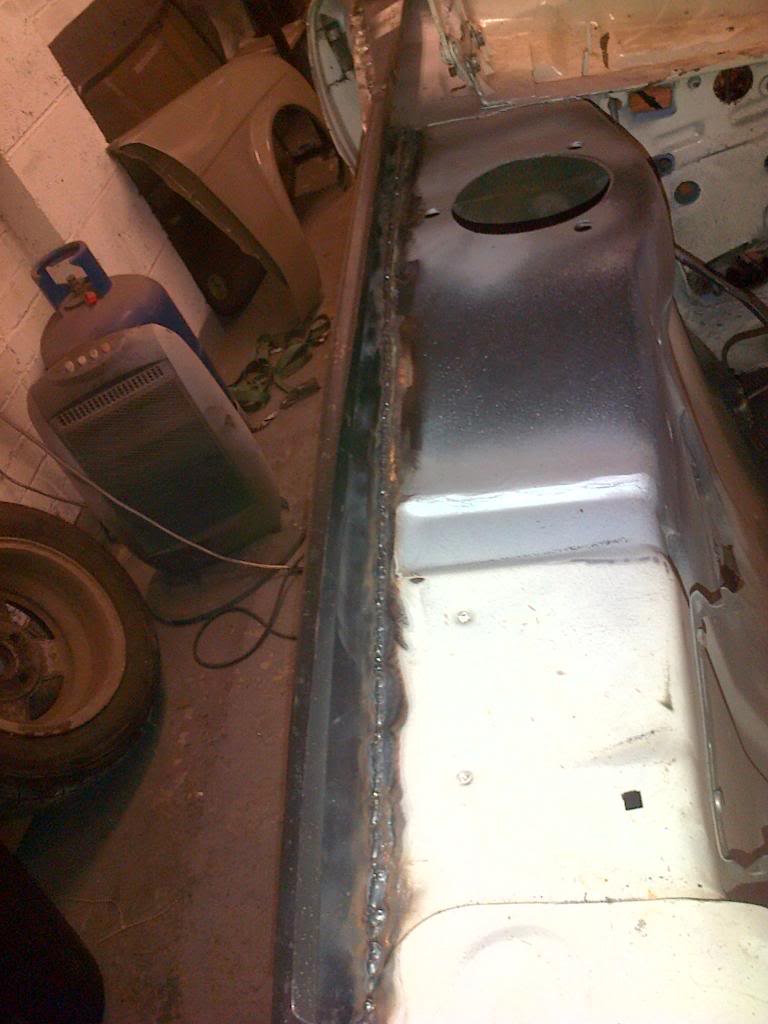
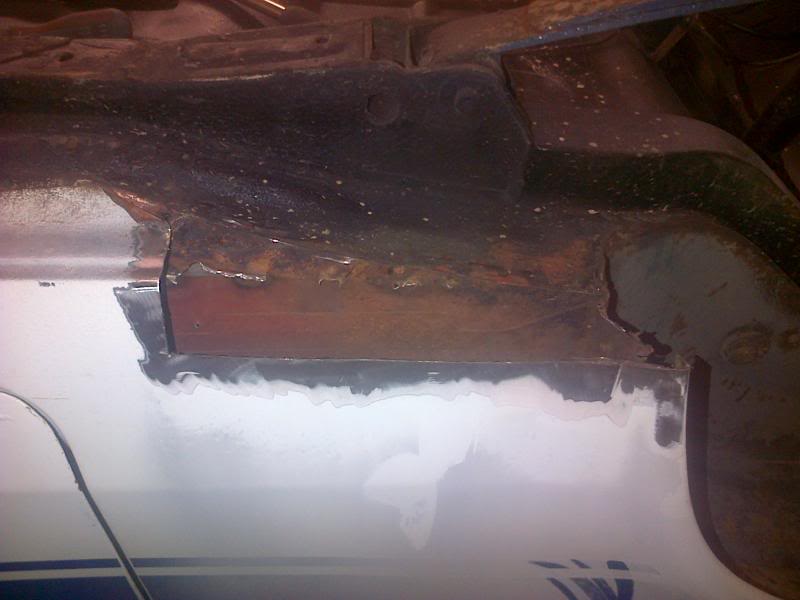
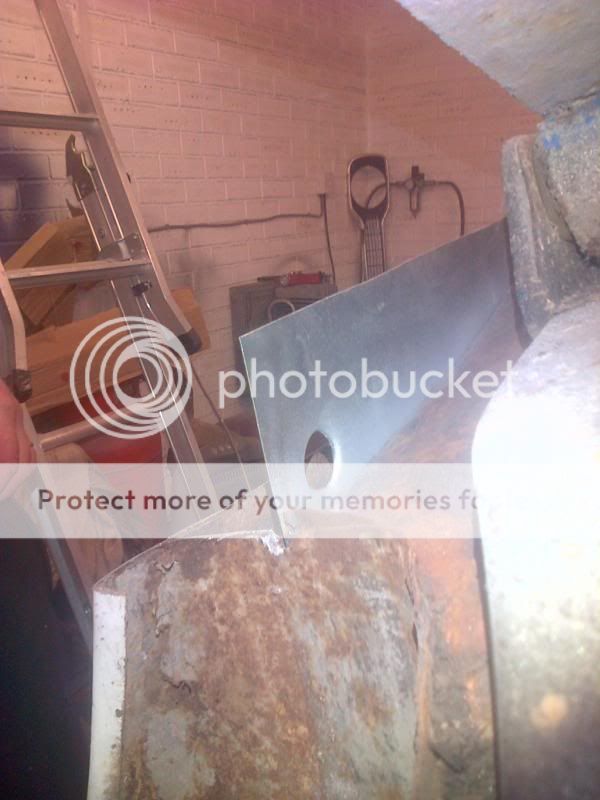
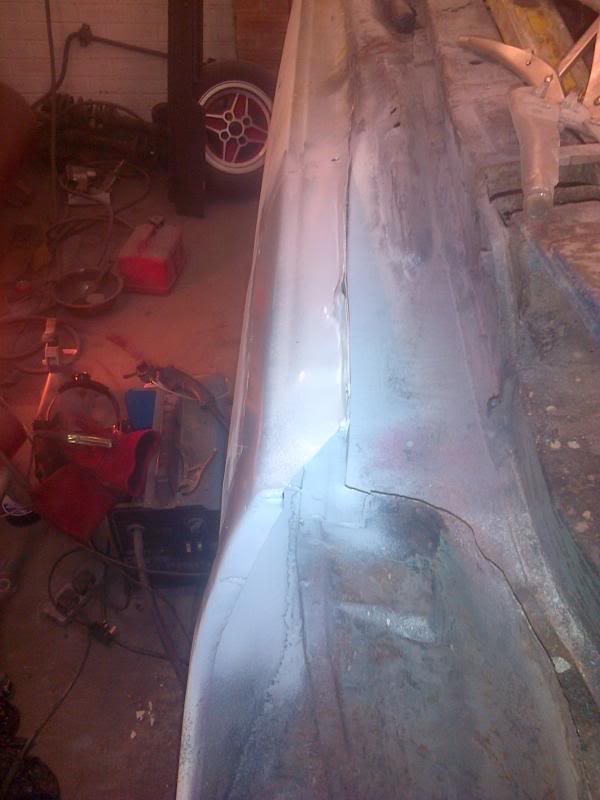
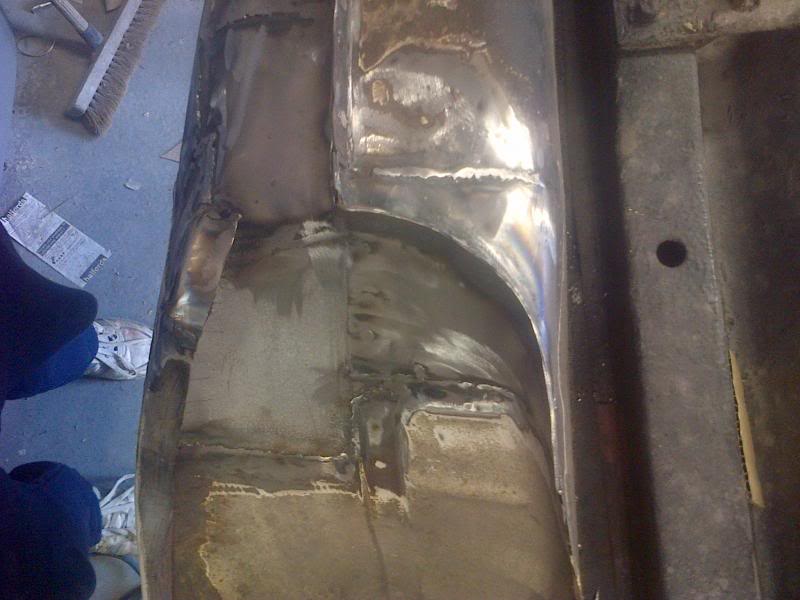
Here's a few pics of the metalwork being done
I have updated a couple of threads about the car on seriesoneturbo and rallyesportescorts site but for some reason never thought to put it on here!
So, here it is. Nothing special shell wise just an early shell that was in good condition with not that much to do just the usual sills, spare wheel and tank wells, front wings and front panel, door bottoms etc.
Here are some pics.
This is how she looked when I got her. RS2000 rep. Decent seats but other than that not much worth salvaging.
[/QUOTE]Here's a few pics of the metalwork being done
Thread Starter
Professional Waffler
Joined: May 2003
Posts: 25,714
Likes: 129
From: south yorkshire
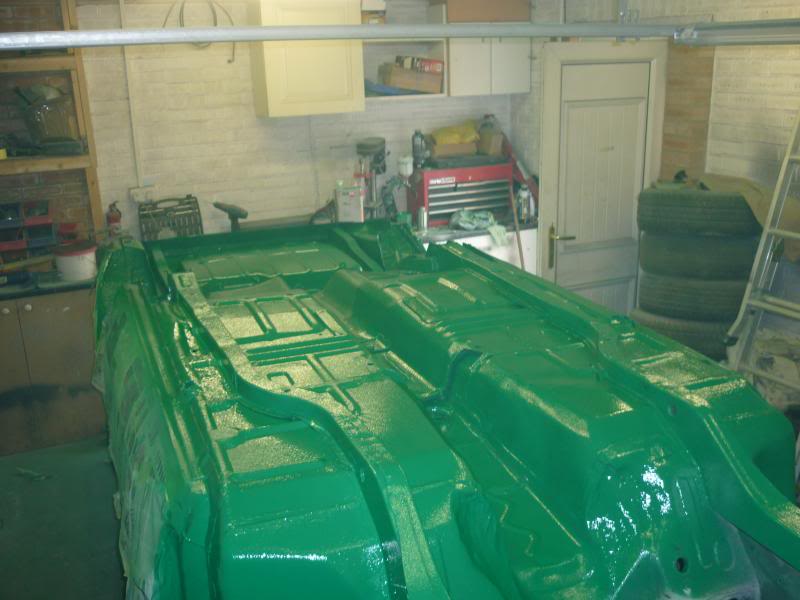
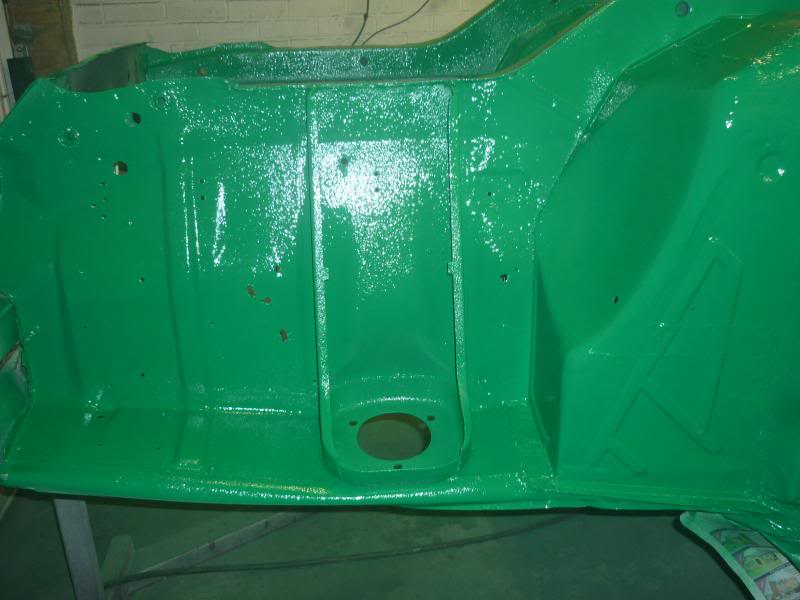
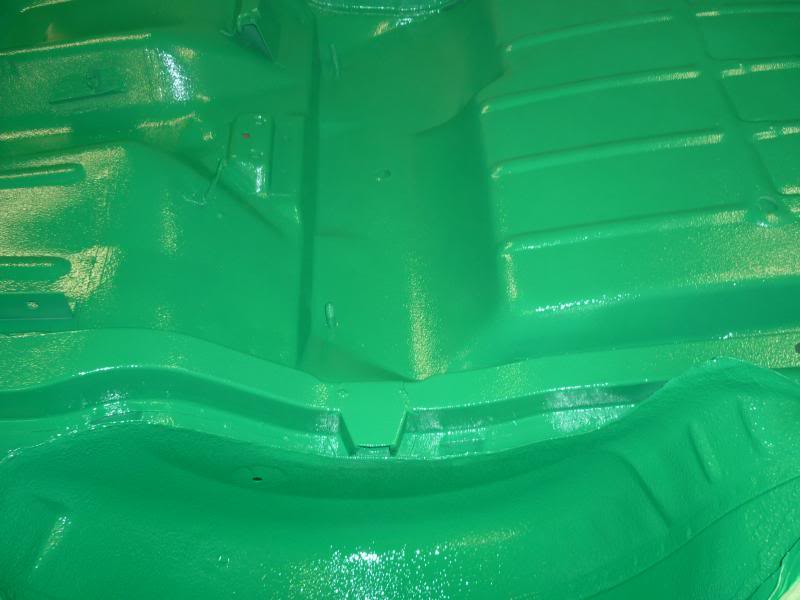
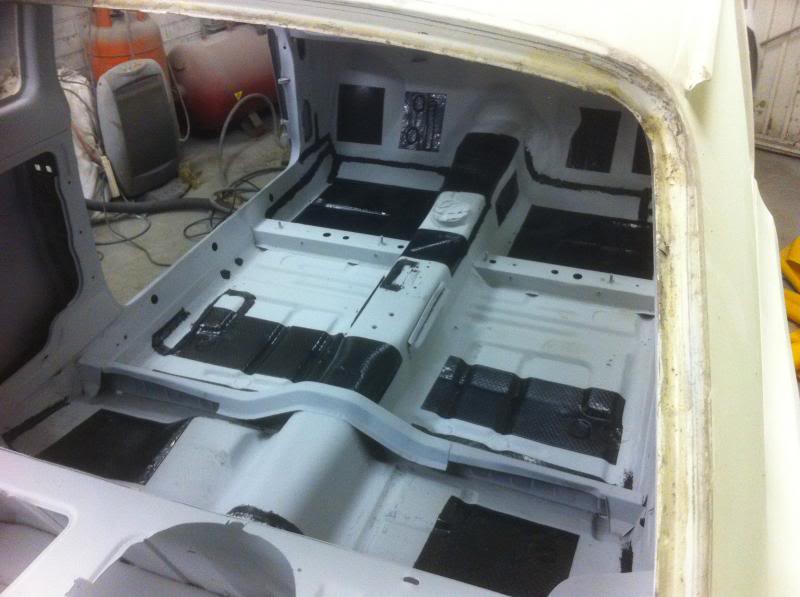
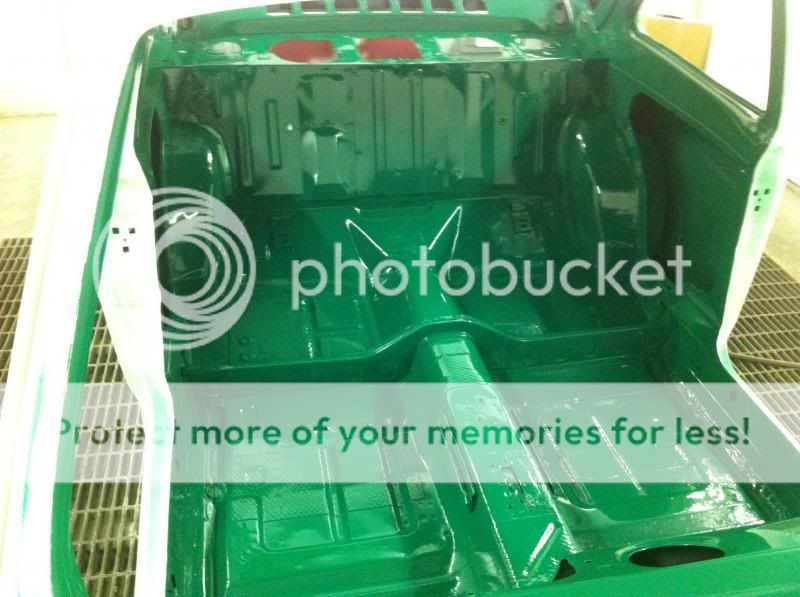
Underside then got a few coats of gravitex and the arches and wing backs i did with 3M sprayable sealer 
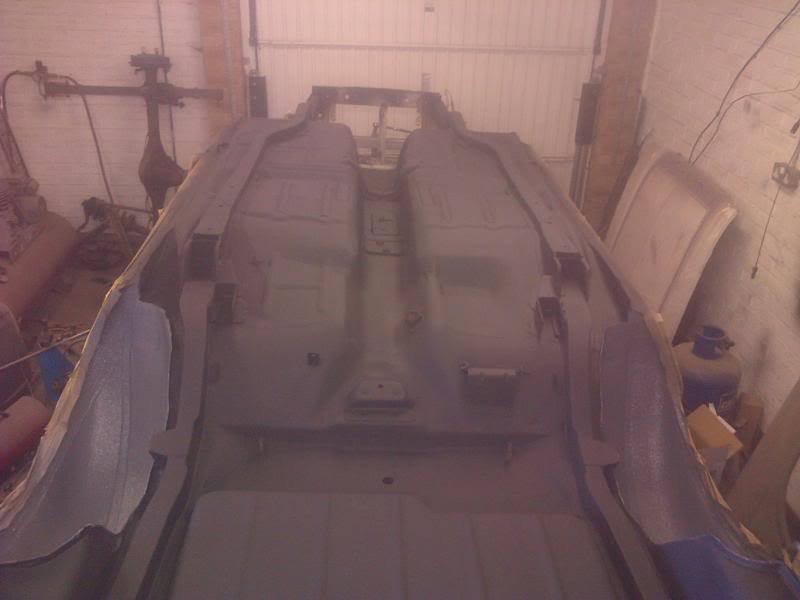
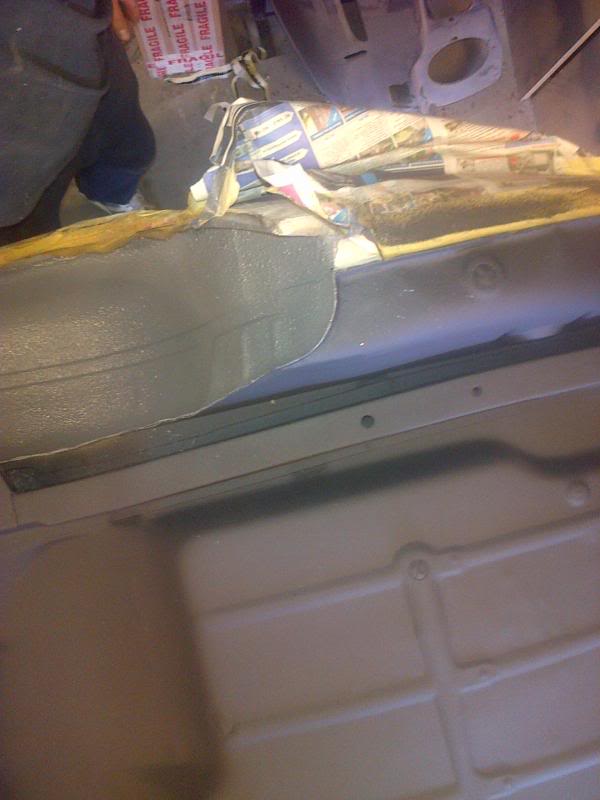

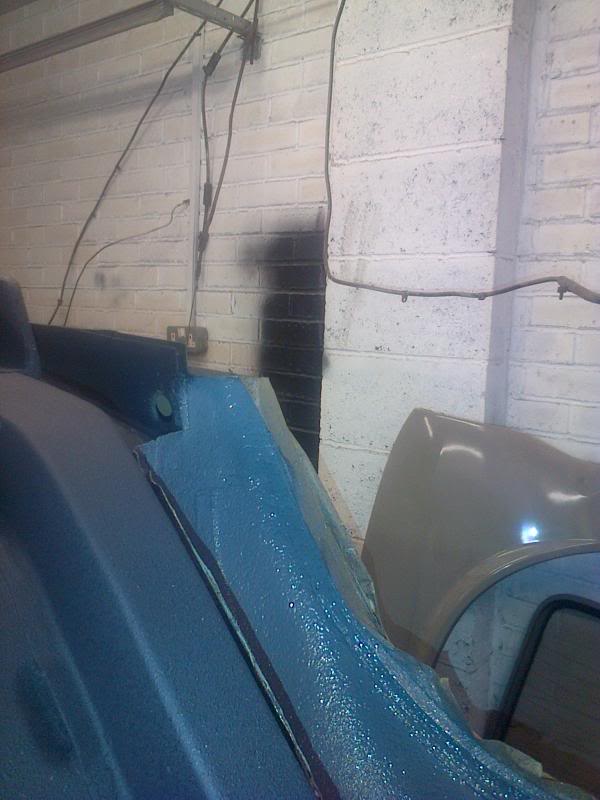
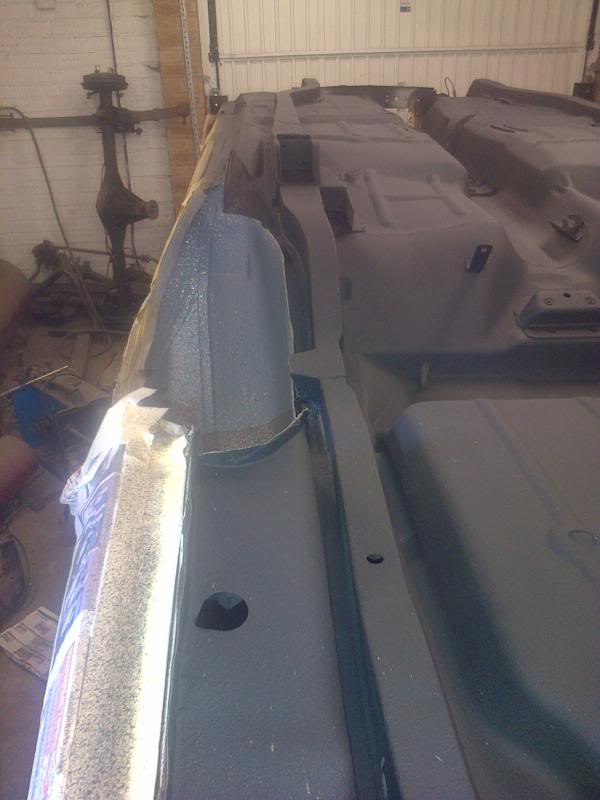
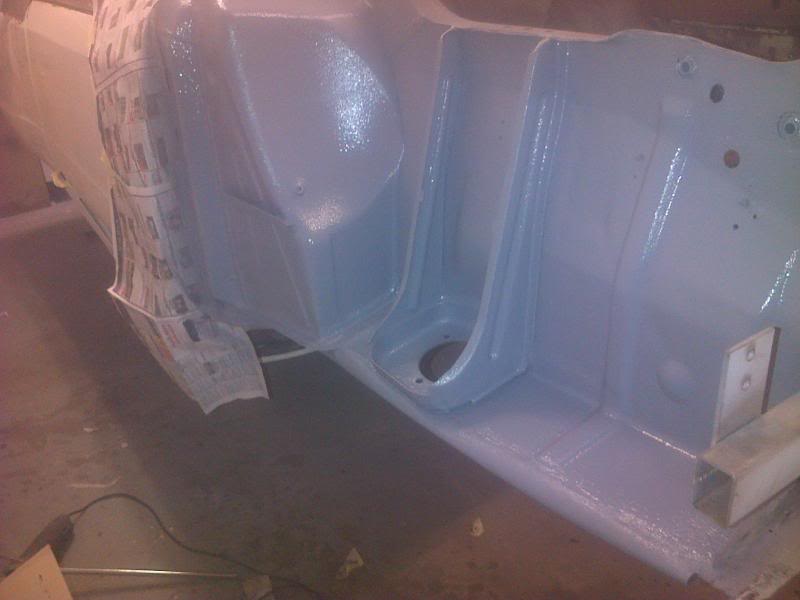
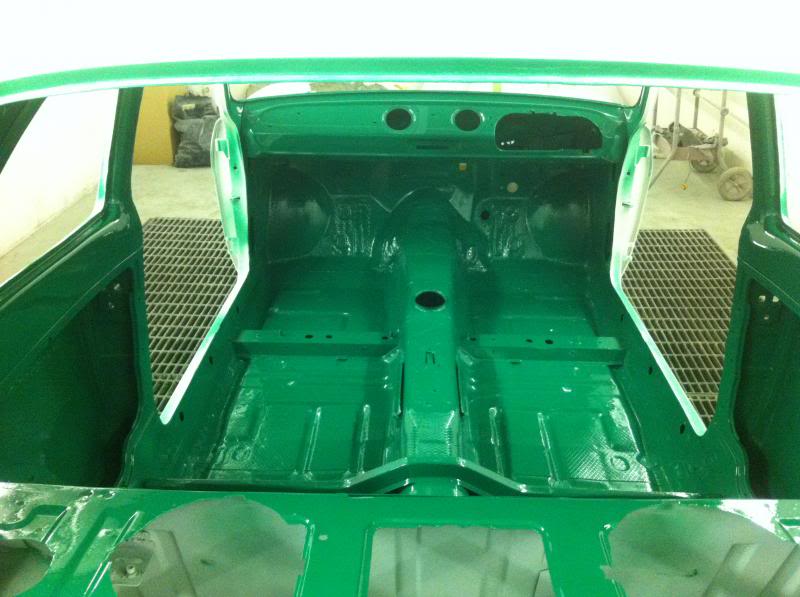
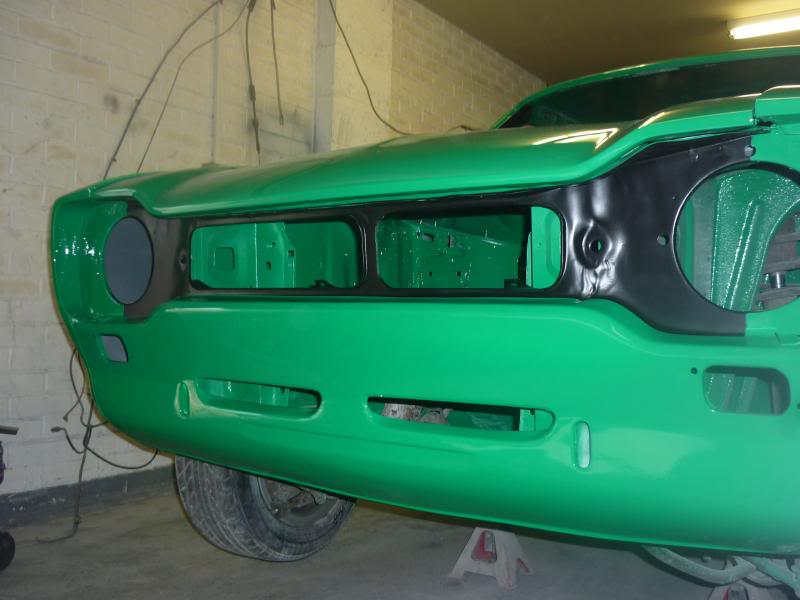
Then some colour
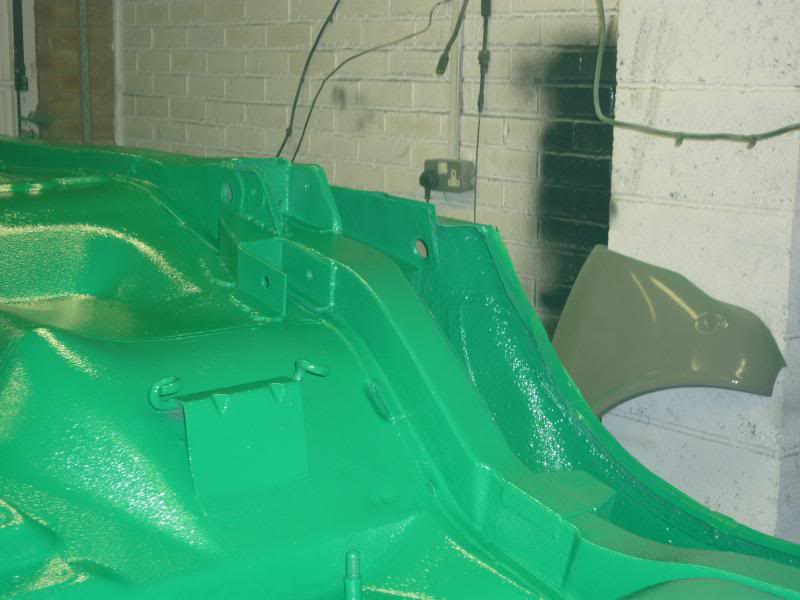
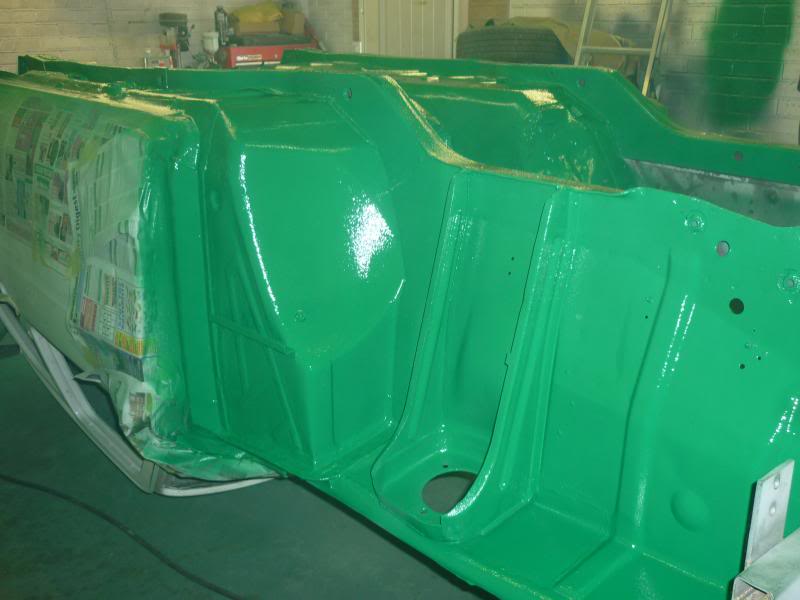
Back off the spit for the front end to go on
Then some colour
Back off the spit for the front end to go on


Thread Starter
Professional Waffler
Joined: May 2003
Posts: 25,714
Likes: 129
From: south yorkshire
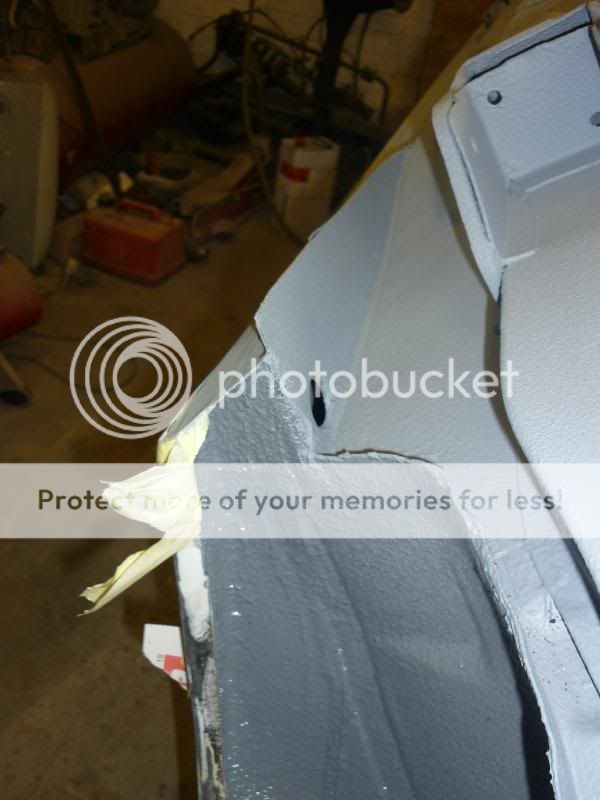
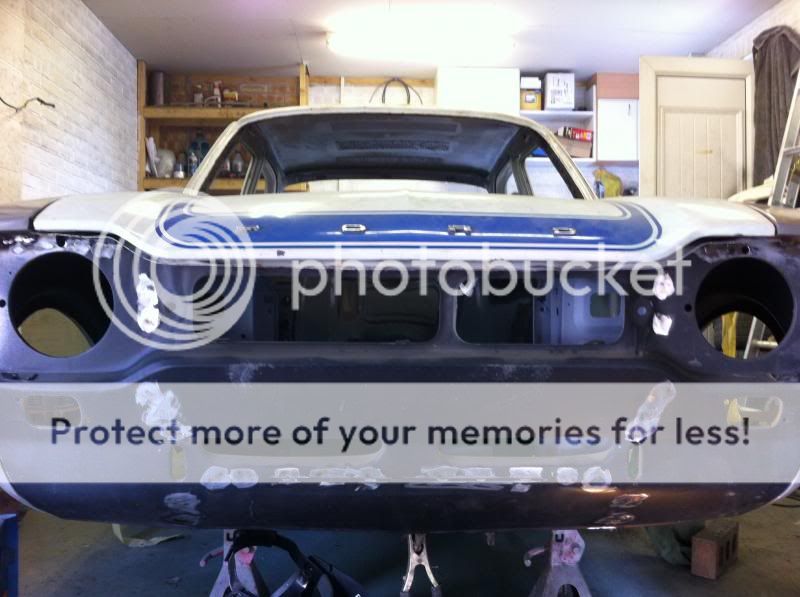
Then I started to get it ready to go to my mates for painting
Front wings, NEW, needed a load of work!
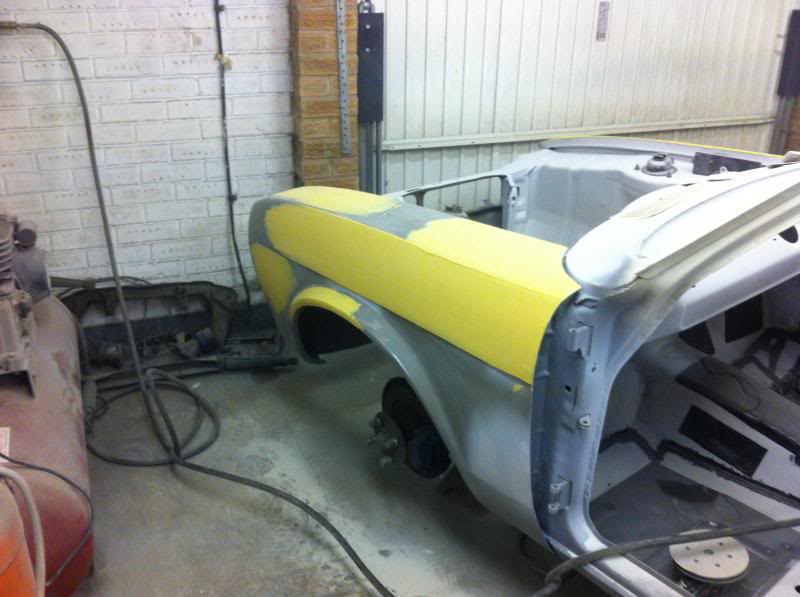
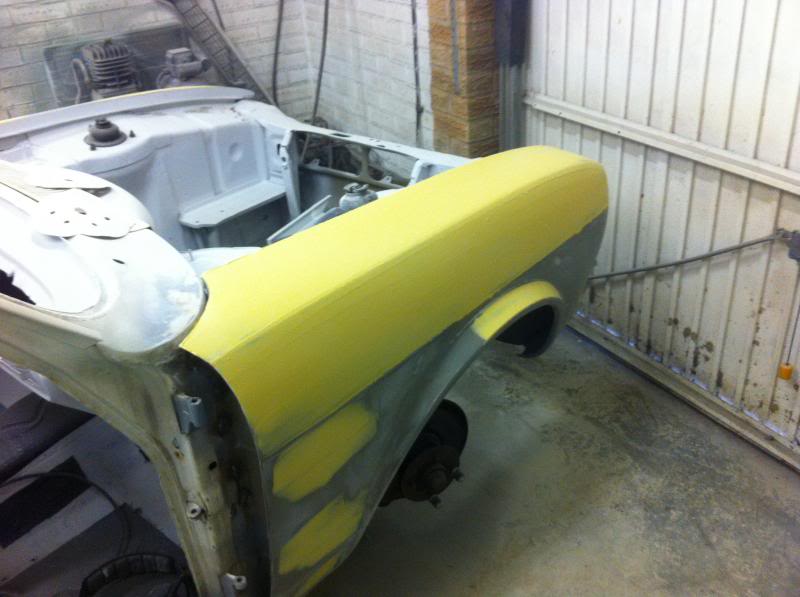
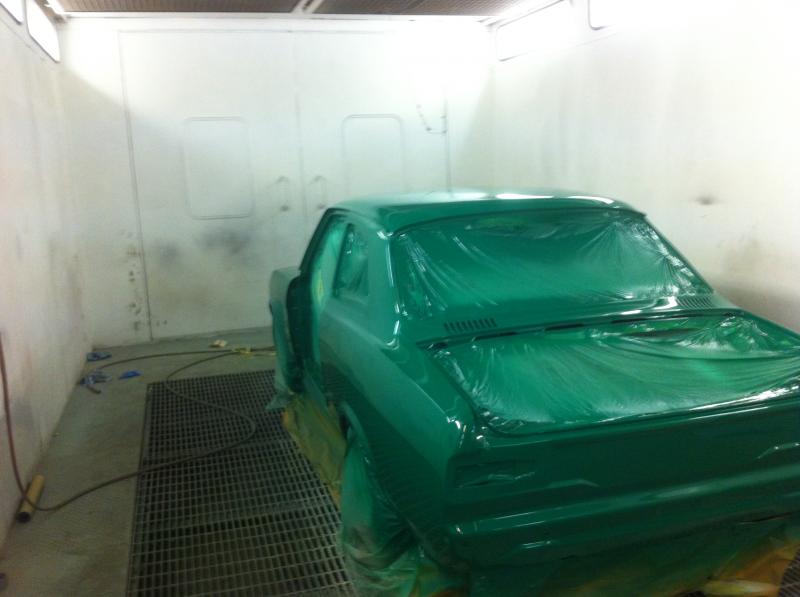
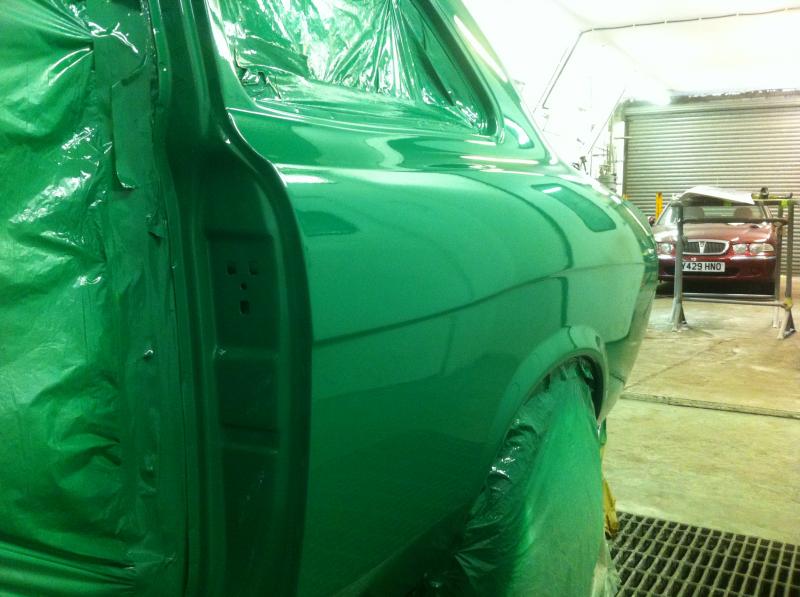
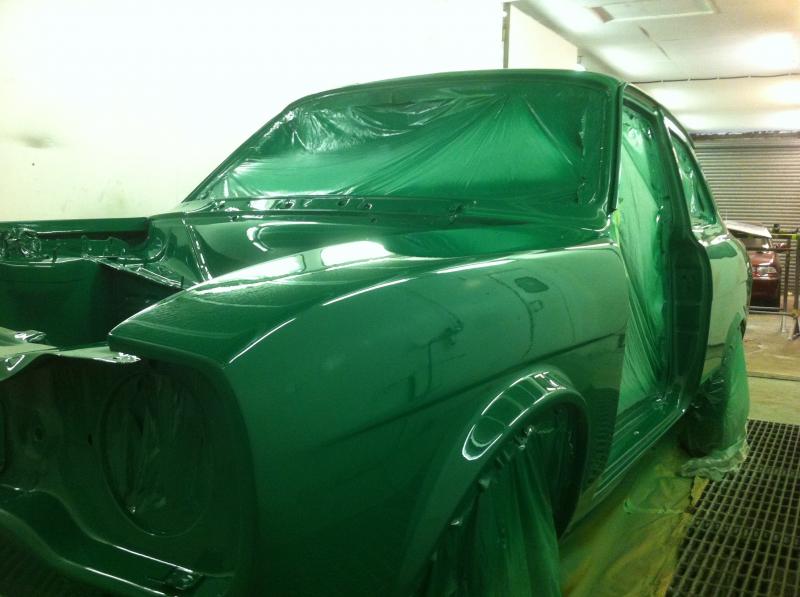
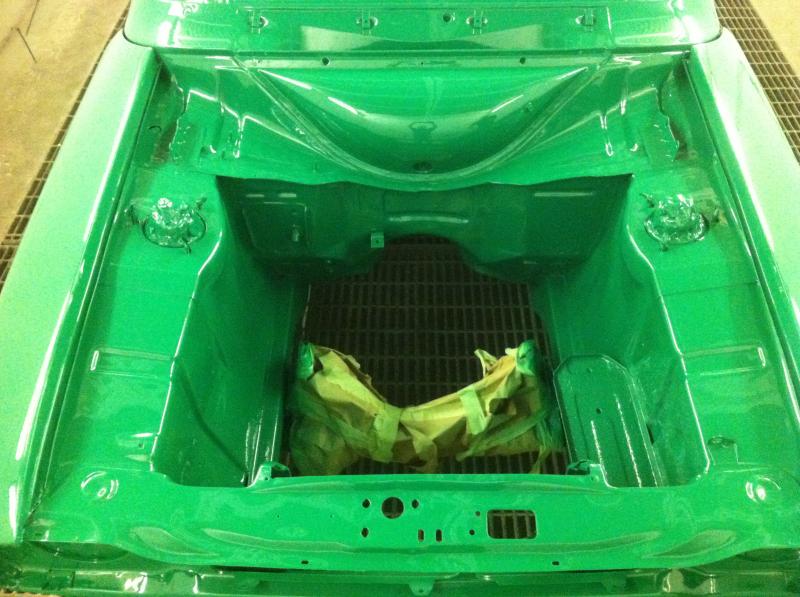
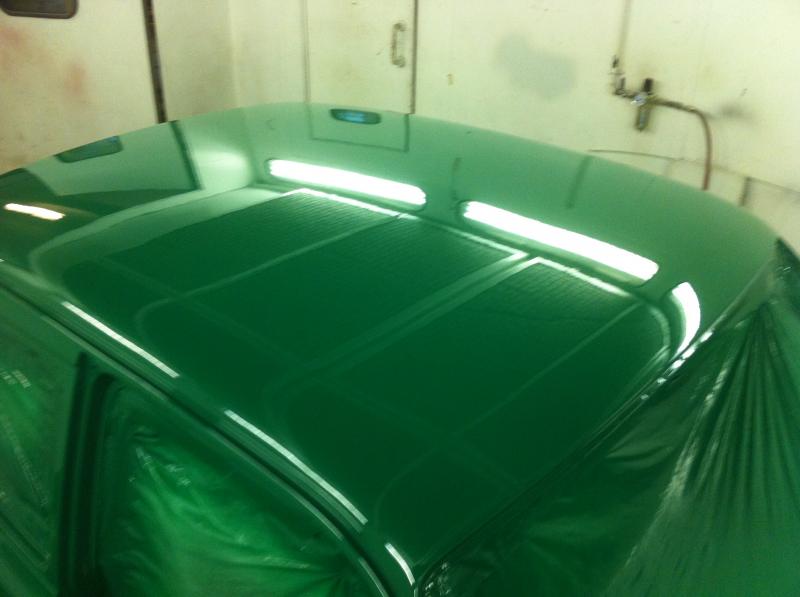
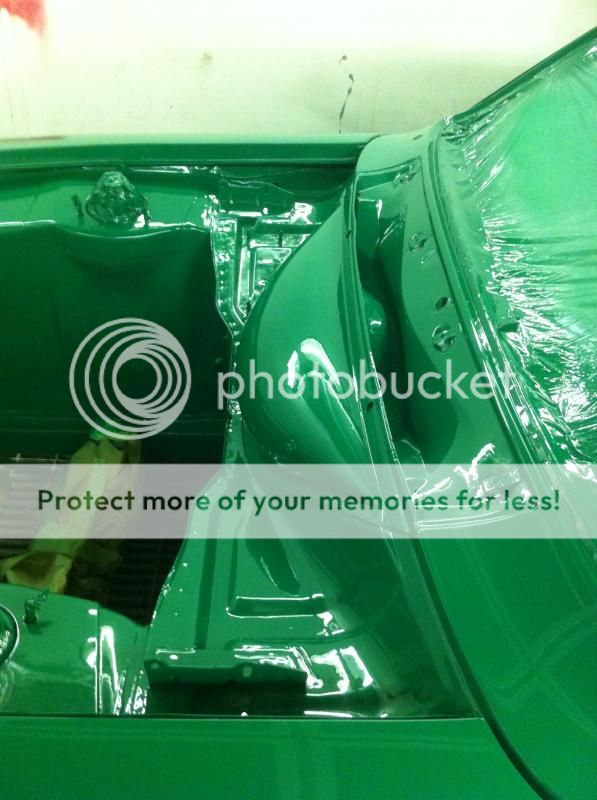
Then it went to paintshop
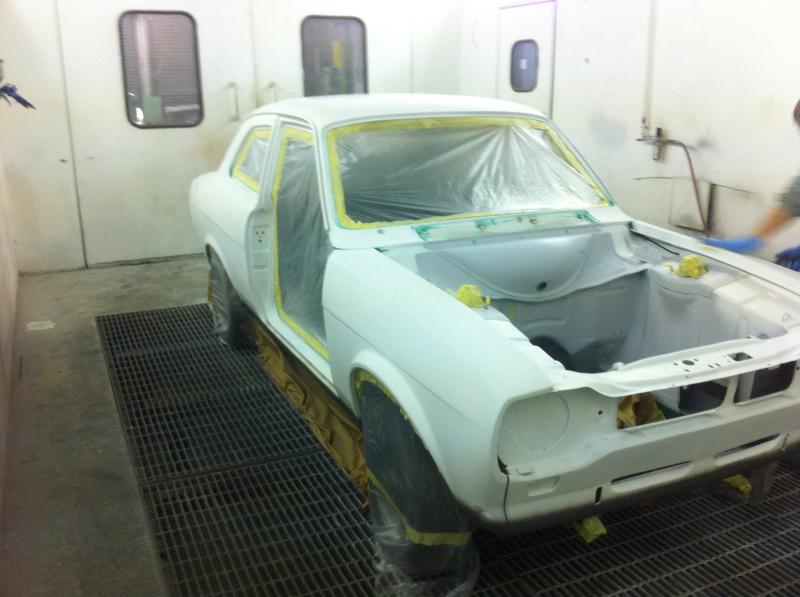
The car was fully bare metalled, spray filled, blocked, high build primed, blocked, then primed, 4 coats of colour and 4 coats of laquer. Finish is amazing.

Front wings, NEW, needed a load of work!


Then it went to paintshop
The car was fully bare metalled, spray filled, blocked, high build primed, blocked, then primed, 4 coats of colour and 4 coats of laquer. Finish is amazing.
Thread Starter
Professional Waffler
Joined: May 2003
Posts: 25,714
Likes: 129
From: south yorkshire
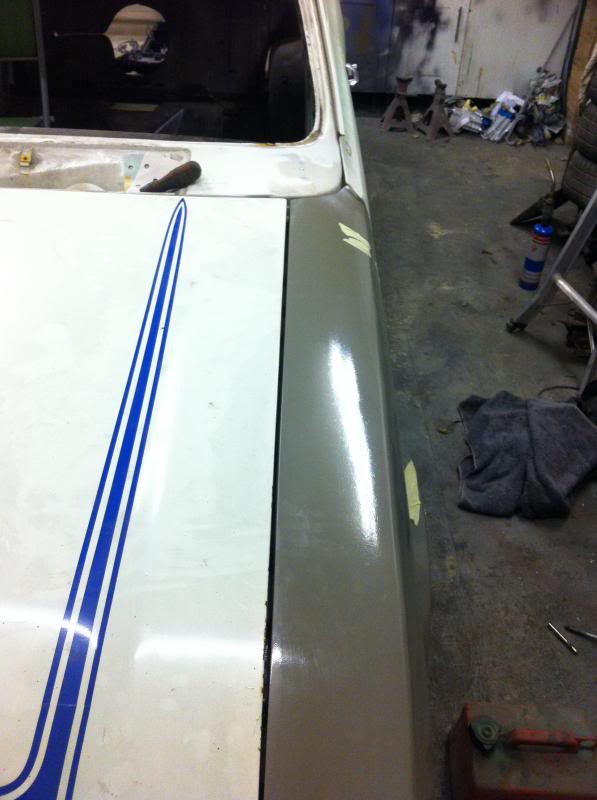
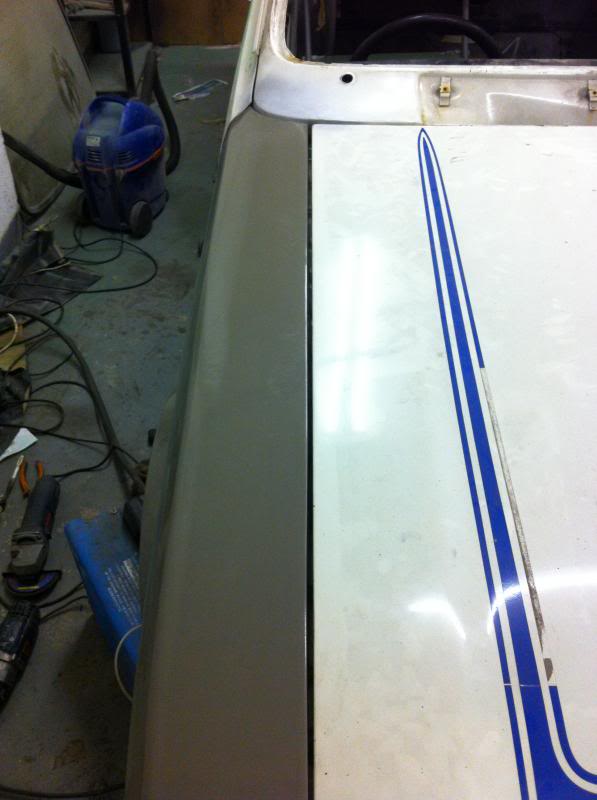
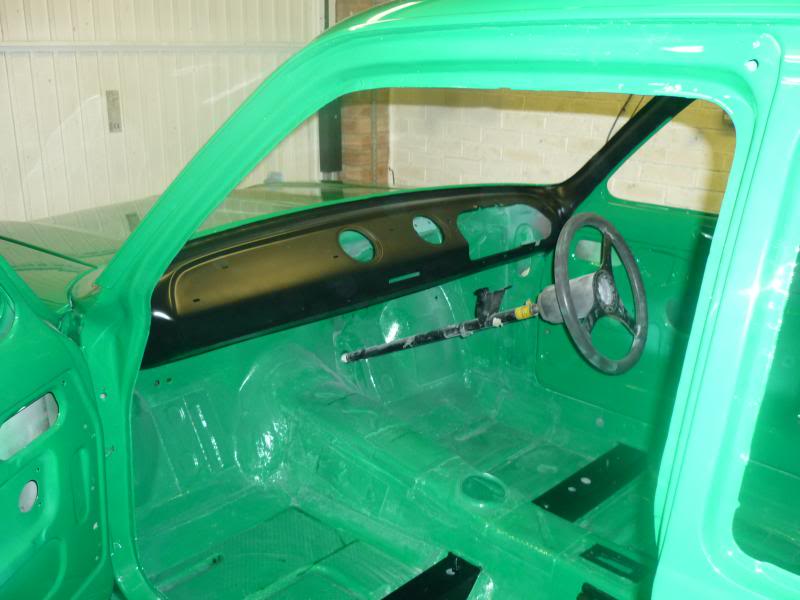
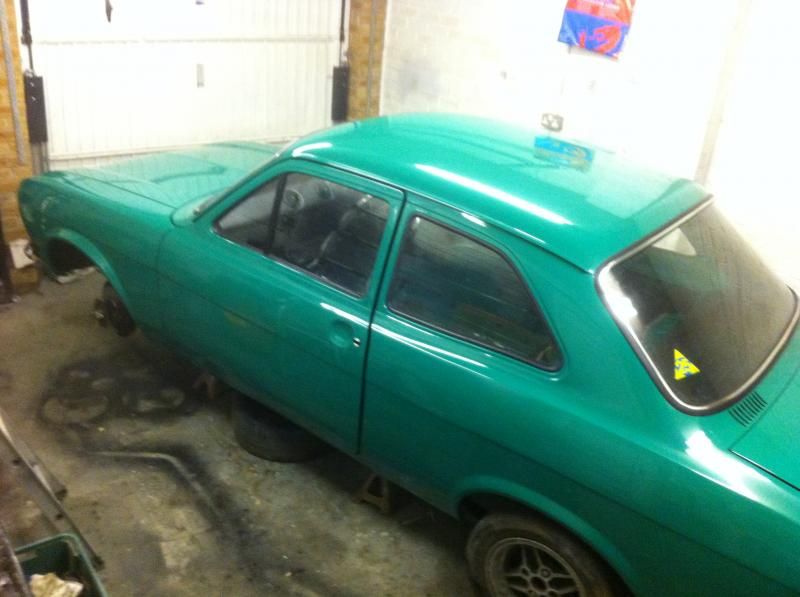
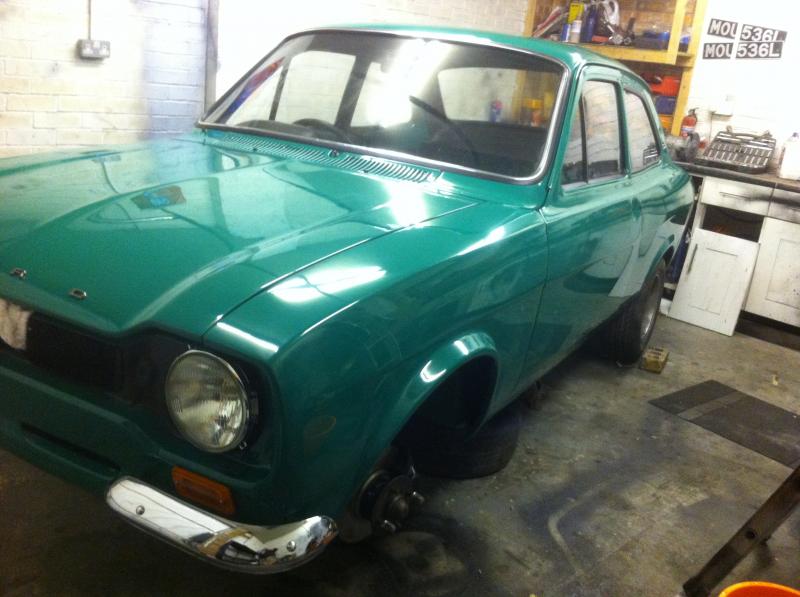
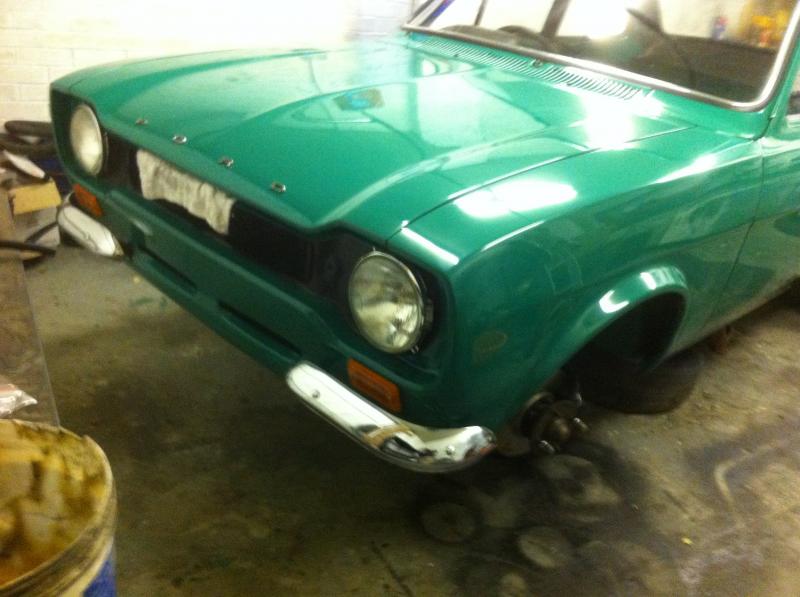
Now shes home
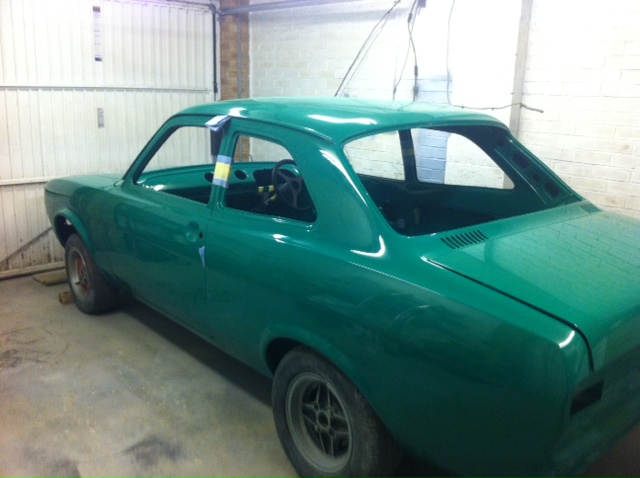
I did the satin blacking, then I fully waxoyled the cavities etc and basically she has sat like this now for a few months while I'm refurbing suspension parts etc.
Should be an update soon as the rear axle and suspension is about done
I did the satin blacking, then I fully waxoyled the cavities etc and basically she has sat like this now for a few months while I'm refurbing suspension parts etc.
Should be an update soon as the rear axle and suspension is about done

Trending Topics

Thread Starter
Professional Waffler
Joined: May 2003
Posts: 25,714
Likes: 129
From: south yorkshire
Thanks Lads. As said in first post it's taken exactly 2 years to get to where it is now. I bought it this time two years ago A little more work gone into the shell than the pics show I just copied some of the main ones over from my other threads. Back arches been done and small sections of the floor etc.
Thread Starter
Professional Waffler
Joined: May 2003
Posts: 25,714
Likes: 129
From: south yorkshire
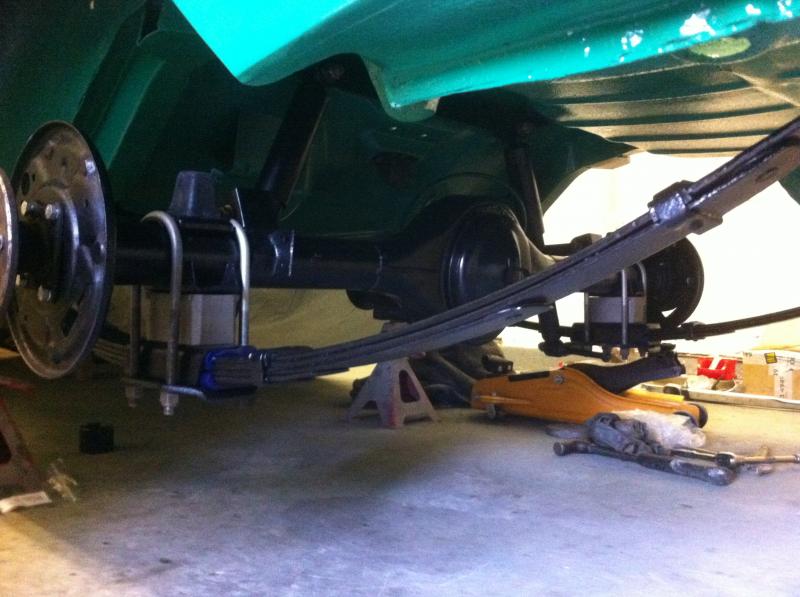
Not spent a great deal of time on it recently but at the same time it's been a lot of work cleaning this lot up and painting it all. Just a coat of rust undercoat and a few coats of satin black. No powdercoating or anything its no bufty mobile
It was the leaf springs that took the longest. I separated them all, de rusted them, reassembled them with a smear of high pressure grease between the leaves, prepped them and painted them!
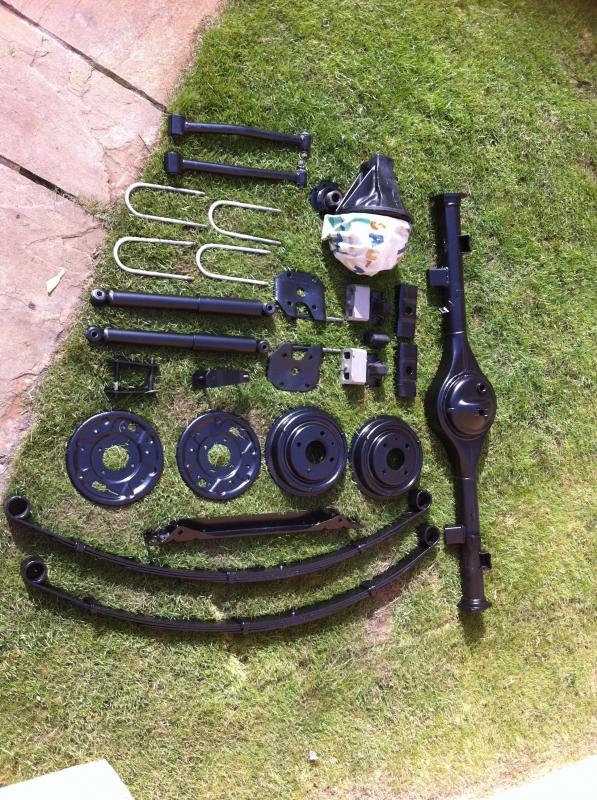
and all bolted back on with new Super Pro poly bushes
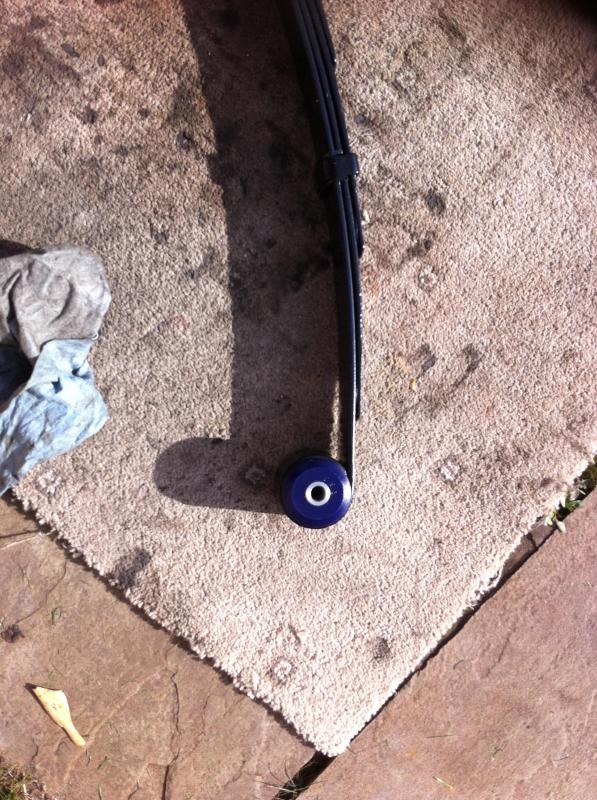
It was the leaf springs that took the longest. I separated them all, de rusted them, reassembled them with a smear of high pressure grease between the leaves, prepped them and painted them!

and all bolted back on with new Super Pro poly bushes


Thread Starter
Professional Waffler
Joined: May 2003
Posts: 25,714
Likes: 129
From: south yorkshire
Cheers lads I'm happy how it's going even though I would like to have specced it up straight away but I really want it on the road for next summer ! Times flying!
Thread Starter
Professional Waffler
Joined: May 2003
Posts: 25,714
Likes: 129
From: south yorkshire
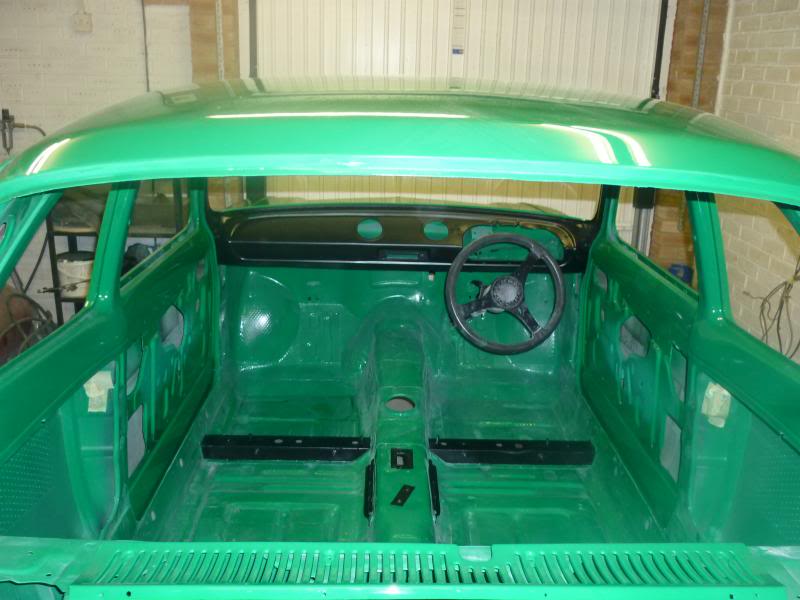
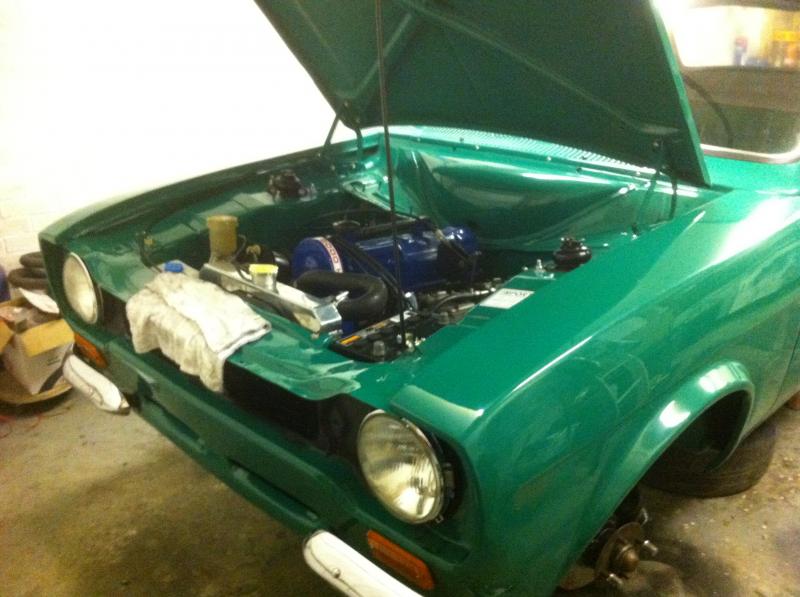
Overdue update. Cars almost done. Waiting on a few bits so I can finish interior. Can't finish it till my handles come back from chromers as I need to fit those before the door cards etc. Ready to attempt starting, just waiting for starter motor which I am collecting Monday. Fingers crossed.
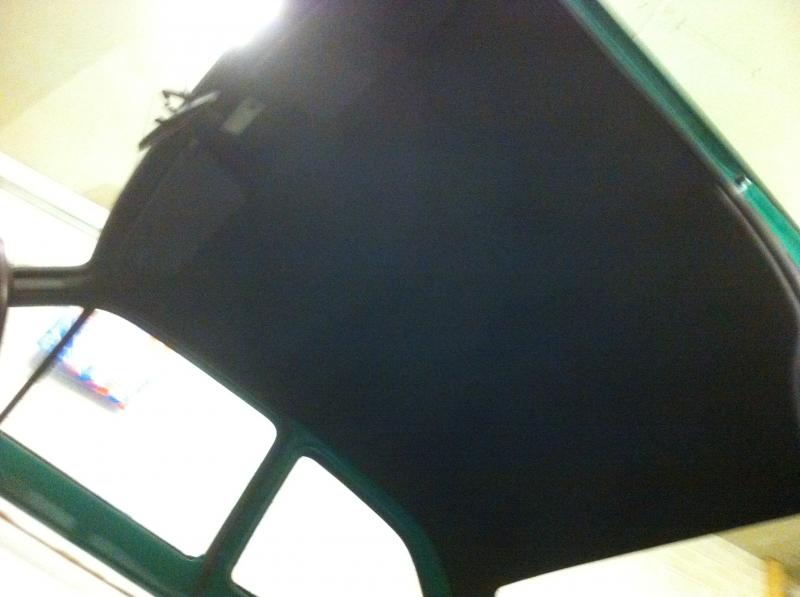
New headlining, what a ball ache that was!
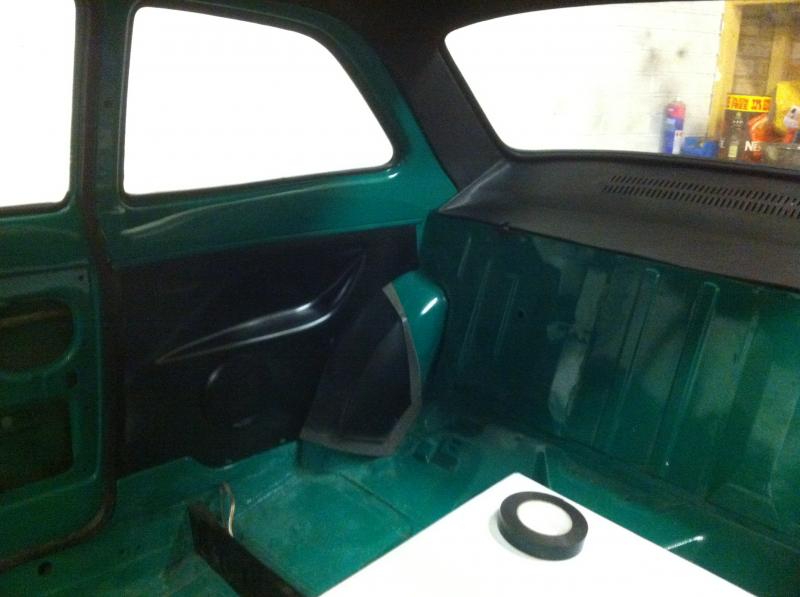
Refurbished rear shelf and rear quarter cards. Cards already had speaker holes, so fitted new speakers as I will want some tunes in the car even though the twin carbs will sound nice That rear shelf was absolutely knackered! You would not believe what I refurbed it with!
Will get some better picture soon, the camera on the iphone 4 is crap! Waiting for a new charger for my main camera!
New headlining, what a ball ache that was!

Refurbished rear shelf and rear quarter cards. Cards already had speaker holes, so fitted new speakers as I will want some tunes in the car even though the twin carbs will sound nice


Will get some better picture soon, the camera on the iphone 4 is crap! Waiting for a new charger for my main camera!

PassionFord Regular
Joined: Jun 2014
Posts: 421
Likes: 39
From: St Albans
Just love this. A great example of less is more. Funny how so many hours of blood, sweat and tears gets condensed into five minutes of words and photos. Often it's the smallest items that mean the most, finding some NOS trim part or when something you were worried about proves to be in perfect order after all.
Thread Starter
Professional Waffler
Joined: May 2003
Posts: 25,714
Likes: 129
From: south yorkshire
Cheers Lads. Vacuman you are right there. Even though I have done all the graft, I find it hard to believe so much work and hours have gone into it when I look back at the pictures!


On a tangent
iTrader: (1)
Joined: Feb 2011
Posts: 1,512
Likes: 38
From: Driving Cadillac's in my dreams...
Absolutely beautiful 
Only tiny thing I'd change is the sun strip,not sure on the blue against the green..but oc that's just personal pref, other than that it looks the absolute Bollox!!!!!!!
Only tiny thing I'd change is the sun strip,not sure on the blue against the green..but oc that's just personal pref, other than that it looks the absolute Bollox!!!!!!!


