G109 WEV - Red S2 *Engines fitted and all connected up*

Thread Starter
Regular Contributor
Joined: Nov 2008
Posts: 237
Likes: 0
From: copthorne/crawley
 G109 WEV - Red S2 *Engines fitted and all connected up*
ok so here we go with being away for a few months ive been playing with something else i brought my old zetec for £1400 and i ended up selling it for £2500
So i decided to treat my self to something good which was this
vvvvvvvvv
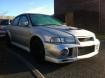
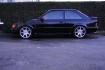
ford escort rs turbo
 This image has been resized. Click this bar to view the full image. The original image is sized 720x540 and weights 65KB.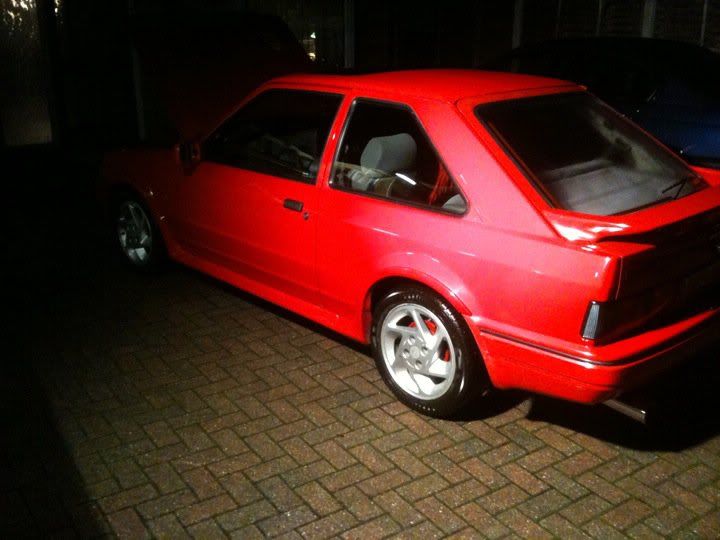
This image has been resized. Click this bar to view the full image. The original image is sized 720x540 and weights 84KB.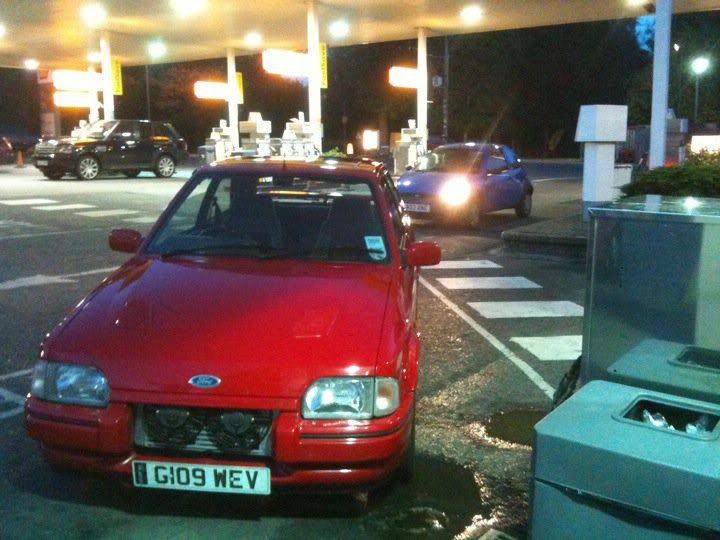
This image has been resized. Click this bar to view the full image. The original image is sized 720x540 and weights 94KB.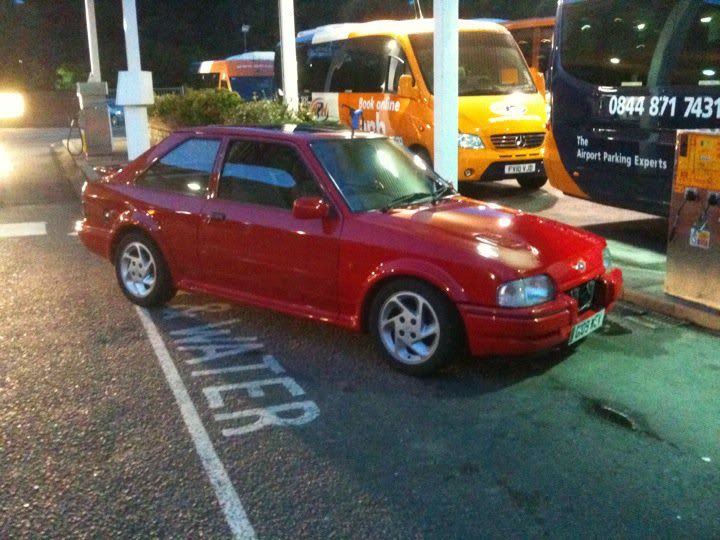
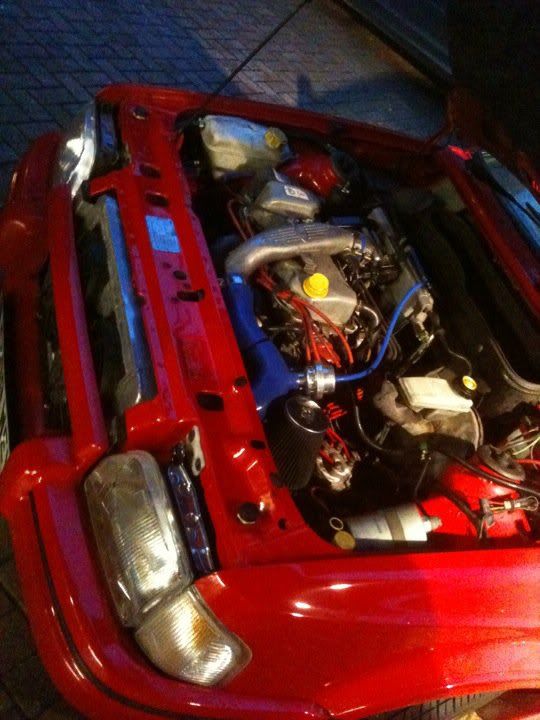
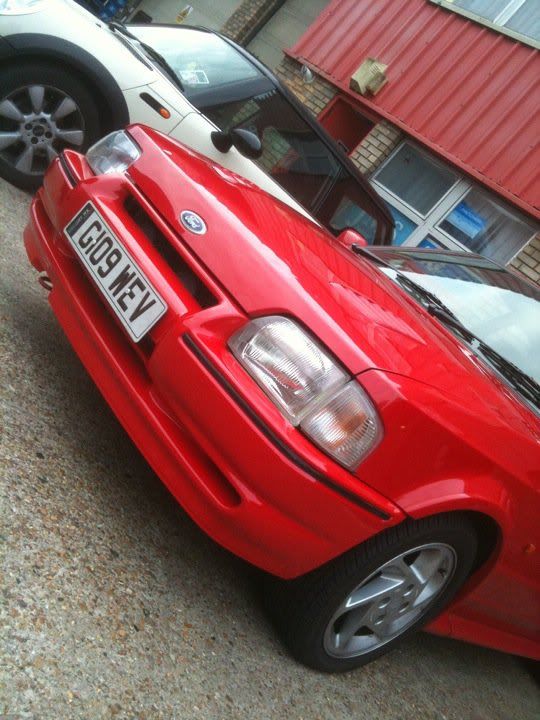
excuse the front bumper cause that got changed back to standard as a pic shows below
so ive had this for about 2 months now, and just over a month ago i went out with a mate and he thrased me in his corsa sri considering my zetec beat his corsa i thought that i need to be getting my car to torque of the devil, awesome bunch of guys there wouldnt fault them. so time come round to wack my car on the dyno for its setting up session.
This image has been resized. Click this bar to view the full image. The original image is sized 720x540 and weights 78KB.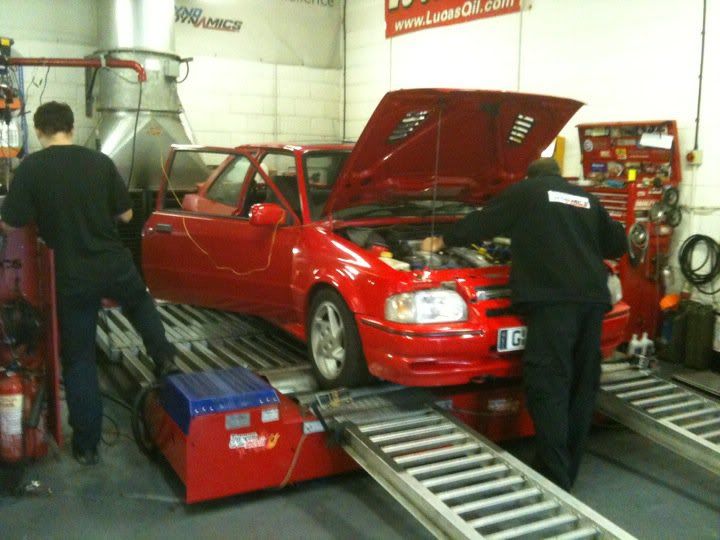
day was going well found out my fuel pipe was actualy water pipe with springs inside it and found out i was running the wrong spark plugs after all this got changed the runs began (here's the funny bit) first run will explan why exactly my mate thrashed me
first run = 88.4bhp
LOL
yep first run sucked after about an hour and a half lots of tweeting we finally got this
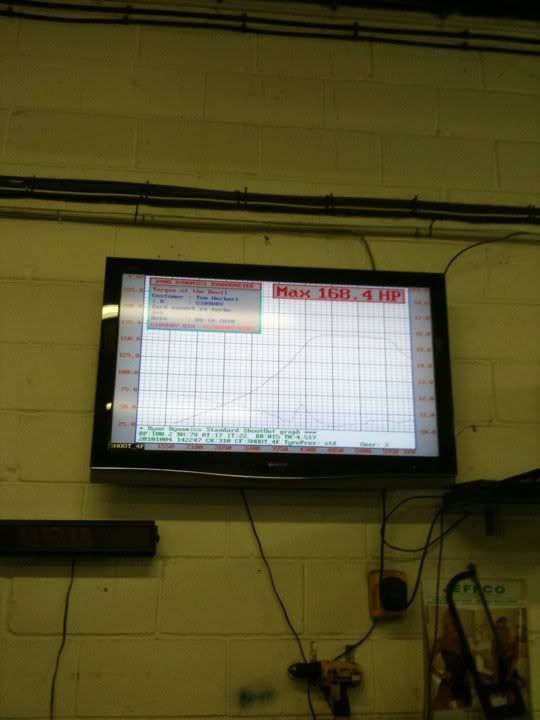
once we got this we decided to do one more run just to see if we could get 170bhp, but then my car decided to crap its self and spin its bearings.
so a sucessfull day coming to a quick close on the tralior the car goes again for its journey home.
yep so a week later i decided to kick my arse in to gear and start rebuilding the car considering the engine is gonna be fully out im gonna do this properly.
pics to follow
This image has been resized. Click this bar to view the full image. The original image is sized 720x540 and weights 92KB.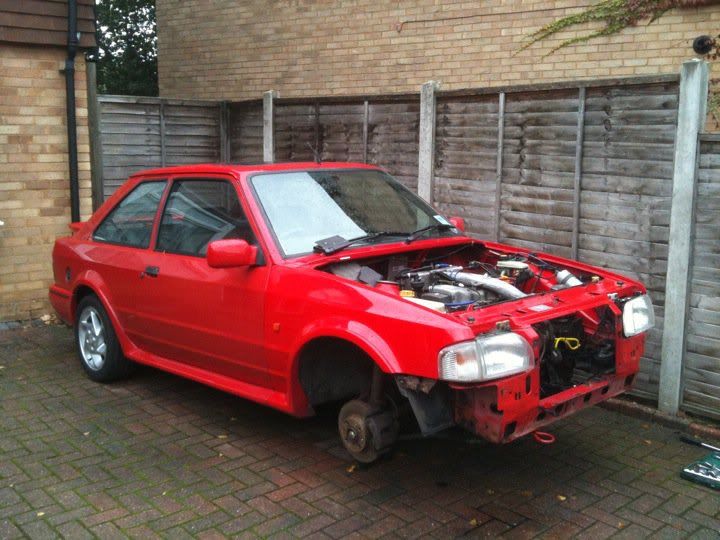
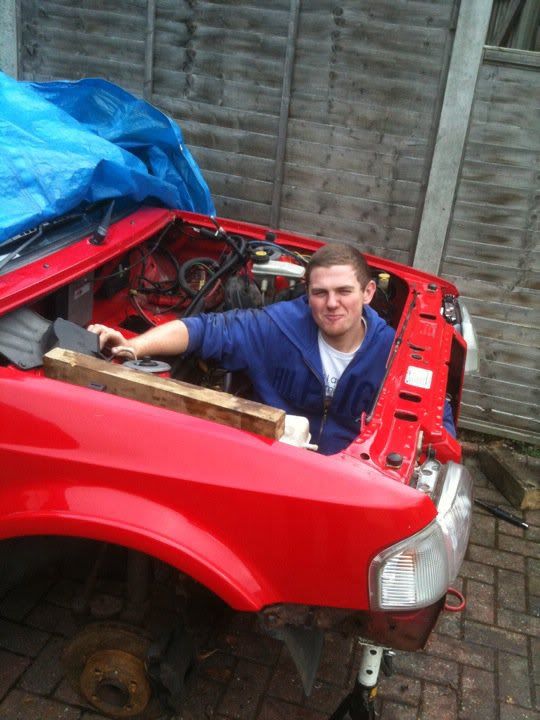
one thing that sucks about removing engines from rs turbos is that they have to come out the bottom and when you have no ramps or anything it resorts to this
vv
This image has been resized. Click this bar to view the full image. The original image is sized 720x540 and weights 99KB.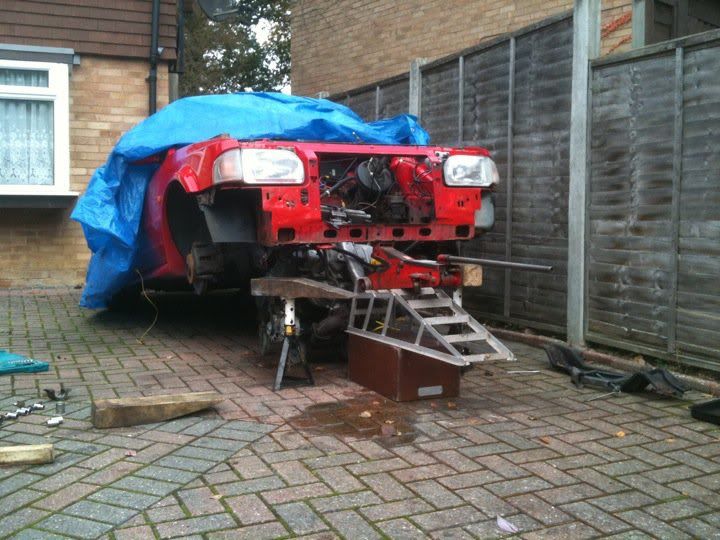
This image has been resized. Click this bar to view the full image. The original image is sized 720x540 and weights 80KB.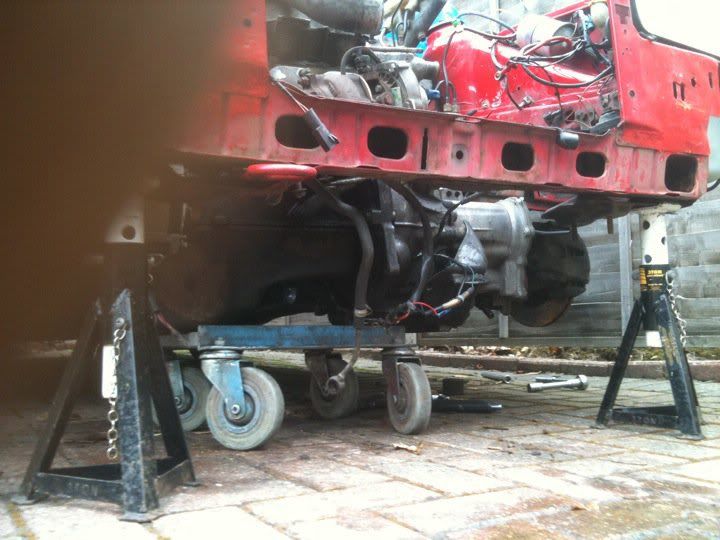
This image has been resized. Click this bar to view the full image. The original image is sized 720x540 and weights 99KB.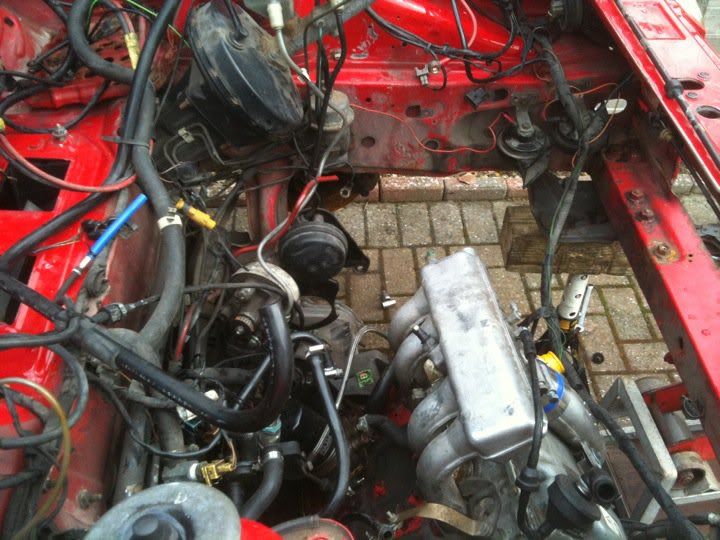
after the engine came out was then left with this mess and 21 years worth of dirt.
This image has been resized. Click this bar to view the full image. The original image is sized 720x540 and weights 96KB.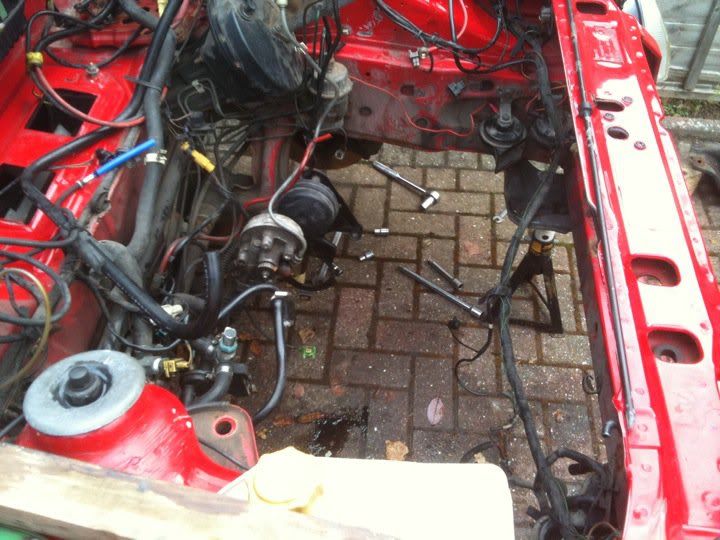
started to clean the engine bay up pretty sharpish for some reason before i started to dismantle the engine lol. only ended up cleaning a 1/4 of engine bay cause my brother (alfacossie or may have been alfaholic75 who had the cosworth engine in his alfa 75) came home and had ago at me for not taking the engine apart so engine bay looks like this now
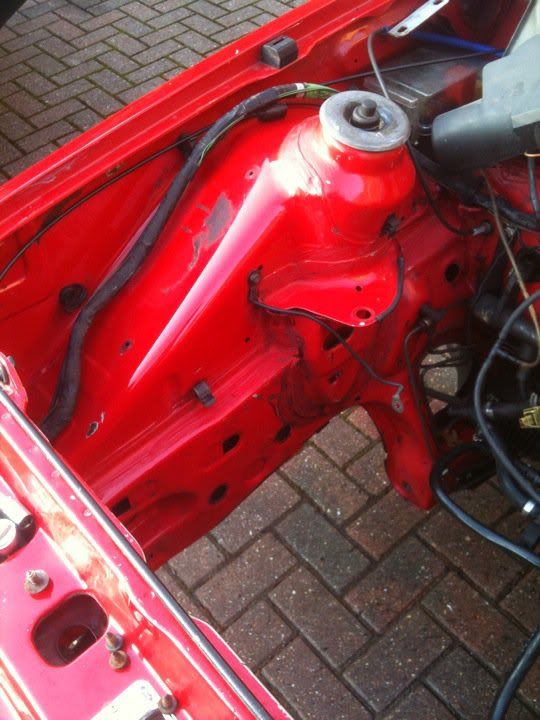
i then turned and started concertrating on engine
This image has been resized. Click this bar to view the full image. The original image is sized 720x540 and weights 78KB.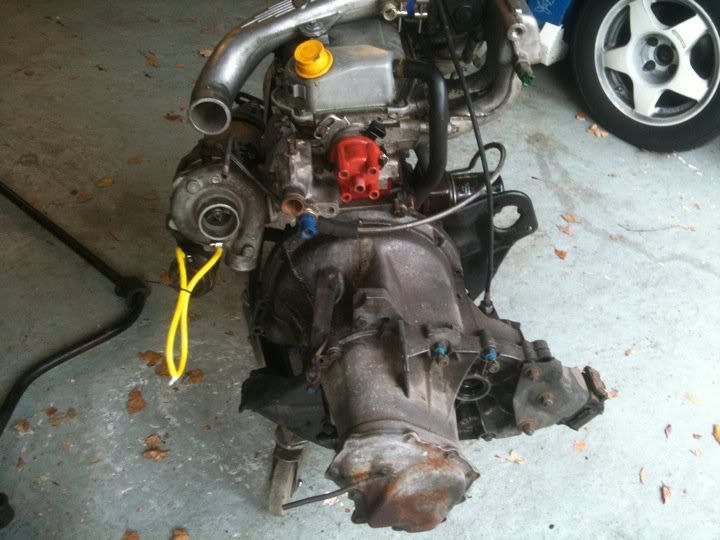
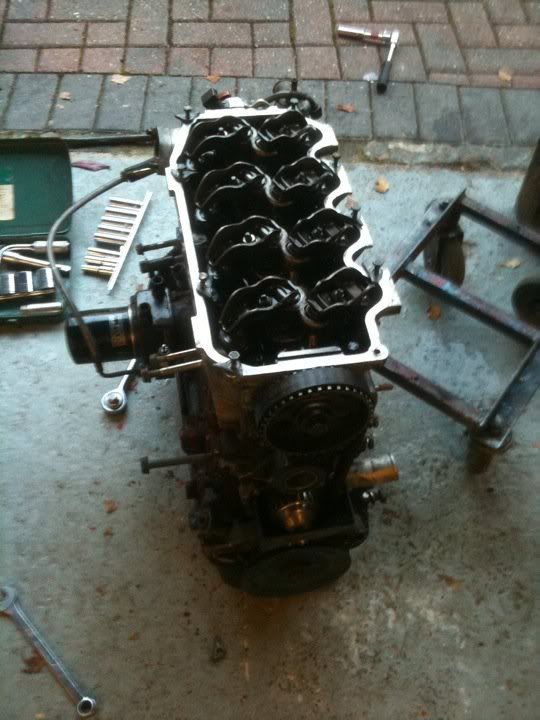
This image has been resized. Click this bar to view the full image. The original image is sized 720x540 and weights 79KB.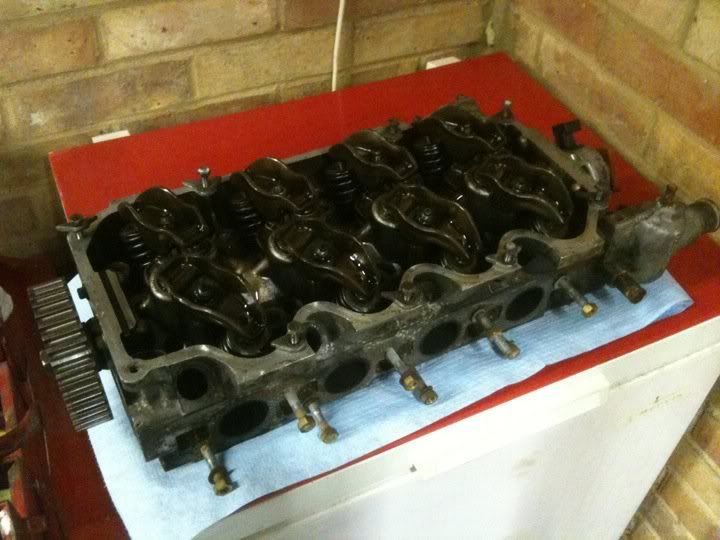
This image has been resized. Click this bar to view the full image. The original image is sized 720x540 and weights 78KB.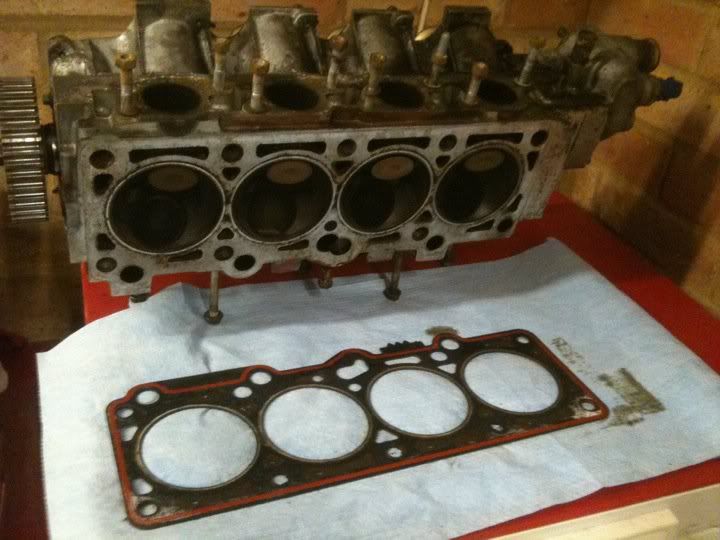
once it was literally in bits i checked out the bottom end lol what can i say check the left big end bearing out
This image has been resized. Click this bar to view the full image. The original image is sized 720x540 and weights 62KB.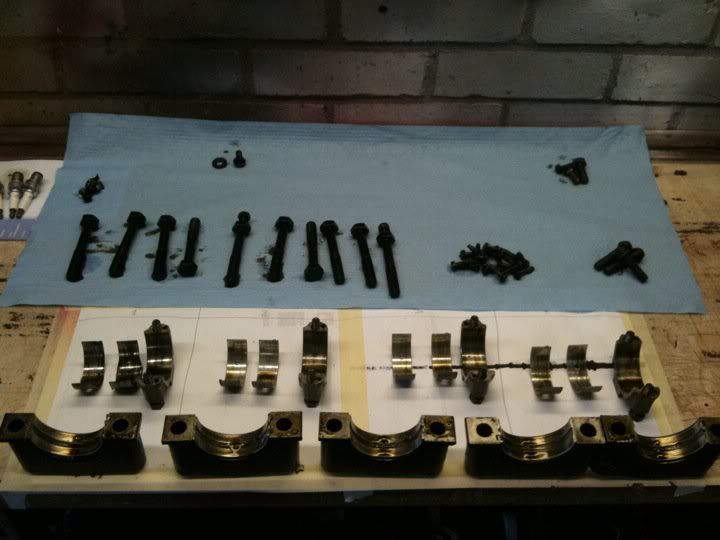
i then checked crank and found the journal on the crank was crap and scoured prety much beyond skimming.
so 3 days later this turned up
This image has been resized. Click this bar to view the full image. The original image is sized 720x540 and weights 85KB.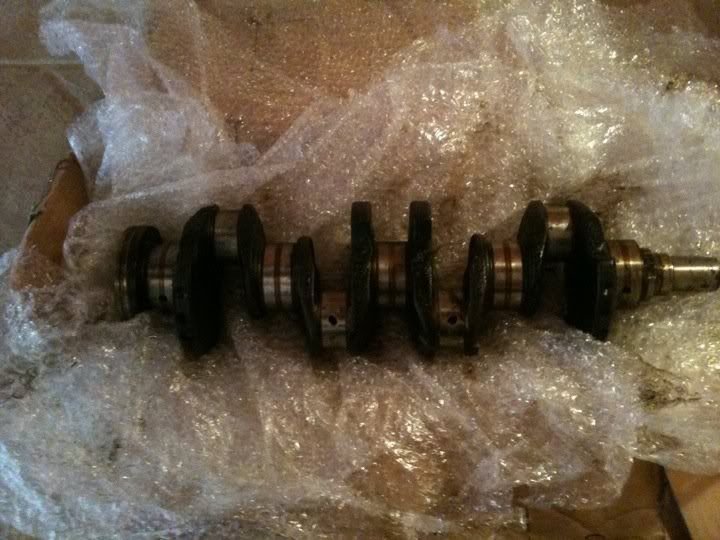
about 2 weeks after this turned up (which is today) i braved the cold got out side cleaned the block and crank and head up and took to southern rebores engine machiners.
The guy there checked whether my head needed skimming which was a no so it started off good he checked the crank for me as this was an unknown crank to me and i got told its fine just needs polishing, hes also gonna measure the journals for me, so i then thought it couldnt get any better really. and it didnt it got alot worse instead of the planned honing to the block it now needs to be bored as theres is a big gaug in the bore which i completly miss DOH!!!
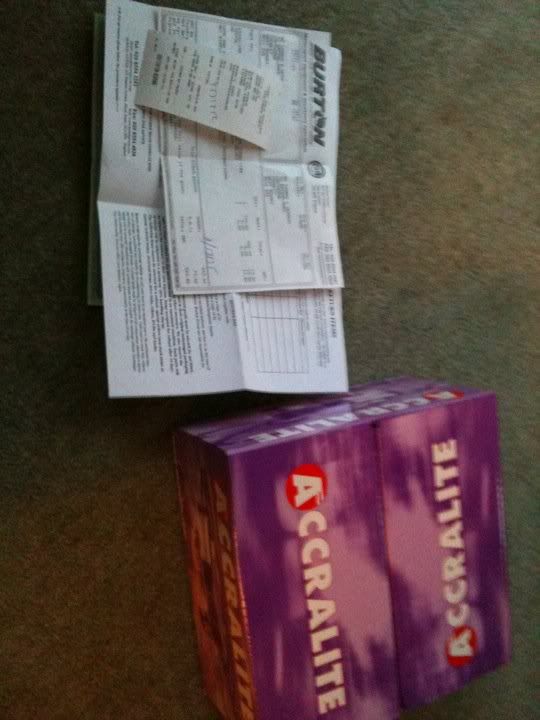
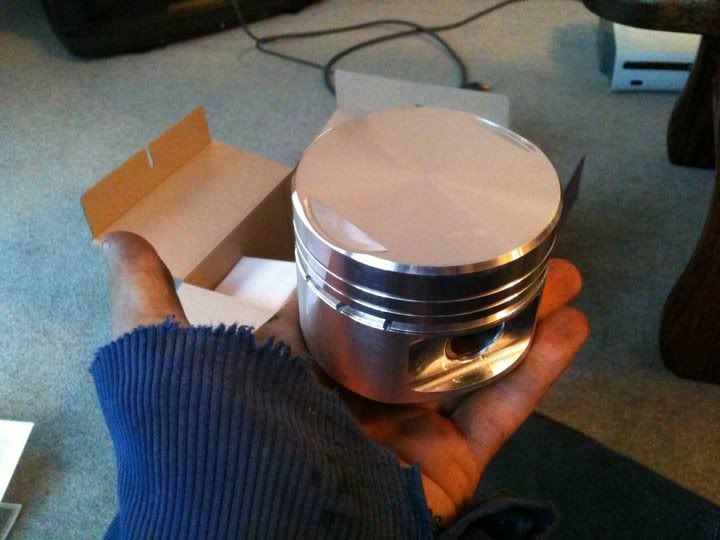
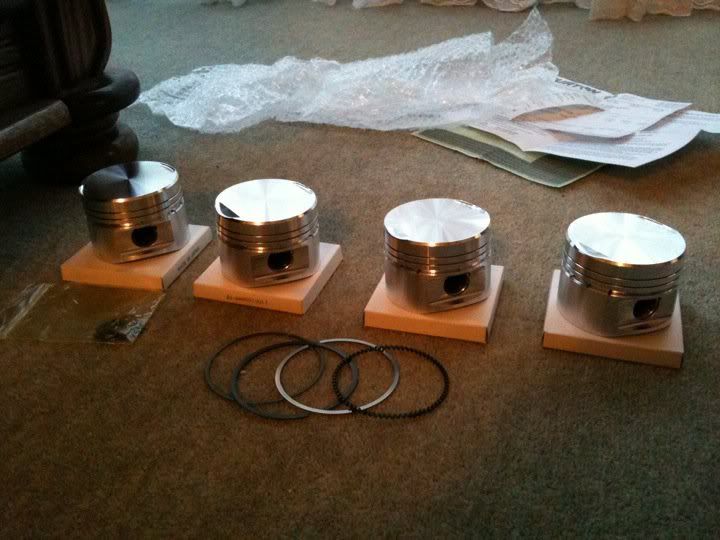
so because of that ive now had to ordered 1mm over sized pistons from burton power, i got a qoute off of them for 1mm over sized standard pistons which were £400 or i could have for an extra £110 forge pistons so what ones did i go for
forge of course so there order pics will follow.
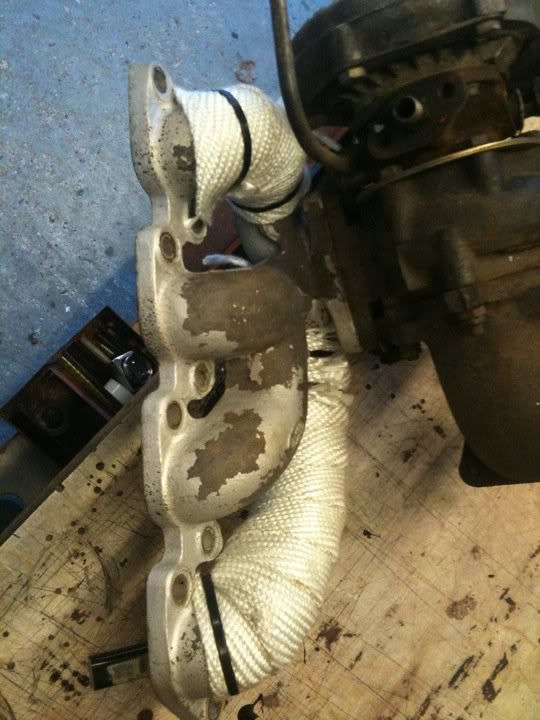
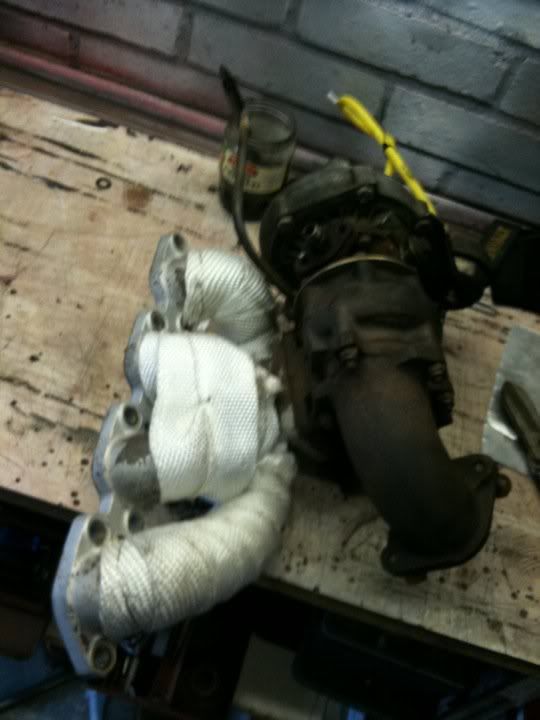
after i got back from engine shop i though i cant hang around all day so continued work on the old girl started heat wrapping the mani and started painting rear drums black as they were red lol. drums still need a few more coats yet
unfortunatly i run out of heat wrap half way through and also only held on with cable ties at the mo till i have my proper heat wrap ties turn up.
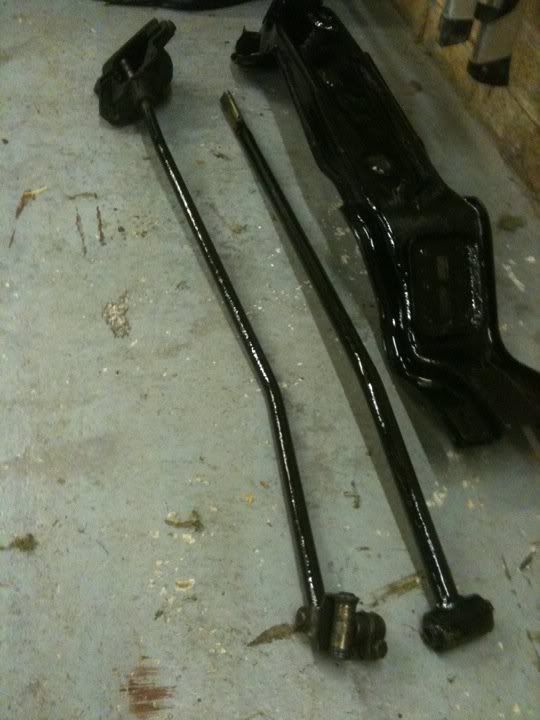
front anti roll bar gear linkages and the stabilizer bar are all now painted black
This image has been resized. Click this bar to view the full image. The original image is sized 720x540 and weights 80KB.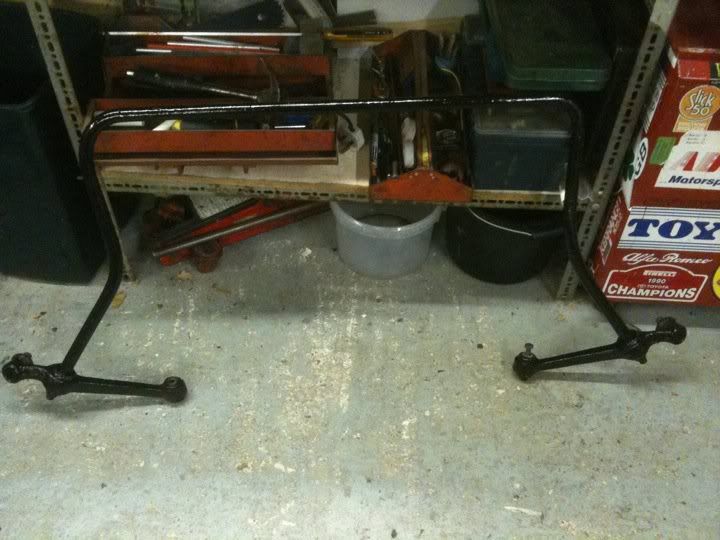
So thats as far as ive got with it so far hopefully have pics up of the pistons soon. and also will have lots more pics of cleaning that will be going on.
hope you enjoy would love your comments and sugestions
o and 1 other thing my group a coil turned up other day
So i decided to treat my self to something good which was this
vvvvvvvvv
ford escort rs turbo
This image has been resized. Click this bar to view the full image. The original image is sized 720x540 and weights 65KB.This image has been resized. Click this bar to view the full image. The original image is sized 720x540 and weights 84KB.This image has been resized. Click this bar to view the full image. The original image is sized 720x540 and weights 94KB.excuse the front bumper cause that got changed back to standard as a pic shows below
so ive had this for about 2 months now, and just over a month ago i went out with a mate and he thrased me in his corsa sri considering my zetec beat his corsa i thought that i need to be getting my car to torque of the devil, awesome bunch of guys there wouldnt fault them. so time come round to wack my car on the dyno for its setting up session.
This image has been resized. Click this bar to view the full image. The original image is sized 720x540 and weights 78KB.day was going well found out my fuel pipe was actualy water pipe with springs inside it and found out i was running the wrong spark plugs after all this got changed the runs began (here's the funny bit) first run will explan why exactly my mate thrashed me
first run = 88.4bhp
LOL
yep first run sucked after about an hour and a half lots of tweeting we finally got this
once we got this we decided to do one more run just to see if we could get 170bhp, but then my car decided to crap its self and spin its bearings.
so a sucessfull day coming to a quick close on the tralior the car goes again for its journey home.
yep so a week later i decided to kick my arse in to gear and start rebuilding the car considering the engine is gonna be fully out im gonna do this properly.
pics to follow
This image has been resized. Click this bar to view the full image. The original image is sized 720x540 and weights 92KB.one thing that sucks about removing engines from rs turbos is that they have to come out the bottom and when you have no ramps or anything it resorts to this
vv
This image has been resized. Click this bar to view the full image. The original image is sized 720x540 and weights 99KB.This image has been resized. Click this bar to view the full image. The original image is sized 720x540 and weights 80KB.This image has been resized. Click this bar to view the full image. The original image is sized 720x540 and weights 99KB.after the engine came out was then left with this mess and 21 years worth of dirt.
This image has been resized. Click this bar to view the full image. The original image is sized 720x540 and weights 96KB.started to clean the engine bay up pretty sharpish for some reason before i started to dismantle the engine lol. only ended up cleaning a 1/4 of engine bay cause my brother (alfacossie or may have been alfaholic75 who had the cosworth engine in his alfa 75) came home and had ago at me for not taking the engine apart so engine bay looks like this now
i then turned and started concertrating on engine
This image has been resized. Click this bar to view the full image. The original image is sized 720x540 and weights 78KB.This image has been resized. Click this bar to view the full image. The original image is sized 720x540 and weights 79KB.This image has been resized. Click this bar to view the full image. The original image is sized 720x540 and weights 78KB.once it was literally in bits i checked out the bottom end lol what can i say check the left big end bearing out
This image has been resized. Click this bar to view the full image. The original image is sized 720x540 and weights 62KB.i then checked crank and found the journal on the crank was crap and scoured prety much beyond skimming.
so 3 days later this turned up
This image has been resized. Click this bar to view the full image. The original image is sized 720x540 and weights 85KB.about 2 weeks after this turned up (which is today) i braved the cold got out side cleaned the block and crank and head up and took to southern rebores engine machiners.
The guy there checked whether my head needed skimming which was a no so it started off good he checked the crank for me as this was an unknown crank to me and i got told its fine just needs polishing, hes also gonna measure the journals for me, so i then thought it couldnt get any better really. and it didnt it got alot worse instead of the planned honing to the block it now needs to be bored as theres is a big gaug in the bore which i completly miss DOH!!!
so because of that ive now had to ordered 1mm over sized pistons from burton power, i got a qoute off of them for 1mm over sized standard pistons which were £400 or i could have for an extra £110 forge pistons so what ones did i go for
forge of course so there order pics will follow.
after i got back from engine shop i though i cant hang around all day so continued work on the old girl started heat wrapping the mani and started painting rear drums black as they were red lol. drums still need a few more coats yet
unfortunatly i run out of heat wrap half way through and also only held on with cable ties at the mo till i have my proper heat wrap ties turn up.
front anti roll bar gear linkages and the stabilizer bar are all now painted black
This image has been resized. Click this bar to view the full image. The original image is sized 720x540 and weights 80KB.So thats as far as ive got with it so far hopefully have pics up of the pistons soon. and also will have lots more pics of cleaning that will be going on.
hope you enjoy would love your comments and sugestions
o and 1 other thing my group a coil turned up other day
Last edited by zetecherb; Feb 7, 2011 at 10:34 PM.

Thread Starter
Regular Contributor
Joined: Nov 2008
Posts: 237
Likes: 0
From: copthorne/crawley
What sort of different will I get with binning the abs apart from the fact I won't have it?? Will I gain room or anything??
I'm hoping with all the new parts it may put the engine to around 175bhp but I'm building the engine so I can get a better chip and turbo and run about 200-210bhp fingers crossed
Woop edit: just got off the phone to burton just ordered my 1mm oversized aqualite forge piston set £520
£520
I'm hoping with all the new parts it may put the engine to around 175bhp but I'm building the engine so I can get a better chip and turbo and run about 200-210bhp fingers crossed
Woop edit: just got off the phone to burton just ordered my 1mm oversized aqualite forge piston set
£520
Last edited by zetecherb; Nov 17, 2010 at 10:05 AM.


Trending Topics
Thread Starter
Regular Contributor
Joined: Nov 2008
Posts: 237
Likes: 0
From: copthorne/crawley
done some work today first off started cleaning archs
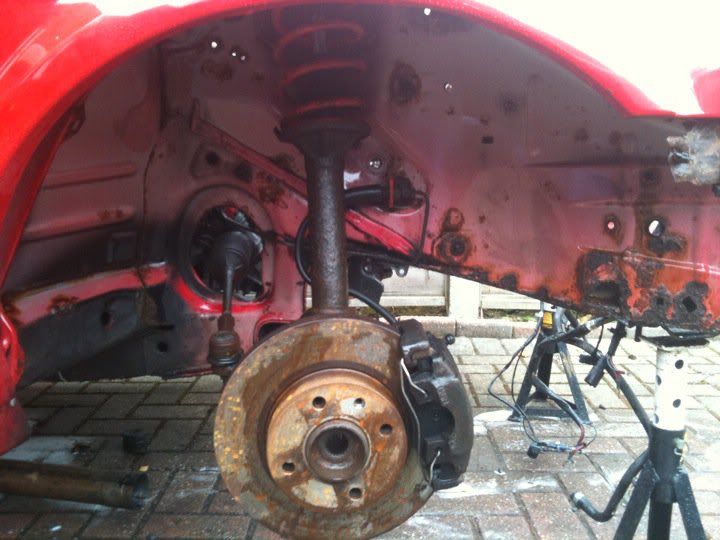
just waiting till payday and im gonna buy some red hammerite paint and start painting front and rear archs
heat wrapped the manifold but think im gonna get this painted instead so it looks nice.
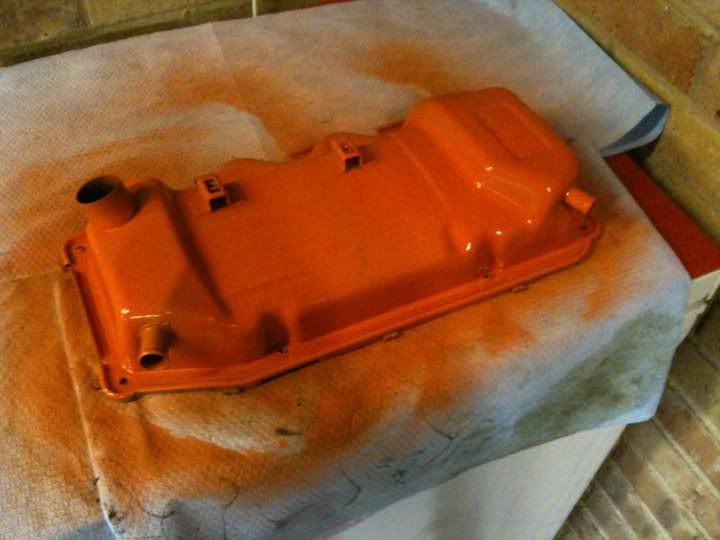
sprayed the rocker cover orange AND to be honest i regret it
just waiting till payday and im gonna buy some red hammerite paint and start painting front and rear archs
heat wrapped the manifold but think im gonna get this painted instead so it looks nice.
sprayed the rocker cover orange AND to be honest i regret it



Thread Starter
Regular Contributor
Joined: Nov 2008
Posts: 237
Likes: 0
From: copthorne/crawley
Cheers mate erst have the engine mount bracket on top of the side of the engine so it gets in the way whilst taking it out top!
Although I would be extremely happy for someone to tell me I'm wrong saves me the hassle of putting It back in from the bottom
erst have the engine mount bracket on top of the side of the engine so it gets in the way whilst taking it out top! Although I would be extremely happy for someone to tell me I'm wrong saves me the hassle of putting It back in from the bottom
see the round black and white plastic caps in the middle of this picture? these are part of the abs system and want throwing in the bin! you will need to repipe your brakes but if you look at the pipes while the engine is out it becomes obvious how to pipe it up
also you can take engine out from the top i remove mount, undo gearbox bolts and remove the engine leaving the gearbox in place
also you can take engine out from the top i remove mount, undo gearbox bolts and remove the engine leaving the gearbox in place
Thread Starter
Regular Contributor
Joined: Nov 2008
Posts: 237
Likes: 0
From: copthorne/crawley
O ok awesome thank you I'll have a quick look at that tomorrow before I go to work and rip it all out when I got a day off!! Is it as simple as taking it all off then connecting two pipes together kind of thing??
pretty much mate, the two pipes from the master cylinder basically need piping to the t pieces on the front inner wings and the two large pipes from the resivior need blocking off simples!
gives a much better brake pedal doing this
gives a much better brake pedal doing this


Thread Starter
Regular Contributor
Joined: Nov 2008
Posts: 237
Likes: 0
From: copthorne/crawley
Updated ***
small update i got up this morning and started some work on 2 wheel archs pics below
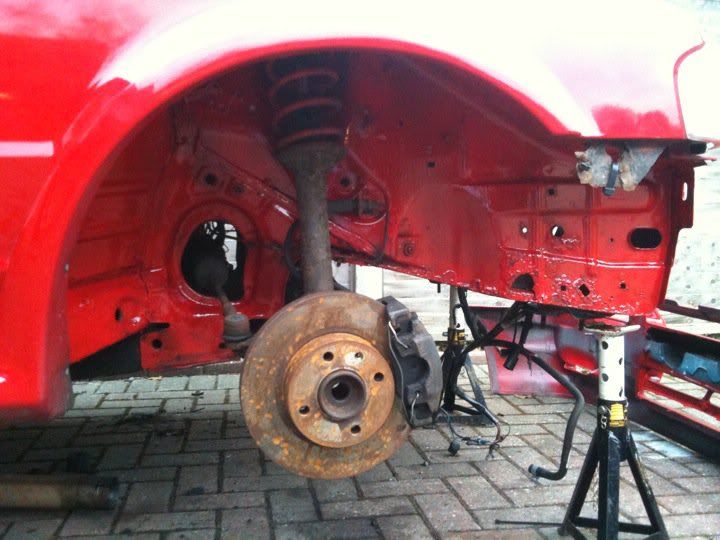
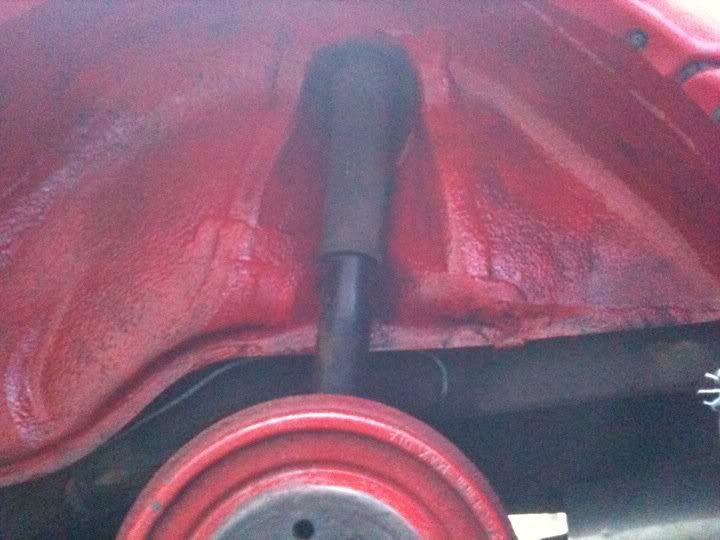
I had put put bonnet and bumper back on to so i could remember what it looks like
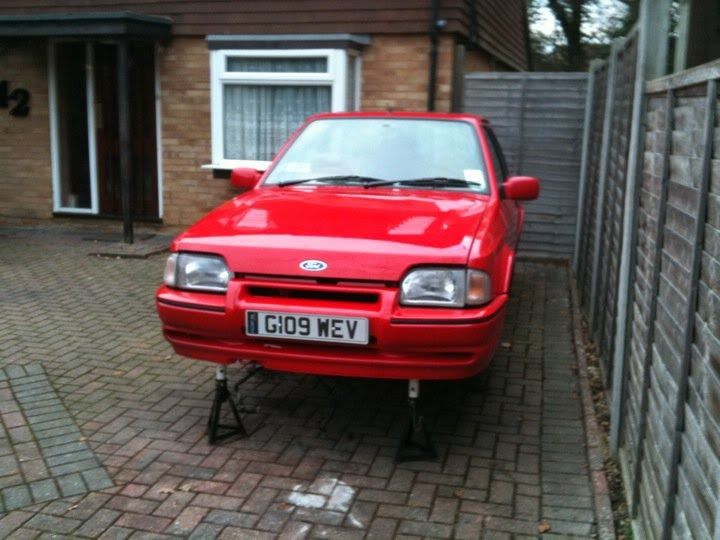
I had put put bonnet and bumper back on to so i could remember what it looks like
Thread Starter
Regular Contributor
Joined: Nov 2008
Posts: 237
Likes: 0
From: copthorne/crawley
Little bit of an update, i finished my wheel arches today was bloody cold have no pics as they look the same as the other two,
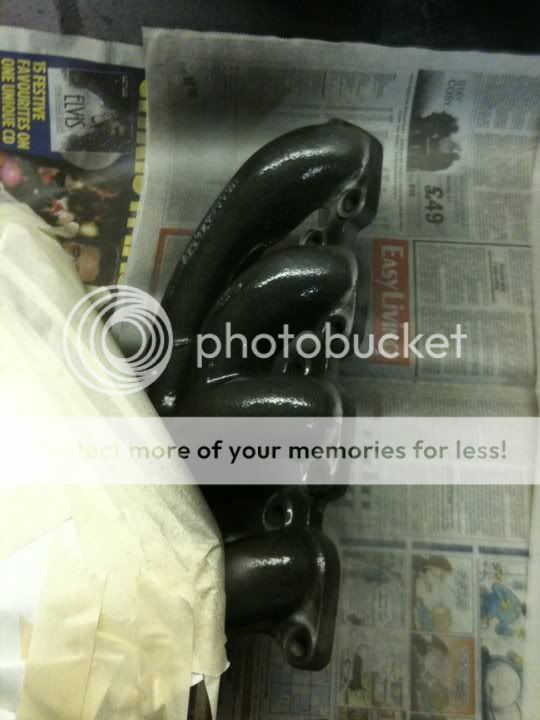
But this is the pic of the mani ive painted
So stage one (spraying)
Stage two (heating)

Stage 3 (finished)
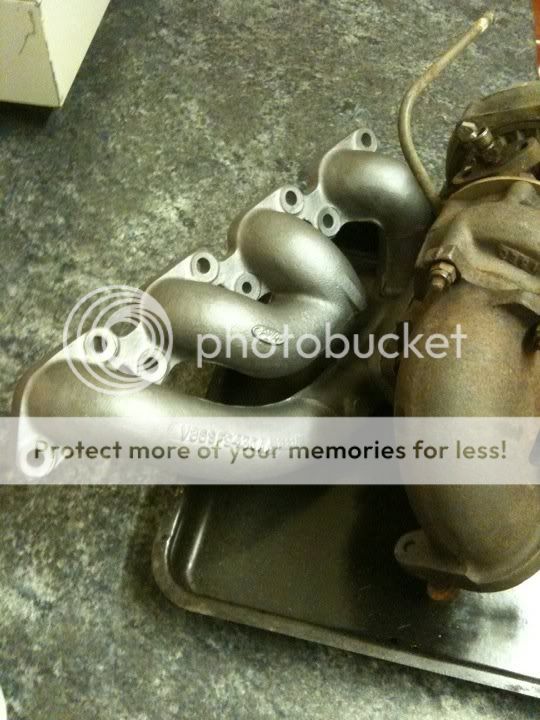
Would love your opinions
But this is the pic of the mani ive painted
So stage one (spraying)
Stage two (heating)
Stage 3 (finished)
Would love your opinions



Thread Starter
Regular Contributor
Joined: Nov 2008
Posts: 237
Likes: 0
From: copthorne/crawley
erm all the body work is dont for now pretty much cleaned all the arches and cleaned the engine bay.
Got a phone call from the engine place today telling me my engine bits are ready which is all good so as soon as i pick them up all i need is a oil pump full gasket kit arp conrod and head bolts then i just hve to put it back together.
cars going to a body shop in new year (turbotrev) for him to do the body work properly
Got a phone call from the engine place today telling me my engine bits are ready which is all good
so as soon as i pick them up all i need is a oil pump full gasket kit arp conrod and head bolts then i just hve to put it back together.cars going to a body shop in new year (turbotrev) for him to do the body work properly
Thread Starter
Regular Contributor
Joined: Nov 2008
Posts: 237
Likes: 0
From: copthorne/crawley
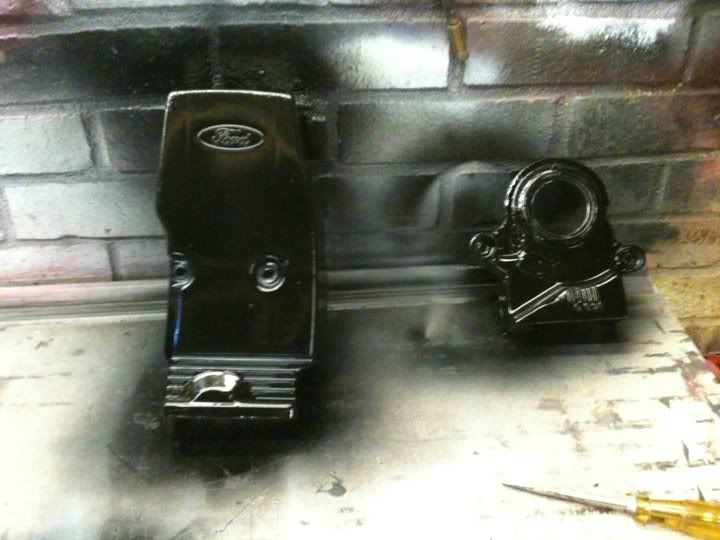
well on the agender this week was suppose to have been taking exhaust off chopping it around a little and welding a few new bits on but with all the snow this didnt happen so today i braved the cold and went outside and did a little bit of spraying.
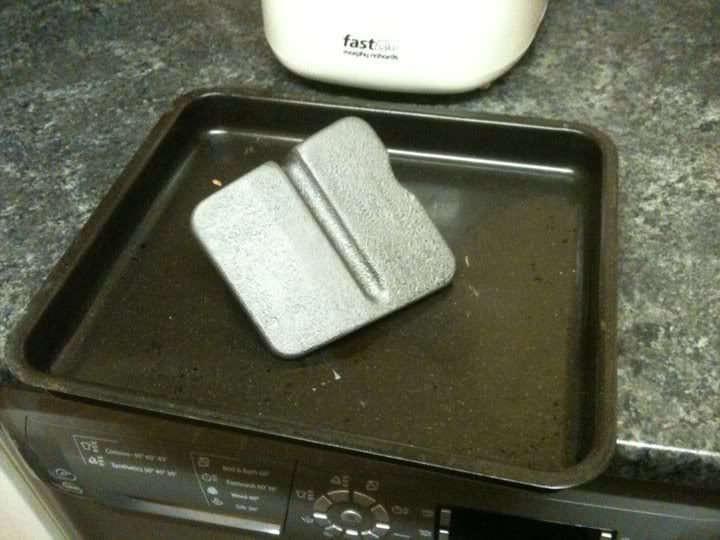
Alternator cover
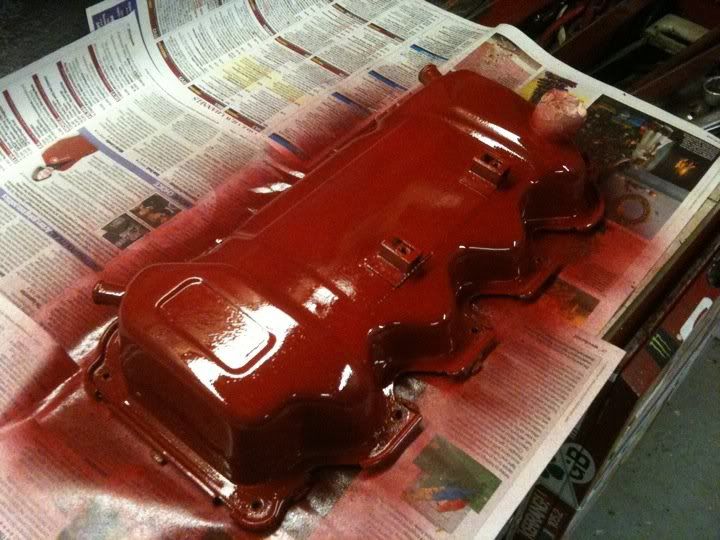
Rocker cover think im gonna go with this colour and the charge carryier in white.
Opinions please :mrgreen:
Alternator cover
Rocker cover think im gonna go with this colour and the charge carryier in white.
Opinions please :mrgreen:
Thread Starter
Regular Contributor
Joined: Nov 2008
Posts: 237
Likes: 0
From: copthorne/crawley
Update
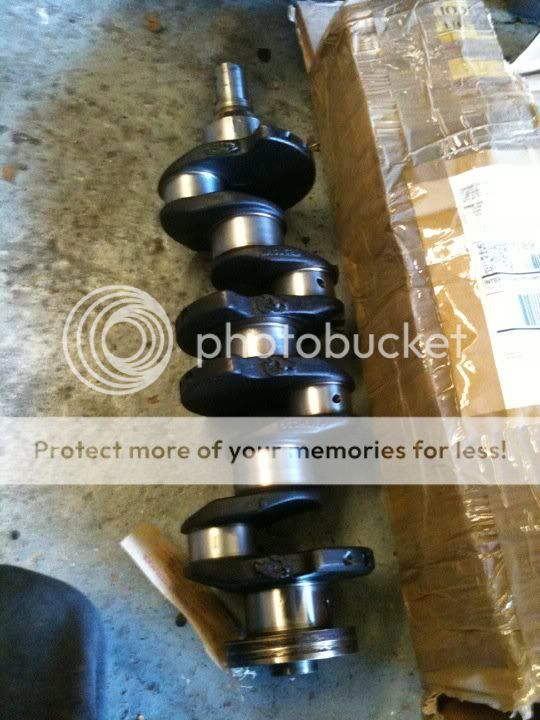
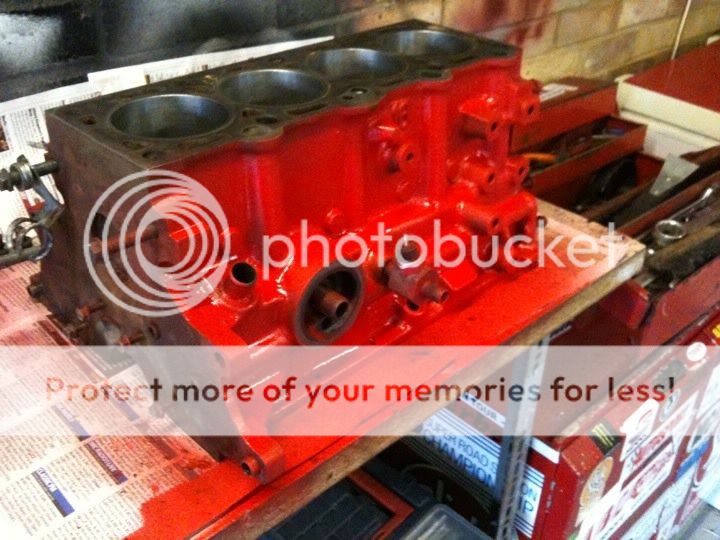
Got block and crank back from southern rebore today pics below 8)
polished crank and bored block to 81mm
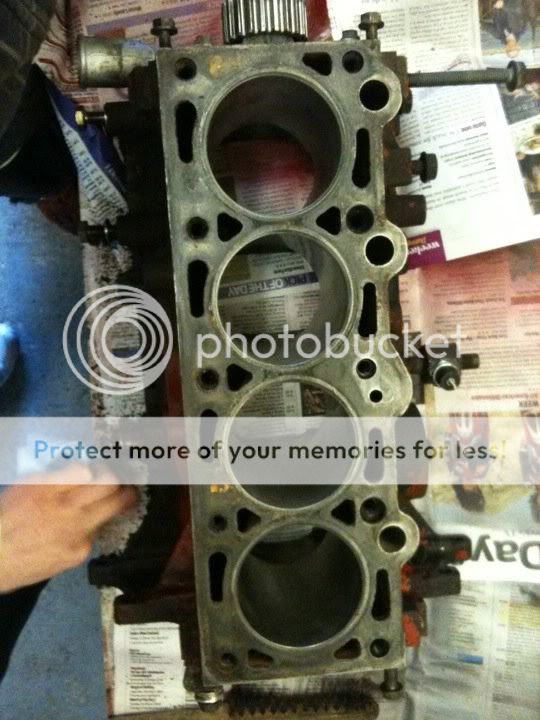
as i got block back now i got out the red block paint :twisted:
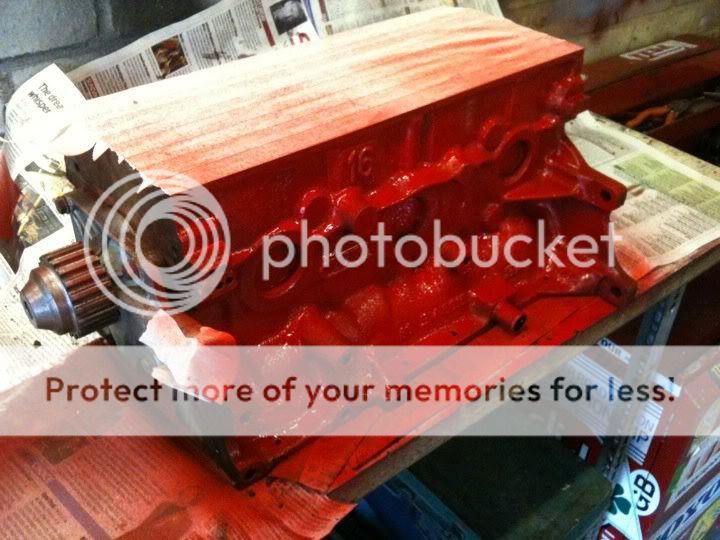
phoned up burton power again today :P and orderedddddddddd
Big end bearing kit
main bearing kit
water pump
high pressure oil pump
ONE conrod
Conrod bolts
thrust bearing kit
Bottom end gasket kit
Thermostate + gasket kit
These bits cost me £299.45 my bro said hes not gonna let me get the rest cause its coming up to christmas
Hope you like lol
Got block and crank back from southern rebore today pics below 8)
polished crank and bored block to 81mm
as i got block back now i got out the red block paint :twisted:
phoned up burton power again today :P and orderedddddddddd
Big end bearing kit
main bearing kit
water pump
high pressure oil pump
ONE conrod
Conrod bolts
thrust bearing kit
Bottom end gasket kit
Thermostate + gasket kit
These bits cost me £299.45 my bro said hes not gonna let me get the rest cause its coming up to christmas
Hope you like lol
Thread Starter
Regular Contributor
Joined: Nov 2008
Posts: 237
Likes: 0
From: copthorne/crawley
O burton rung me up about an hour later to tell me they don't sell the standard pistons anymore only steel ones so I somehow have to source one standard piston from somewhere grr
Thread Starter
Regular Contributor
Joined: Nov 2008
Posts: 237
Likes: 0
From: copthorne/crawley
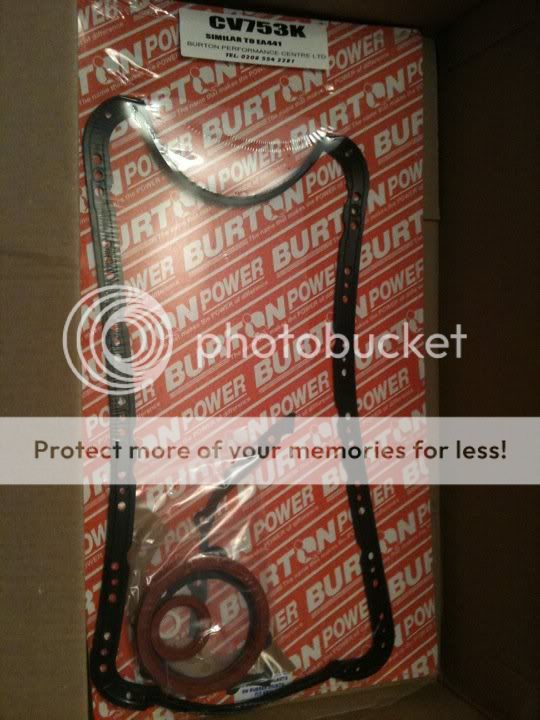
I got my delivery through :mrgreen:
Water pump
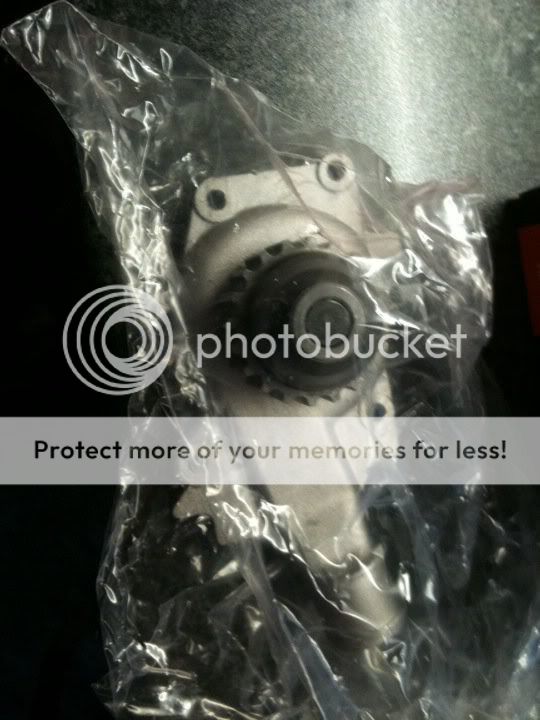
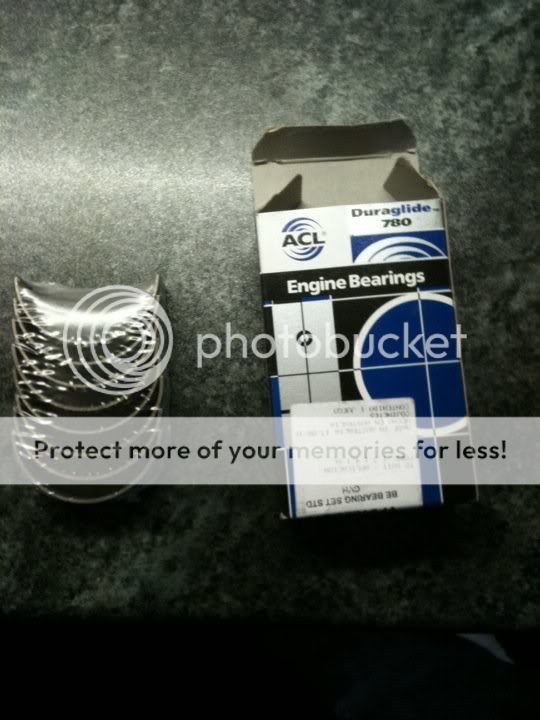
Heavy duty big end bearing kit
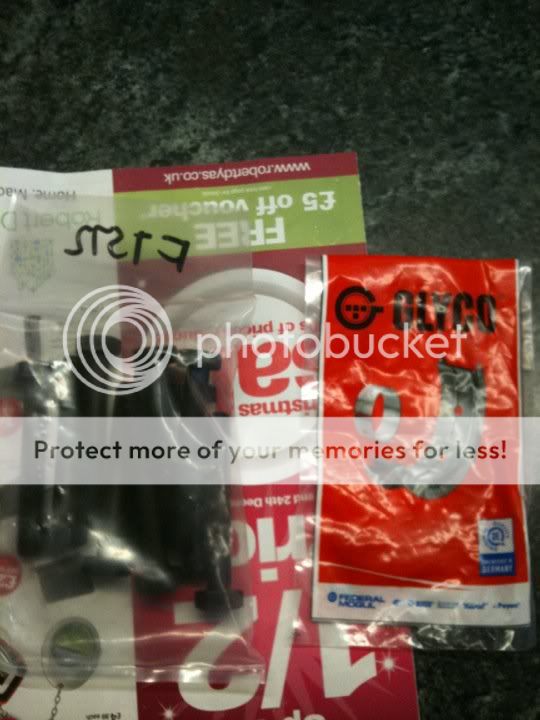
Thrust washer and head bolt kit
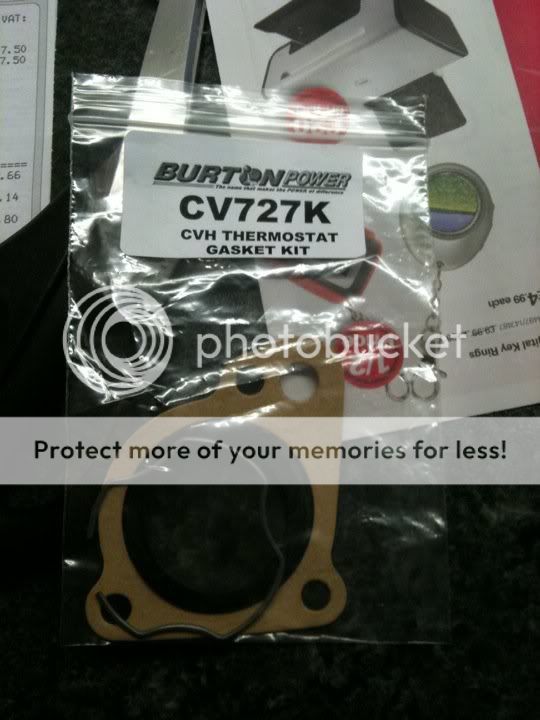
Thermostate gasket
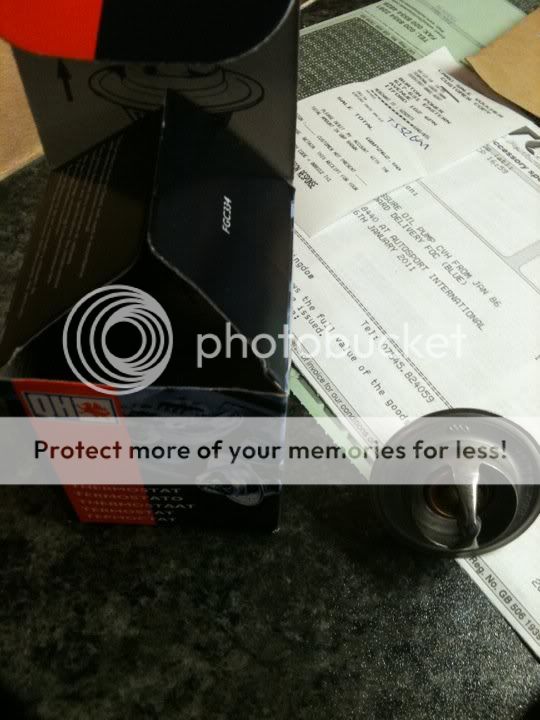
Thermostate
Bottom end gasket set
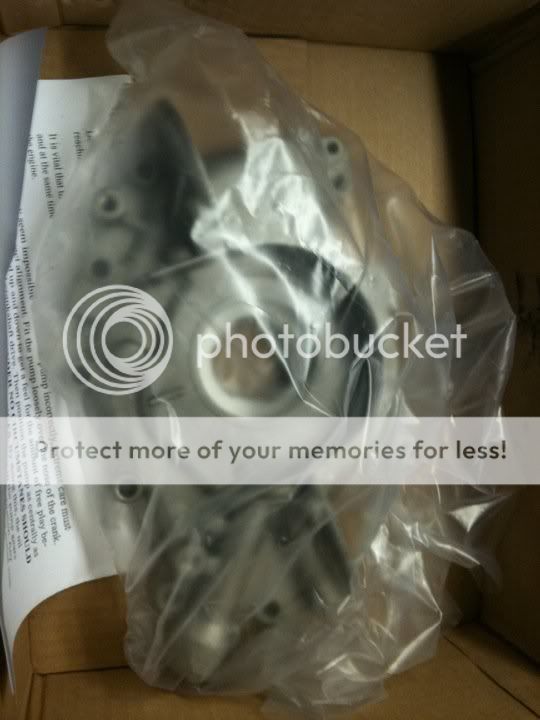
Oil pump
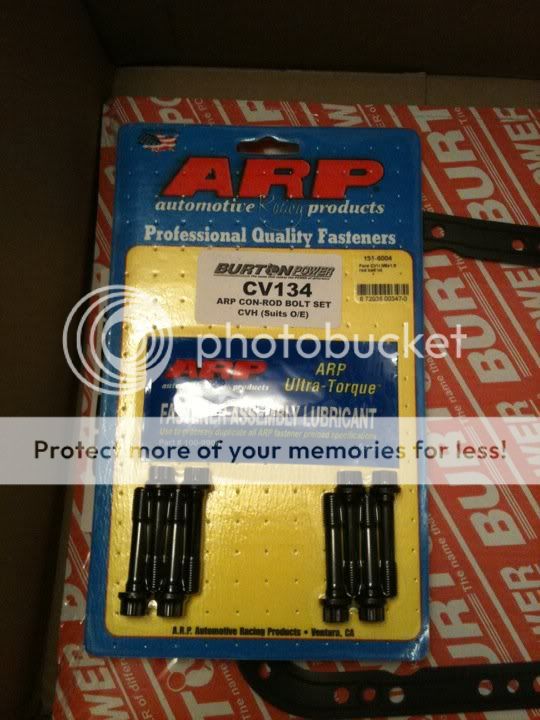
Arp rod bolts
Water pump
Heavy duty big end bearing kit
Thrust washer and head bolt kit
Thermostate gasket
Thermostate
Bottom end gasket set
Oil pump
Arp rod bolts


Thread Starter
Regular Contributor
Joined: Nov 2008
Posts: 237
Likes: 0
From: copthorne/crawley
First of i got hold of a conrod off valconengineering in dartford so ive finally got a conrod...............NEXTvvvvvvv
OOKKKKKK so christmas pressies
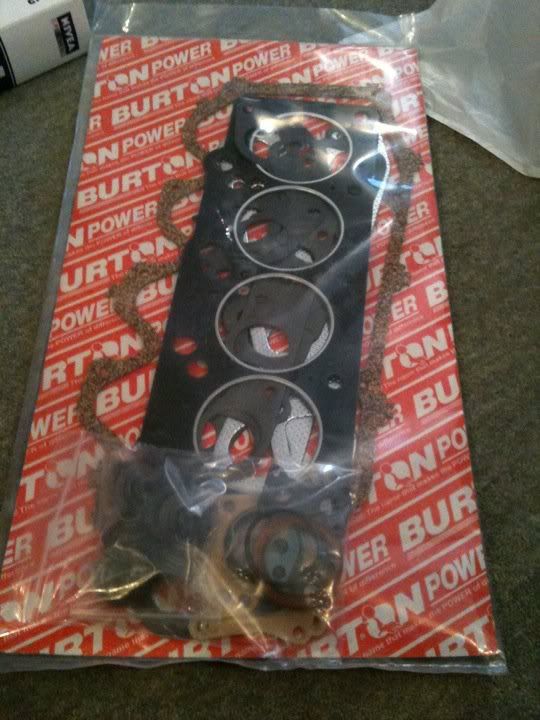
New headgasket set
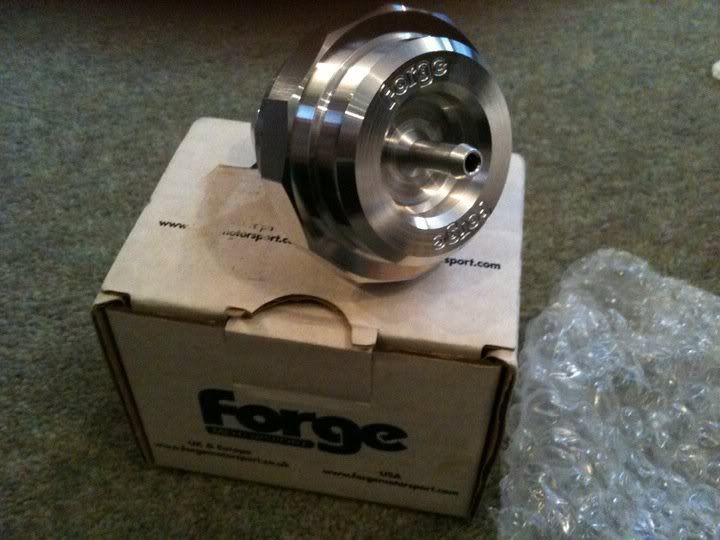
New FORGE dump valve
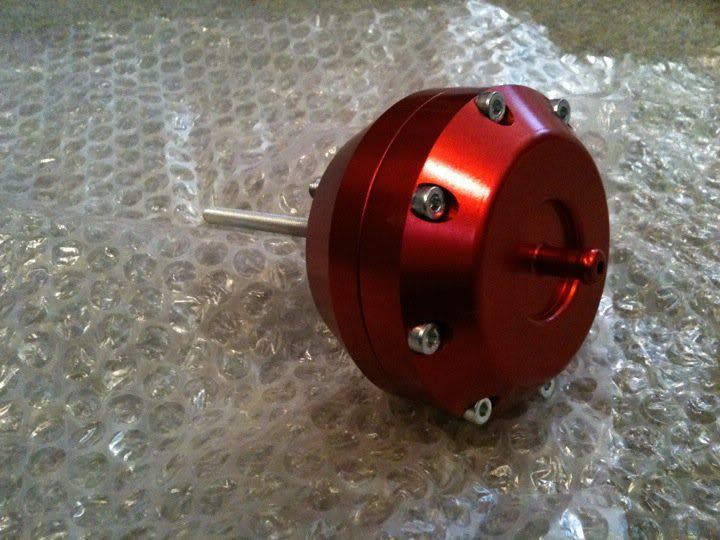
And finally my new -31 actuator can finally (once rebuilt) hold my boost properly
So yep with all that woke up this morning big hang over with my bro and decided to go brave it in the cold garage to start putting engine together.
first off gugen pins out all the old pistons as i need the old conrods, to then find out that the standards are pressed in so that stopped that so there gonna be off to engine shop asap.
after this we came inside for half hour then realised i could start fitting oil pump and crank, went to have a look in my big burton box full of bits to find out i forgot to get the main bearings on my last order DAMN IT!!
so guess what its all on holddddddd..................again
Bottom end suppose to have been put together today
OOKKKKKK so christmas pressies
New headgasket set
New FORGE dump valve
And finally my new -31 actuator can finally (once rebuilt) hold my boost properly
So yep with all that woke up this morning big hang over with my bro and decided to go brave it in the cold garage to start putting engine together.
first off gugen pins out all the old pistons as i need the old conrods, to then find out that the standards are pressed in
so that stopped that so there gonna be off to engine shop asap.after this we came inside for half hour then realised i could start fitting oil pump and crank, went to have a look in my big burton box full of bits to find out i forgot to get the main bearings on my last order
DAMN IT!!so guess what its all on holddddddd..................again
Bottom end suppose to have been put together today