
foot well repair..


Thread Starter
I'm Finding My Feet Here Now
Joined: Mar 2005
Posts: 133
Likes: 0
whats the best way to go about this.?
Saph has rotted in both footwells, round the jacking points..without hunting out a scrapper with decent jacking points, whats the best way to attack it.?
I'm thinking of a plate on the inside & restoring and hole filling the underside with fibreglass rather than trying to form a panel for the underside..??


Thread Starter
I'm Finding My Feet Here Now
Joined: Mar 2005
Posts: 133
Likes: 0
I'm going to go with my plan, only real downside i can think of is any future tester thinking you have just fibreglassed the repair and going nuts at it with his pokey stick trying to get through.
will get some pics up when done..
will get some pics up when done..
I've found that life I needed.. It's HERE!!
Joined: Nov 2004
Posts: 1,198
Likes: 44
I done mine a couple of years ago now, my jacking points were all crushed up and because that is were the sun roof drains flow into via the sills it rots the floor pan away + a leaking bulk head grommet did not help,
all I done was scrape off the old bitumen sound deadening using a heat gun and a scraper then cut out the rotten patch and drill out all the spot welds which exposes the bent jacking point, I then hammered the jacking point back into shape from the inside treated the rust and gave it a good coat of weld through paint, cut a patch to fit and welded it back in Job done.
OH I then painted the hole floor with rust-oleum paint and stuck down some more bitumen deadening.
I will see if I still have some picks on the computer and post them up!
Thread Starter
I'm Finding My Feet Here Now
Joined: Mar 2005
Posts: 133
Likes: 0

got me thinking about the sunroof drain now though..where does it run exactly.? Is that what the slits in the floor are for.? Bloody crazy design if you ask me..sayin that dont suppose they were thinkin 20odd yrs into the future..lol
Trending Topics
Joined: Oct 2005
Posts: 2,961
Likes: 4
From: further north than you...
they should run down into the sill i think. i'm pretty sure that there in the way if you try to take the front door's off.
i've no idea whatthose slit's are for other than rustin away!!
i've no idea whatthose slit's are for other than rustin away!!
I've found that life I needed.. It's HERE!!
Joined: Nov 2004
Posts: 1,198
Likes: 44
Here's what I found
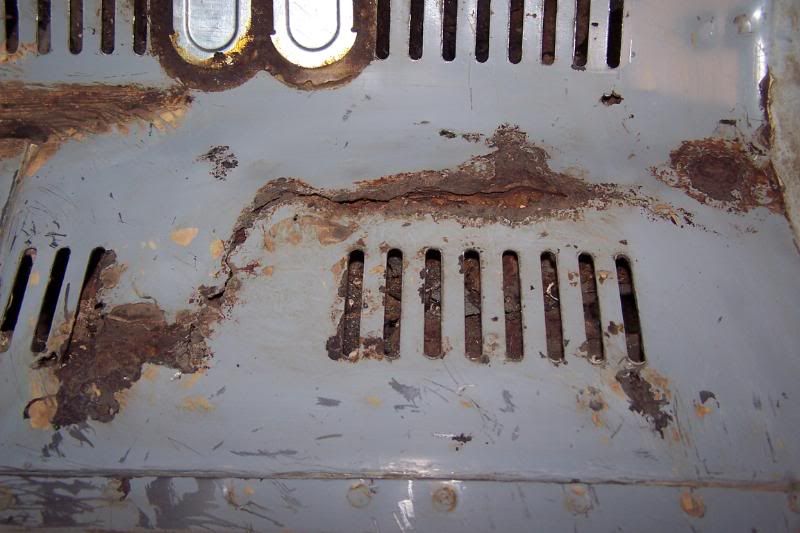
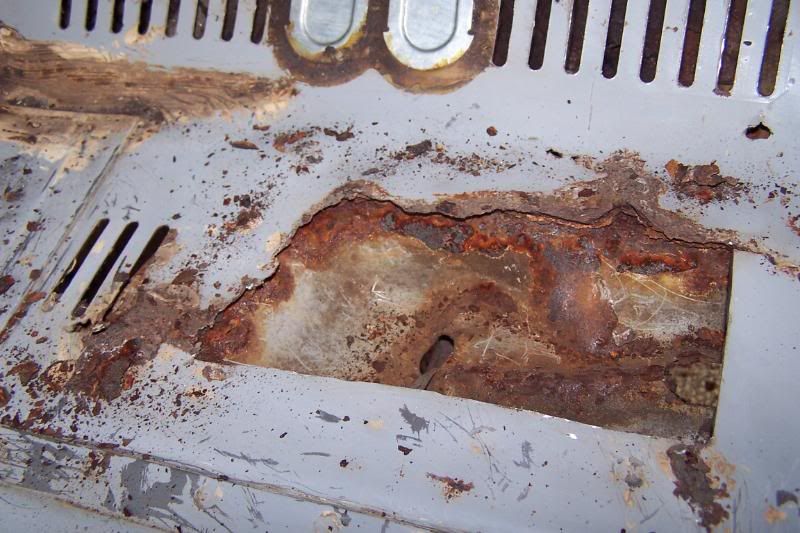
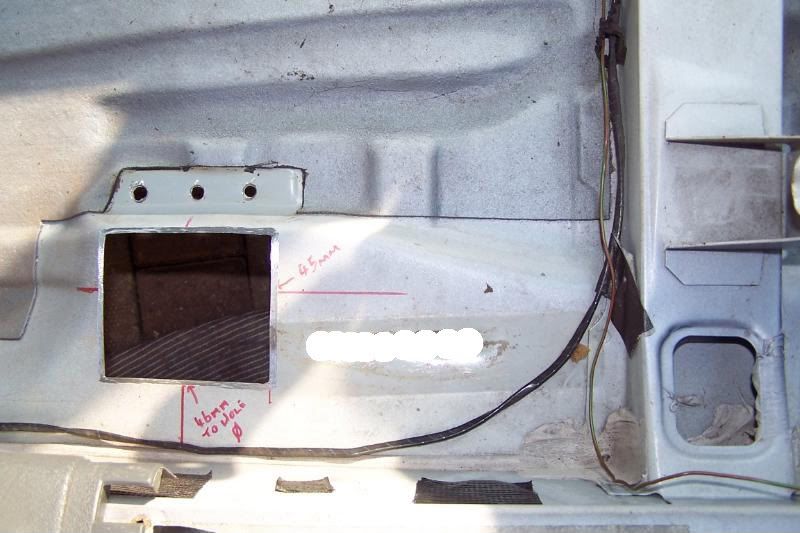
Patches cut out

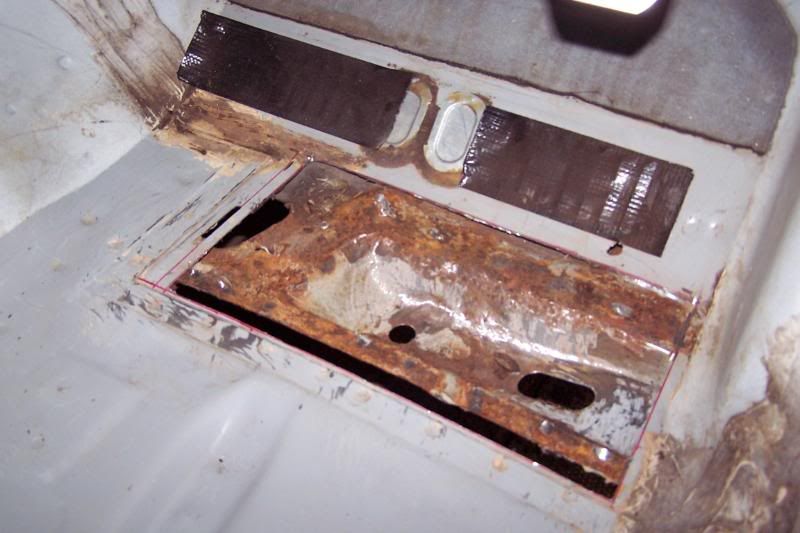
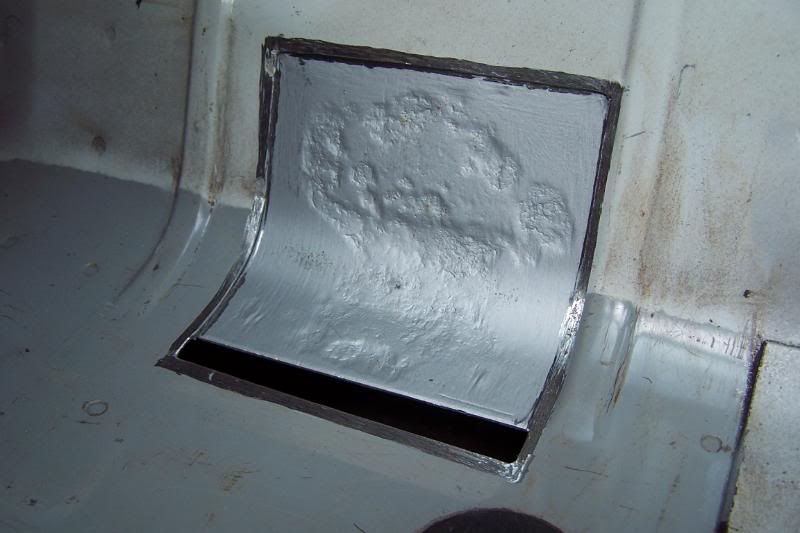
Area treated
Patch cut in and ready for welding
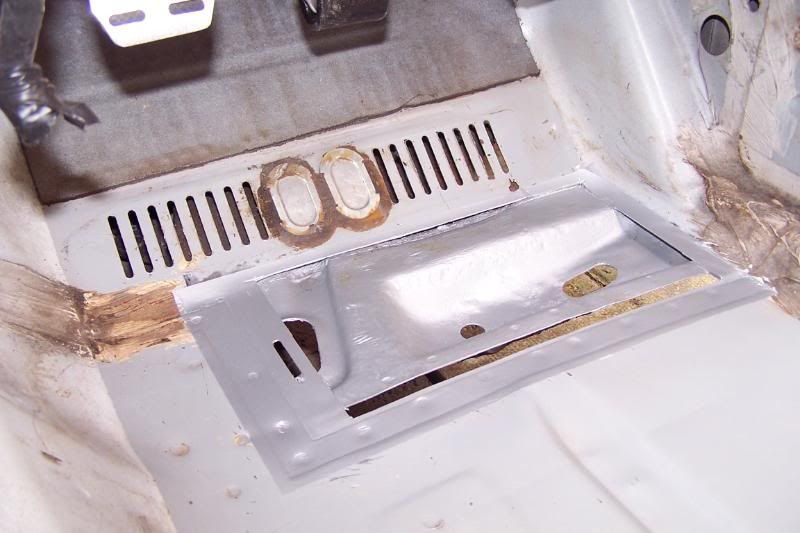
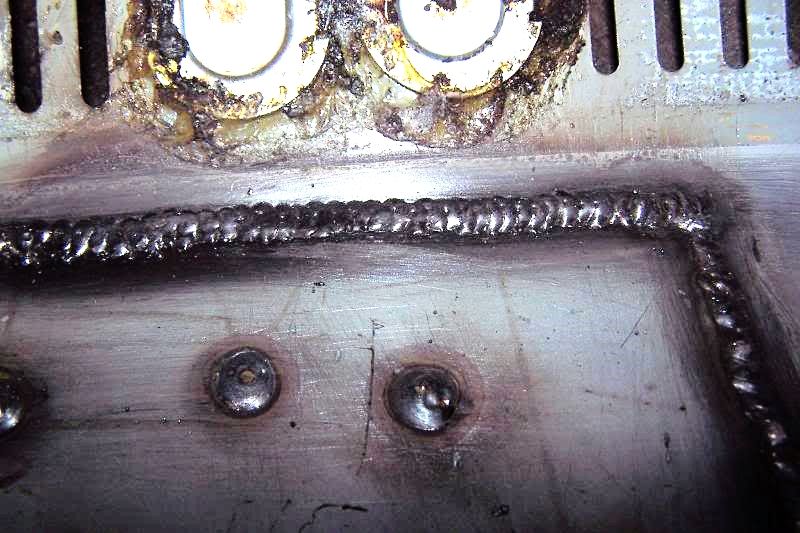
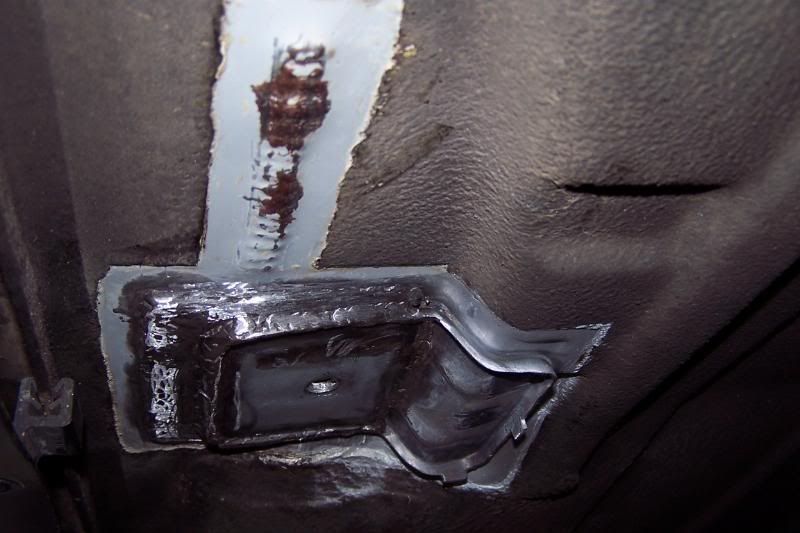
Finnished

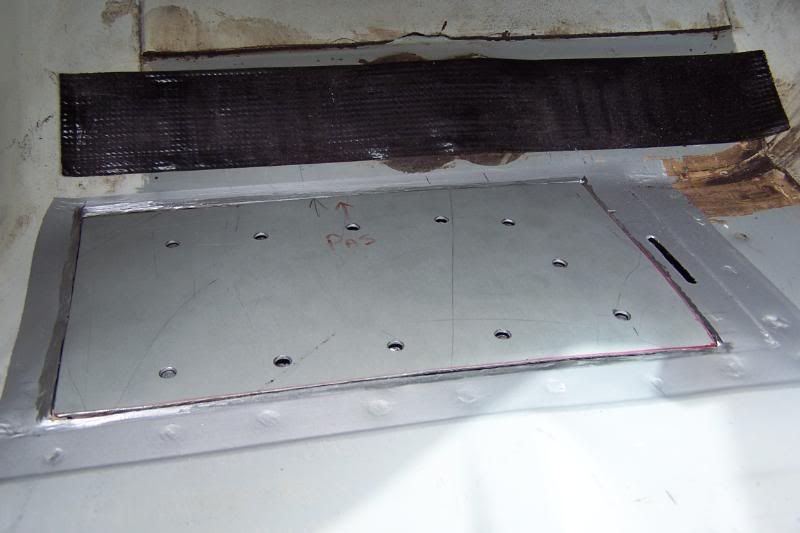
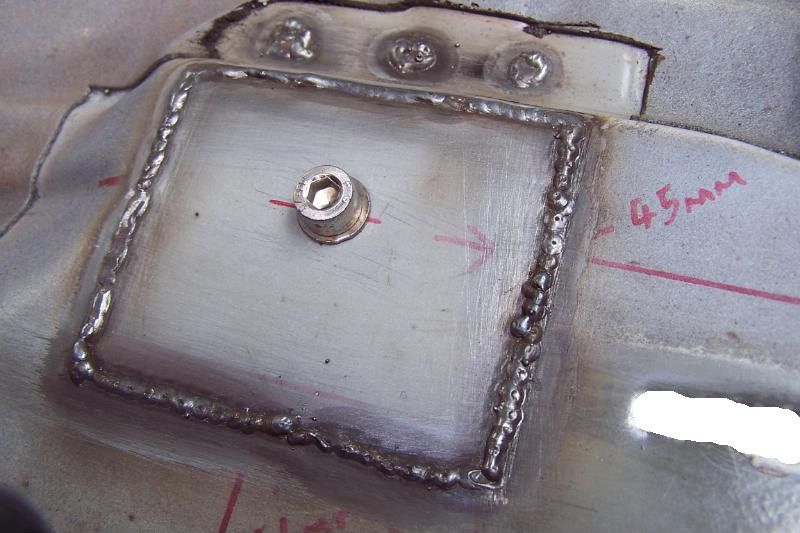
And heres a few more pic's I found as well of the drivers seat mounting repair and the gear box tunnel, not bad for a first attempt at welding if I must say so myself.


Drivers seat mount
Hope they help in some way
Patches cut out
Area treated
Patch cut in and ready for welding
Finnished
And heres a few more pic's I found as well of the drivers seat mounting repair and the gear box tunnel, not bad for a first attempt at welding if I must say so myself.
Drivers seat mount
Hope they help in some way

I've found that life I needed.. It's HERE!!
iTrader: (1)
Joined: Dec 2009
Posts: 1,160
Likes: 10
From: newark
Here's what I found
Patches cut out
Area treated
Patch cut in and ready for welding
Finnished
And heres a few more pic's I found as well of the drivers seat mounting repair and the gear box tunnel, not bad for a first attempt at welding if I must say so myself.
Drivers seat mount
Hope they help in some way
Patches cut out
Area treated
Patch cut in and ready for welding
Finnished
And heres a few more pic's I found as well of the drivers seat mounting repair and the gear box tunnel, not bad for a first attempt at welding if I must say so myself.
Drivers seat mount
Hope they help in some way
nice work pal mine started going in the exact same places.made me cry but all sorted now
 good effort matey, looks spot on
I've found that life I needed.. It's HERE!!
iTrader: (1)
Joined: Jan 2005
Posts: 1,062
Likes: 1
From: Devon
mine went in the exact same place i welded mine up from the inside and the outside smoothed it all over with the grinder and then with a buffer attachment, looks well good now it's been painted.

Thread
Thread Starter
Forum
Replies
Last Post
insane.cossie.driver
General Car Related Discussion.
22
Jul 20, 2004 06:51 AM