Ive been meaning to update this for the last couple of weeks so here goes.
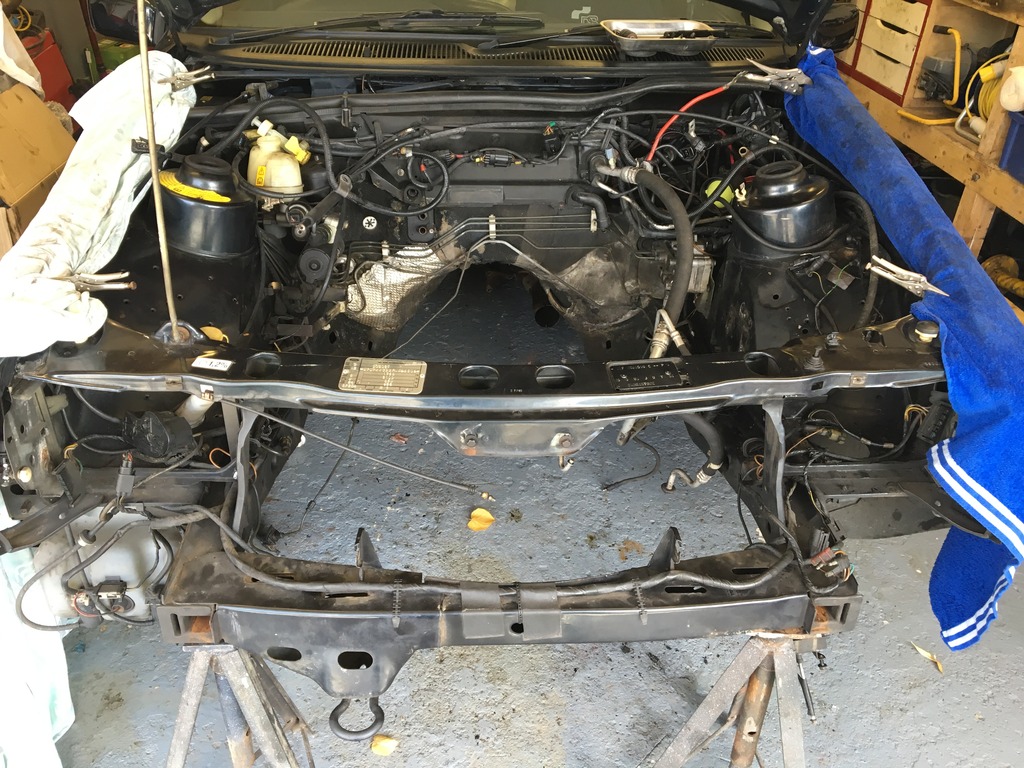
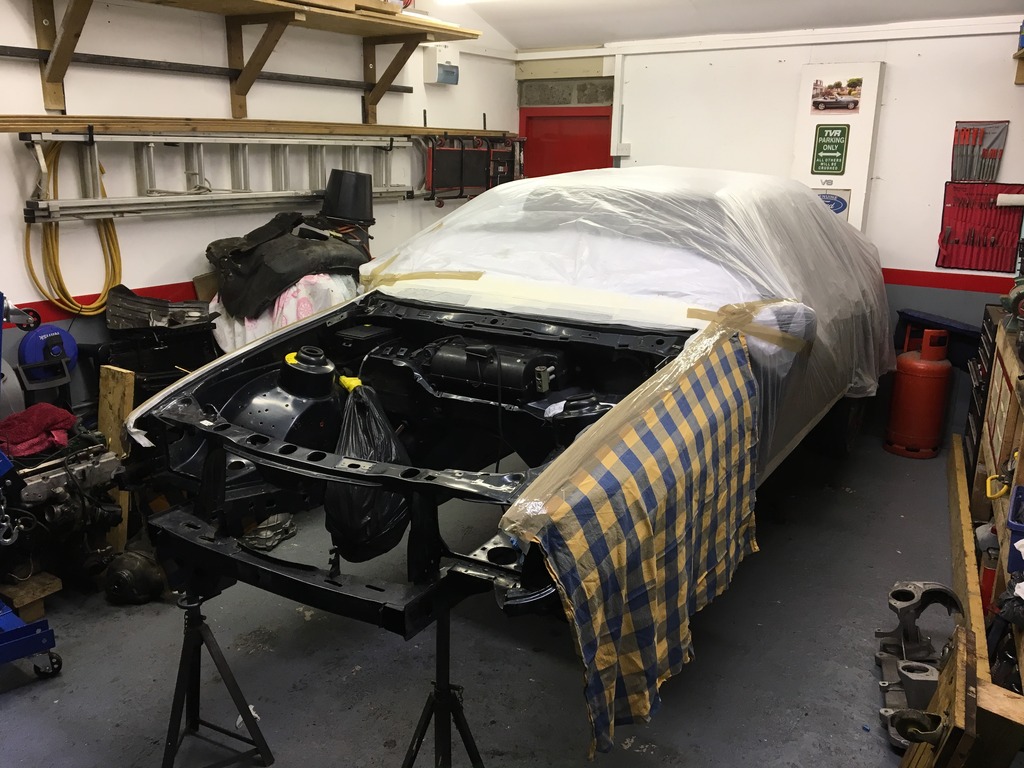
So ive now got the engine out, bay stripped and full front end, bay and underneath de-greased and jet washed. The amount of shit that came off it was unbelievable. Still some stubborn wax oil and underseal to remove from places, I hate trying to remove wax oil and underseal but ive got to say it has really done its job.
Ill leave the pictures to do the talking.


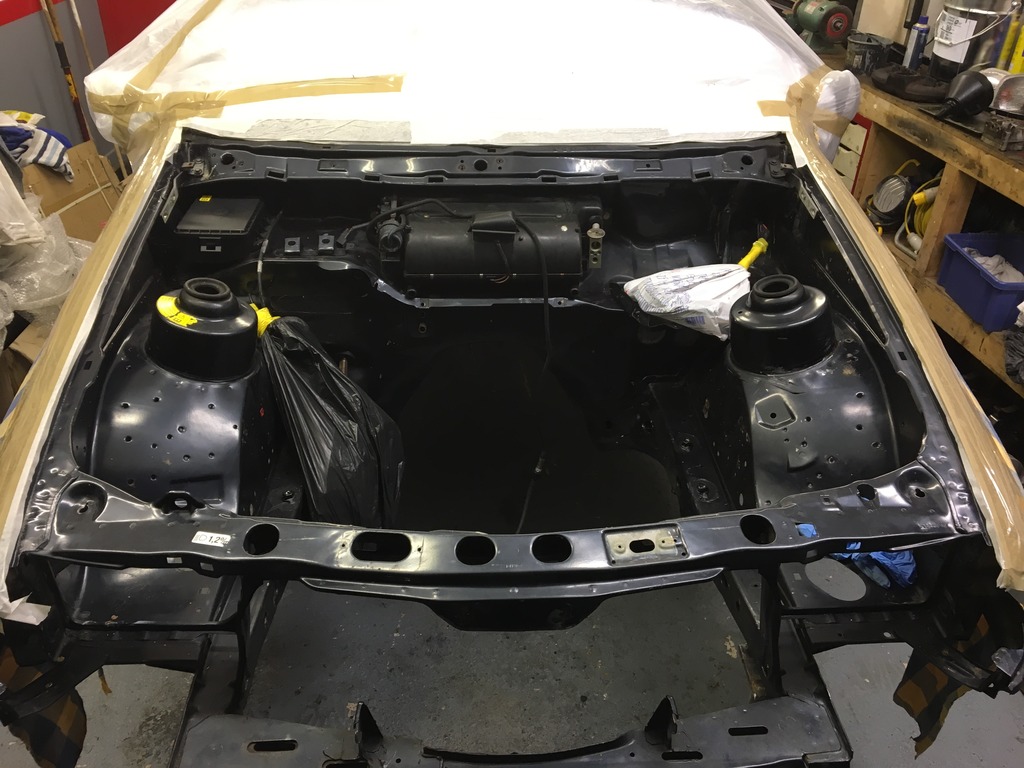
Aux loom is left bagged up on the right. Once the engine was out I managed to get a good look at it I could see the difference between old and new. My engine having Air Con has a very different setup, with the PAS Pump being on the left had side instead of the conversional location on the right. This is where the Air Con pump is located.
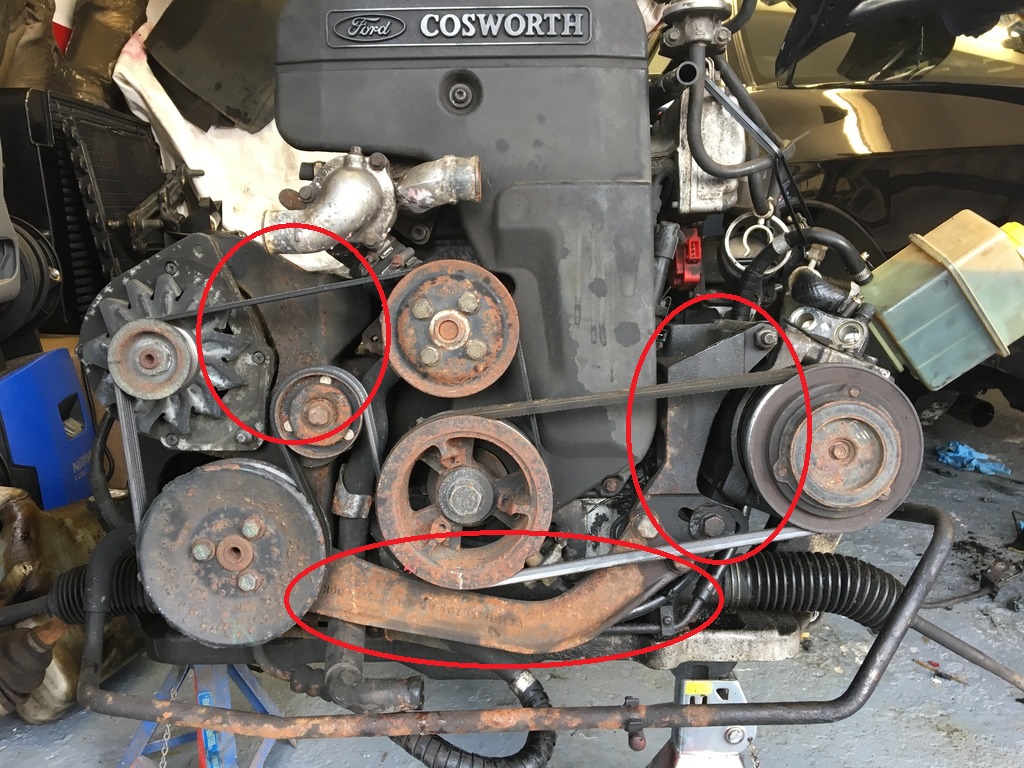
As you can see in the pic there's a cat bracket on the right and left which locates the PAS and Air Con pumps in their locations and a steel brace along the bottom. These have all been removed for powder coat before been fitted to the new engine.
Next up was to pull the car out and give it a good clean.
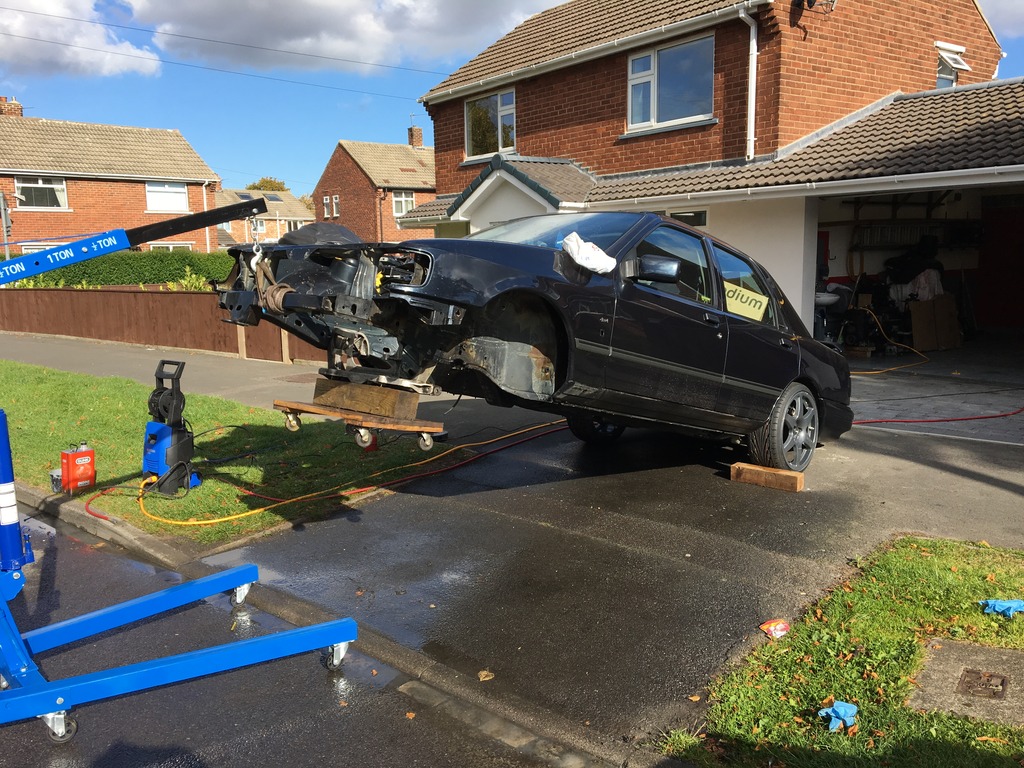
Needless to say we got a few funny looks form people passing haha
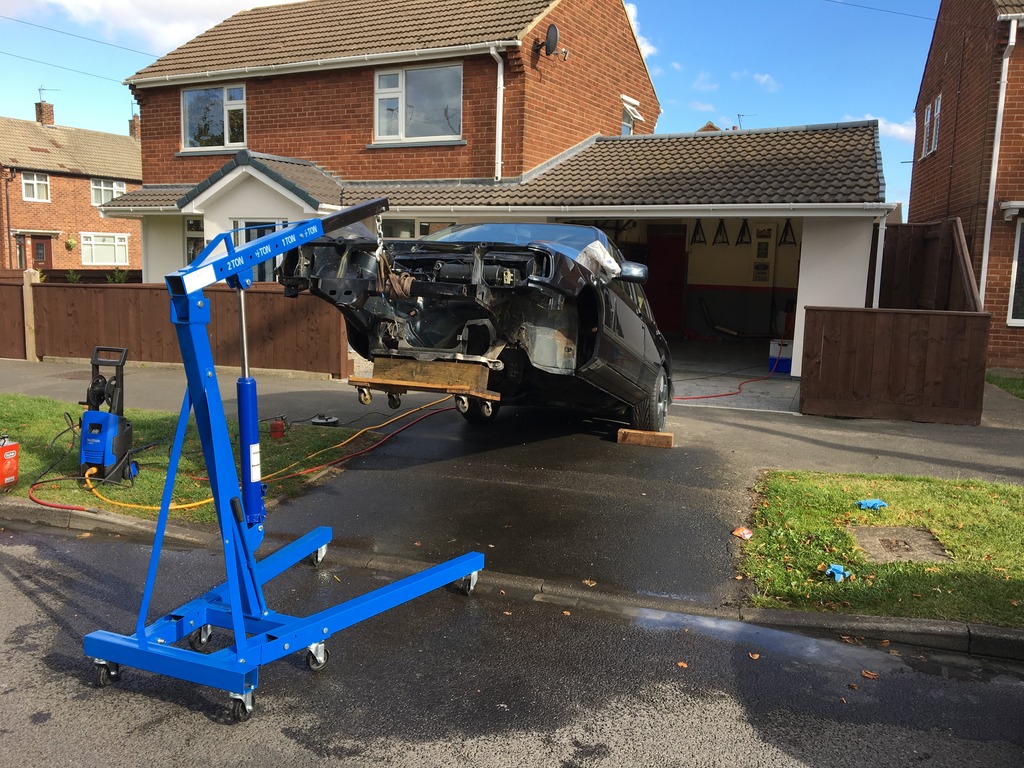
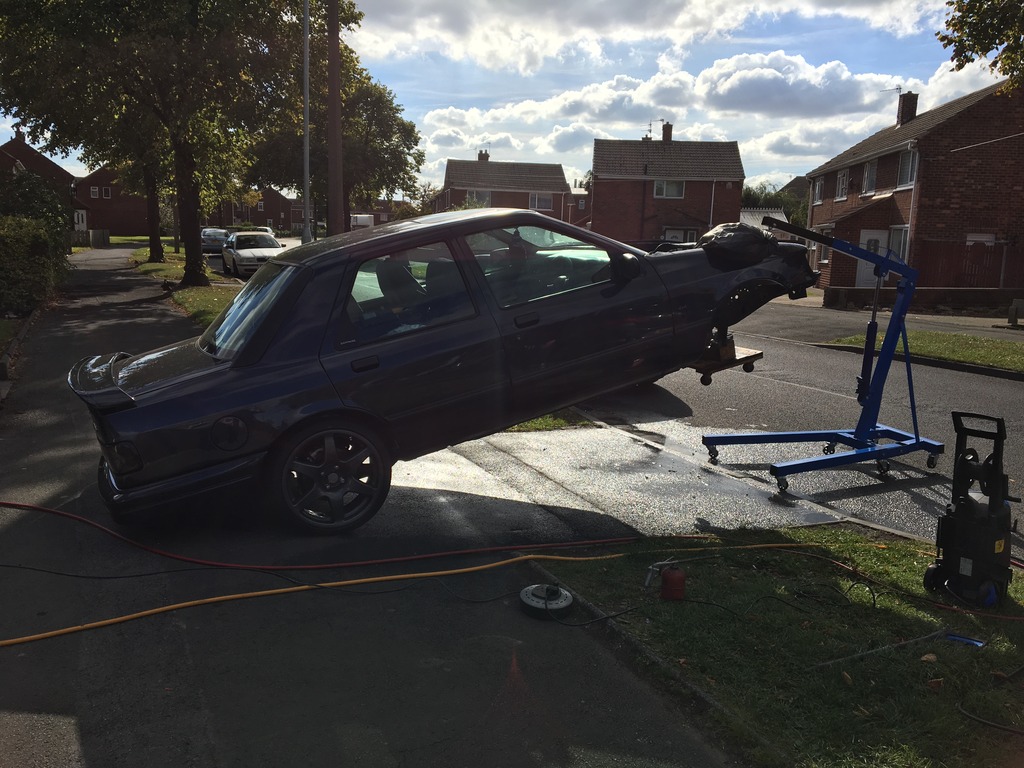
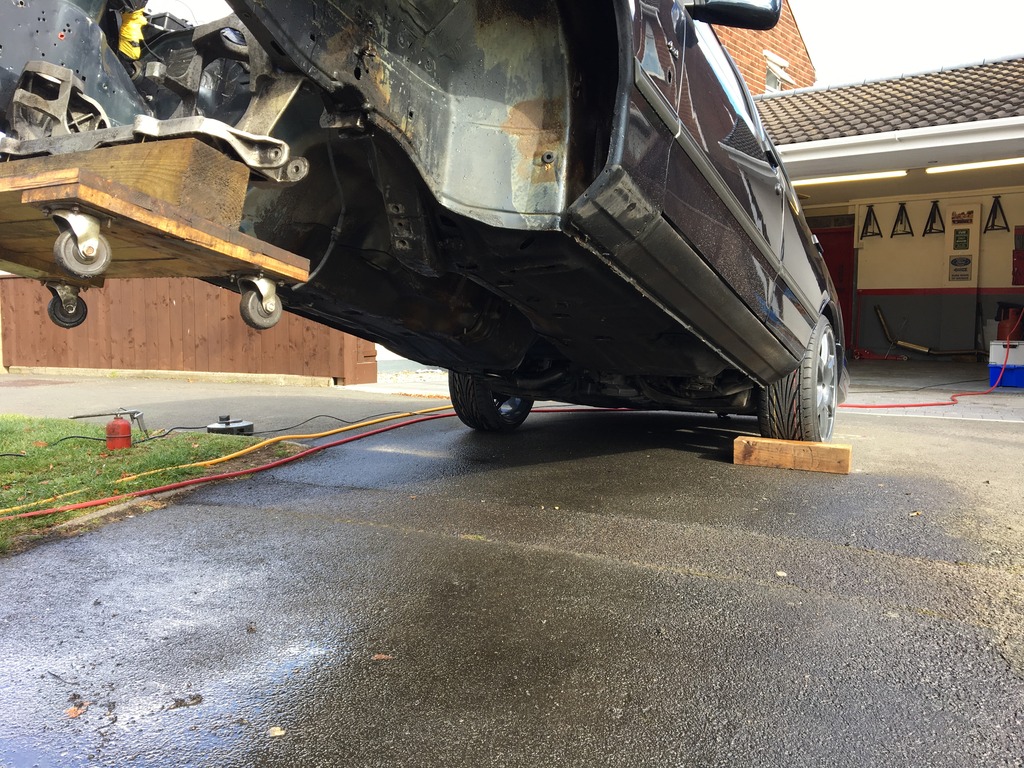
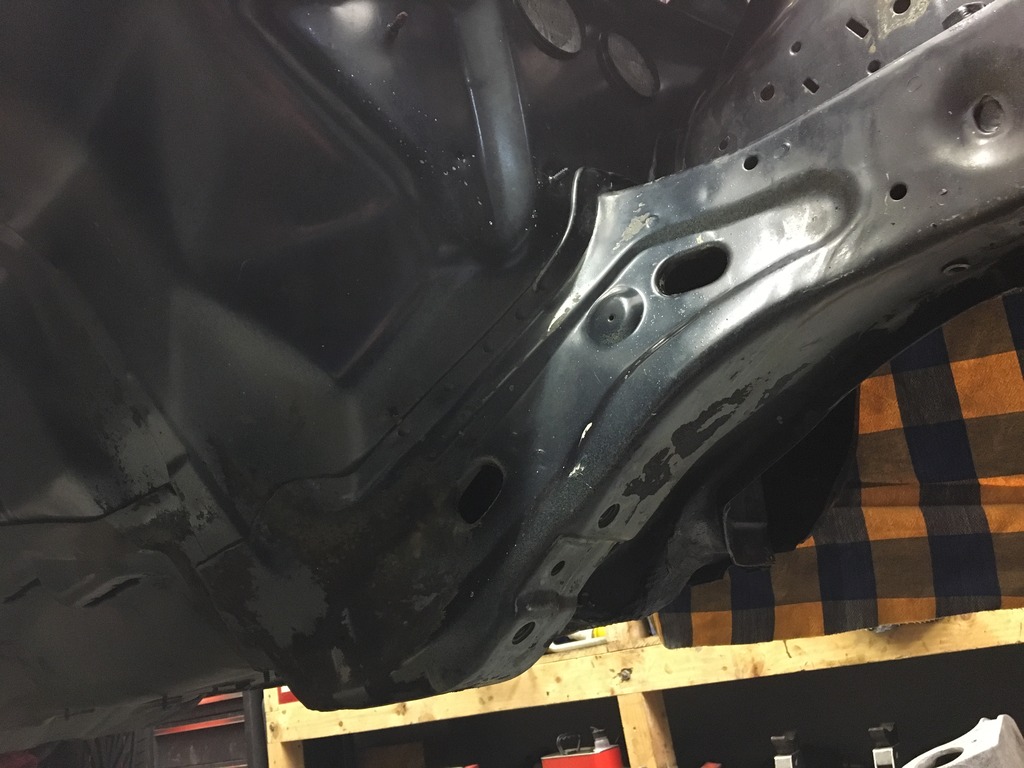
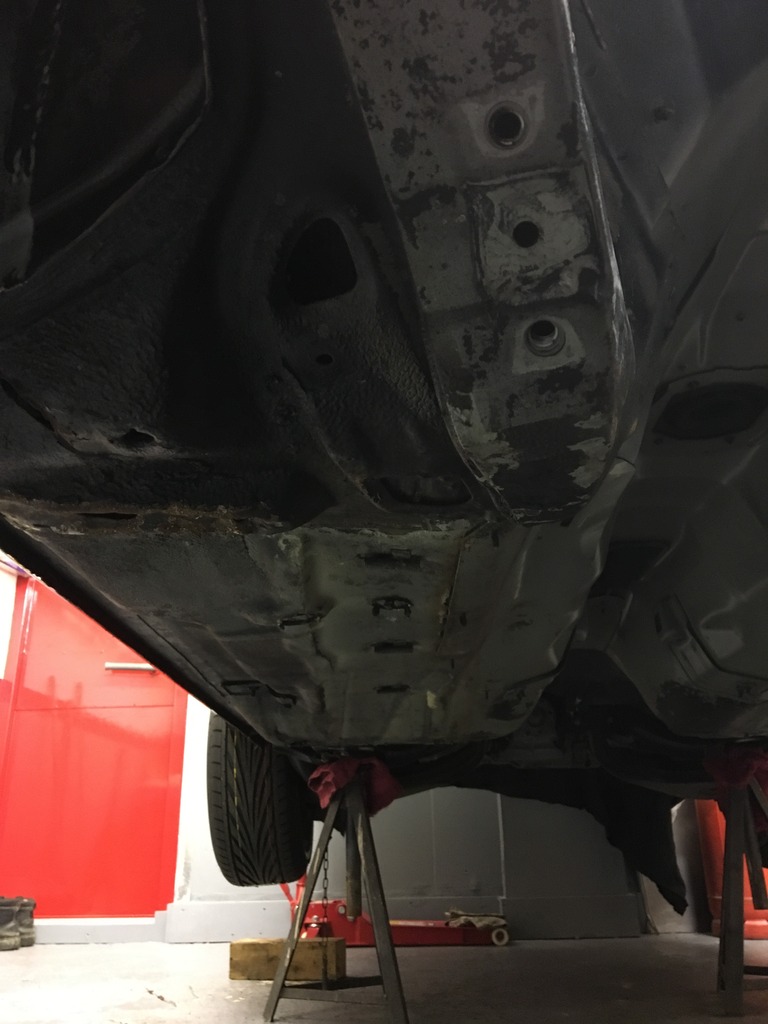
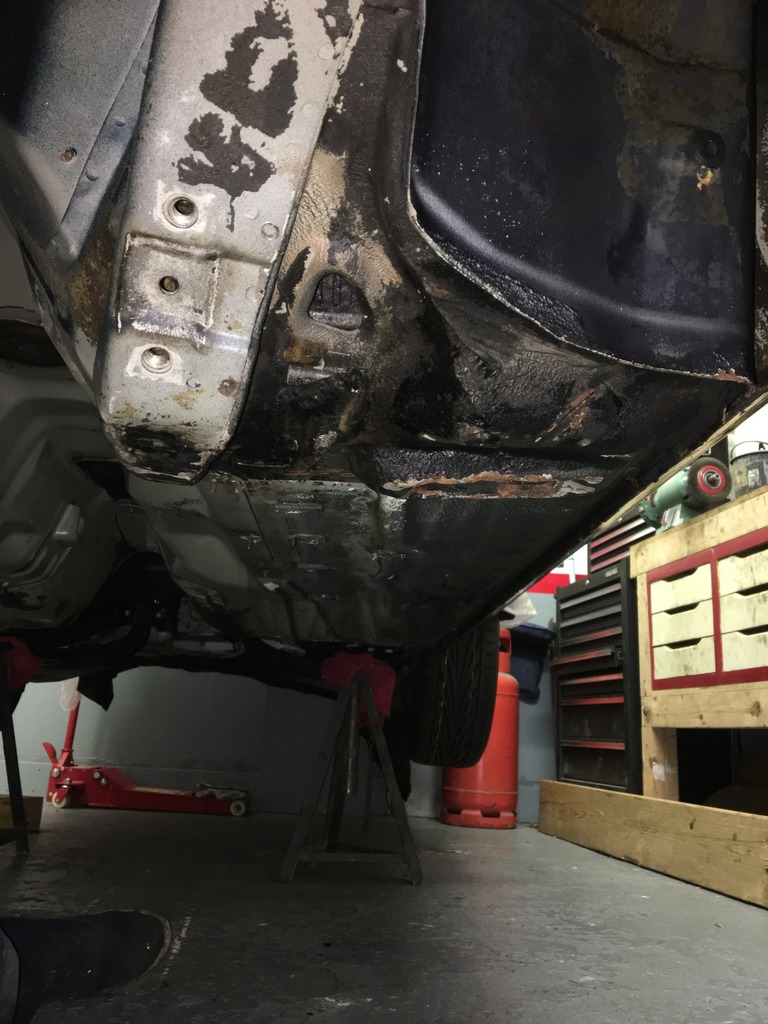
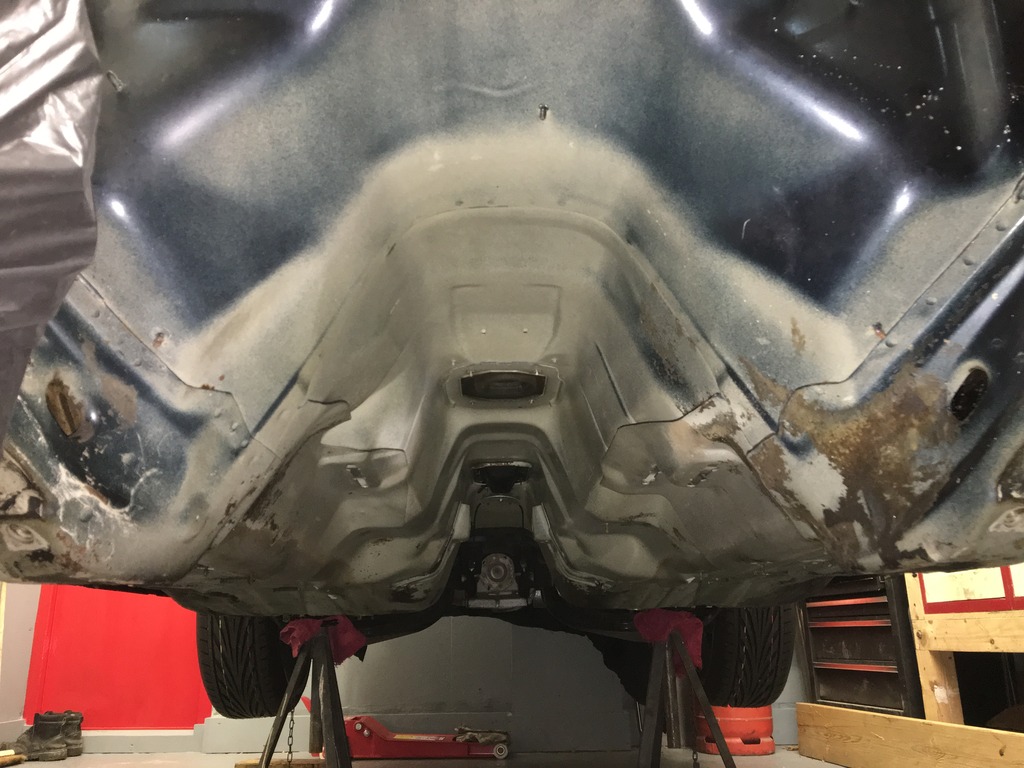
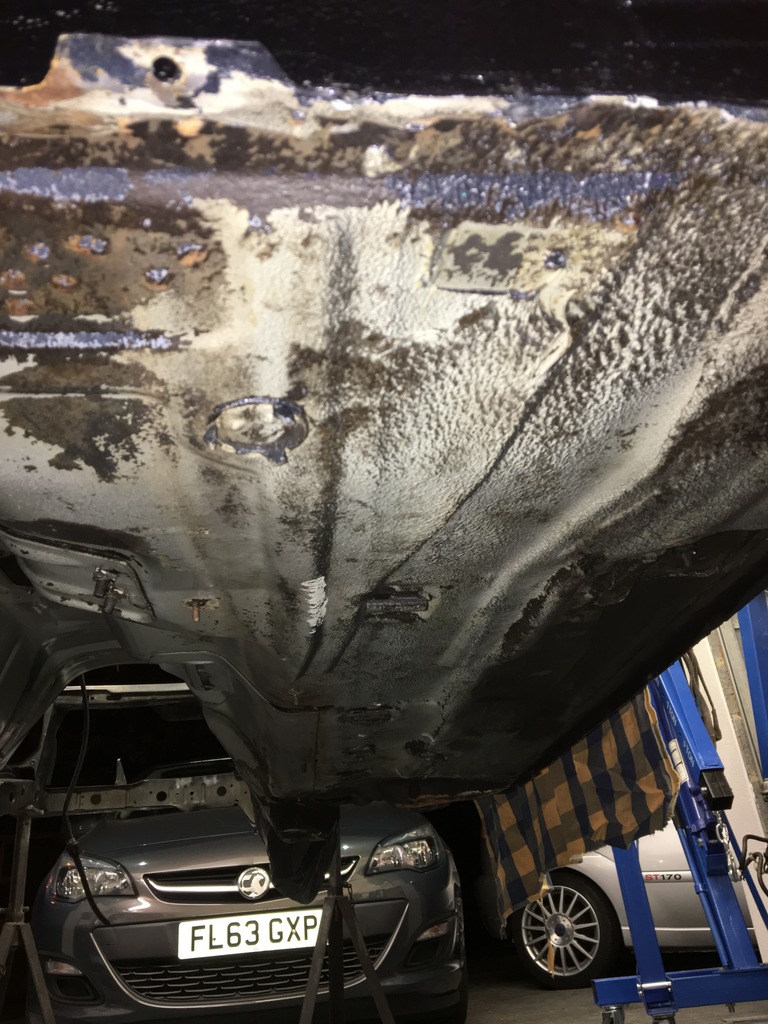
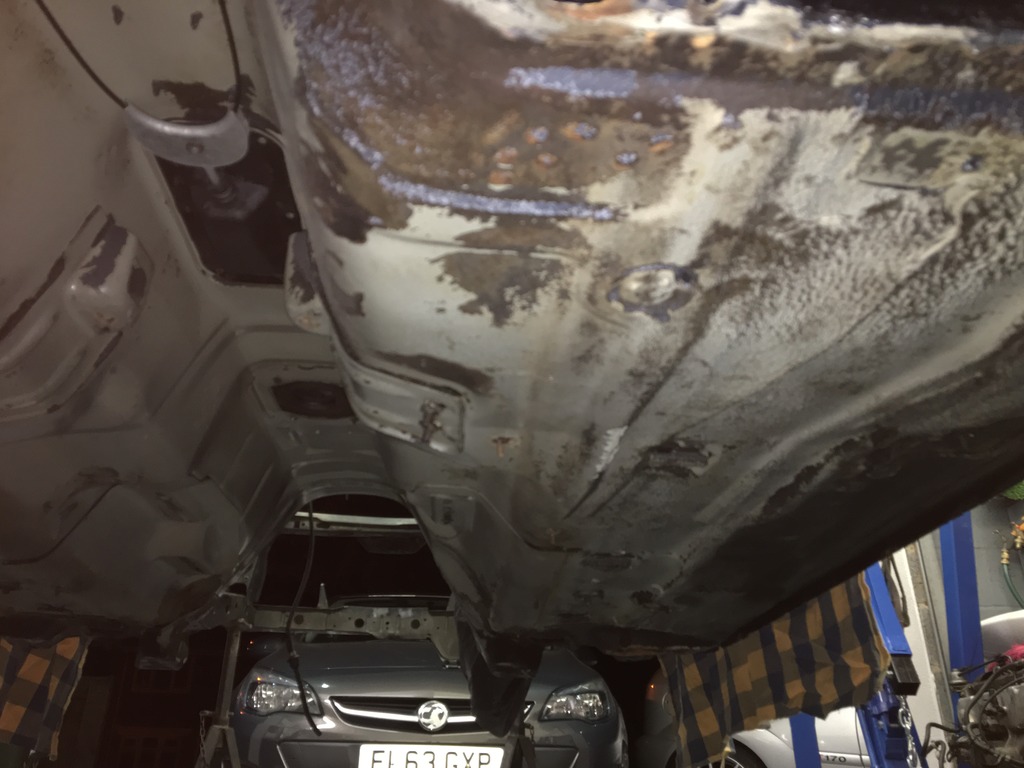
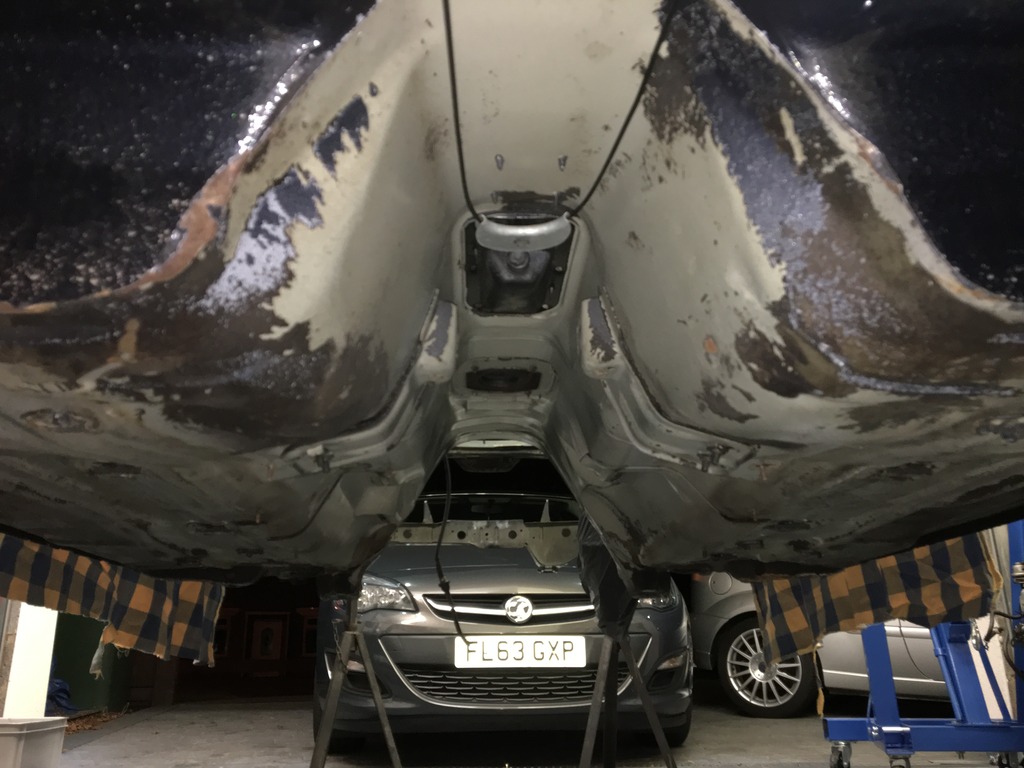
The condition of the shell is unbelievable really, there was no rust or signs of welding on the rear end when I did that last year. And now to have the rest striped and find only minor signs of surface rust which will easily clean up with a flap disk is really good news. Even the sills are spotless, inner and outers are perfect.
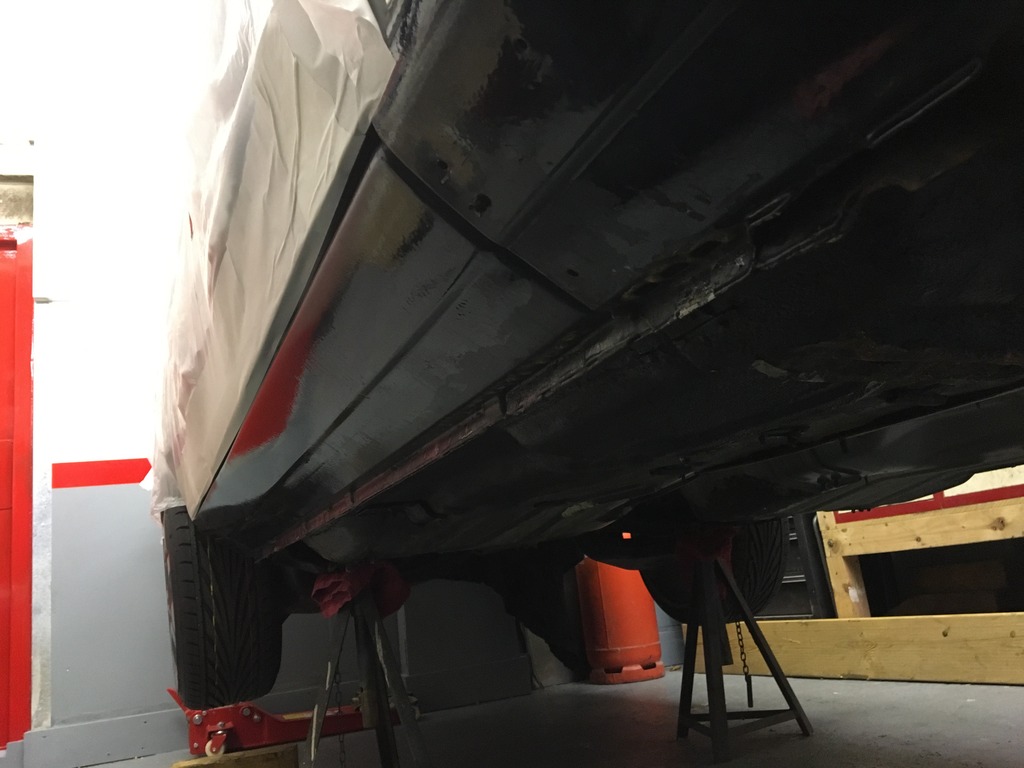
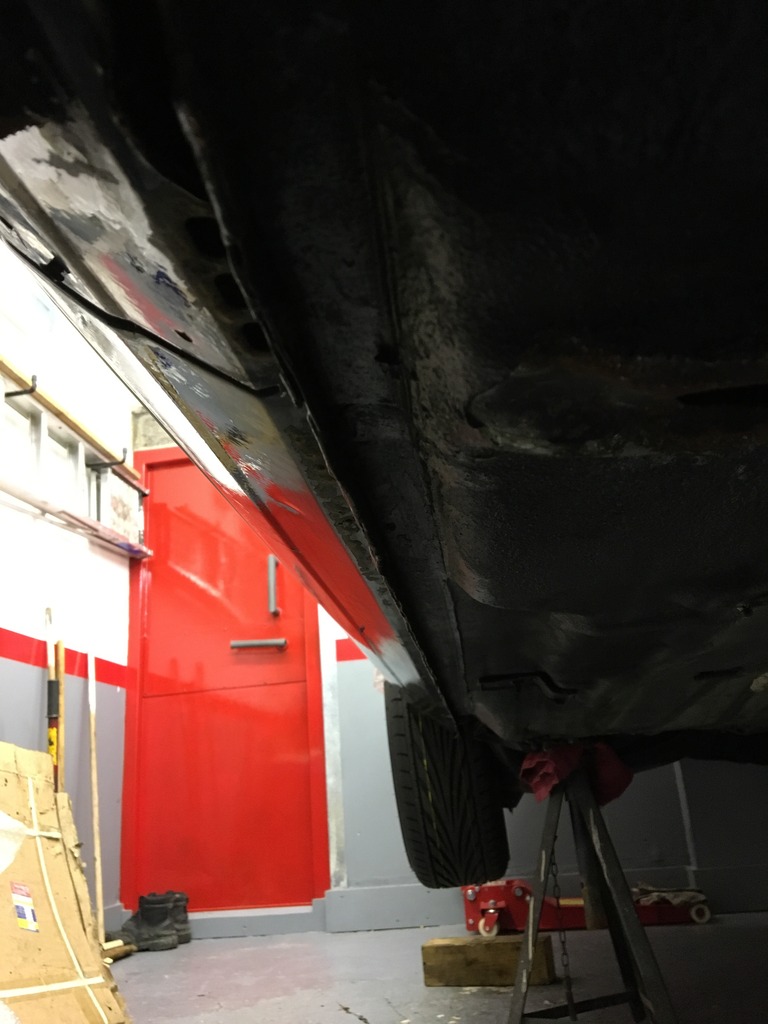
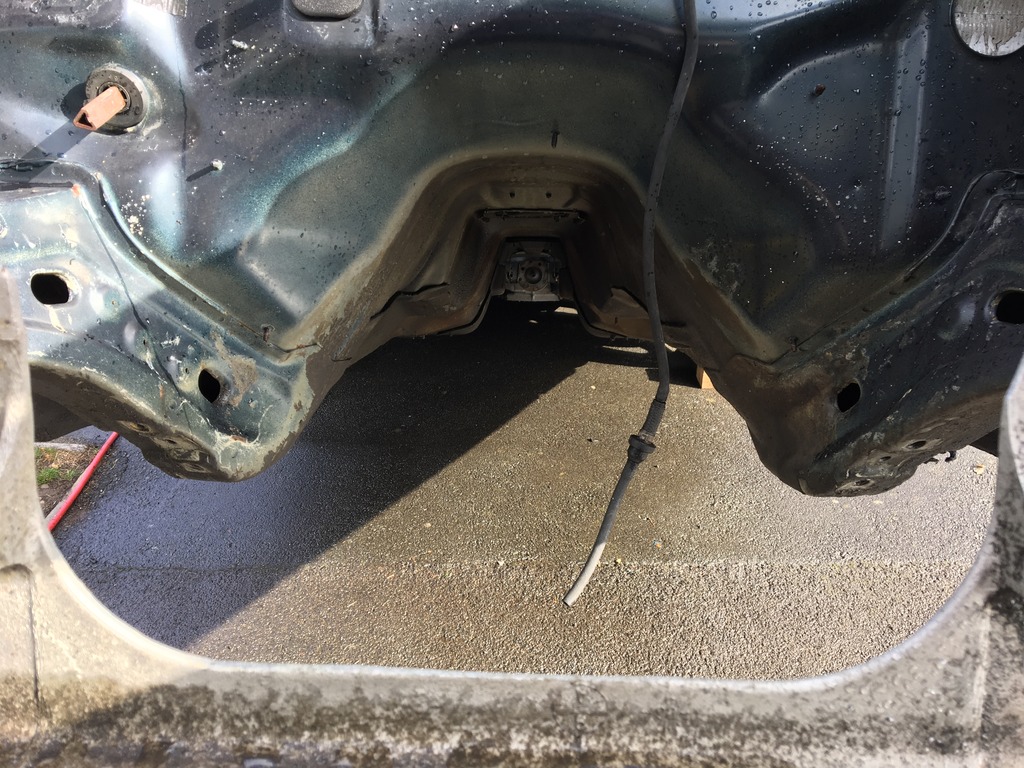
So next step now its clean is to get it setup on stands back in the garage and go to town on the strip back. The inner and out sills will be taken back to bare metal to be 100% everything is treated, floors will also be stripped back and then new seam sealer and stone chip applied before paint. The bay im in a little bit or a dilemma with, its needs minimal prep work but im undecided whether to weld up unwanted holes. What peoples thoughts?
Also after some advice, what have people use to replace the heat/sound deadening on the bulkhead? Mine just turns to dust in your hands in places, ive managed to keep it together as much as I can to get a template from but any advice on what to use would be great.
Well ill be cracking on with more this week and will update again soon.
Thanks for reading
