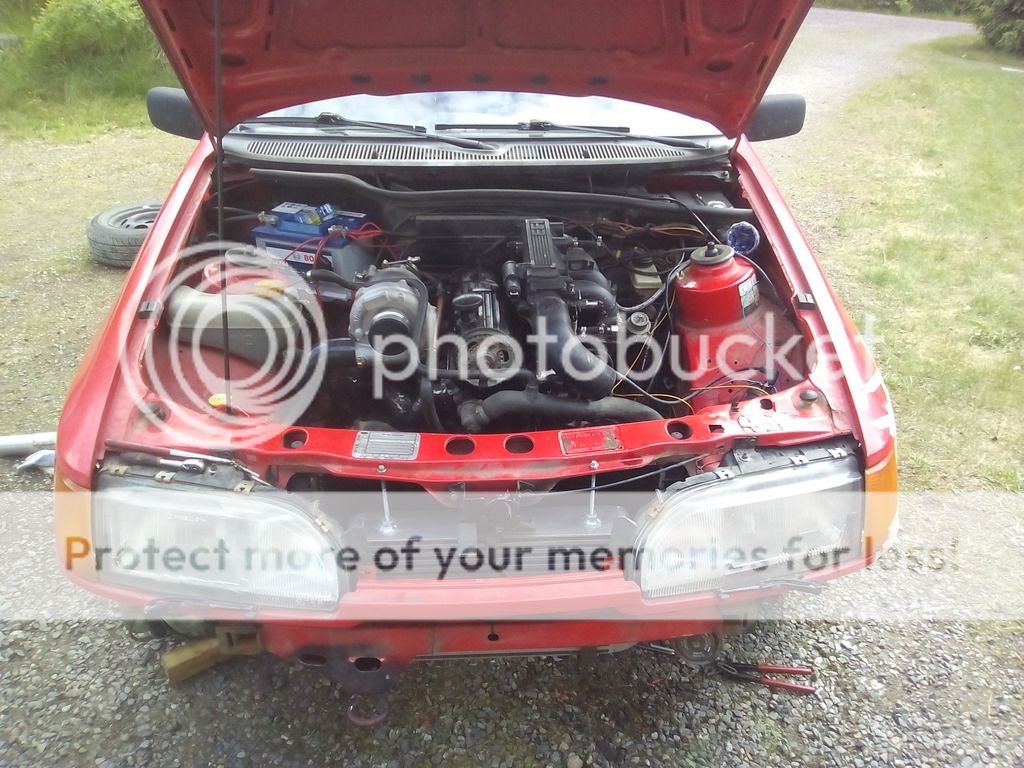
WTF guys, suddenly a turbo in my daily?
Next up two weeks of work in one post. Maybe not the most detailed post about this little project, but I'll try to include everything I recall. I used two weeks of my summer vacation for this.
While I was working with the diff my friend was going over the wiring loom. Shortly, the old engine loom (MS1) was removed from my other Sierra and modified to fit to this one. Sounds simple but it took quite a lot of time because over the course of time we had modified the original loom few times and now we wanted a loom that had all the bits we need, but tidy. My friend also made a whole new relay wiring for the fuel pump (bigger wires for the pump). Also new wiring for new gauges.
So now this car has Megasquirt 1 V2.2 with Ford TFi ignition and electronic boost control.
It was a easy decision to take the ECU and wiring from the other Sierra, because it'll get a whole new ECU and a loom with wasted spark at a later date anyways.
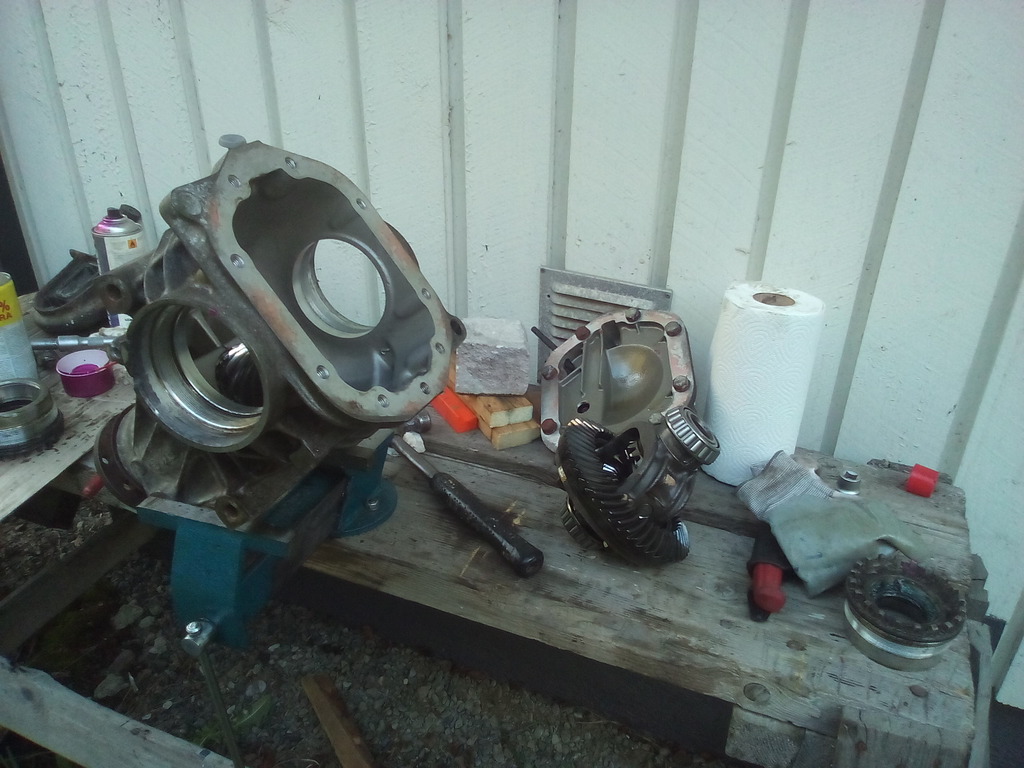
About the diff then? Of course I would need a LSD.
I started with prepping the driveshafts. I made "hybrid" driveshafts with push in joints outboard and lobro joints inboard. I used push in driveshafts that have outside diameter of 27 mm, because they have the right splines on the inboard side to fit the lobro joints. I used the smaller lobro type, IIRC the bigger ones don't fit.
First brake the push in type joint's outer shell.
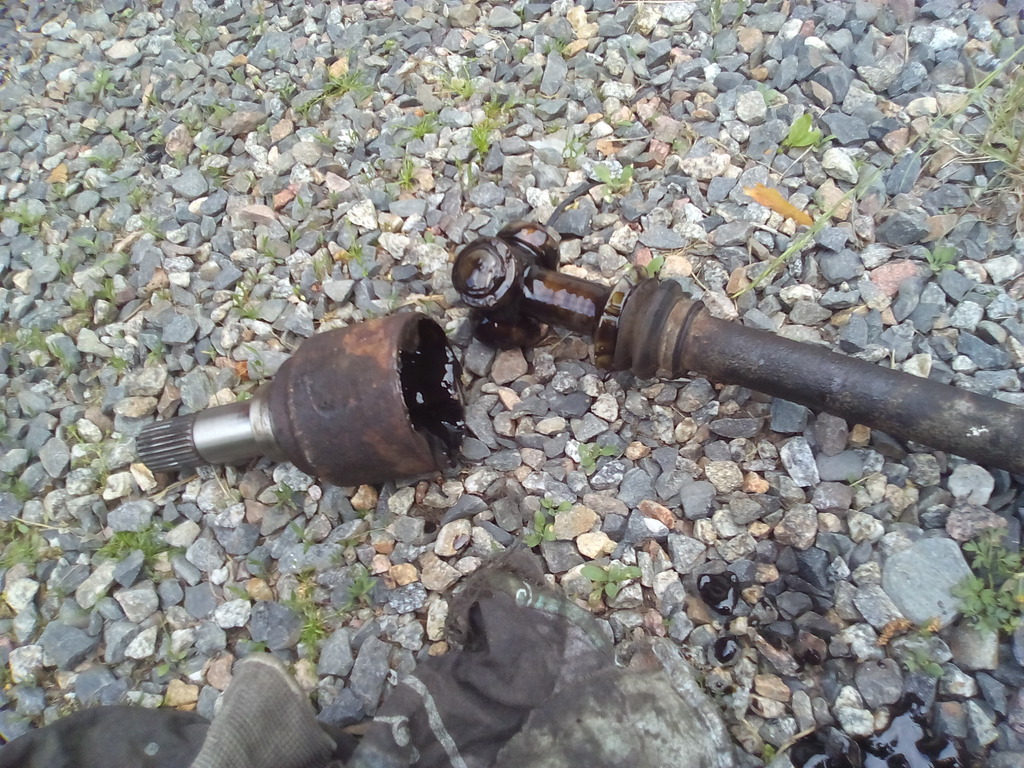
Then remove the locking clip and hammer the rest of the joint out.
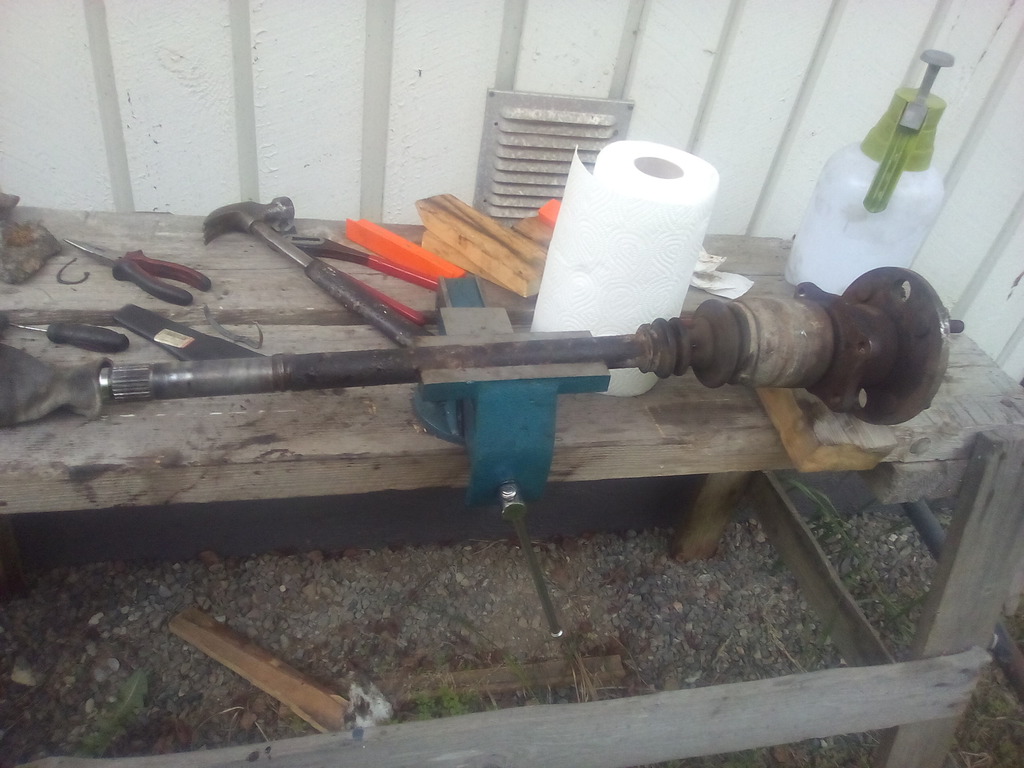
Now the lobro joint will slip on easily, just push it on and attach locking clip, grease some shit up and fit the rubber boots.
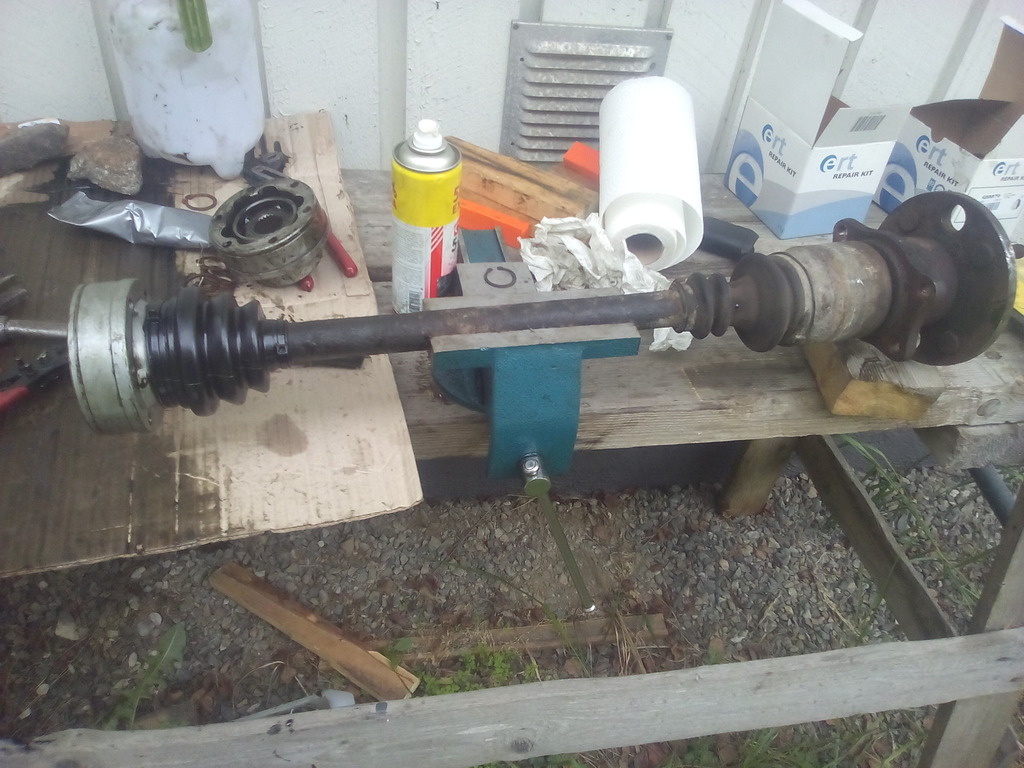
And now we have a driveshaft that will fit between a 7" visco diff and drum brakes. Repeat for the other side.

Next up the diff itself. I had already bought a separate visco unit with tighter visco liquids inside (60 000 cps). So I fitted this inside a regular 7" open diff.
LSD vs open diff unit:
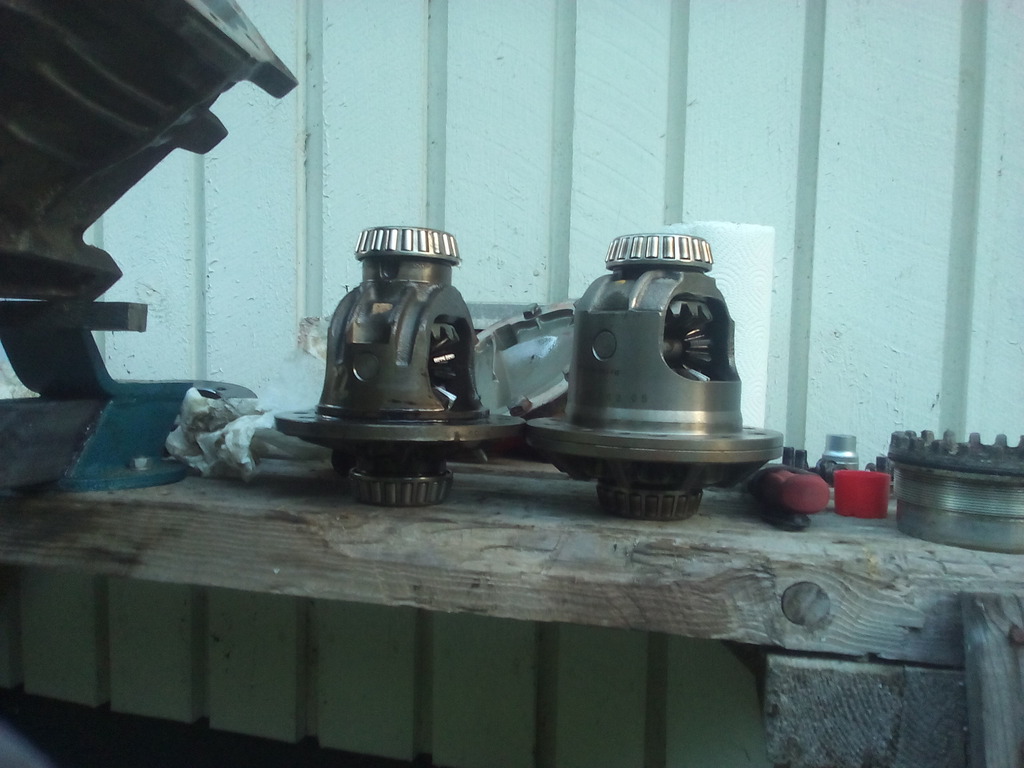
I just swapped the drive gear from the open diff to the visco unit.
Installed the visco unit inside the 7" diff casing. Also put in the lobro stubs with c-clips to convert it to fully working LSD lobro type diff.
New oils in too.
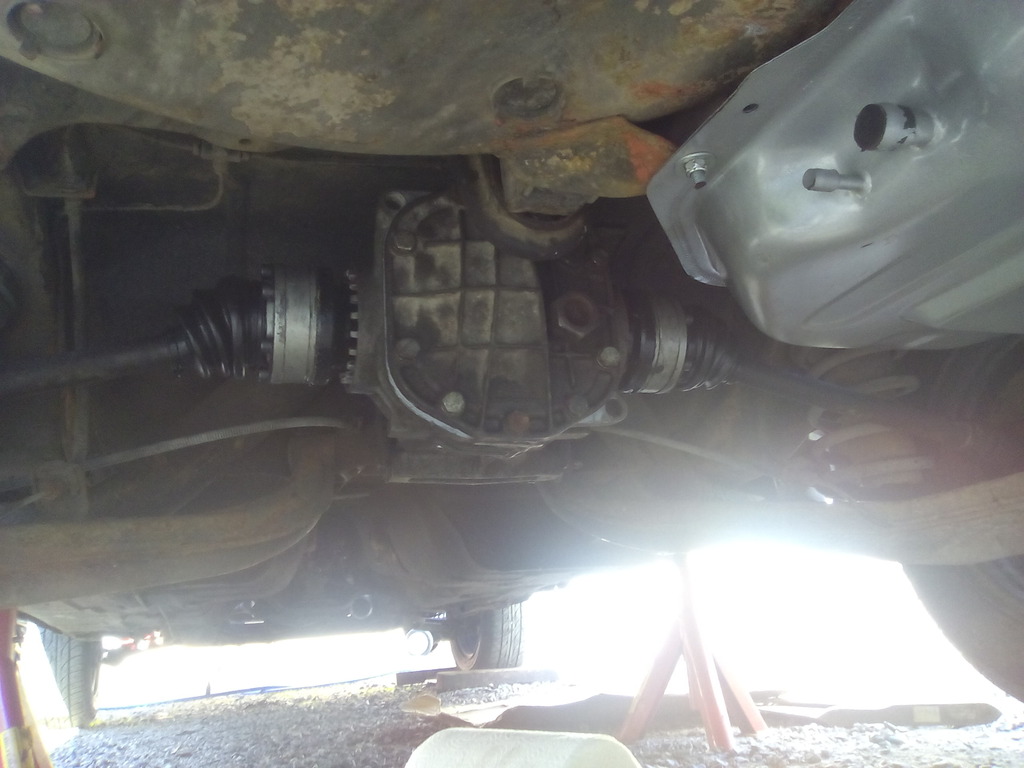
So diff was ready for installation now.
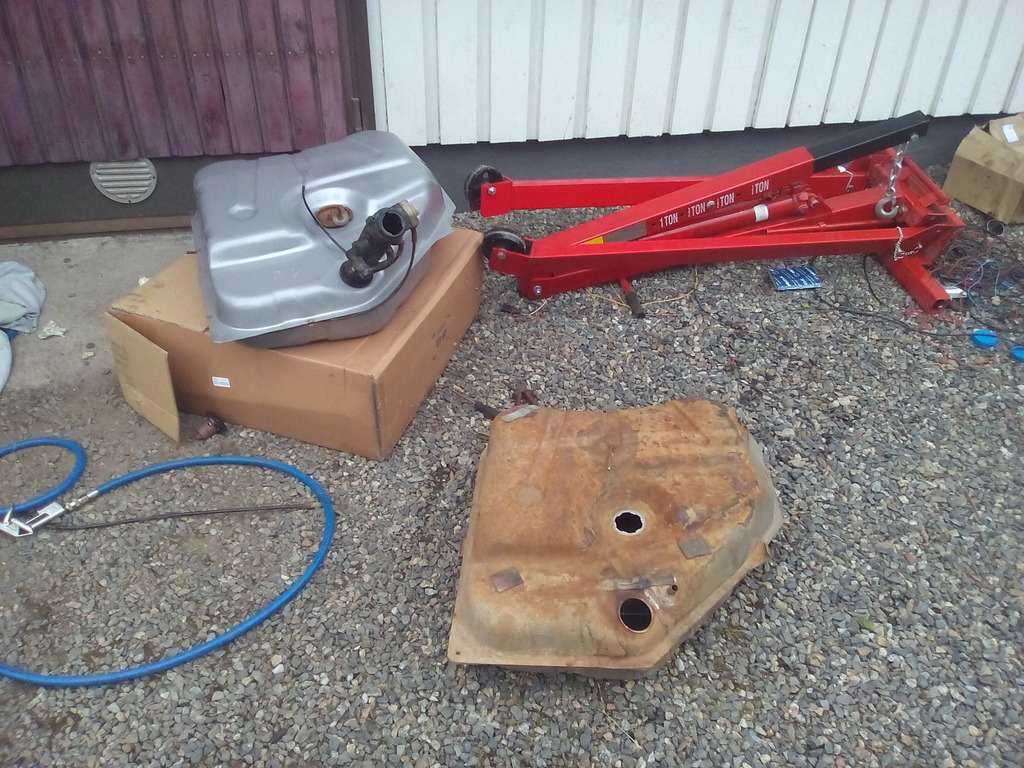
Installed. Also in picture the new injection type fuel tank.
When removing the old tank we had to brake the original bolt/nut mountings so we also welded in some new bolts to the car for easy installation.
Old and new.
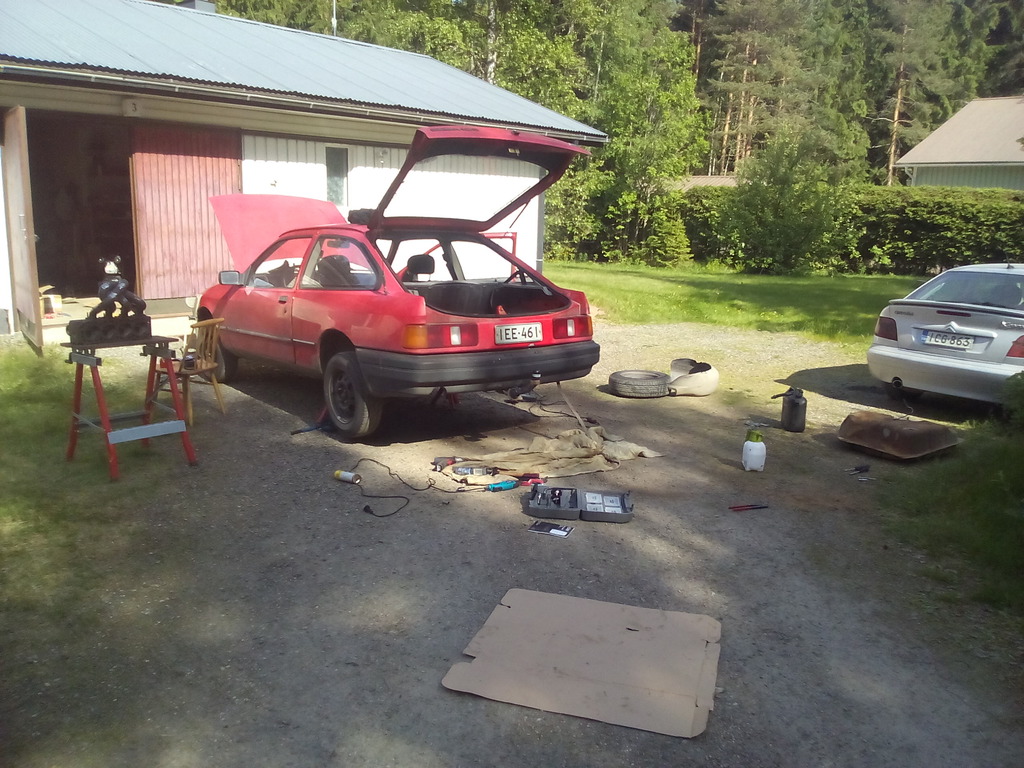
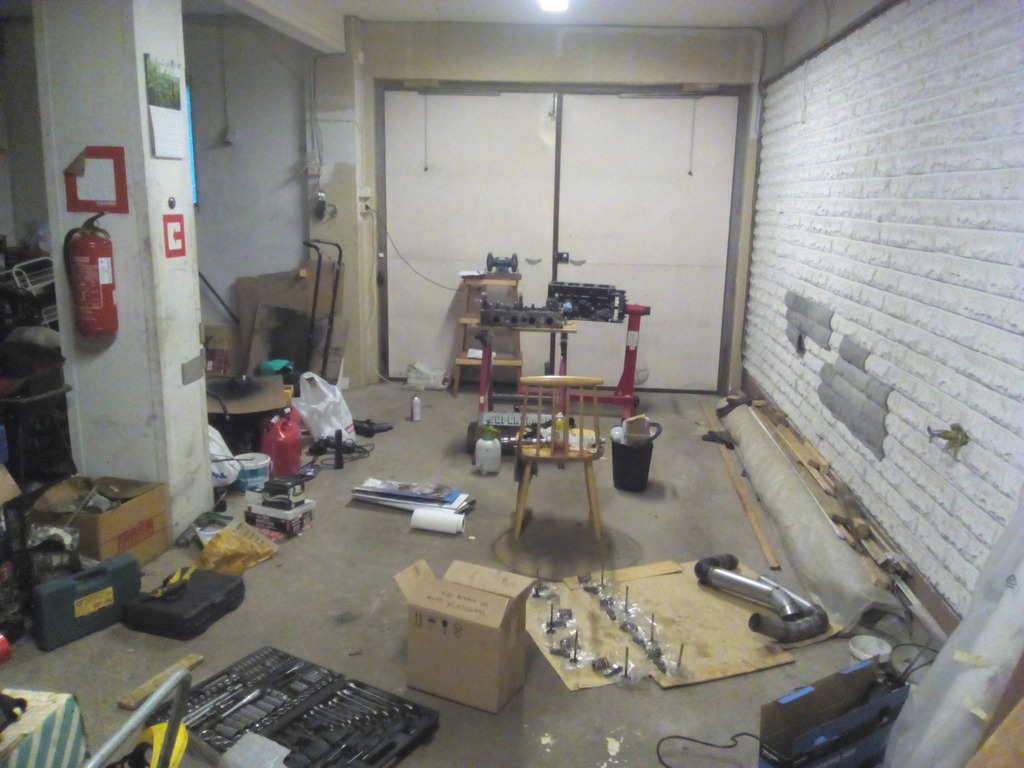
In this picture at the same time we are working on at least three things, wiring loom, swapping fuel tank and fixing the exhaust manifold. At moments there was three guys working on the same car. Without handy friends like this it would be impossible to make projects like this in a two week schedule, so big thanks to my friends! That exhaust manifold I got pretty cheaply, it was supposed to be in working condition but a friend ended up welding it a lot to get to an acceptable level! Was cracked from pretty much everywhere, both MIG and TIG were in good use here.
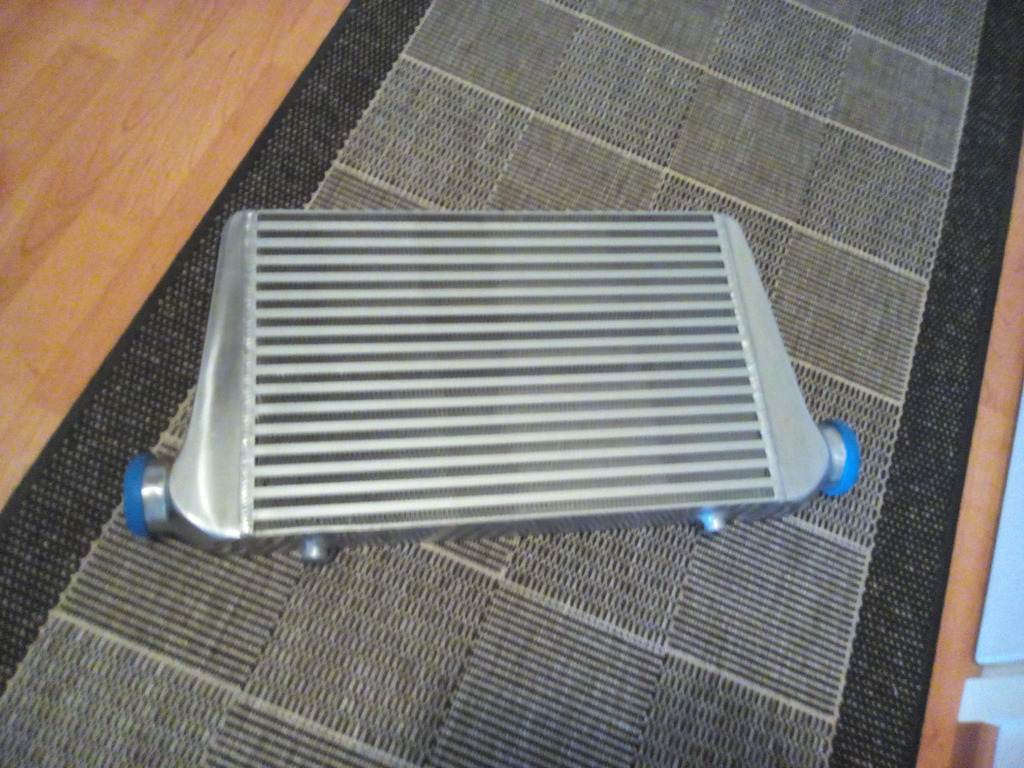
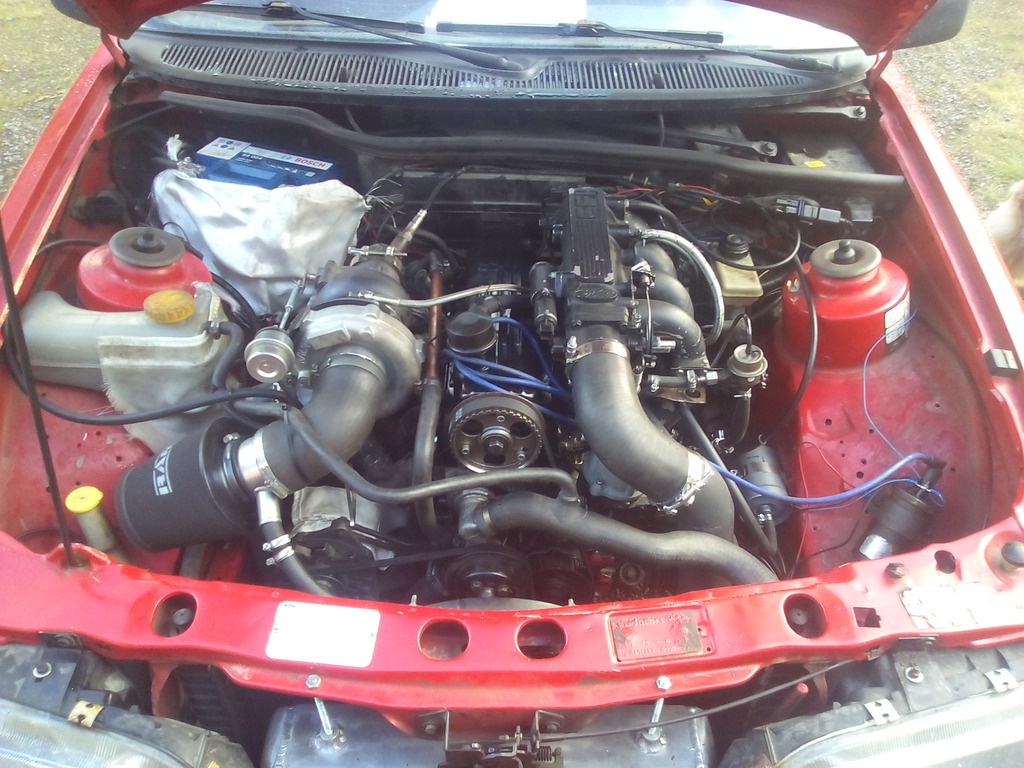
Intercooler.
Finding it's place.
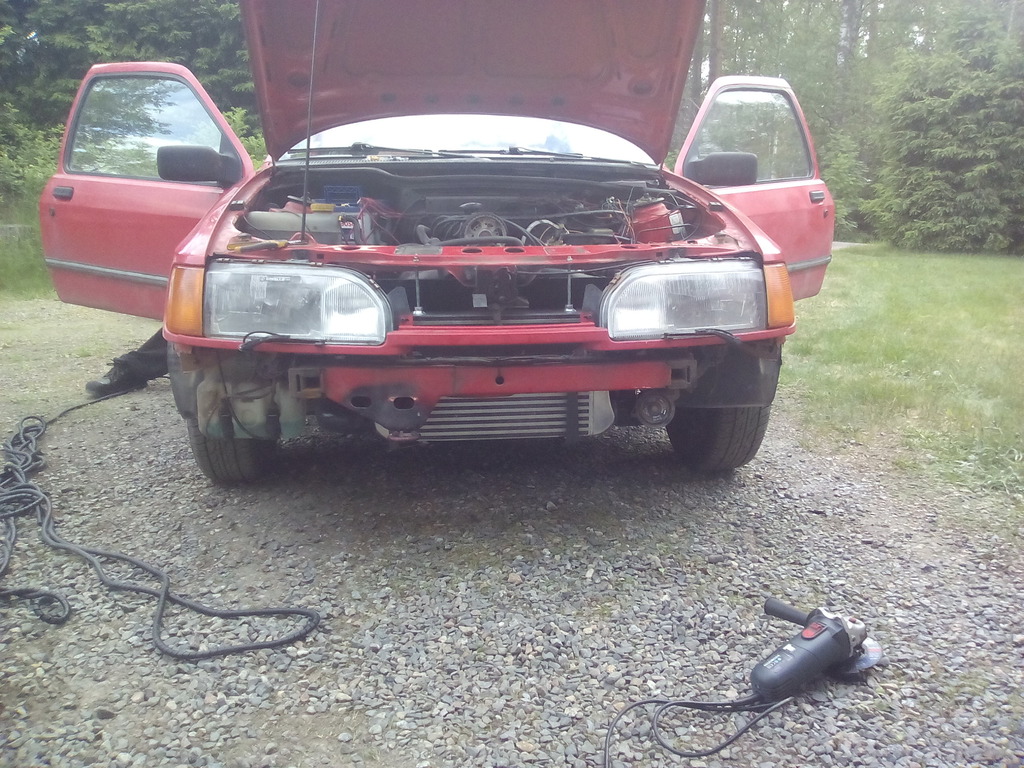
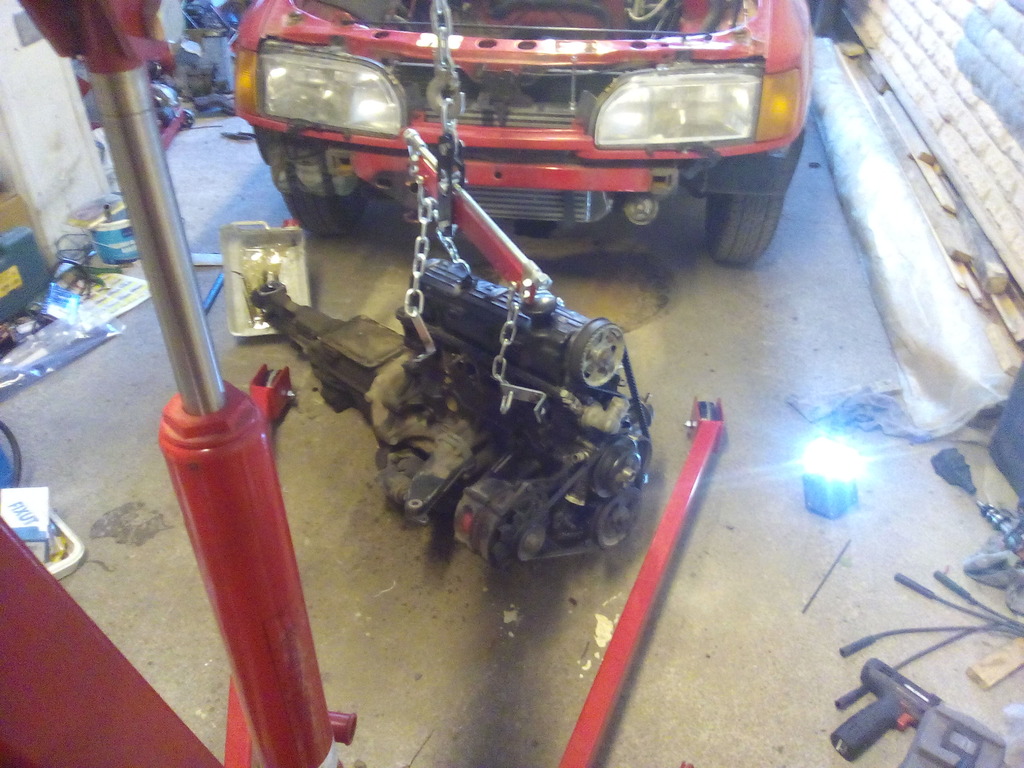
ATMO engine still at front we dummy fitted the manifolds and turbo so we could start fitting and fabricating some piping.
Boost piping got "bead rolled" with a welder so there should be no problems with boost pipes or hoses blowing off.
Picture of exhaust.
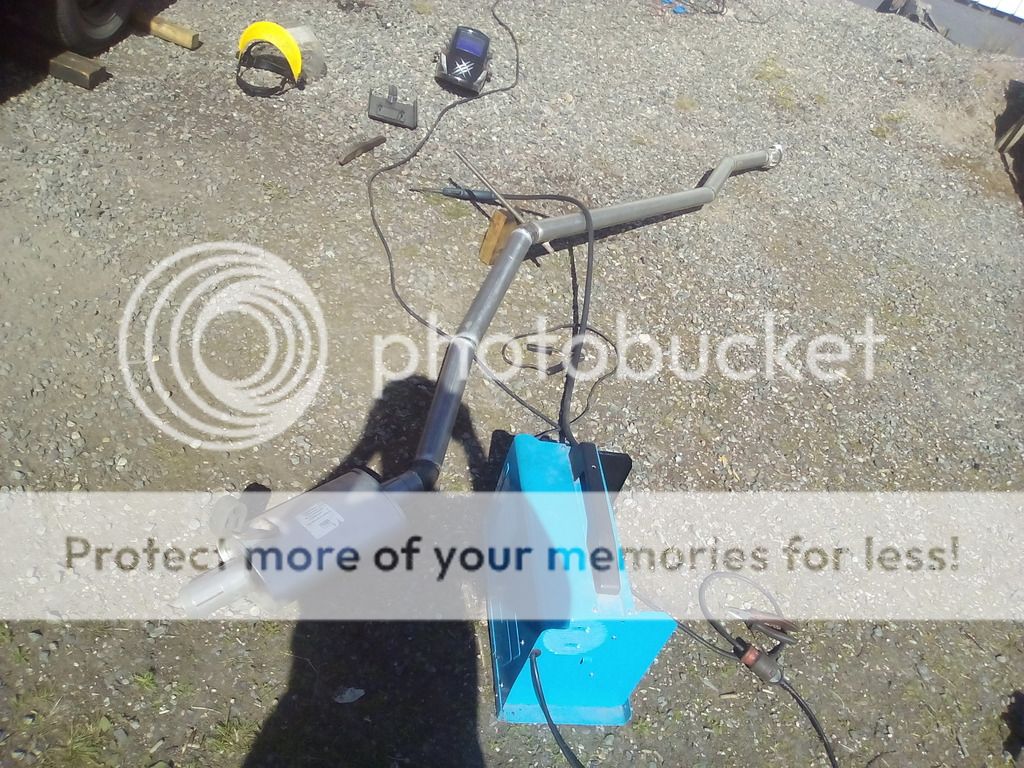
To the outside it has a pretty sweet sound, but I gotta say after driving some I'm thinking I need to fit a different muffler at some point, because to the inside it's just too damn civilized to my taste.
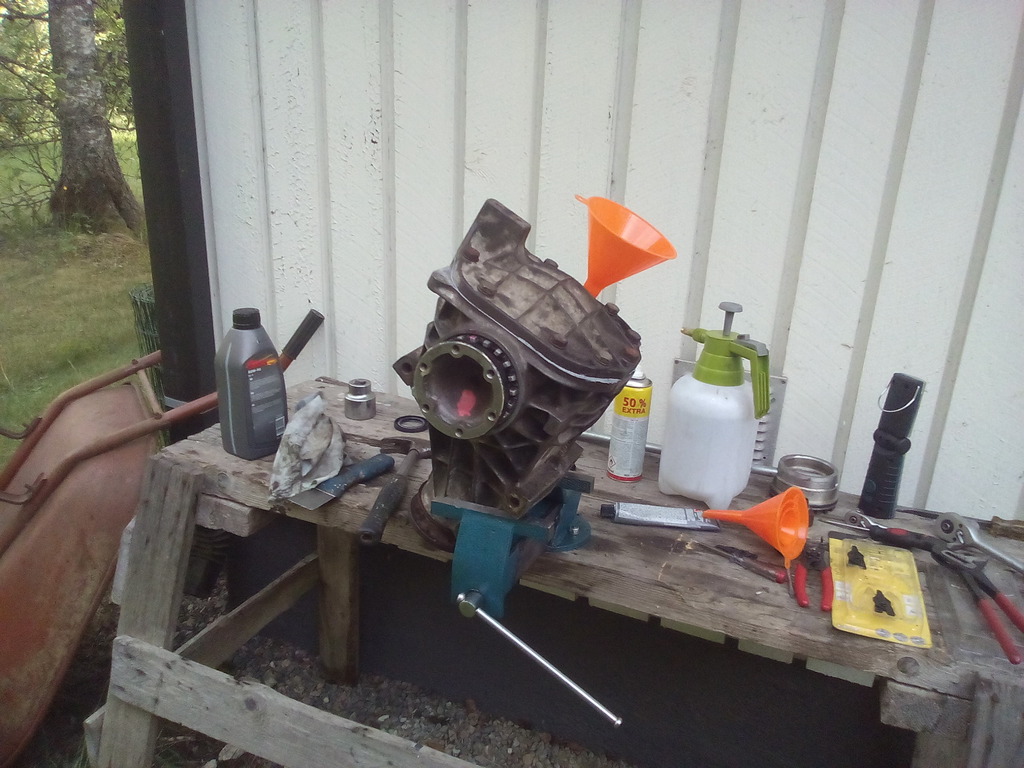
We fitted new fuel lines too. Now they are 8 mm polyamide piping. Fitted a Sytec 044 fuel pump too. And a fuel filter that can take E85. Yes, it's running on ethanol now.
To the engine stuff next then.
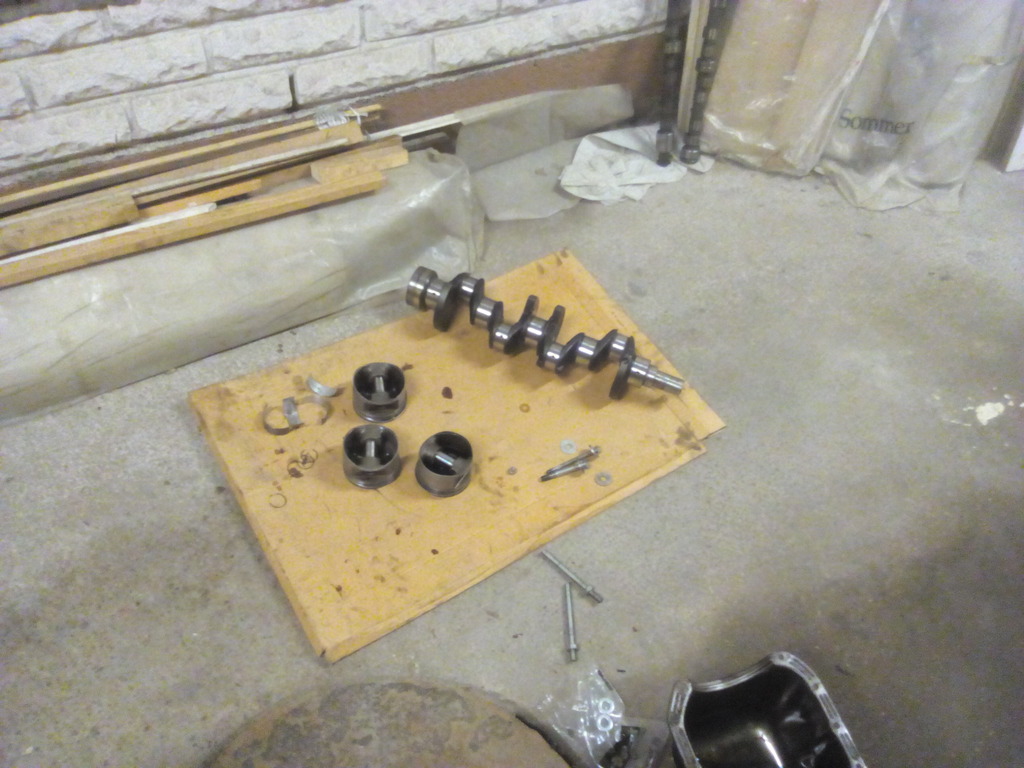
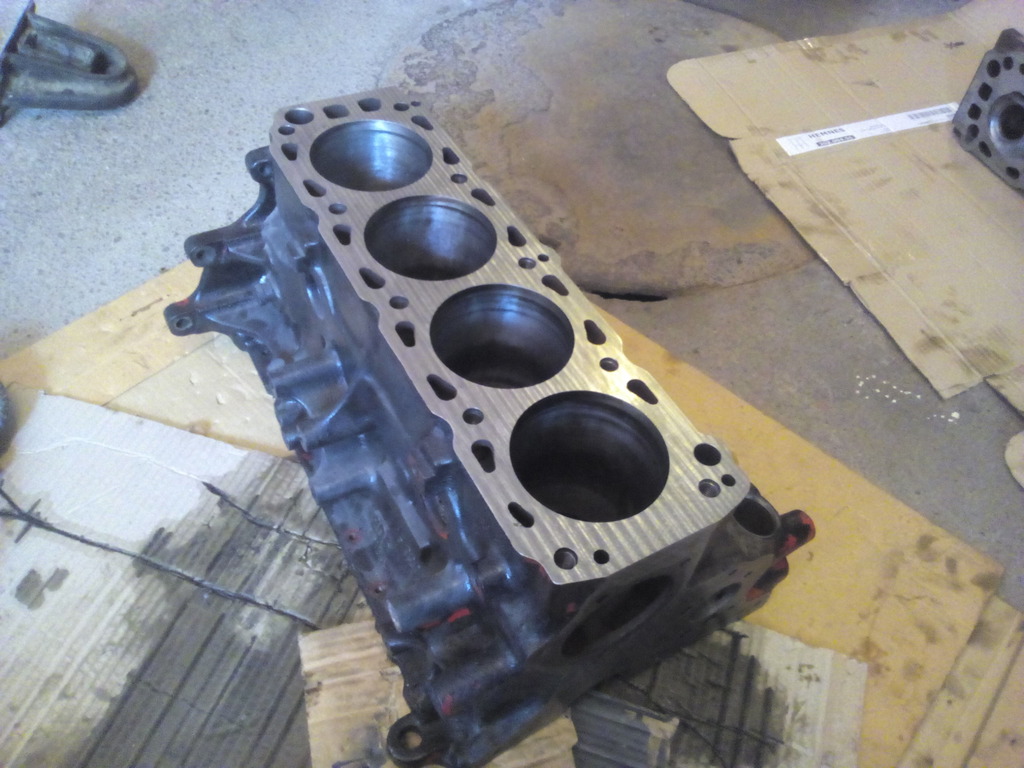
205 block and some random micrometers.
Is crankshaft and some random pistons.
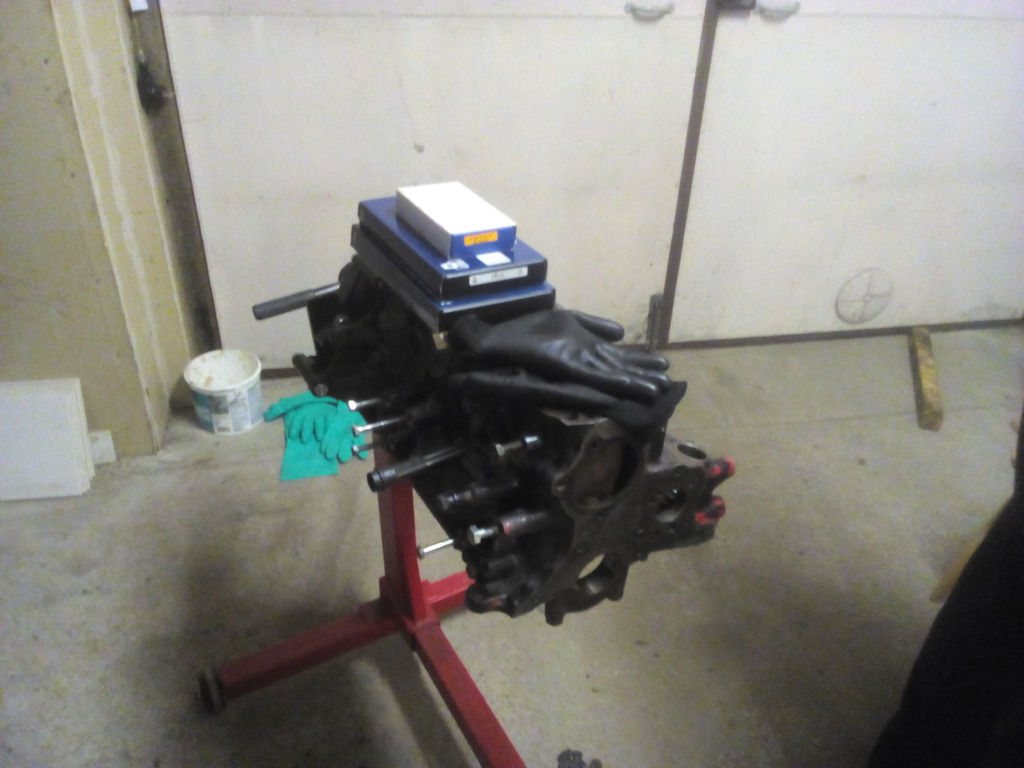
Taking head apart and some other stuff on a random picture.
Head that I'm using I got second hand. It's ported and has 44.5 intake and 38 exhaust valves. Valves stick up higher than originally, so I had to find a cam with smaller base circle. It already was fitted with a cam that sounded good on paper (Cat Cams 281 degree cam), but the valve geometry was fucked up because it had a base circle too big. Good thing I have few different cams with different base circles and different follower models laying around so I could check what combination works best. It appears that I need a cam with 27 to 28 mm base circle so I called a local rally parts seller (RallyRaceFIN) and had a conversation with the guy. I told him what kind of cam I want and he checked some base circles. I ended up ordering a Newman Cams PH4.5 and a set of hard pad followers.
Cam has 284 degrees and 12.03 mm lift intake and 11.95 exhaust. 52 degrees of overlap, so still a bit on the mild side, but yet enough to offer a nice cammed idle on a single throttle body application.

I checked the follower geometry with the new parts and it was good, also measured the valve lift and it was very close the cam's specs so I was happy.
I made three timing marks on the cam gear, for 60%, 80% and 100% exhaust valve lift from intake valve lift at TDC during the overlap. It is now in the middle setting, which is only about two degrees advanced from the cam's specification (108 ATDC vs 110). We will see what kind of timing works the best when we really get to mapping this engine.
I cc'd some combustions chambers and calculated compression ratios. For ethanol usage this head isn't the best, because the combustion chambers have been extensively modified. This means that we have to skim the head to the maximum amount and even this won't give as much CR as I would want. But it will have to do because I have two big valve heads laying around and I'm reserving the better one to the white Sierra.
Localc CNC shop skimmed the head and straightened up the block surface.

Then yet another dummy build and measuring everything up and calculate CR. CR ended up being 8.1:1 with the 4wd Cossie pistons I'll be using. Acceptable I guess.
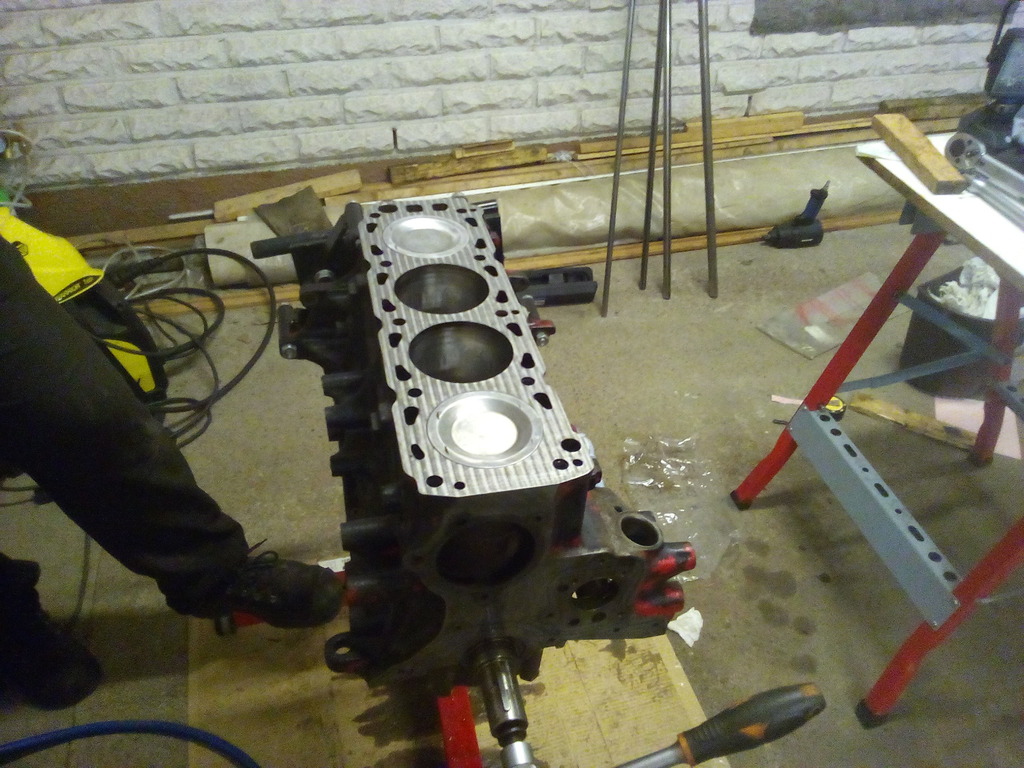
Bottom end getting assembled.
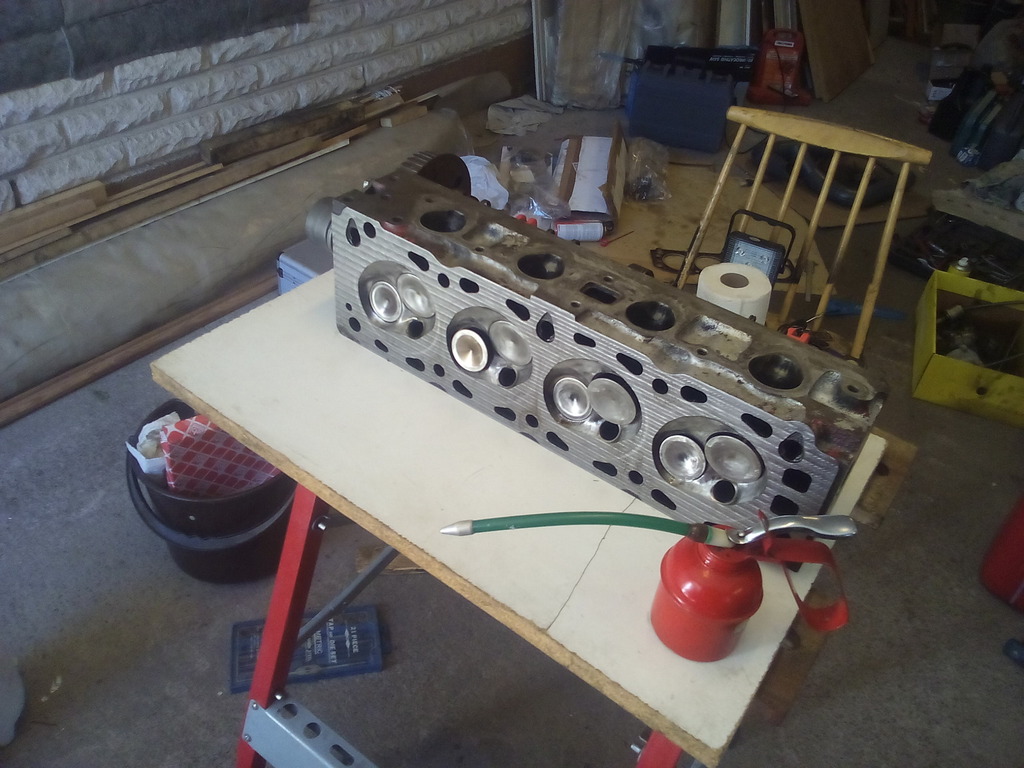
Head too.
And the whole crap.
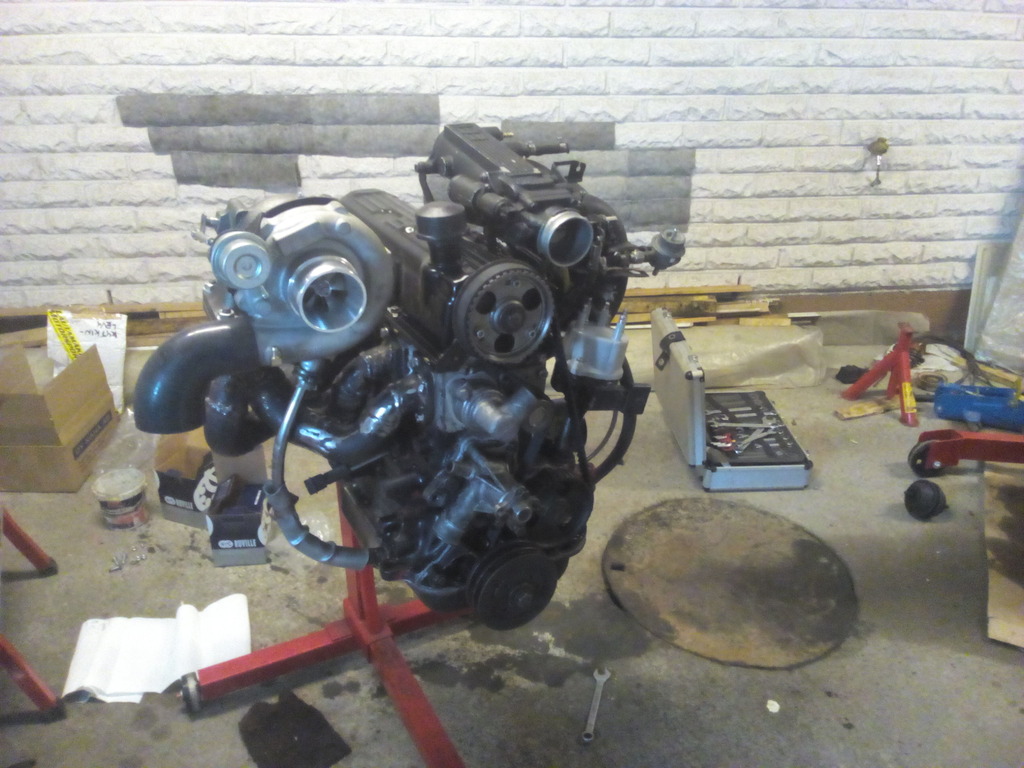
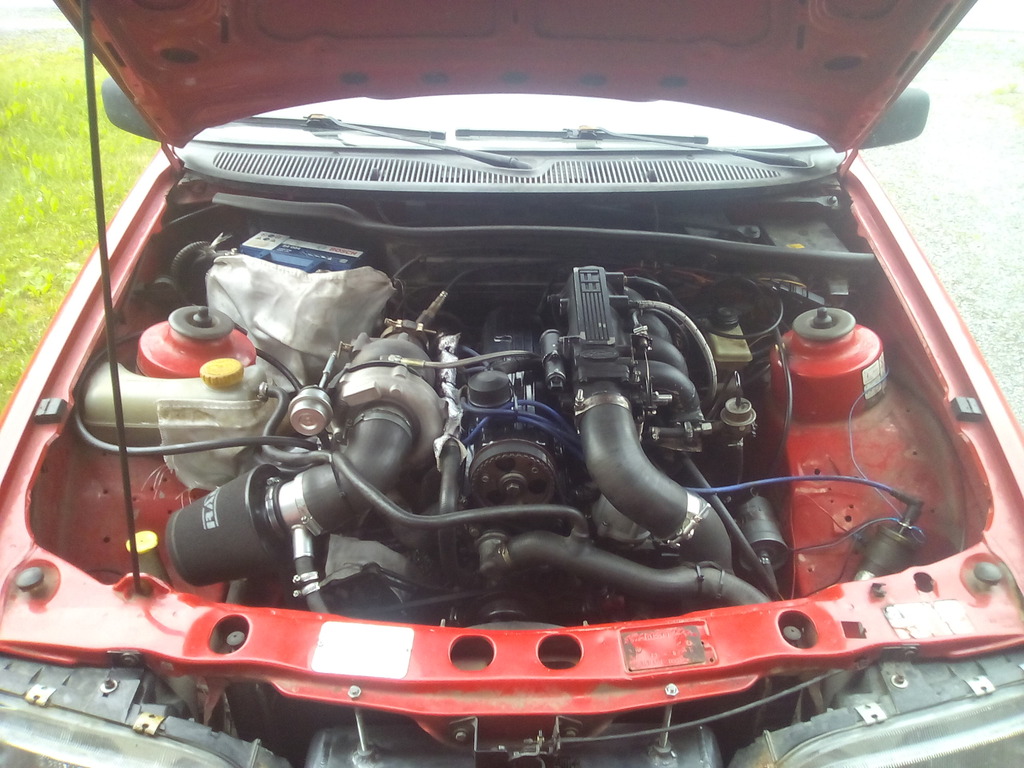
That turbo is a Chinese T34.64 with some porting job done to the wastegate side by a friend.
ATMO getting lifted away.
Flywheel, clutch and gearbox assembled on to the turbo engine.

Flywheel is lightened. Stiffer clutch cover and a 4 plate sintered clutch. Changed the gearbox oils while at it. Also swapped the engine mounts for new ones because the old ones were loose as fuck.
Found it's home.
Next up was first start and cam break in. It all went pretty easily, my new settings for the ECU for ethanol were close enough so the car started right up and timing wasn't badly off either.
Next up was some mild break in pulls and an oil change. It's already quite peppy with the pussy boost (0.5bar). But when we get to really mapping it I'm planning on getting about 300 bhp with a conservative boost for daily driving. But map it for a bigger boost too (for special occasions of course wink wink) if the 670 cc injectors flow enough.
Sadly I had to modify the front end a bit, because full stealth mode didn't flow enough cool air to the radiator.
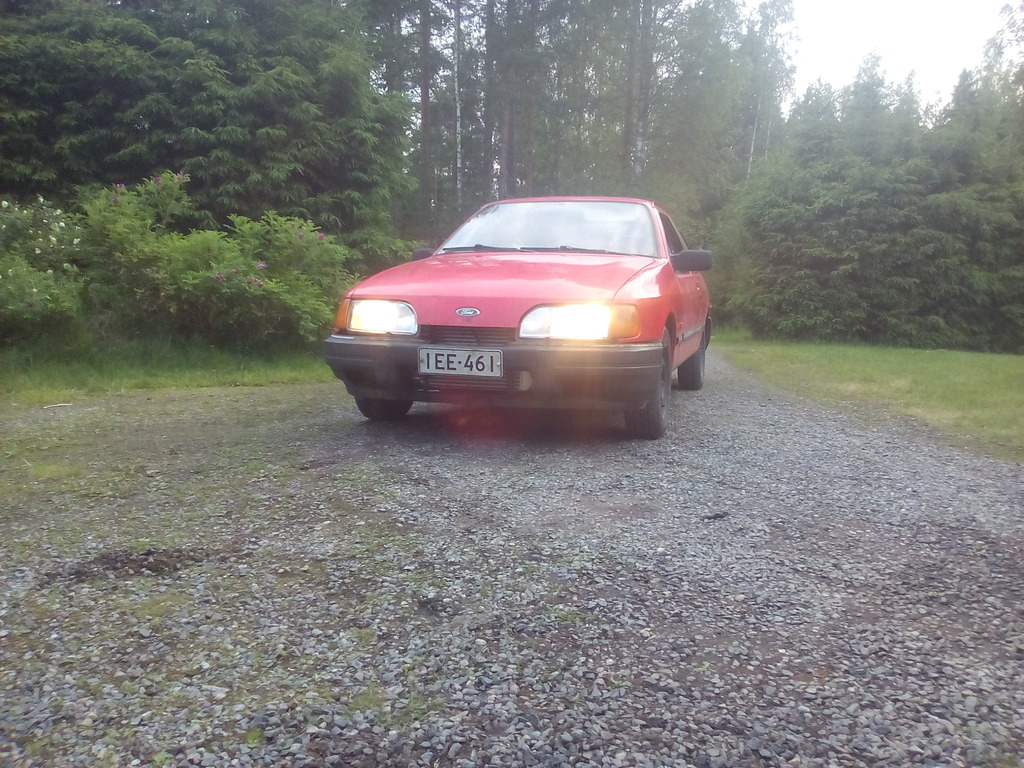
And yeah, those tires are 175 wide. I actually bought those steelies to get rid of the alloys so it's as much of a sleeper as possible. It's sketchy as fuck to drive and I love it.
Quick recap on the current spec.
205 block, Cossie pistons (4wd) & rods.
Ported Pinto head with 44.5 and 38 valves.
Crane single springs, hard pad followers, Newman Cams PH4.5 (284/12.03/11.95)
T34.64 turbo (from Ebay of course)
Megasquirt 1 V2.2, TFi and boost control mod.
EV14 670 cc injectors
Sytec 044 fuel pump, 8 mm plastic fuel lines.
7" LSD diff with tighter visco liquids (60 000 cps).
Also a little video from the first drives: