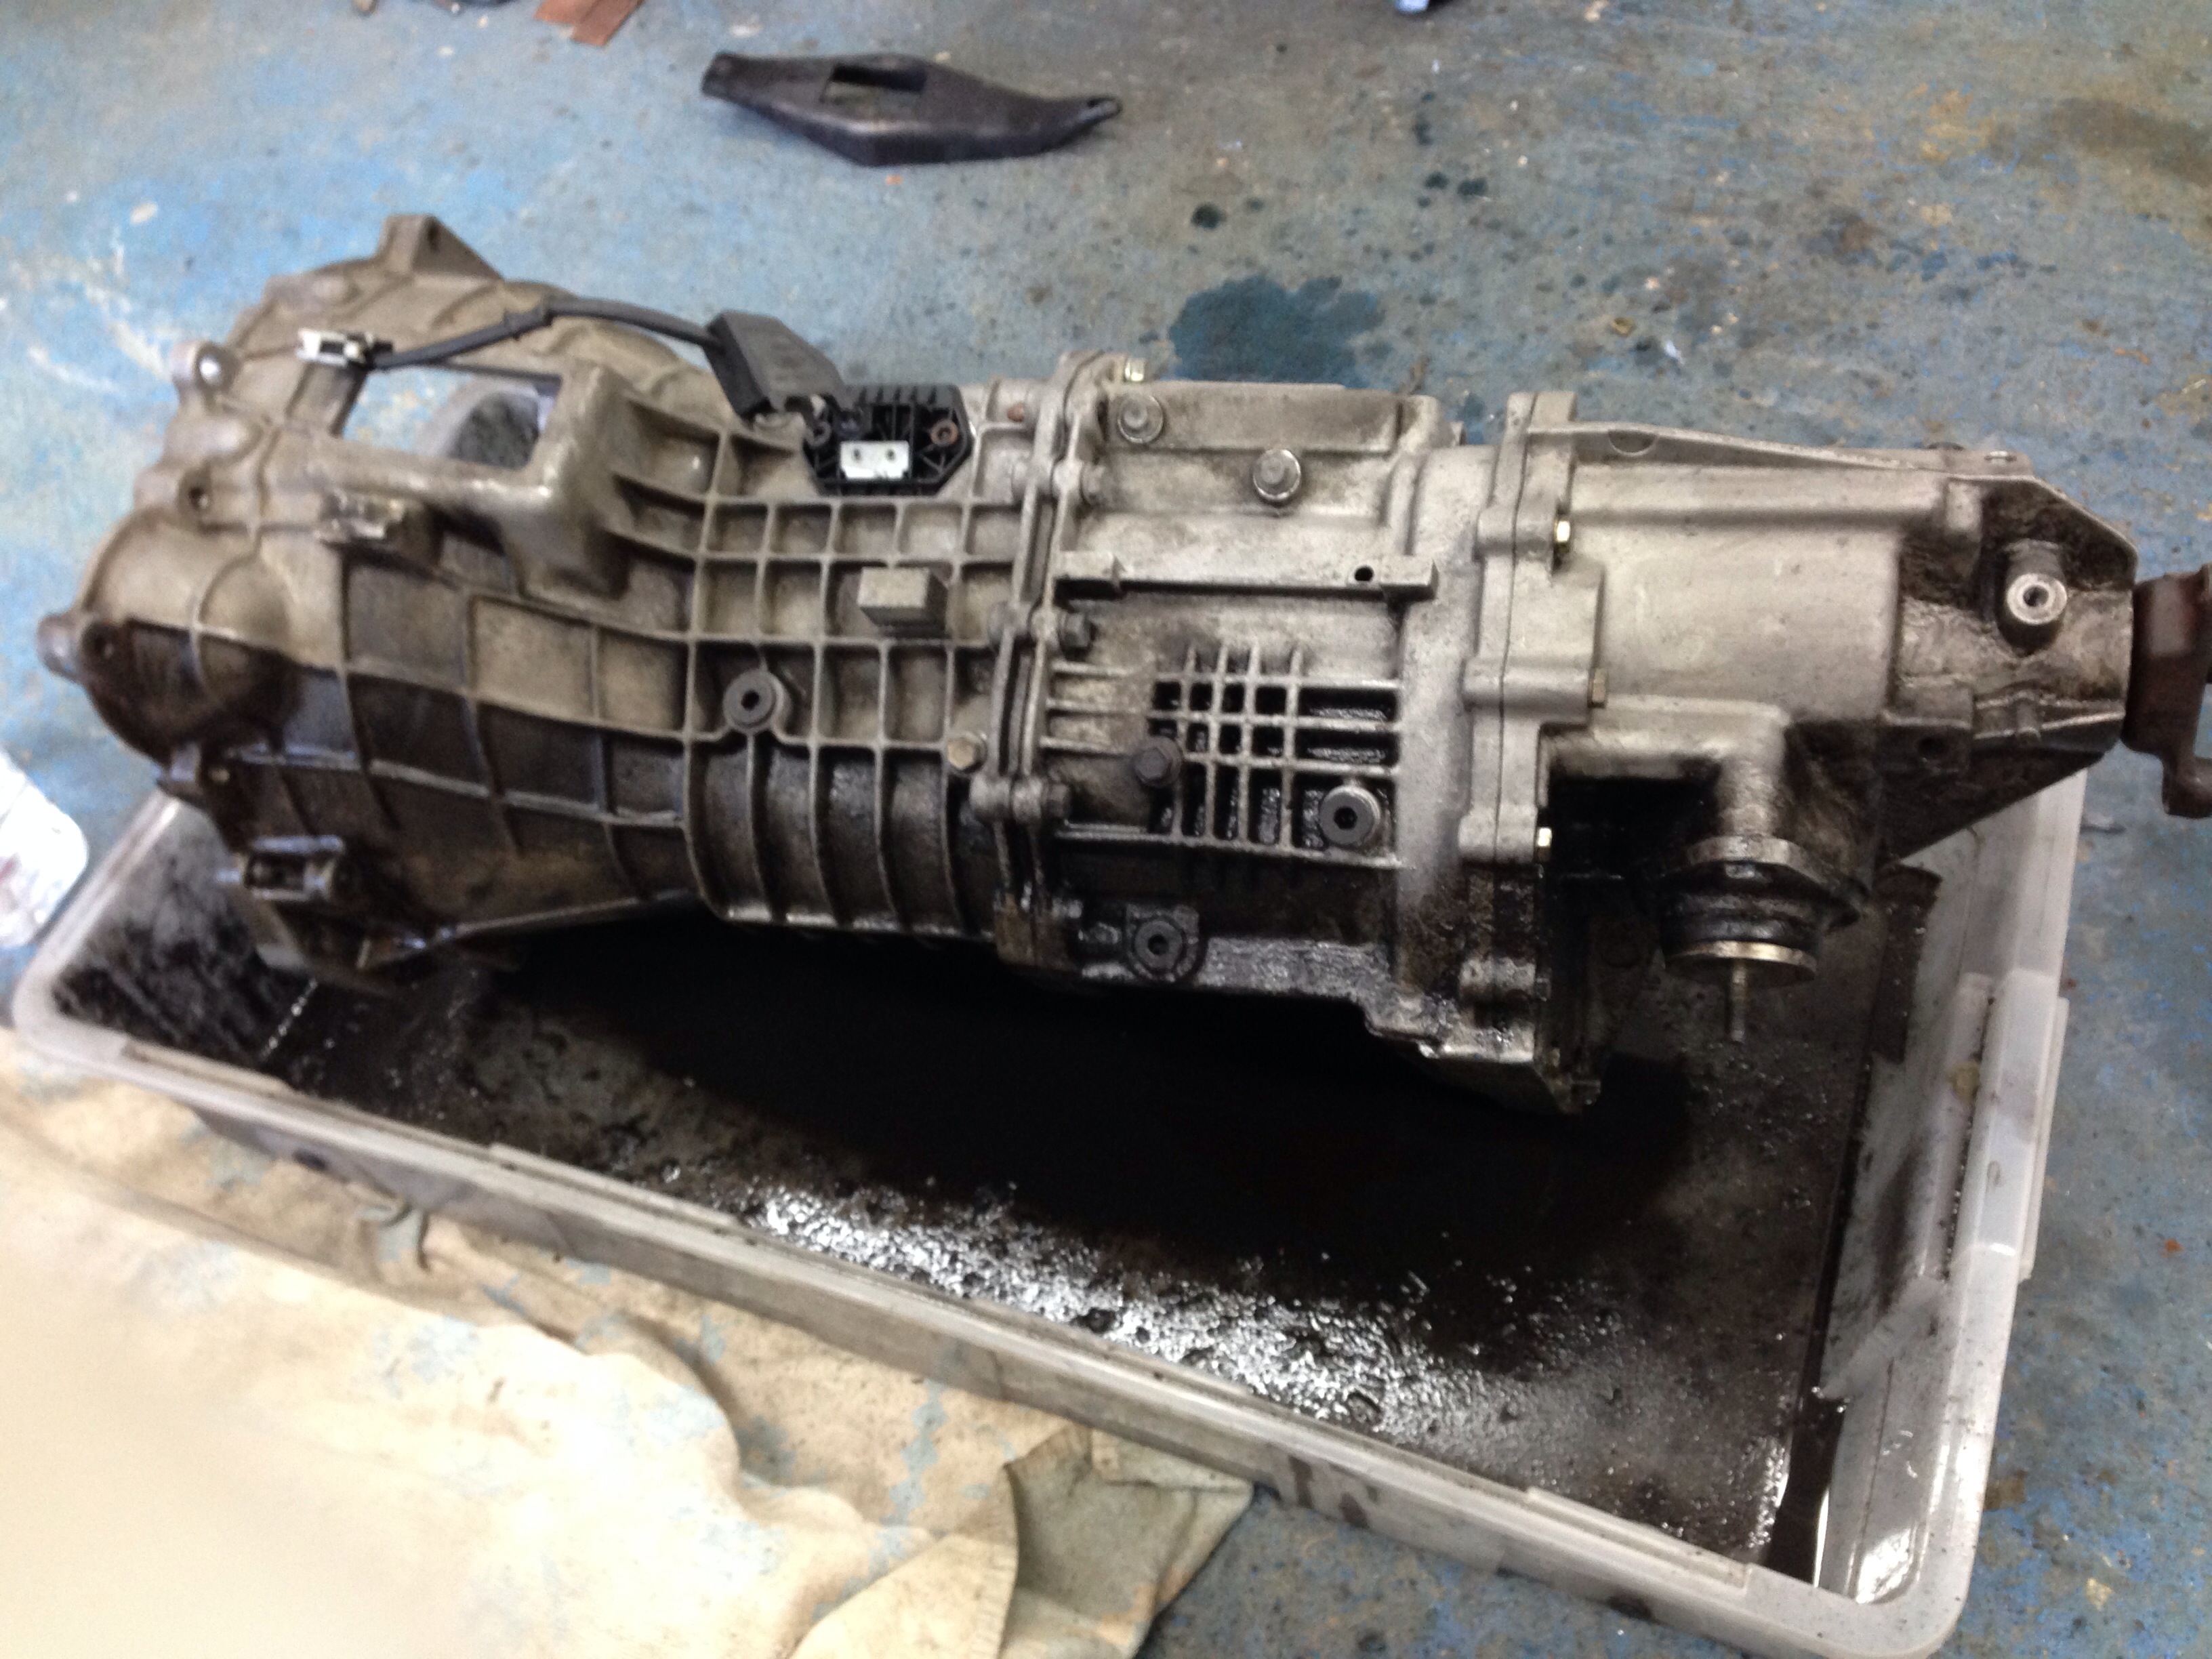
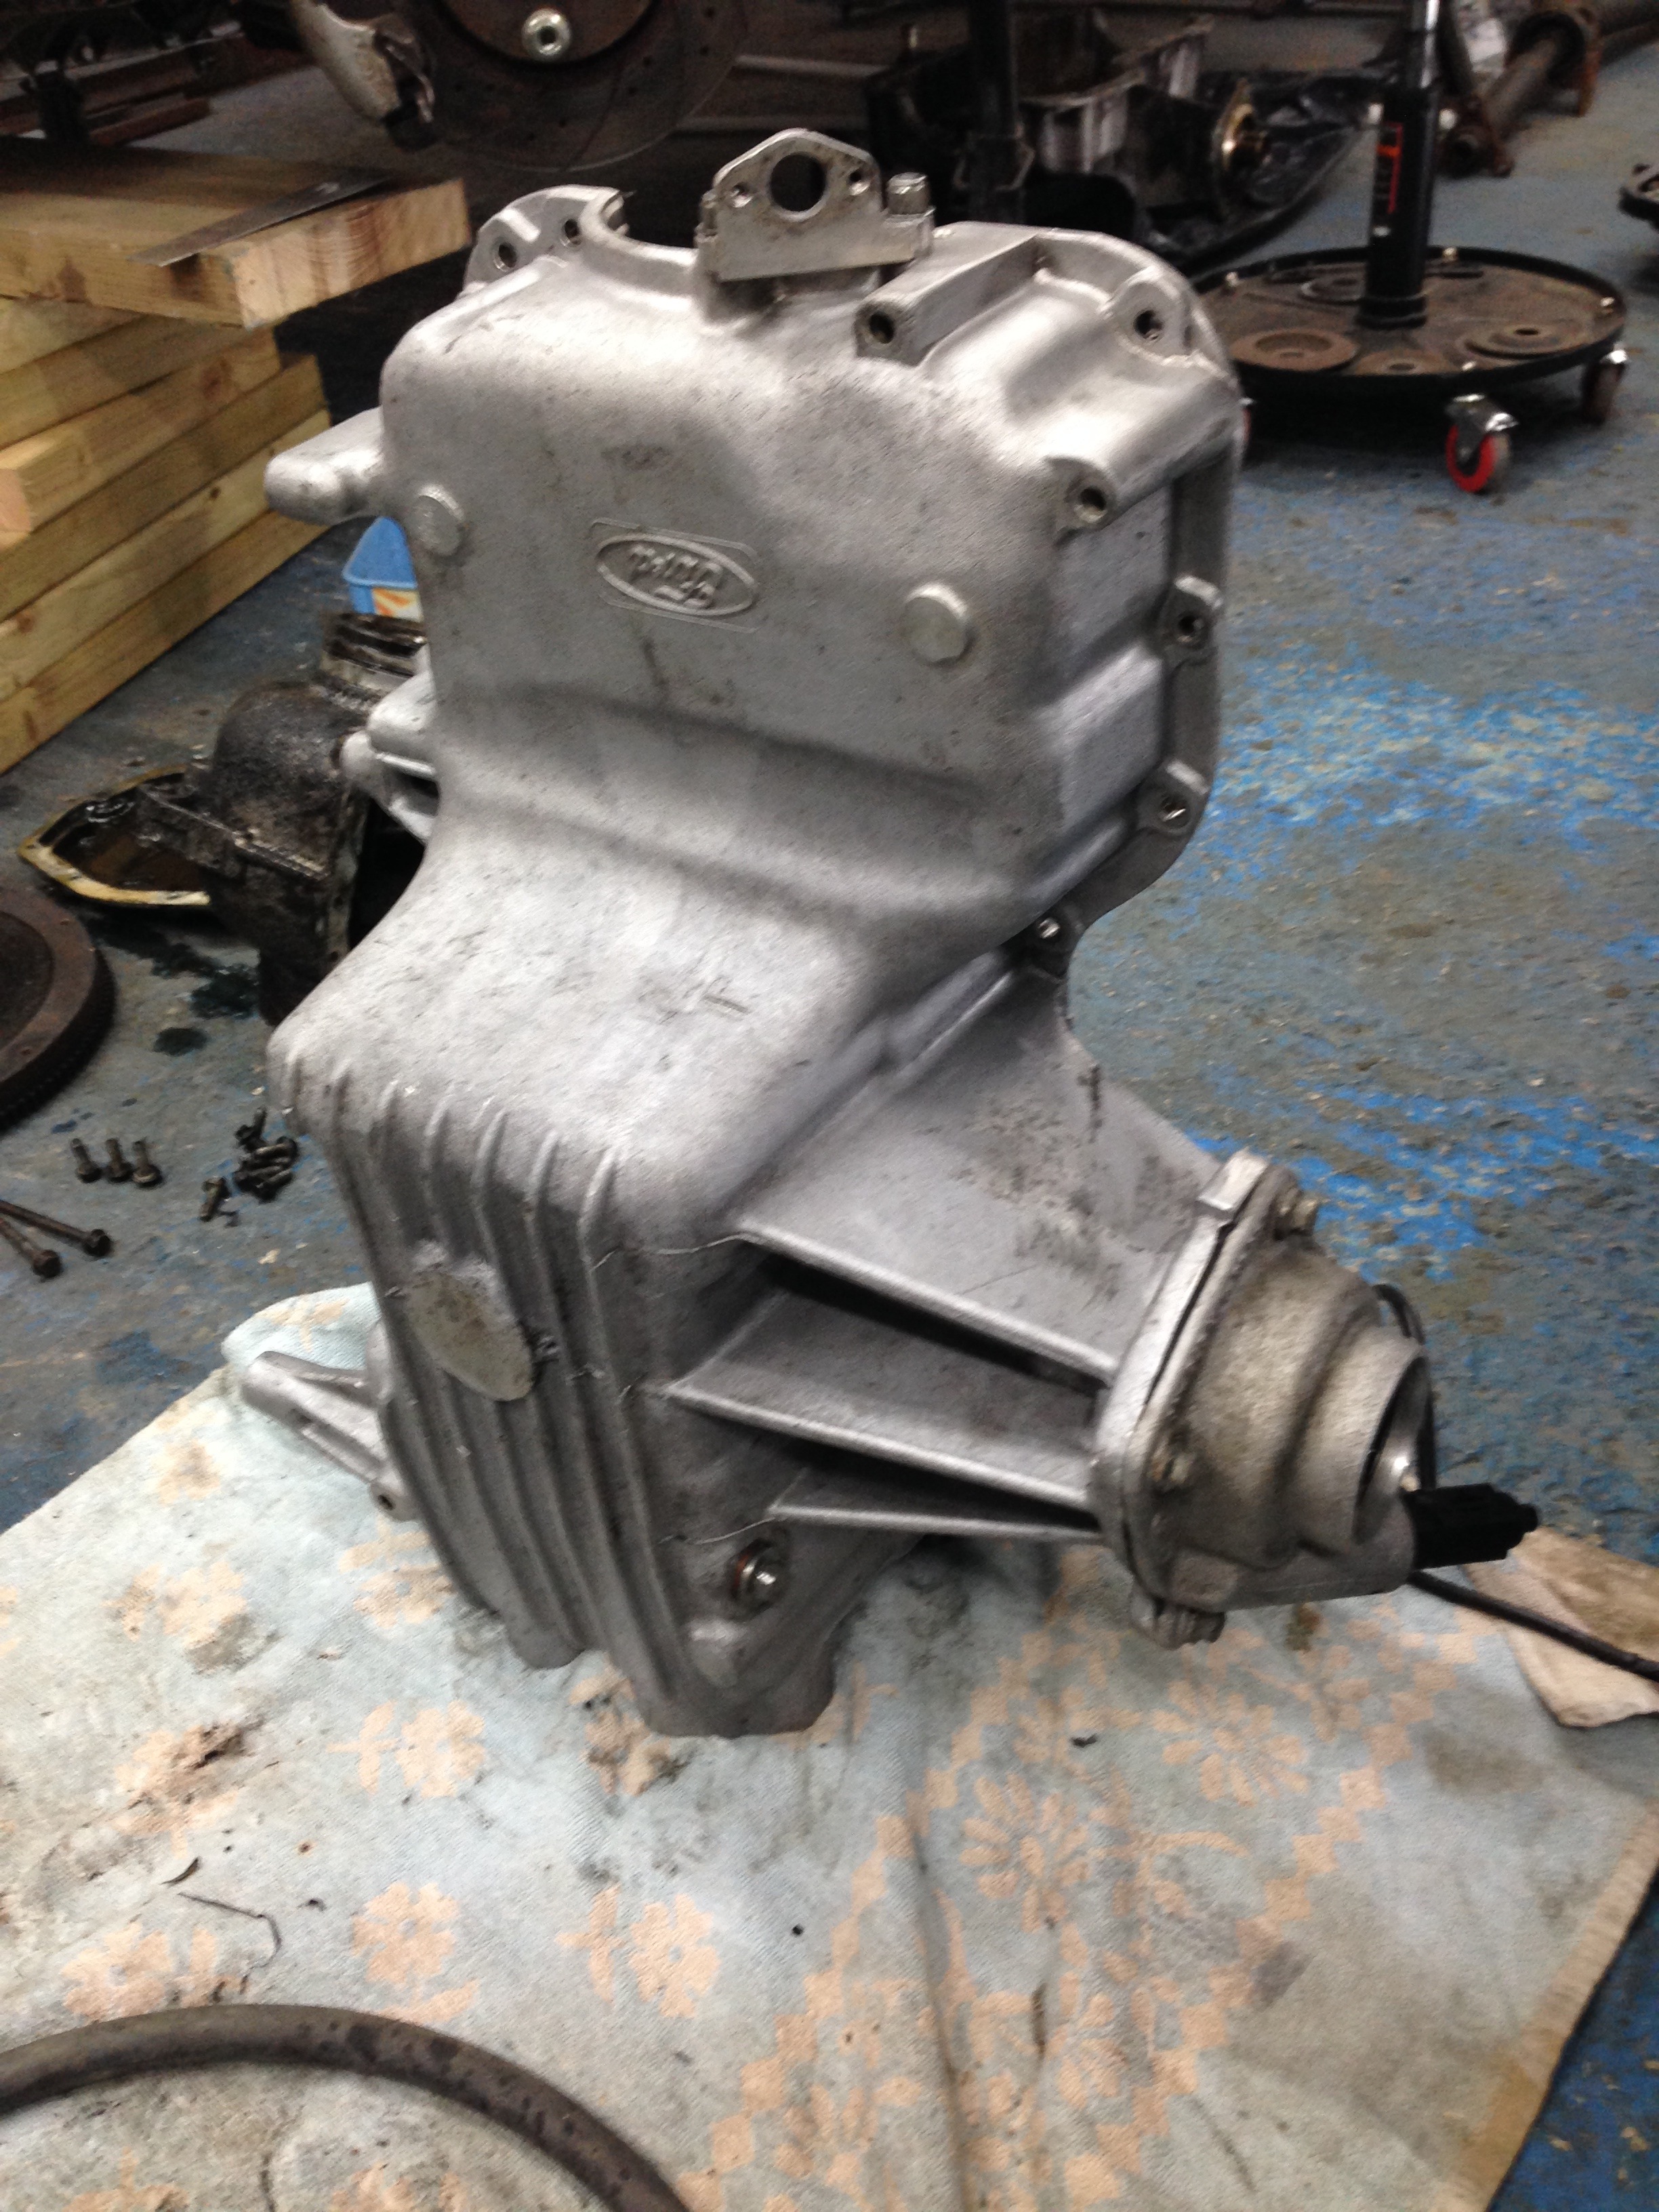
So whilst I had a lot of the transmission out I decided to give it a good clean as over the years it had become quite 'sludged' up
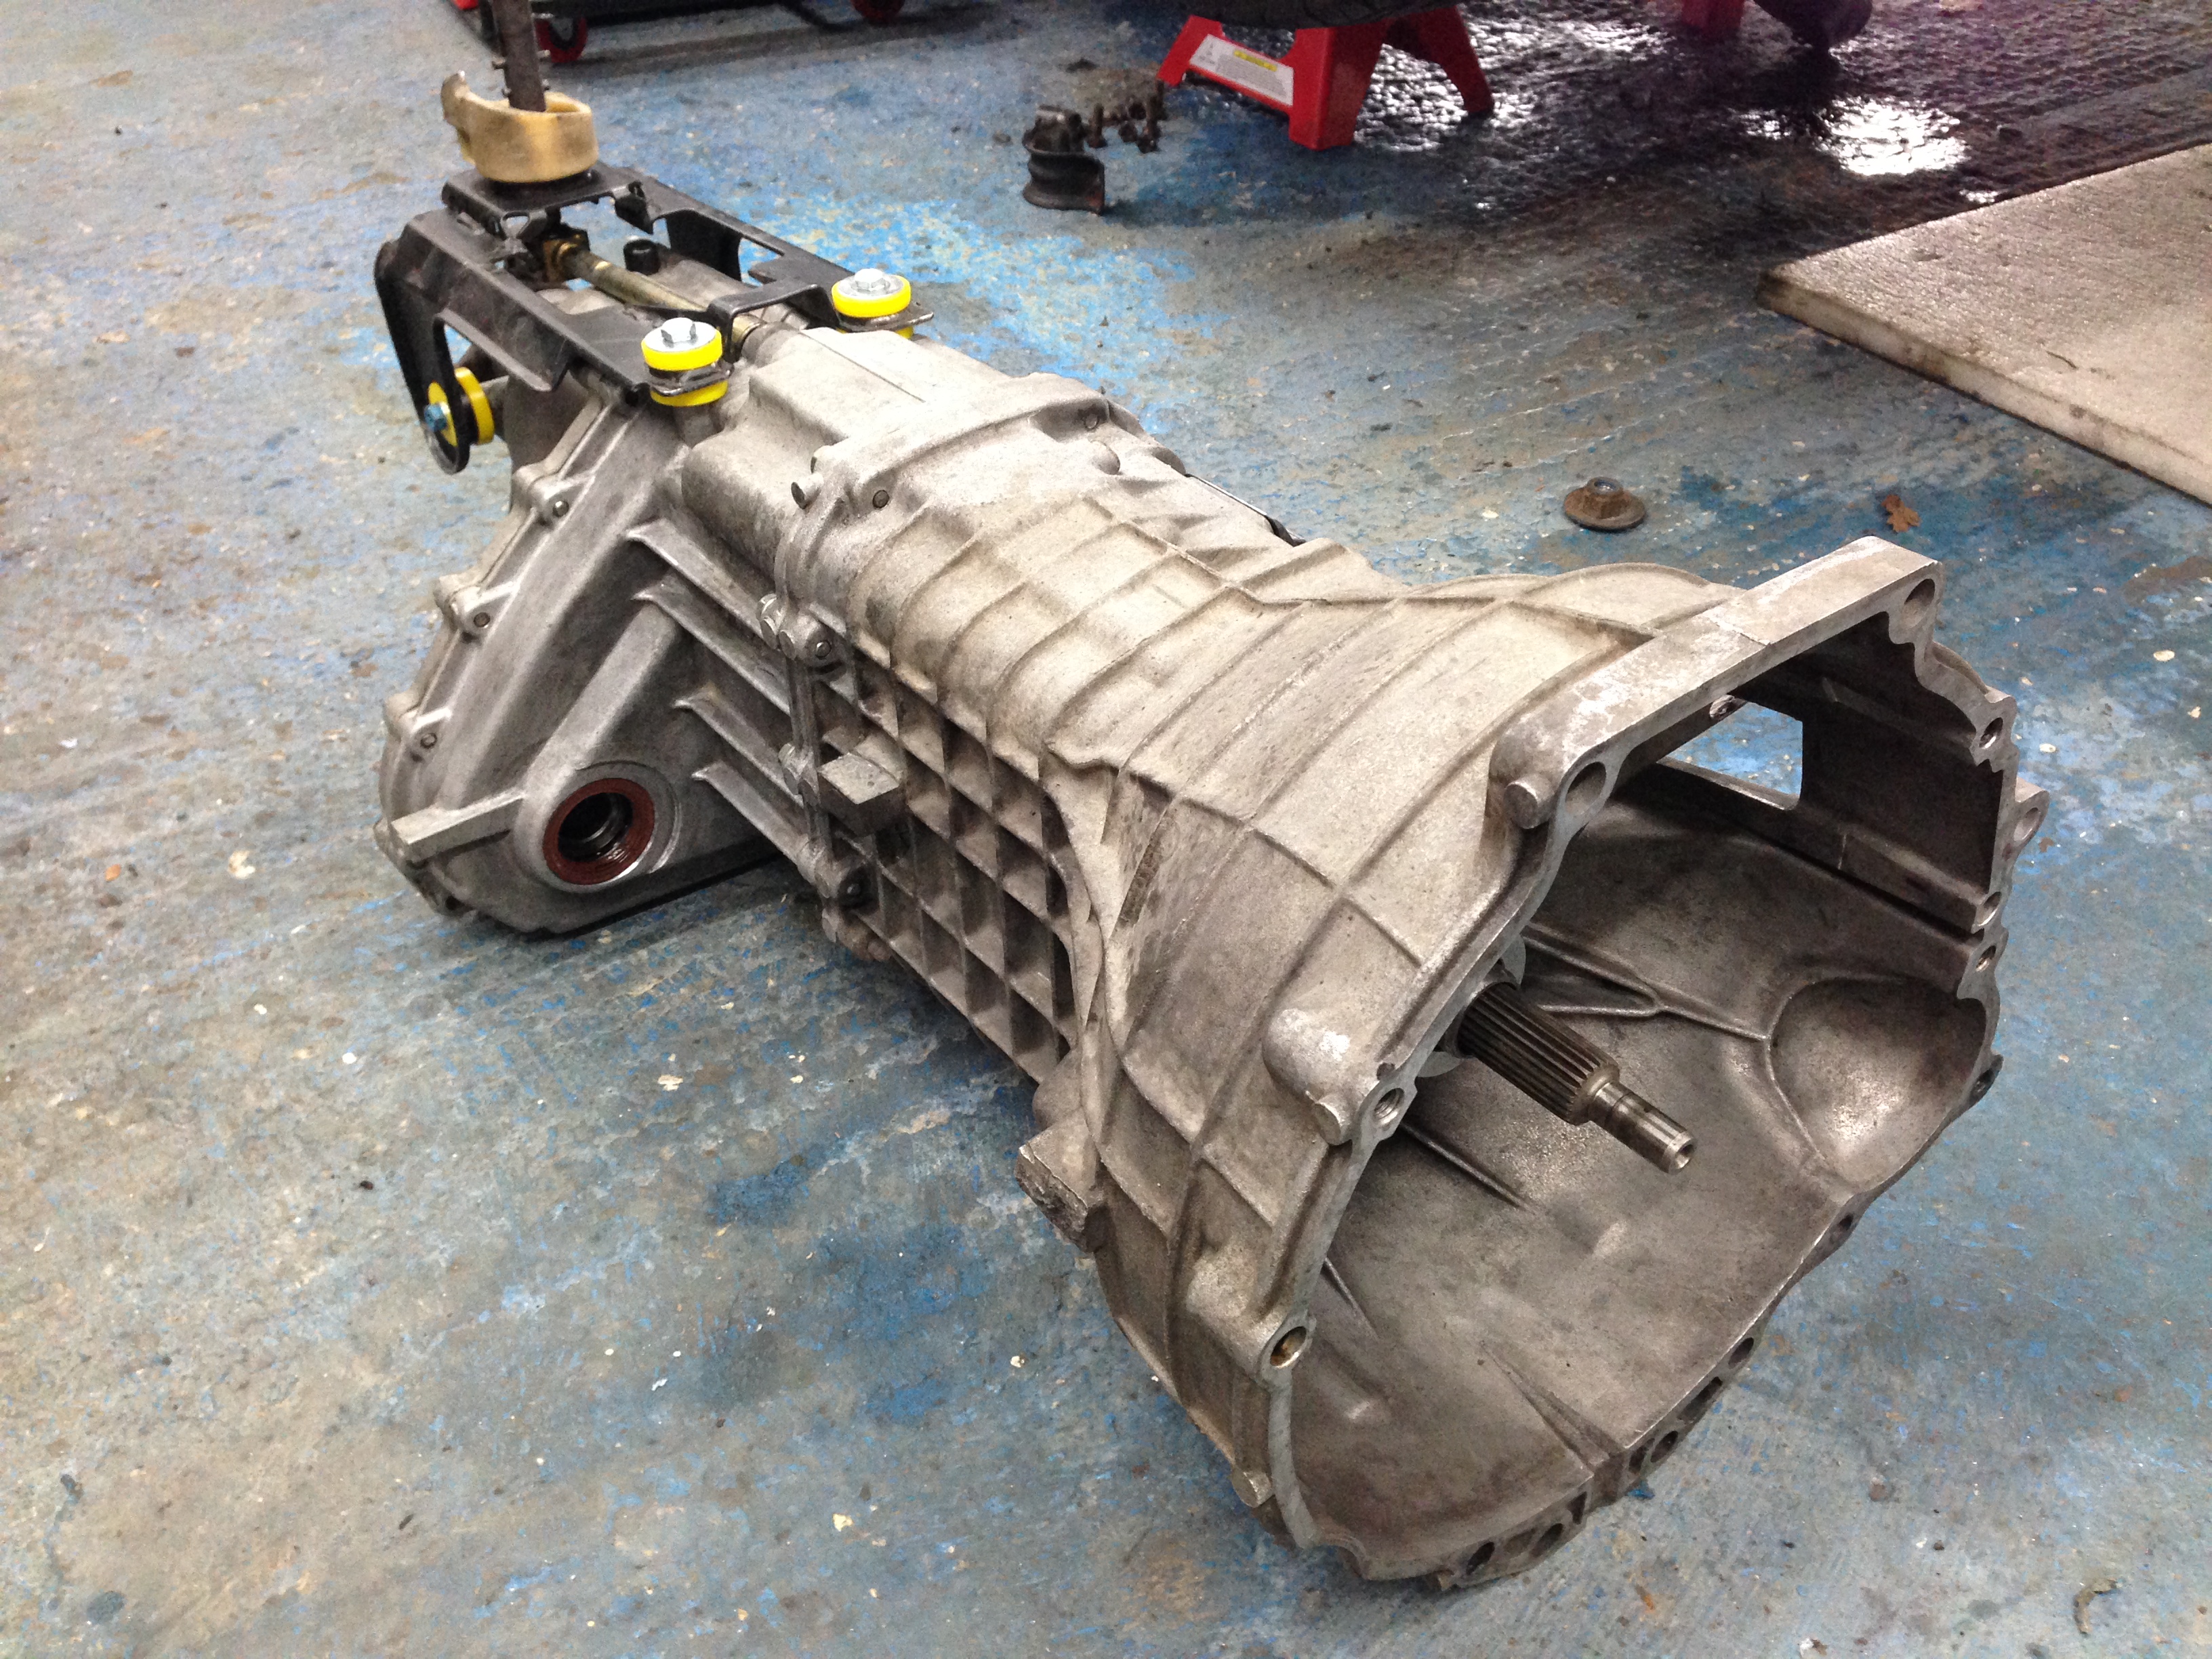
Gearbox cleaned
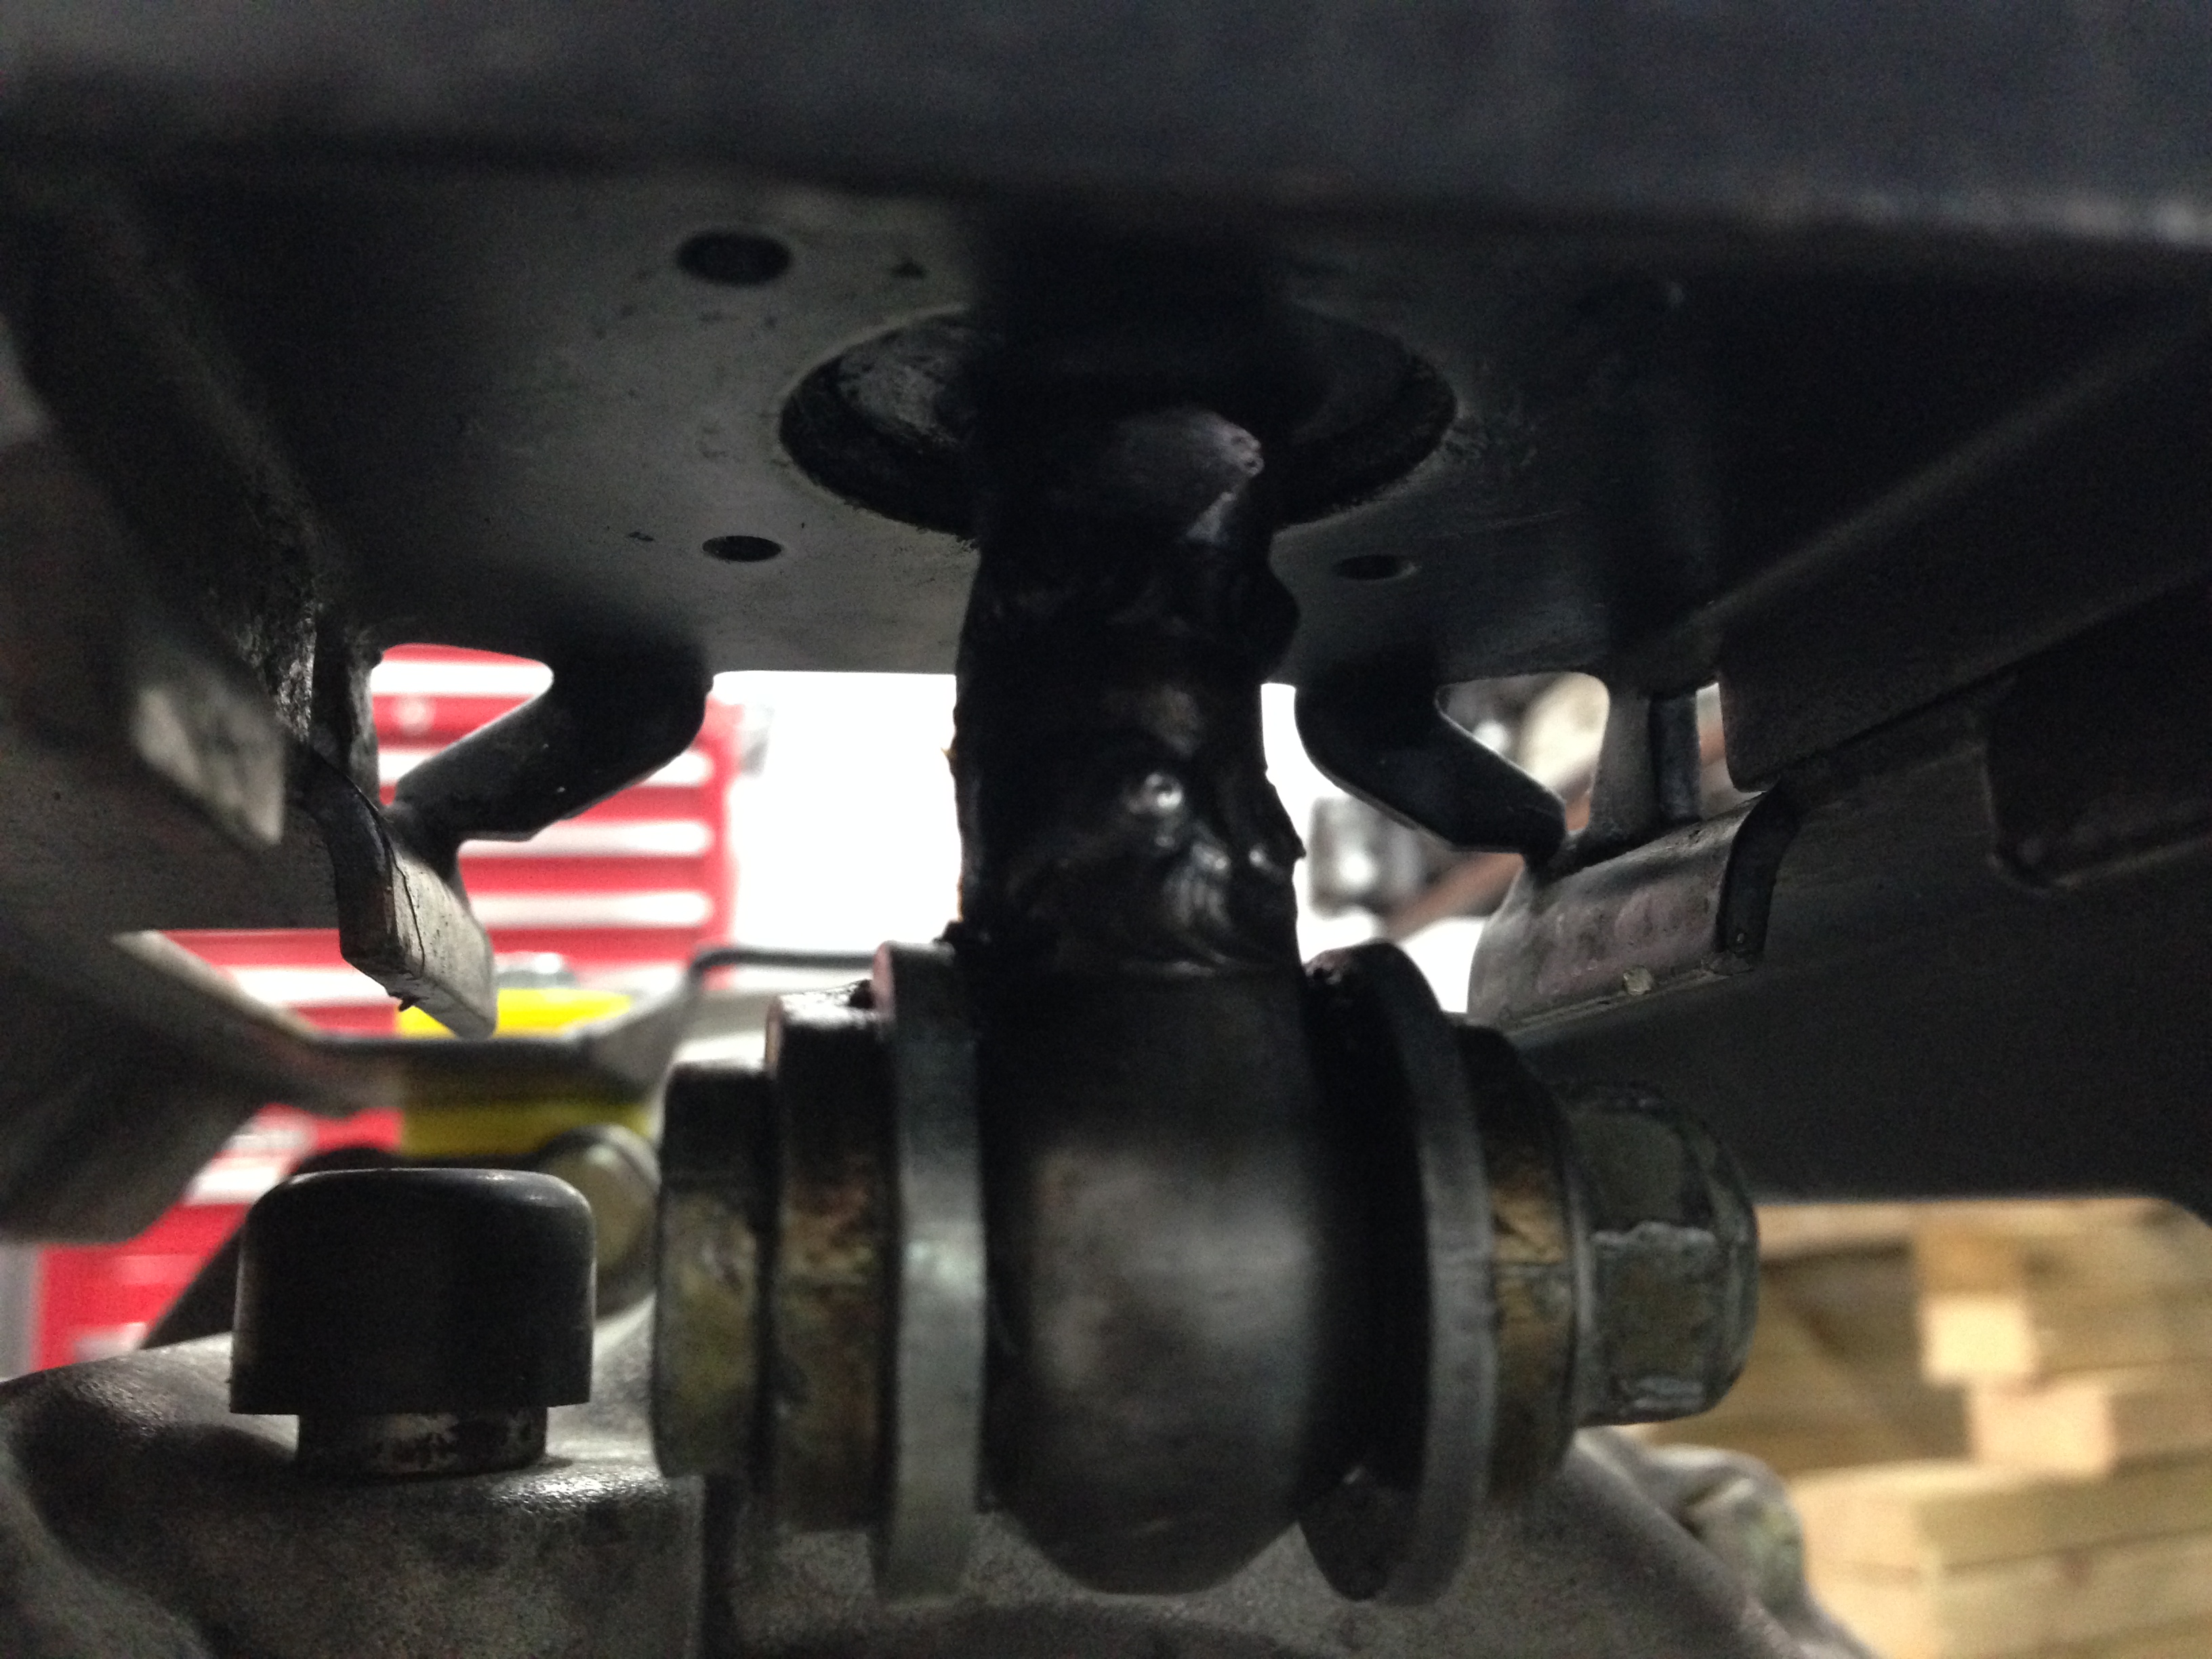
Whilst the gear-lever cradle was off I noticed that a modification has been made to the gear level itself.. This basically makes it a shorter throw between gears, don't know by how much as I didn't have a standard item to compare to but for now left on as I quite liked the feel it did give.
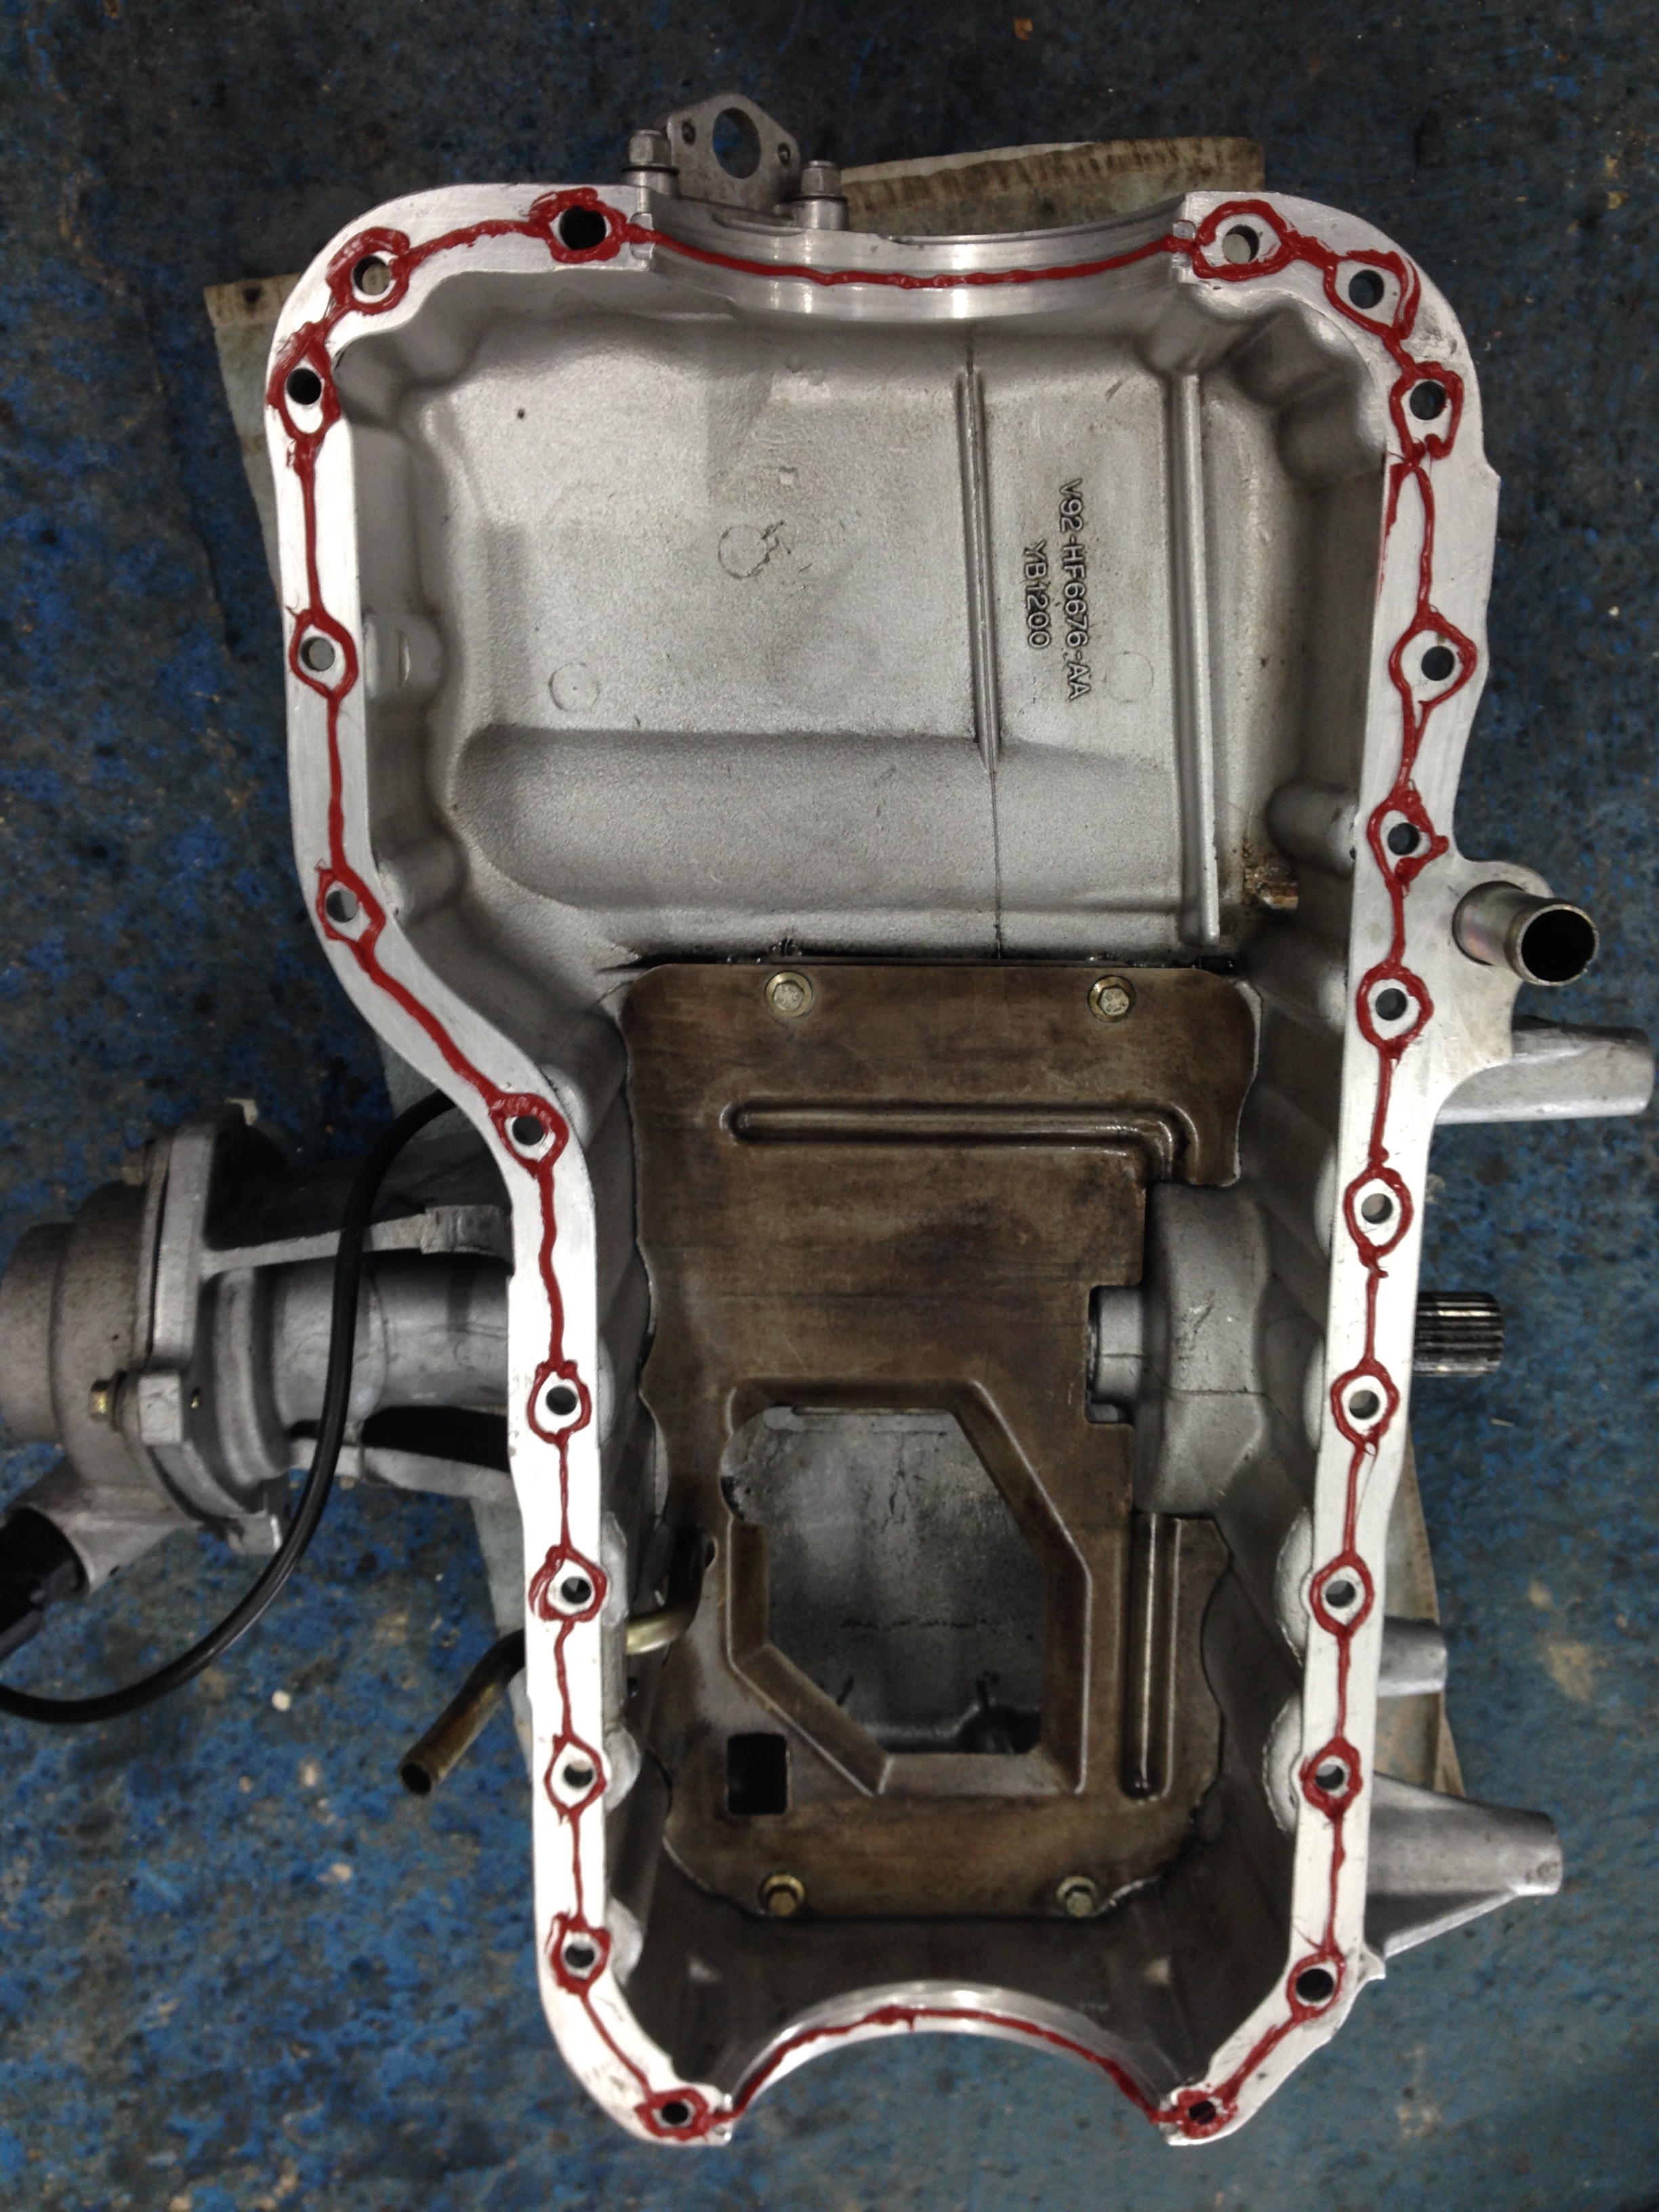
I was suspicious that the sump was leaking so with the transmission already removed I figured now was the time to do it, it also meant that everything could get a good clean.
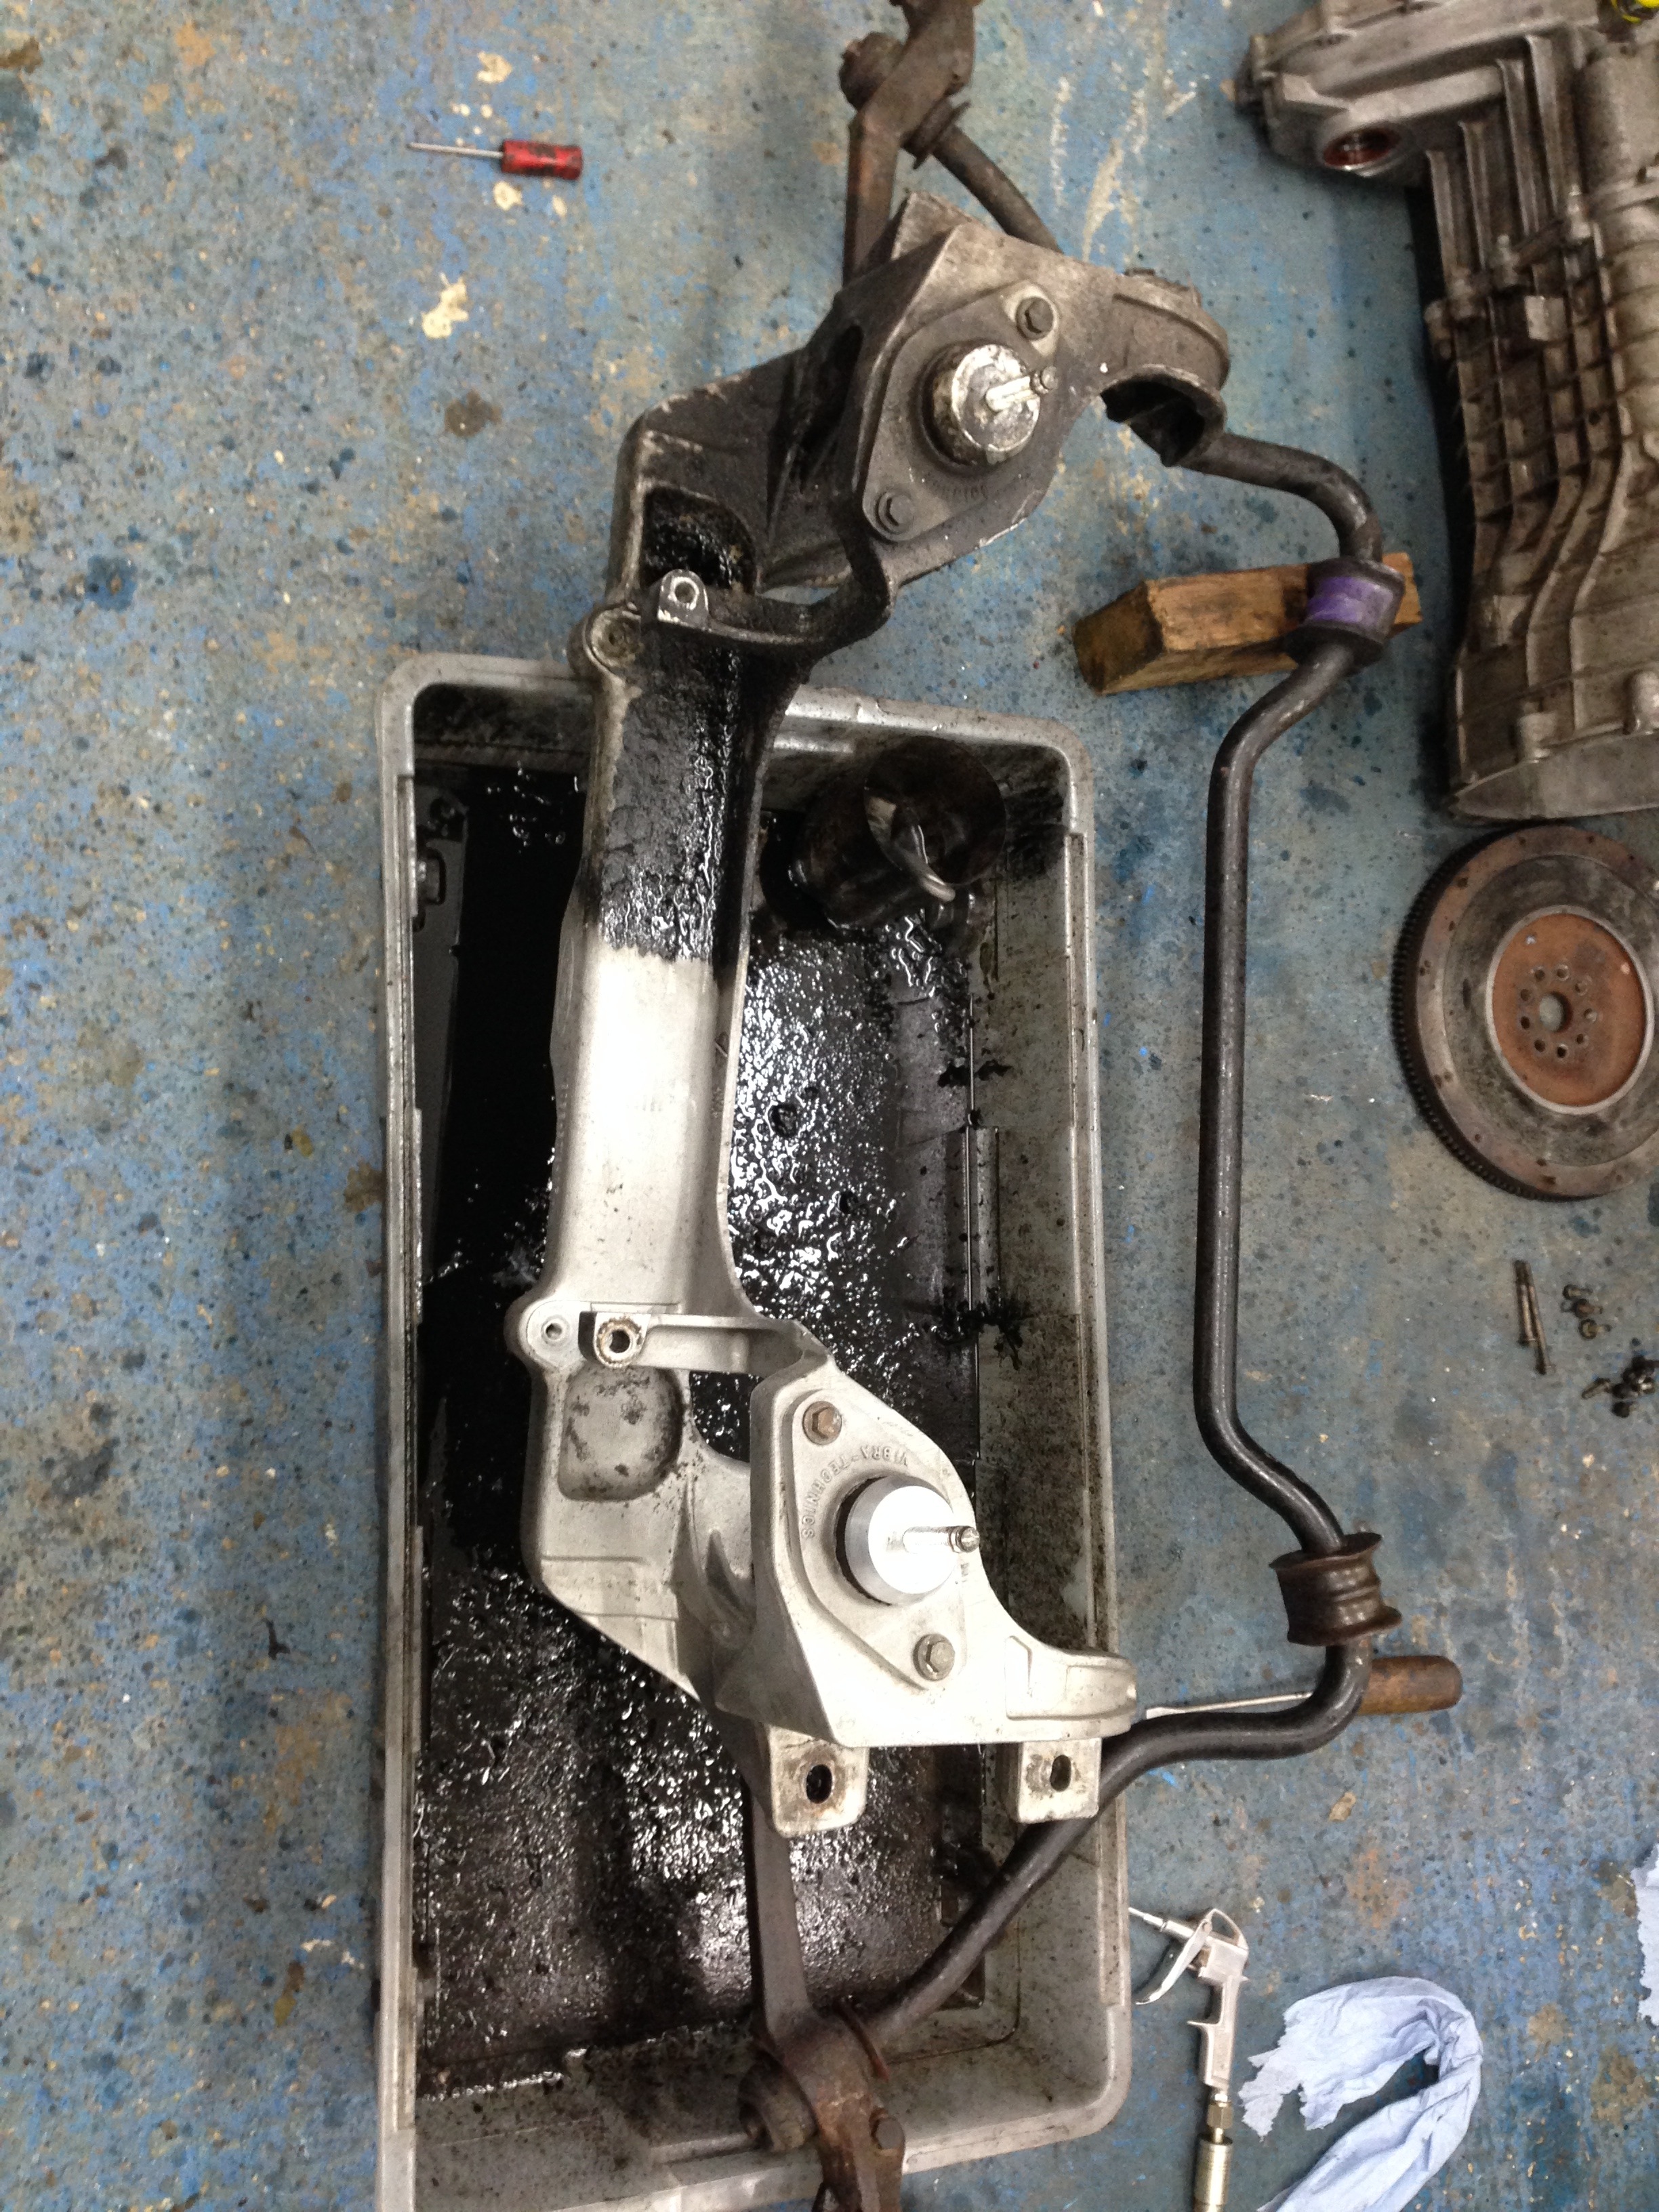
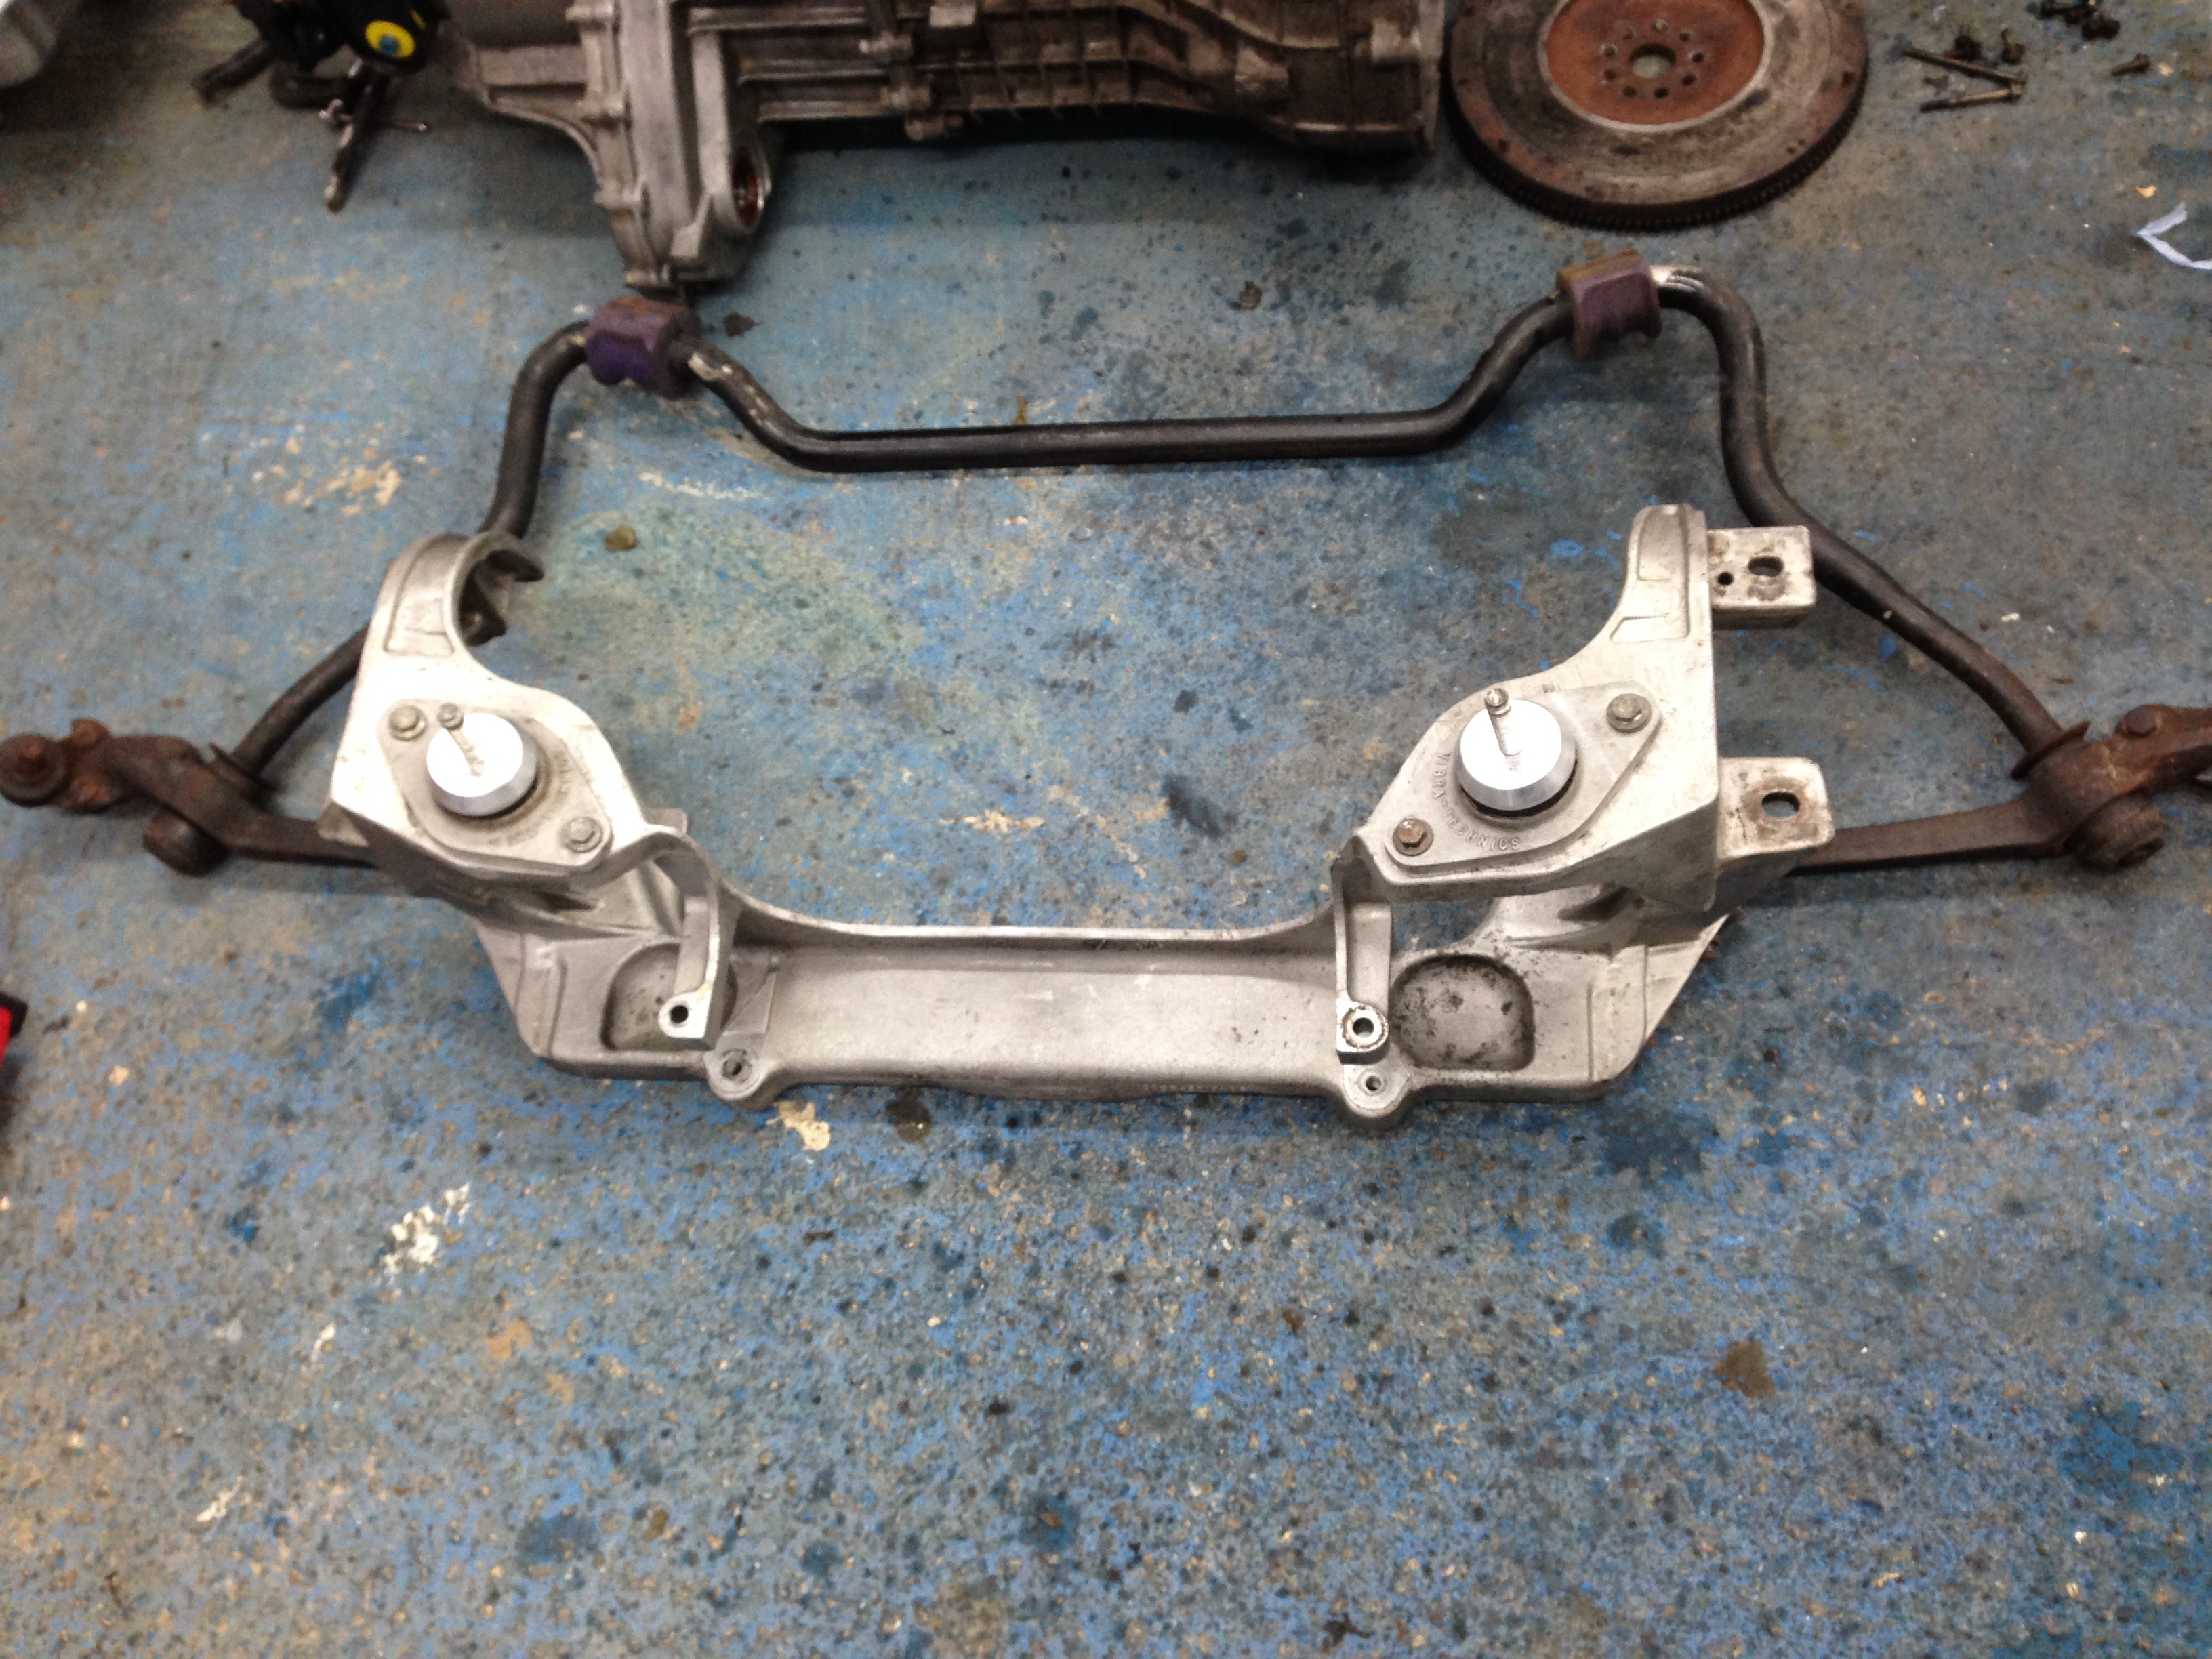
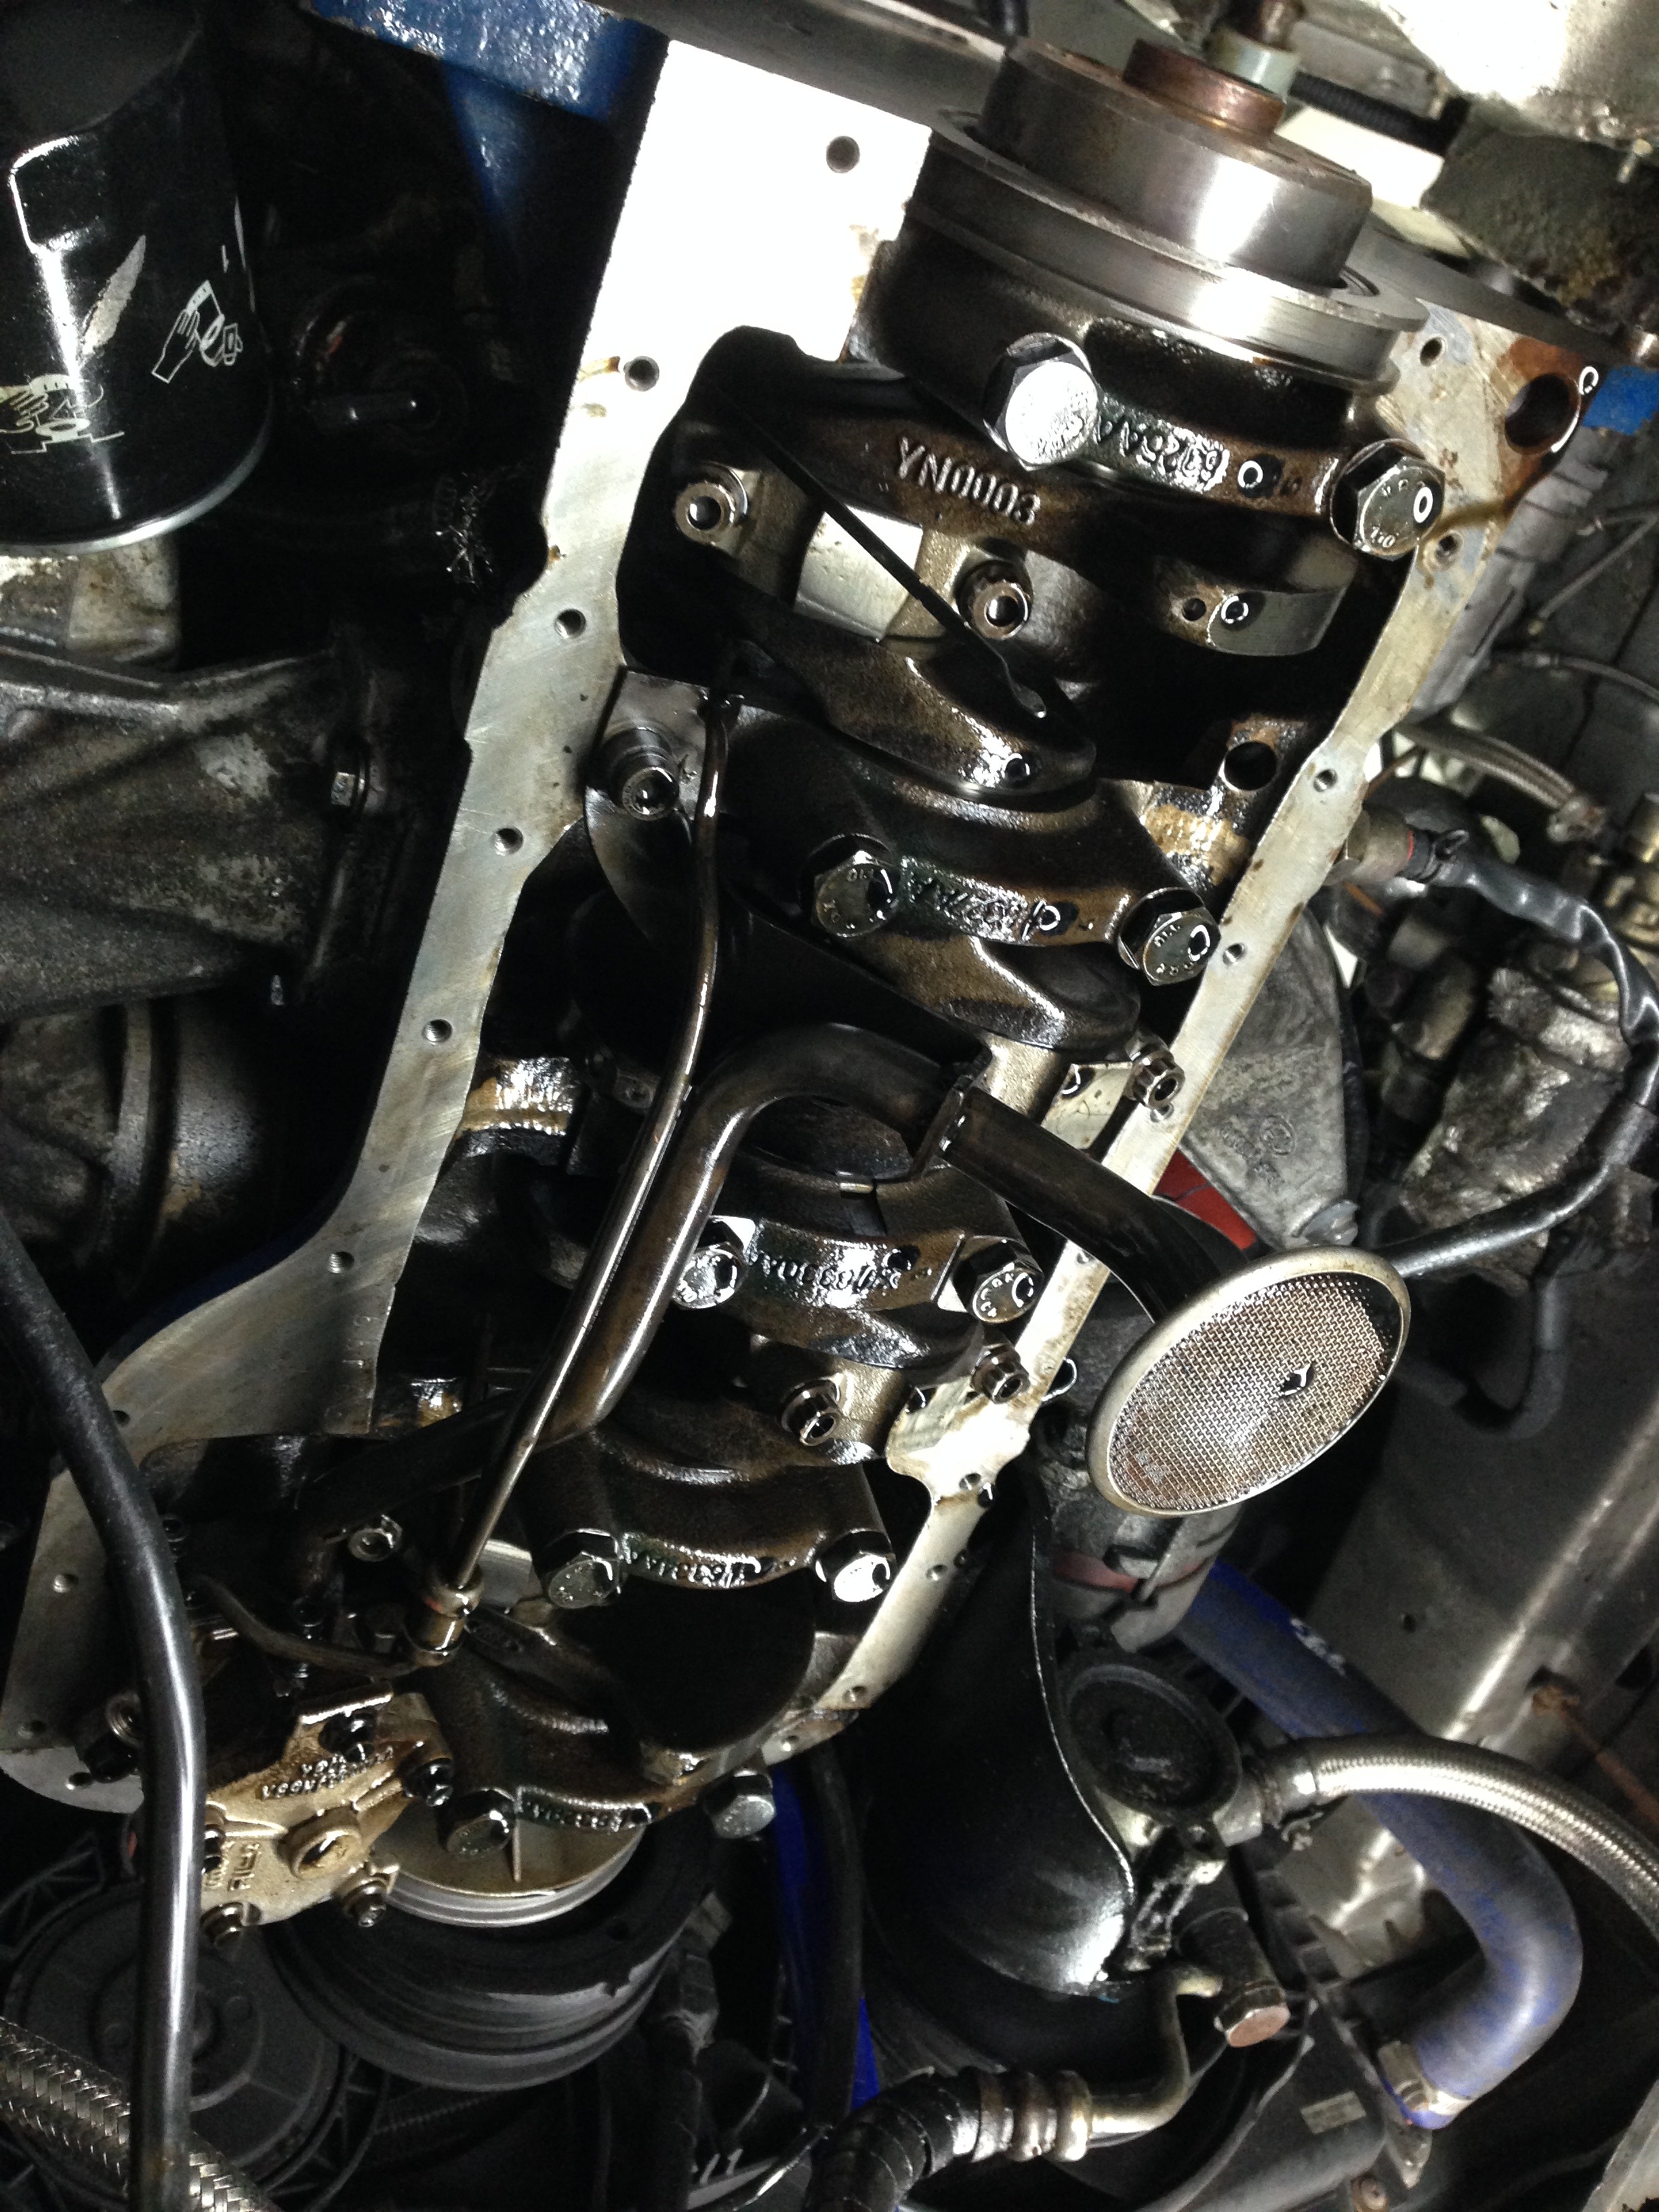
Sub frame and sump out..
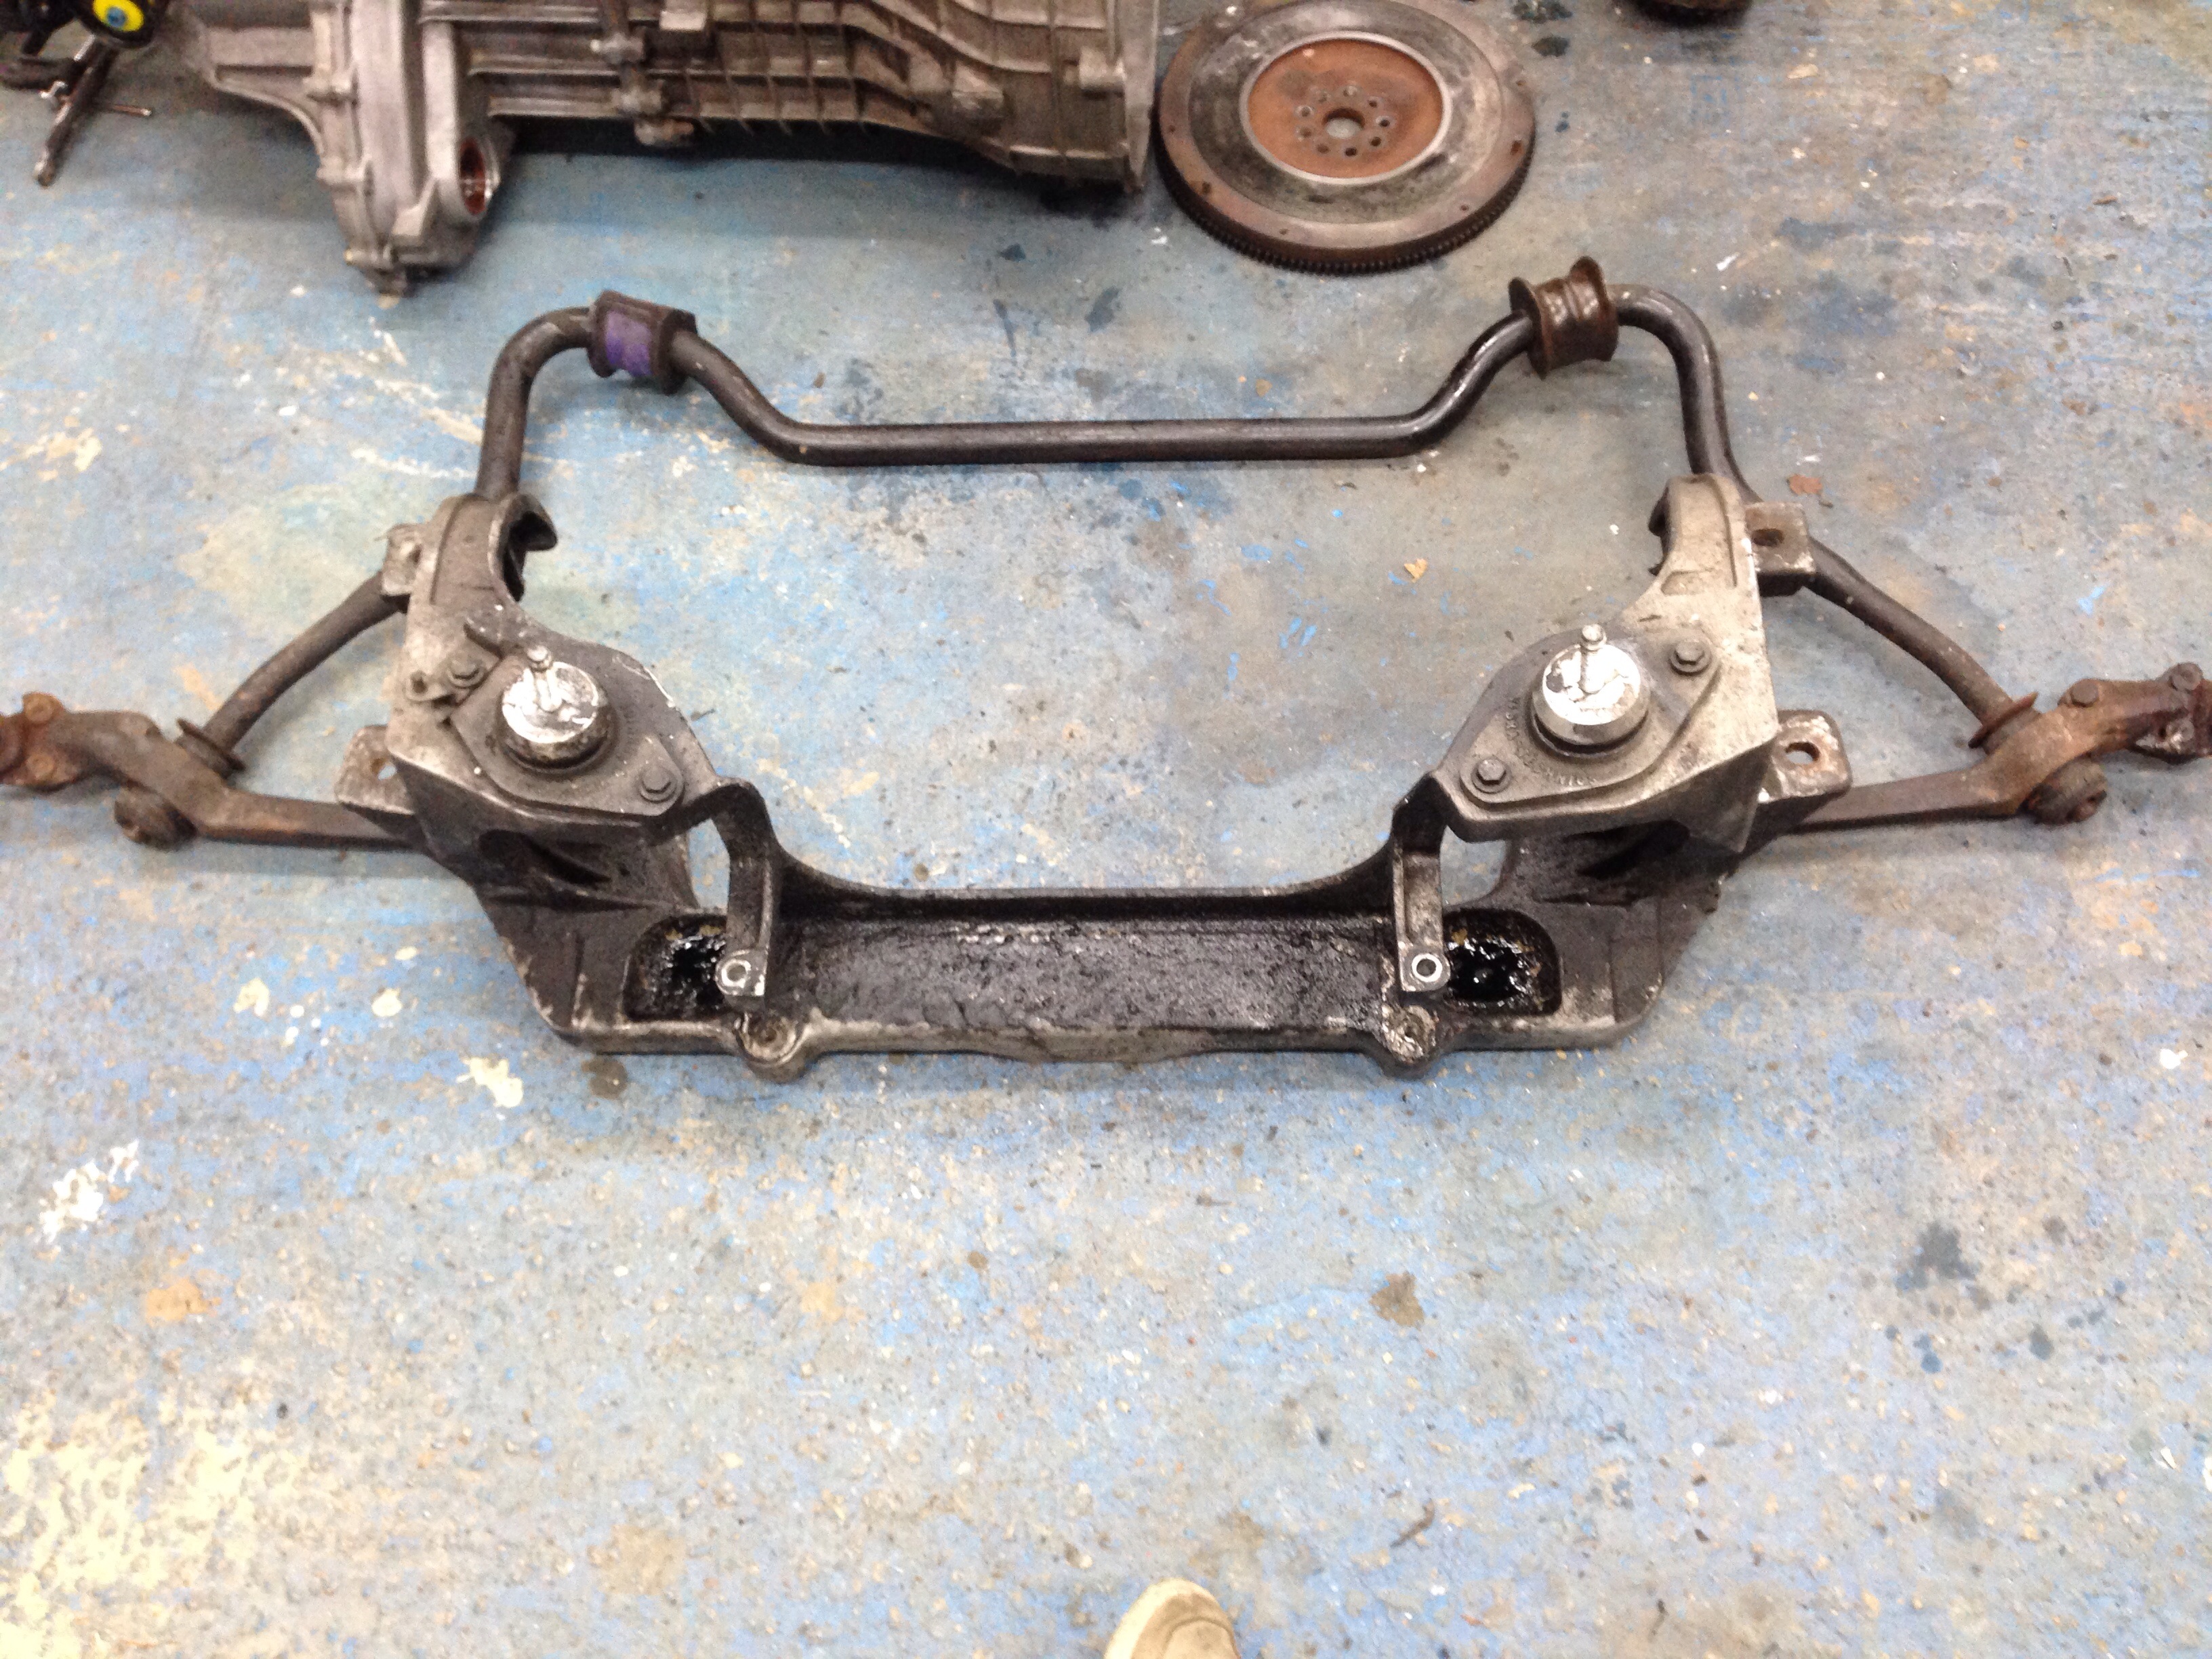
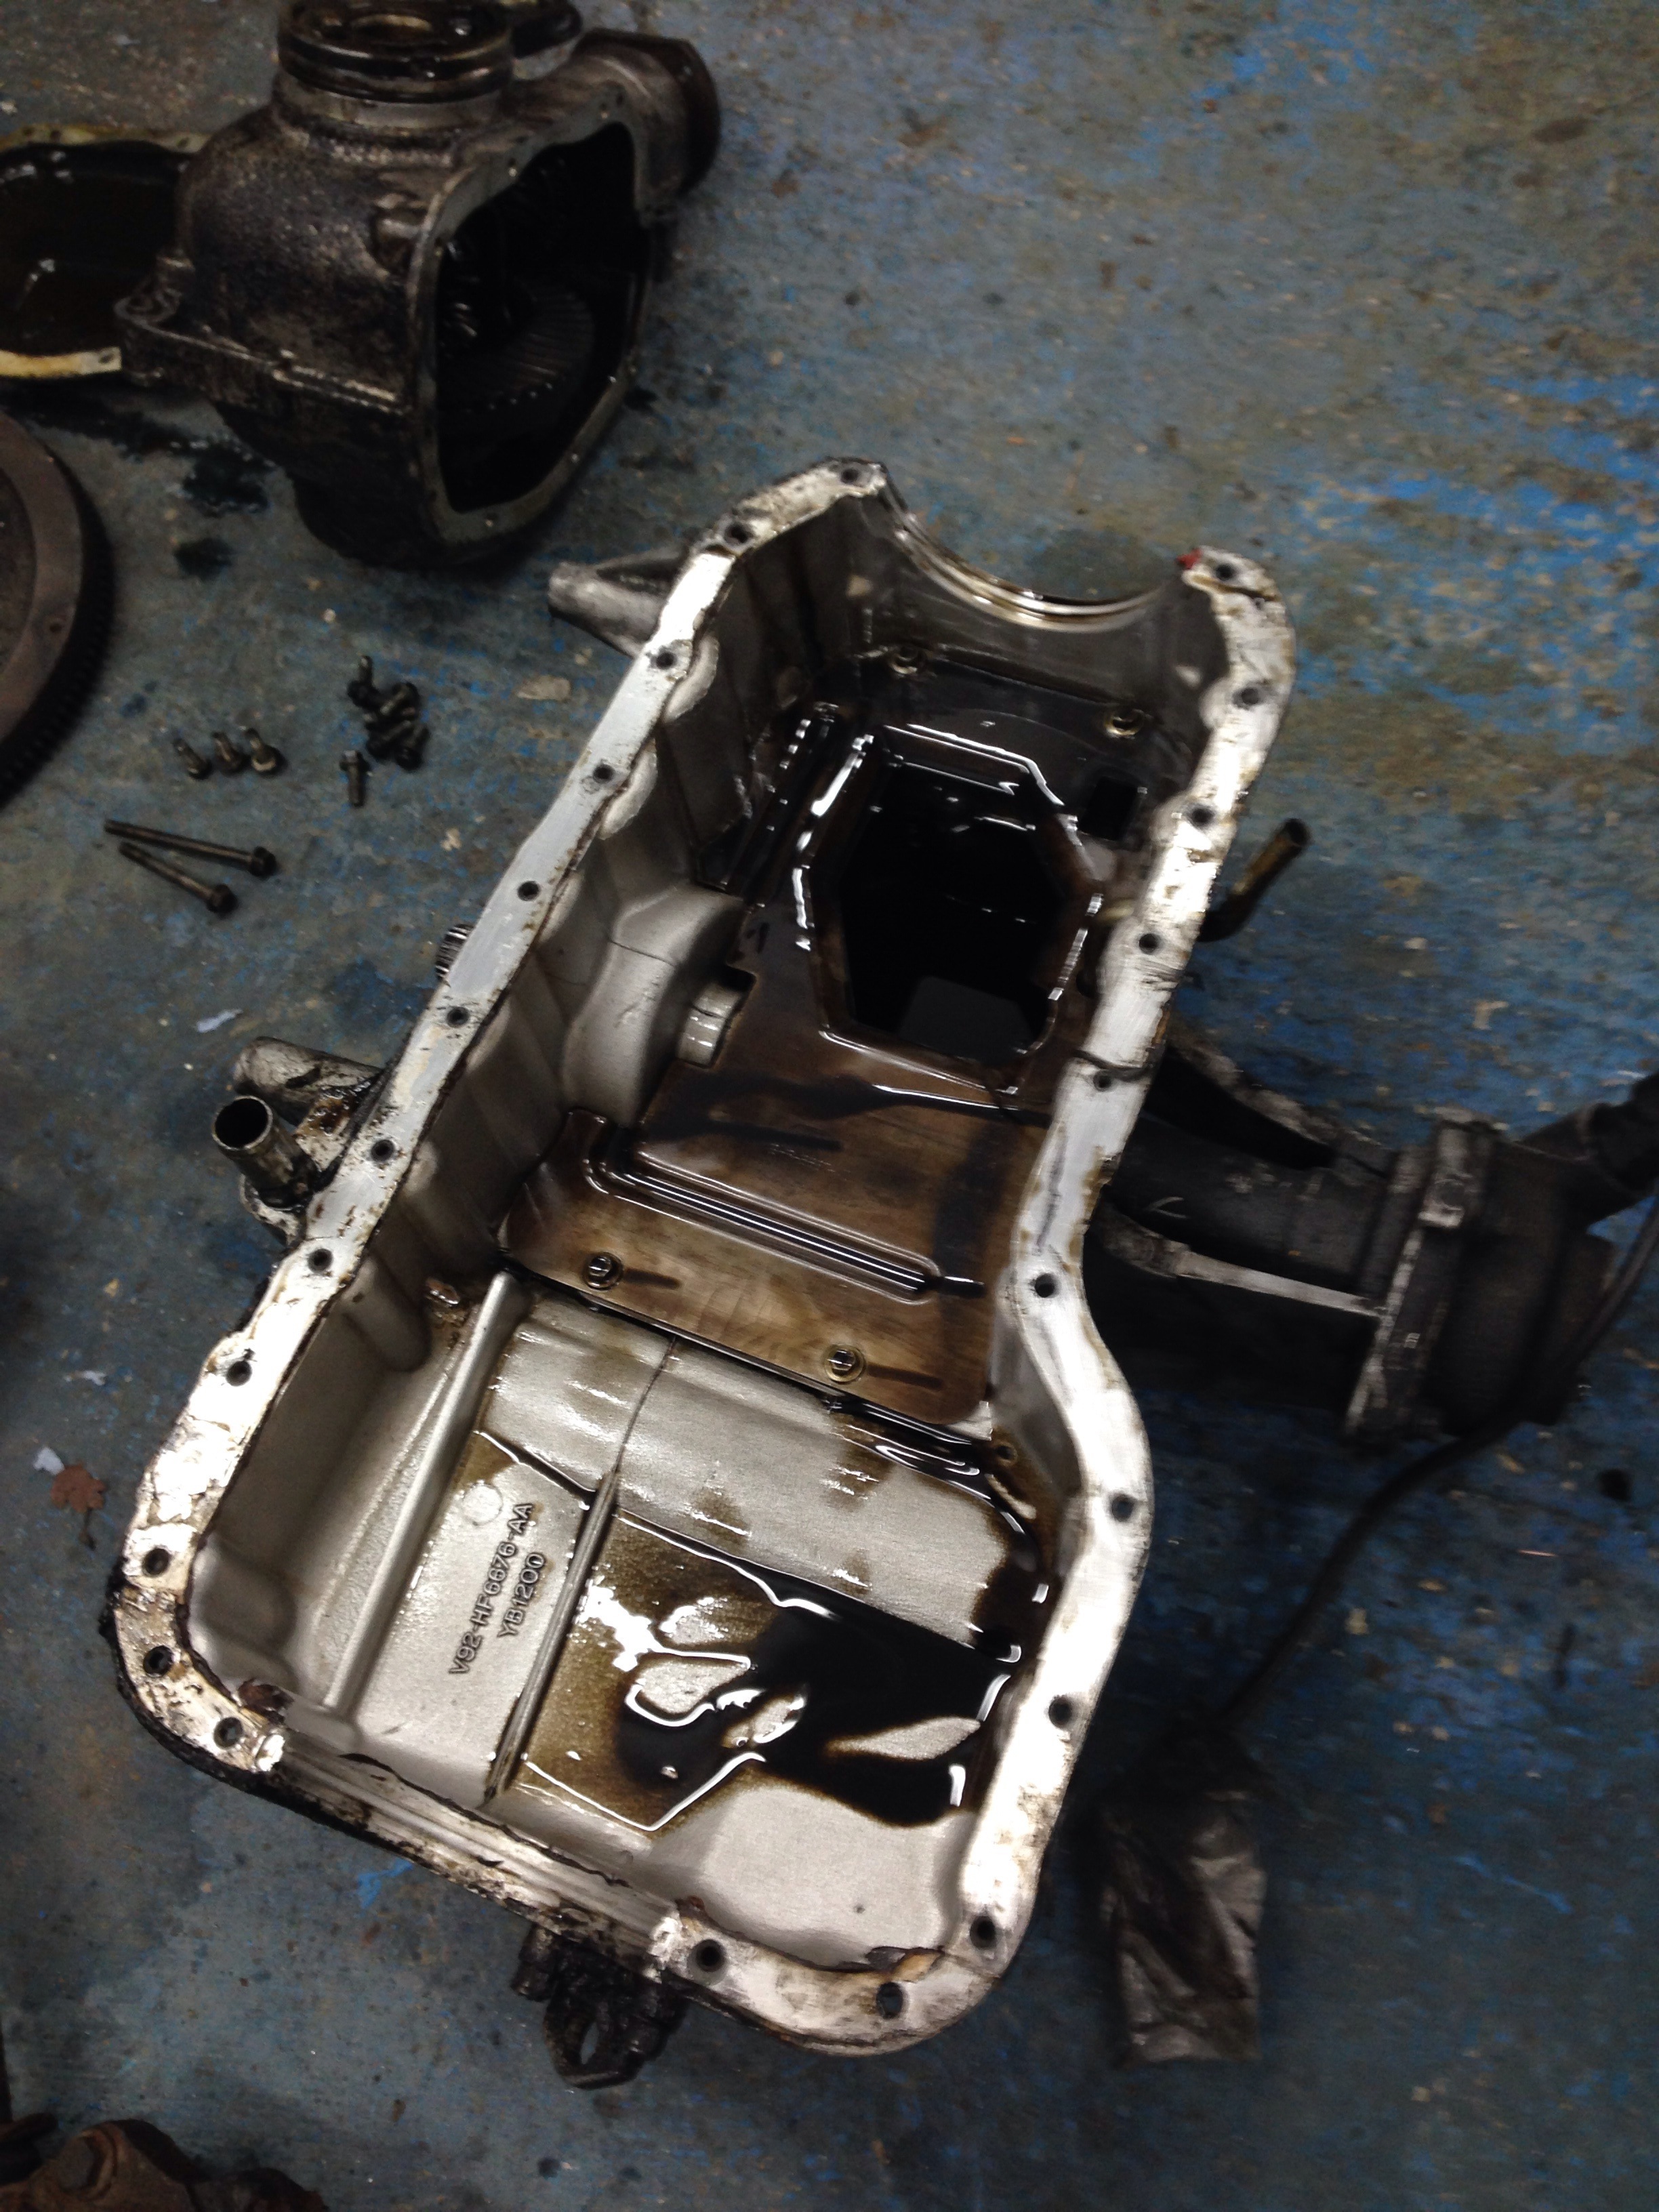
As you can see they were quite dirty so set about getting it all clean..
Quick shot of the underside of the business end of the engine
With that all cleaned I set about getting the sump back on.. Sealer applied
After many hours managed to get the engine all bolted back in properly, a bit cleaner underneath!

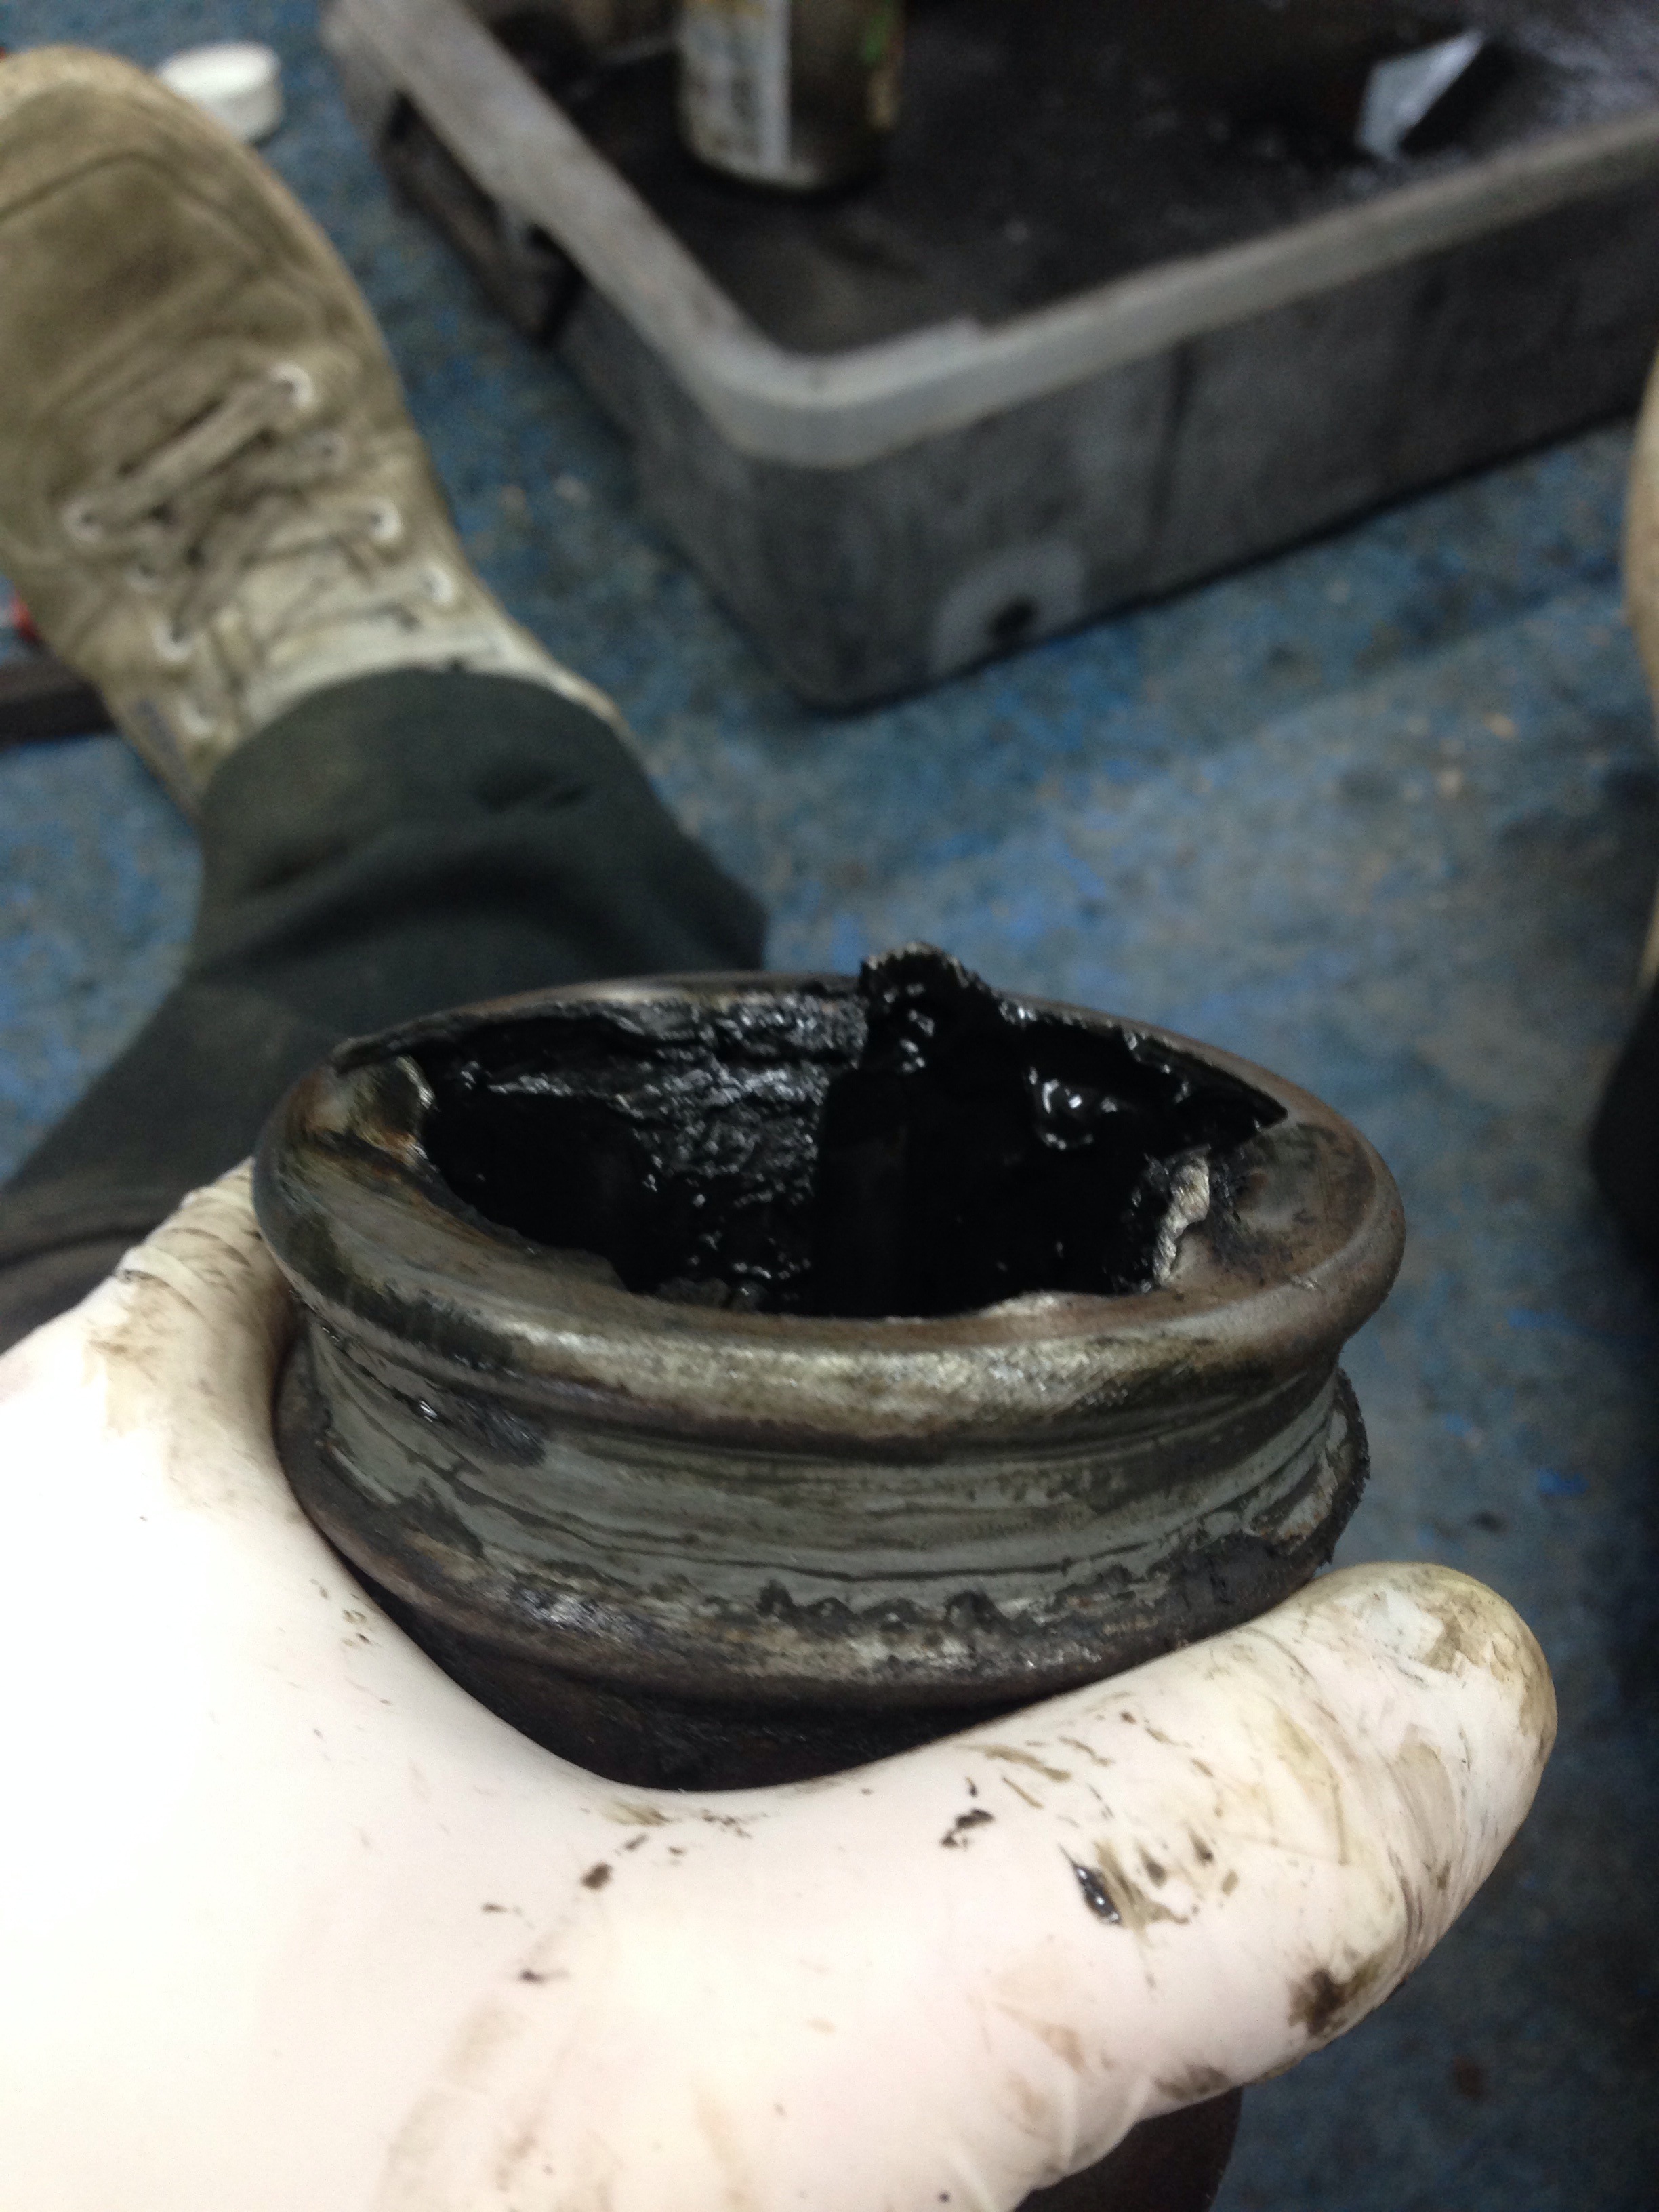
I noticed whilst the front shafts were out that the inner cvs were knackered.. At this point I needed to get the car moving again... So put them back together as they were holding ok knowing that these would need addressing quite quickly
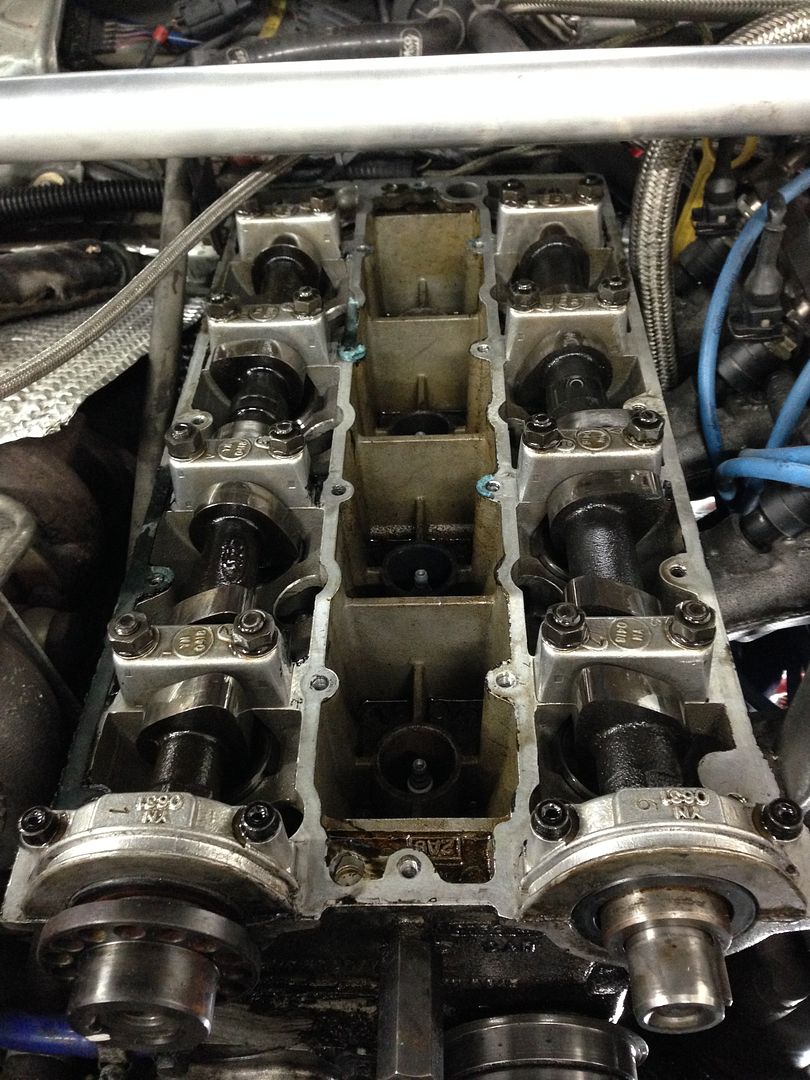
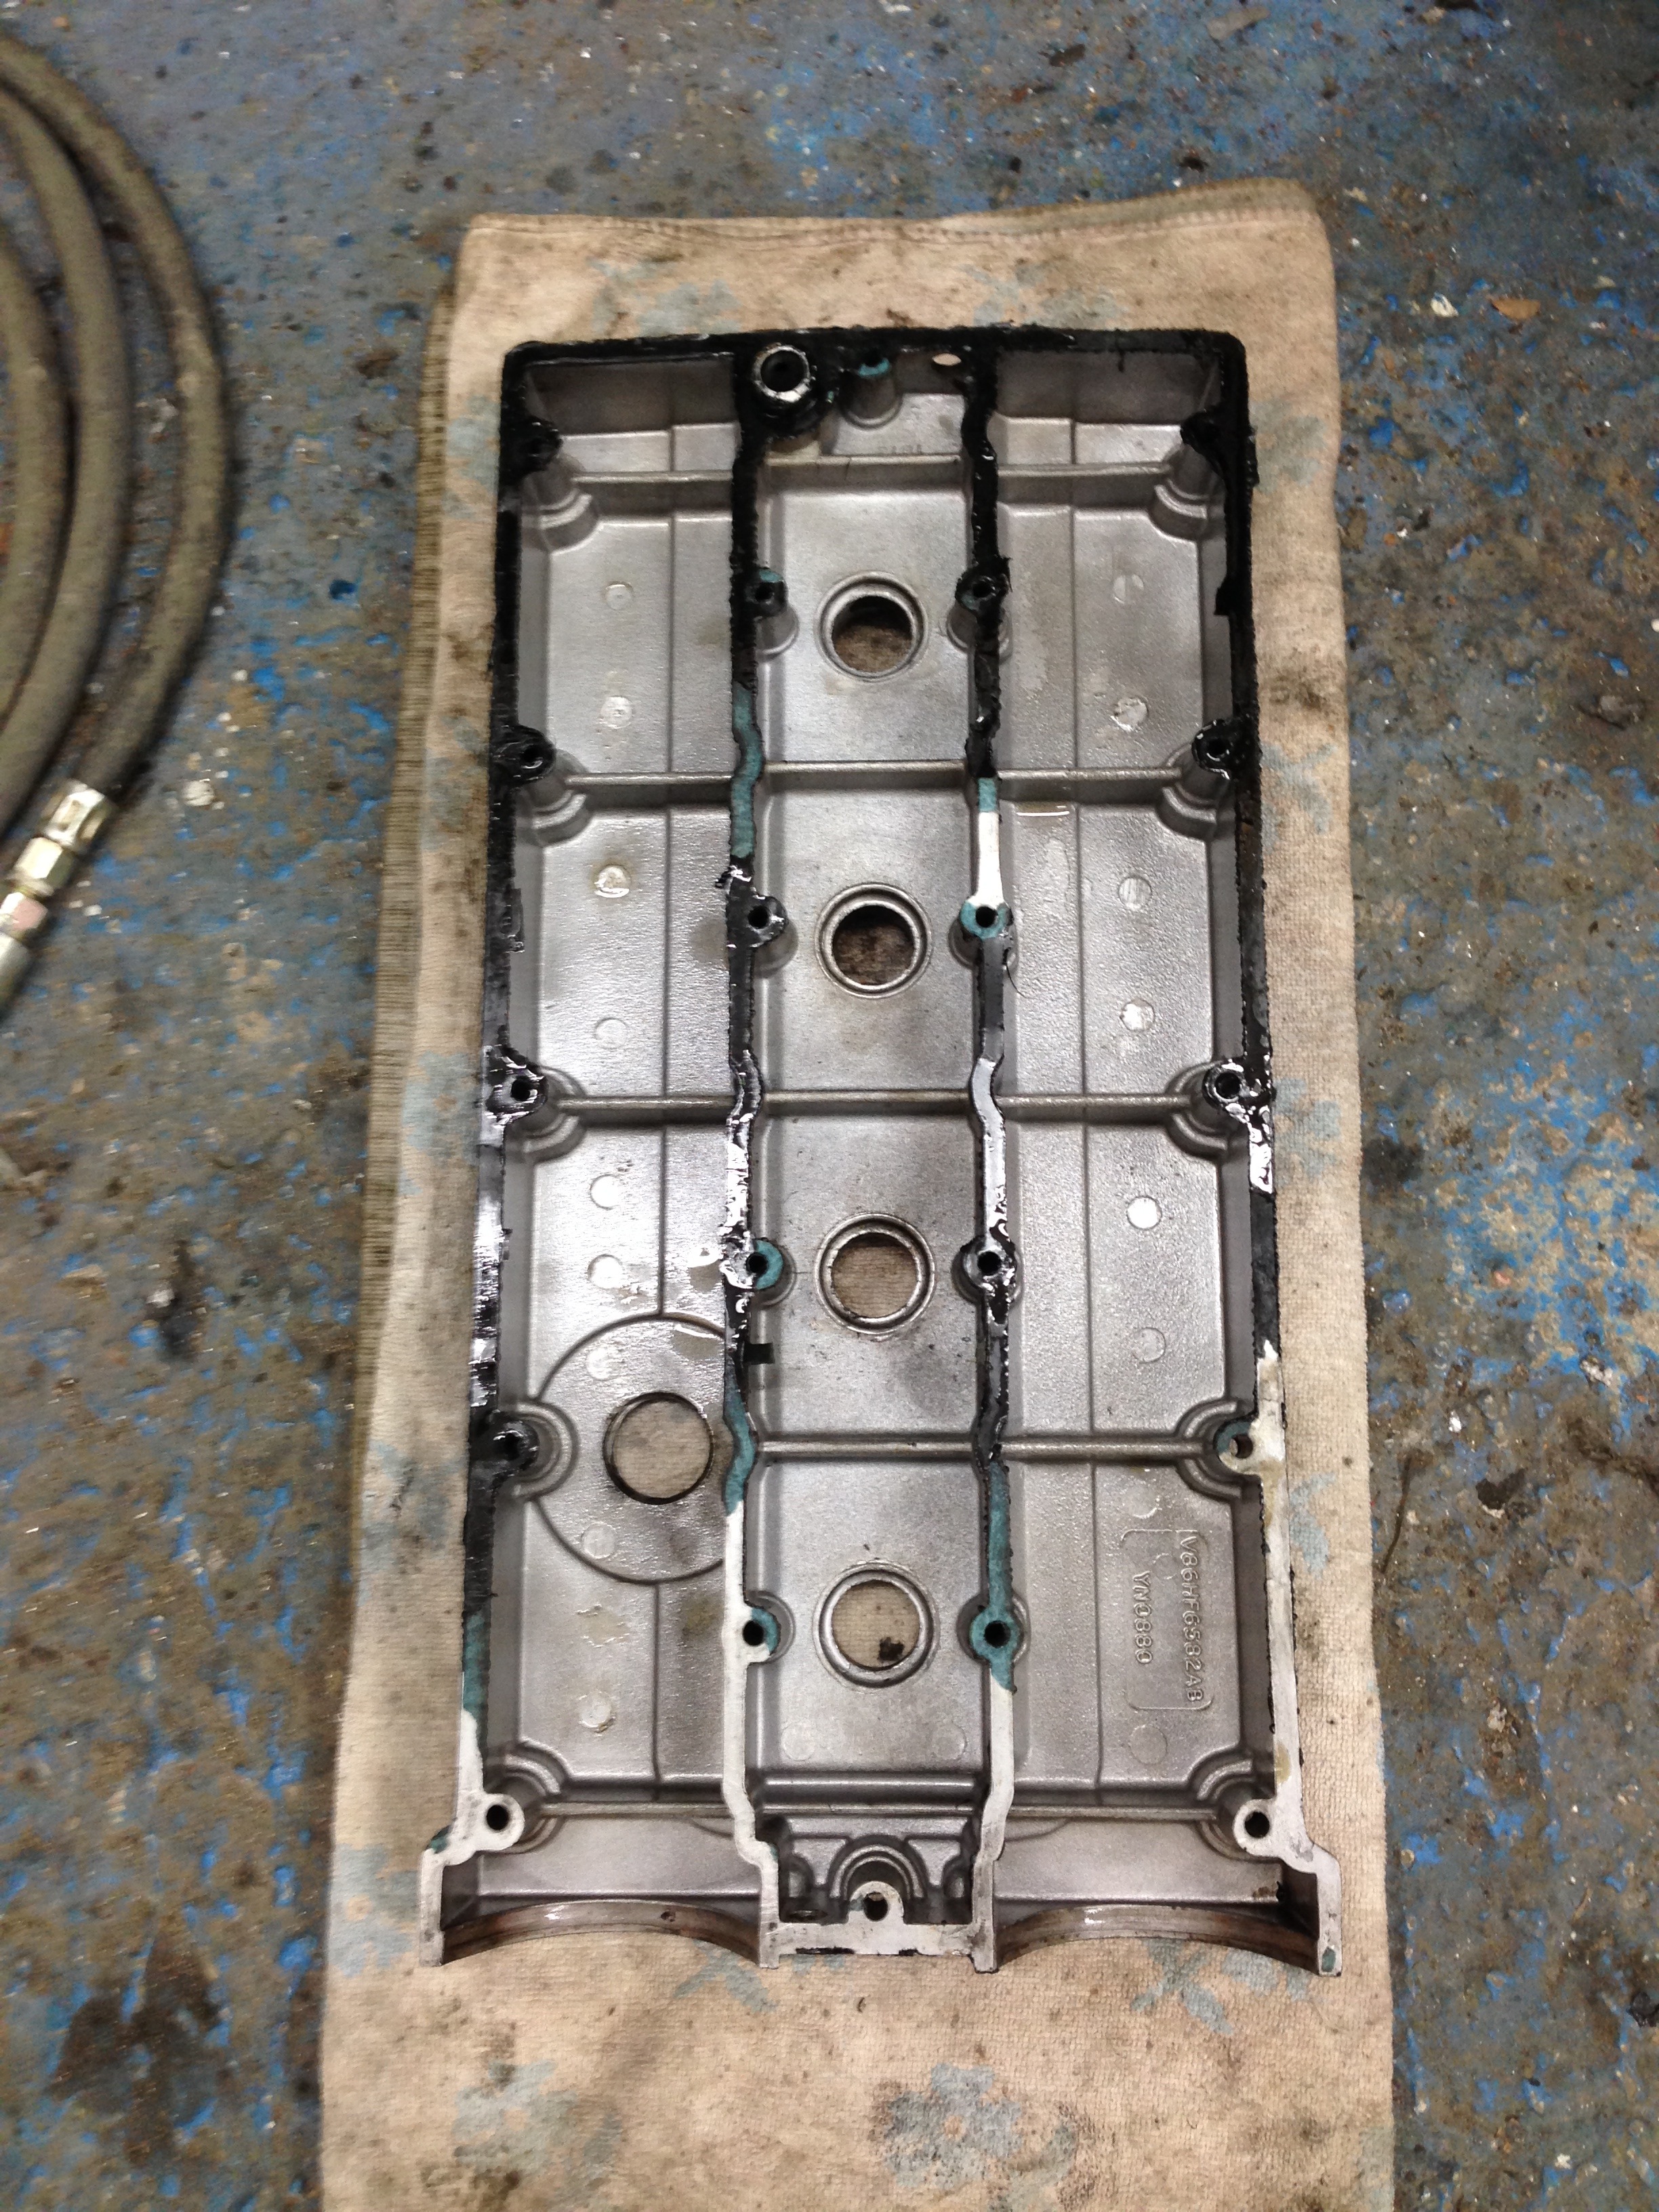
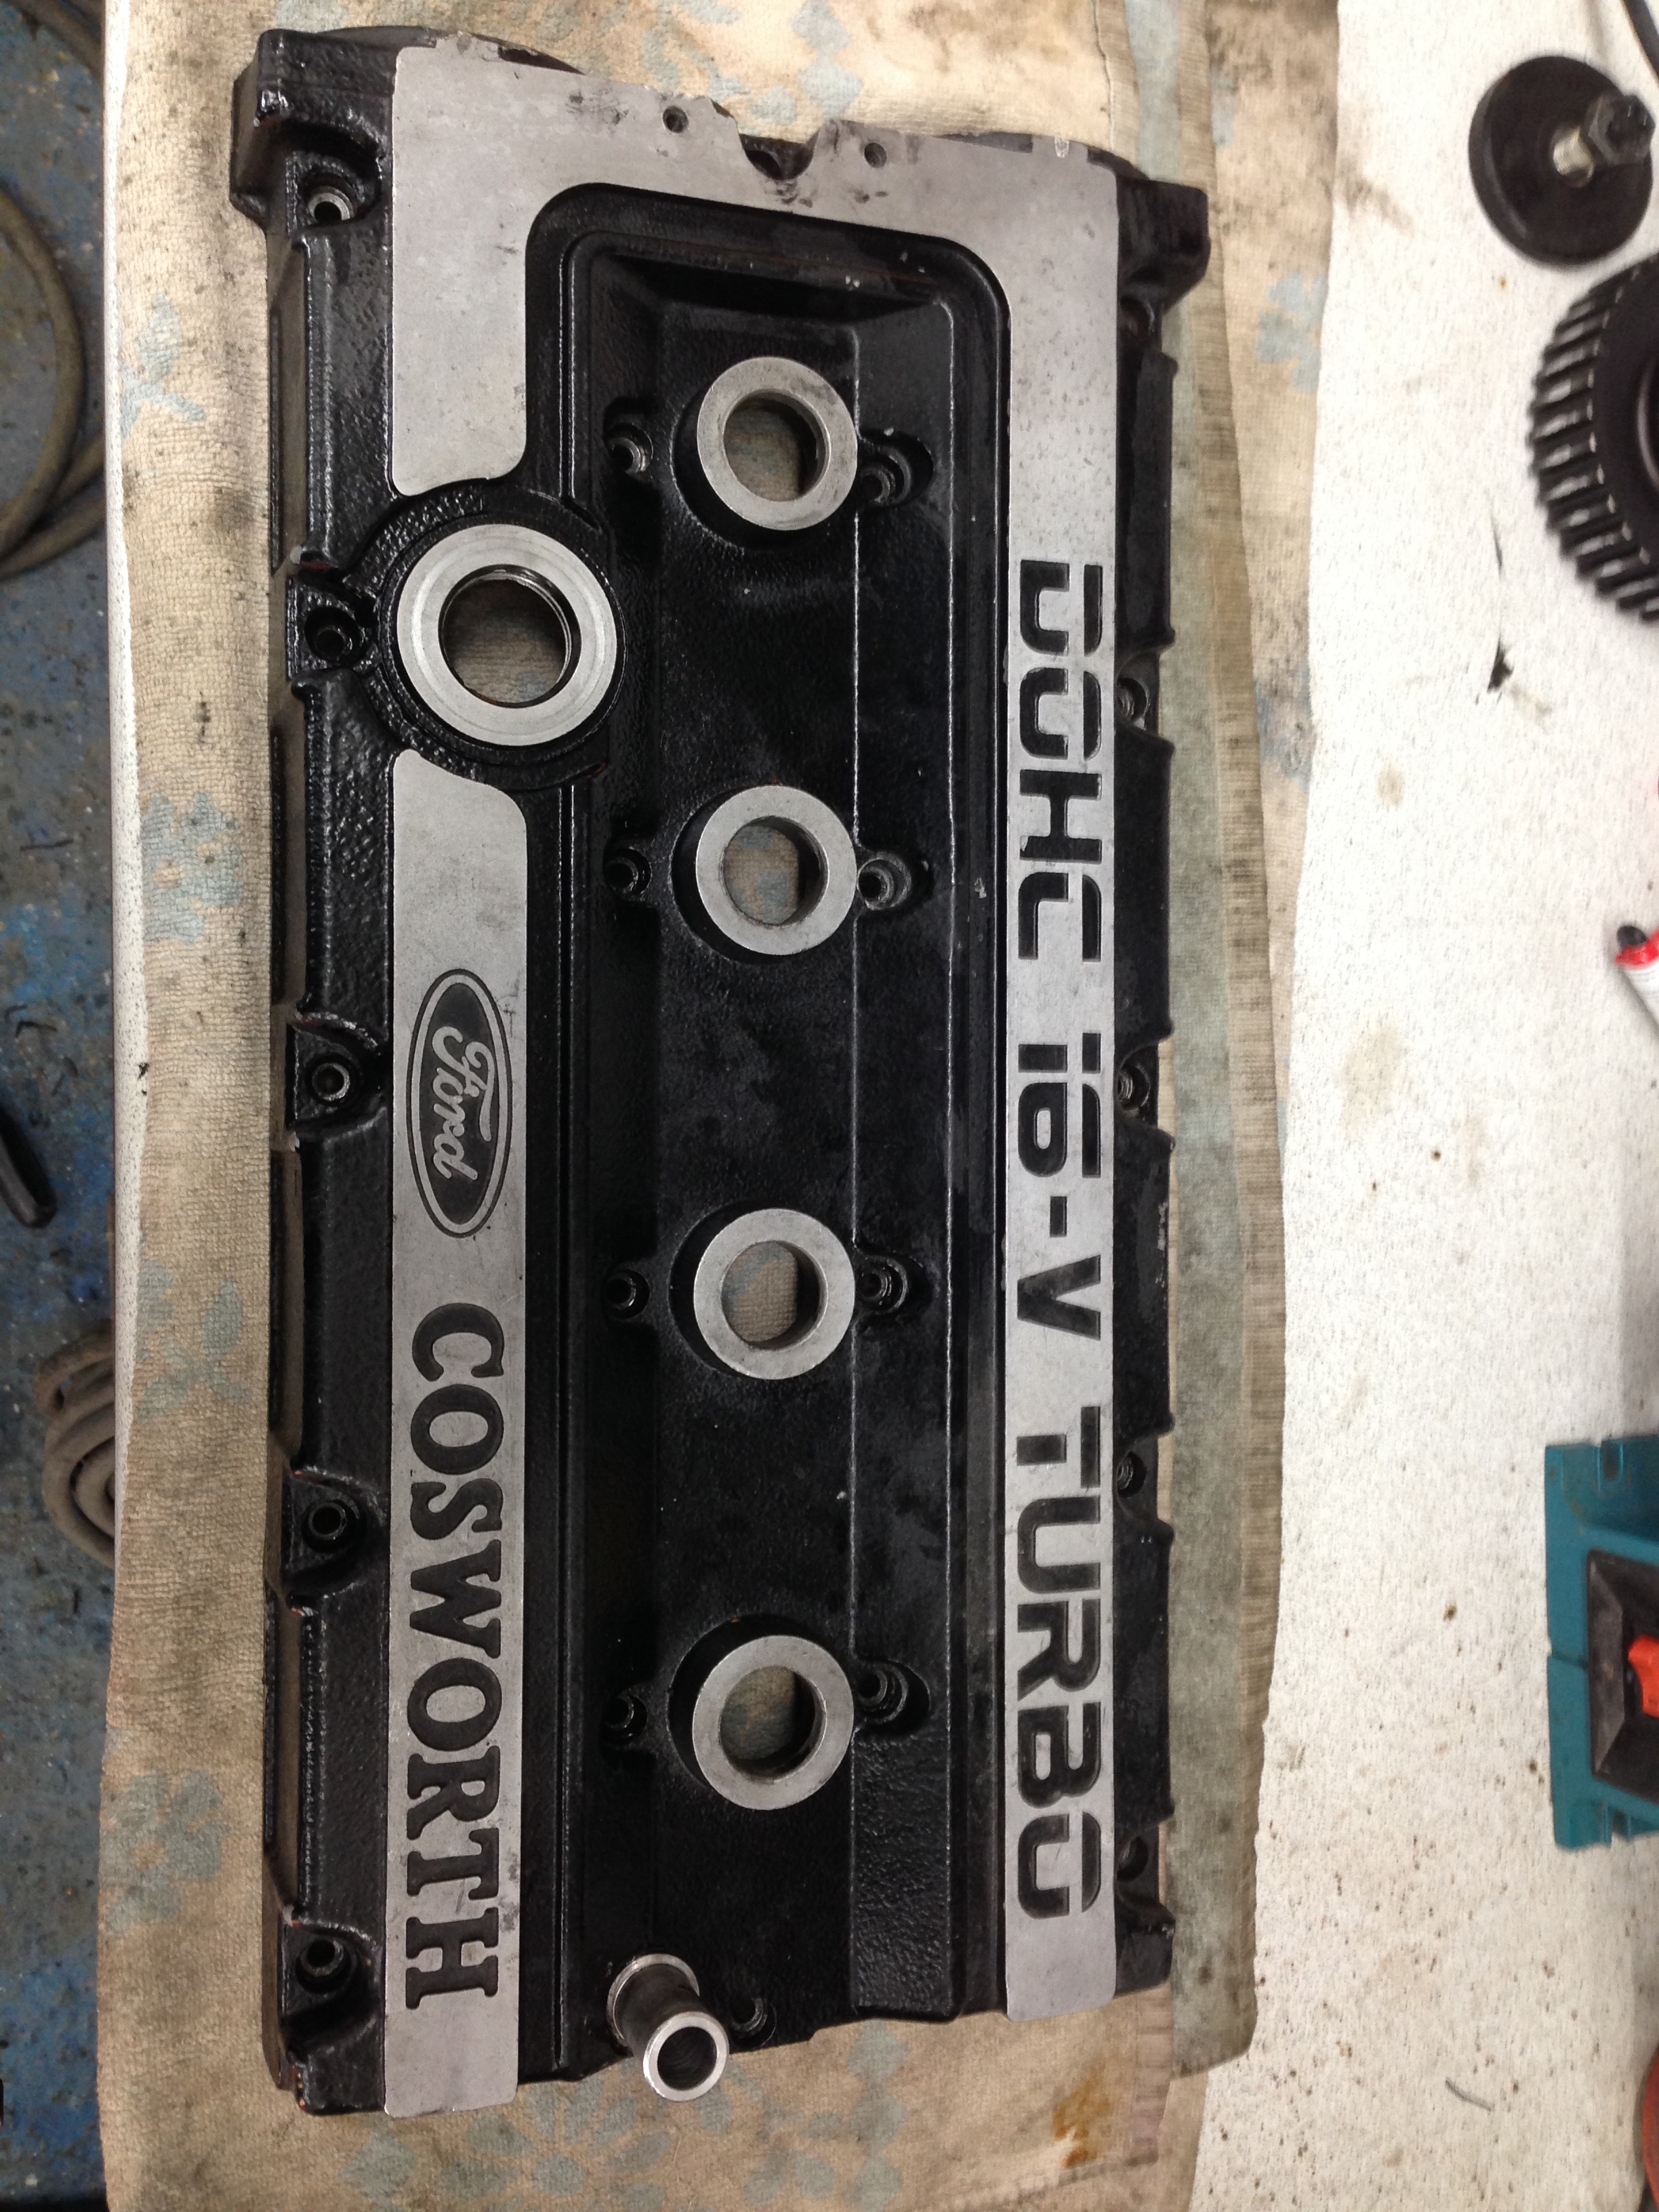
With the underside finished for now, I turned my attentions to the leaking cam cover. New cam shaft seals on the front and the cam cover sealed down with an instant gasket ( which I later regretted!)

With the car back down I removed the front splitter.. At some point this will be remade and fitted back again but the current one was badly damaged and needed to be taken off before it fell off! I had to remove the front bumper to remove the splitter support in the middle.. This was not easy, the bolts holding the wings to the bumper were rusted and would not budge easily!
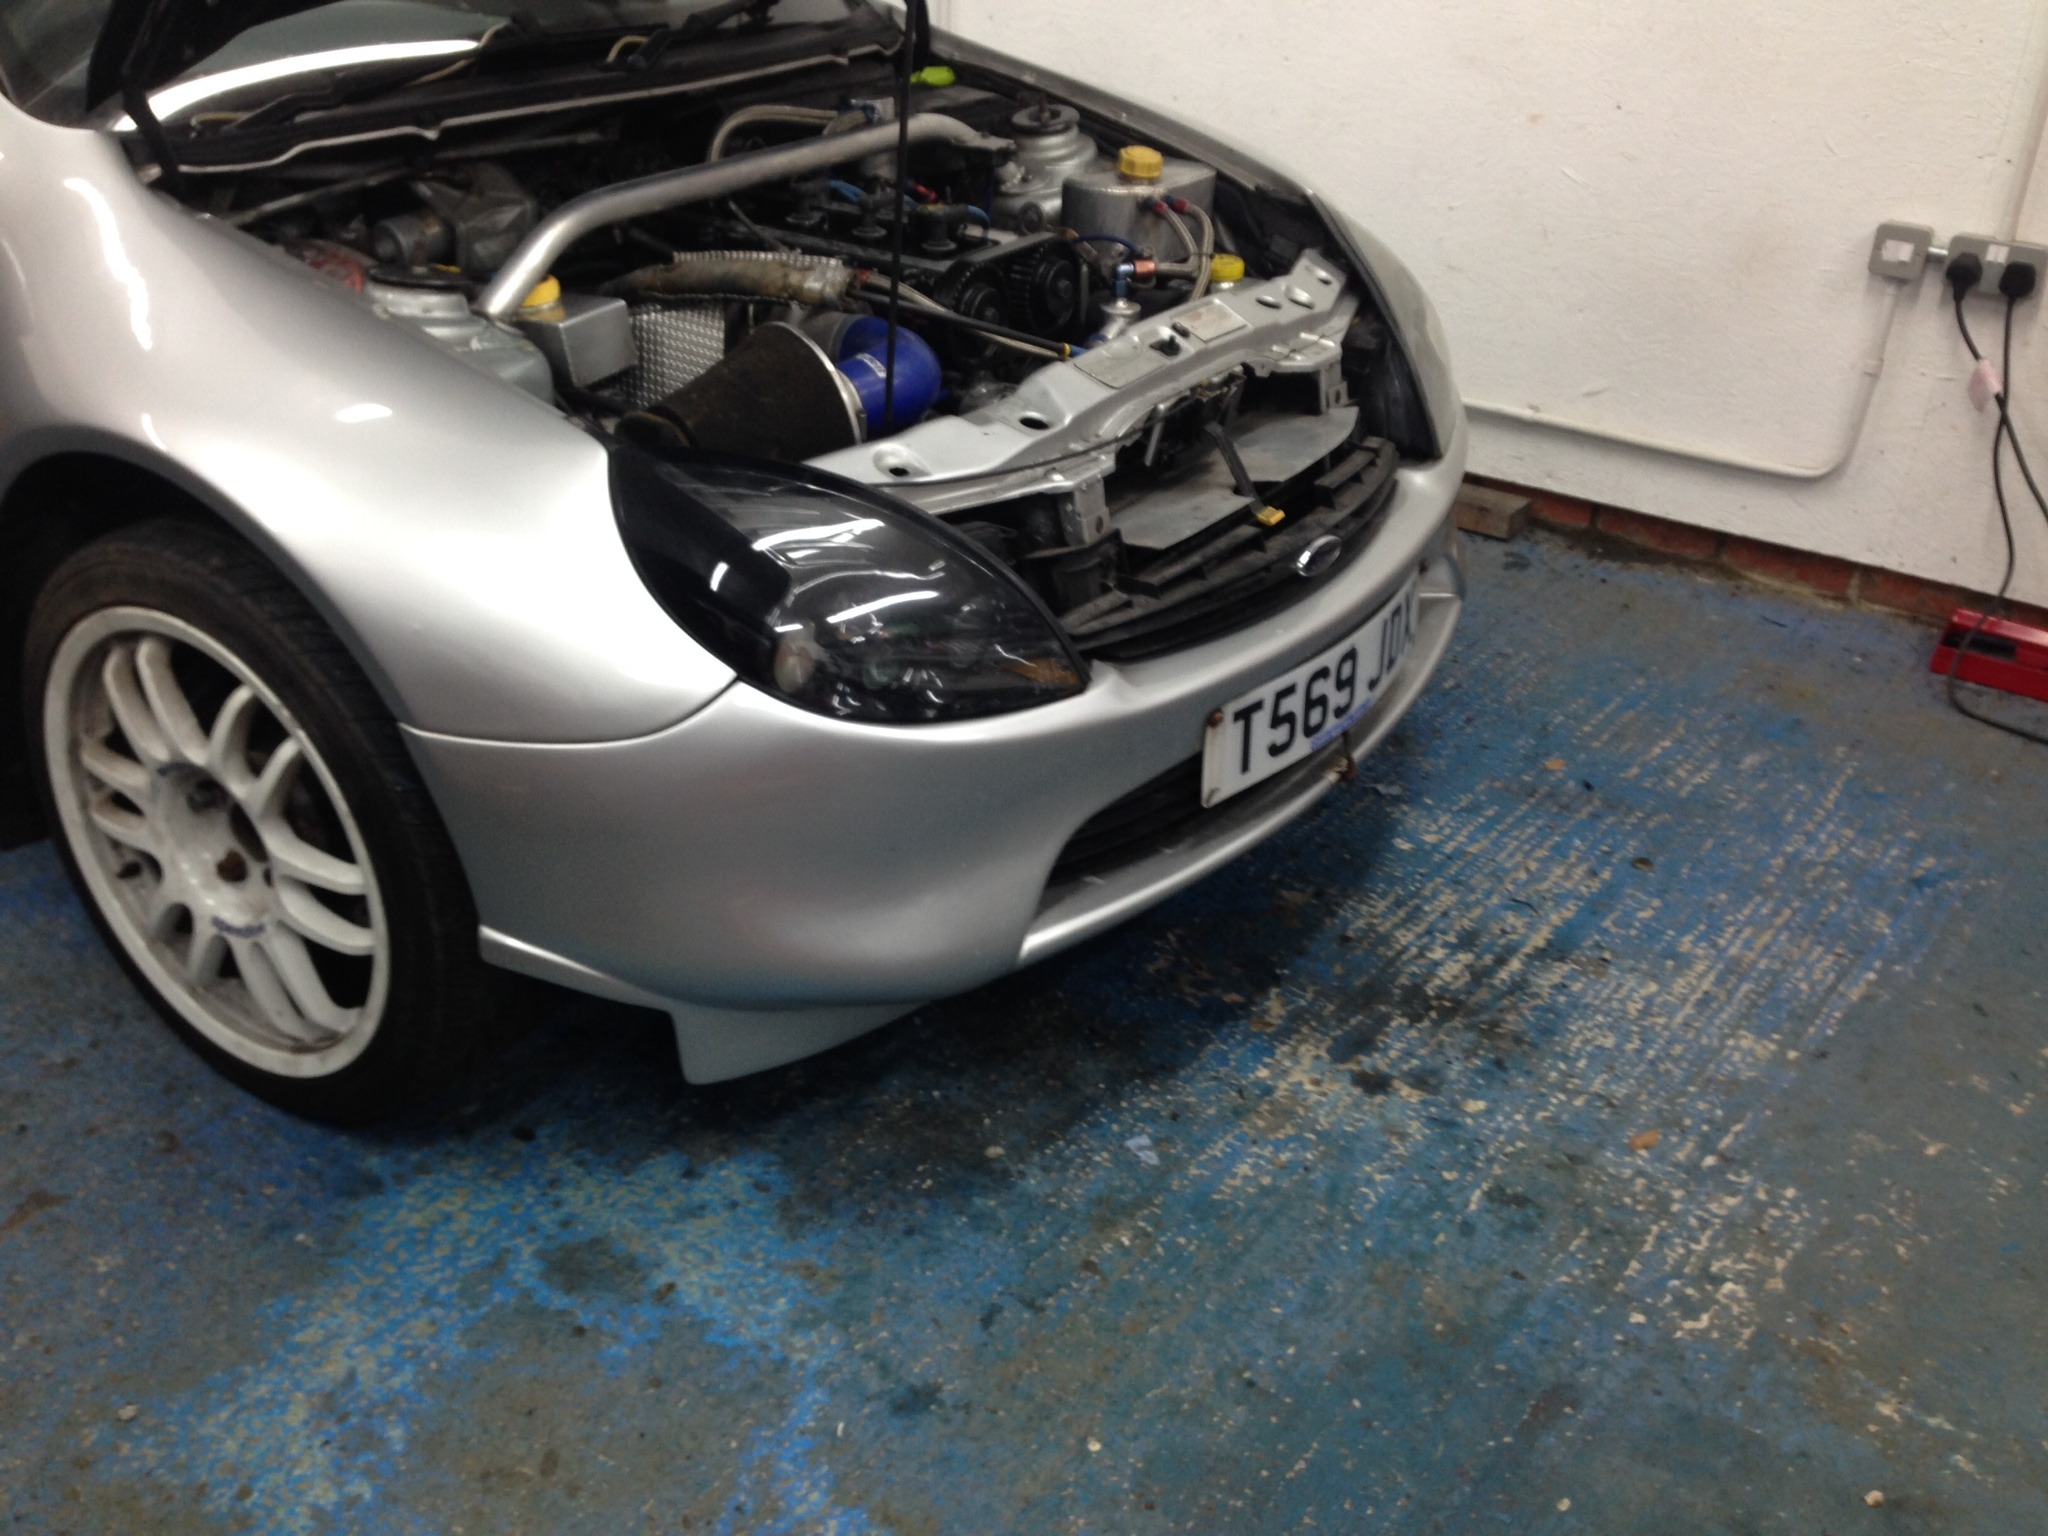
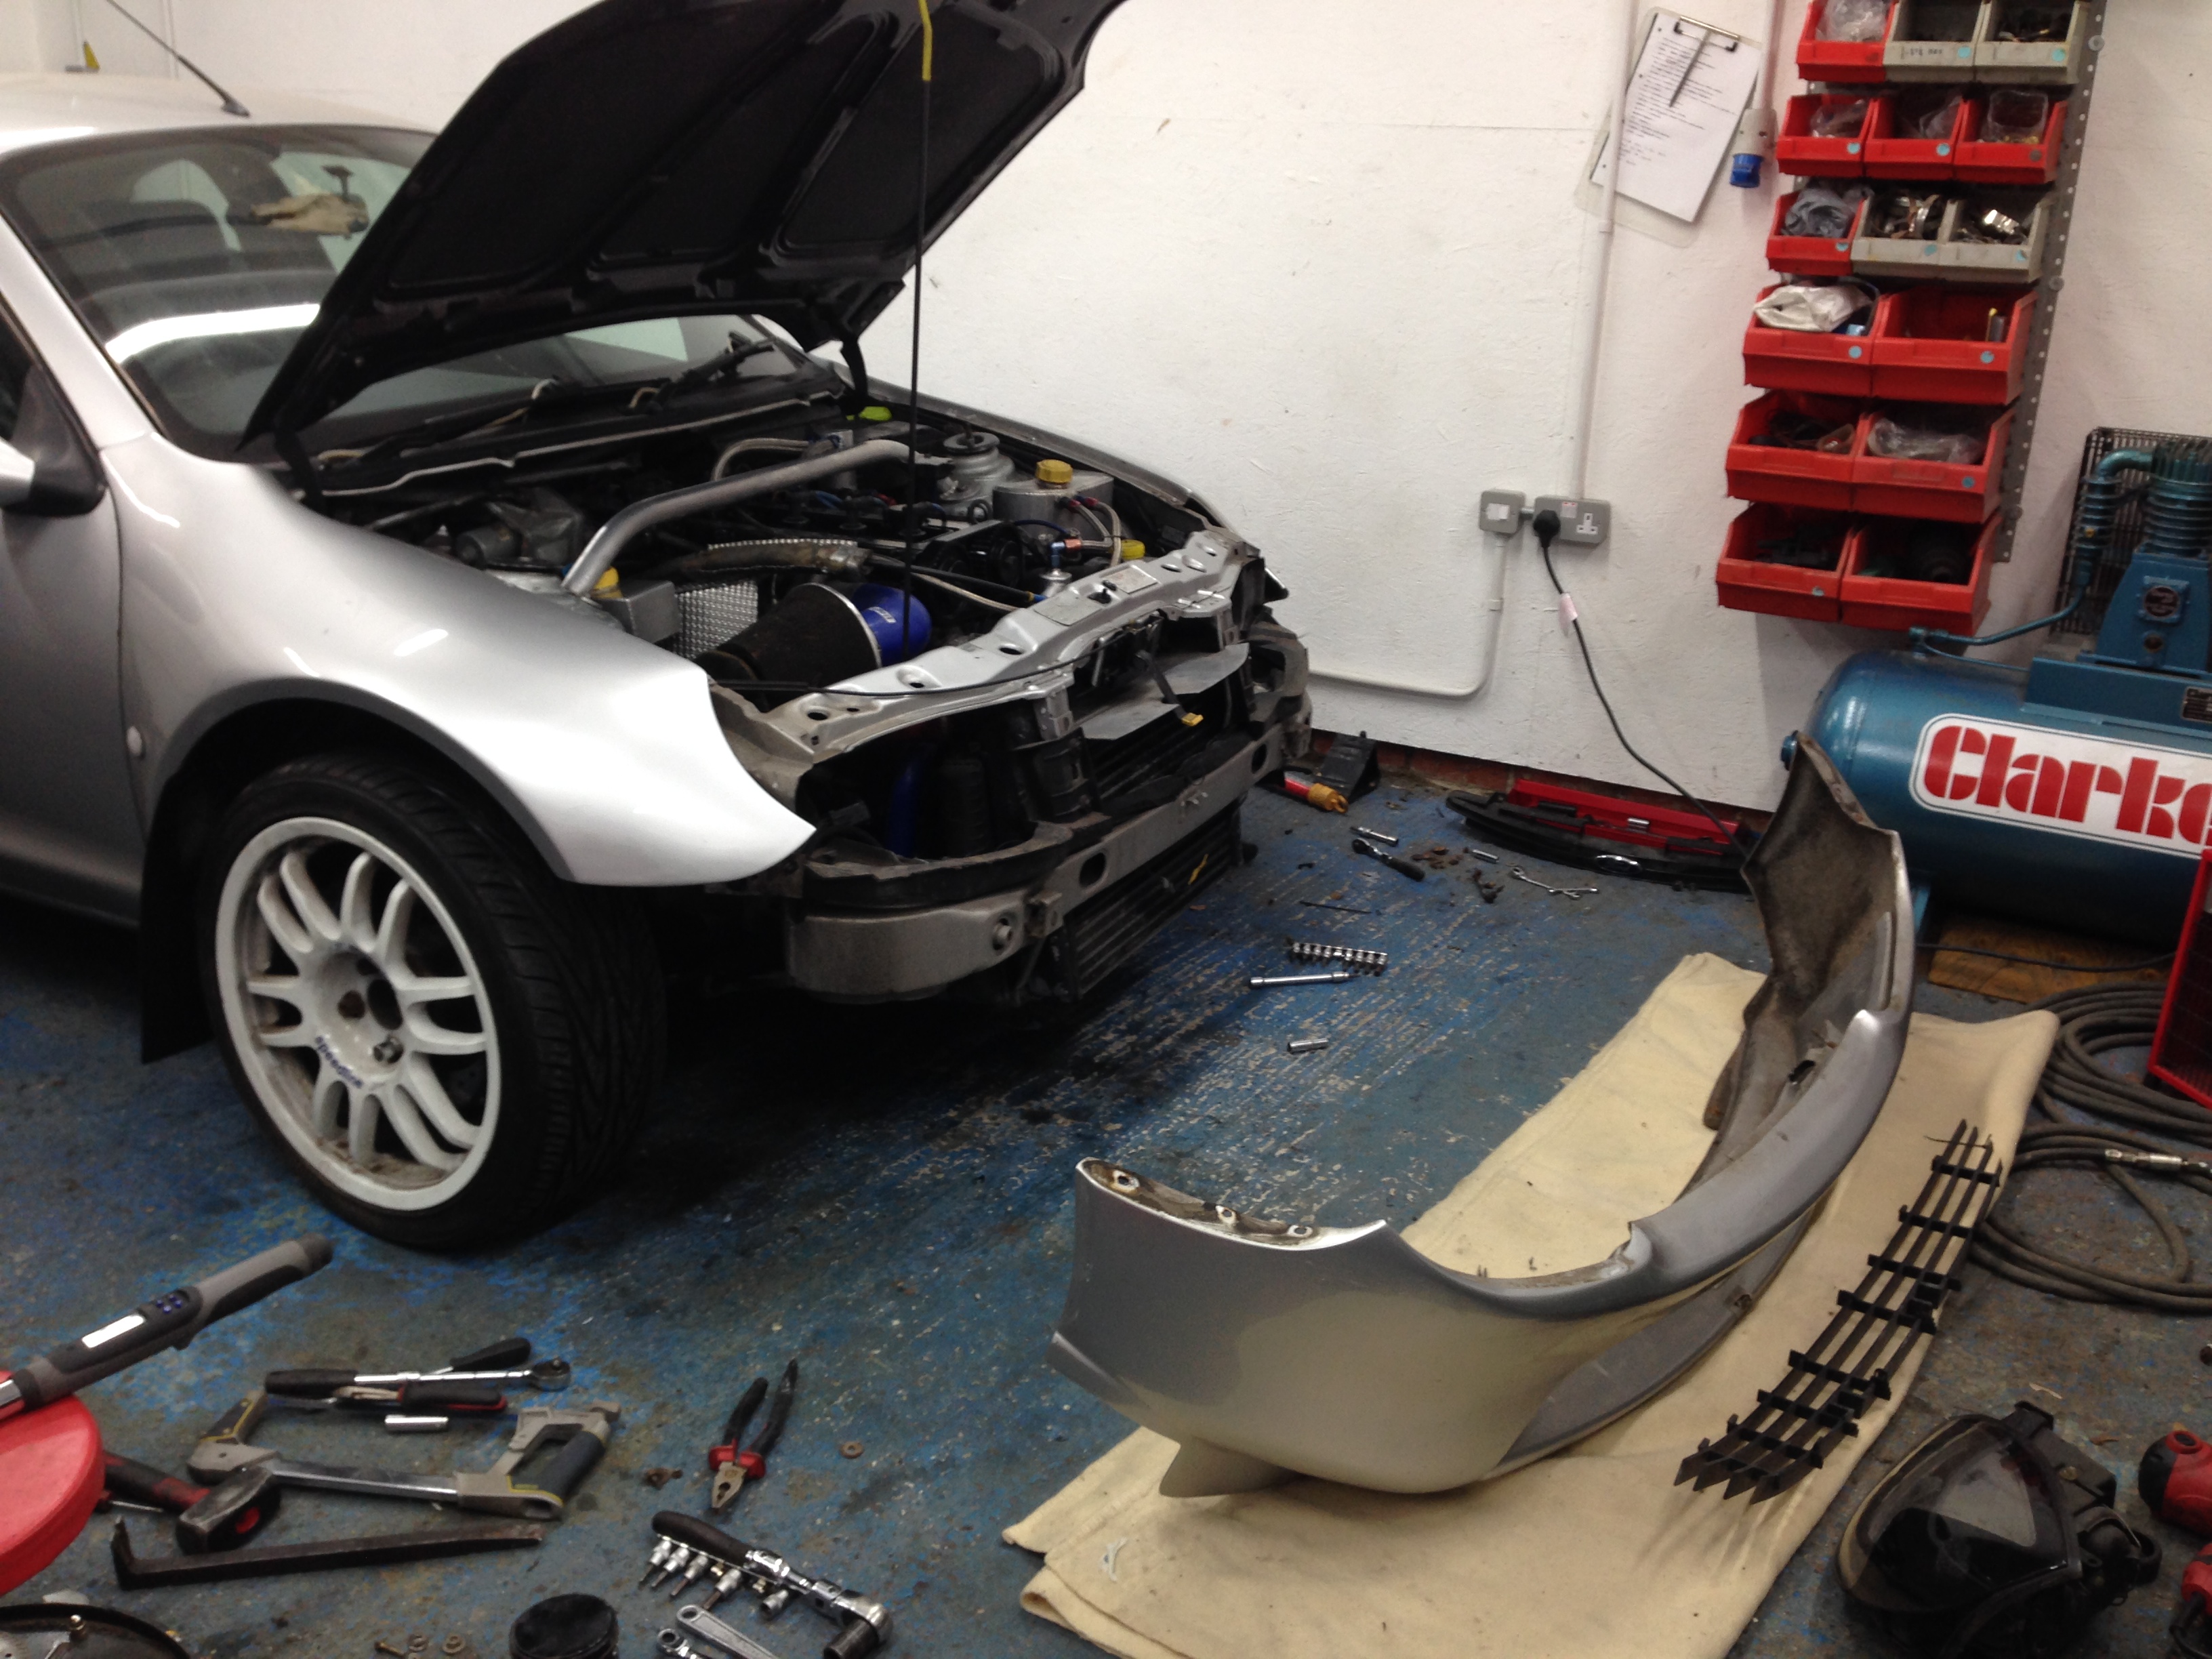

With that done I fitted the bumper back, except this time didn't fit back the bolts in the front of the wings. I knew I needed to take this bumper off again a number of times and where the bolts are located are difficult to get to and not very well installed. So dare I say it for now they have cable ties through the holes to hold the join tight. It works surprisingly well and better than the bolts as the old ones weren't really doing much. When I concentrate on the shell at a later date then this area will be improved and stainless steel bolts installed, maybe even studs into the fibreglass so it's only a nut on one side.
That's all for now, I'll get some more photos up soon of the progress to date.
Thanks for looking
Dan