Rest of the chassis done:
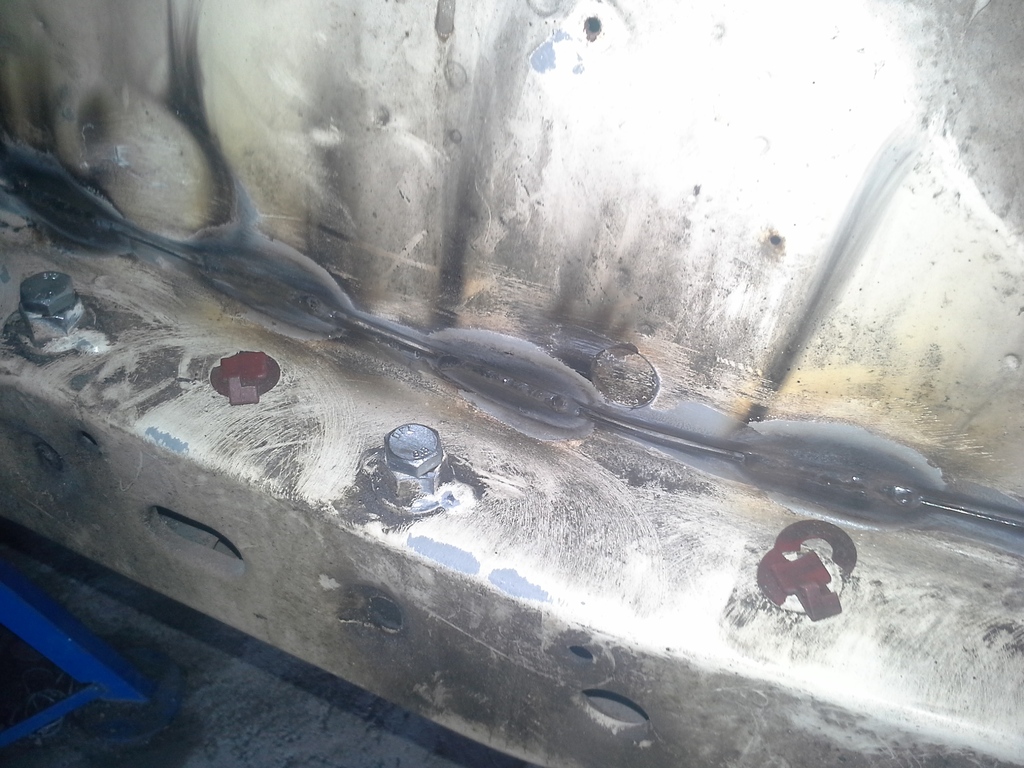
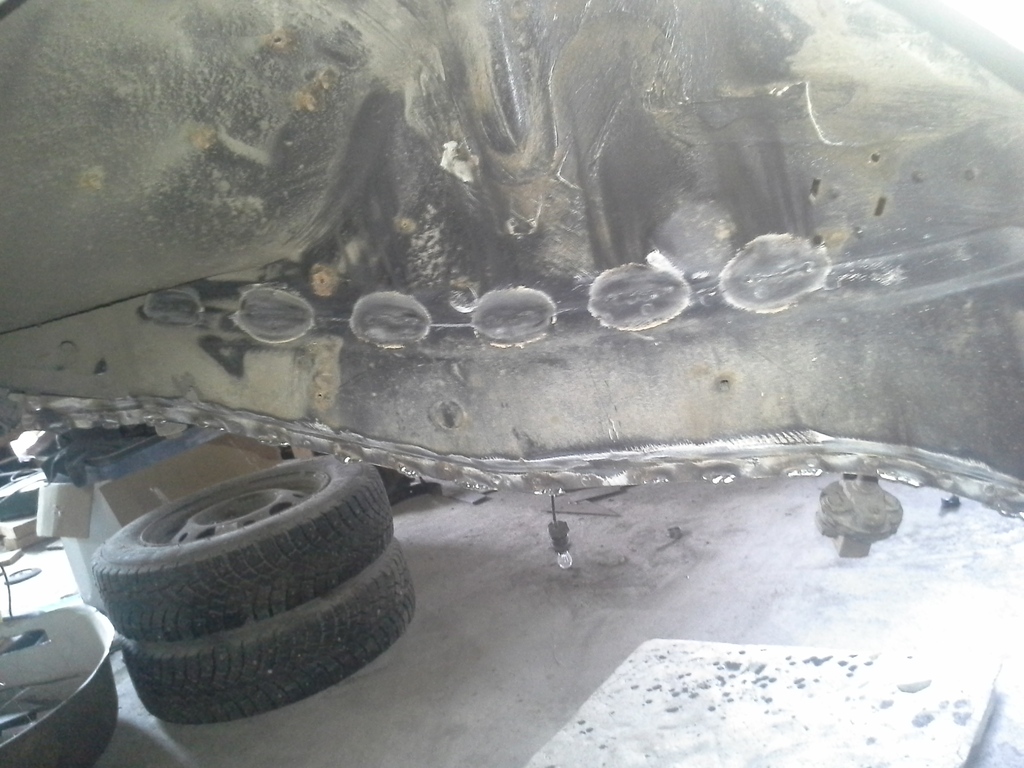

I also spread some cheap primer, to protect those points temporately.
Left fender needen some new metal, so I fixed that too:
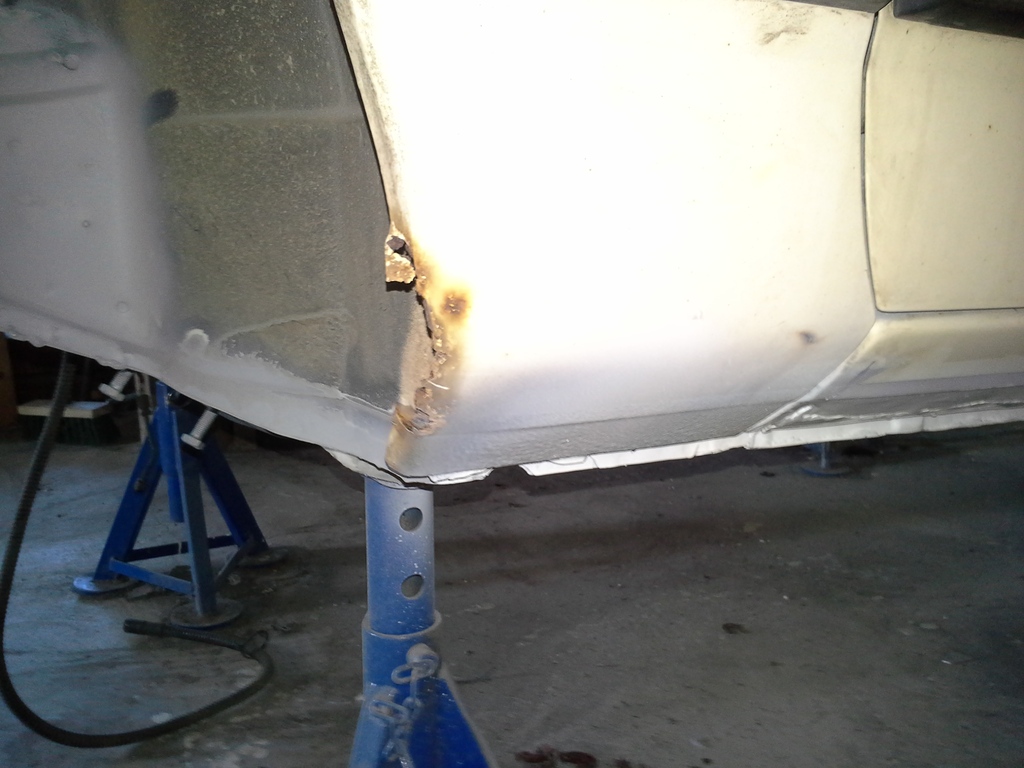
As you can see corrosion has done its job

I�ve got a cheap Mk2 replace fender, so I took piece of it for this one...
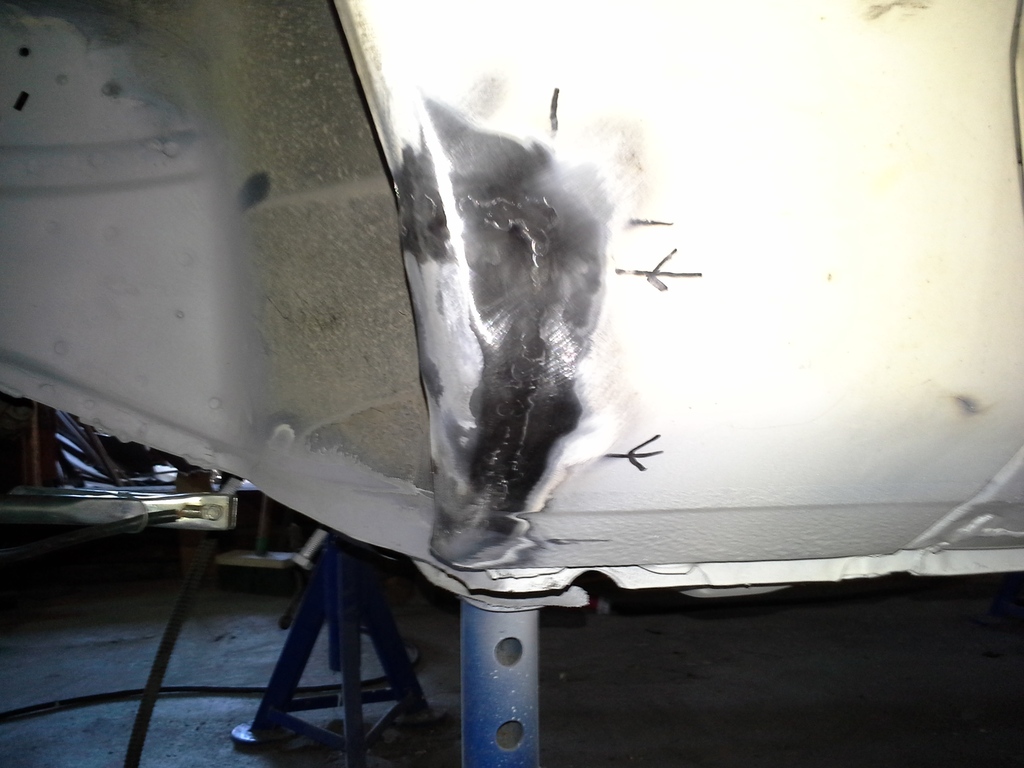
After carelul welding (and grinding) I was in this phase. Later I primered this, like I did earlier.
Recently I protected all of the panels inside, and I�ll propably take a little break from the bodywork. But next I need to took becoming engine apart, and also I have to found inner driveshaft flanges for the rear diff.
That�s all by this far
