Old May 26, 2014 | 11:07 PM
  #28  
jon_ross's Avatar
jon_ross
PassionFord Regular
iTrader: (1)
 
Joined: May 2009
Posts: 477
Likes: 0
From: eastbourne
Default

hi guys, sorry its been awhile since any updates, ive been fully self employed at my garage as of april this year so its been a rough road lol

I have been working on the saph still just not as much as id like

firstly before I carry on the update id just like to say the project has changed a bit. Upon inspecting the engine I discovered that the timing chain guide had snapped and I don't know how the chain didn't come off, also once the head was removed it was aparrent that the engine had seen better days, so choices choices.

repair this old heap?

zetec conversion?

full cossie conversion?

that'll be cossie then!!!

let me just say that im well aware that this will cost me more than a decent genuine cossie but I don't want to do it like that. I want to build one and ive grown to like this saph quite a bit. its not a genuine cossie, its MY cossie lol

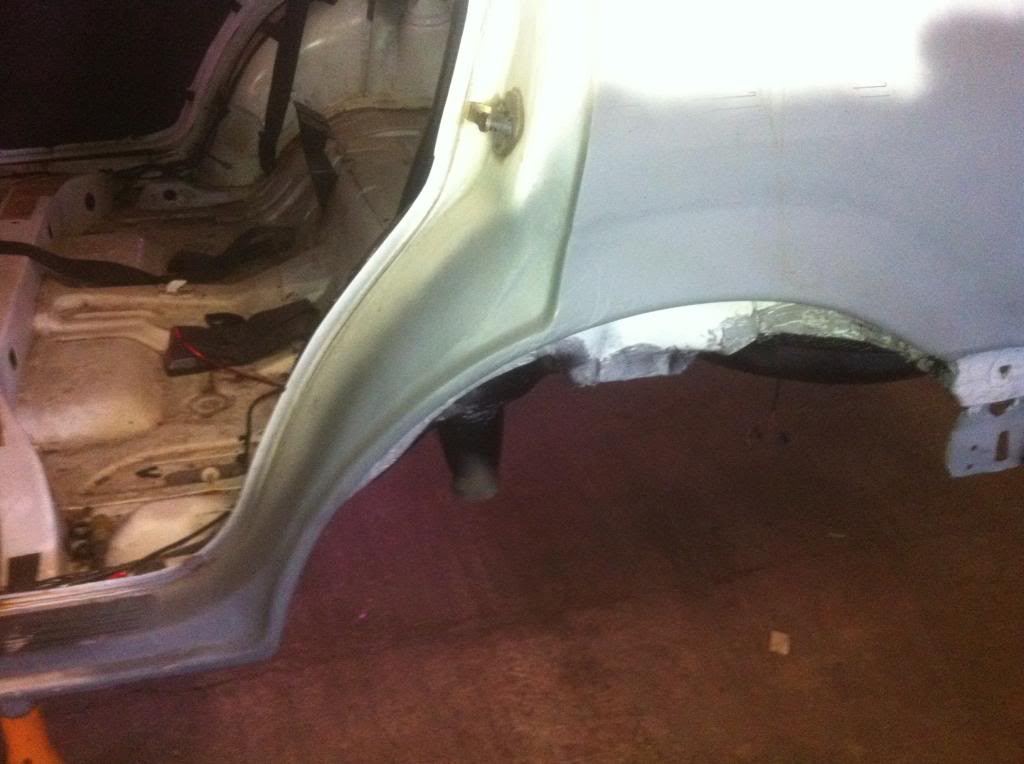
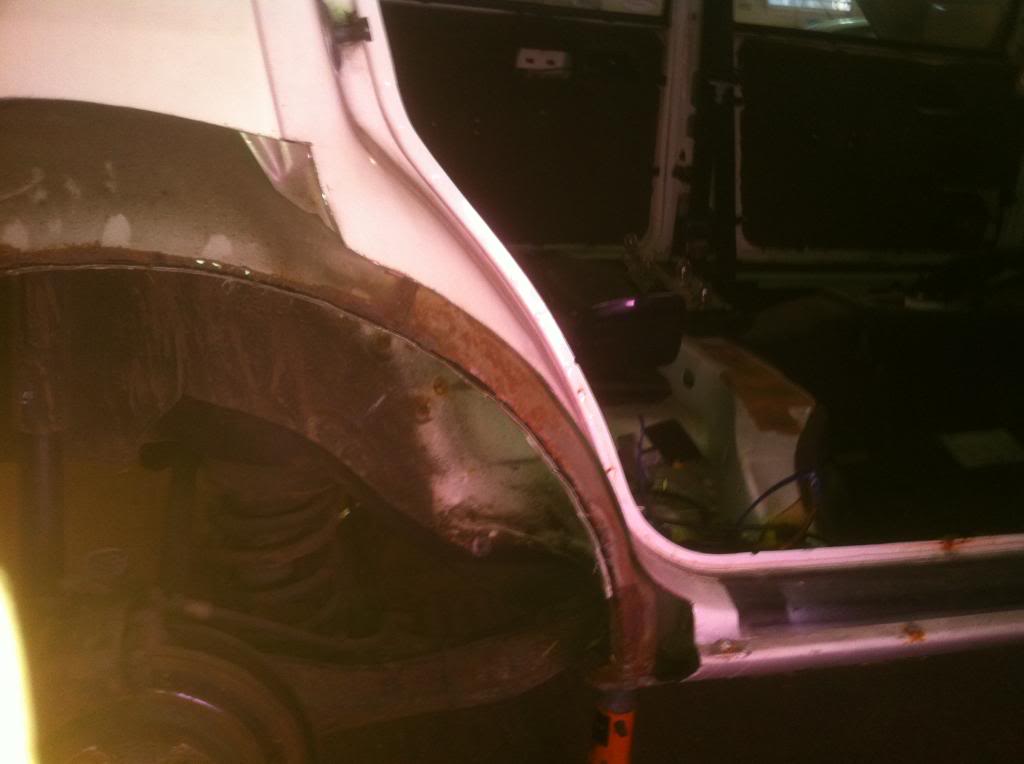
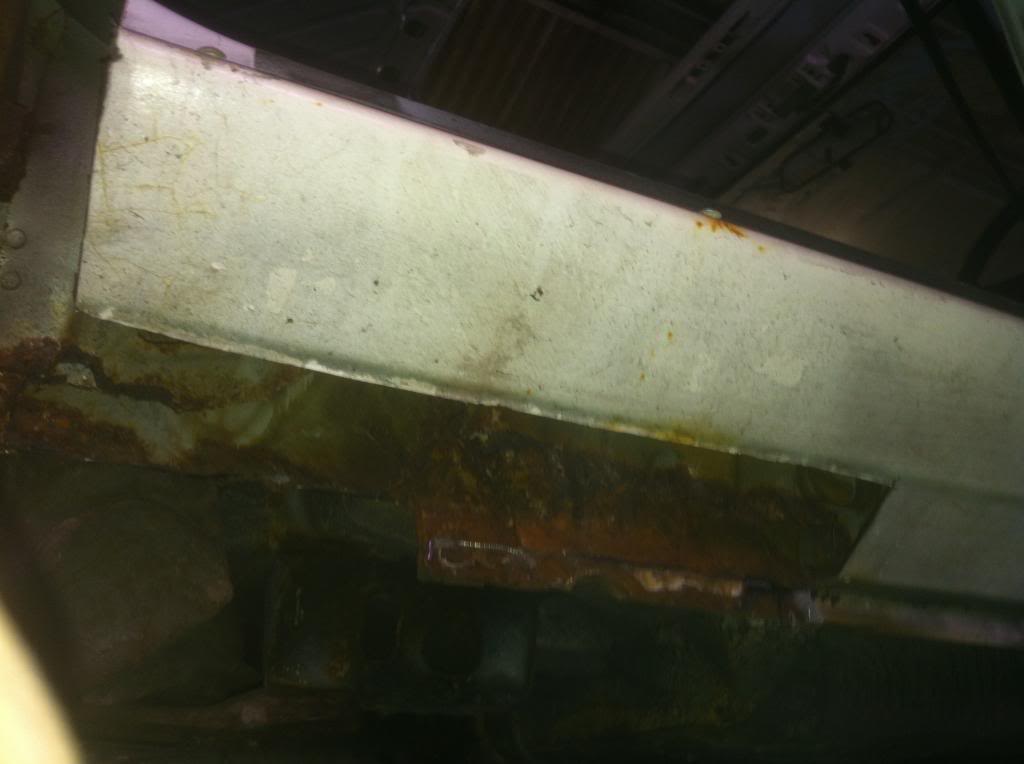
right so lets pick up were we left off, the nearside rear arch

Name:  1DD14305-B5E4-449D-AD82-32E11392A3A4_zpspflu5nbr.jpg
Views: 57
Size:  63.3 KB

Name:  3CB76D0B-925D-4B7E-9FE6-1AF063831BCE_zpspin2y0x0.jpg
Views: 58
Size:  56.5 KB

then fully welded and flushed

Name:  097F3E9A-C5FA-4B7C-B18E-017D19C55F42_zpsyewrto9g.jpg
Views: 68
Size:  53.8 KB

Name:  C01D6B70-35D8-472A-938E-0AD2DFDCC135_zpsx51h0ogi.jpg
Views: 66
Size:  83.4 KB

Name:  EA19A09A-4E70-4736-99C0-463480A873B8_zpsixgugdmj.jpg
Views: 61
Size:  53.2 KB

Name:  C2C23A83-A06D-403A-9328-A250336D00A6_zpsipl03bv7.jpg
Views: 68
Size:  57.3 KB

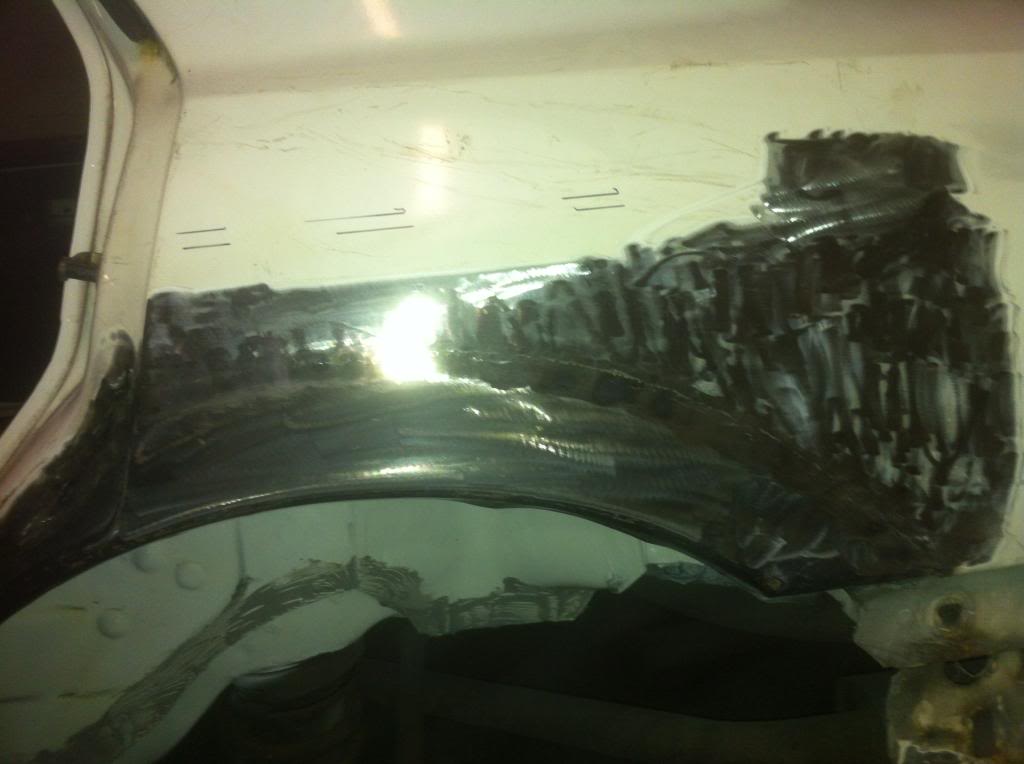
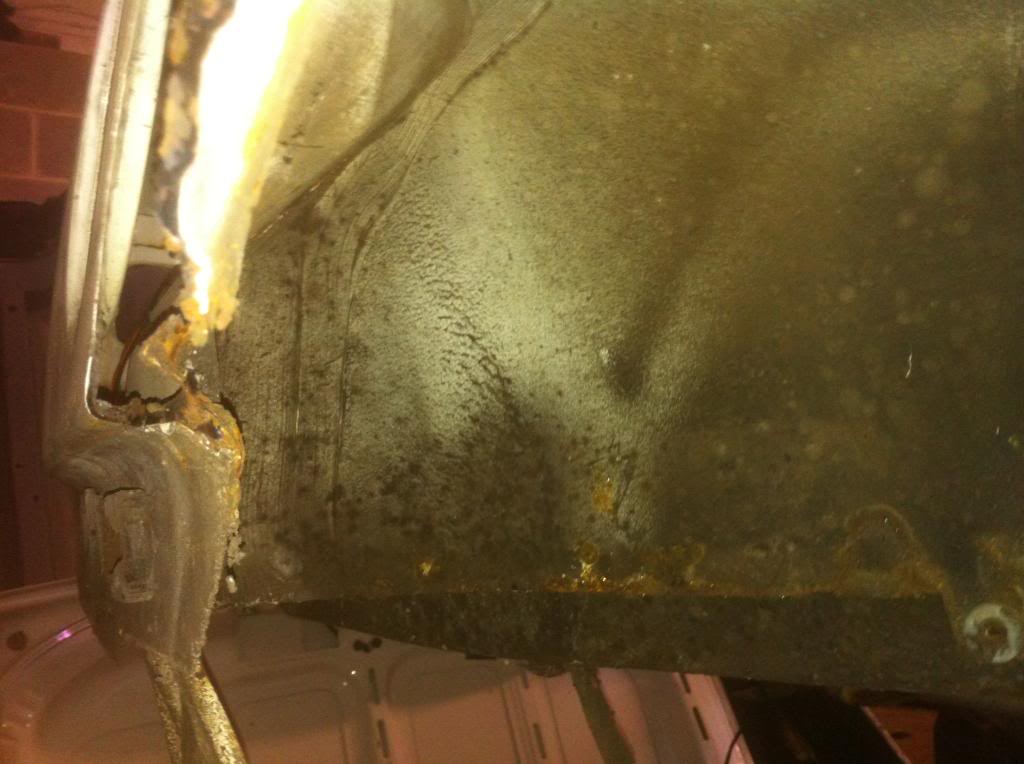
I did do the rear sill part aswell but no pic, next pic is the arch lip, I seam sealed the lip before knocking it in to clear tyres (arches will be painted again)

Name:  24ED7406-2EF4-4B4E-9EF4-DA59B3890291_zpsmop94seh.jpg
Views: 79
Size:  32.3 KB

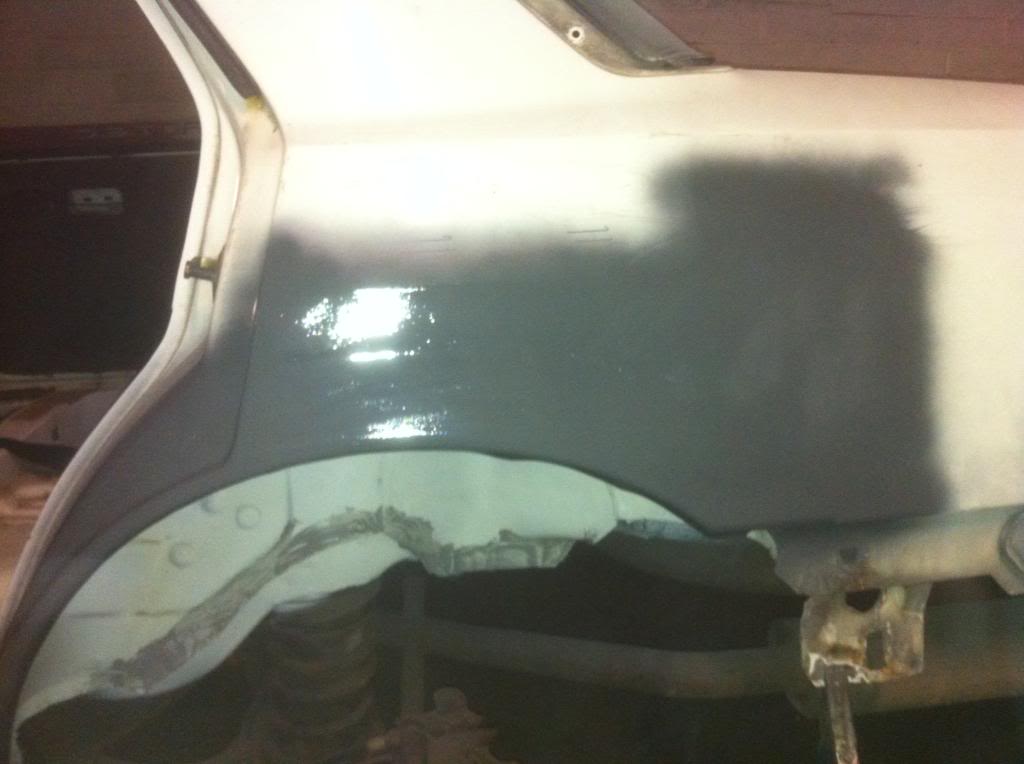
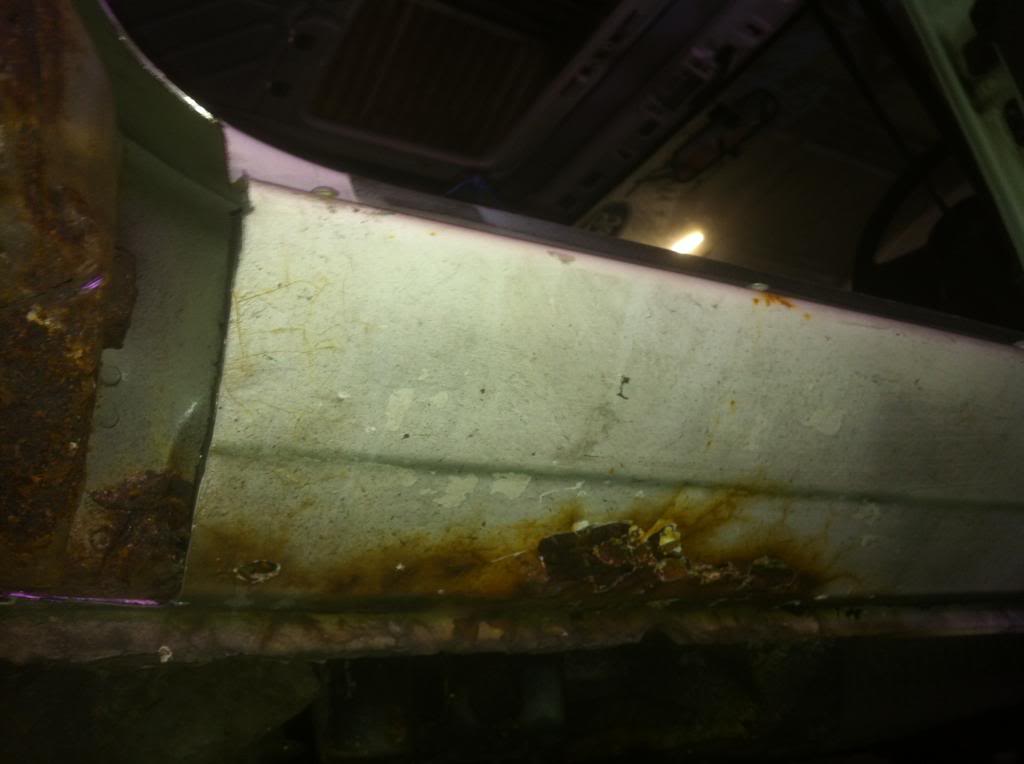
then primed with zinc primer

Name:  FF601C8F-8248-49F3-8982-7343CDA5C685_zpshzqmphiy.jpg
Views: 73
Size:  51.8 KB

Name:  4E347B22-A548-4293-A59C-FEEE9D6762BE_zpstw5jxse4.jpg
Views: 60
Size:  72.1 KB

Name:  C147977A-EE45-47DA-8CF2-03AC8BE56555_zpsphe2mk8f.jpg
Views: 58
Size:  36.9 KB

Name:  E6C79F43-D165-4227-A17F-85210783D2EF_zpscawunzyj.jpg
Views: 69
Size:  37.5 KB

Name:  43430D69-8705-4D70-A989-FC7110C66AA3_zpsetiqzadc.jpg
Views: 68
Size:  67.0 KB

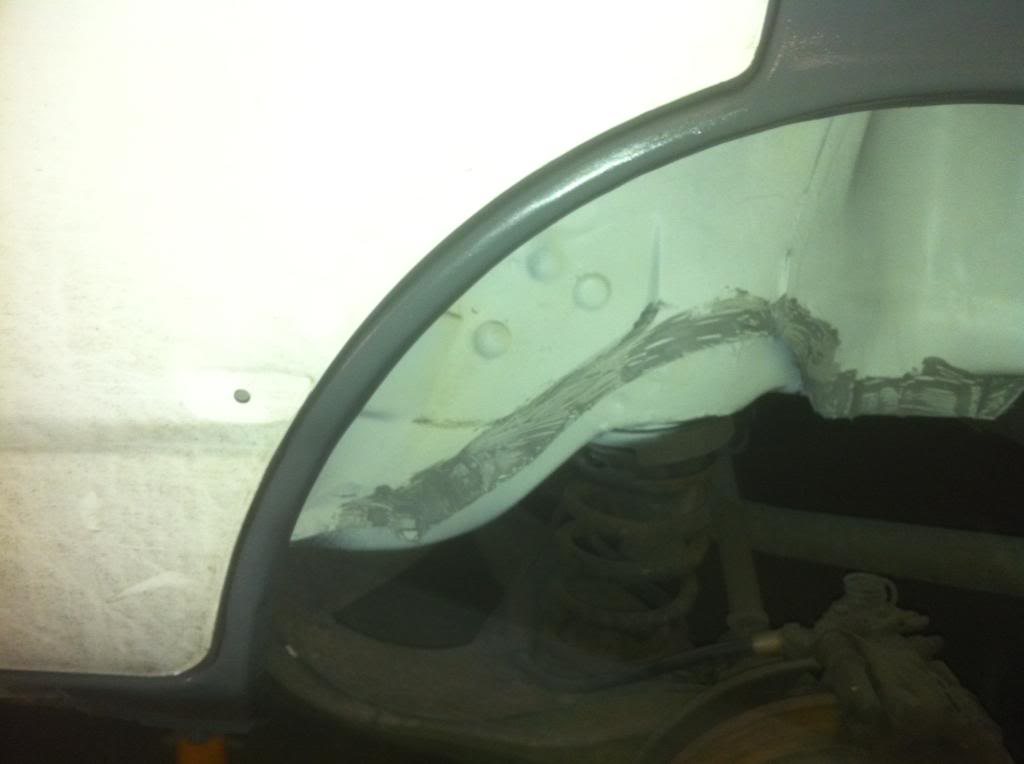
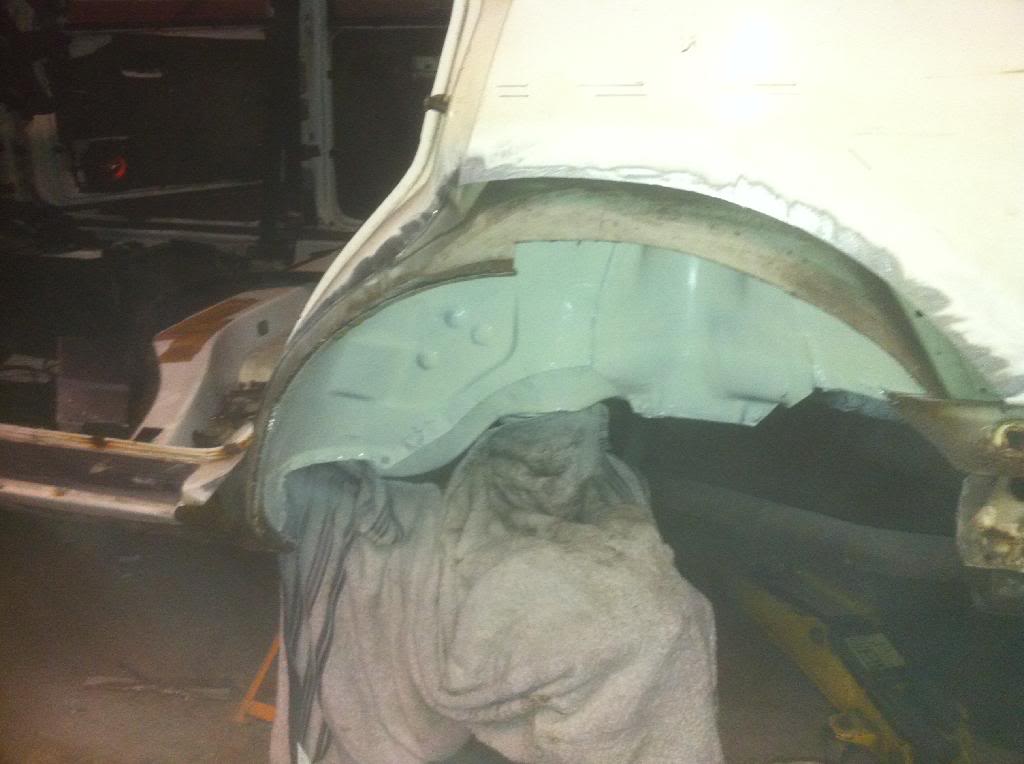
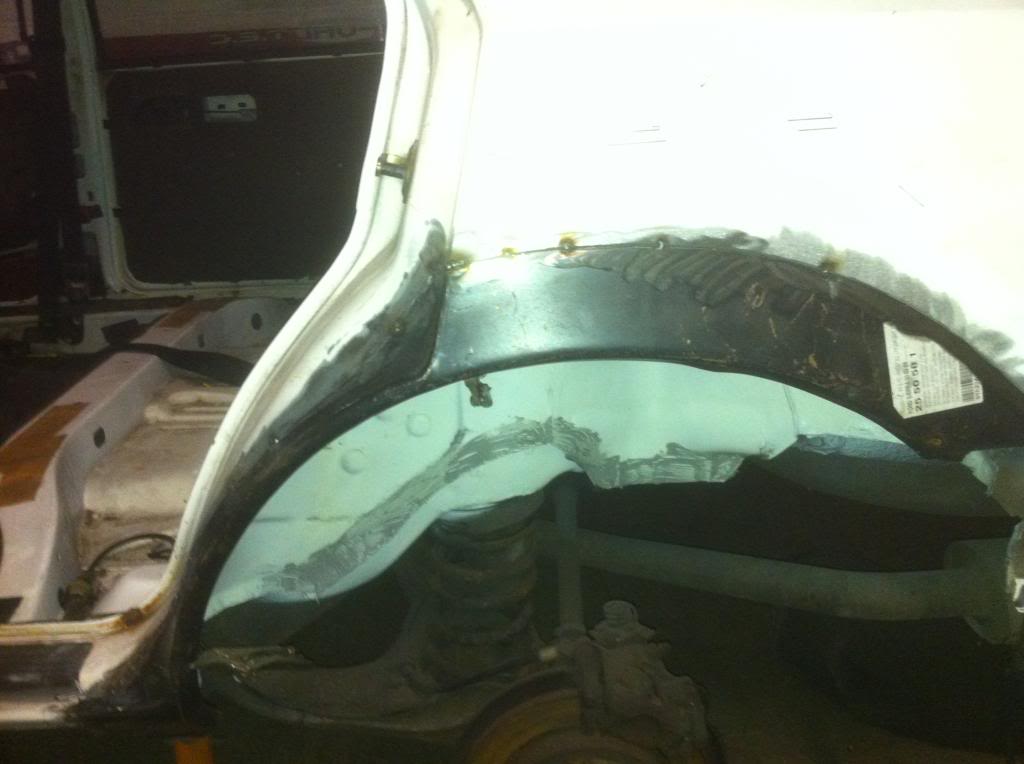
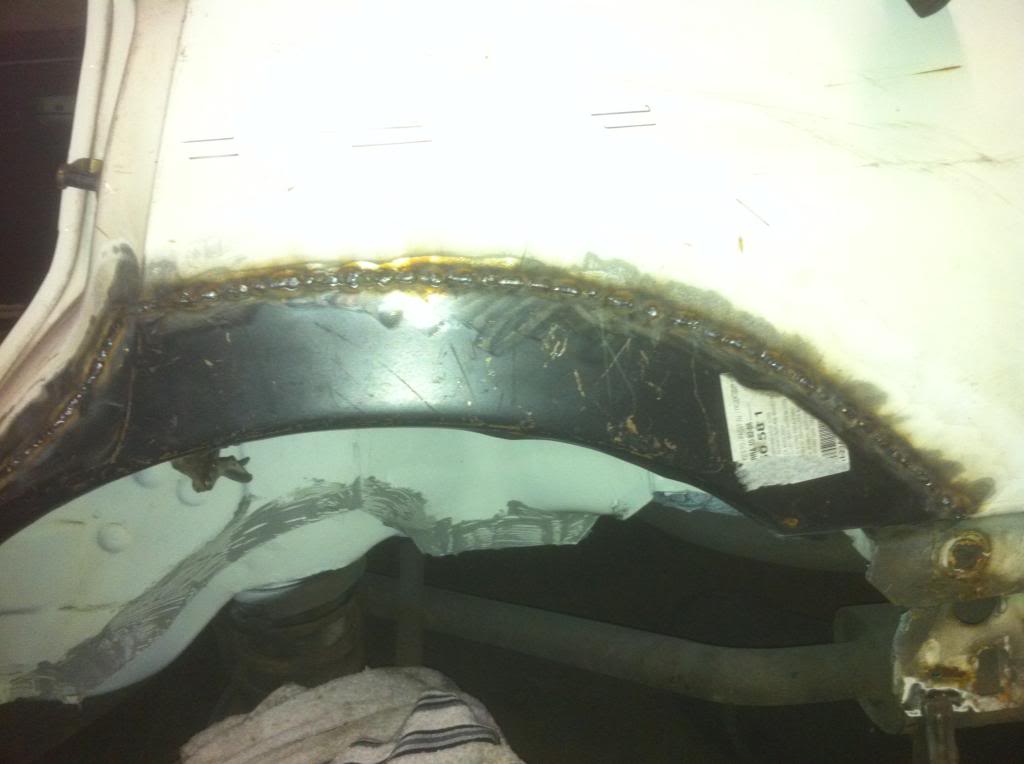
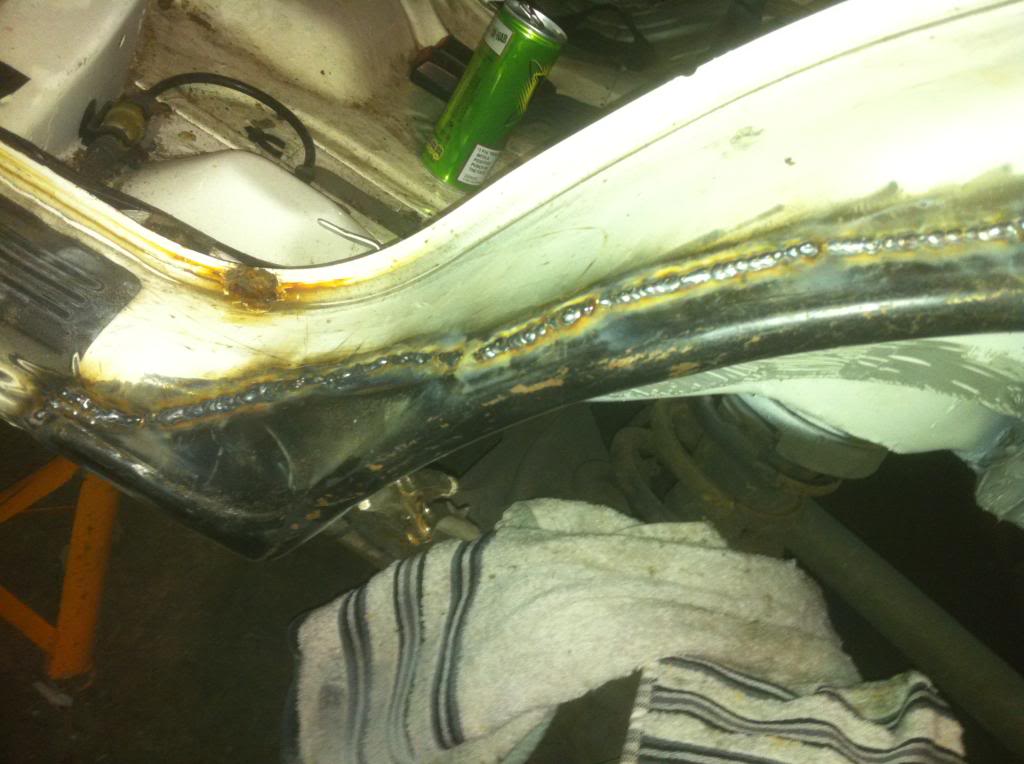
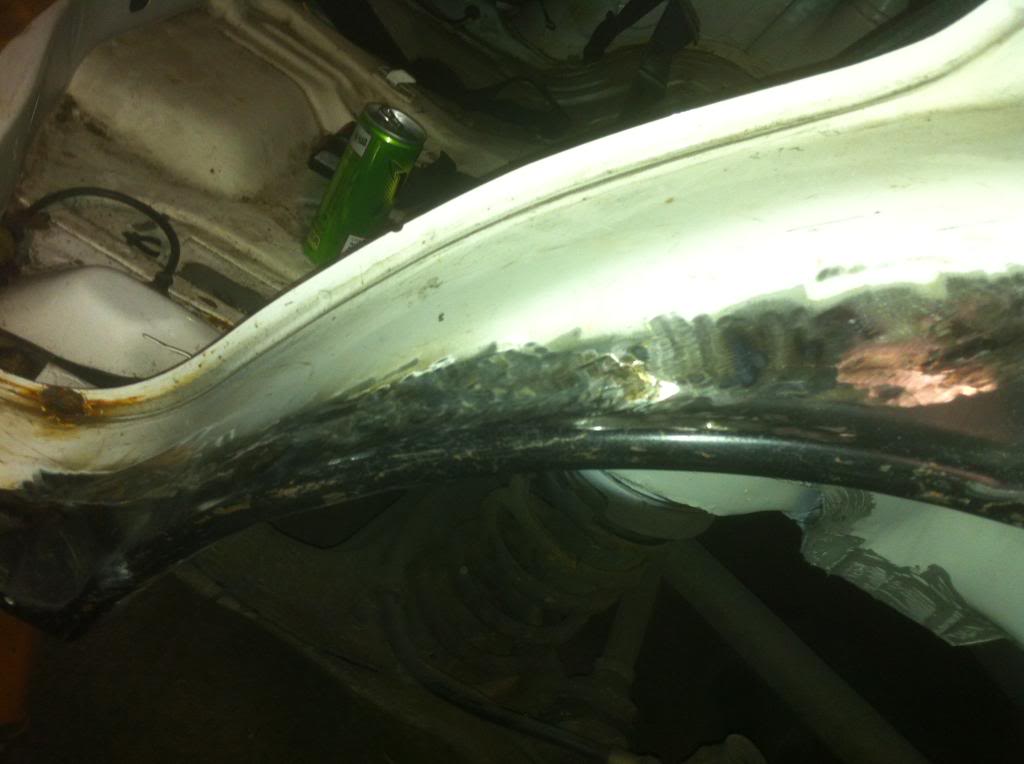
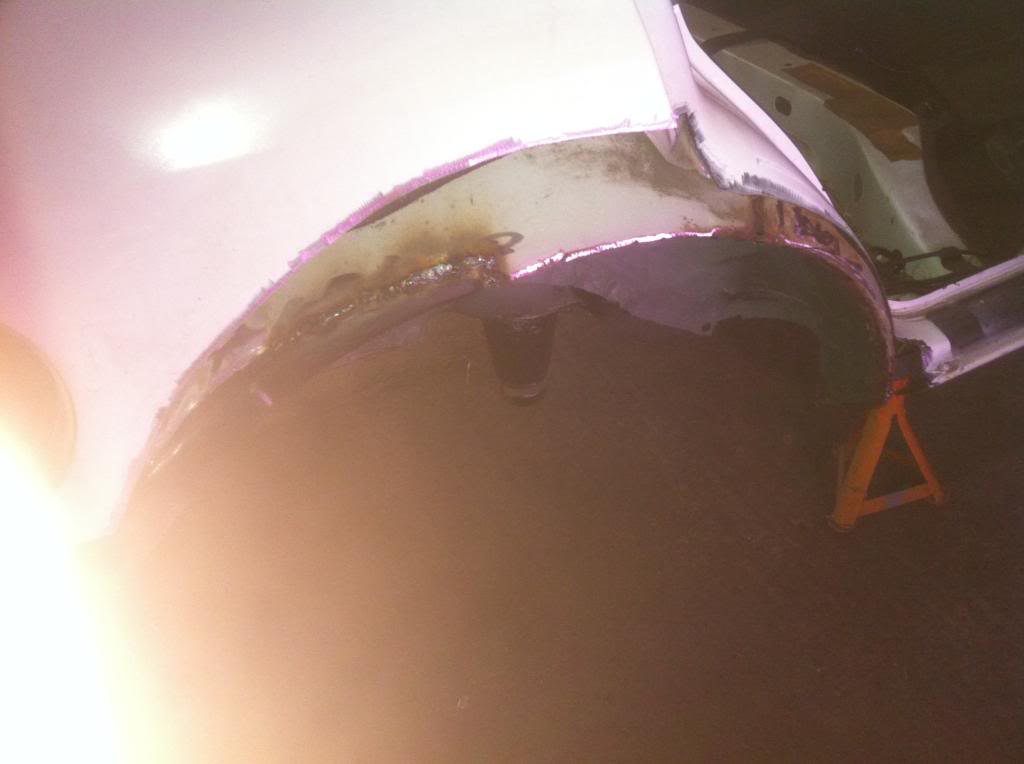
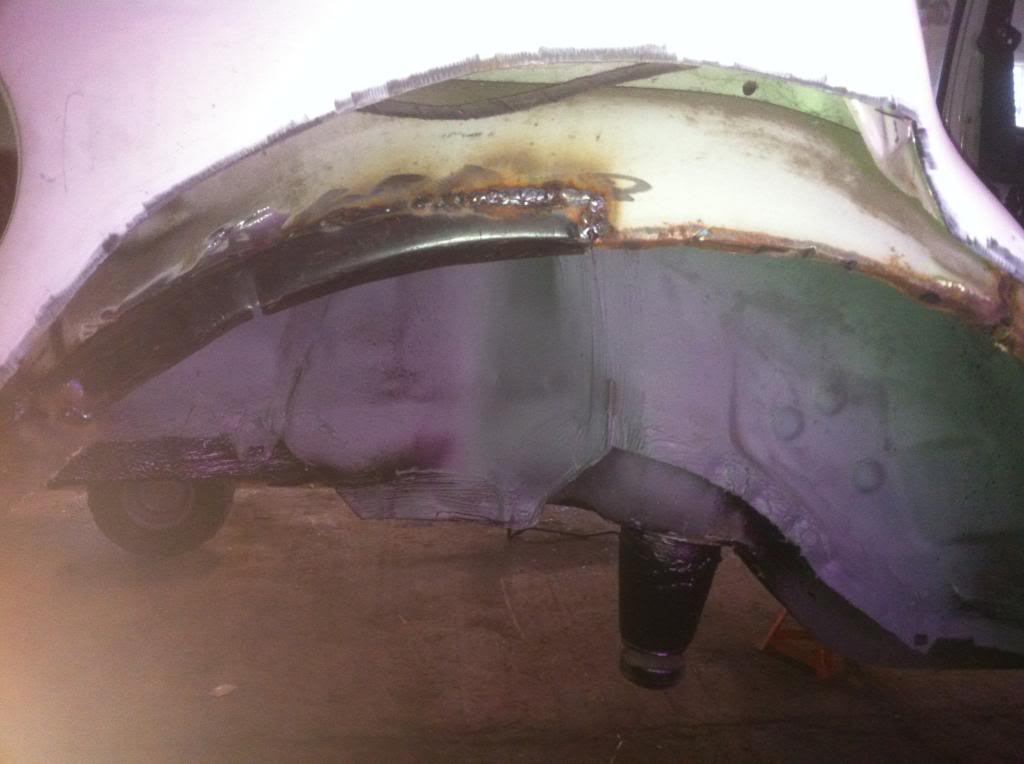
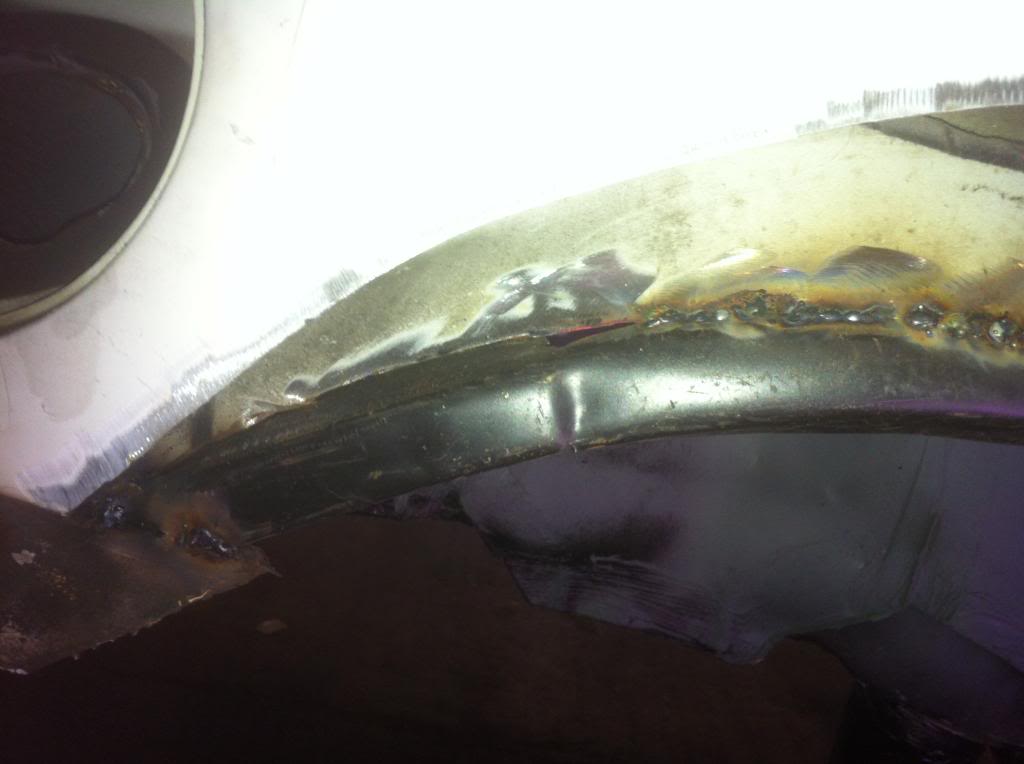
then I started on the offside arch

Name:  46BAA3E9-E163-48D2-9632-CD53D078AA07_zps7w78hypi.jpg
Views: 65
Size:  64.4 KB

Name:  403745B6-D48F-4B1B-83E2-8EA19D42BA75_zpshn9gf6u8.jpg
Views: 62
Size:  44.5 KB

Name:  B0F32298-27D7-4E2F-8EBC-540EF960E4C4_zpseo02onkp.jpg
Views: 67
Size:  89.1 KB

Name:  51779655-A3F8-45C9-AFCF-CC108080F8C4_zps47rwufxa.jpg
Views: 68
Size:  74.0 KB

Name:  91B9A73C-A356-4FFF-A355-96E651B8F50E_zpsdolvkvxu.jpg
Views: 81
Size:  48.4 KB

Name:  56F59793-C7FE-42AC-9BE0-A7878E5B155D_zps4iglf8lu.jpg
Views: 62
Size:  45.2 KB

Name:  DAE049D2-AF44-49A1-992F-8F7E2C3DC2D3_zpsdeg3gby3.jpg
Views: 60
Size:  47.0 KB

Name:  F06F70B8-9779-4D9A-AA26-70B80859A362_zpsepuinsor.jpg
Views: 68
Size:  49.9 KB

Name:  644E913B-30FD-450E-BC05-0BB99DD6B215_zpscva25ozn.jpg
Views: 69
Size:  63.8 KB

Name:  31EE1E58-7FE2-4E6C-ADA9-EAB55DFA5E60_zpsfdqfsutq.jpg
Views: 85
Size:  84.3 KB

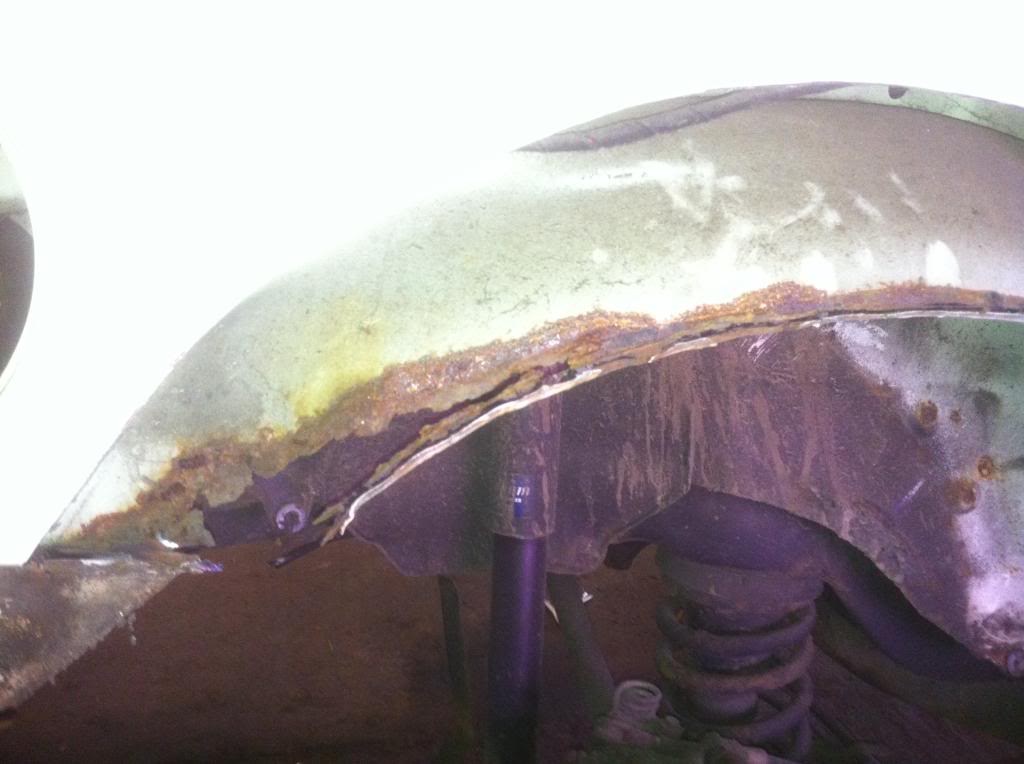
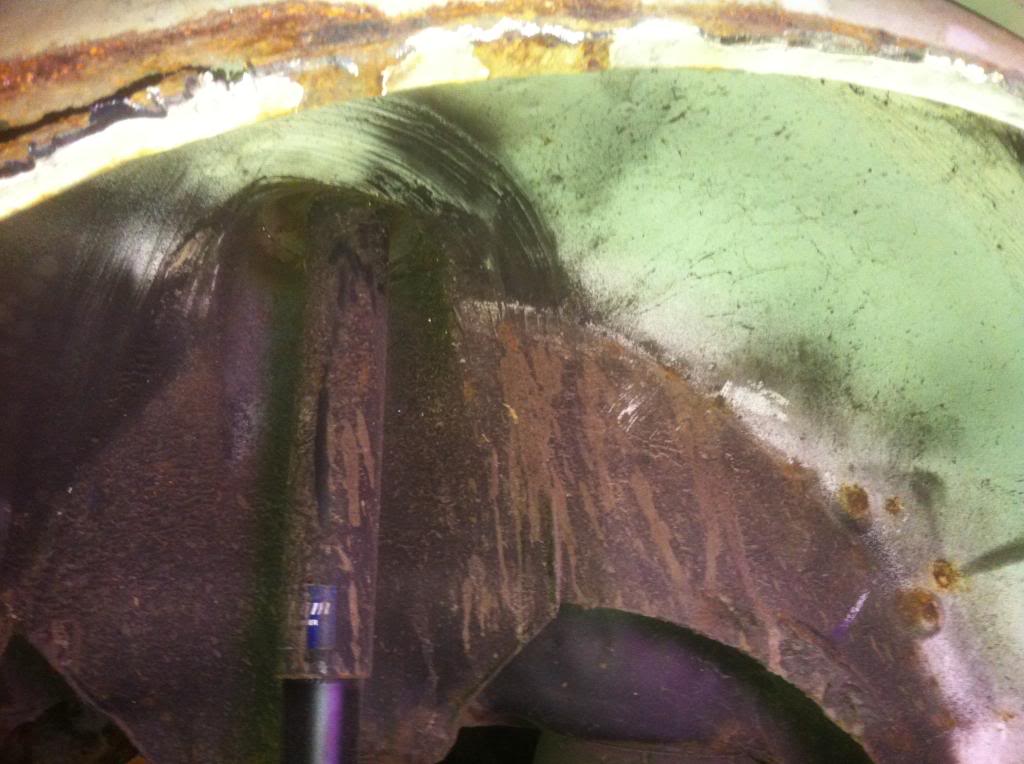
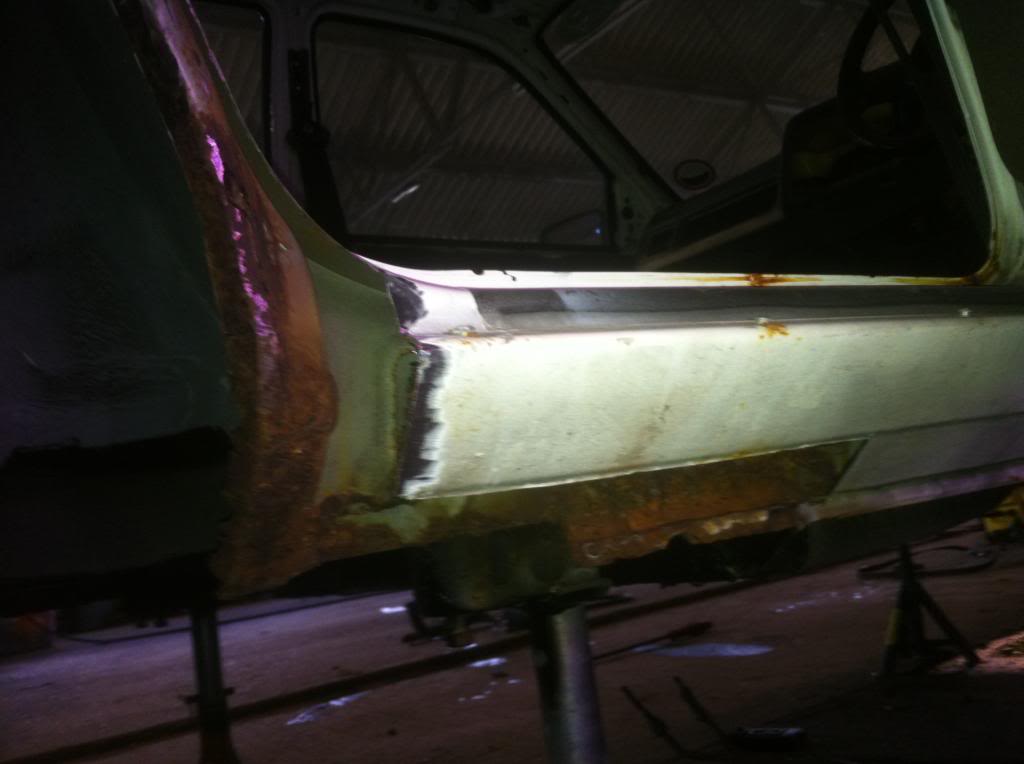
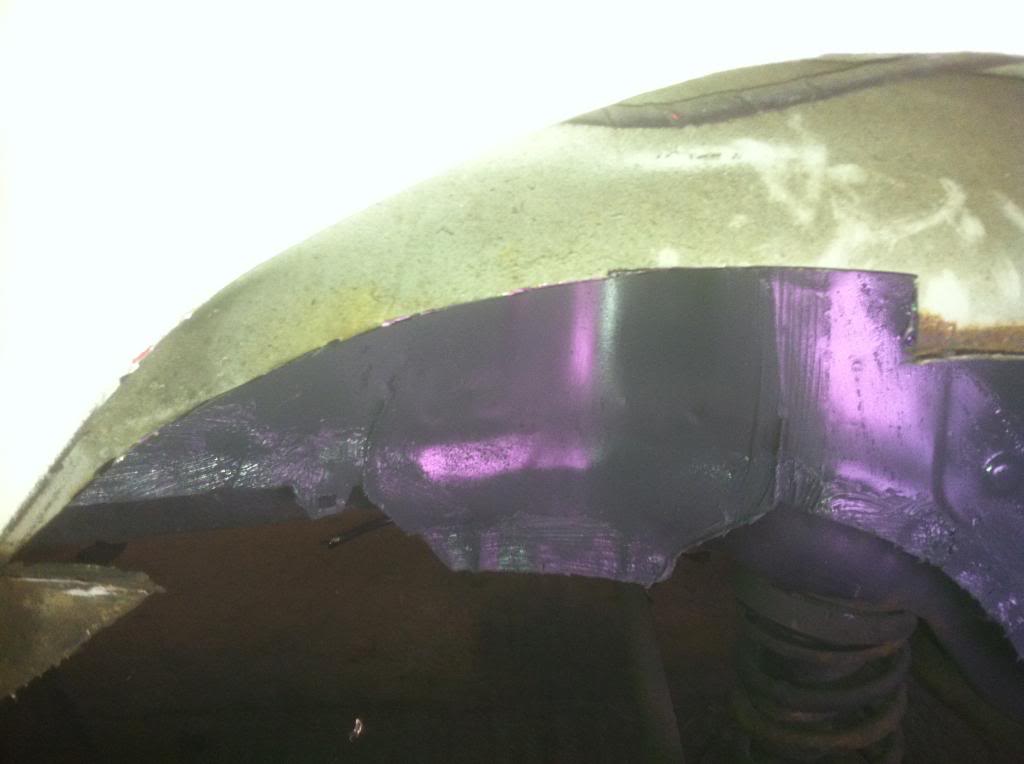
this side was just as bad as the other side so I did the same, for the inner arch section I used abit of fiesta inner arch panel and welded that in

Name:  FFB46628-30DB-4207-B2BC-6EEF9292CBF6_zps93idxuai.jpg
Views: 70
Size:  39.8 KB

Name:  118FF424-2B11-463E-8715-45ABF449646E_zpsobezhfpb.jpg
Views: 69
Size:  58.4 KB

Name:  E8ACF1AF-8039-40E4-A3EC-95FE6C0E40FF_zpsqo2ugf6c.jpg
Views: 76
Size:  47.3 KB

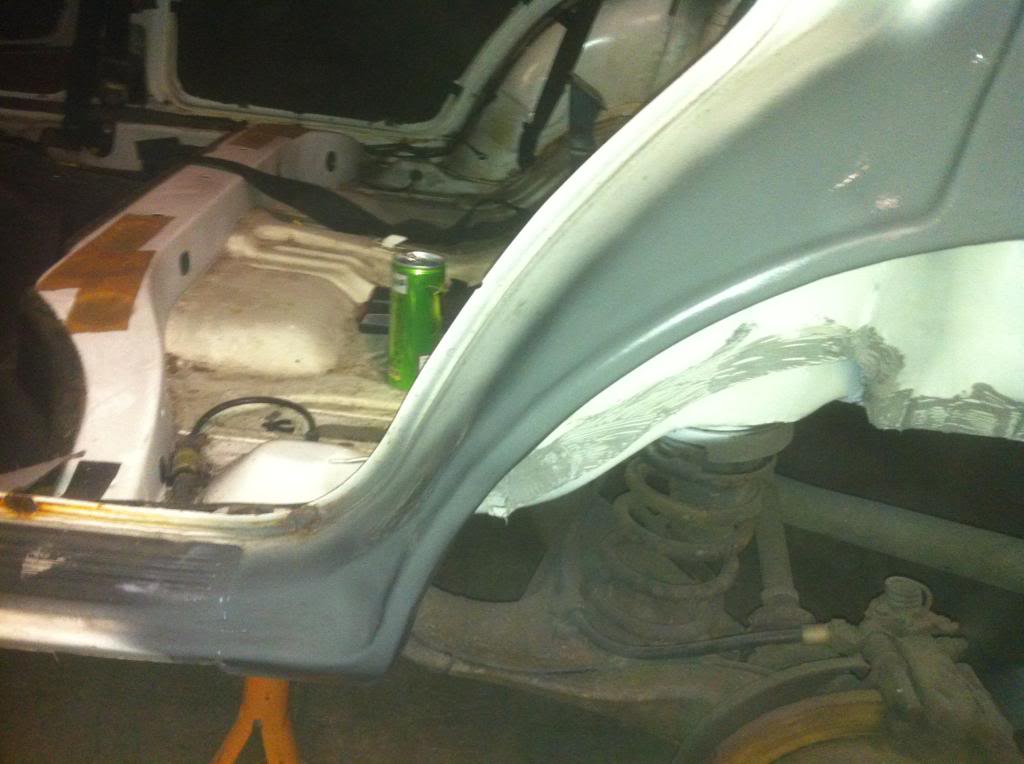
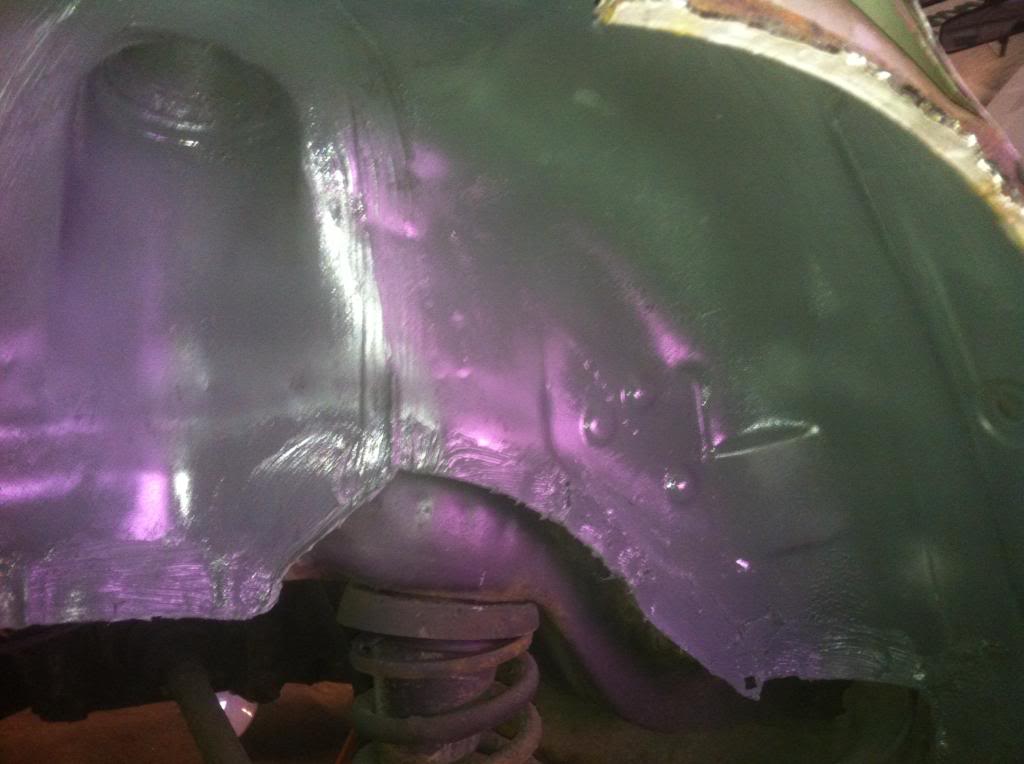
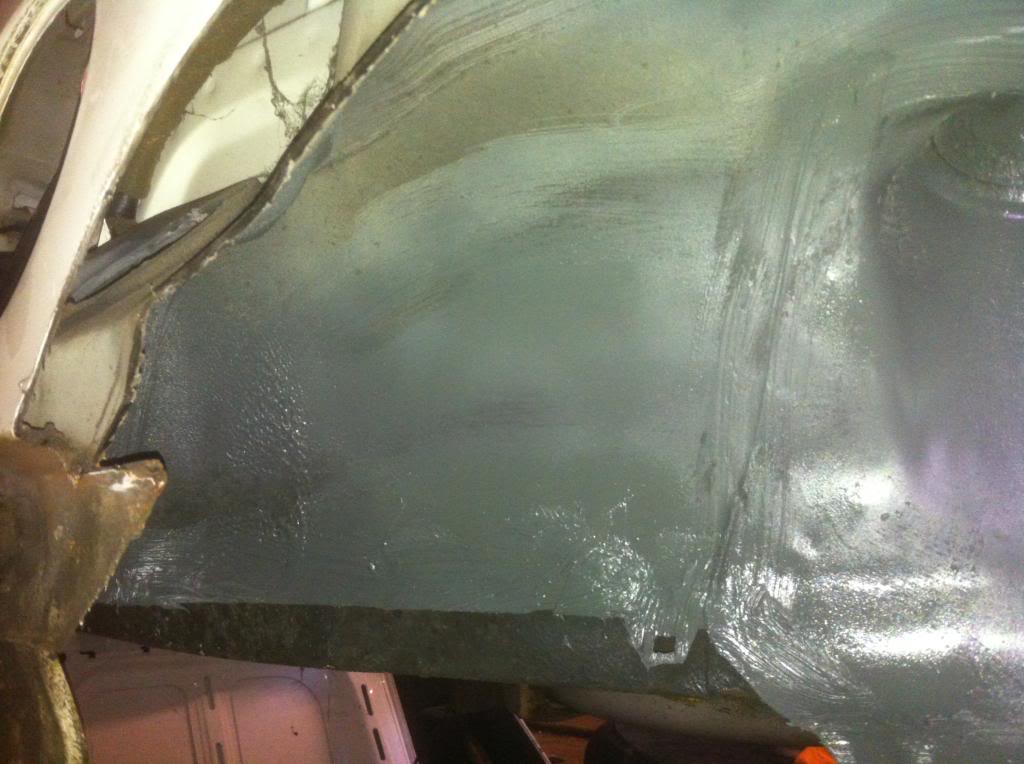
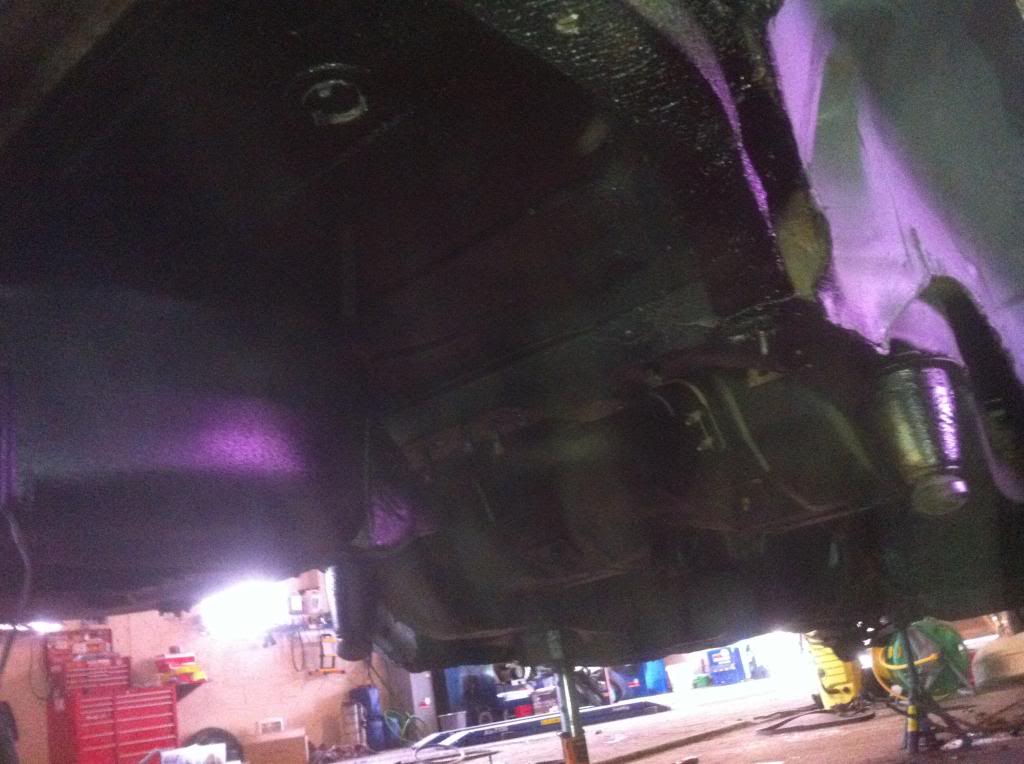
at that point I run out of gas soi thought id give the underside a blast with shutz to see how it comes up, and it wasn't bad for a first coat/ quick lash over

Name:  C6C5ACB3-C781-43BA-94FF-AE288B42DE08_zpscsl12wvg.jpg
Views: 70
Size:  82.9 KB

Name:  F6A22236-F53A-4FE2-A56B-41CBE3E7069D_zpsacilurpn.jpg
Views: 59
Size:  94.3 KB

Name:  45E0CAE5-B558-4F78-86E2-038DB8D8F8CB_zpskcneqhss.jpg
Views: 61
Size:  95.2 KB

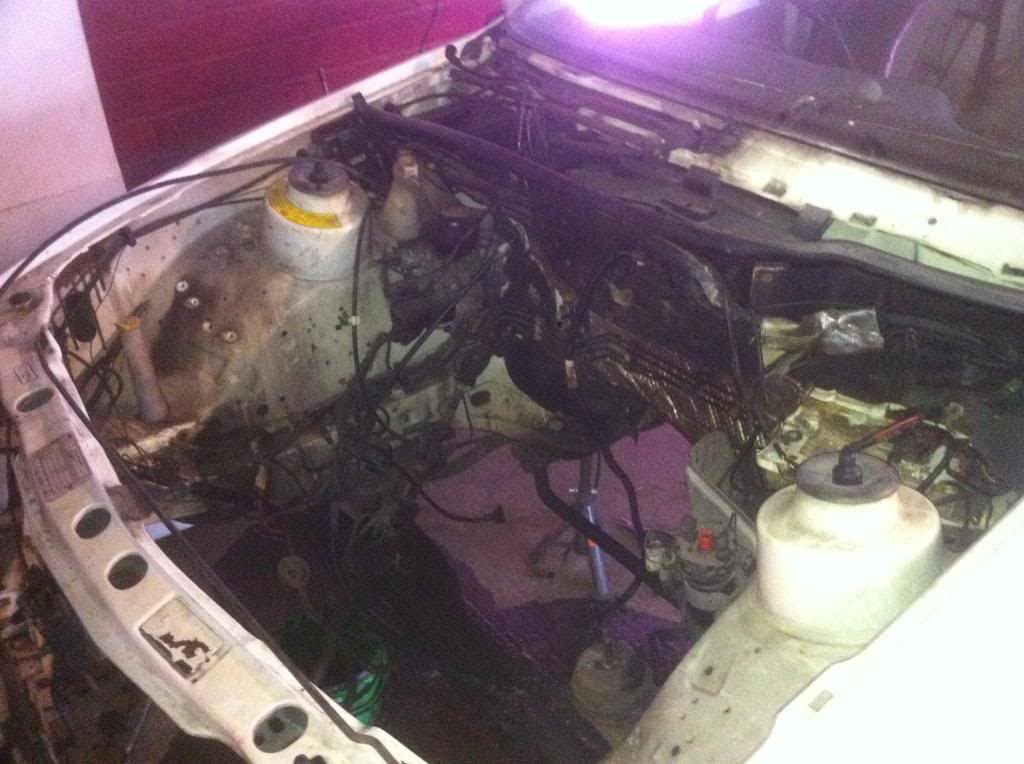
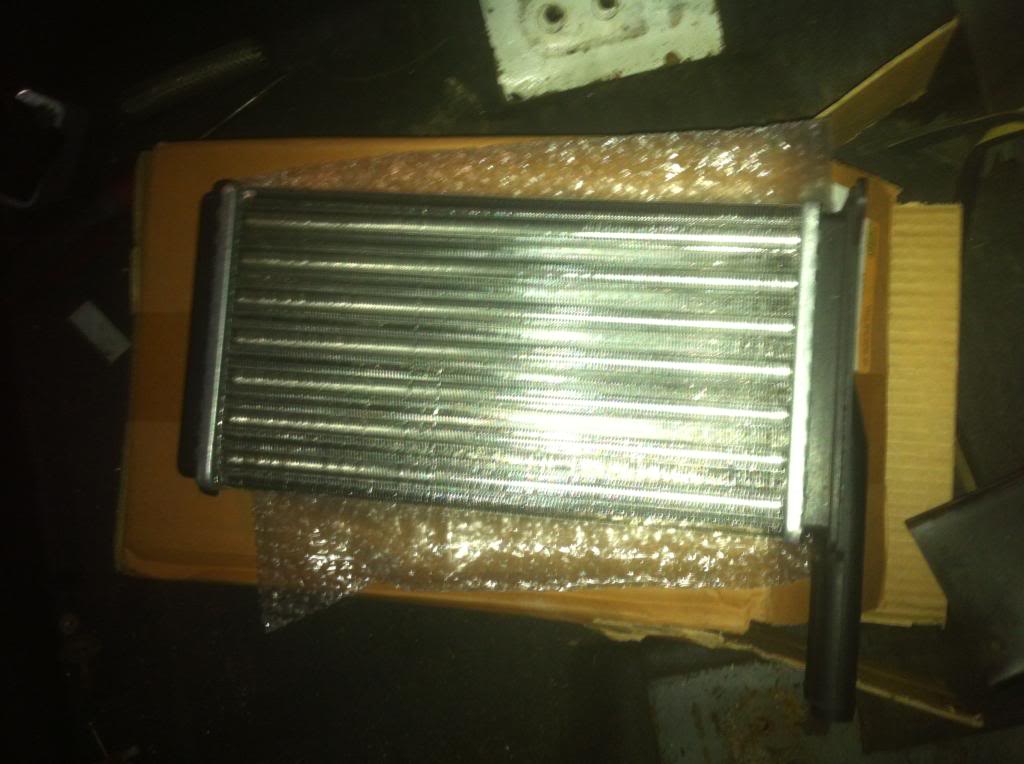
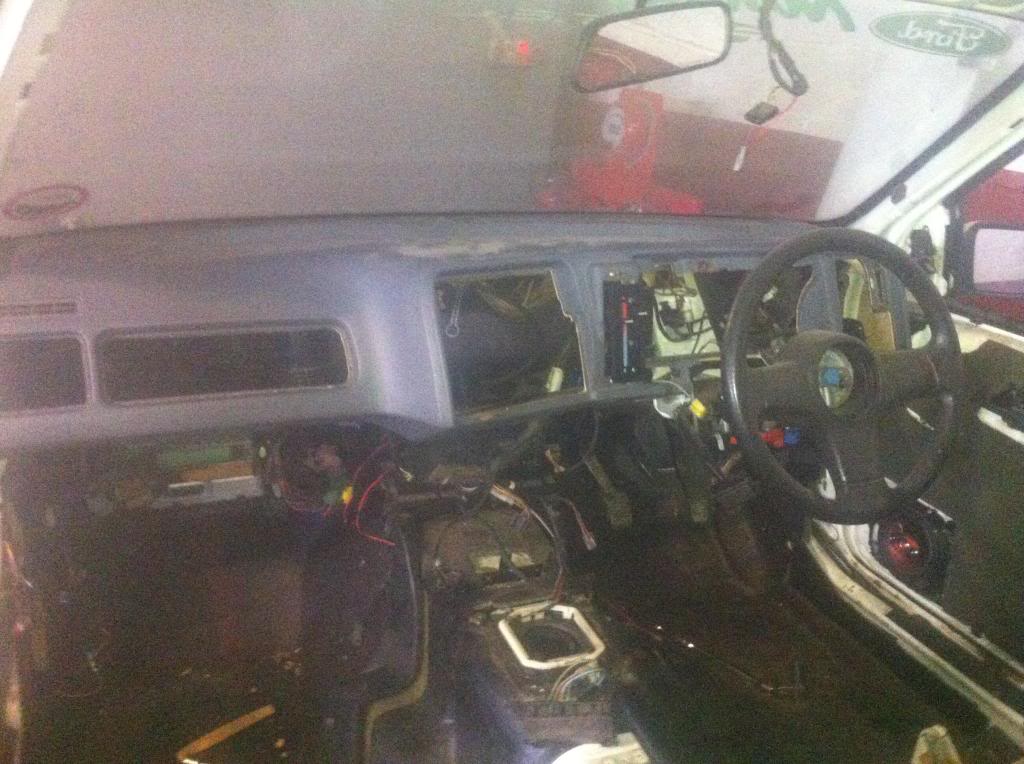
still out of gas so I had a brand new heater matrix in the office so I thought id get that fitted, once I started I found that the matrix pipes were right behind the engine, I could get to them but I thought 'well its gotta come out anyway' so out with the engine it was

Name:  1F0DBF62-FF03-4491-A029-DB563A53257F_zpsozkfpyux.jpg
Views: 73
Size:  96.5 KB

Name:  9A06EEC5-7D16-404B-8ADC-E8C274AD9328_zpsum5edo7c.jpg
Views: 71
Size:  107.3 KB

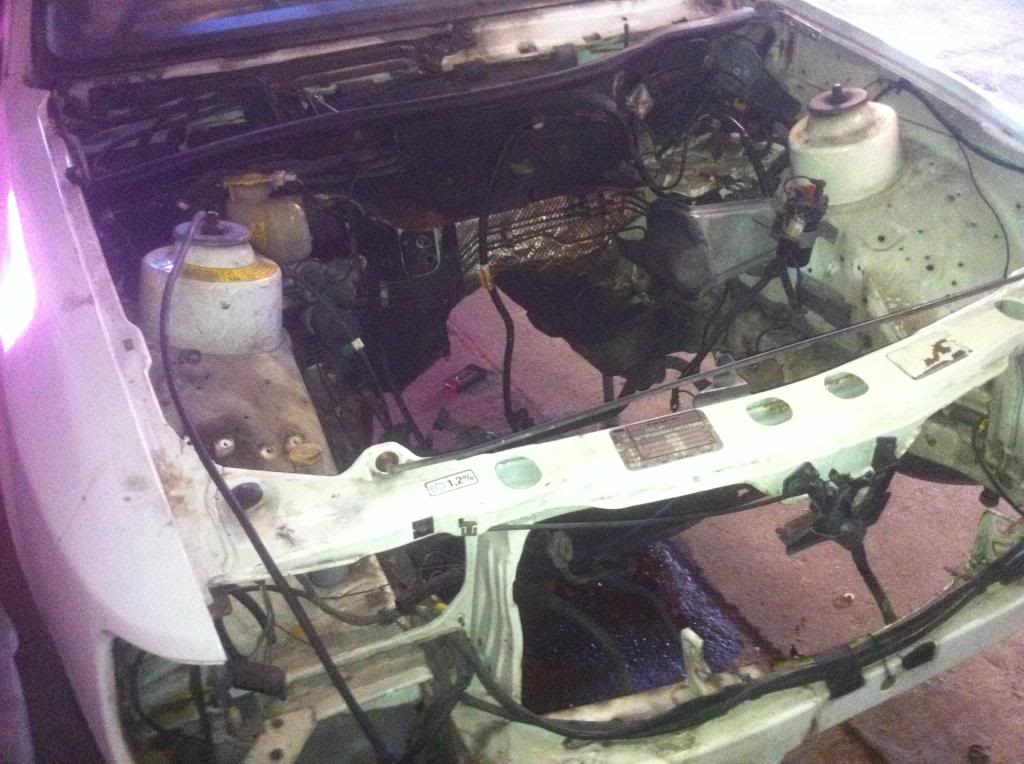
then out with the dash to get to the blower box

Name:  C317CFB8-22EC-489D-BD97-7F5B71ACD0EF_zpstxevzjw3.jpg
Views: 70
Size:  118.7 KB

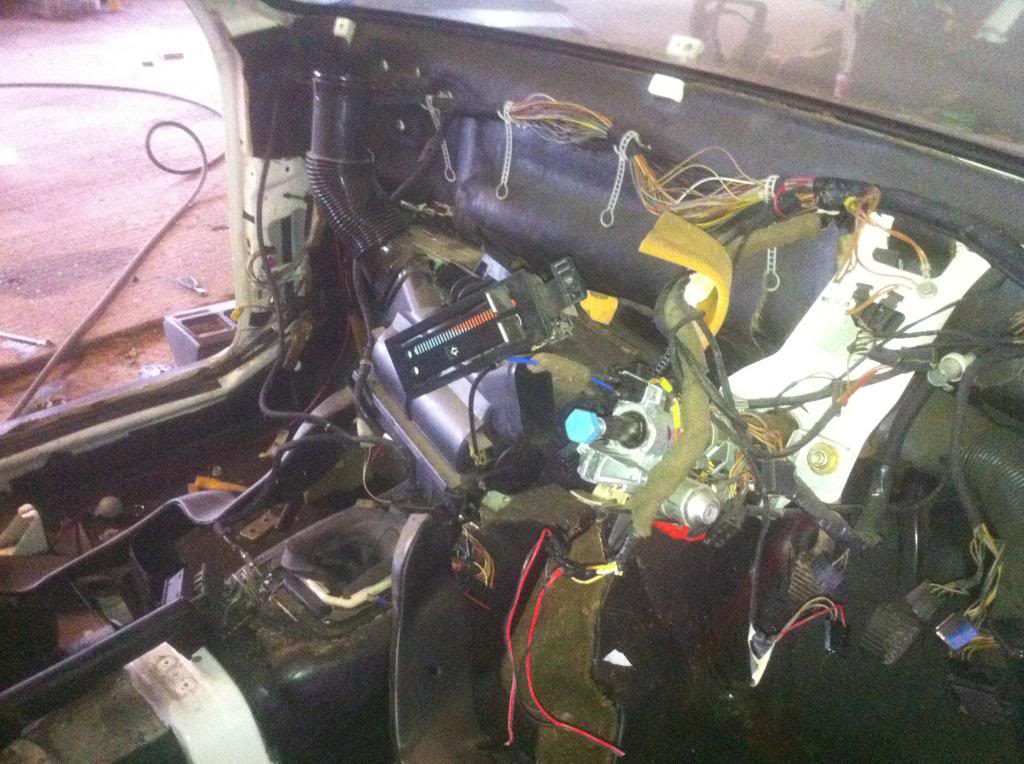
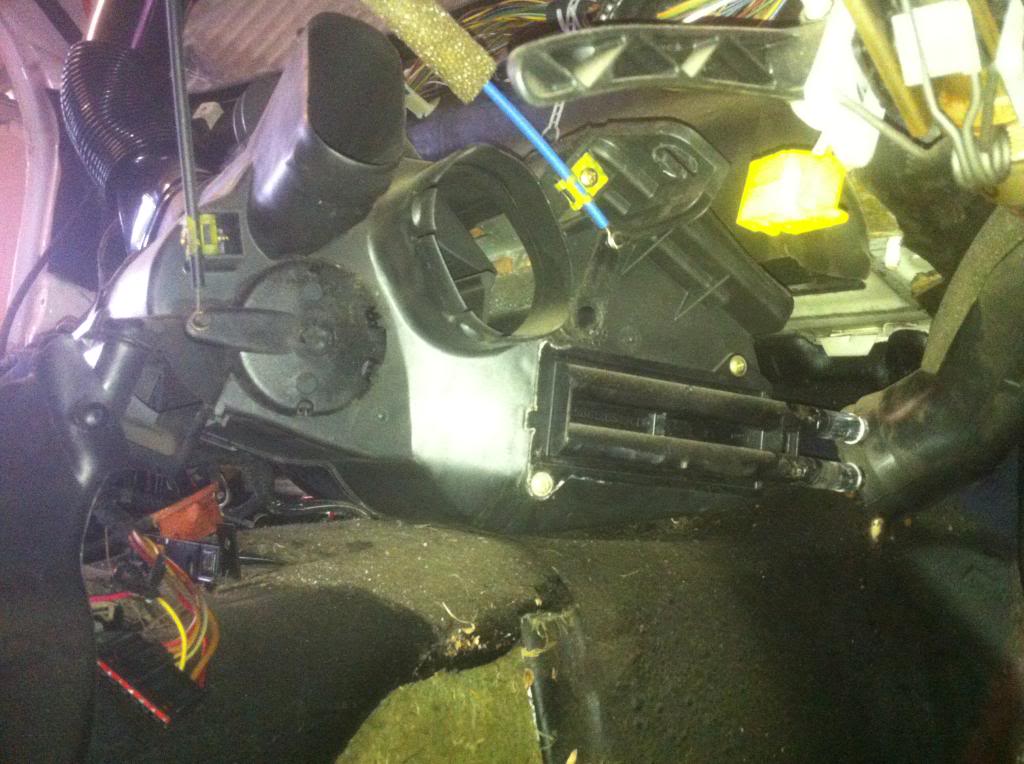
box pulled back to get matrix in

Name:  1BD90F25-4DF0-43AE-8CF5-D7656737305E_zpsnlddq13k.jpg
Views: 63
Size:  101.8 KB

new matrix

Name:  4DFC1D85-F018-4F63-BC2A-74869020E79D_zpsdg371f9j.jpg
Views: 62
Size:  78.0 KB

and dash back in

Name:  1ECE5A7C-BB5E-4A8A-8596-0521EA6CD2A5_zps6of16qoi.jpg
Views: 65
Size:  101.8 KB

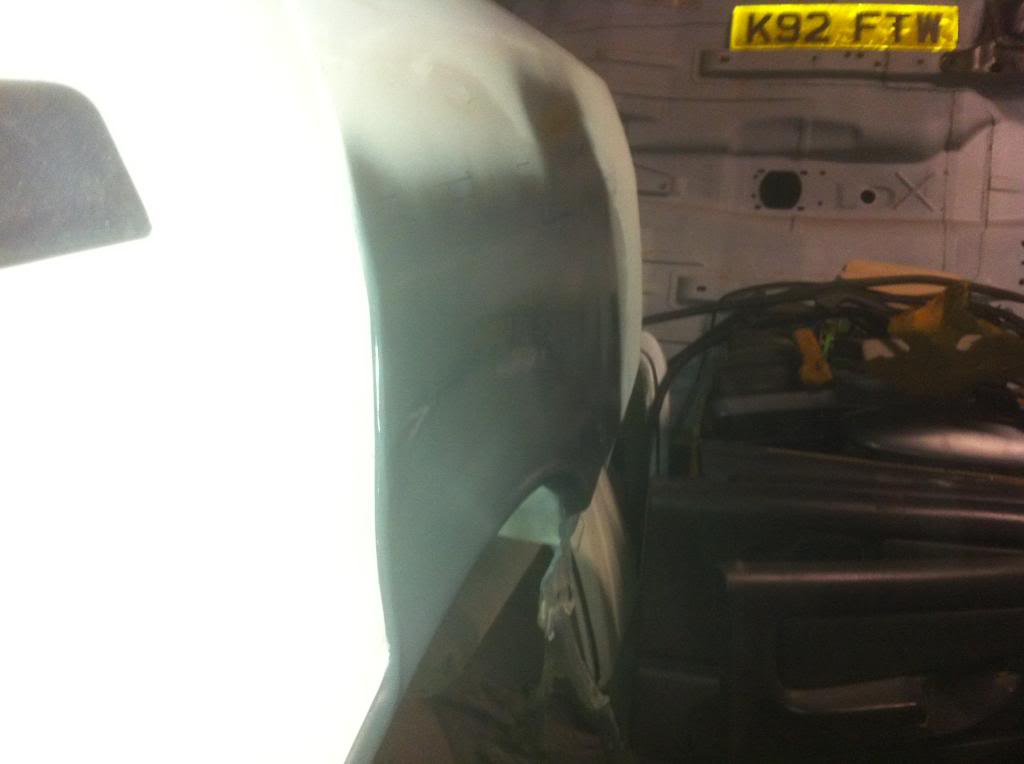
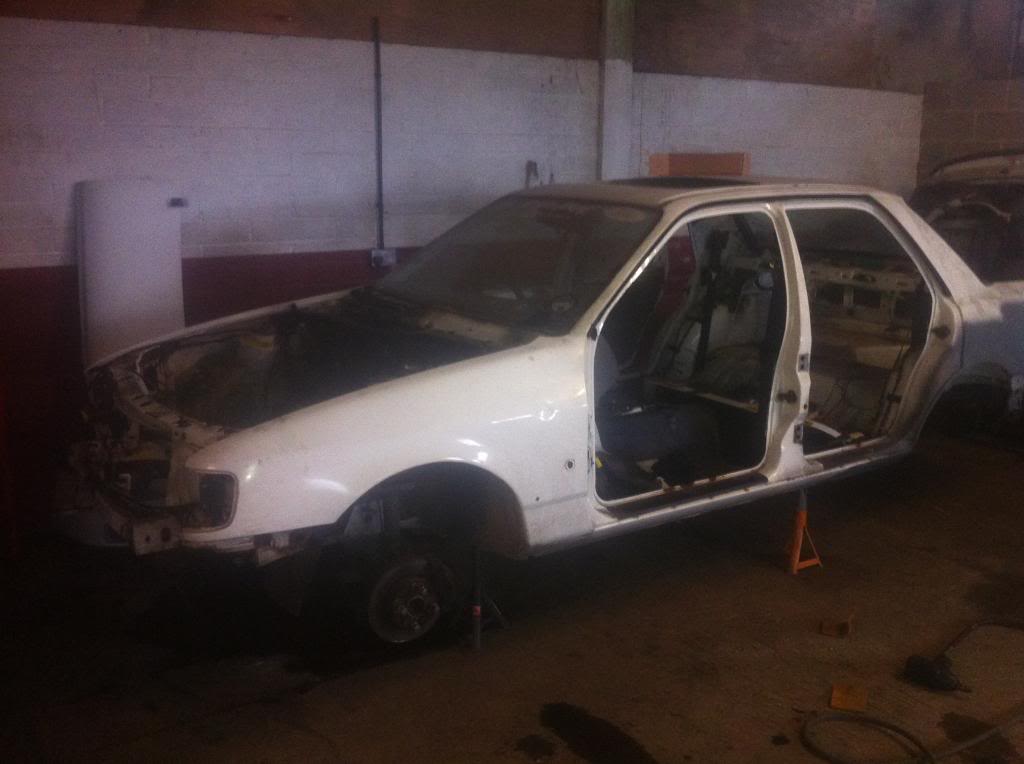
and a random one of how she stands

Name:  5105FDEB-62BF-421A-A6DE-DF98F2B5B3F0_zpsr0pigjuy.jpg
Views: 59
Size:  55.6 KB

more to come soon
Reply