Finally have been active with the engine build.
The specs are now actually considerably bigger than originally was planned as seen in the posts above.
-std. 205 bottom end
-ported and lowered injection head
-Piper Cams BP300 cam (292 degrees and 12.57 mm lift)
-long pad followers
-stiffer valve springs
-adjustable cam gear
-lightened flywheel
-2x 45 DCOE carbs (36 chokes) "chinese Webers" (FAJS 45 DCOE)
-75 mm intake manifold
-Martelius 4-2-1 header
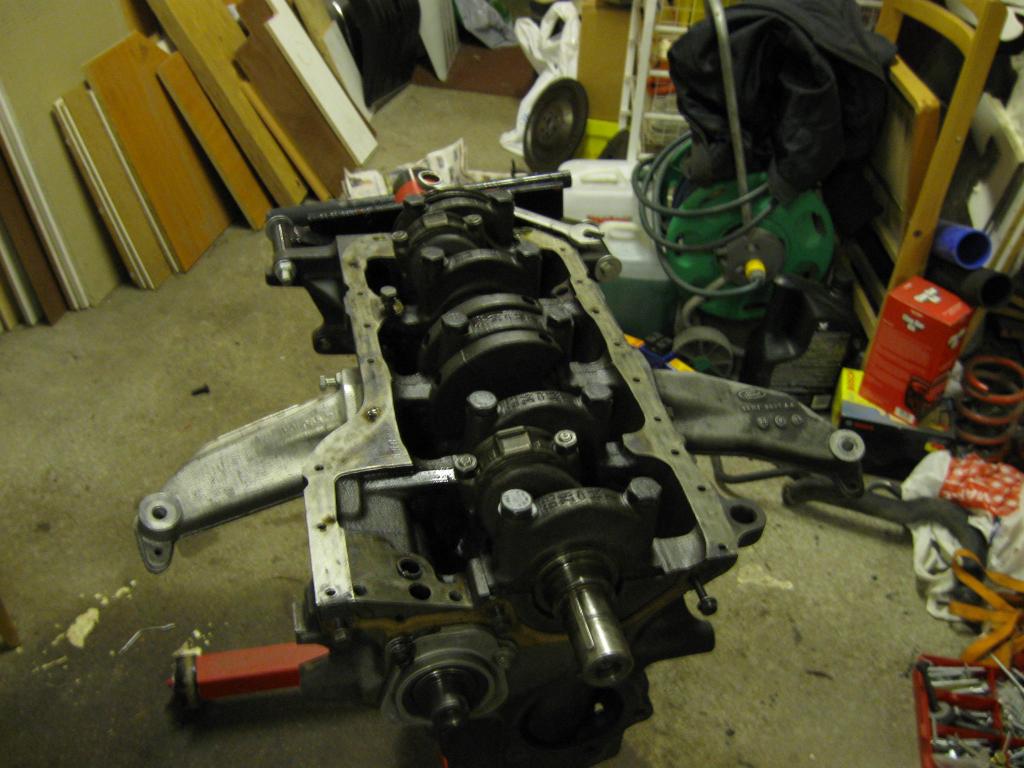
We started with the bottom end. I found an std. 205 bottom end in good nick for a cheap price and even new bearings came with it.
There is barely any noticeable wear on the bores.
We checked the bearing clearances with Plastigauge and they were all good.
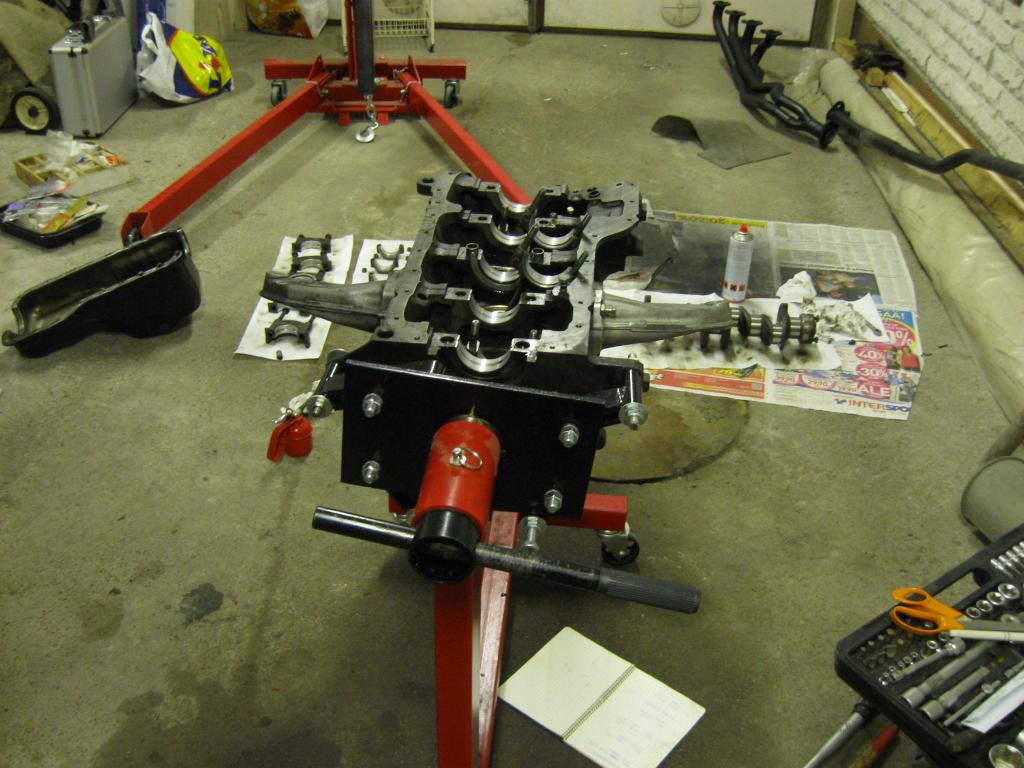
Assembled it back together.
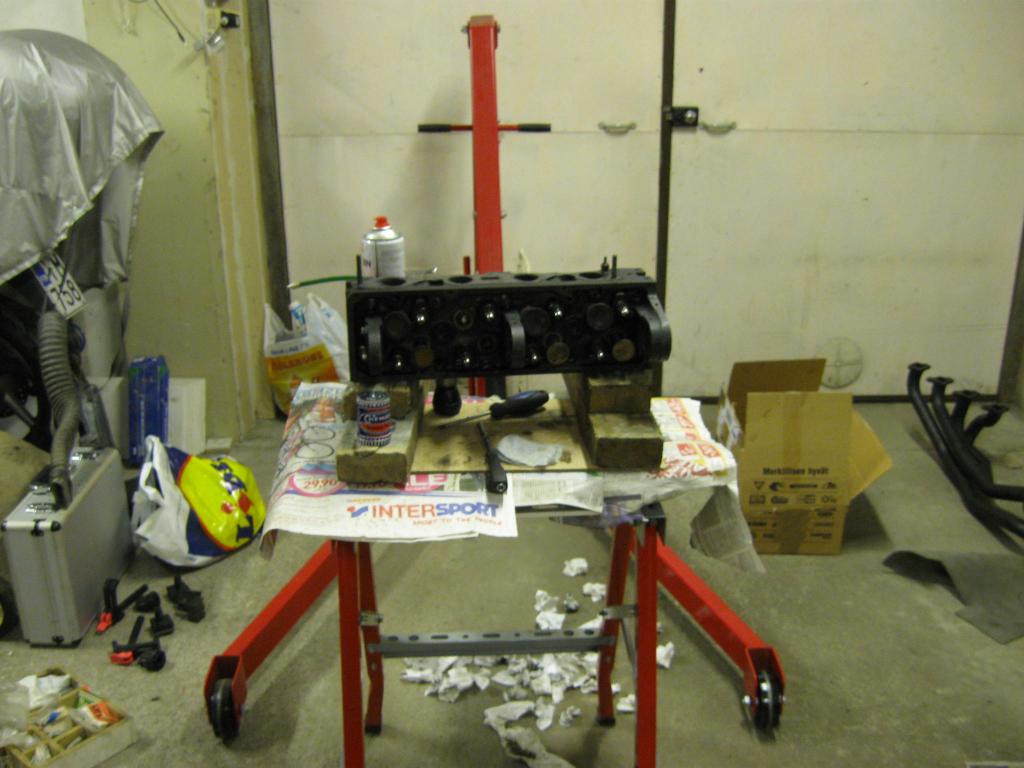
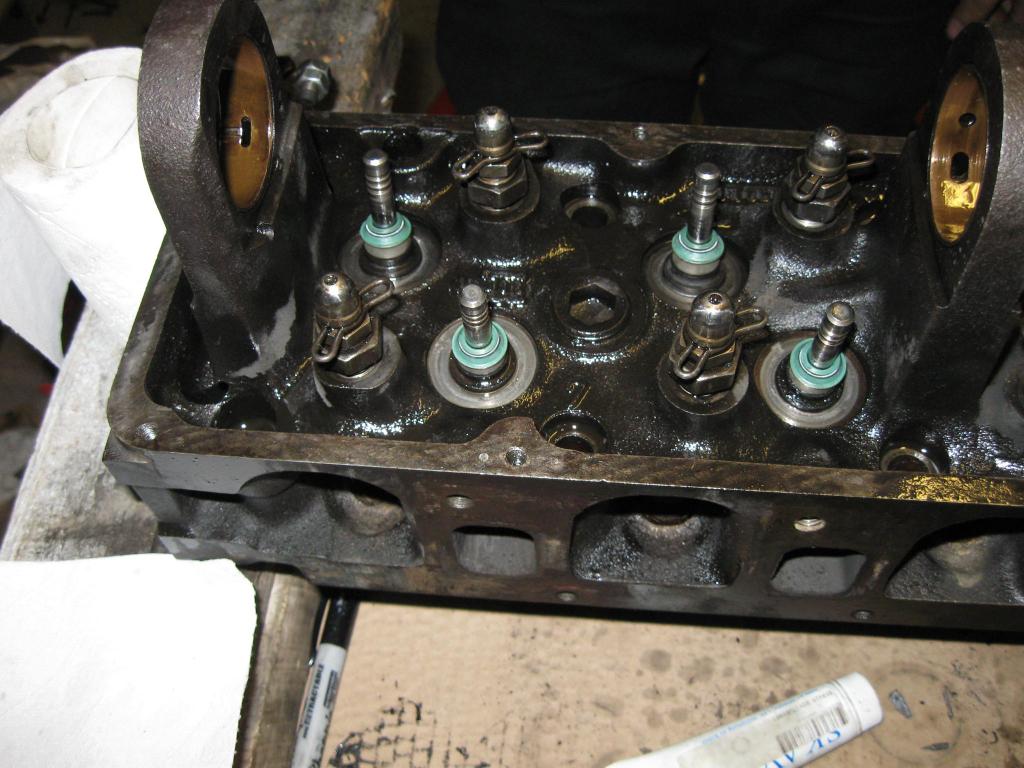
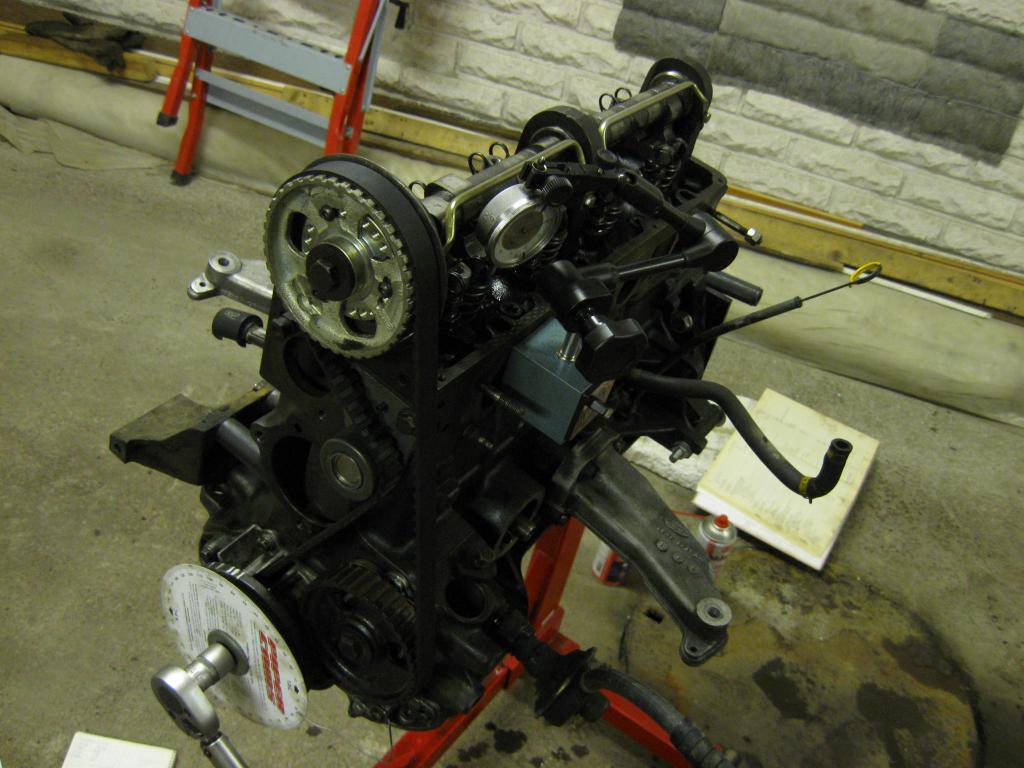
Next up was the head. This is a ported/skimmed head that have been lying around for few years waiting for a bottom end to go on top of.
Lapped the valves:
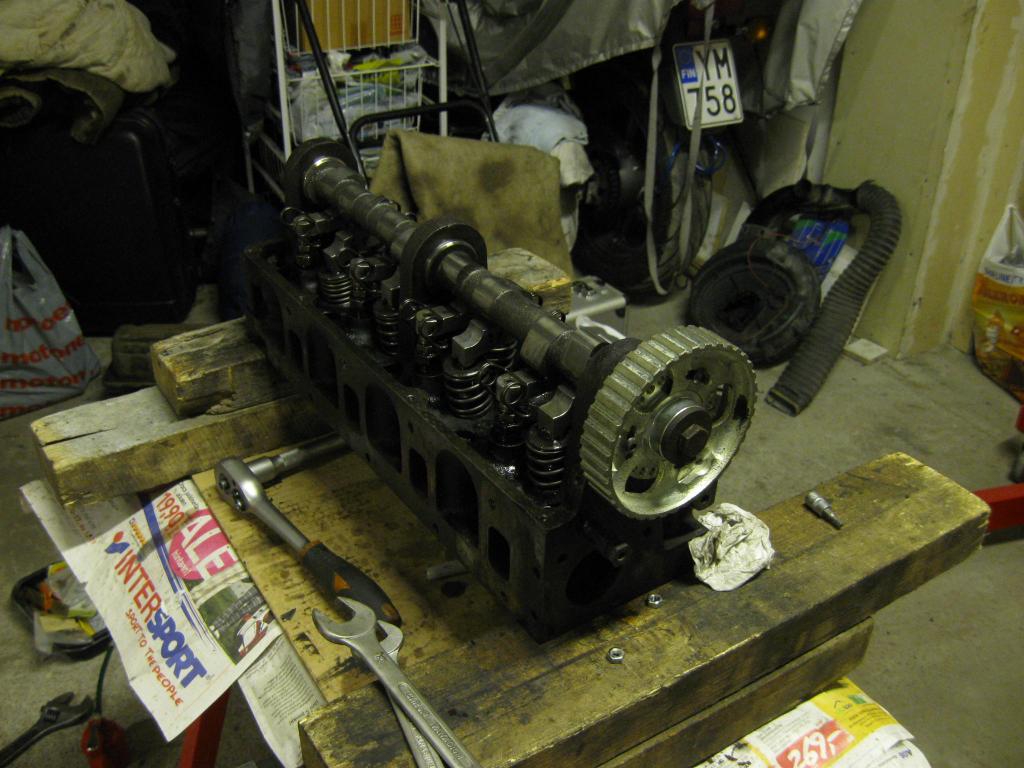
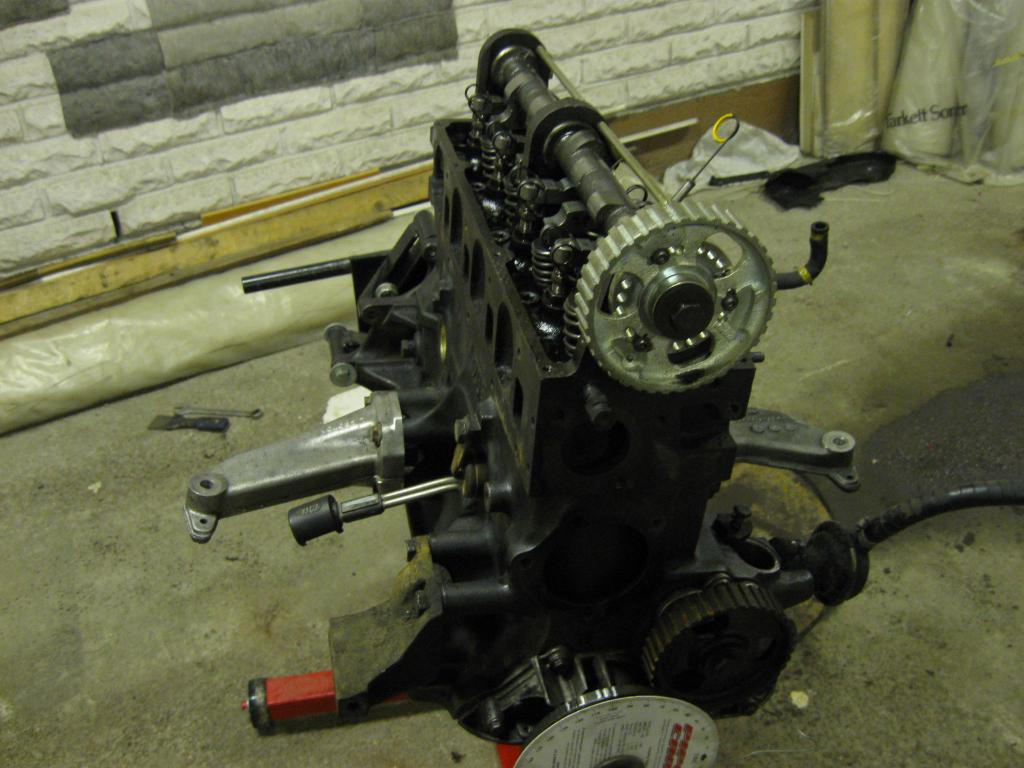
Next up cam in and checking the rocker geometry:
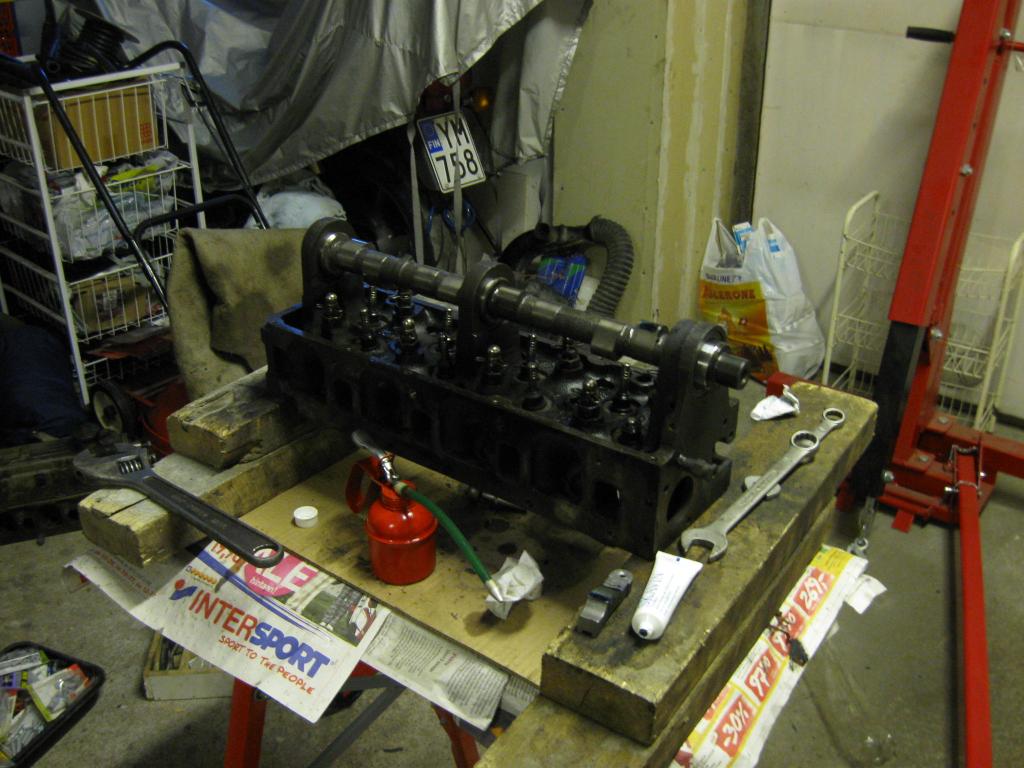
Near percect geometry:
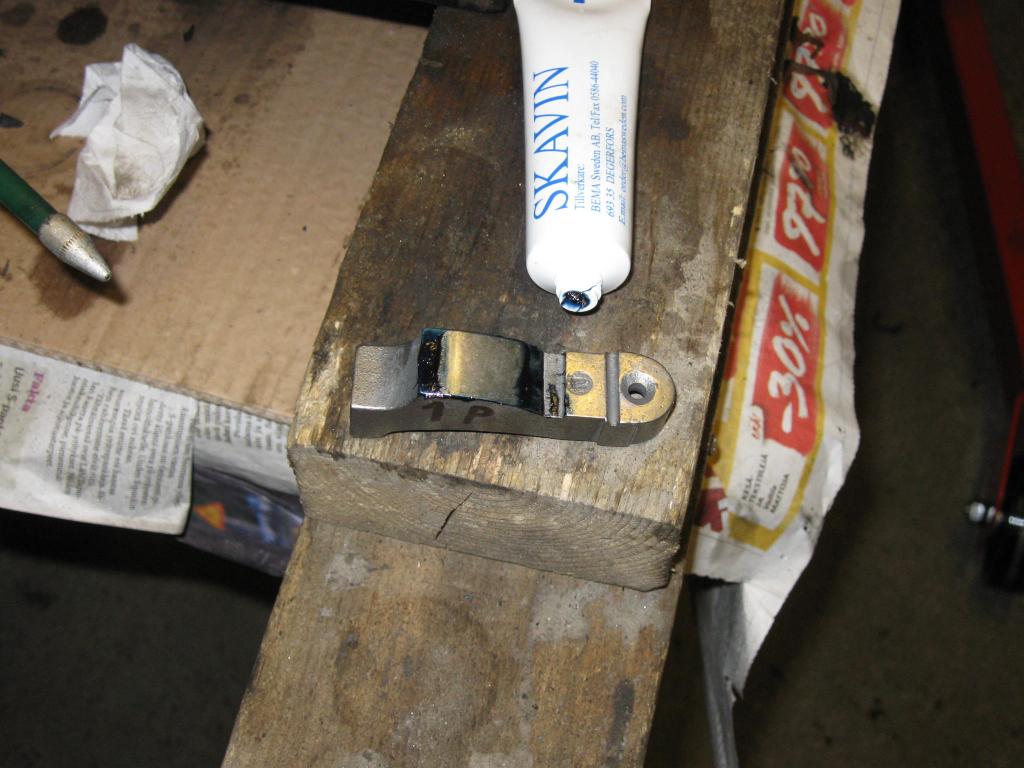
New valve stem seals in:
Bolting stuff together:
Next up was removing the old Emax 1.6 engine. I originally planned to put the whole engine together and then just do the swap at one go, but decided to do this after all. Easier to swap all the necessary parts from the old engine to the new when they both are out.
Emax:
Away it goes:
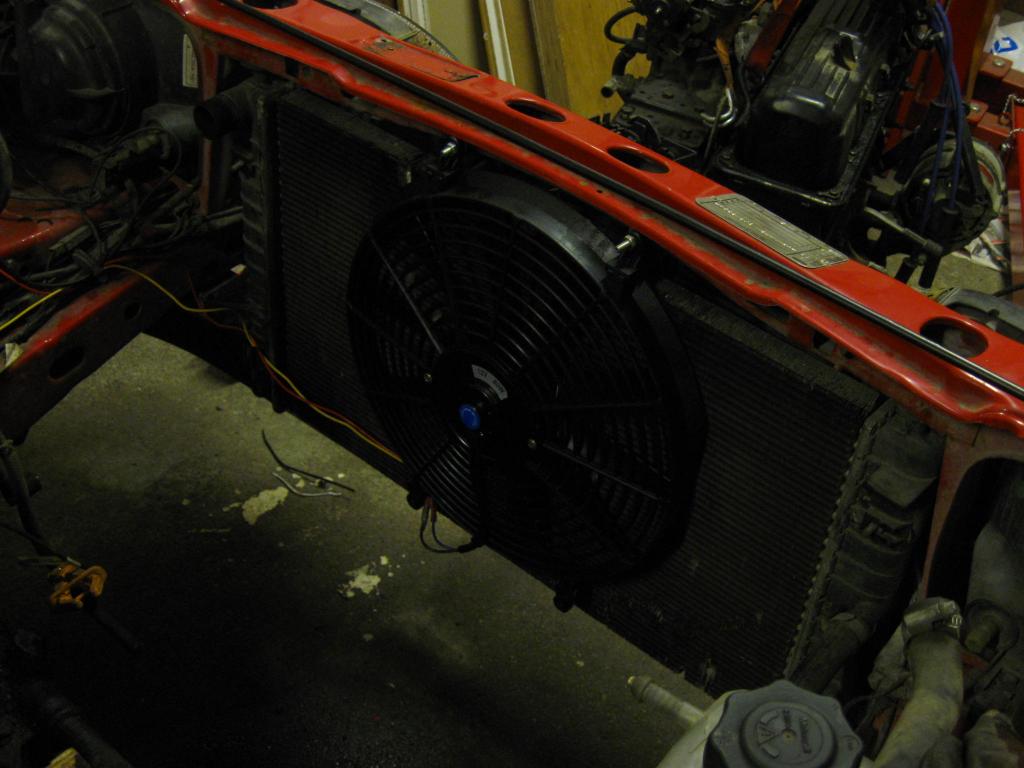
Installed an electric fan:
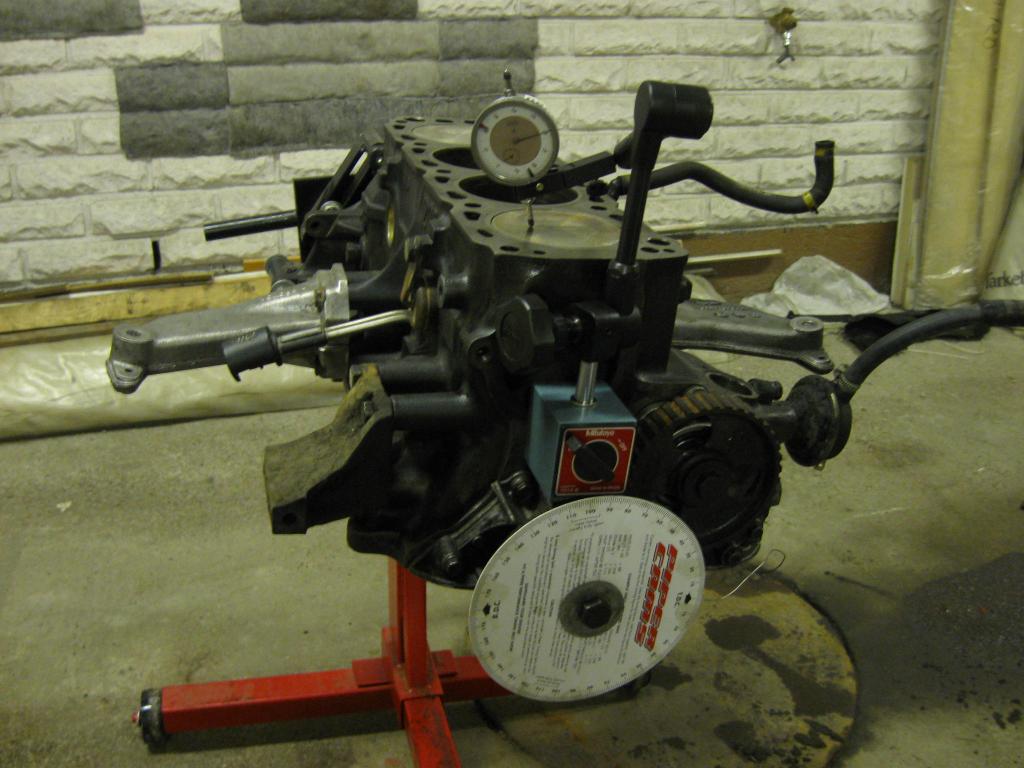
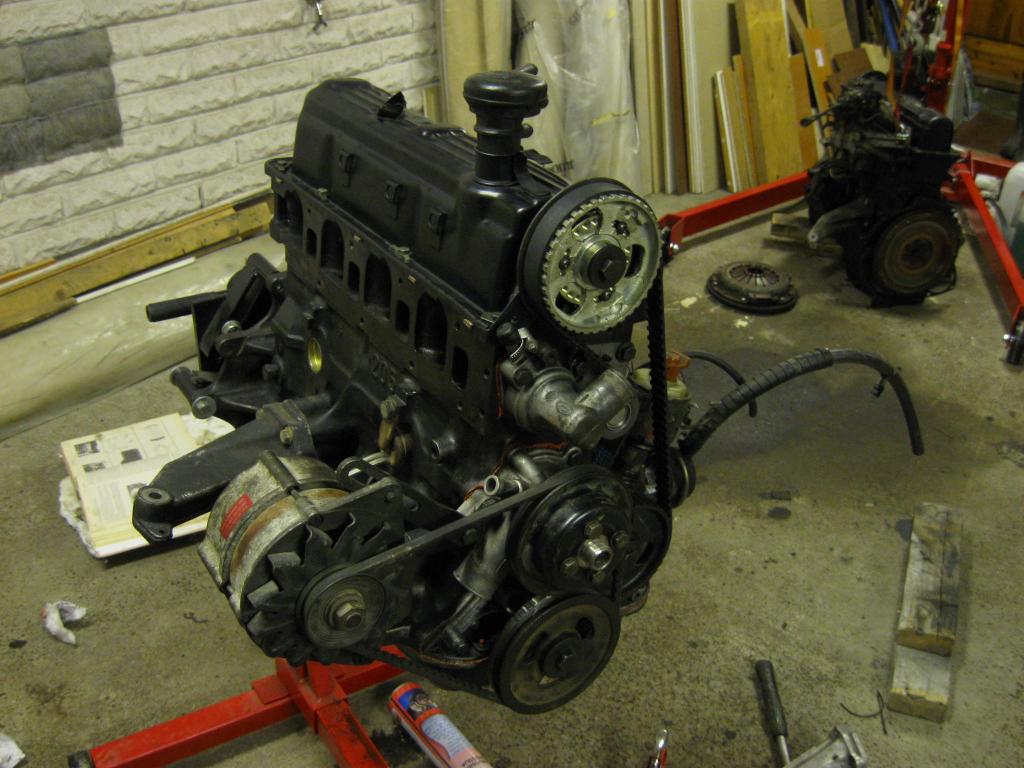
Then back on working with the "new" engine. Checking the correct TDC point:
Fitted the head next, with Felpro gasket. The head is lowered 1mm, so I wanted to use Felpro, because it's ~0.5mm lower than std gasket, so it gives me a total of 1.5mm lower head without a visit to a machine shop.
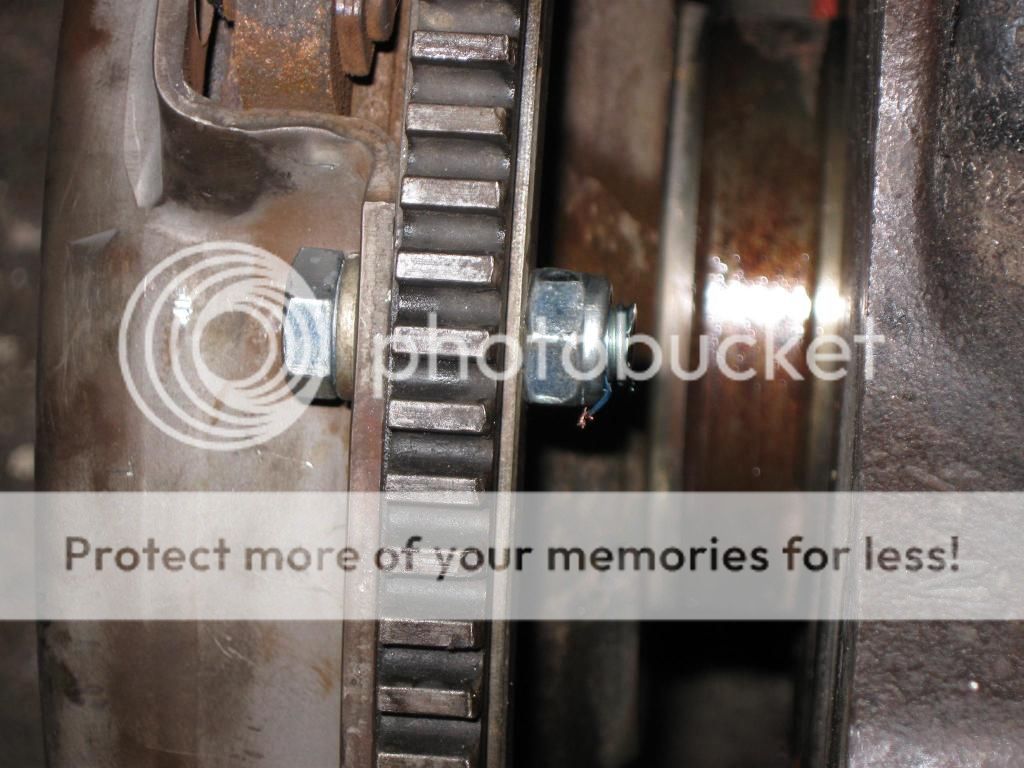
Cam timing. Made few different timing marks, so it's easy to adjust the timing afterwards if necessary.
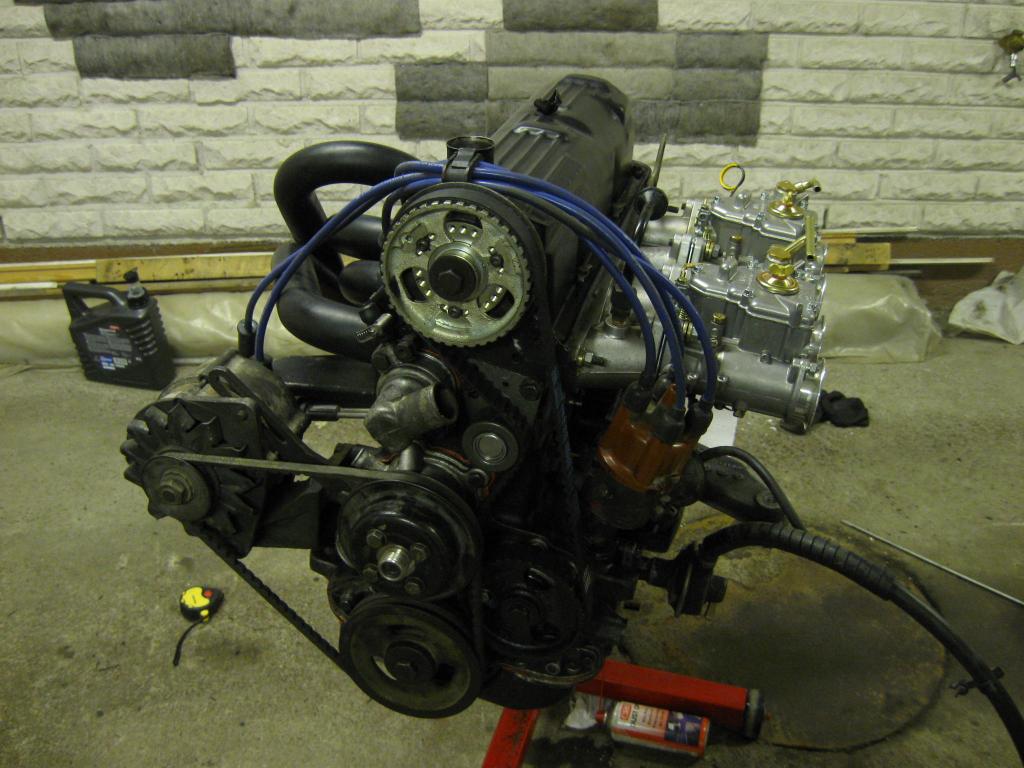
Bolting some random stuff on:
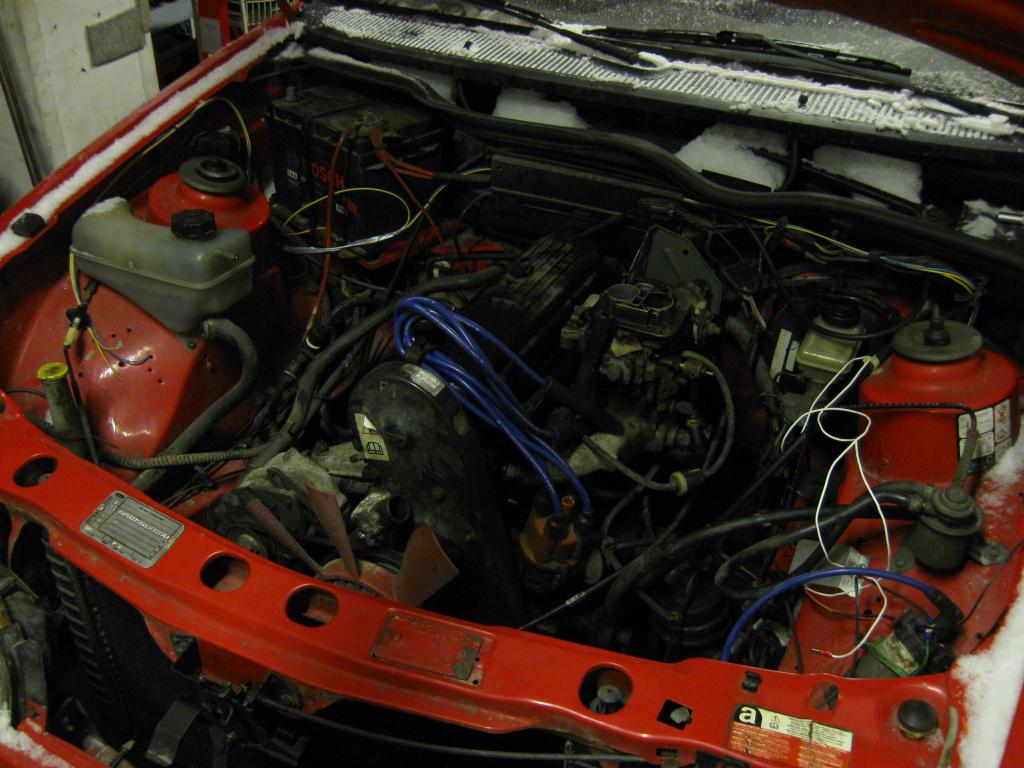
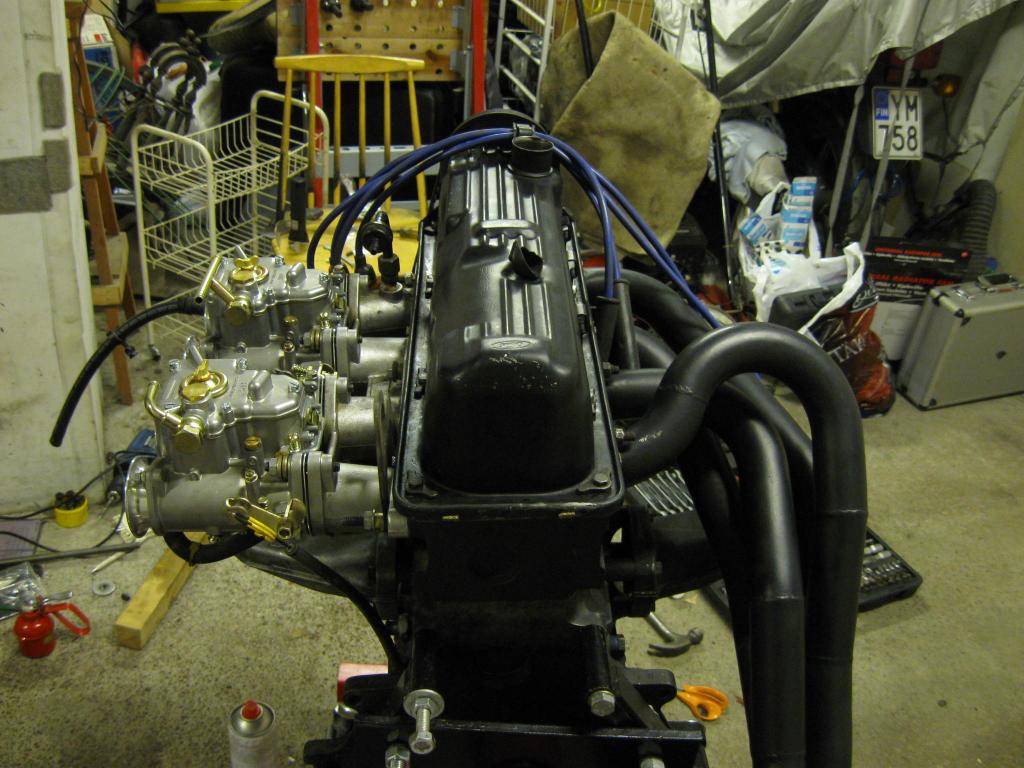
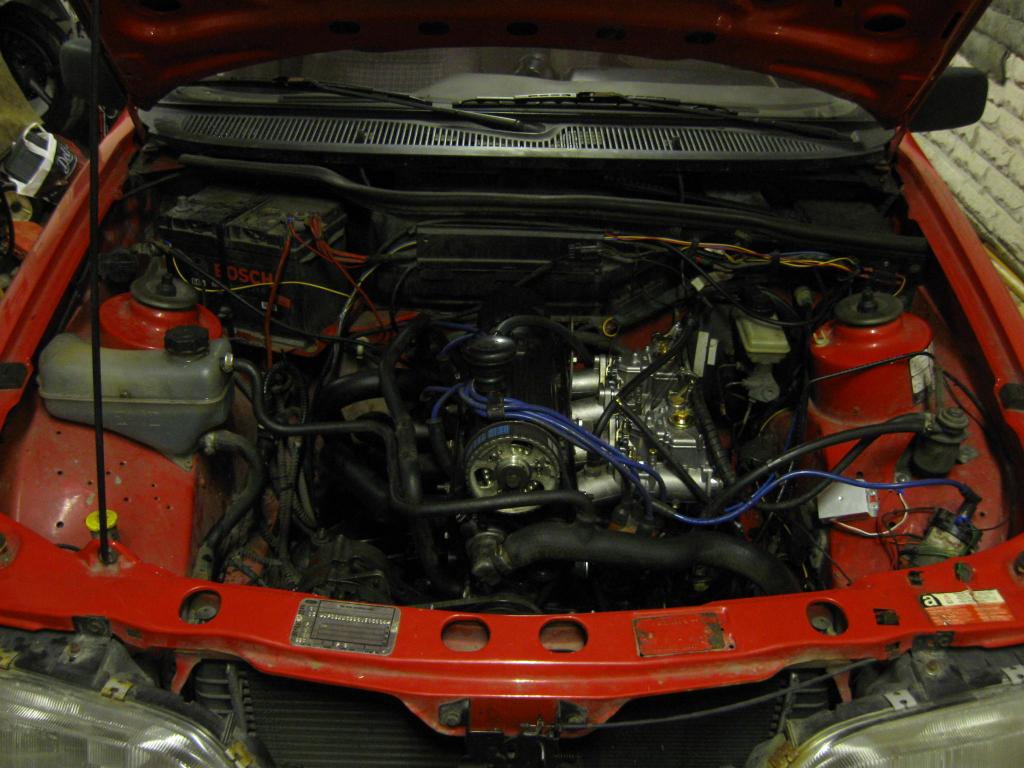
Lovely looking carbs:
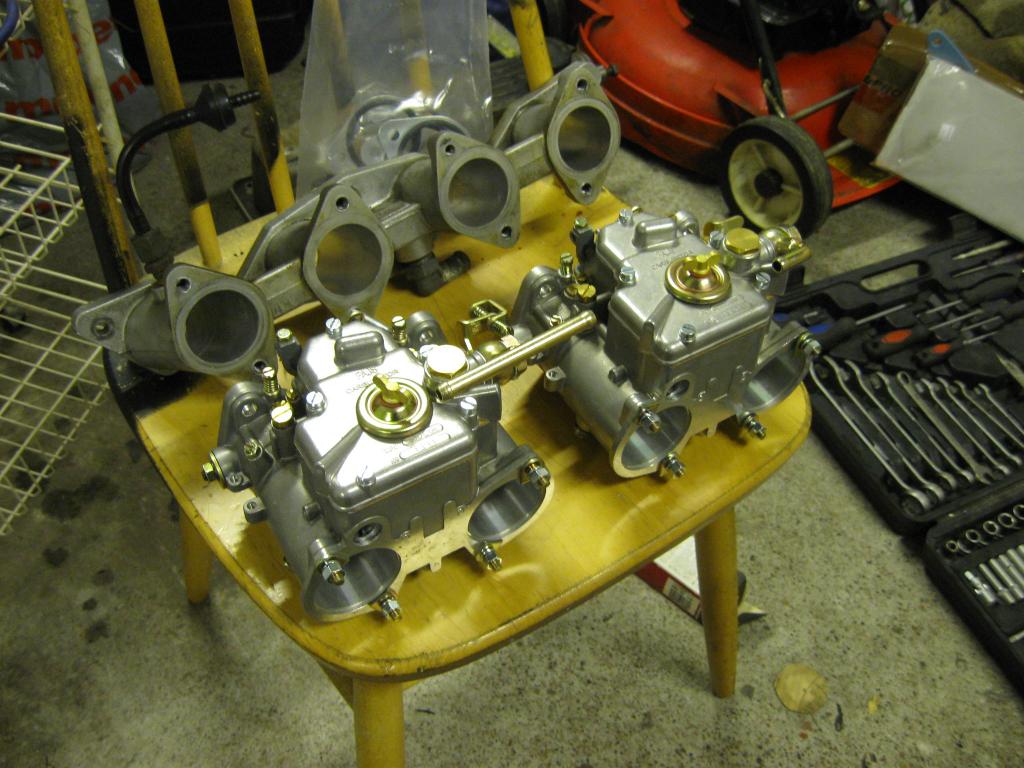
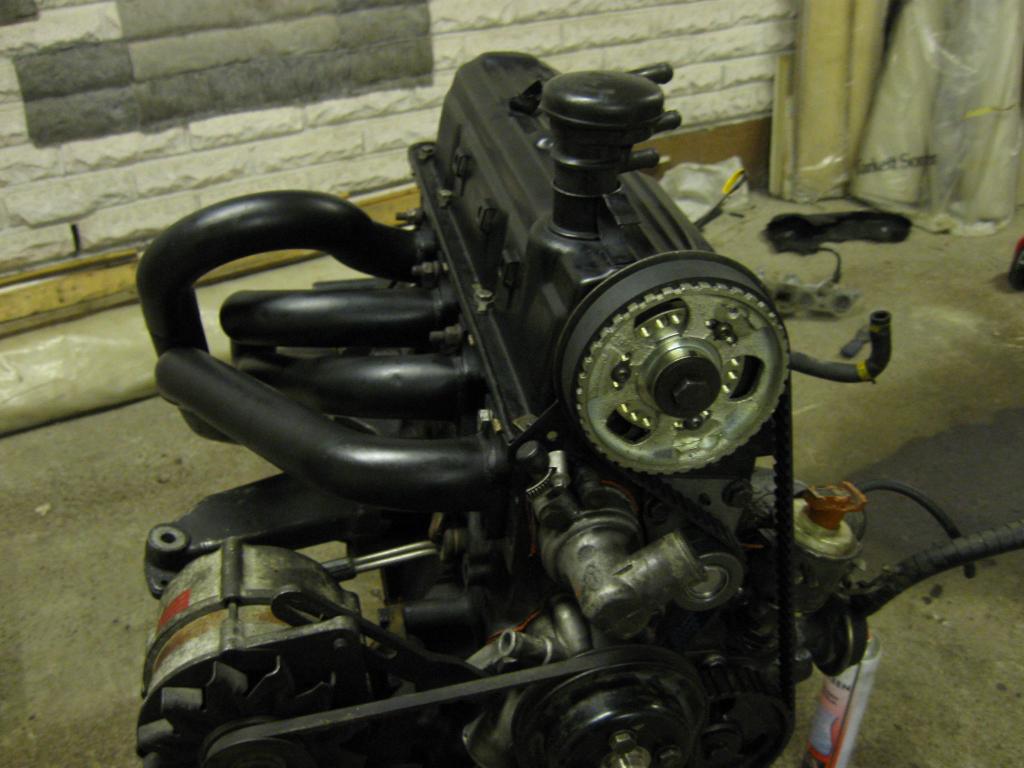
Header making a visit too:
Intake manifold and double carbs on:
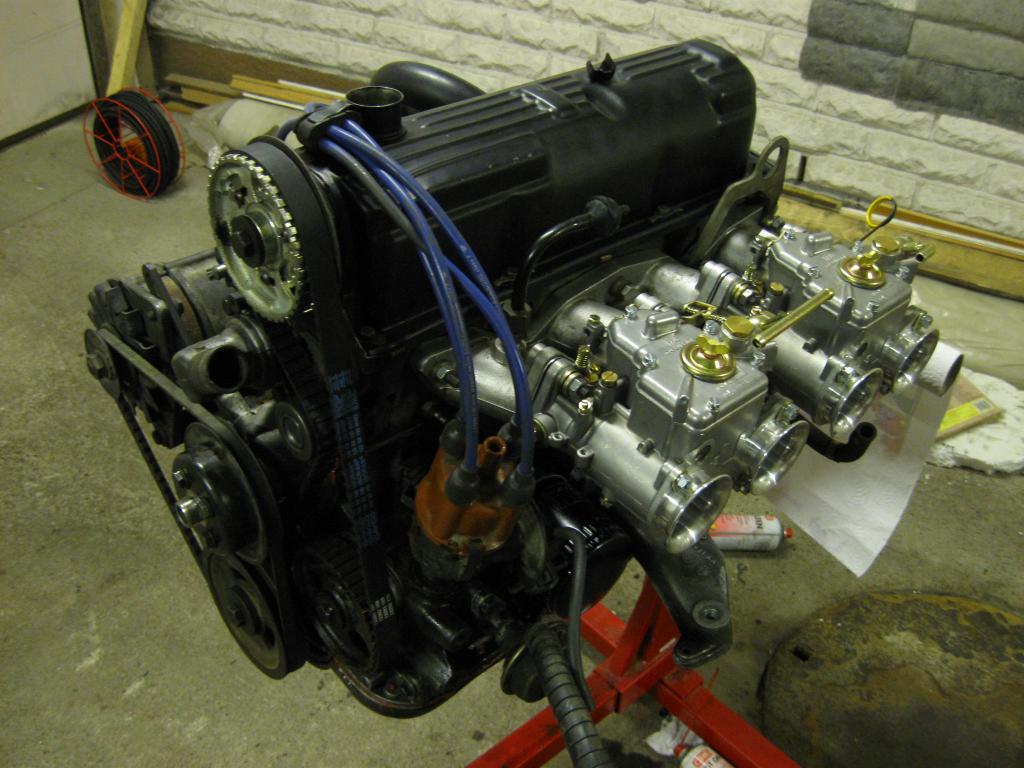
At this point I checked the carb balance somewhat together from the progression holes.
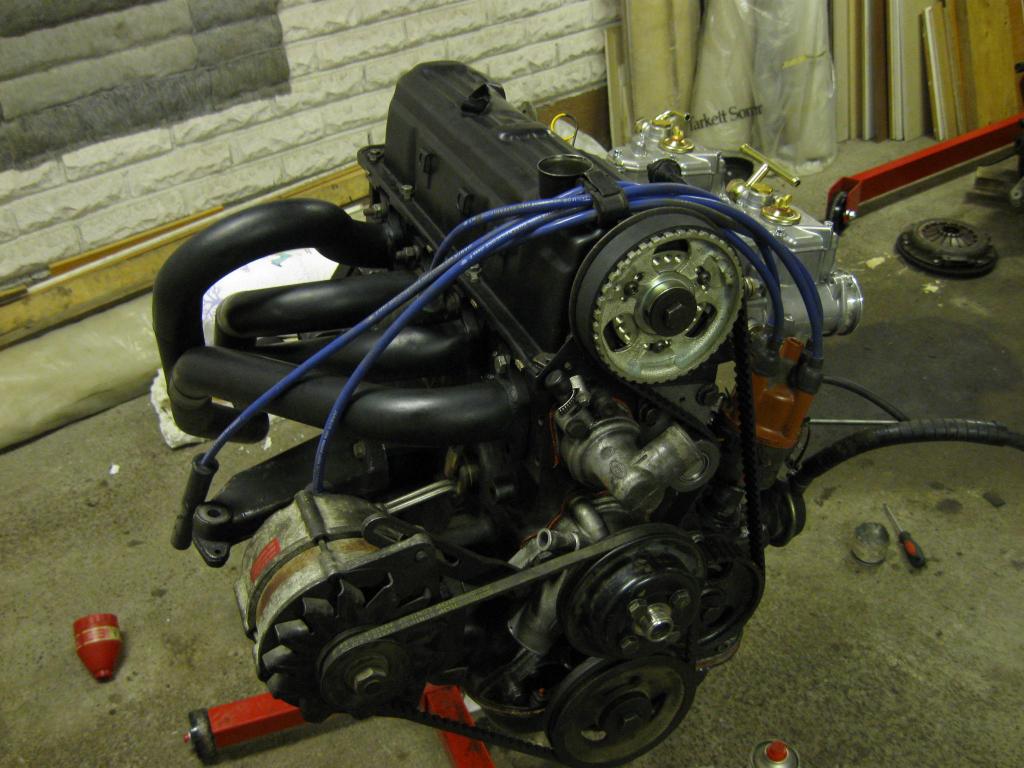
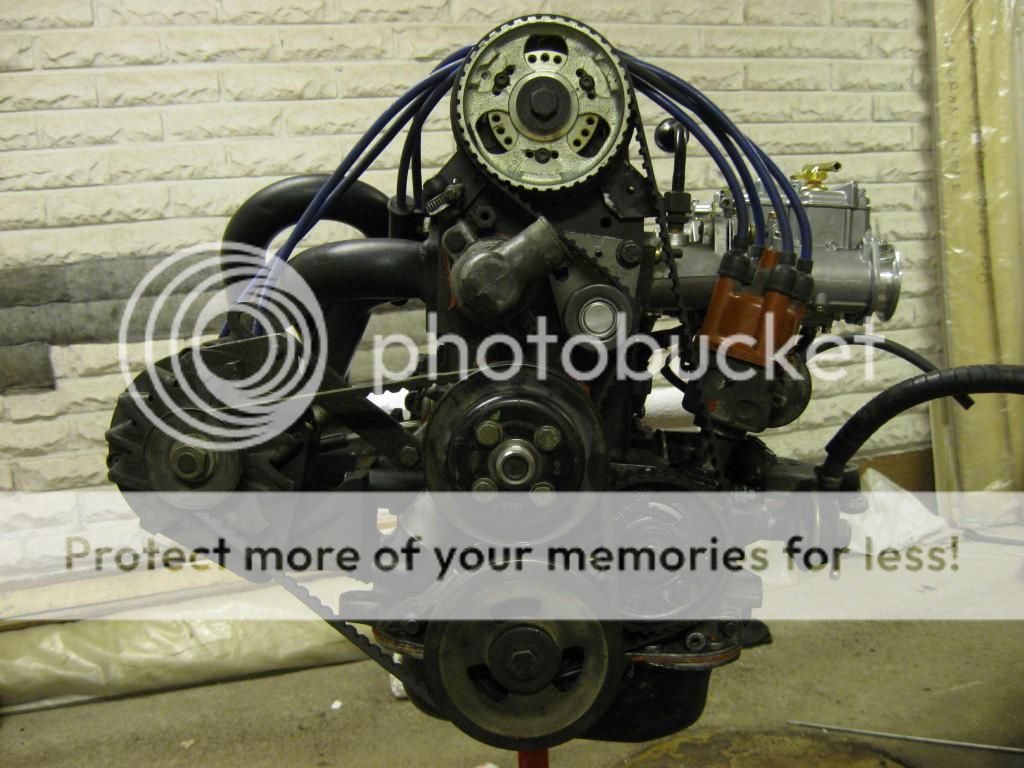
Lovely looking engine in my eyes, so next up few atmospheric pictures:
At this point we poured oil in to the engine and runned the oil pump with drilling machine to see that each cam gets it's oil squirt.
Next we installed the lightened flywheel (with ARPs) and clutch package to the back end of the engine. A bit of a nasty surprise was that one of the bolt holes in the flywheel for the clutch assembly had a worn out thread. After some thinking we thought about replacing all of the clutch assembly bolts with longer ones and using nuts on the other side. Couldn't find any reason against so bolted it on with them + Loctite.
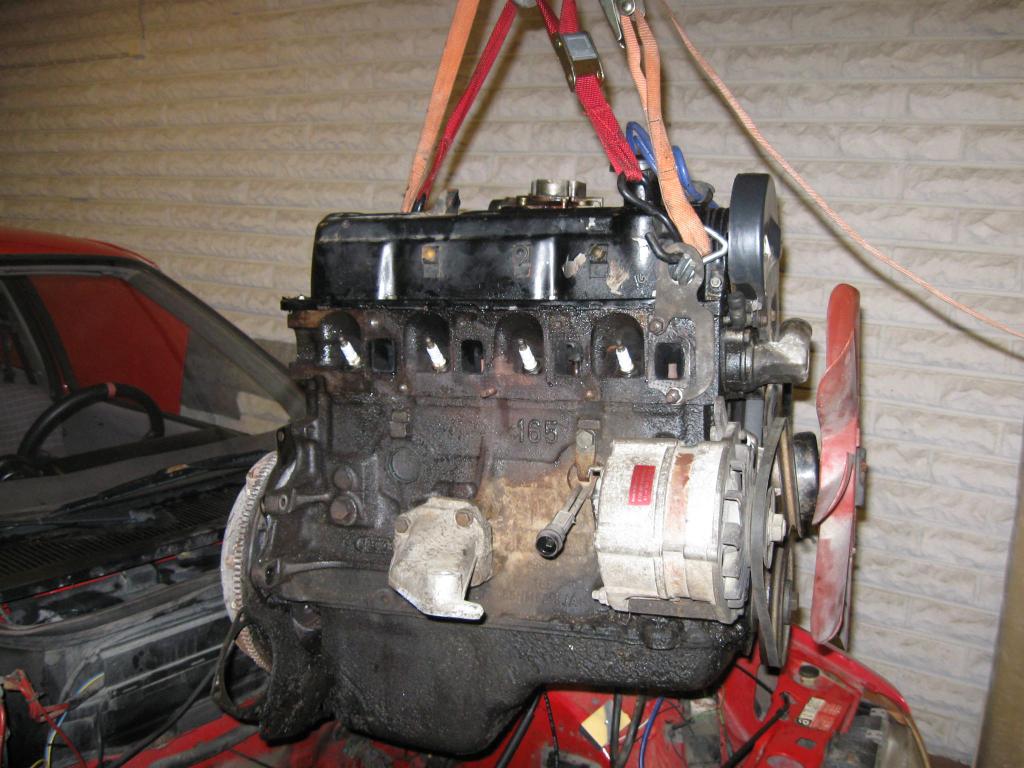
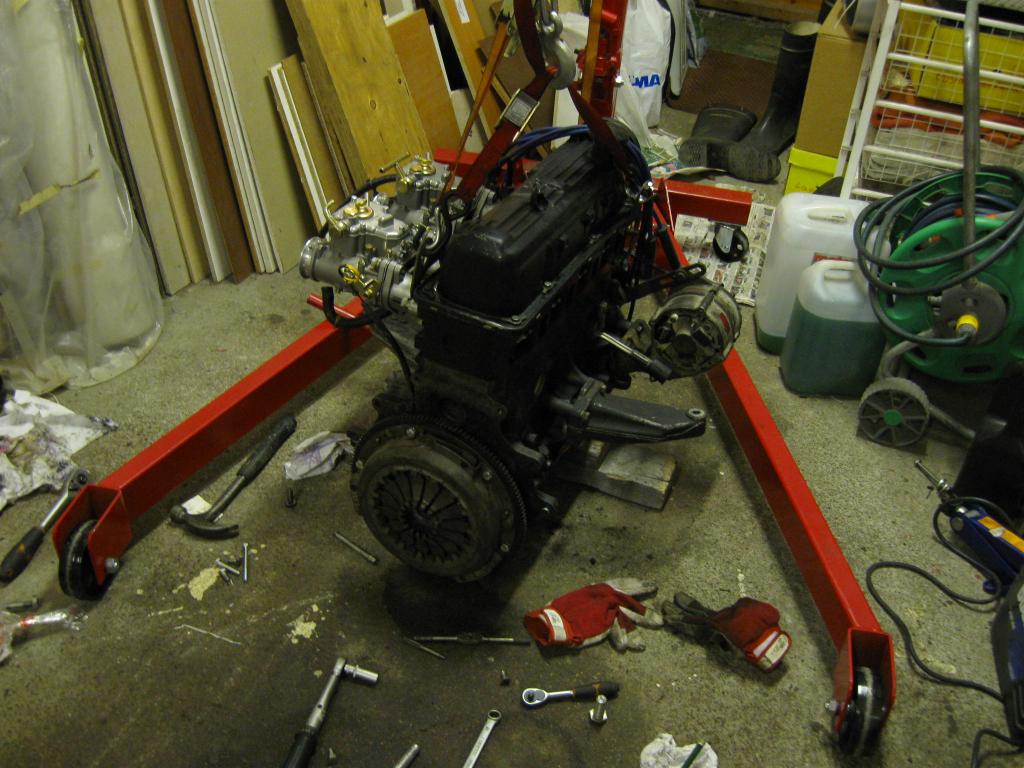
Engine ready for lifting:
Sinked in:
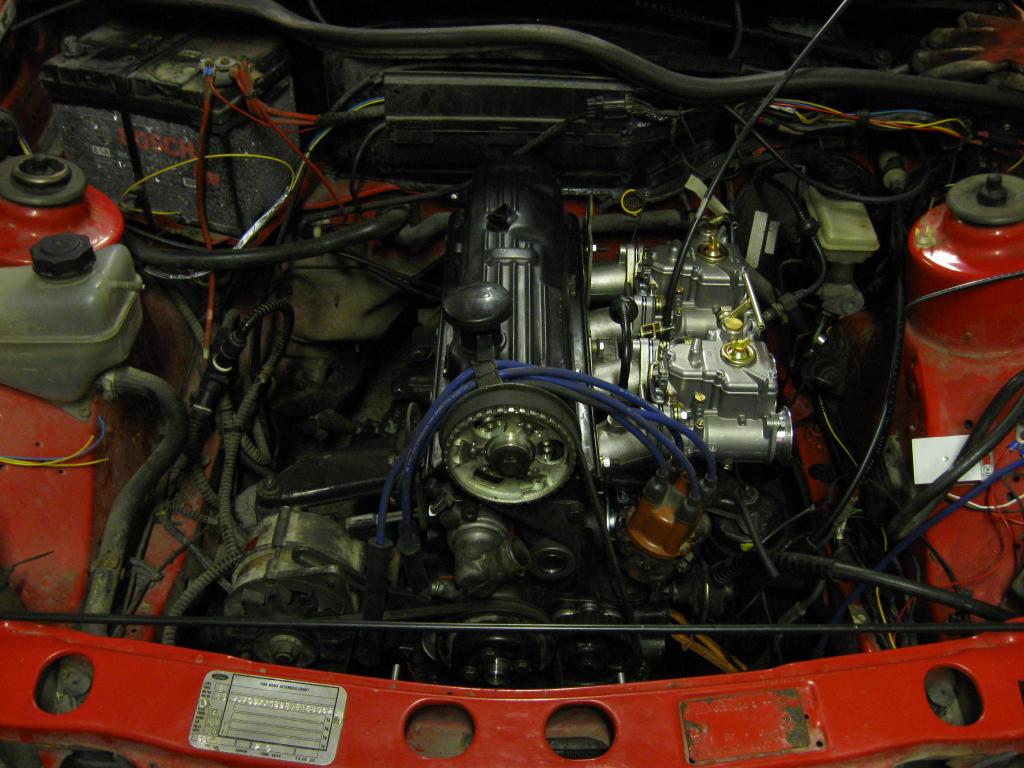
Rest of stuff back together and coolant in too:
Finally we were at the point where first start and cam brake-in procedure were next on to-do list.
Since then few little problems. First we flooded the carbs with too much fuel pressure and after figuring that out we still couldn't get it idle properly. Noticed that the other carb is constantly leaking fluid from the accelerator pump circuit.
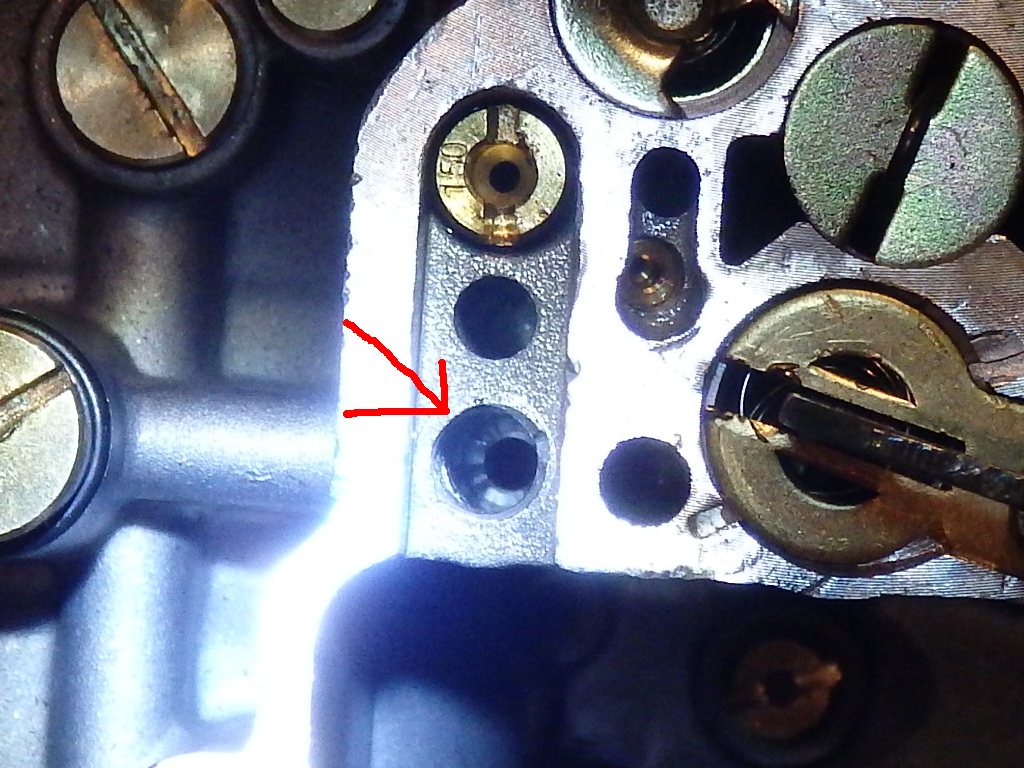
Well no other choice than to remove the leaking carb and start figuring out the problem. As it turns out I got myself a bad chinese product (

). The little "bearing" ball on the accelerator circuit should seal up to the cone shape on the bottom, but the machining was poor so it leaks out fuel constantly. Not the best picture but the markings on the seal surface are visible:
Good thing is that even if I opted for a chinese product, I bought them from a Finnish firm, so there should be not too much hassle getting a replacement against warranty. I'm going the make a call tomorrow and hopefully get a new carb this week so we can start with getting this running properly!