well been super busy on the old girl.
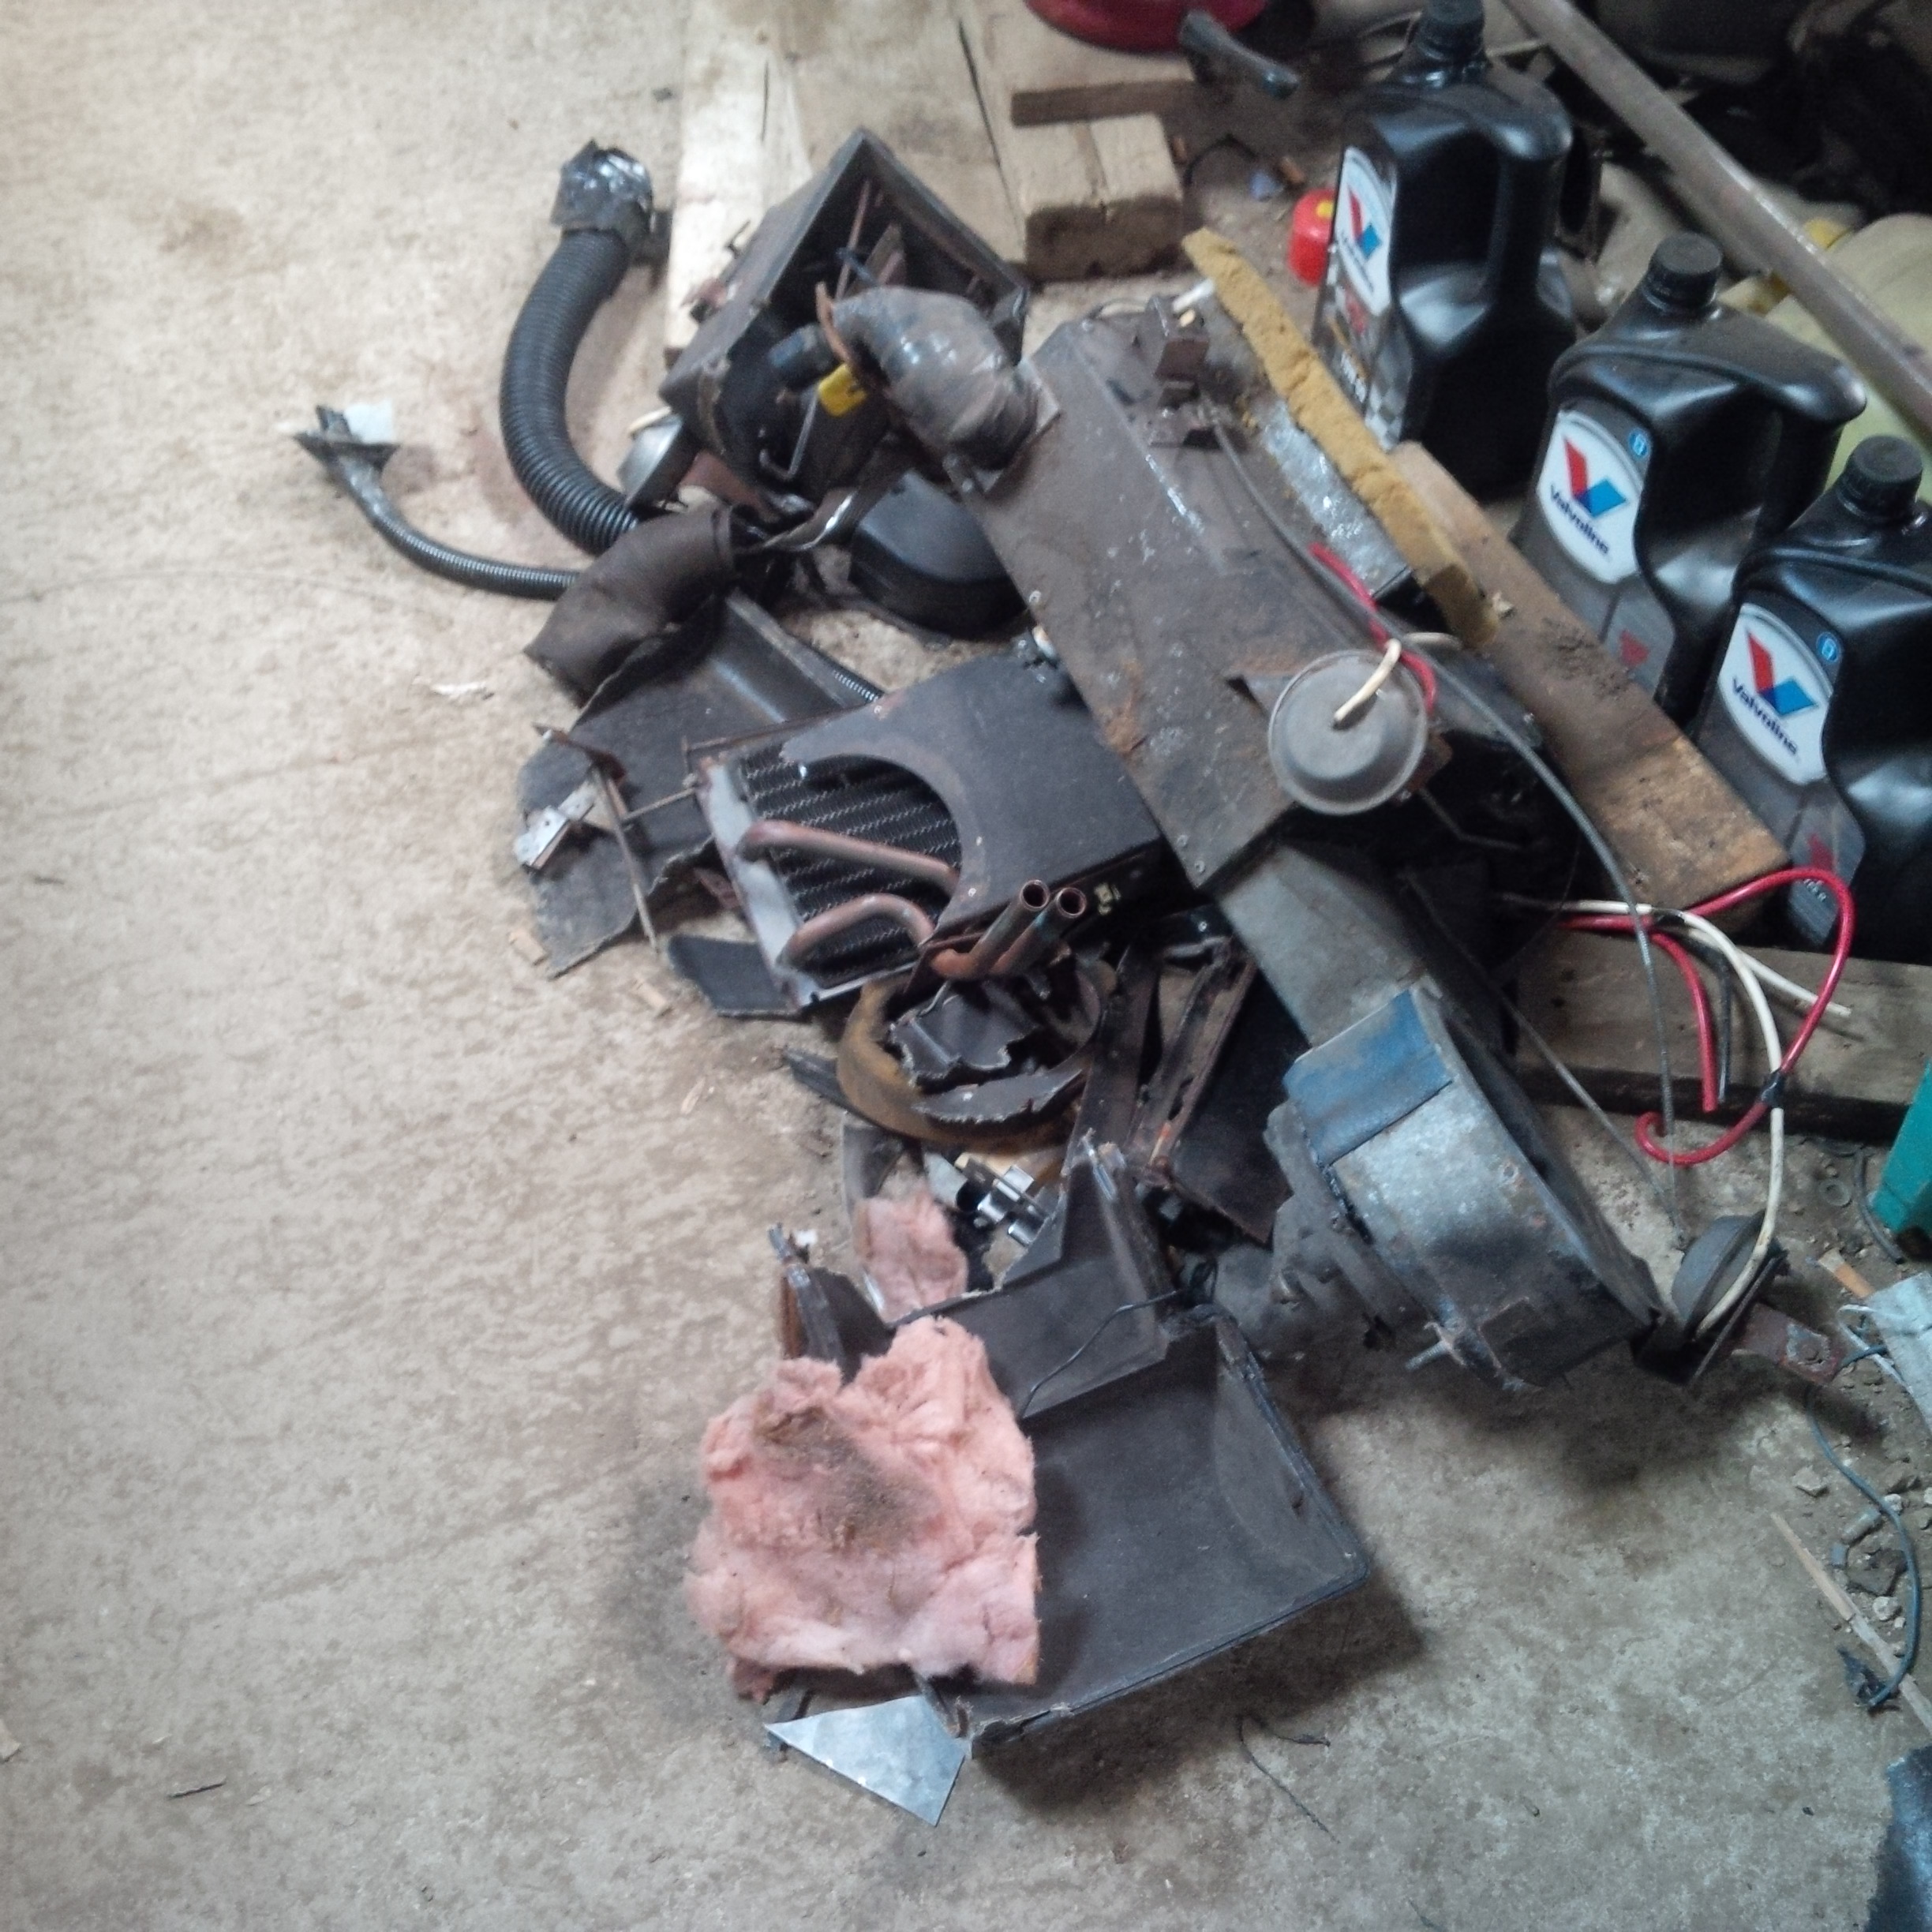
first off the heater and air con consisted of everything pretty much knackered and
just blowing levels of hot air and never switching off lol.
it was all cobbled in stuff so we just ripped the lot out.
so we ripped all this out
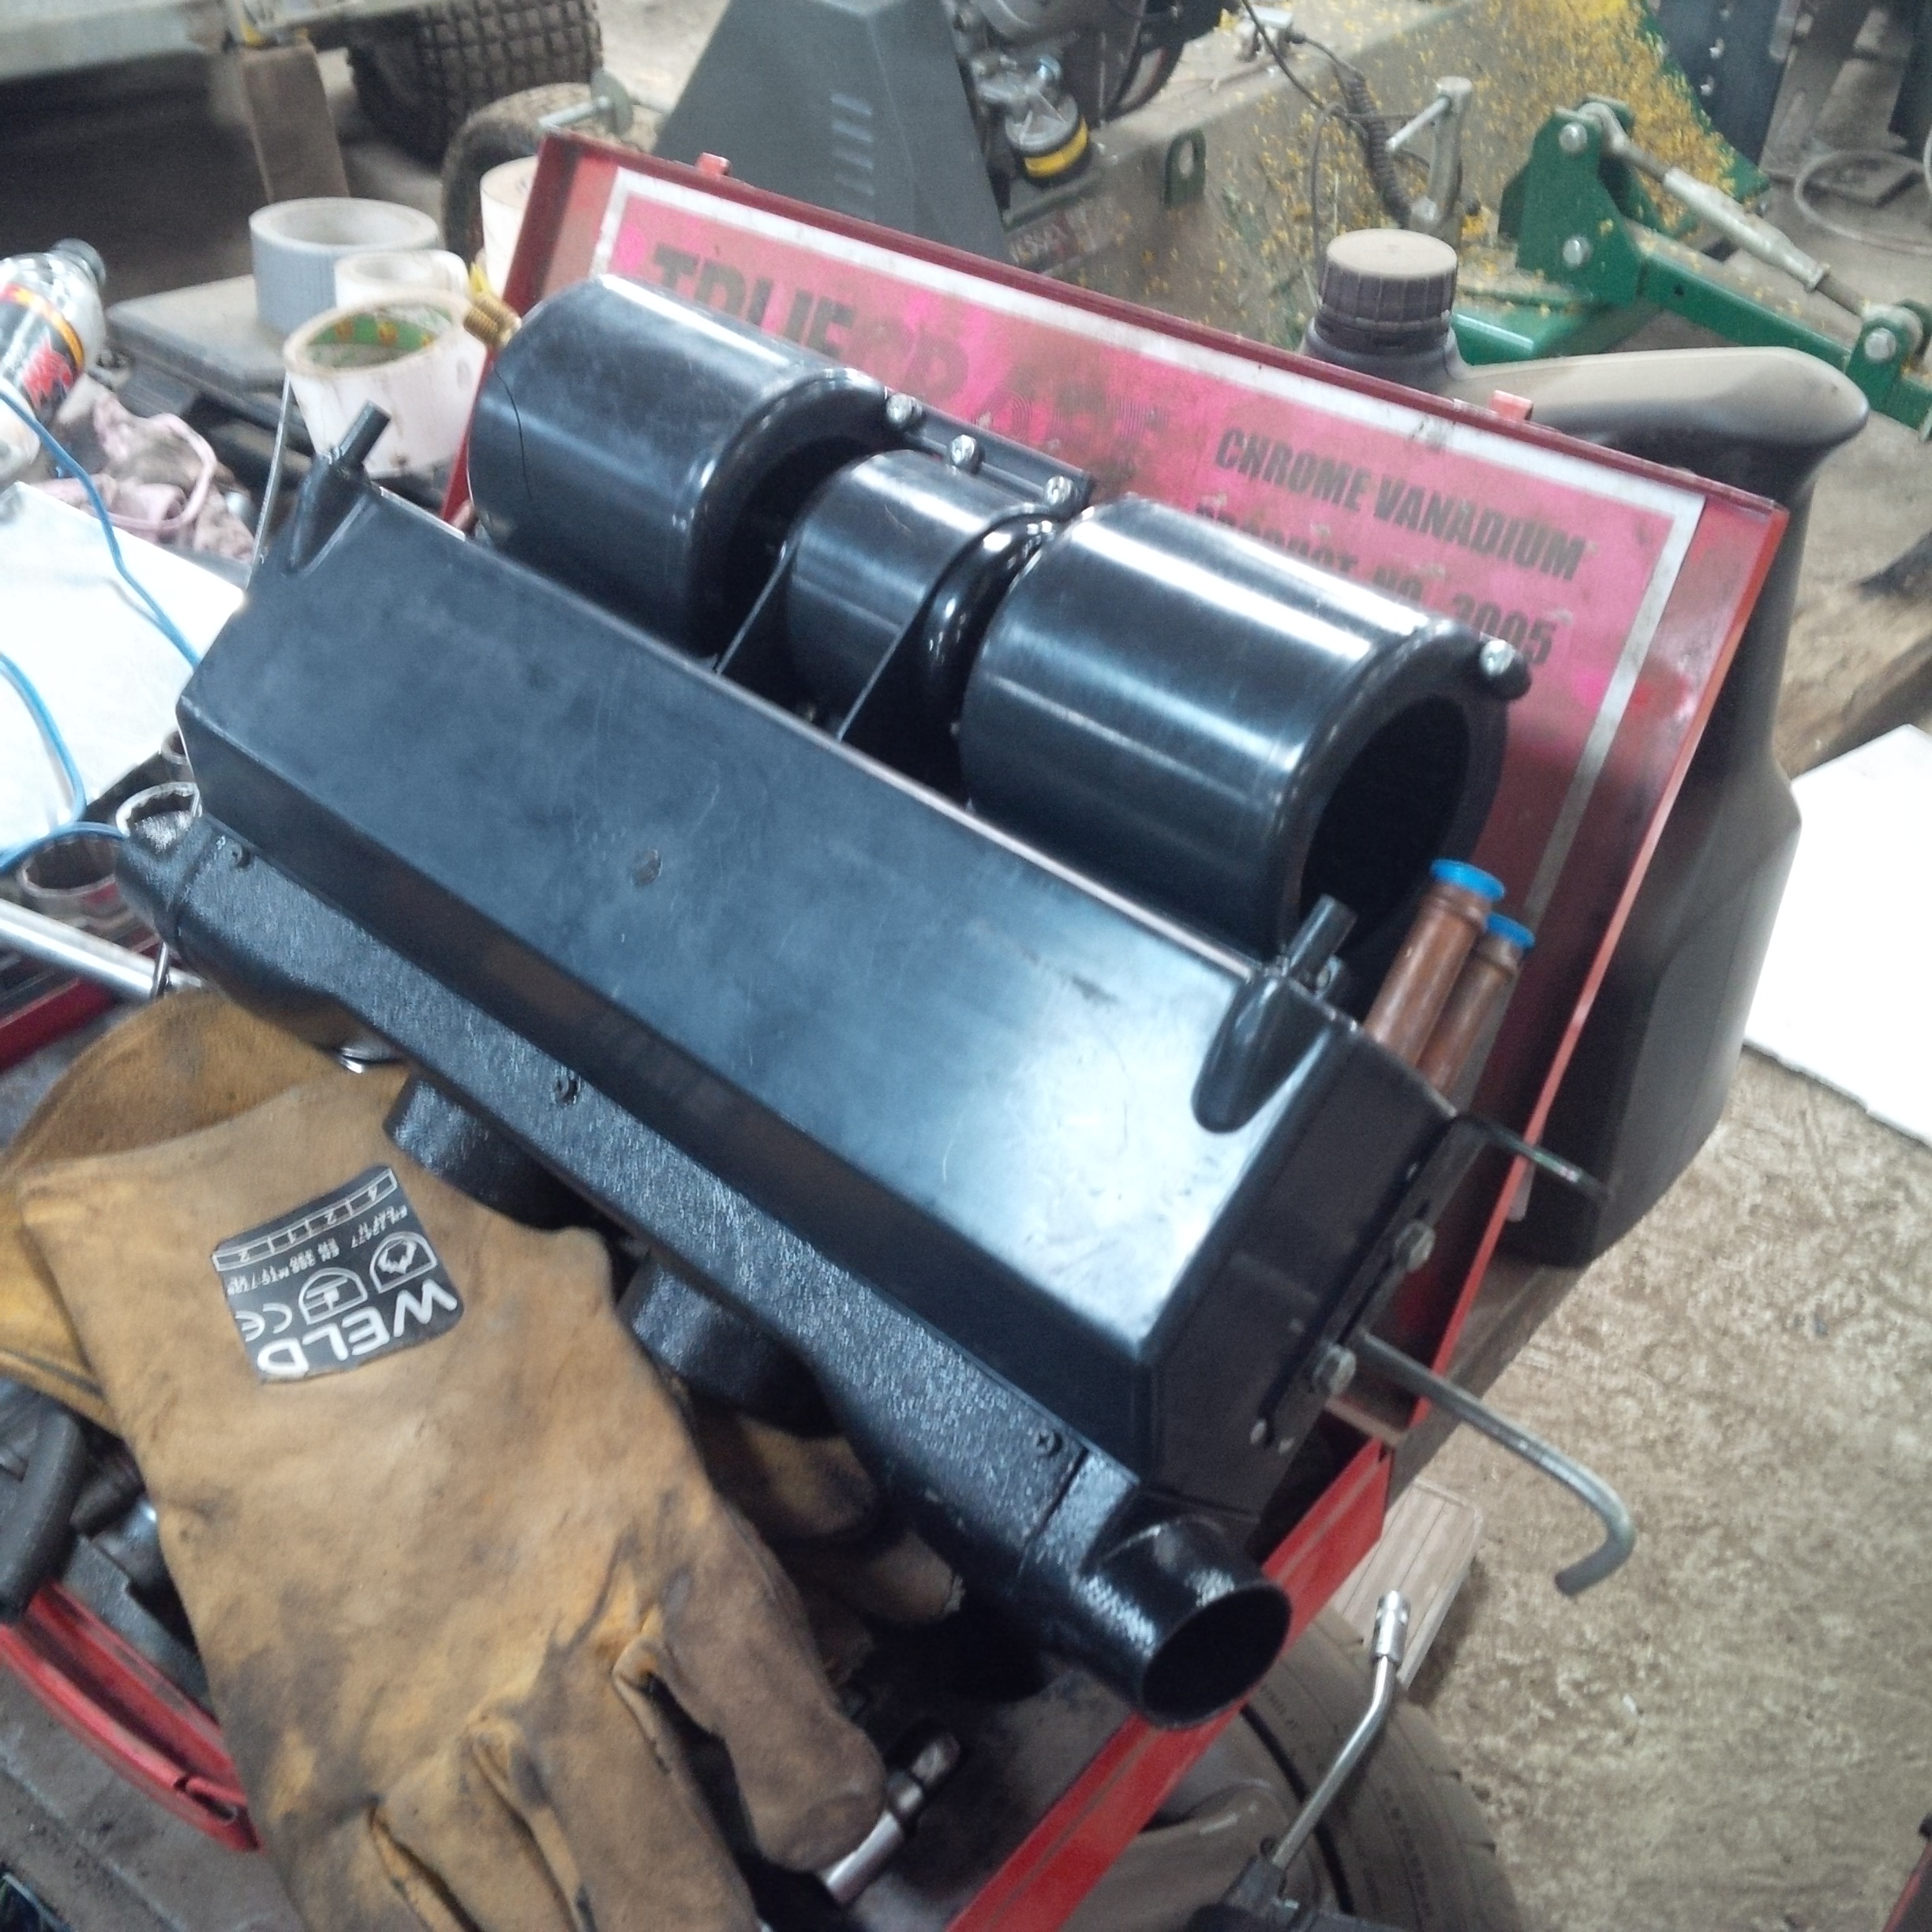
to replace all of that with this little beauty
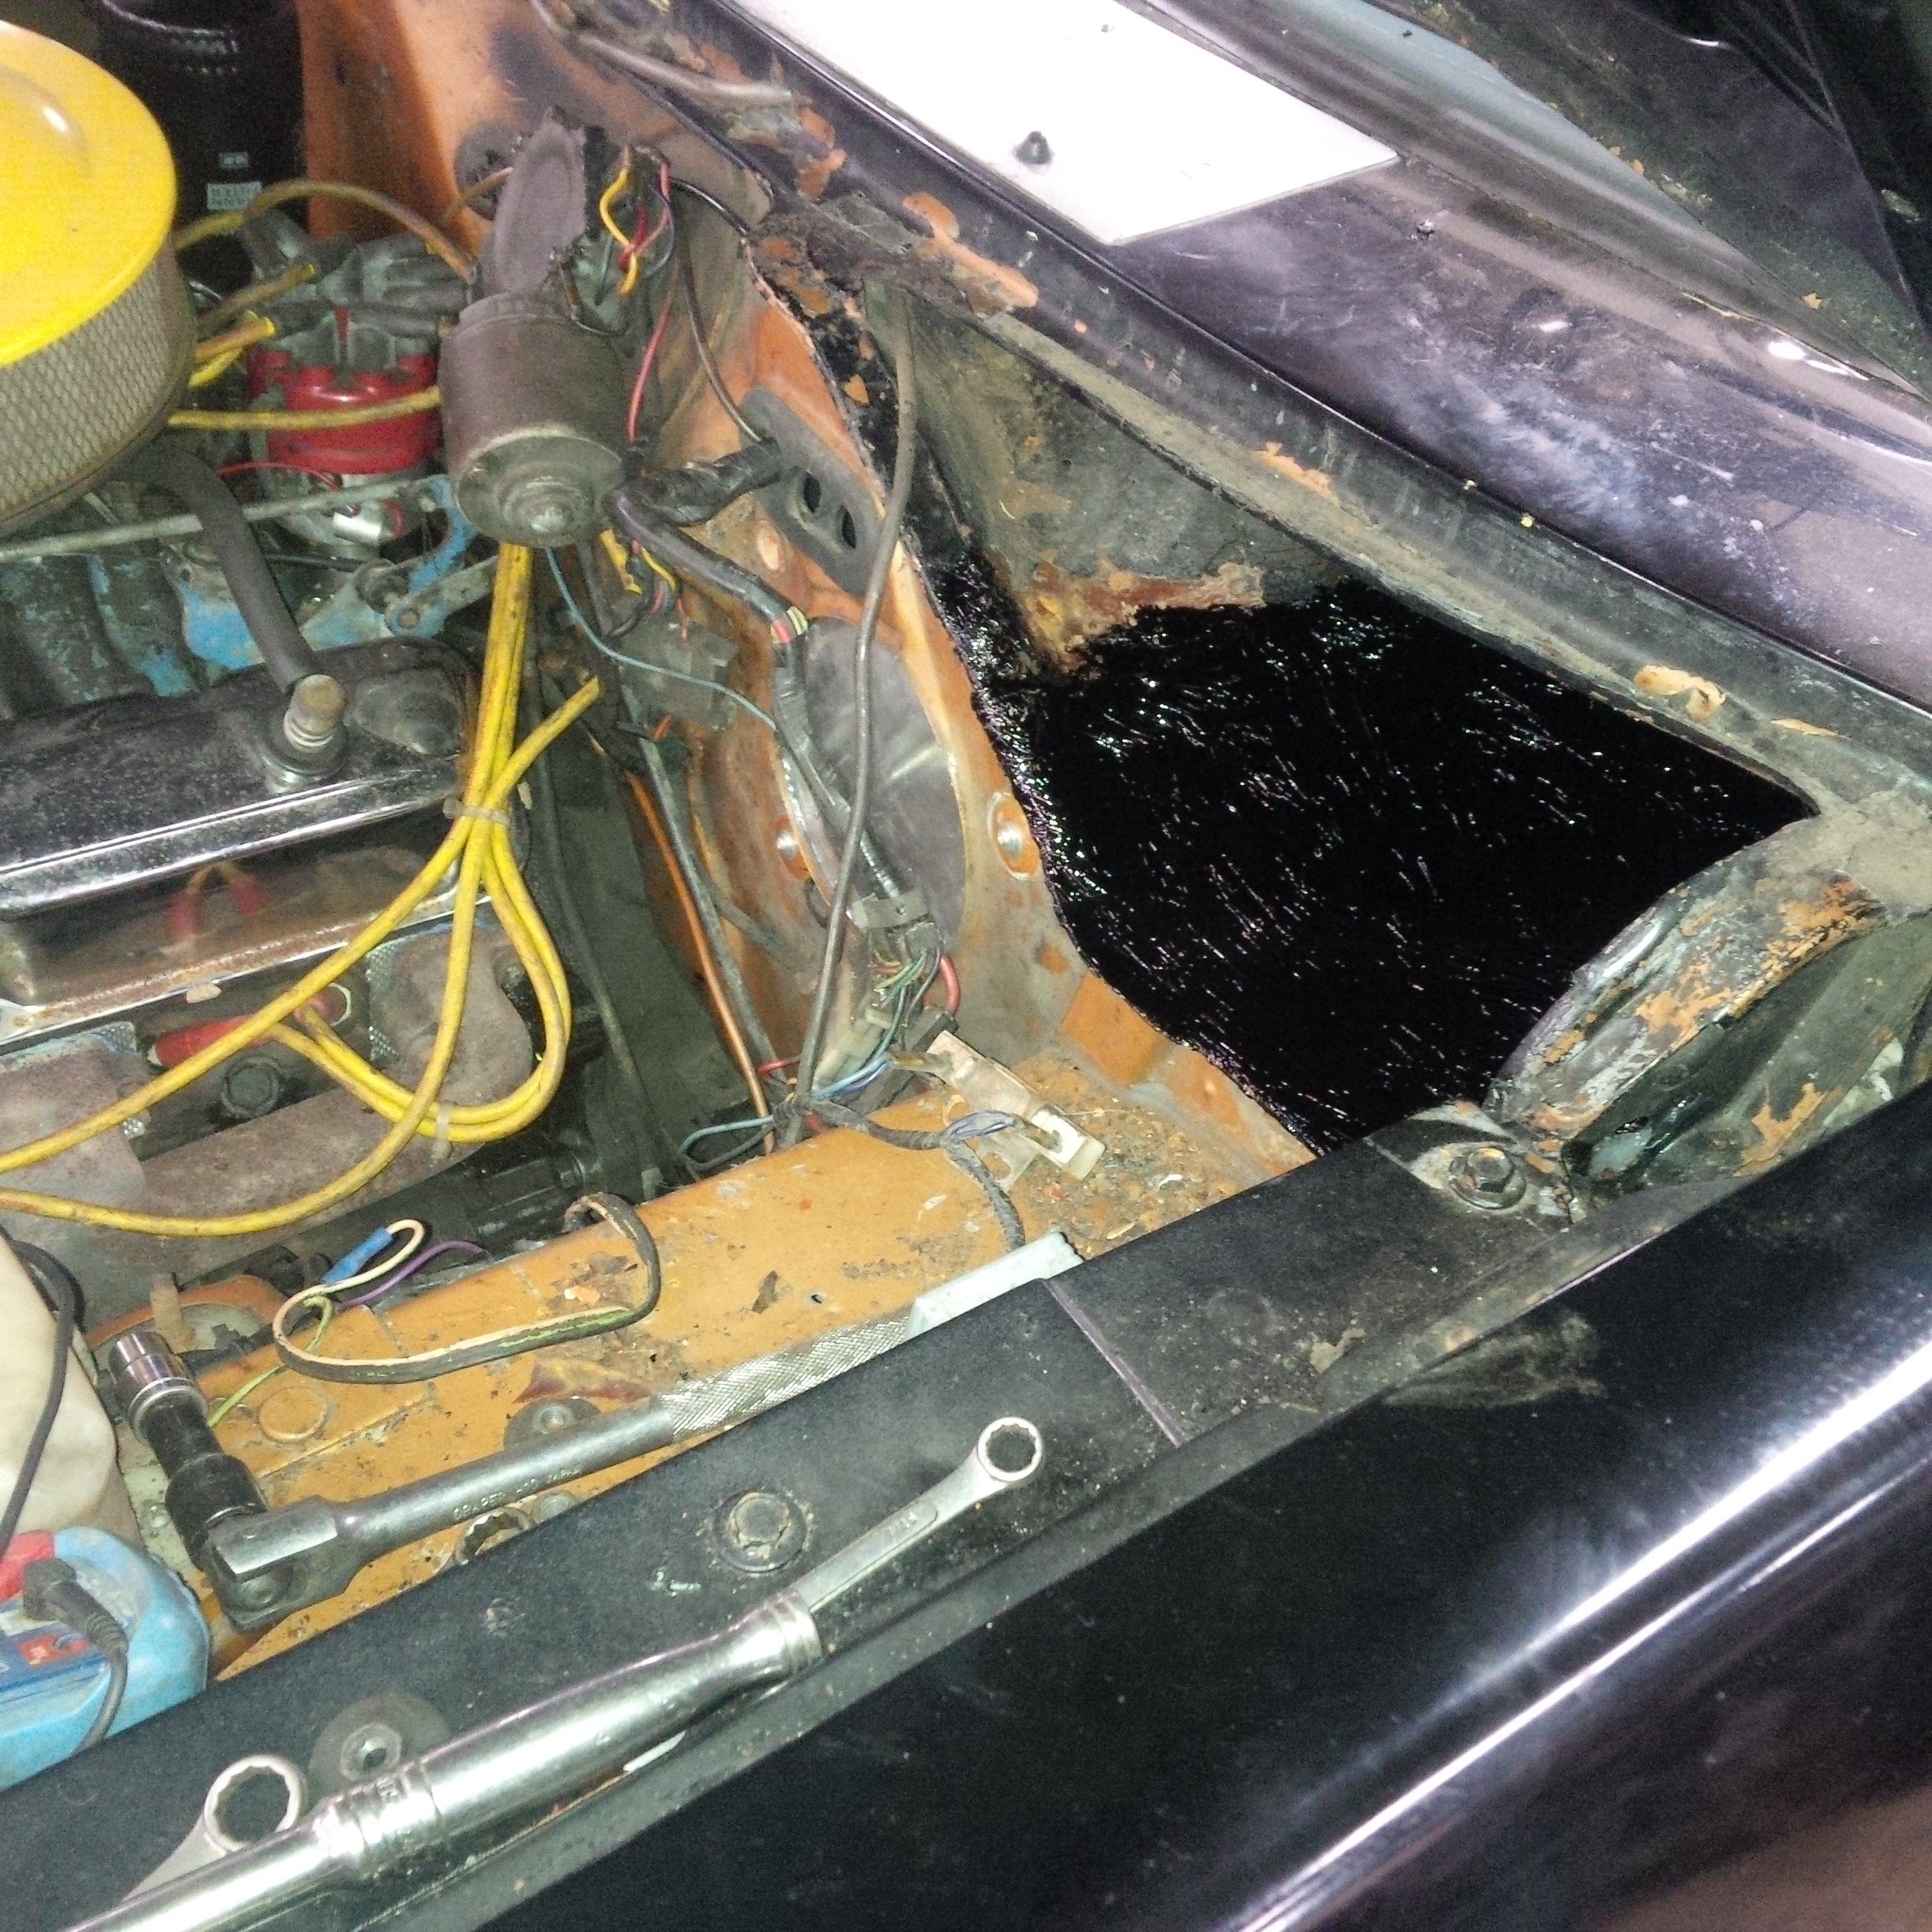
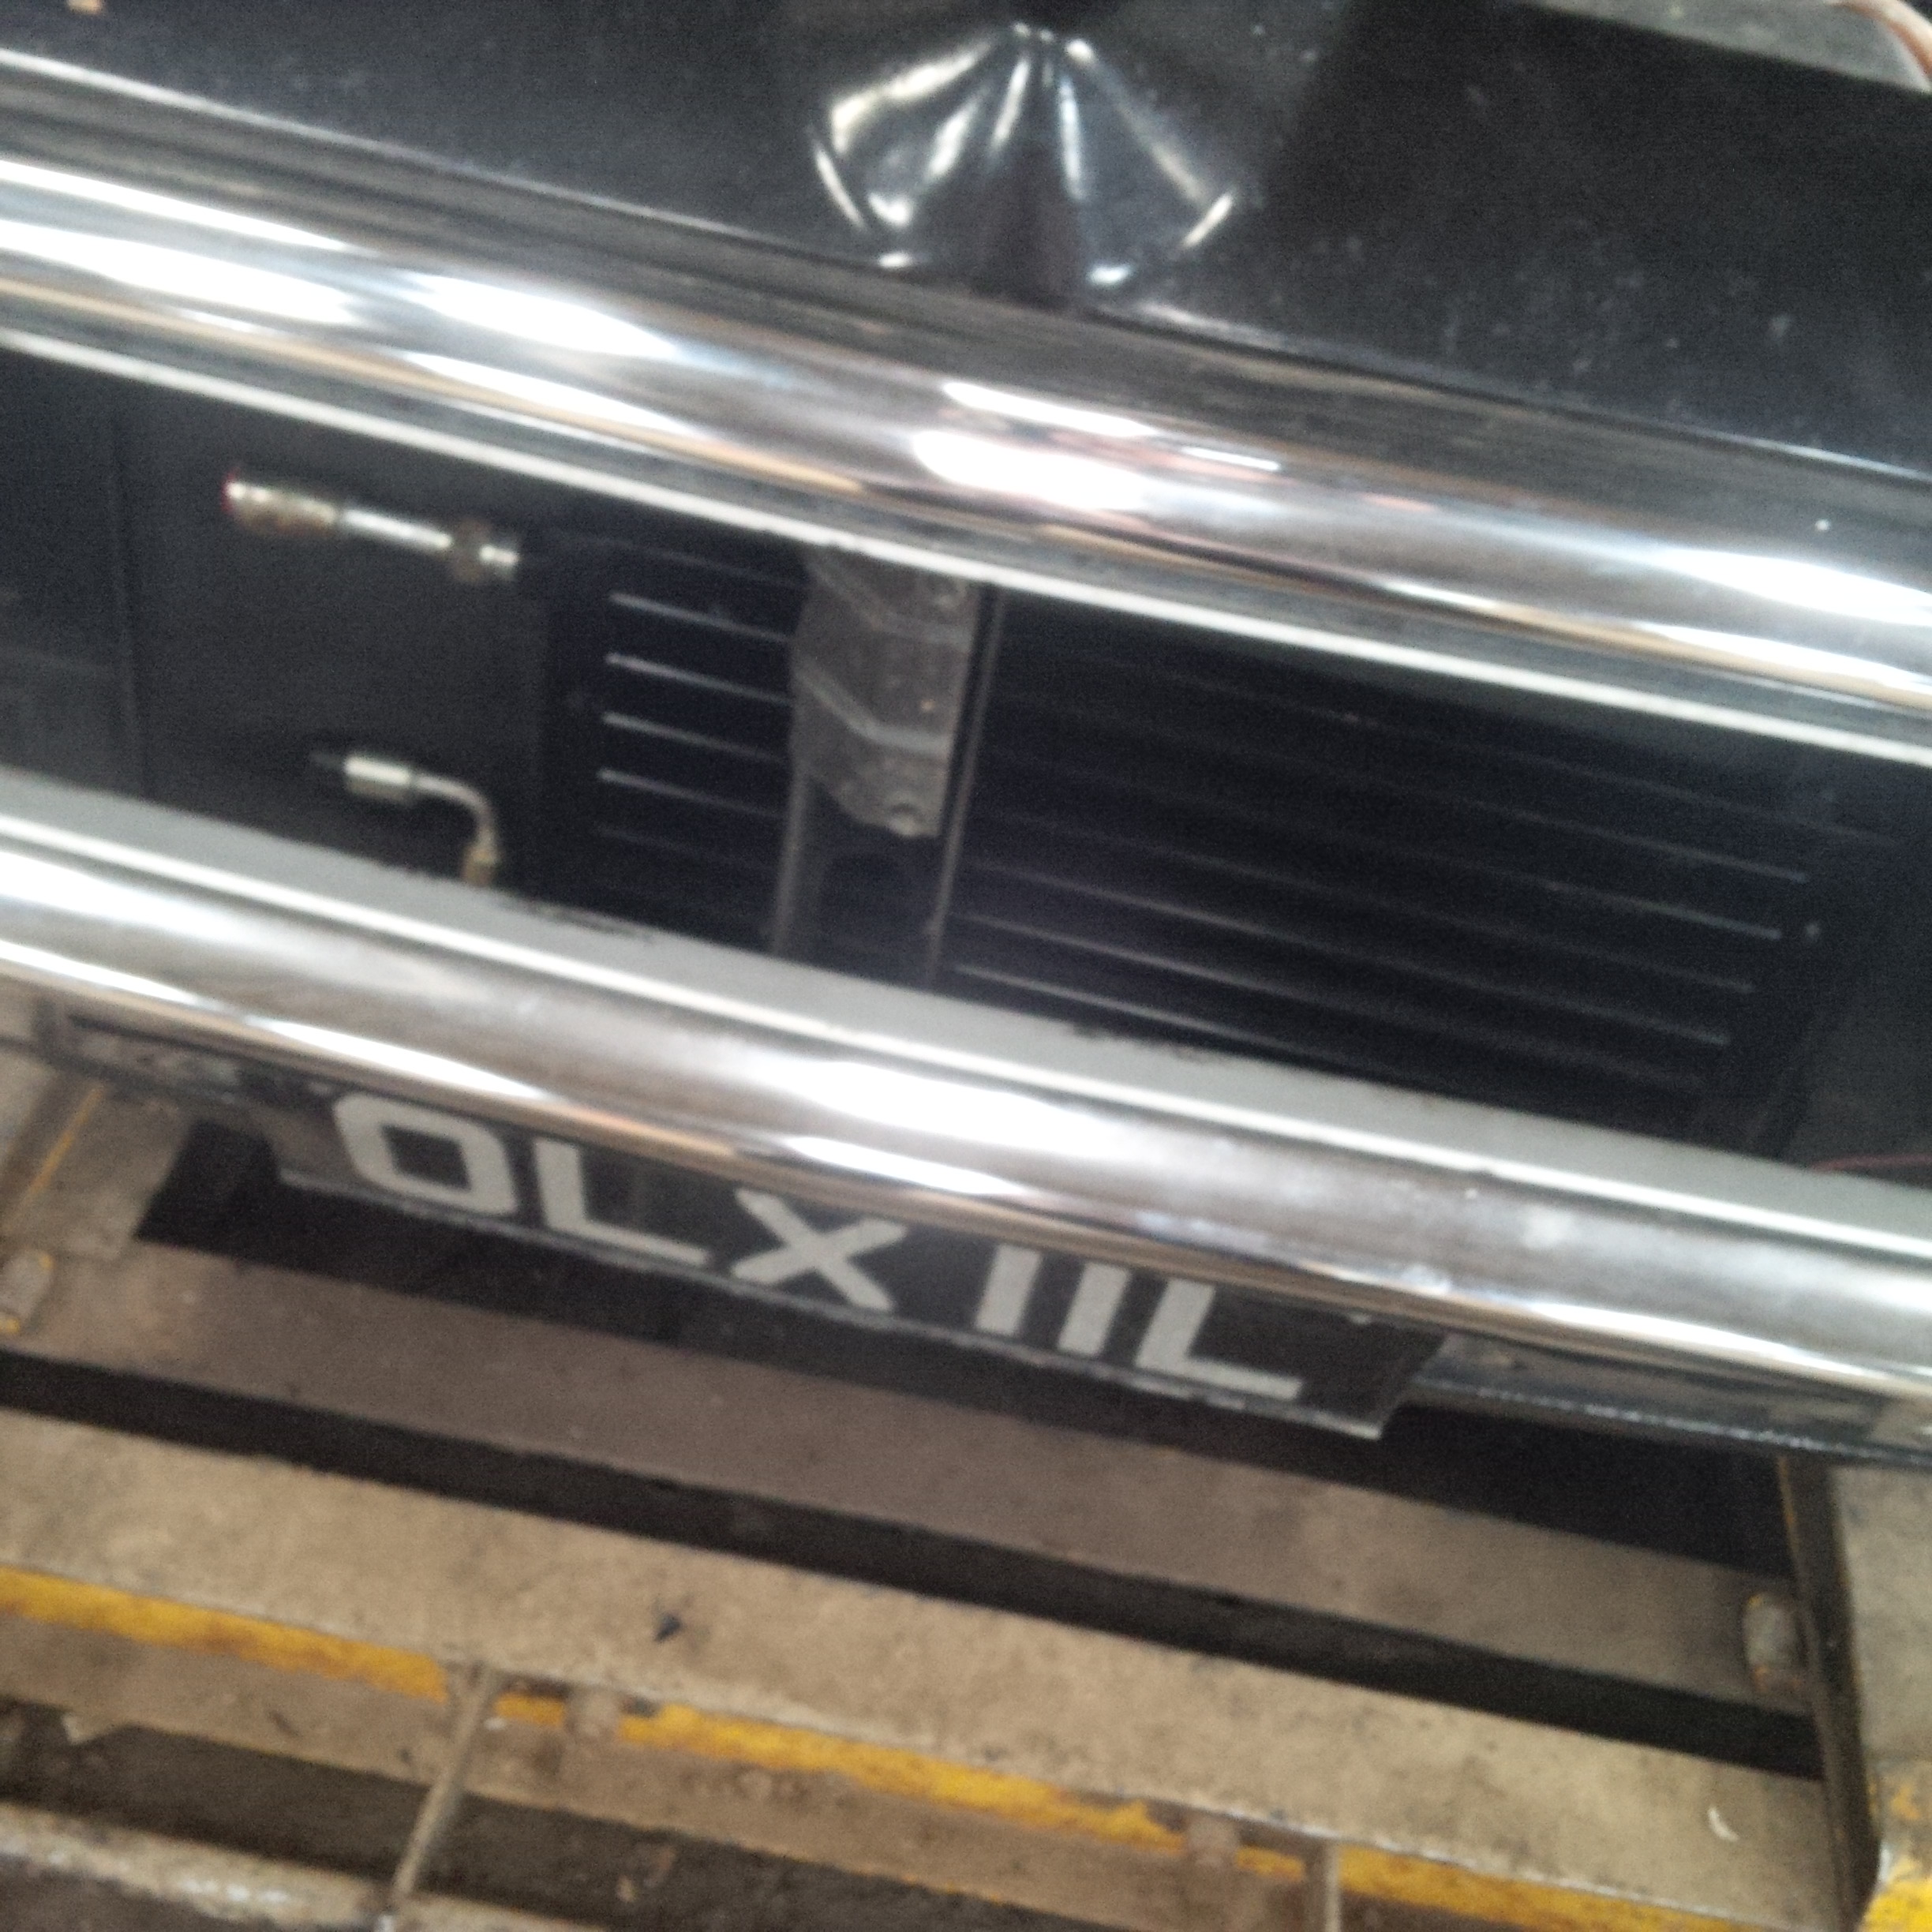
once removed we found a big rusty hole that had been filled with mastic where
the cold air feed was.
this will all be metal repaired and seam welded when the shell is striped and painted.
but this is first build up and mocking so we just cut some alloy and riveted into place
for now just to seal it up and make it motable.
big rusty hole could almost get my head in it lol
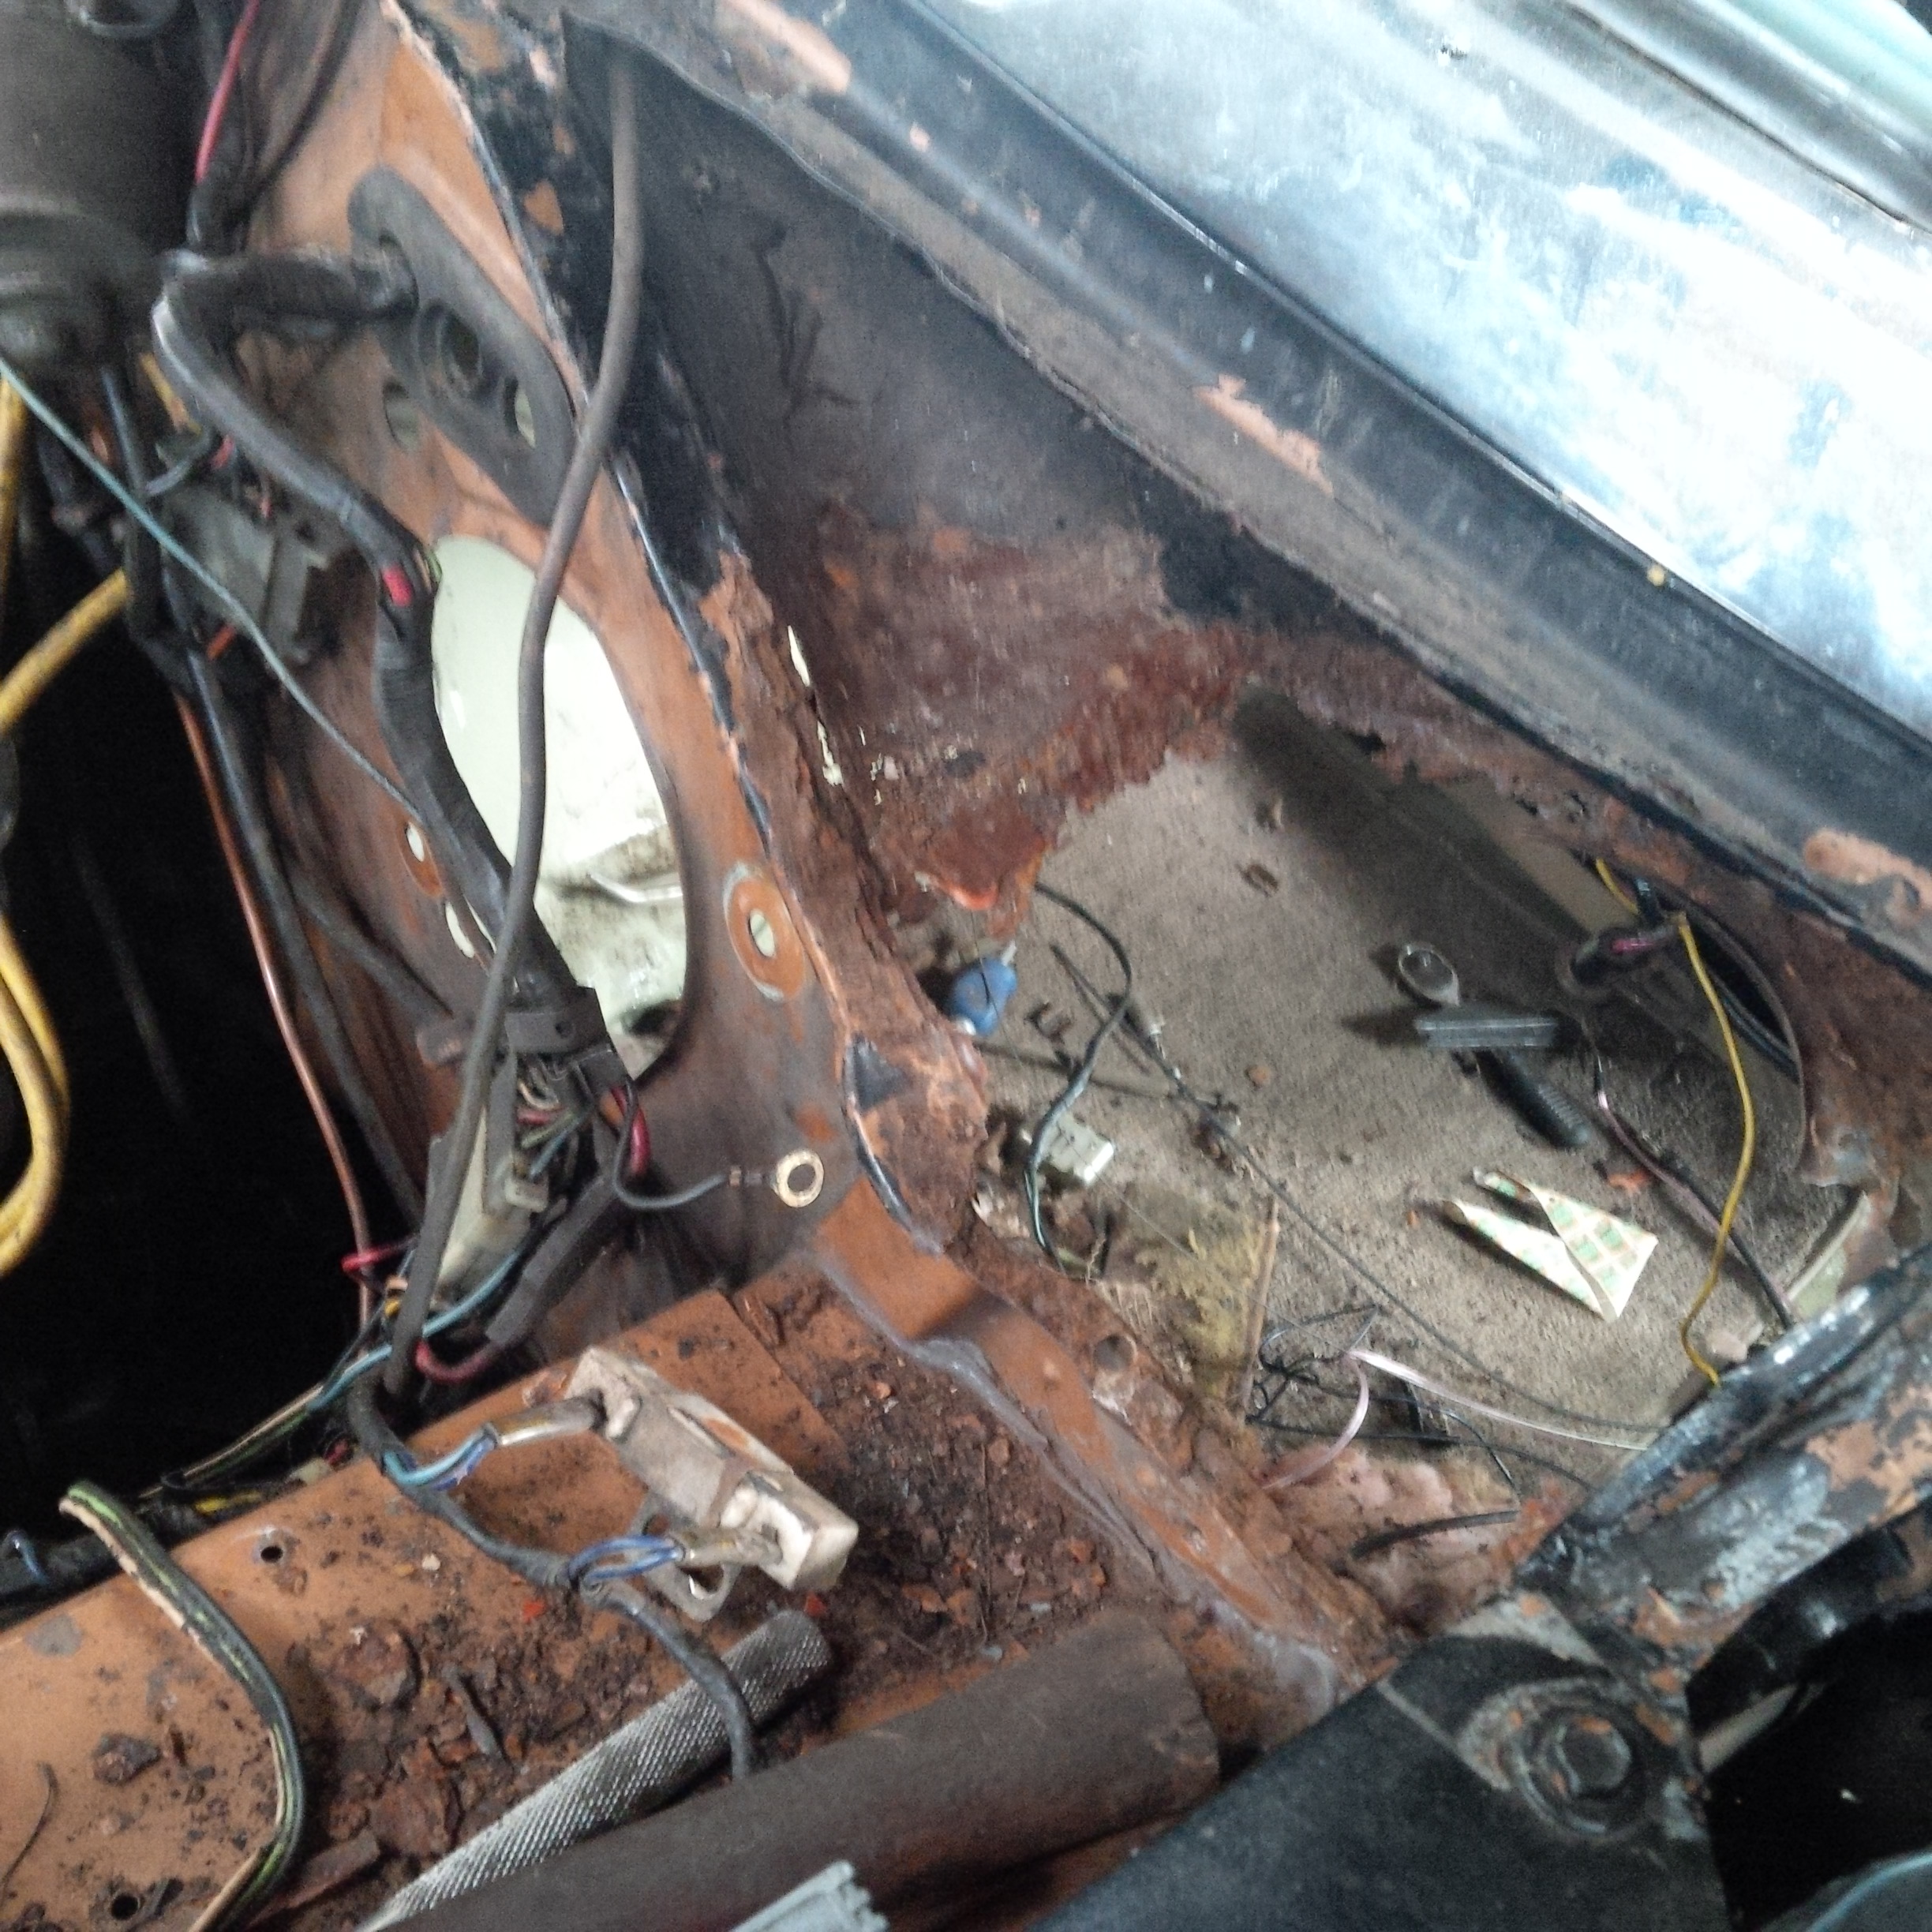
quick fix for now to seal it up.
I then set about making brackets and mounting the compressor on the engine,
the drier and pressure switch and the new 16" kenlowe fan, ive also got an 8"
fan on order to sit next to it to keep it cool.
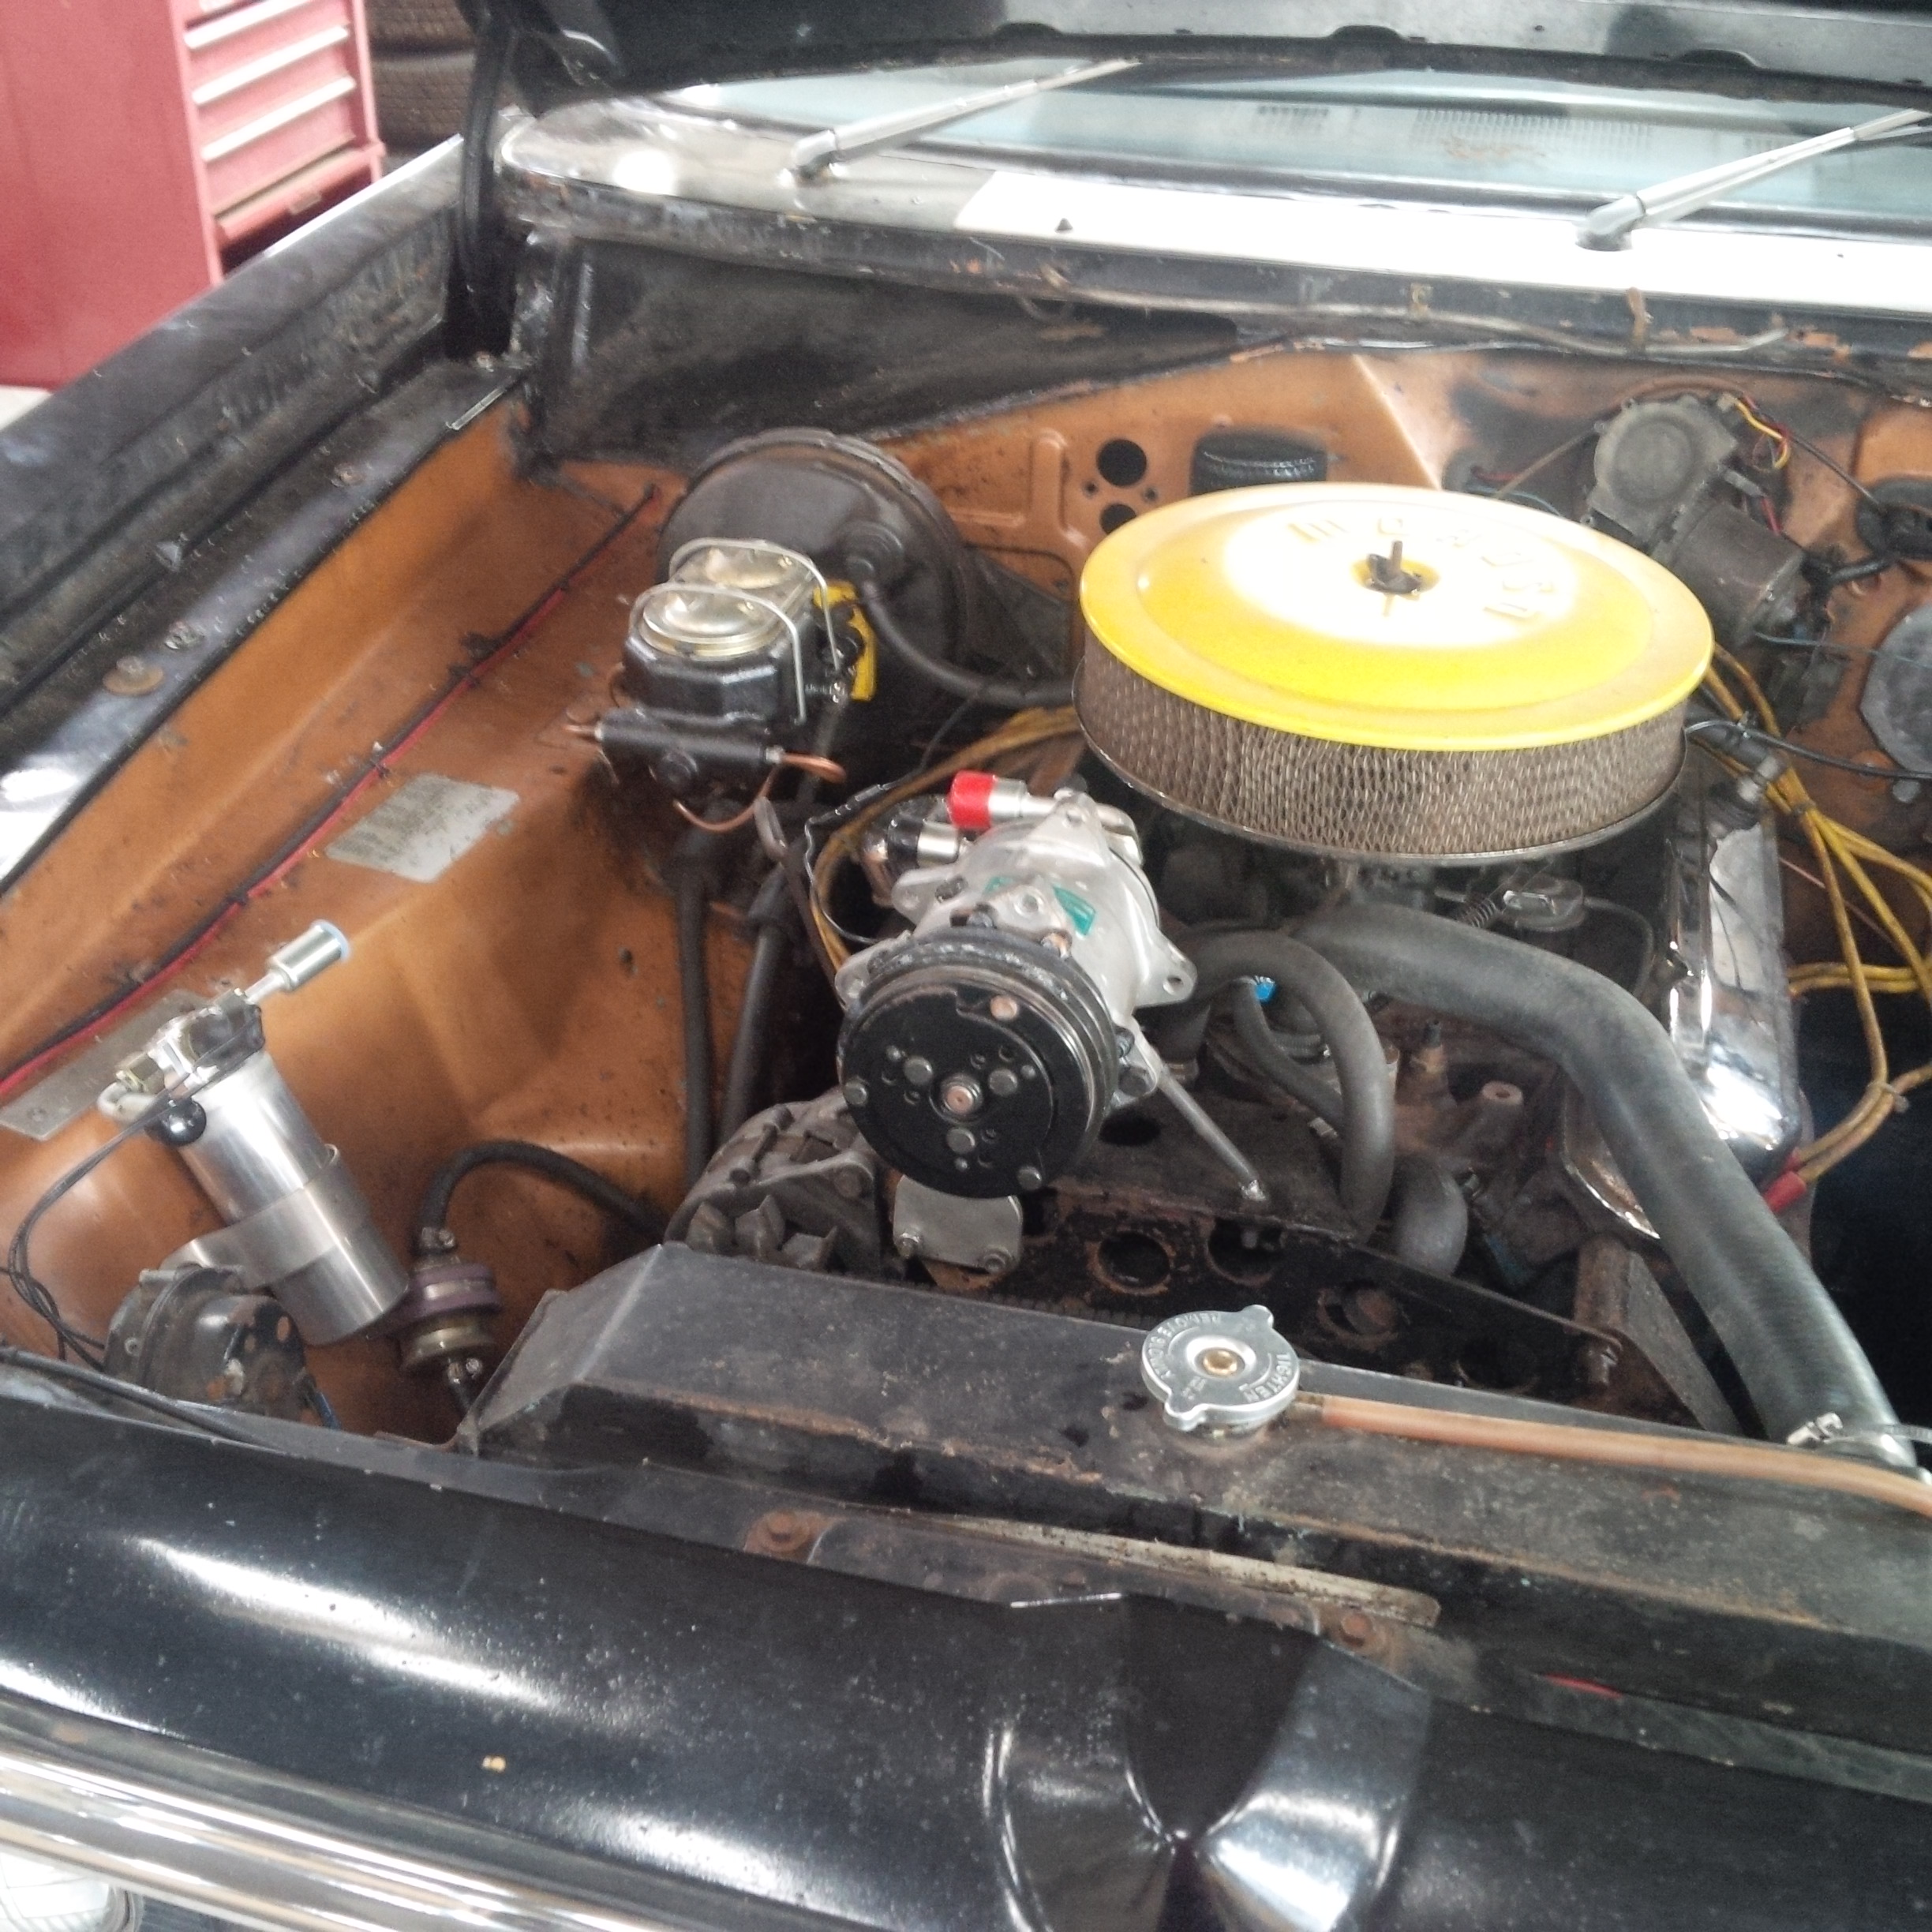
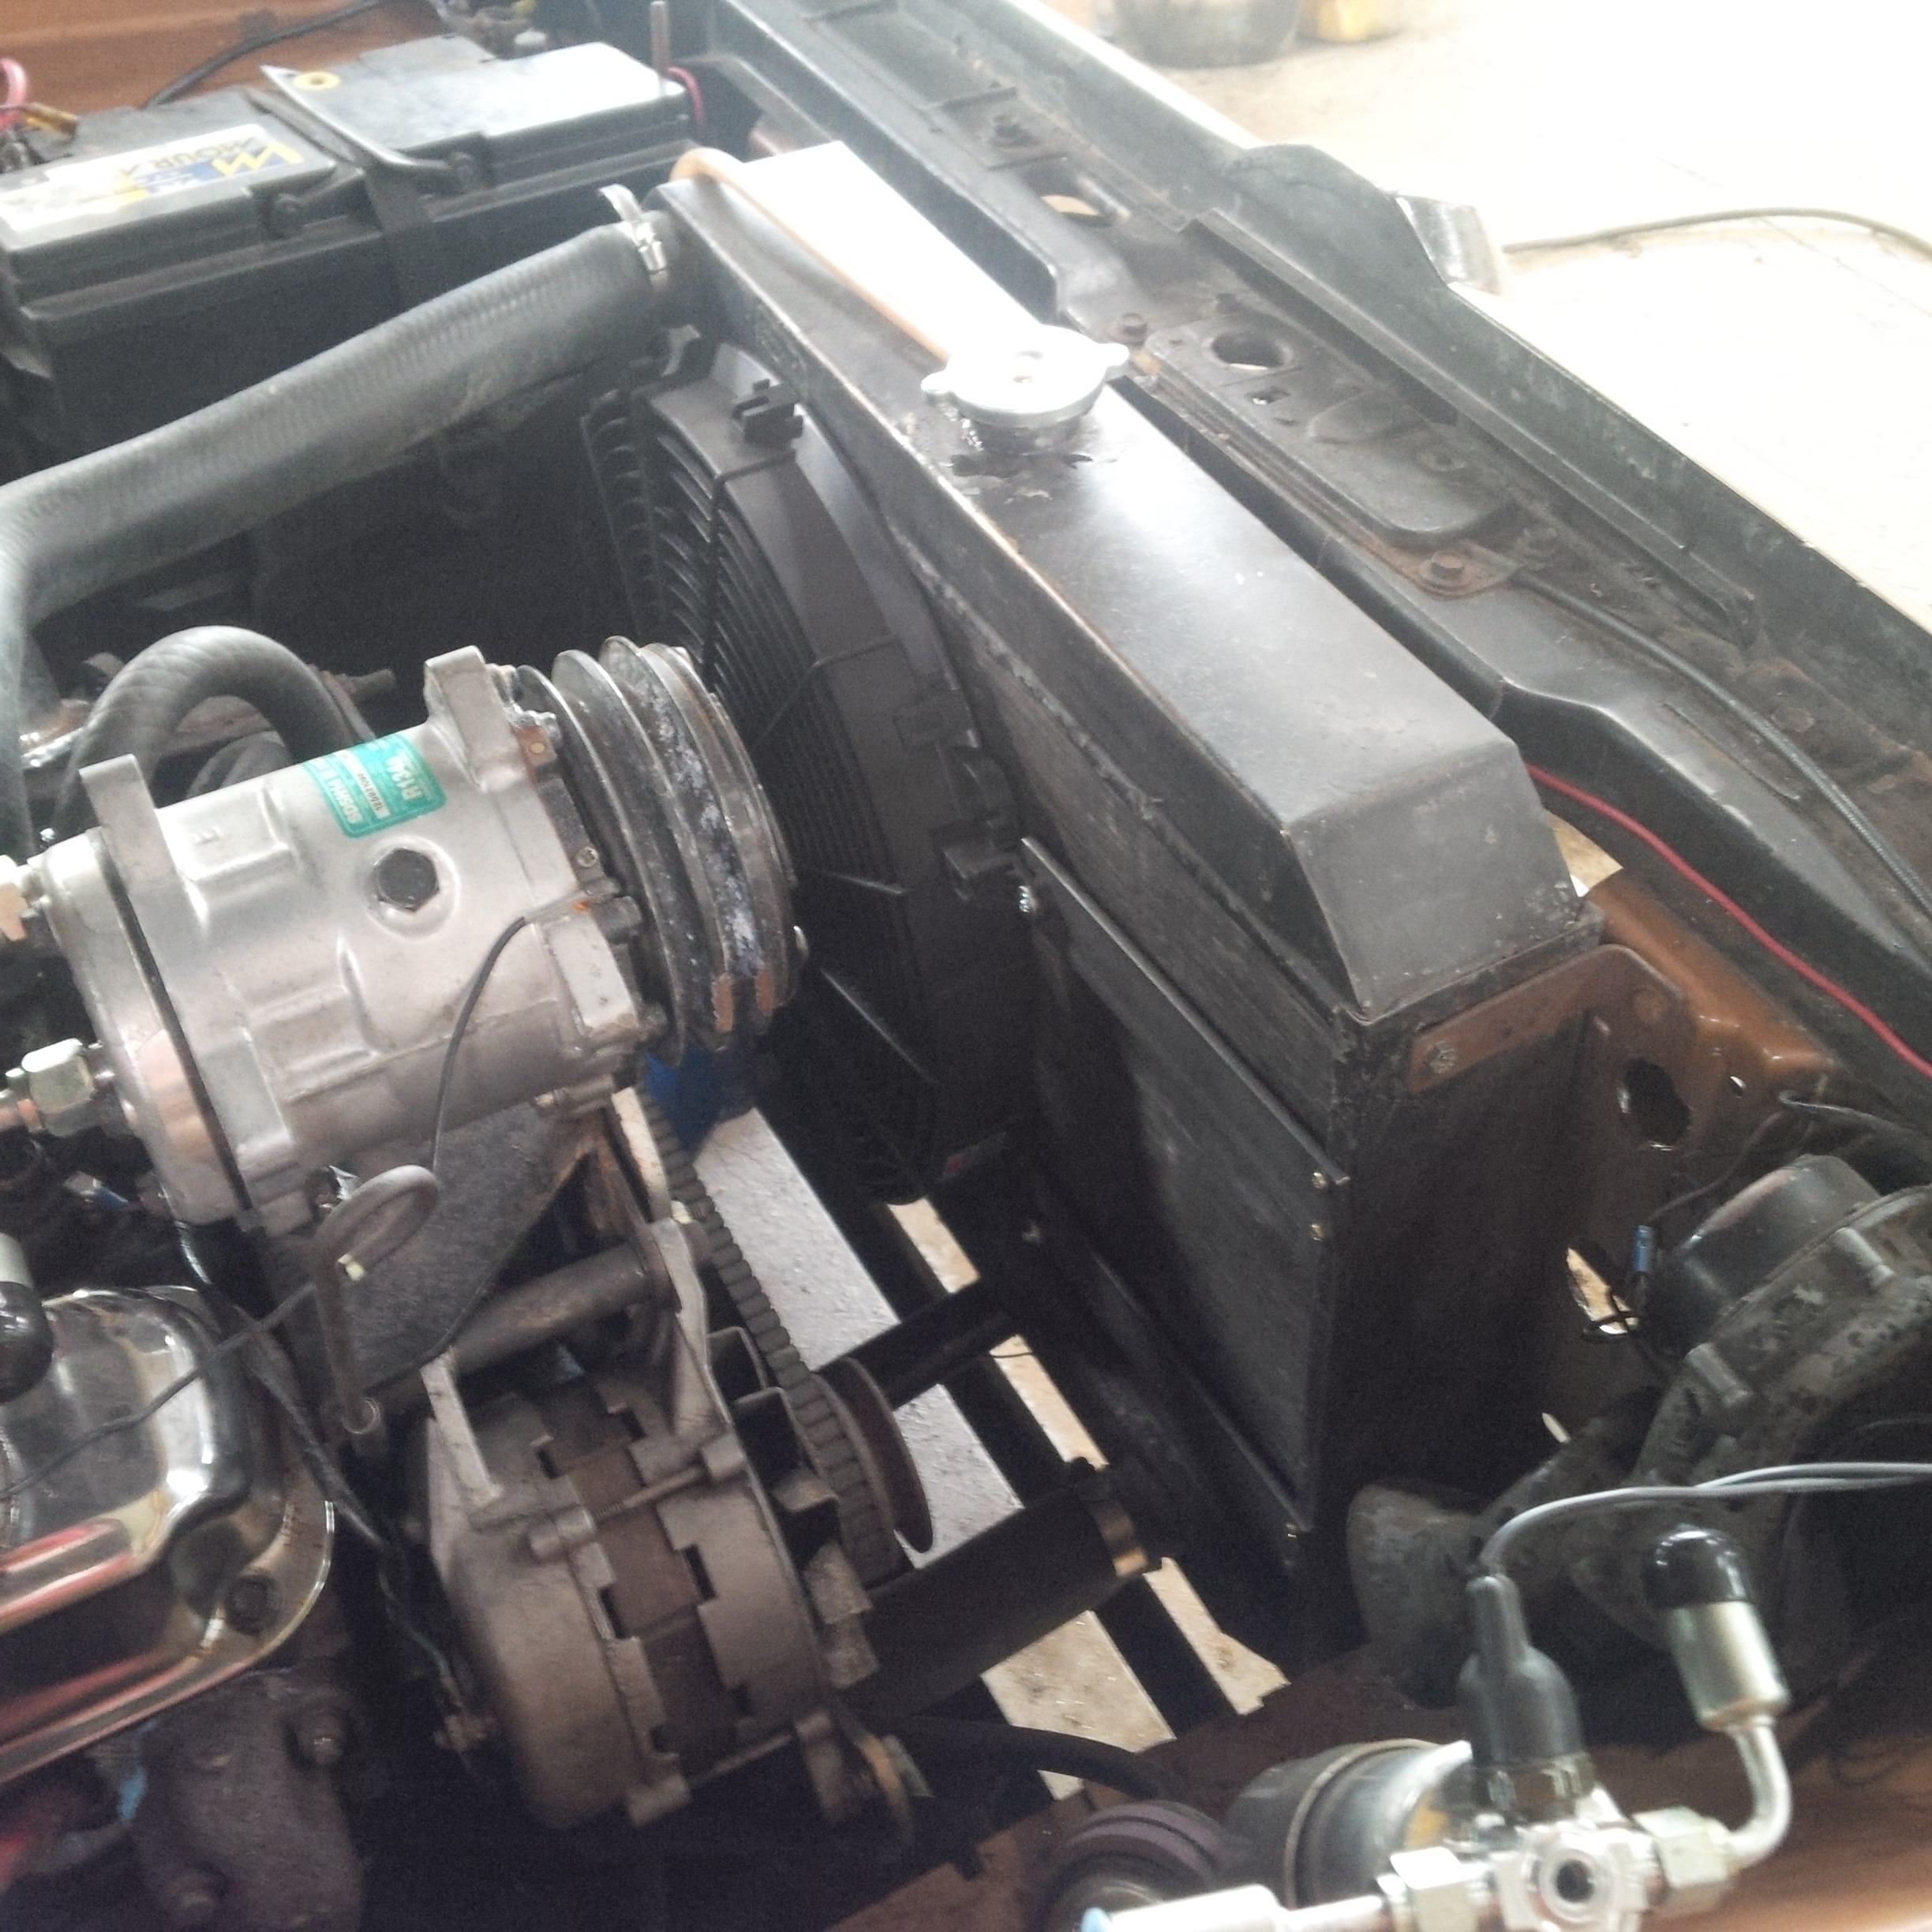
removed the rad to get the air con rad in there, just gotta mount it to the engine
rad now and order the hose lengths to make the pipes with.
the wiring diagram I got with it was for a completely different control unit.
but ive figured it out in the end. ive wired it all up the heat side is either on or off but I can regulate that with fan speed, but the air con is thermo control which is good.
I have mounted the control unit in the hole where the original controls where BUT
the unit will only fit upside down ffs ! it just cannot fit right way up as the fuel gauge
is in the way. but its in and works so its a start and it doesn't look to out of place.
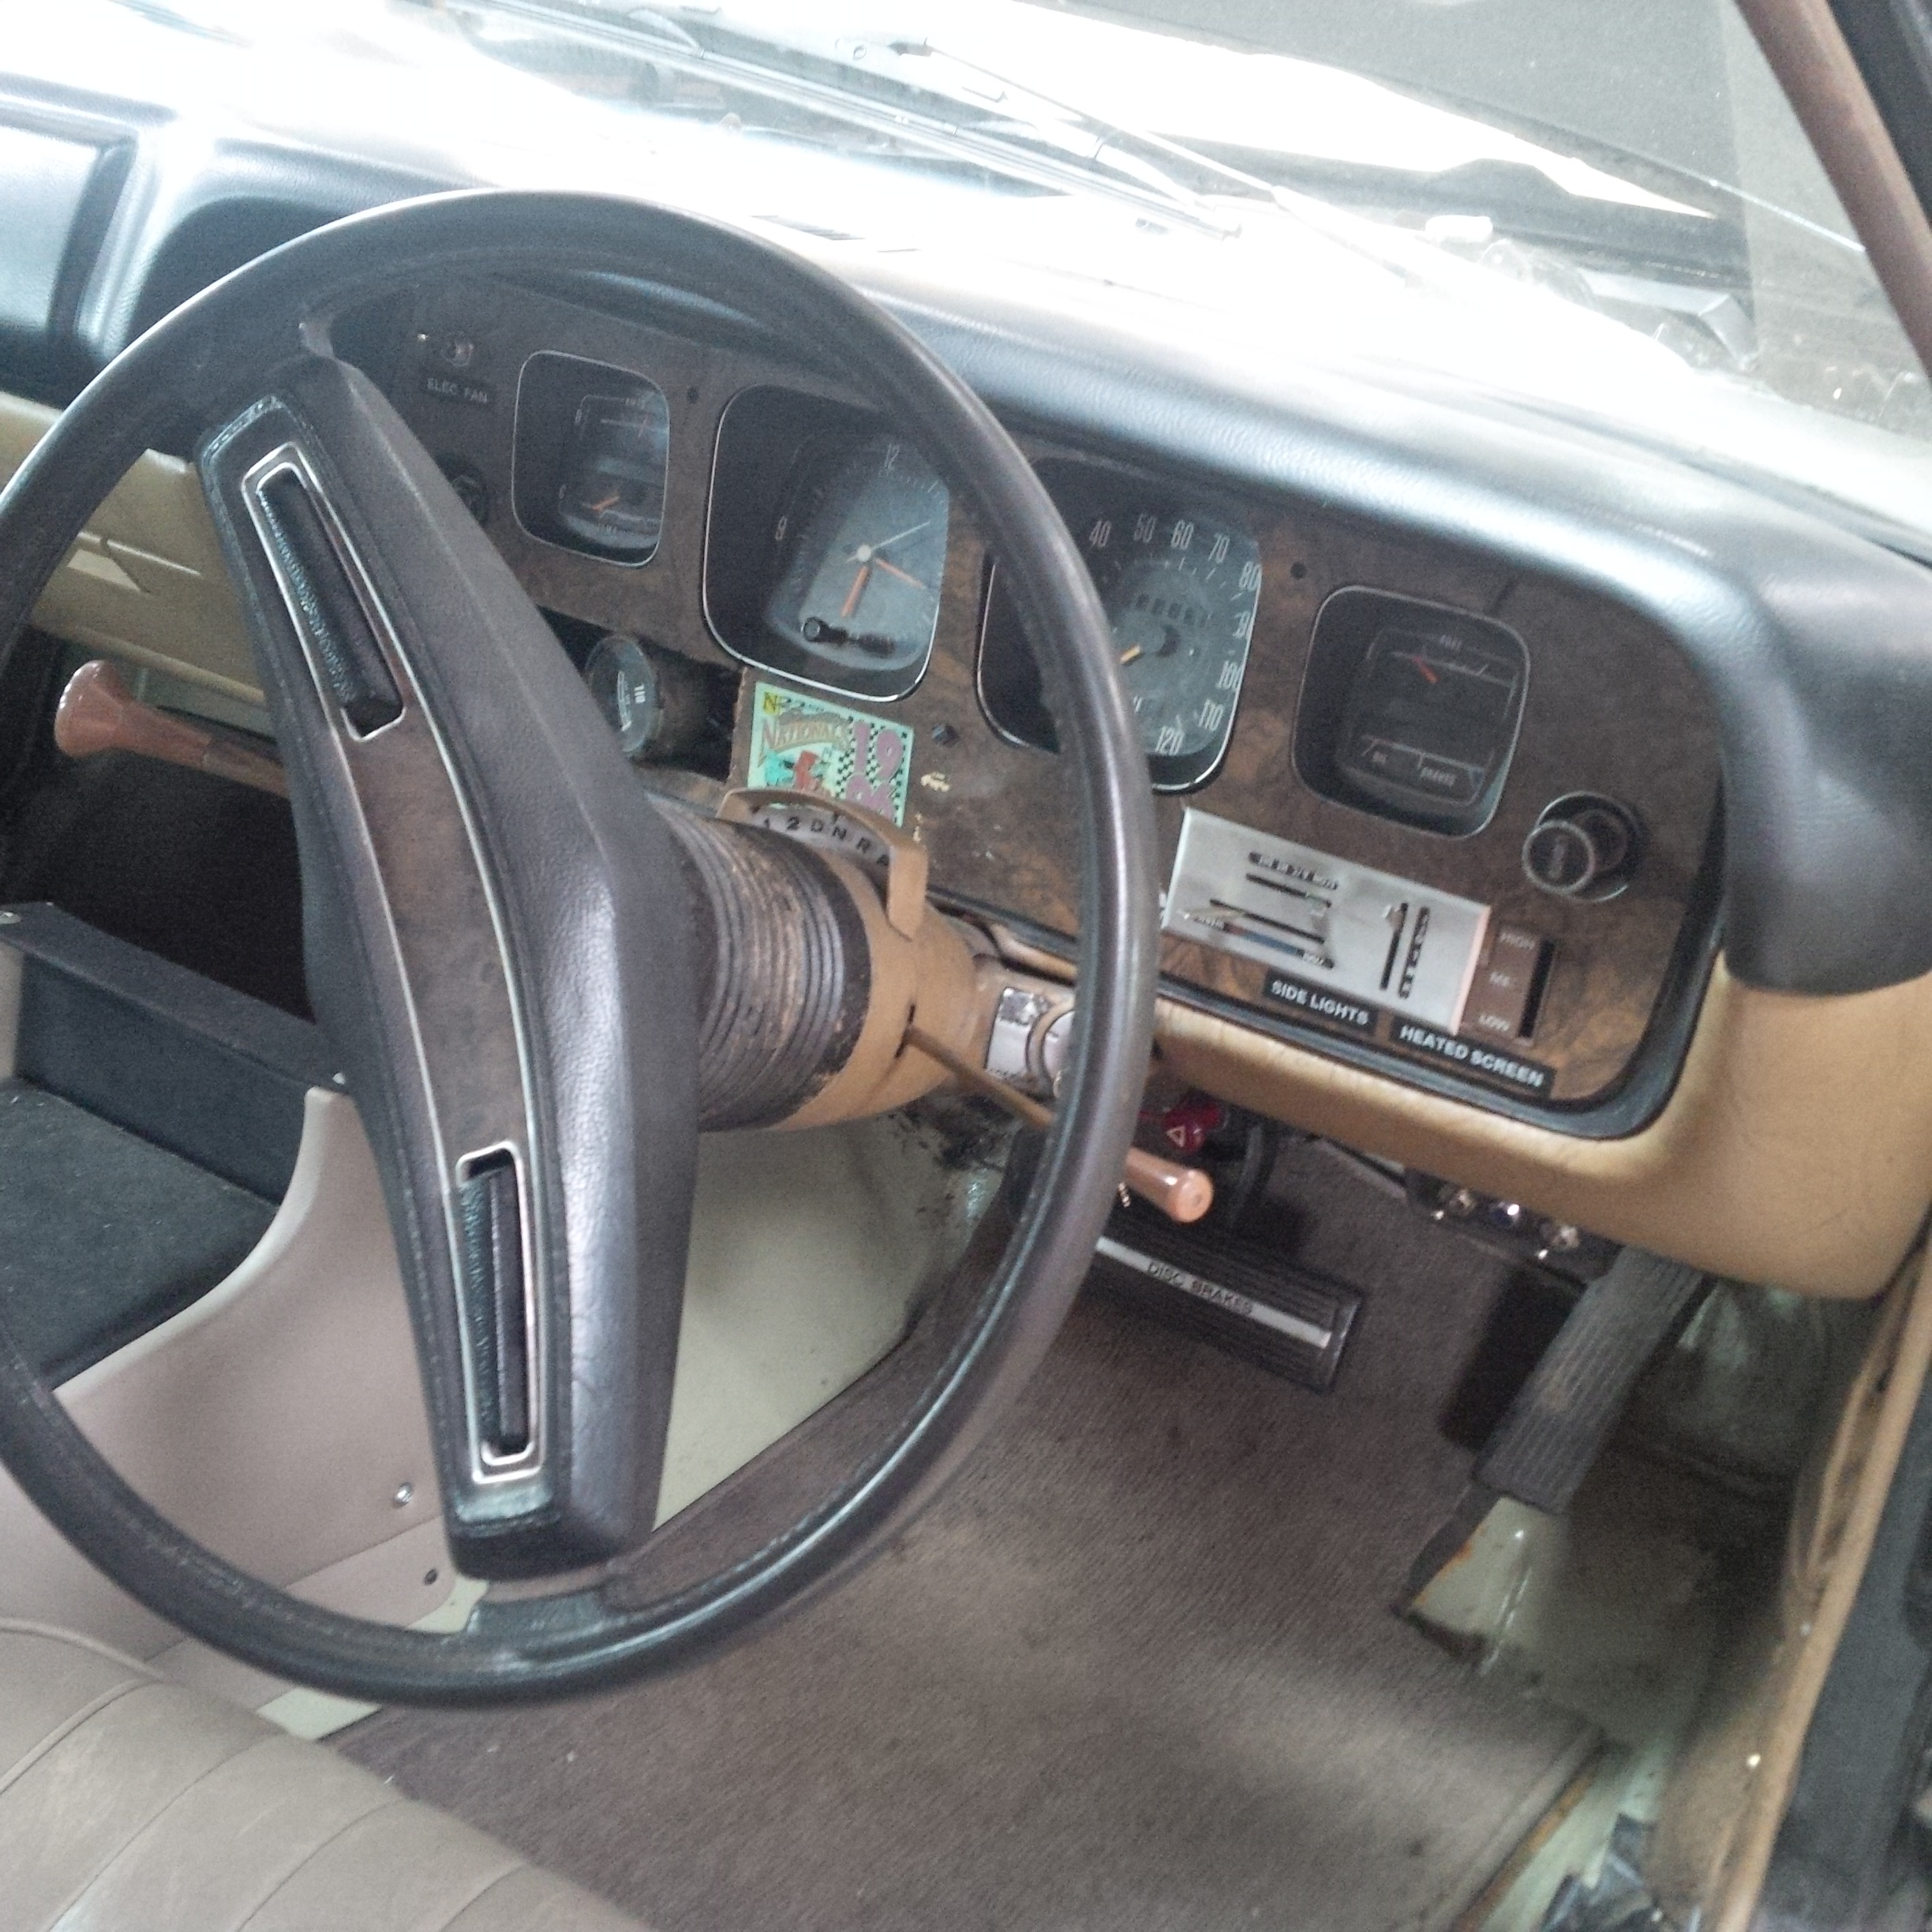
also fixed the fuel gauge the gauge was shorting on the body so ive just insulated
it from the inside out and its fine now.
heres a pic of the heater/air con unit mounted under the dash.
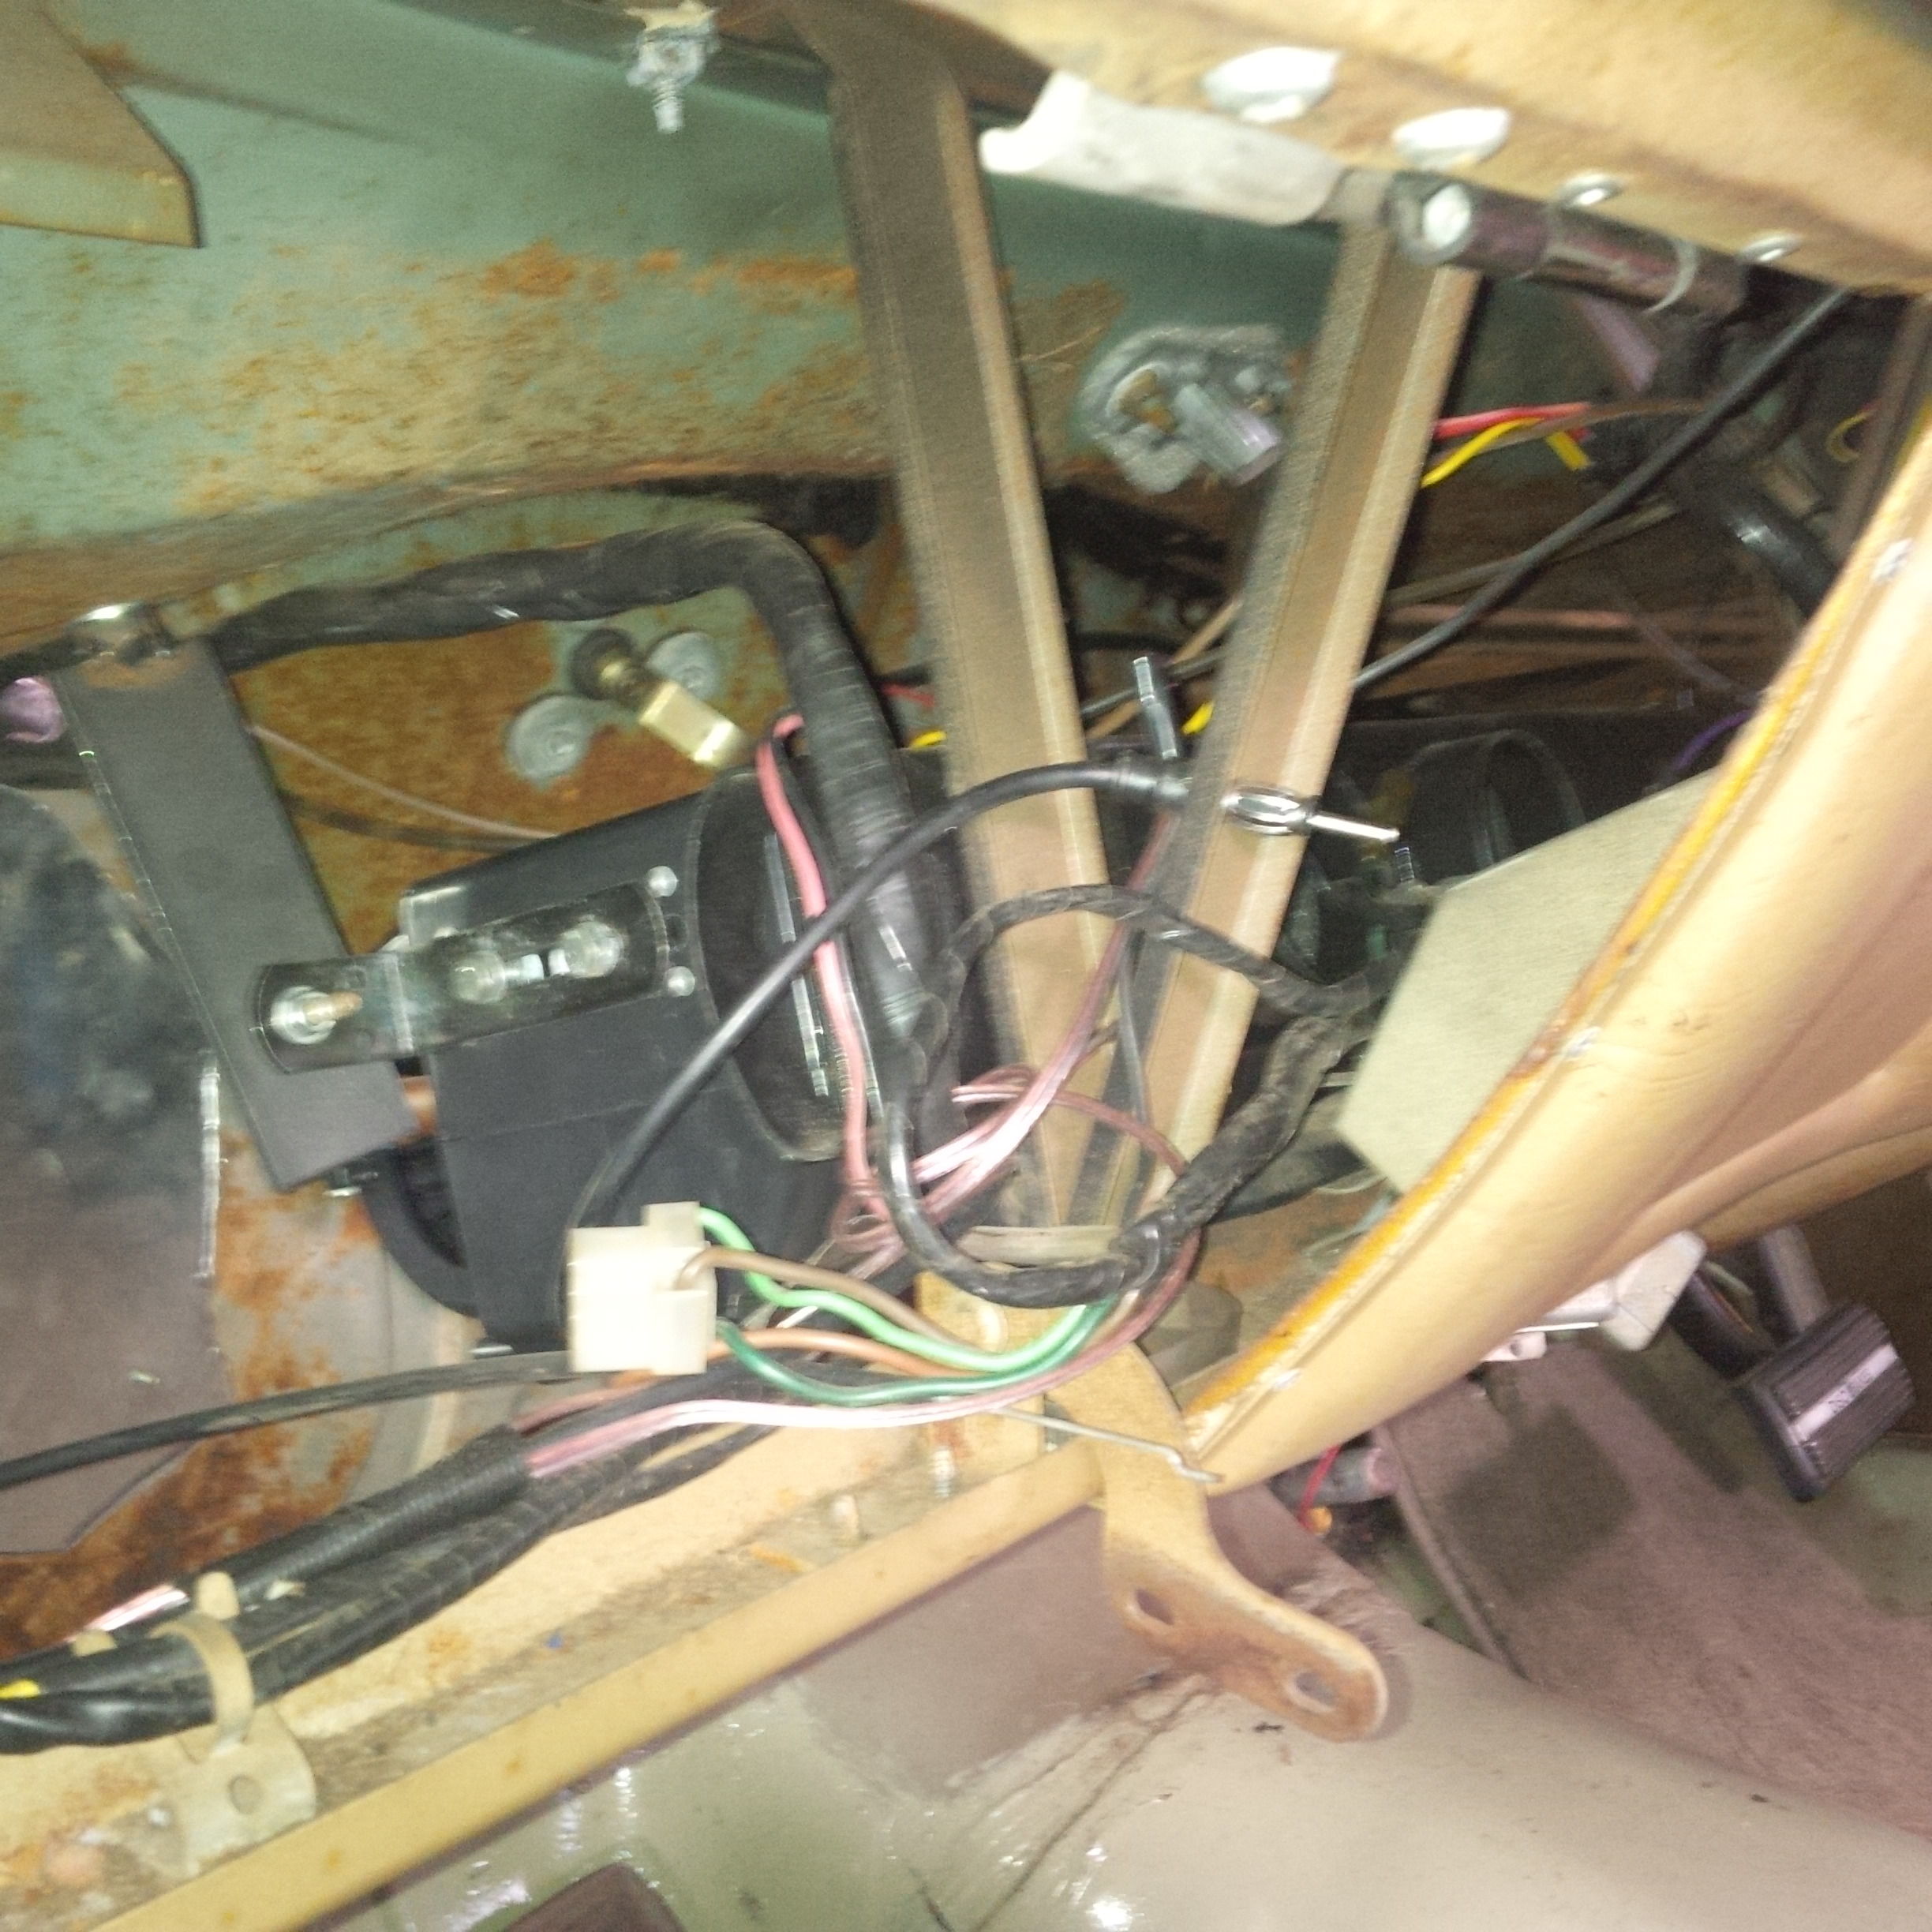
that's a view looking through where the glove box would be.
I cant belive how much space is in there now, it was literally full before with all the cobbled in crap.
its very close to being road worthy I think

also stayed up late lastnight to bid on an edelbrock performer intake and edelbrock
4 barrel carb there �600 here new I won them both used for �70 on ebay America
its the same carb as on my 327 chevy which I can rebuild with my eyes closed and
I have all the parts on the shelf
I have also enquired about shipping on a stroker kit that will take me from my cast piston 5.2 litre 8.5 - 1 cr upto forged pistons 6.5 litre 11 - 1 cr