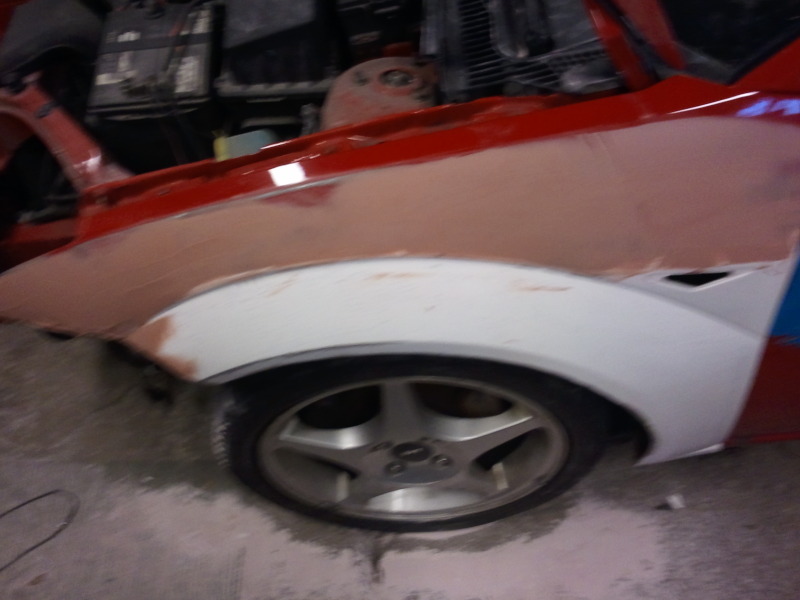
put another coat of body filler on the front driver fender
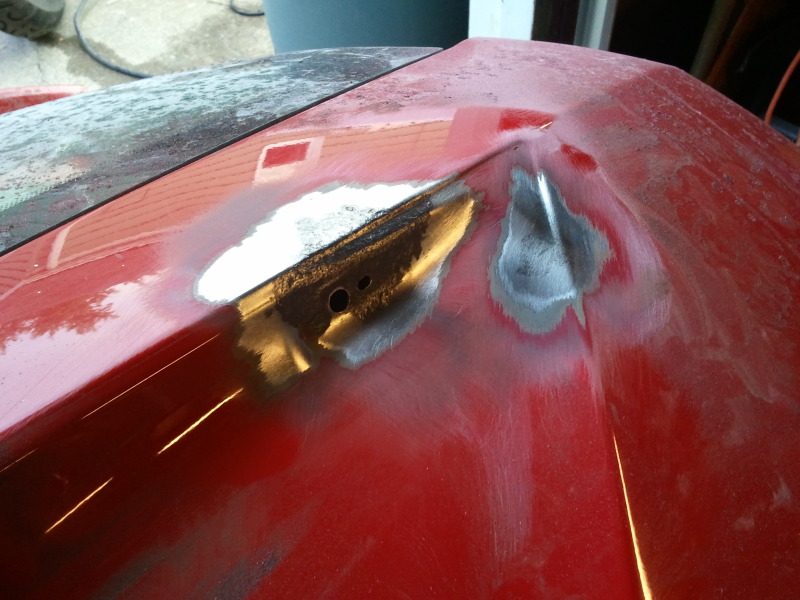
Then removed the rub strip from the hatch to attack the rust spots:

Then I made sure to document the process of how to cut the quarterpanels to isntall the fiberglass RS replica parts....
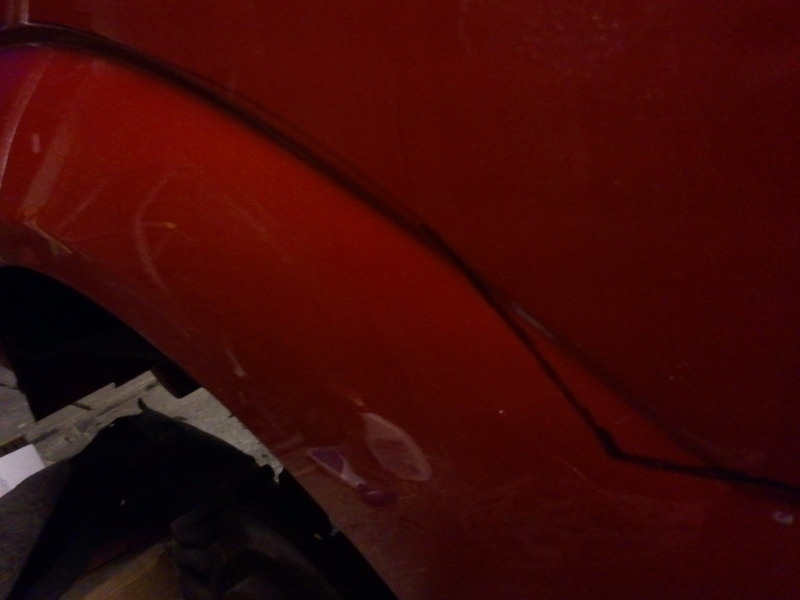
Start out by measuring in a few spots and marking 2" off the edge of the door jam, then eye-ball the same curve like so:
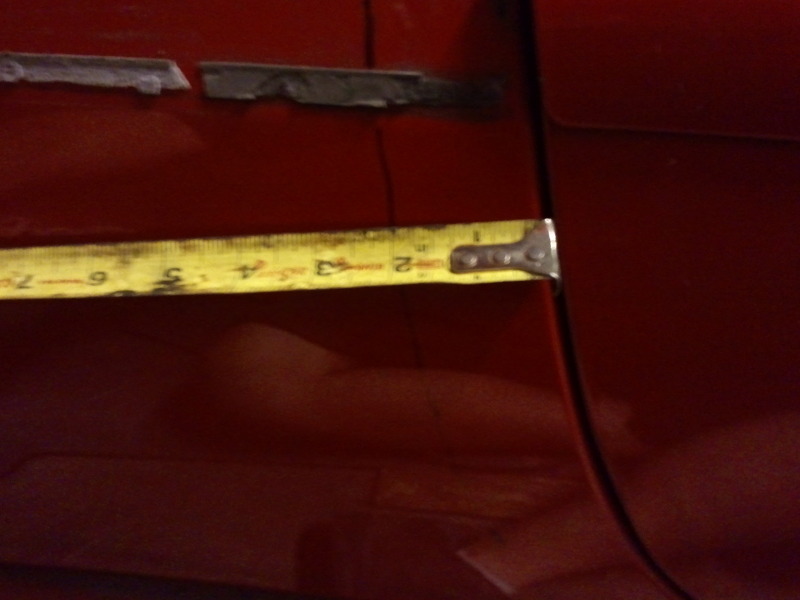
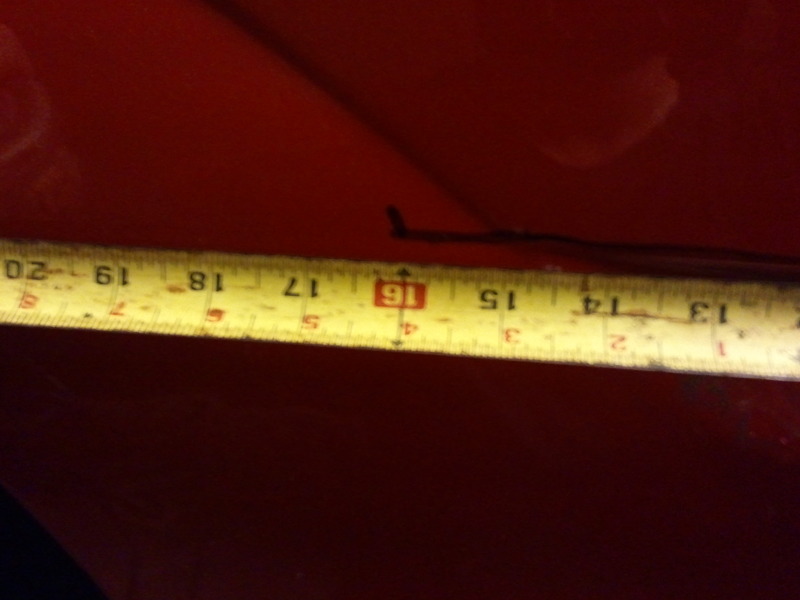
then, your cut line is going to be only about a 1/16" above the recessed area where the rub strip is. measure along that line 16" from the door jam as a rough starting point like so:
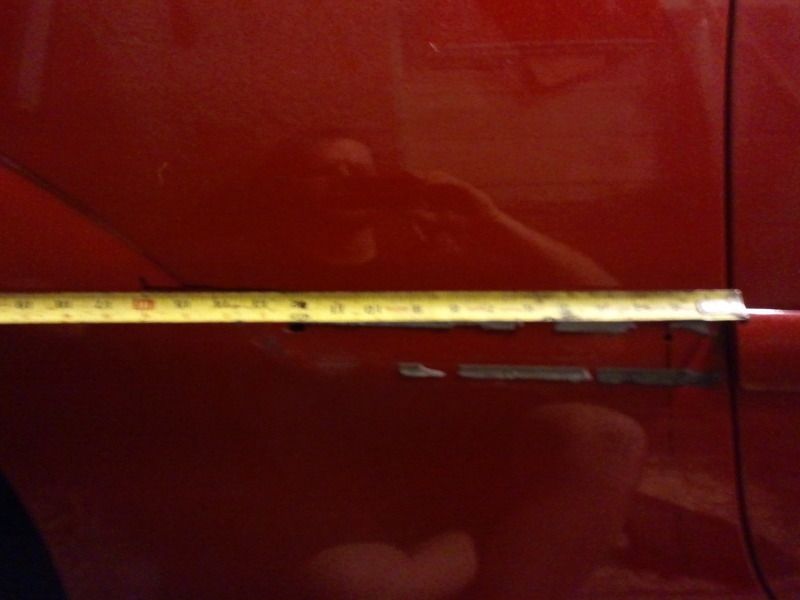
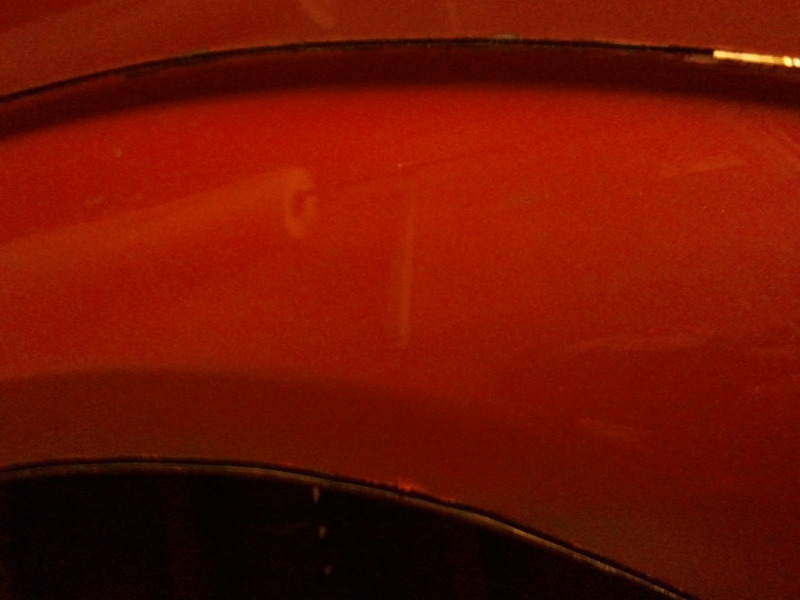
then from here your cut line is going to gradually make its way up to the current flair's body line, and continue similar to the rub strip area, just a 1/16" or less above the current indent
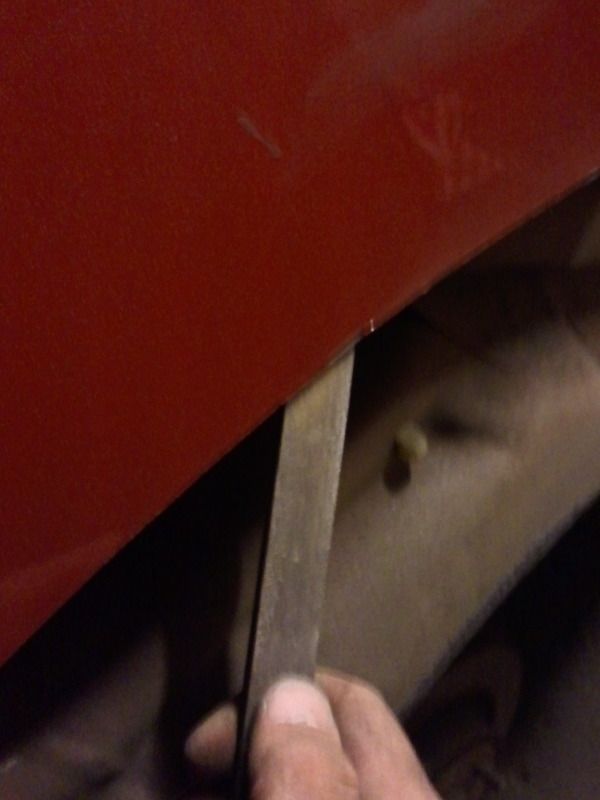
then your going to cut about 1/16" or less along the actual fender-well so that the whole panel comes off, included the flange with the spotwelds
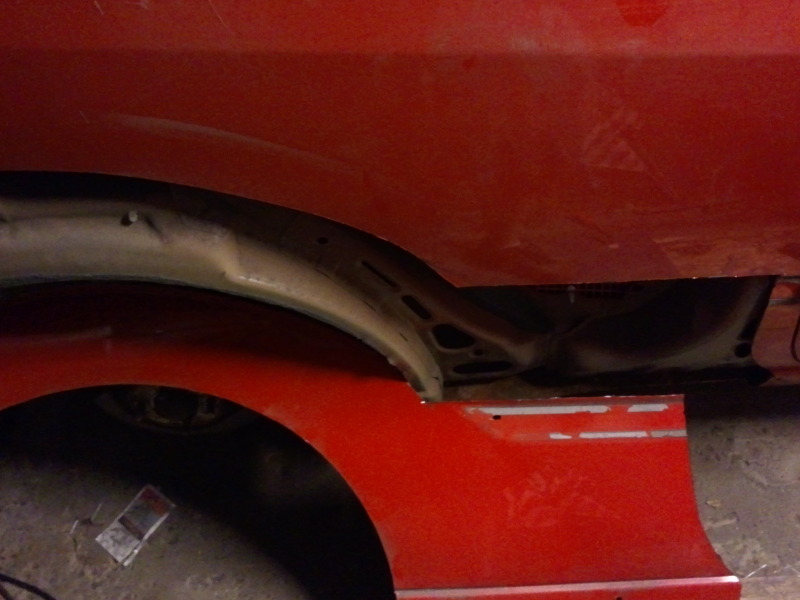
Next, cut along the bottom of the rocker, just after it rolls underneath. Then remove the huge chunk you just cut out:

at this point, you will want to bevel the fiberglass panel like I did in the previous post where I did the other side's QP and do a series of test fits, adjusting the cut until you end up with perfect fitment.....then use a file to de-burr the inside edge so nothing can interfere when you bond the fiberglass flair to the metal
(I'll pick up from here tomorrow)