Got back on to this again today,
Started by putting the suspension back together, using a few bits that are not meant for the 205 so i am keeping it quiet at the minute untill i know its going to work, coimplete new top mount kit and new springs putting all together with new shocks-


Was a real arse to do as they are a little special but once fitted to the car look good and seem to clear ok, looking spankly too-

Then i started to slowly put all the bits back from where they origianally came from, most of the bits removed have been powder coated so look like new, even went to the local fixing's shop and got new nuts and bolts :lol-

Come to a bit of a stand still again as i forgot to get the servo powder coated and cant do much more untill this is refitted.
Well on saturday i received the final bits i needed back from the powder coaters (it's a desease) so hopefully this will be finished pretty soon.
Had a pair of hub carriers painted black-

Fitted the wheel bearings, trying not to damage the paint-

The servo came back looking great in anthracite, much better than the rusty crap it looked like before.
Ordered the last few bits i need so i am hoping by the end of the week to have a six lump sitting in the bay looking very pretty.
I have my fingers crossed that the master cylinder will clear and that i have no issues with the exhaust manifold. Time will tell.
The calipers i have had powder coated too-

Brakes all built back up and fitted, painted the centre of the disc's, once the car has been driven it will remove the over spray and will leave a nice coated centre that wont look horrible when the metal corrodes-


This is what it is looking like now-

Well the day is getting close to the car being finished, had a really good session with it today and managed to get the engine in (yay)
Lining it up to fit, it does look like it wont fit-

A bit closer, to me to you-

Lining it up to the engine and gearbox mount, had a little mishap with this when i decided to put the gearbox stud in the wrong hole in the gear box, it made the clutch arm hit the bottom of the battery tray, felt a bit of a tit when i realised what i had done.
A bit further in, as you can see it is sitting happily on the mounts, just hope it clears in all the necessary places-

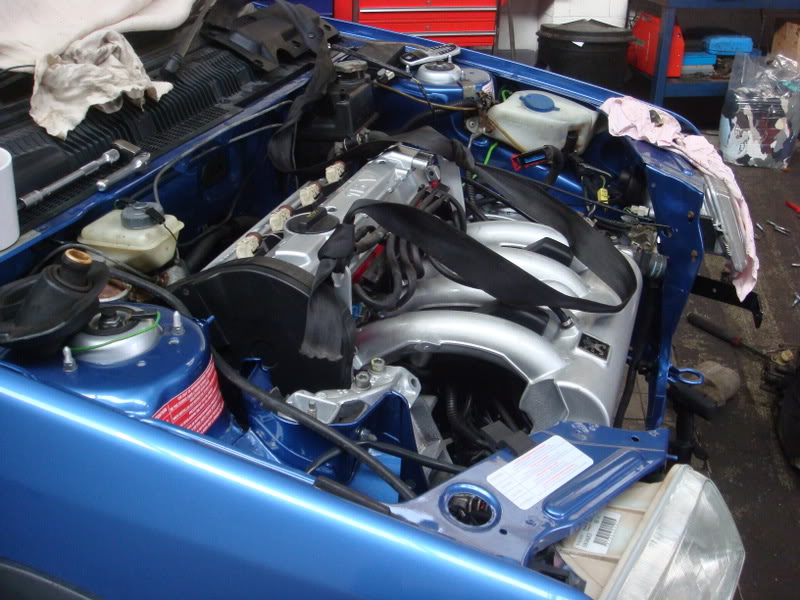
Well as you can see the lump is in and guess what i am chuffed to bits as all the places people struggle with i seem to have been lucky, its close to the master cylinder but the exhaust and the front panel are fine (dont worry the master cylinder is going to be replaced, and sohas the fuel filter now:lol)-


Well up up up, car goes up on the ramp and i fit the subframe, i had to say finding all the bolts was a mission, i had forgot which ones were which, just got to fit my shiney new sump, yes i know but you could'nt leave it looking like it is now:lol-

Well thats about as far as i can go now, just fitted all the subframe and ancillaries, bolted all the driveshafts back in and put the wheels back on, it was great to see the car standing on its own feet again-

Its a shane the inlet manifold is covered up by the front panel but ho hum, all thats left to do now is get it all wired up and connect the coolant hoses, managed to put all the fuel lines on and have just fitted the bonnet too. From the bay looking like this-

To this-
