Hi guys, I've been on here a while but haven't posted much, so I thought I'd try and become a bit more active and get a project thread up.
Apologies in advance, it's a fairly substantial read, but there are lots of pictures!
I bought it on 21/01/2011 from the brother of a friend from work, so I knew it had been looked after!
Most of it will be copied over from another forum, so appologies in advance if it's a bit confusing!
First of all, here's a list of it's current spec and future plans:
Mods:
- Graham Goode Racing tubular 4-1 manifold
- Decat
- BCS Automotive full 3" exhaust system
- CPE Group A air filter relocated to behind passenger headlight
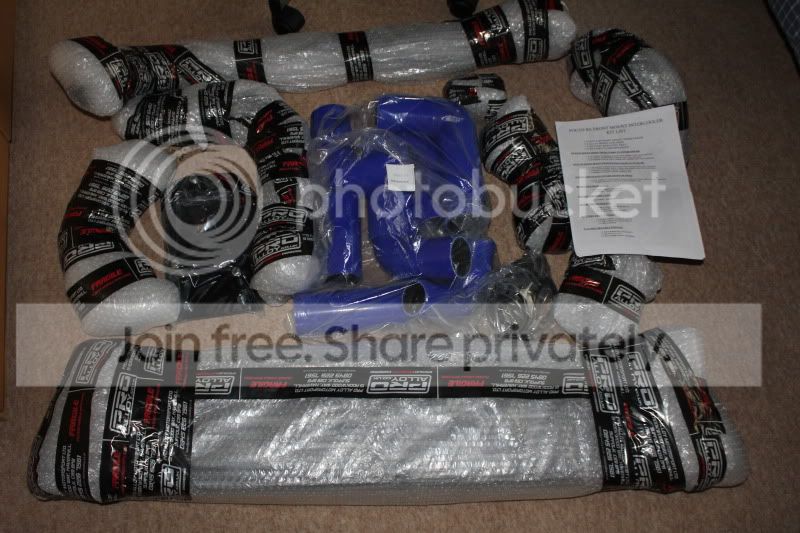
- Custom spec Pro Alloy intercooler
- AE+ Tuna remap
- Forge adjustable actuator
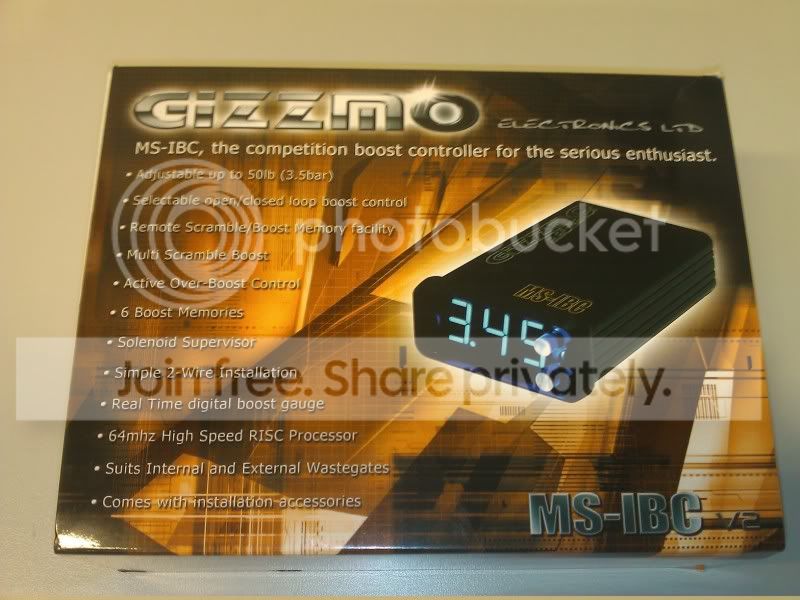
- Gizzmo MS-IBC boost controller (22psi highest setting)
- Compbrake recirc valve
- Various Roose hoses
- ST170 deflector panel for air filter
- Front fogs removed for brake ducting
- Scangauge II
- Stack boost gauge
- Rear 12.5mm axle spacers
- FK adjustable coilovers
- Vredestein Ultrac Sessanta tyres at the front
- Goodyear Eagle F1 Asymmetric 2 tyres at the back (soon to be all-round)
- Ferodo DS2500 front pads
- EBC Redstuff rear pads
- Smoked headlights
- Smoked side repeaters and front indicators
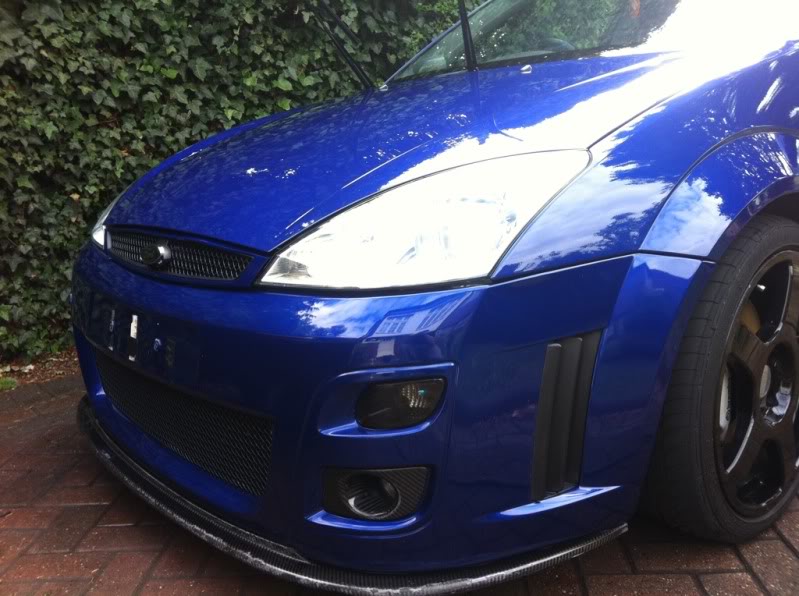
- Genuine carbon fibre fog light surrounds
- Genuine carbon fibre front splitter (resprayed black after being repaired)
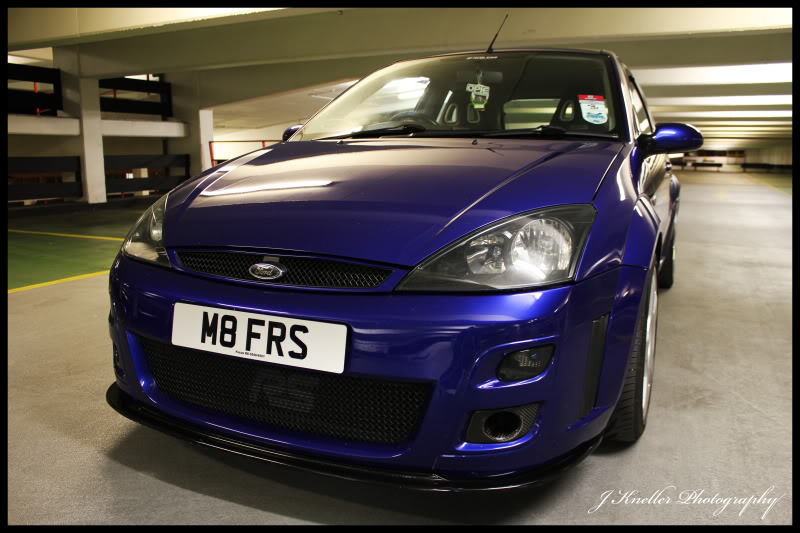
- Private plate
- Wheels refurbed in standard silver
- US Spec rear lights
- Euro spec reverse light
- DMB carbon/chrome badge overlays
- Colour coded door handles and front grille surround
- Ghia intermittent wiper stalk
- Ghia map light
- Carbon fibre effect stereo surround
I'll start from the beginning

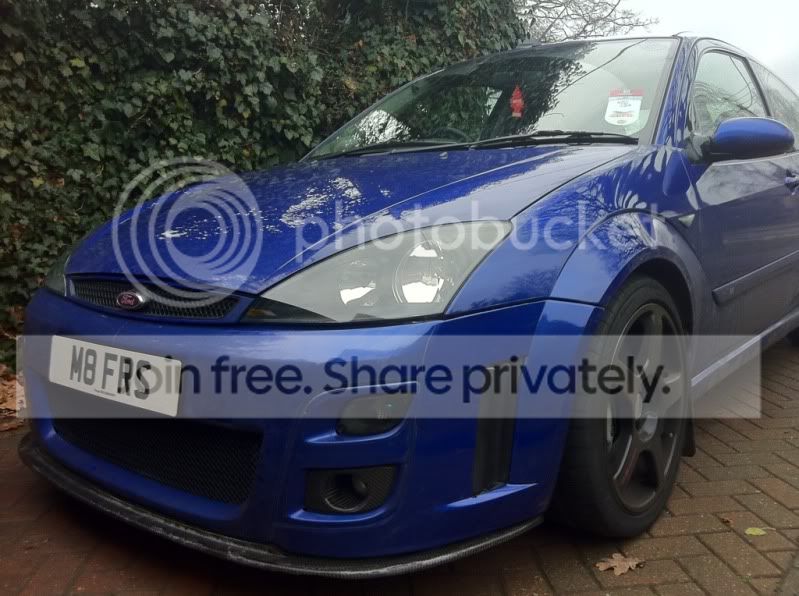
A few pics from the previous owner before I picked her up:


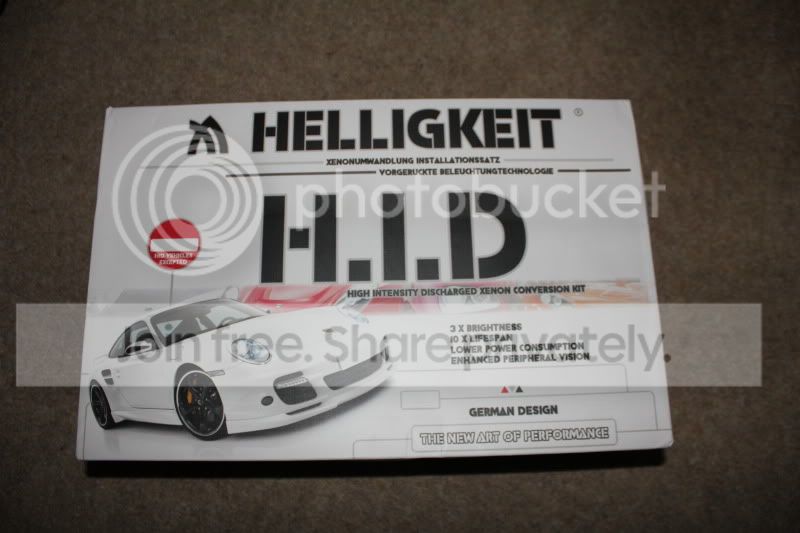
The first bits I bought (before I'd even picked the car up):


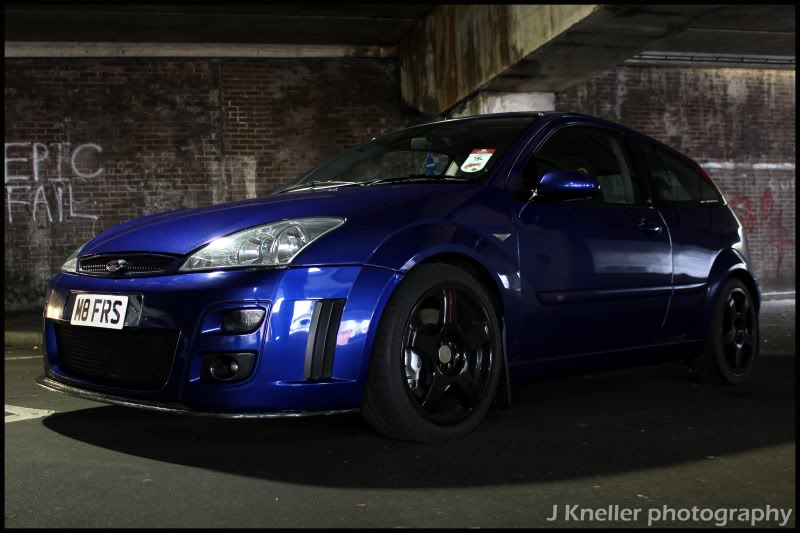
And from a couple of days after I picked it up, went for a photoshoot with Lee (Challis)


I then fitted my HIDs, sidelights, and full size front plate:


I then painted my rear calipers silver to match the fronts:
Before:

After:

I also got a spare set of headlights from a friend at work, which I sprayed satin black.
Before:

After:

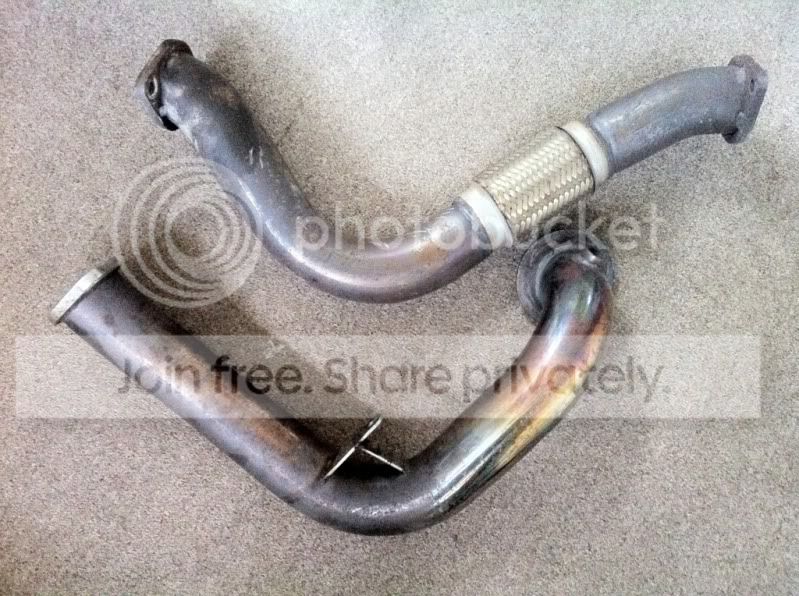
Then I fitted my new flexi and decat pipe:
Fitted some LED number plate lights:

Then I noticed the car wasn't driving properly, felt like it had a boost leak. So I ordered and fitted the following:
- Blue Roose replacement non-return valve hoses
- Blue Roose recirc valve hose
- Blue vacuum tubing
- Compbrake billet aluminium recirc valve (FRS' don't like atmospheric DV's)


Then I went to AMD, got her on the rollers and made 277.2bhp and 324.3lb/ft. Most people said I wouldn't make over 300lb/ft, so I was pretty pleased!
A quick pic of the graph

I then fitted a Filler Phil easy adjust actuator
set up to run direct 22psi :P
Then I ordered and fitted some DMB carbon/chrome overlays:


And removed the Armourfend from the front end....


Then the car sat for a couple of days looking like this:


Until this happened:


Went for standard silver as I'd had black on my last 3 cars..
Then I fitted my Scangauge. Essential on the RS as it has no water temp gauge and no way of monitoring inlet temps..

Then went to Ford Fair and had a blast round track


Then had a custom exhaust tip welded onto my 'Goose system:


I then fitted a new boost gauge:


Got my calipers painted
they need a couple of coats of lacquer still, but the painting is finished. I'll also be getting some orange Brembo decals to go on


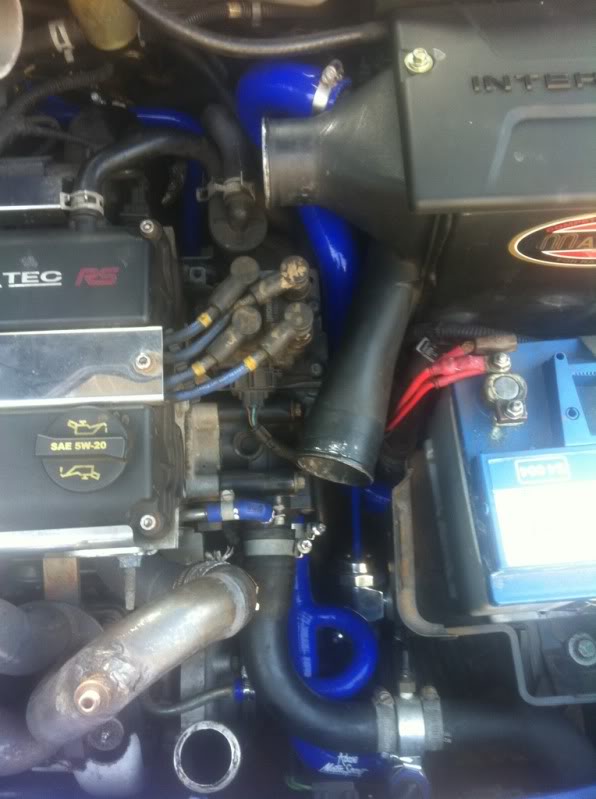
Also gave the throttle elbow a coat of paint too, as well as giving the engine bay a very quick tidy!


Cheers, was a very quick clean, I'm getting all of the bits cleaned up and painted to get them all looking new again!
Managed to get a few other bits done today
First of all, got my calipers lacquered:

Then I sprayed the RS logo onto the chargecooler rad:


I then re-fitted my throttle elbow:


And got some caps etc painted up:

I then got in contact with Nigel at BCS Automotive and managed to sort a VERY good price on a full 3" exhaust system
For anyone who doesn't know, Nigel used to work at Blueflame, but has since started BCS Automotive alongside someone else and they are now creating exhausts for lots of different cars.
Their exhausts have got very good reviews from the few people that have them fitted (there aren't a lot of mk1 FRS owners at the minute, but I'm hoping to get their name out there a bit more)
The system is full 3" bore, as opposed to my current 2.75". This should benefit me when it comes to fitting the hybrid turbo. It's also made from 304 grade stainless steel and is fully TIG welded, so looks the part too!
First of all, I'm getting the flexi, and 2 box system (this should help keep the noise down on track days), but Nigel is going to supply me with a centre box delete pipe and decat/100 cell sports cat at some point next year!
The system isn't due until the end of January unfortunately due to high demand and their development of new systems.
Anyway, here are a few pics of the exhaust and their system fitted to another mk1 RS:


Wow, I haven't updated this in a while! Since my last post I've added quite a few new mods (fairly major ones at that), so here we go!
Again, this has been copied over from another forum, so apologies if bits don't make sense!
Got some new pictures after the last update on here:


Then I ordered some new bits in preparation for the turbo etc:
ist of bits:
- New 3" gaskets
- New nuts and bolts for exhaust
- New turbo to downpipe gasket
- Rear Poweflex exhaust mounts
- New standard front exhaust mounts
- New turbo oil return
- New turbo oil return gasket
- New chargecooler bushes
- 12.5mm axle spacers
- 40mm bolts for axle spacers


And a quick picture of how destroyed my old chargecooler bushes were!

Then had some issues!
"I ordered some new leads and plugs, due to a slight misfire at peak boost. I drove the car down to the shops the other day (no further than 3 miles) and it drove absolutely fine. I then went back to the car to drive home and it started misfiring when I put any sort of load on the engine.
I replaced the leads and coil pack and was still waiting for the new plugs to turn up, cleaning the ones that are in there until they did. This seemed to make it a bit better, then all of a sudden the car wouldnt start
It sort of fired up (still with a slight misfire), but even holding the revs up, it just cut out.
Tried a couple of times and the car would run for about 2-3 seconds and then just suddenly die
Anyway, today I tried disconnecting the MAF sensor, to see if it made any difference. It now idles (albeit not very smoothly with the sensor disconnected), which means I had to fork out �80 for one sensor.
I'm happy I've sorted it and glad I replaced the leads, plugs and coil pack anyway, but just wish I hadn't had to dip into my turbo fund, which I could have ordered this week if this hadn't cropped up!"
^^old post so ignore the dates etc
Anyway, I fitted the new MAF sensor and all was cured!
And some more bits..

Modified spacer:

Before:


After:


As you can see, it looks a lot better as the wheels actually fill the wide arches now!
Then this turned up!


And had this:

New BCS system fitted:

Then got a Gizzmo MS-IBC boost controller, car drives much better now!


Then got some FK coilovers

Fitted, it's settled a bit more since:


Then fitted some new tyres to the back. Goodyear Eagle F1 Asymmetric 2's

Then I got in contact with Alex at Pro Alloy (a friend of a friend) and got talking to him about a custom spec intercooler. He offered me a price I couldn't refuse, so ordered that and went to pick it up the other week


I also ordered a CPE Group A air filter and relocation kit, so here's a pic showing the size of the filter:

And I got these, should be a bit different:

Got my custom RS mug

Then I got to fitting the intercooler and filter last weekend:


And that's how she currently stands!
I'm now waiting for the new spec of hybrid turbos to be released so I can spend some more money lol
Cheers for reading!