This is what I've done with the car over the last 8 weeks! I'll say no more

I updated my thread on another forum so here it is all together..
***********************
Well it's all now under way and more.. Loads of pictures from the past few weeks - I've been slow to update this thread!
Decided that the FRST engine had to go after wanting more power and having to spend thousands on it to get it anywhere near 250bhp, the Focus RS engine seemed like the best option!
So here goes:
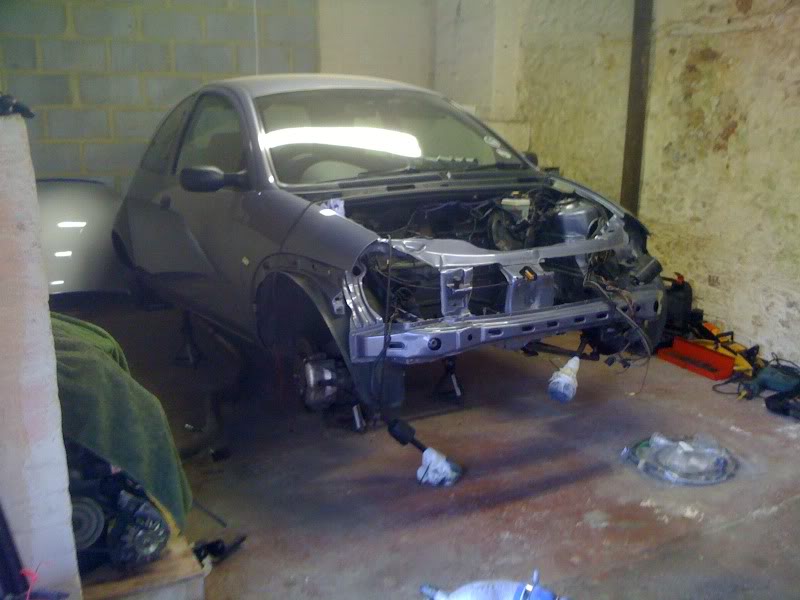
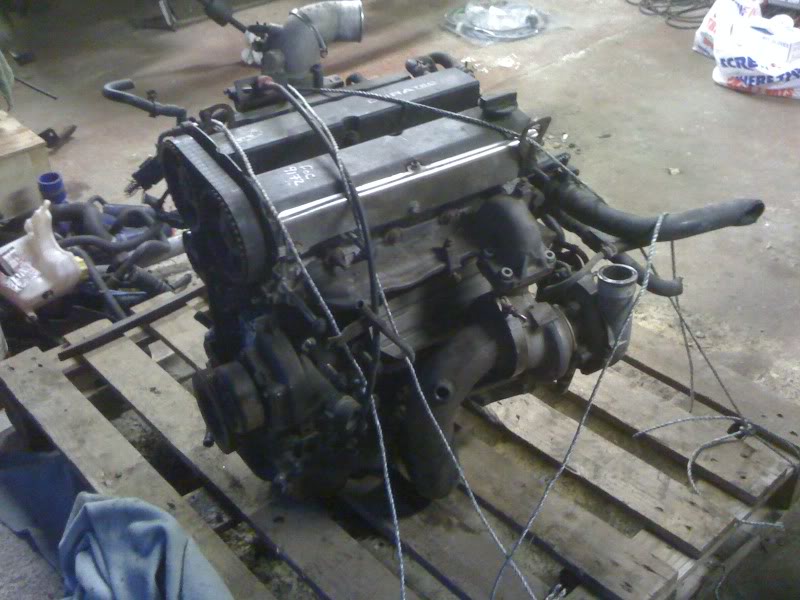
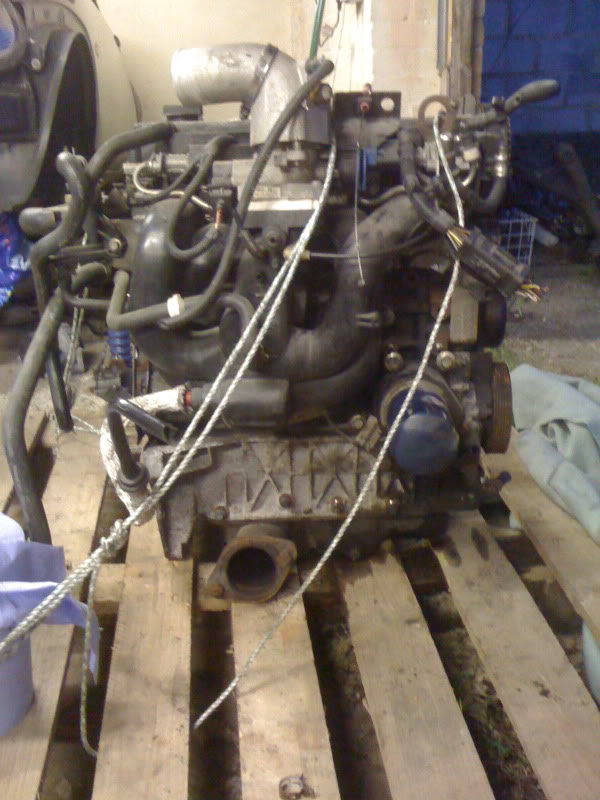
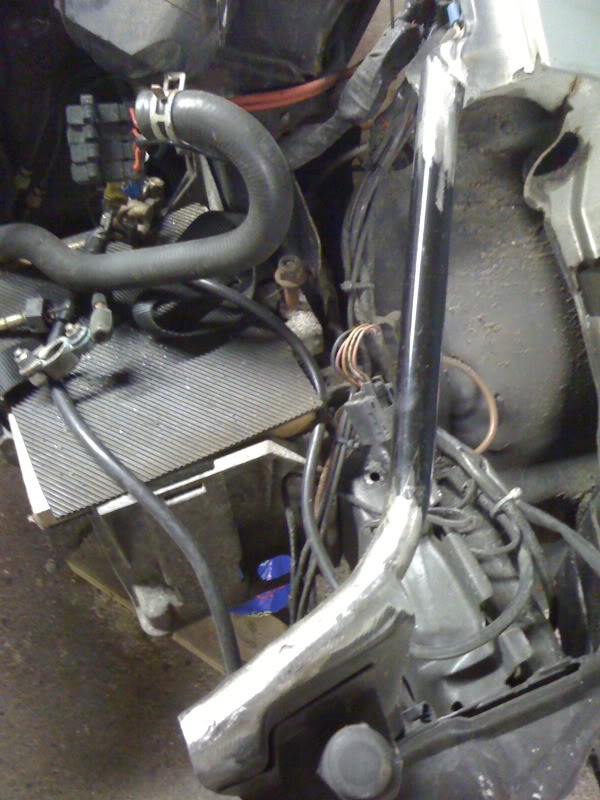
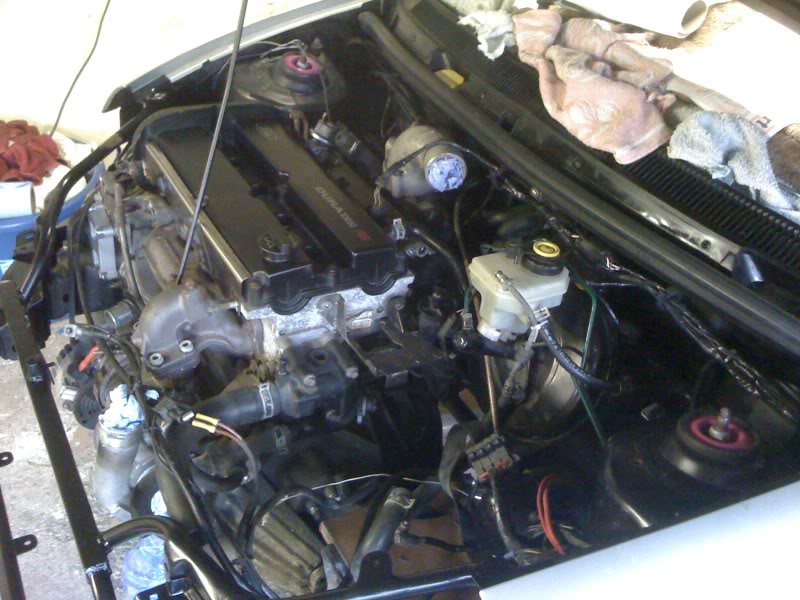
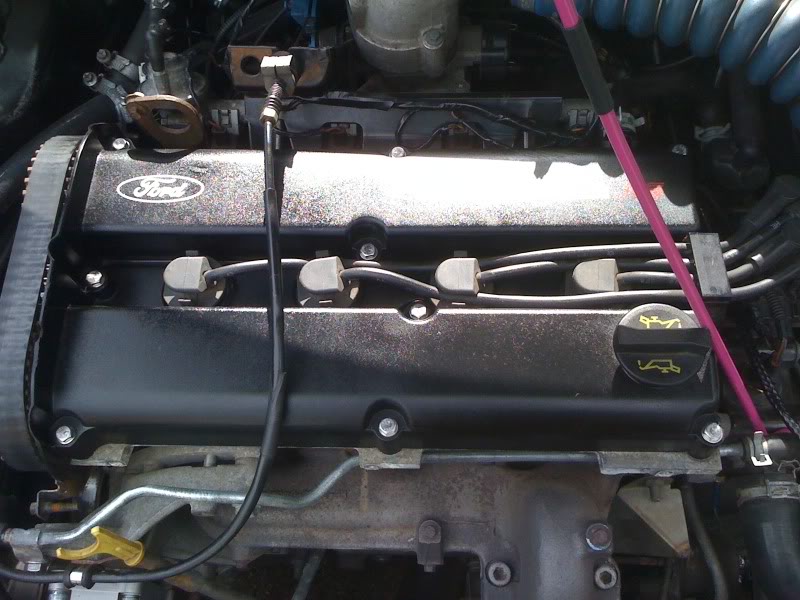
Last pics of engine before it came out..
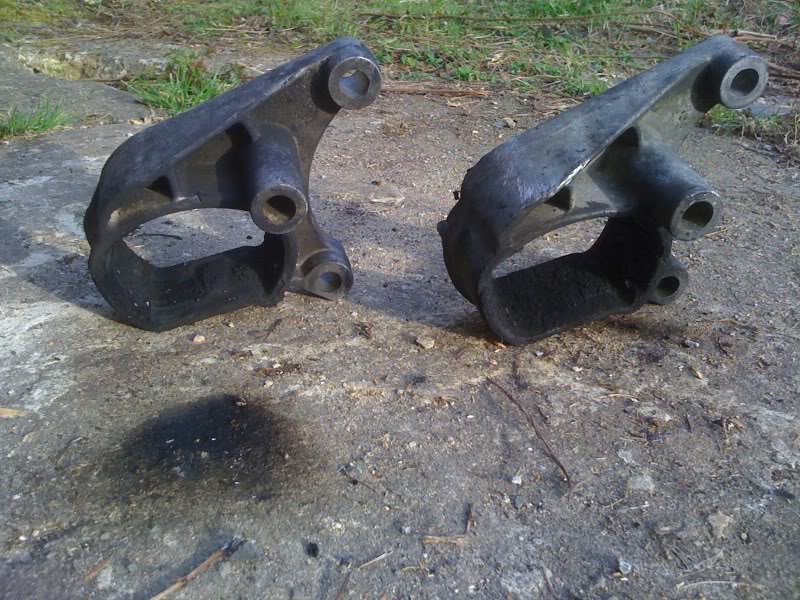
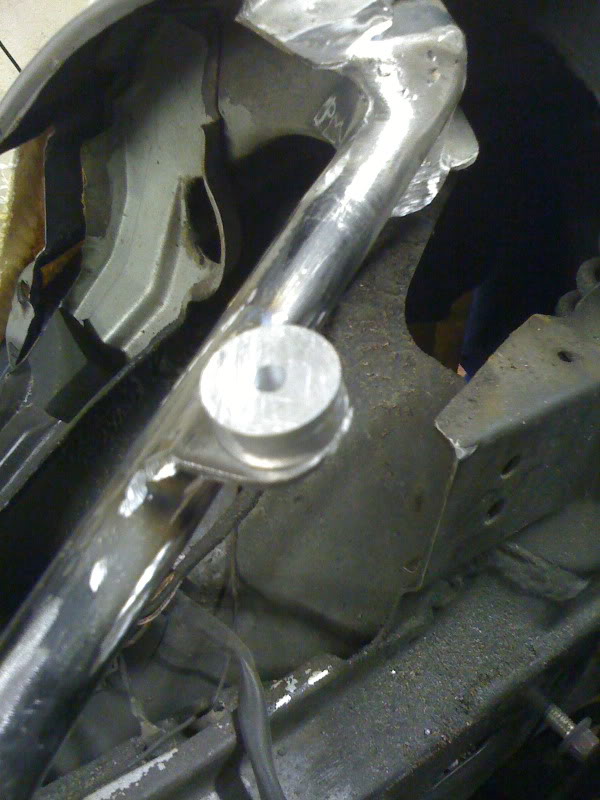
Burnt out the rubber from mine and my brothers rear gearbox mount to be made solid
no one does uprated engine mounts for the Ka
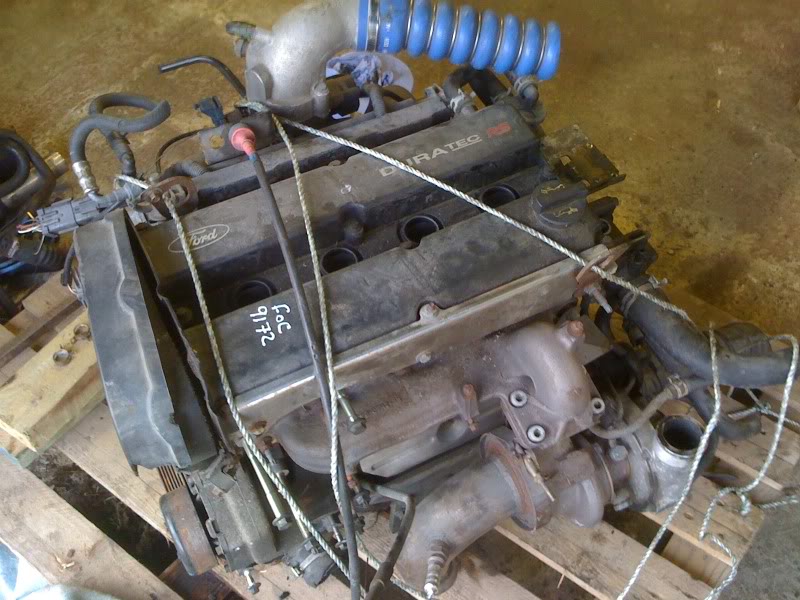
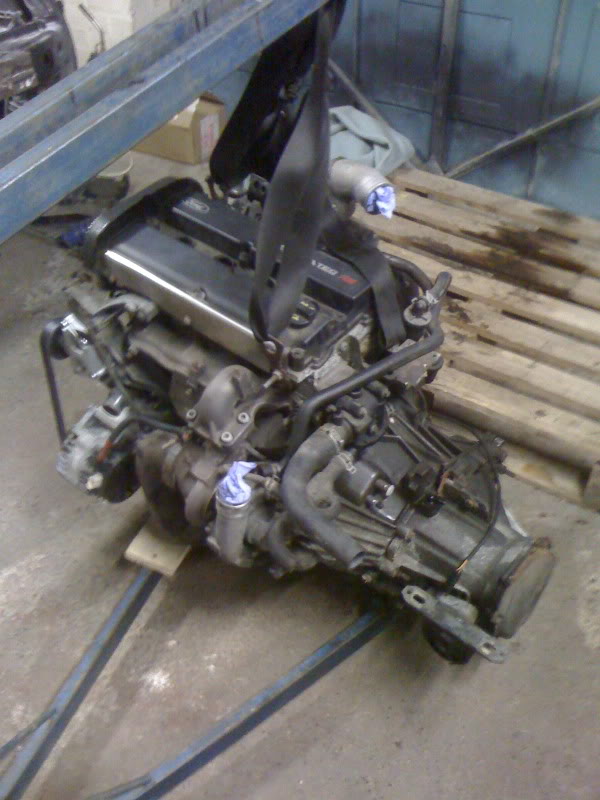
Focus engine when we got it (still waiting on another!! - for my brother)
Dan's Ka
and mine facing it:
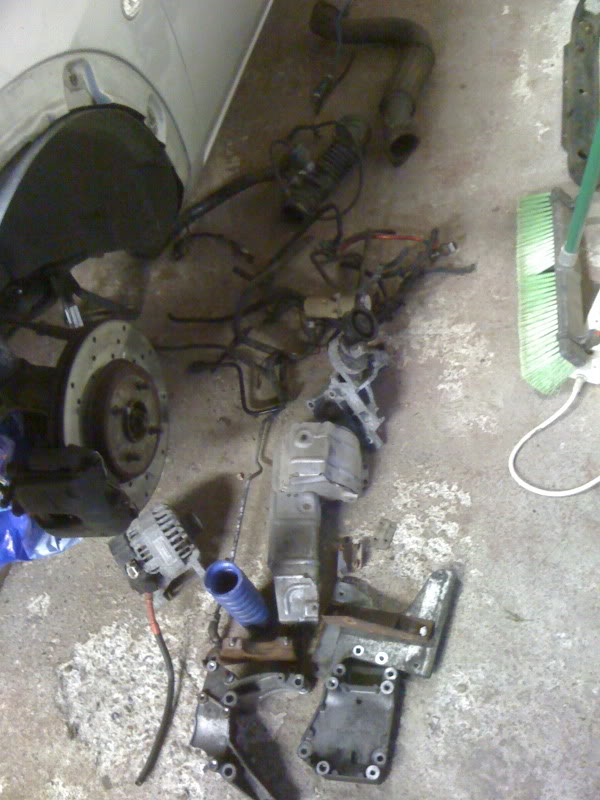
I set about stripping the Focus engine down of all the stuff I don't need

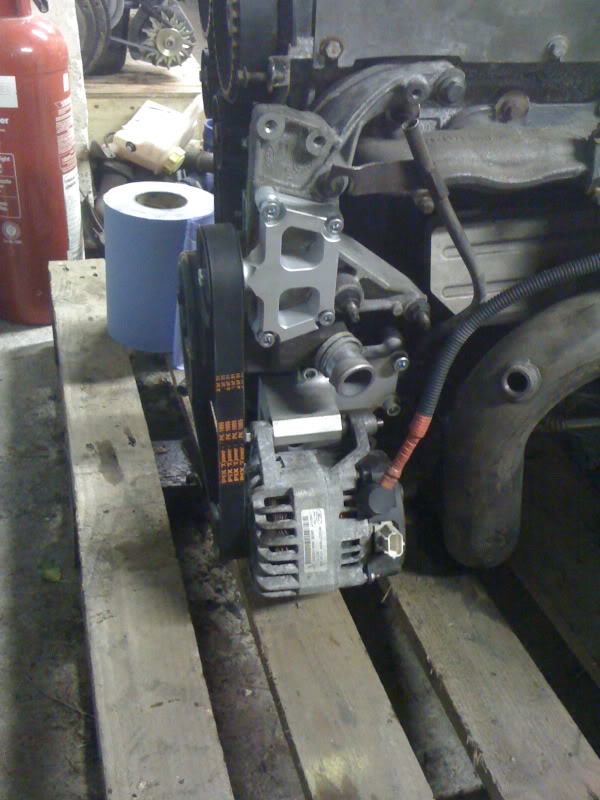
Although I used the alternator and PAS mount (but that one was broken - got another one)
Looking a bit better
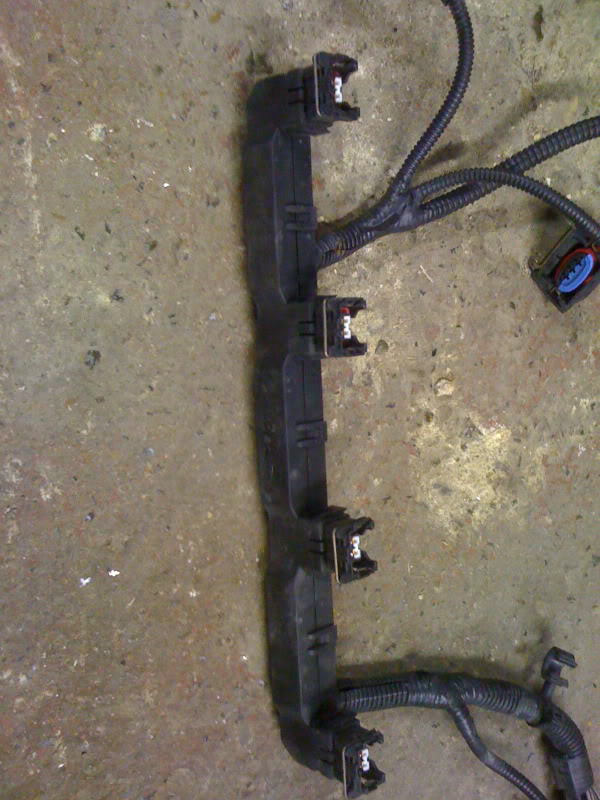
Injector looms - one omex adapted FRST (right) and one FRS (left) - unsure what to use, either adapt the Focus one or just use the FRST one.
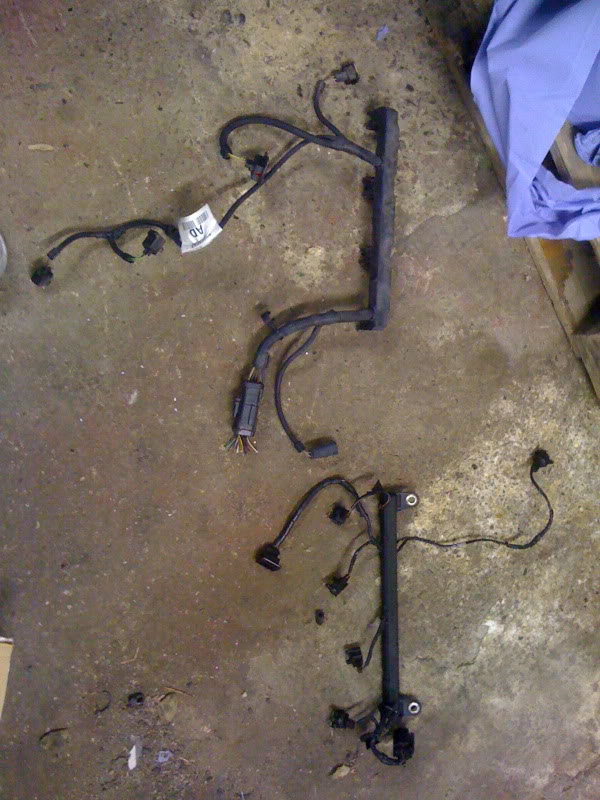
Focus one is nicer:
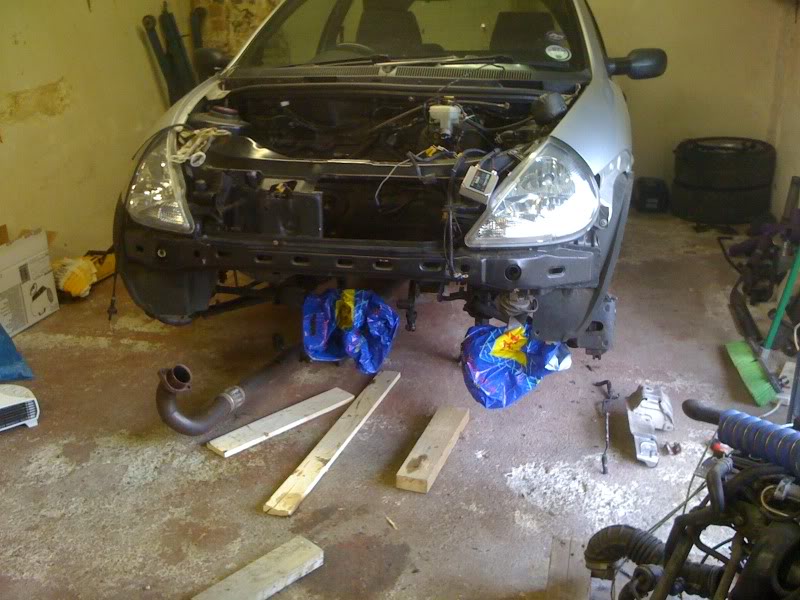
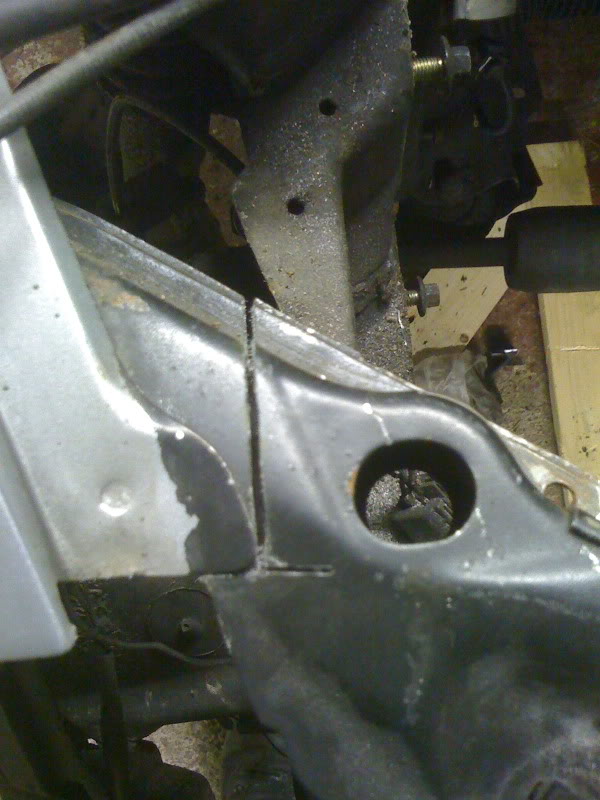
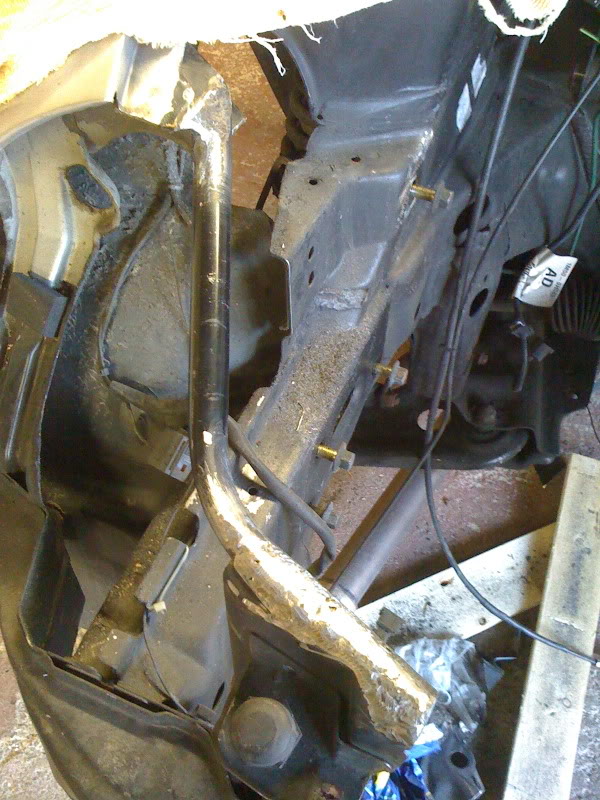
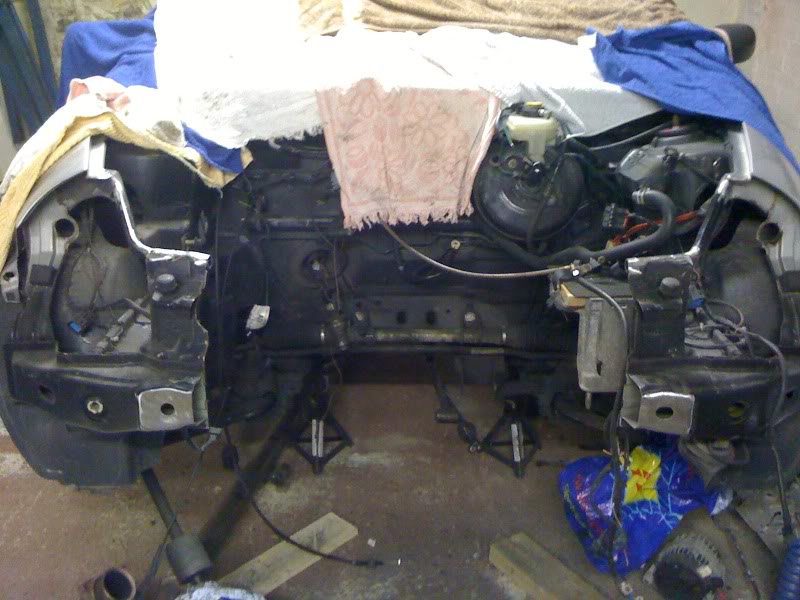
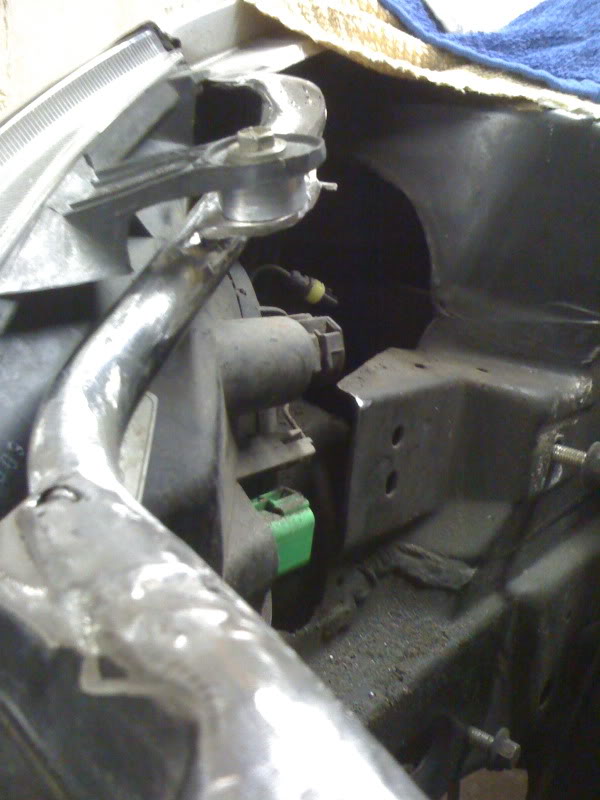
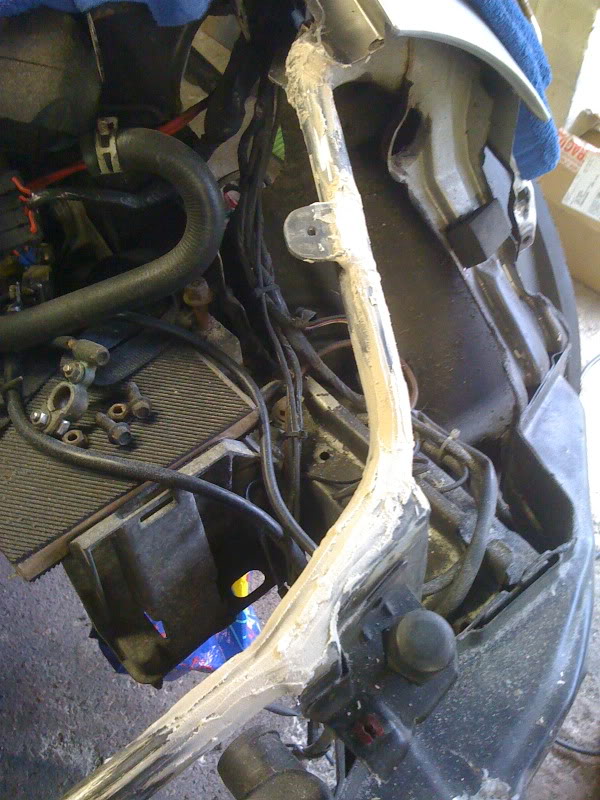
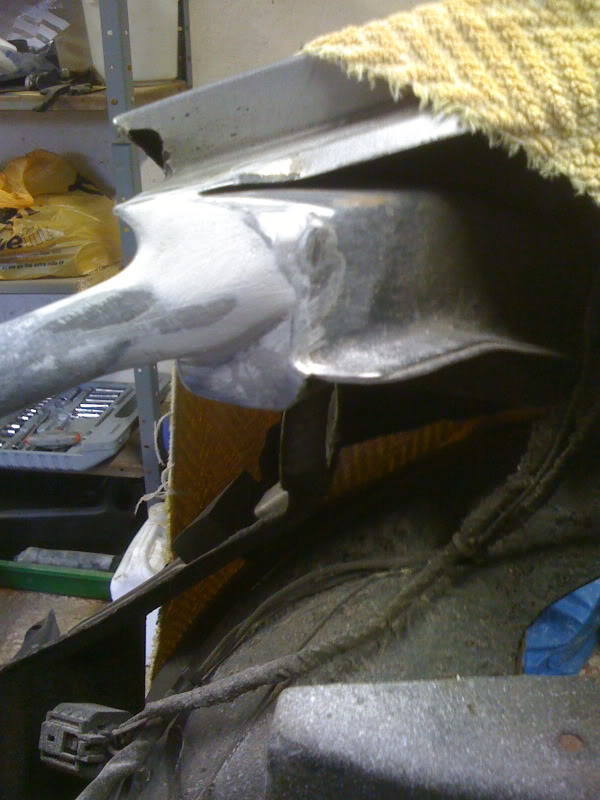
I then set about cutting my car apart - as far as I know, no one has fitted a Focus RS engine in a Ka with the radiator in the front! Still, first i cut the slam panel out - it's always been in the way even with the FRST engine there. Caused me grief and a lot of cursing at times! So time to make my own
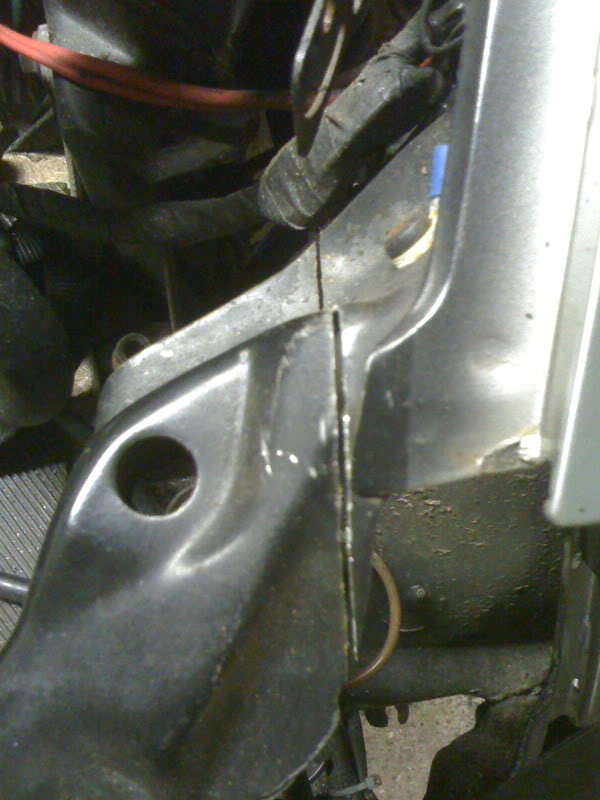
Scary stuff..
Different shapes don't help!


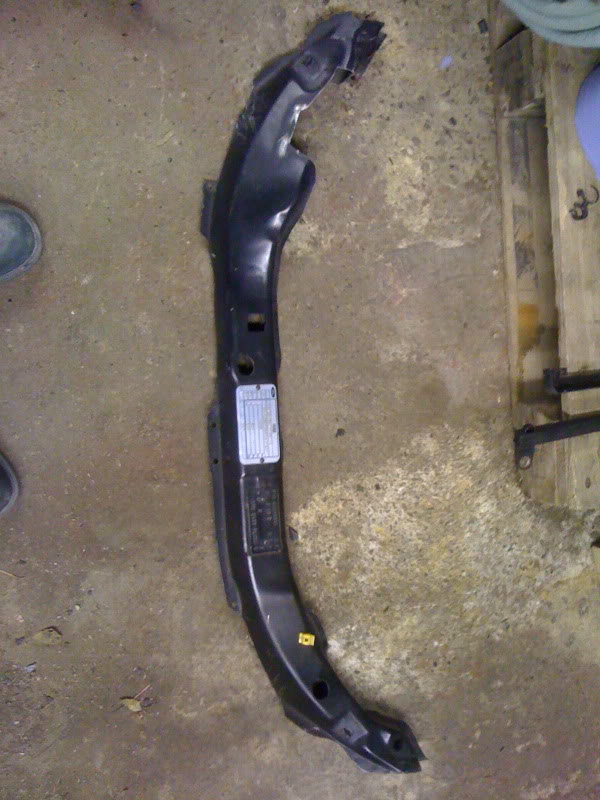
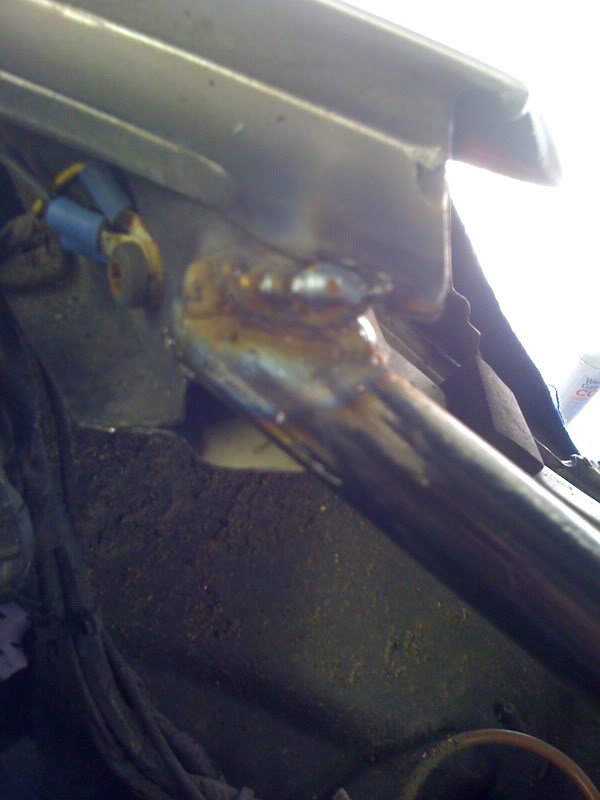
Then I started making up the new one - and I've never welded before (only watched) So nothing better than to practice on your own car!!
This side was difficult because the metal just after the bend is so thin.. Hard not to blow holes if you get to trigger happy!

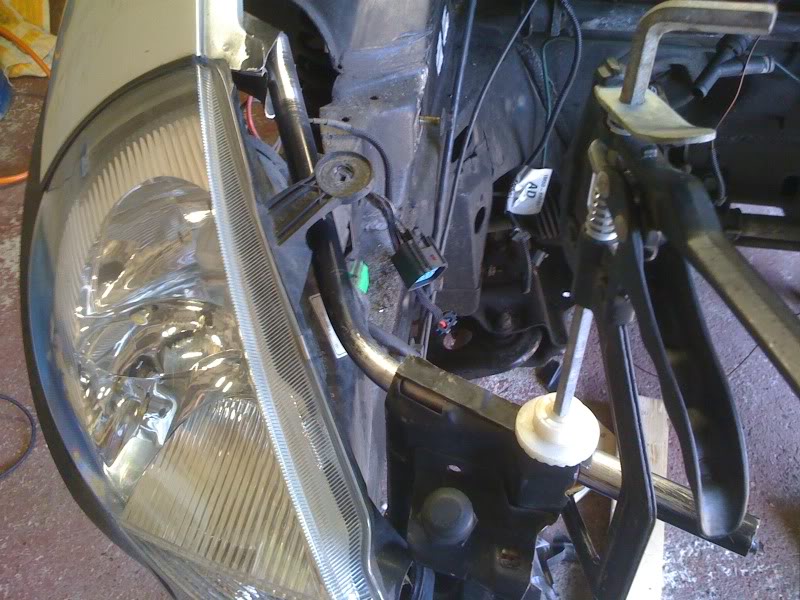
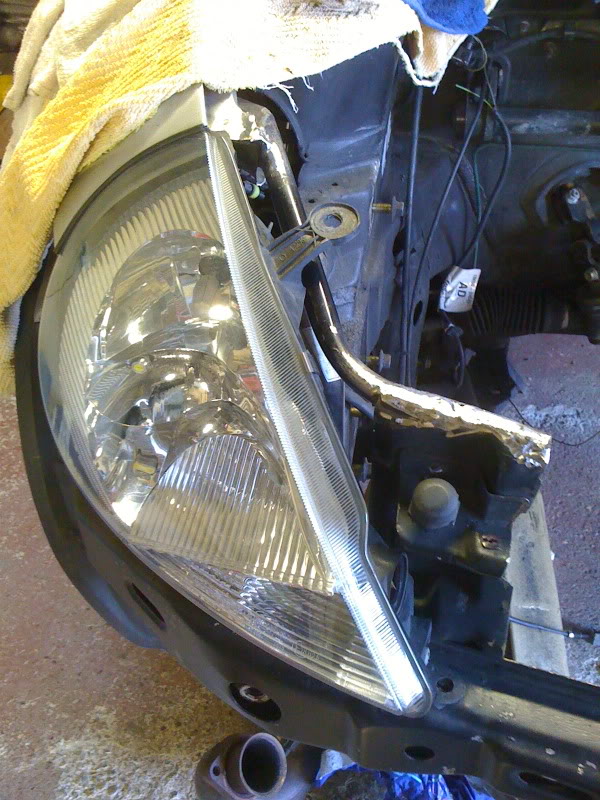
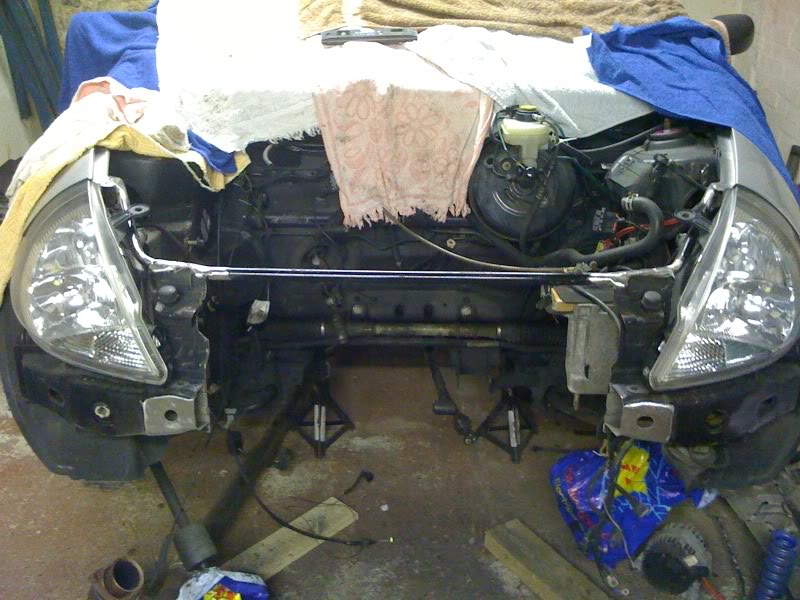
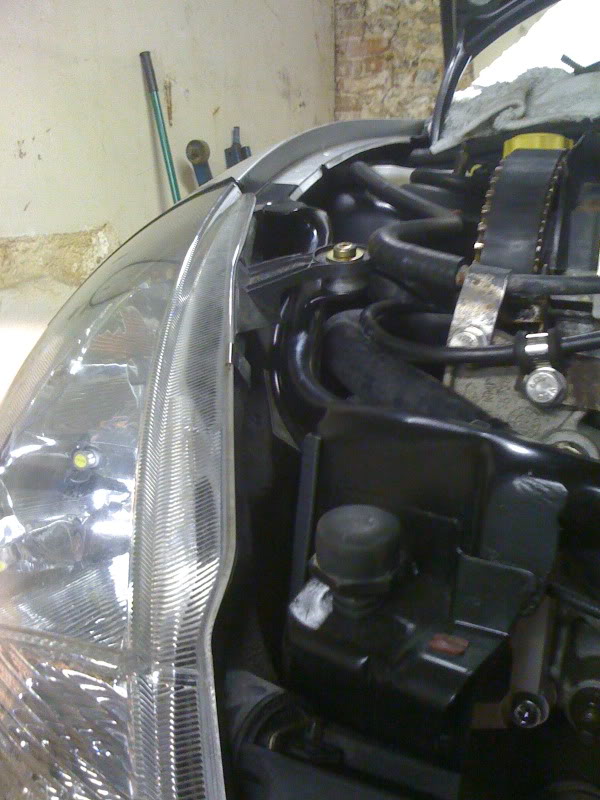
Headlight test fit..
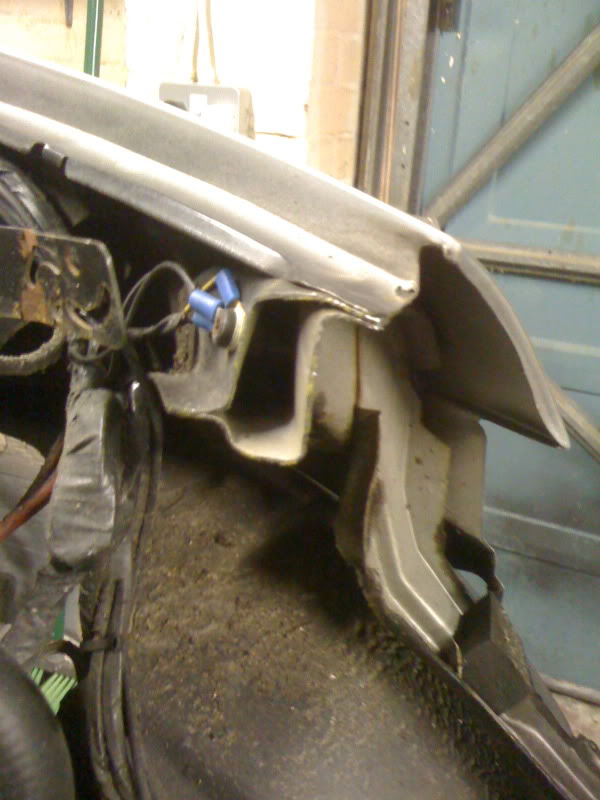
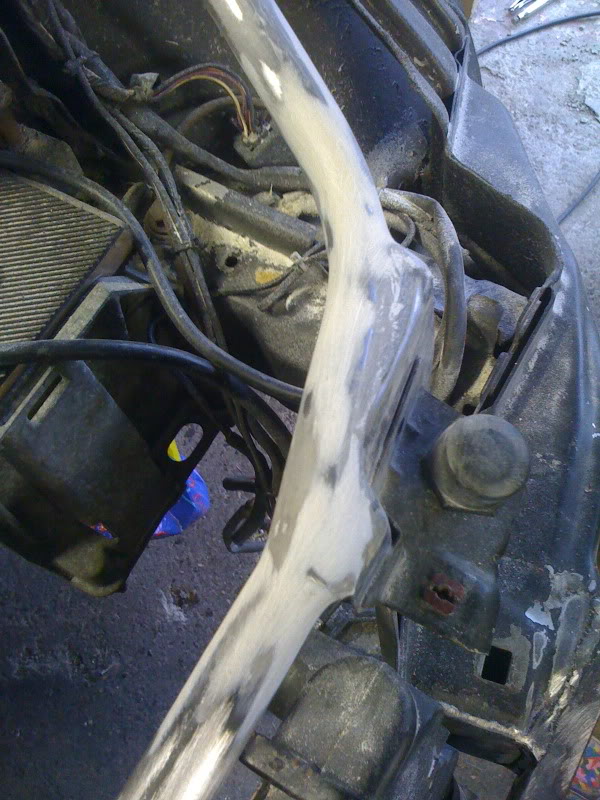
The other side - and I think my welding is getting marginally better! Still not great I know!
Finished the passenger side
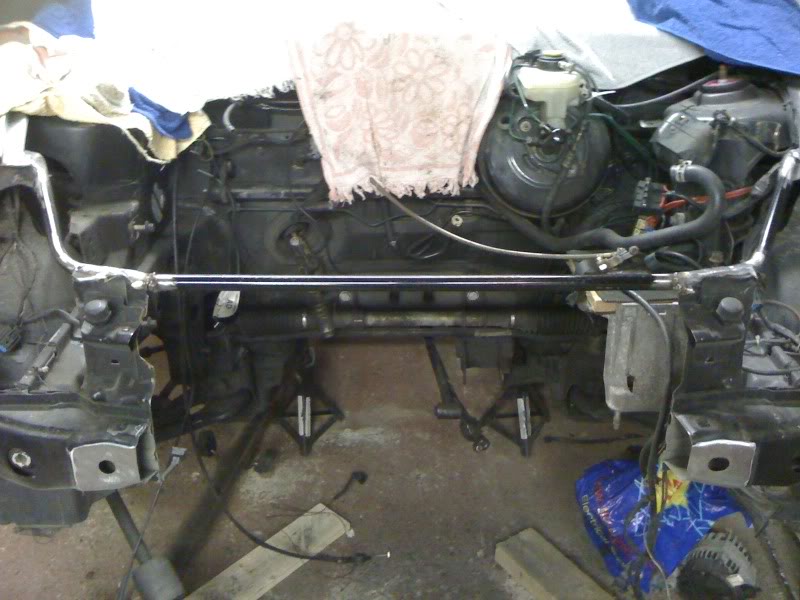
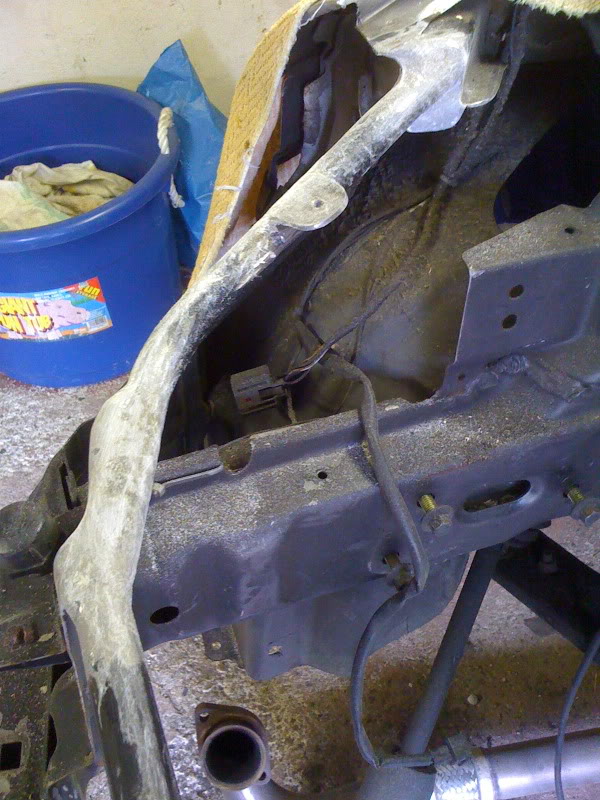
Then I chopped the cross member out because there isn't enough room for the rad in front of the turbo otherwise!
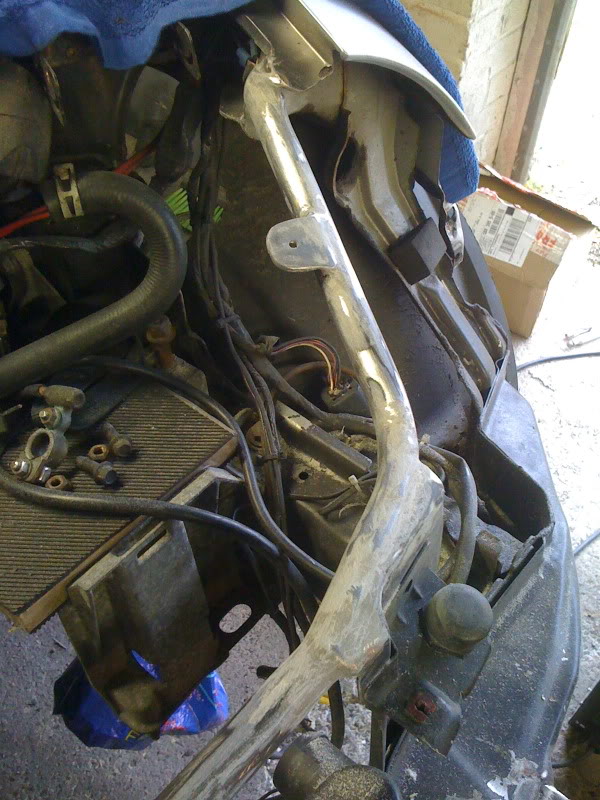
Welded the rest of the new 'slam' panel in
With both headlights test fitted
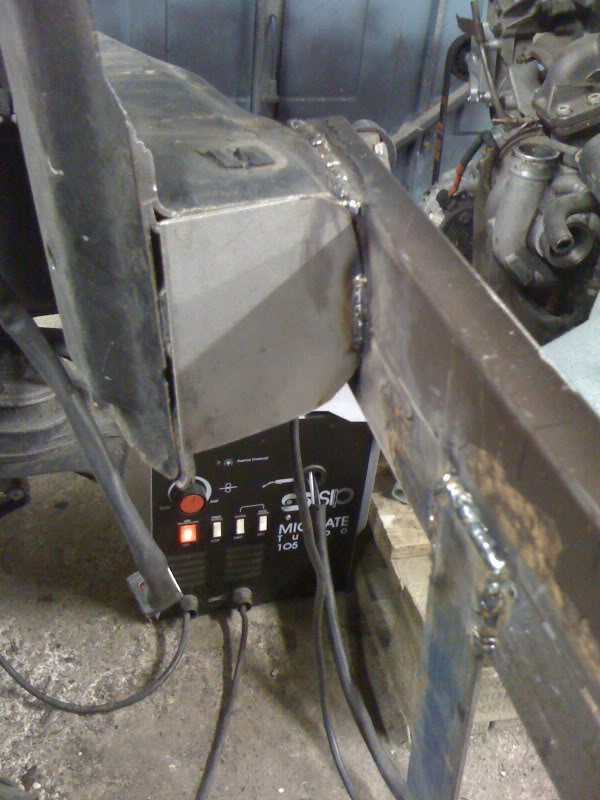
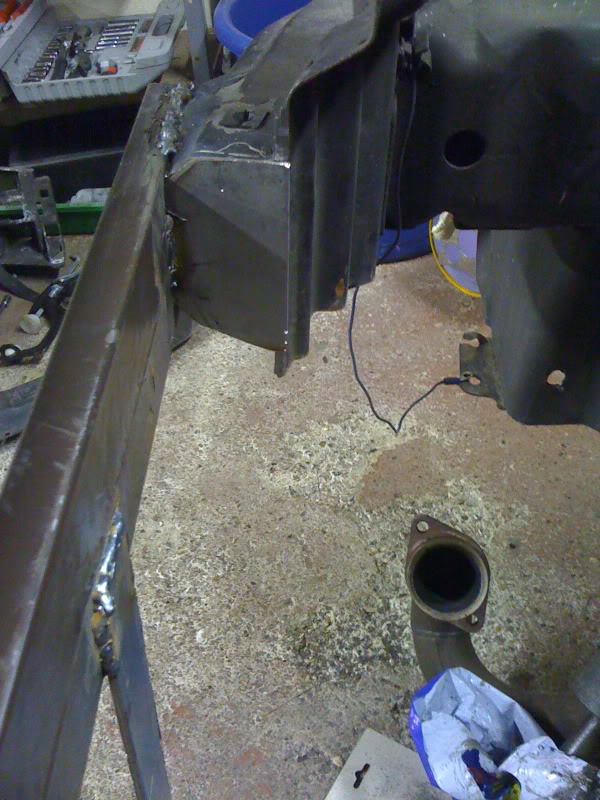
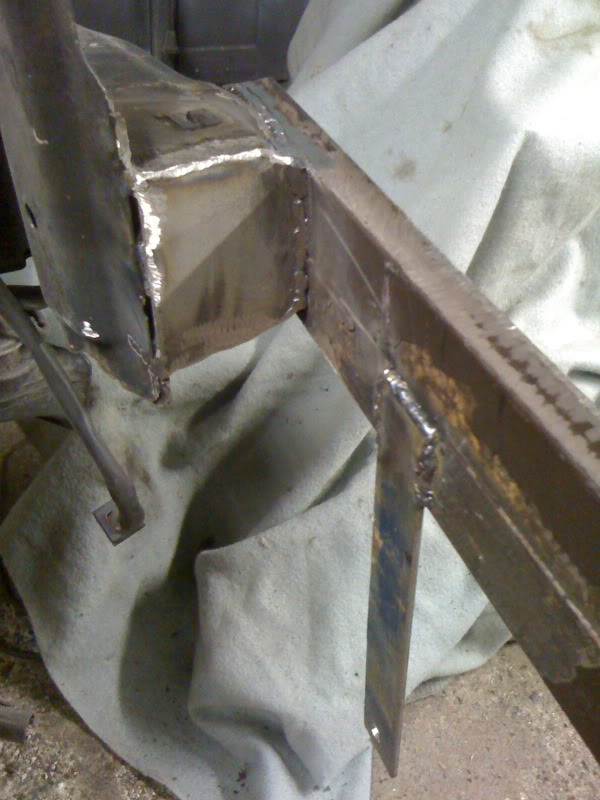
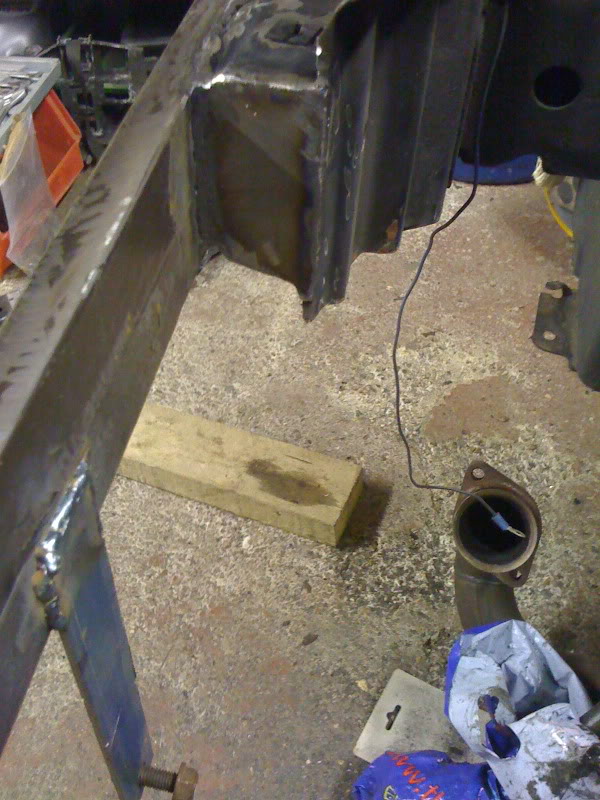
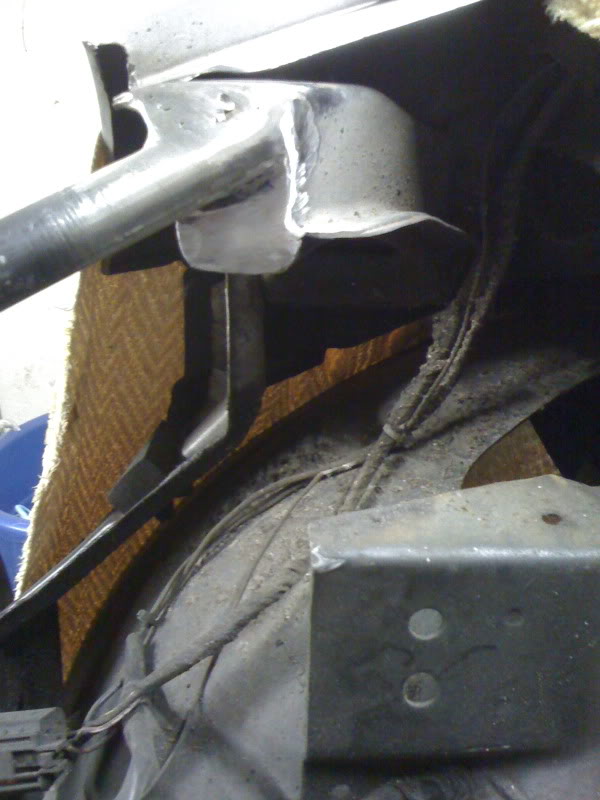
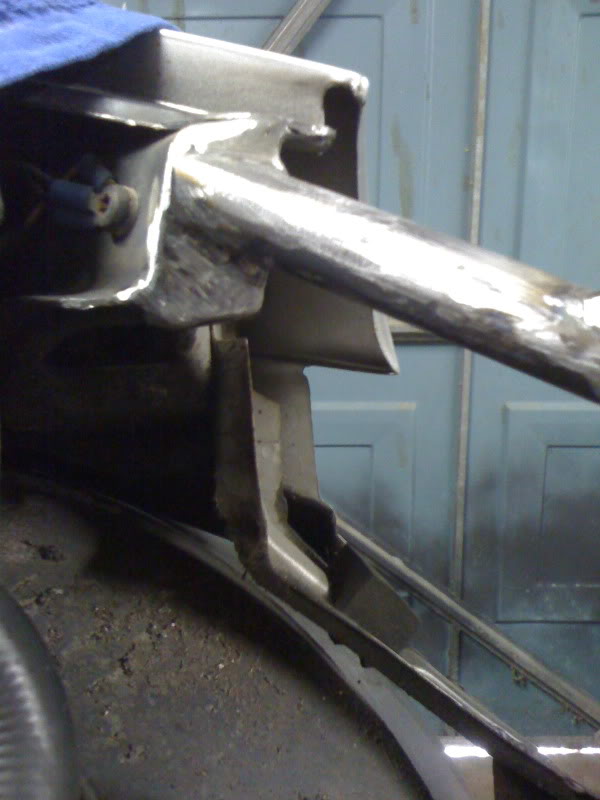
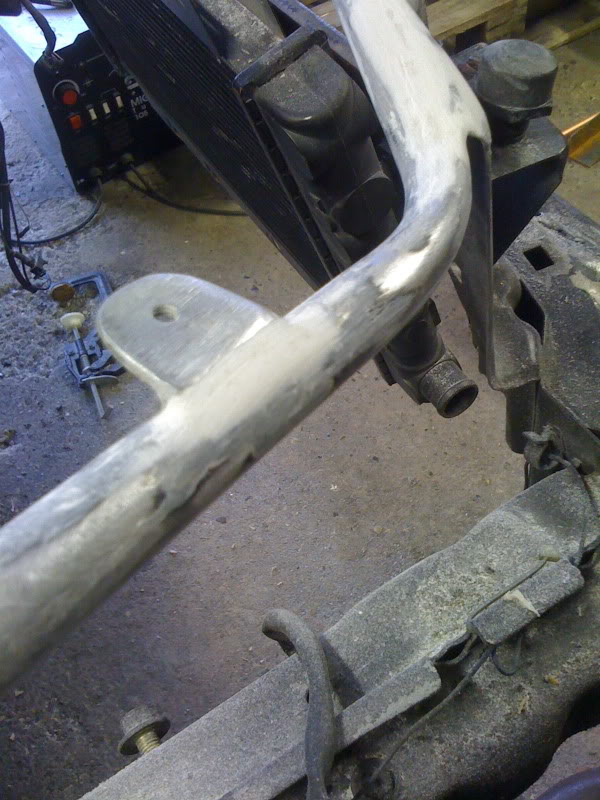
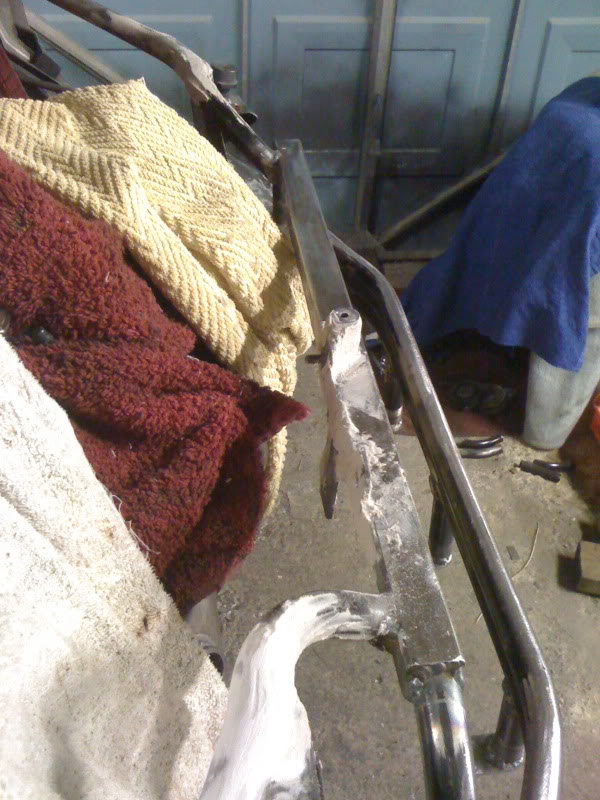
New cross member - needs more strengthening though. For this to fit behind the bumper (and I knew this beforehand) I had to take out the plastic re-inforcement bar behind it. I knew all this and a way of moving the cross member thanks to Joey, who did this conversion, but the rad was in the boot - most of you must have heard/seen it!
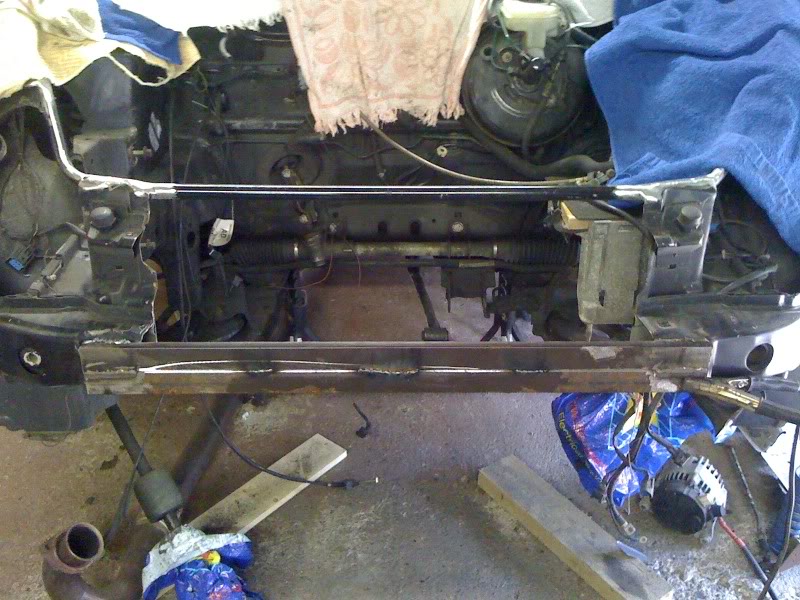
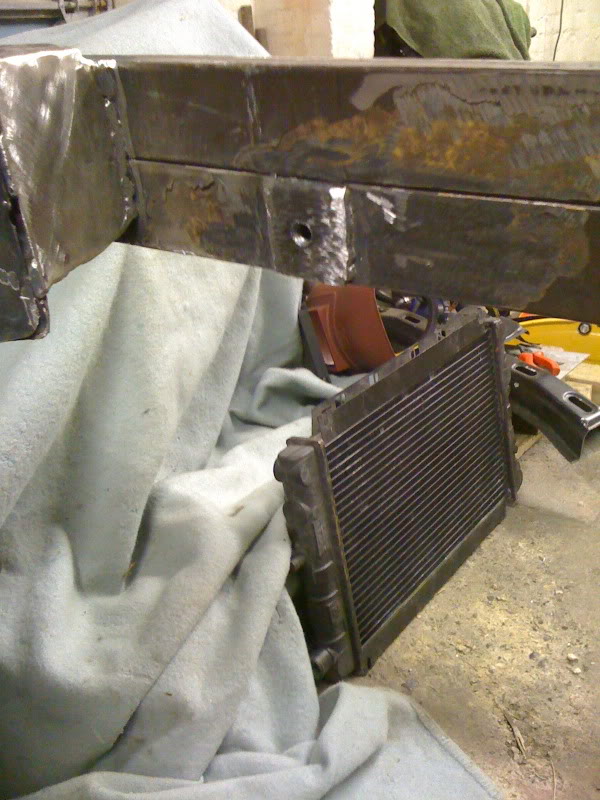
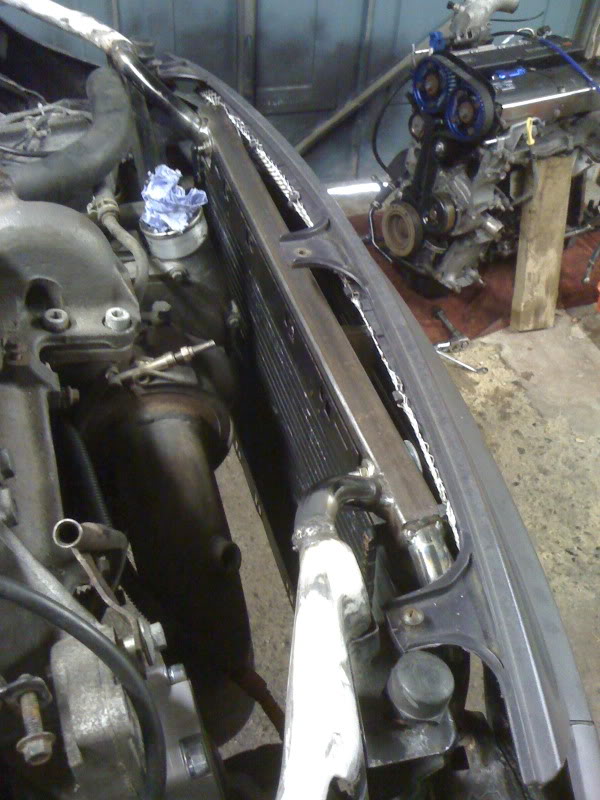
This is a dummy fit of the Rad - It's an XR2 rad, fits perfectly between the gap and the right height also! The hangers are a mock up in steel. Think I'll do them in aluminium bar so it looks better! and then need to do steel brackets off my new slam panel to hold it at the top .
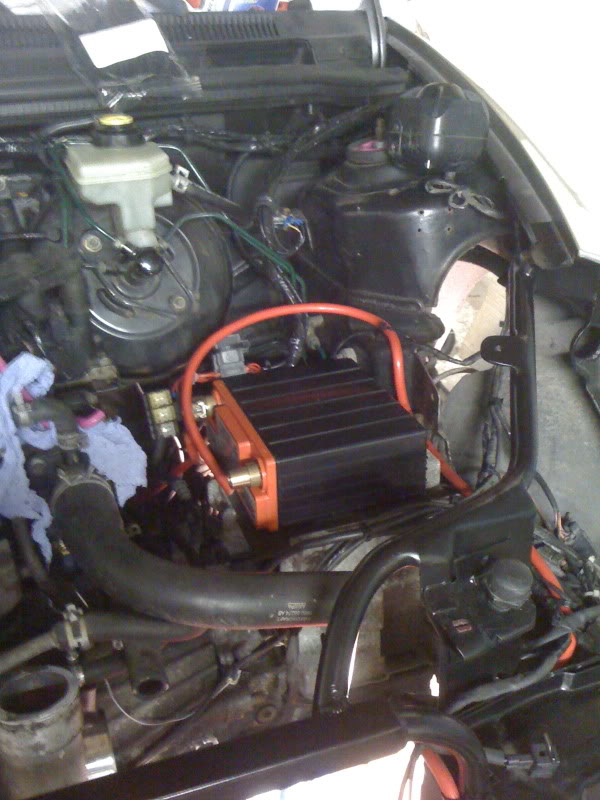
Then I fitted the alternator in the better place!! Using the Track Designs kit - perfect stuff
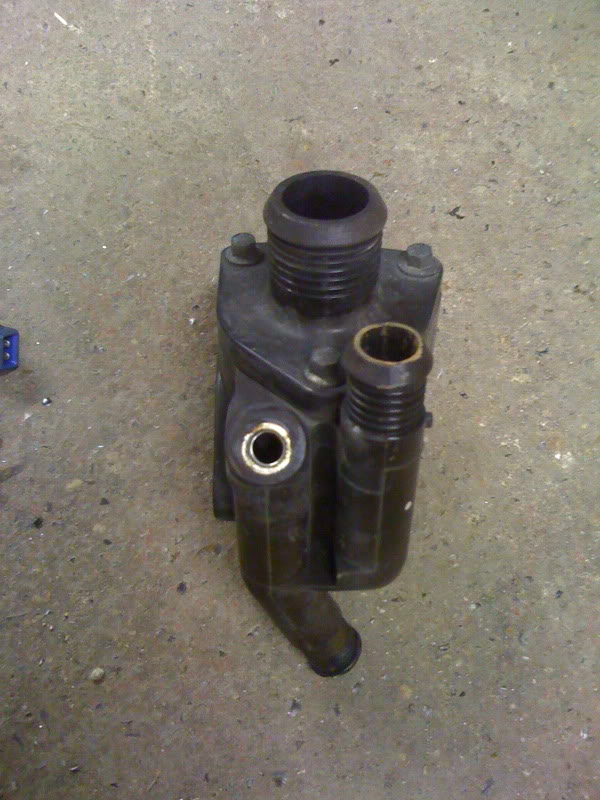
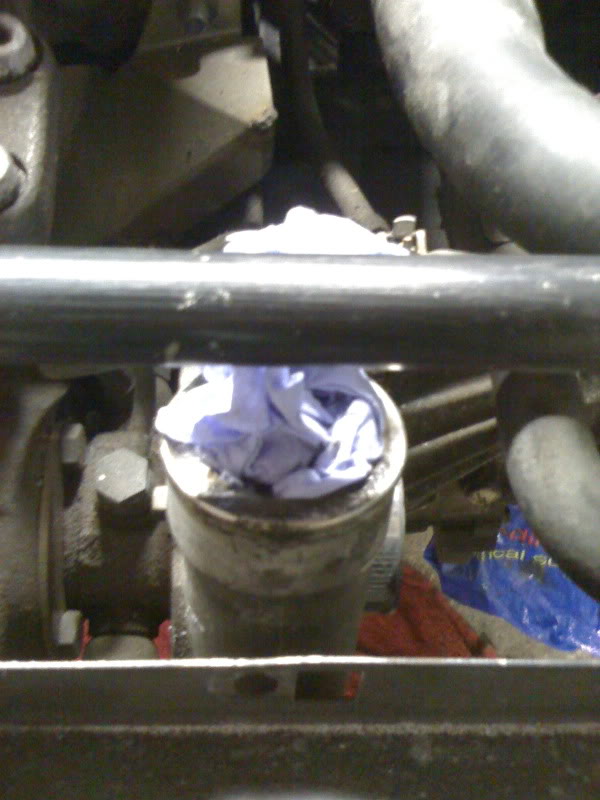
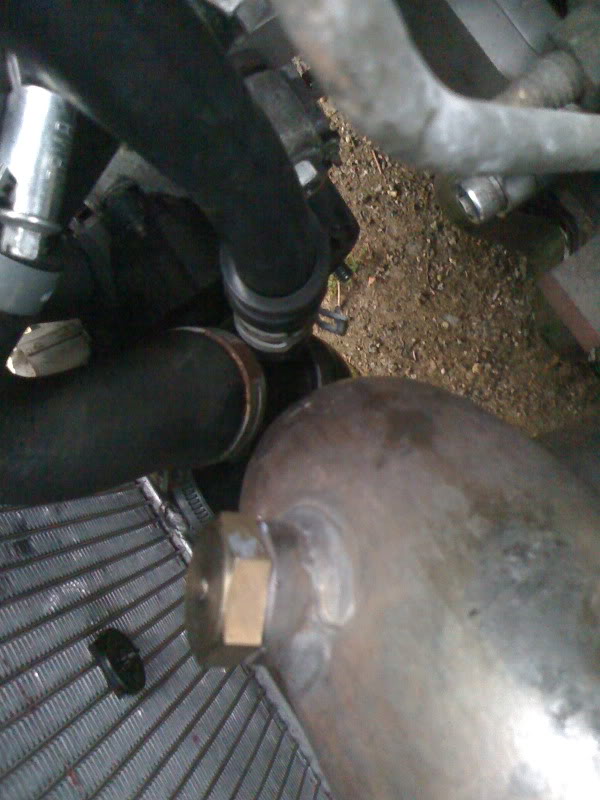
I went to the scrapyard this weekend and got another thermstat housing with the sensor threads in - The Focus RS one doesn't have any!
The omex sensor fits straight in the top and my revotec gauge right in the bottom!

Until I came across one problem!
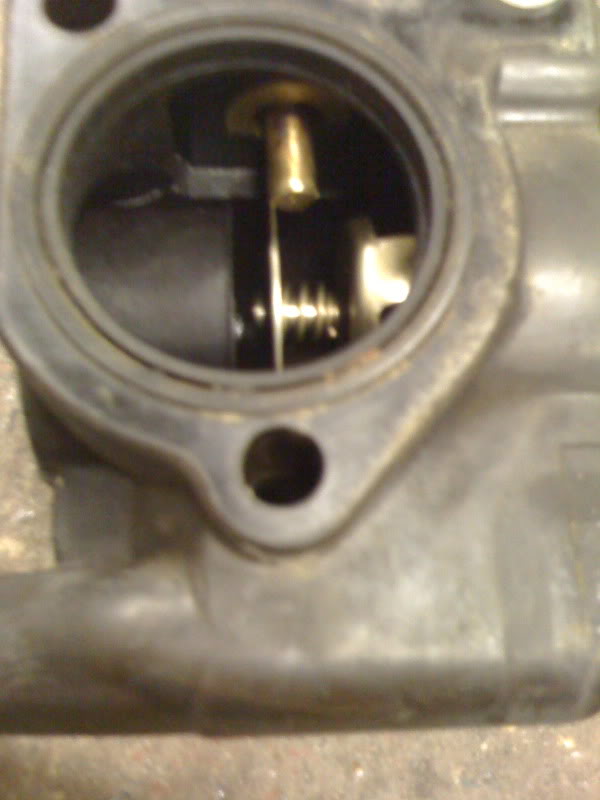
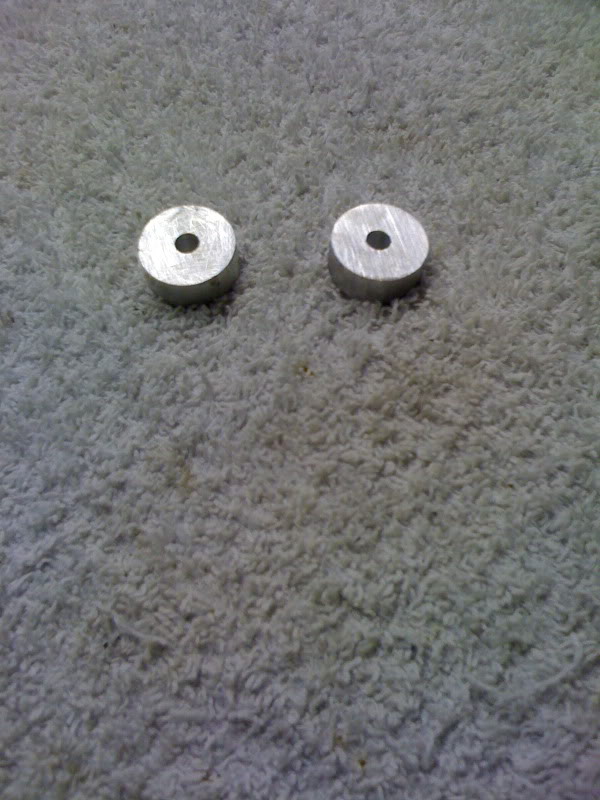
I think I'll put a couple of washers under it, hope I've got enough thread to seal it!
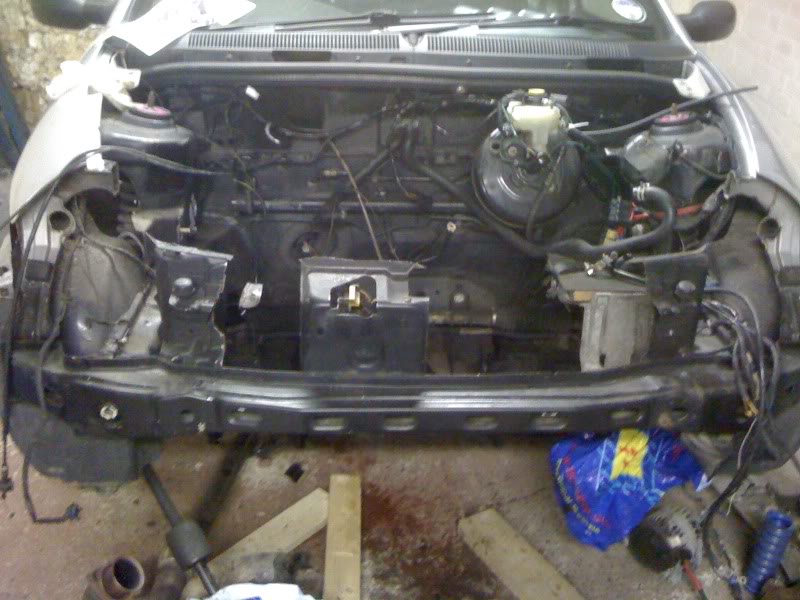
So this is where I am at the moment!
Flywheel is off getting skimmed and balanced, got a clutch. Hopefully getting the engine mounts back this week! or for this weekend and I'll test fit the engine saturday or sunday! Shame it'll have to come back out again to finished welding, grinding, and painting - and some filler on my slam panel so it looks much more presentable!
Should have a steady flow of updates
*****************************
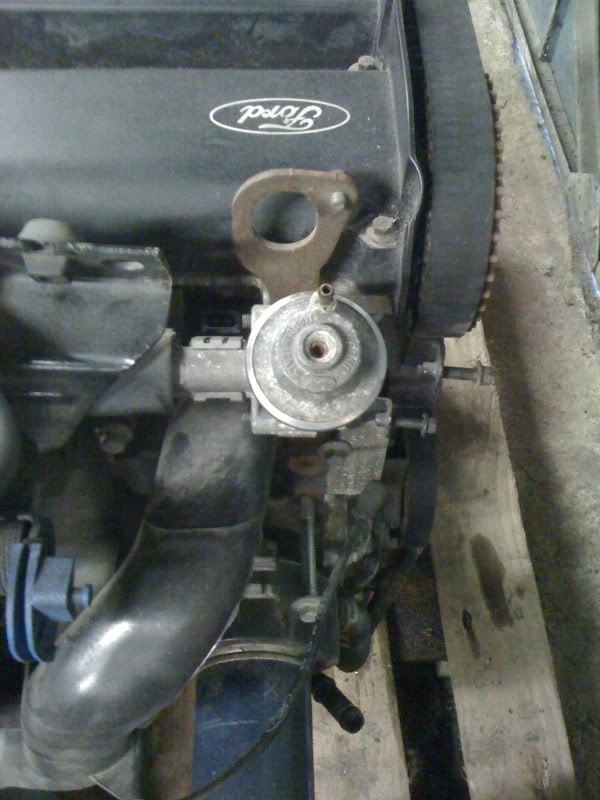
Found out the FRST regulator fits nicely onto the end of the zetec rail
to give me adjustable pressure. Thank you Ford!
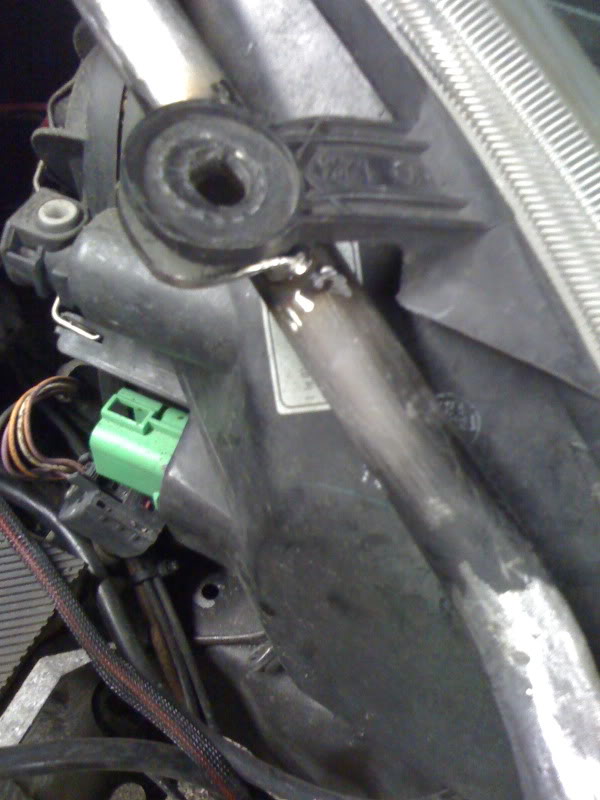
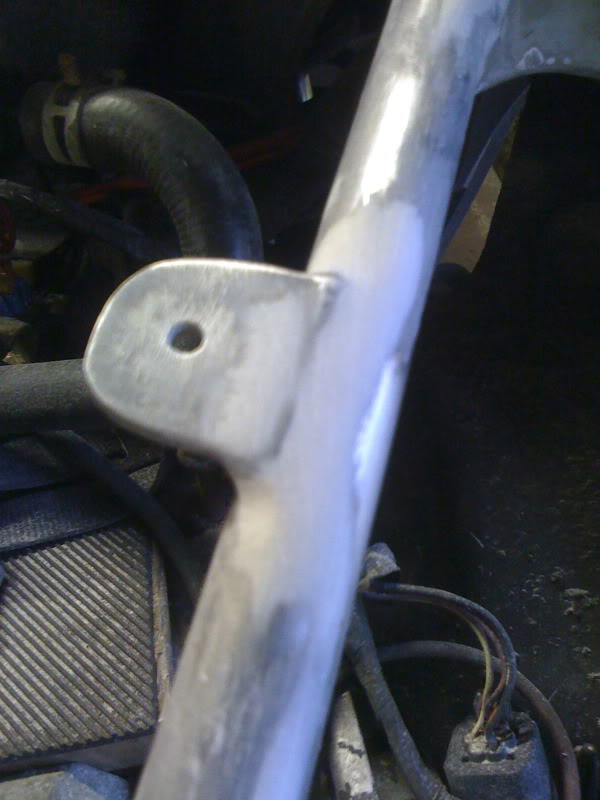
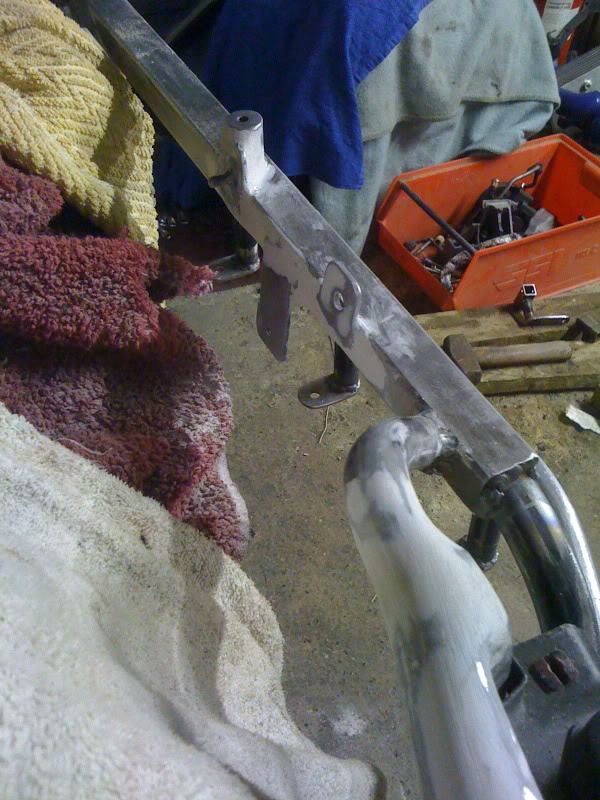
Update of tonight's antics - I needed to make some tabs for one of the mounting points of the headlights. Not completely finished but basically there. They need a hole and thread in and the metalwork to be tidied up. All which will look good I hope once some filler is applied!
Welding getting better?
tabs look awful here, they do get better..
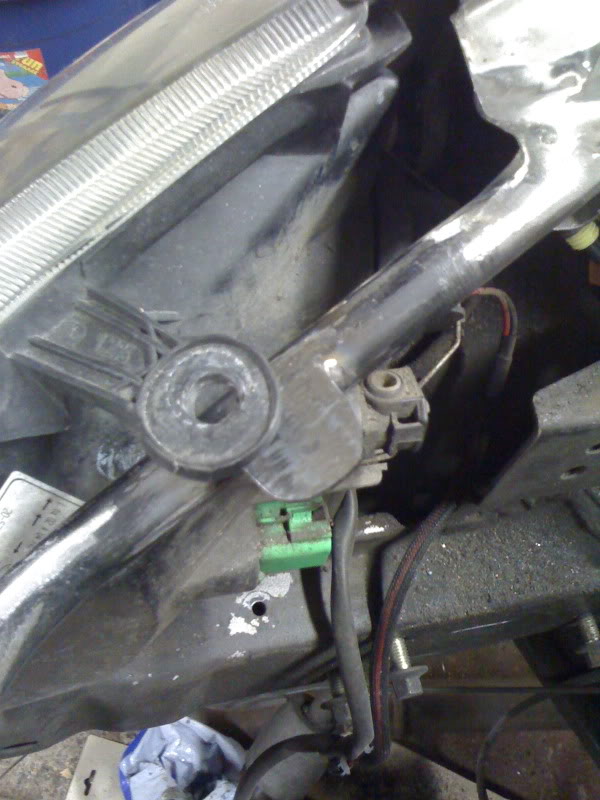
Was a nightmare trying to hold the metal in the right place! Was trying to use a G-clamp but kept slipping off and wasn't holding very well!
*****************************
Small update - this all takes soo long!
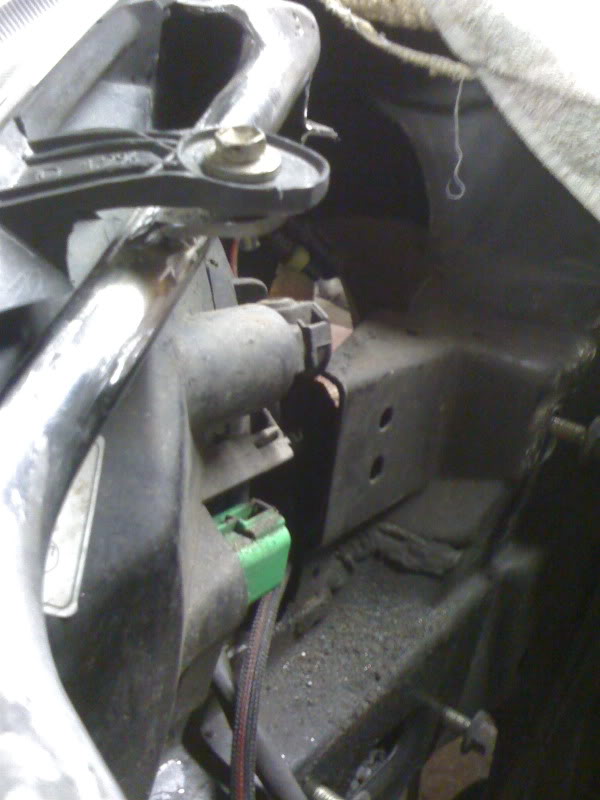
Bolt holes drilled and tapped for headlight mounting point..
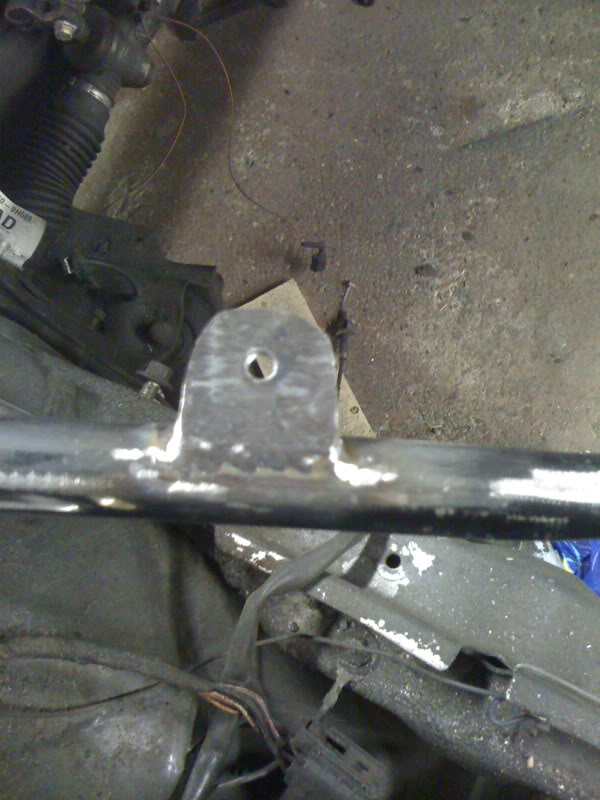
Will use aluminium spacers for better fit, which reminds me, I need to buy some bar!
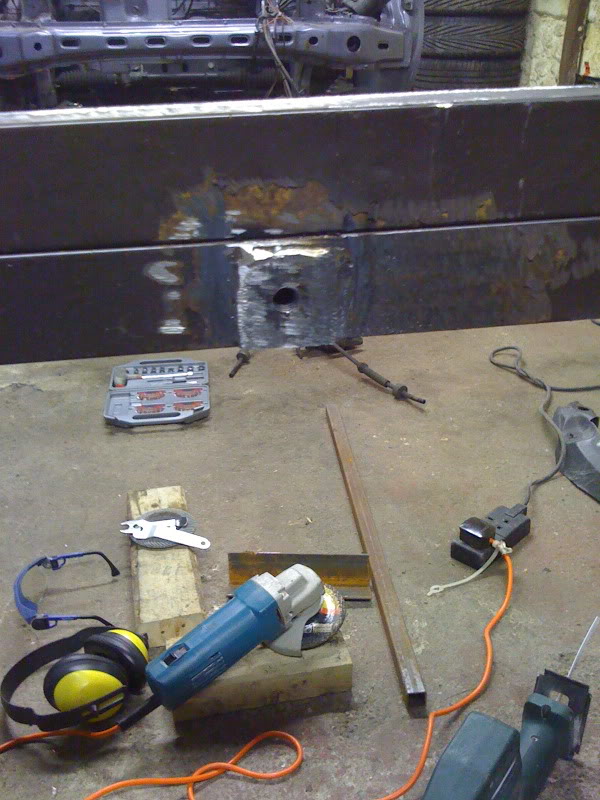
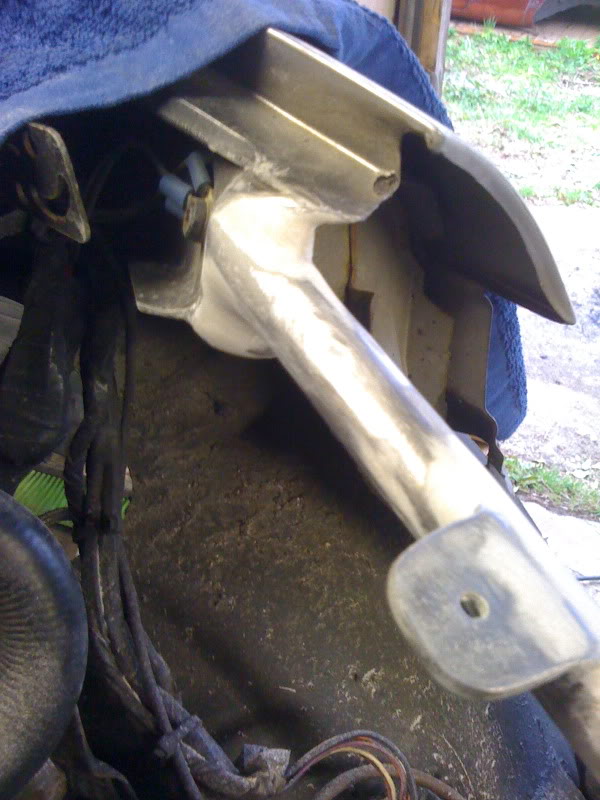
Then I set about plating up some open ends..
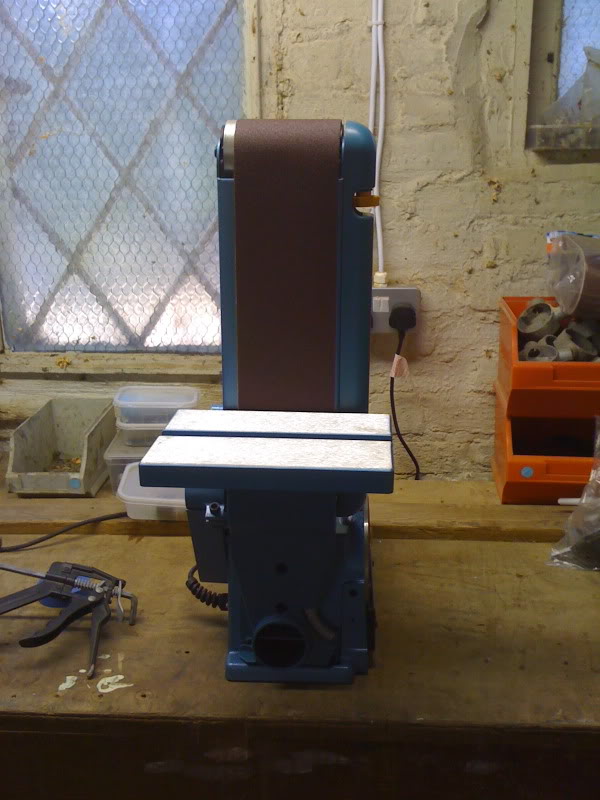
Then, to aid me in making the radiator brackets in aluminium and round them etc. I went and bought one of these from machine mart! It's pretty good! ..and not a bad price either.
Then cut my welded steel brackets off and drilled and tapped a thread for the aluminium to bolt to
I've made the new brackets but having a mare getting the radiator to sit right with them!
Not sure I can do much now until i can get the engine in to see where everything comes too! For that to happen I need the flywheel back from machinists, bolt it on, clutch on, mounts back for engine and bolt all those on, then the gearbox on and engine in.. only to come back out again to filler and paint
*****************************
Bit of work last night and today
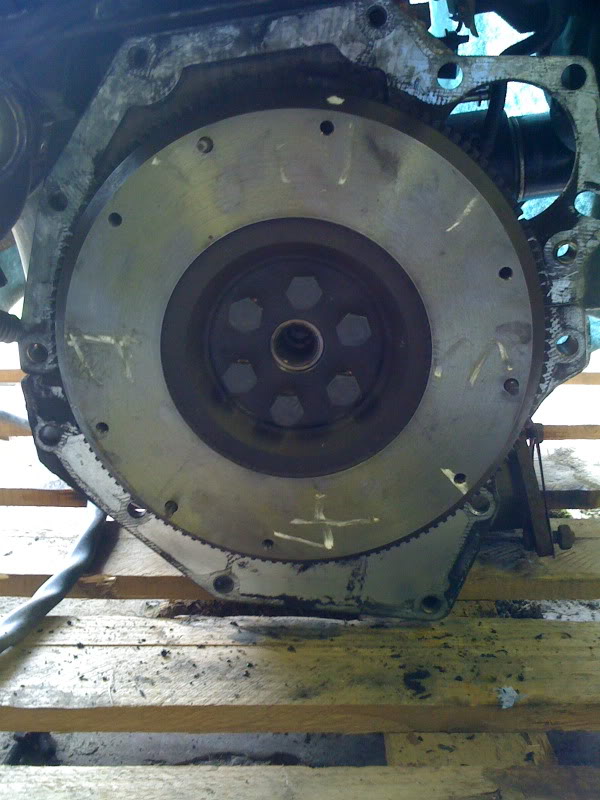
Skimmed 1.8 zetec flywheel
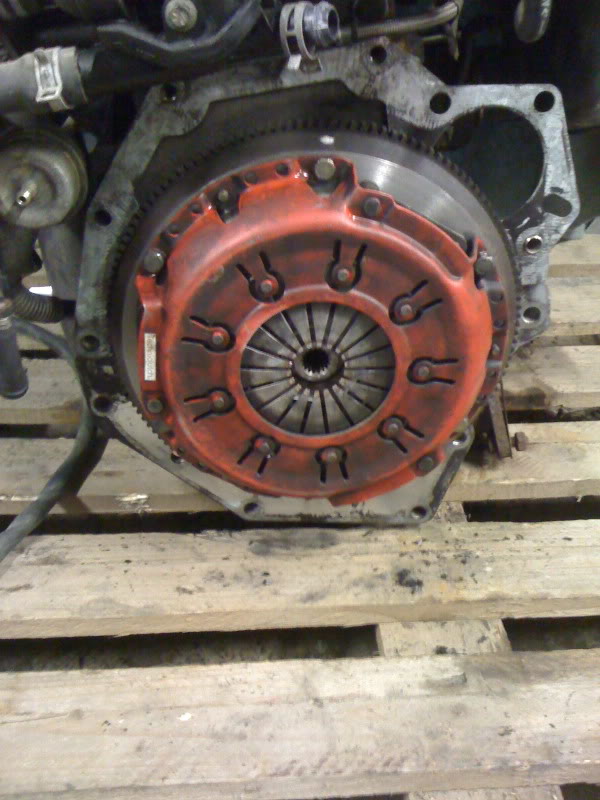
4 paddle Clutch - 2nd hand, but hardly worn! Just took the shine off the cover plate, as that's what you're meant to do apparently ?!
Then, made up some spacers for the headlight bolts as there's a gap
Then time to make this metalwork a bit nicer. Went over a some P40 fibreglass first, then P38 filler..

Might need one more going over and then higher grade paper.
Test fit of engine tomorrow!!

*****************************
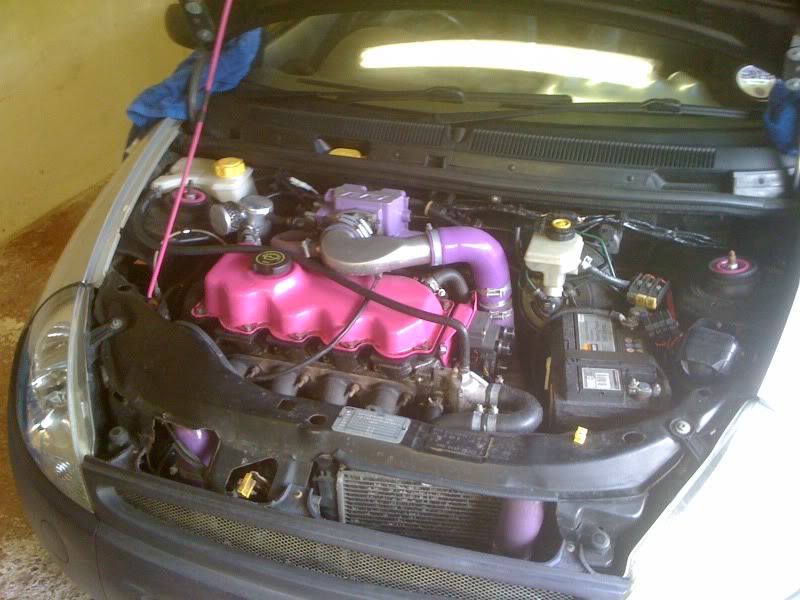
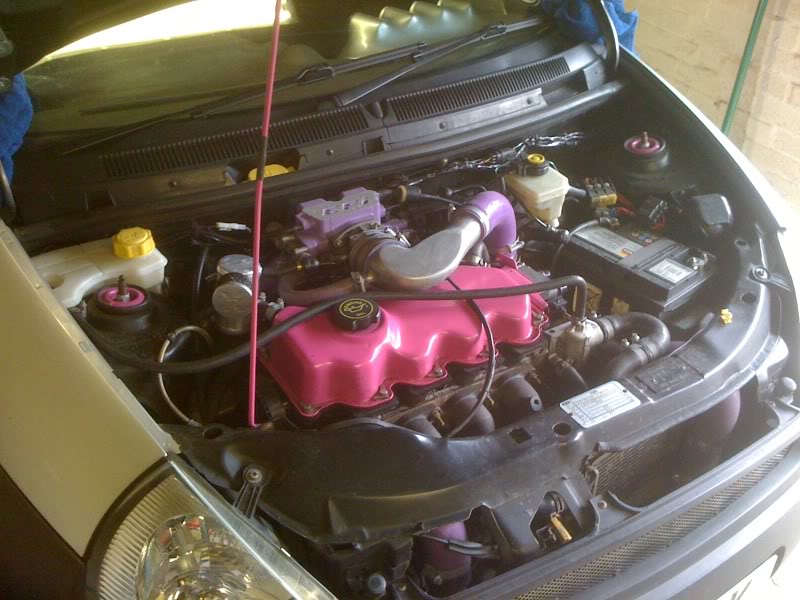
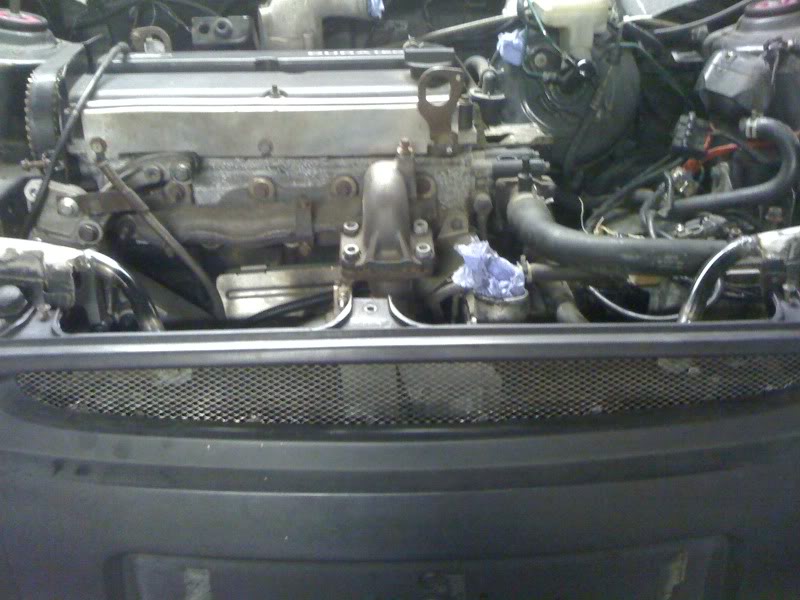
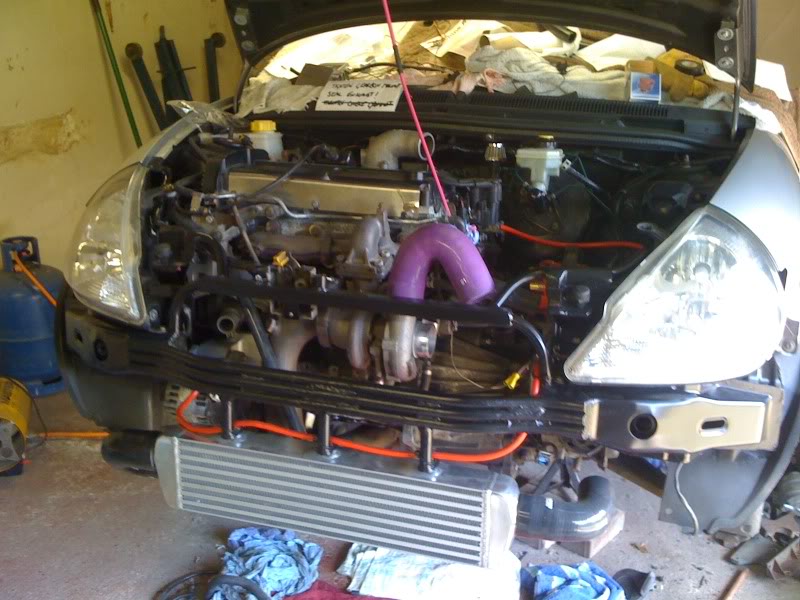
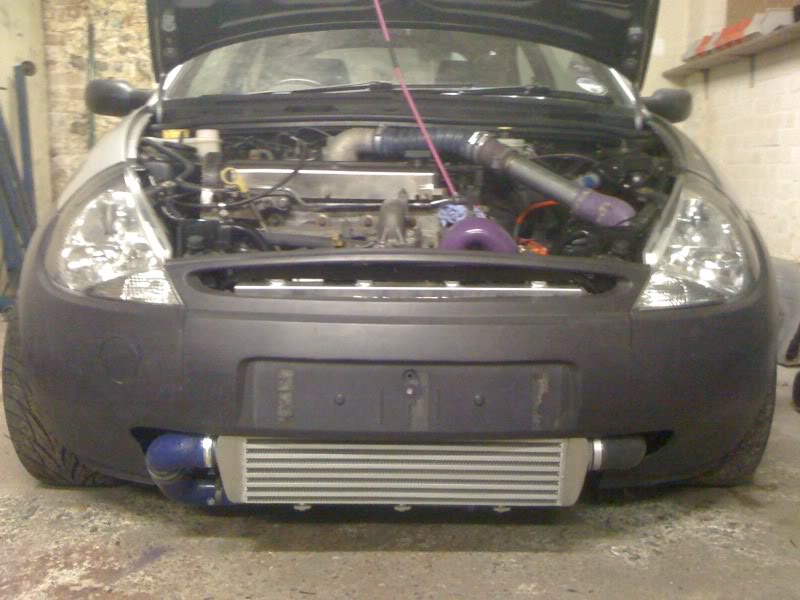
One of the big moments I was waiting for!
It's in!
And the standard inlet fits nicely
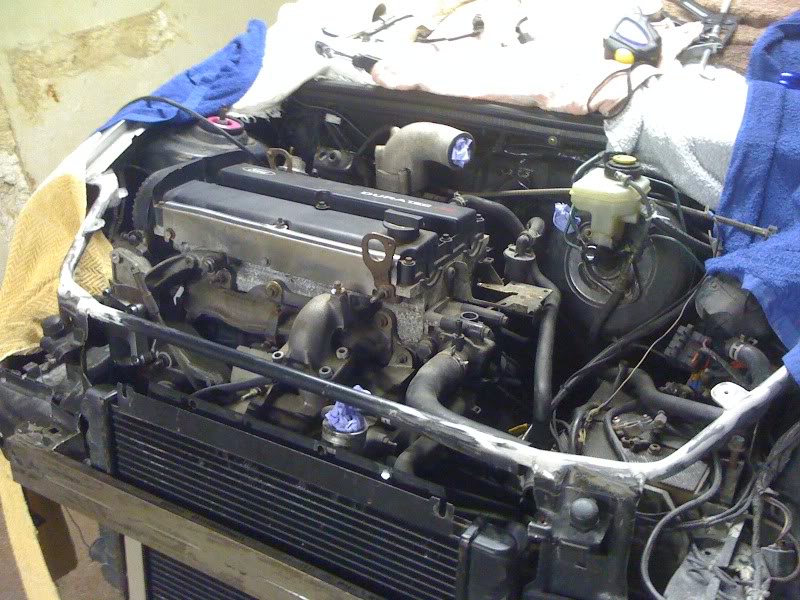
Sad thing is there are 2 problems!
Here's one:
Can be changed quite easily.. just more work!
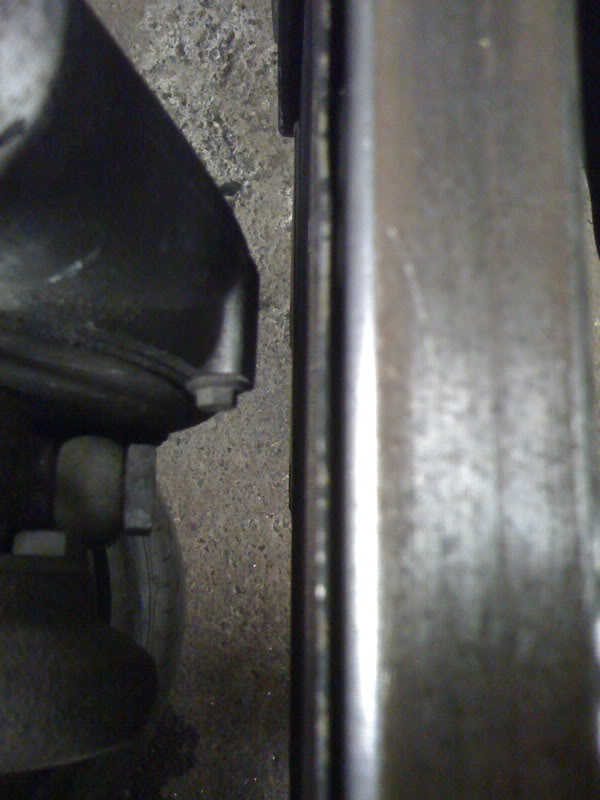
And this isn't really a problem, but it's so close it's ridiculous! I also don't have any space for fans with the 'new' cross member I welded. So time for a re-design! And luckily I have a possible solution on the way!
*****************************
Lot's of pictures
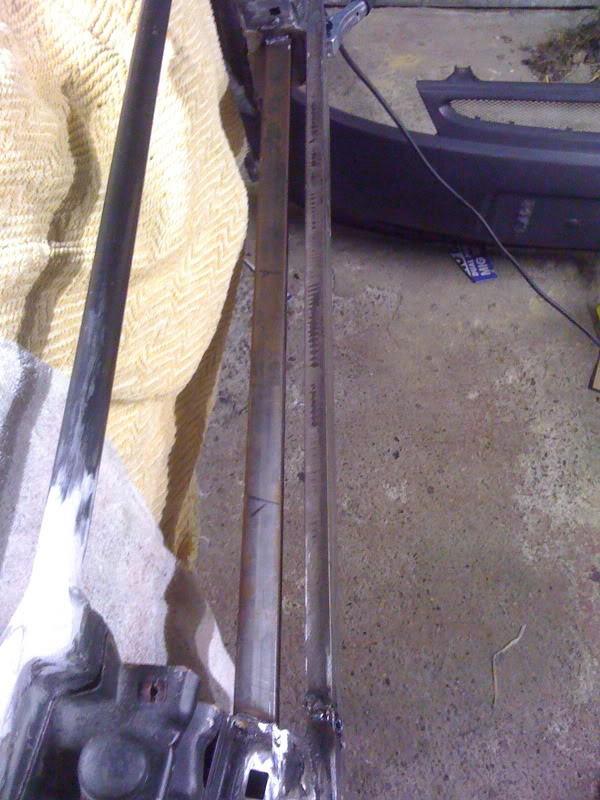
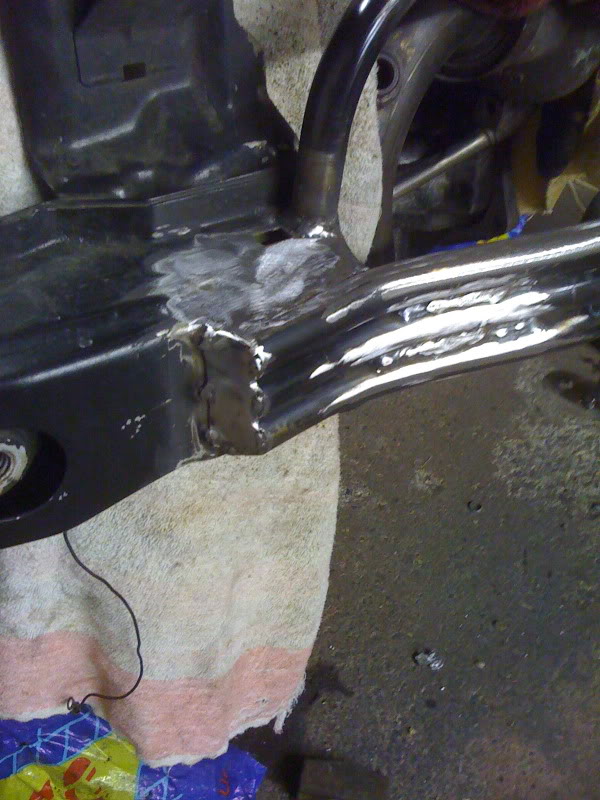
The re-design begins! Bending these steel conduit tubes with a double set in each end and all 3 the same is damn difficult!! They're not absolutely perfect, but they are hand made
turned out pretty well I think.
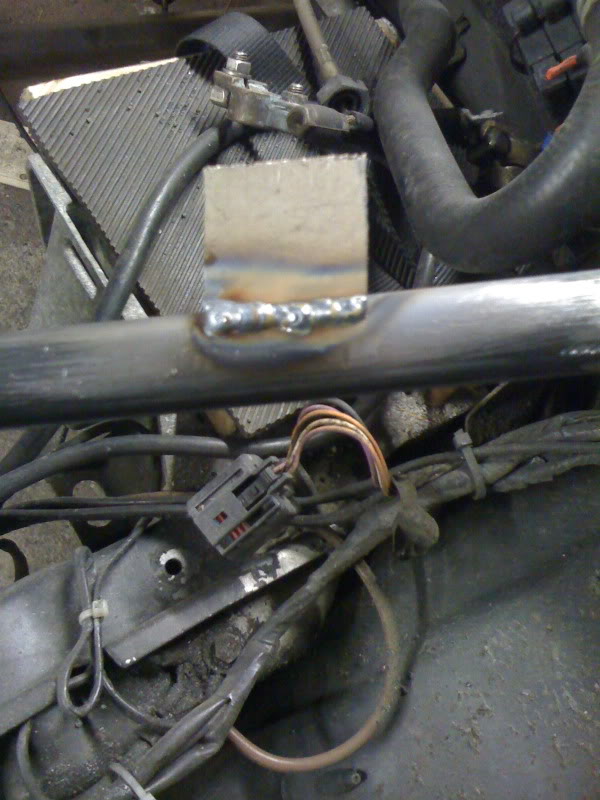
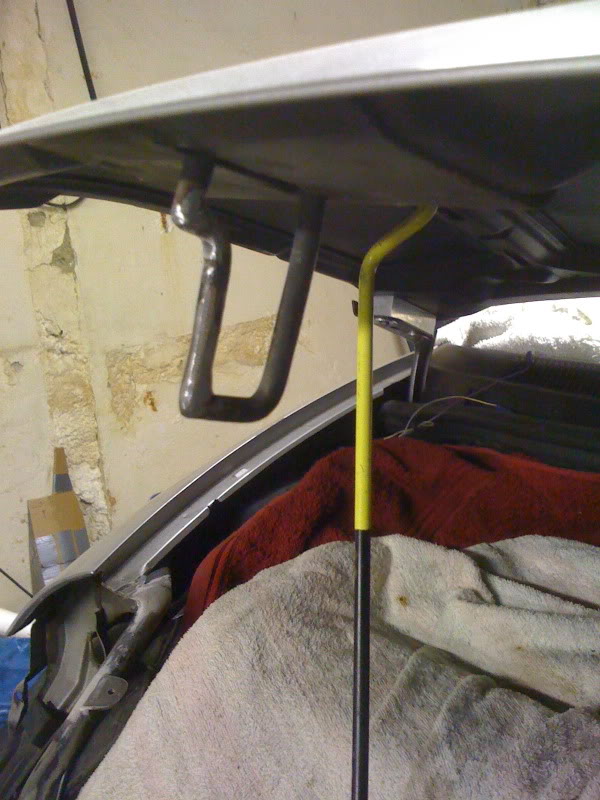
Put in a temporary bar to help stop chassis legs moving now engine is in... though it still moved a couple of mm. So wedged a bit of wood against gearbox

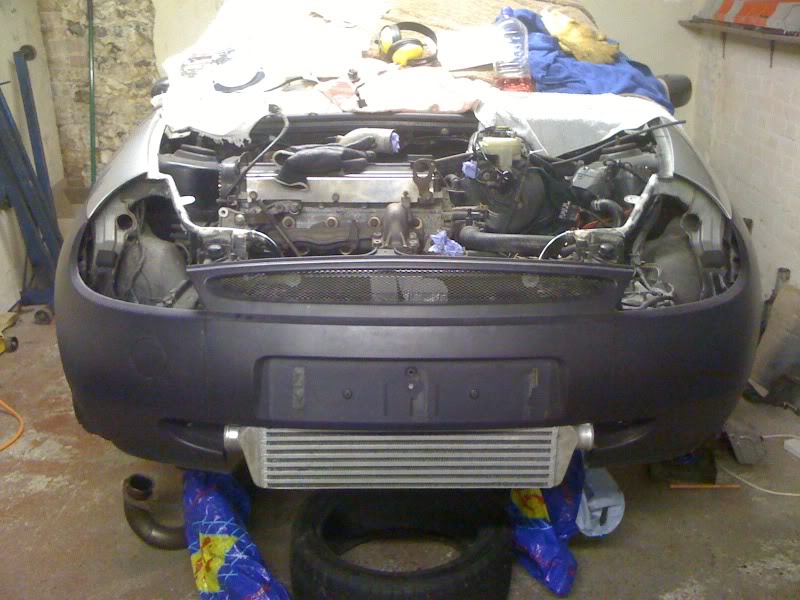
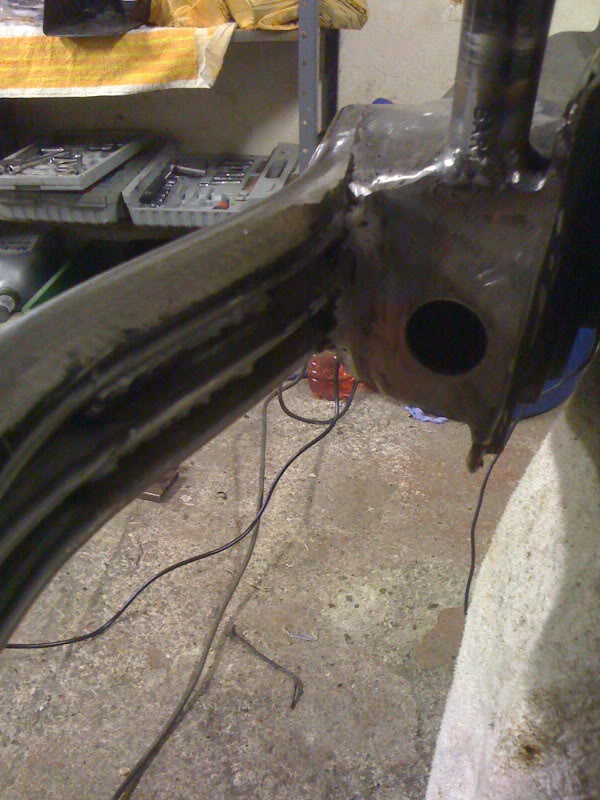
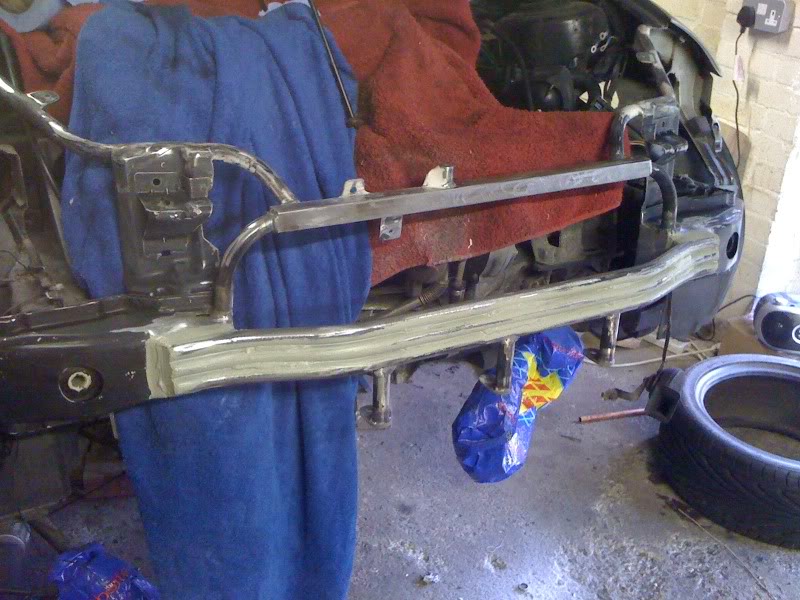
New bars welded on, and bumper test fit.
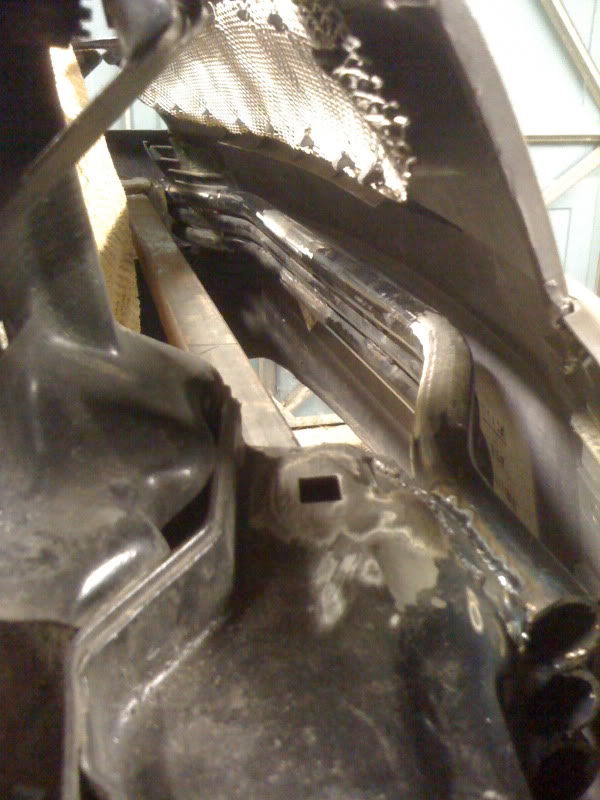
And now a jump in progress! To get everything to fit nicely for Rad and fans on the front. Had Joey (previously had black focus RS powered Ka) round Saturday evening/night/early hours of sunday morning!
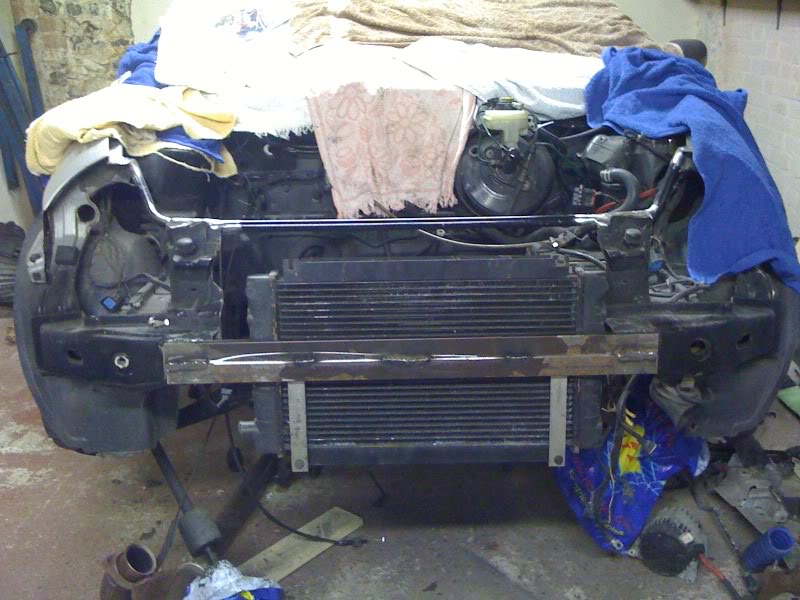
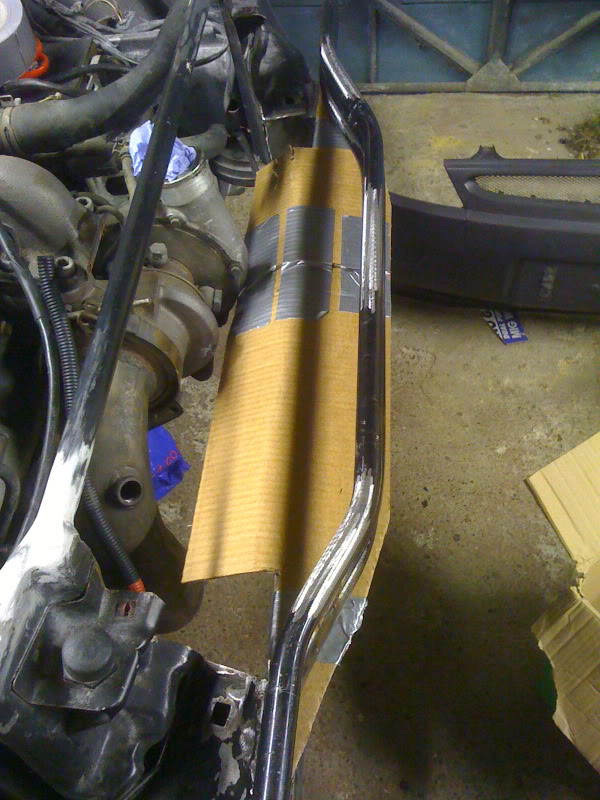
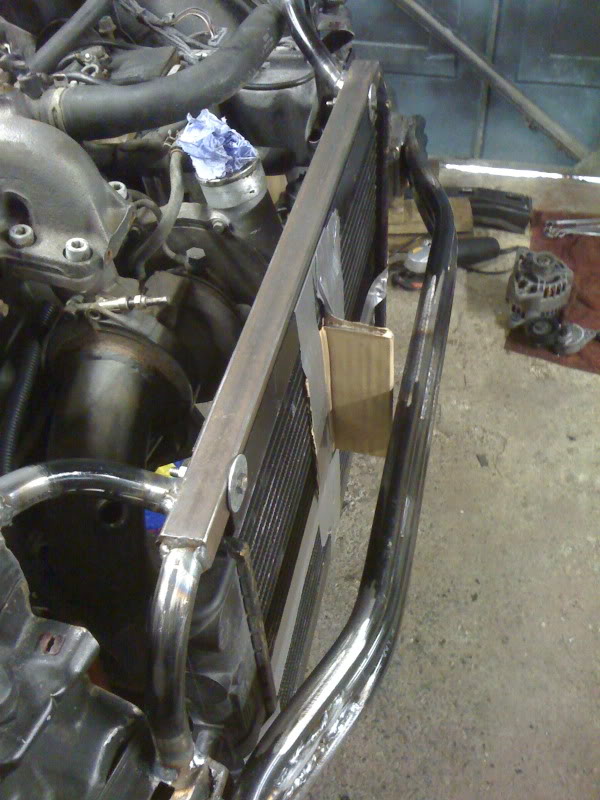
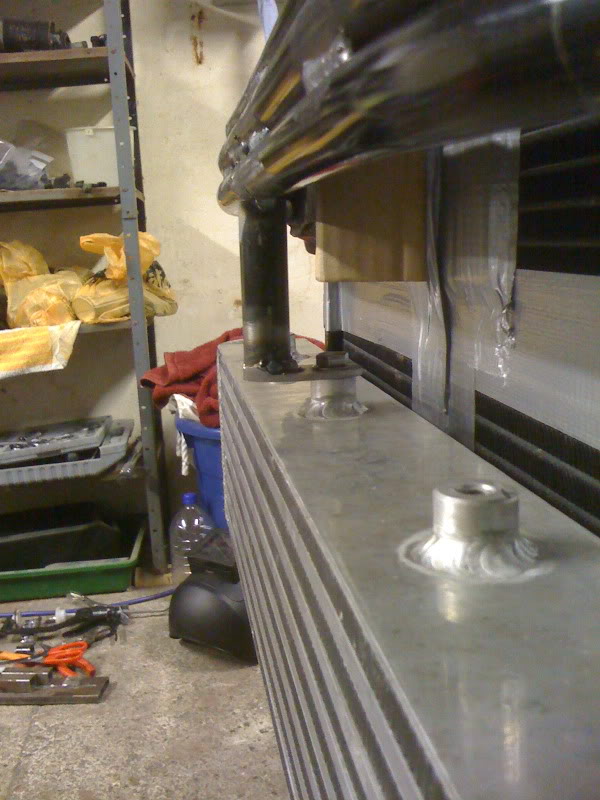
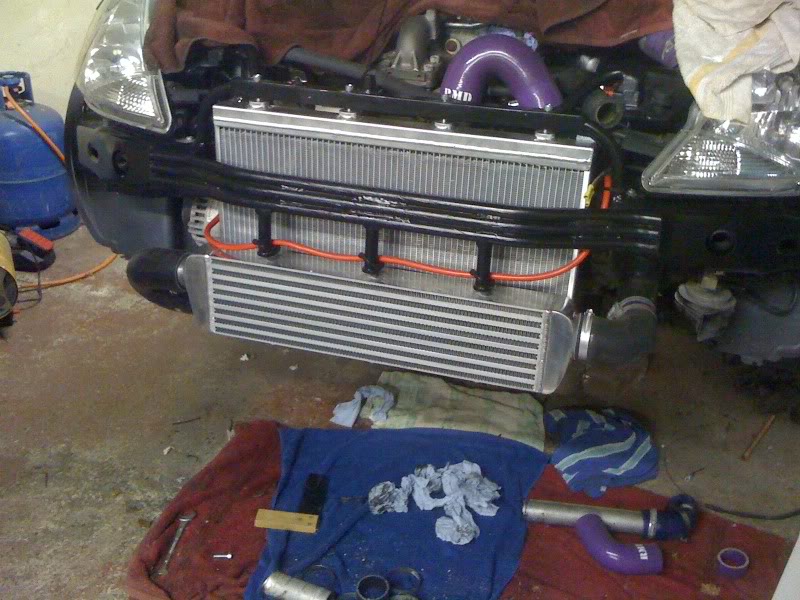
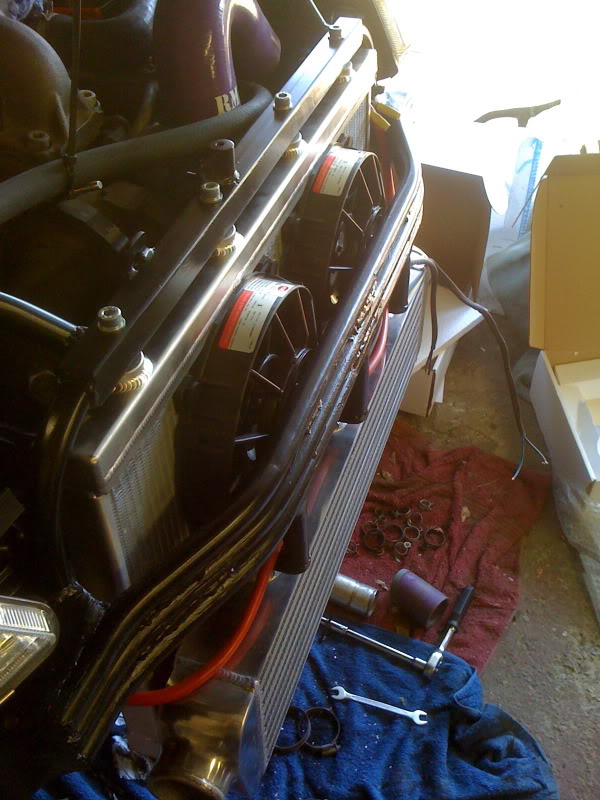
And managed to make up the radiator mountings, so fans and intercooler would fit (Thanks very much joey!)
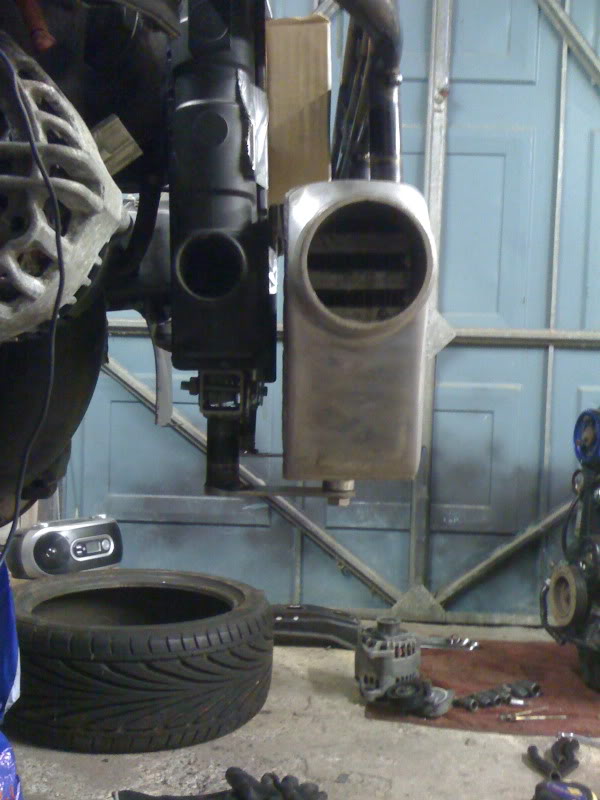
Much more space for turbo
The tape across the rad is so we could see where the bottom of the fans will sit on the rad. The cardboard is the depth of the fans.

Cored a hole for this - still needs to be a little bigger!
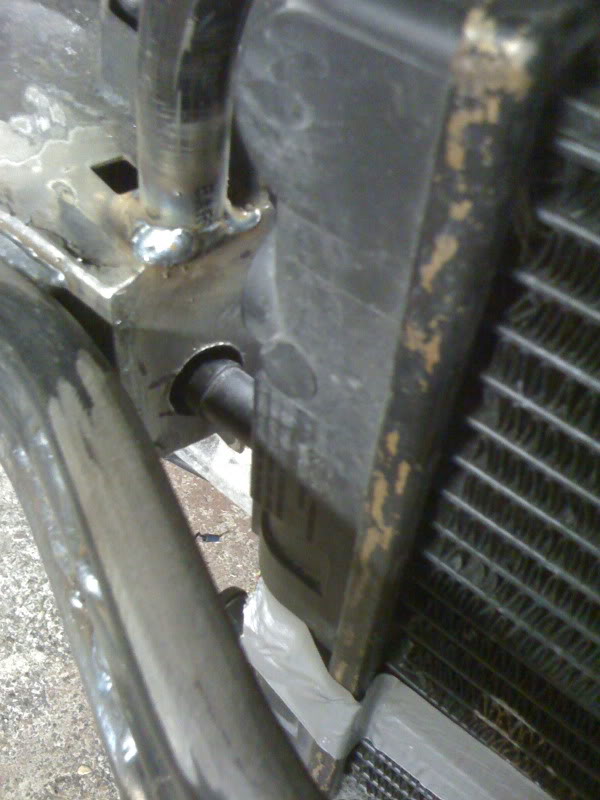
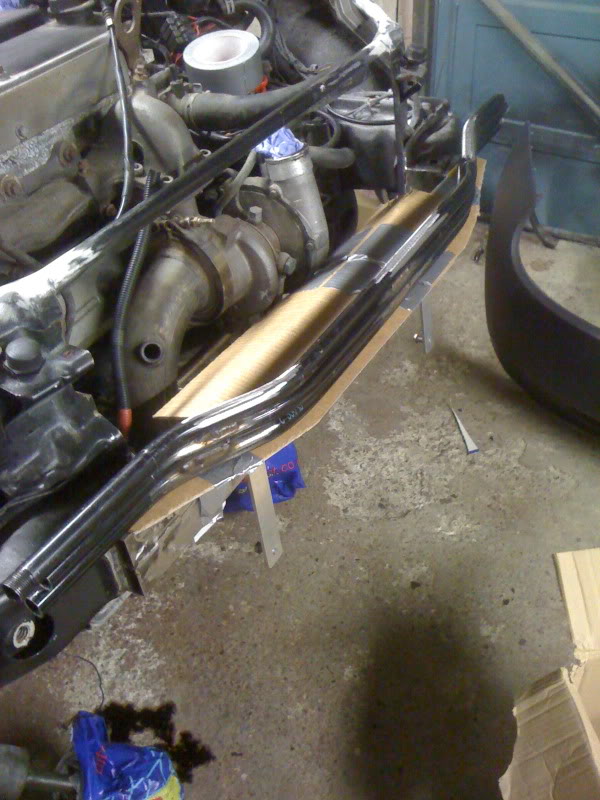
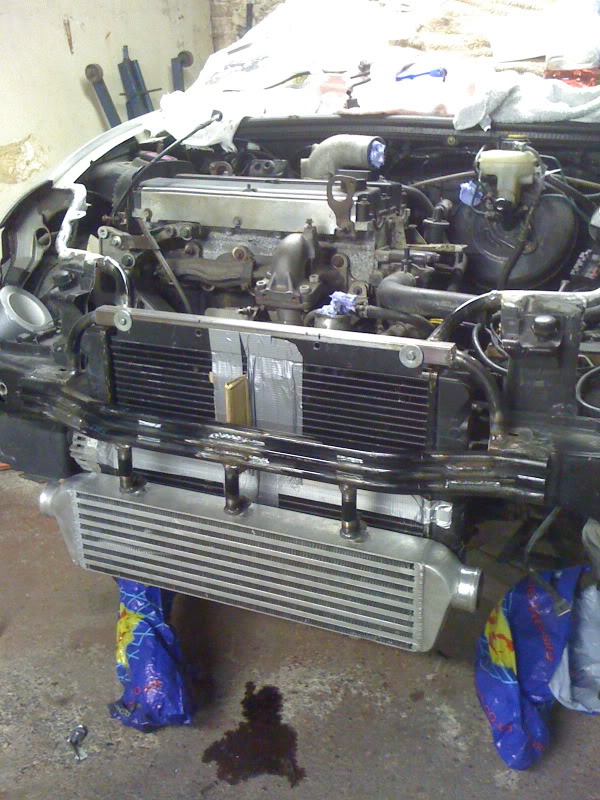
Sundays work - Intercooler mountings and brackets made up to tie the bottom of the rad & intercooler together to make it really sturdy (and I didn't think it would work too well, but it does, because of the way the radiator is mounted at the top and the rigidity of the intercooler top brackets.
Test fit again
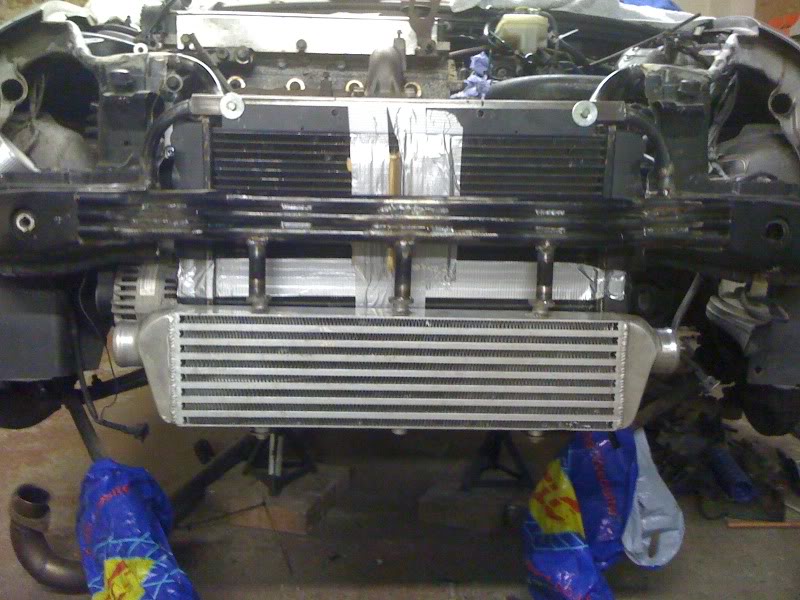
Bottom brackets. Currently bolted to the bottom of the radiator, but on the new one, I might weld the brackets to the rad.
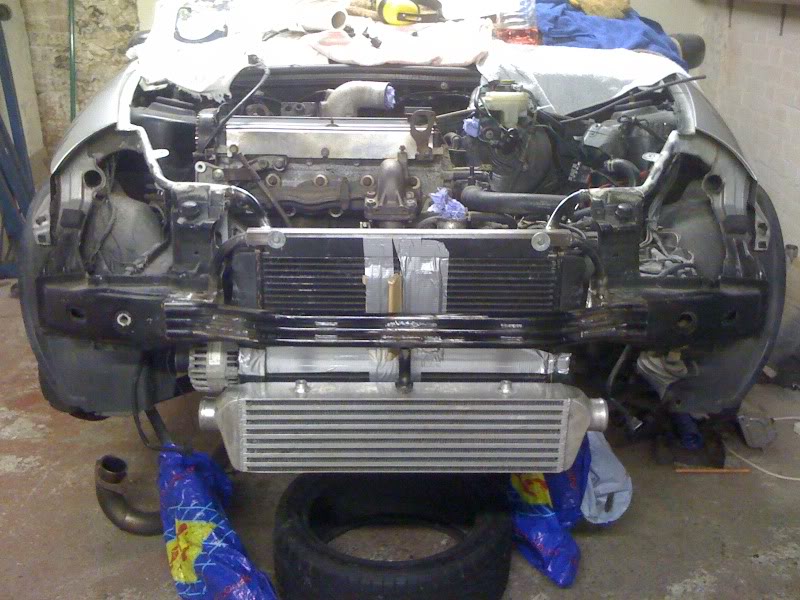
And how it's standing at the moment. Now it all needs to come off so the metalwork can be tidied and prepped for painting
Now that everything fits, hopefully the worst part is over! Was fun seeing it come together though. Very excited now!
*****************************
Small update!
Small 'post' with m6 thread for centre bumper mounting point
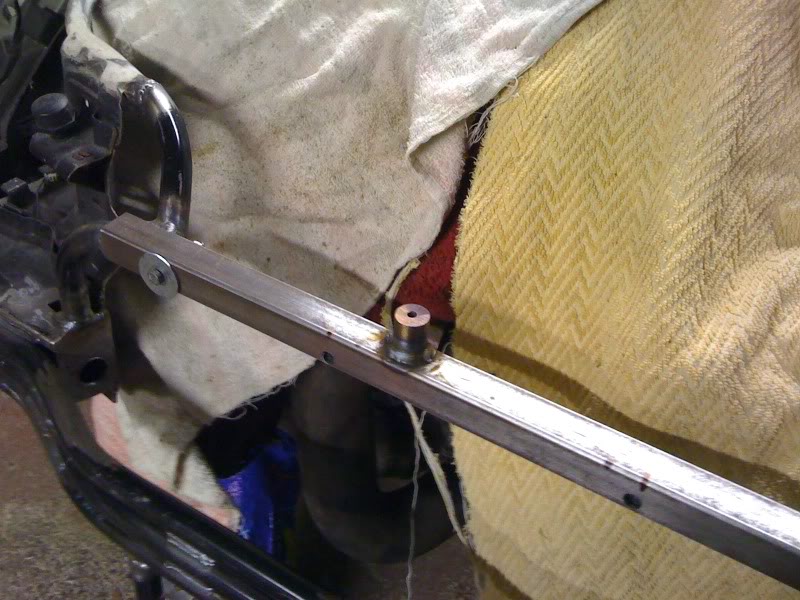
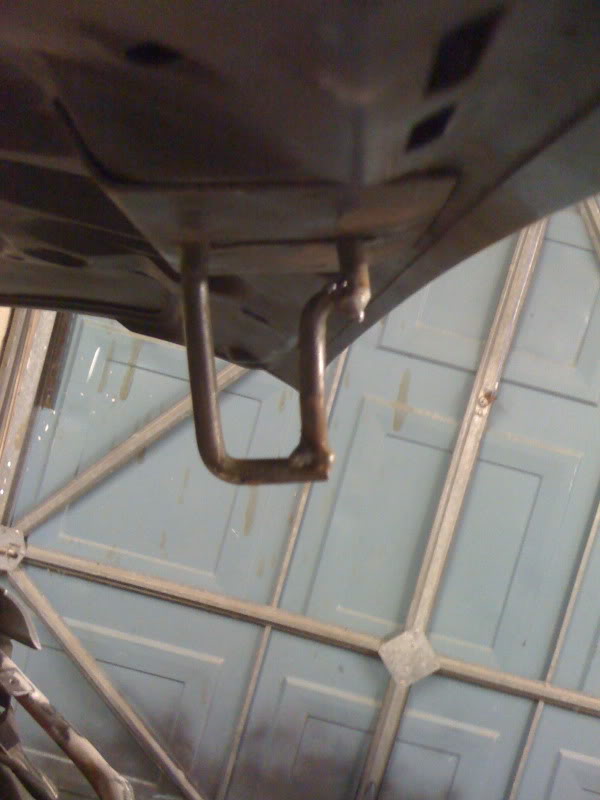
I've got 1 last bit of fabrication! My brother and I have found that the original bonnet catch can fit and so making up mountings for it :Q No bonnet pins! (which would ruin the look of the car, as it doesn't look track like at all!)
You might also have noticed that I've filled the radiator mounting holes. This is because I have designed and given drawings to pro alloy for a custom one! :Q
This was after I bought a brand new pattern XR2 rad and found that it's slightly different and didn't fit!! So I decided to spend more money I haven't got and do it properly
*****************************
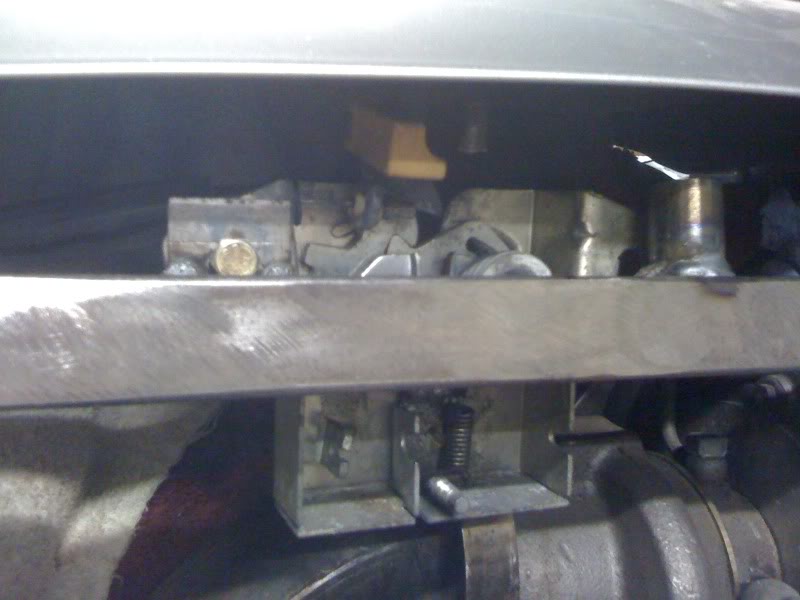
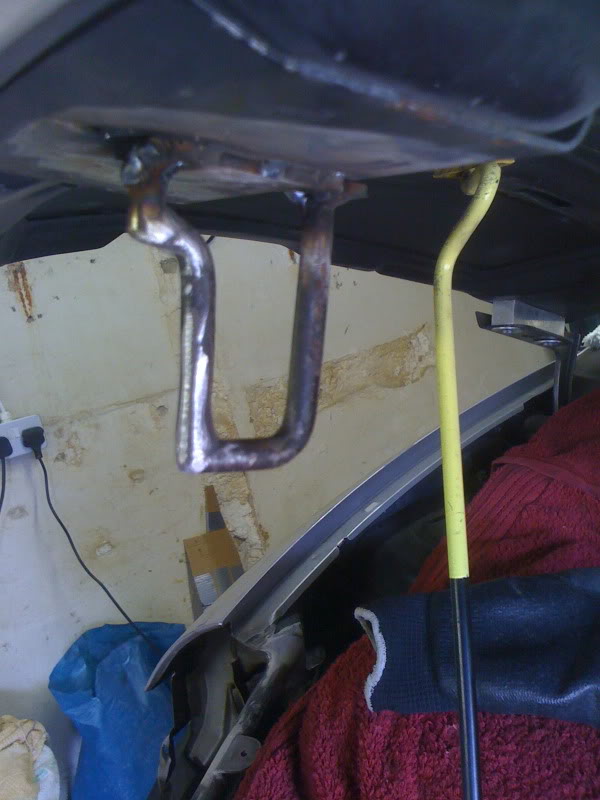
Some more work - I'm loving the fitting of the bonnet catch, even if I say so myself
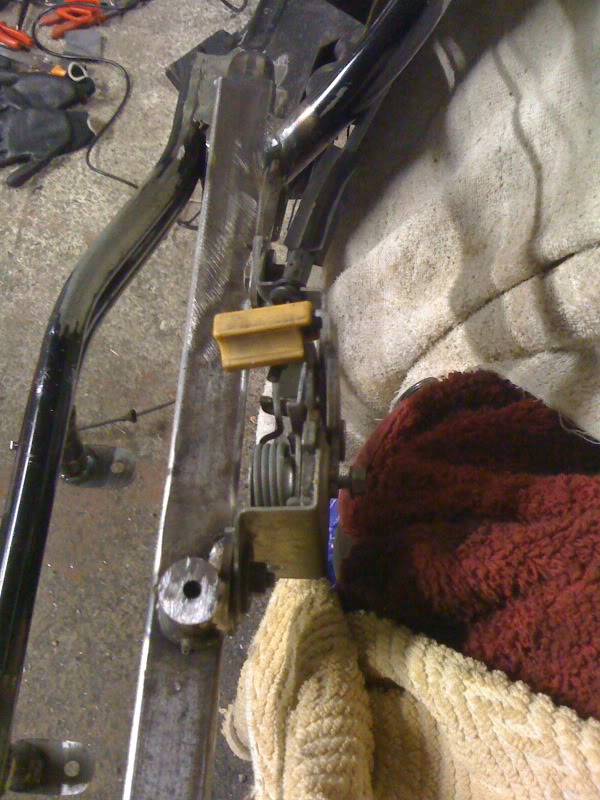
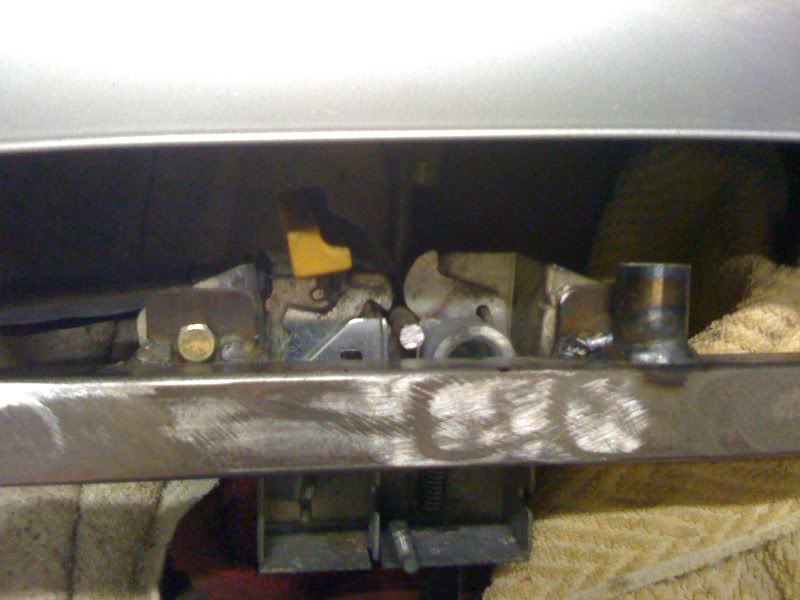
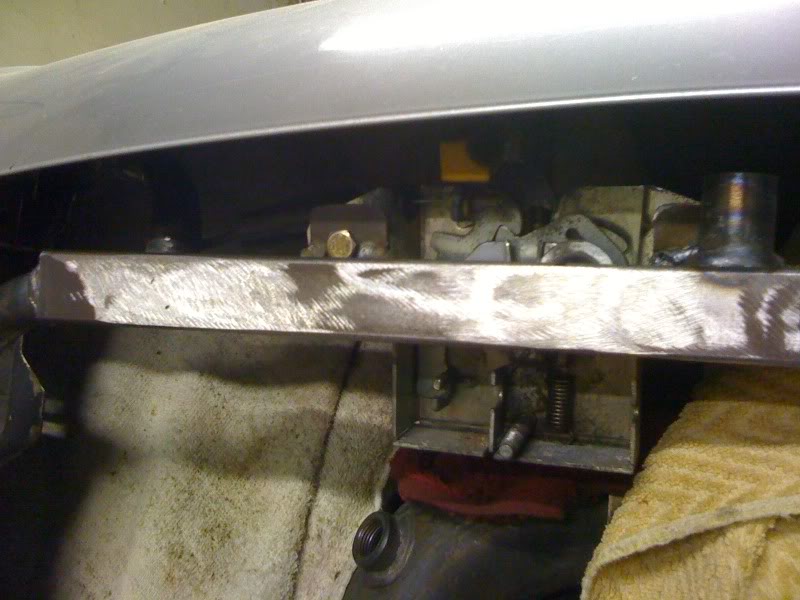
All 3 mounting points done:

Had to re-arrange the bonnet latch to make it drop into catch properly without hitting the bar..
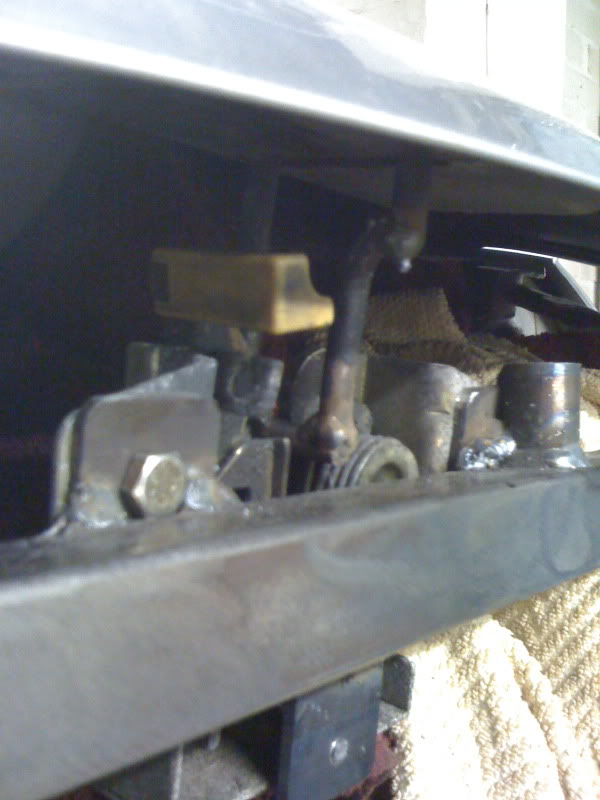
And grinded off a bit
Sorted that problem!
*****************************
More and more
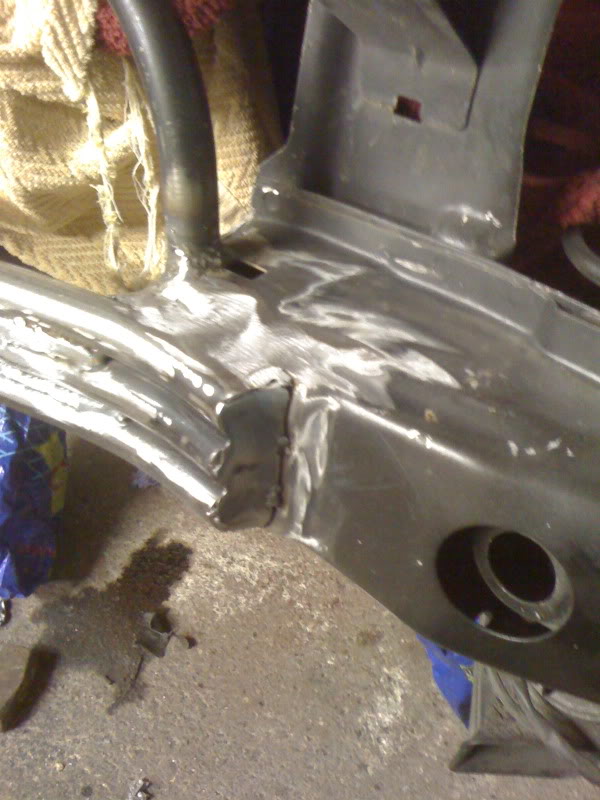
Tidying up the ends (need some seam sealer)
Filled the back behind the bars with weld, was pretty difficult as the gap was massive!
Other side
I let myself loose with the filler again!
Out came some sand paper
and this is how it stands now (until tomorrow
)
*****************************
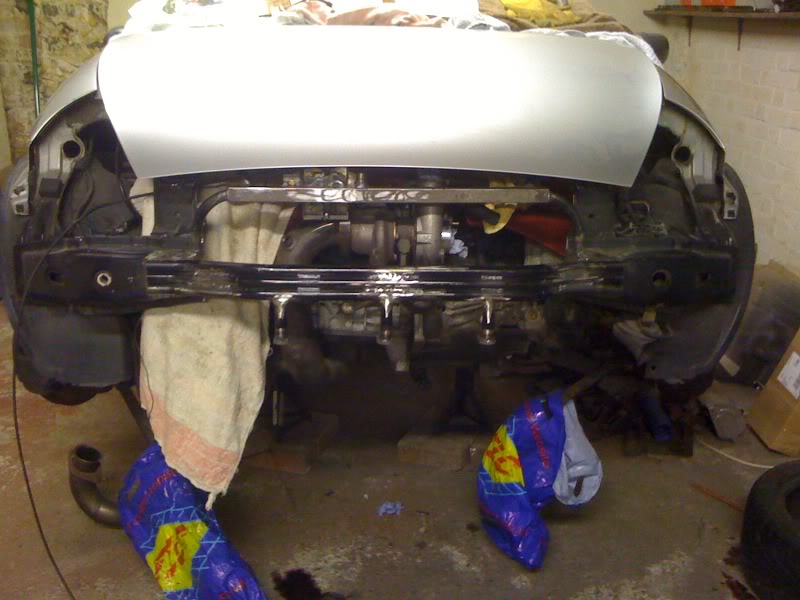
Little more progress today..
Had a slight issue with the bonnet.. I hadn't aligned it properly
")
and when I put the headlights and bumper on it was way out. So aligned it and then the bonnet hook was in the wrong place. So had to re-mount it, move it back further and put a plate underneath as it also needed to be longer (because I'd moved it back). It's not quite right still, but does the job and catches nicely - just the hook is on the piss so as not to pull the bonnet out of alignment when it shuts! Sodding thing! Will sort it another time I think
possibly when I get a new bonnet at some point!
Started with the seam sealer
Got lots of small areas for water to creep in/rust to build up so best to get this stuff on!
And now some acid etch primer! I know this isn't really the proper way of doing things as I haven't taken the engine out. I can just about get to everywhere
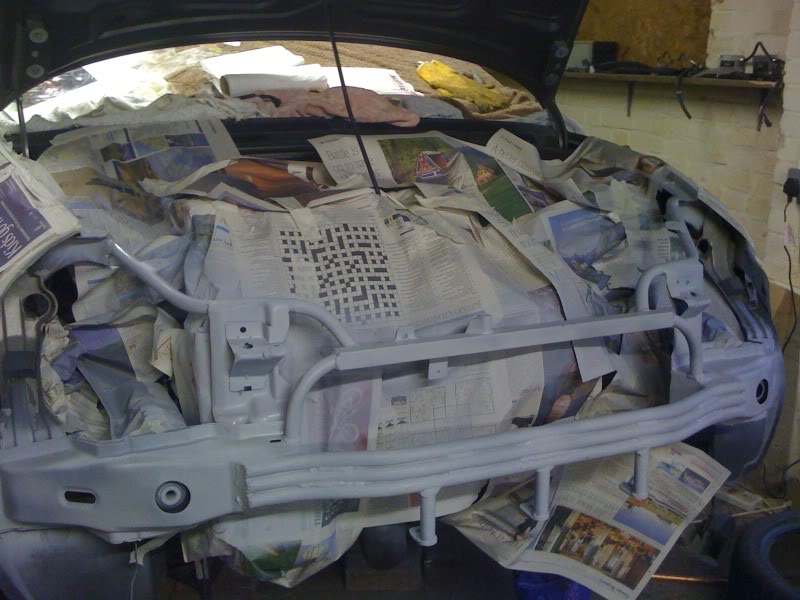
Unfortunately, it has reacted in a few places so got to sort that out. And some filler areas need some knifing putty really. But at least I can see how it taking shape now
*****************************
Small bit of progress - Unfortunately I forgot to cover the arch liners, good thing they're completely covered.
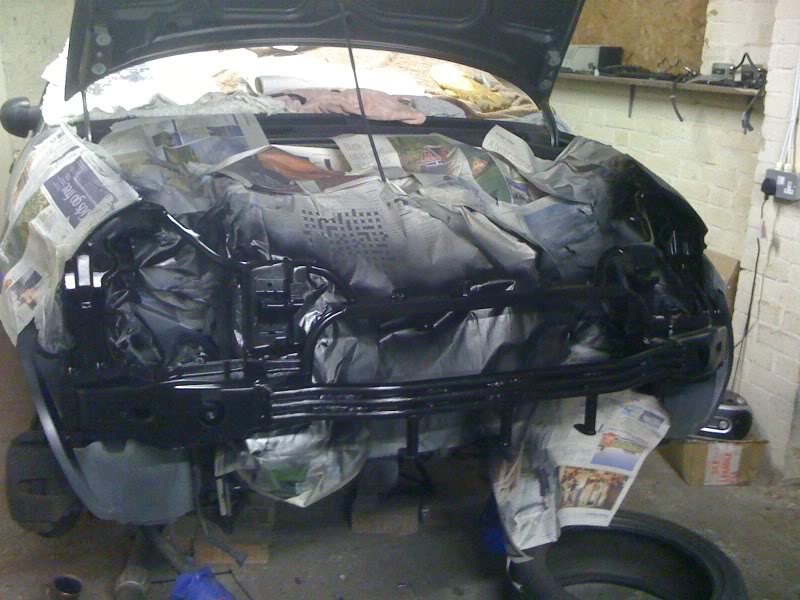
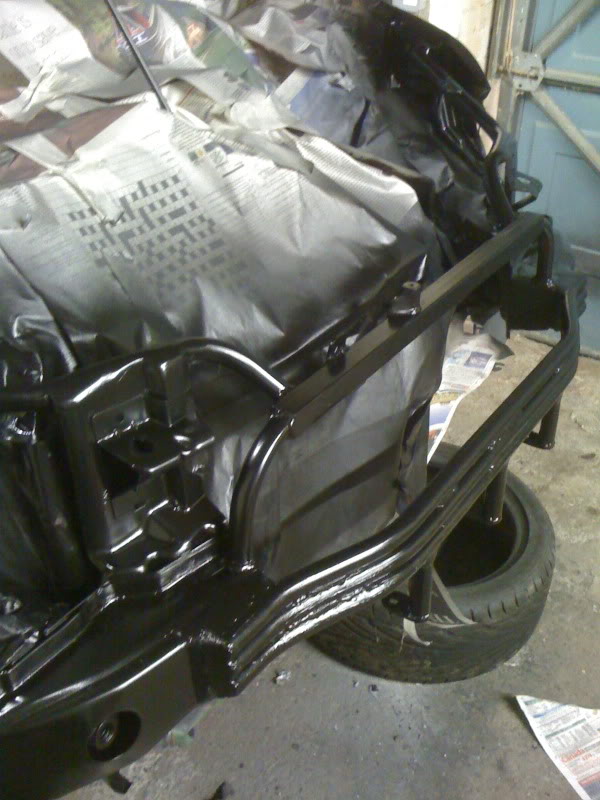
Some people don't like satin black, but it's easy to touch in when it gets chipped, which it will cos I'll always be working on it!
Then I cleaned it all
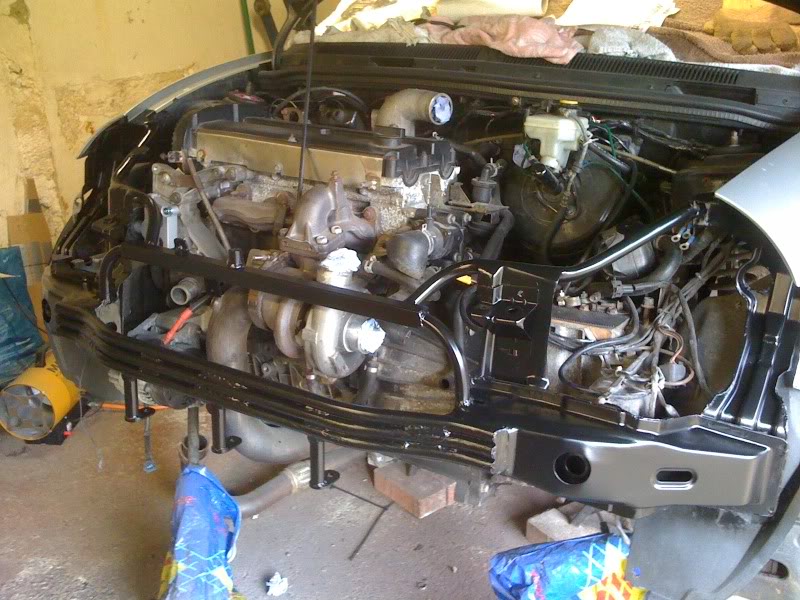
Fitted a 2.0 N/A blacktop thermostat housing as it has sensor positions (Focus RS has none!)

*****************************
Photos
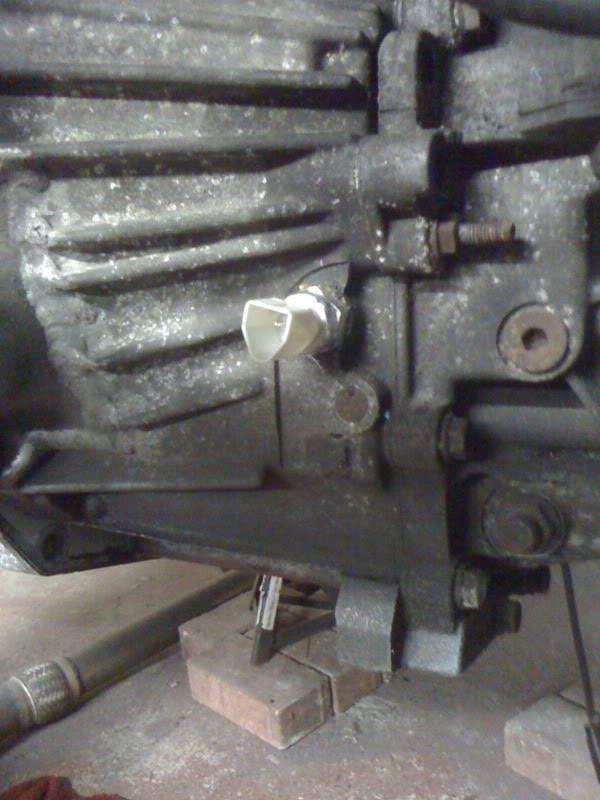
Reverse switch changed
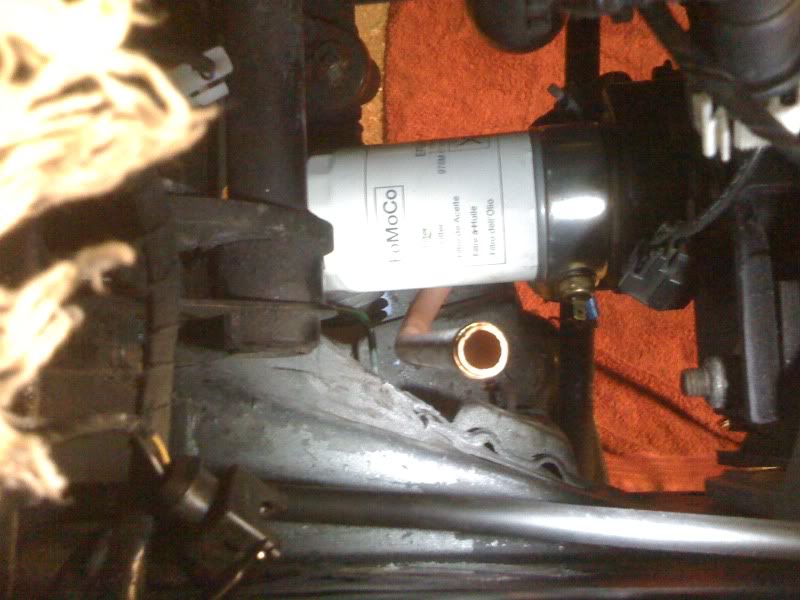
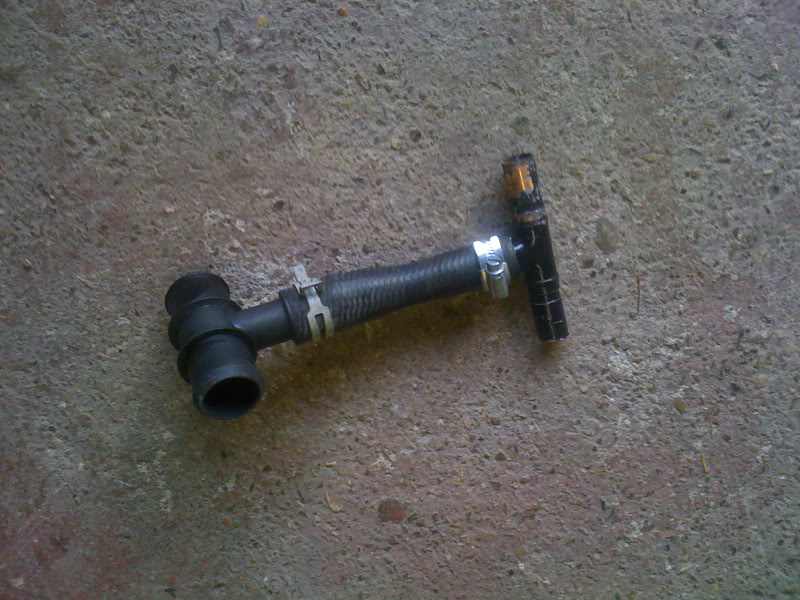
Then I started making up this coolant pipe from the oil cooler in copper as the std one had seen better days plus I could do with it longer. I'm actually using it in a different place to where it is on the focus!
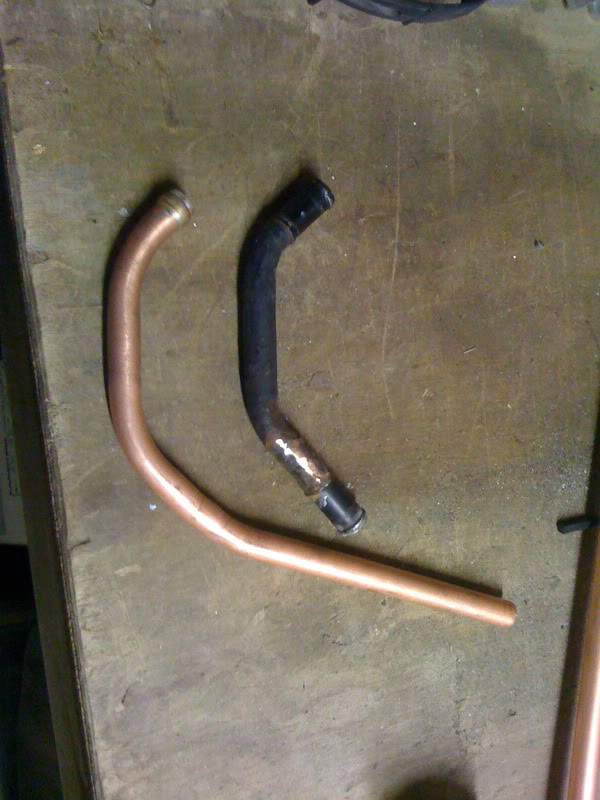
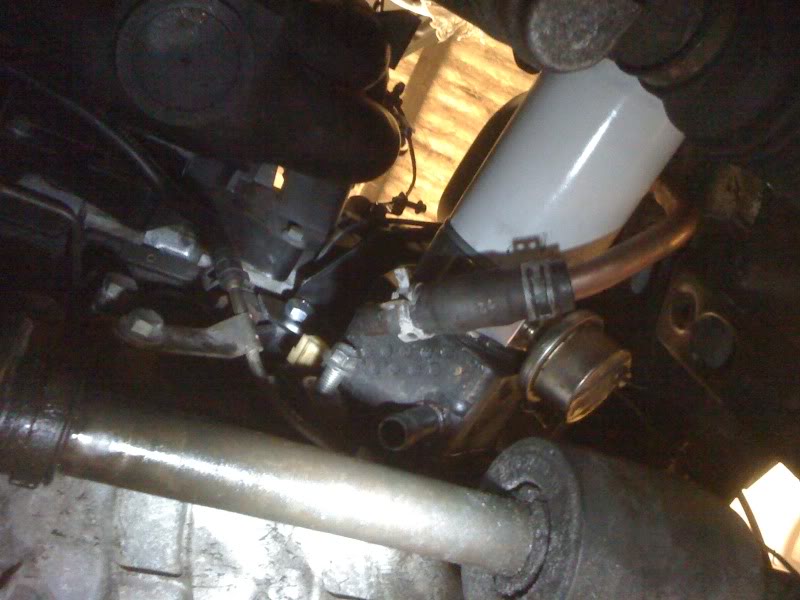
You can probably see I've twisted the oil cooler round to attempt to make the outlets in better positions for me..
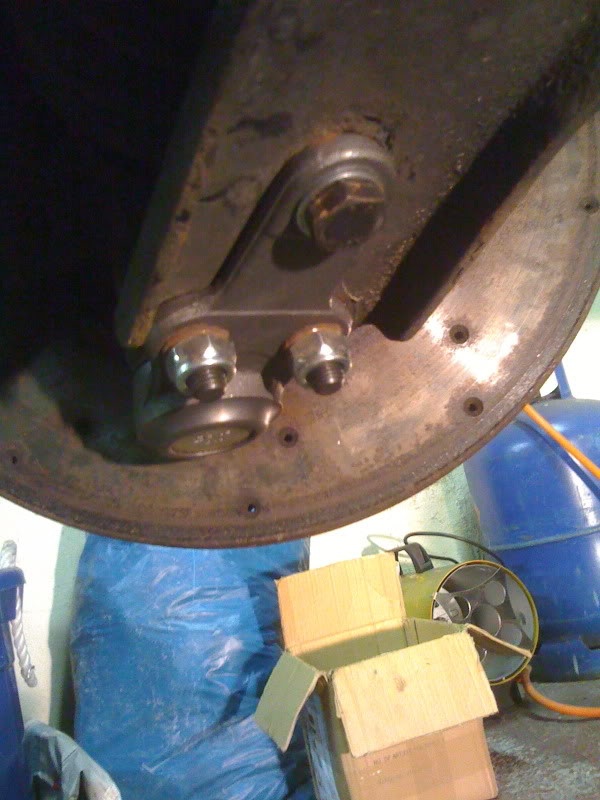
New ball joints.. 2 years ago these lower arms were mint! I gave them 2 thick coats of the hammerrite (brushed not sprayed) and now look at them! Rusty! I'm not bothering anymore
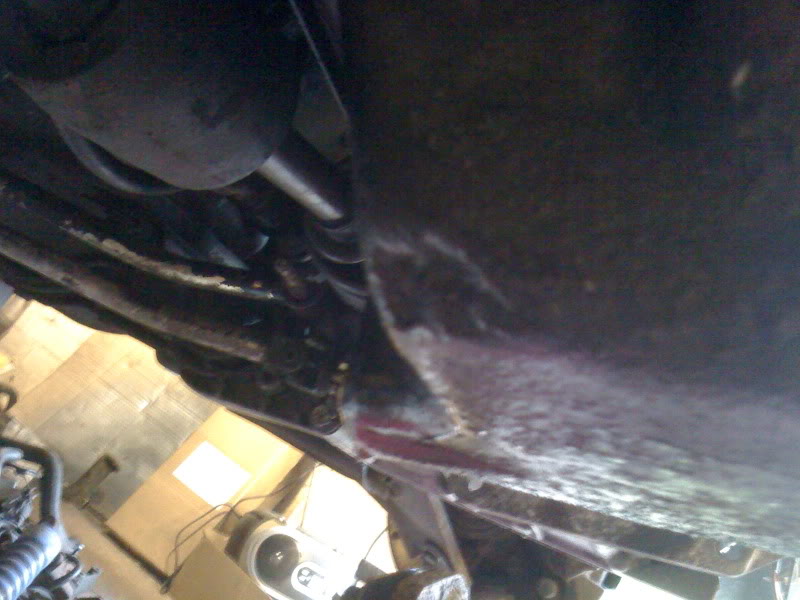
Then, when I filled the engine with oil I noticed I had a leak... from here! (this silly dent, so new one on it's way)
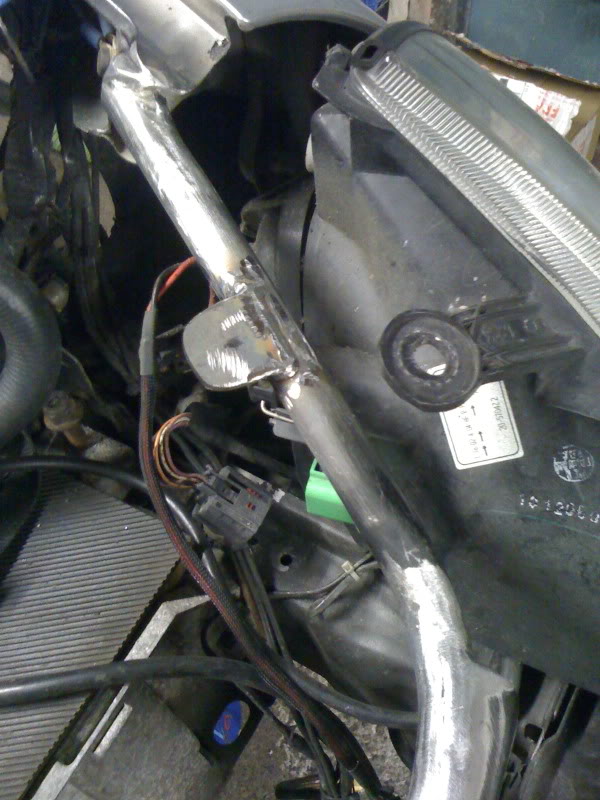
Boost controller solenoid and map sensor in place
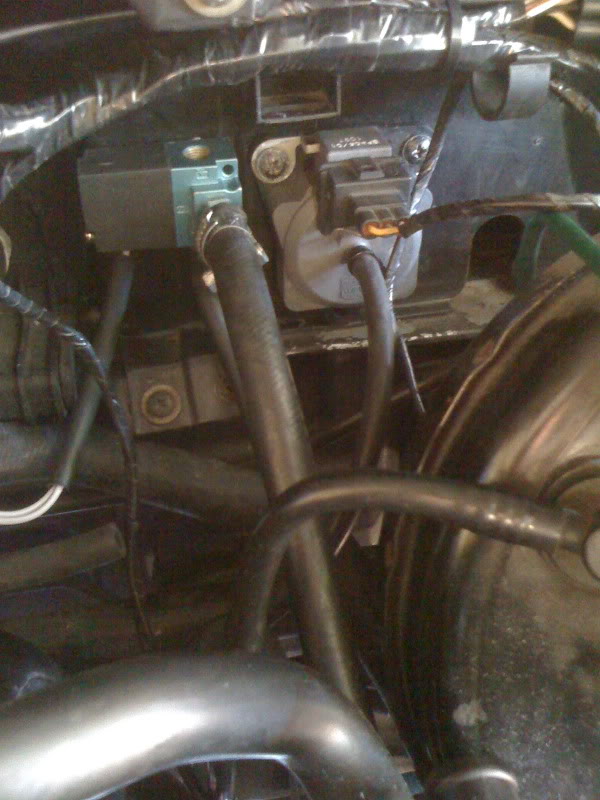
I've also done the management wiring and it's now complete (for now - thinking about doing something with the injector loom after it's all running)
Then I set about getting the exhaust on as I had to cut it and get it to fit the FRS downpipe!
The the end off my custom one..
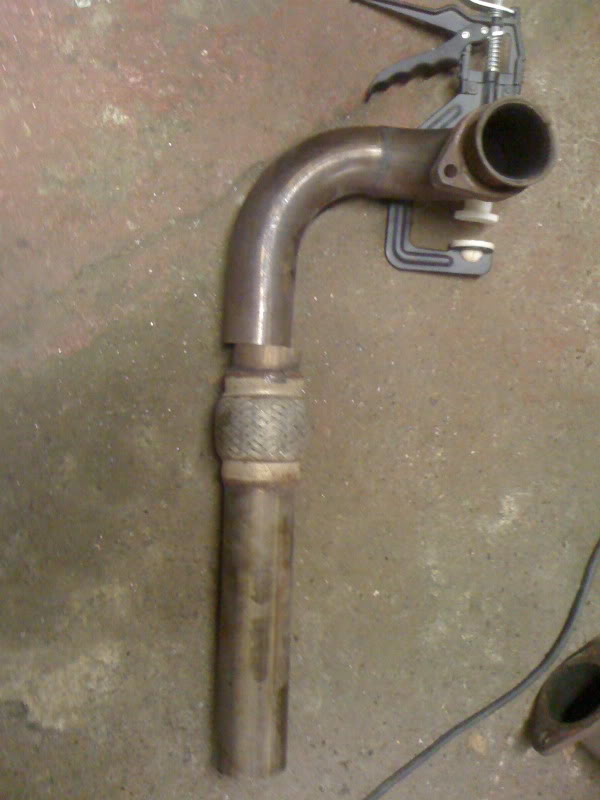
Cut the flange off this piece of FRS exhaust that came with engine..
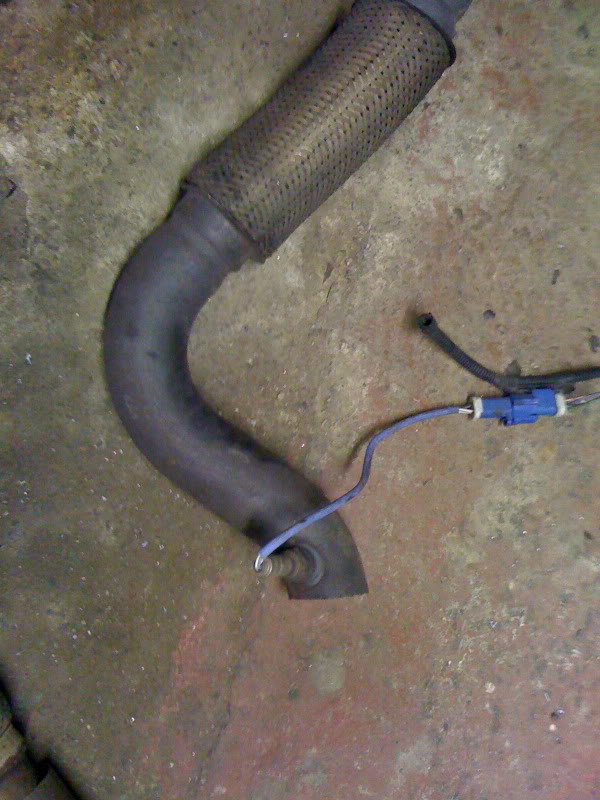
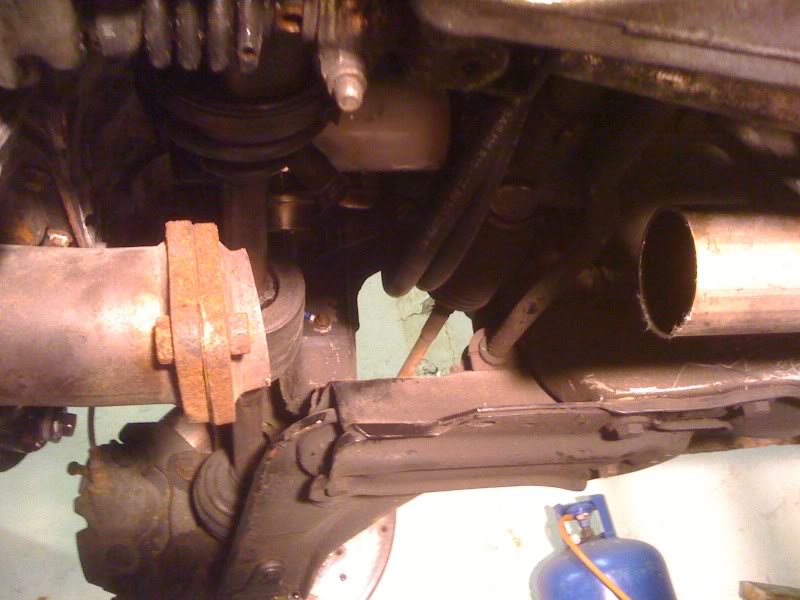
Put exhaust and flange on the car..
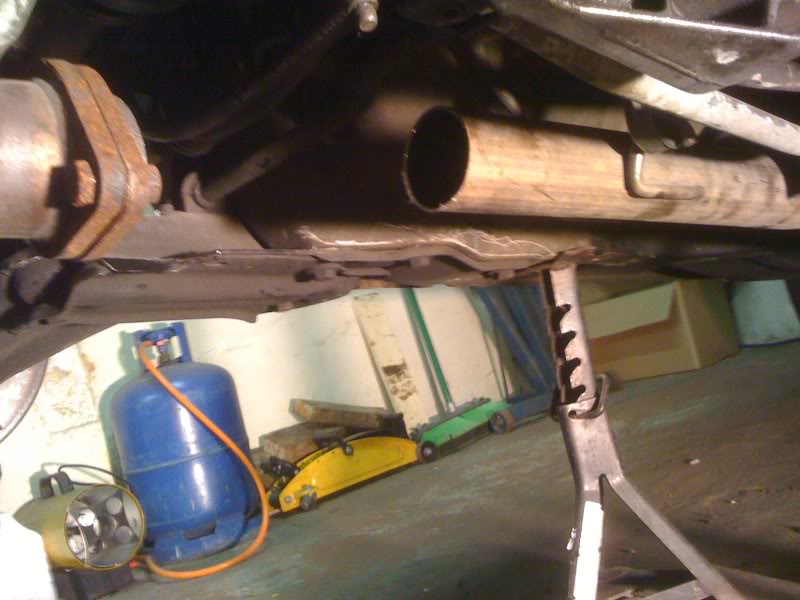
I then measured the gap and cut my flexi out with the correct length of exhaust and tack welded it in.
Then welded it all together!
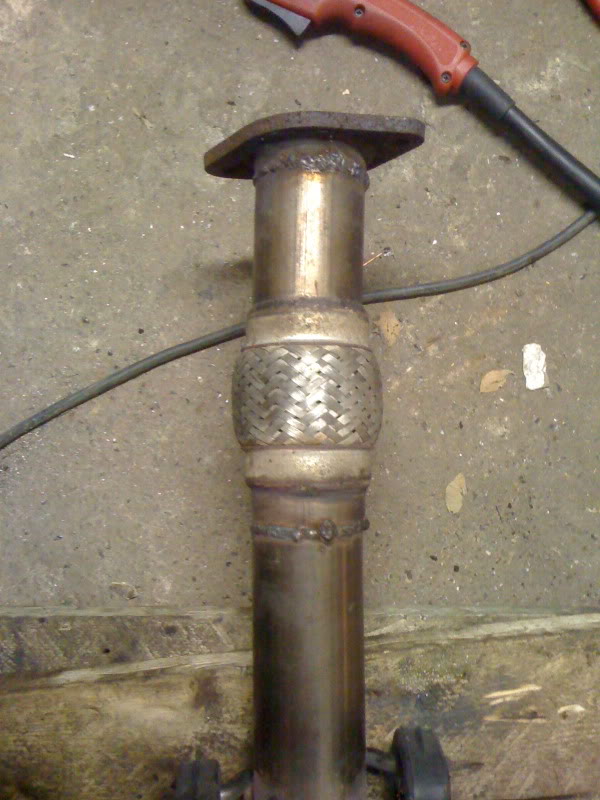
Fitted it all back to the car, after I'd turned all the lights off and shined and torch round the welds to check for holes!! Which there were a few on both welds. So had to go round both welds thoroughly again.. which then made the welds dead ugly!!

but better that than a leaky exhaust!
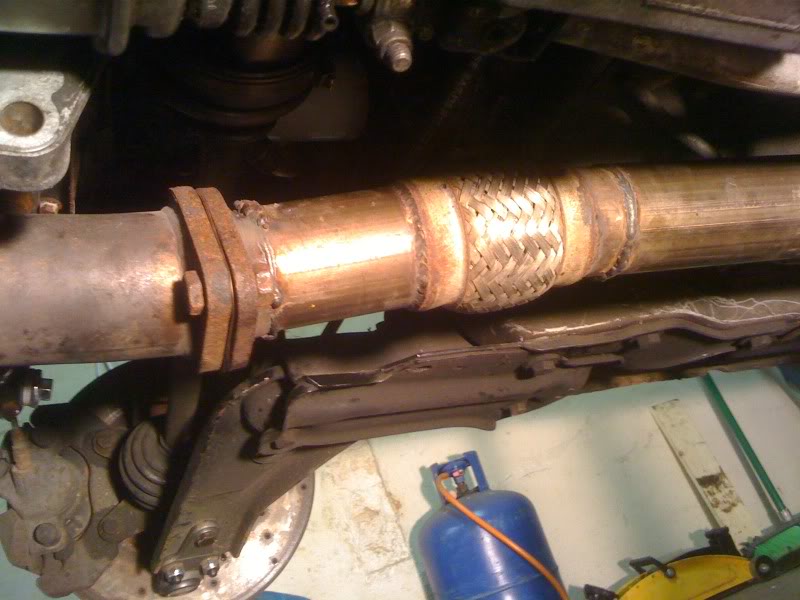
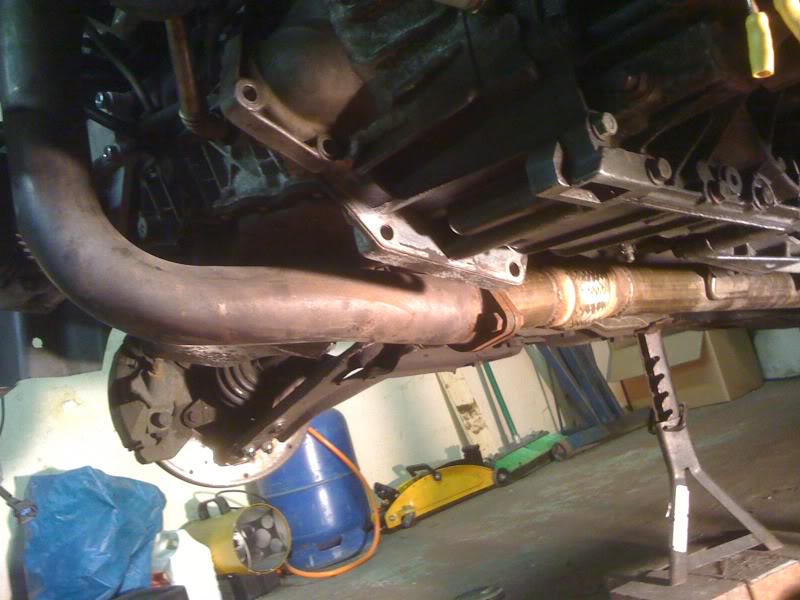
Now on the car
*****************************
Couple more pics
Red cable is the one from alternator to battery when it arrives
and it's now all tied into position for battery even though photo doesn't show it!
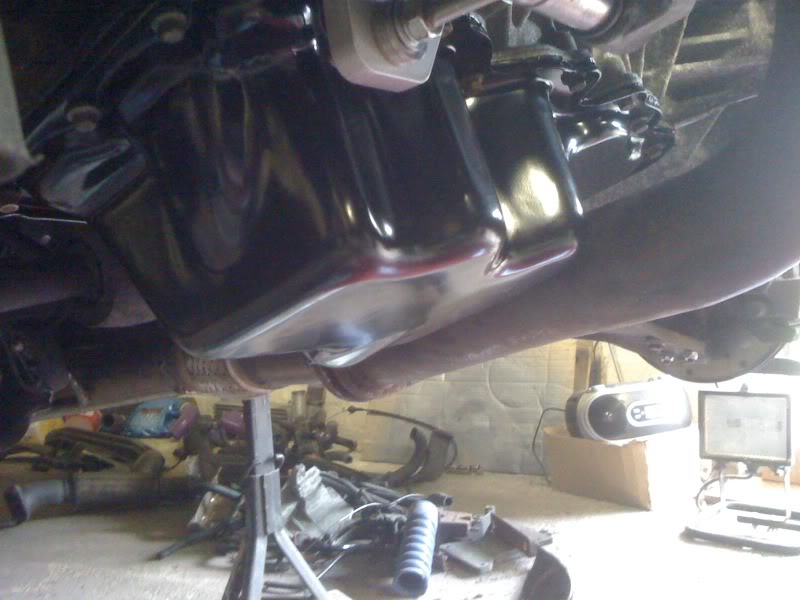
And new sump
one that doesn't leak!
I put the other one up to the light and I could see the holes in it !!
*****************************
Pics
Dry cell racing battery, weighs 7kgs, 680 CCA and well, you can see the size! :Q
Car is booked in to TOTD on friday
want at least 250bhp out of her
Going to be a tight schedule as radiator wont be here till wednesday, or thursday morn at the latest!!
*****************************
The update I've been waiting to make!
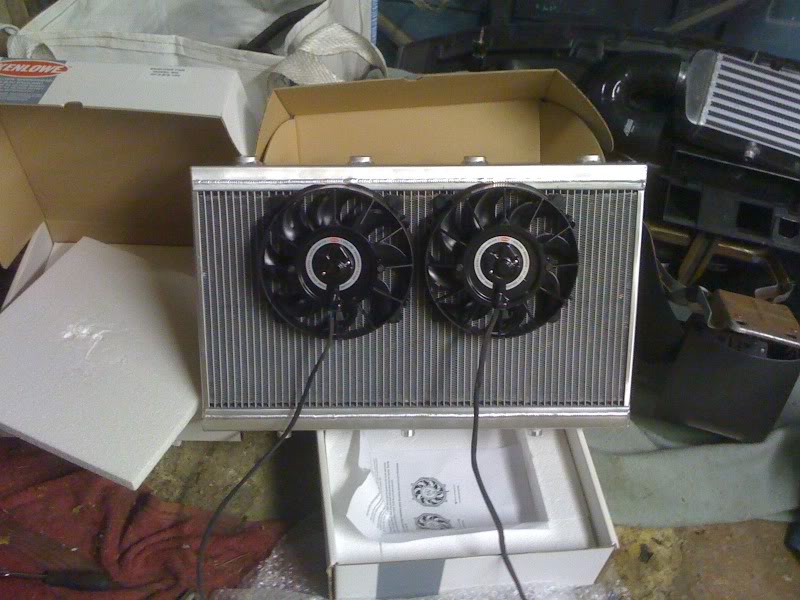
Rad arrived - had my brother collect it so I could fit it wednesday, as car was booked in for mapping friday!!

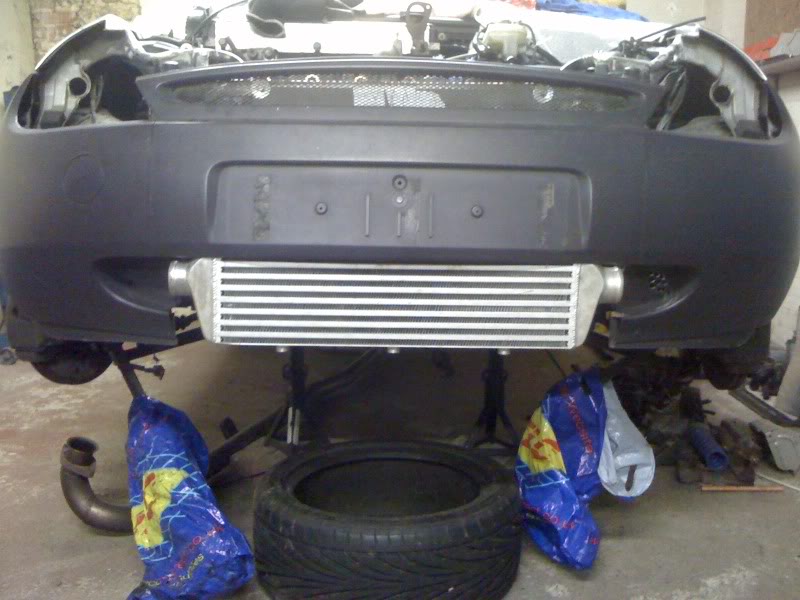
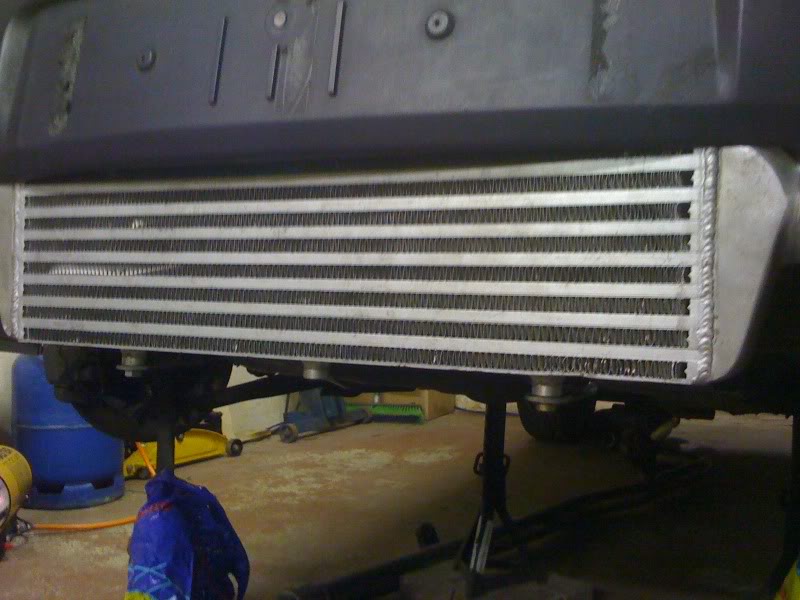
The fit..
The fans, sadly the biggest I could fit!! But nearest competitor only flowed half as much air as these!
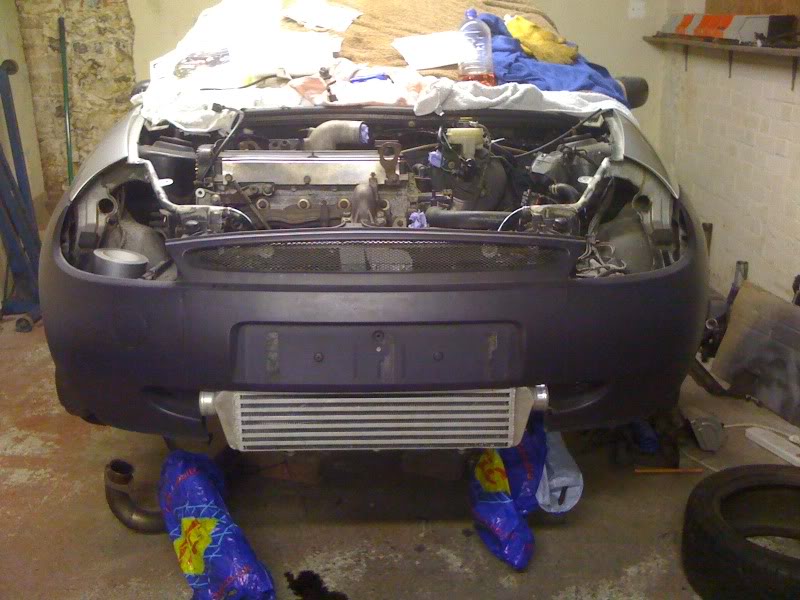
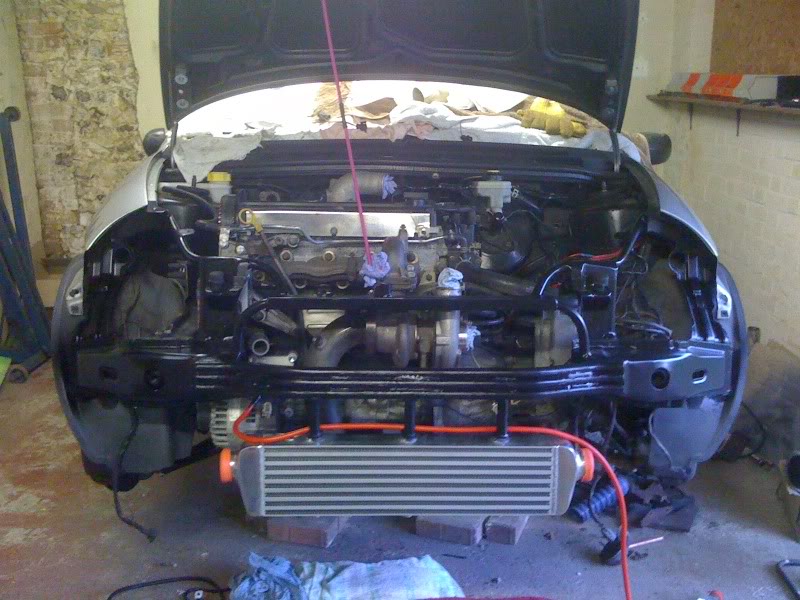
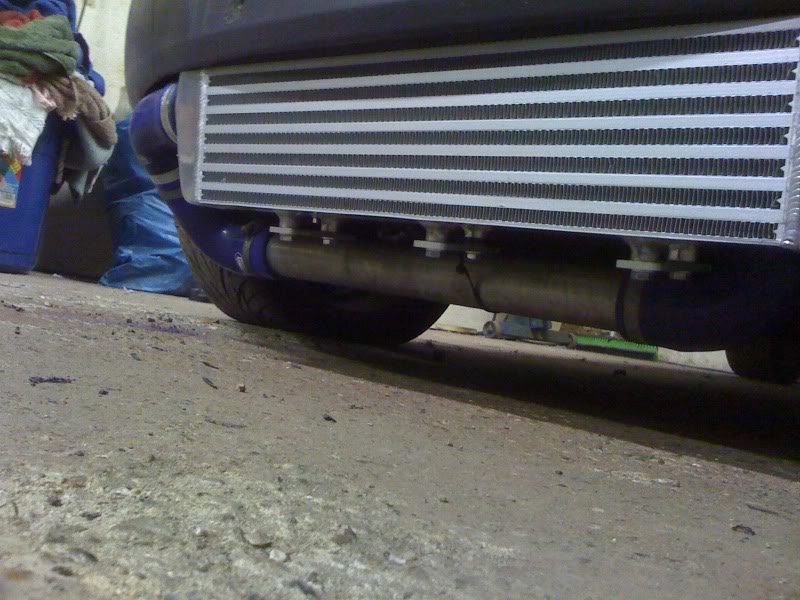
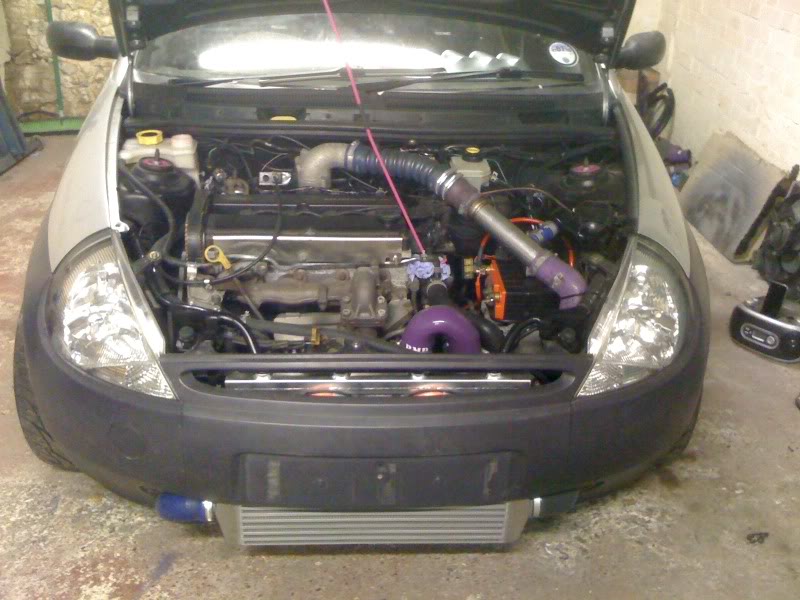
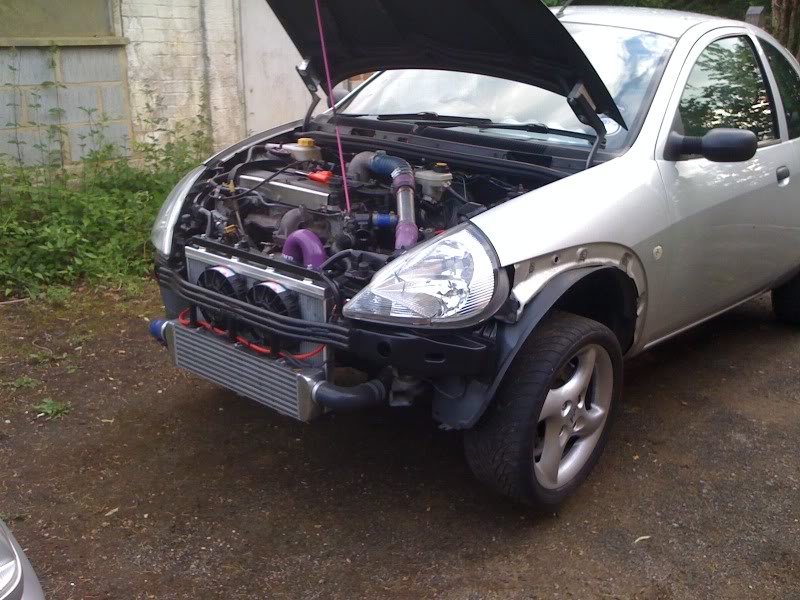
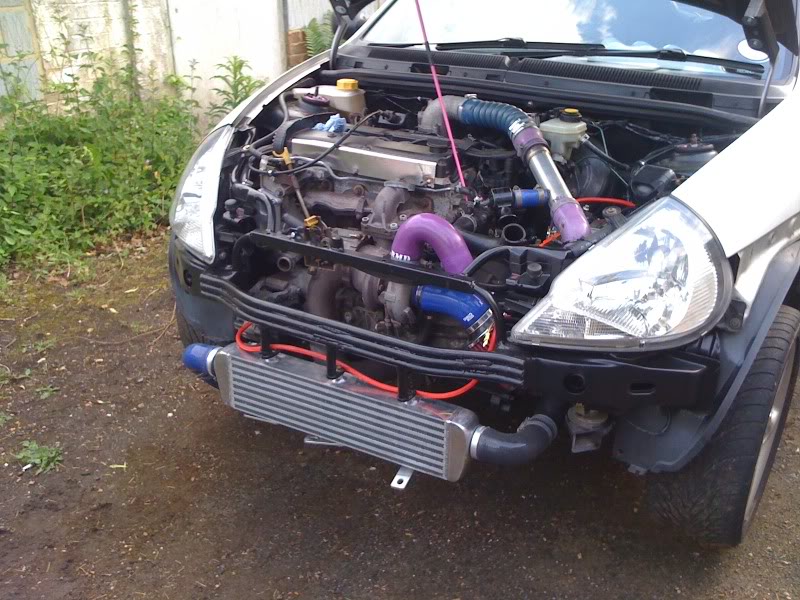
All fitted..
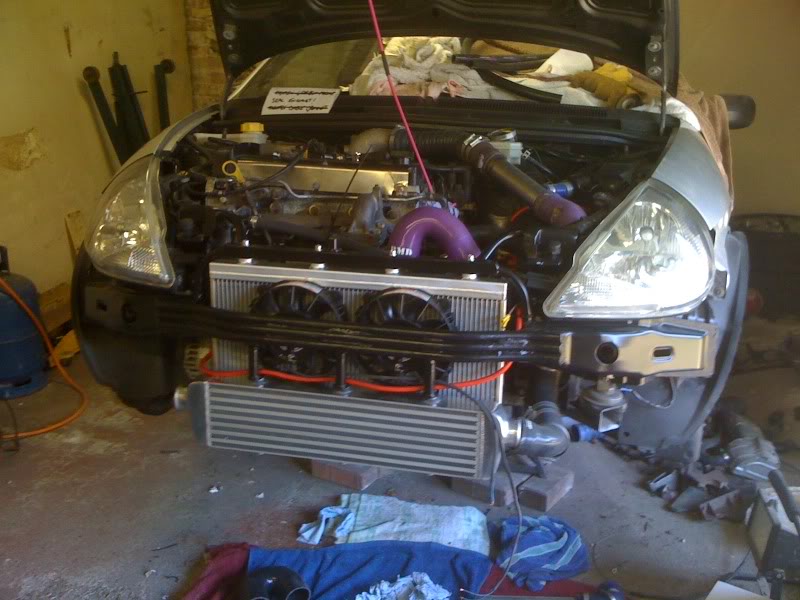
Loads of room!!
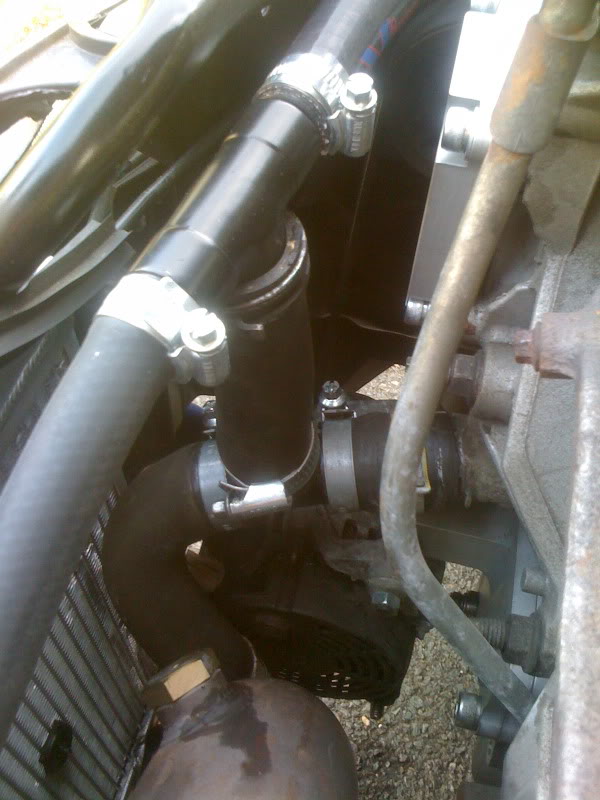
Good fit of bottom radiator hose.. (gonna heat wrap that downpipe though!)

Excuse boost system - it was/is temporary!! (I've ordered all the right boost pipes/hoses - although the turbo to intercooler part isn't changing much!)
Back on the ground.. at gone 2:30am friday morn
So, car went to Chris at TOTD friday.. and apologised for bringing him a lash up of boost system/vacuum hoses/engine wiring!
It was soo hot that day, the engine and cooling system did well to survive the 30 odd degrees it was around the dyno!!
Good test of my cooling system which I had no idea how it was going to perform.. but it did well, espesically sitting in traffic on the motorway all the way home!! Never rose above 95.
So, good news and bad news...
The engine made 249 bhp and 291 lbs of torque. It made 197bhp at 7 psi!! Almost standard
However, i bought a 4 paddle of someone here and basically it's fooked, it just kept slipping with the sudden rise in torque as the turbo comes in, so i didn't get a true reading of power..
The actuator can only hold 12 psi of boost because it's gonna flacid
So basically the upshot was, it's a really strong engine producing that power at that boost, and with those ambient temperatures!
But Chris reckoned there's another 20-30bhp and over 300 lbs of torque sitting there if the actuator worked properly and the clutch didnt slip!!
my adivce to anyone is never buy a 2nd hand clutch, EVER!! unless you like changing them and wasting money getting the flywheel re-skimmed!
Lots of fettling to do now!! Some of which i've done!
Vacuum hoses - all sorted properly now..
Boost hoses/pipes - all ordered (with the no money I have!)
Tidy engine injector loom
Slight problem with the cooling system until the thermostat opens.. I've plumbed it slightly wrong so that the flow isn't right. I've got 2 hoses that the water pump usually sucks in from when the thermostat is shut t'd together so that it tries to pull 2 15mm pipes into 1 and it's not enough so the pump pulls the water out of the rad and sucks the air from the header tank down and fills the tank up!! So anyway I'm sorting that with a 15mm t piece that goes into 1 28mm
Hopefully that should cure it!
P.S. Car feels rapid
even with a turd for a clutch
*****************************
little update..
had a porblem with the water system where the pump was pumping water into the header tank and moving the air to the top rad hose! I did get to bottom of it eventually..
Started by replacing this t piece with larger outlet to water pump..
to this..
That didn't have much effect, so thought I hadn't got the expansion pipes right as there is an extra one on the FRS, so got the rad out and got an outlet welded on the corner!
back apart again..
But that didn't sort it either! Then I realised the only thing that's different is the header tank is plumbed separately all the way to the bottom rad hose.. Did that and all was ok
Made it bloody tight here though! But a p clip later and it's fine..
Cleaned up the rocker cover and replaced the bolts for stainless steel :Q I've got a stainless steel bug now and I'm slowly replacing all the bolts
Also had this package arrive
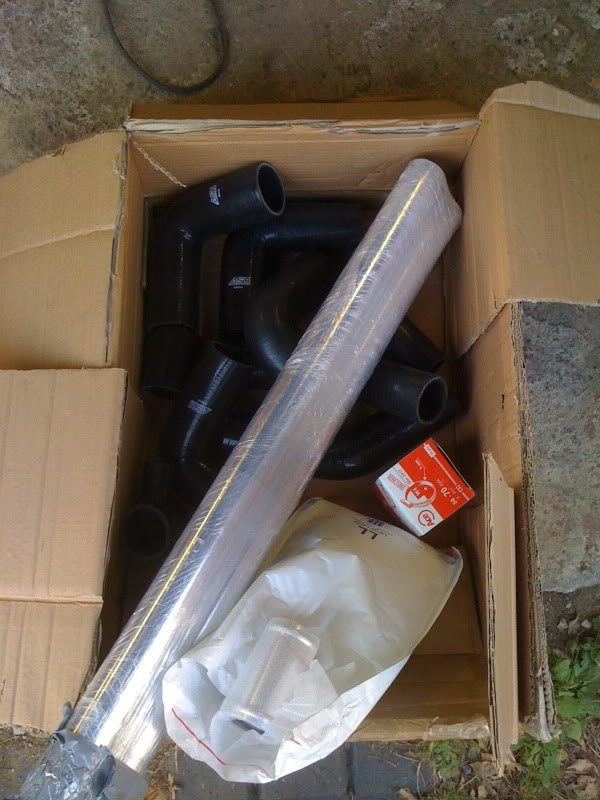
And started to fit them.. Few more to arrive yet to complete it

Re-doing the expansion hoses too so more pics to follow and boost system should be finished tomorrow