Ok all the time has started to protect the underside of the car. I hope my updates help others also looking to protect there car for years to come. Open to ideas and suggestions along the way as this is the first time I have attempted a task to this scale.
At lunch time today I had an hour to burn so decided to make a start on the back box, even tho in the next few days I will be removing it fully to seriously tweak.
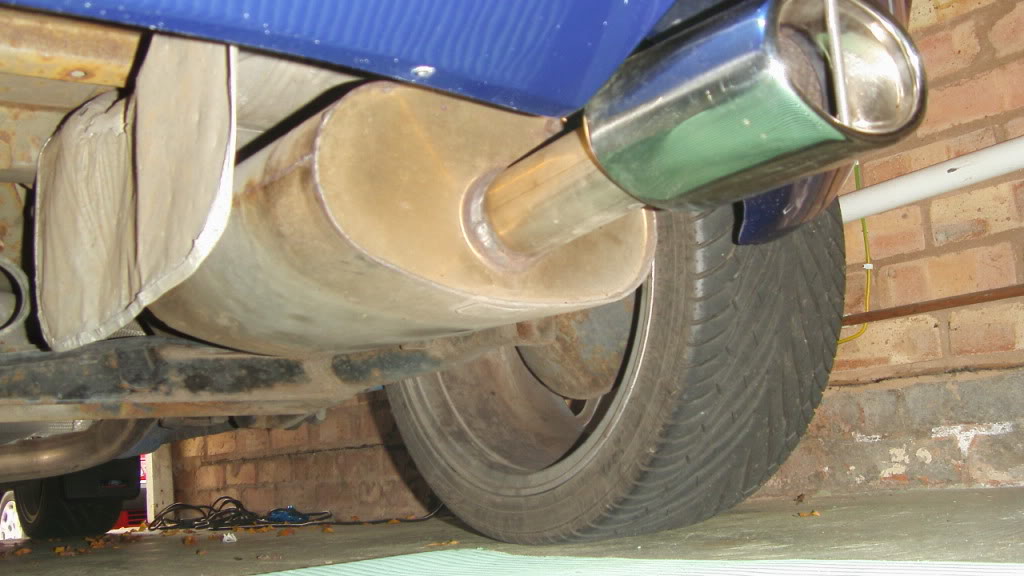
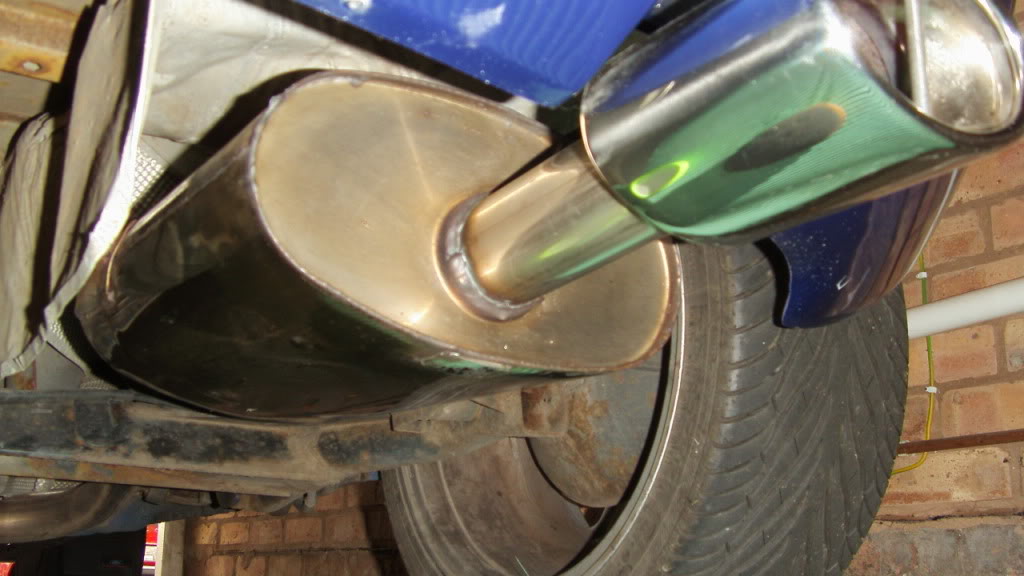
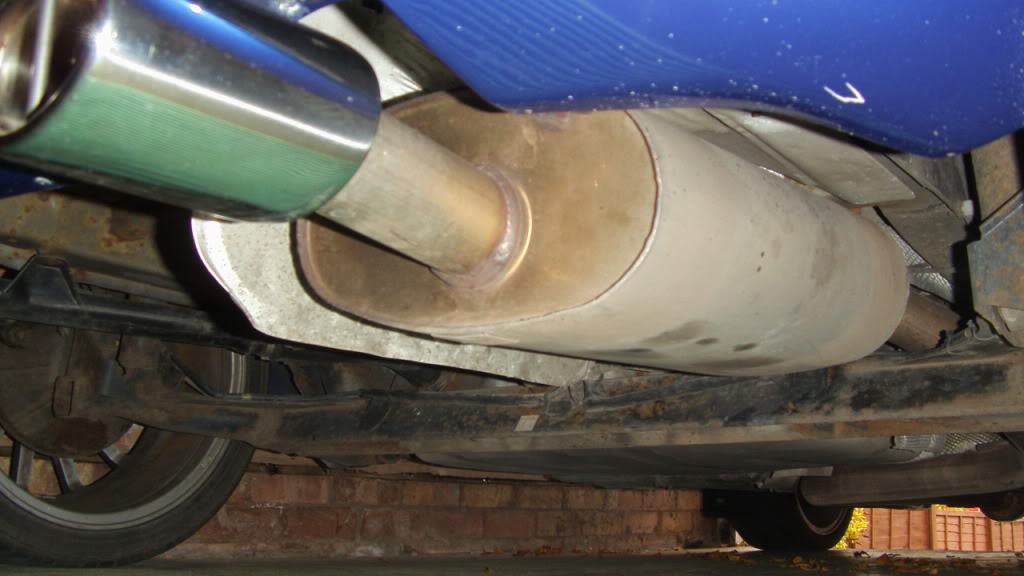
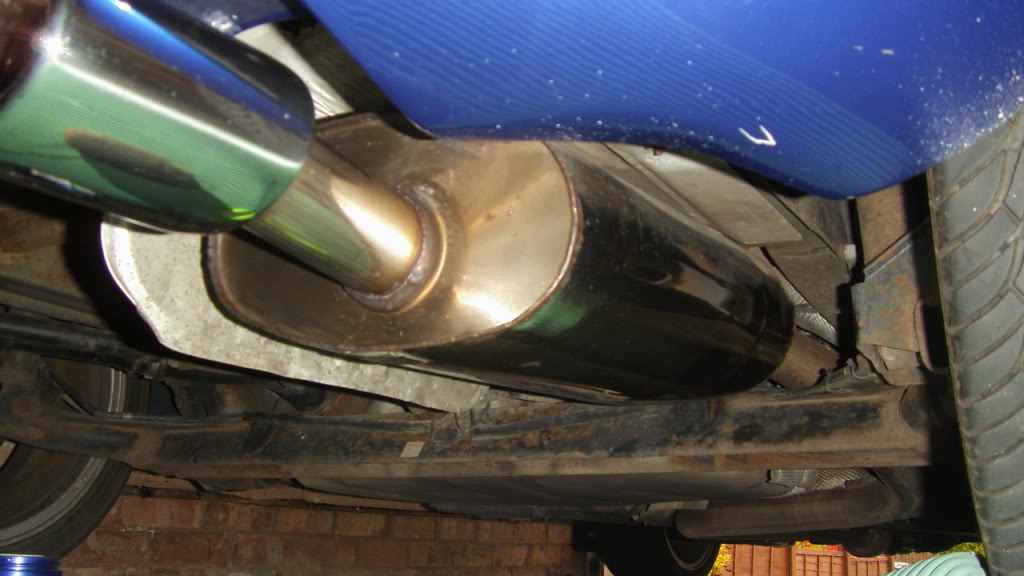
After coming across the forum peojectpuma I saw Jacko had started selling short stainless steel bars that fit in the Miltec exhaust to make them look similar to the standard exhaust tip so as that arrived first thing this morning I found 5 mins to fit it, took a little tweaking of the bar but with a gentle tap tap with the hammer all is well,
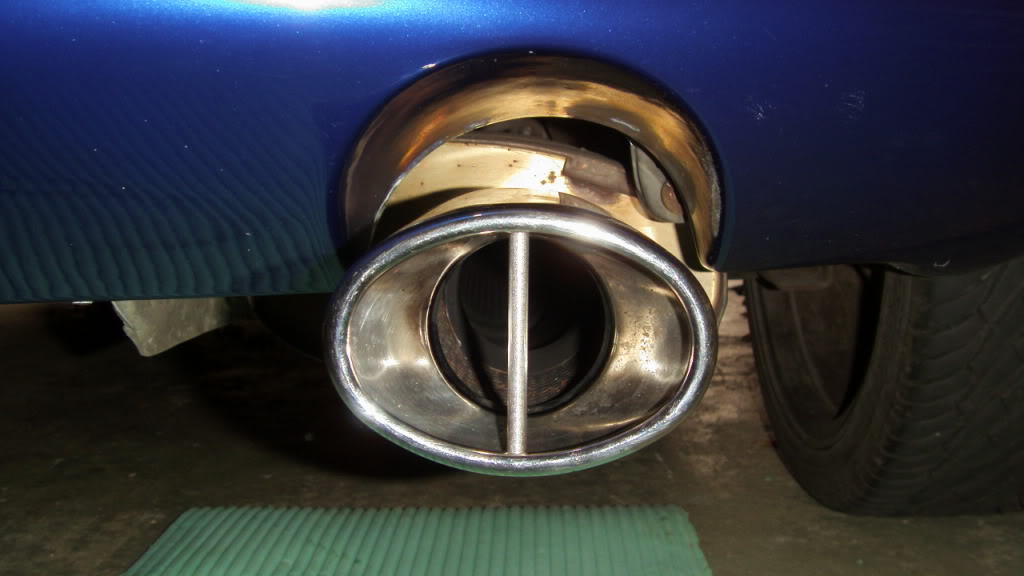
Personal I think it looks fantastic such a little modification but gives it that standard look. He�s currently selling it on ebay if anyone else is interested.
http://cgi.ebay.co.uk/ford-racing-pu...item2557129f37
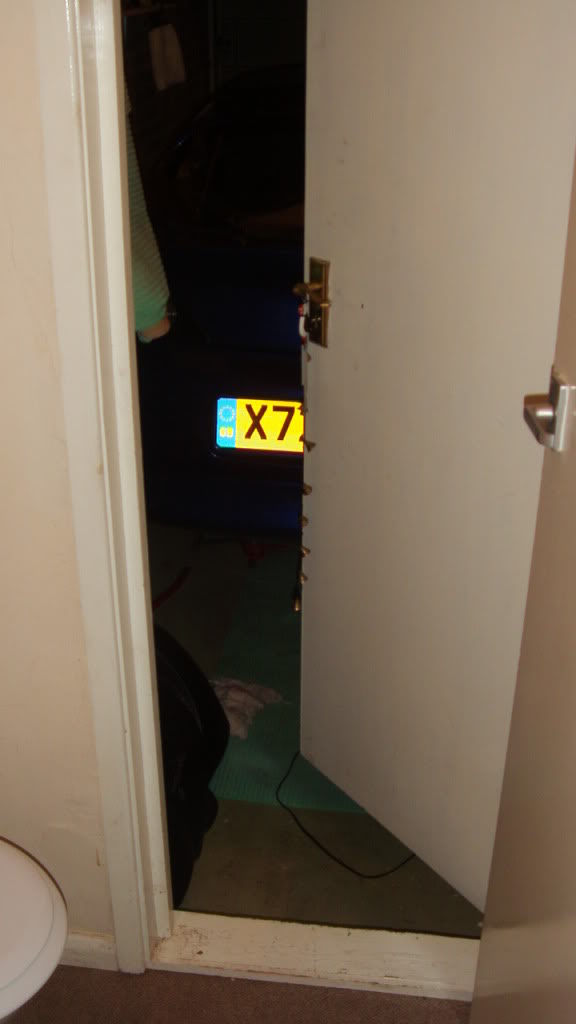
I�m fortunate enough to have a garage but its not much wider and longer than the car so its very tight for moving however once under the car space is not an issue its just getting under the car that�s the problem.
Ok started by jacking up the car and putting under axle stands
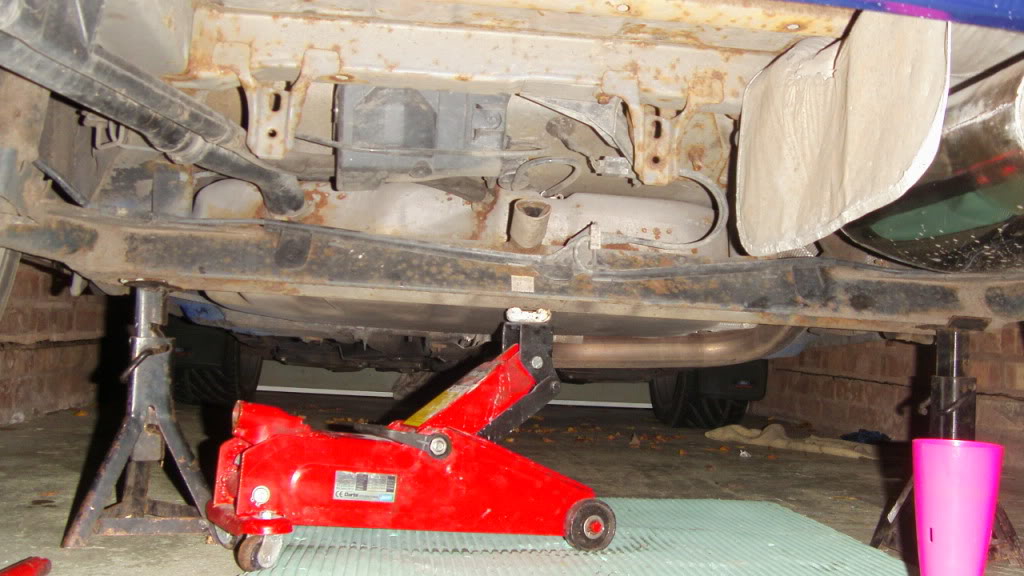
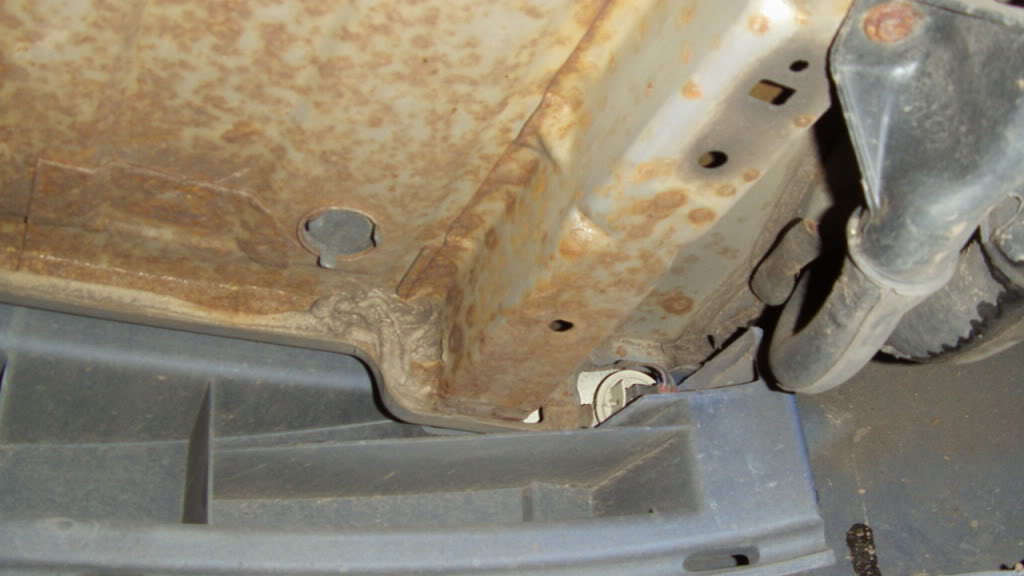
Photos of the rear carriage of the car, the majority of rust is surface however there are areas were its getting worse.
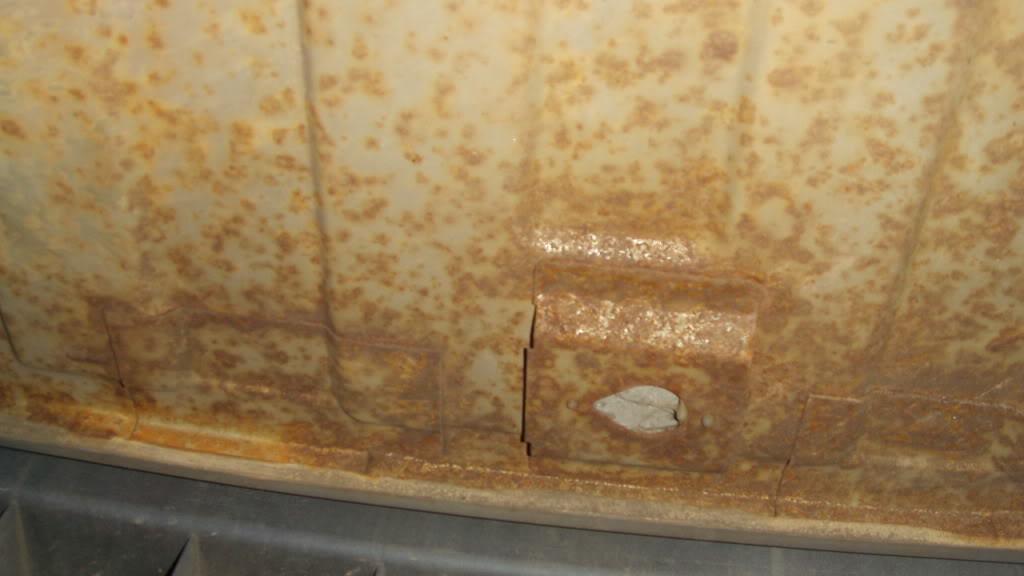
Removed heat shield
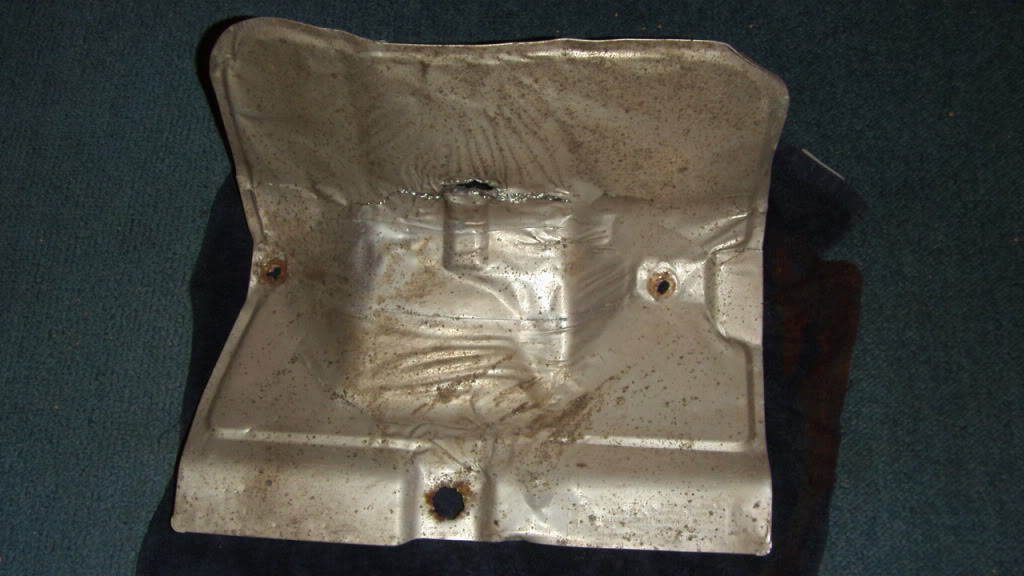
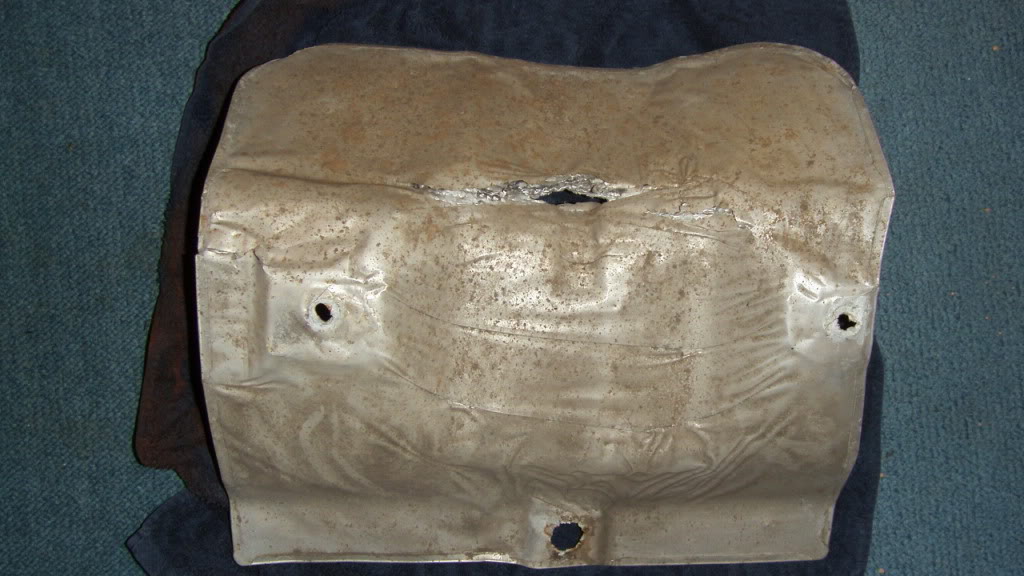
Will be replacing as its cracked in the middle and has seen better days.
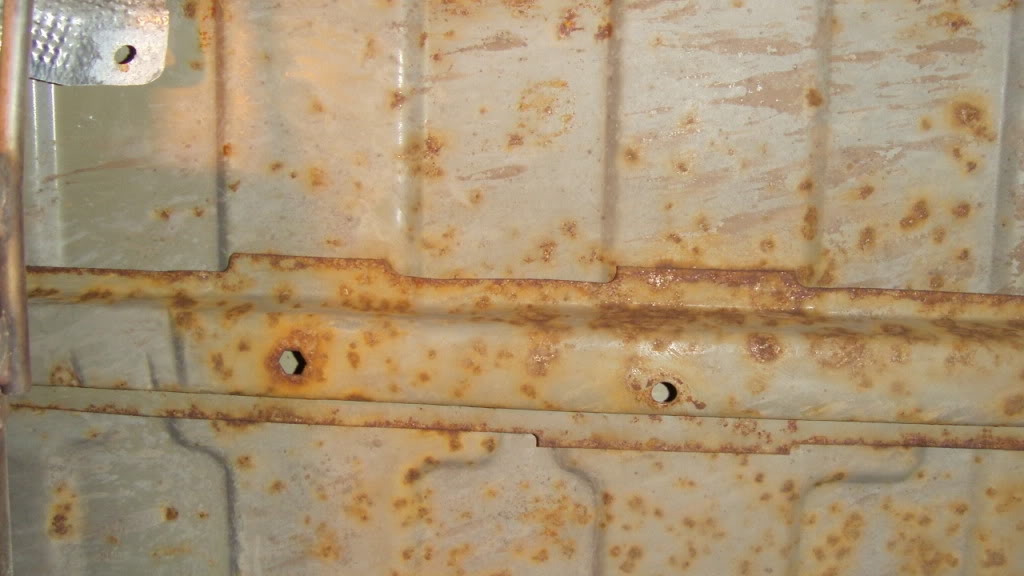
Photo of the corrosion under the back box heat shield
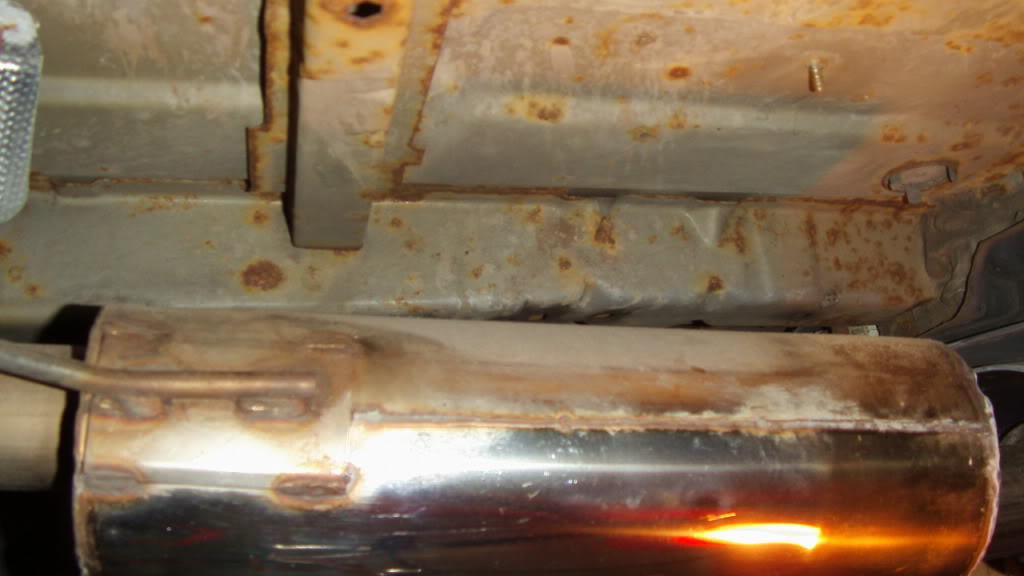
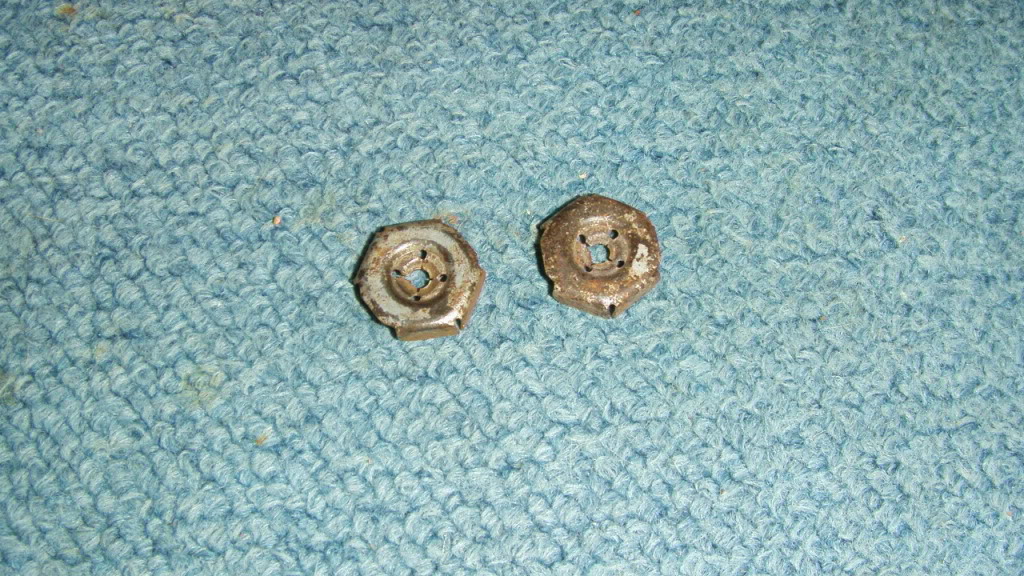
Photo of the two bolts holding the heat shield in place.
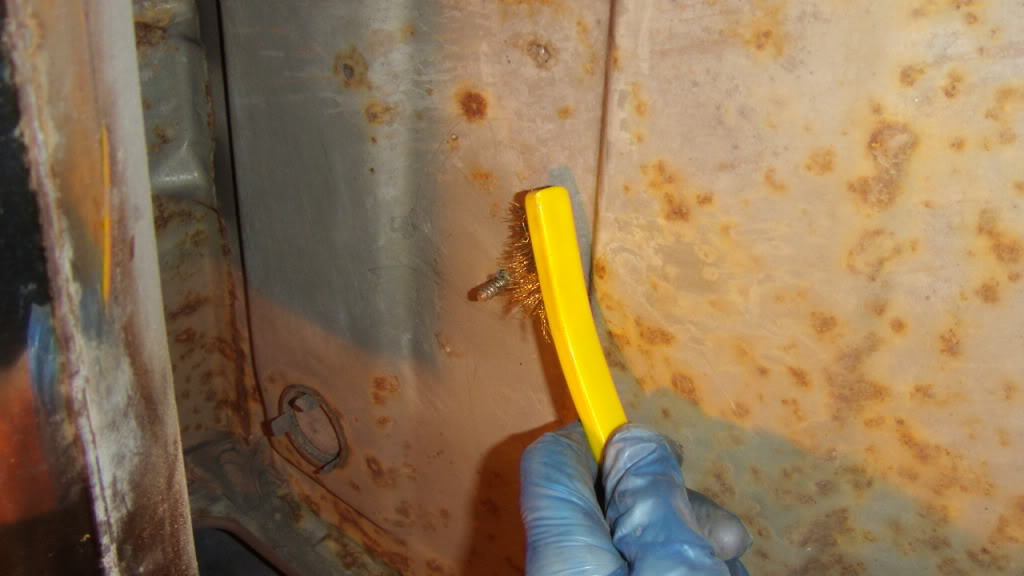
Quick tidy up with a wire brush
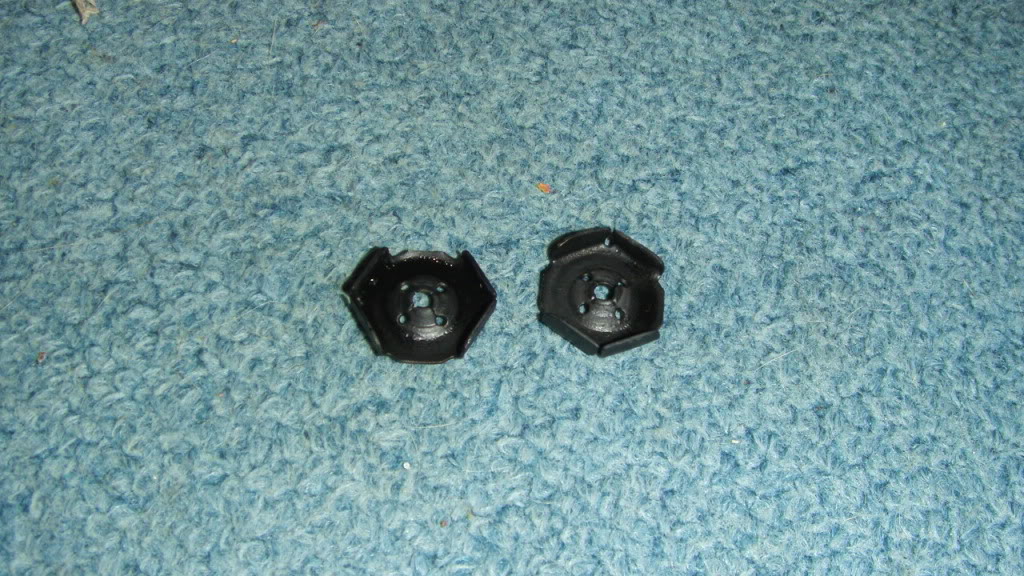
Cleaned the bolts up and sprayed in satin black.
More to come tomorrow.
Not to sure on what product to use, but going towards smooth finish black hammerite on this section, any arguments against or for?????
All comments welcome
David