The car was still in for a few more days yet and I had initially decided to have the whole weekend off but I decided to go into work on the Sunday to do all the wet sanding. This would enable me to start the finishing polish stage first thing on Monday morning.
There were 4 or 5 smaller RIDS marked out on various places of the car and these were sanded out with 2000 and 4000 Mirka discs on a finger pad. I took pics but the majority of them were out of focus and to be honest we all know what a bit of sanding haze looks like now!
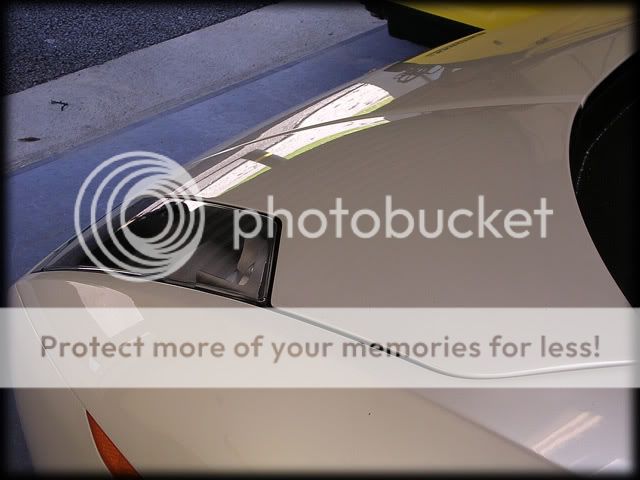
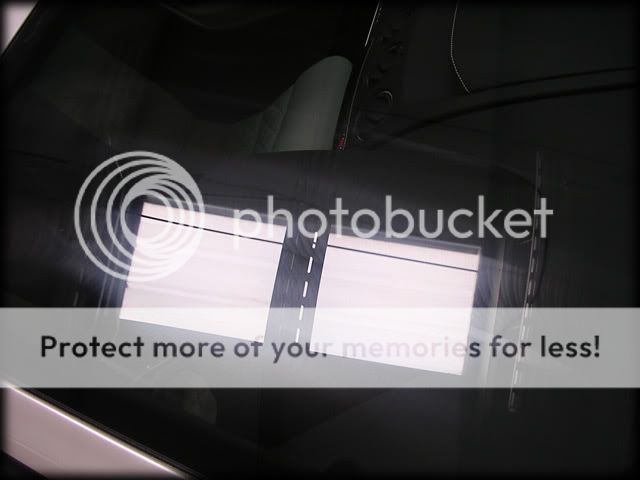
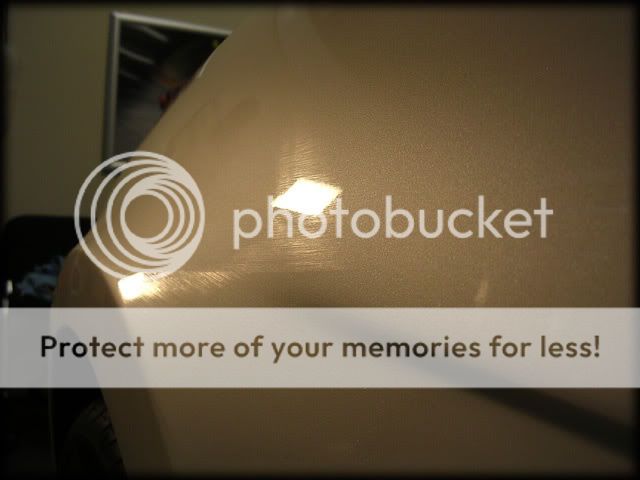
I got some good pics of the other piece of sanding I had to do though. There was a 4-5" scratch running in line with the spoiler (pic taken on Rich's camera as his is considerably better than mine!):

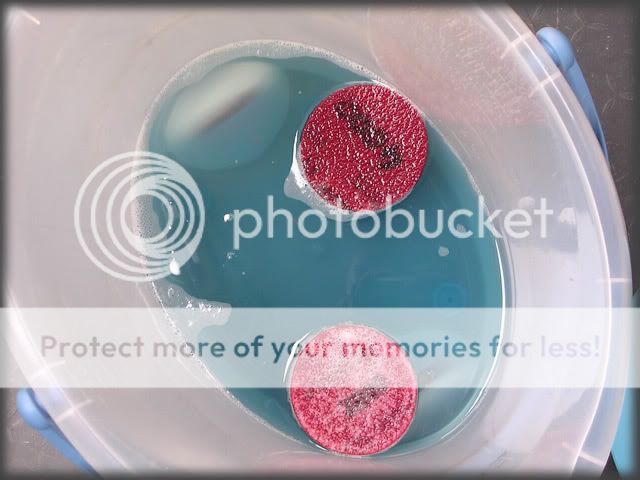
Due to the size of the scratch I decided to sand this one out by machine. I'd prepared for this on the Wednesday though as we'd spotted the scratch on the Tuesday evening so I had a couple of sanding discs soaking in a bucket of Shampoo Plus for a couple of days:
So with the laser pen put to good use again...

...I proceeded to sand the paint with the PC on speed 2, firstly using the 2000 disc:

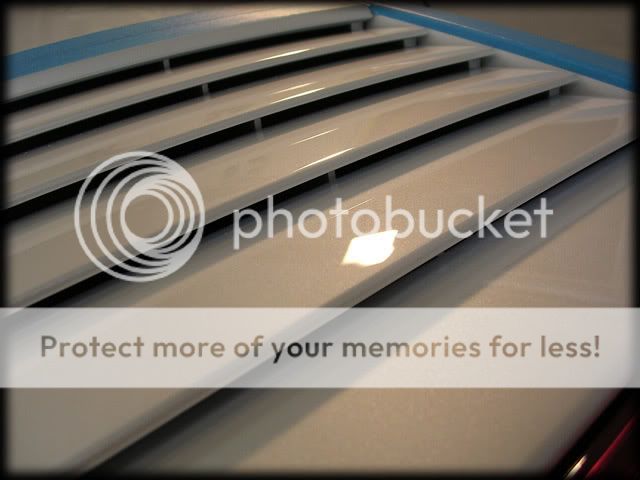
After 4 passes and 6-8 microns of paint removed, the scratch was now no longer visible, just the sanding haze and pig tailing:


I followed up with the 4000 disc to make the marks slightly easier to polish out with the G220 and a 4" spot pad with 3.02. 2 hits were done in order to make sure all sanding marks were fully removed:
Scratch now gone:


There were some odd etching marks on the fuel cap, almost like something hot (such as hot metal filings?) had been flicked up onto the side of the car (they were only a couple of mm wide so no chance my camera was picking these up). These marks had polished out completely on the rest of the car but the fuel cap still wasn�t perfect so this was sanded back too:

Polished out using the same process as the engine cover:

Wet sanding increasingly seems to be the "in thing" to do just now, especially with people still fairly new to detailing and it is still a last resort to me - I�d much rather polish out defects if possible.
Sundays work came to around 4 hours so it was a nice easy morning, which allowed me to go into work on the Monday with a clearer state of mind. The correction work seemed to go on forever due to all the different contours and oddly shapen panels that only a supercar could have.
[QUOTE=Clark;985818]
Monday - Day 4
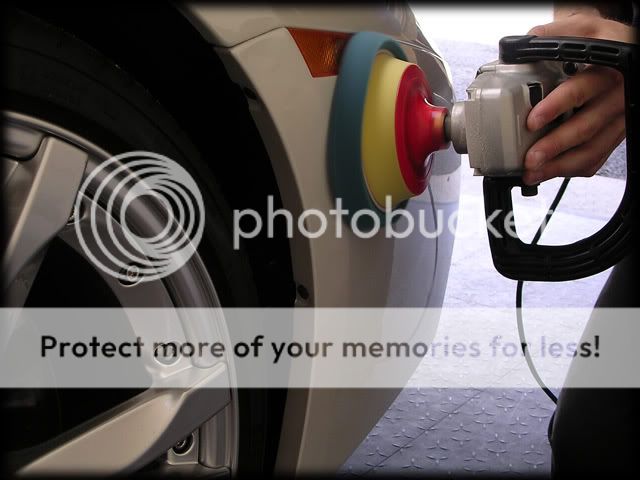
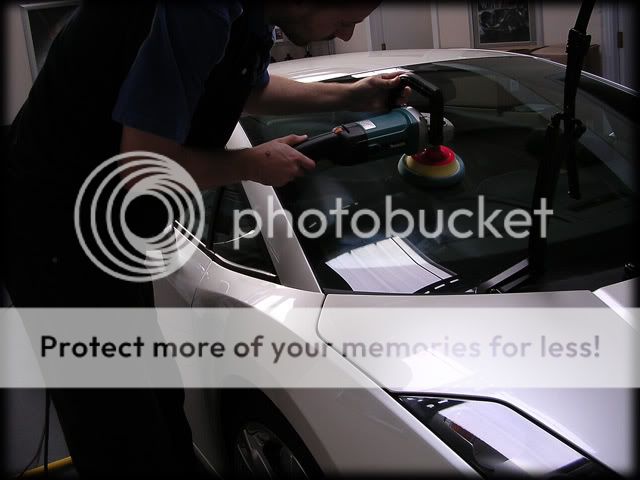
The finishing polish stage began, using a 3M Finishing Pad and Menzerna PO85RD @ 1800rpm's:
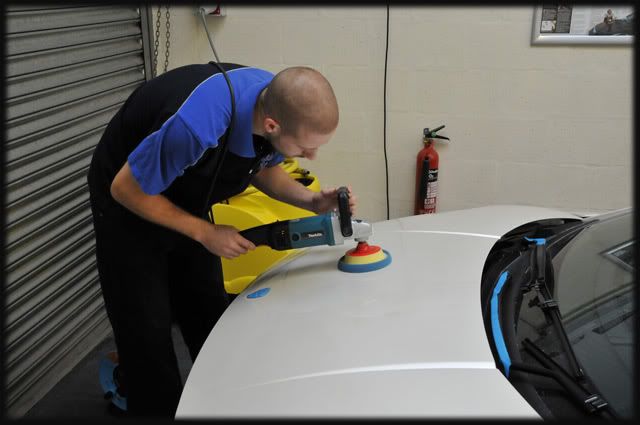
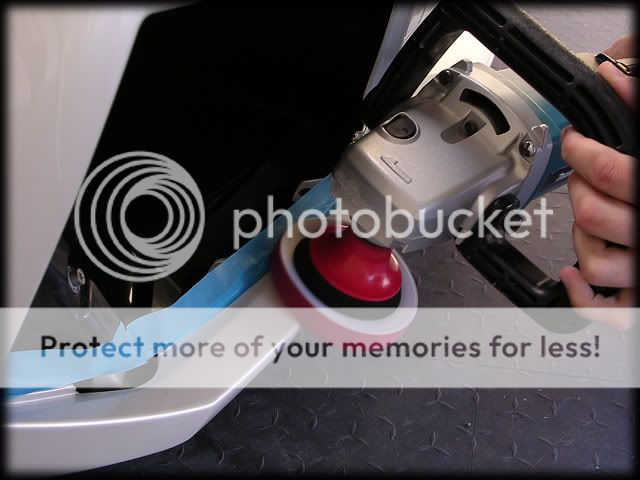
A 4" finishing pad was used for the smaller areas:

That crystal clear finish we all love to see was showing nicely now :thumb:


The very last stage of polishing was a slightly unusual one...
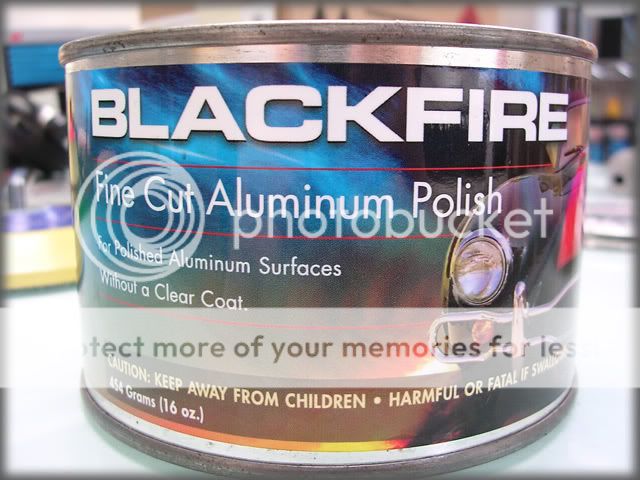
Blackfire's Metal Polish was used...
...to polish up the glass:
This contains a certain amount of jewellers rouge and whilst it didn�t do much in the way of correction (I didn�t expect it to) it definitely helped to give a great crystal clear look to the glass.
It finishes down just like any other polish too:
Now all the polishing was complete I had a little job to do before applying the LSP (Last Step Product)-
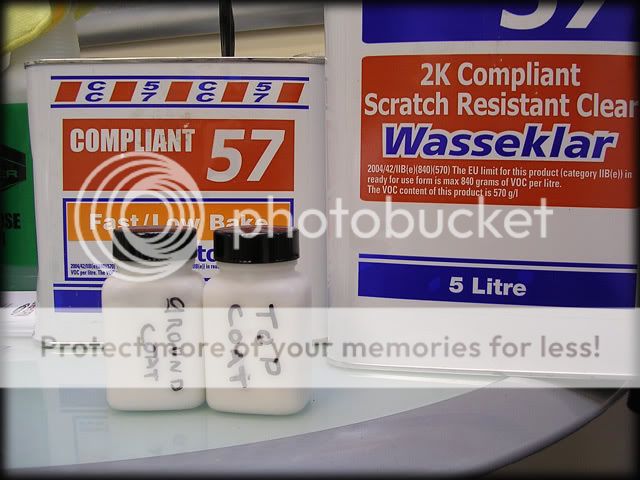
There was a tiny chip on the corner of the drivers side door handle so we ordered in some clear coat and had the local Porsche Approved Body shop mix up the correct paint for the car:
Using a fine artist�s brush I firstly applied the white ground coat:

This was then allowed to dry and then topped with the pearl layer:
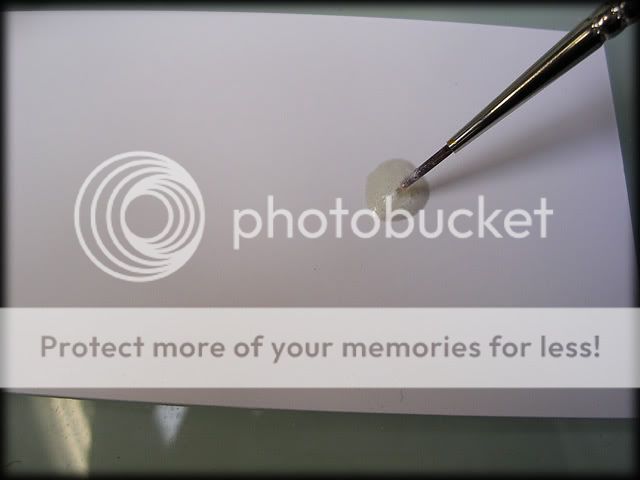
The last clear coat layer was then added once the pearl had fully dried:

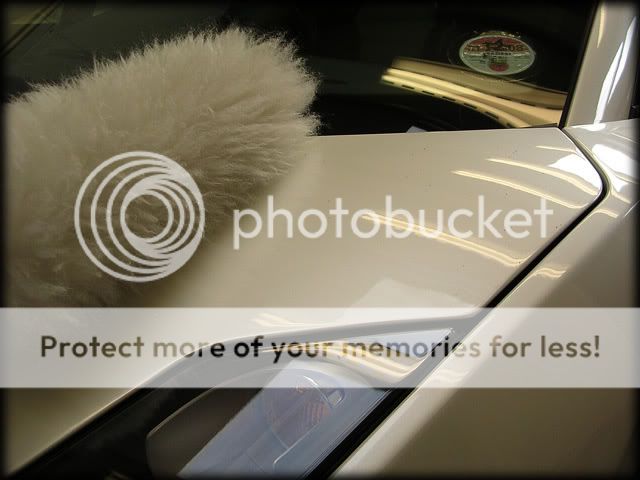
I was now fast approaching the end of day 4 and I wanted the first coat of protection applied to the car before I called it a night so after a quick coffee I cracked on.
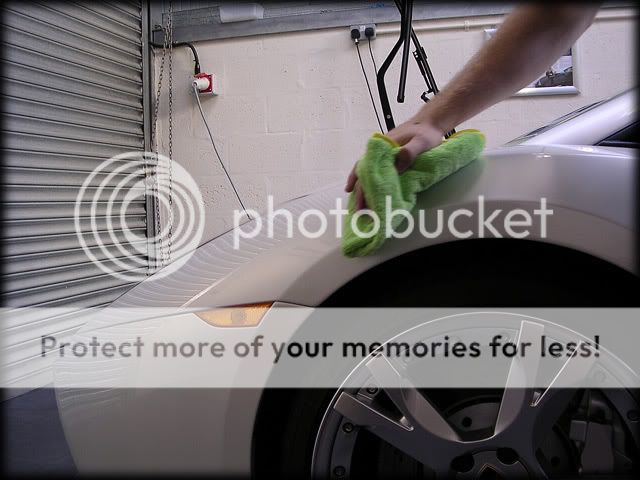
Out came the duster to remove any polishing dust:
I then gave the car a wipe down with Menzerna Top Inspection to remove any last remaining traces of polishing oils:
 1st
1st application of Vintage followed (the customer has purchased his own pot of Vintage):
I buffed the wax off with a PB Ultimate Mega Towel...
...then called it a night bang on 9pm.