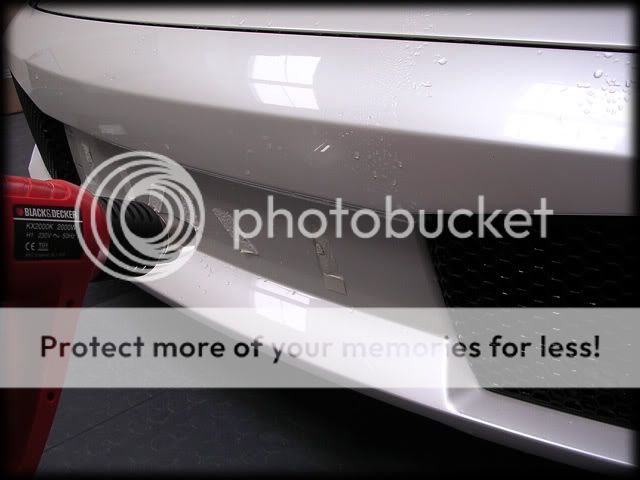
I then moved the car inside ready for claying but firstly removed the remaining sticky fixers from the bumpers with the heat gun:
I went straight to Meguiars Aggressive Detailing Clay for this detail...
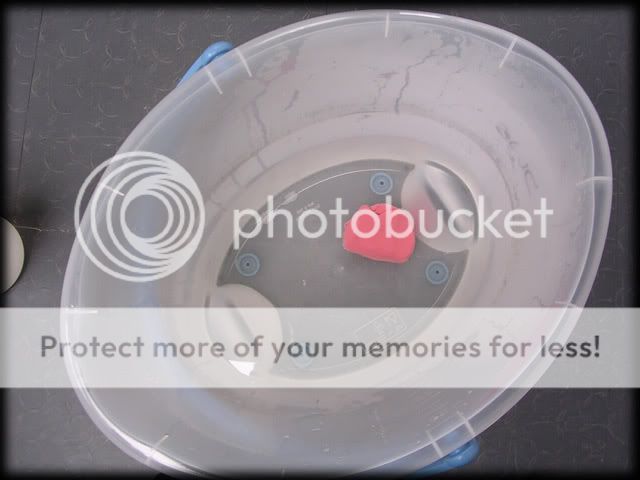
...reason being that the car was covered in small metal filings:

They were everywhere, even under the fuel cap:

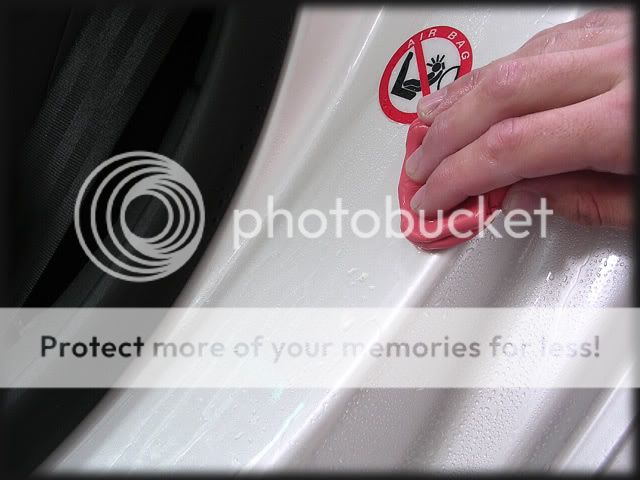
The clay did its job well though:

It was a bit tedious at times but I slowly worked my way around the car - ensuring each panel was 100% clean:

Including the shuts:
The car was then moved back outside, foamed and rinsed one last time and then dried off with the leaf blower:

I then drove the car back and forwards a few times to clean up the discs as I didn�t want them sticking while the car was sat in the unit for the next week and rusty discs also look crap for the final pictures.
Now parked up inside, I removed the front grills to gain better access to the lower parts of the front bumper when I got round to polishing them:
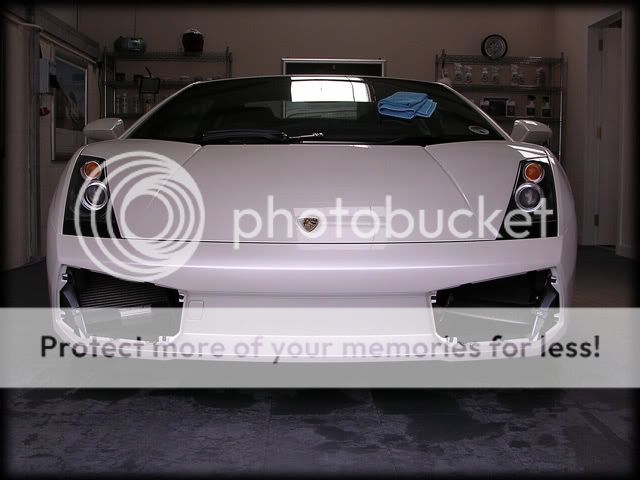
The car was then taped up ready for polishing:

It was now 5:30pm by this point so I stopped at there for day 1.
Total time so far was
8.5 hours which just goes to show that there is no real quick way of doing every little detail if you are to do them properly, admittedly the claying stage did take several hours.
Thursday - Day 2
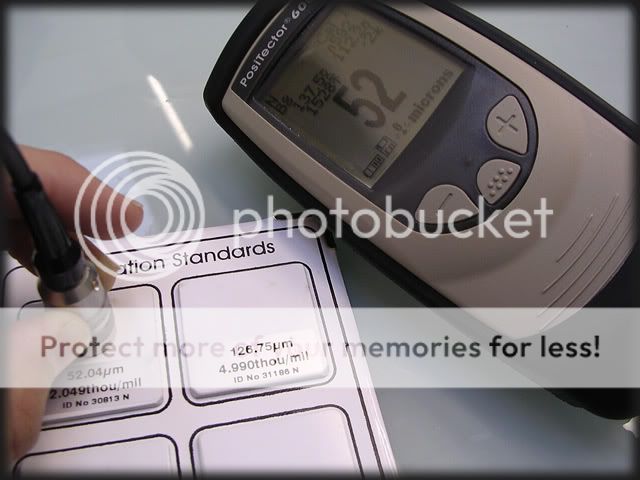
Before paint readings were taken, I checked that the gauge was reading accurately, as you can see below, it was working perfectly:
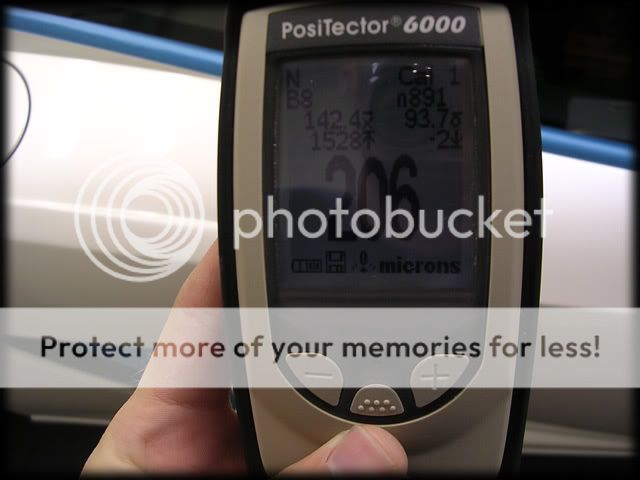
The Gallardo is hand painted (and also has white as the ground coat, followed by the clear coat with the pearl mixed in and then topped with another coat of clear) so I was expecting fairly high readings. The top panels such as the bonnet, roof and engine cover were in the 200+ territory:
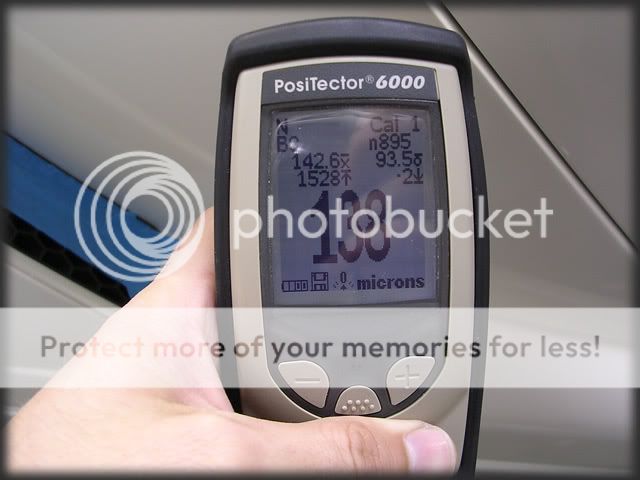
The lowest readings down the sides were in the 130's:
The plastics were also showing healthy levels:

The composite's gauge can sometimes struggle to identify individual layers on a lot of modern day paints as the majority of them are painted "wet on wet", but on the Gallardo I was getting very clear and precise readings nearly every time which would suggest that they are given time to cure in between coats.
Being the colour that it was (and also having only covered around 1k miles) it was always going to be difficult to capture the true extent of the defects present in the paintwork but here are some that I managed to get which give you an idea:


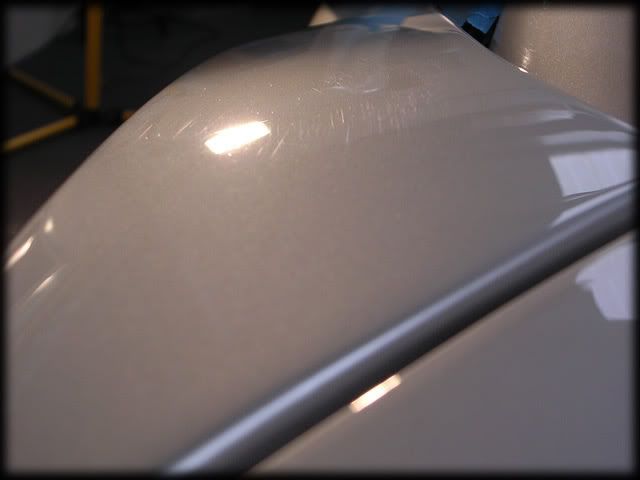
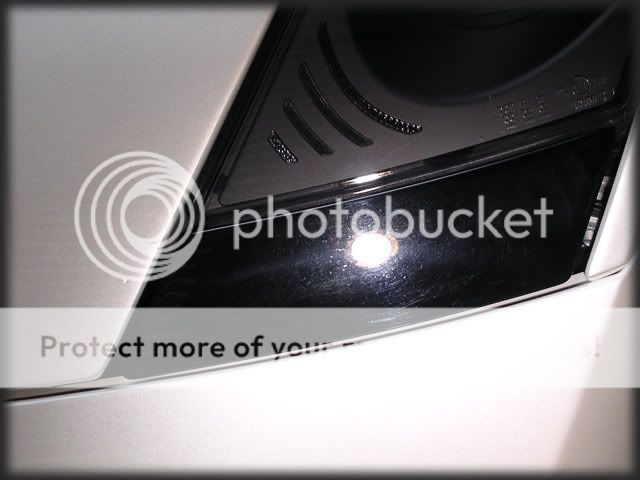


Not overly bad, but not perfect - and perfect is what we are aiming for on this one.
After a quick bit of playing about with polish and pad combinations I started off with one of 3M's new polishing pads and Menzerna 3.02:
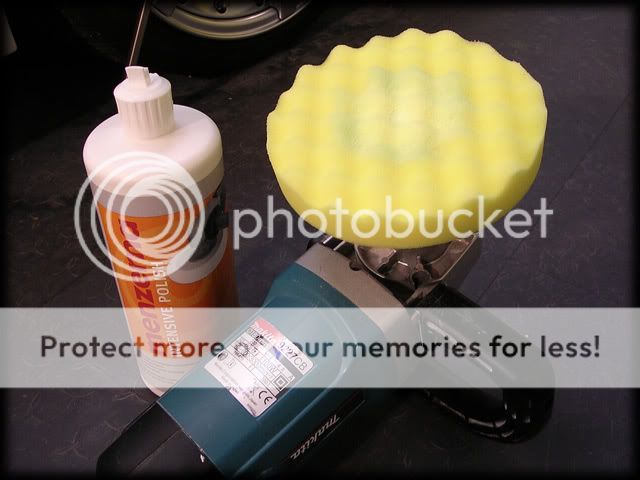
Initial impressions of this pad are very good. It's very similar to the firmness and cut of a Meguiars Polishing Pad but has the added bonus of being a lot easier to centre first time!
This pad and polish combo removed between 1-2 microns.
I knew this as I had blatantly stolen an idea from a fellow pro-detailer, so all the credit for this little invention must go to Matt at Off Your Marks, cheers Matt!
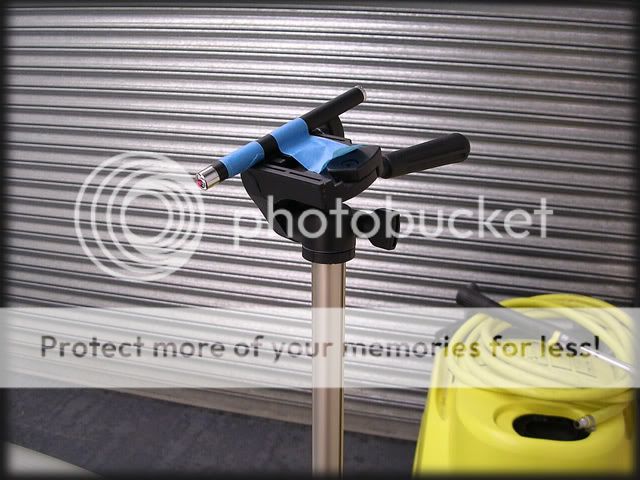
Simple yet effective - a laser pen taped to a camera tripod.
This enables you to accurately pin-point an area of paint you are polishing and providing you don�t move the tripod you will be able to get a very good indication of paint removal after polishing:
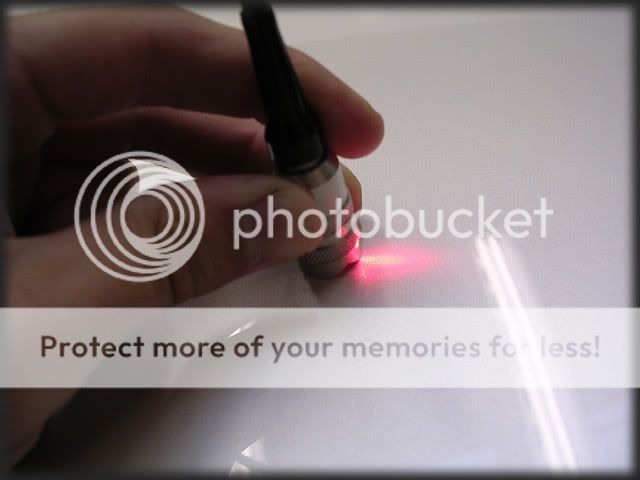
I should add that the readings were taken after the panel was allowed to cool down as a warm panel could potentially give false readings.