Here is the write up of today's mamouth job. I am still recovering from spending over 8 hours on Dest's (Martyn) S2 Avant.
Martyn arrived at 8.00am this morning ready for me to begin work transforming his Avant for him.
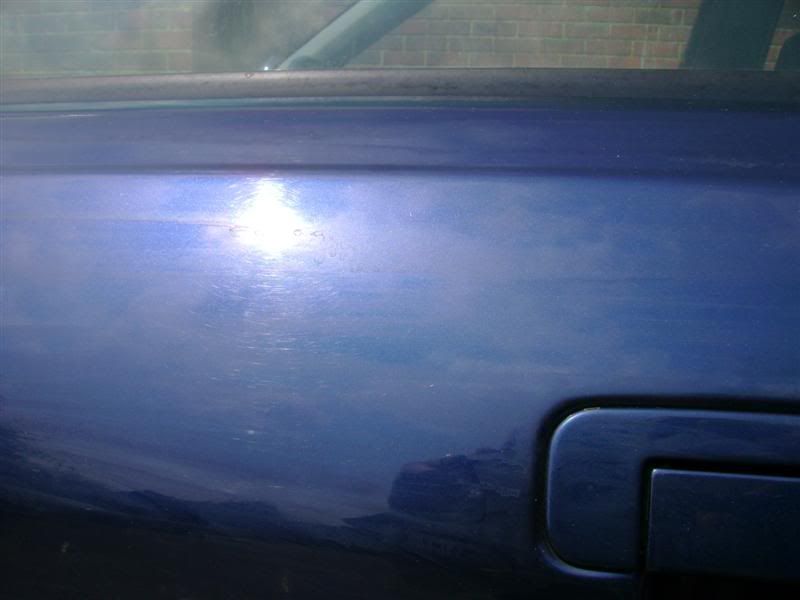
Upon inspection, it turned out the car had had a hard life, with lots of swirls and marks in the paint, which meant I had a hard day ahead of me.
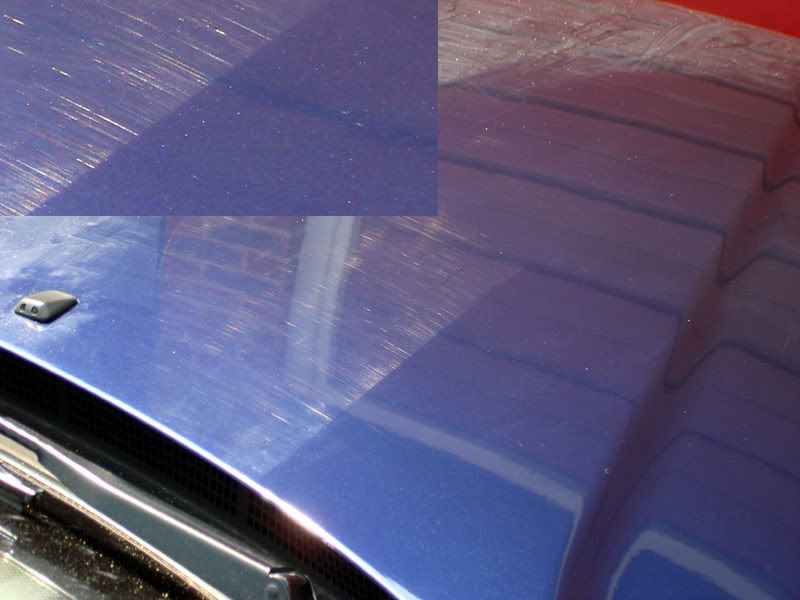
Here is what greeted me this morning:
The process was:
I begun by spraying Meguiars Degreaser Cut 4:1 on all the lower areas of the car, inside the wheel arches and all over the wheels. While this was left to dwell I filled up two buckets of water with washing up liquid to wash the wheels and arches. Once they were clean, two more bucket were used to wash the whole car. ( I only recommend using washing up liquid if you want to effectively "Start again" with a protection regeme) and NOT as an everyday wash!

Once the car was clean, a clay bar was used with Meguiars Last Touch cut 1:1 with filtered water as a lubricant. The claying stage removed a lot of contaminants that the washing up liquid left behind and some that you could not see either. I have to stress this is probably THE most important stage if you are looking to take car preparation to the next level. Unless the surface is truely clean AND smooth the remaining stages will not be as effective.
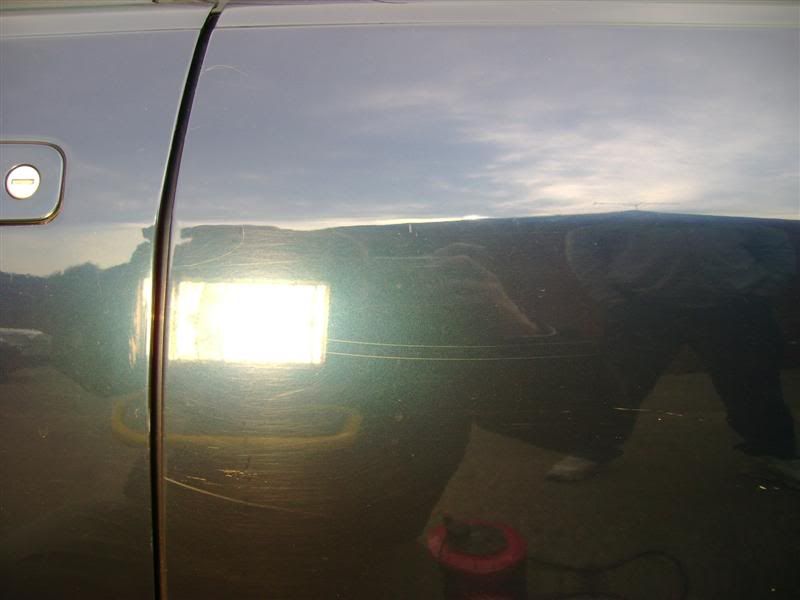
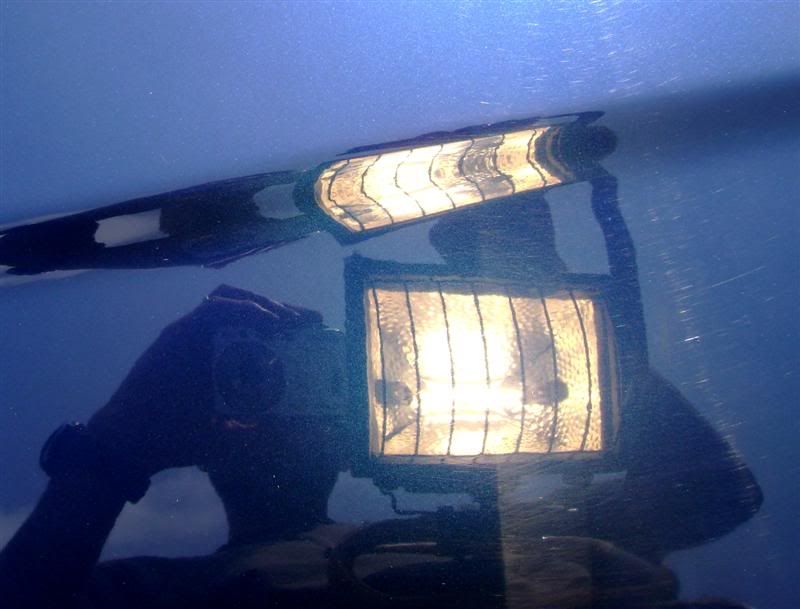
Once I was happy with the paintwork I taped off a corner of the bonnet to use a test area. At the start of the machining process I use the test area to see what polish and pad combination will be required to give the level of correction I am looking for. In this case I started with an aggressive combination of Menzerna PO85rd 3.02 and a Sonus Cutting pad. Given the severity and density of the swirls, I knew I would need something aggressive, which it did.
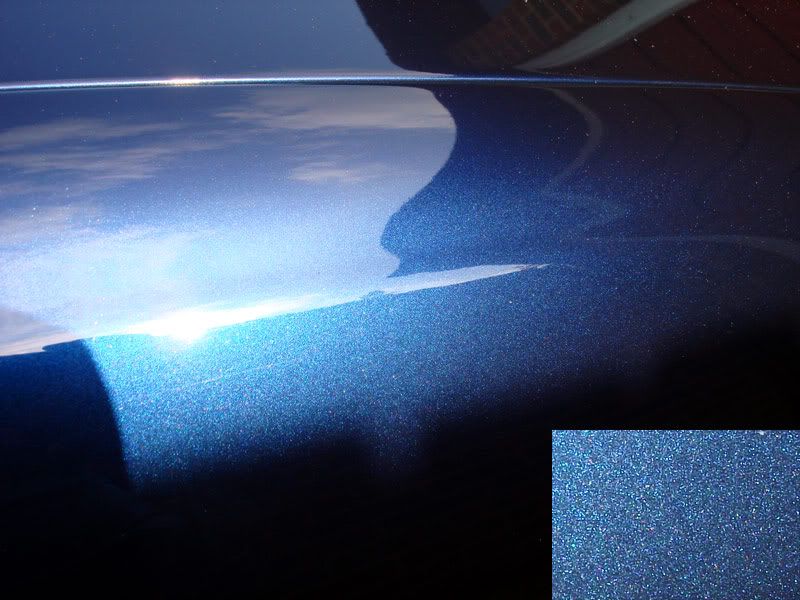
After 2 - 3 steady passes the following 50:50 shot was achieved:
With the polishing regeme decided upon, I taped up the car and got stuck in:
The machining took me approximately 5 hours, during which time, we discussed all things Audi, detailing and the state of the country...
I suggested Martyn might like to consider leaving the contrasting "Racing Stripes" on for the journey home...

(He didn't).
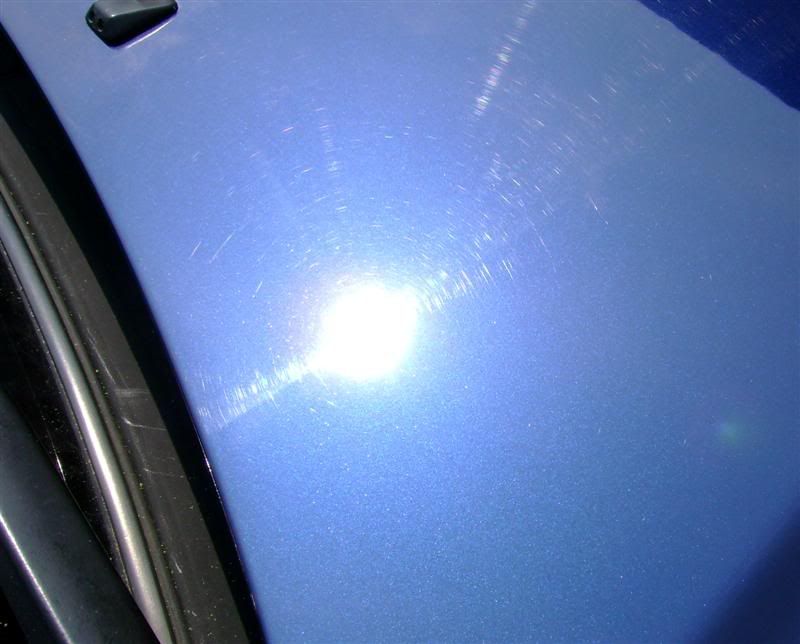
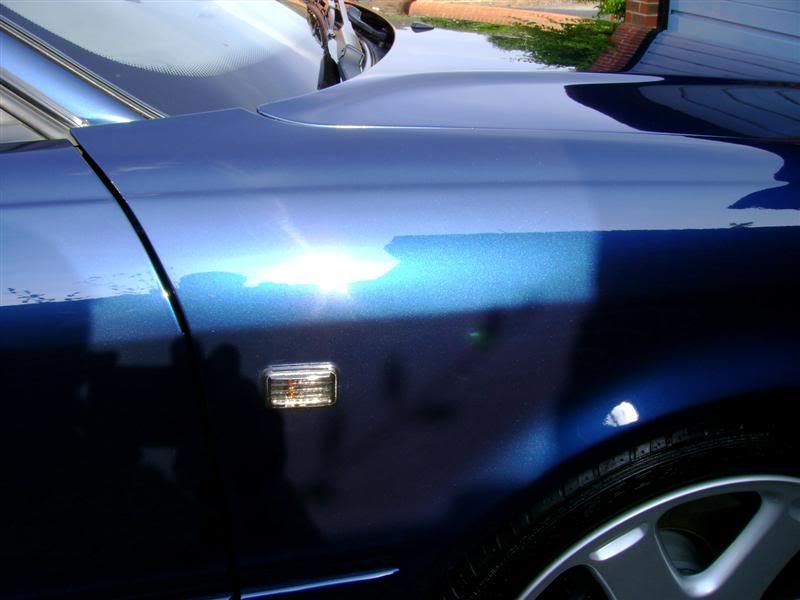
Once the very boring and tedious machining was over, I left the tape on, and added a layer of Sonus Paint Cleanser, which we both agreed added some depth and gloss to the already clear and sharp finish.
The final two stages were completed by hand. Carlack Nano Sealant was added to seal in all the hard work and protect it, followed by a layer of Collinite 476 wax. This is the LSP "Last Stage Protection" and adds a little more gloss and warmth to the finish, which can also protect the paintwork for up to 3 months at a time, meaning Martyn can simply wash and dry the car to maintain the finish.
Lastly the tyres were dressed with Meguiars High Endurance tyre gel and the black plastic trim treated with AutoGlym Bumper care.
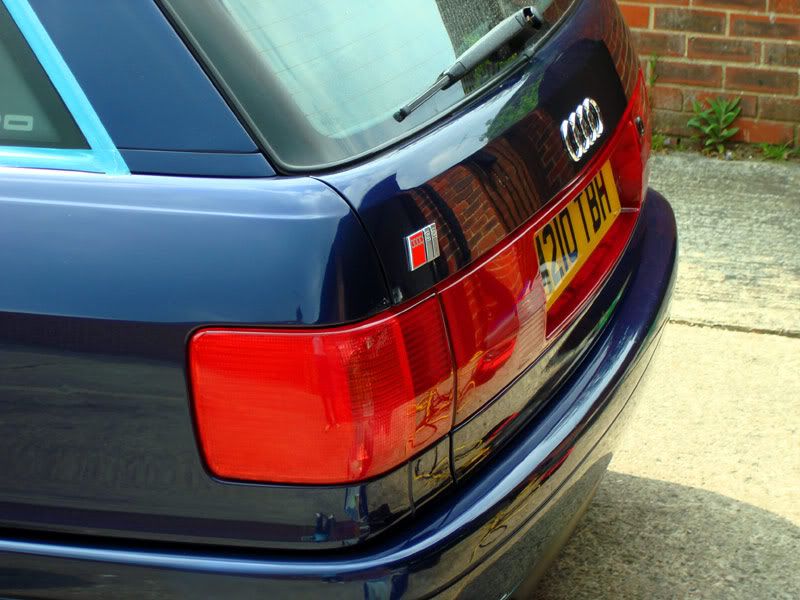
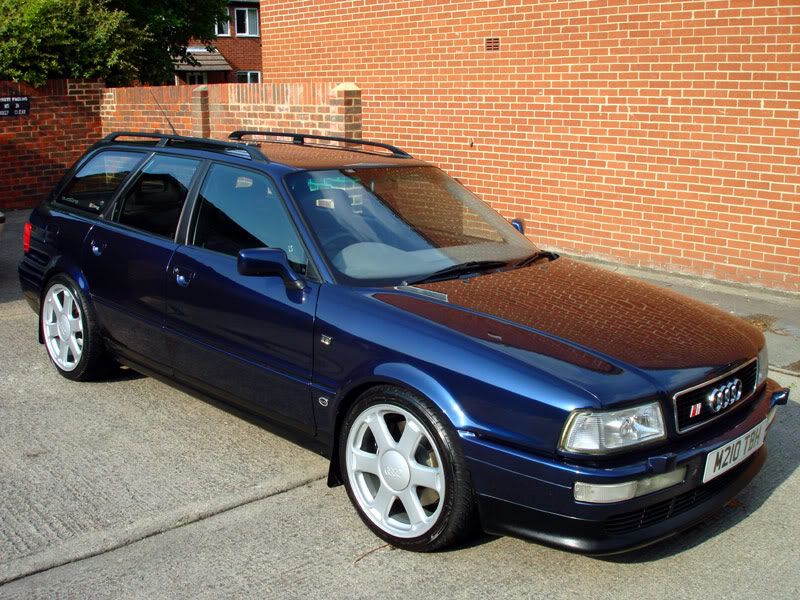
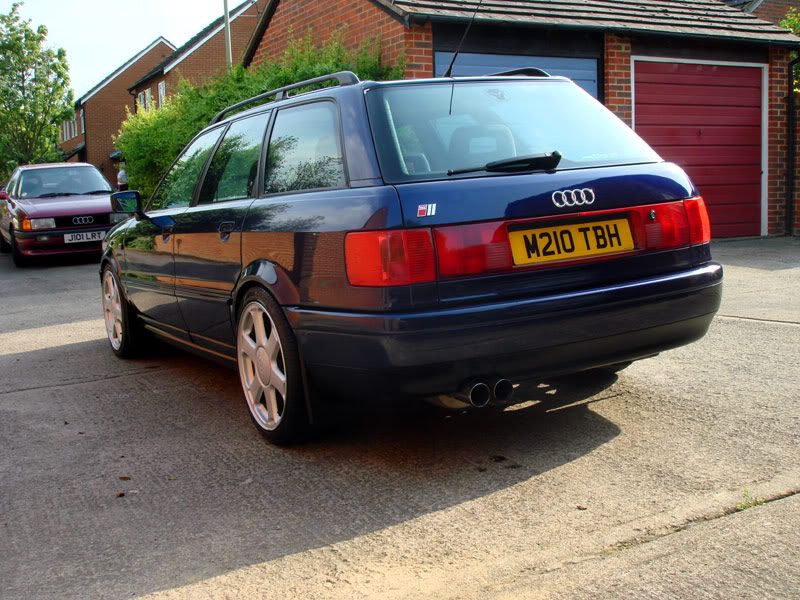
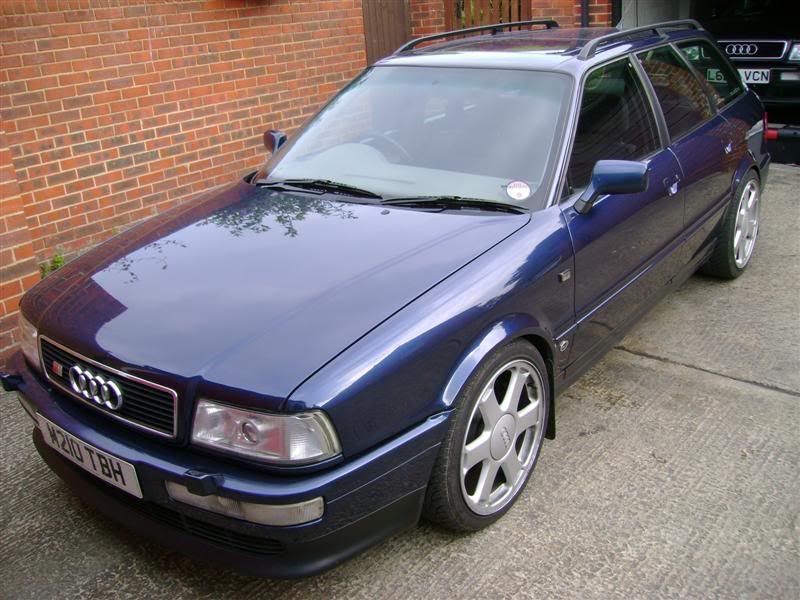
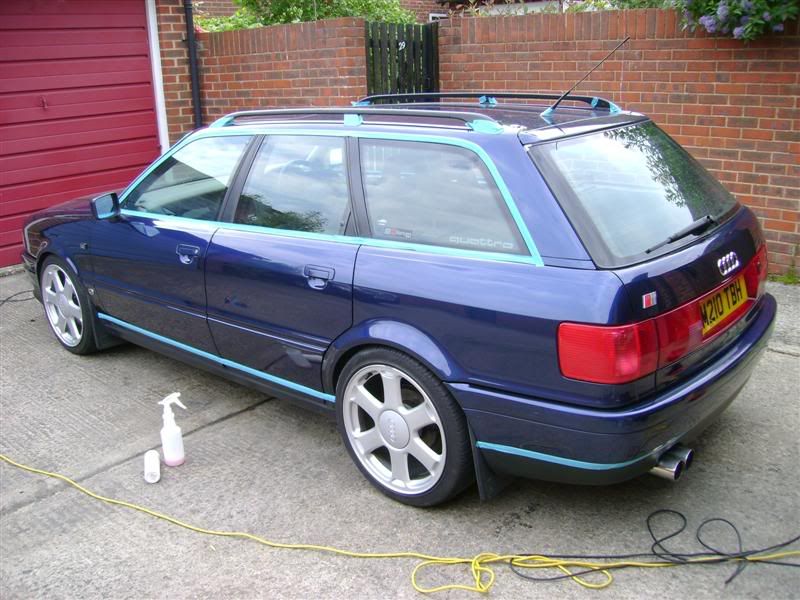
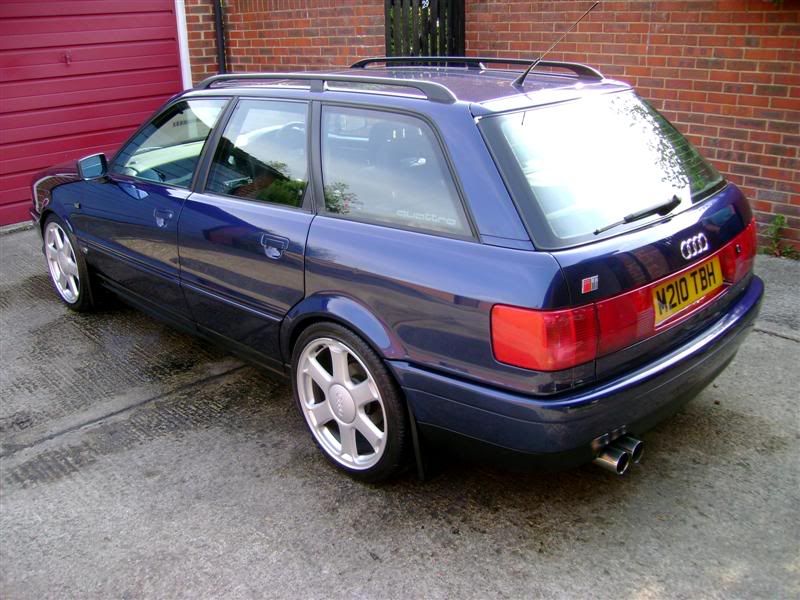
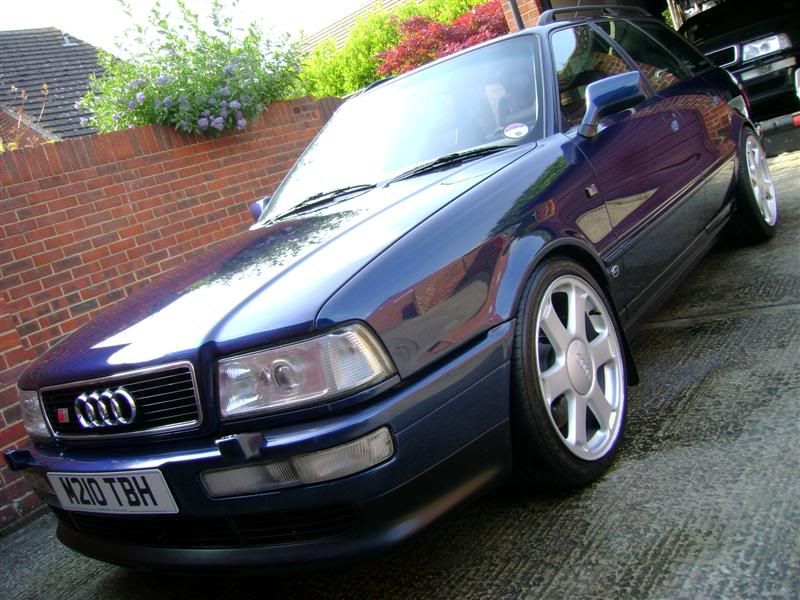
Now the important "Before" and "After" shots of the work today:
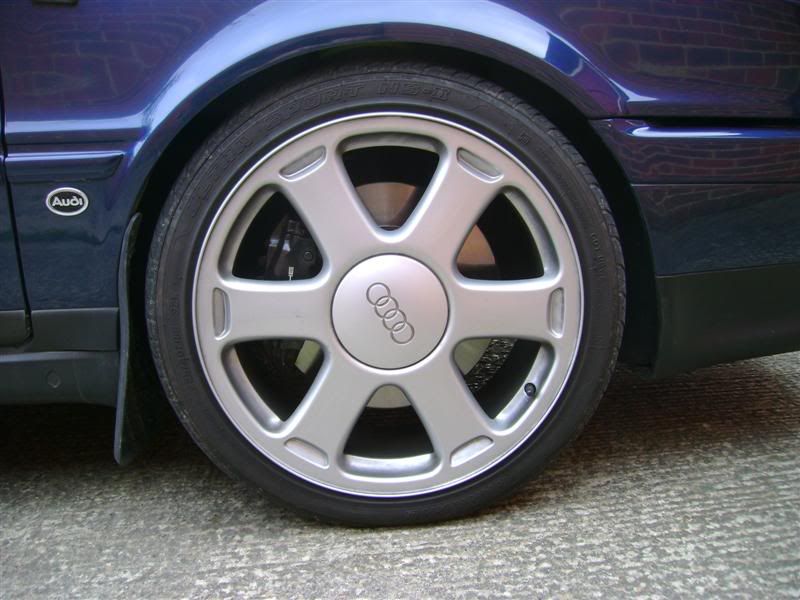
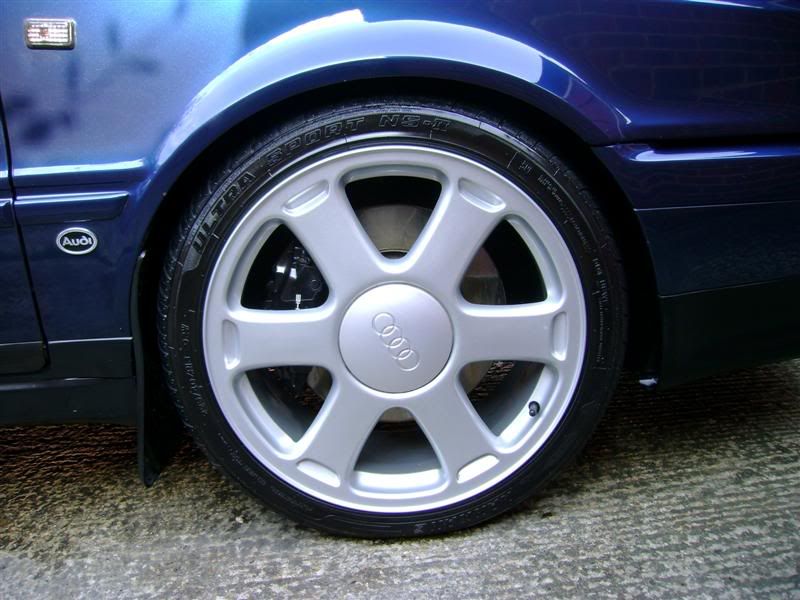
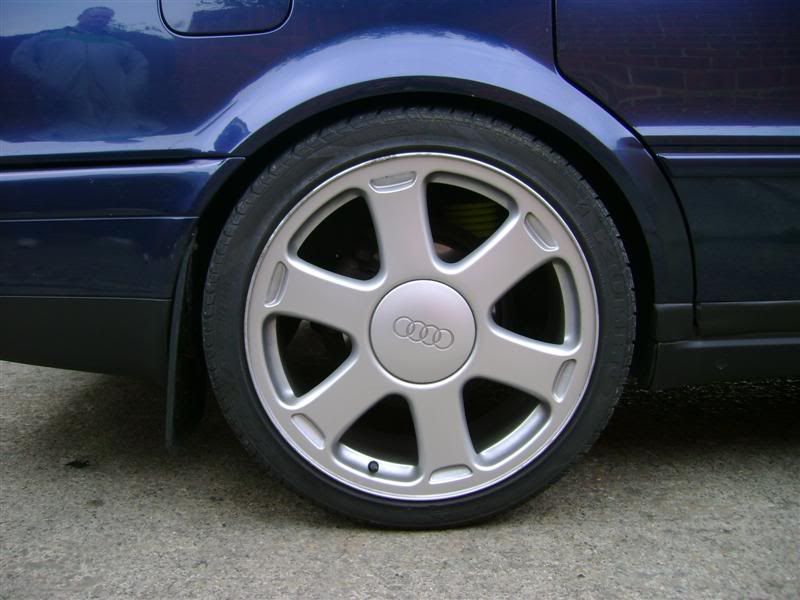
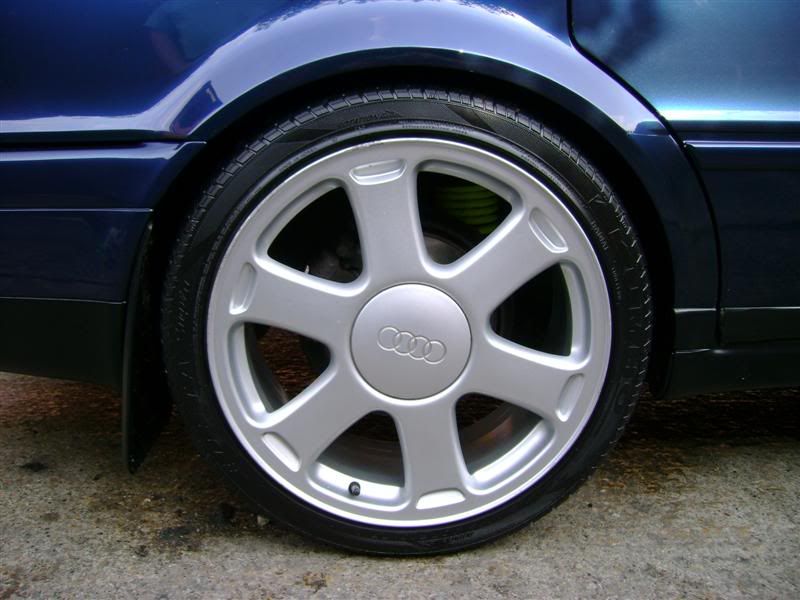
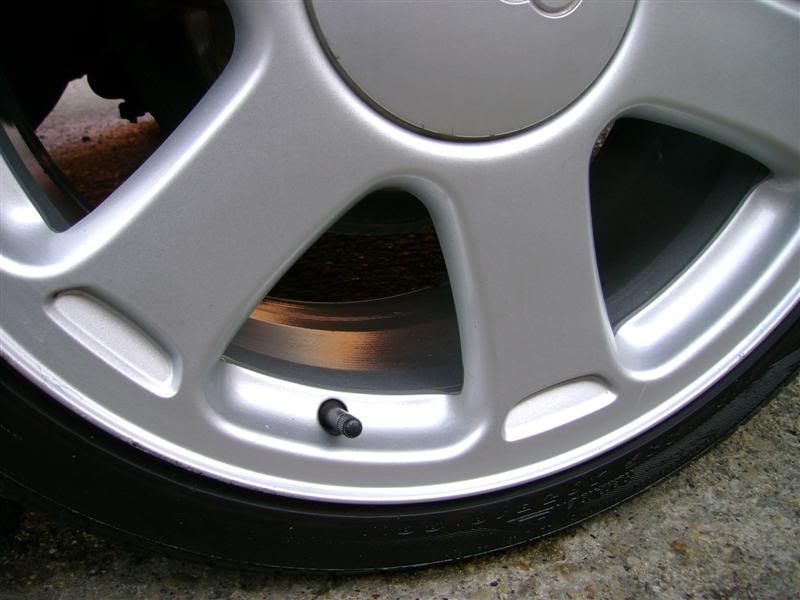


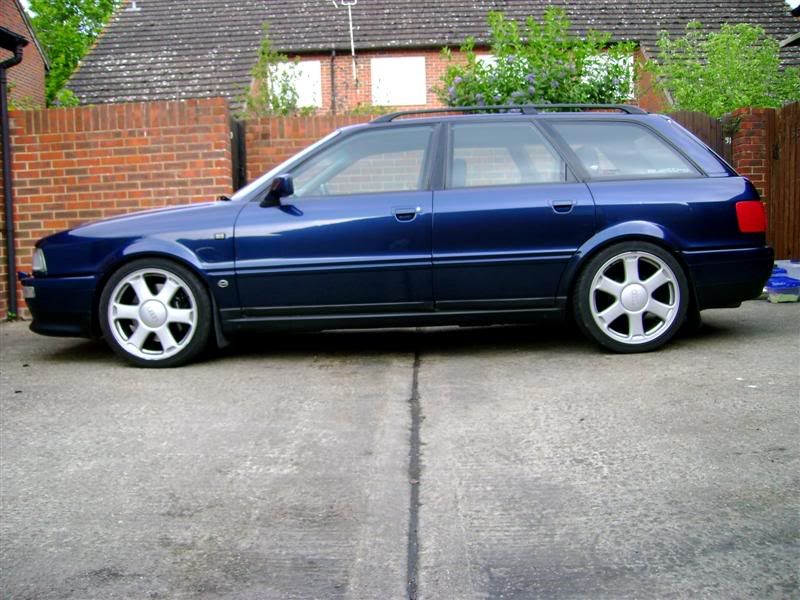
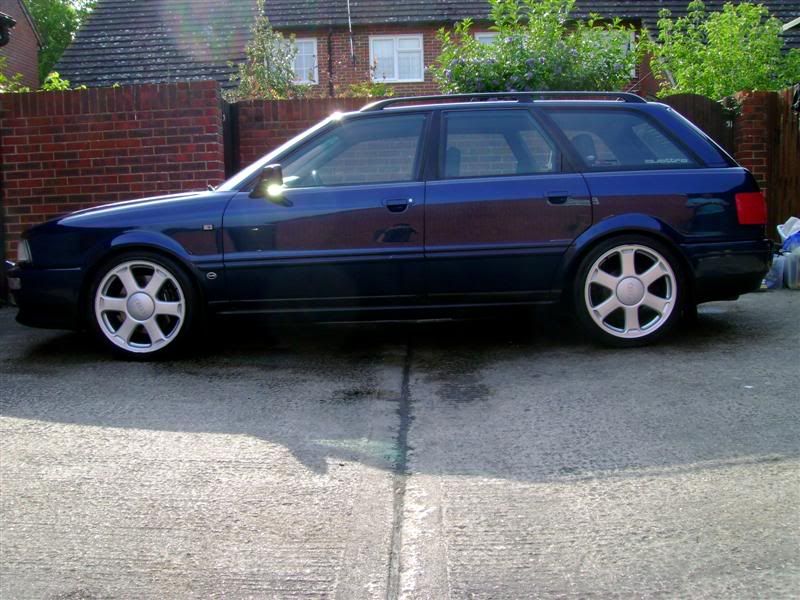
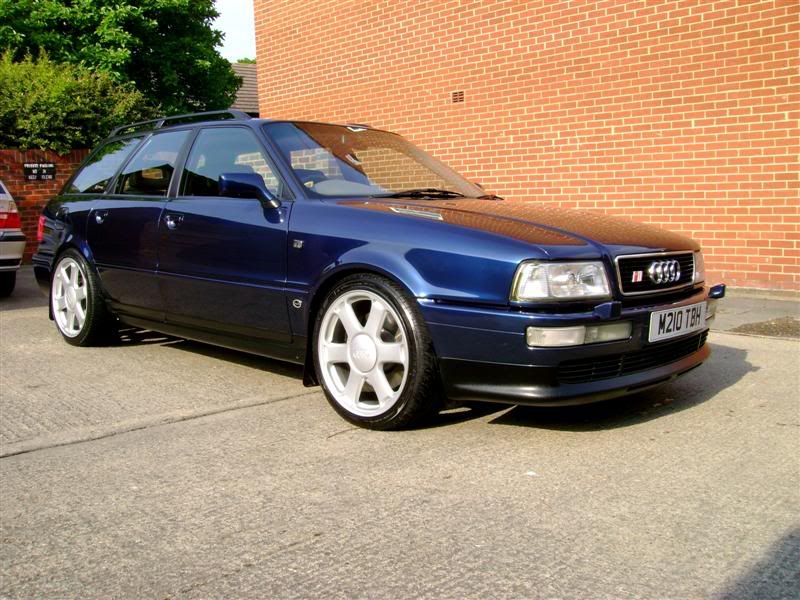
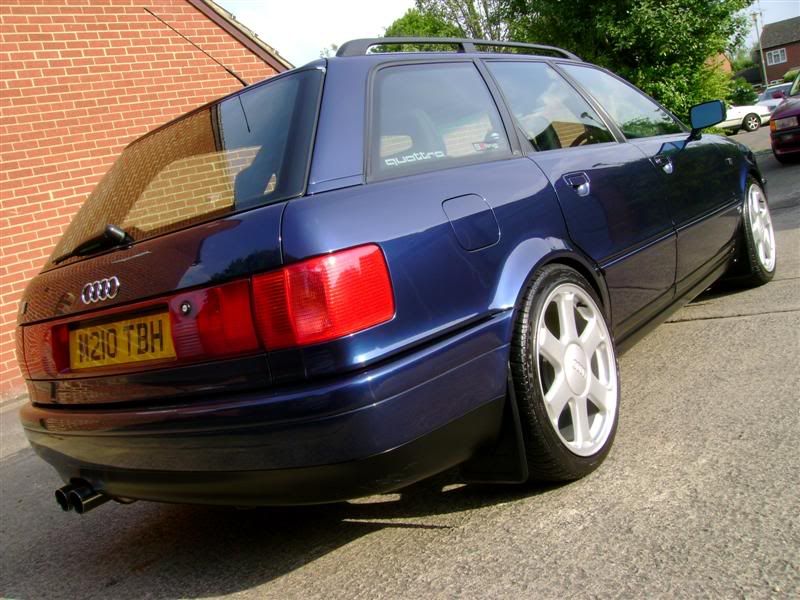
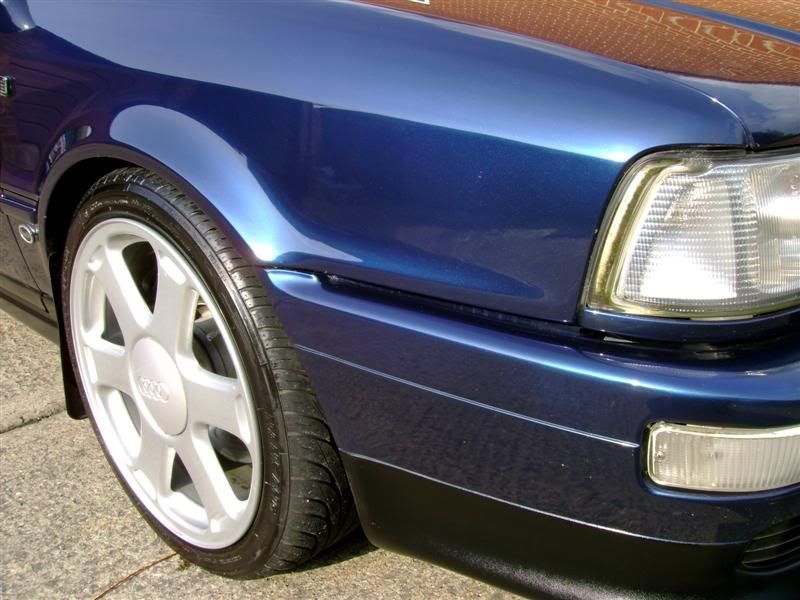
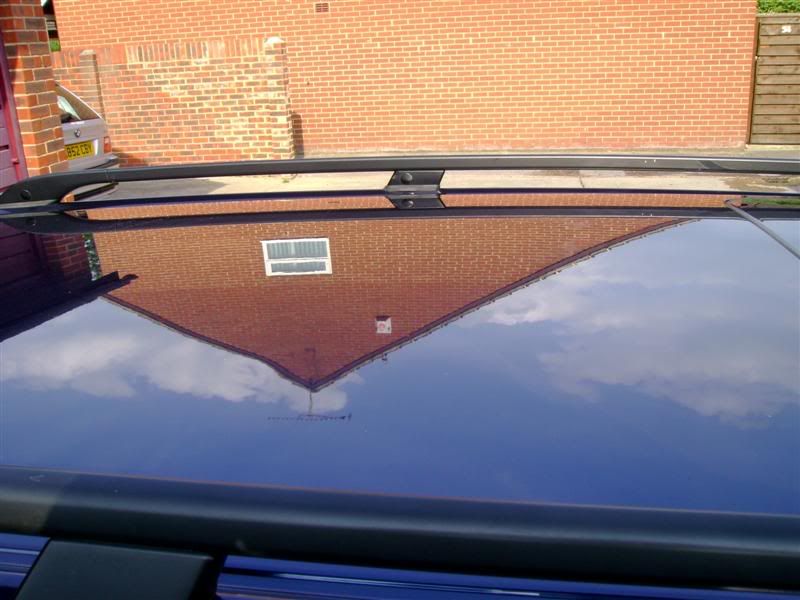
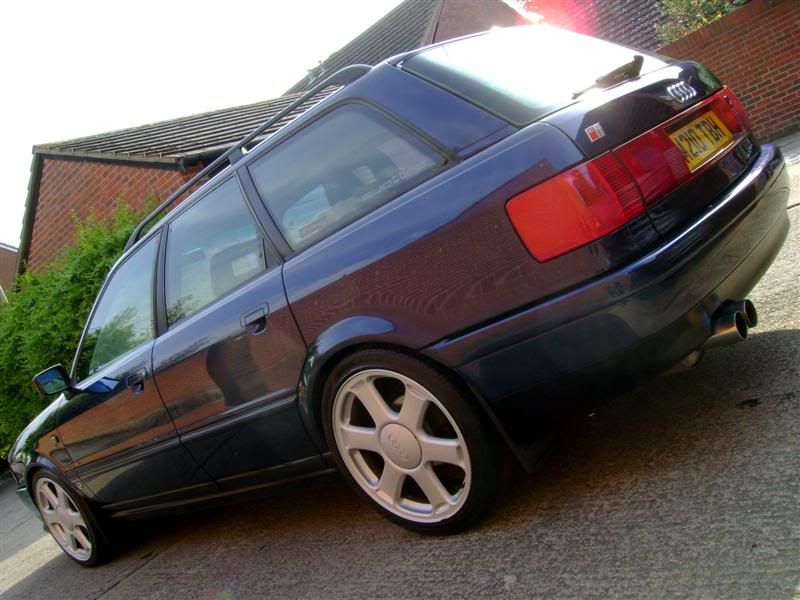
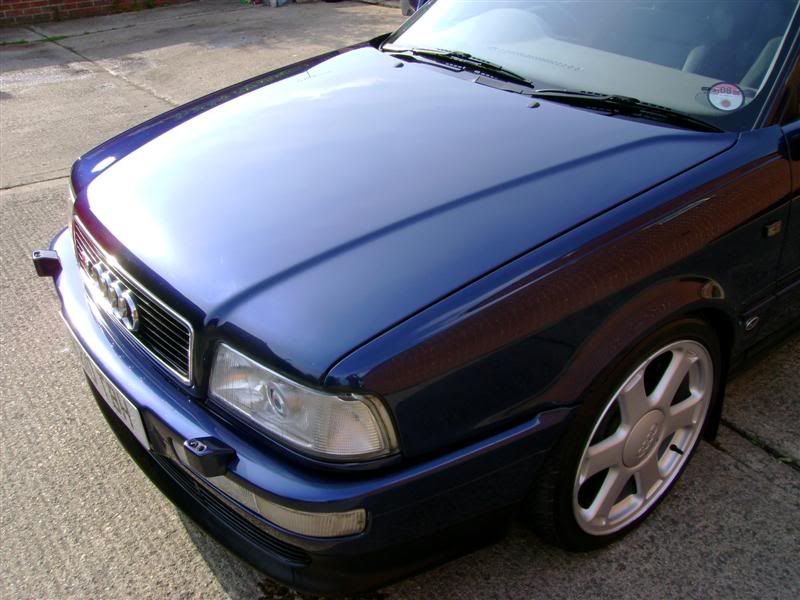
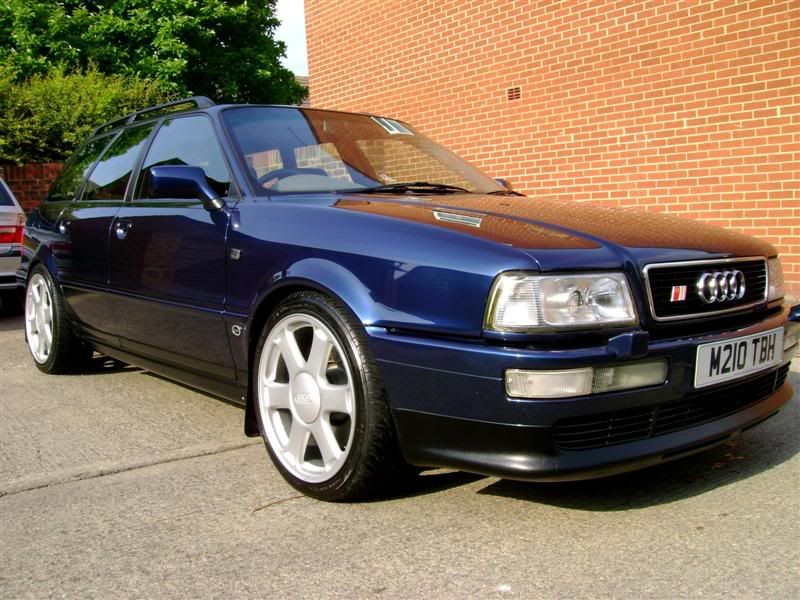
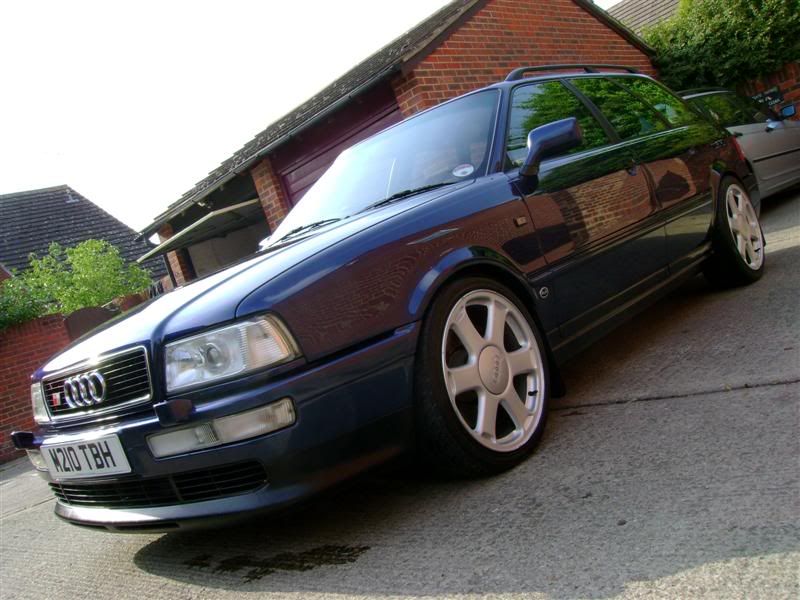
Finally the best shots of the day:
Thanks to Martyn for driving all the way down to Didcot and for being such great company. :thumbs:
Cheers,
Steve.
Here are Martyn's pics from the day - Miles better than mine and a proper 50 : 50 shot! :thumb: