The dash fits in the hole where the old dash was, but thats about it! the centre fixing at the top doesn't line up, but the 2 outer ones do, so the cenre one can be left, the 4 fixings at the side don't line up so new holes need drilling in the body to mount the dash! you can leave the mk3 heater box in and all you lose is the 2 centre vents, you'll need the mk4 plastic pipes that go to the outer vents and cut them half way and join to the mk3 ones so you have mk3 at the heater box end and mk4 at the vent ends!
The fan switch can be wired to the mk4 one all you don't have is the 4th setting as mk4's have 4 and mk3's have 3!
the heater controls can be wired through the heater valve from a mk4 where the pipes go through the baulkhead, you just need the valve from a mk4 onwards fiesta and it's one wire, a variable resistor that opens or shuts the valve to let more or less water through!
The screen, feet or vents selection is the hardest bit, you can either manual adjust it with the lever on the heater box or i made a proper panel for mine and mounted the slider into it! this is because mk3's have cables and the mk4 onwards is electric!
some people have kept the mk3 clocks in but IMO they look shit cos the fit crap into the mk4 dash, i used mk4 white clocks which have 2 small multi plugs instead of 1 big one, you just need to join all the wires to the 2 plugs!
then obviously wire up all the mk4 switches!
You have to trim a lot of the metal bracing away in the dash where it goes over the mk3 steering column as the mk3 one is alot bigger and squarer!
Hope that helps, now i can take a breath

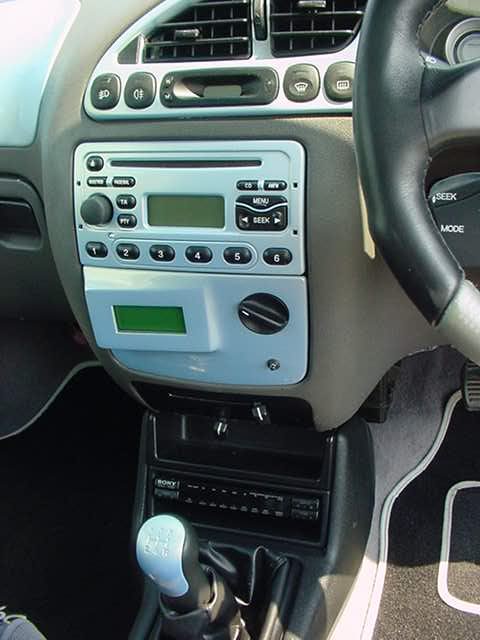
some pics............