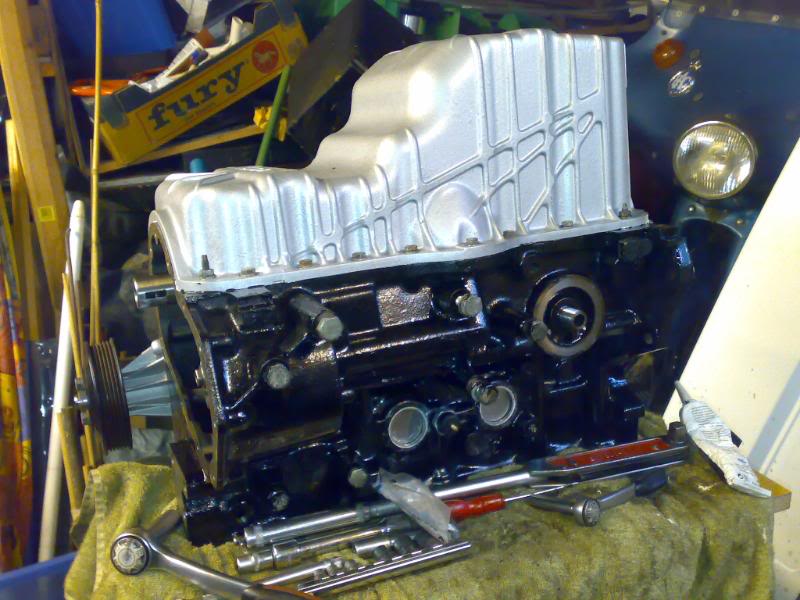
Yay, we have a short block @ last.....
Todays update is more of a "how-to" build a short block up.
Firstly I got to use my new cylinder honing tool, about �22 from Frost Automotive.
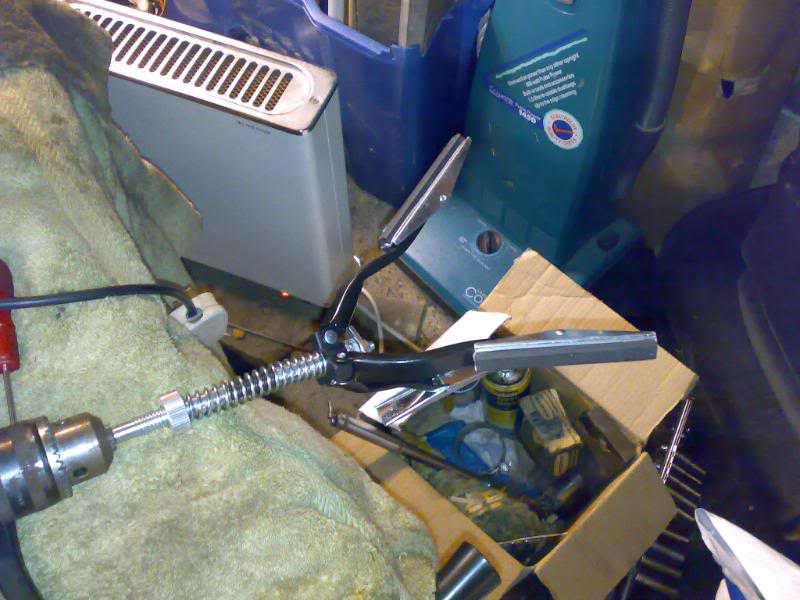
A little bit of time and some lubricant later, we have four cylinders all honed nicely
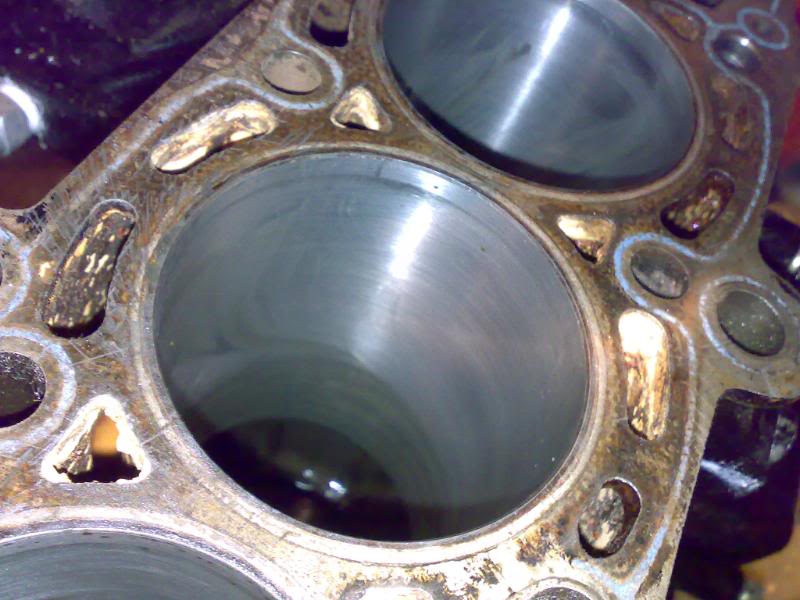
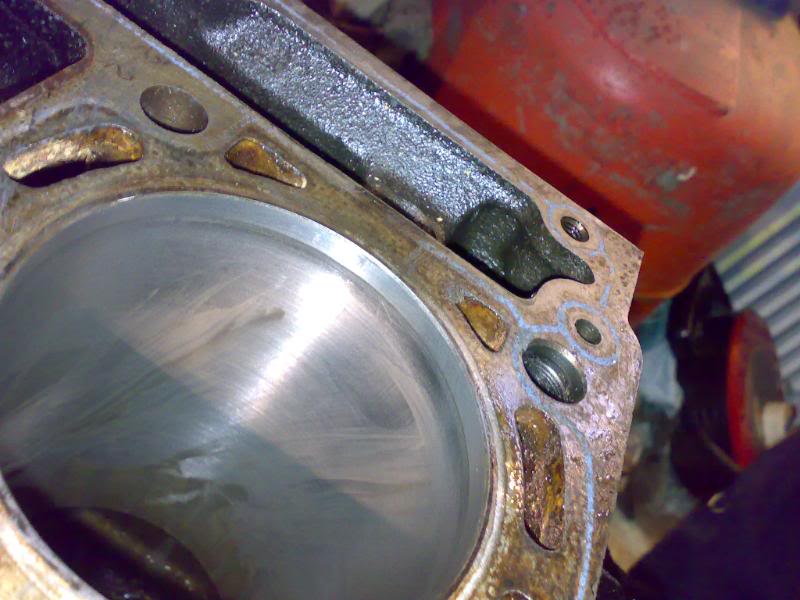
The cylinders should really be honed whenever fitting new piston rings as it allows the rings to bed in smoother and help prevent glazing on the bores. Number 1 cylinder proved to be a minor pain as it has received a little more wear in the past compared to the other cylinders, but nothing to be worried about. It just meant a little more attention was needed.
Next was smoothing the block mating face. A nice flat plate and some emery, along with a nice spraying of WD40, and we have a nice and smooth block face.
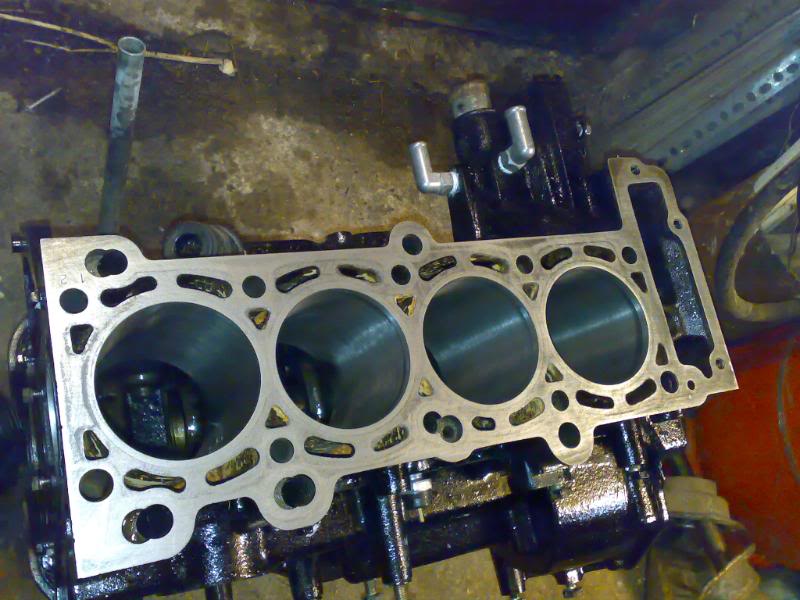
Always remember though not to keep rubbing the block face in the same direction or you just end up with lots of scratches that can prevent a solid sealed gasket.
Once this was done, we moved onto the piston rings. From my previous post, you will gather that the piston rings have been fitted already, so all that was needed was a "light" dab of grease around the rings and into the grooves themselves before fitting inside the piston ring compressor and sliding down the bores from the top of the block.
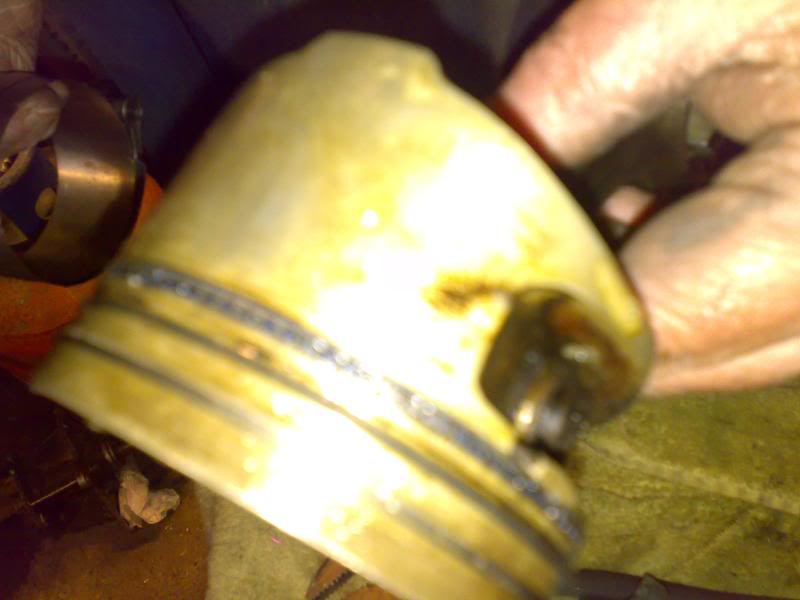
Unfortnately, I have not got an image ATM of the pistons fitted, that will follow in the next day or so once I get it all back on the ground.
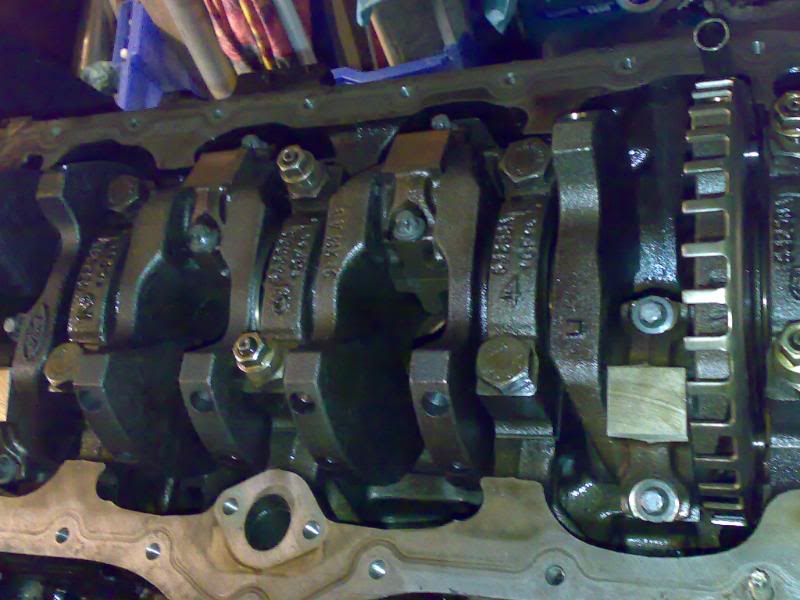
Once the block was up on the workbench and upended, the temporary sump was removed to expose this.
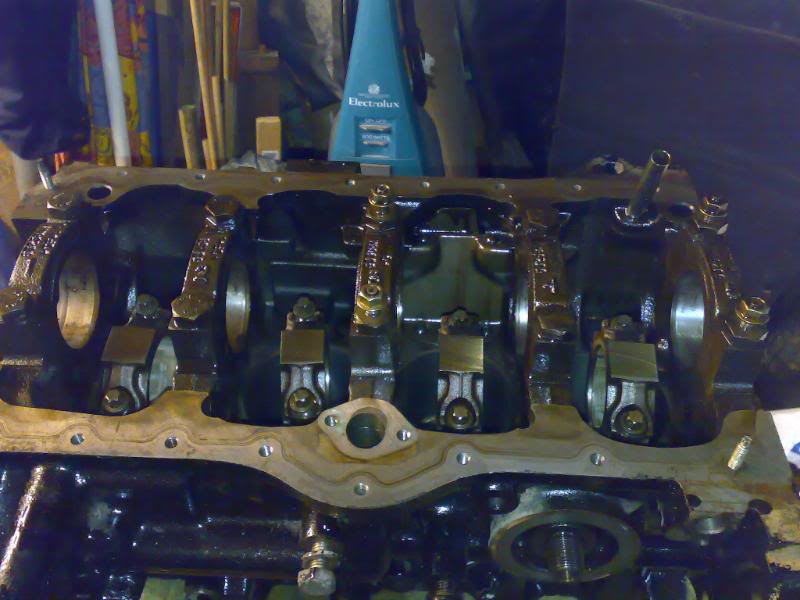
A quick clean and some removal of the crank main caps and we were ready for assembly.
After fitting the block side of the crank bearing shells (the ones with the groove cut into them for oil lubrication), the crank was lowered into place.
If you look in the picture, you can just see the half of the crank shell with the groove showing.
The new thrust washers were then slotted into place. These were not fitted before the crank as it is possible for the crank to damage the washers and you would be unable to see once fitted. If the thrust washers are fitted afterwards, a good and secure fit is pretty much guaranteed.
Once fitted and checked, the other half of the crank shells were fitted into the corresponding caps and soaked in SAE 10W fork oil. This will stay on the bearings fine until such time as the engine is fully assembled.
The crank bolts were then fitted and torqued up to 90Nm in 3 stages, making sure that nothing was overstressed. The crank was then rotated to make sure that nothing was fitted too tight. Once turned, the crank bolts were then rechecked to make sure that any oil had not prevented an accurate reading on the bolts. They were all fine.
Onto the conrods. The new shells were fitted to the conrods themselves and were then pushed up to the crank, leaving a slight gap to allow the oil to cover. An amount of oil was then poured onto the shells. Each conrod cap was then fitted in turn using new stretch bolts (E10 reverse Torx). They were tightened in stages, starting with handtight, then 20Nm and finally 90 degrees afterwards.
Okay, this makes the basic short block. From here, it is onto all the "ancillary" parts, seals, brackets, etc...
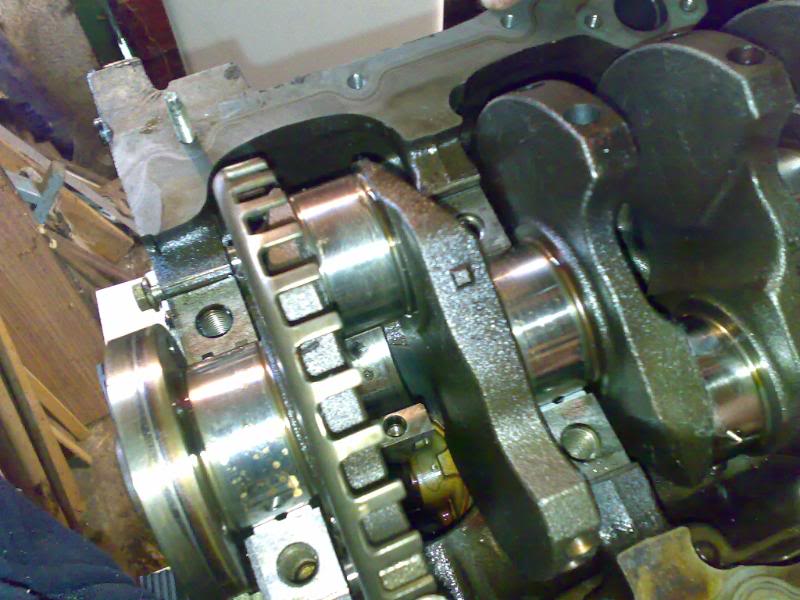
Next is the baffle plate for the crank and the oil pump pickup pipe. This is a brand new pickup pipe, with a new gasket fitted on the mounting flange. The baffle plate is held in place with 4 x 12mm nuts. and the oil pickup pipe with 2 x T30 torx bolts.
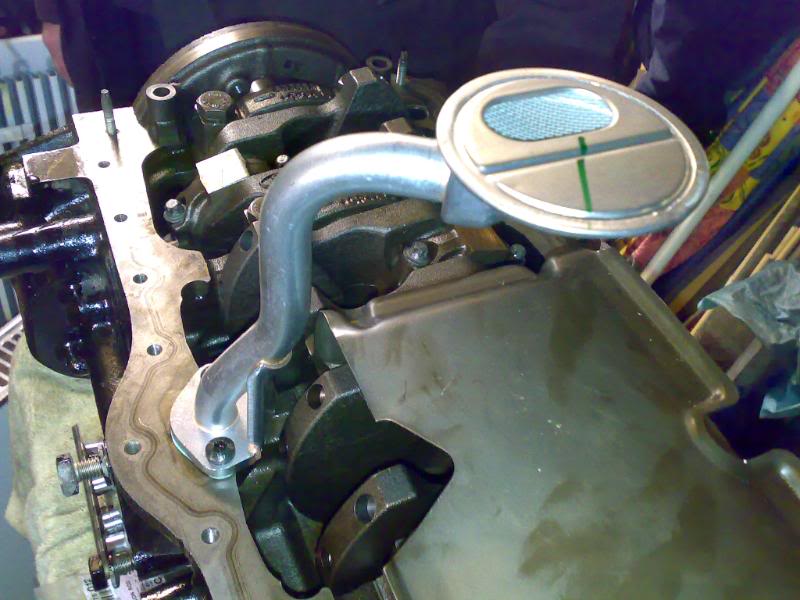
Next is the rear main oil seal. This is housed in a casing that is attached to the block by 4 x 10mm bolts.
Before fitting the rear seal, a liberal amount of grease was applied to the inside of the seal and to the fitting tool (which comes with the seal as part of a set). The tool is designed to fit inside the rear main seal and then push over the edge of the crank, preventing the seal from tearing whilst being fitted. A new metal retaining gasket was fitted @ the same time between the block and the main seal housing.

The front sump mounting flange was then fitted. This is a half-moon bracket that bolts to the front of the block where the sump goes and helps maintain a good seal. A small amount of sealant was added to the mating faces before it too was assembled.
Right, after this, we were ready for the sump to be fitted. A quick check of everything that had been fitted was made and double-checked (not a good idea to forget anything @ this stage).
All was good, so it was onto the sump.
On the sump mating face, there is a recess groove that the gasket sits into. Normally, you would not apply any extra adhesives or sealants other than where the sump gasket has to change direction, but as I do not wish to be redoing this job @ a later stage, a small bead of the VW sump sealant was run inside the groove before the gasket was fitted. A similar bead was run around the sump where the gasket would sit. The sump was then fitted and tightened up with the bolts handtight, then tightened to approximately 10Nm. Any excess sealant was then removed (surprisingly not a lot actually).
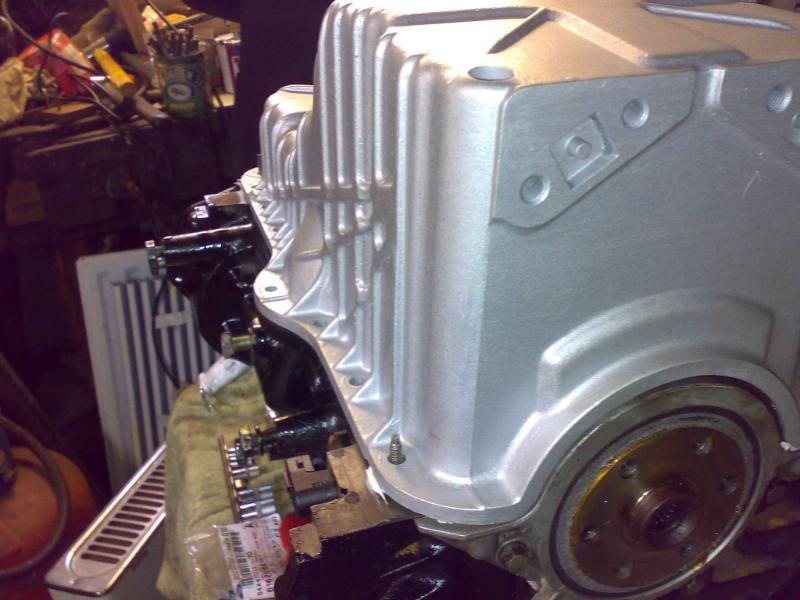
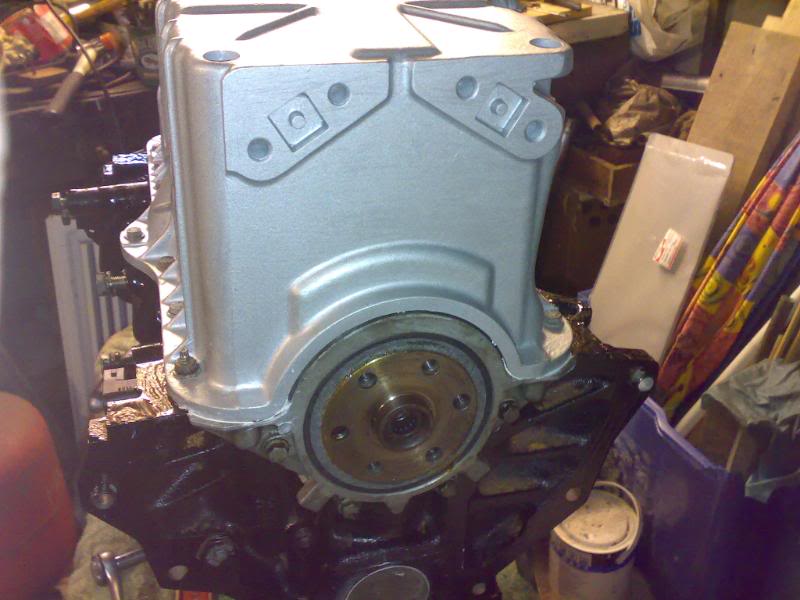
Sump fitted and bolted down.
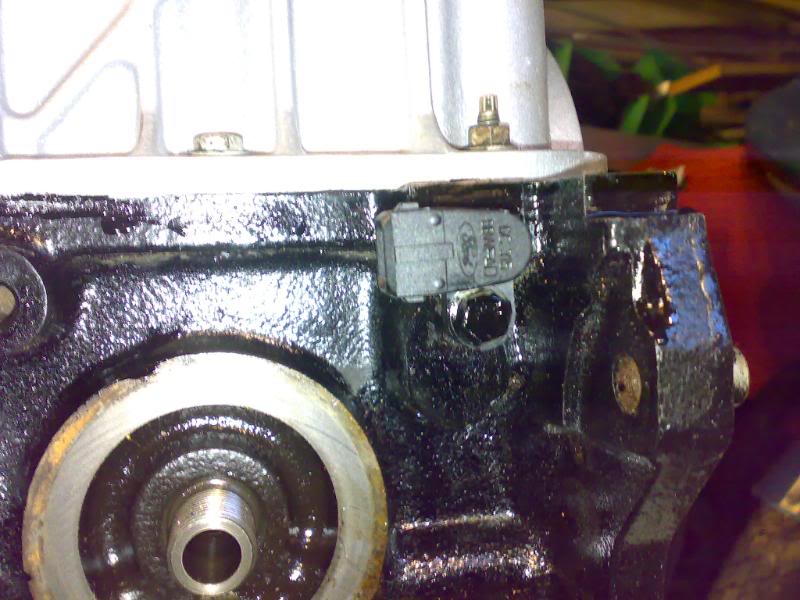
New crankshaft sensor was fitted.
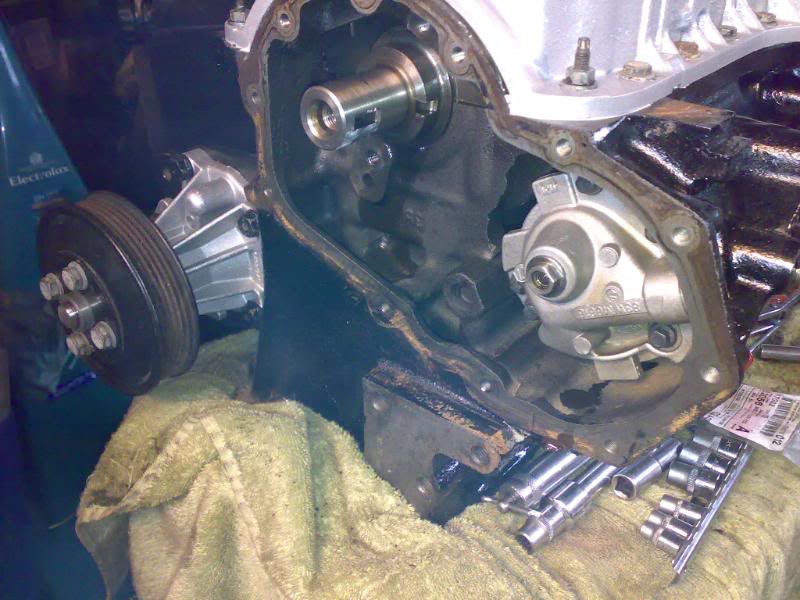
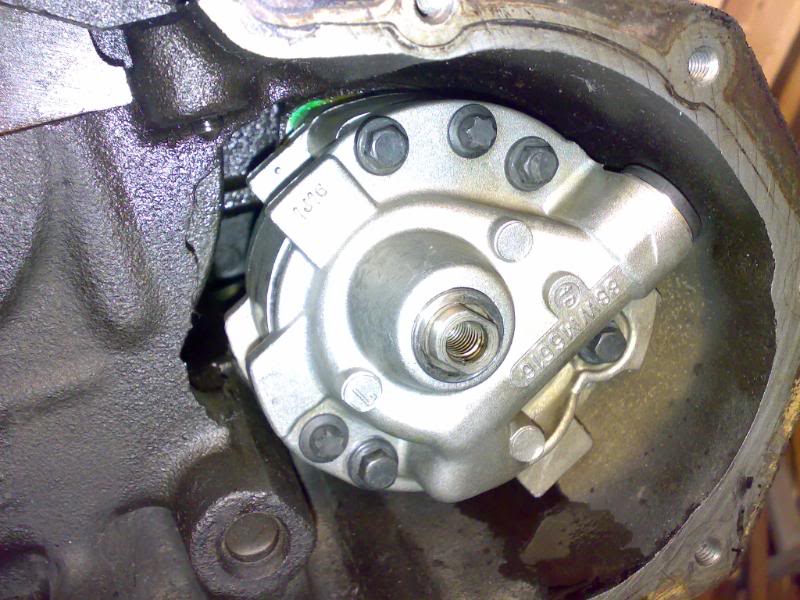
Onto the front of the engine, a new waterpump was fitted with a new o-ring. The o-ring was greased and then tightened accordingly to 25Nm. The bolt heads were then painted back in with engine enamel to match the engine. The oil pump was fitted, again with a new gasket which was coated lightly in grease before assembly to help prevent the gasket snagging as it is tightened and tearing. Prior to fitting, an amount of oil had been poured into the oil pump, although the pump will need to be turned by hand when fitted into the car to get some decent oil in there before starting the car up.
All that was left @ this point was to touch in any last bits of paint on the block that had been missed initially and to clear up some of the mess.
So, to leave it, a few overview shots of todays work.