Hi there everyone!
This topic is about my daily driver Ford Sierra build. The pictures will be in a more or less chronological way, my english is bad, thats why the comments under the pictures wont be too long. If someone has a question, please ask it, its actually much easy for me to answer questions and have a discussion than to write about something in advance as a comment. The car is build on a budget (meaning im the only fabricator and worker with the help of my friends, especially Lukasz "Feluke" i would like to thank the most.
The car started its life as a old stock Sierra 4x4 DOHC in the most basic version.
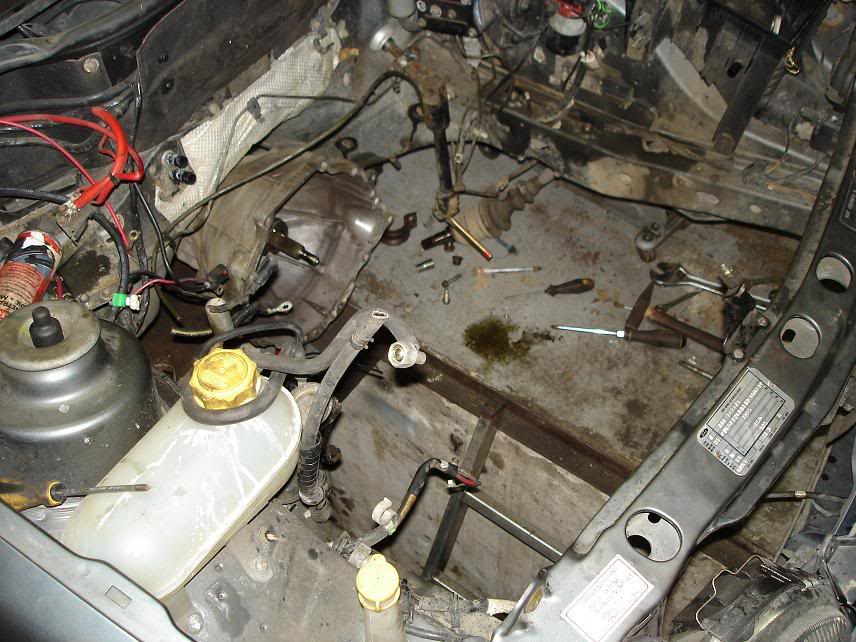
The disassembly started because of a failed con rod bearing, after i began it i found a lot of other reasons to do it. The most fearsome was a lot of rust and the fact that the chassis is starting to flex.
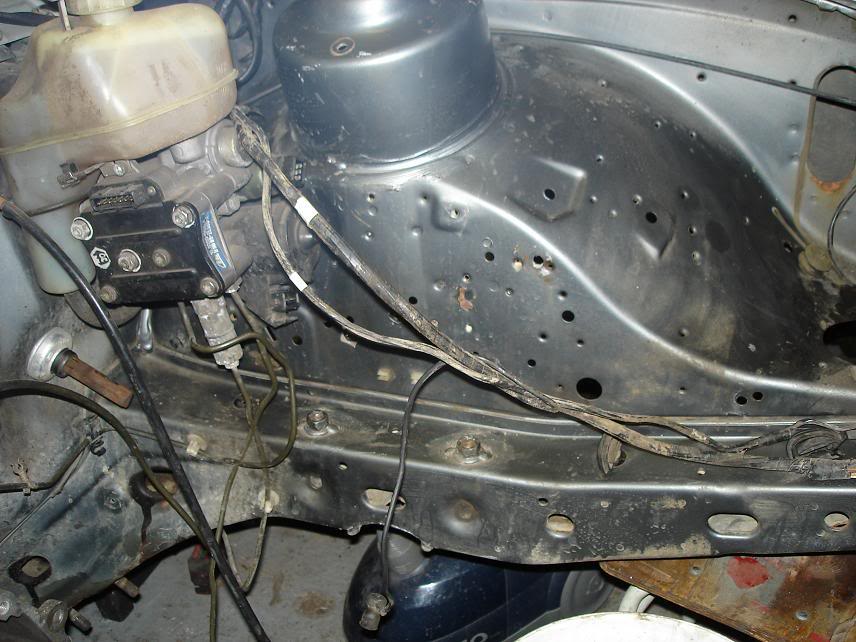
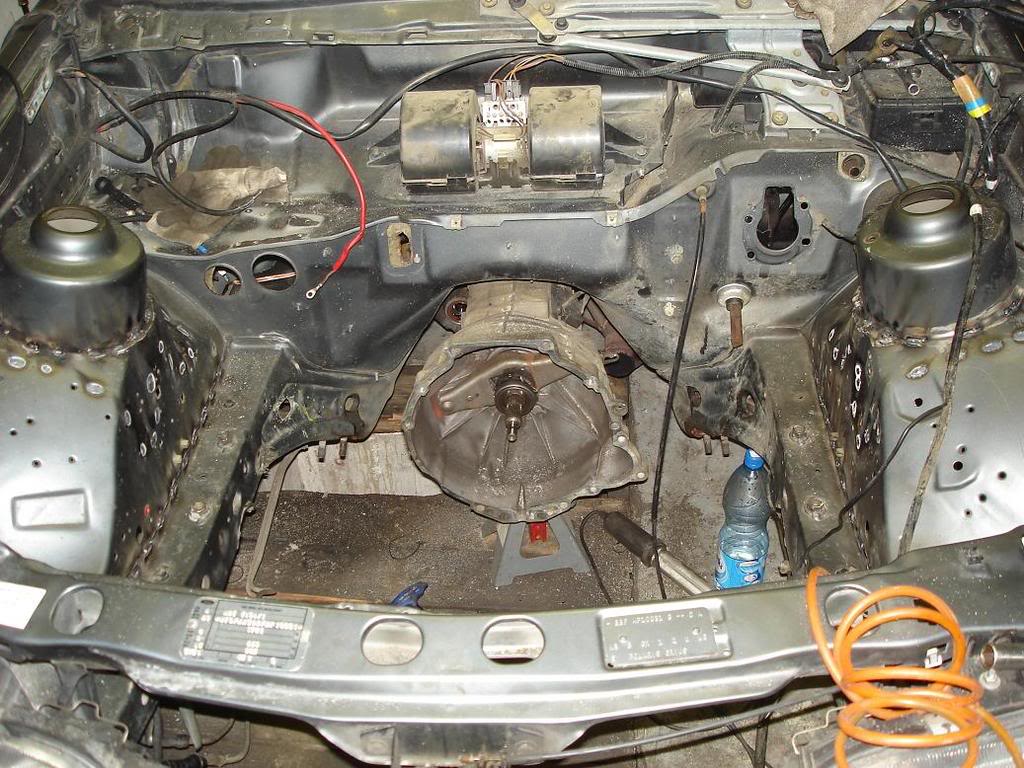
Engine out.
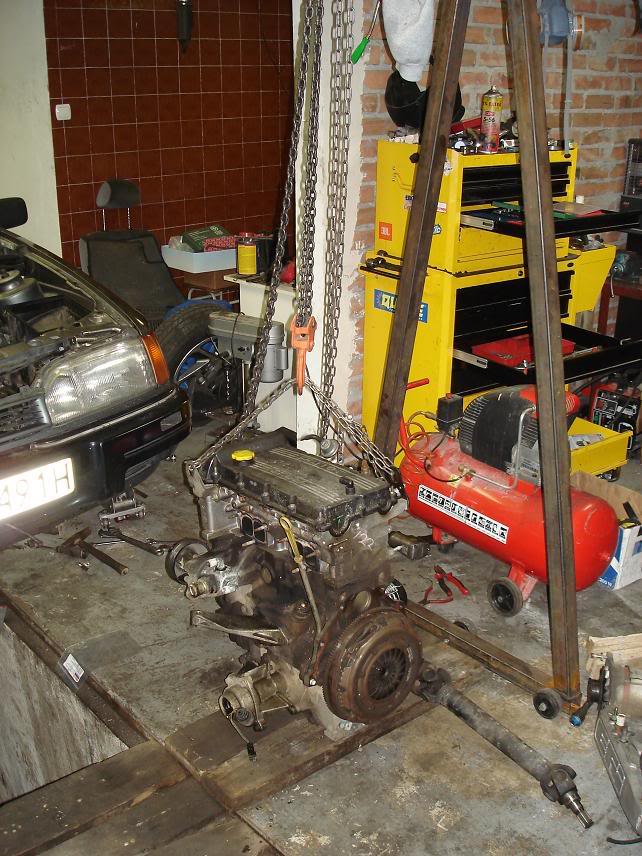
Engine on its crane. There is a lot of parts to be sourced from there, im not dumping it yet. I have to say its a heavy f***** compared to the 4 litre Toyota V8.
The main problems:
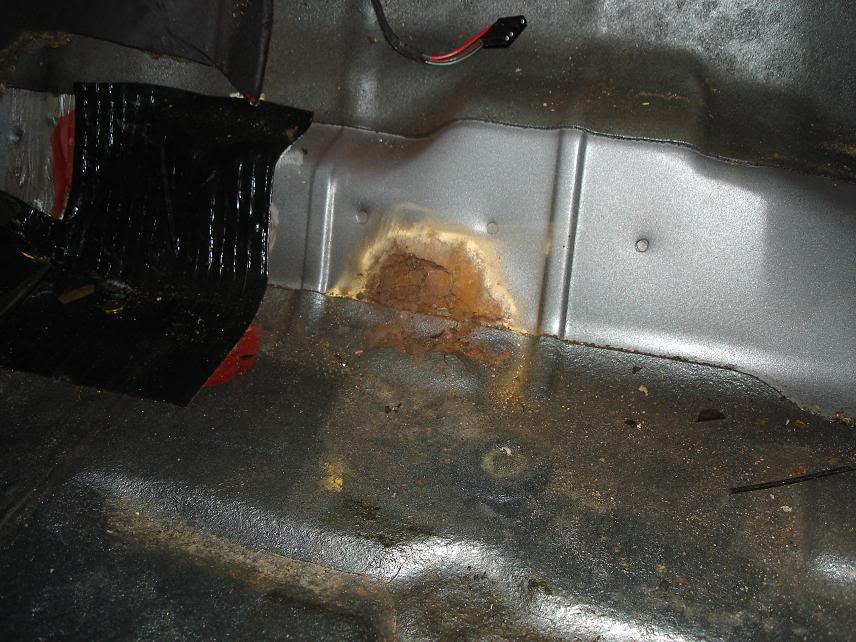
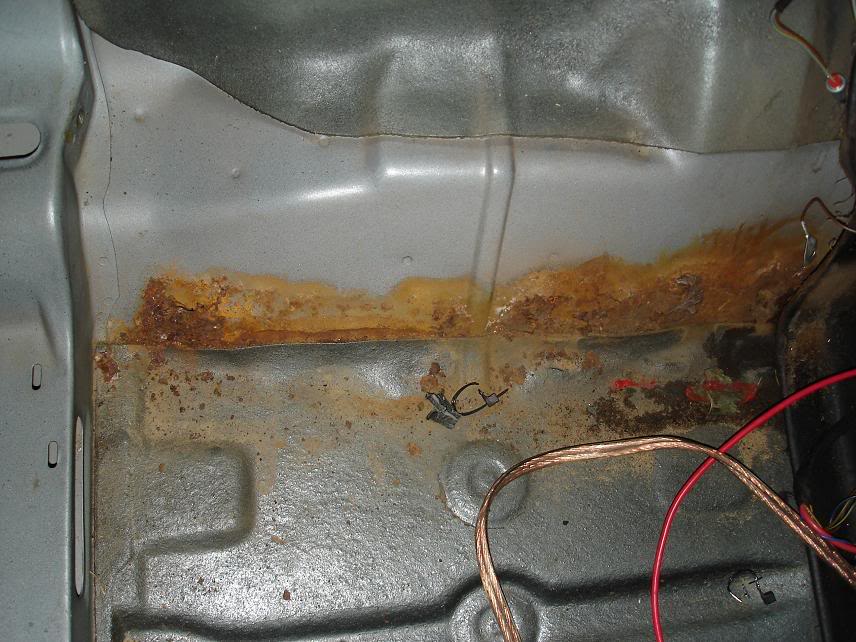
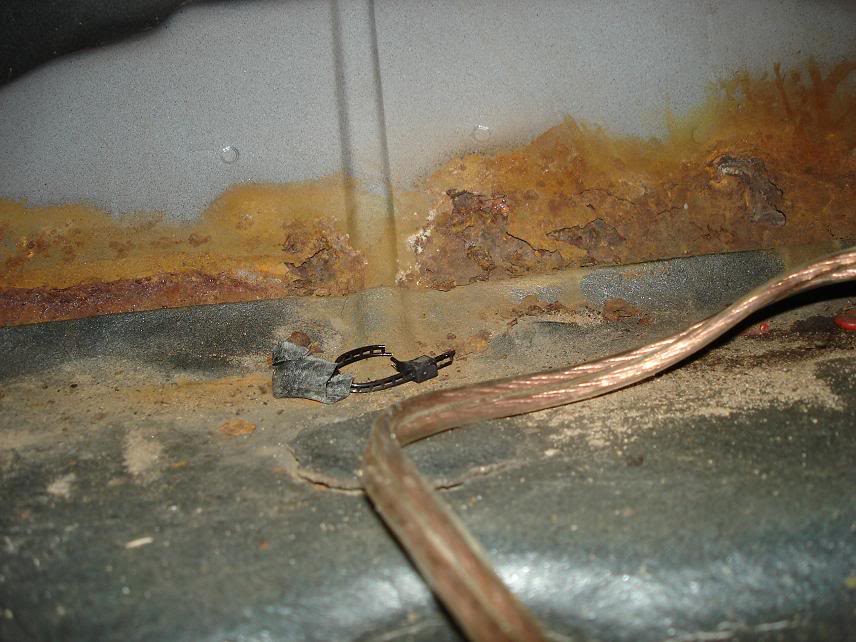

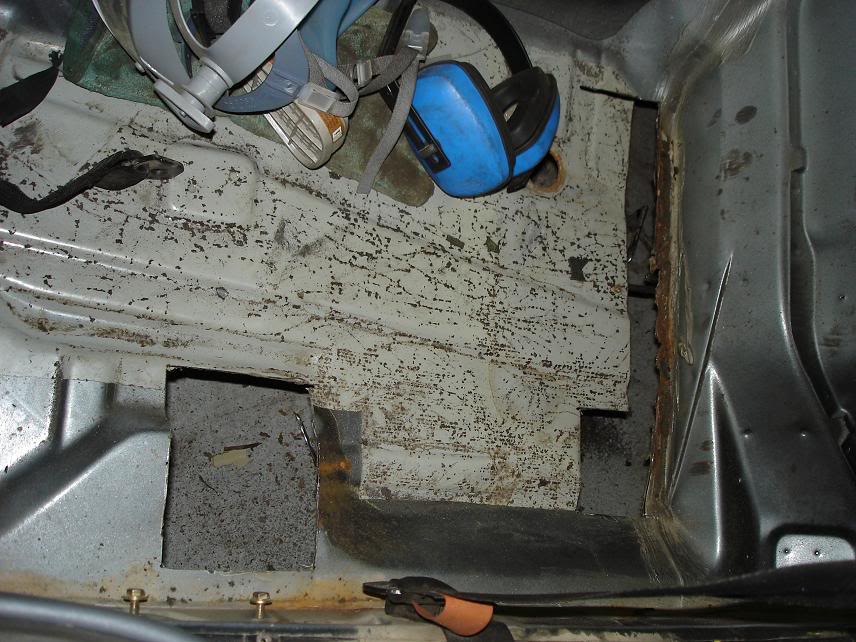
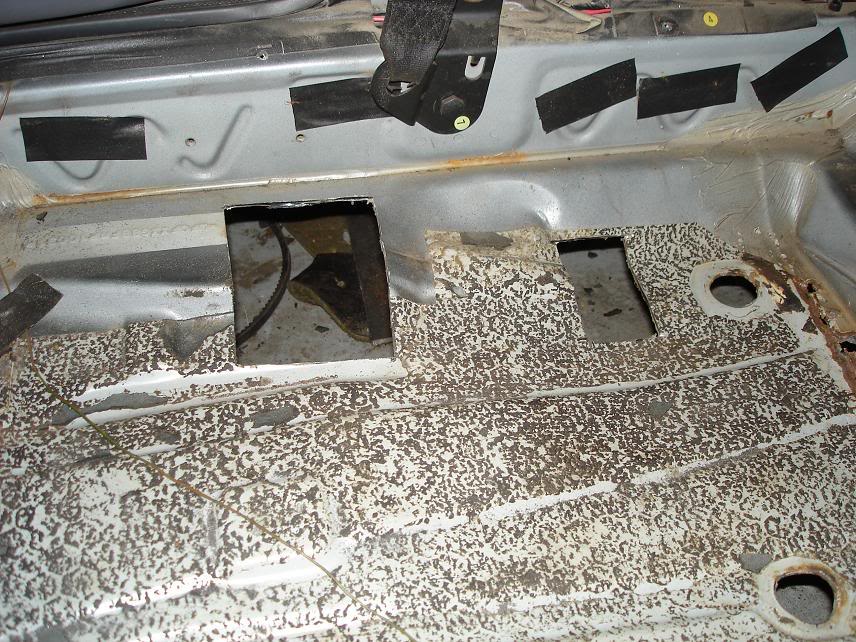
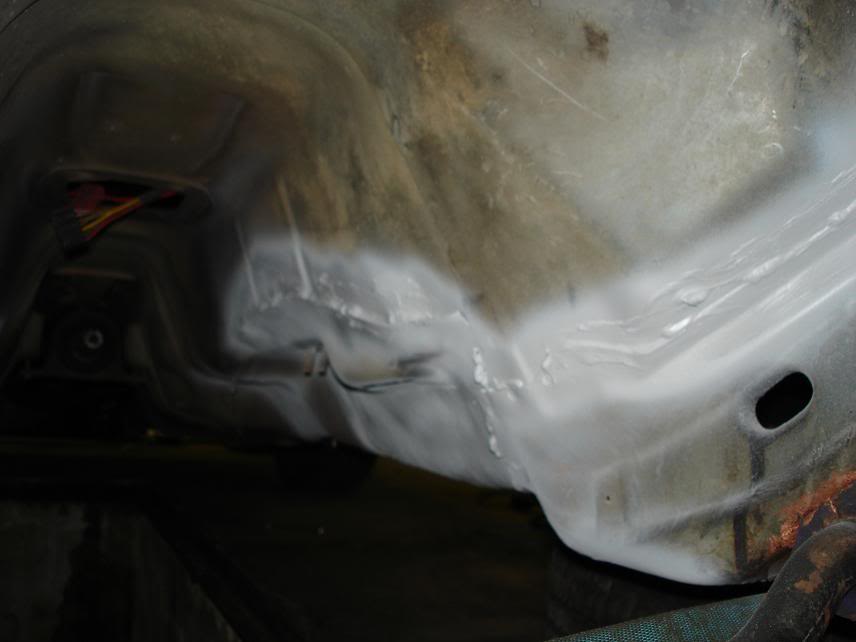
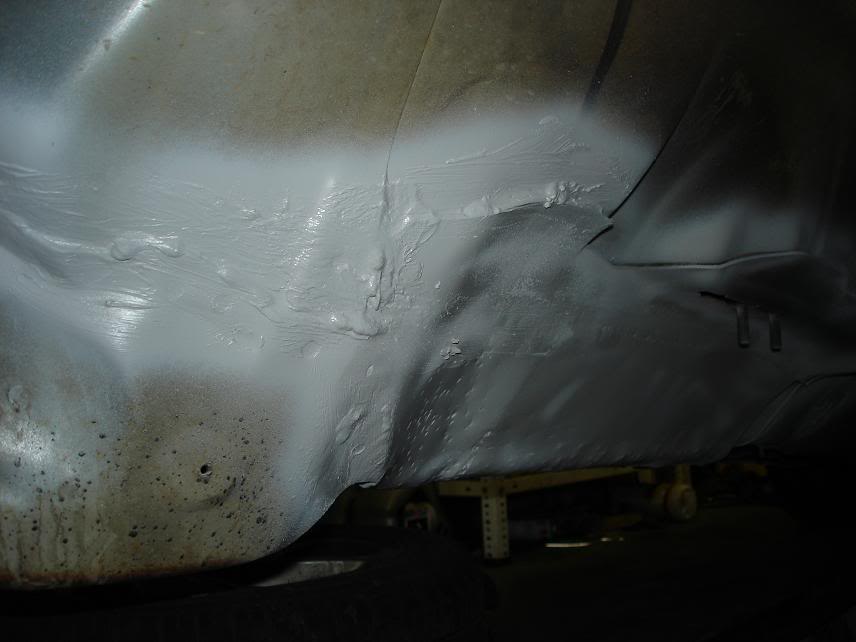
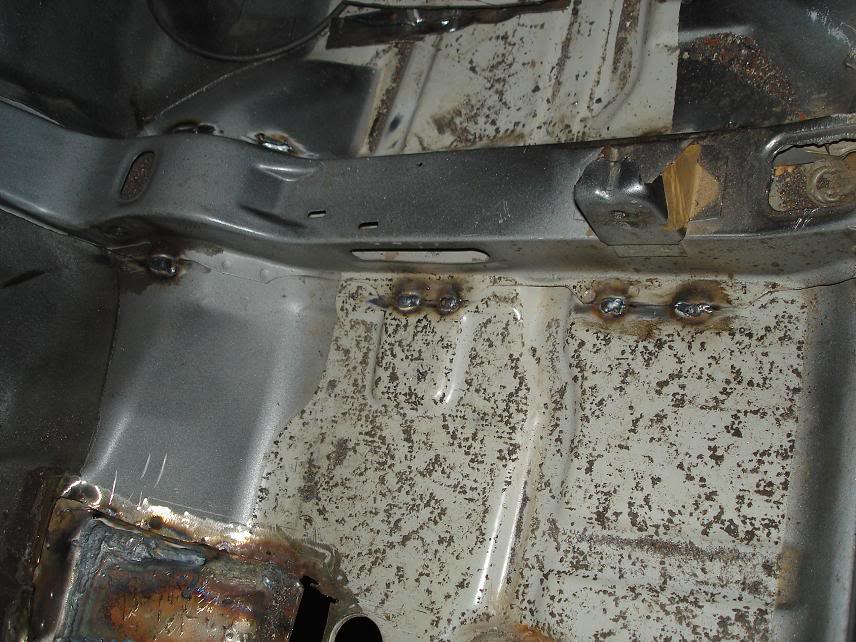
The central tunnel is completely rotten, including the 3mm armor around the gearbox. Seat mountings too, as well as the floor near the rear rust right through.
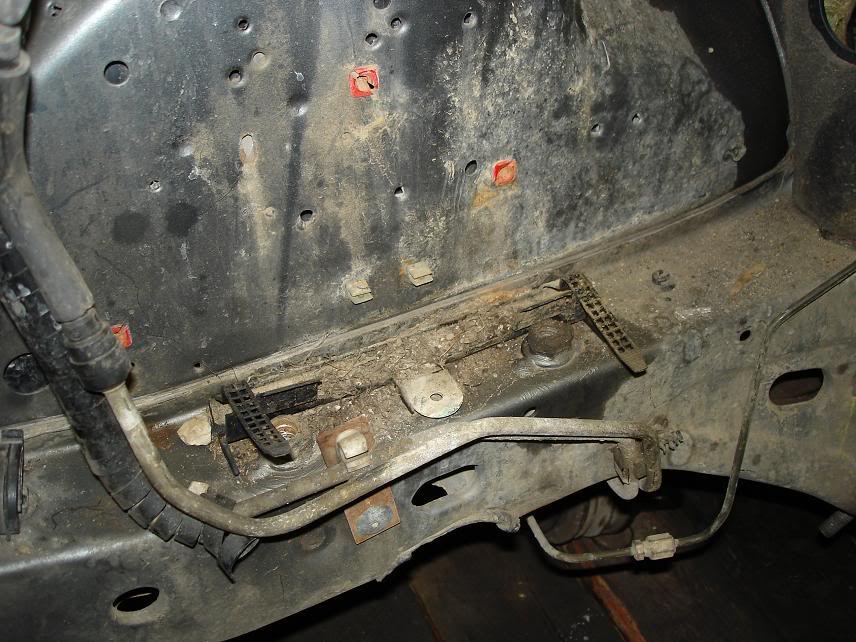
The chassis rails were in good condition except for the main bolts connecting the front swat bar.
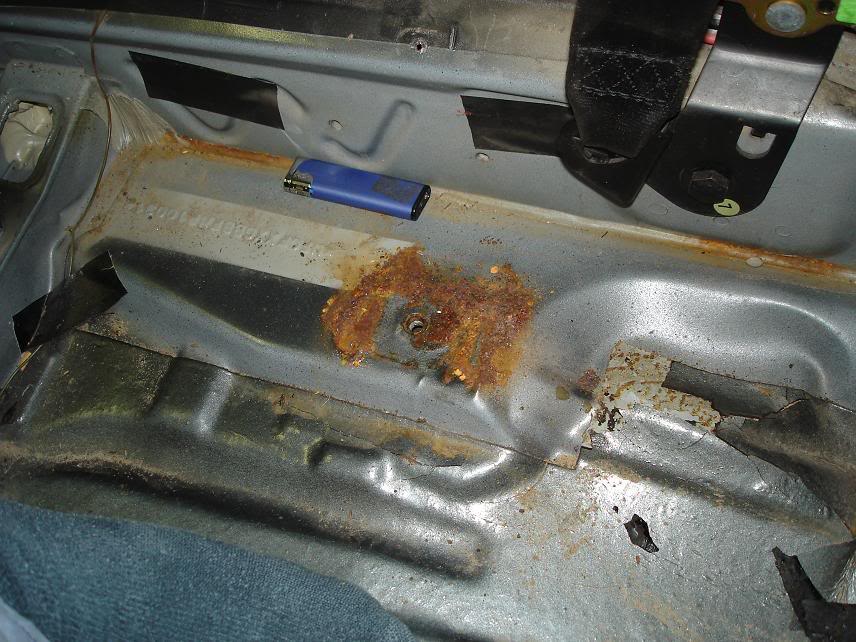
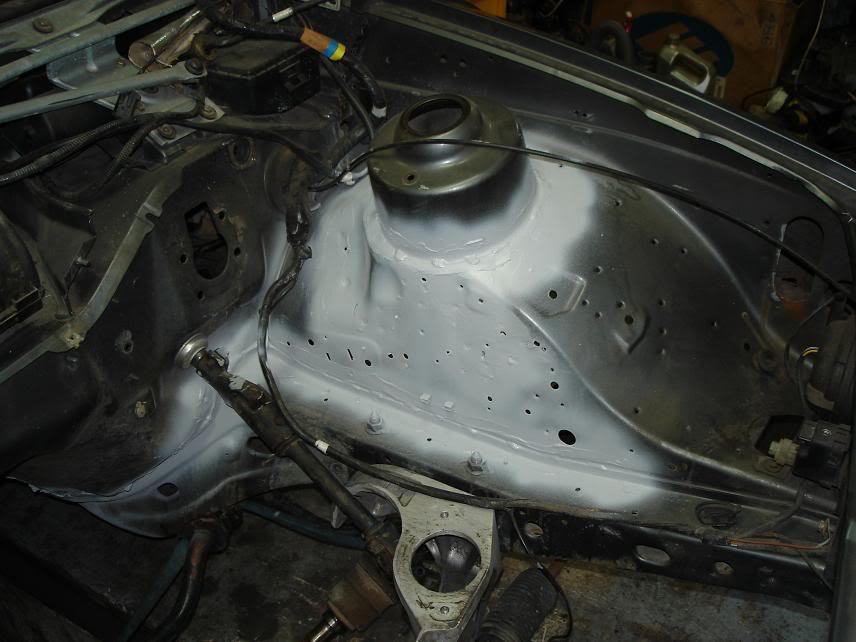
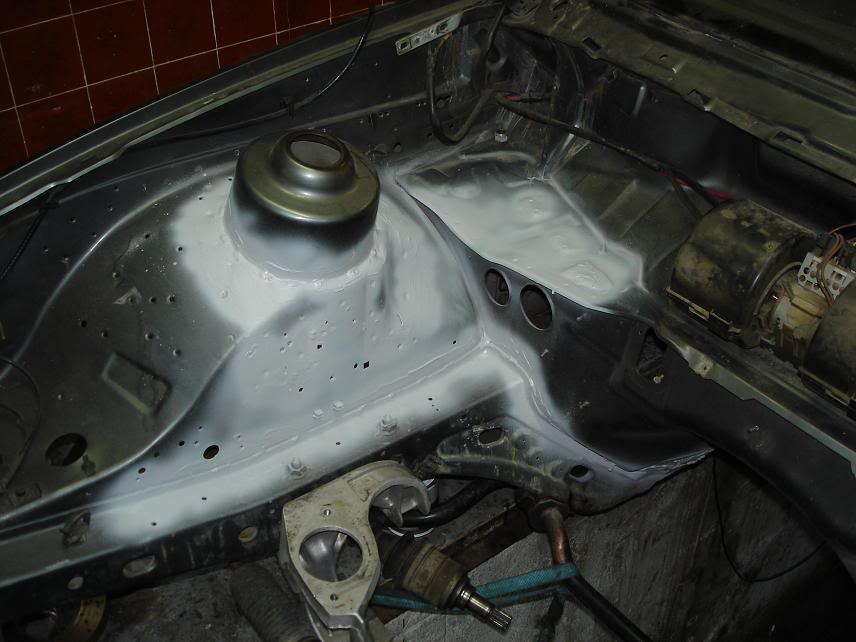
After some cleaning:
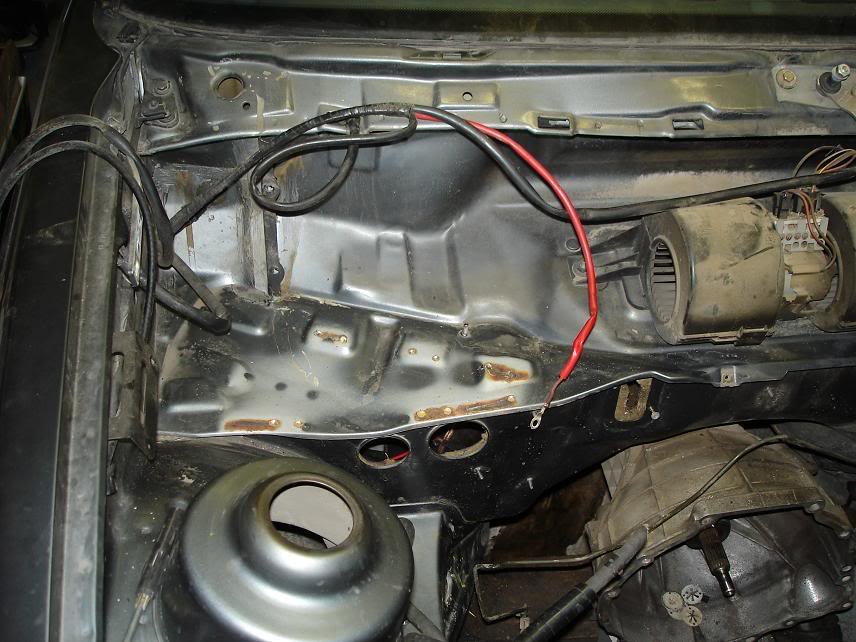
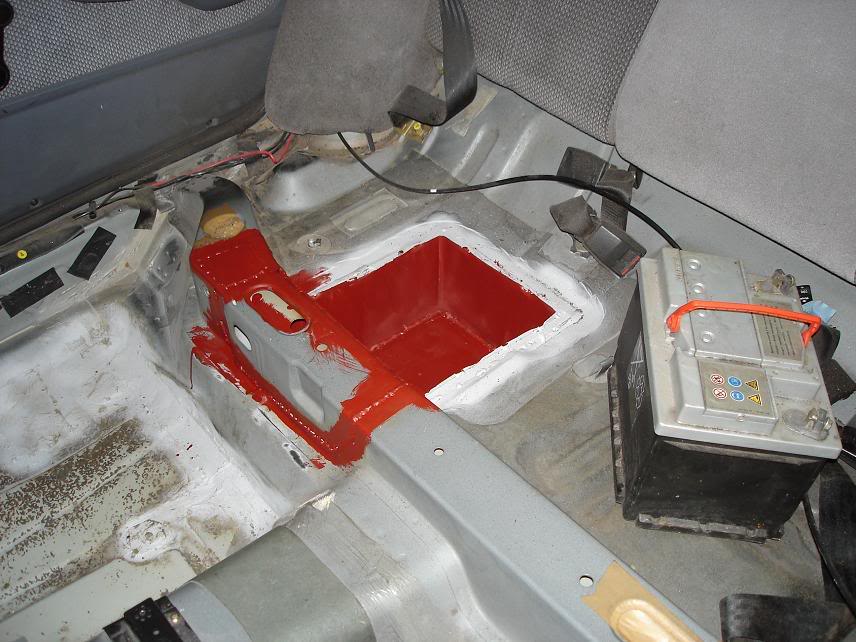
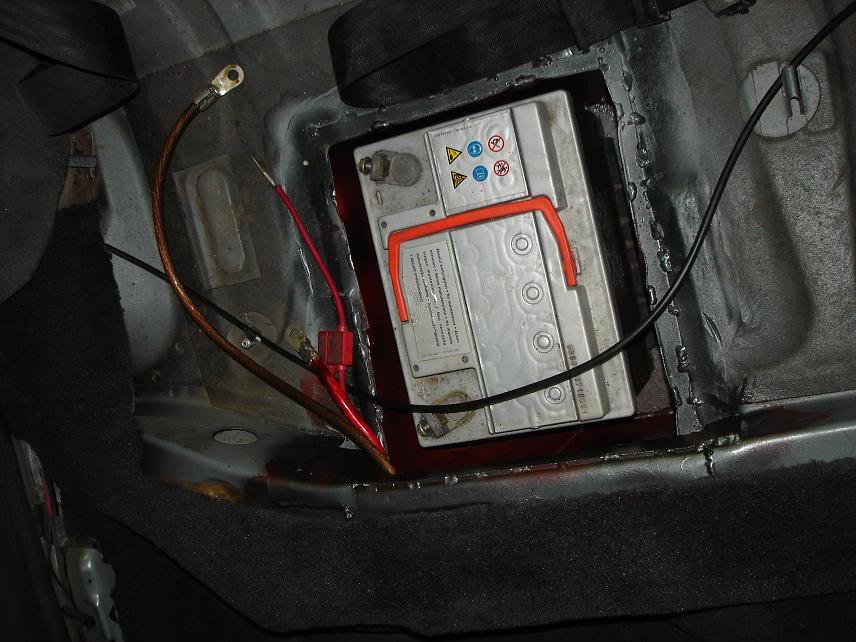
The battery had to go somewhere else, the front end it too heavy for my taste... :/ This car needs to handle well.
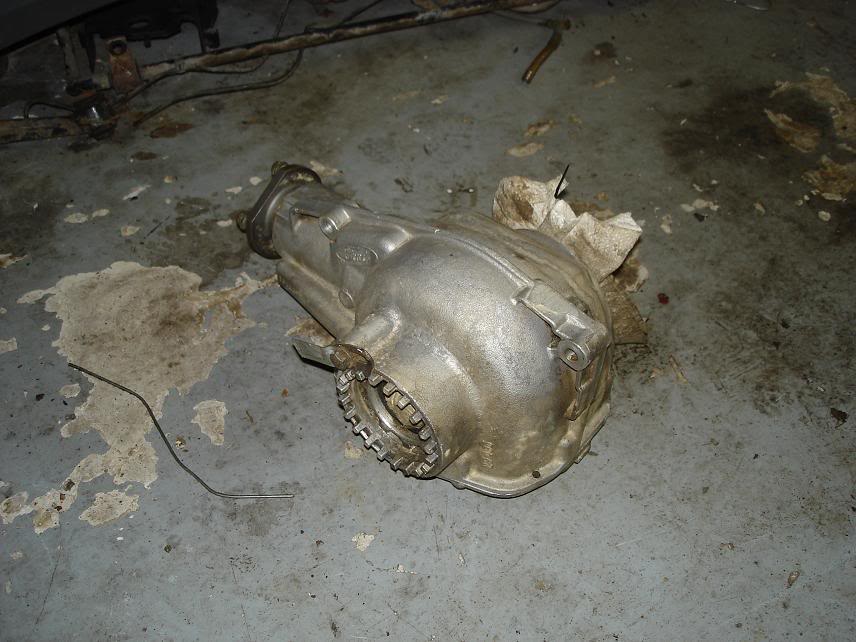
In the mean time i decided to clean a few parts. The front diff. Its a 3.92 type.
Now for some more important stuff:

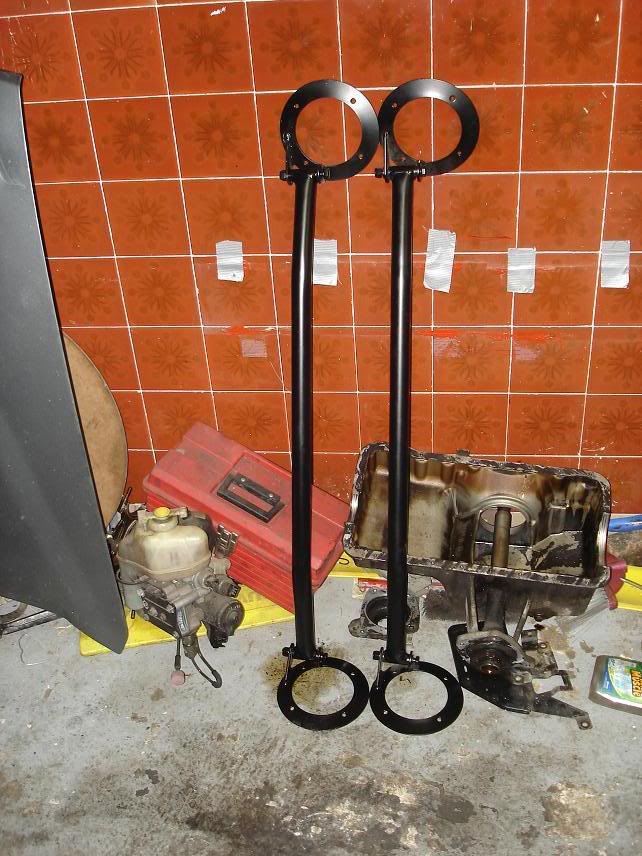
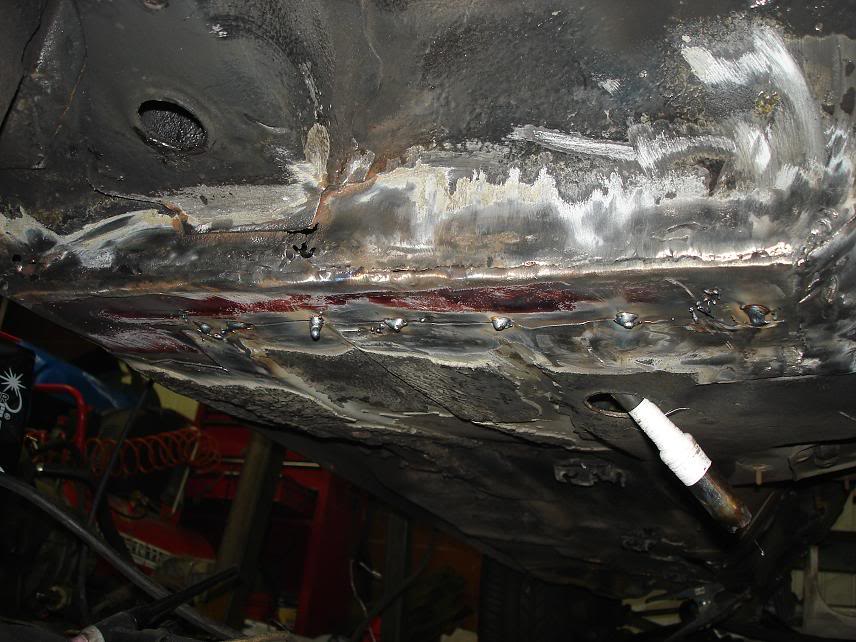
Chassis welding. The front suspension mounts and rails welded.

I think this will help a lot too:

Back to work:
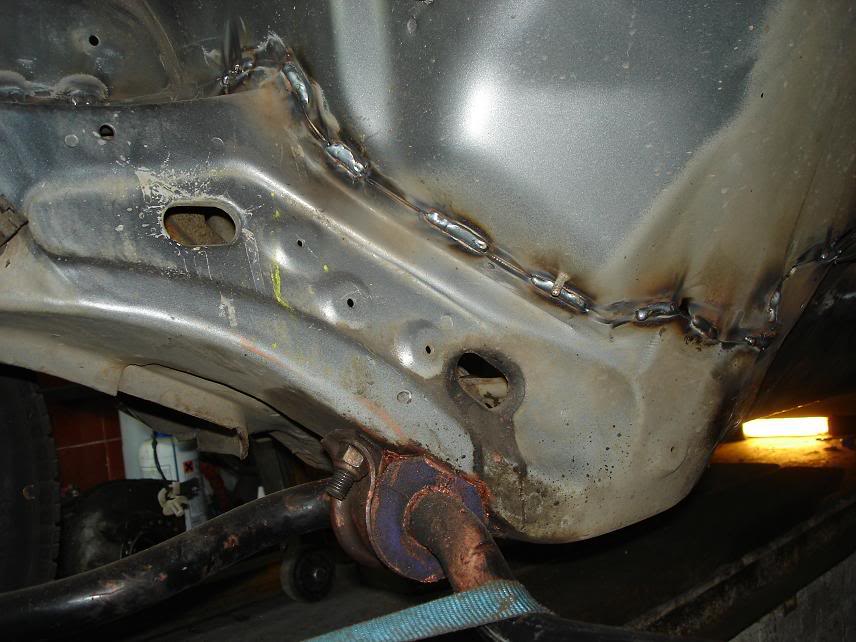
Main chassis rails seam welded. Now it was time for the interior but first...:
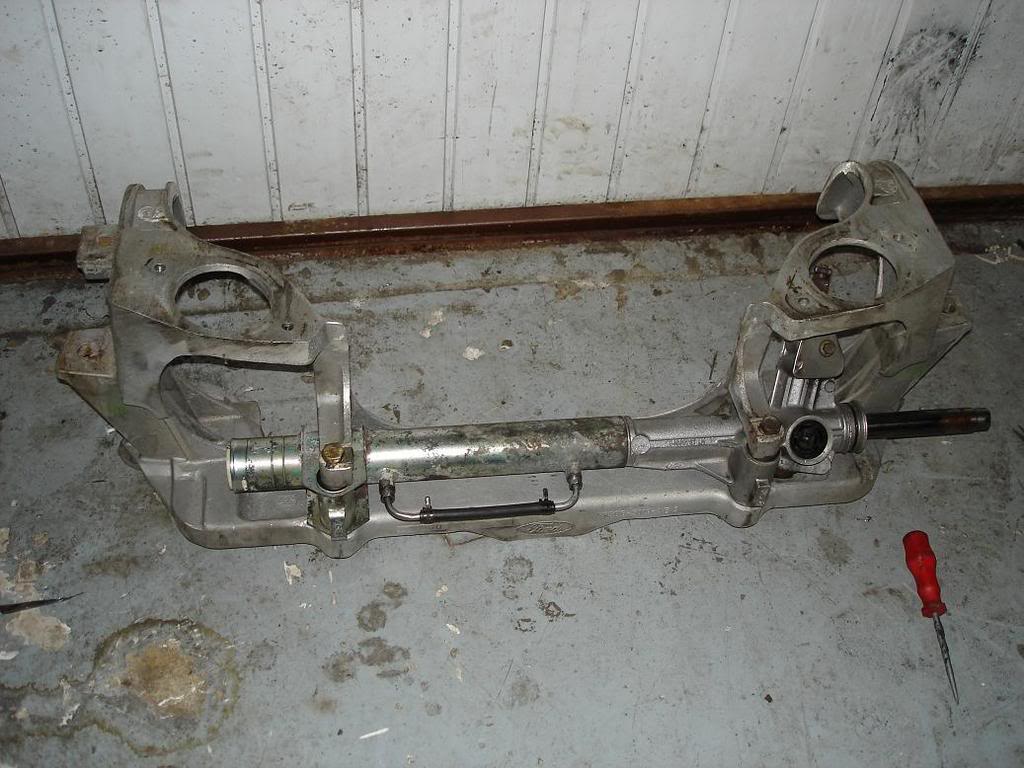
The steering rack modded to a manual. Yes, its hard to steer now while parking.
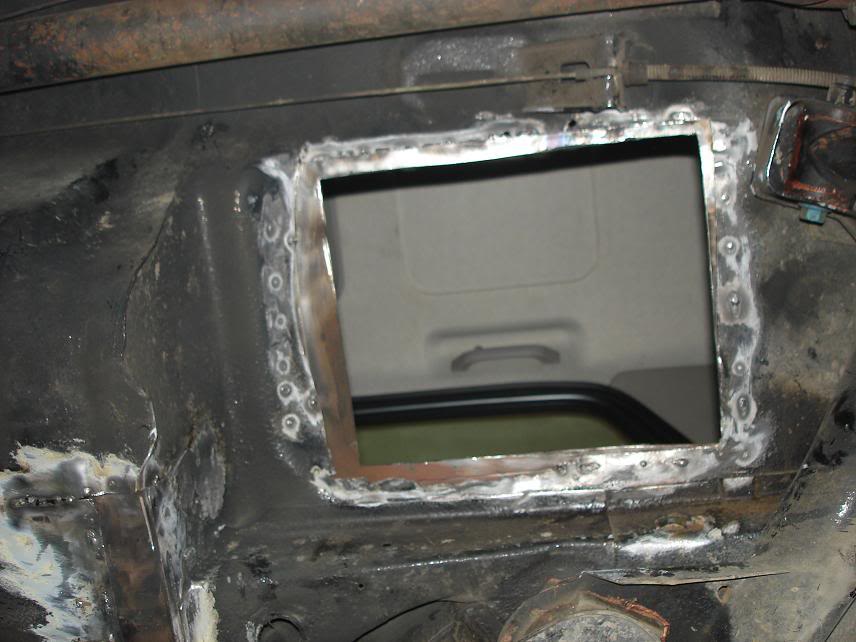
I had to cut a few holes inside:
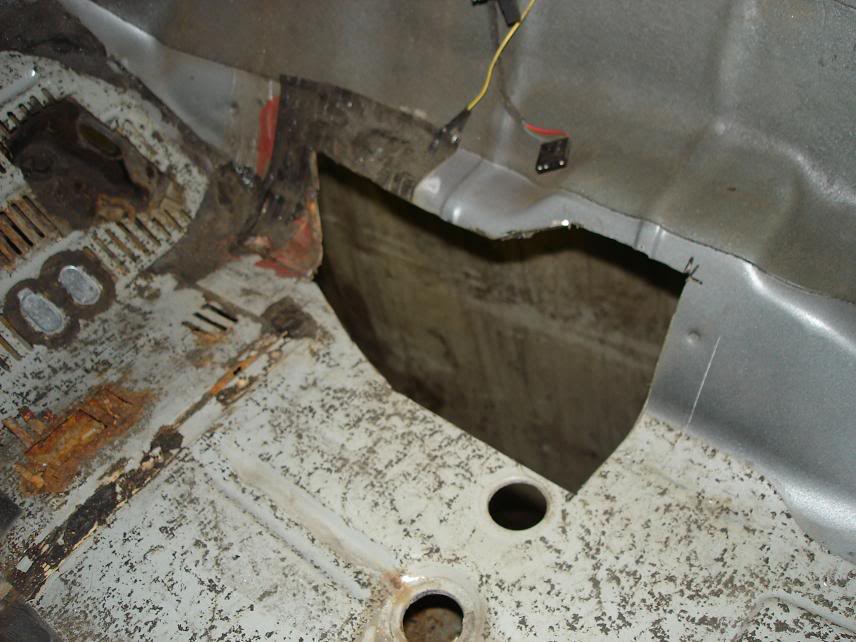
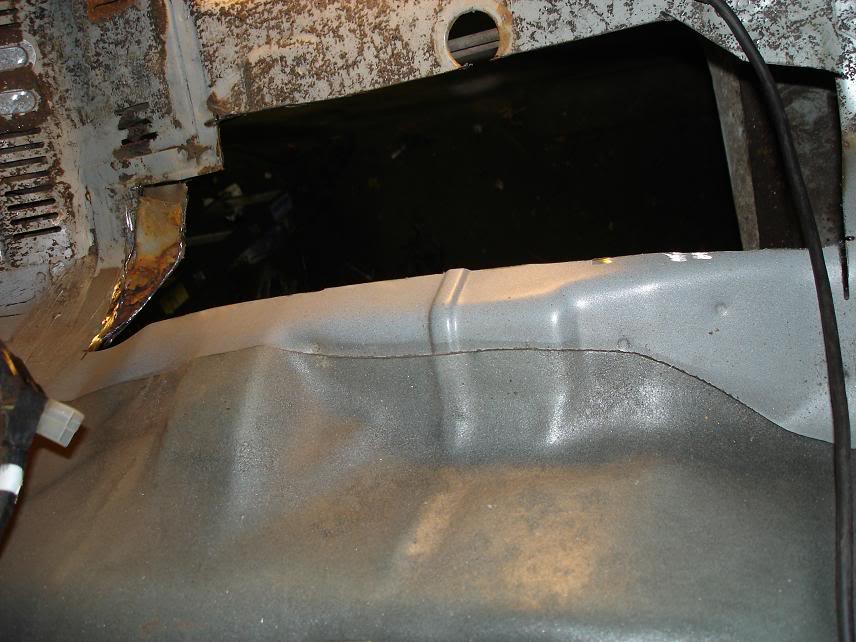
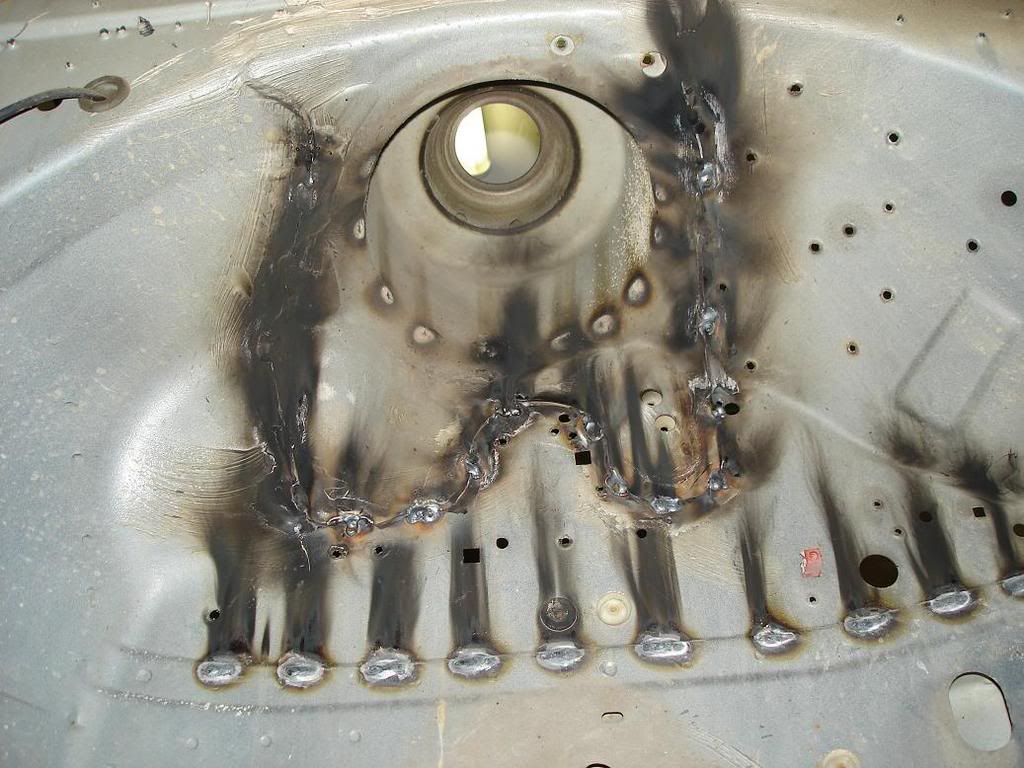
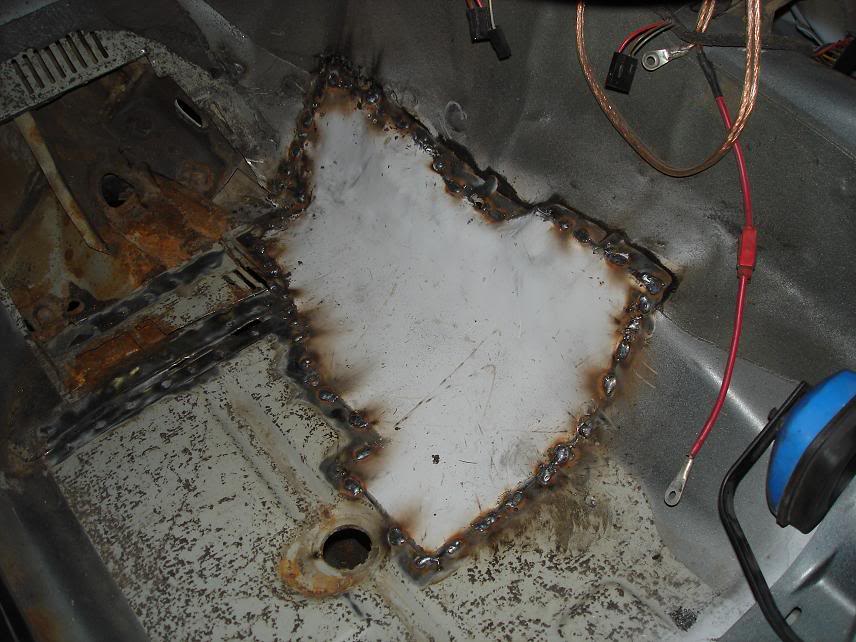
Here you can see how bad it was. Some patching is in order.
Done
That was easy
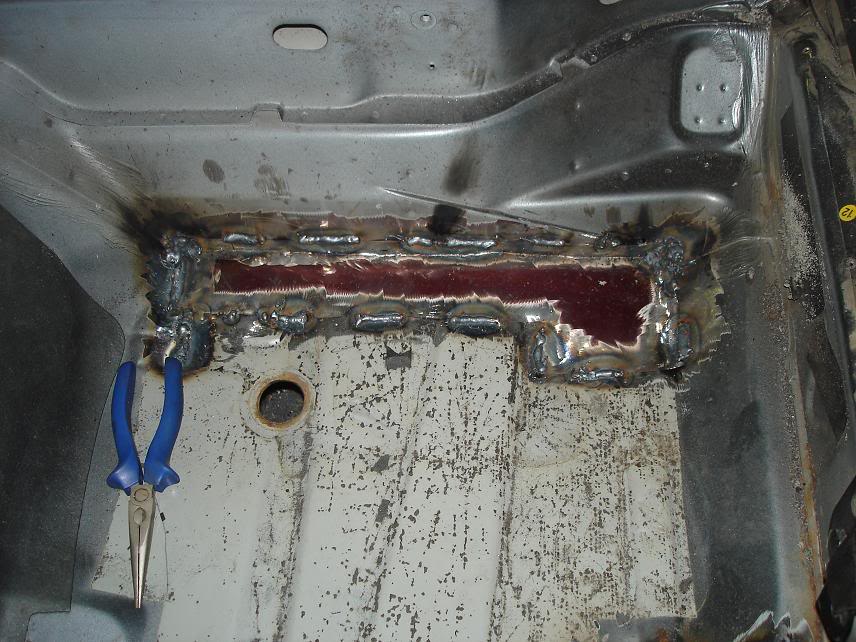
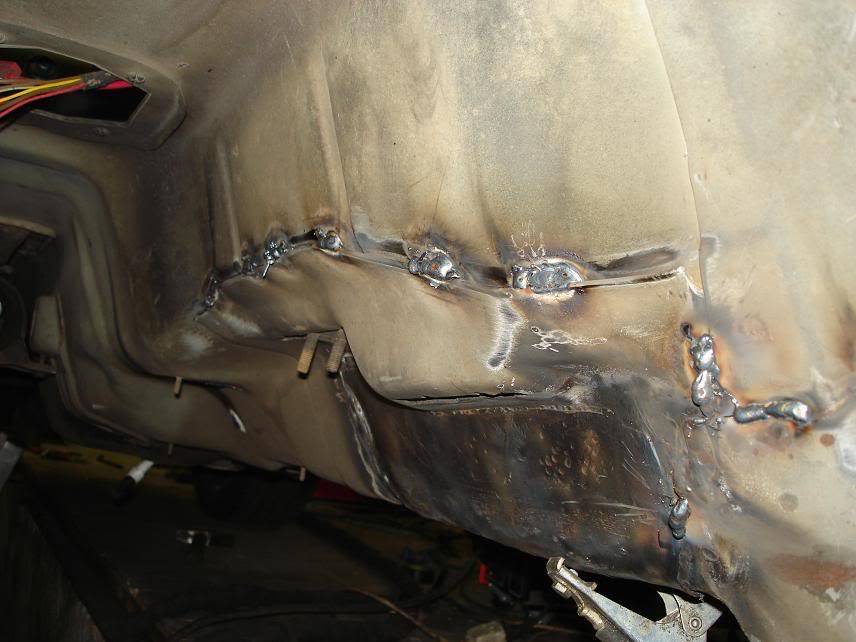
That aint. The 3mm armor plate TIG welded with the remains of the original one.
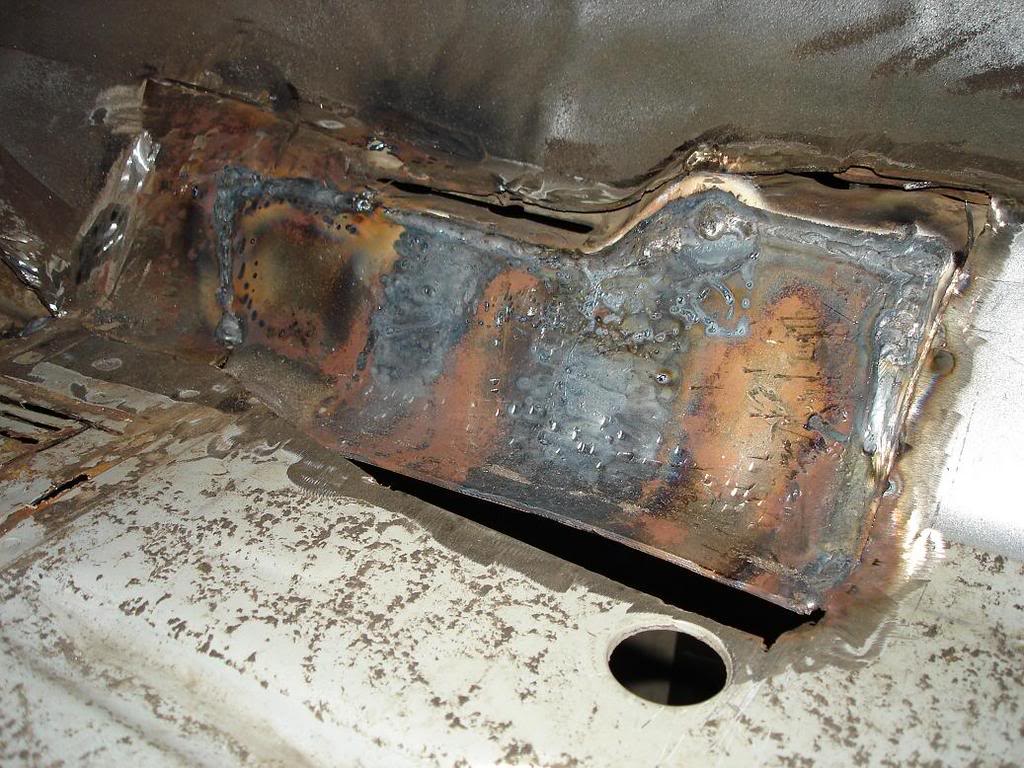
Shaping the thing was a horror.
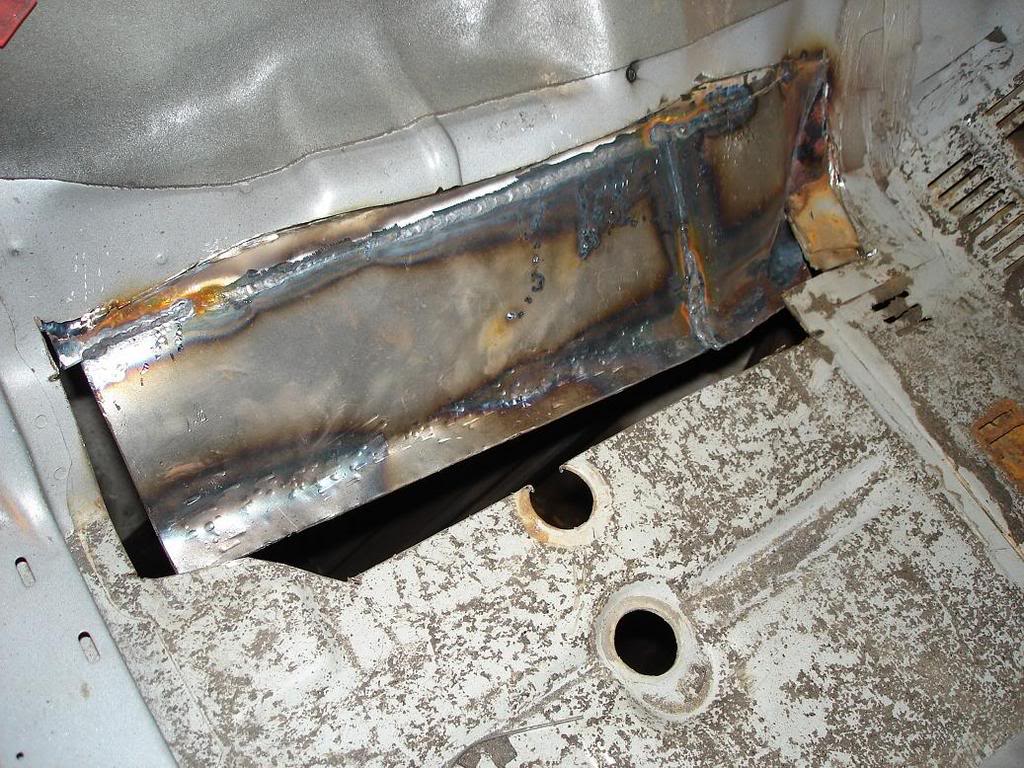
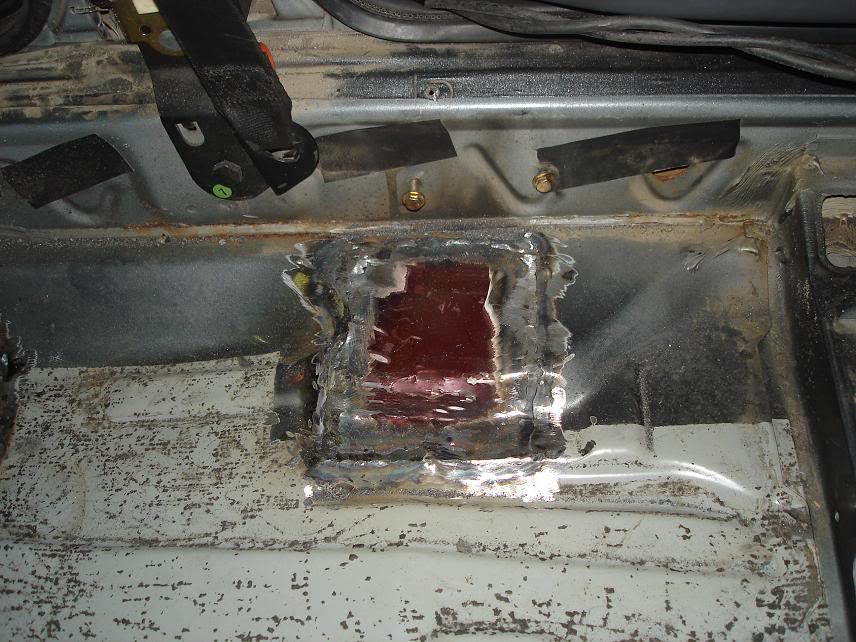
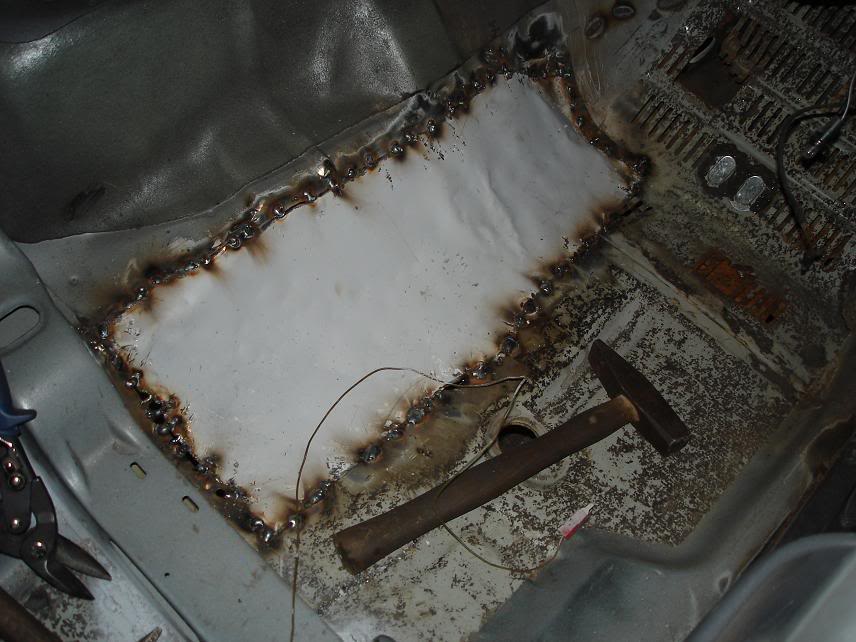
The other side. This was even harder, i had to use 2 patches.

This is how it looked on the other side.
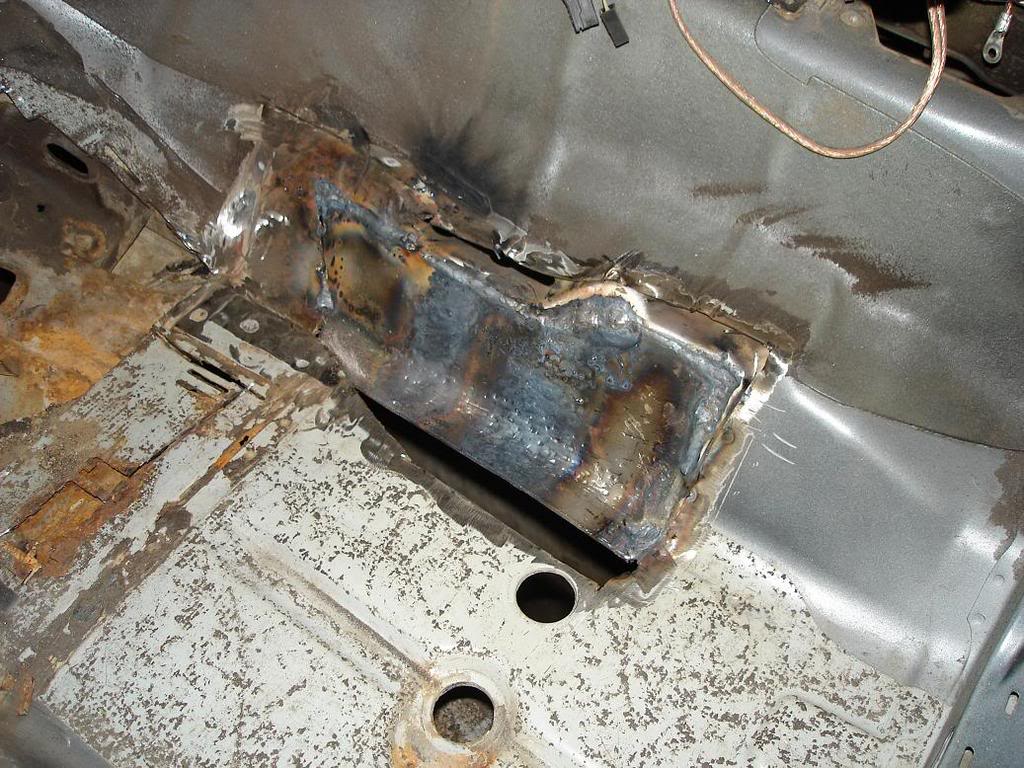
Now thats a mess.
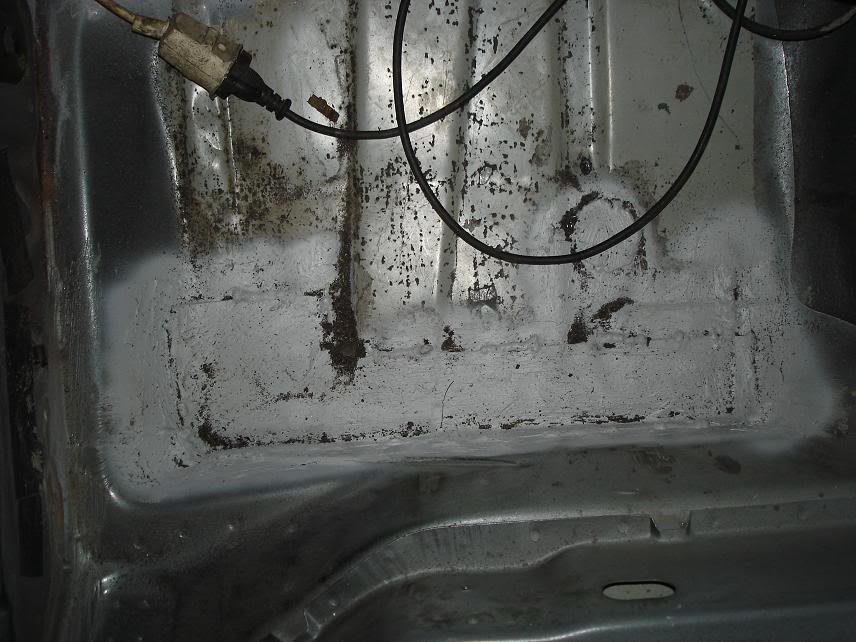
Both sides of the tunnel fixed and seam welded. Time to try some painting.
Will receive some color later. Now its time to patch up the interior.
Ouch.
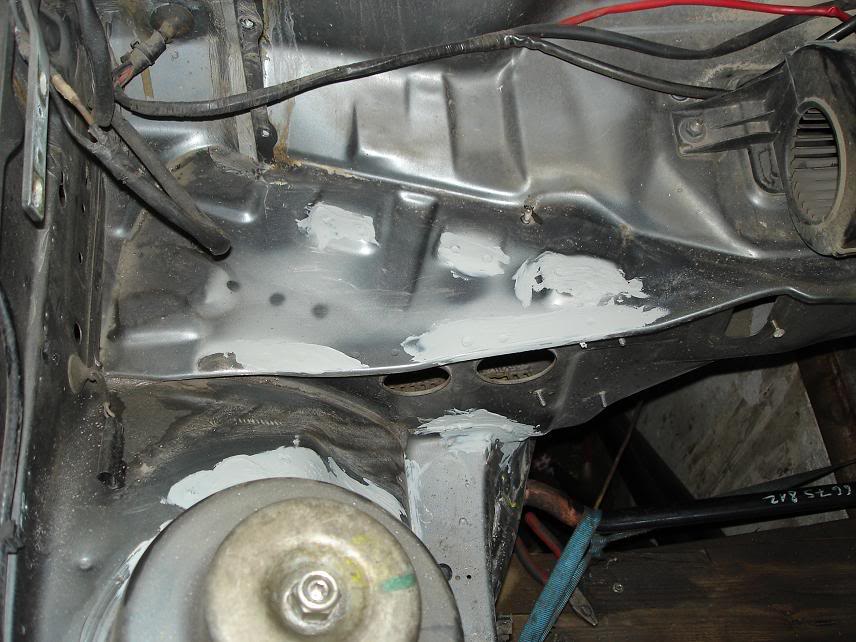
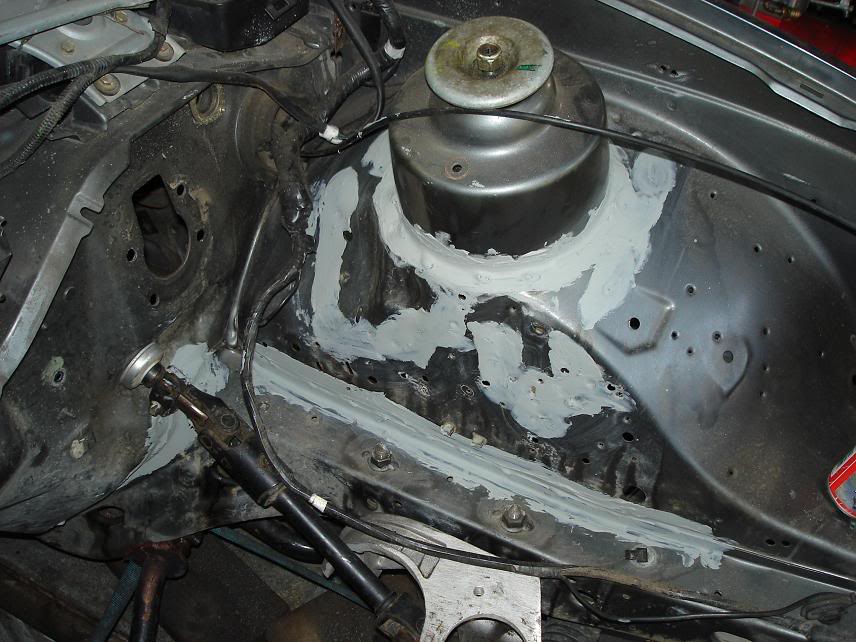
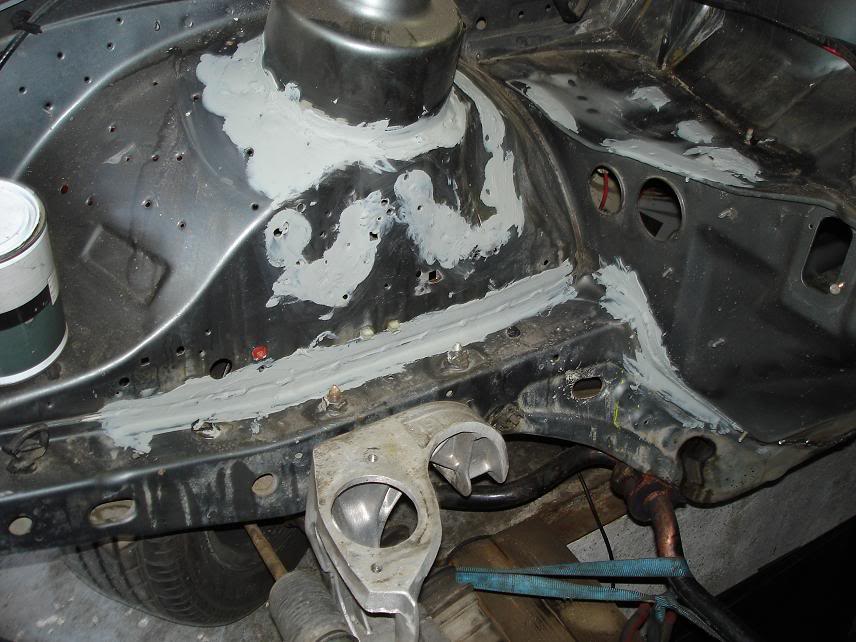
And a picture of my best friend and tool, the russian high precision surface analyzer and molder.
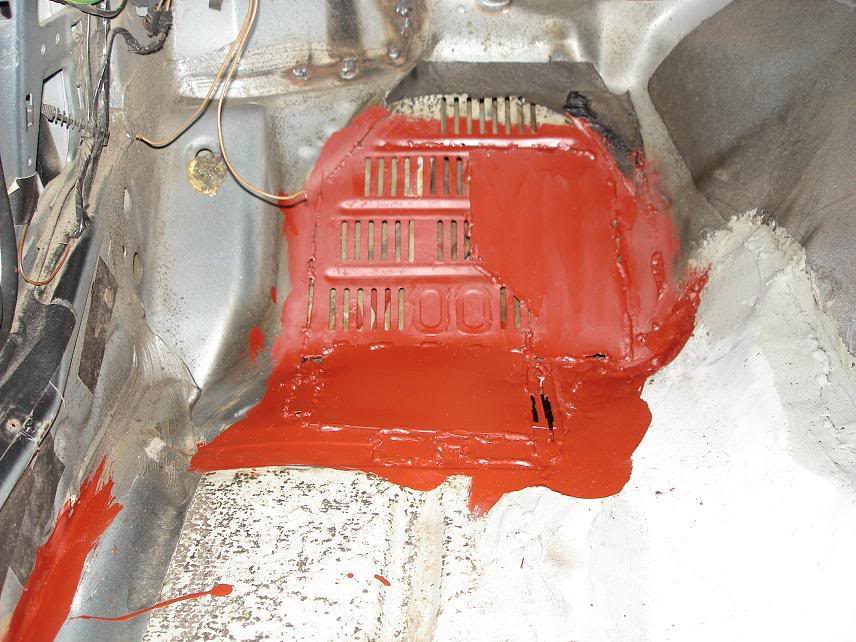
Tada. I wish life was so easy as it seems on these pics. Now, its time to find a new home for the battery.
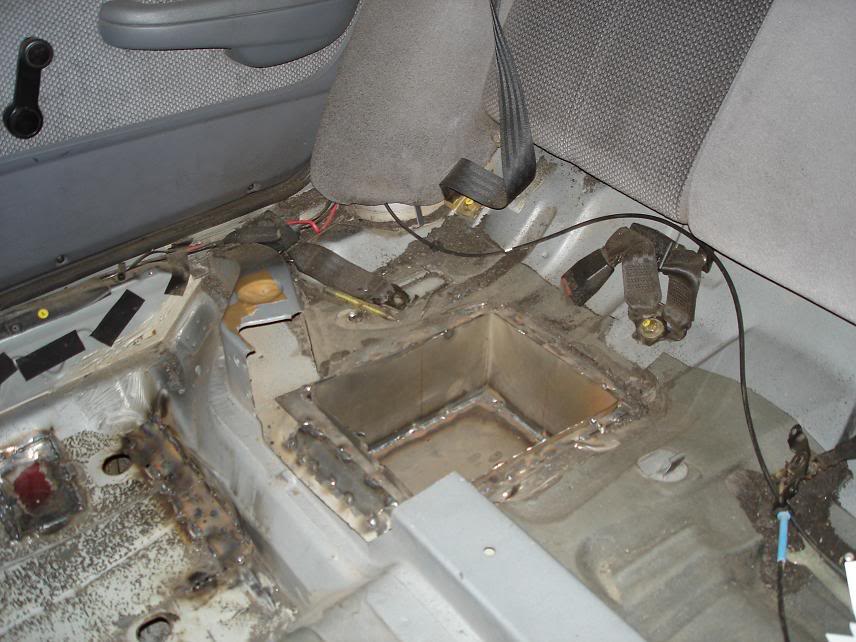
A hole
Right side, under the rear seat.
Looks comfortable
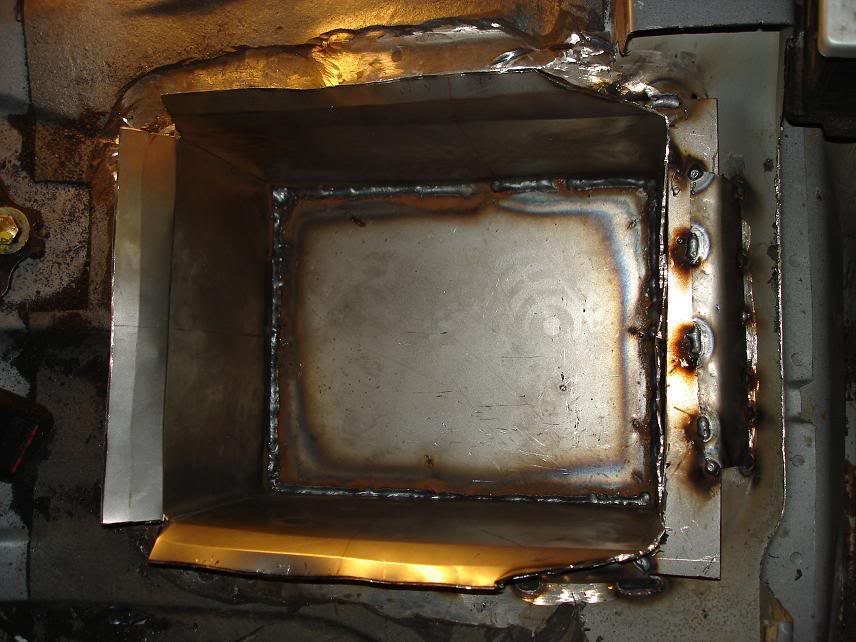

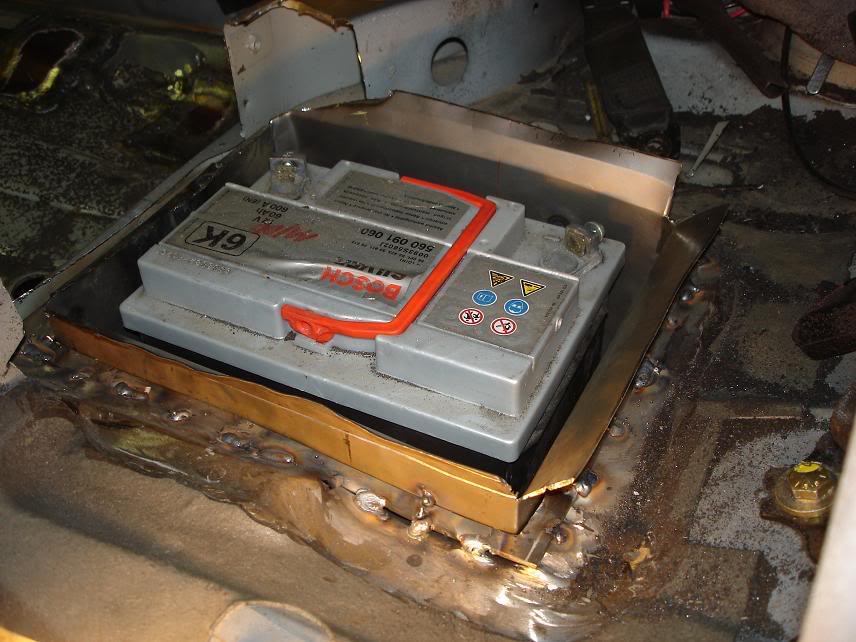
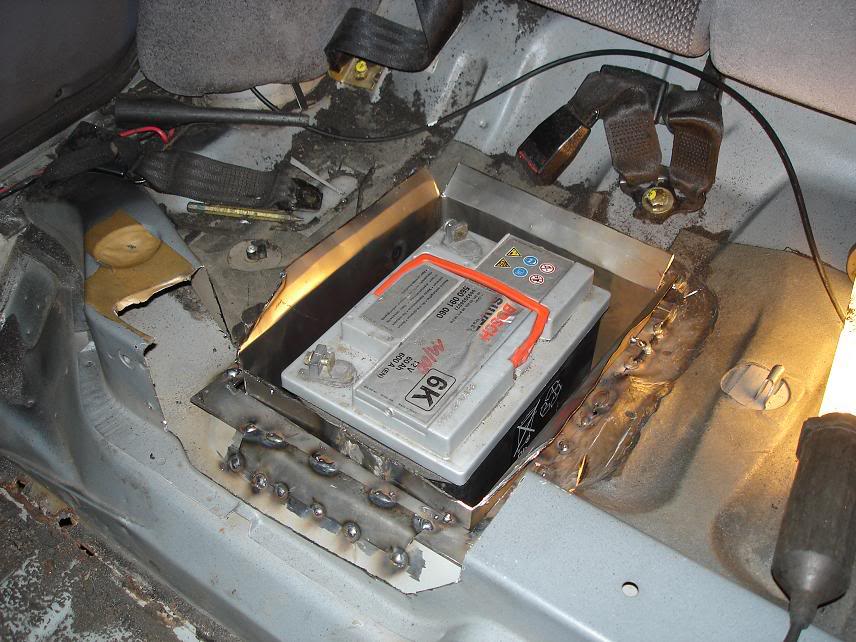
The baseplate is 3mm thick, the walls are 1mm thick steel, the reinforcement where the box joins the floorpan is 3mm. Everything mig welded.
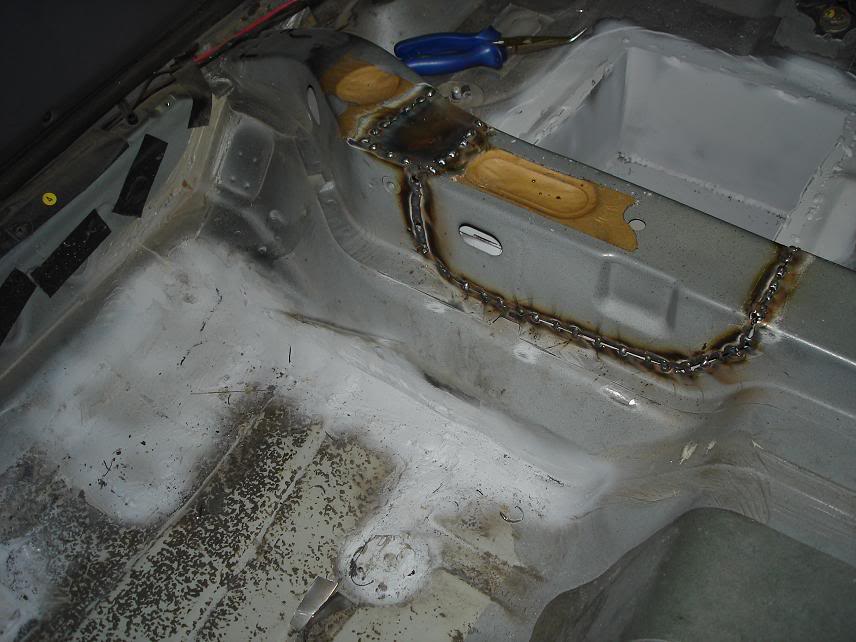
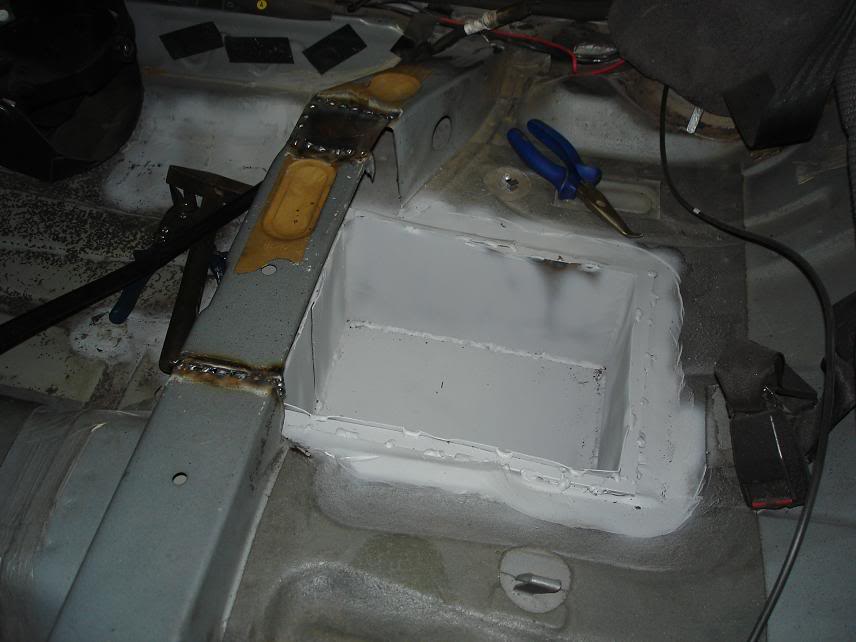
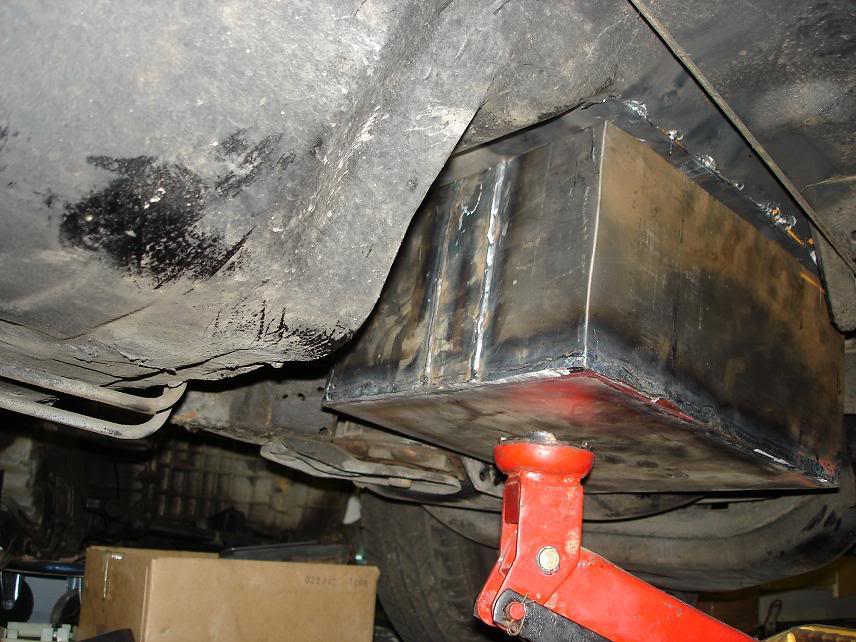
Almost done...
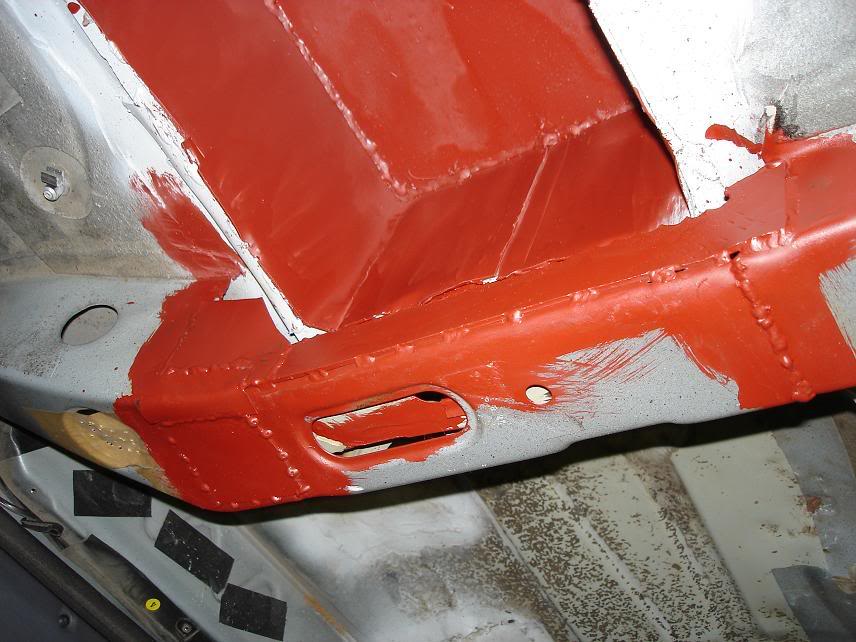
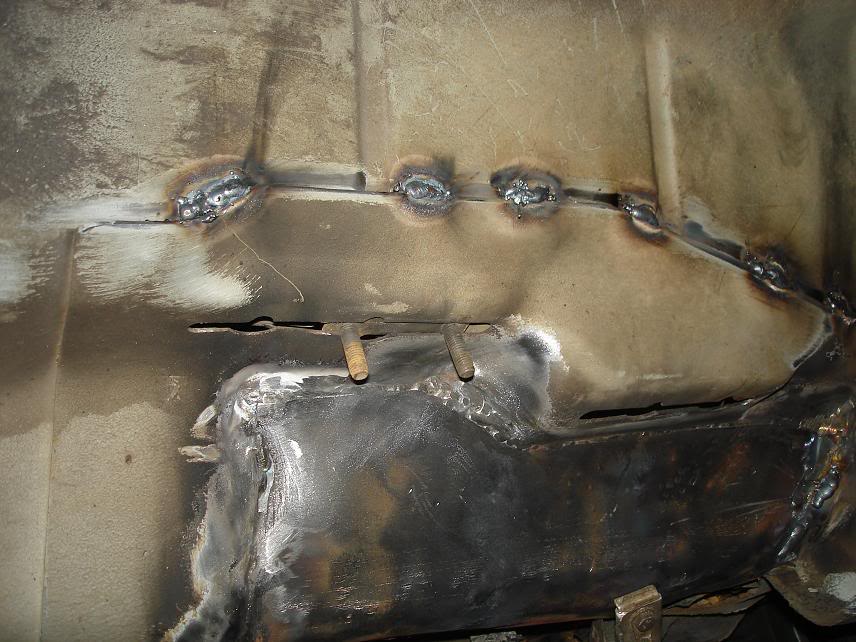
The rail is reinforced with 3mm steel, TIG and MIG welded. Time for the finishing touch on the inside:
The chassis rails seam welded. Yes i know the pictures are not chronological.
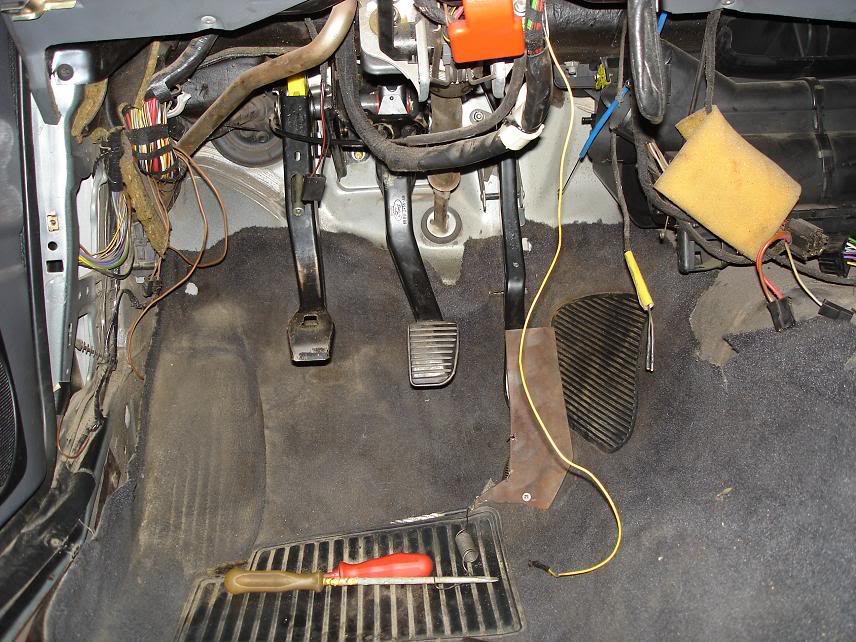
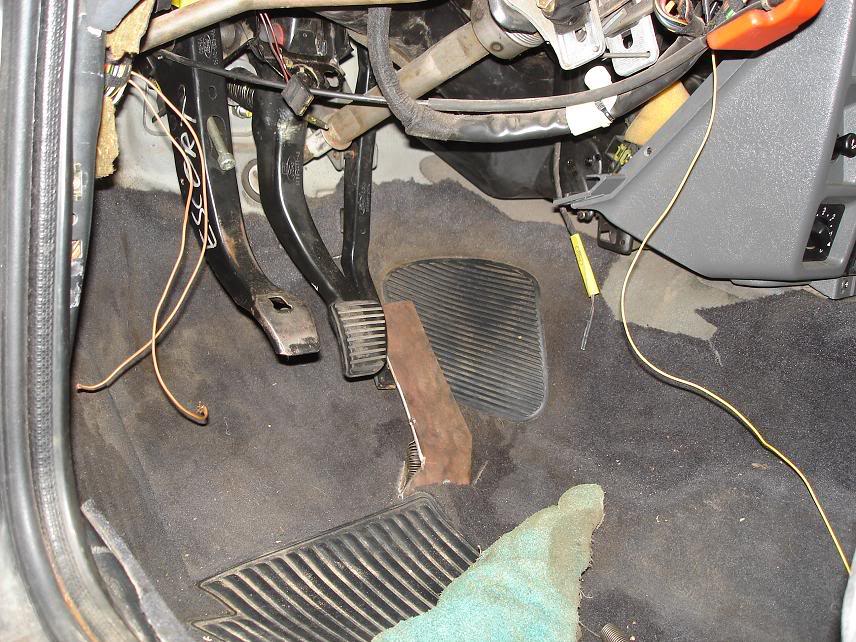
A new throttle pedal is made so i can heel and toe easylly. The throttle linkage needs to be connected. To be continued in a while. Chapter 2 - engine build and installation. The car is still under construction.
Tomas "berkut"