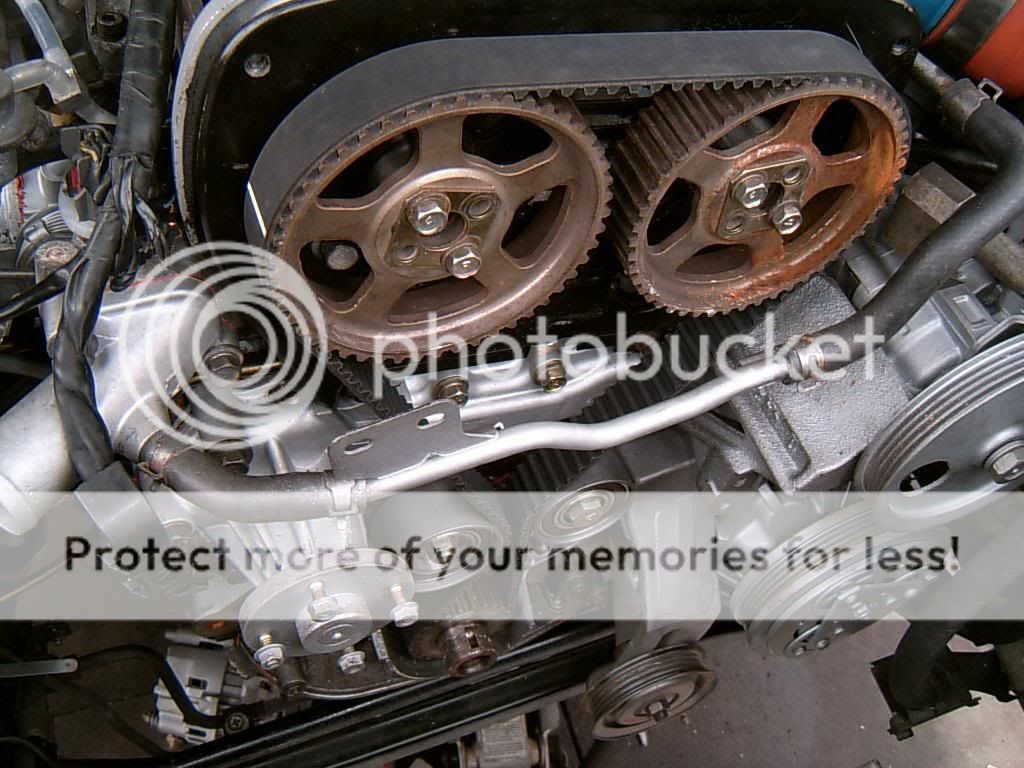
with the engine now fitted we can address the valve clearance
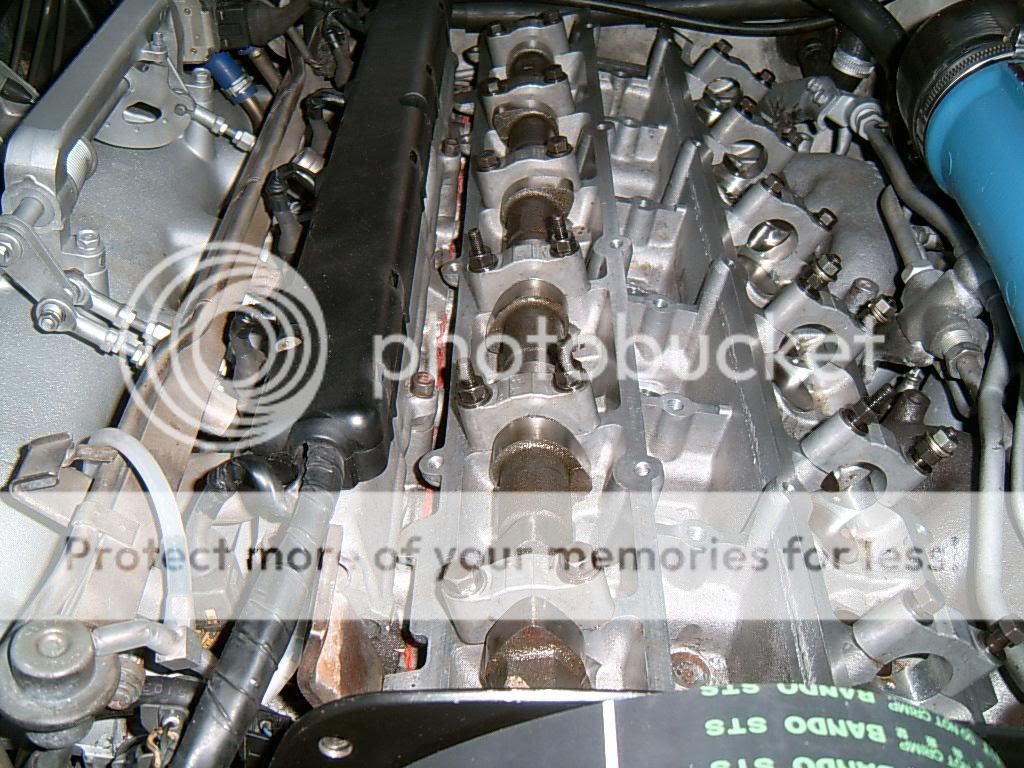
the cam cap bolts were stuck inside the cam caps, needed hours of penetrating fluid to release them....be really careful here, you dont want to snap one inside the cap...if you do it may requitre drilling out and if you dont do it just right it will kill the cap and you will be paying £1200 for a replacement head!, caps are not interchangeable! (or so i am led to believe, never tried it TBH)
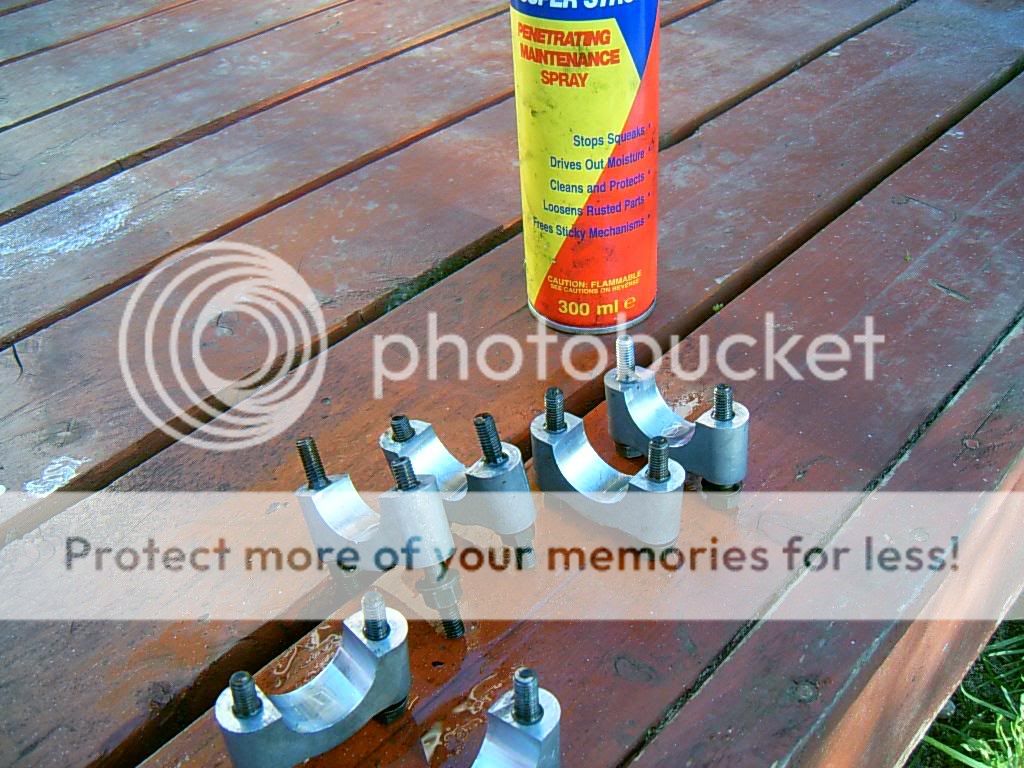
youi can see here that the valve closest to the camera has a shim and a bucket installed, you may see on valve no2 that only yhr shim is installed, note that the shim is the wrong way around so that the impact/pecussion mark from the valve is pointing up rather than down towarsds the valve, this will help bring it to the standard clearance
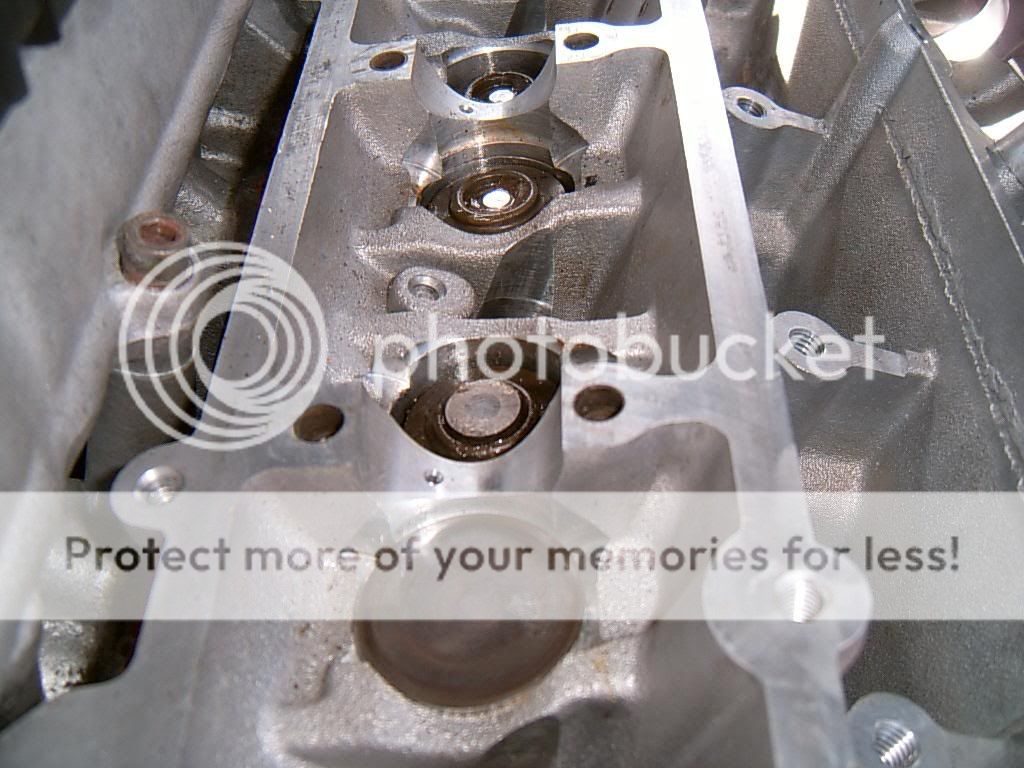
inlet cam placed into position
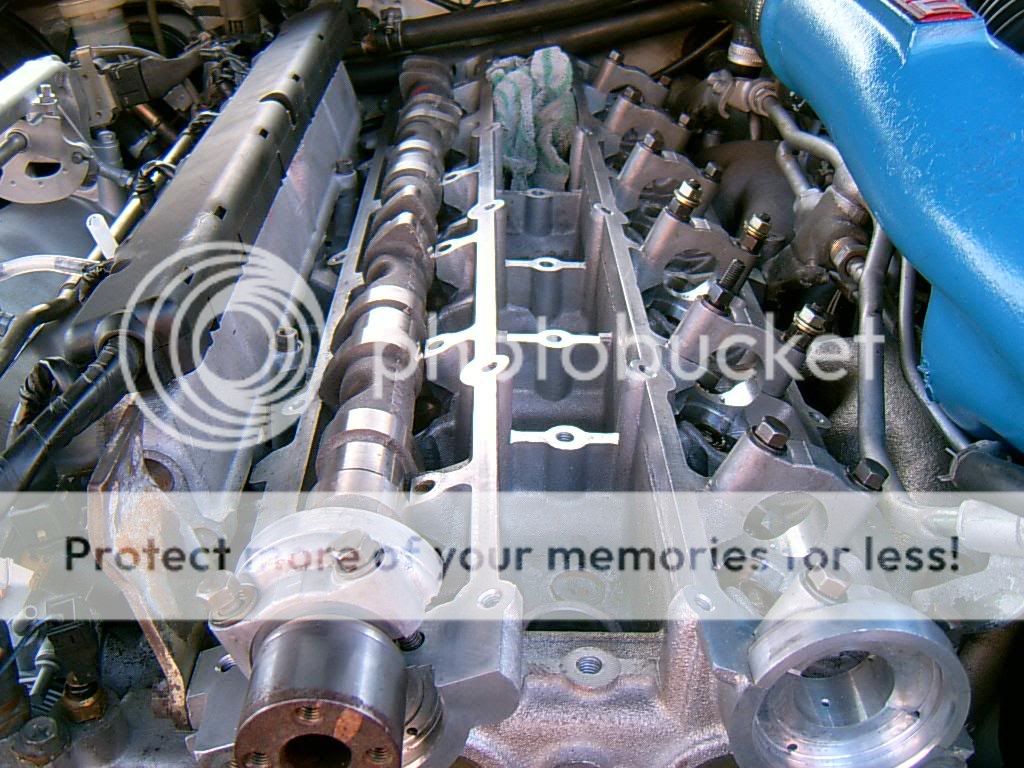
here you see the cam in its natural enviroment, clamped down to the head
its really easy to bend a cam doing this...make sure that you take it down equally
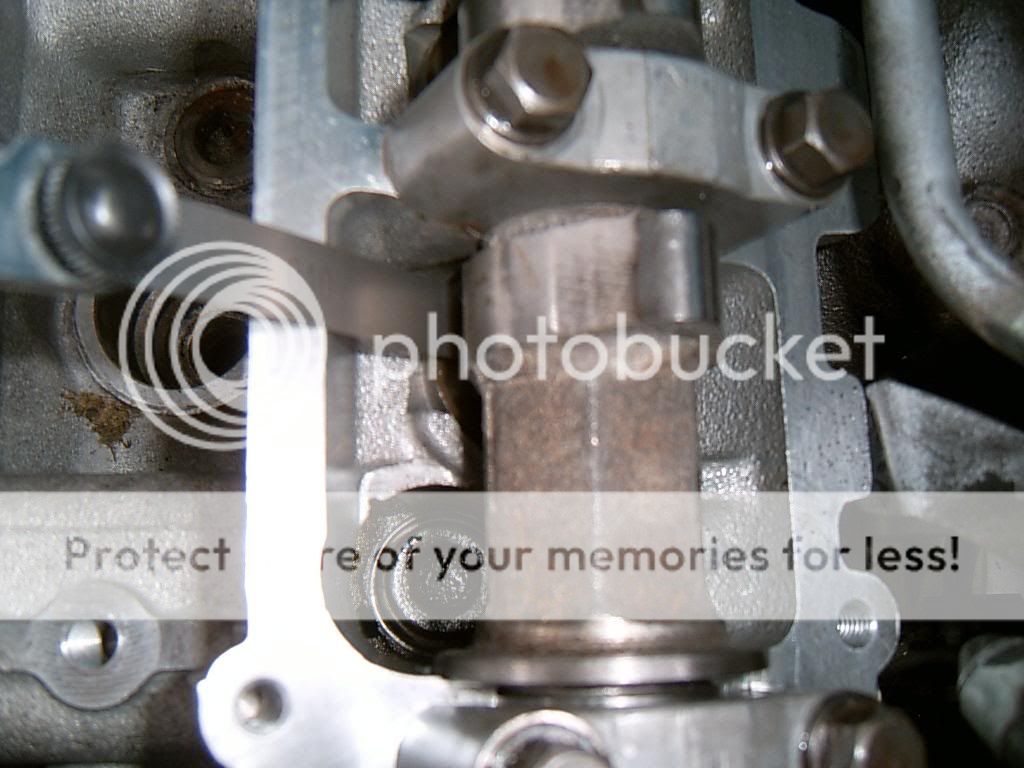
with the cam clamped down we can check clearance between the bucket and the cam, rotate the cam so the valve is closed (with the lobe pointing up) and insert a feeler guage under the cam, clearance is 1-18 thou, mine came up at 10 thou acroos the board on the inlet side.....some people will always want to go to the high end of the clearance "so they know the valve is fully closed" but this will do for me, middle of the clearance is fine IMHO
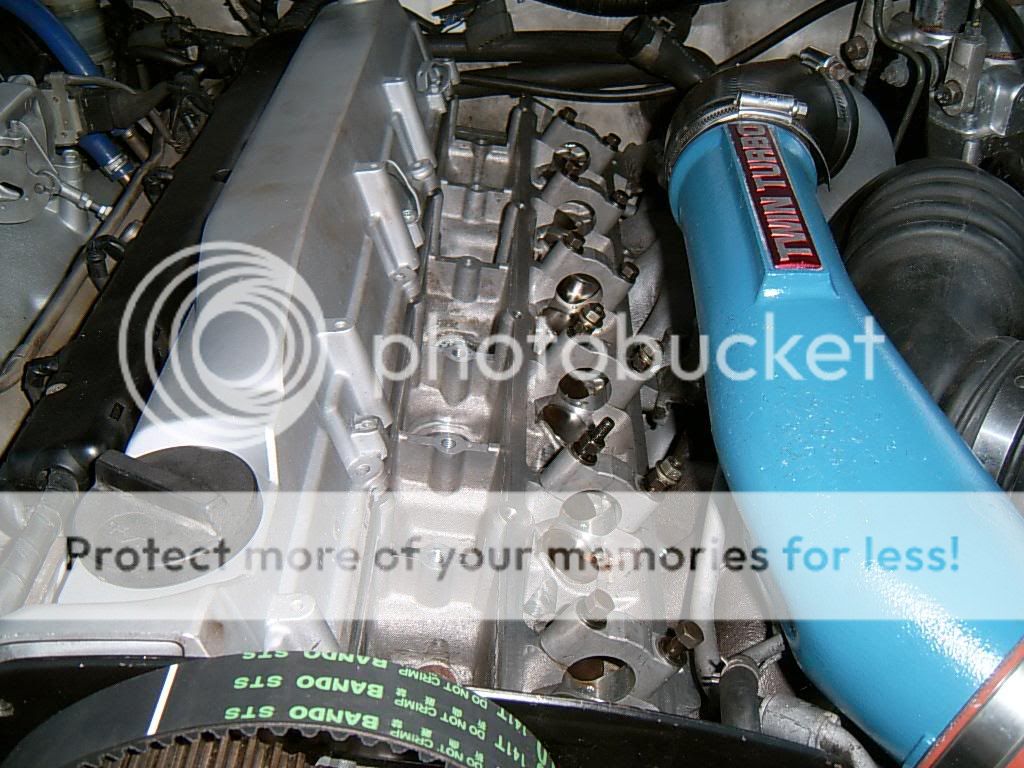
rocker cover fitted
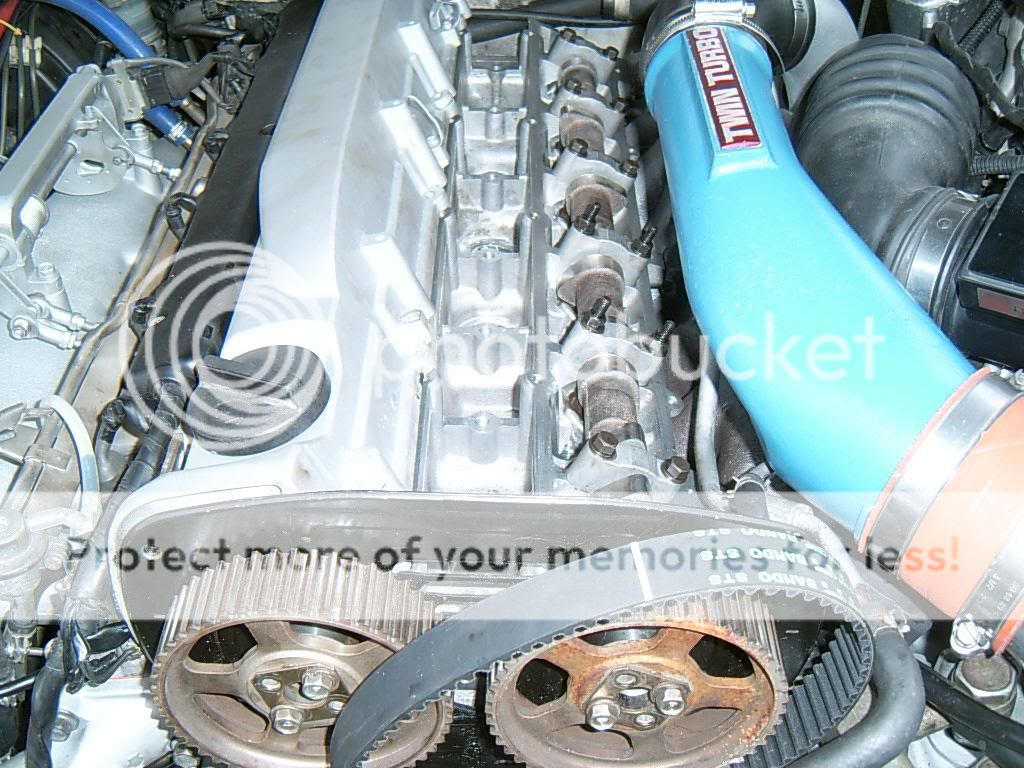
exhaust cam fitted, clearance on this side is 1-16thou for the valve
ready to do the timing now!, we are almost there!!
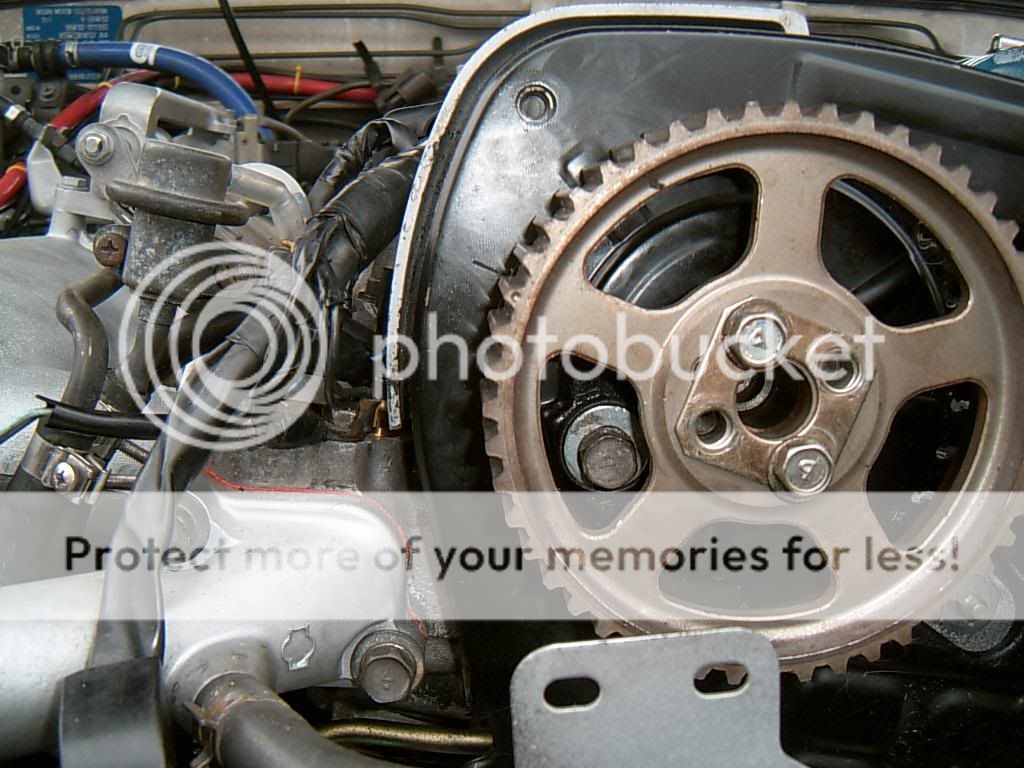
this pic just points out the stock inlet cam timing mark
the white line on the belt is positioned next to the crank timing mark

all marks lined up now, belt fitted and adjusted for tension with the adjuster, rotate the engine twice and line the marks back up to assure timing is correct......i had to redo the timing on my first go at this so make sure you rotate twice and check!!