so the last time we saw the head it was clean and measured, the next stage is to "cut" the valves in and replace the seals
if you have not done this before you will need these
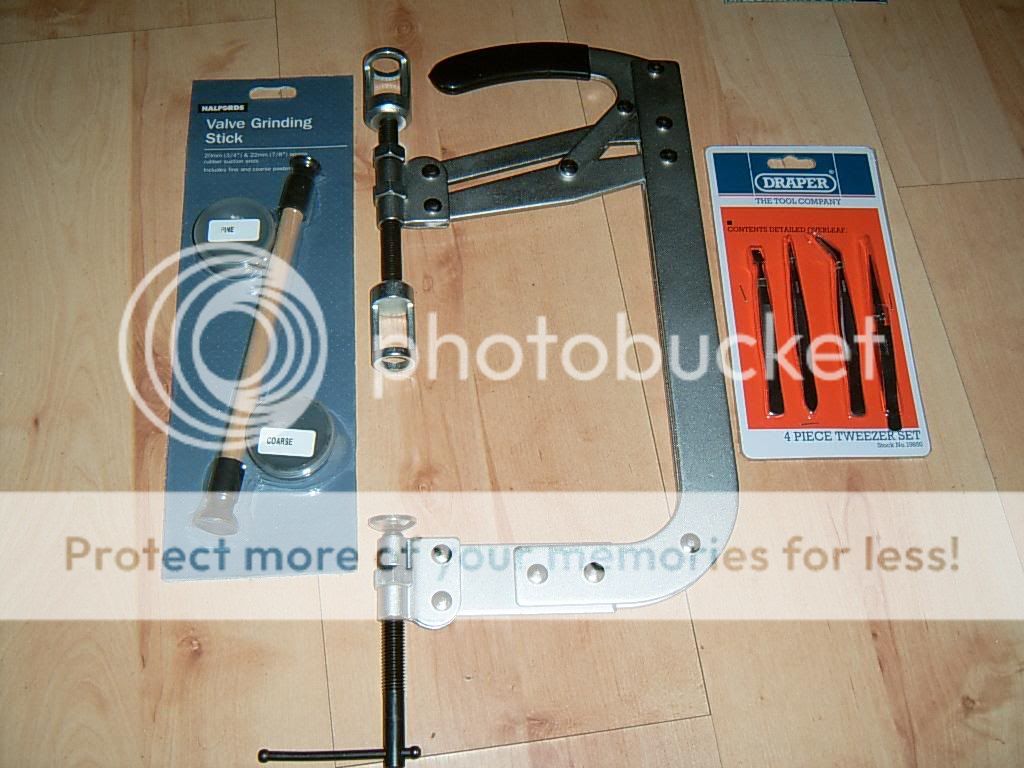
the idea is to clamp the valve spring down and remove the "collets" from the top of the valve
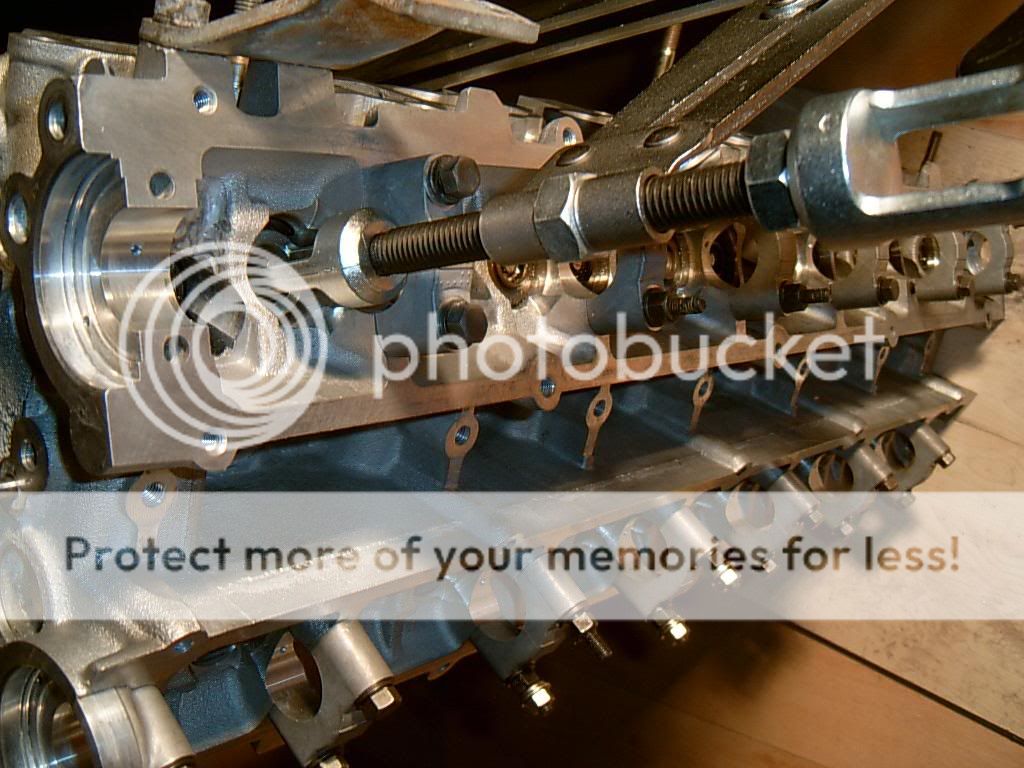

with the collets removed the spring and cap will come out as the valve tool is released and the valve can be pulled out with the plunger
keep all of the valves/springs/caps/collets/spring seating washers from each port in one bag labelled with the number of that port, i normally write the numbers next to one or two of the ports too as you can see in some pics...just to make sure they go back in the same place
here is one of the exhaust valves as it came out
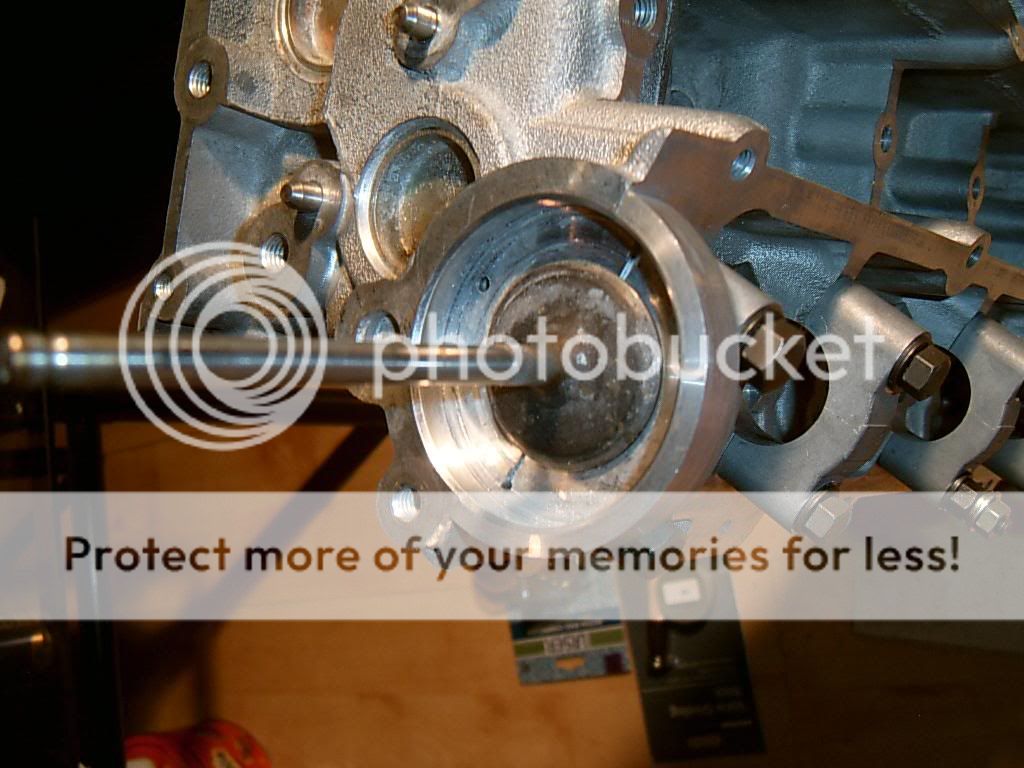
when the valve and spring/cap is removed you can see the valve seal
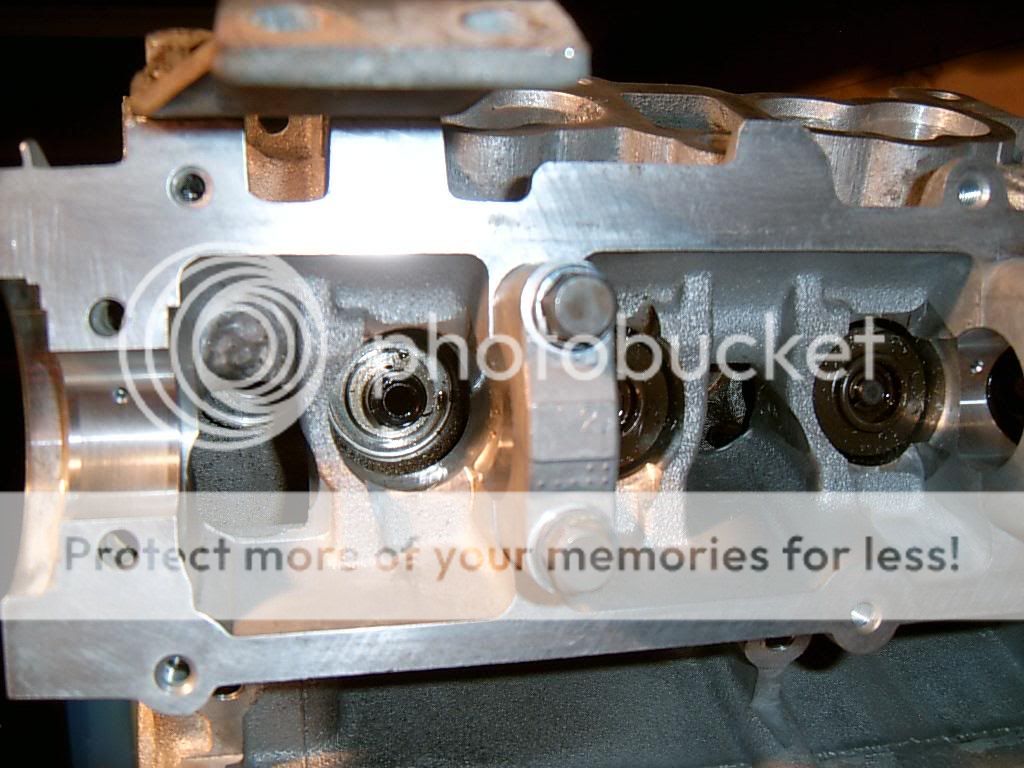
these can be removed *carefully* with a pair of pliers...must be careful not to score the wall of the head
l
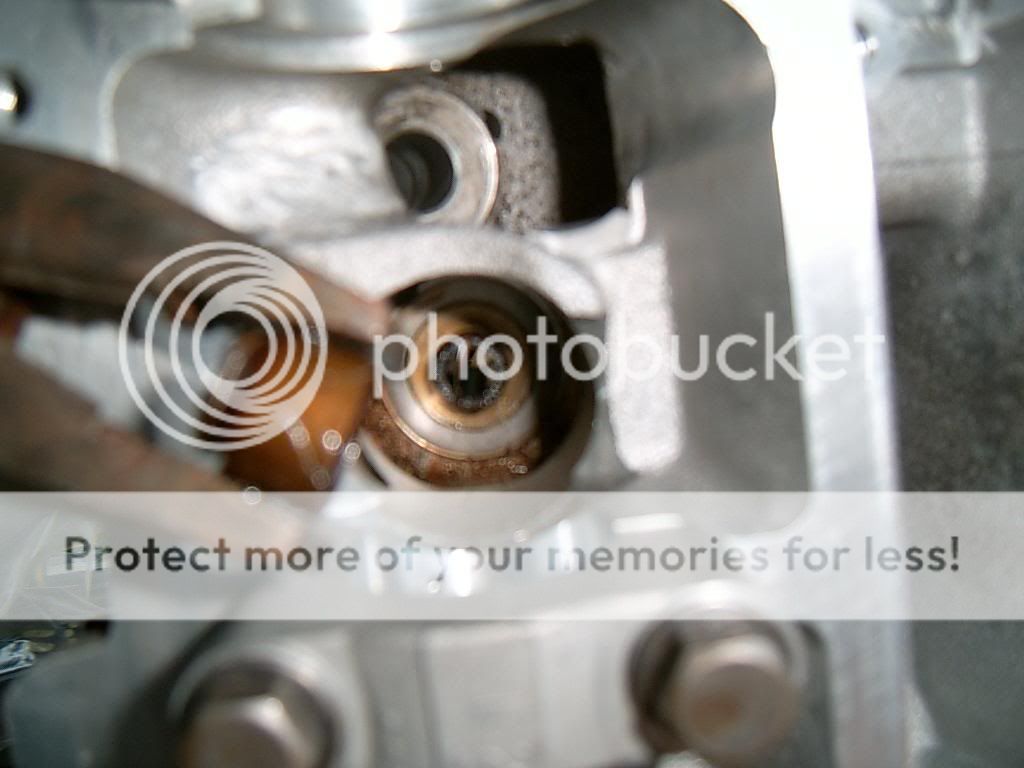
when everything is removed you can give all the parts a clean with fuel inc the parts of the exhaust ports that you cant get to with the valve in place....i wouldnt clean around the valve seat/valve sealing surface with anything other than cutting paste but you can clean the backs of the valves with a dremmel type wire brush end on a slow setting
with any dirt/grit out of the way the valves can be recut
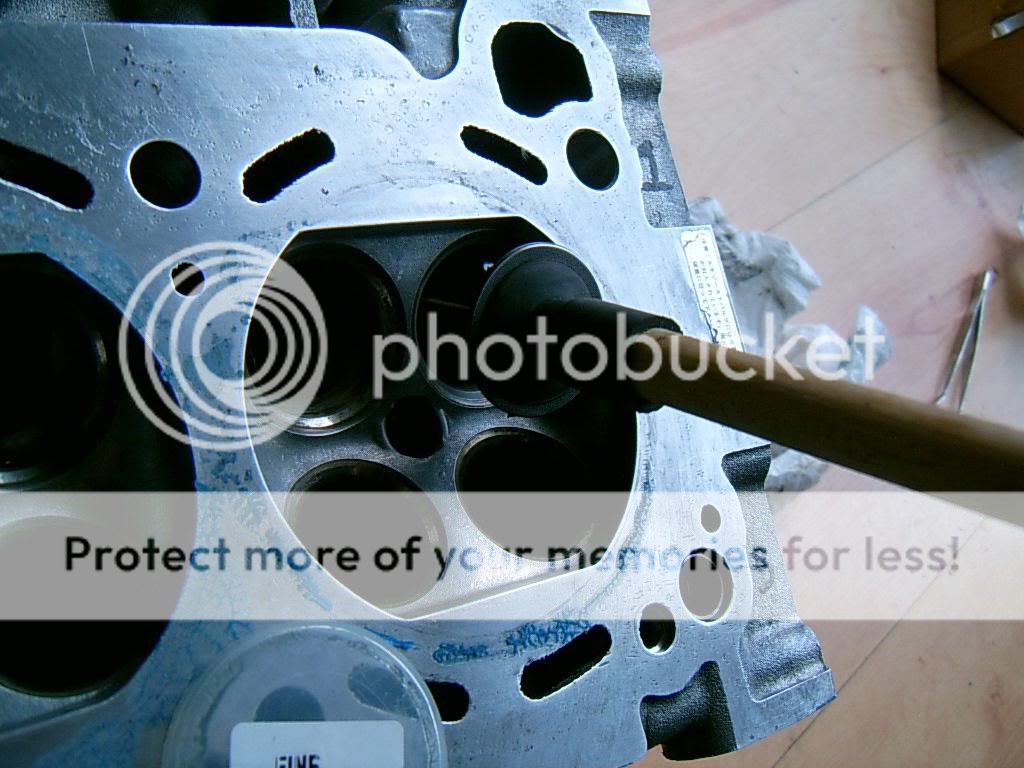
to cut the valves you apply three small dabs of corse paste onto the sealing surface at the back of the valve, you then insert it with the plunger and rotate the plunger like you are making fire on one of those discovery channels lol (you will need to then repeat with fine paste at least two more times or until you are satisfied that the paste is being pushed out of the sides of the valve in a uniform manner indicating that the valve seat has been matched)
you also need to lift up every few seconds and rotate the valve about 90 degrees before placing back down to make more "fire"
you can feel after only a few moments of rotation that the paste has been pushed out so you wipe up and repeat a couple more times with fine paste.....some valves/heads will need more cutting than others but in this game less is more.....if you remove lots of material you will at least affect the height of the shim (we will come to those later)
you can get marks on the valve mating surface but some of these will not come out no matter how much fire you make