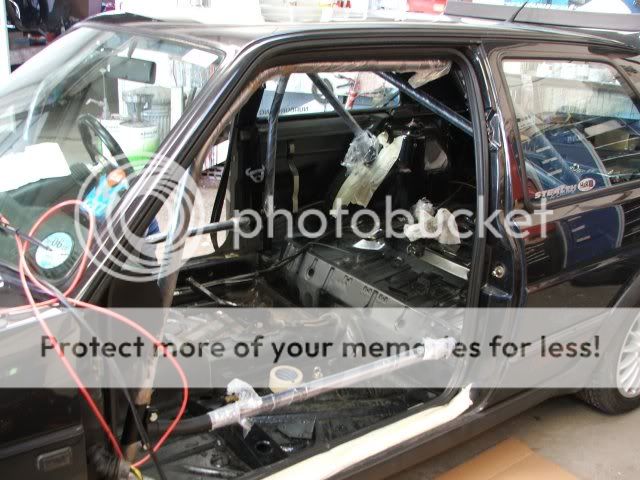
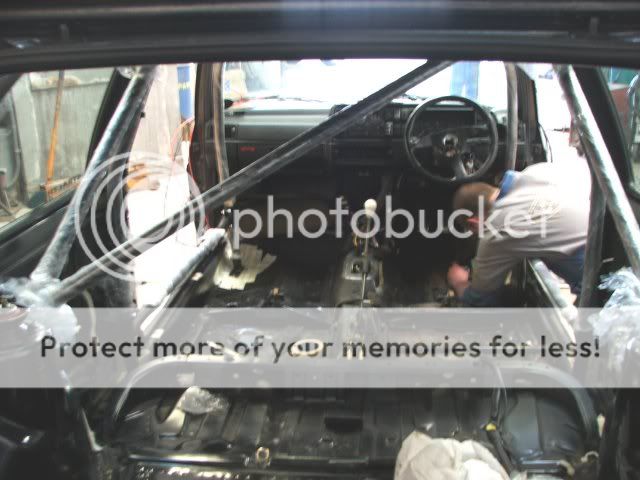
Started on the cage install Sat afternoon, I'd already stripped out most of the interior during the last few evenings, so saved us (Dan from our bodyshop is giving me a hand) a bit of time, we removed both the front doors which makes it a lot easier to get the rear cage in, and get to work in the footwells, a mk2 door takes only a few mins to remove, it's well worth doing when fitting a cage. Door trim off, wiring/central locking pipes out, check strap bolt and 2x15mm bolts and it's off!
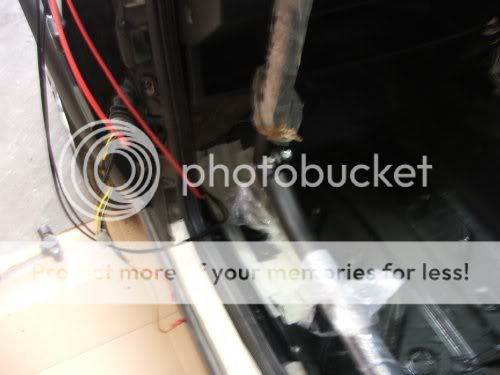
Removed the red piping for the central locking pump and the redundant rear speaker wires, also shifted the wiring loom from the OS and cable tied it out of the way.
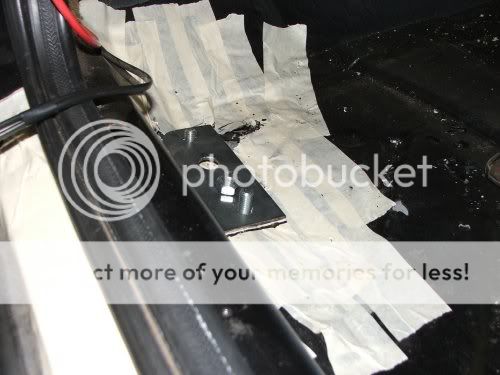
Where the cage is going to be bolted in and over the sills I stuck a load of 2" masking tape on these areas, so it's easy to mark out for drilling, and stops the car getting any more scratched than it already is .
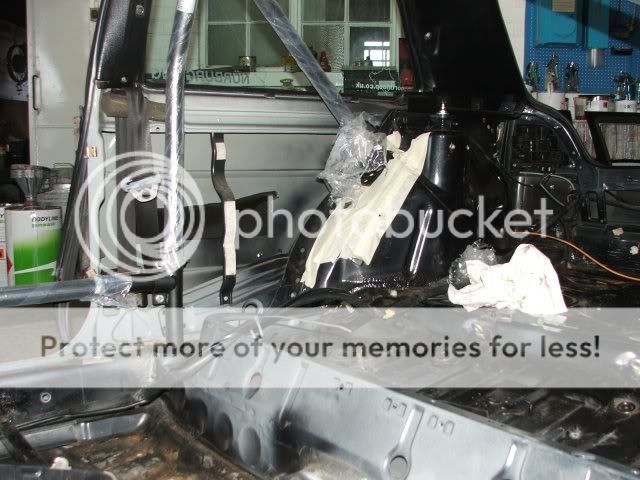
We assembled the cage inside the car, and loosly bolted it all together to mark out the holes for the foot plates. We measured from the corners of the cage feet to inner sill and where the flange is for the rear 1/4 panel to keep it all square.
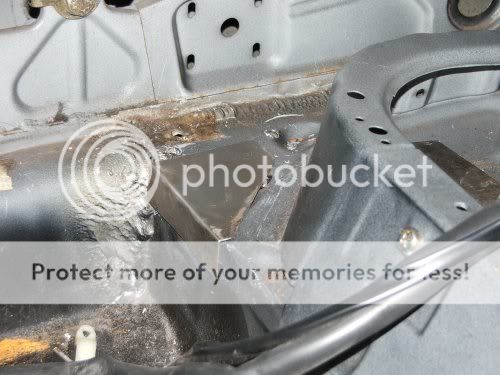
Marked out where the supplied plates need to be welded in for the B posts and Dan's making up some plates to 'flatten' the area so the plates can be seam welded in, we're going to weld in some plates on the vertical panels on the B post, for a bit more strength, and again so the SD foot plates can be welded all the way around, not just where they fit. Marked out the holes for the rear stays and front feet, and drilled some of them, and that's how far we've got at the mo.
Making up the plates for the front feet in the morning and they'll be welded in from inner sill to floor pan.
Few pics
Big hammer is required for this job
