When you click on links to various merchants on this site and make a purchase, this can result in this site earning a commission. Affiliate programs and affiliations include, but are not limited to, the eBay Partner Network.
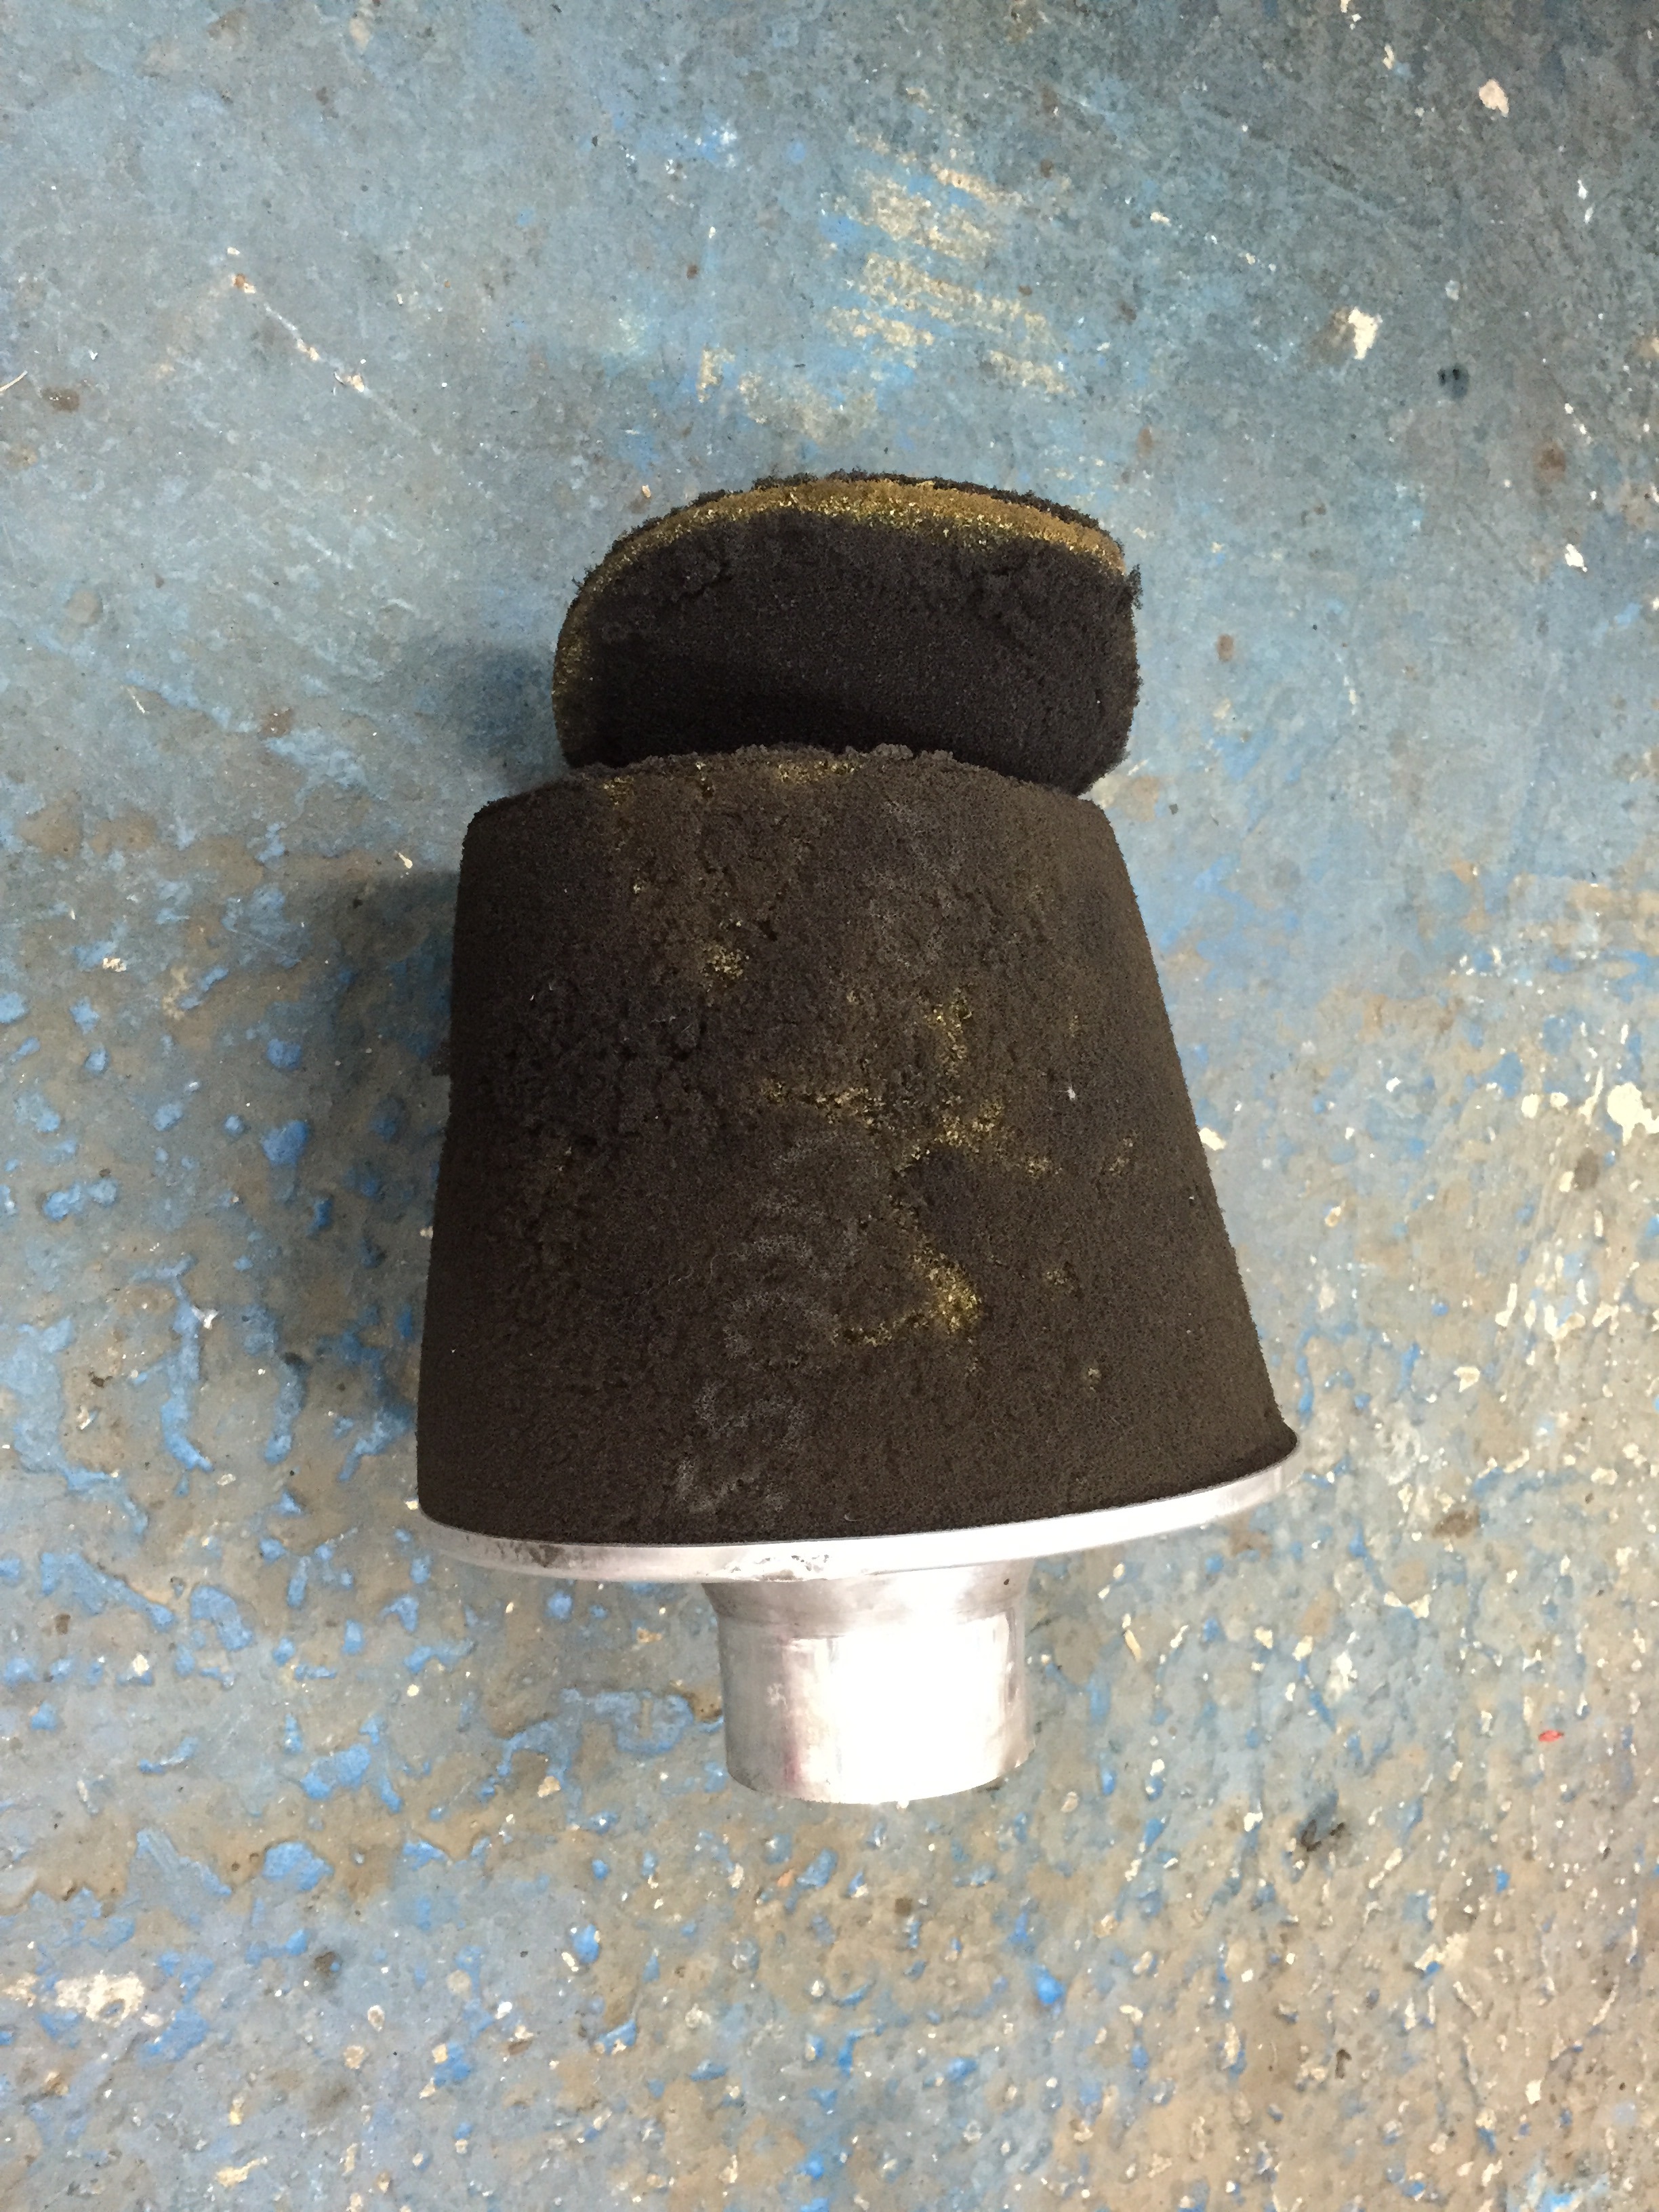
After having the car mapped a few minor issues were raised that needed to be addressed, the first was the air filter.. It had seen better days..
So this was replaced with a K&N filter.. Of which I didn't take a photo!
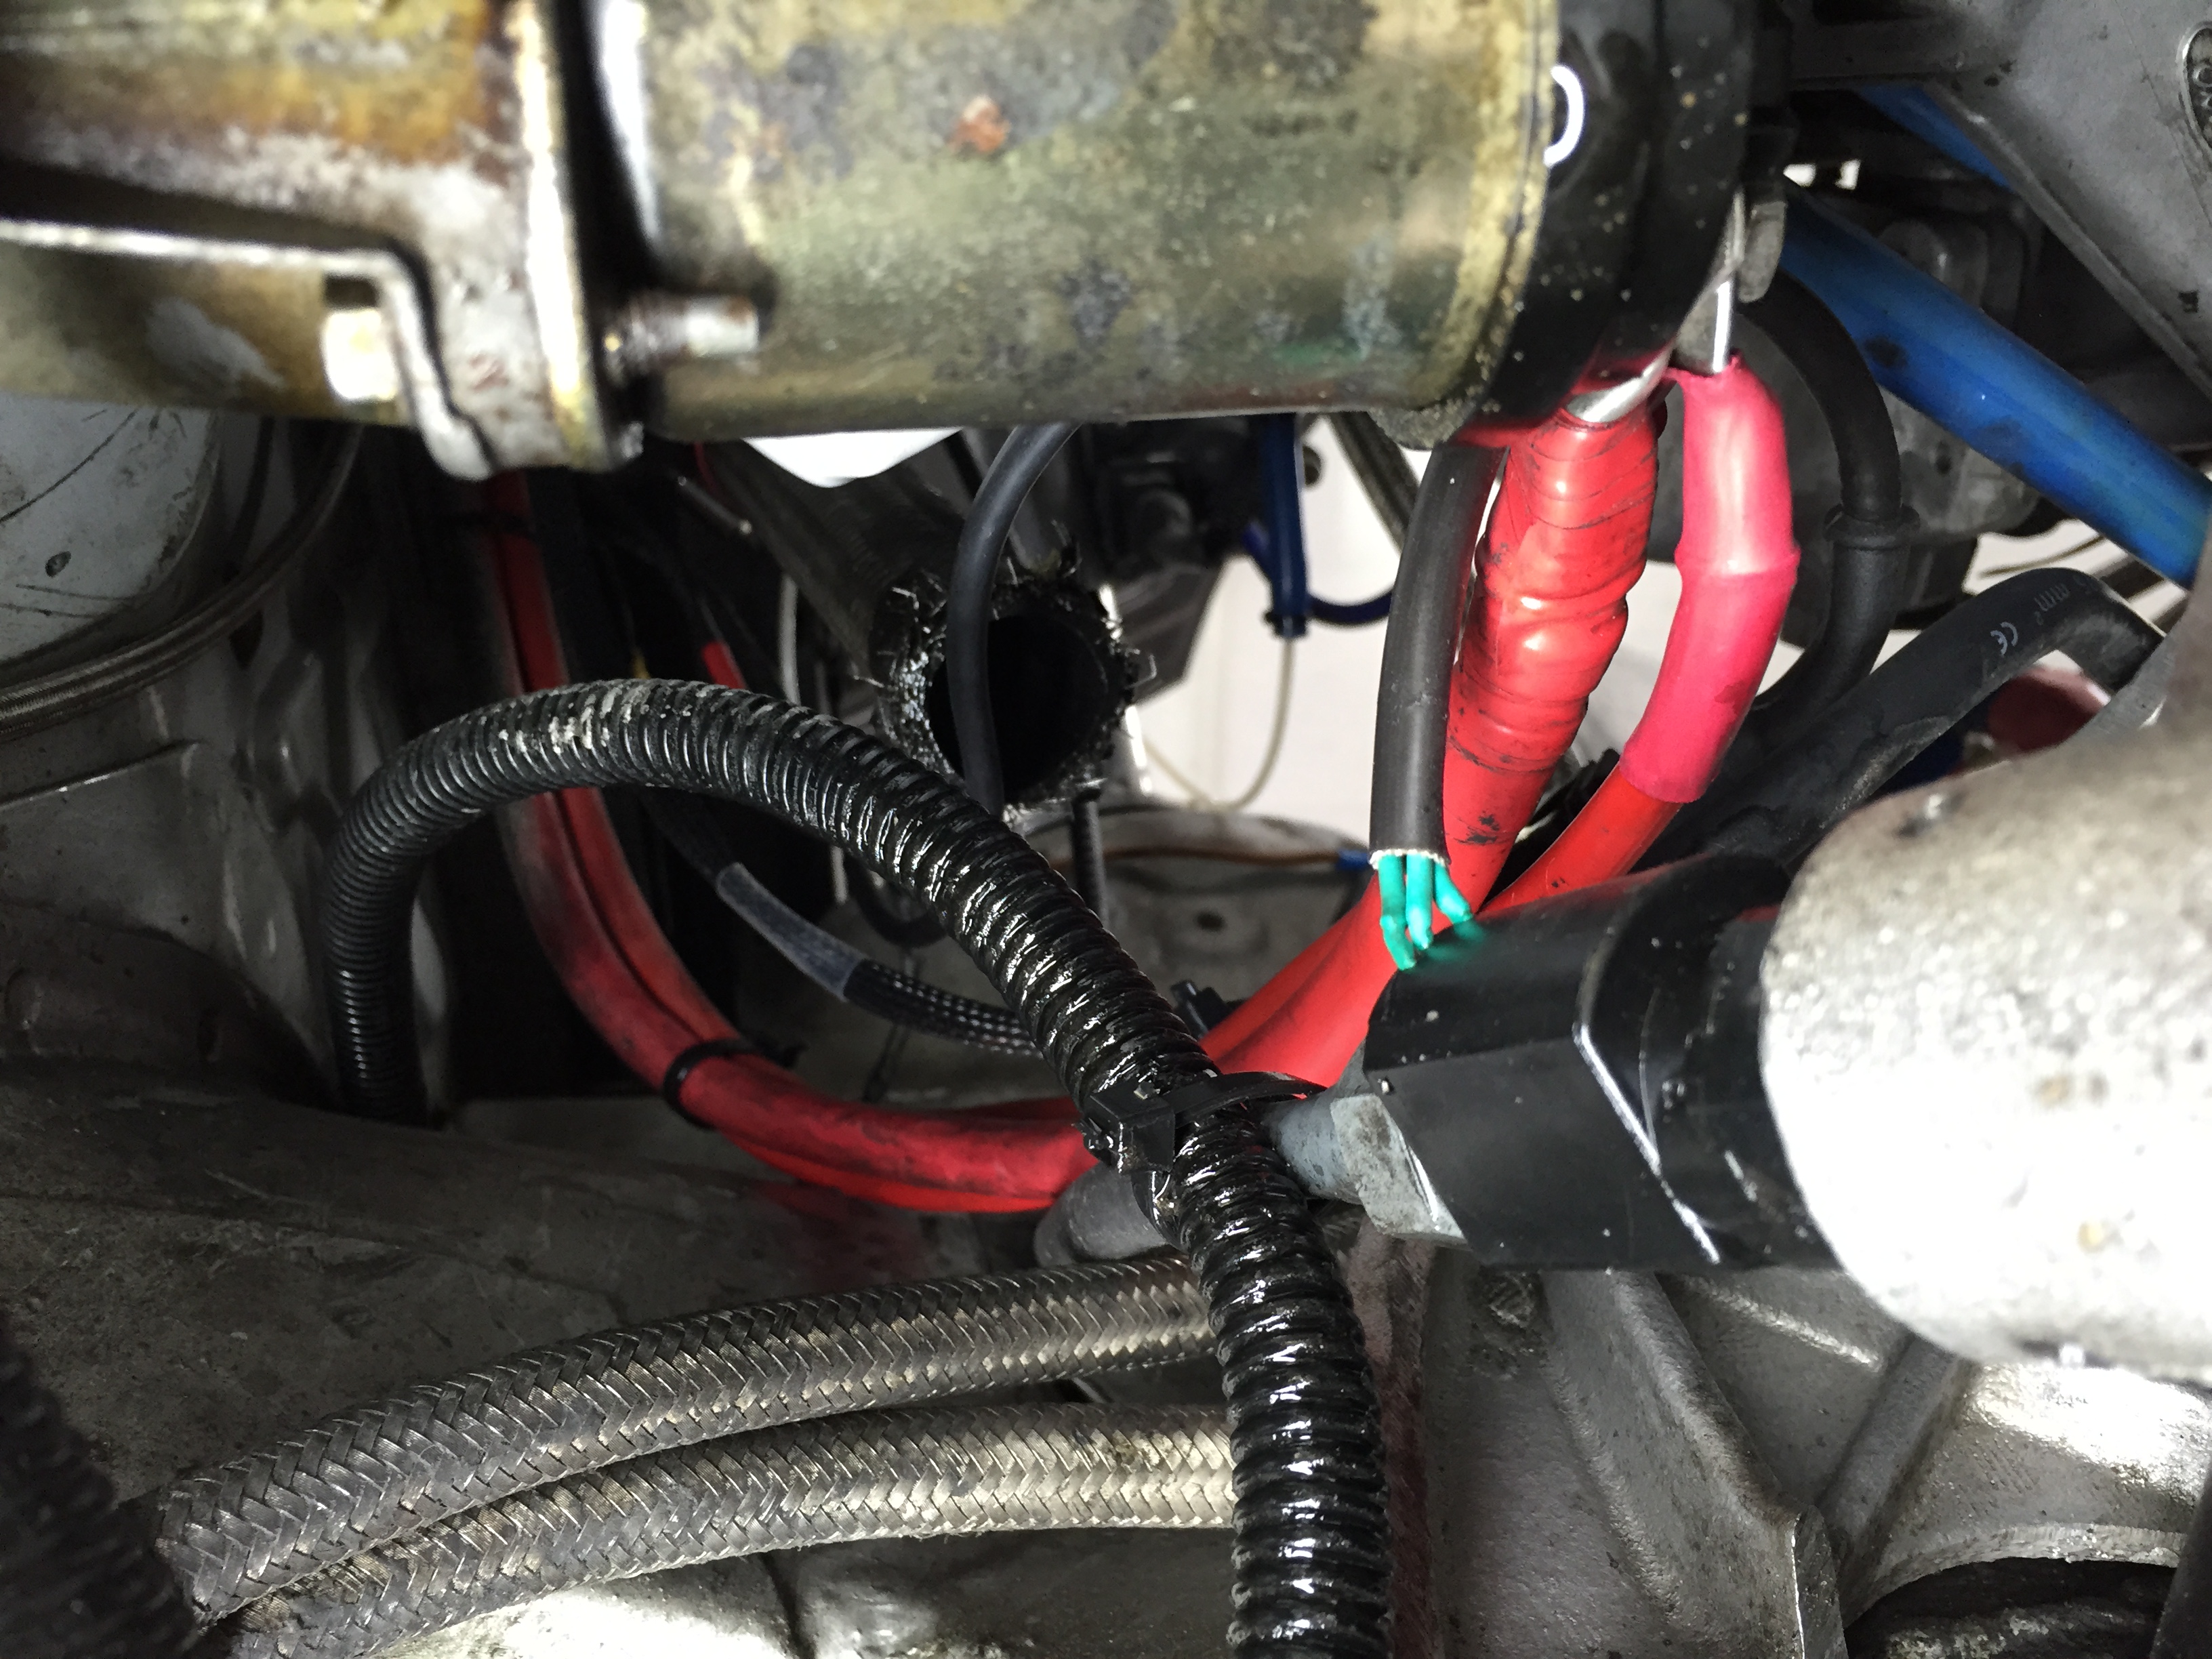
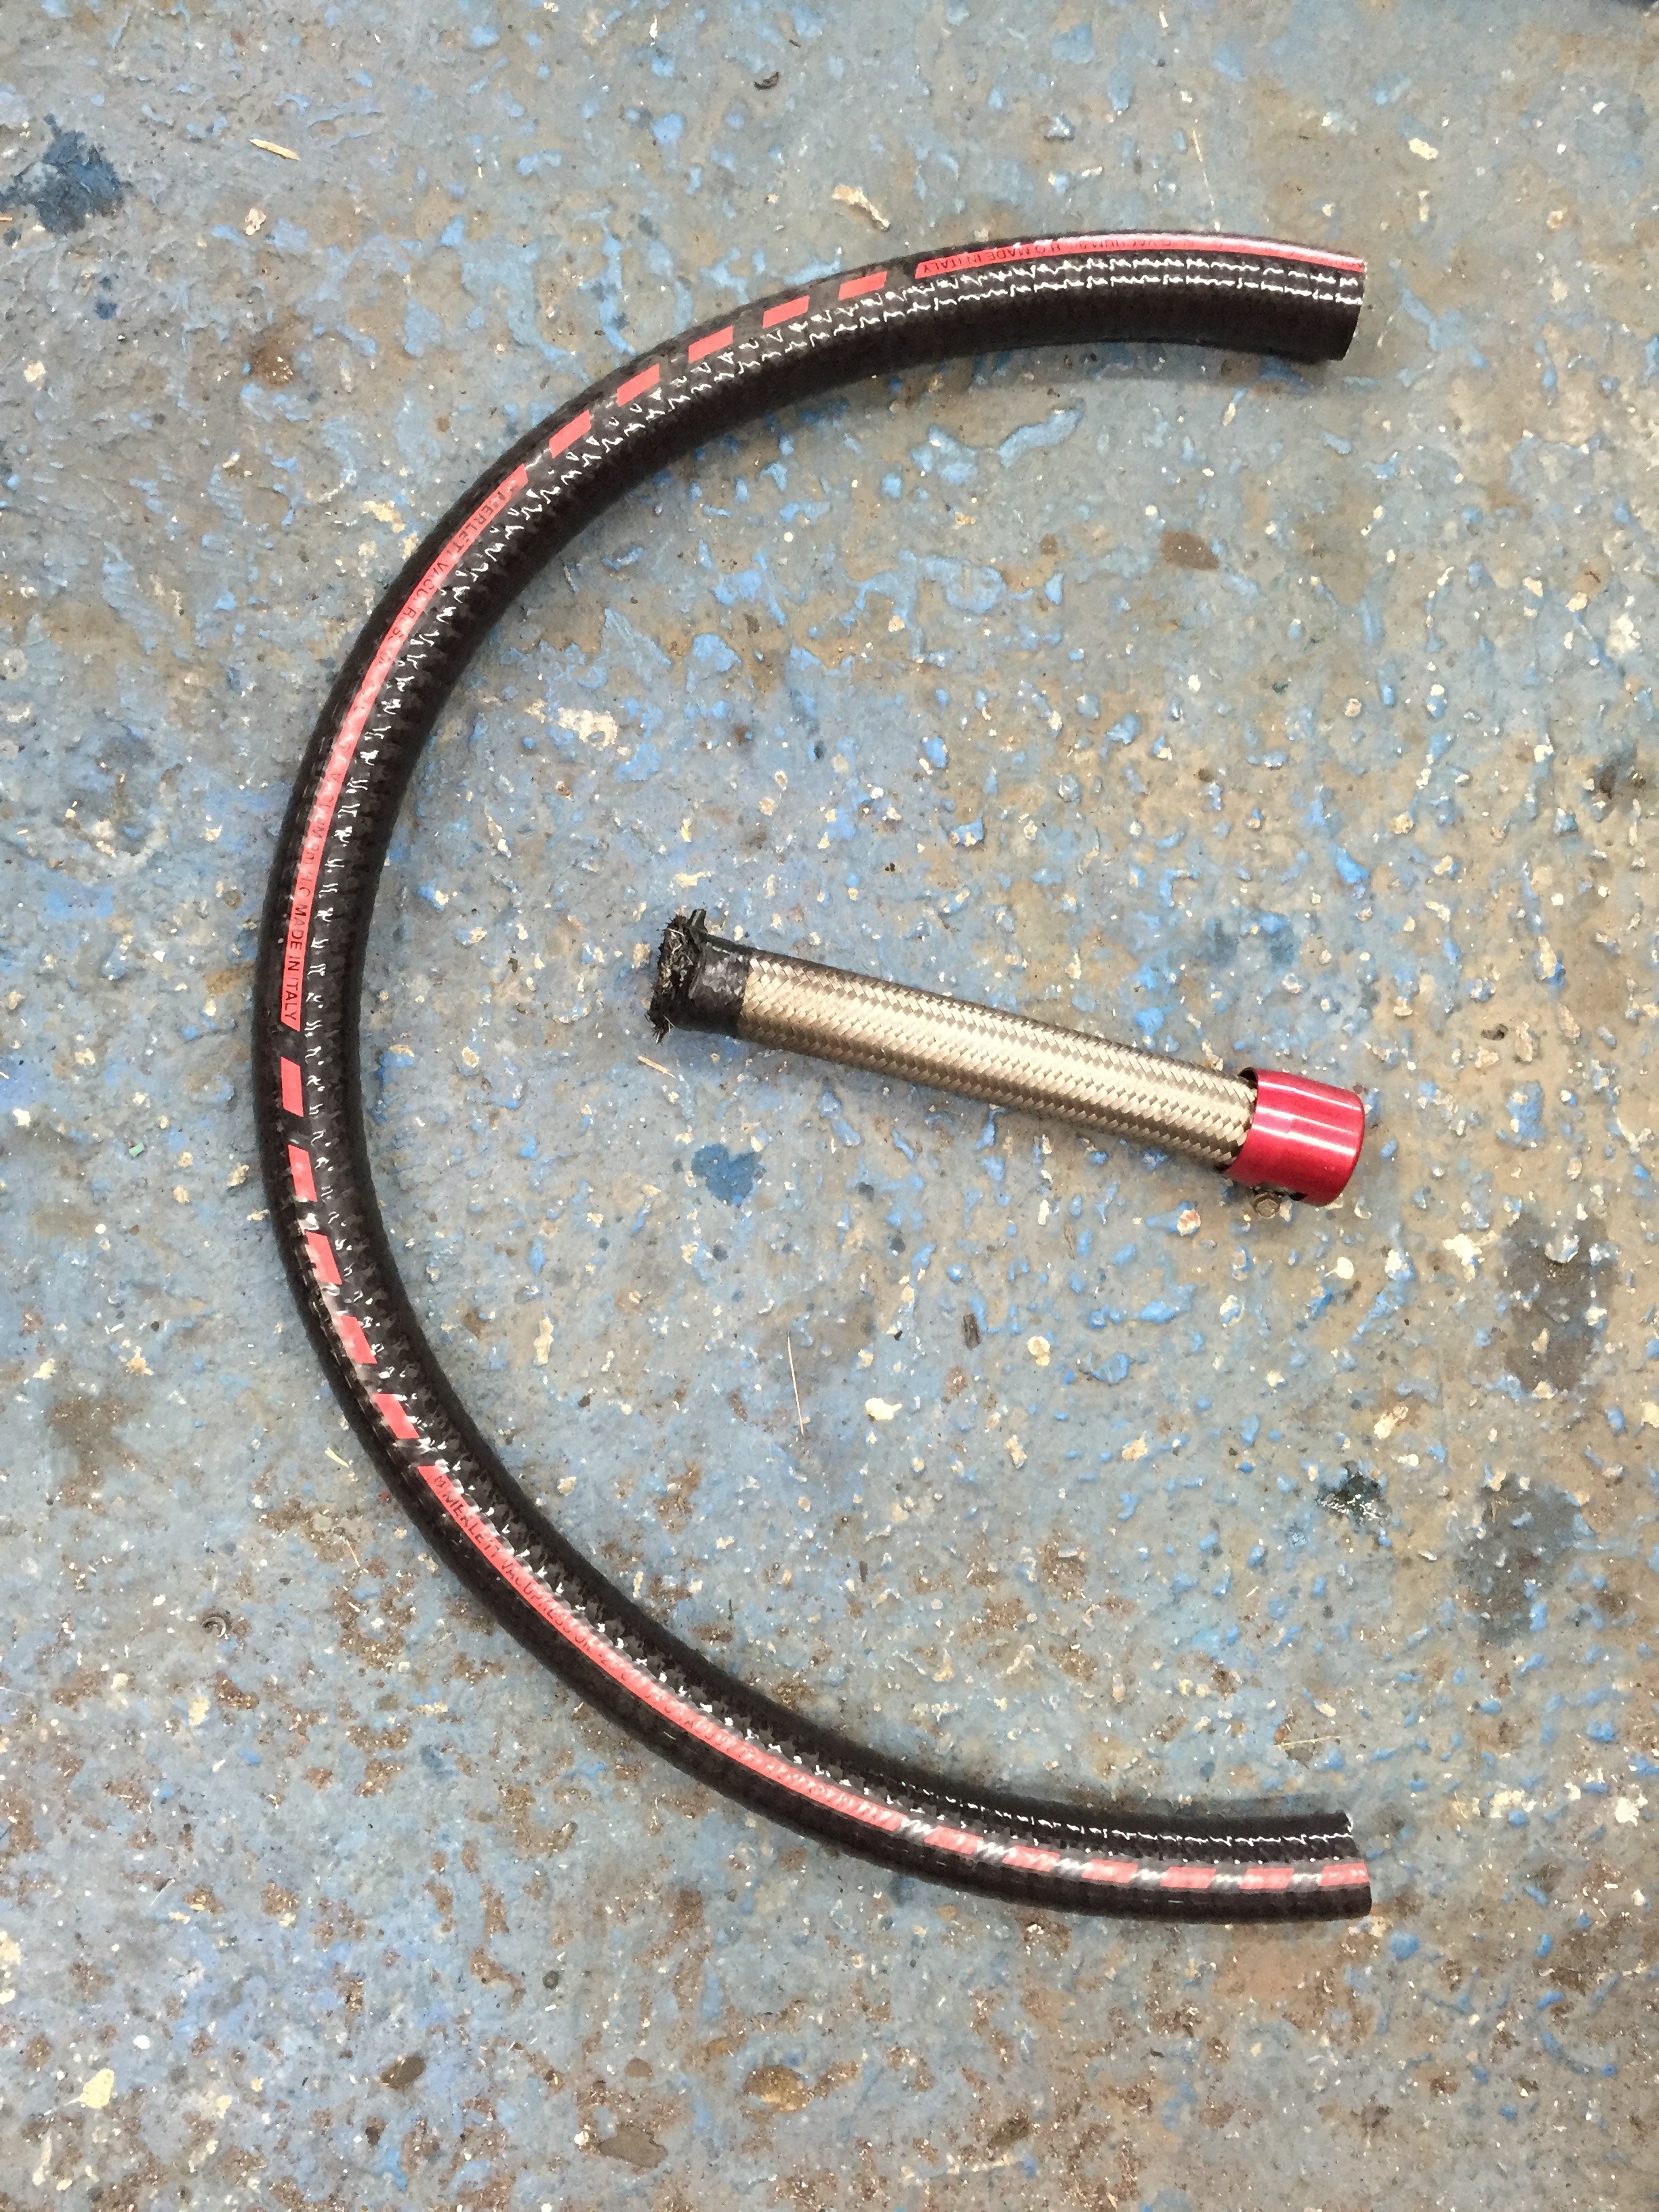
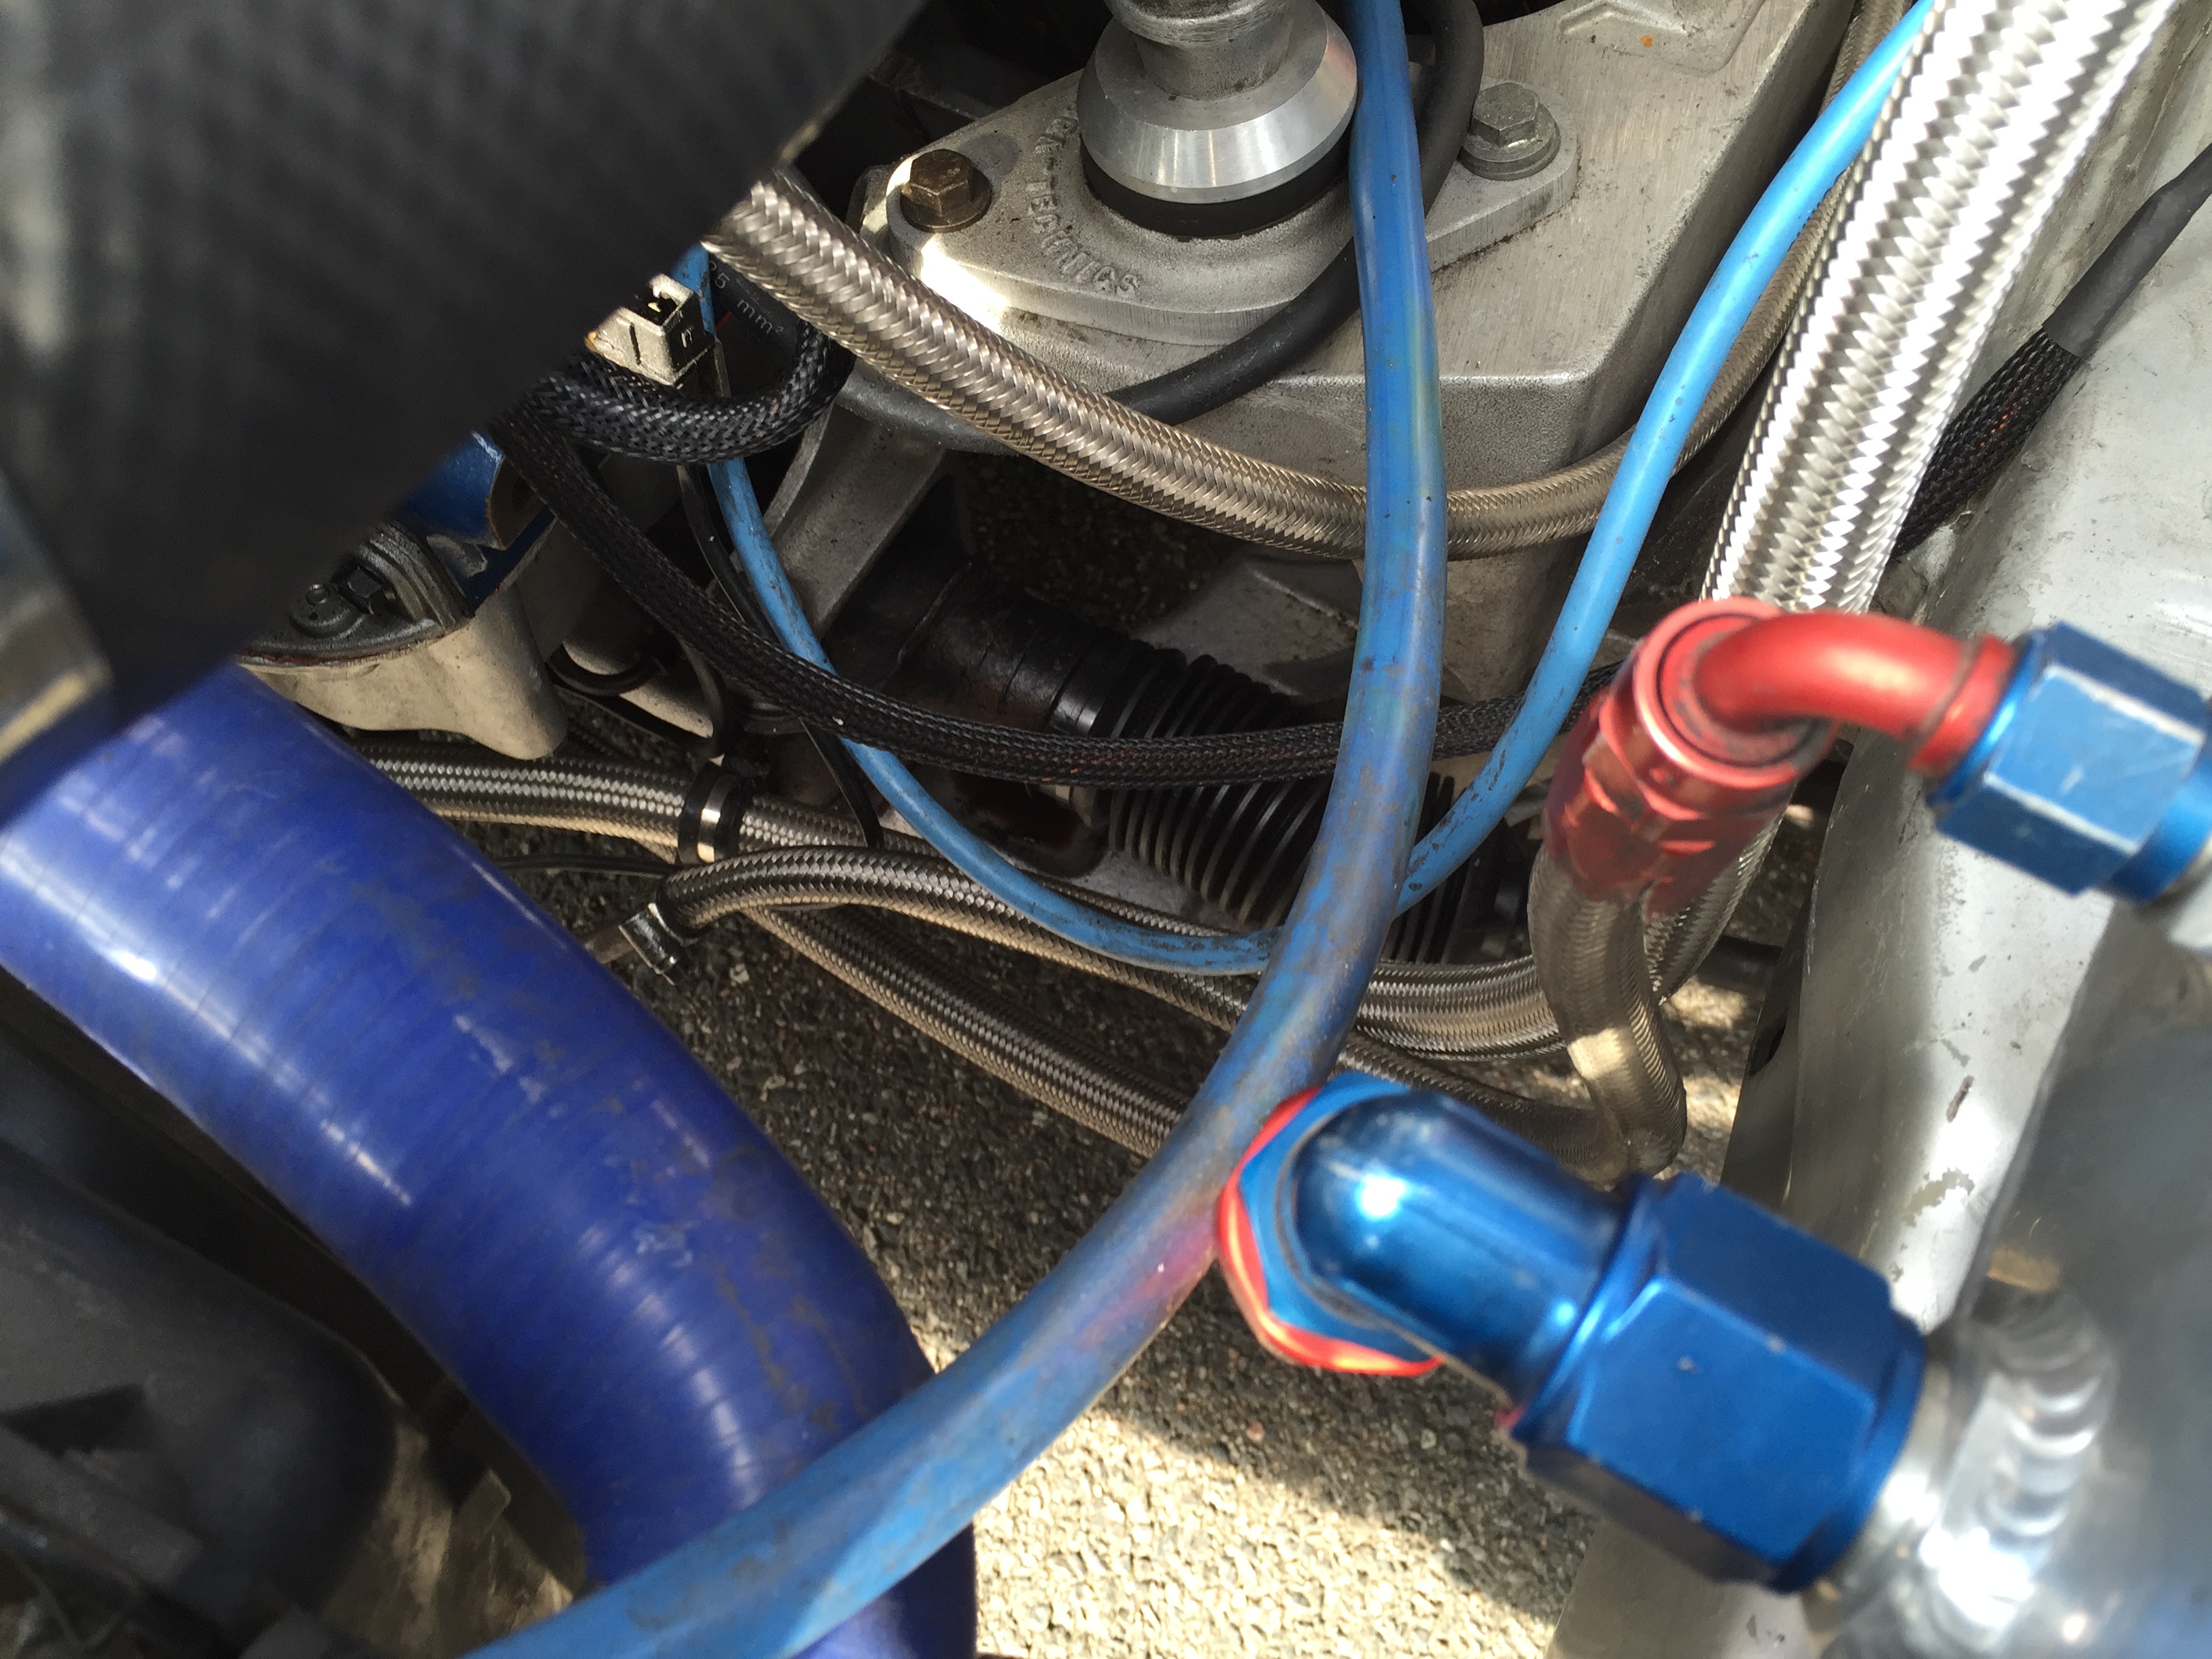
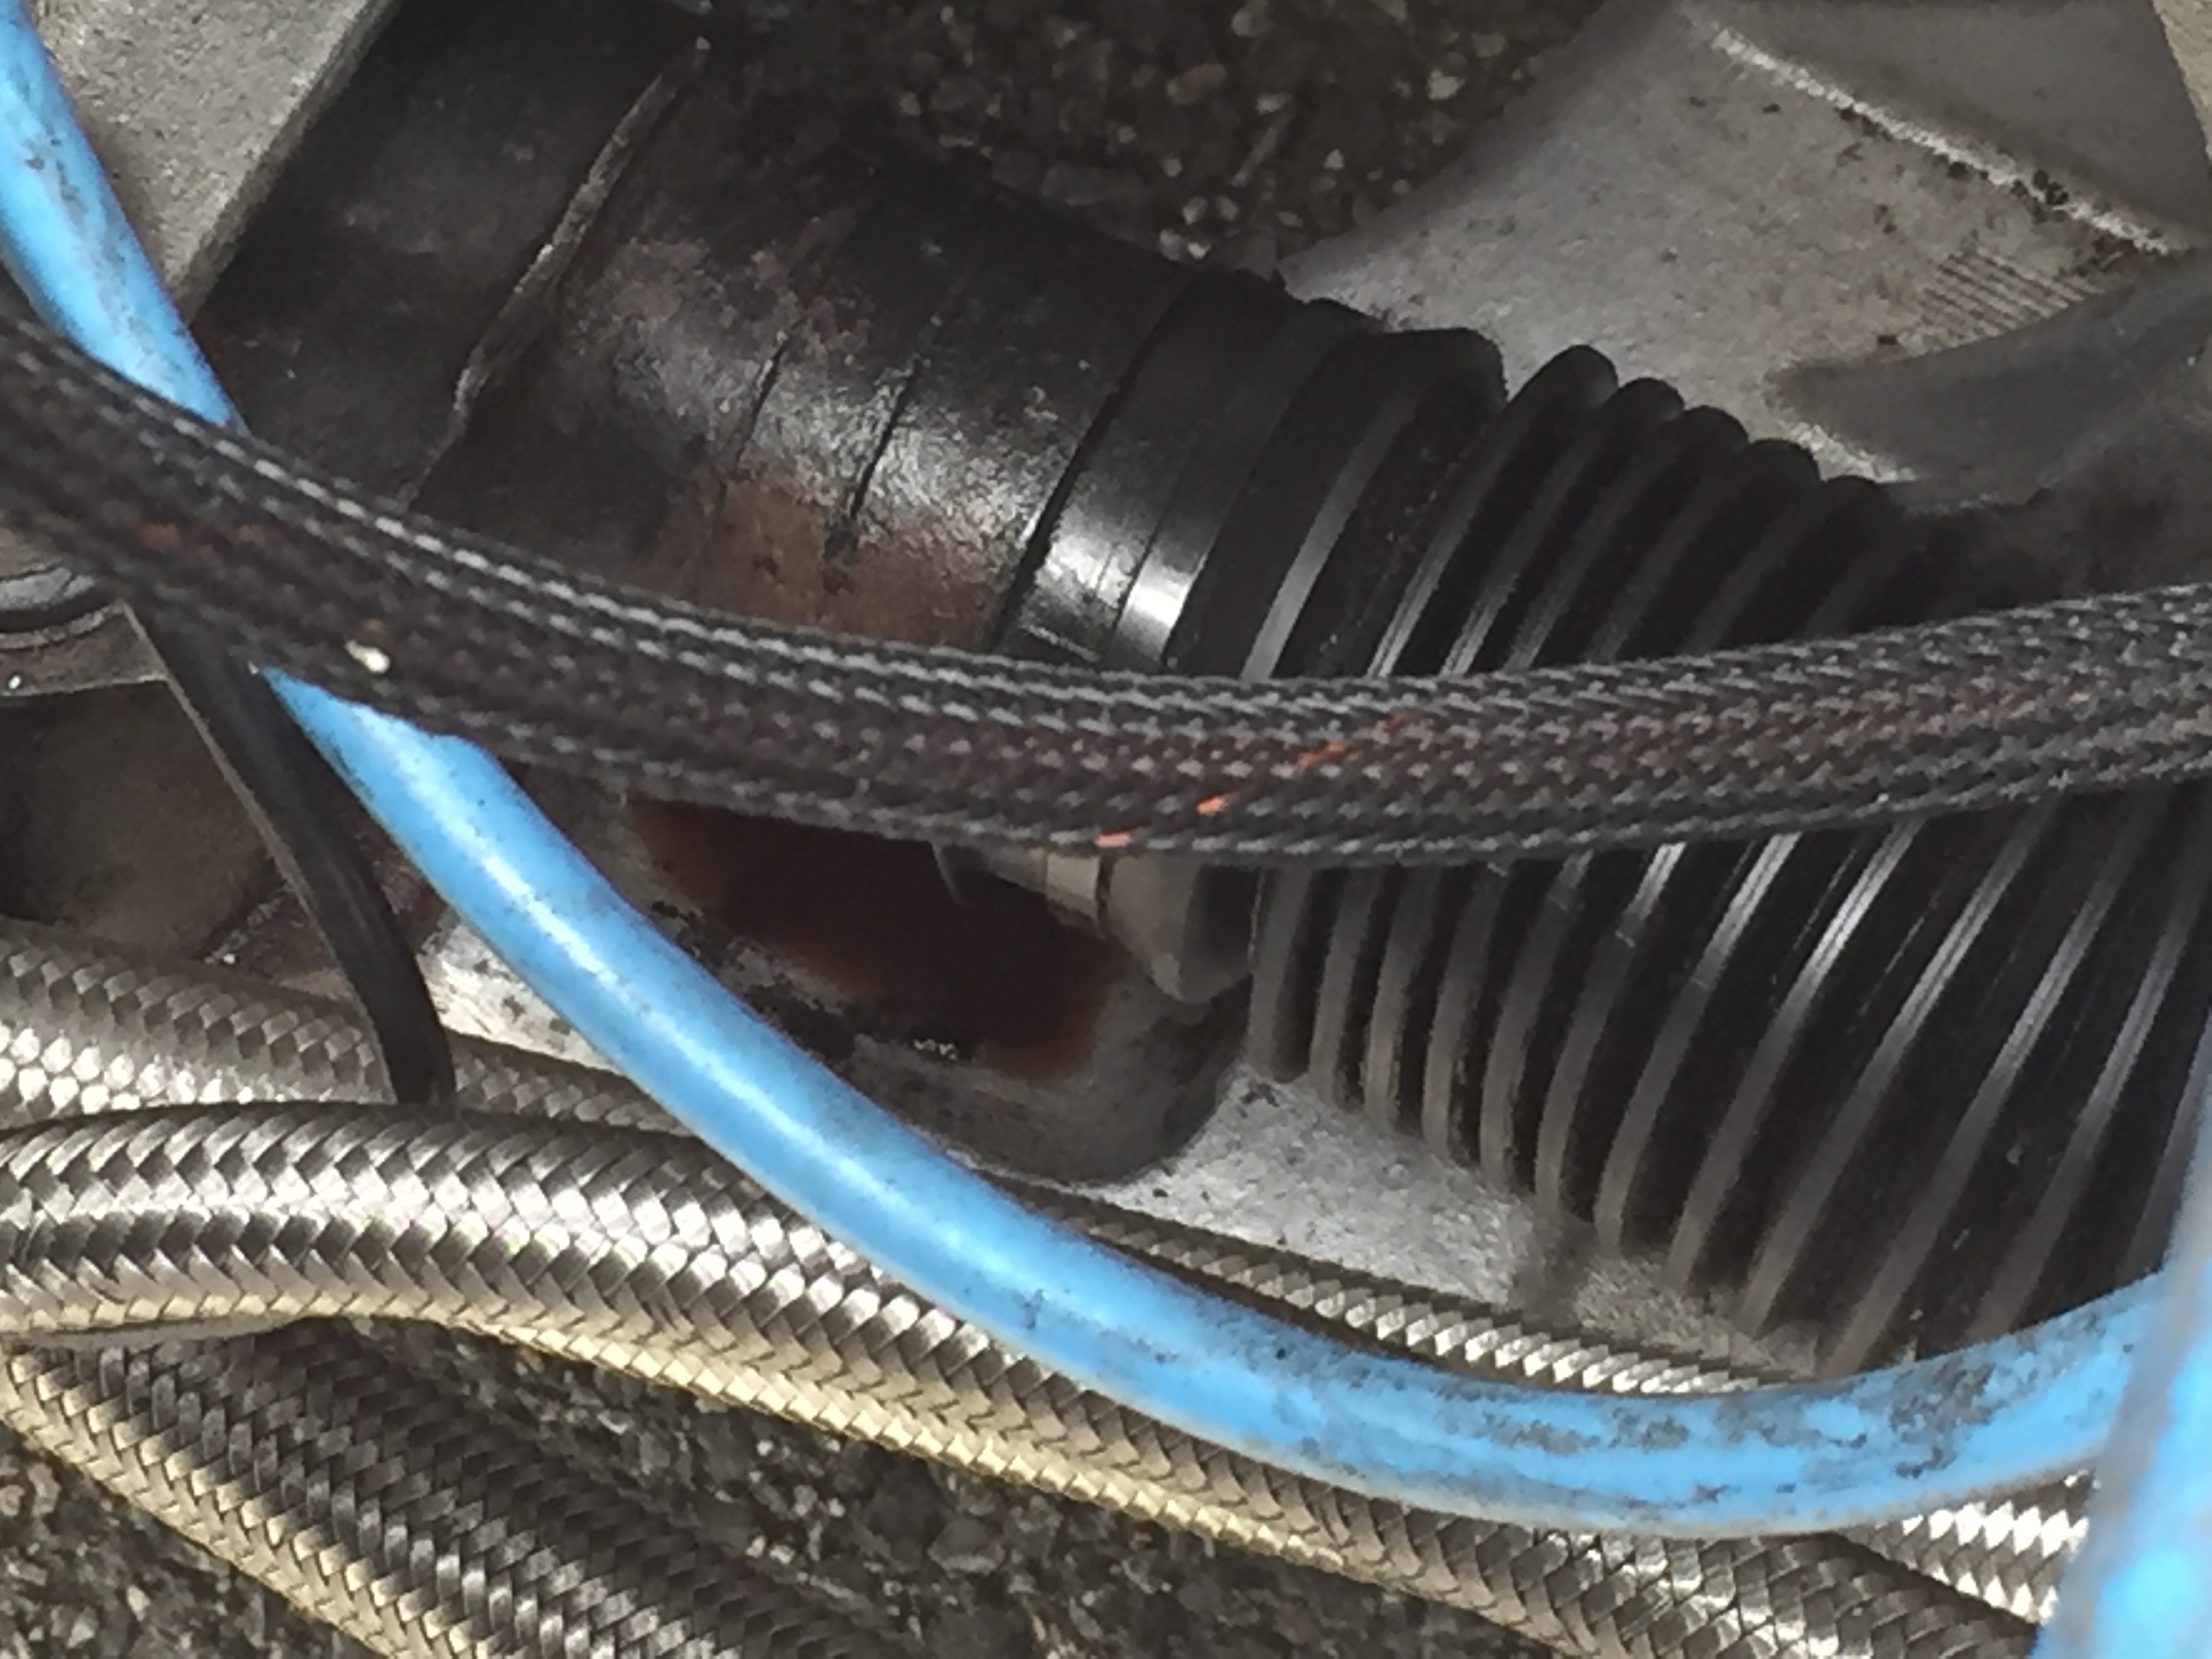
Another issue was the oil breather system. The vent pipe was a short bit of hose that was nicely misting oil down the side of the clean engine.. This is where some of the oil mess came from in the bay originally. I knew this needed changing so having had someone else also point it out I got it addressed.
This is the short pipe in the middle of the photo looking up from underneath the car
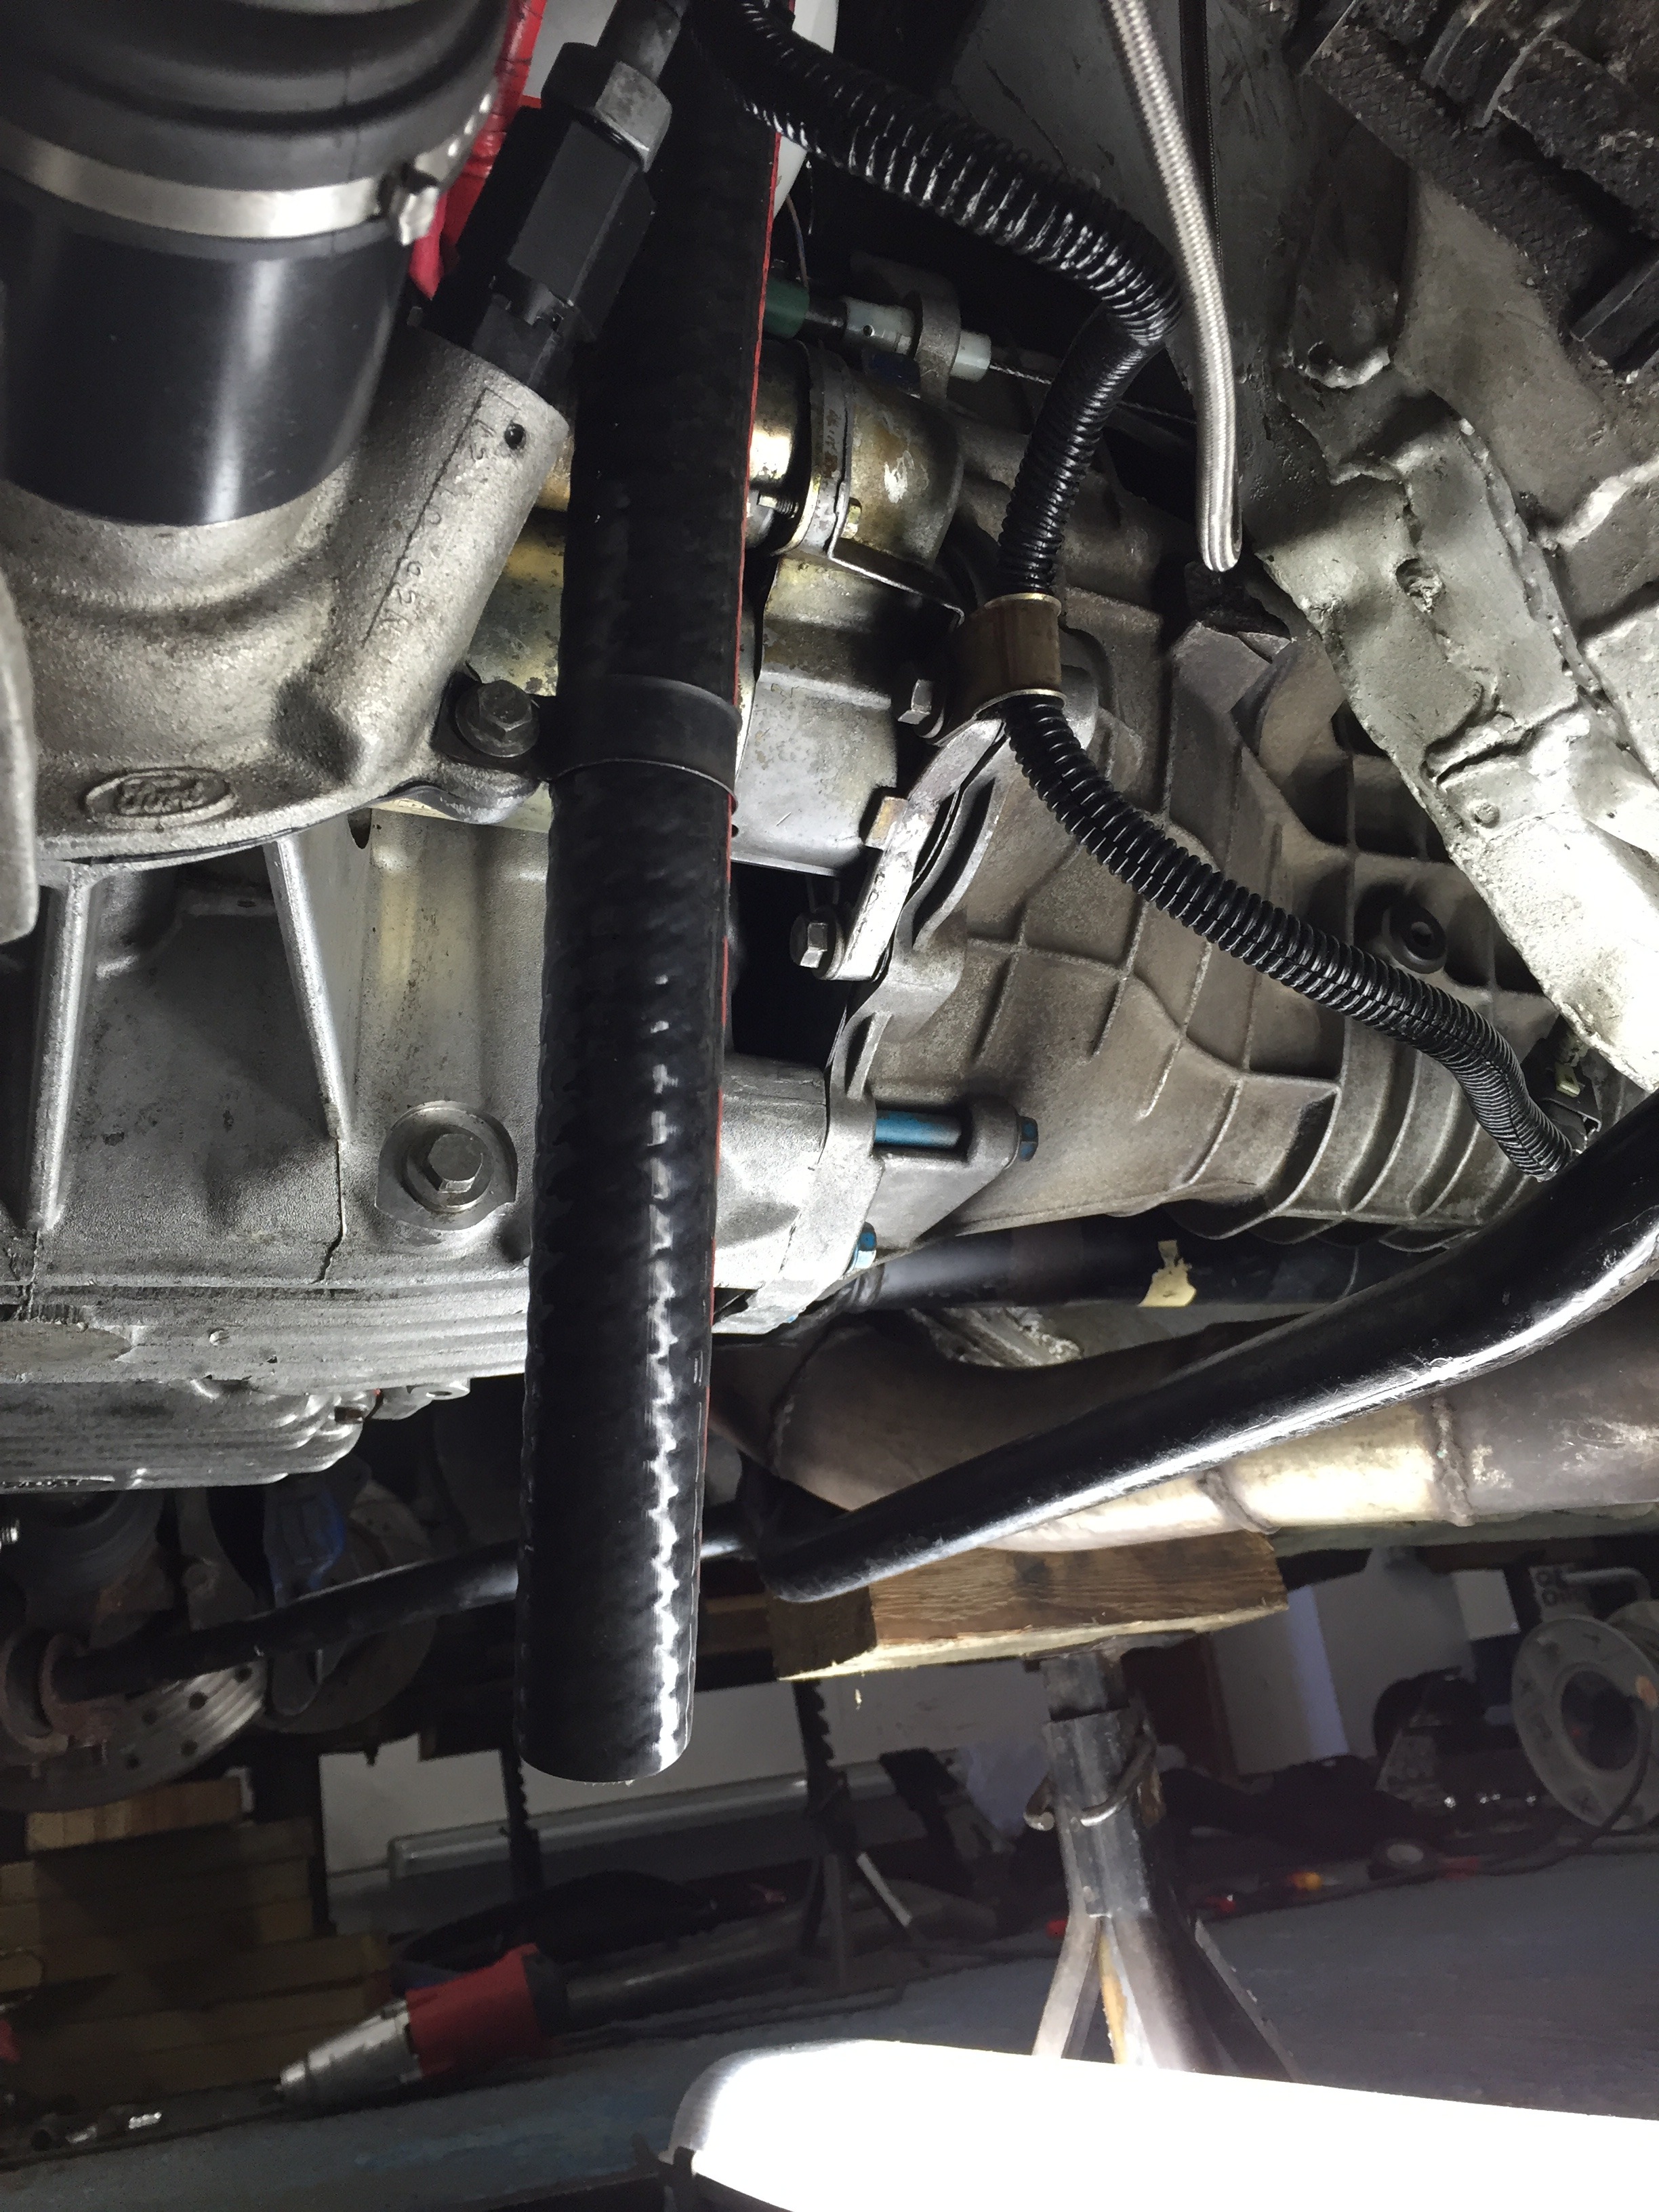
So all that needed doing was to get a longer hose and get it as close to the ground as a possible to get it out of the bay
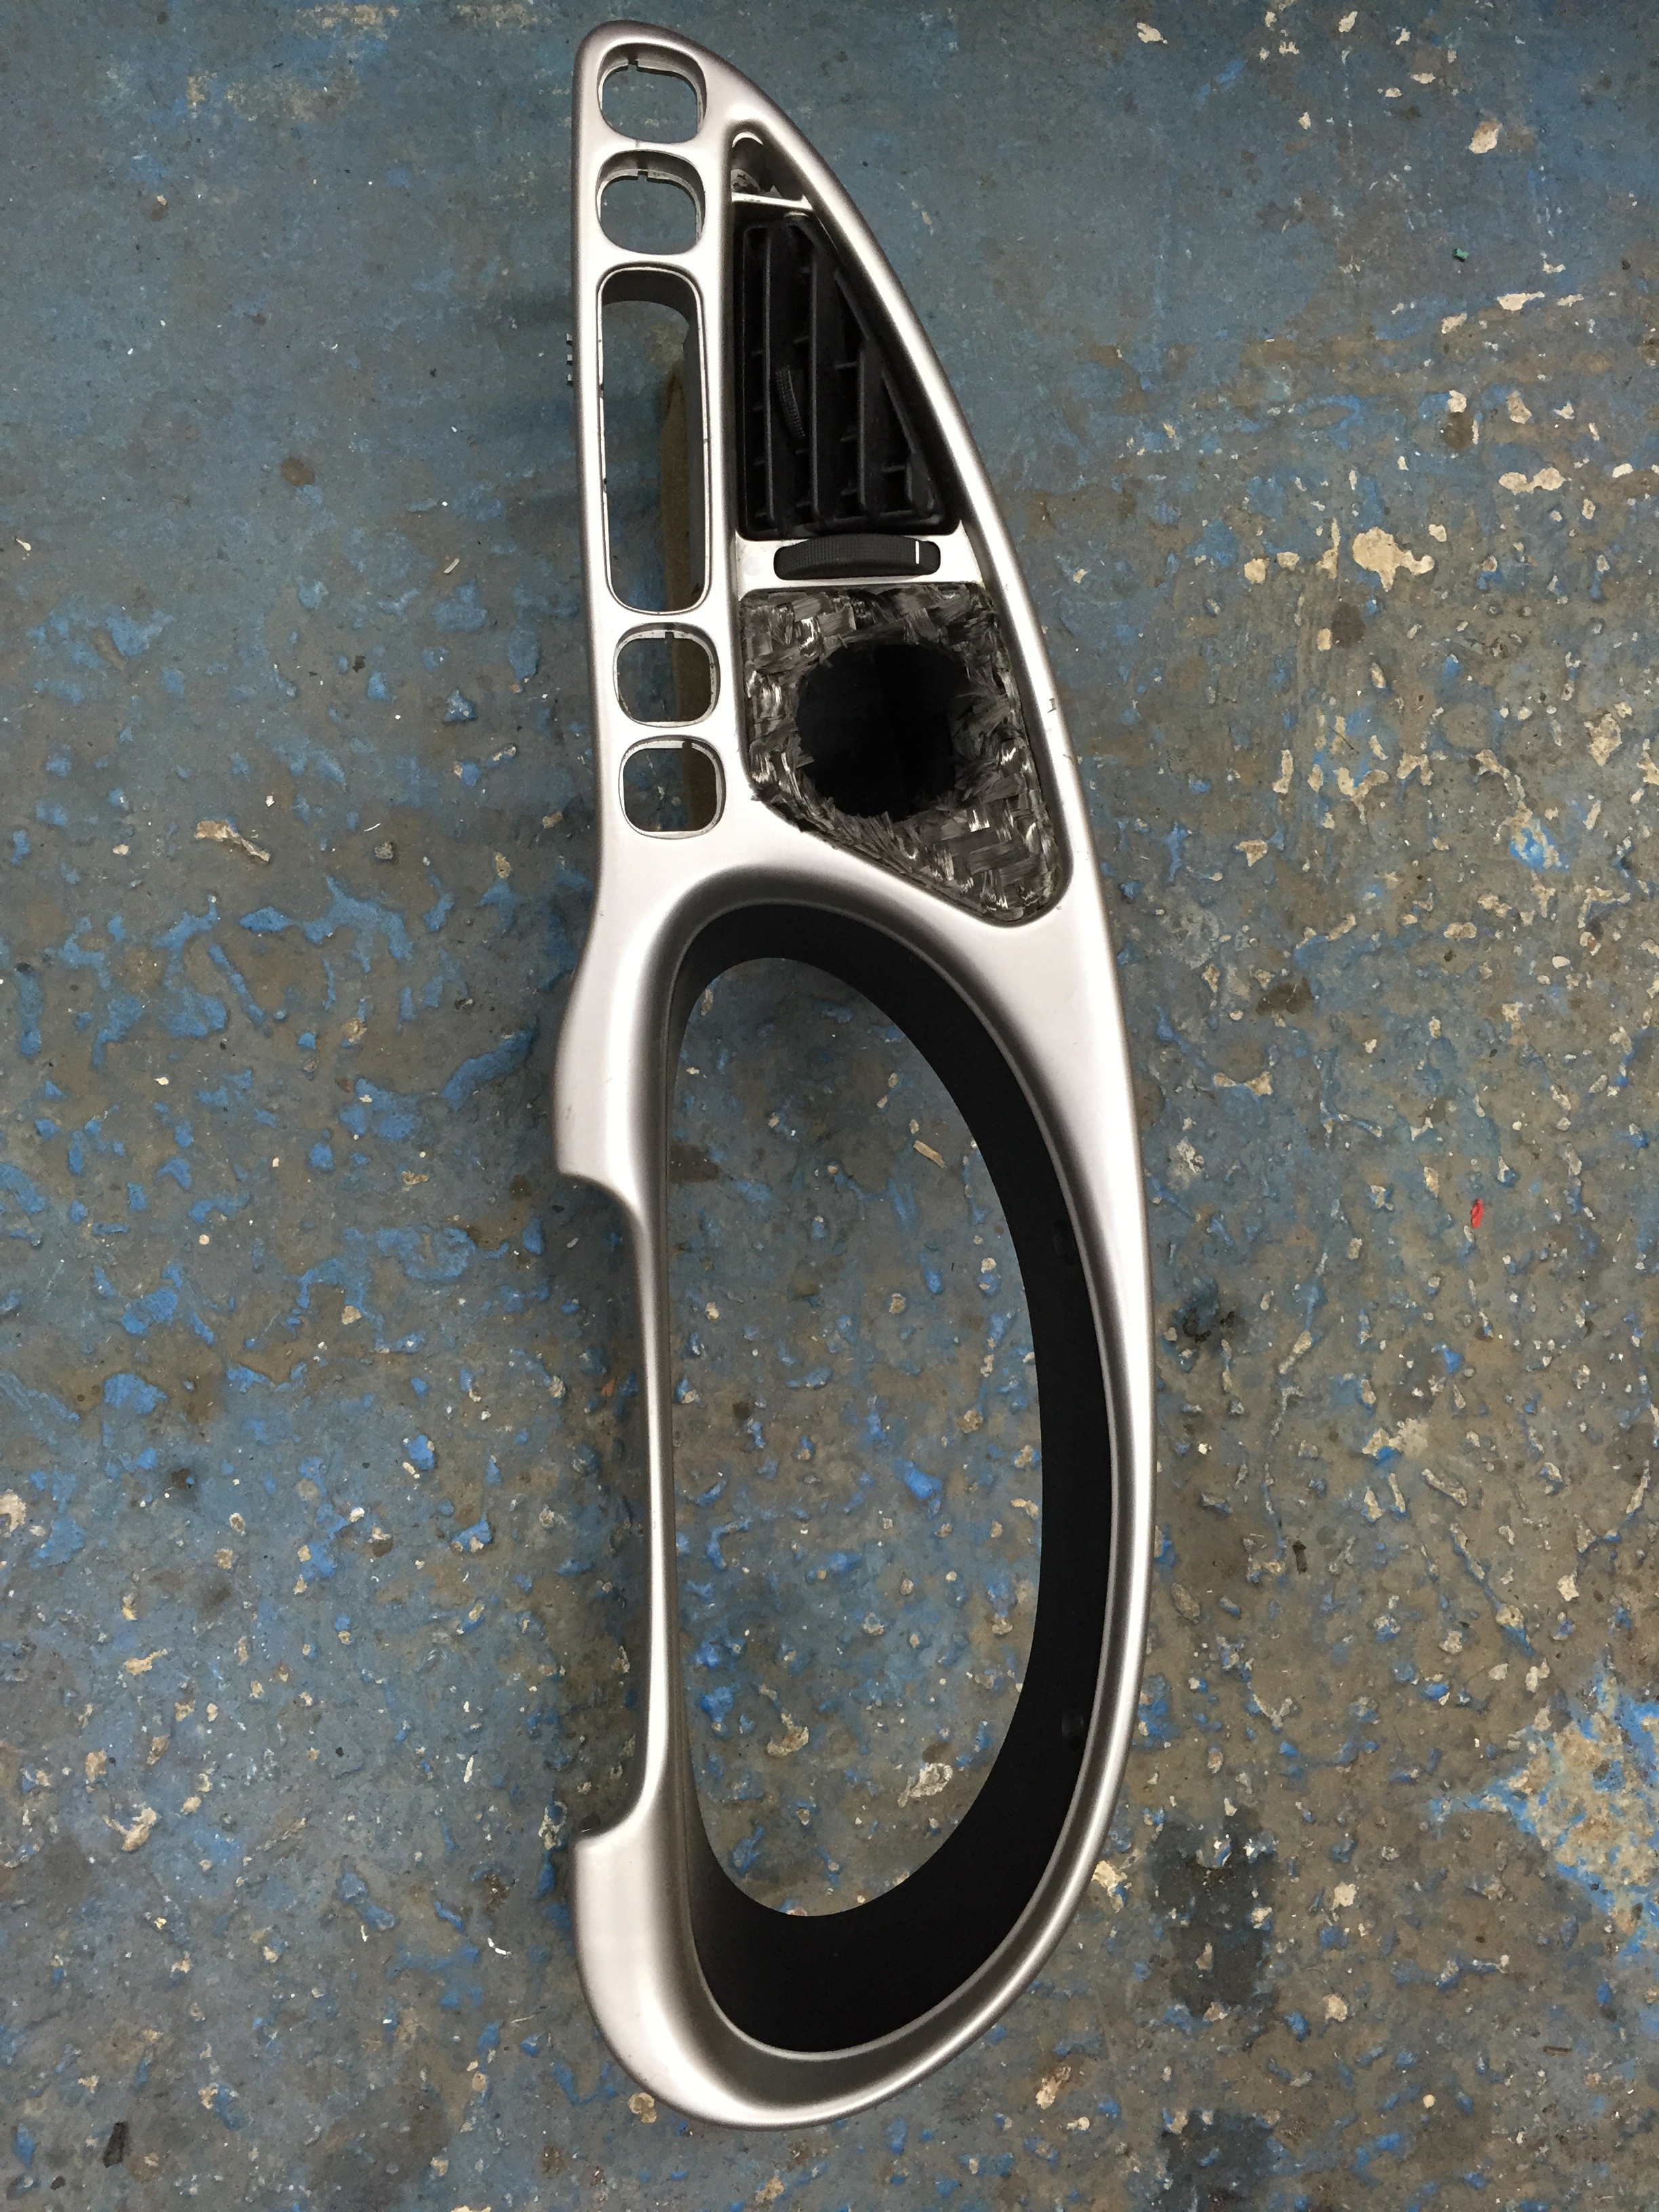
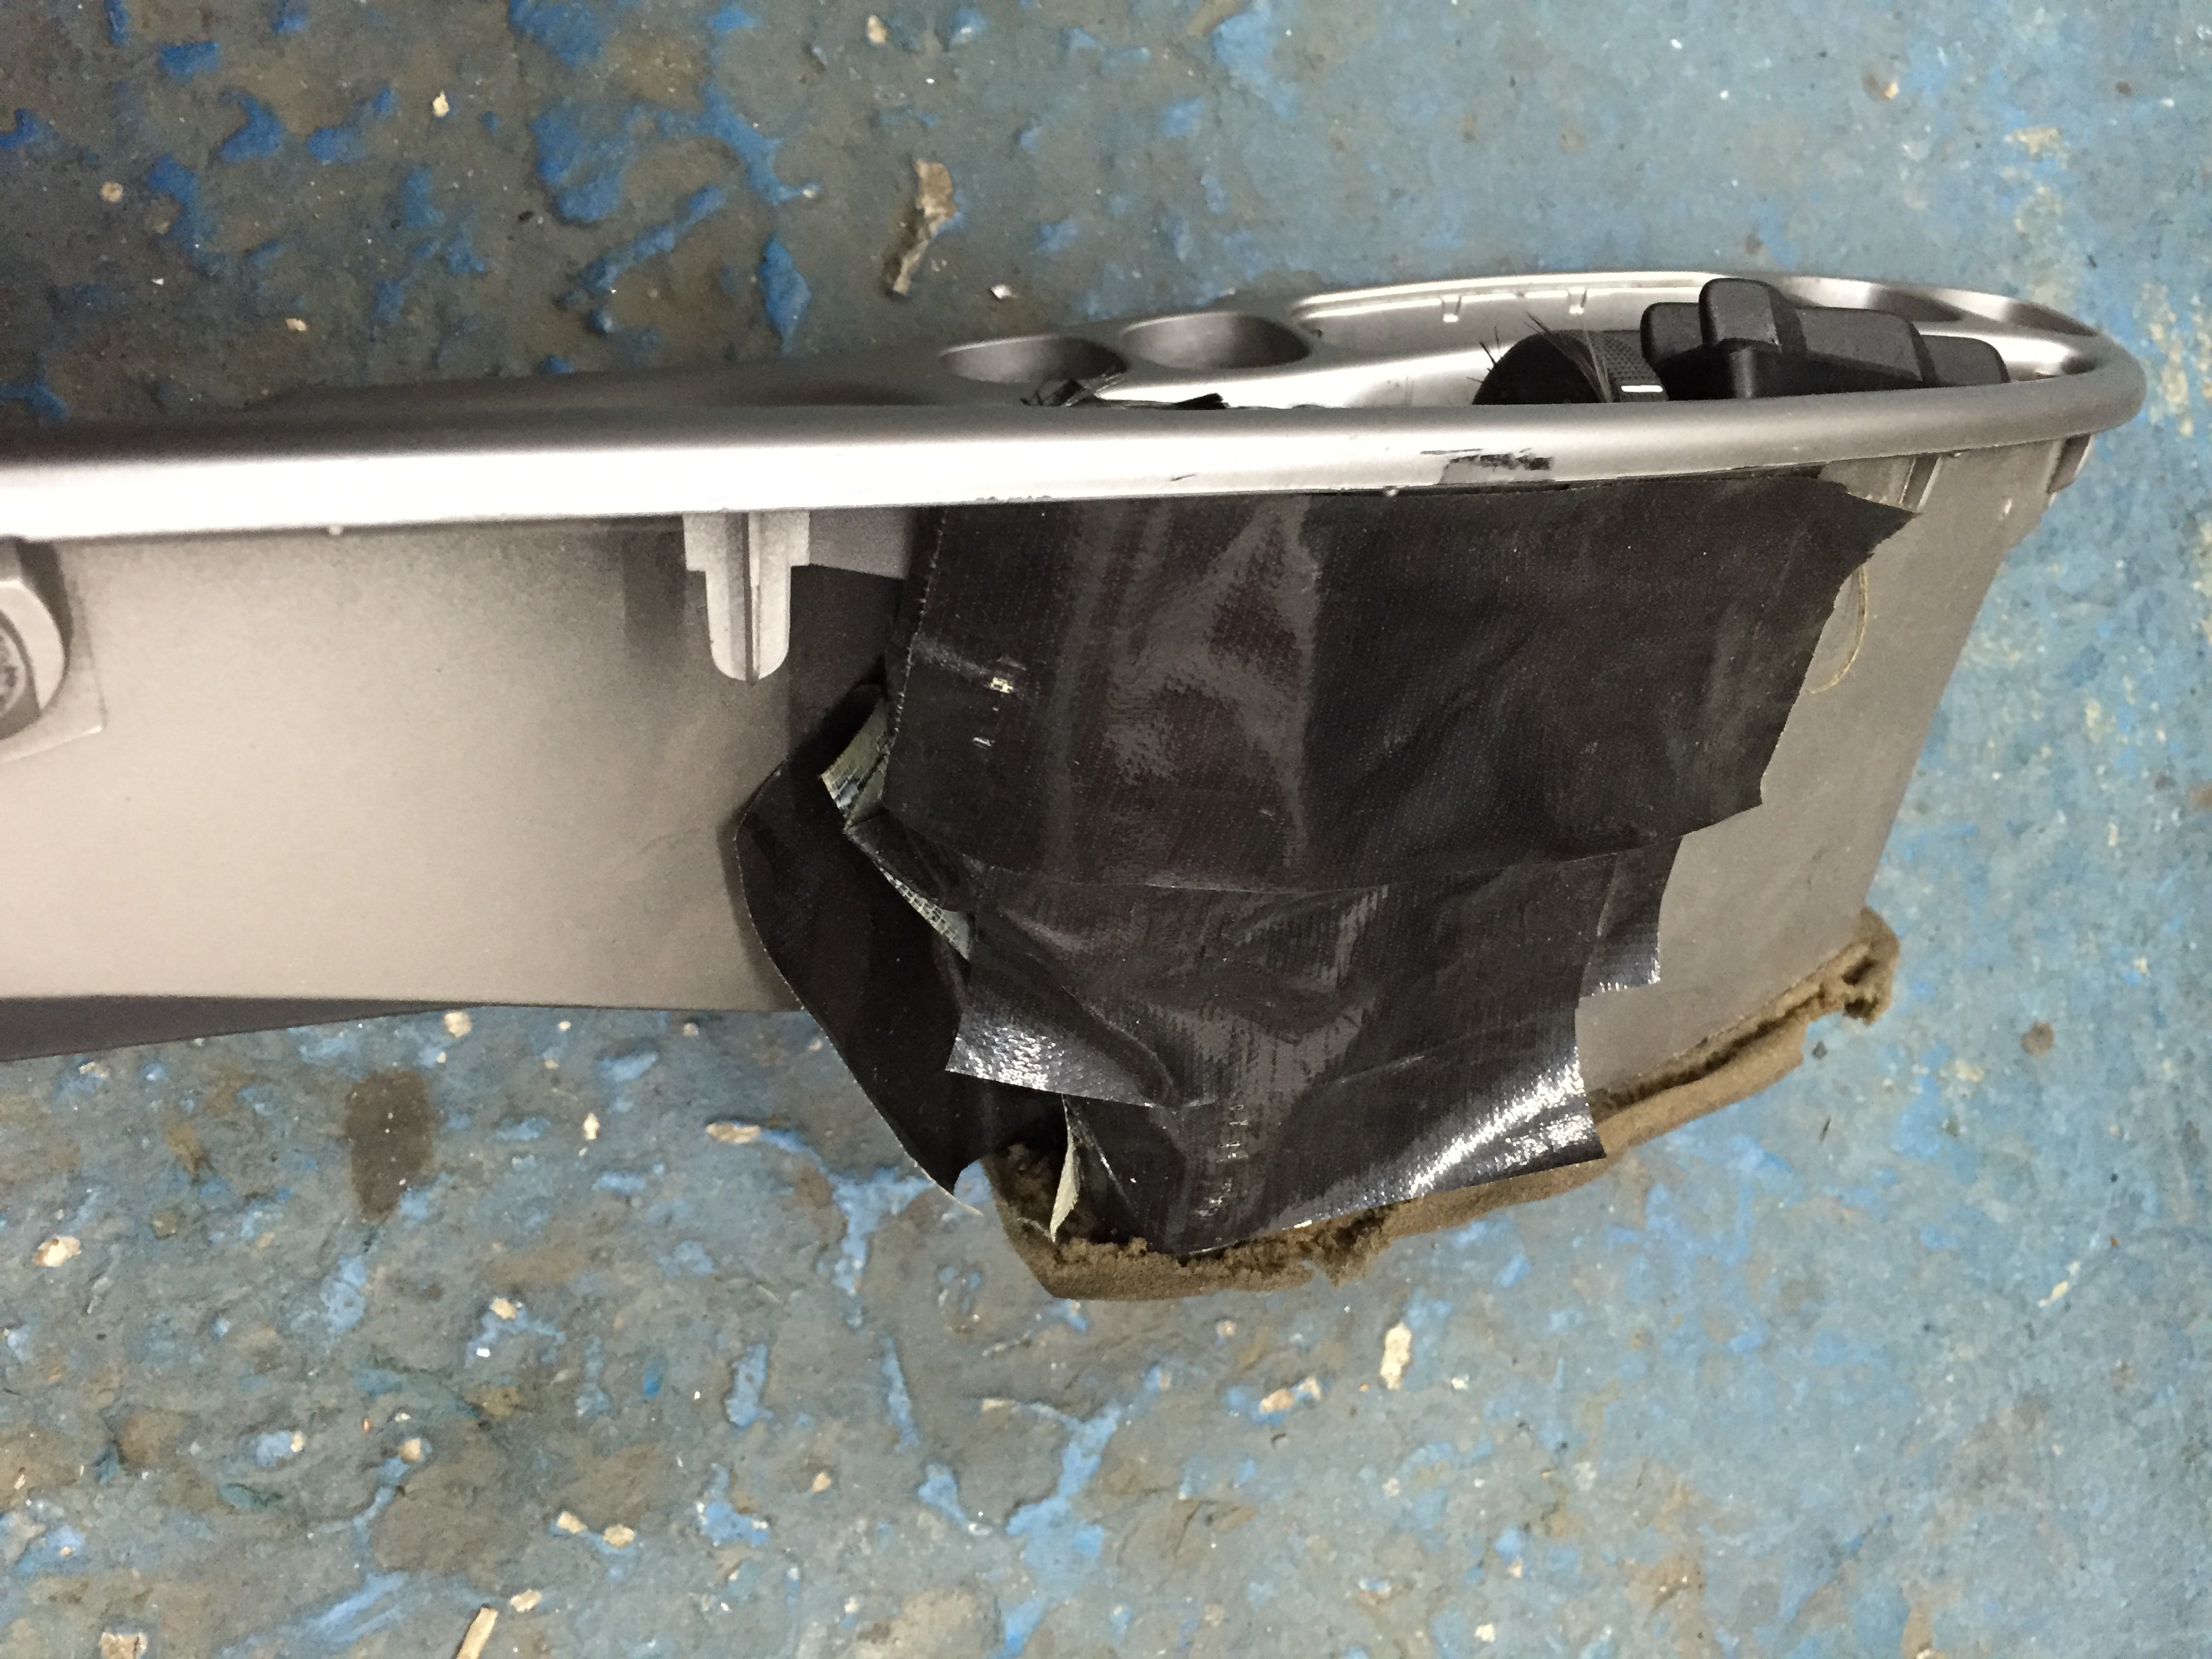
So with those bits done I decided to get the dash surround changed. I prefer a more standard look inside the cabin with some modern upgrades (to follow at a later date) so the existing surround had to go. It was in pretty bad shape too so a new one was sourced and fitted.
I do now need to find a location for the boost gauge.. Along with others too but for now it's better out of the vent.
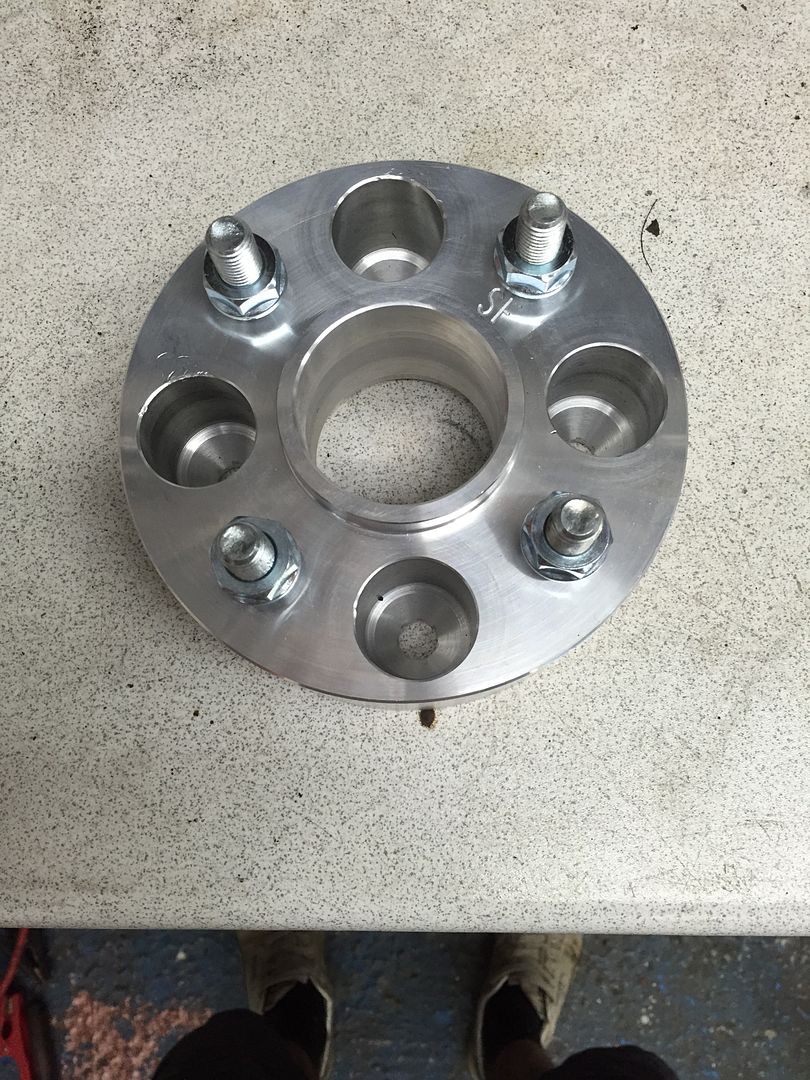
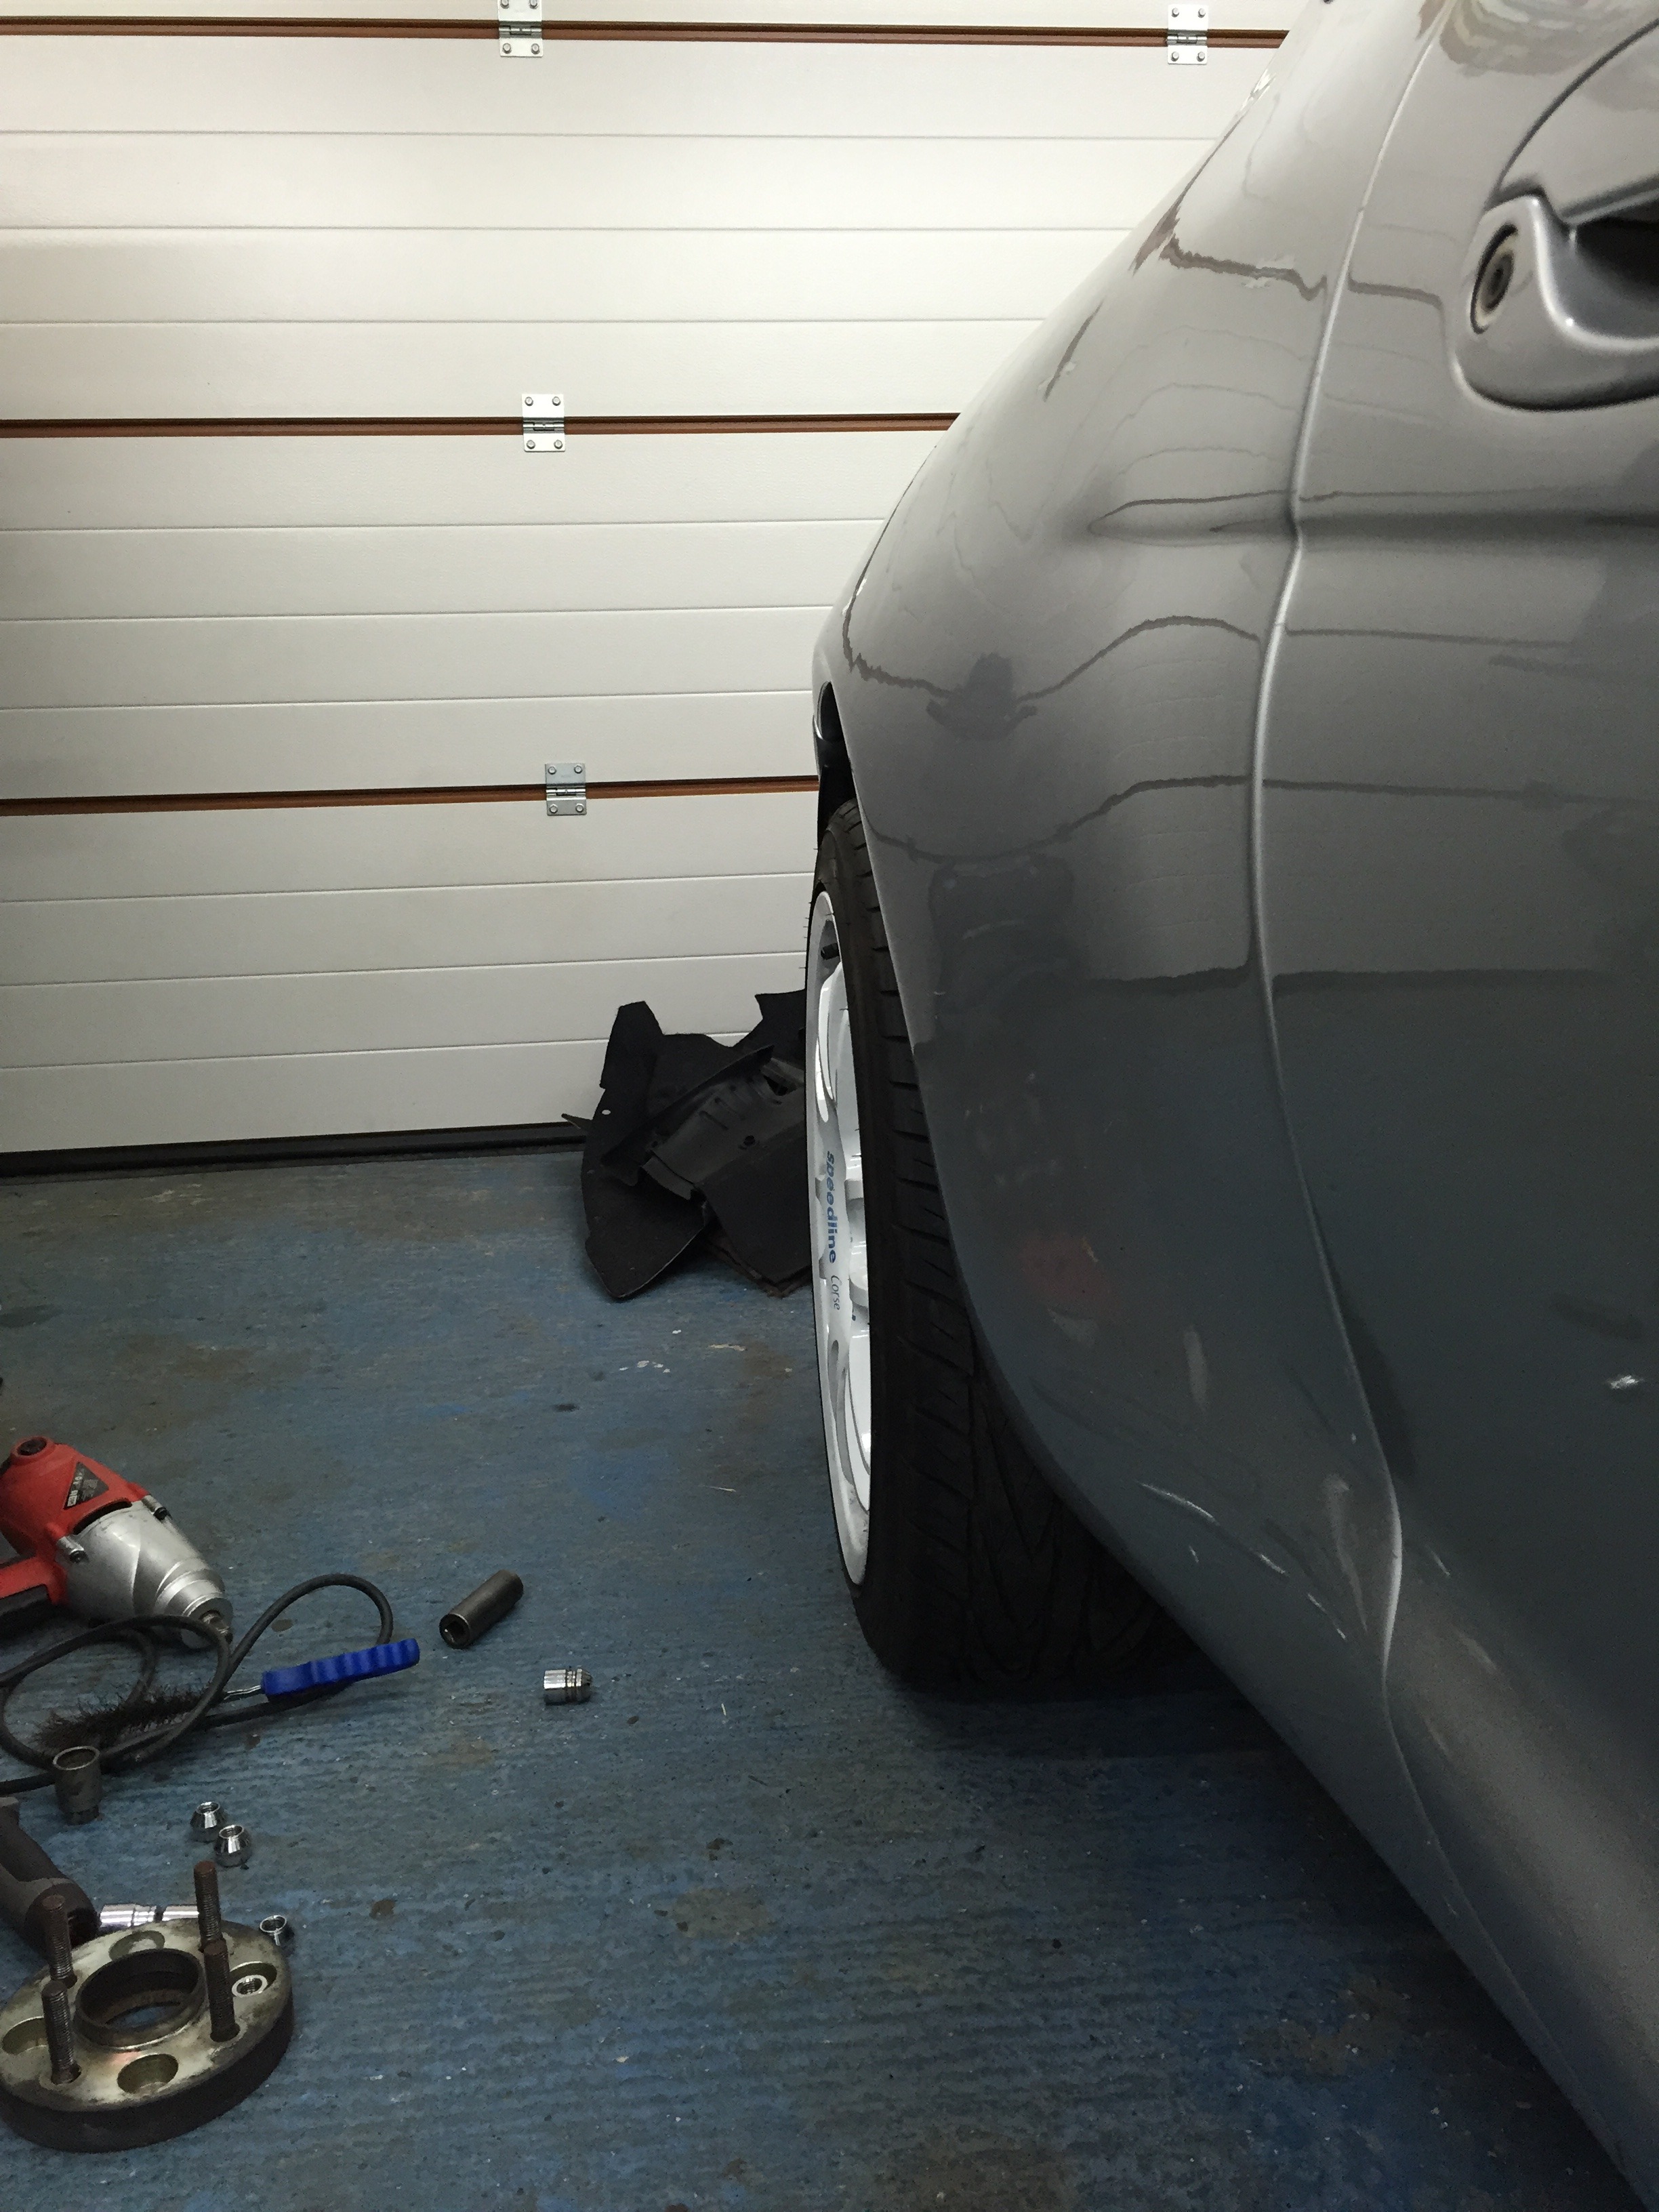
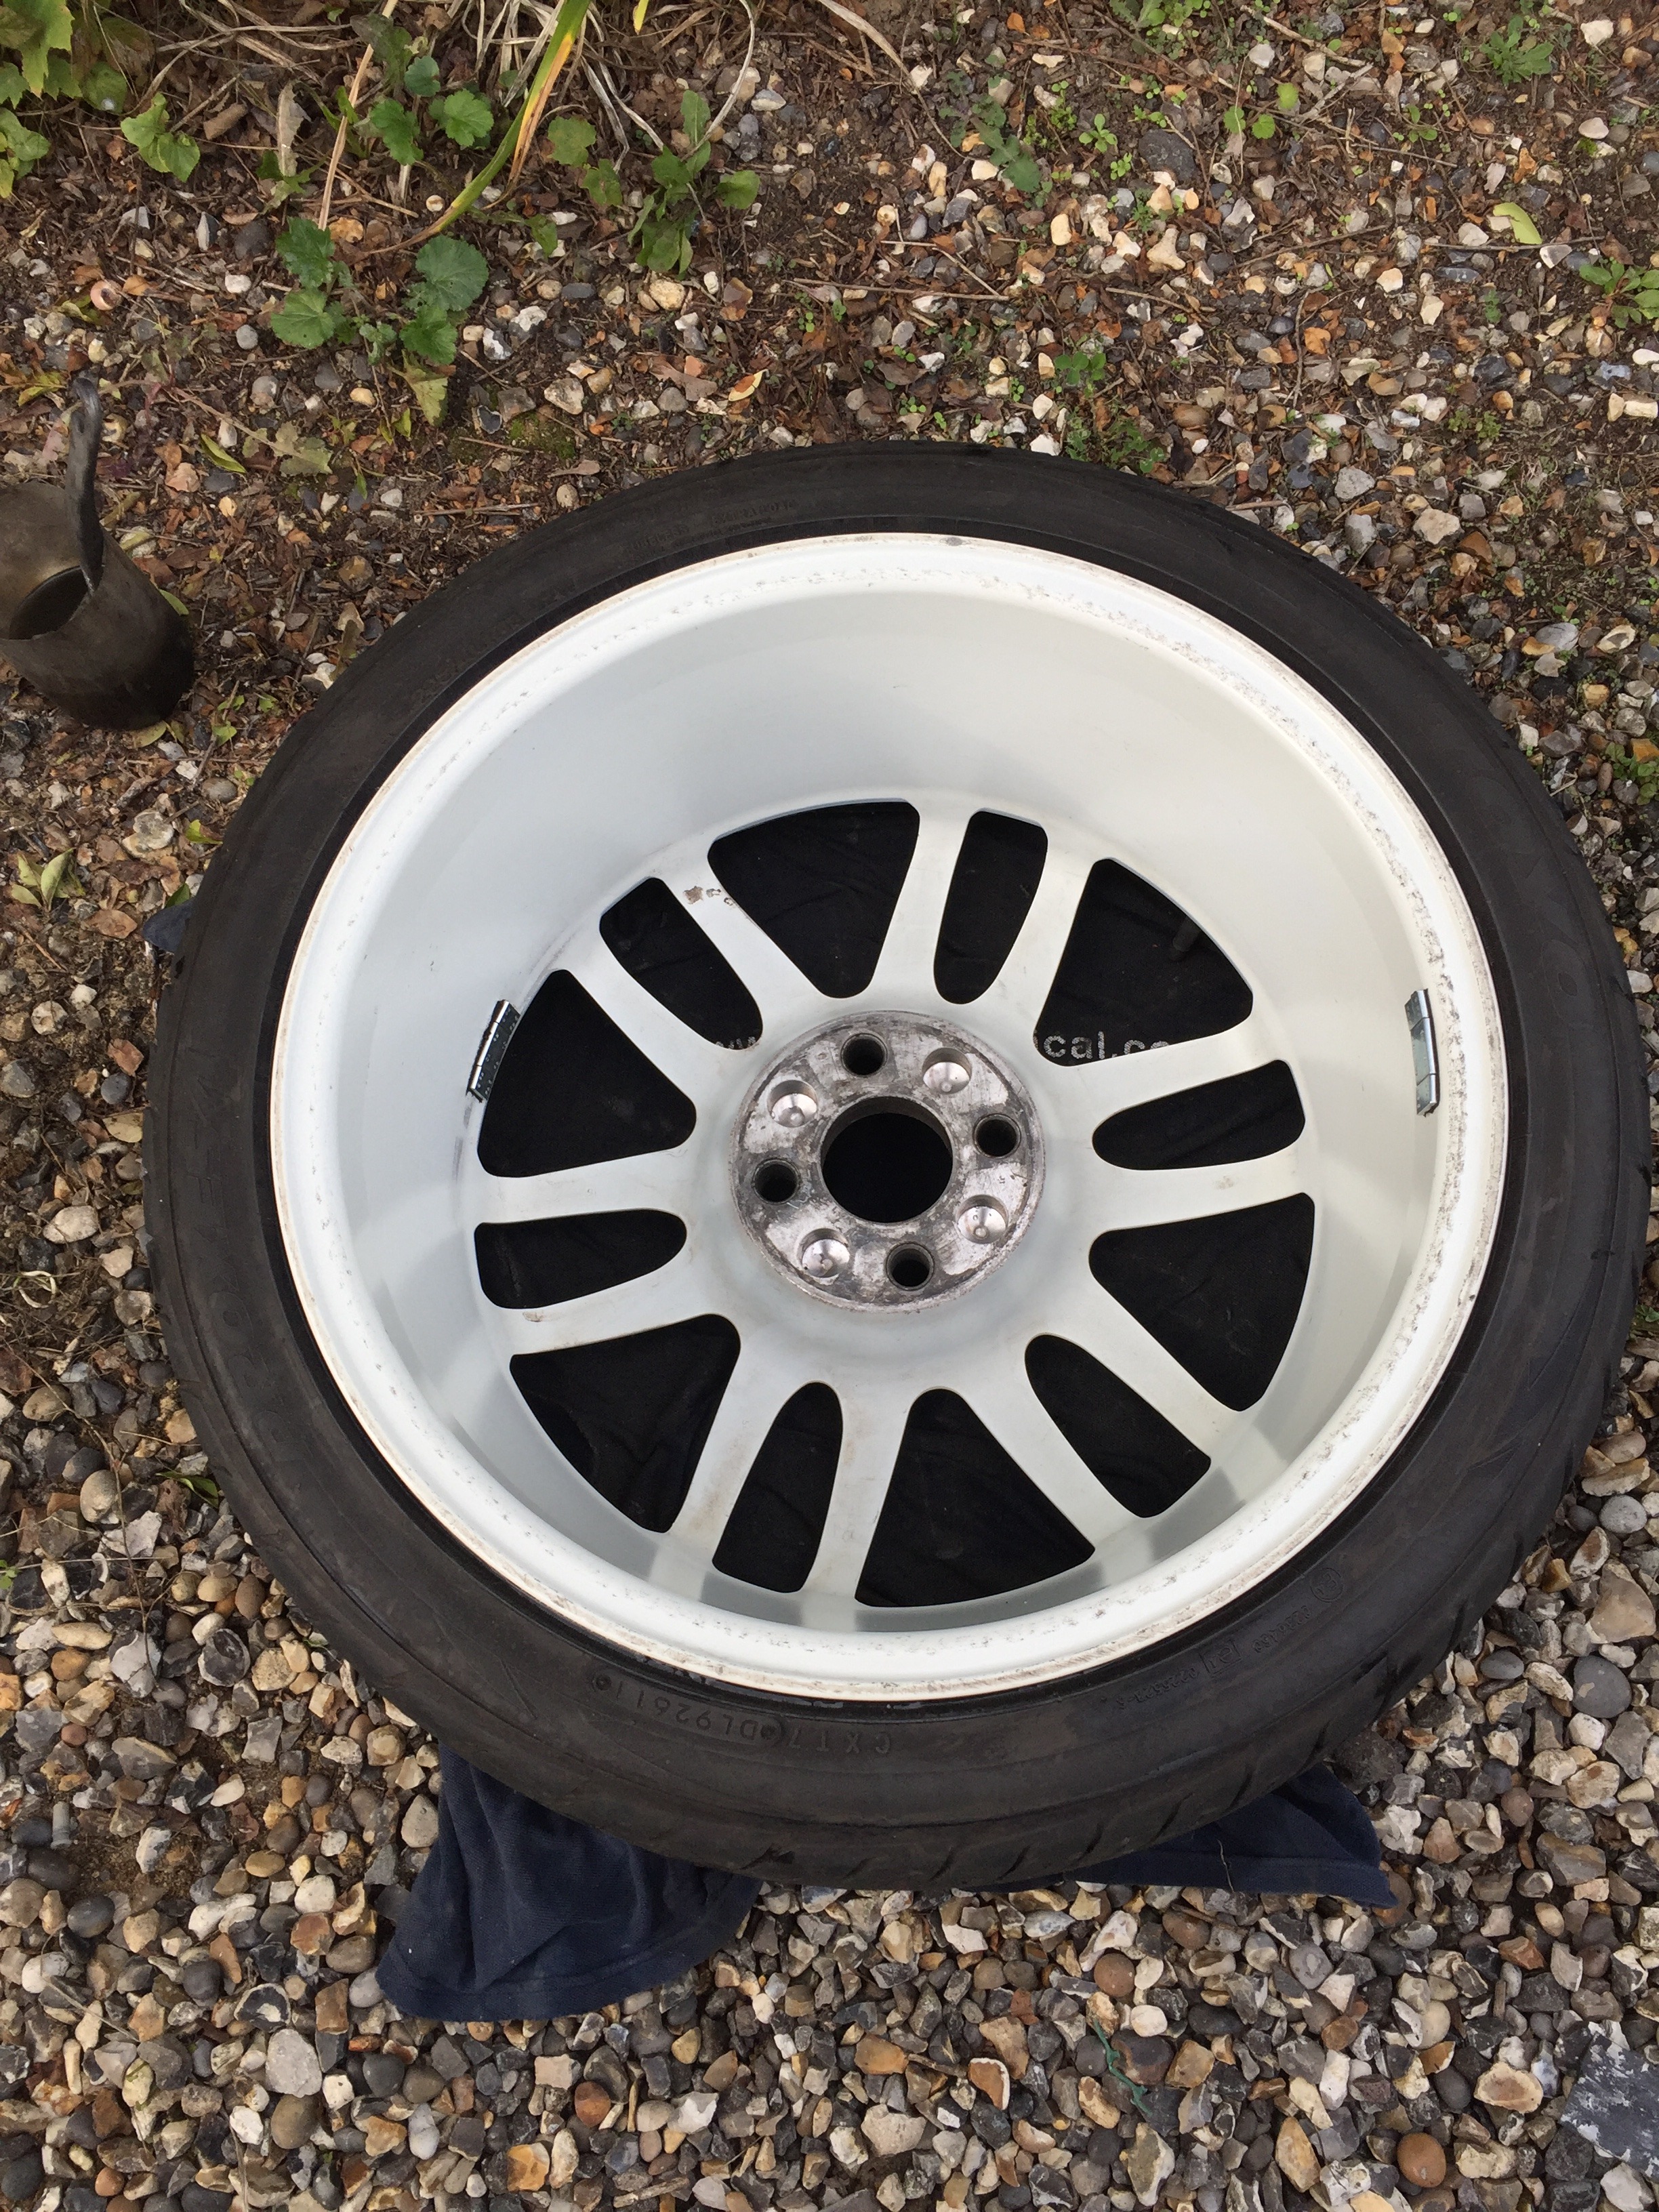
I then moved onto an issue which became apparent when I was staring at the car on the driveway.. The back axle of the car was (when measured) 55-60mm narrower than the front! Basically from what I understand about the cars history is that other wheels were fitted to it originally that had very different offsets front to back. The backs being very 'deep dished' and the fronts not so much. In order for the wheels to sit in the same place giving the same track, the front axle was made wider. This is what caused me all the trouble with the driveshafts back in the beginning. So there were several options.. Narrow the front track (a lot of work - probably not gaining much), fit different wheels with the correct offsets or make the current wheels have the right offset by using spacers. So the easiest option.. Buy spacers.. And big spacers they are...
The car had 25mm spacers all round fitted.. So the idea was to replace the rear 25mm spacers with new ones that's would correct the track..
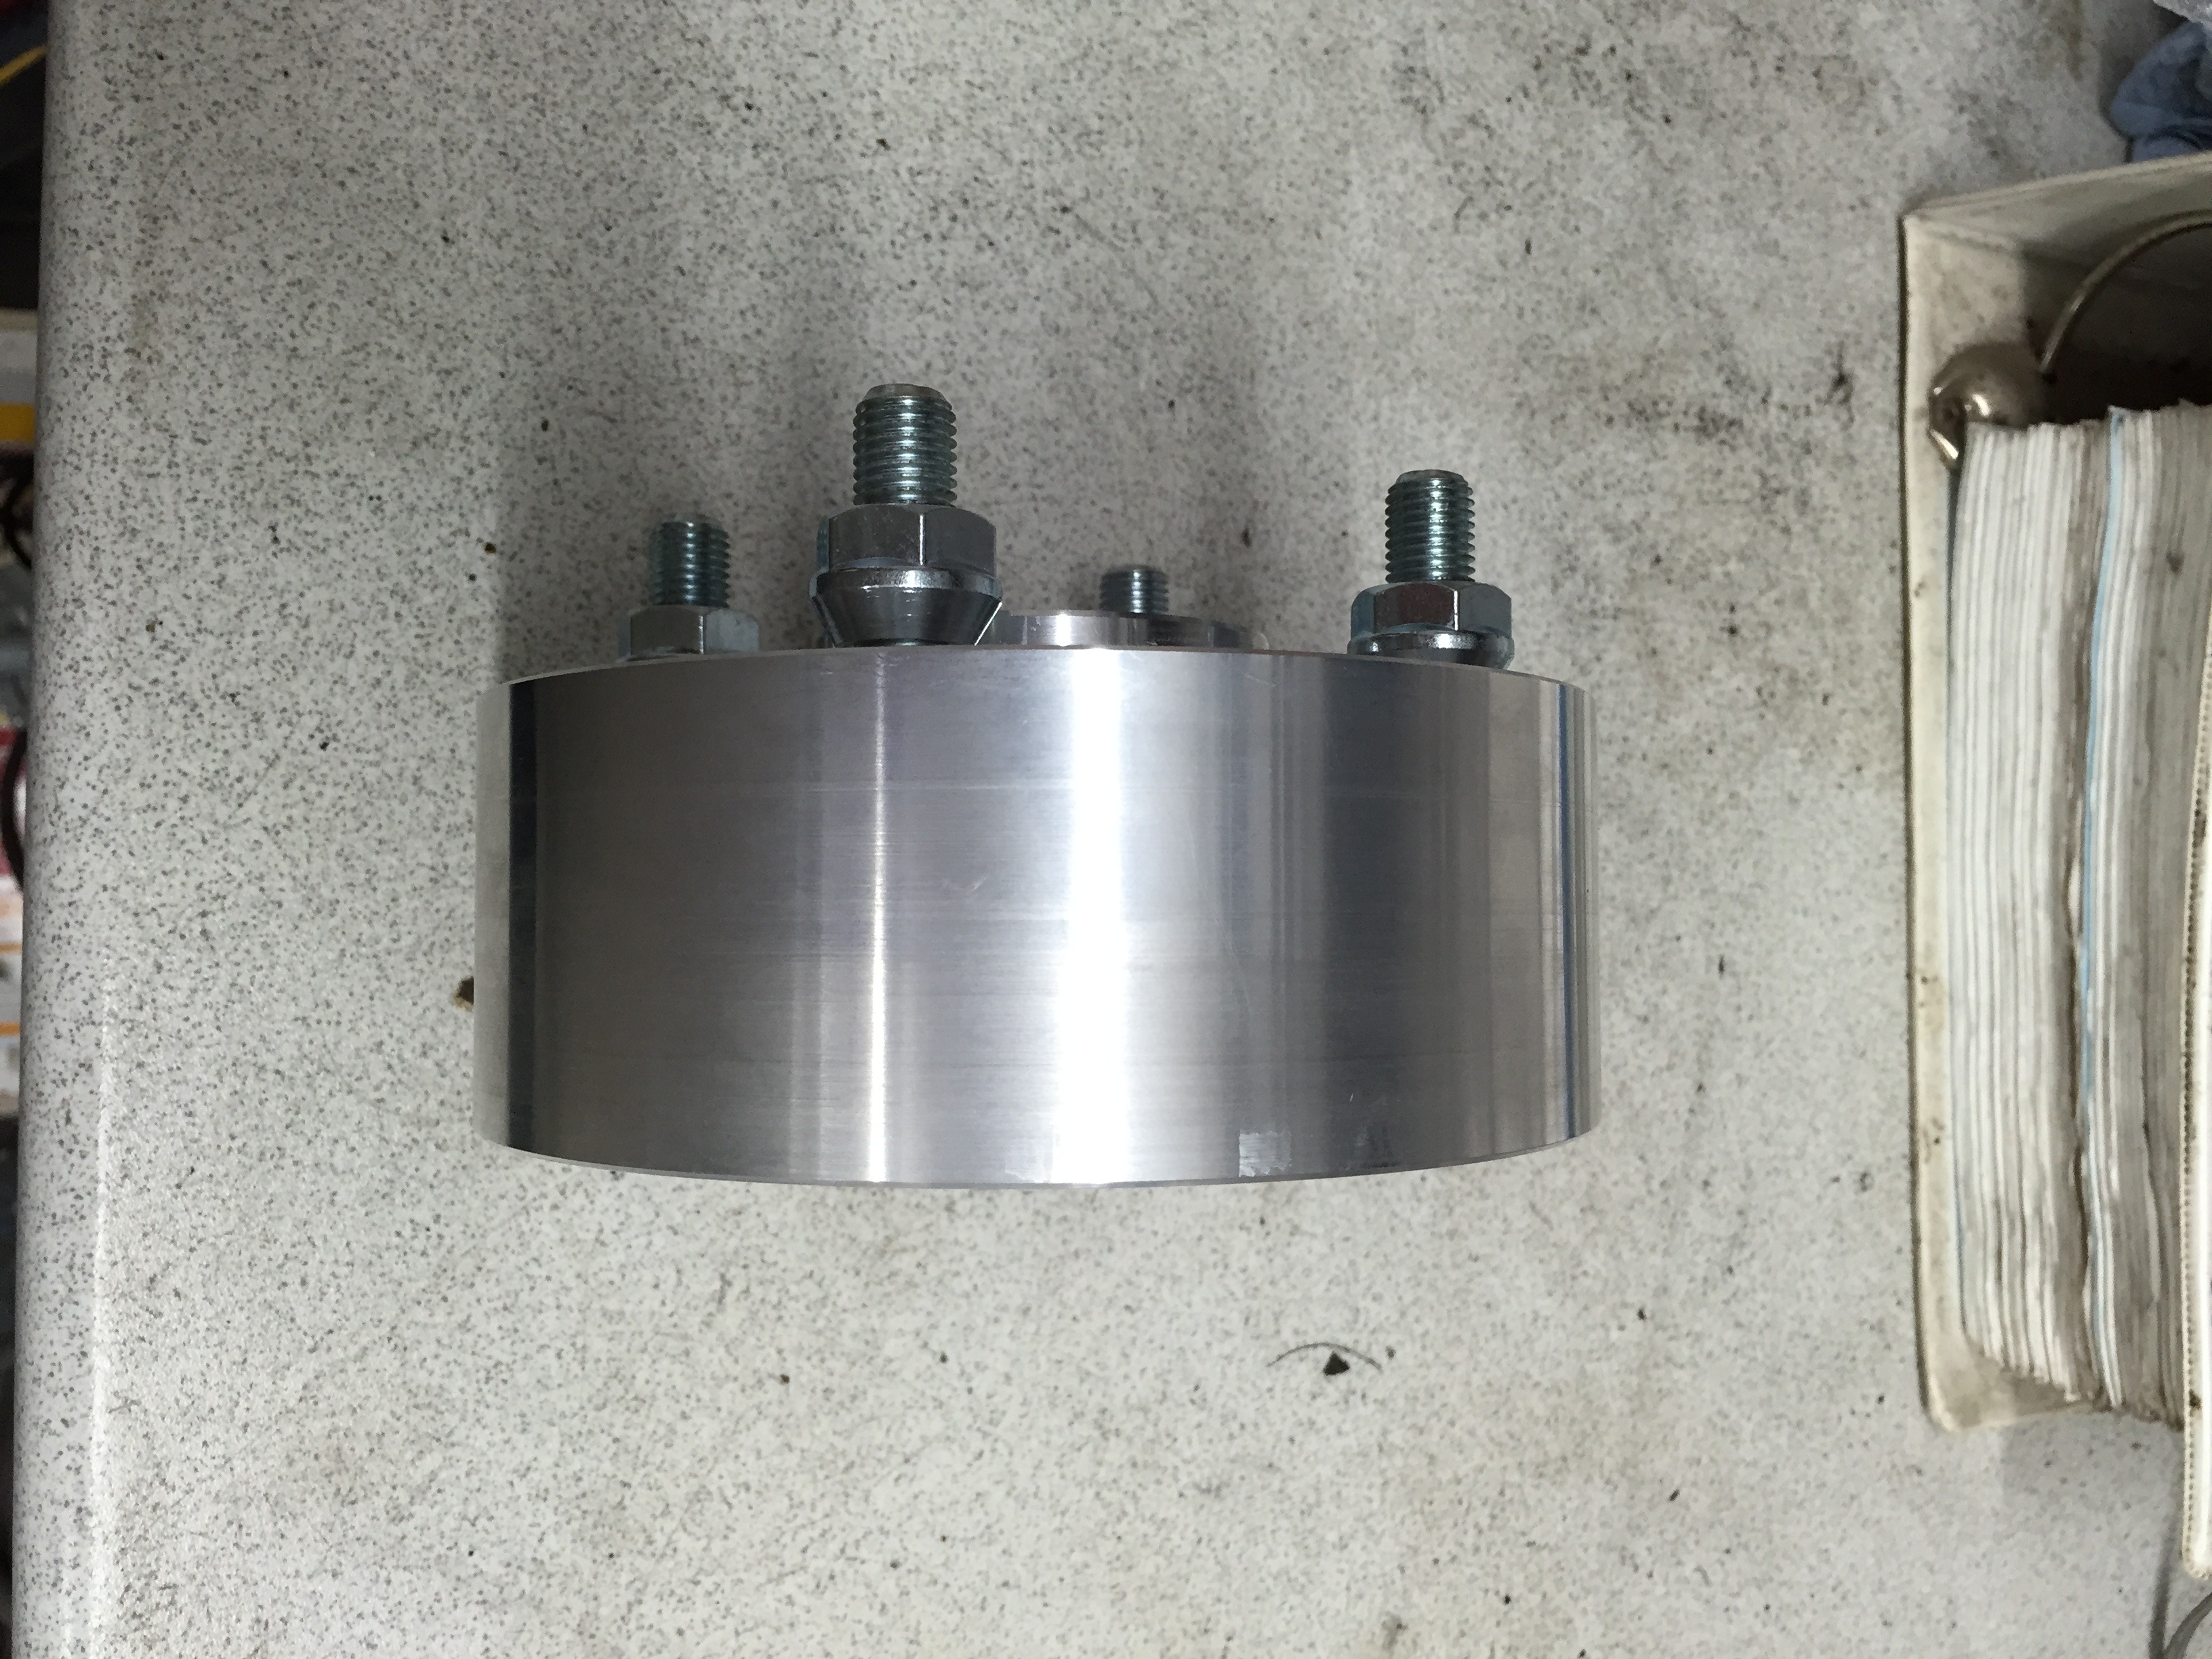
This is what arrived..
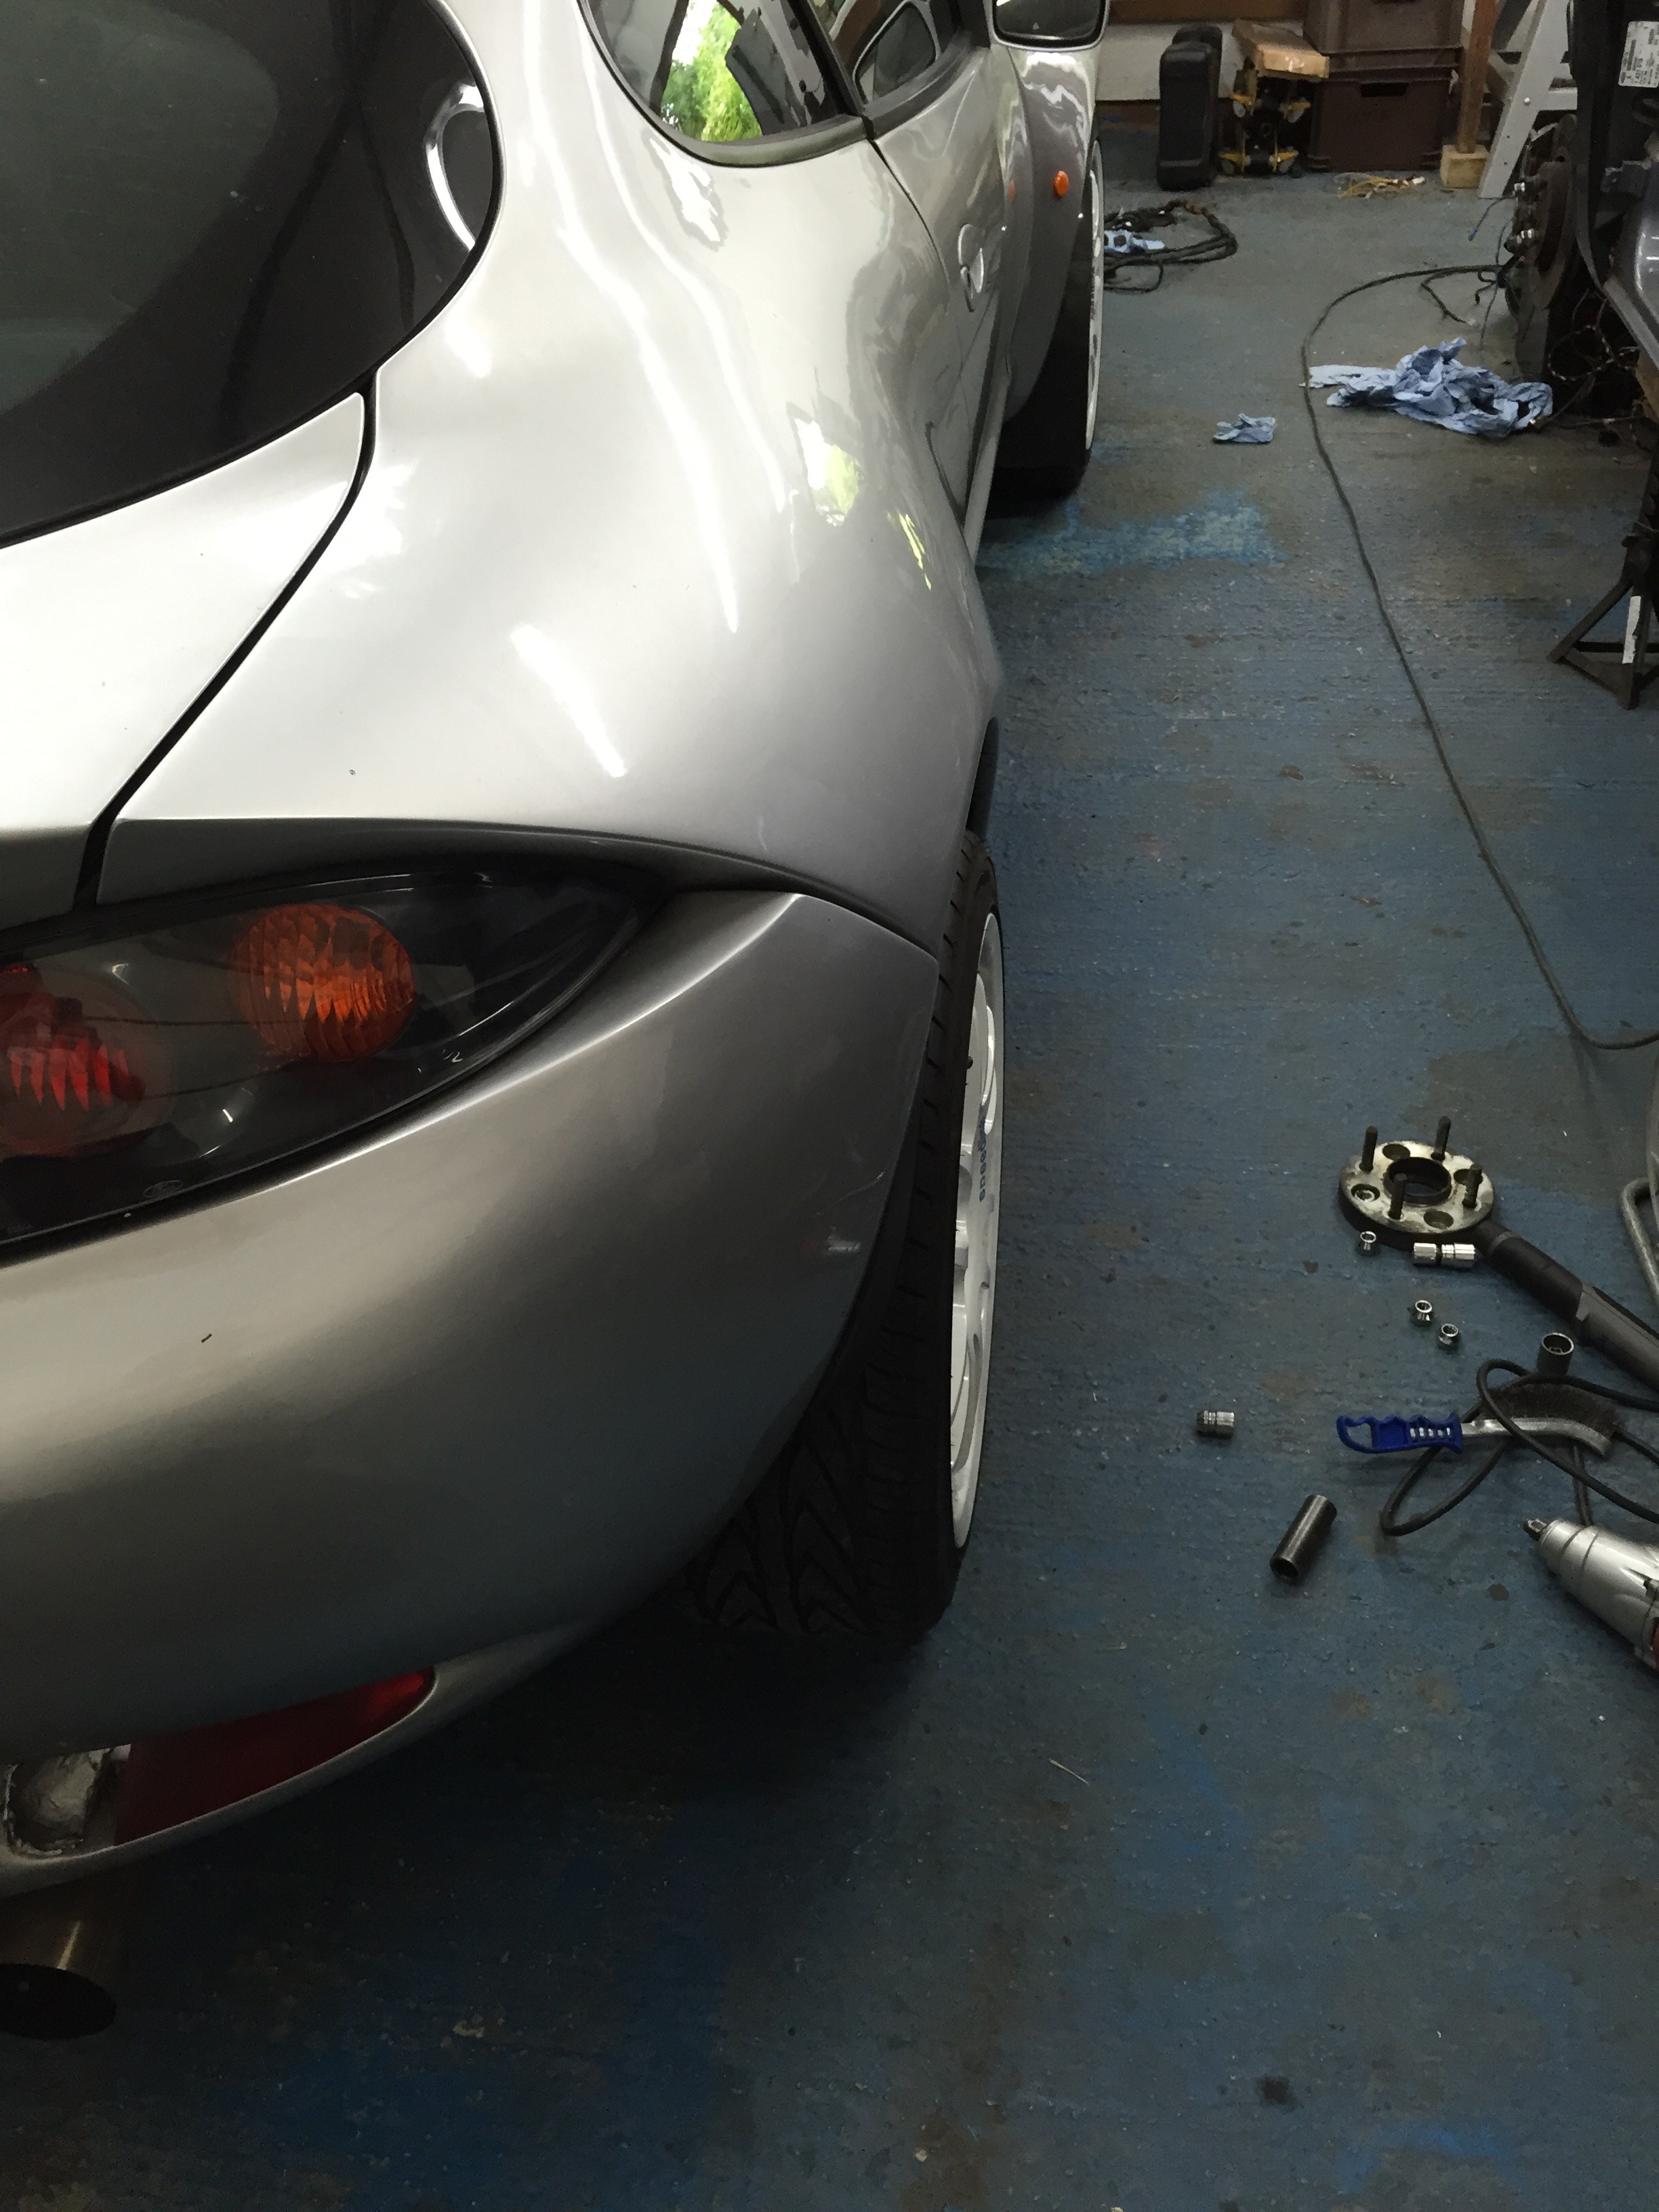
And with the new spacer fitted on the drivers side, the wheel now fills the arch properly
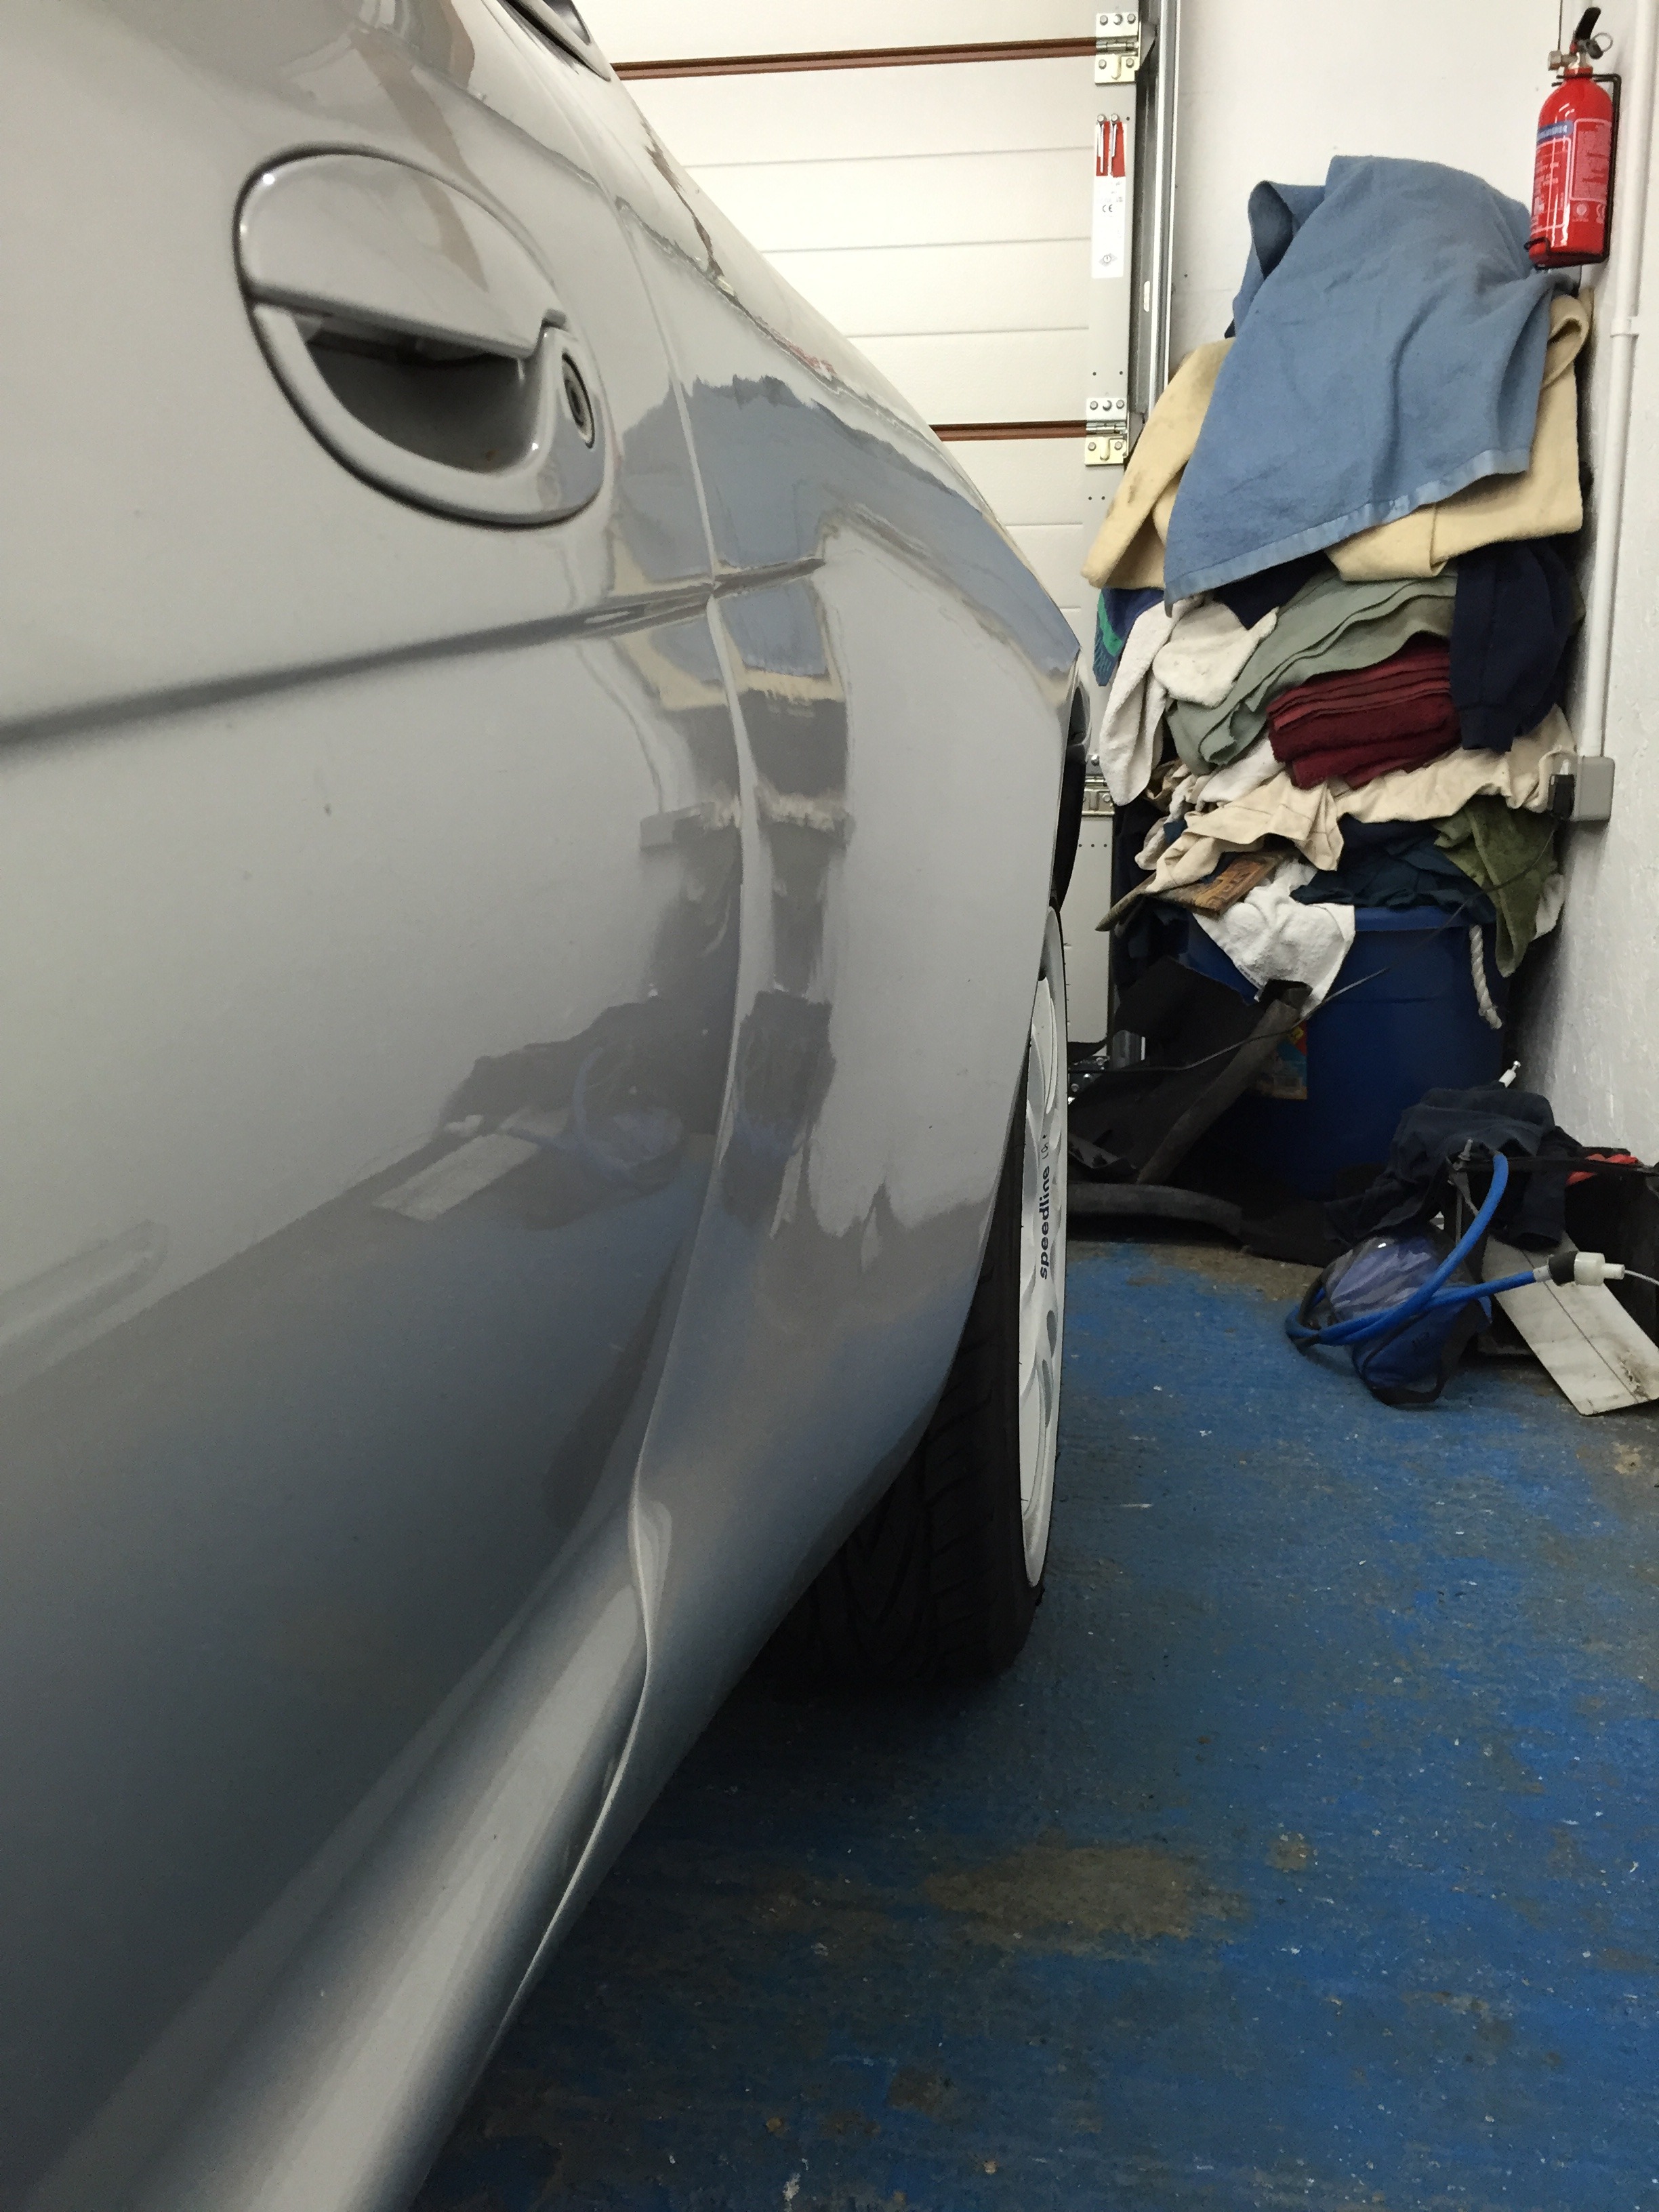
Compared to the passenger side you can see the difference
So with that all done.. Ford Fair 2015 was around the corner and it was going to be the cars biggest test, the furthest I had driven it in one stint by a long way.
For those of you who were there may have seen it but it was one of the best journeys to date.. The car performed perfectly.. And even sat in hours of traffic on the way home without hiccup!
Nearly there now. I'll try and get the last bits up shortly but after this the updates will be a little slower as it's actually behaving itself for once!
Good work on sorting out the issues, but i dont think many motorcyclists will be too happy with the car pissing oil out all over the road.
In know its not much, but it doesnt take a lot to loose grip when you only have a couple of square inches of tyre in contact with the road.
I've probably made it sound far worse than it is. It's barely a mist that actually comes out of it, the separator pot does it job and any oil drains to the sump.
Eventually I may well add a catch tank as an extra precaution.
To be honest it's not misting anything as the dam thing is always in the workshop!!
great updates yet again, the spacera have made a huge improvement and how the wheels now sit, and you were not wrong about the air filter it was defo time for a new one.
good to hear its now behaving itself and id agree defo a good idea to fit a catch can over the winter, im doing the same on my motor
Great work, they are a lovely looking car and this car was the original inspiration for the one I had and finished, just need to actually either use it next year or sell it lol.
I'm sure I remember reading about Warren finding a lot wrong with this car, and the stuff you've had to deal with is unreal. Do Pumaspeed have a Facebook page? Maybe this needs to be put on there
Looks great now though, you've done a cracking job on working through the bodges. Would have been very easy to lose heart and give up with it.
I absolutely love the S1600 body panels, the Racing Puma should have used them instead. I think with the bonnet in silver it will look great, as I'm not too into the carbon. I'm sure Chris Birkbeck (who ran the 1600s) could sort you a new splitter for it, and maybe the rear wing too?
I'm sure Chris Birkbeck (who ran the 1600s) could sort you a new splitter for it, and maybe the rear wing too?
They are literally silly money now for the very few out there. Especially as its just a piece of fibreglass.
Originally Posted by Glenn_
I always thought the frp panels were the same as the s1600 panels
S1600 is a good bit wider each side. Wouldnt have been practical for the FRP as they already had (bodged) widened wishbones and merely used hub carrier spacers on the back. The rear wheels on the FRP stick in quite a bit on the arches too.
S1600 was all custom billet front hubs and wishbones and had a custom made independant rear set up.
I knew they were big when I ordered them but it was still a surprise when I opened the box!
Originally Posted by reese646
Great work, they are a lovely looking car and this car was the original inspiration for the one I had and finished, just need to actually either use it next year or sell it lol.
Saw your thread on this car, you've done a great job on it. The paintwork and livery really work well!
Originally Posted by massivewangers
Can't believe I've not seen this thread.
I'm sure I remember reading about Warren finding a lot wrong with this car, and the stuff you've had to deal with is unreal. Do Pumaspeed have a Facebook page? Maybe this needs to be put on there
Looks great now though, you've done a cracking job on working through the bodges. Would have been very easy to lose heart and give up with it.
I absolutely love the S1600 body panels, the Racing Puma should have used them instead. I think with the bonnet in silver it will look great, as I'm not too into the carbon. I'm sure Chris Birkbeck (who ran the 1600s) could sort you a new splitter for it, and maybe the rear wing too?
It's amazing to think there are still more issues with it really.. I've still got to look at the fuel tank as that has some nice 'features'!
The Ka is still with me, it's now in the tent outside! I prepped and etch primed all the underside and got it back on some wheels so it can be moved about. I'm not sure what to do with it to be honest. I have plans to put a 2ltr on nitrous in it as a track car... Thought that might be a laugh! But time will see I guess, this thing is taking all my time and money at the moment!
Wow the atention to detail and patience you have with this car is great. The fabrication on the shell looks really good. DJM did actually build and maintained Colin McRaes' MK2 Escort and built the R4, that should be a good testament
The Ka is still with me, it's now in the tent outside! I prepped and etch primed all the underside and got it back on some wheels so it can be moved about. I'm not sure what to do with it to be honest. I have plans to put a 2ltr on nitrous in it as a track car... Thought that might be a laugh! But time will see I guess, this thing is taking all my time and money at the moment!
Ha, I wish! It's been away since May! don't know when it will be up and running, it's out of my hands.
Ah good you still have it, would be good to see it out again.
When it was running it had 215bhp at the hubs, so at a guess around 250-260at the fly. It was a great car to drive about in. Took it off the road for upgrades/rust repair and it's never gone back together. The engine is now sold on, so not sure what to do with it. Carried out all the rust repair so the shell is pretty good and all prepped for paint underneath. If I get some time I may build it back into a track car.
Originally Posted by Swamp
Wow the atention to detail and patience you have with this car is great. The fabrication on the shell looks really good. DJM did actually build and maintained Colin McRaes' MK2 Escort and built the R4, that should be a good testament
Thanks very much. The fabrication work has been done very well, so in that sense in really pleased with the car.
Originally Posted by surrey_100e
Ha, I wish! It's been away since May! don't know when it will be up and running, it's out of my hands.
Ah good you still have it, would be good to see it out again.
That's some time away! Will be so smart when it is back though! Yeah I'd like to see it running again and get back out in it.. But for now it's on hold
Right so update time, going to bring this up to date now finally! Not too much to report but a free minor changes.
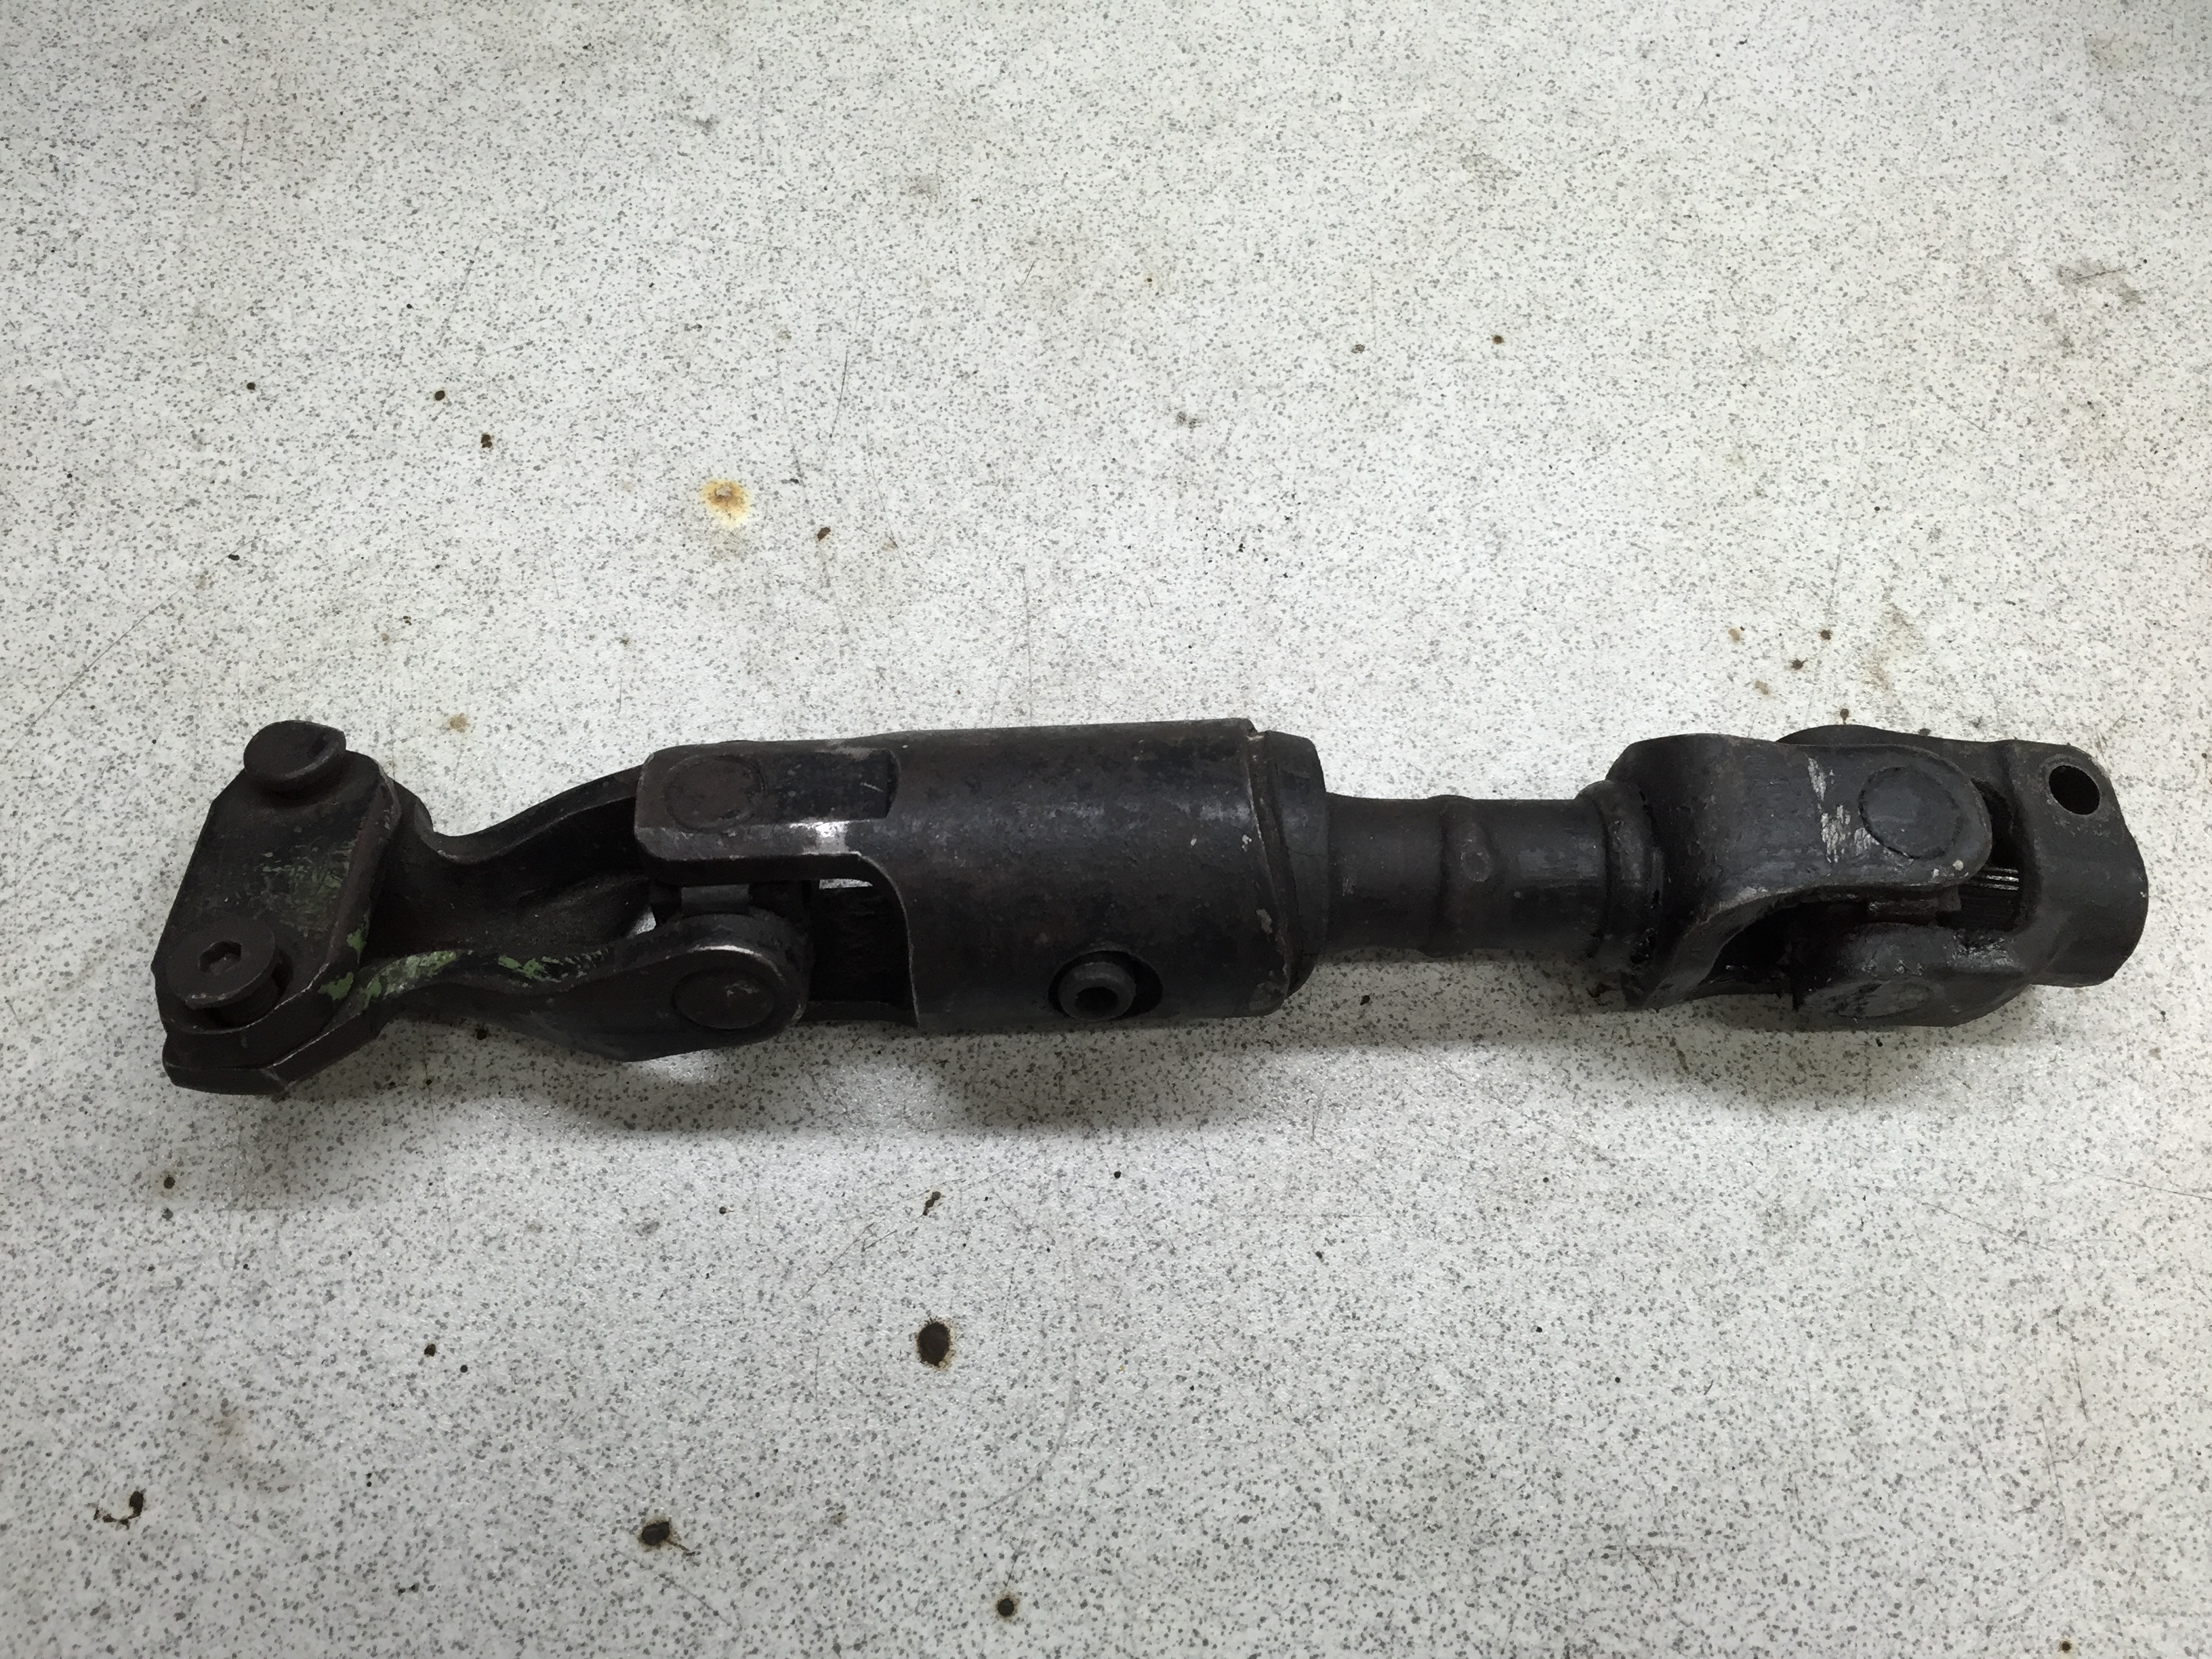
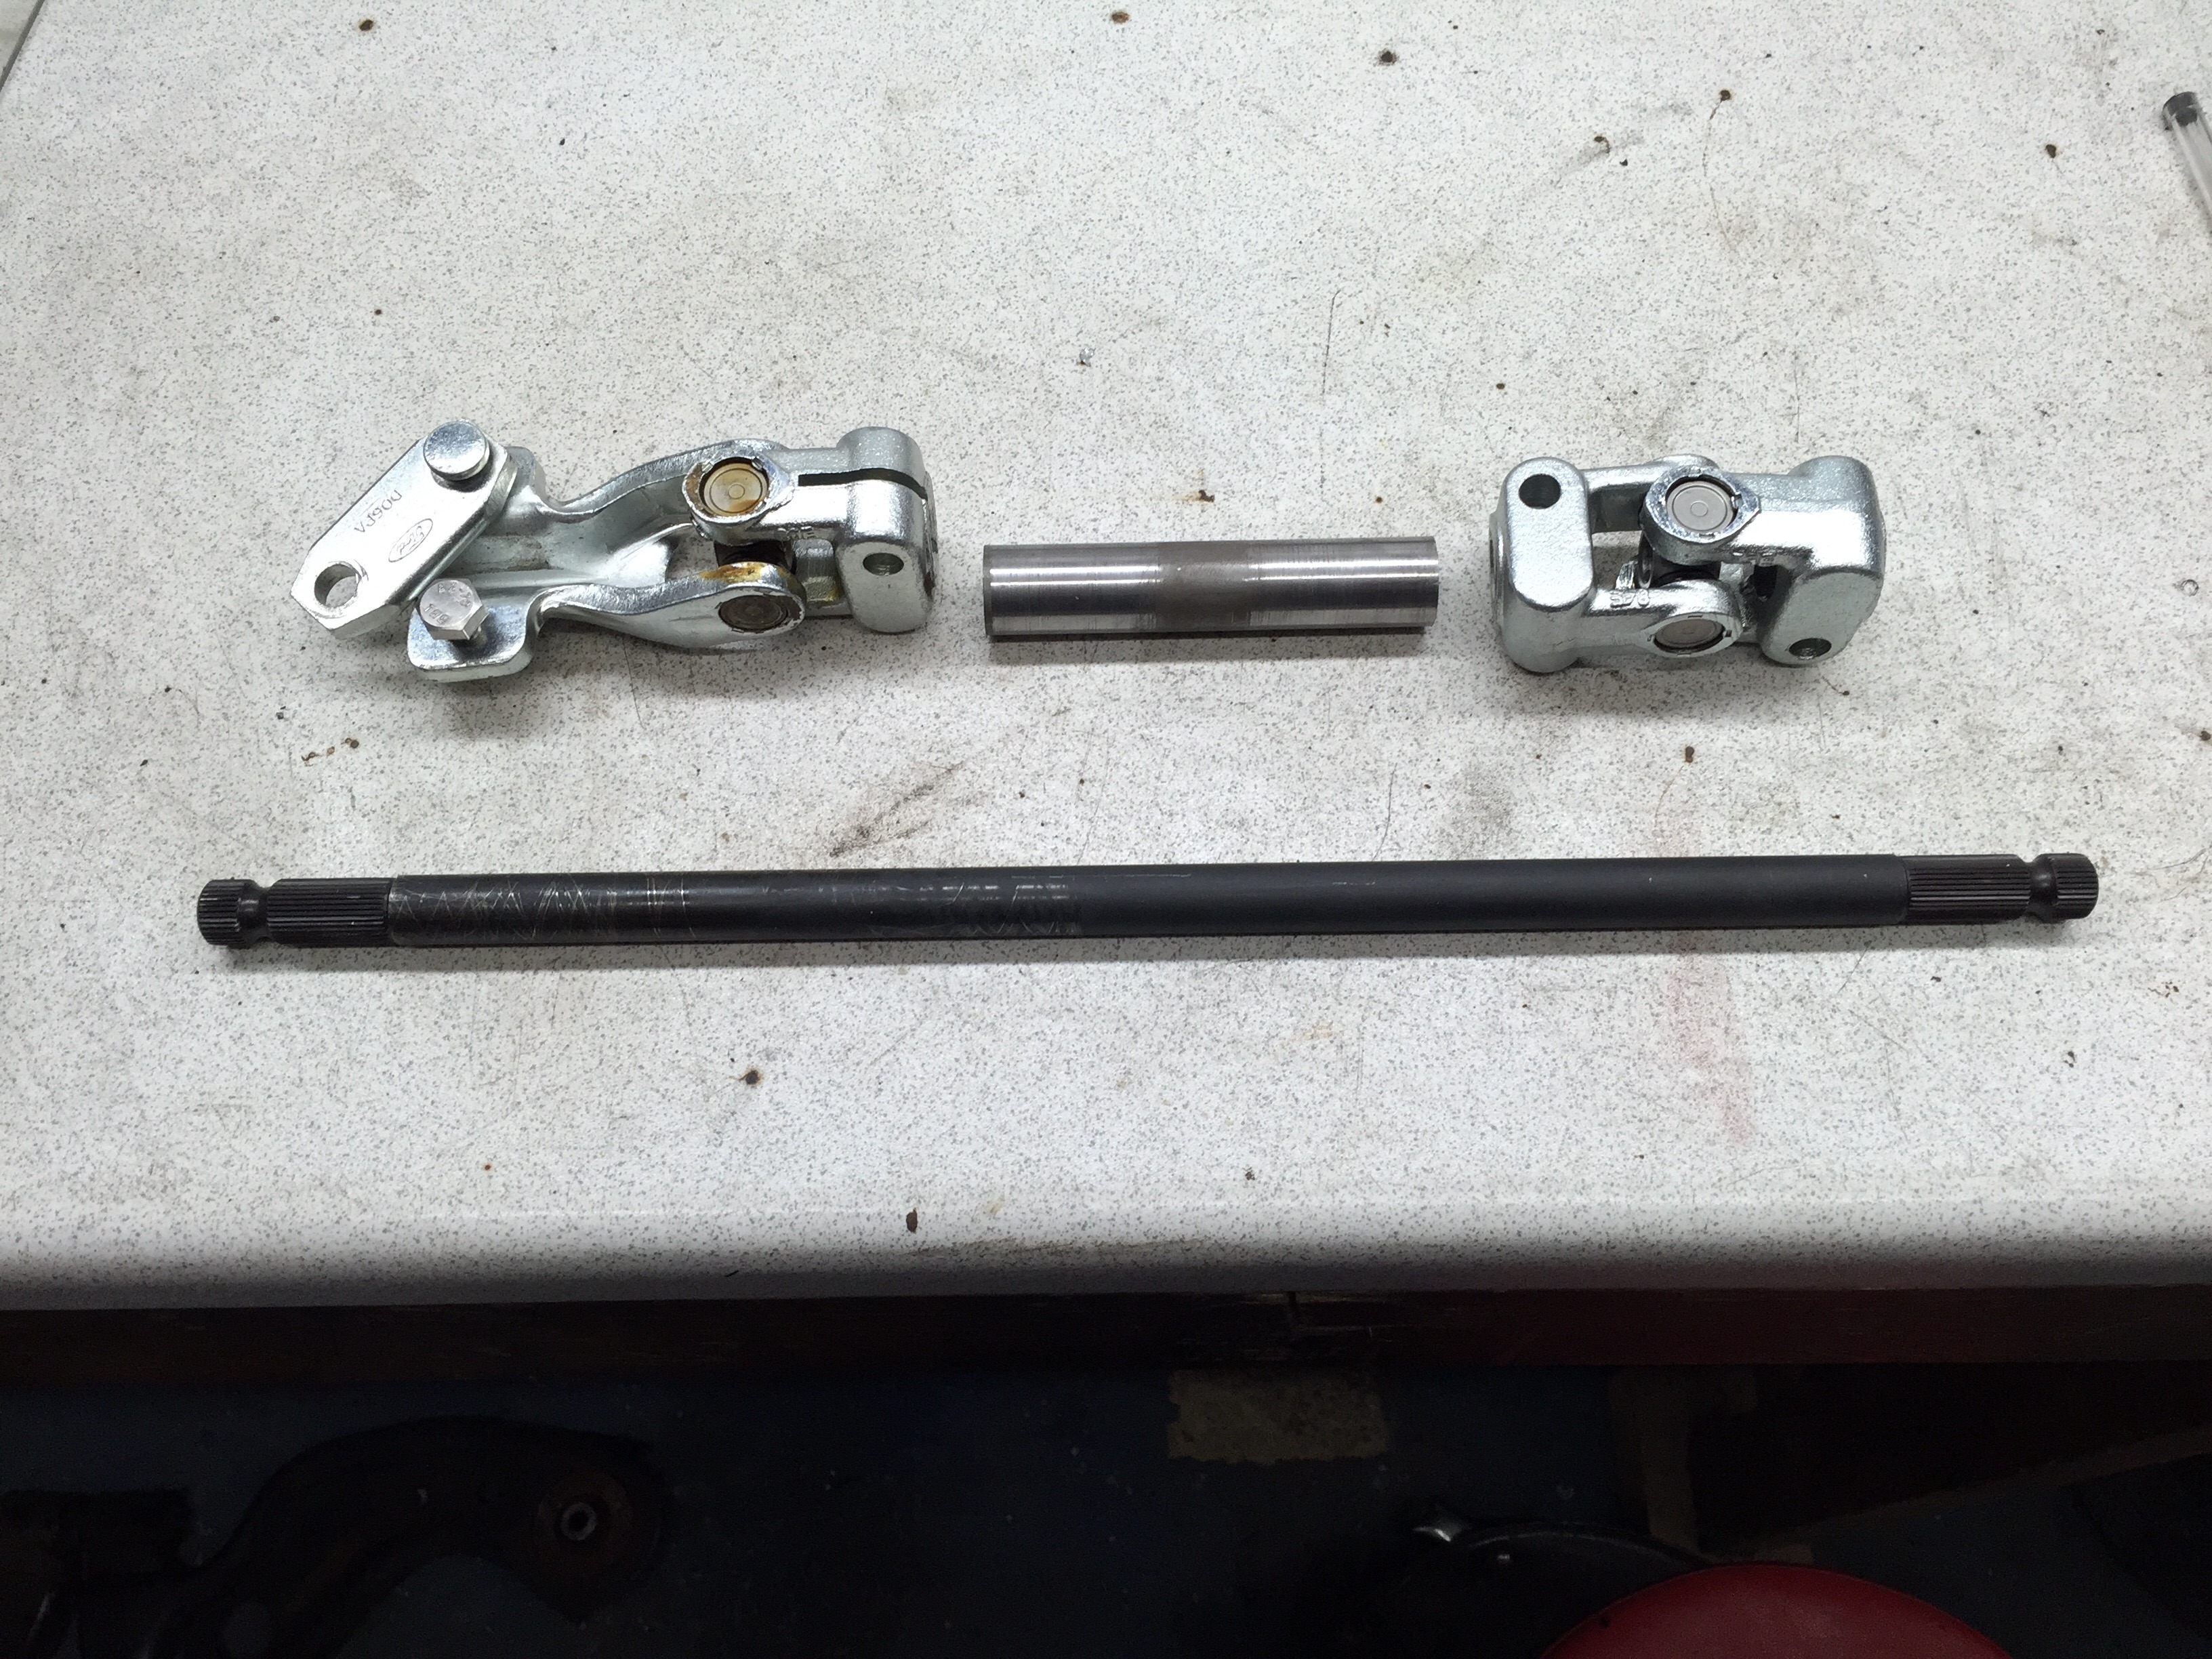
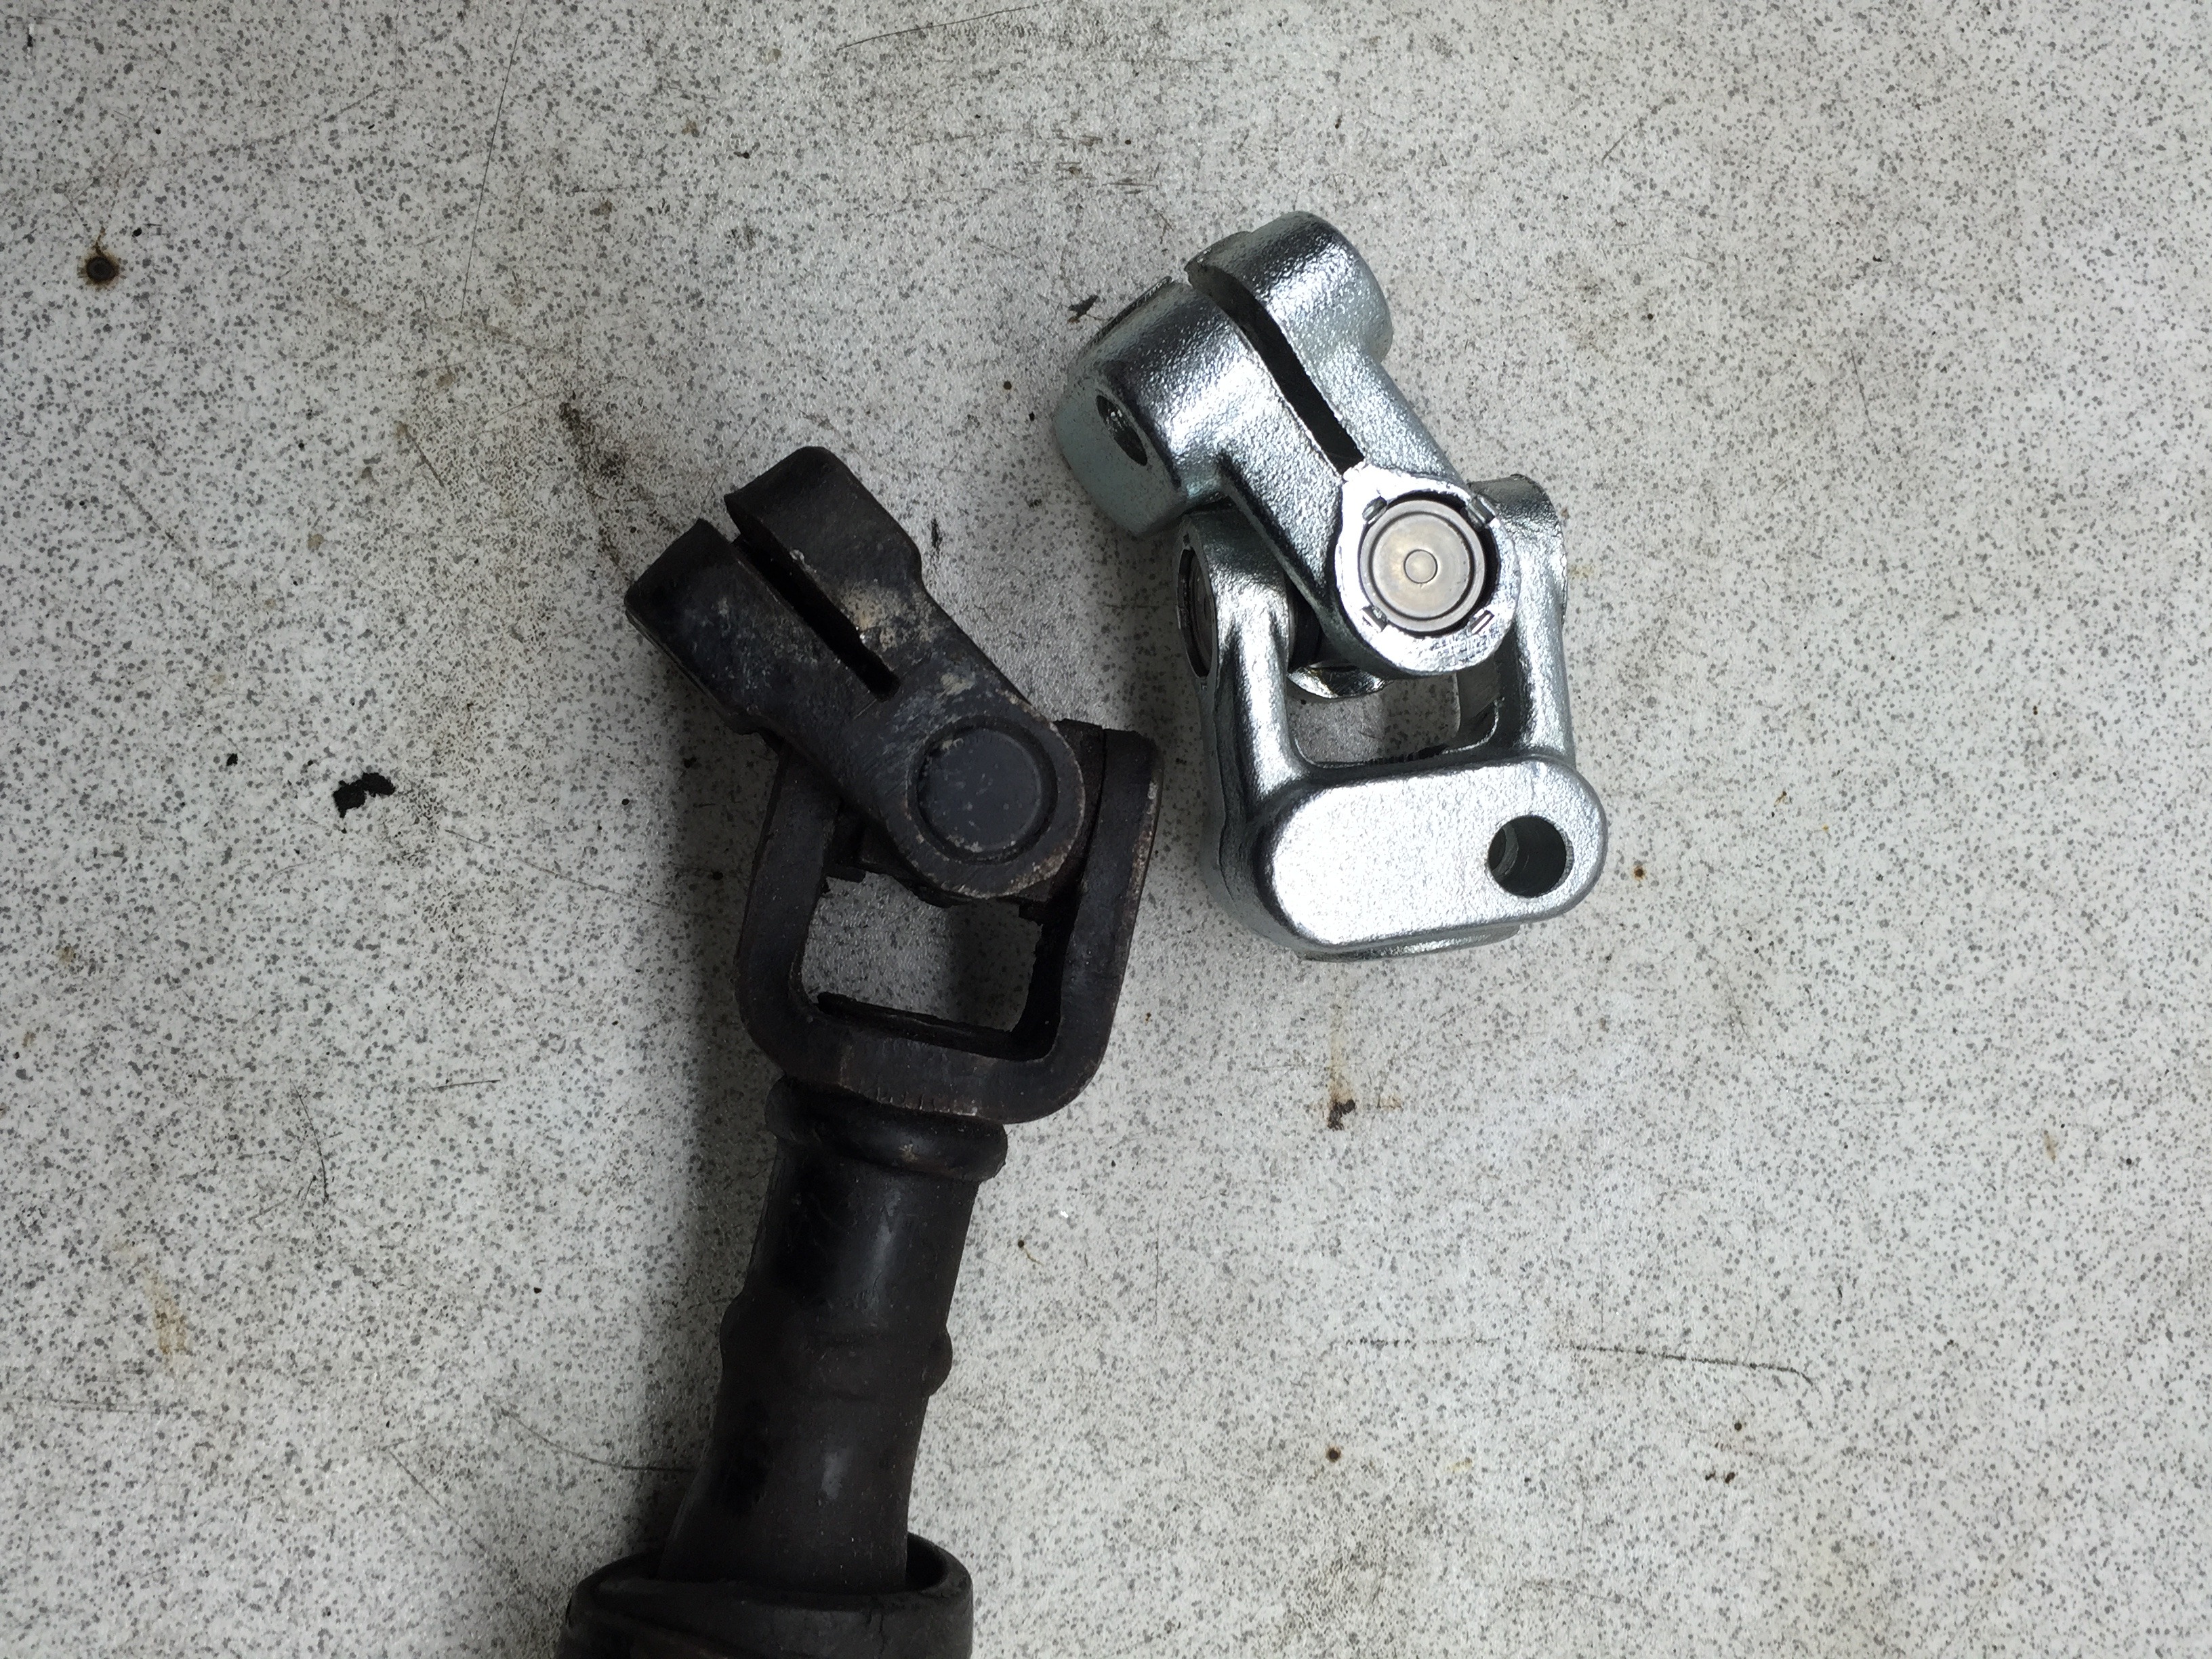
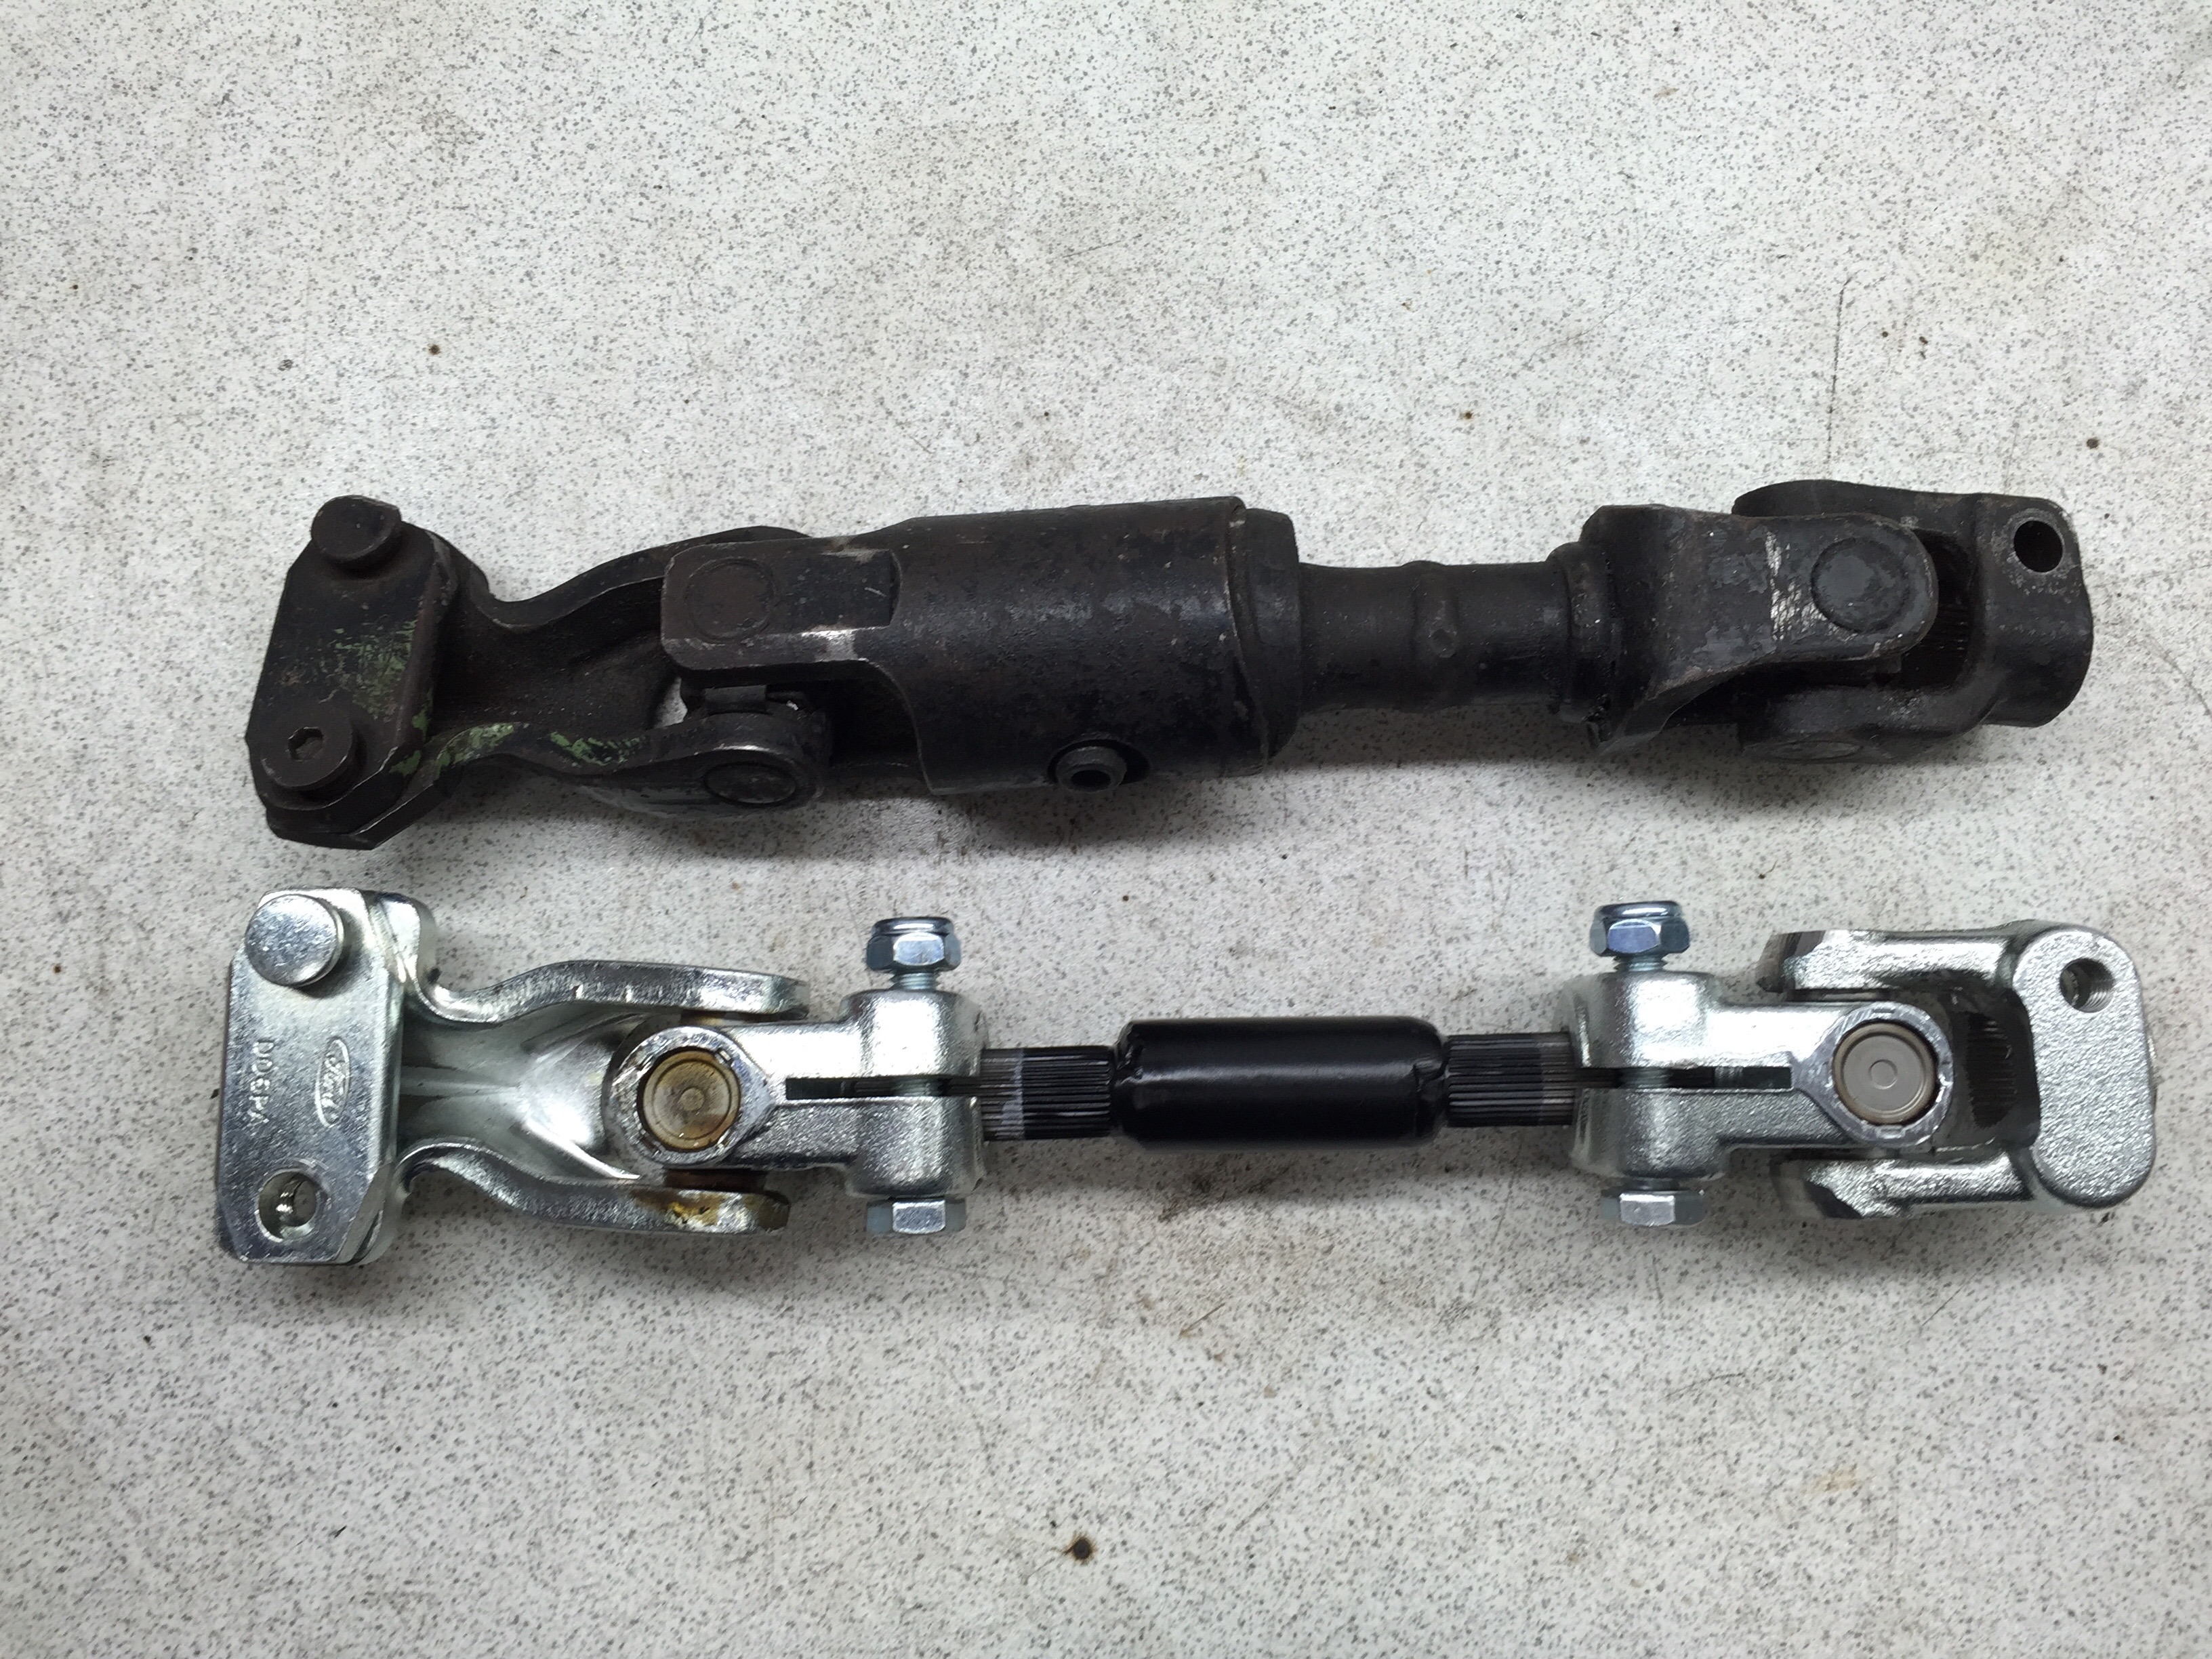
So have had play in the steering for a while now.. Got to the stage where it started to drift side to side down the motorway so time to get it sorted! Narrowed it down to the steering column coupling, but as usual this is a shortened cosworth part, which you can't buy anymore. So the search was on for the parts.
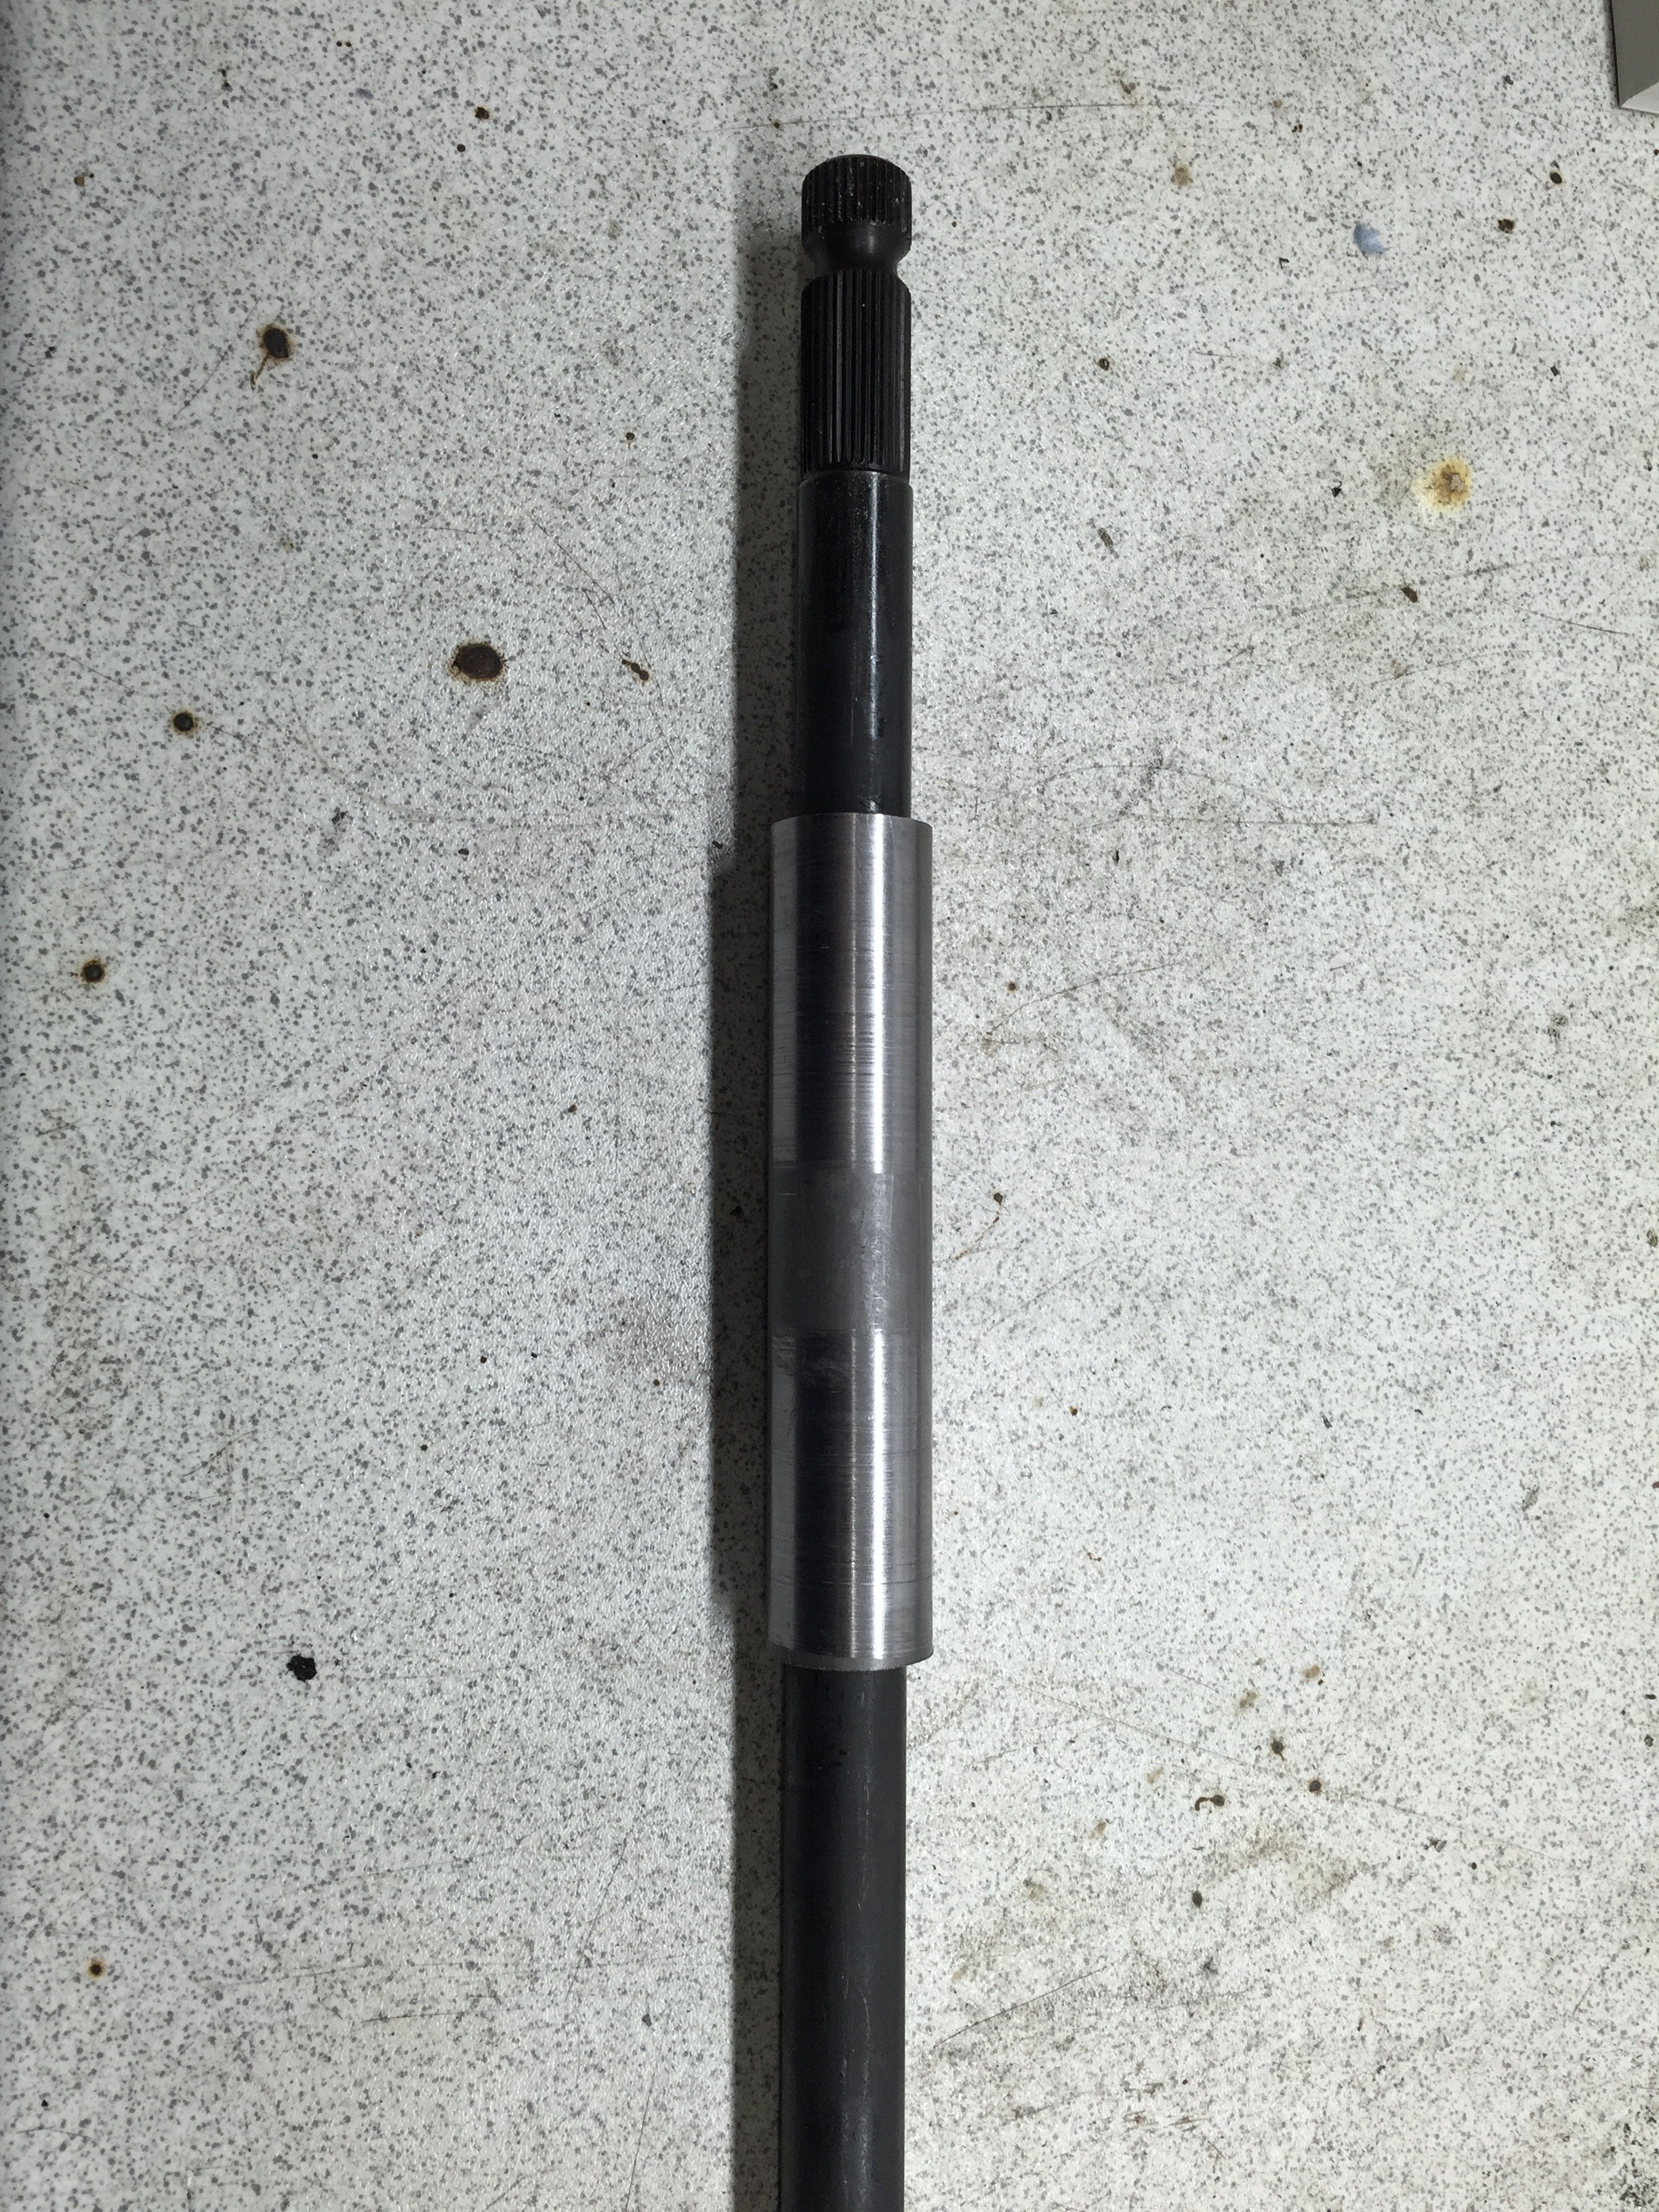
So sourced the parts from car builder solutions to make a new coupling
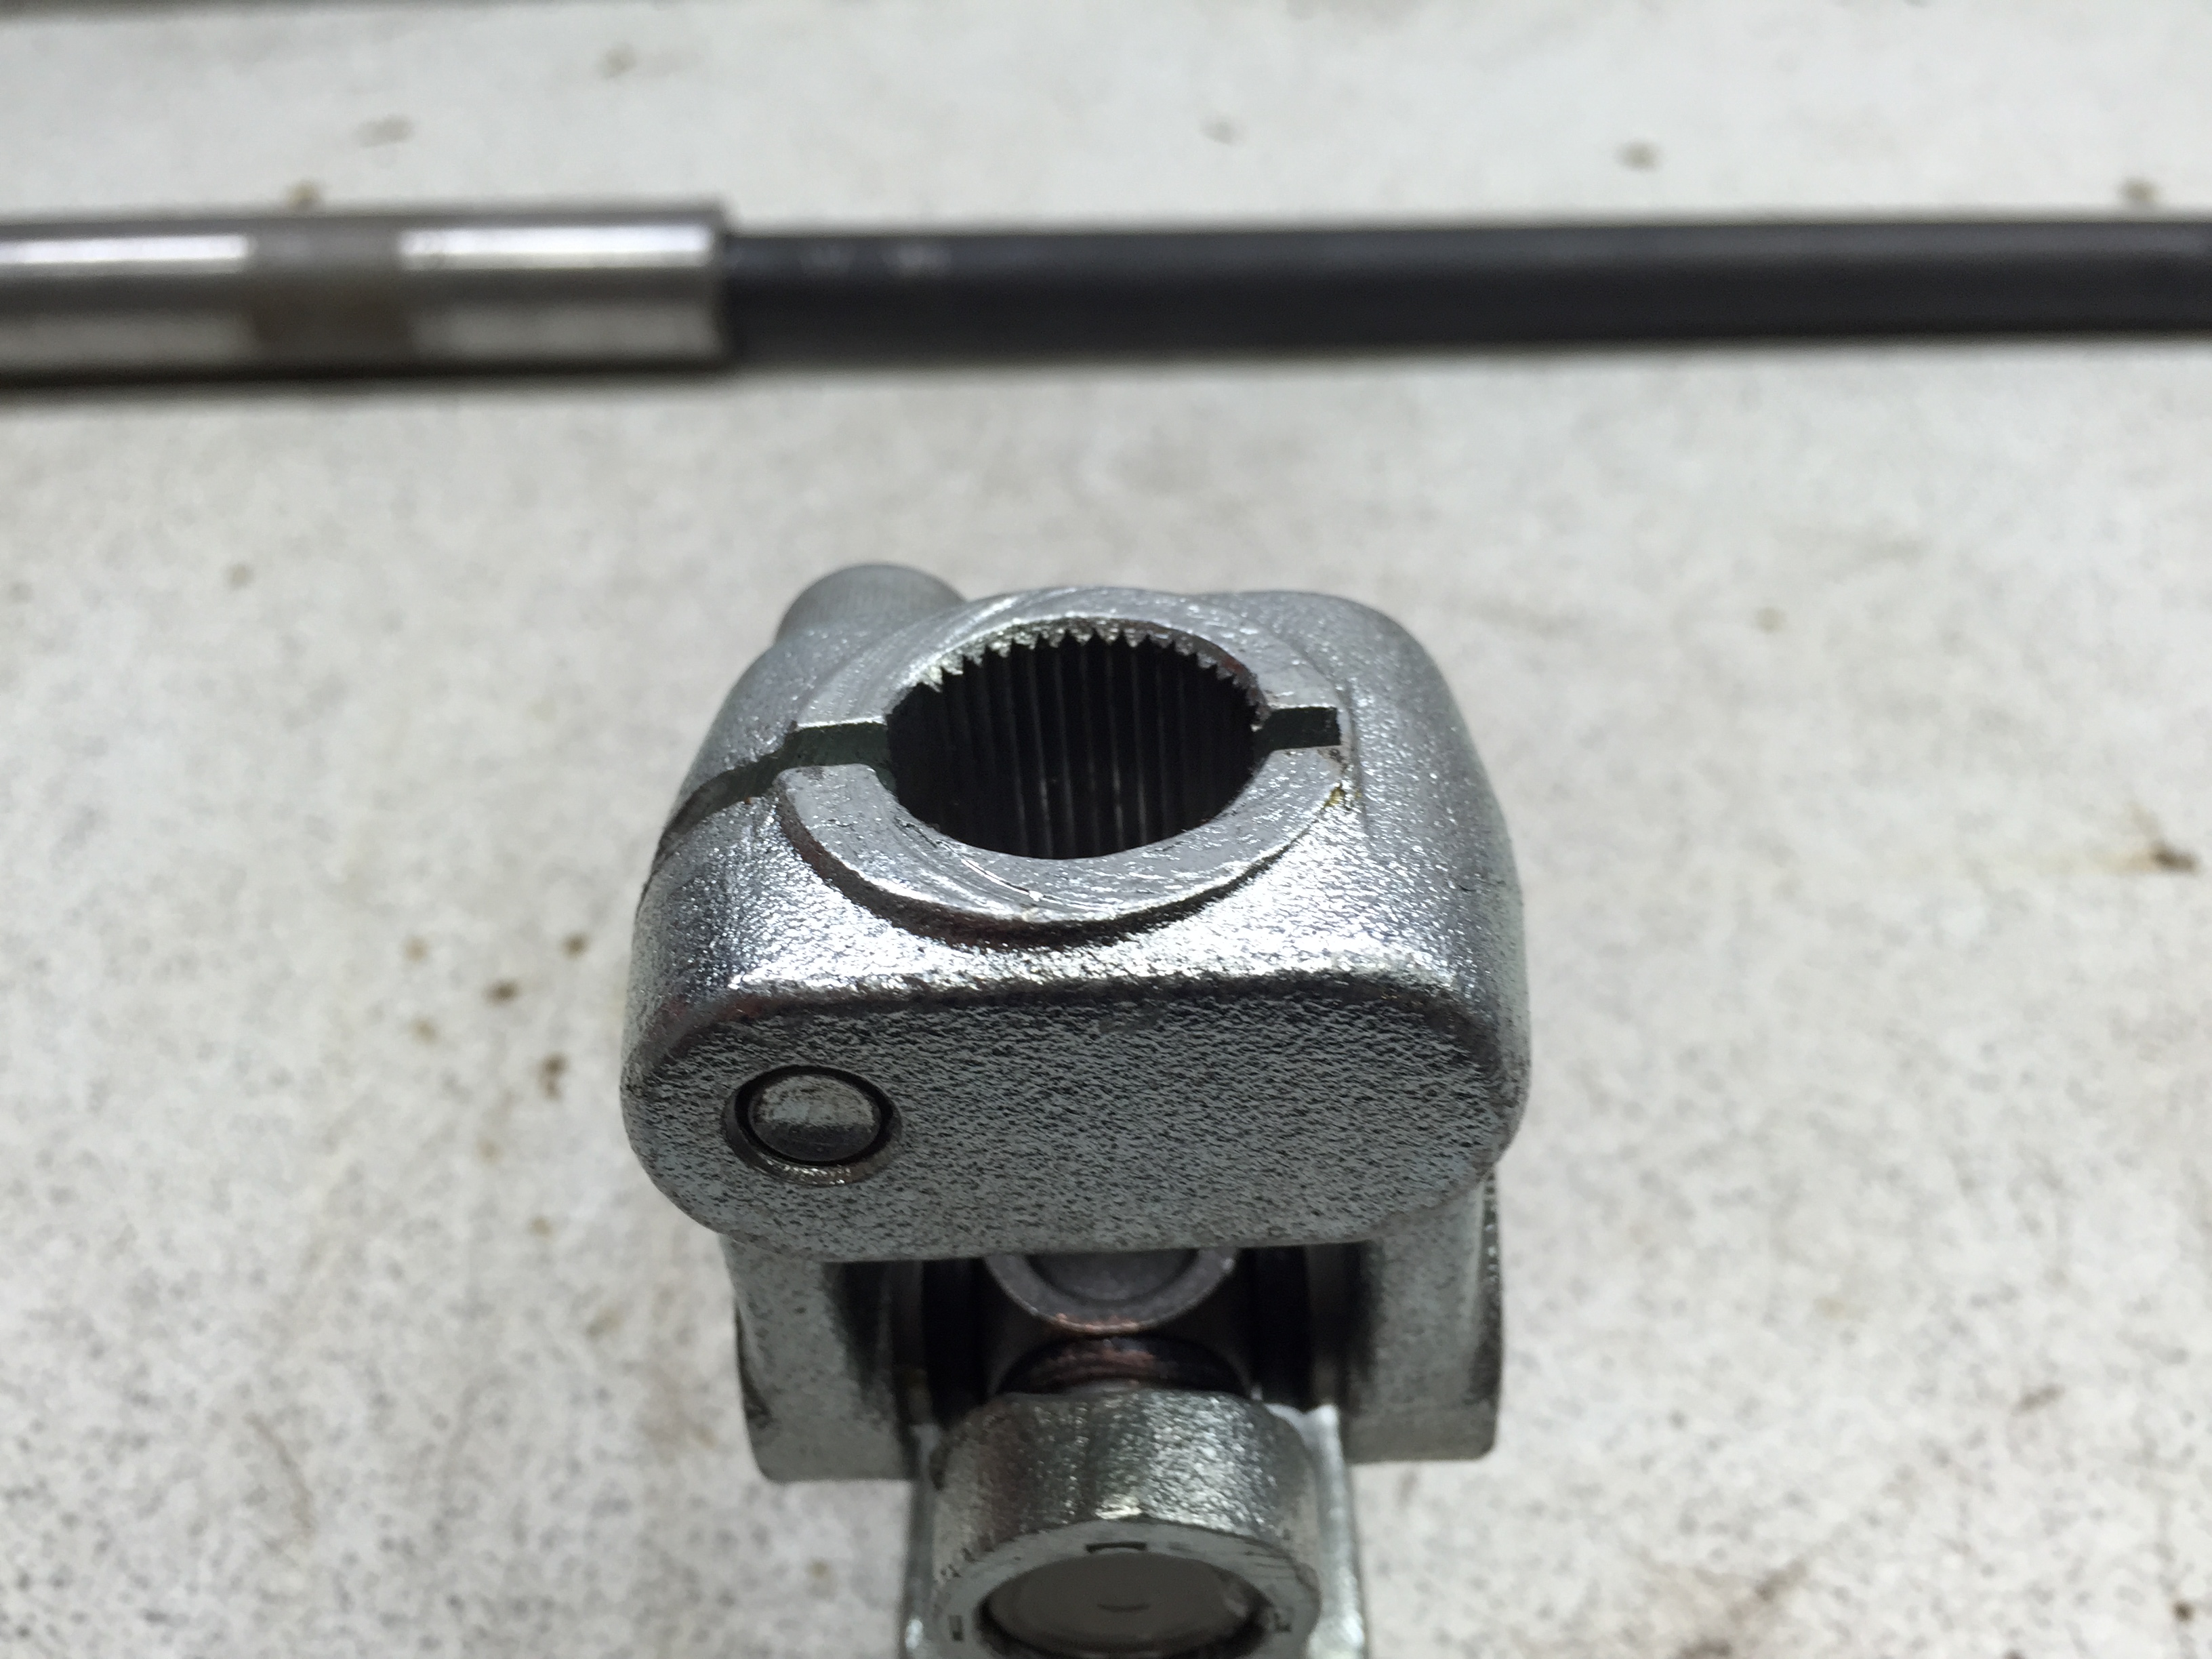
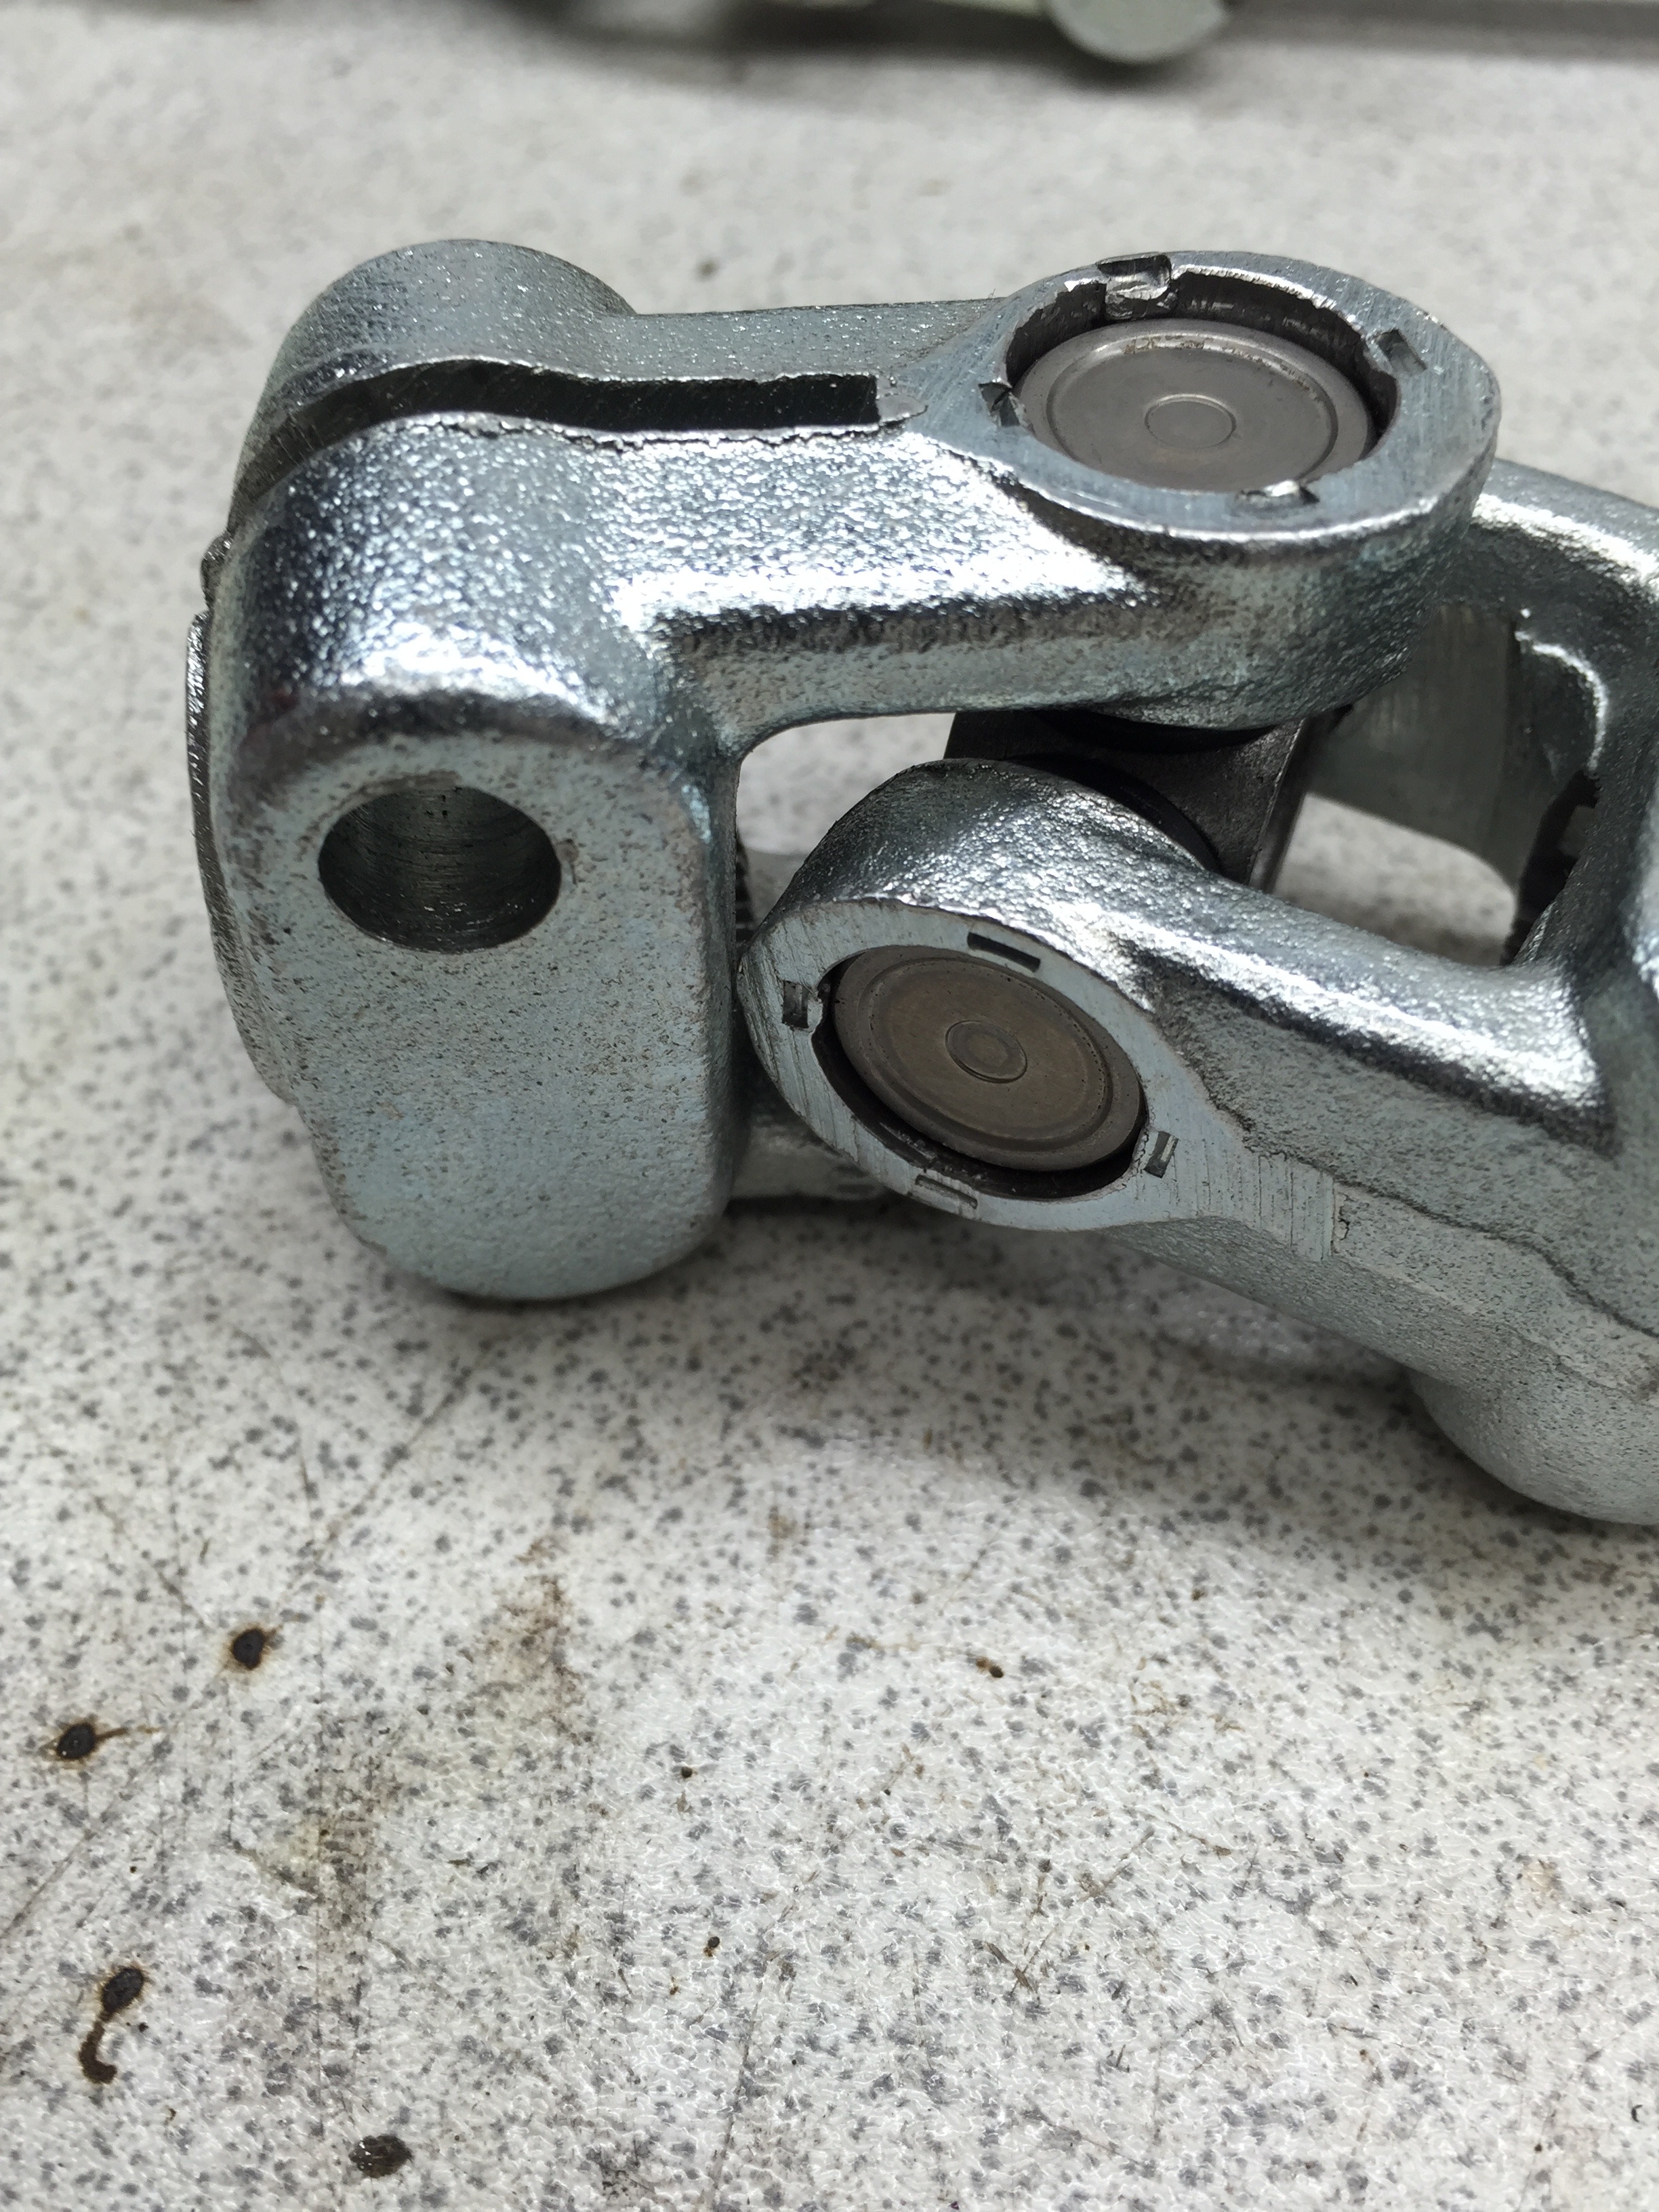
The old coupling
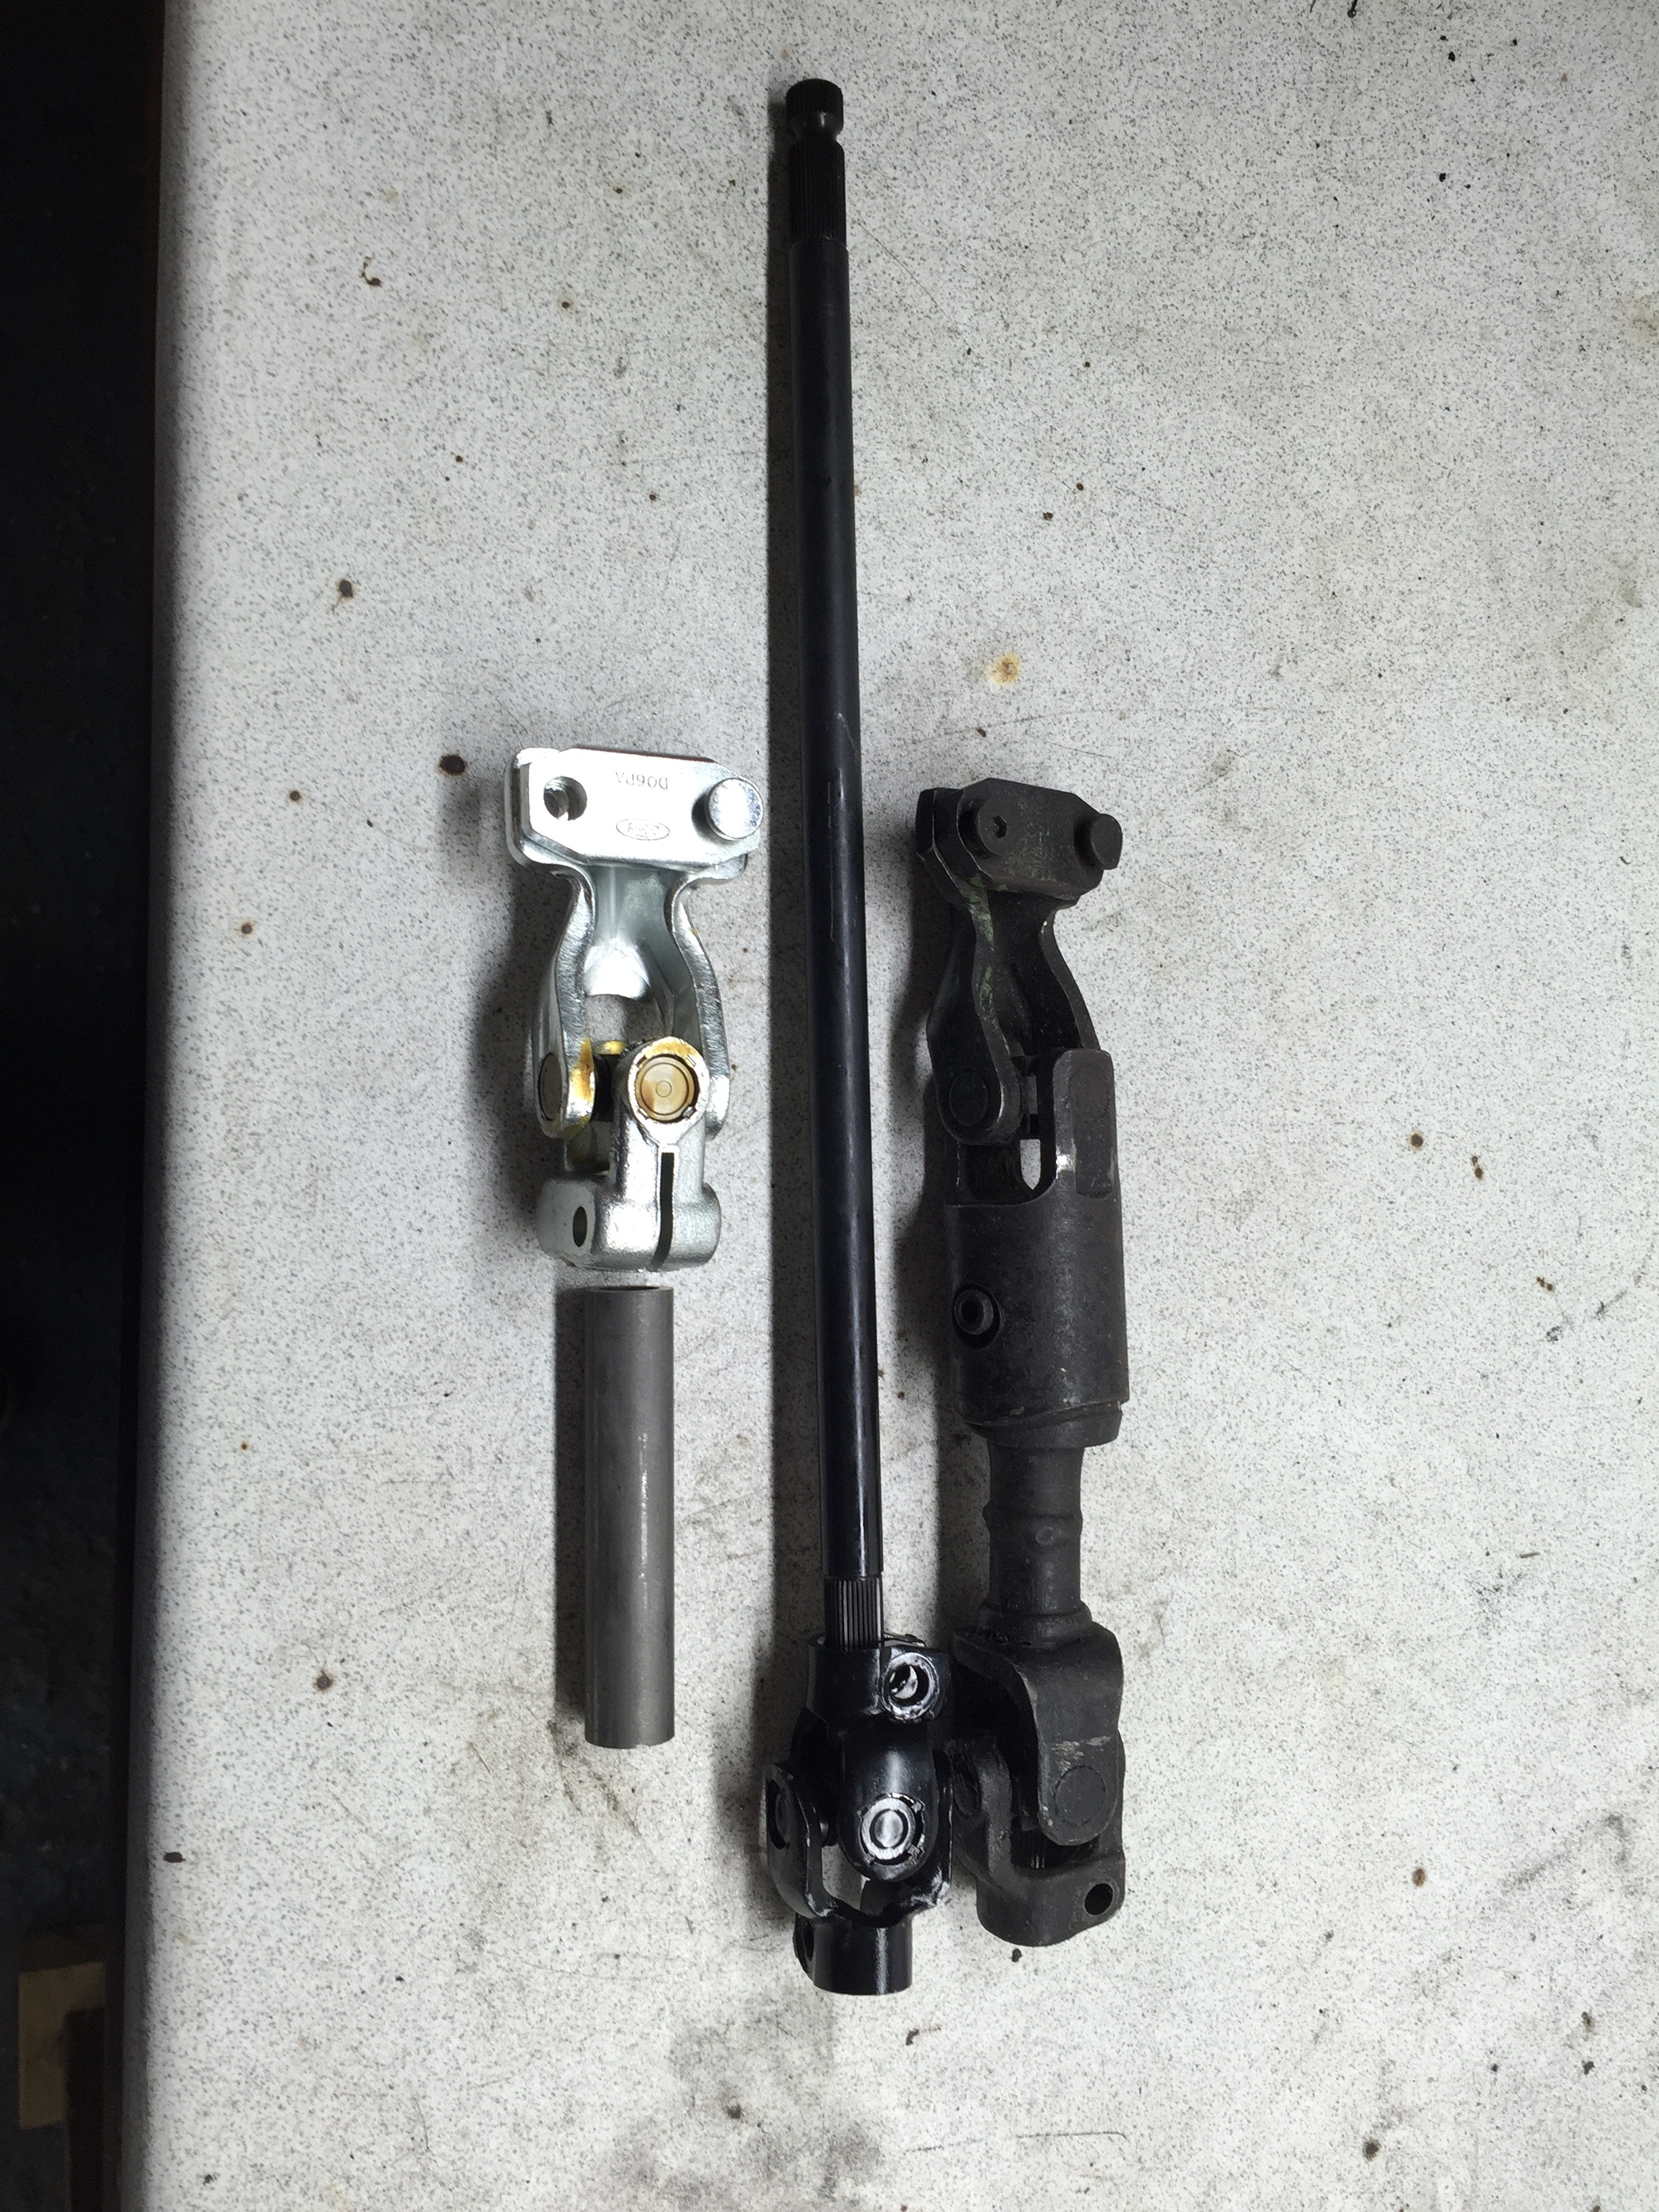
Old next to new parts
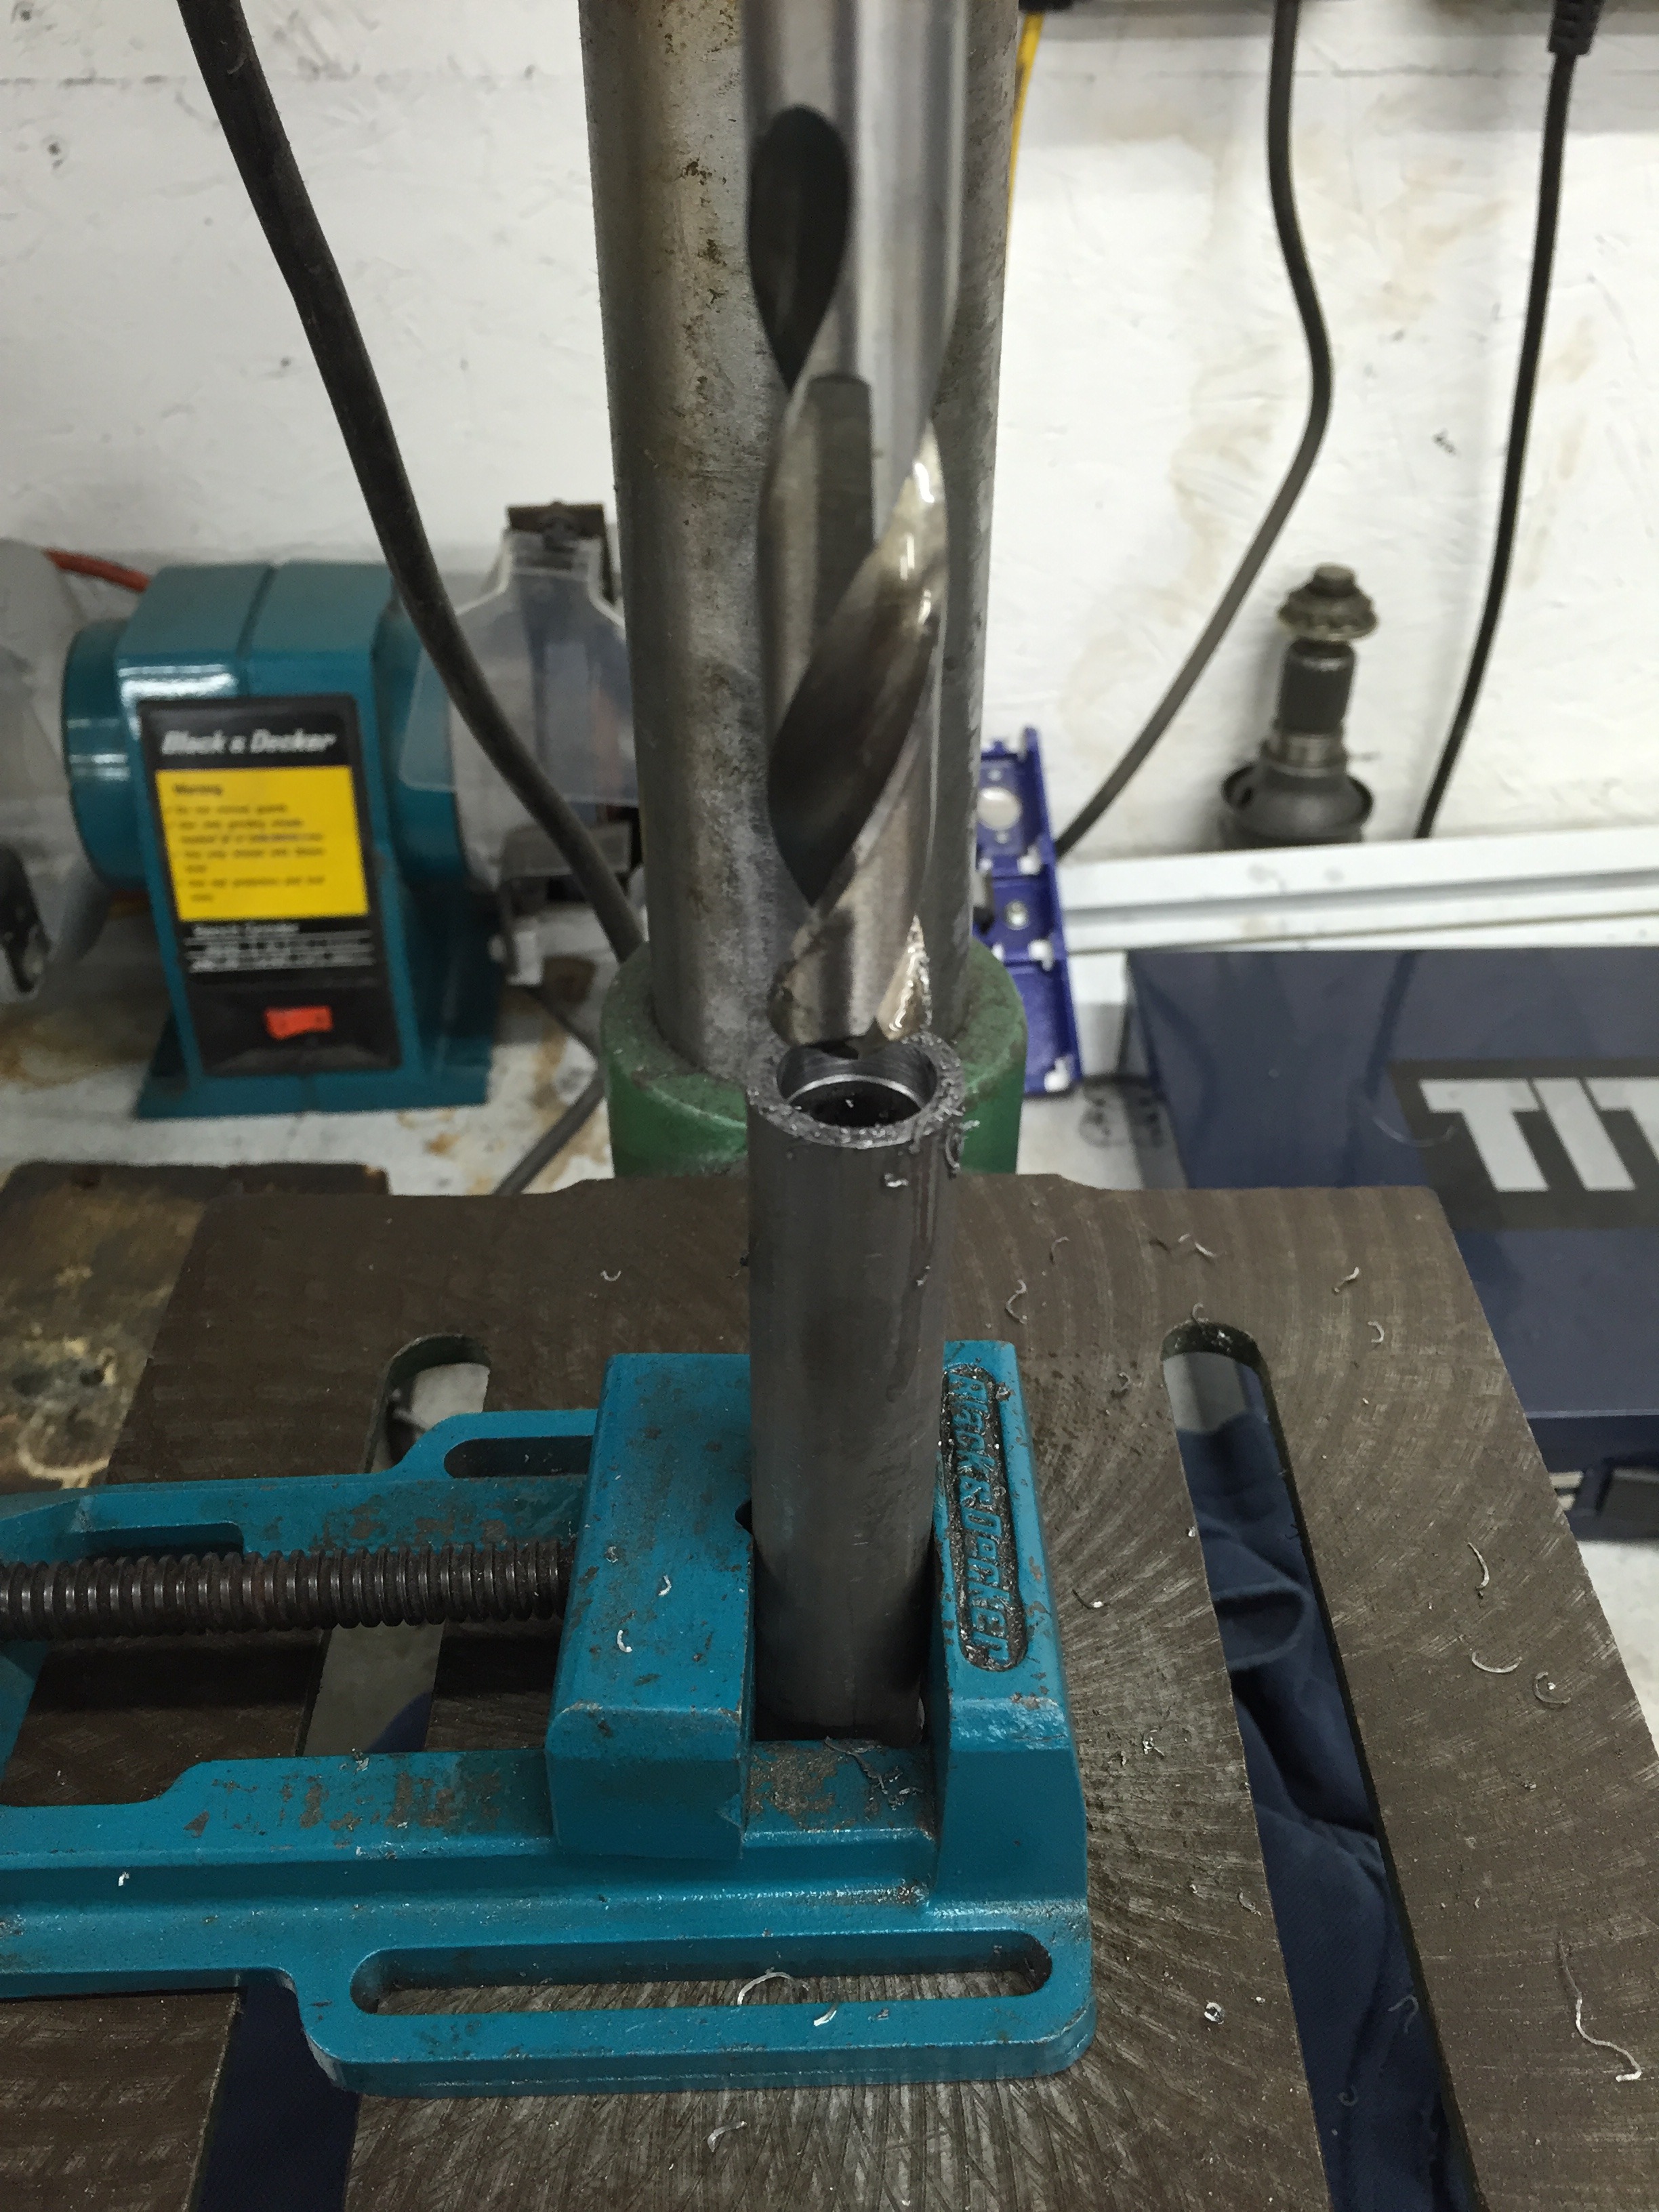
The splined bar needs to cut down in size so a collar was needed - needed drilling out to slide over the shaft - not the best way to do it at all but it worked for this instance
Found out the cosworth steering rack has an odd sized splined pinion - but after two weeks of searching I found a company that can make the union joint I needed - two different sized splines on either end, one for the shaft and one for the pinion
This shows my idea
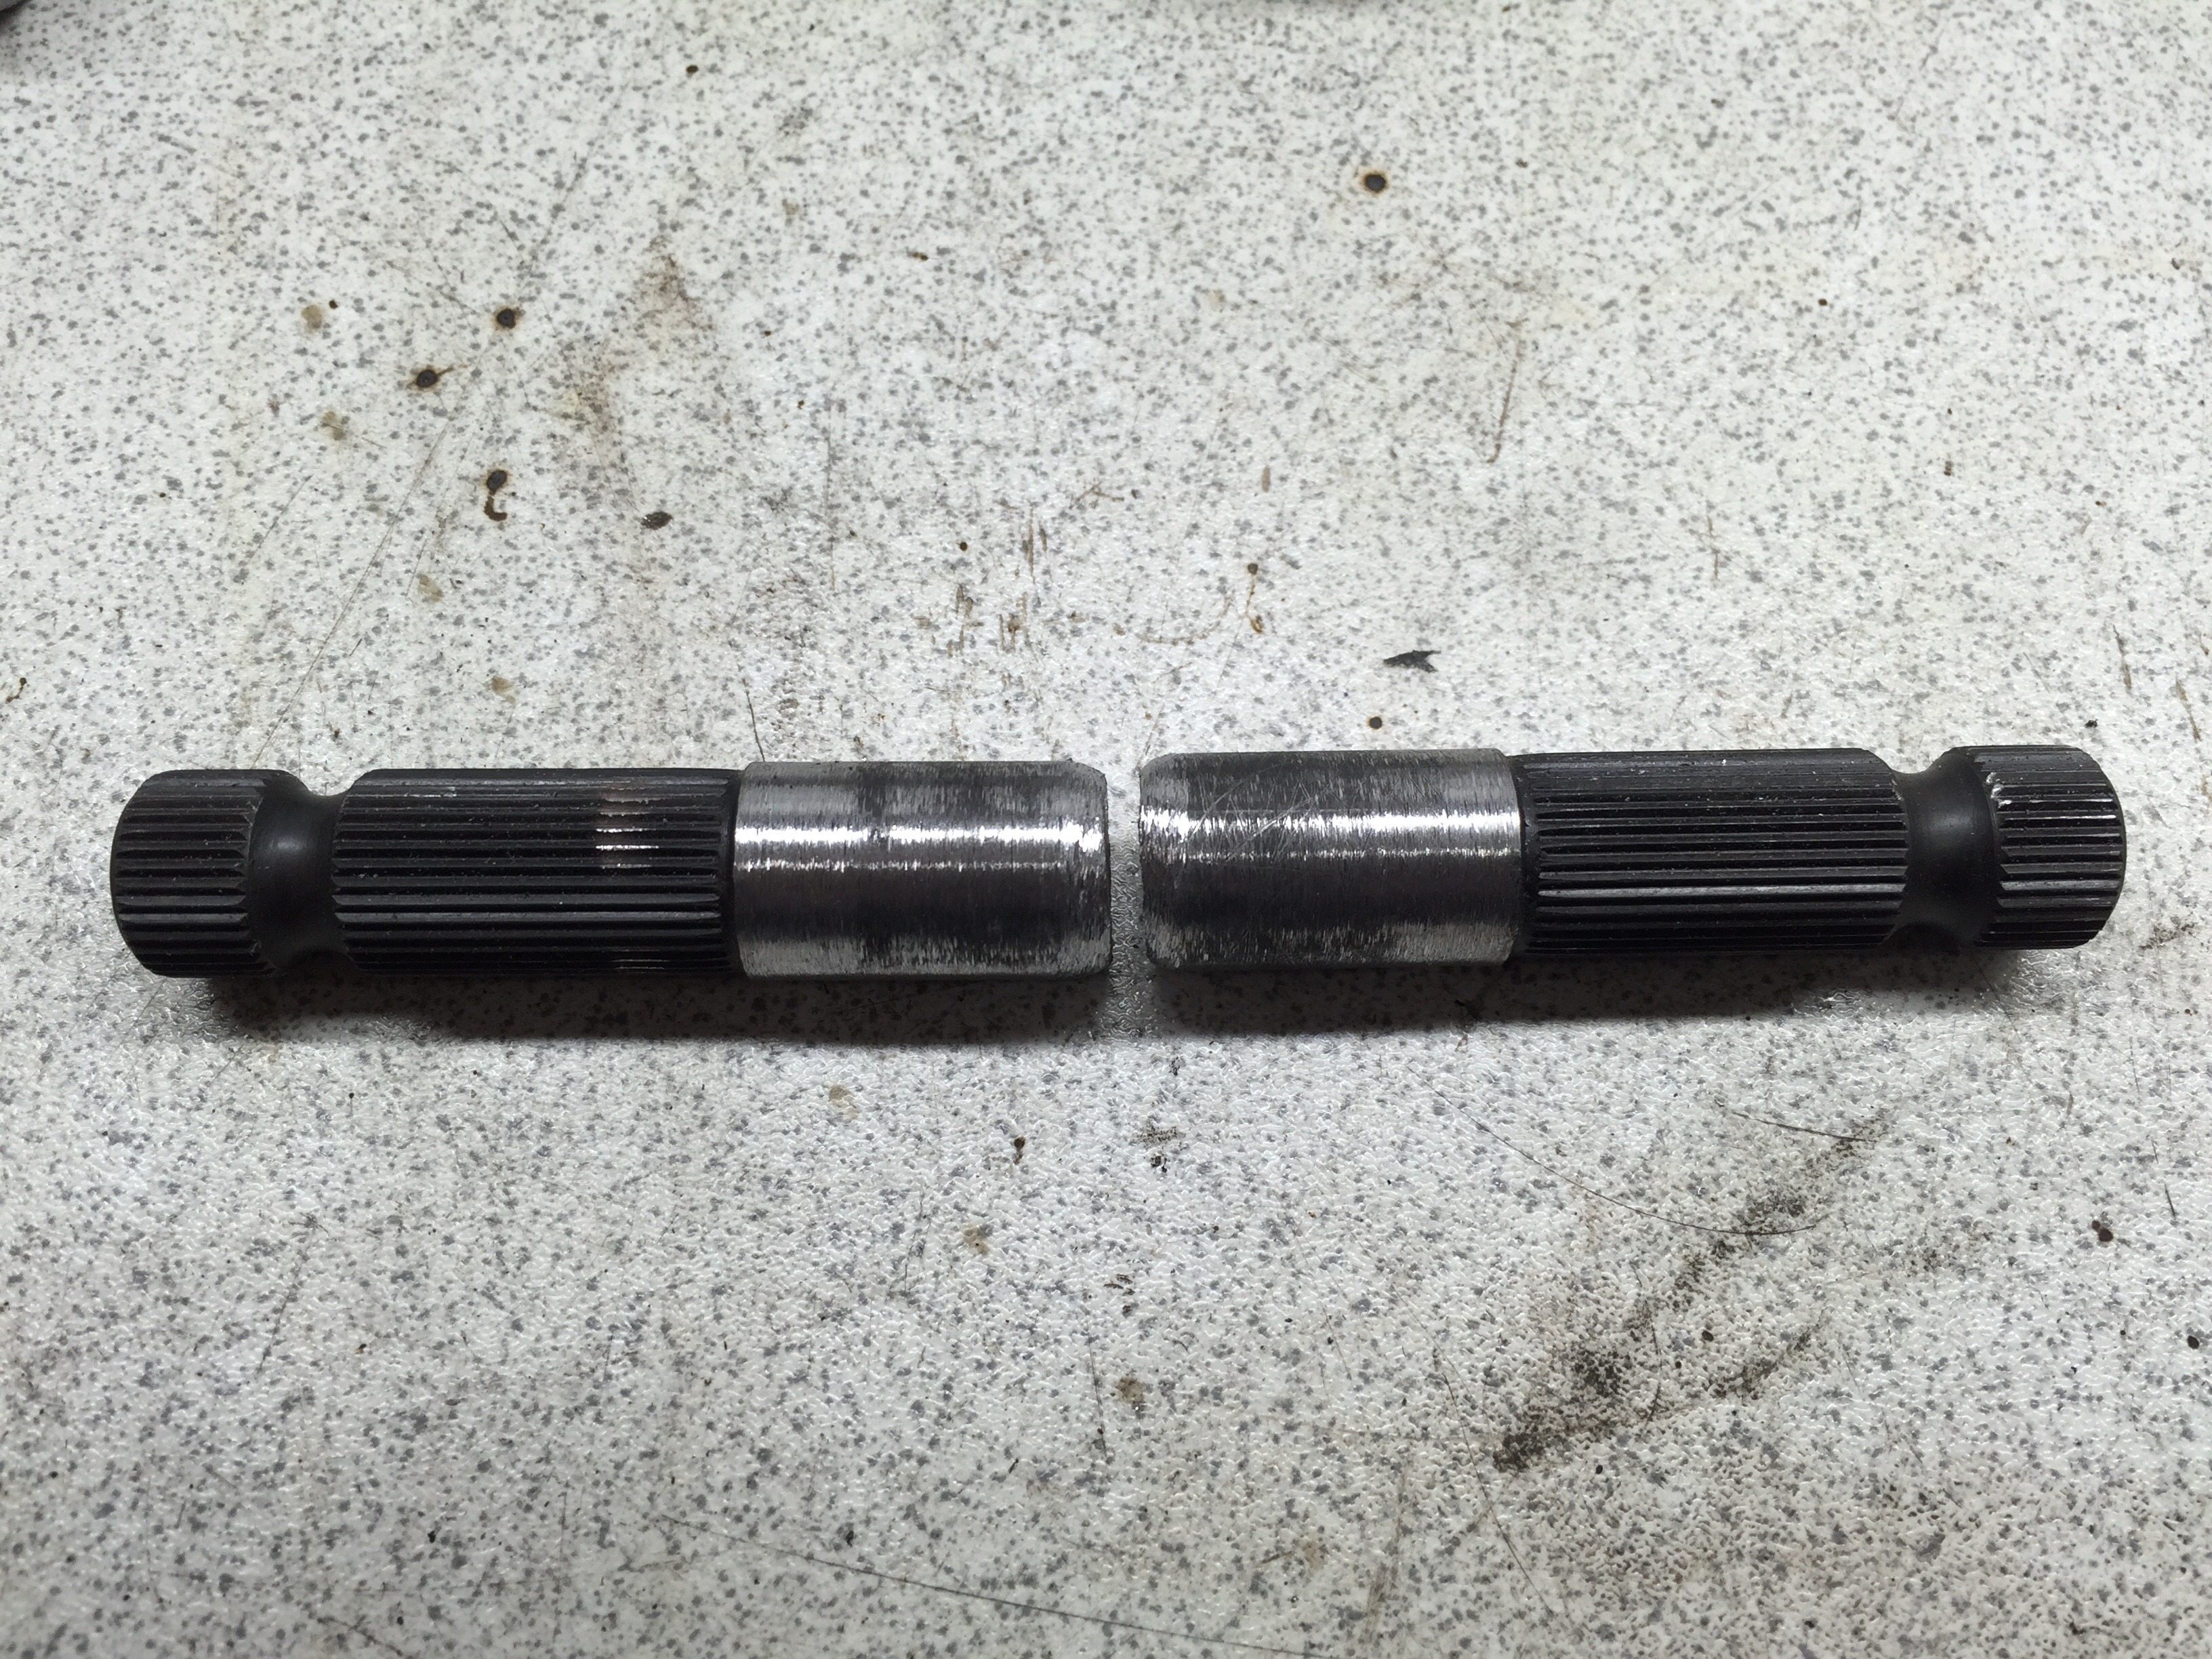
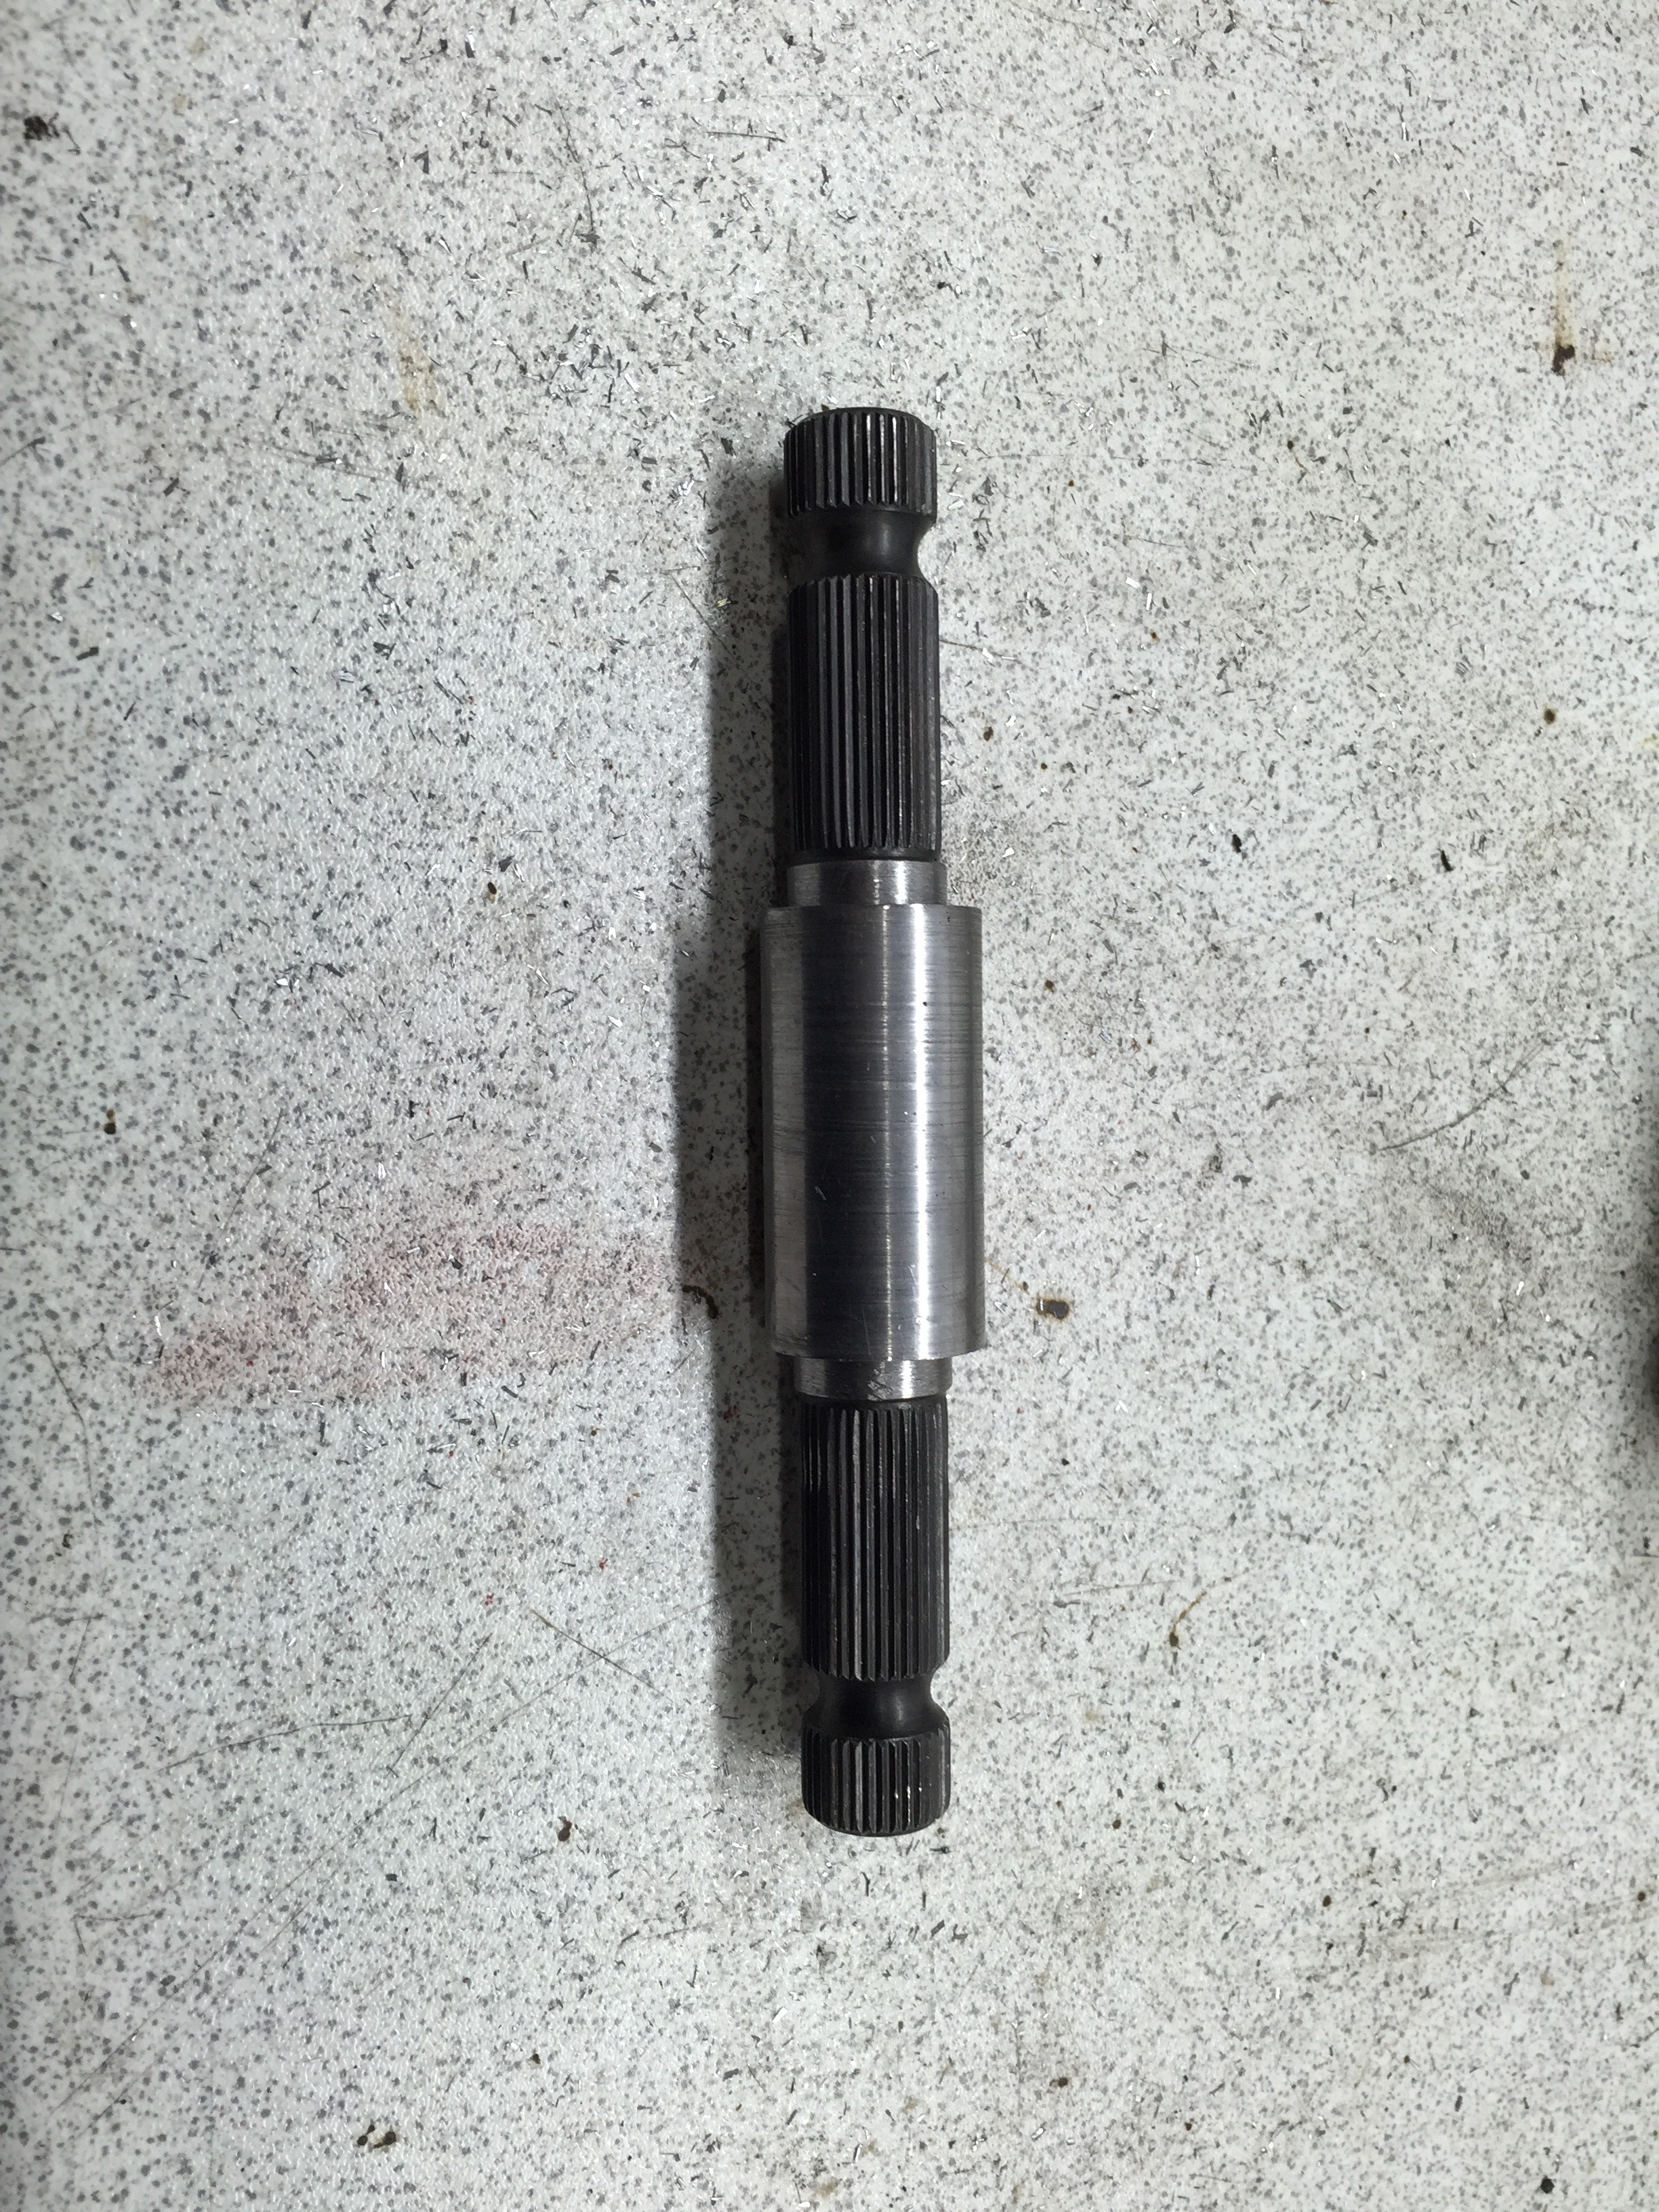
Shaft cut down and prepared for welding
Welded
Collar on
Welded
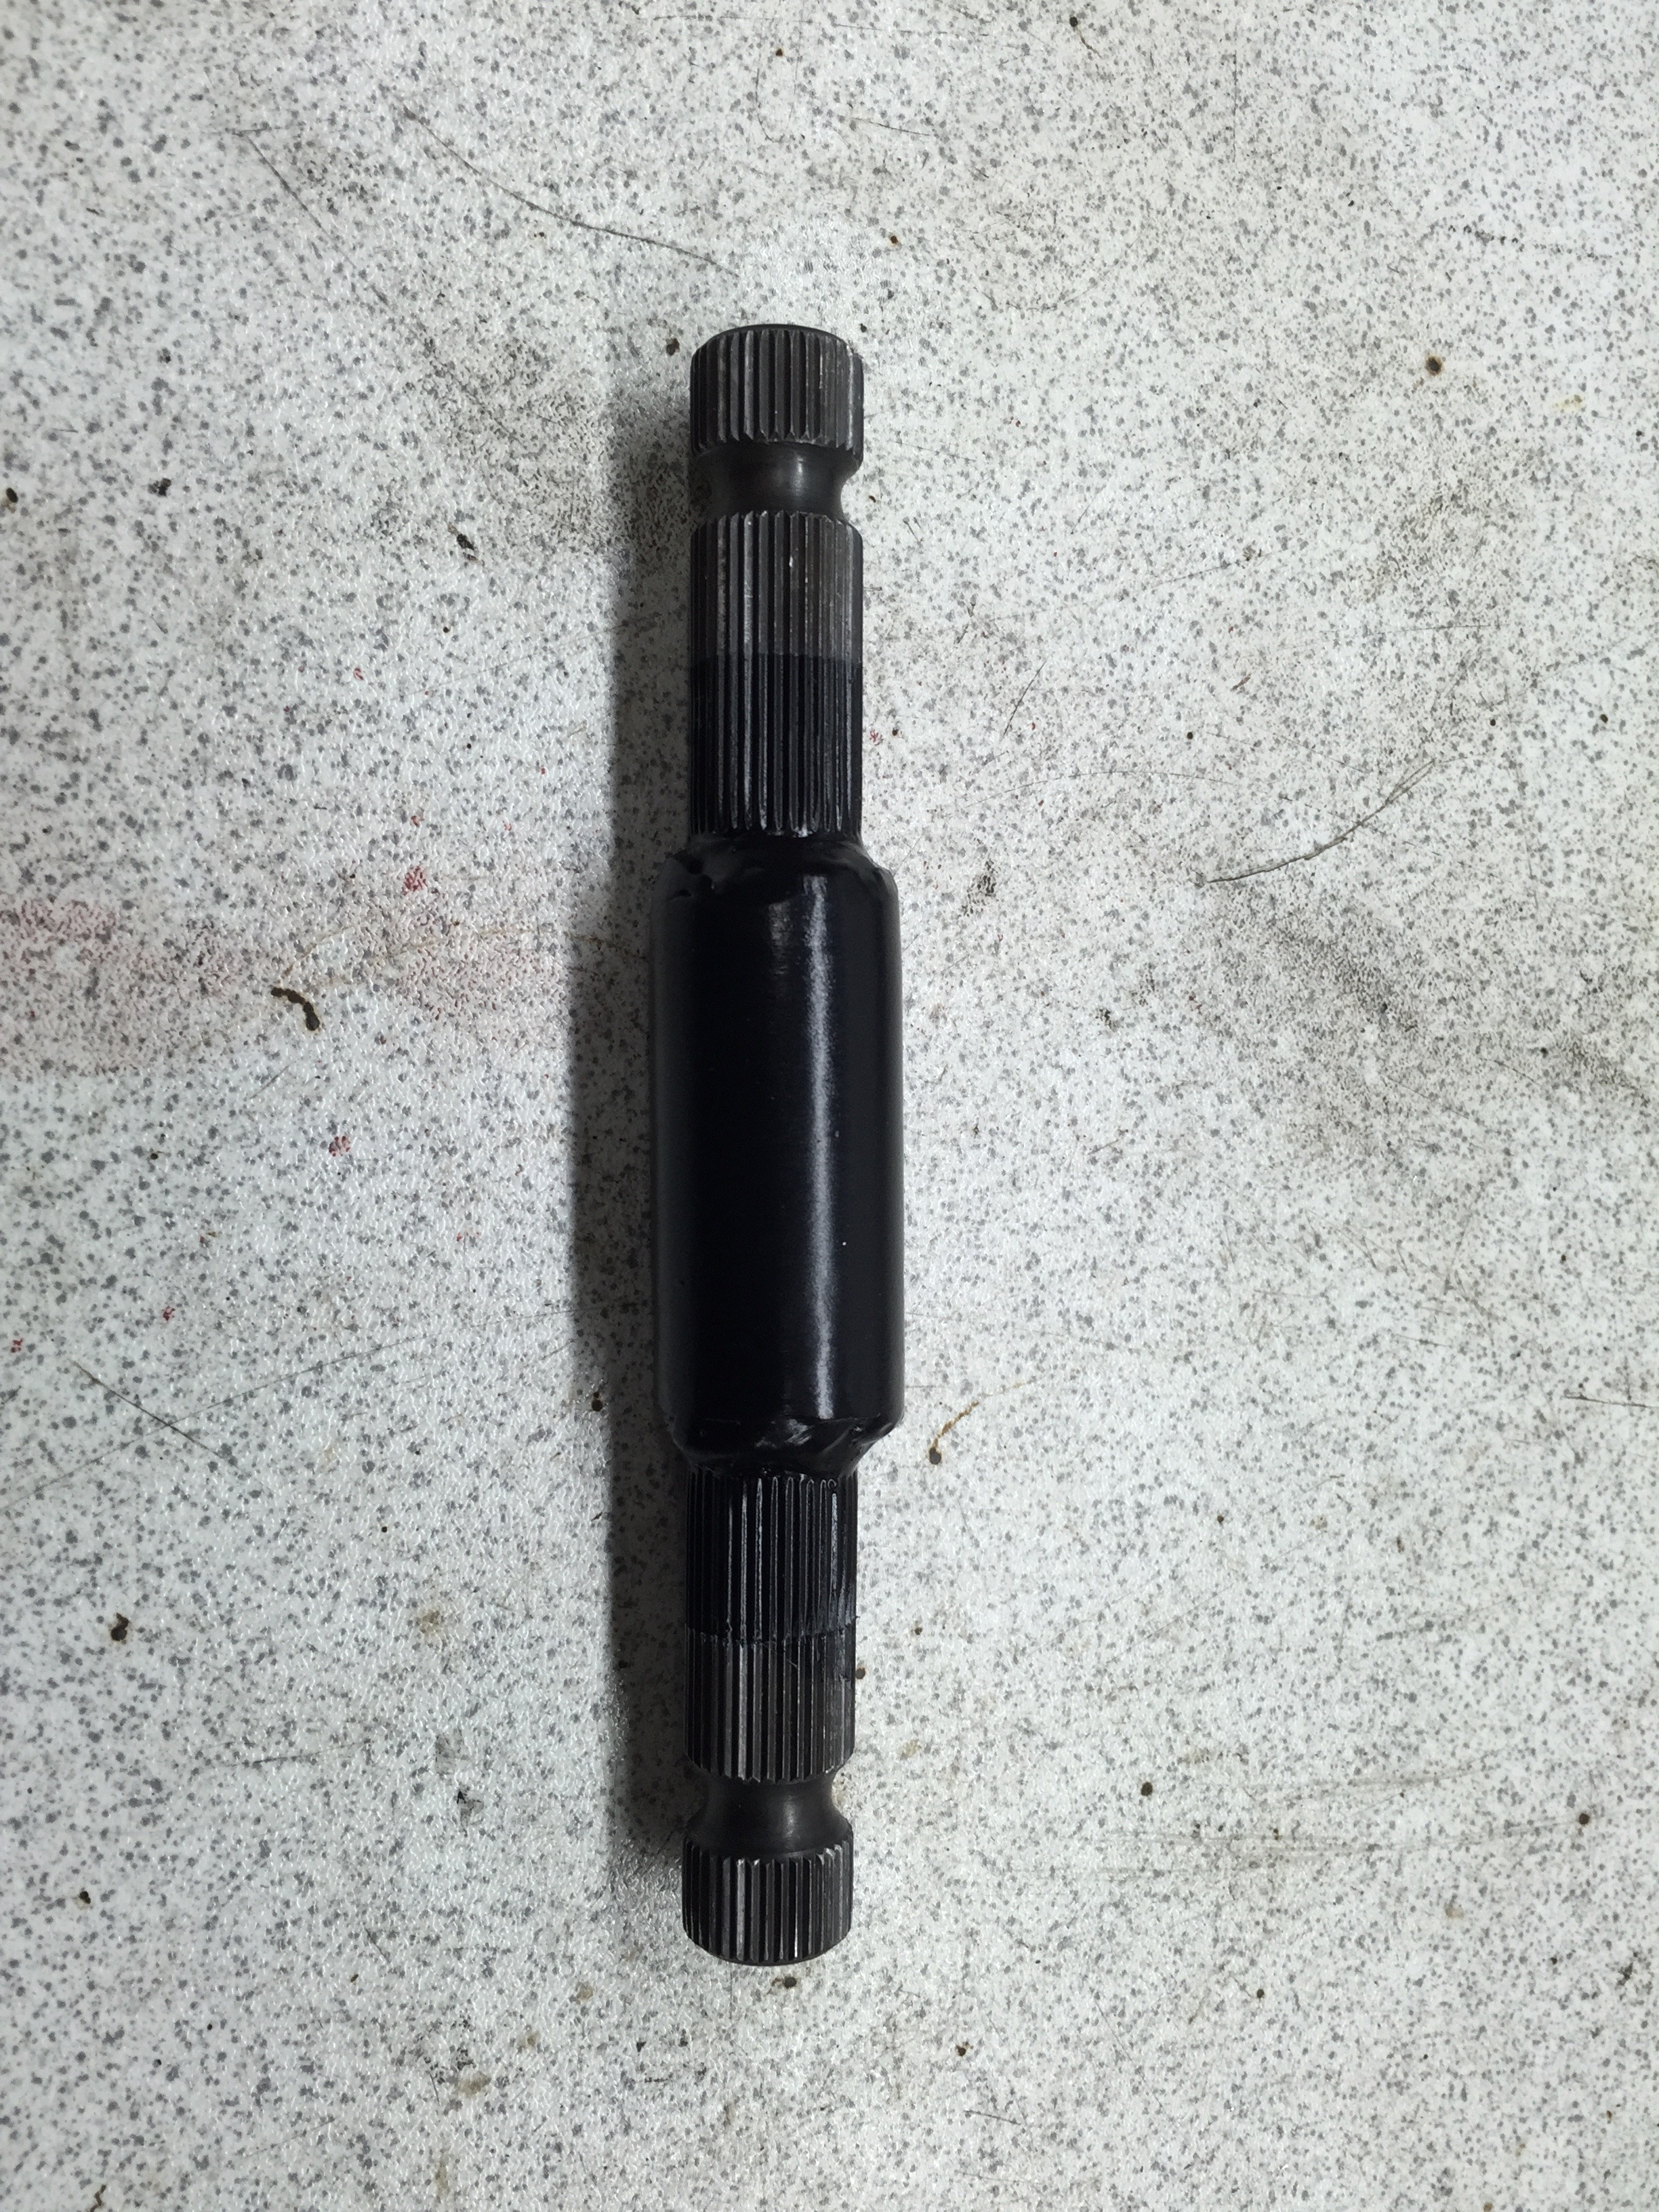
Painted
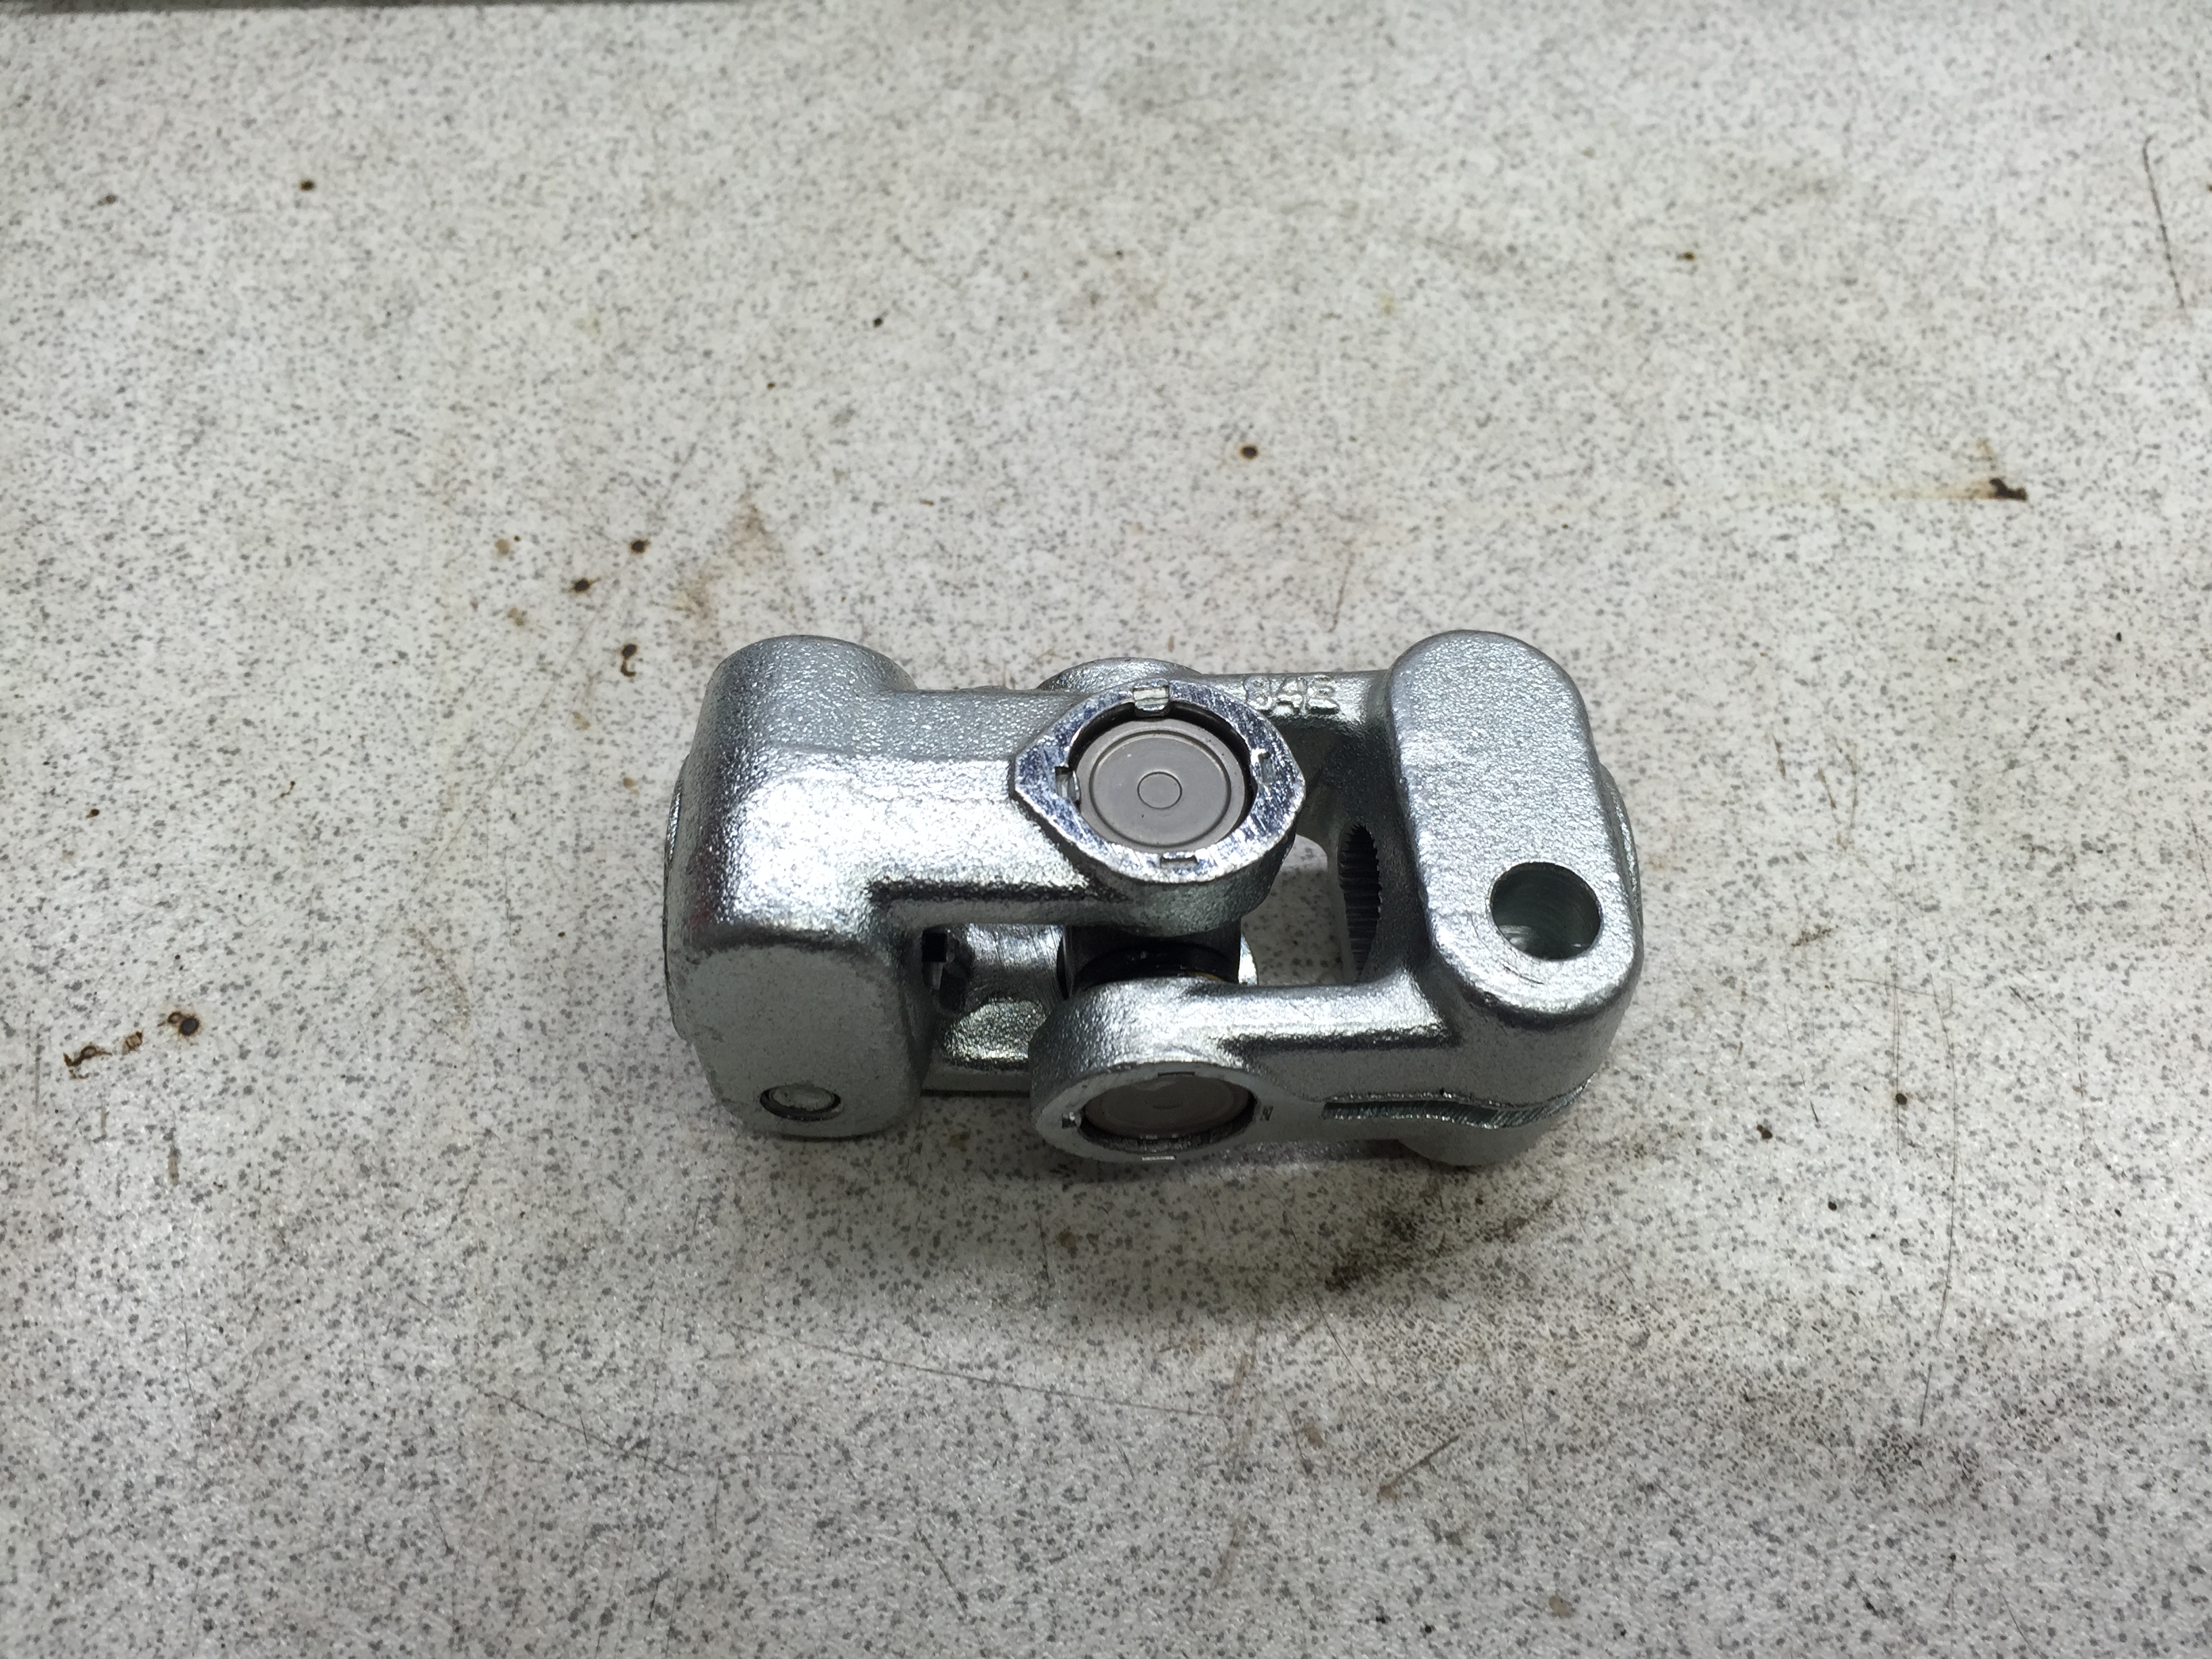
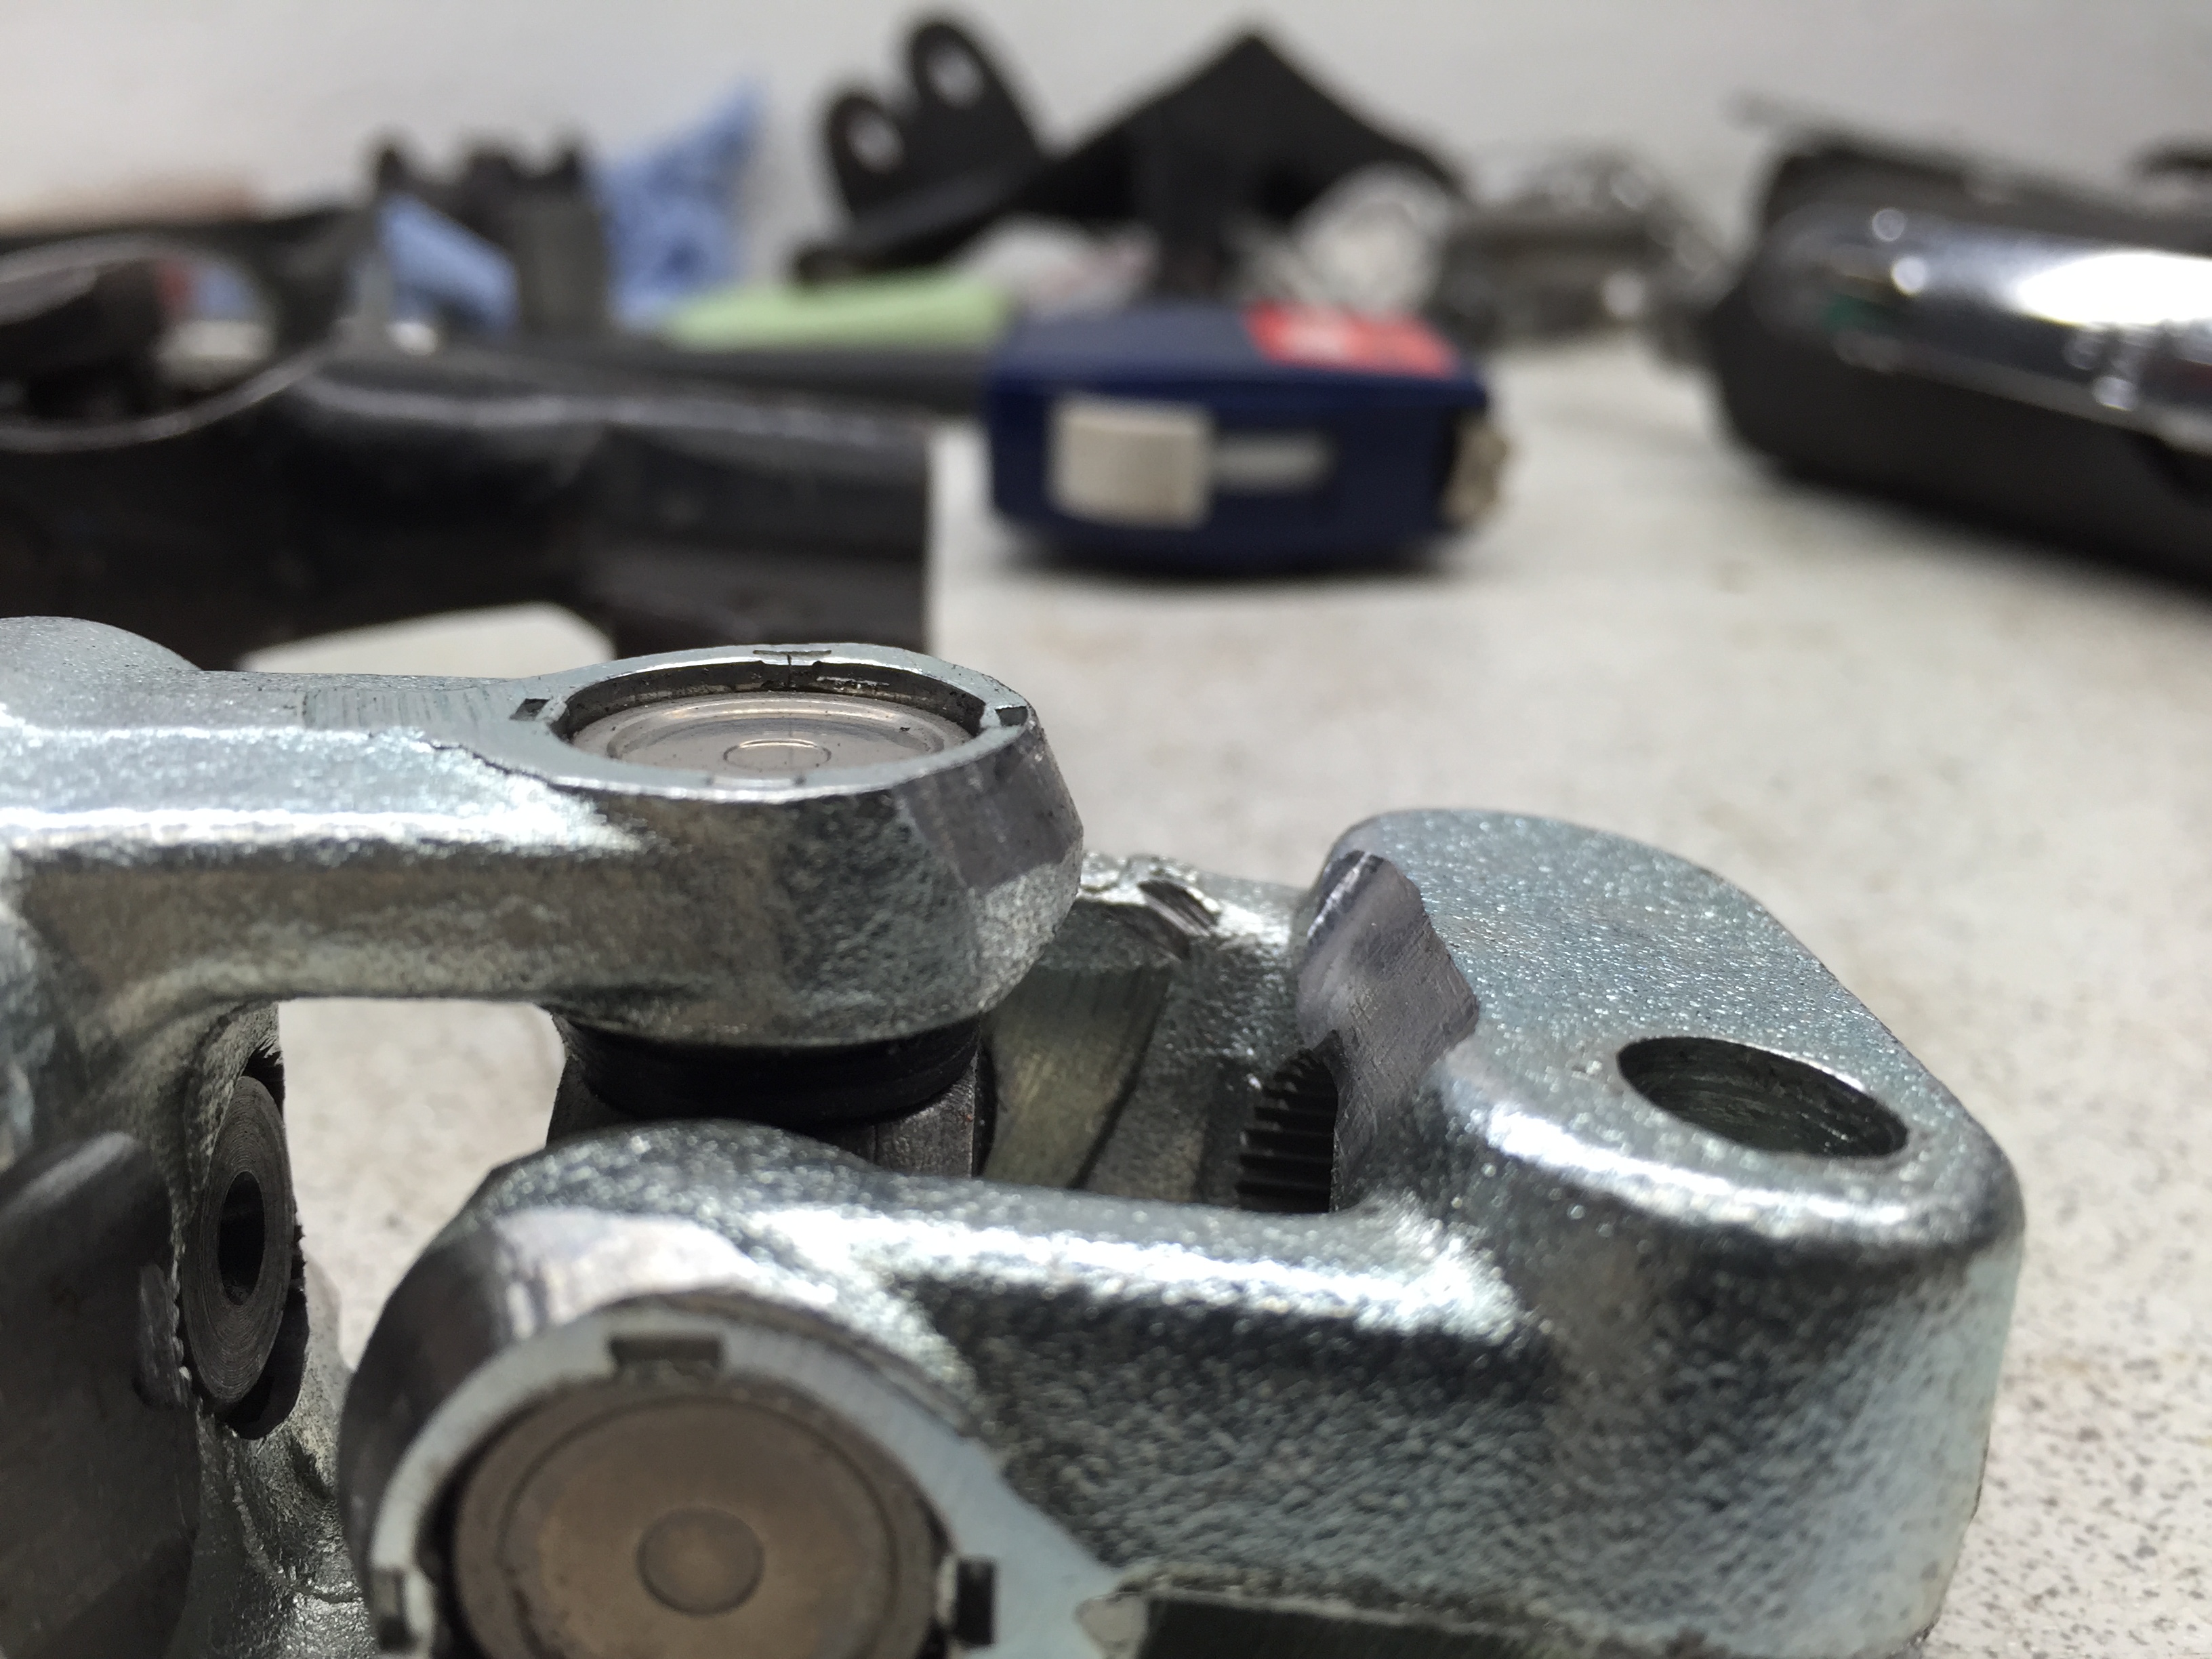
Quickly test fitted it back on the car and realised that the new UJ at the bottom did not have as much movement as the last and basically meant it wouldn't fit onto the car..
Two next to each other
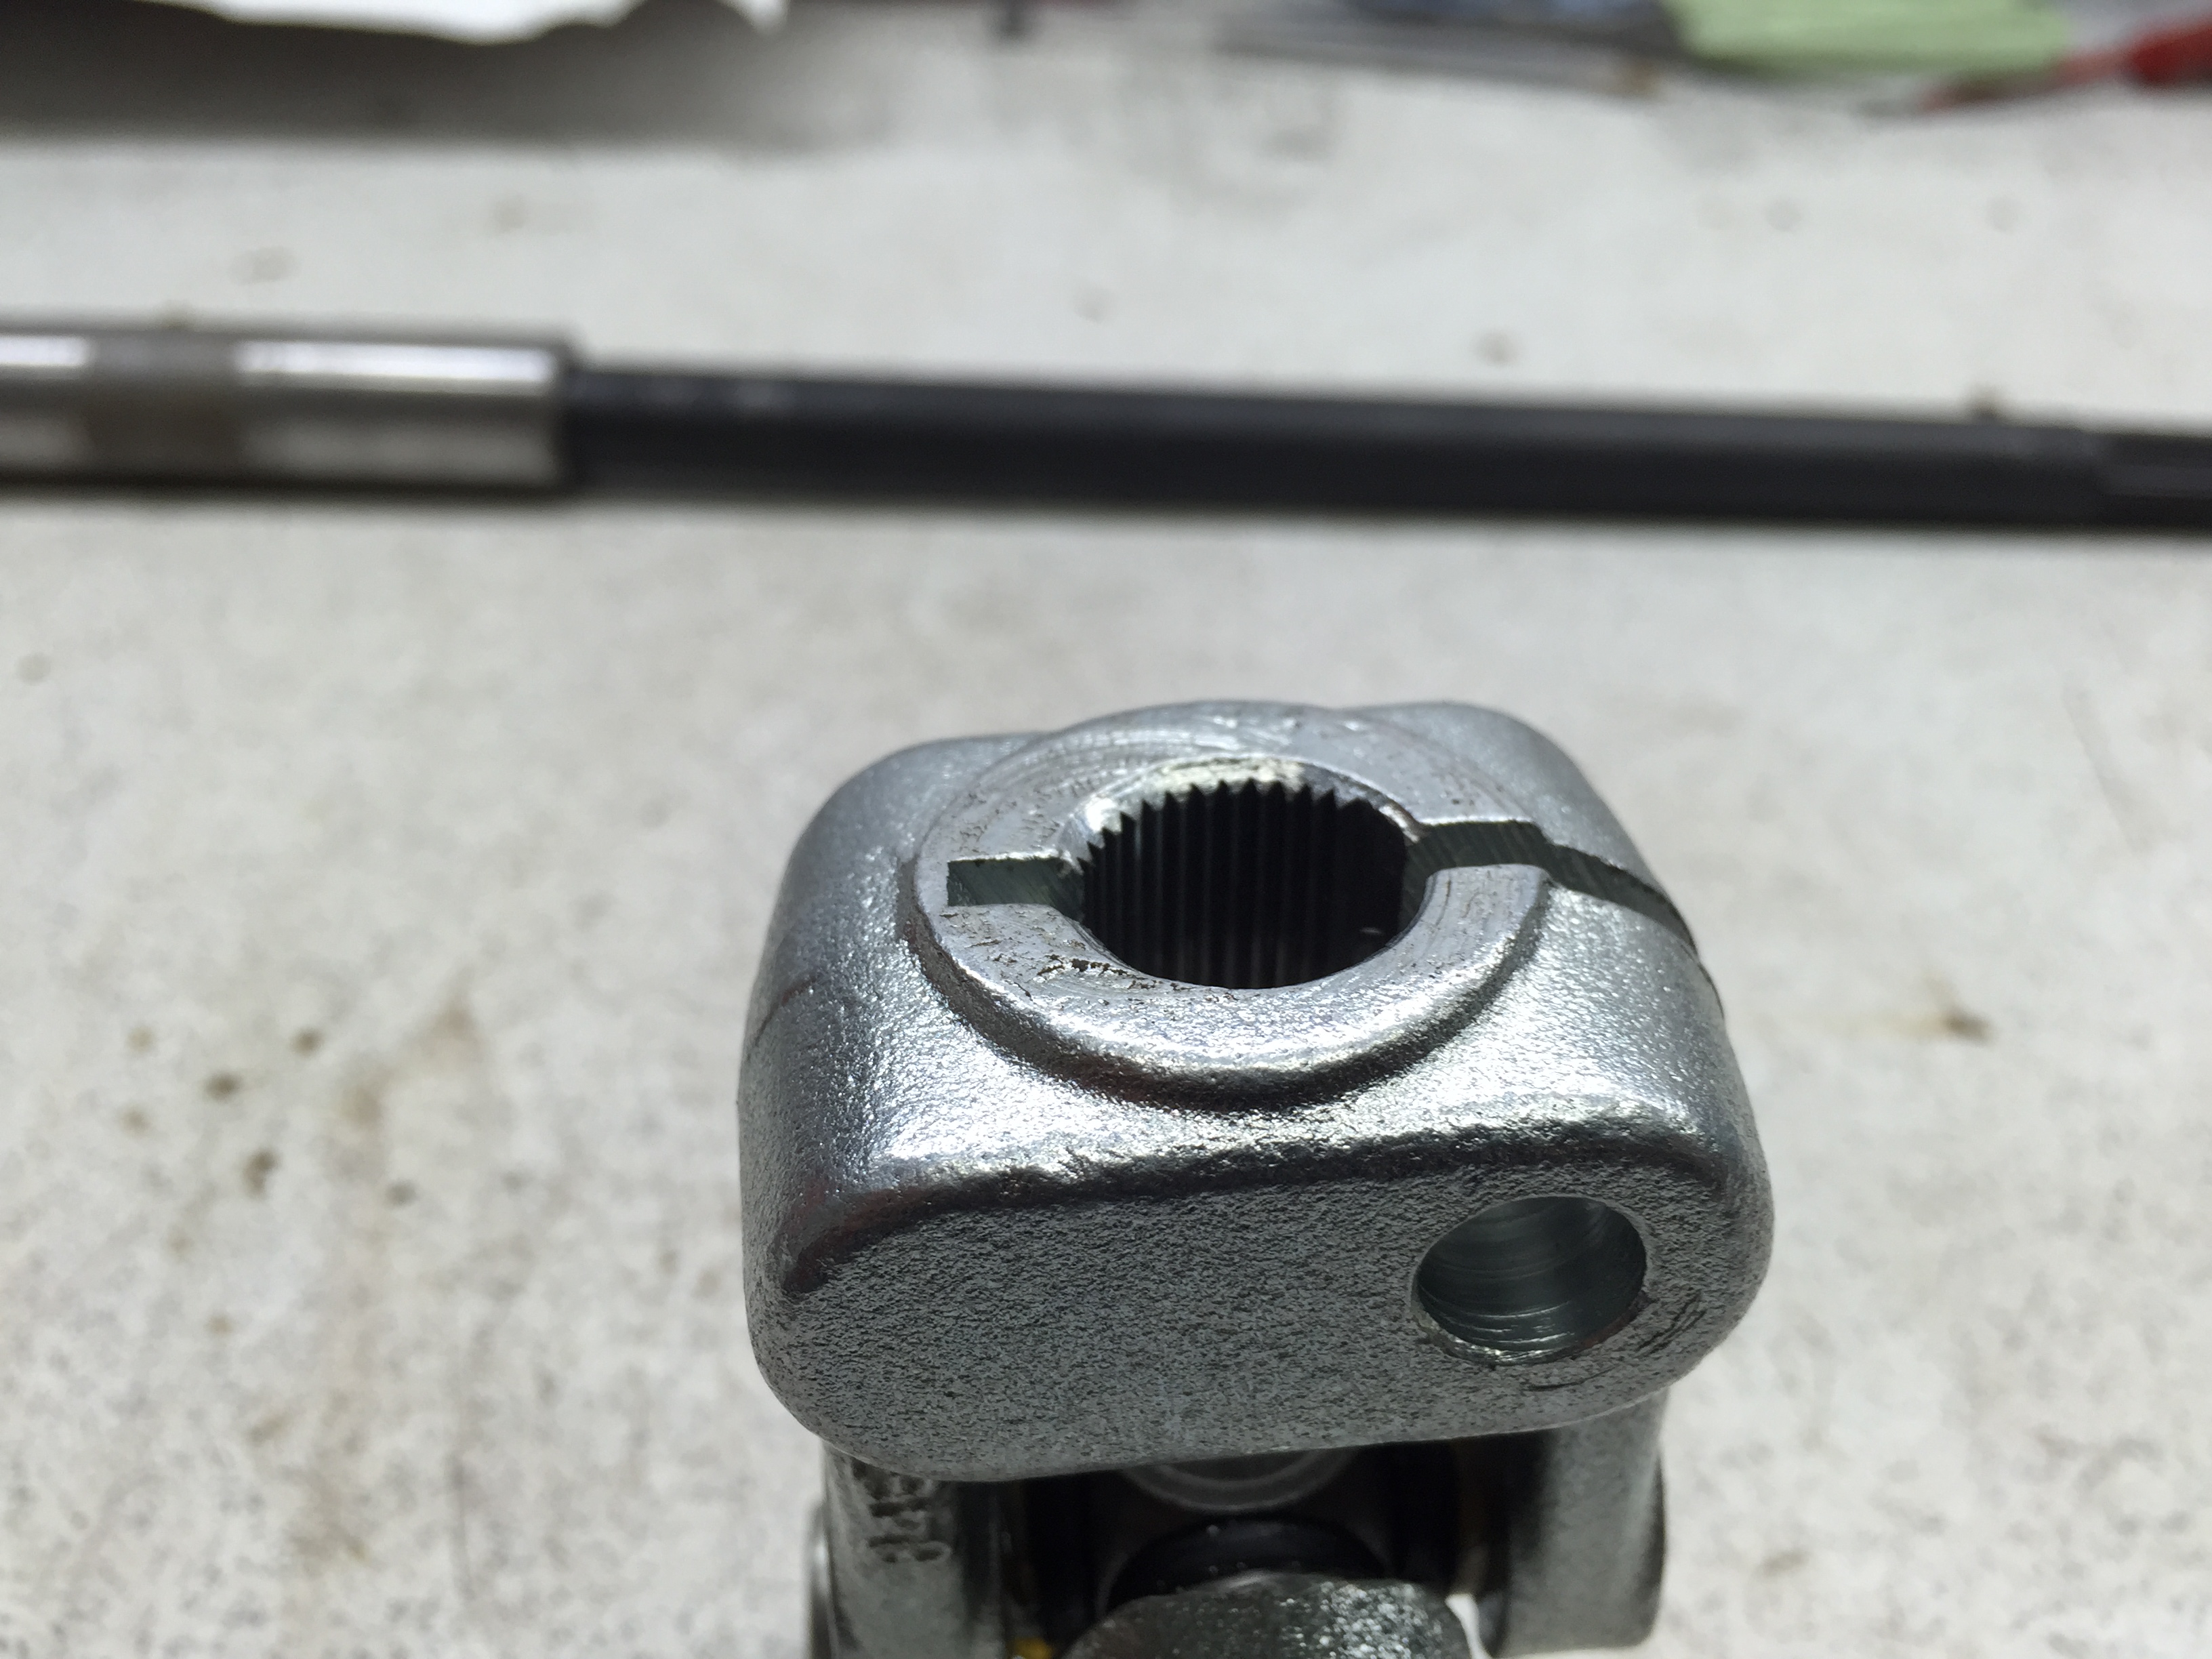
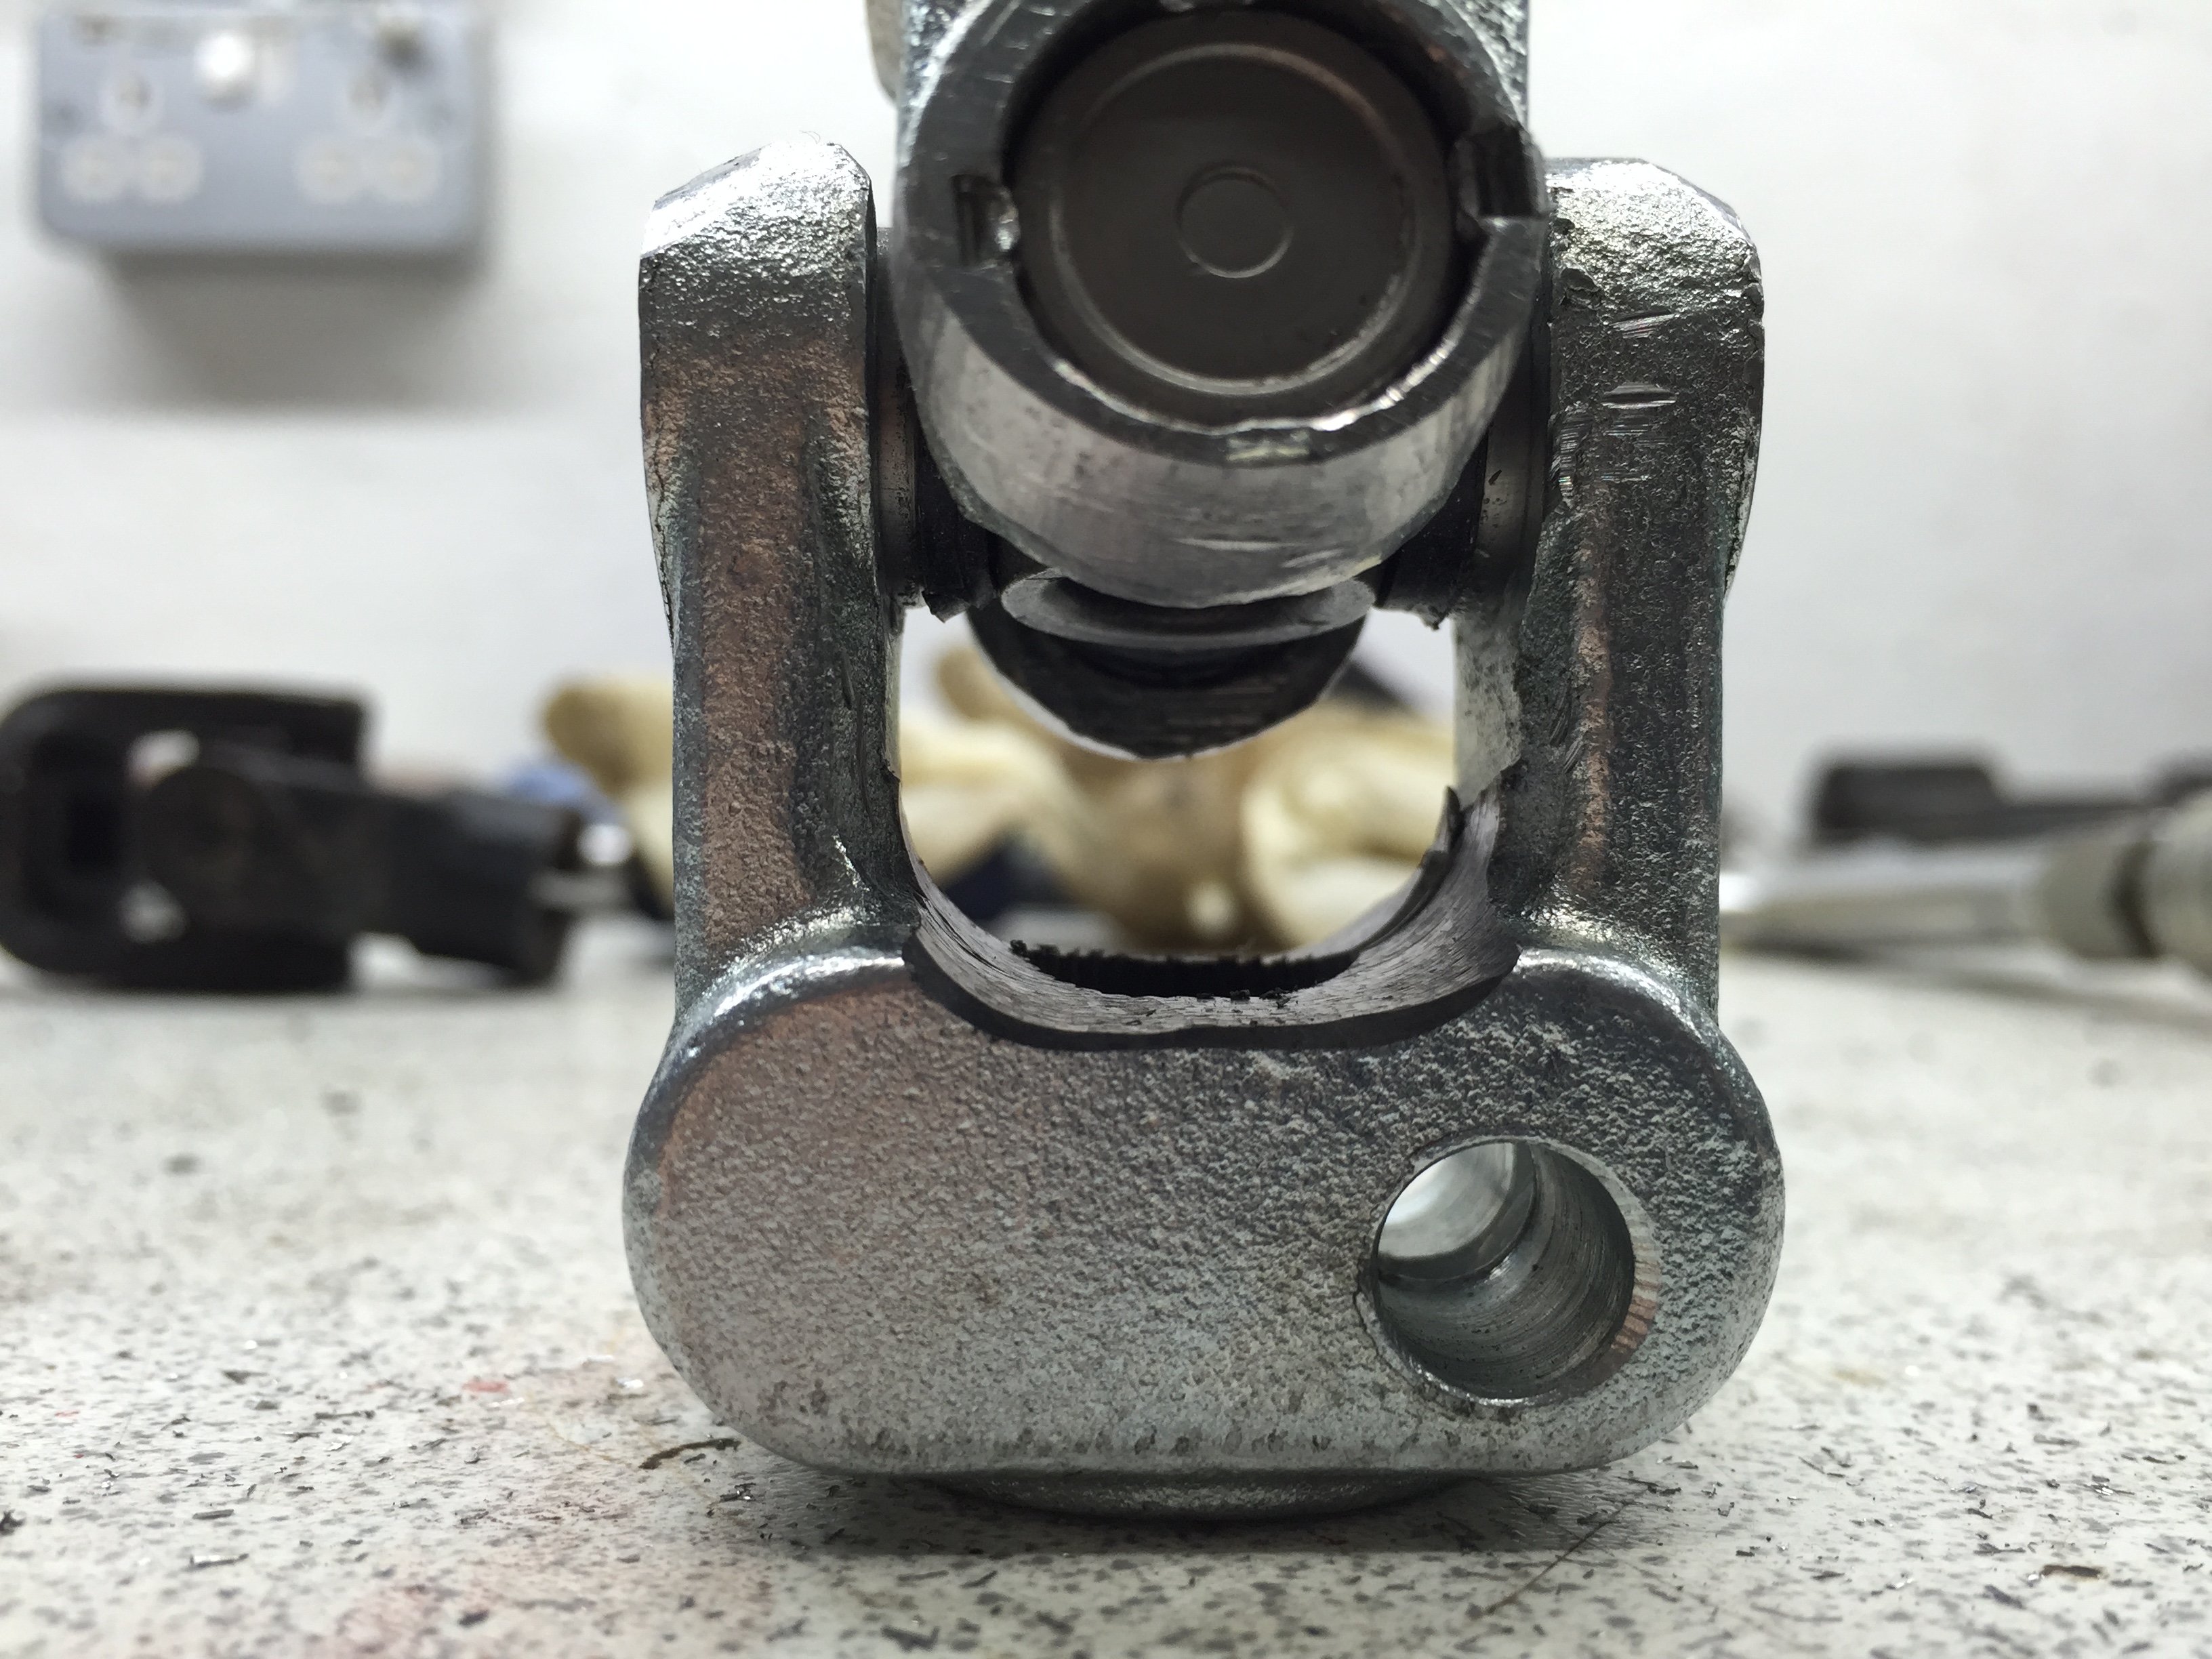
So a bit of careful trimming of some excess material and the joint had more movement
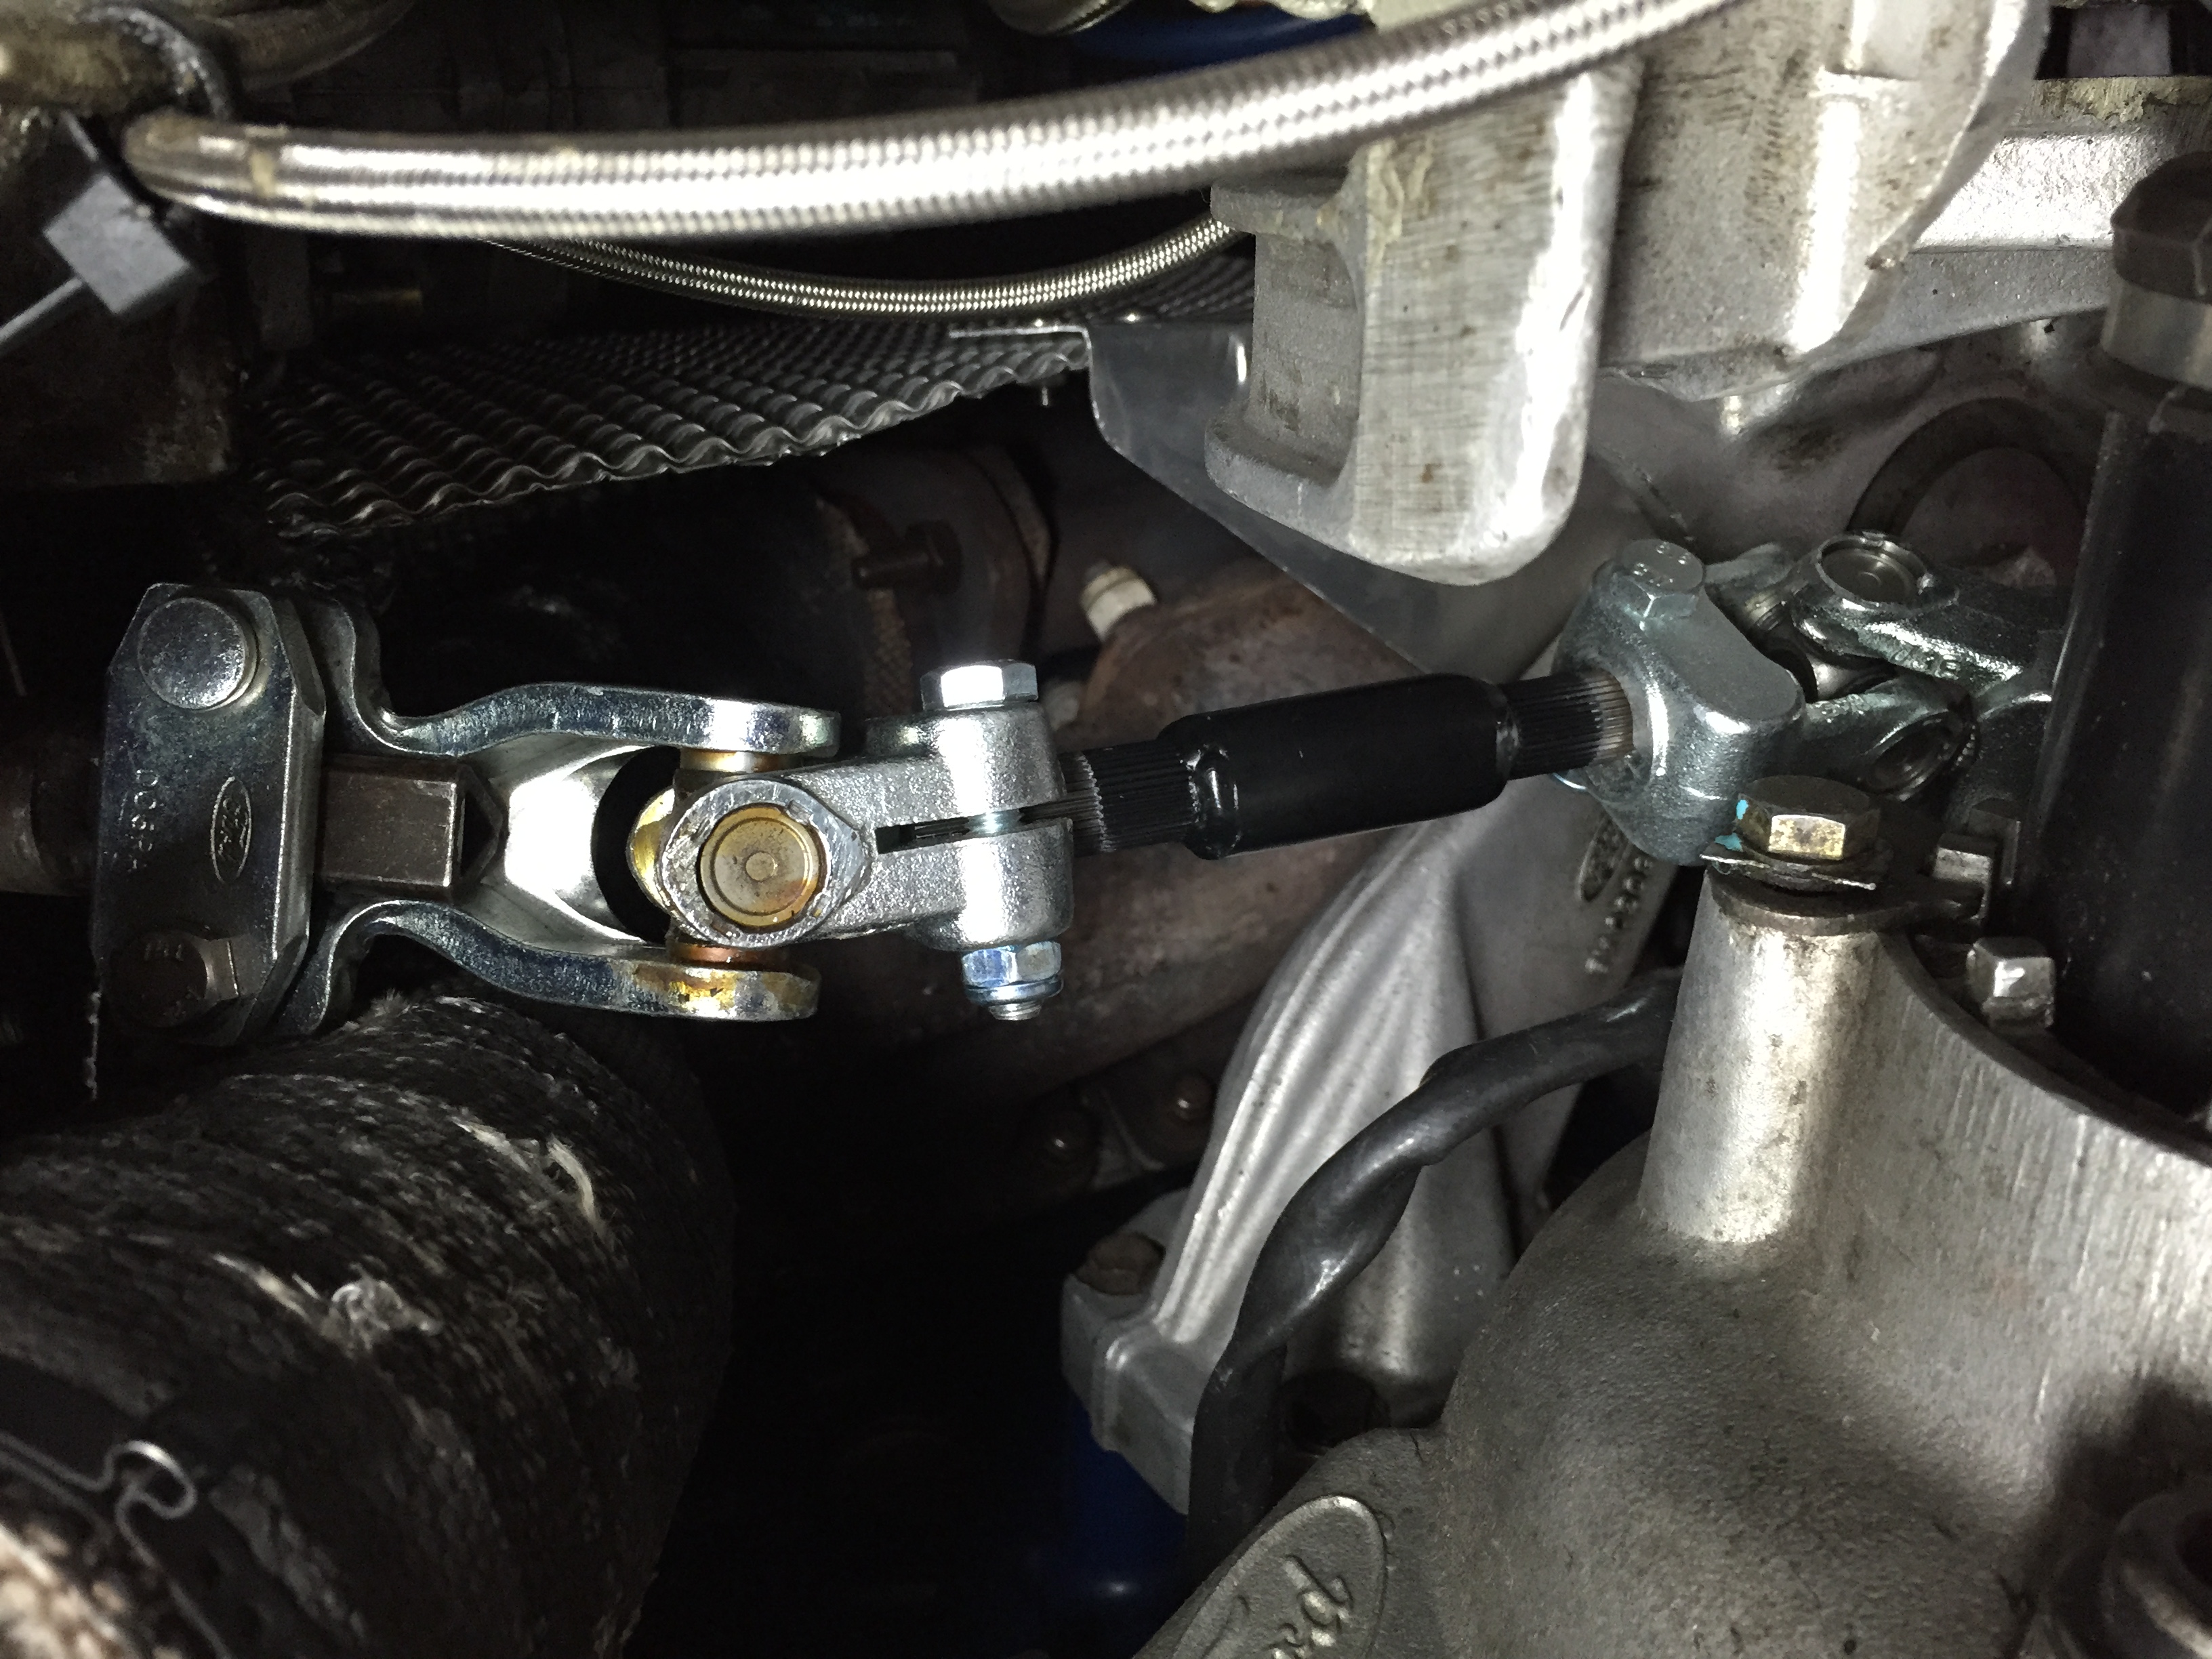
So the end result is below
And fitted to the car
With that done I went to get the car tracked as it was wobbling a bit on the steering wheel... Could not believe the results afterwards it was so positive again so a job worth doing!
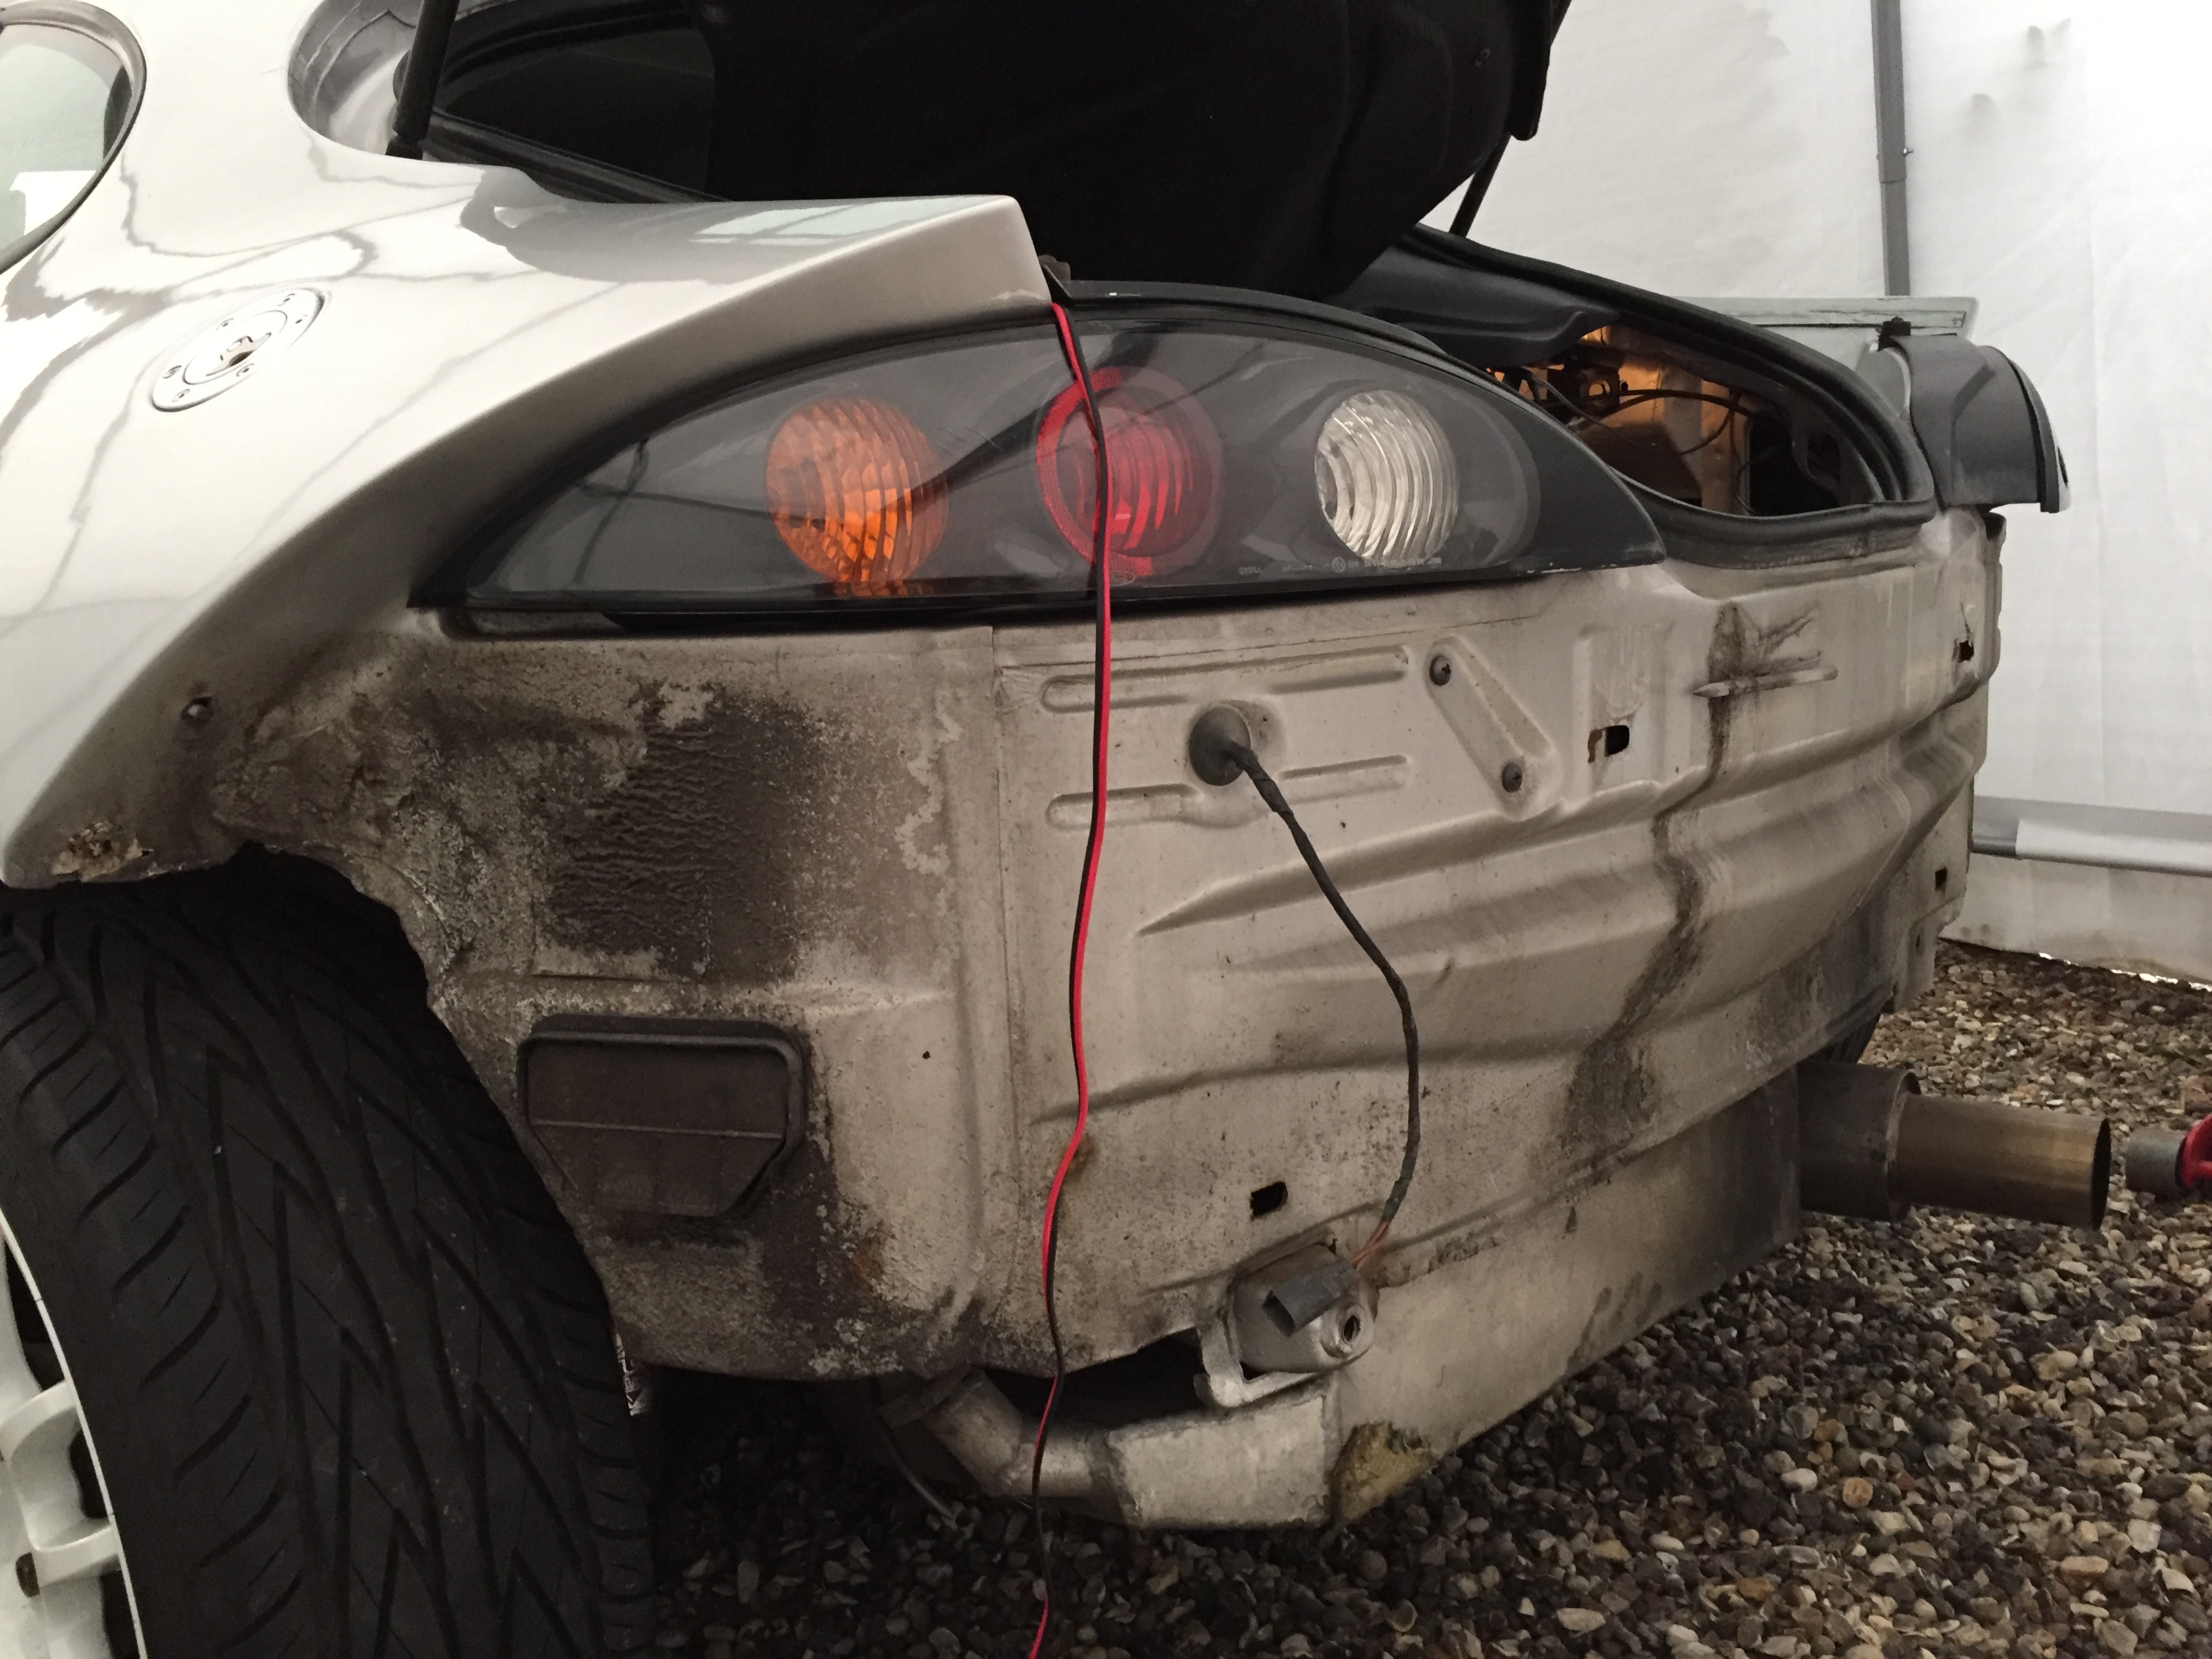
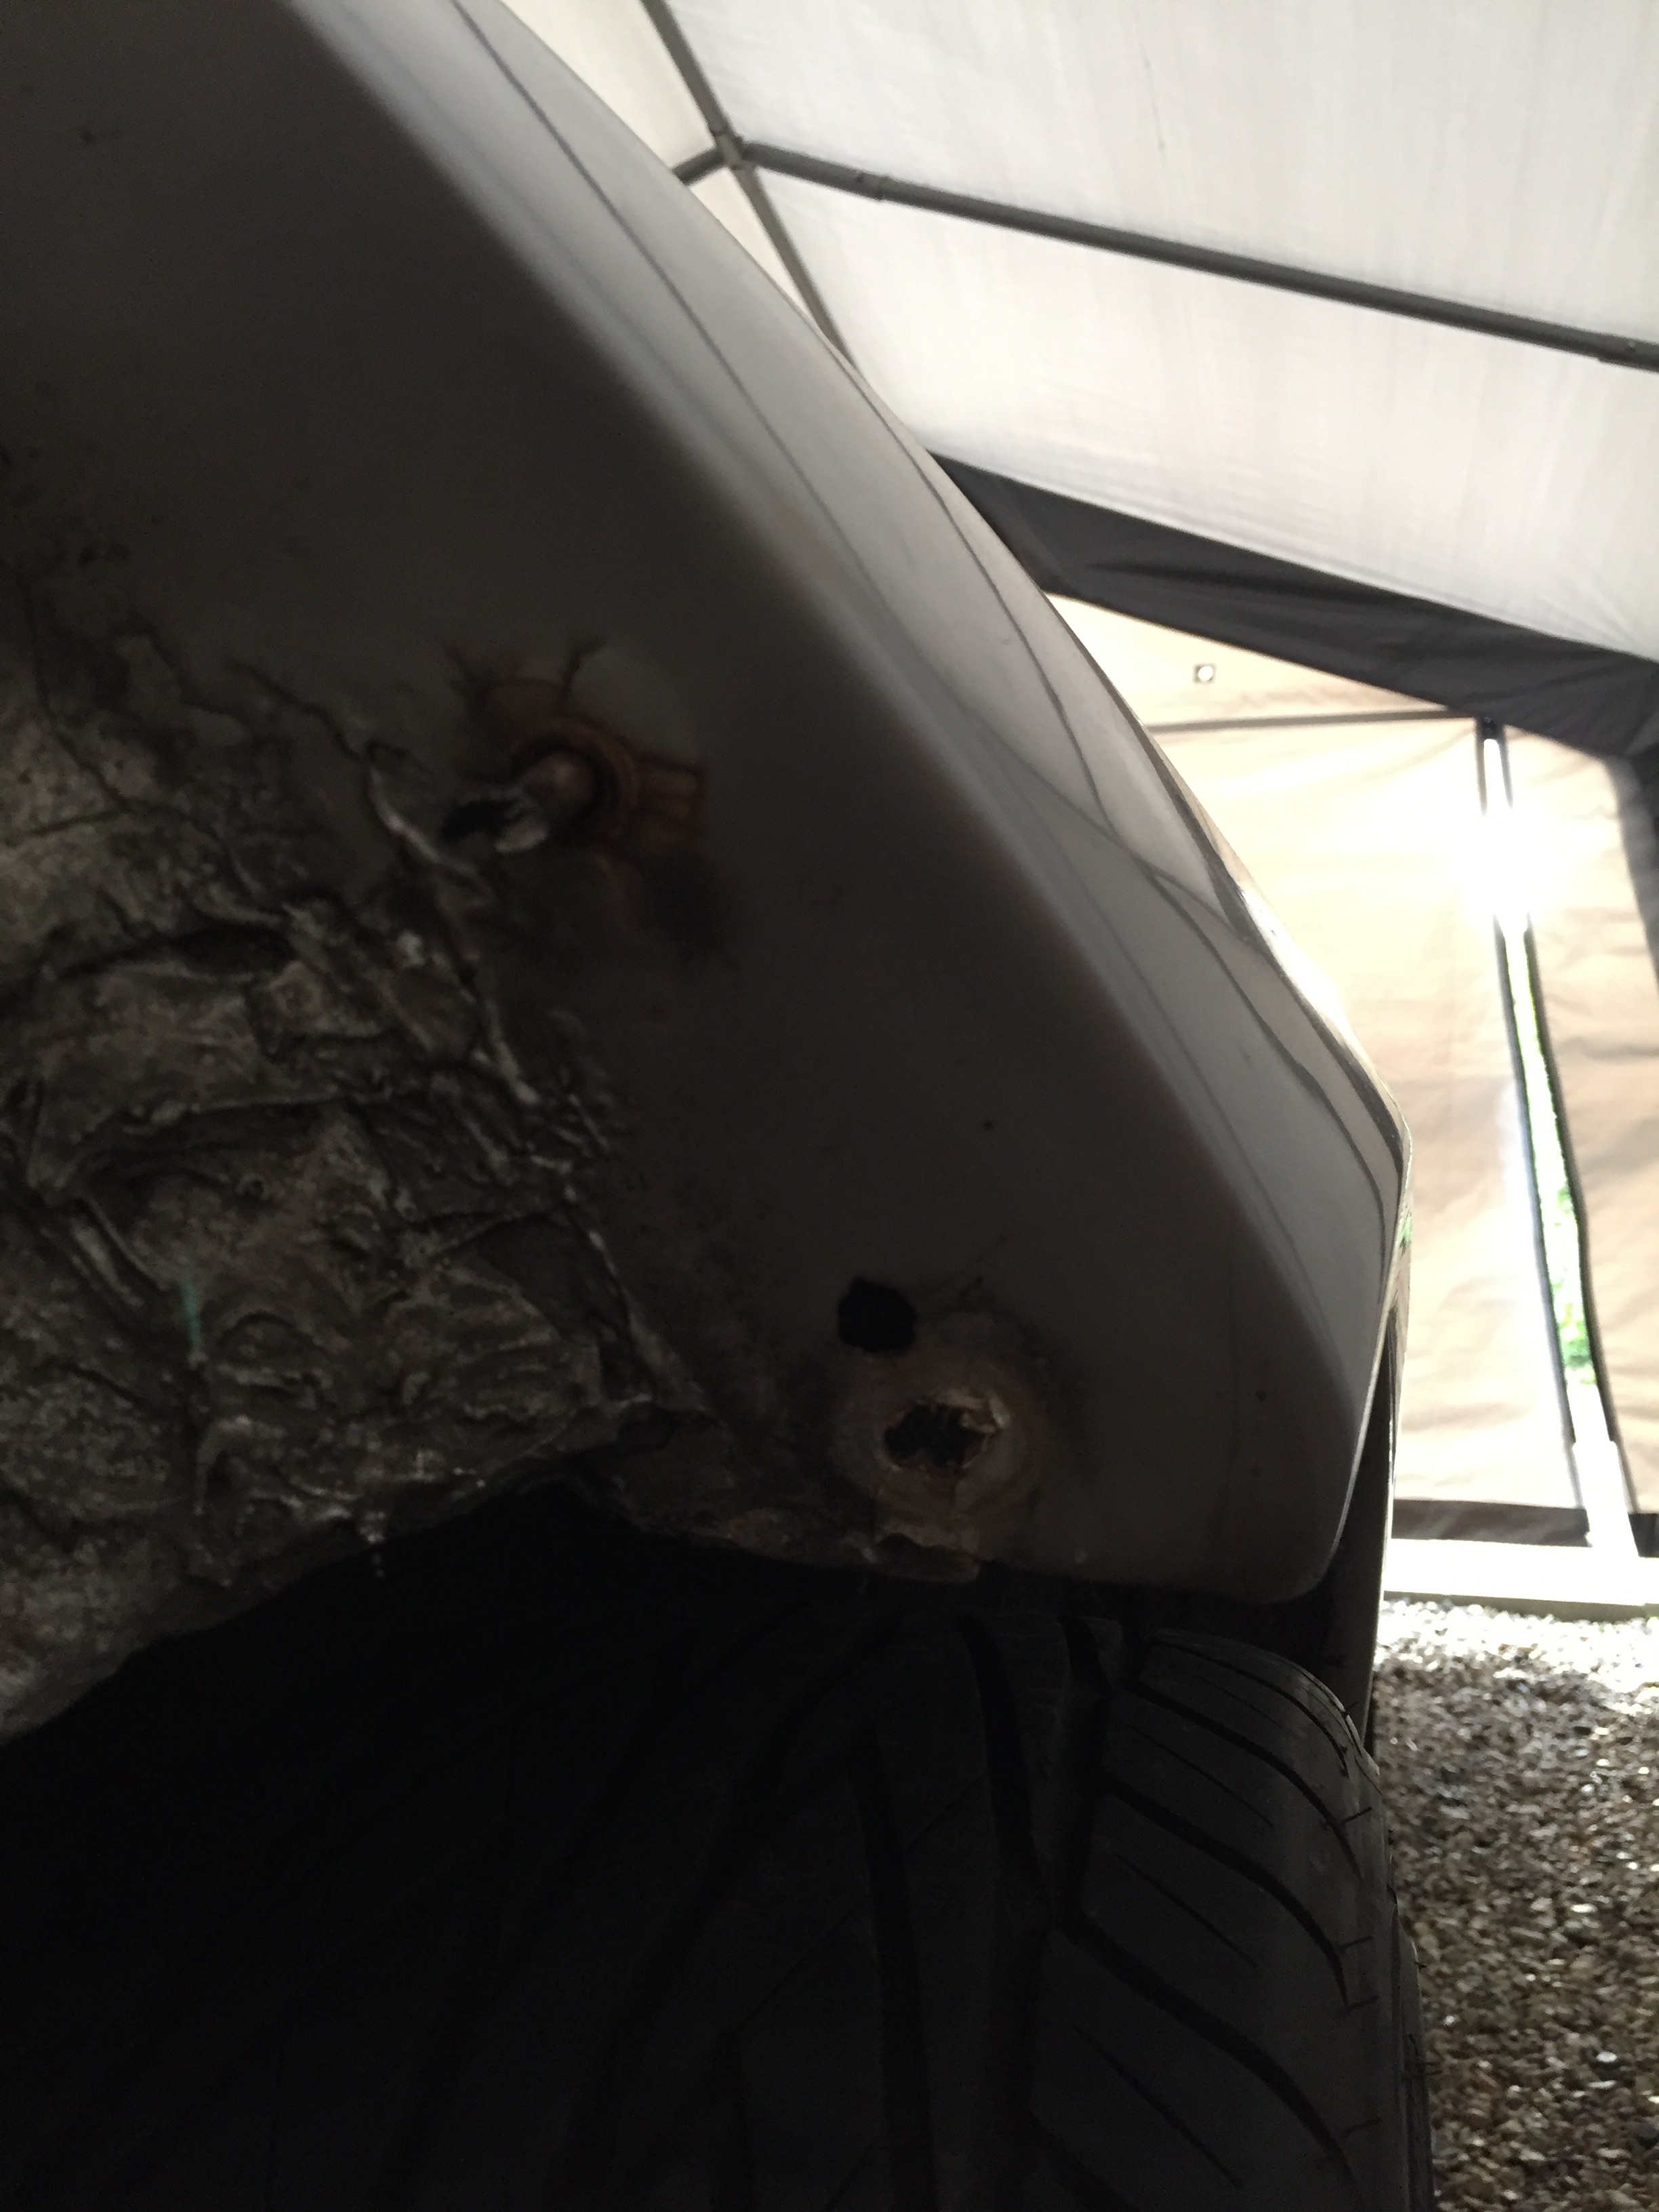
Moving on decided to get the rear bumper off, I needed to replace the boot solenoid as it was knackered and have been avoiding this job due to the bolts that held the bumper to the rear quarters. But persistence pays off..
Bumper off
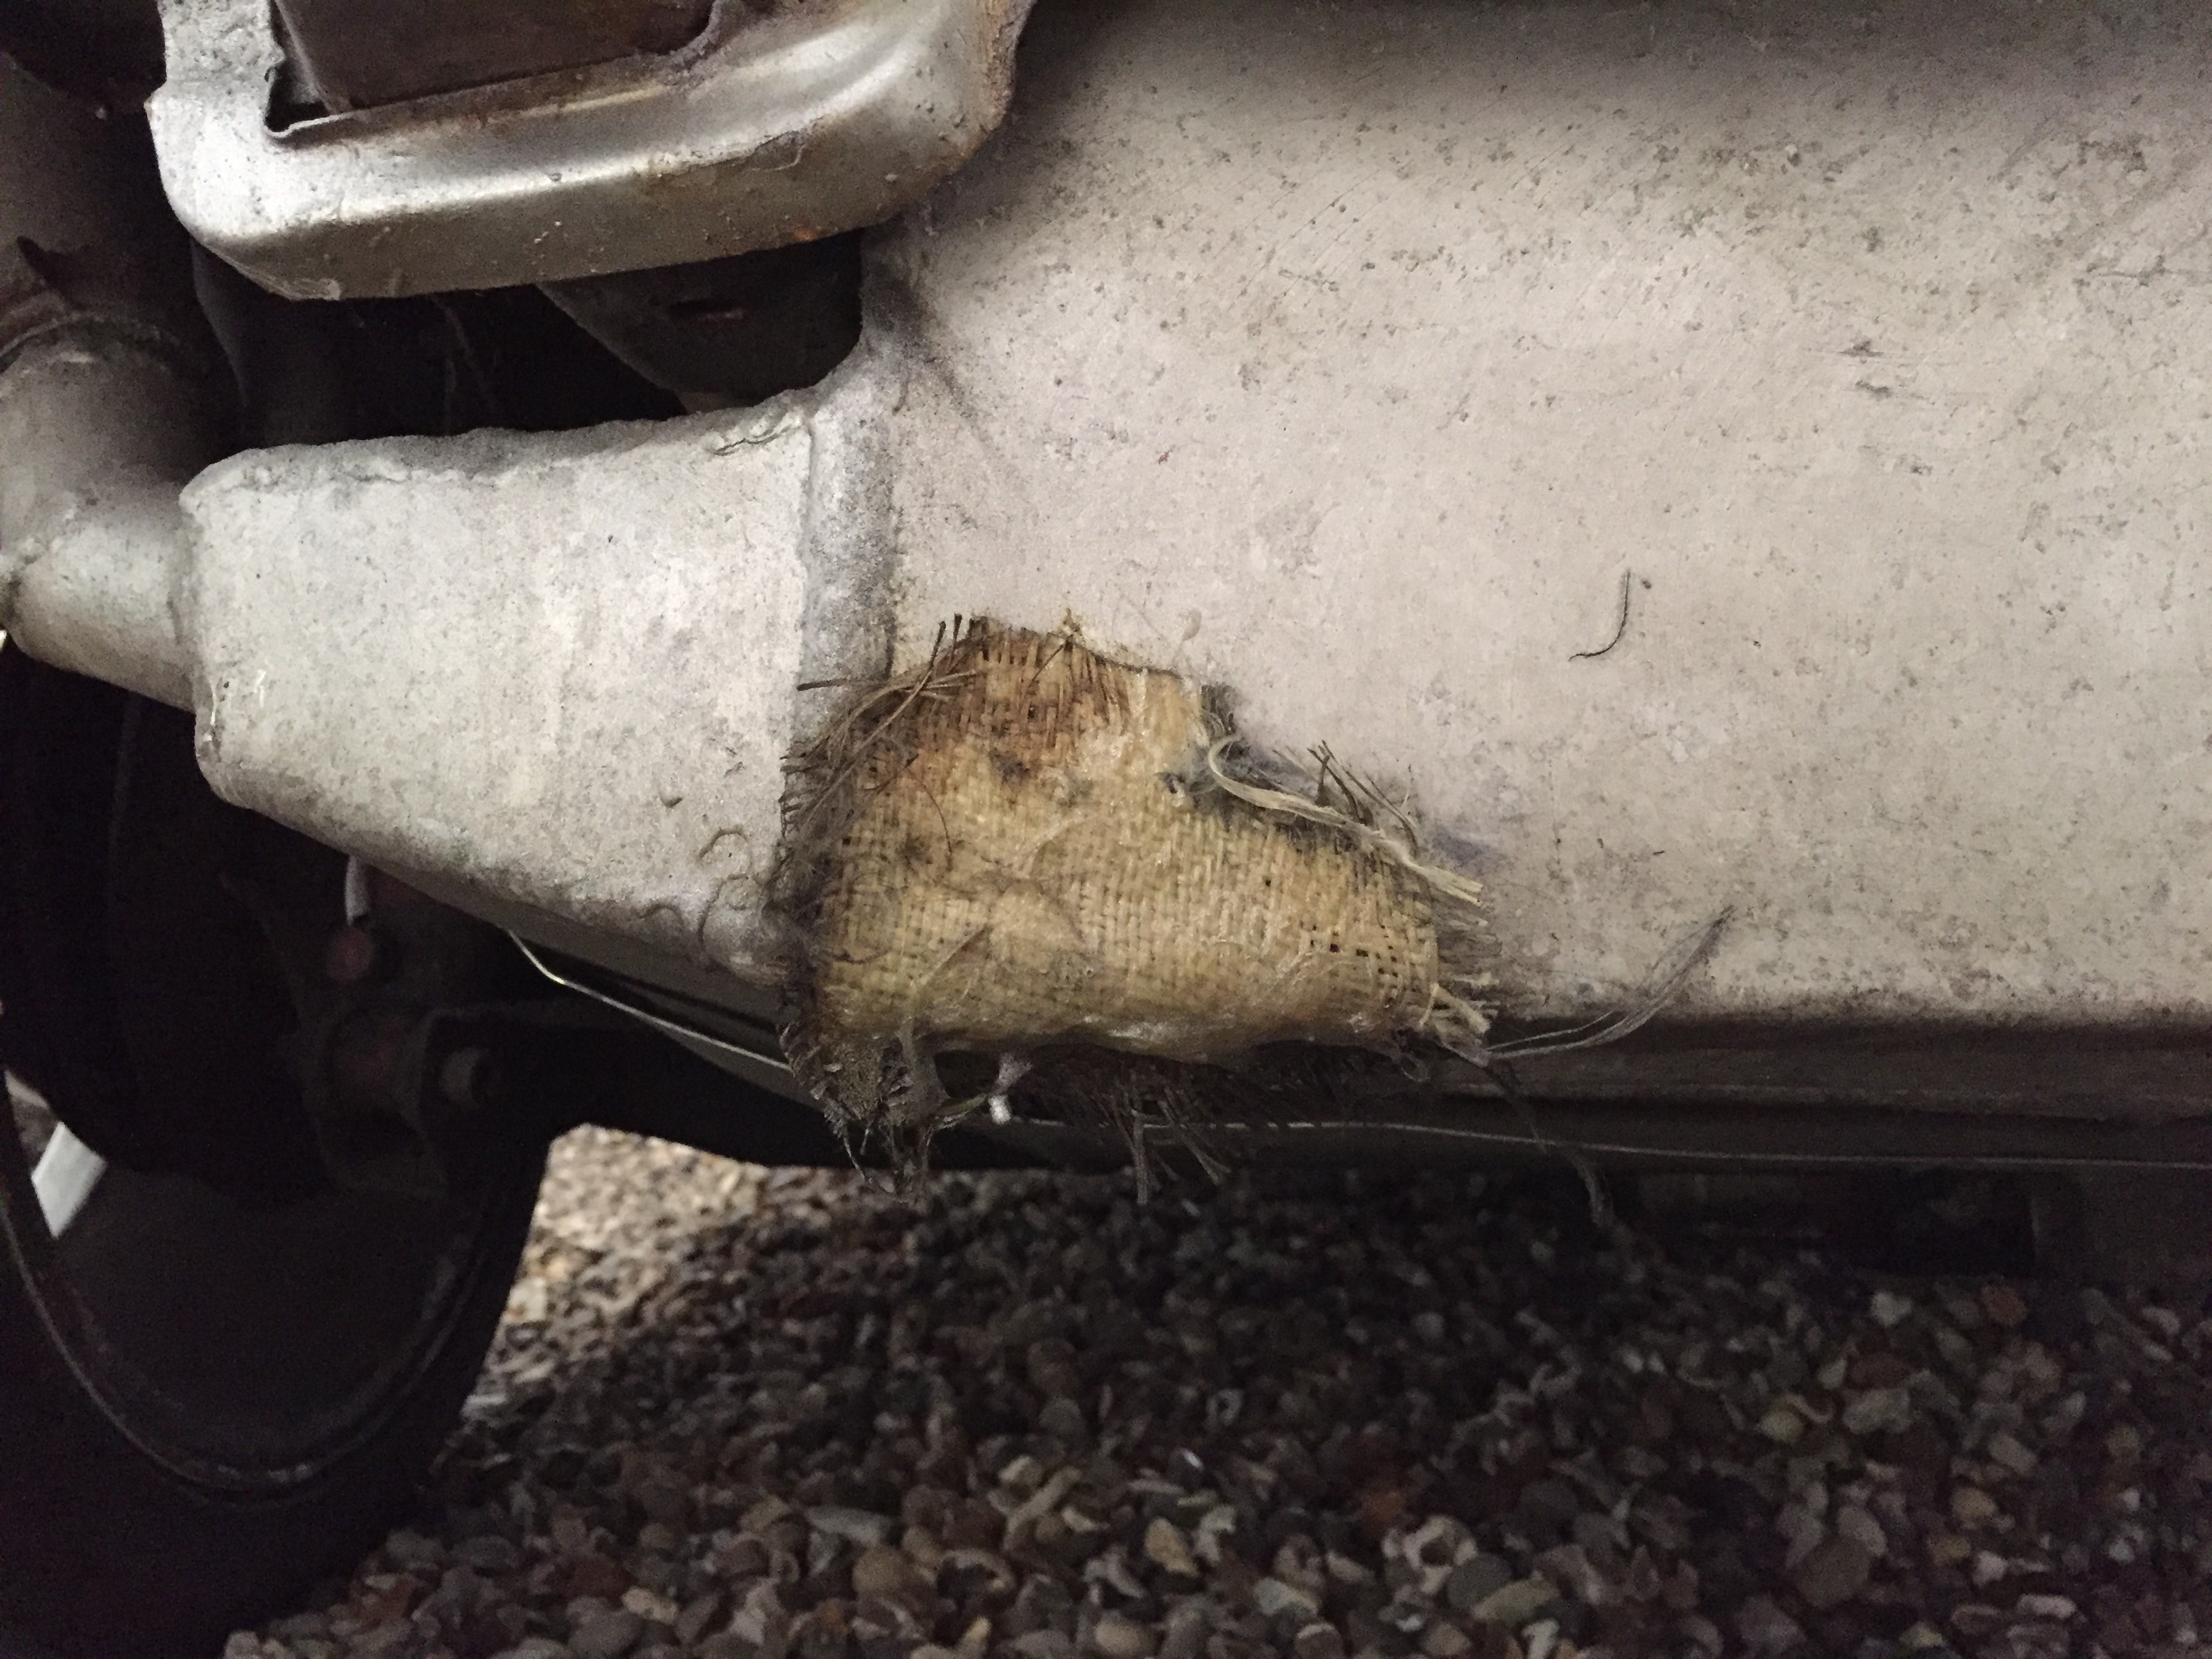
I knew this was here but a better look at a poor repair on the fuel makes me think I need to look at this sooner rather than later
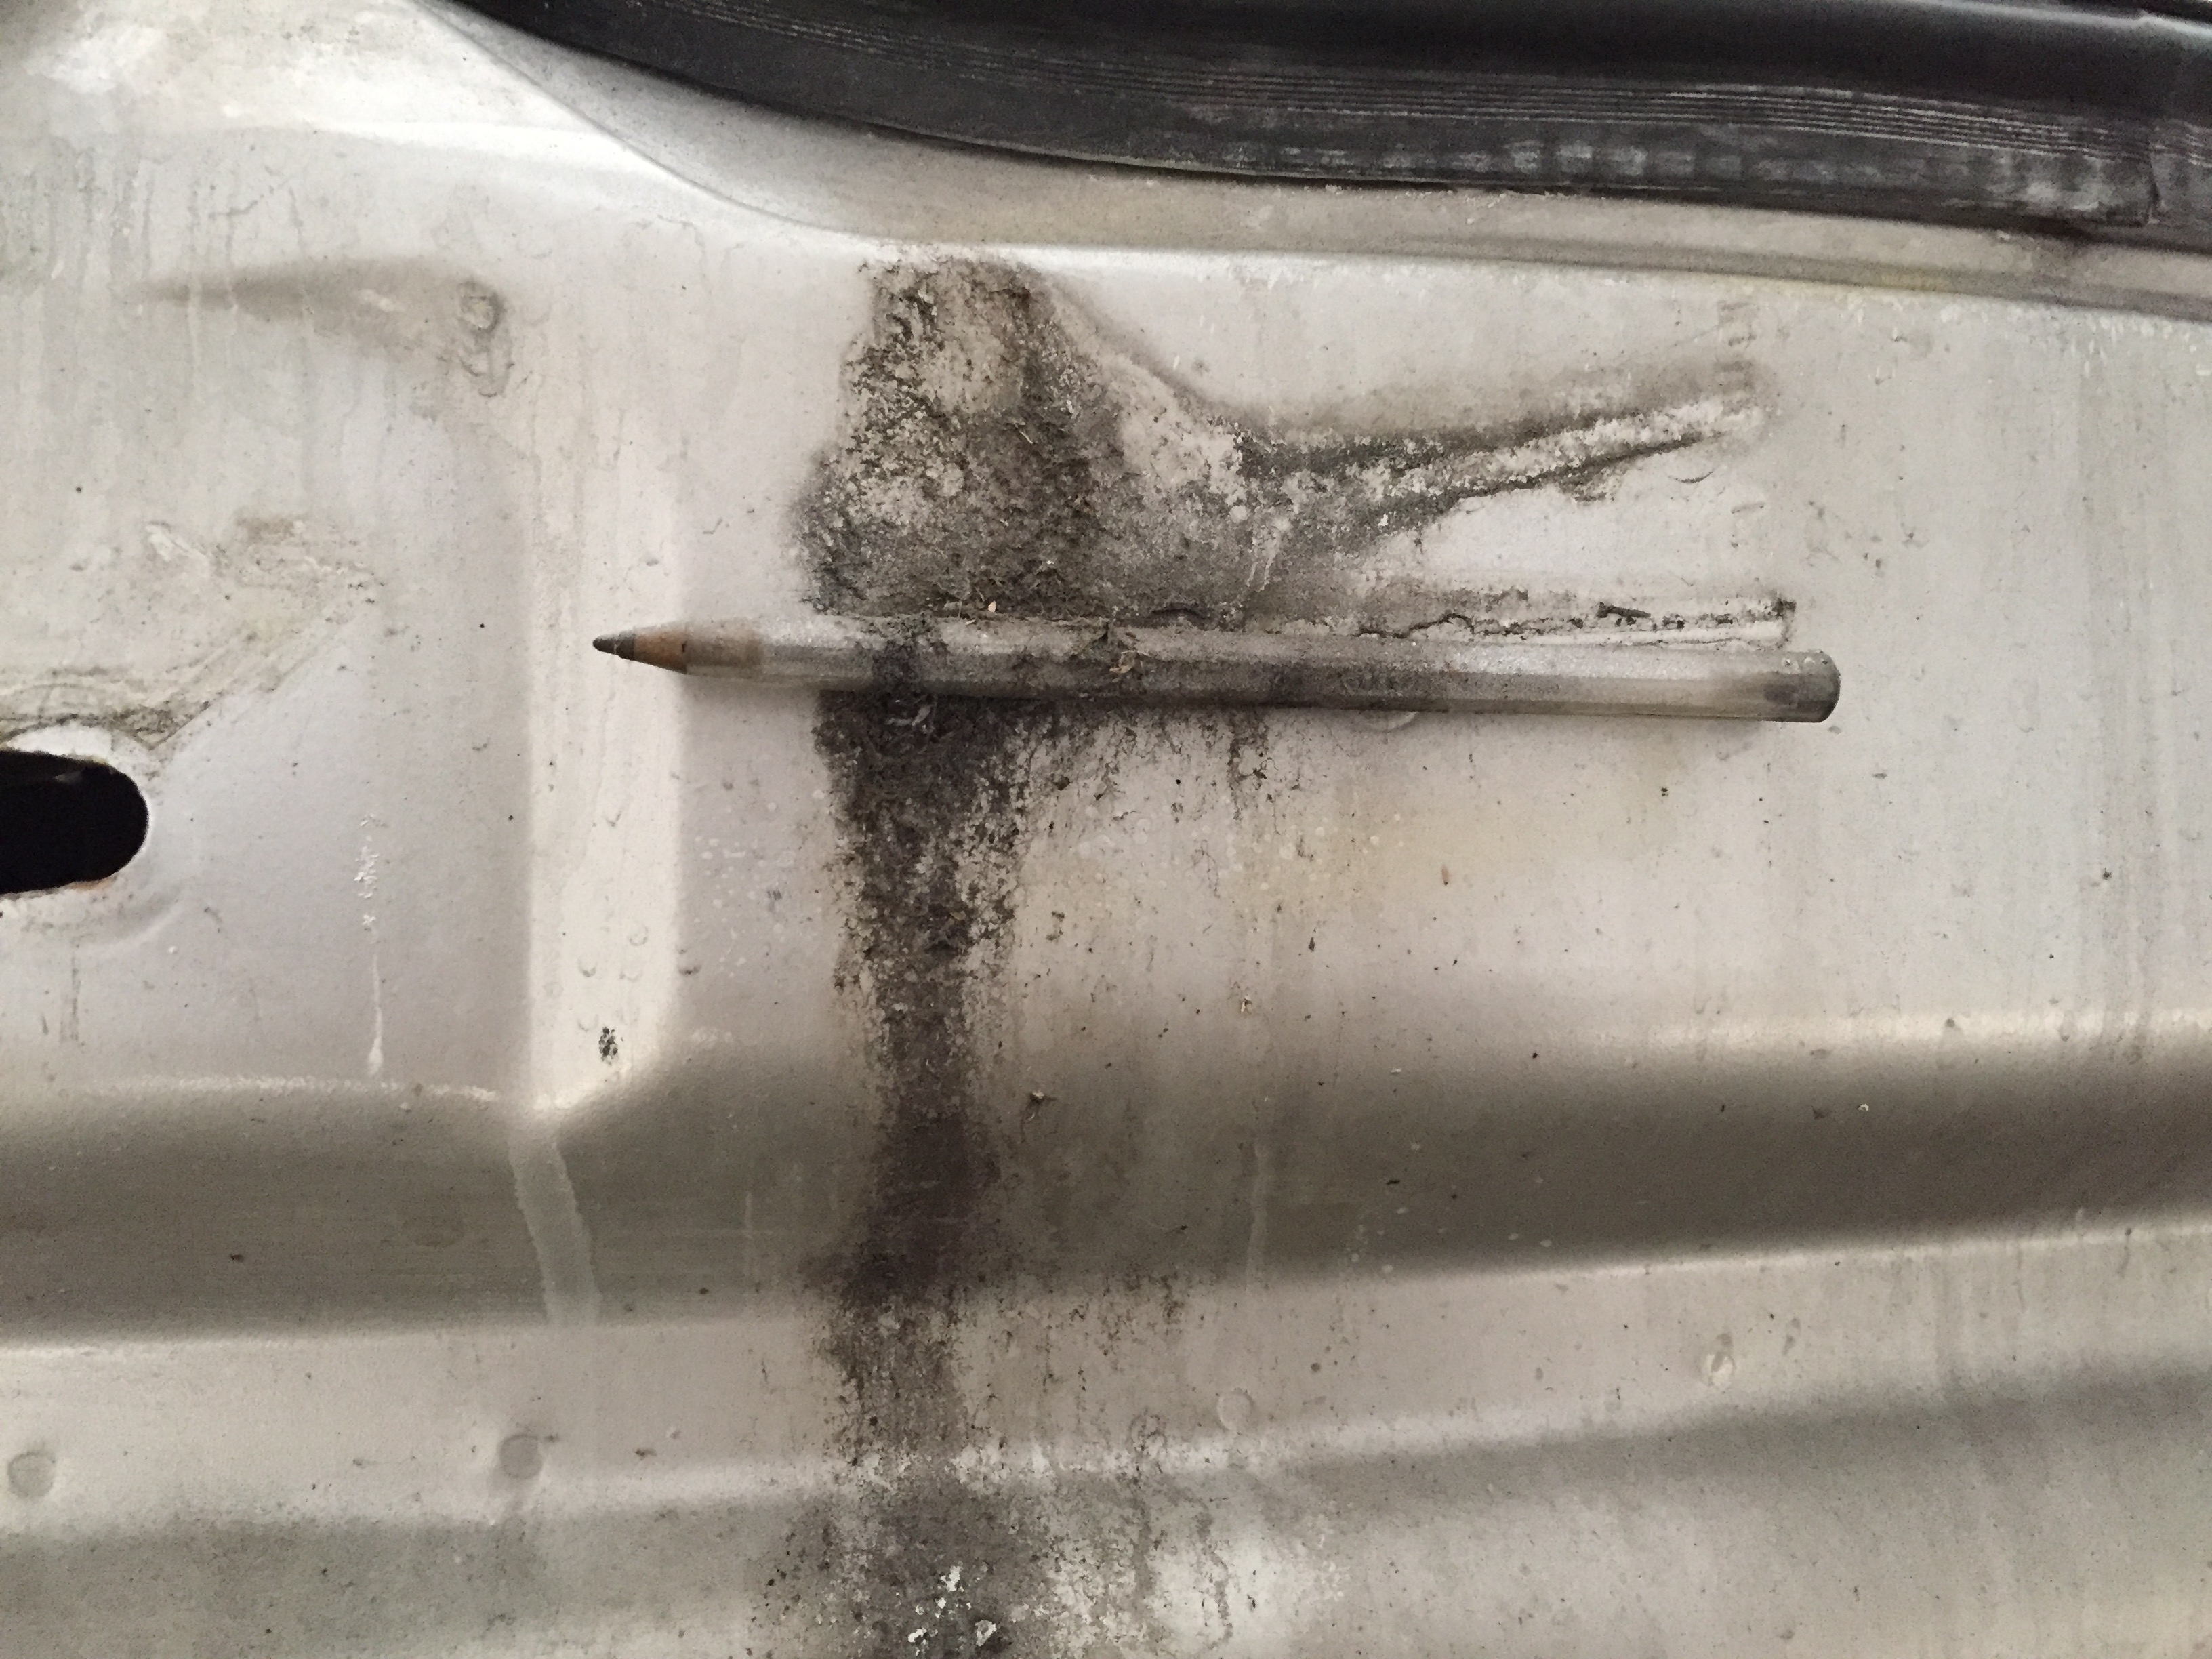
Biro anyone? Found this stuck behind the bumper!
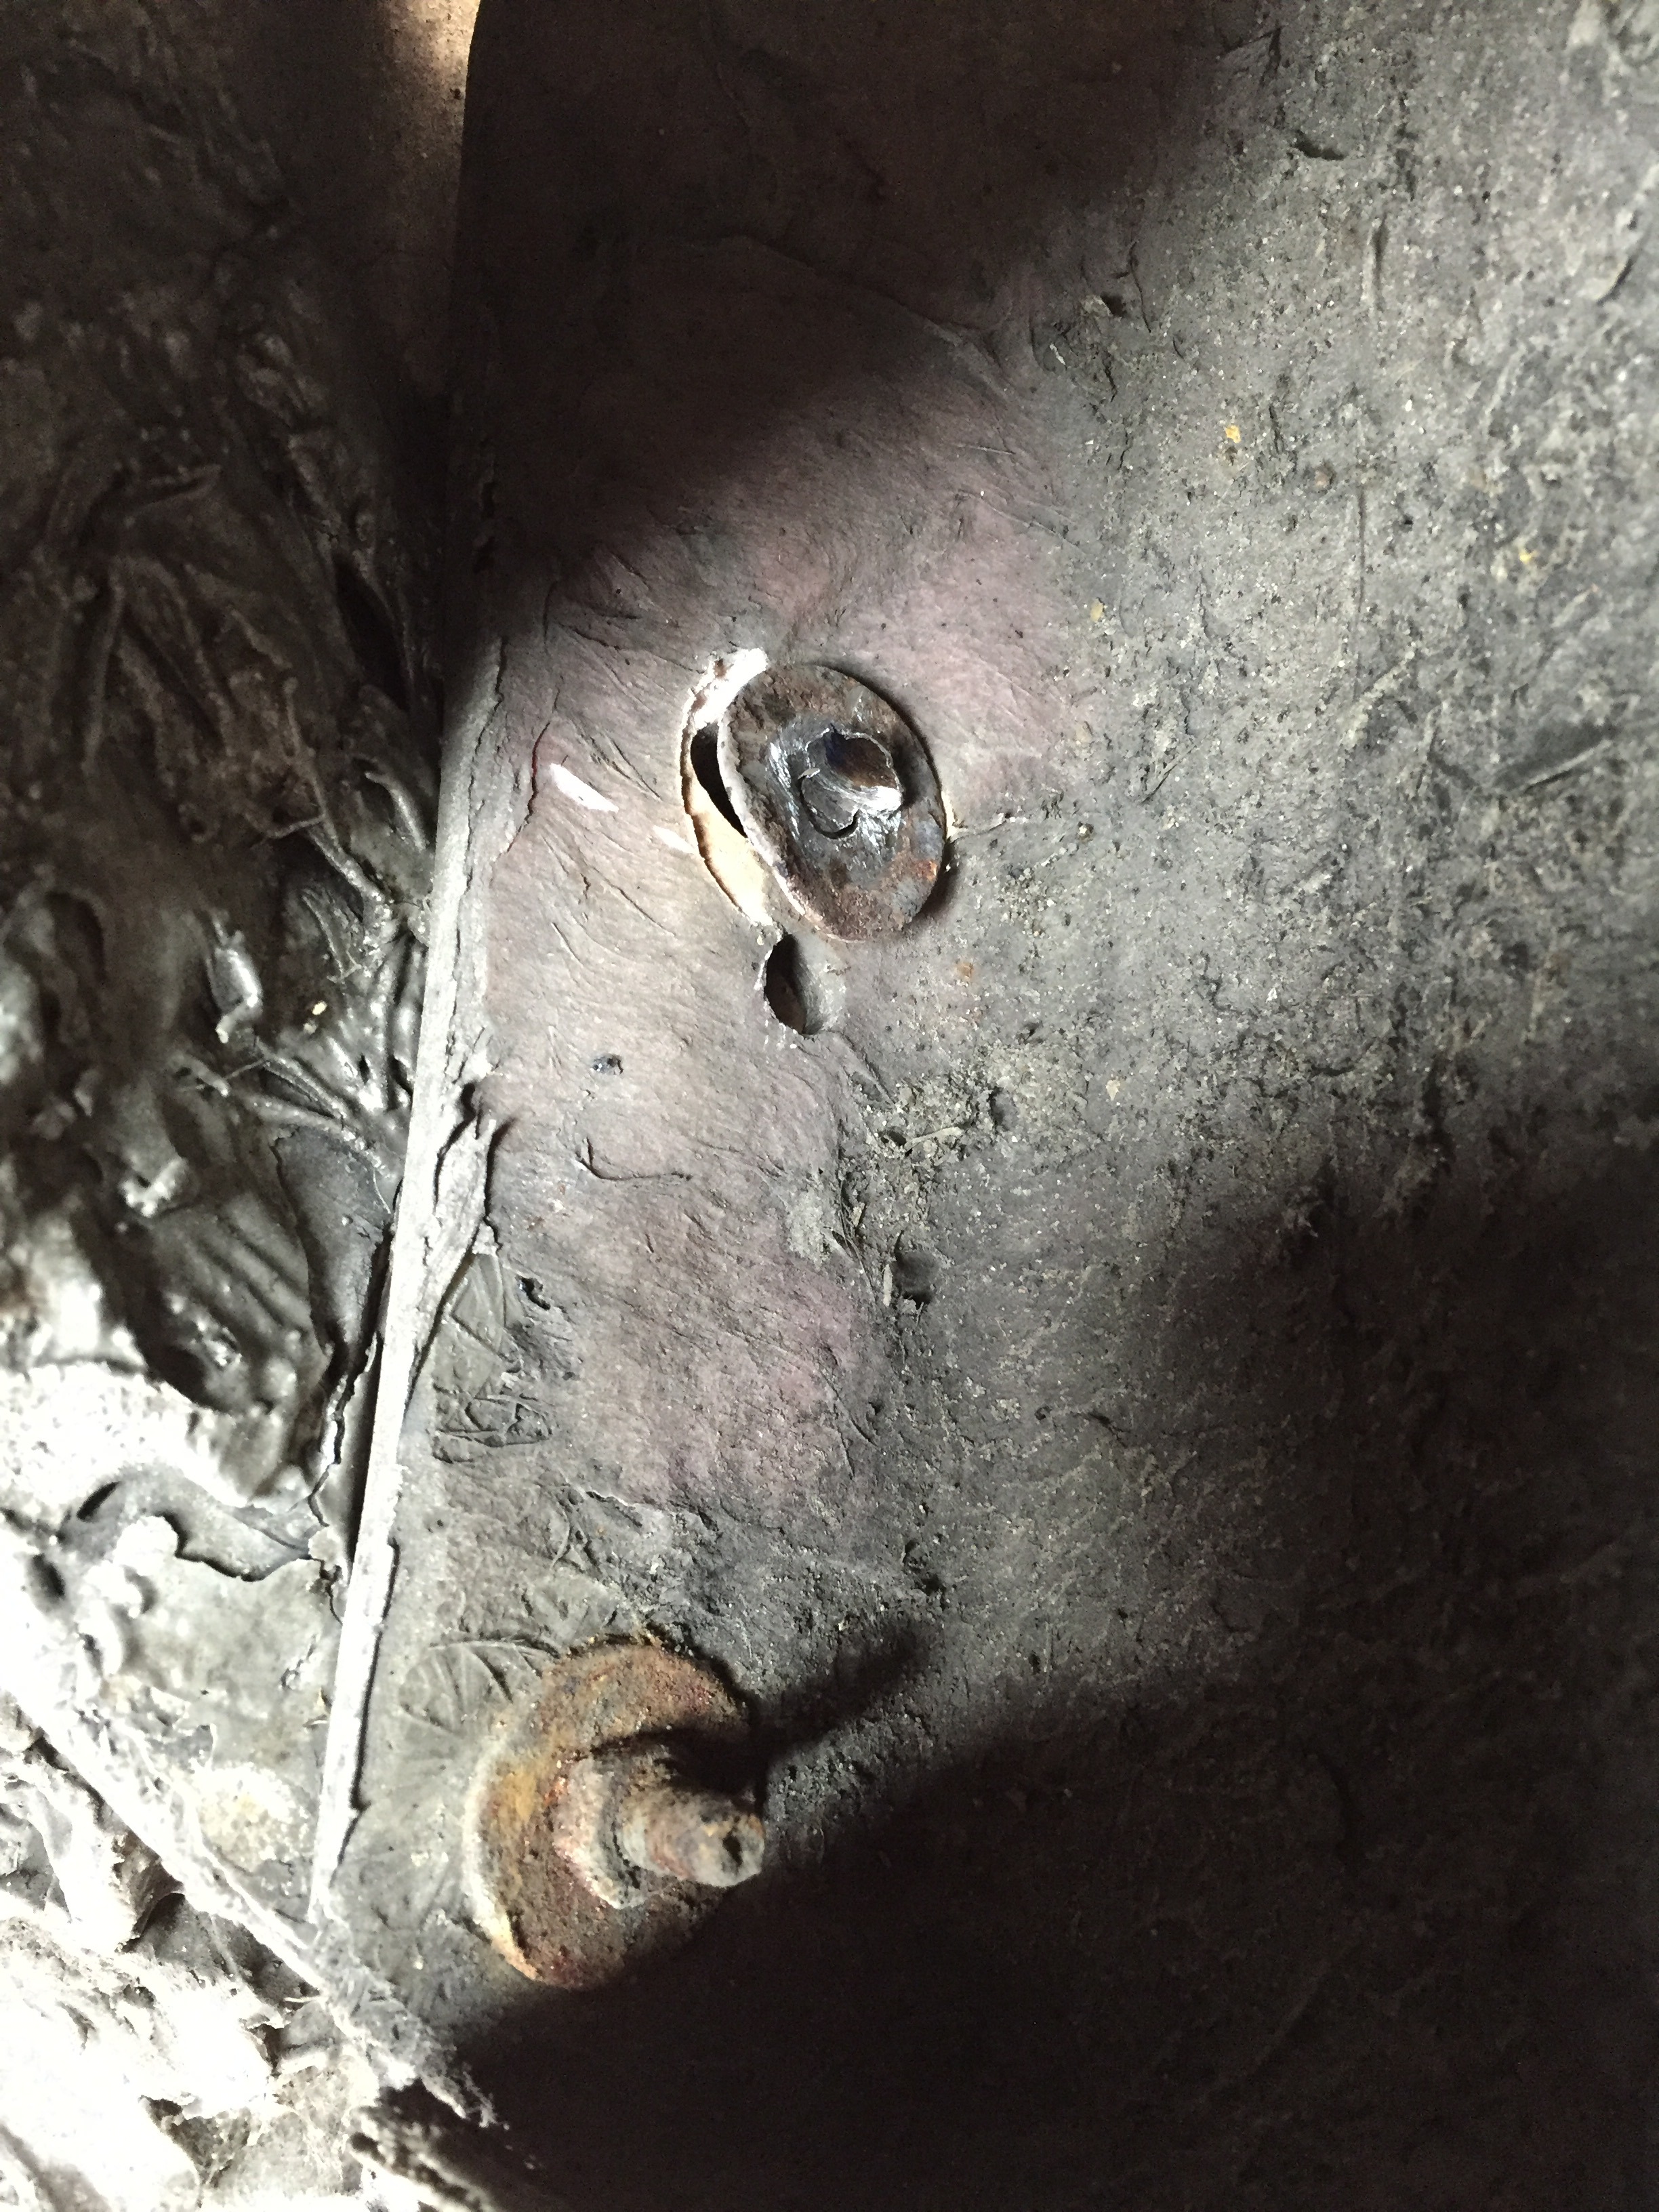
Evidence of a slow effort with a die grinder to remove the old rusted bolts
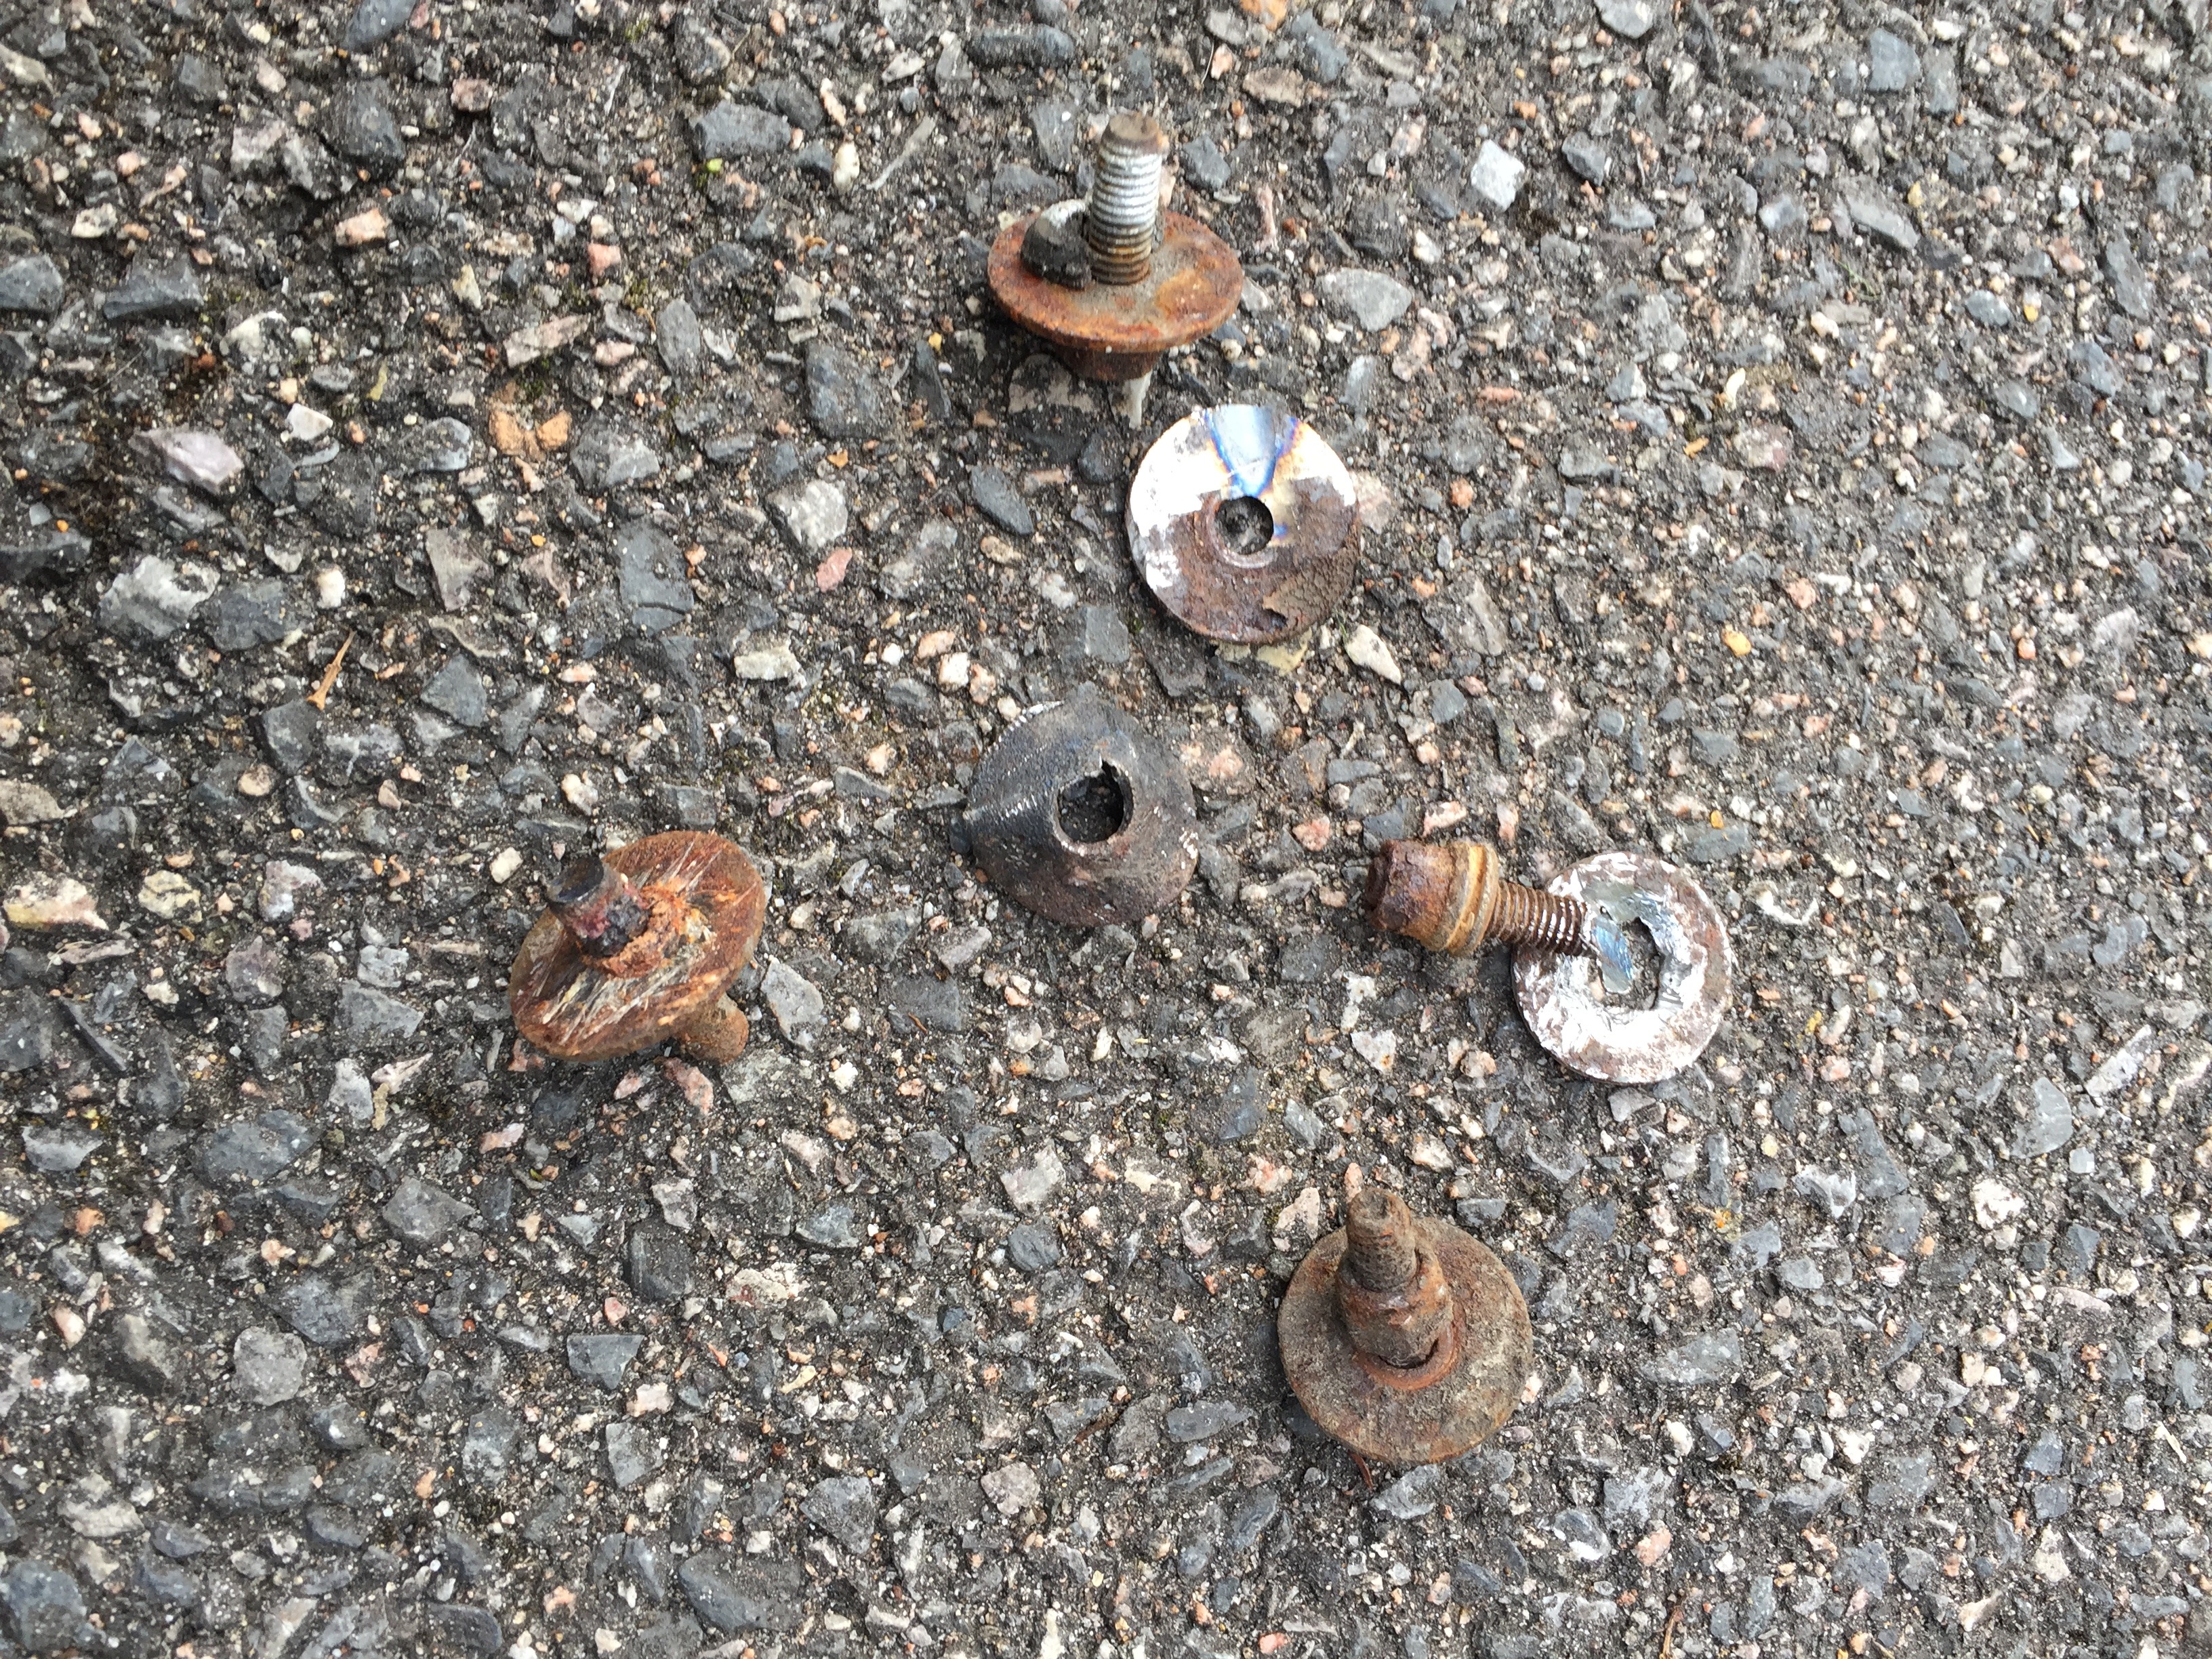
Old rusty bolts
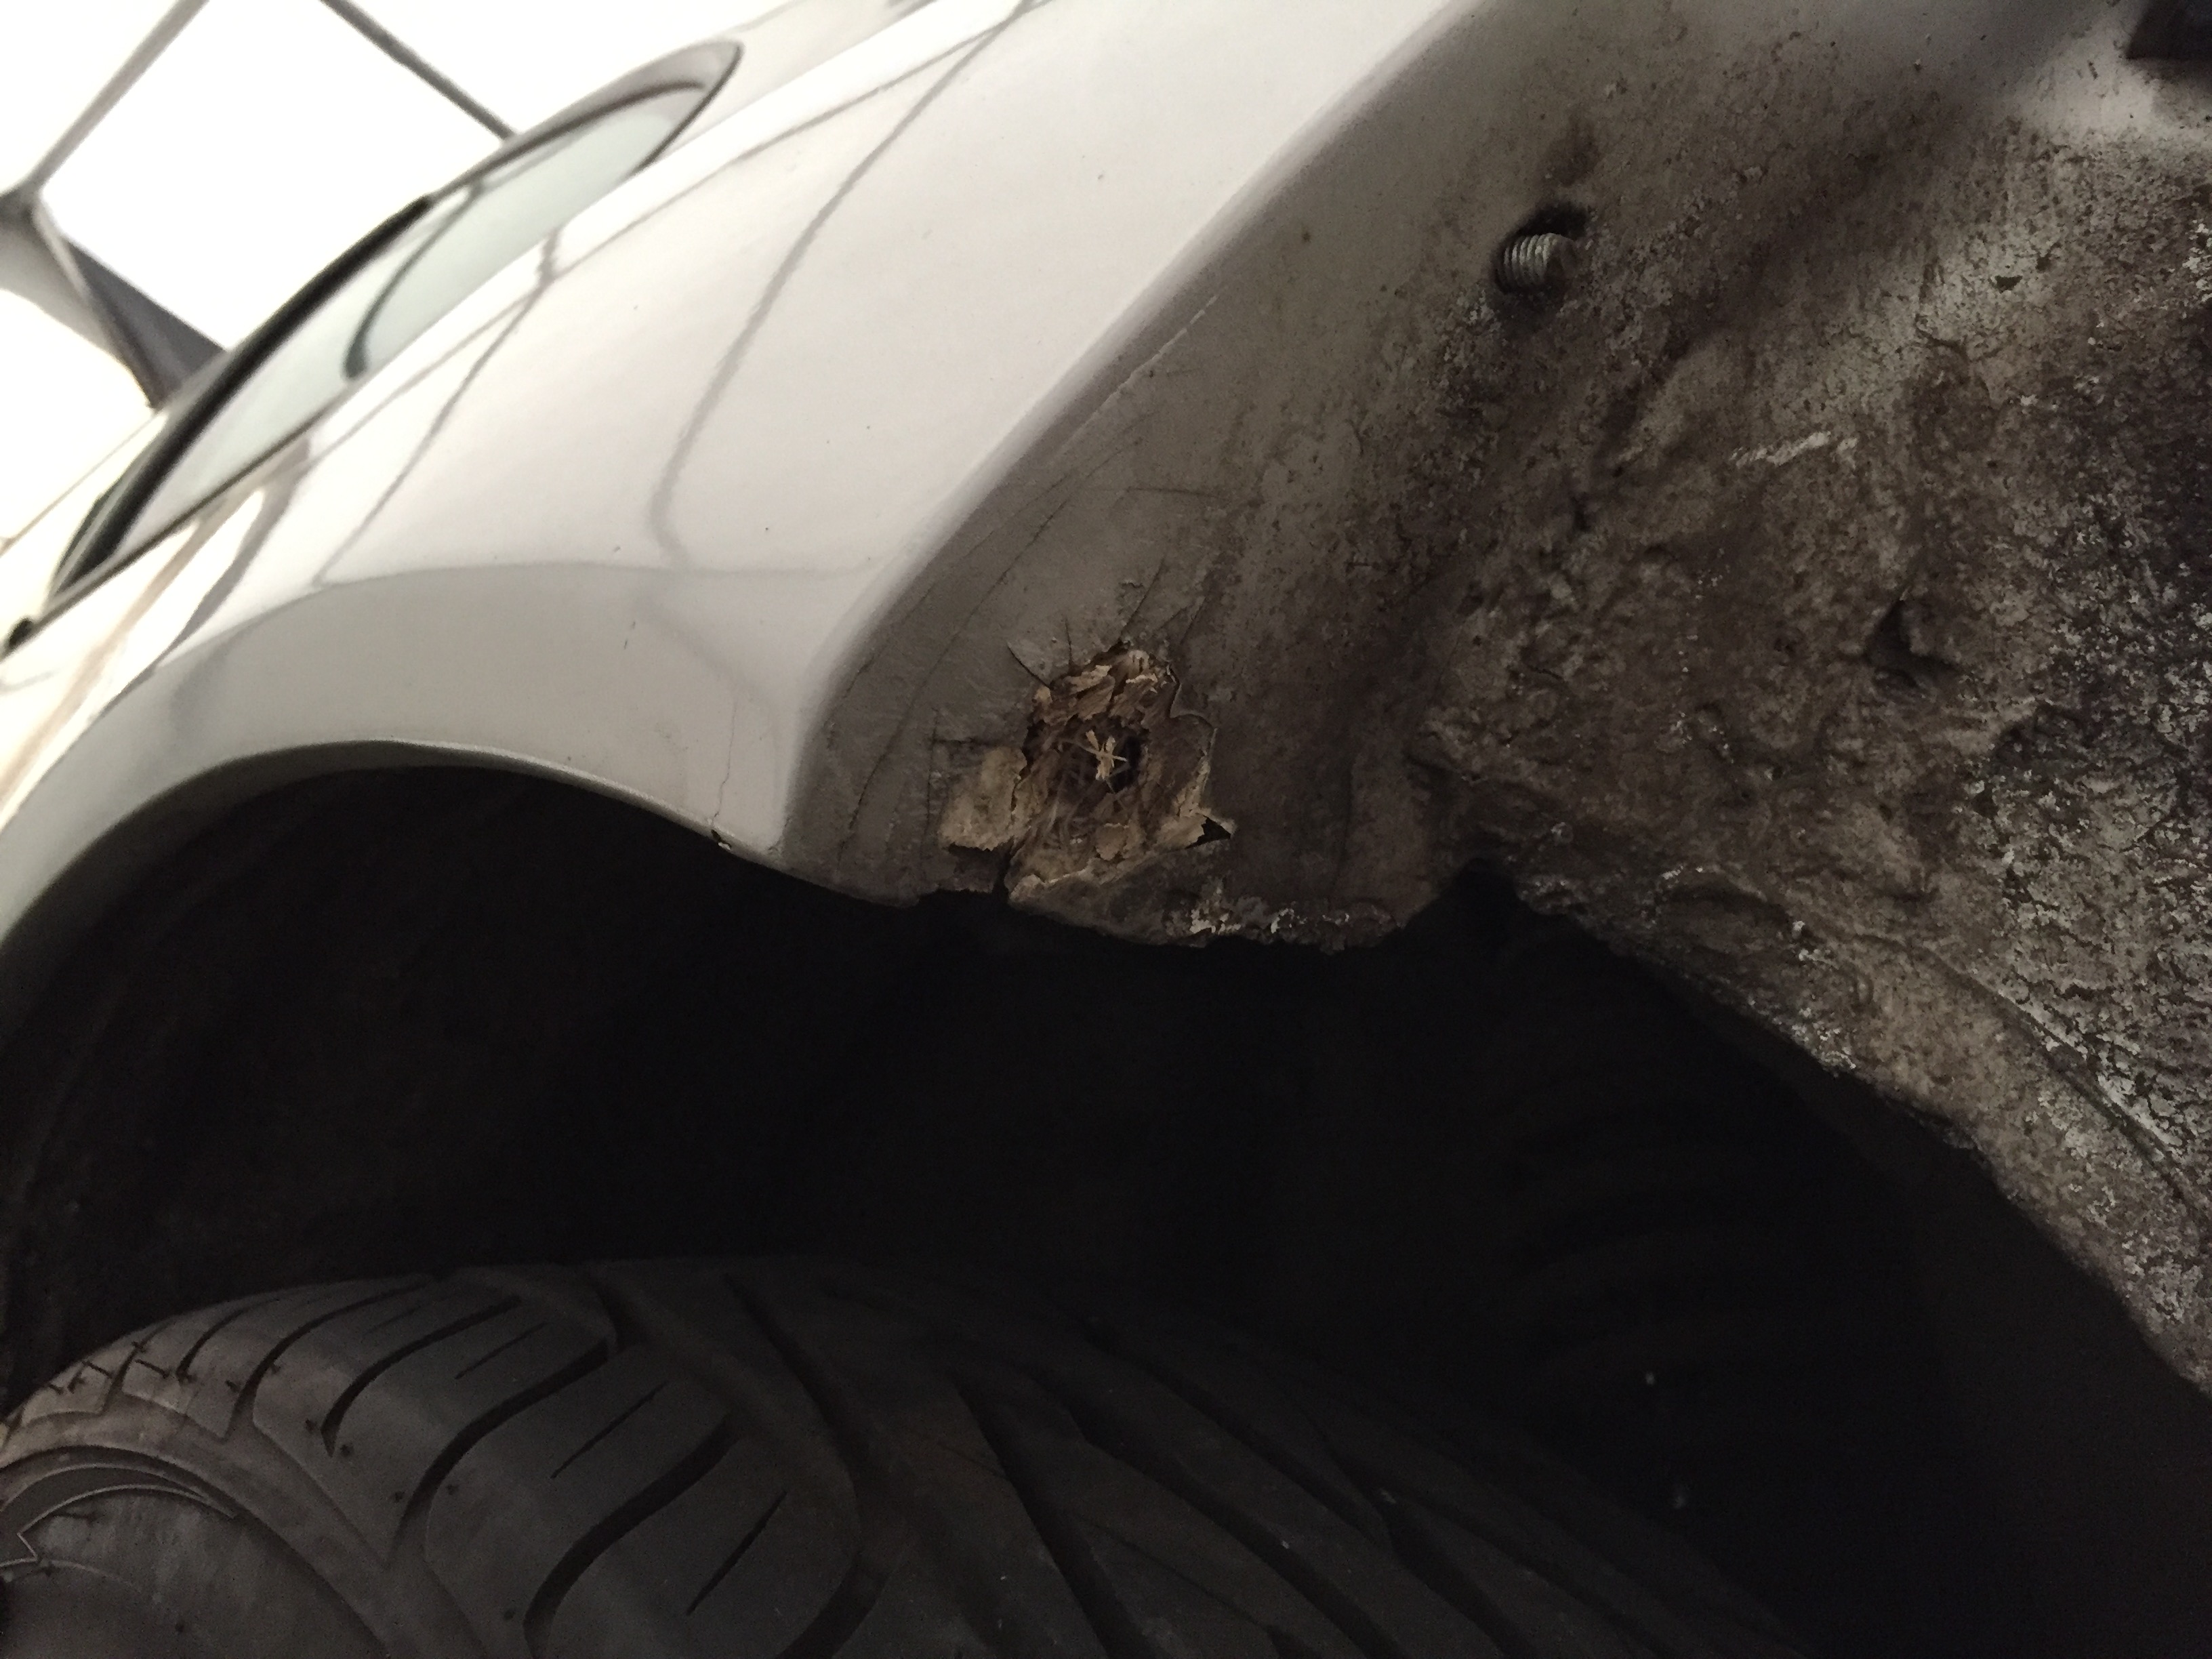
Wings needing some repair
So with the solenoid replaced, the bumper was fitted back. This time with all four of its nuts instead of just two and an experiment on fixing it to the quarters. The small areas where the bumper meets are a little weak and putting more bolts through are difficult to get to and make it weak. So I've used 1mm adhesive foam strips to secure the bumper and stop it flapping. I'm pleased to say at the moment t has worked far better than I thought and better than using the bolts! So time will tell if this is a permanent solution or not.
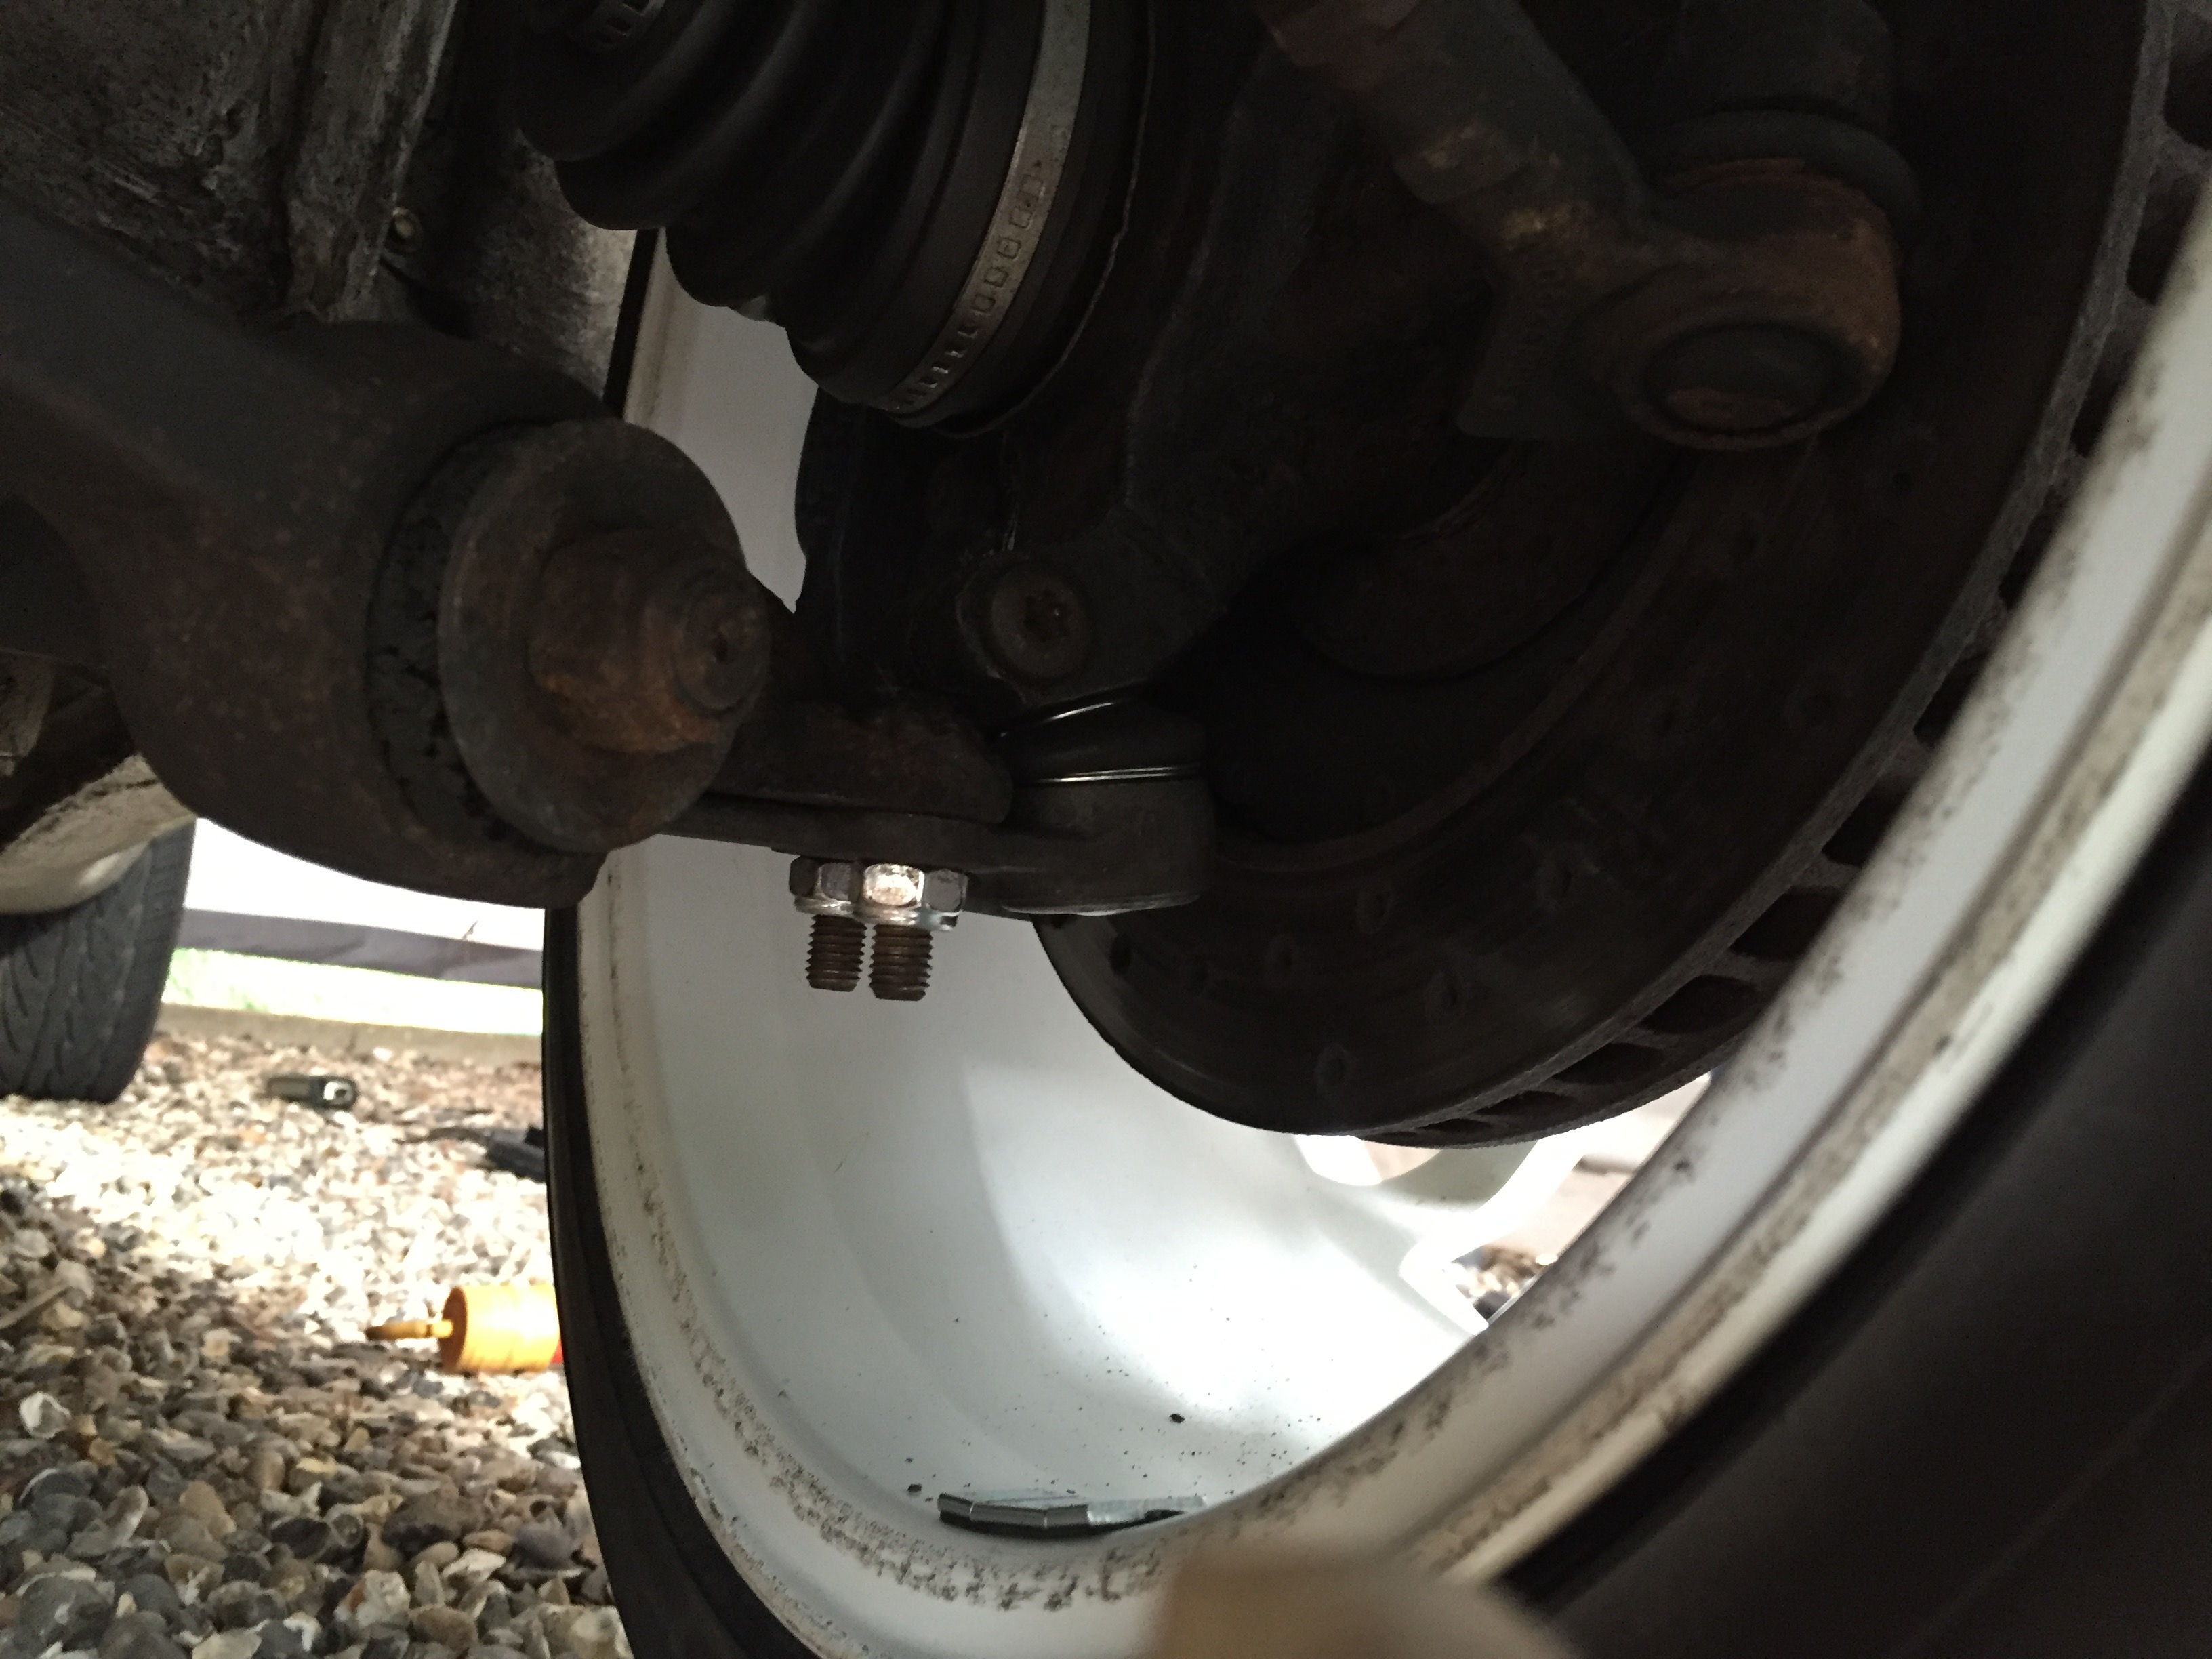
So with that done, a year since ownership had come around and another MOT was needed. Pleased to say went through without hiccups! Just an advisory on from ball joints.
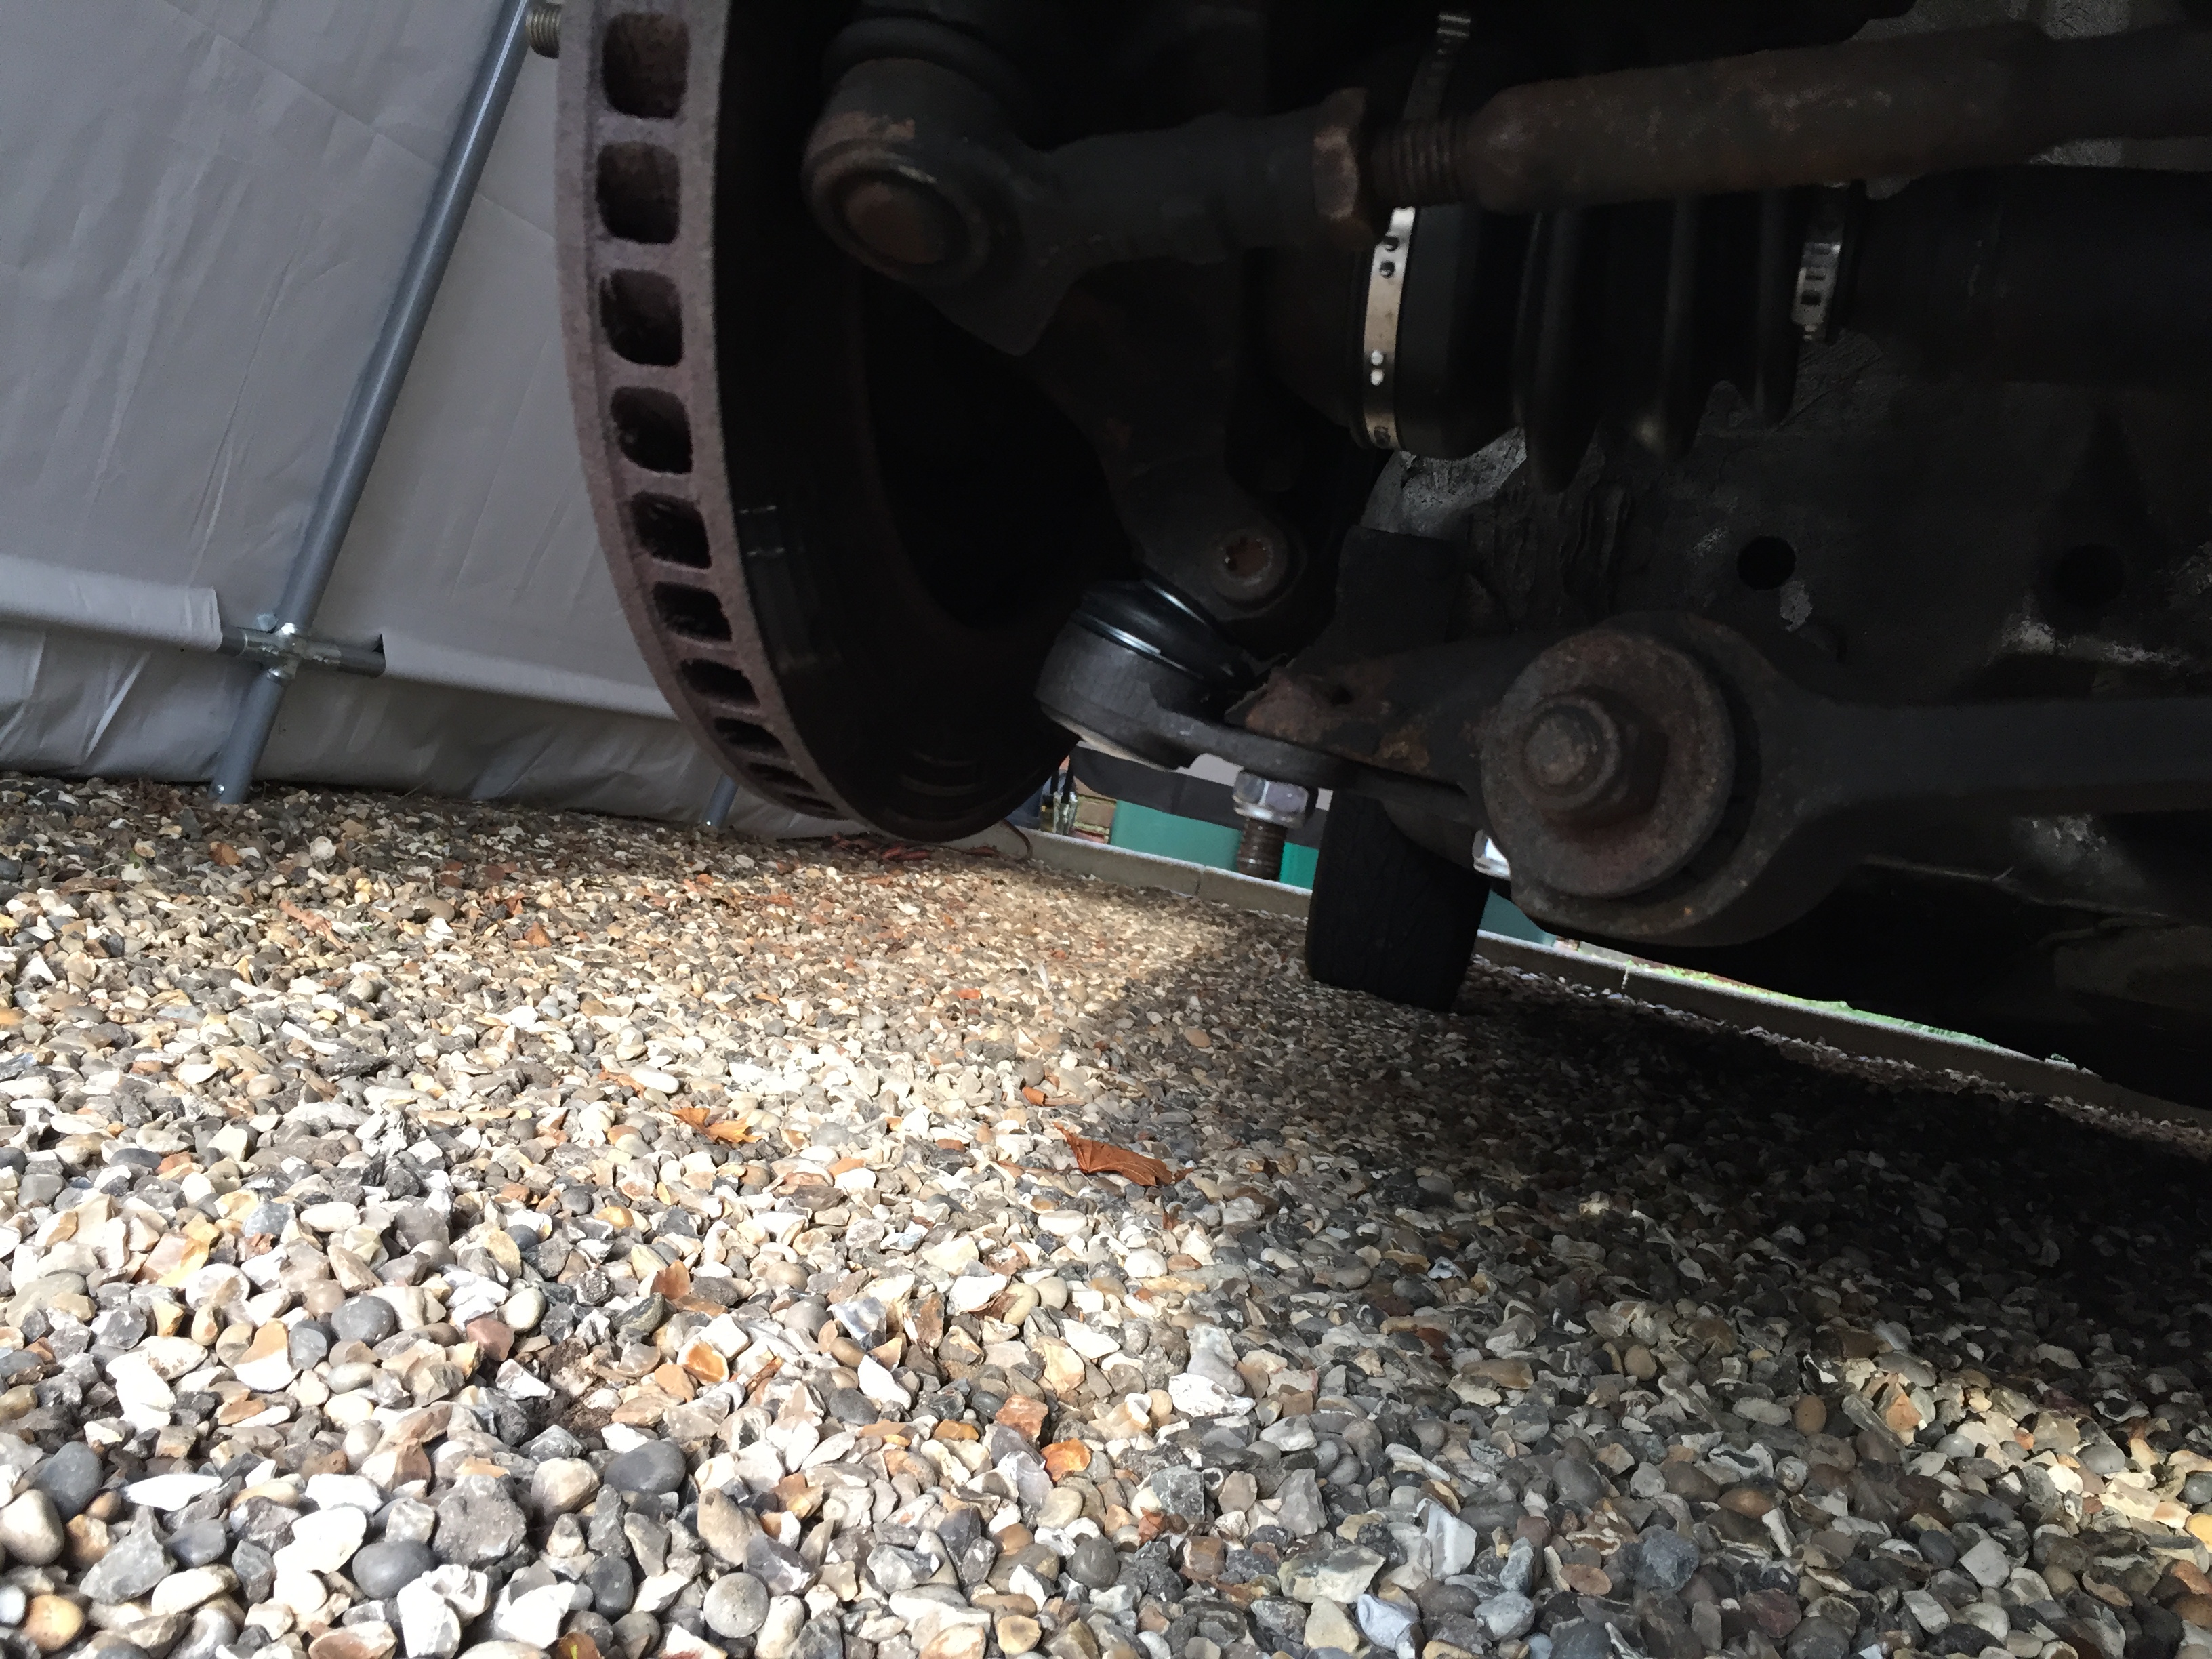
So on the way home picked up two new ones and set about getting them fitted
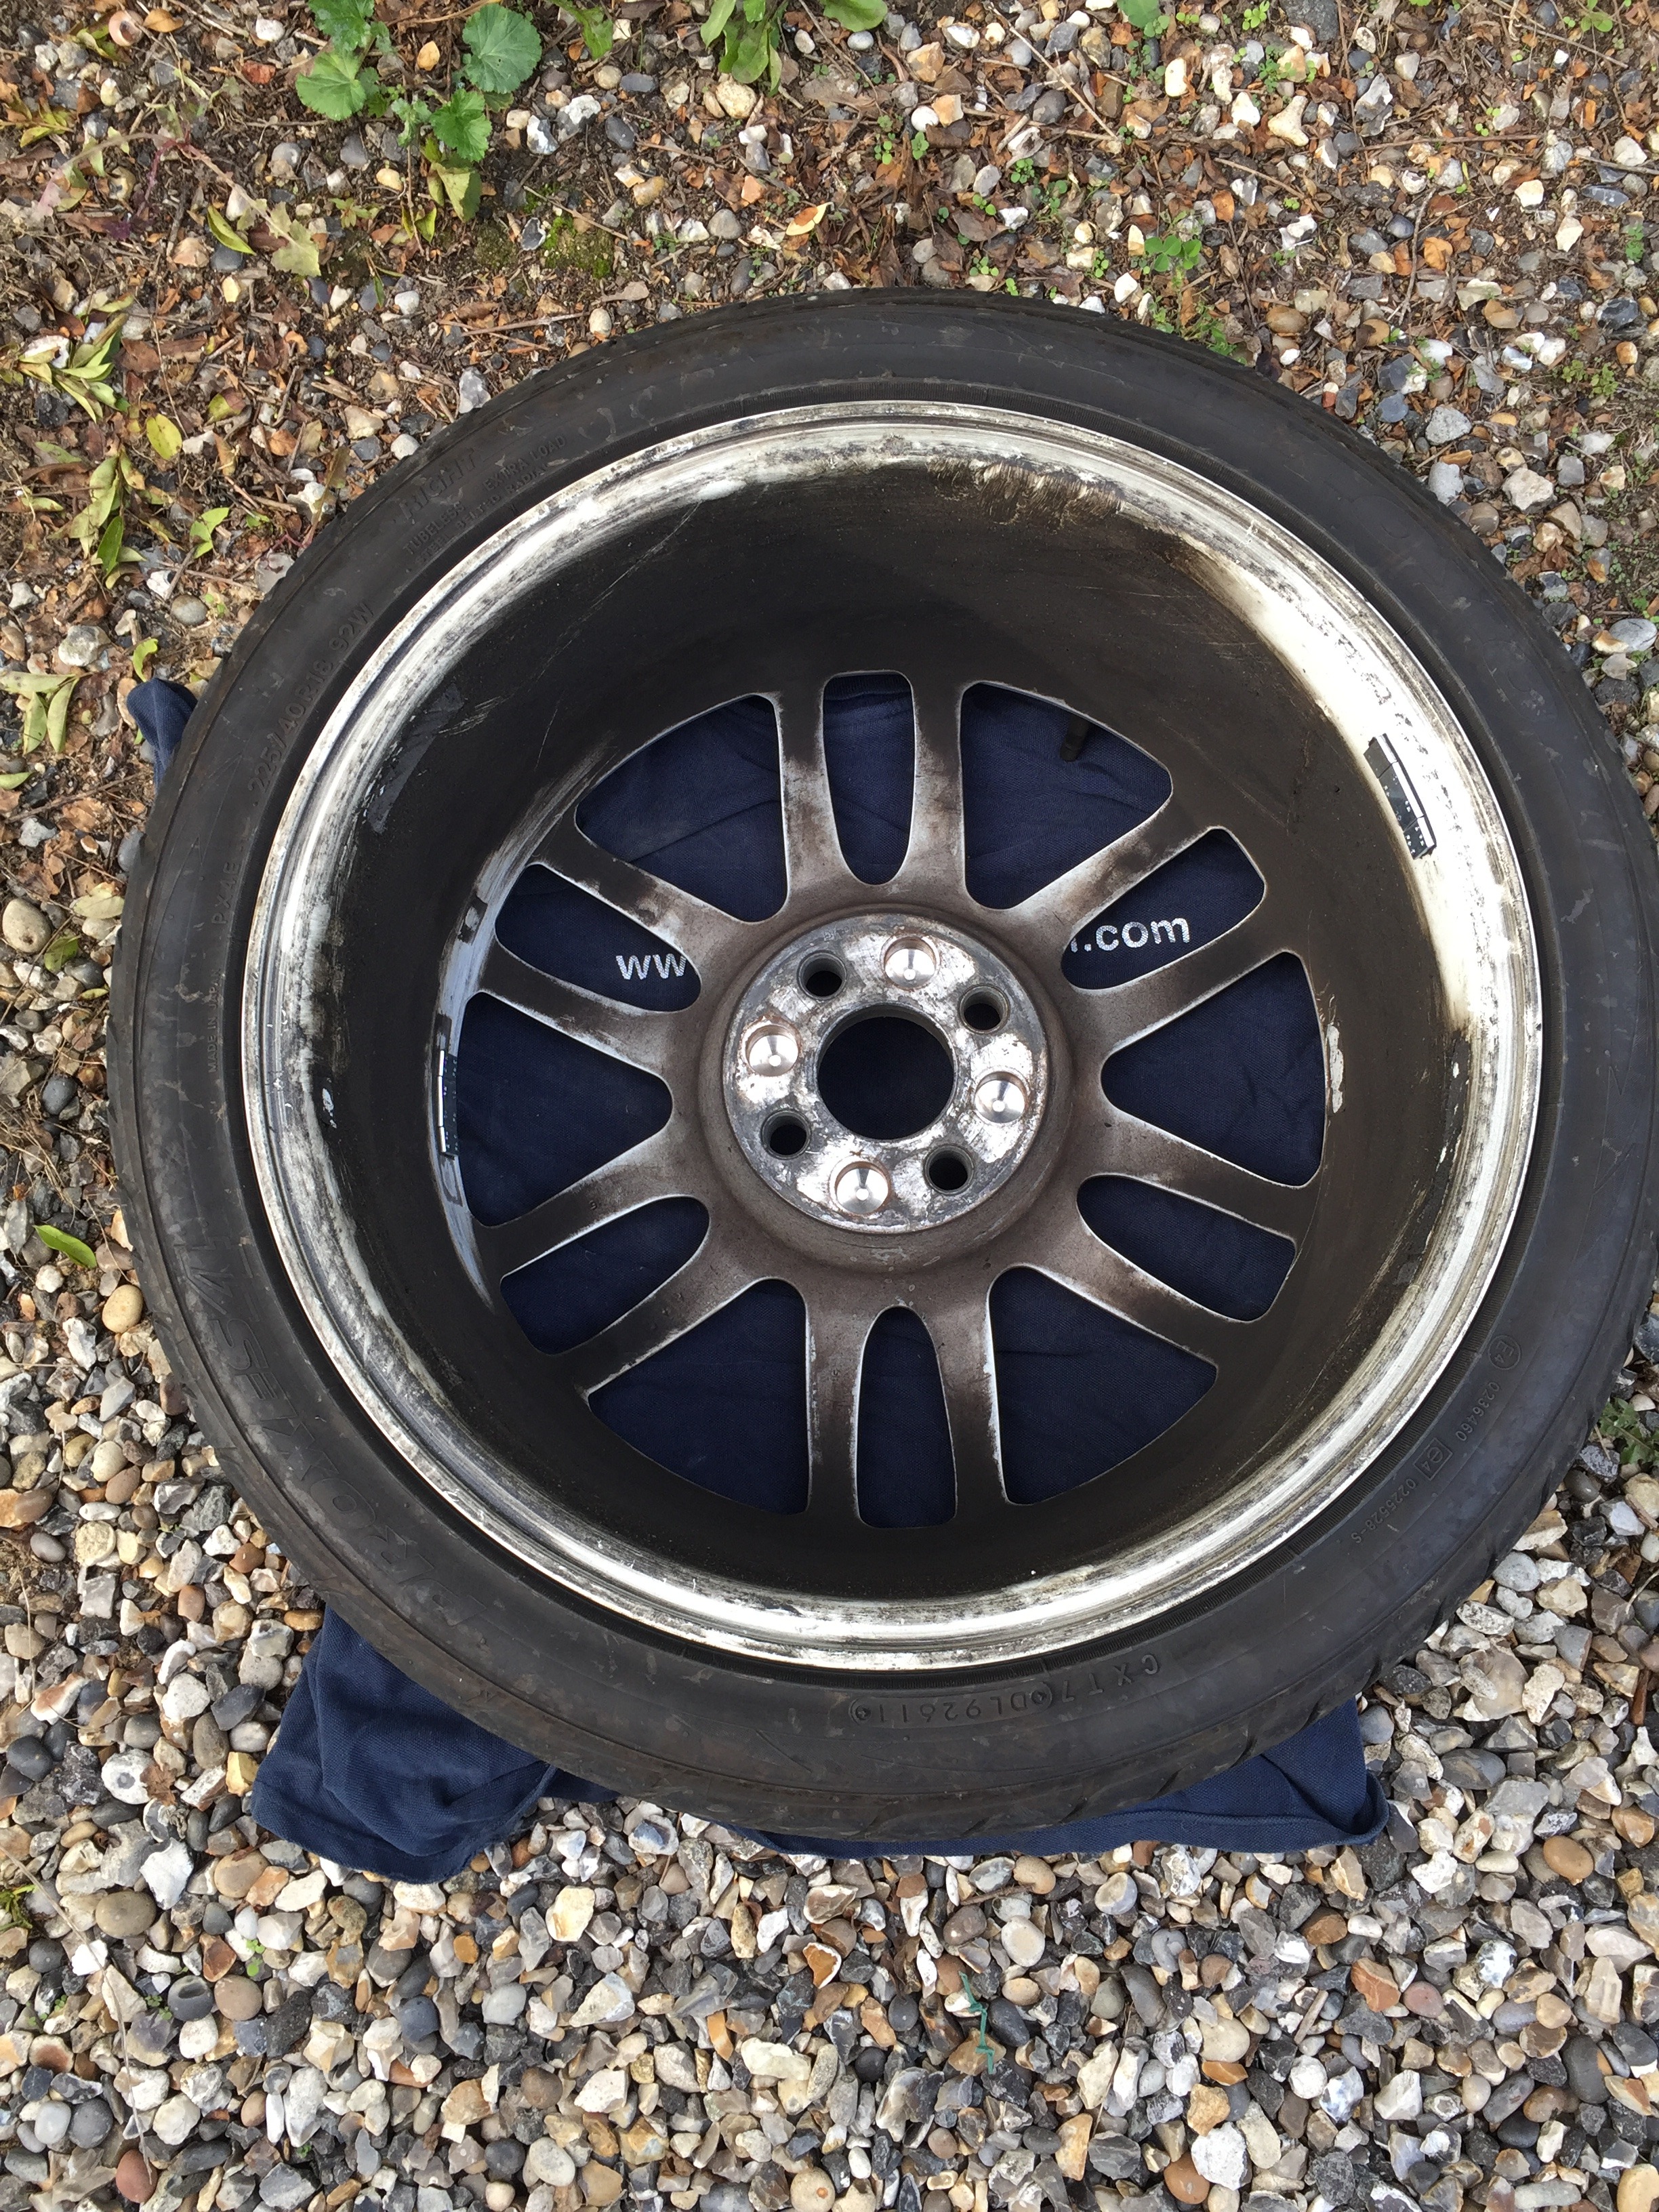
Whilst the front wheels were off I gave the insides a good clean
All back on and took the car for a drive, steering proved to be even better so pleased with that.
For those interested I took a couple of photos of areas that I forgot to in earlier posts..
New air filter
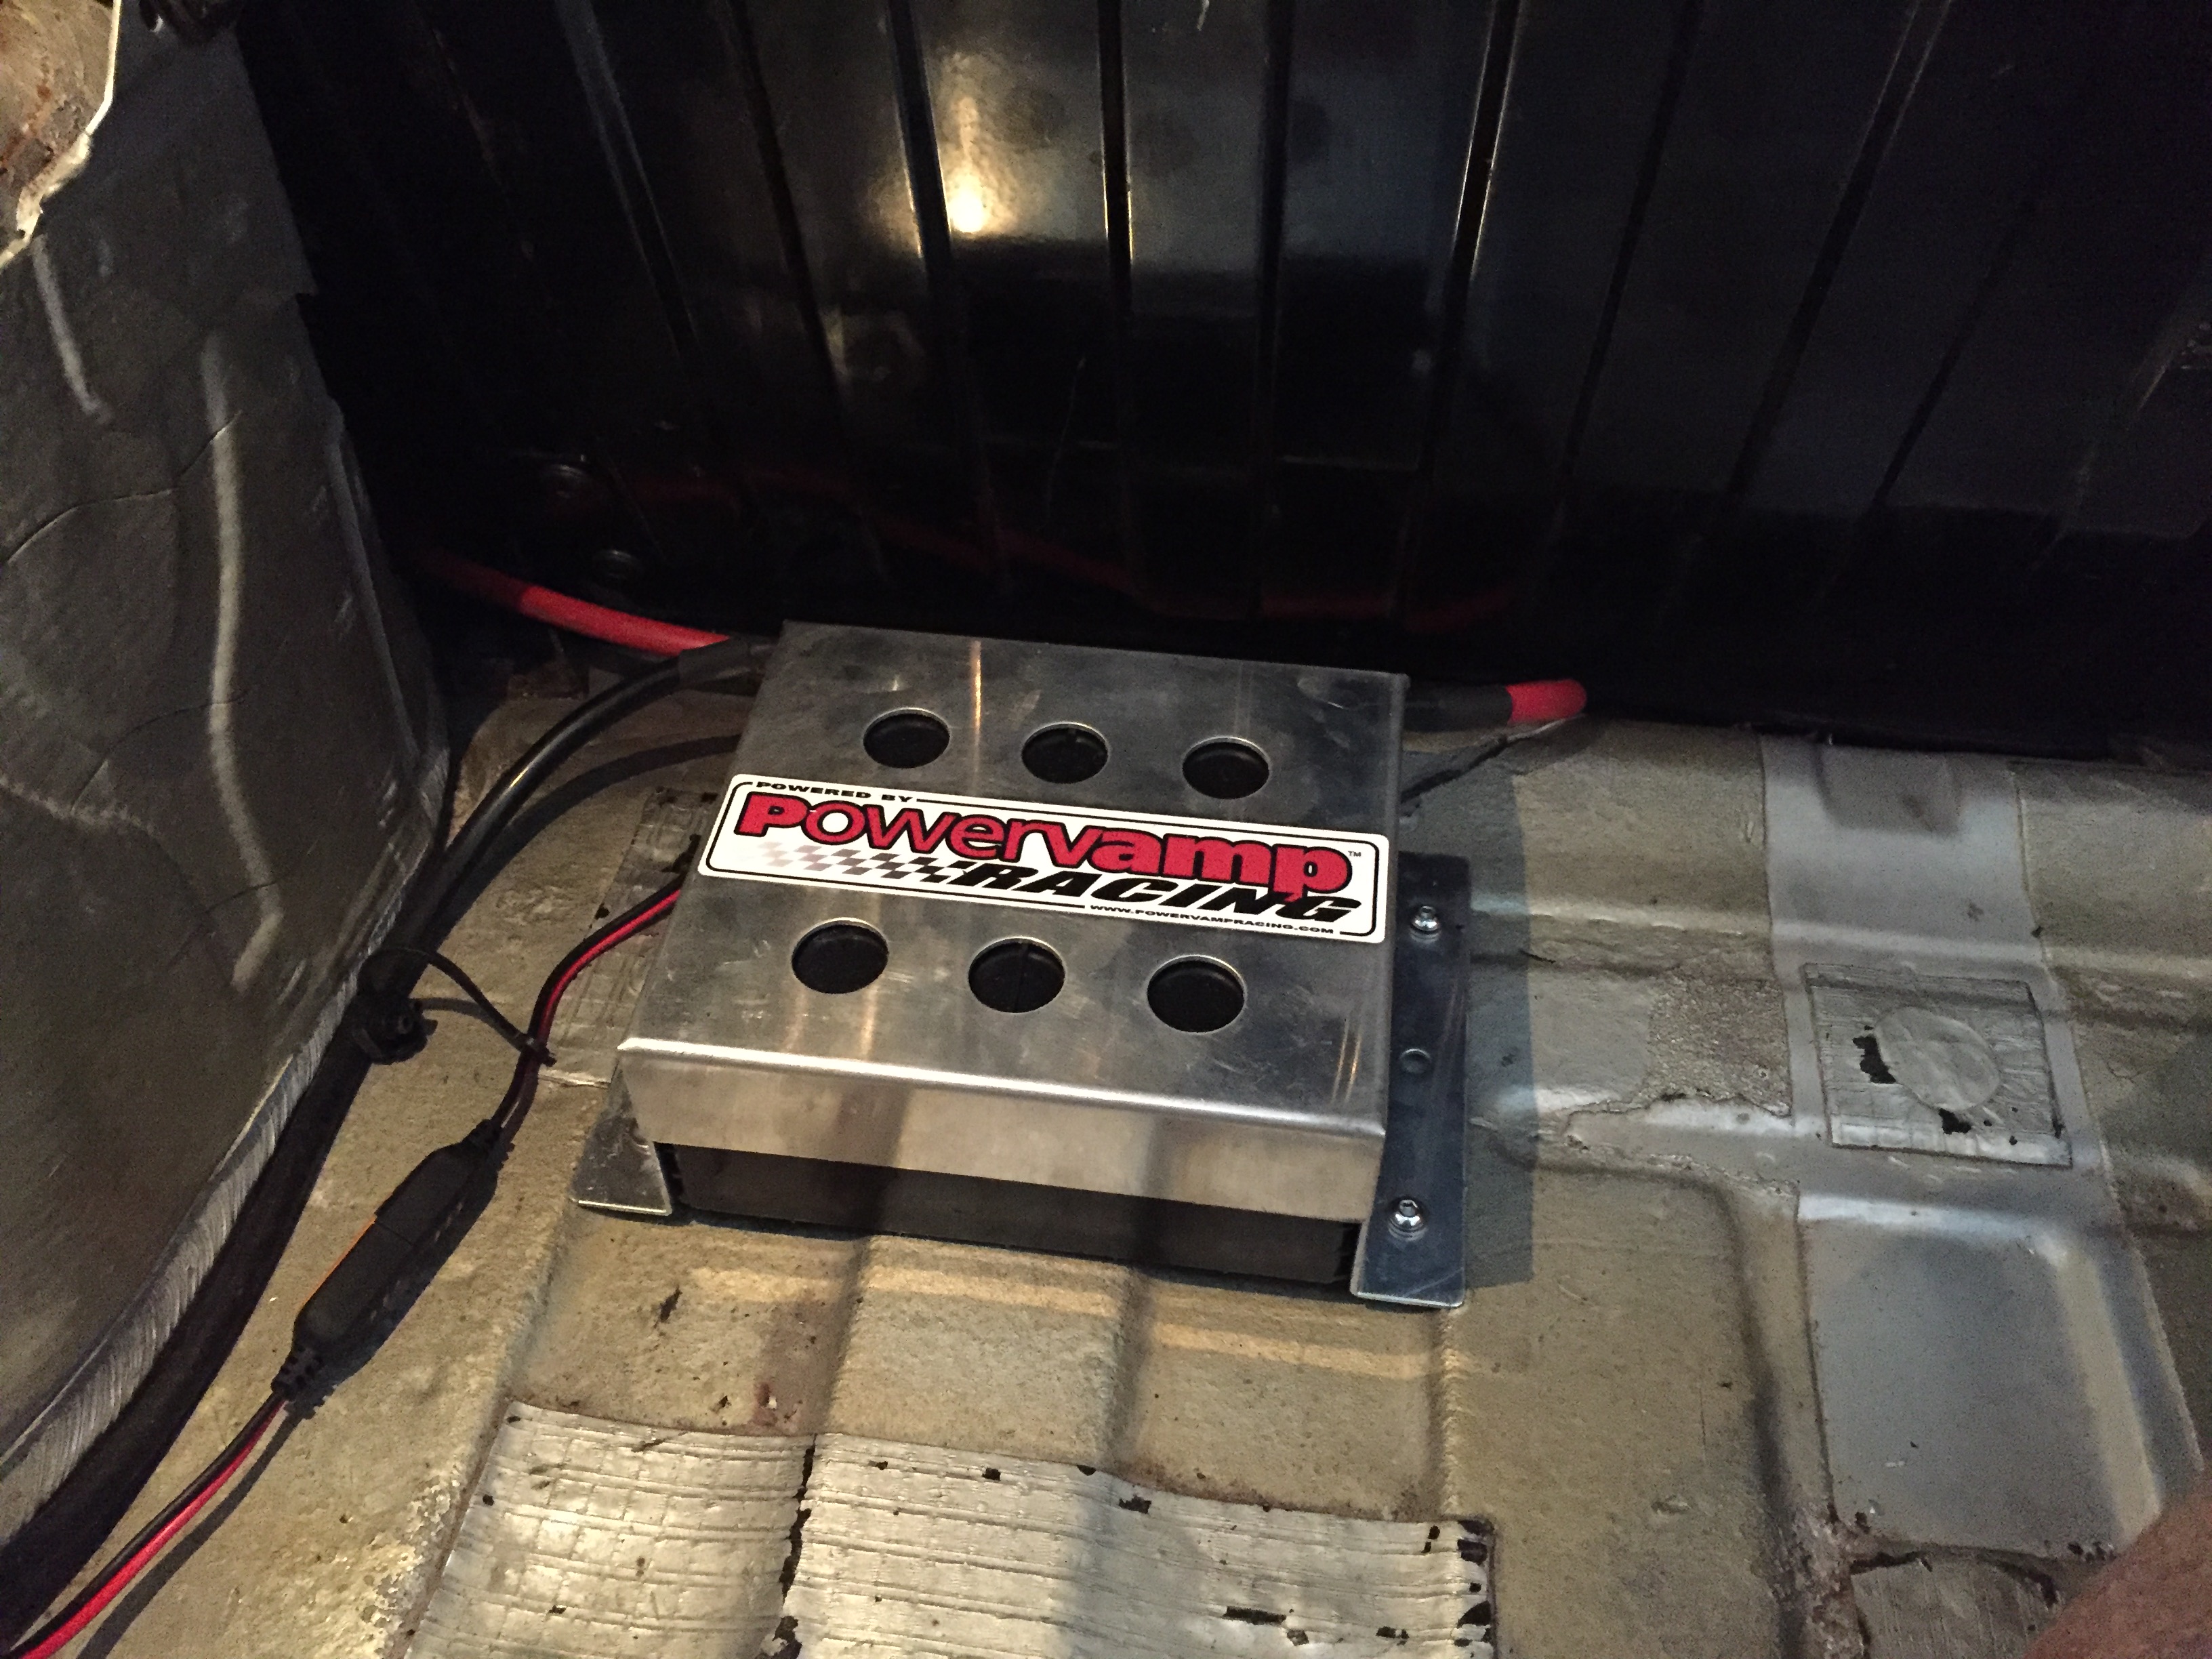
New battery in the boot
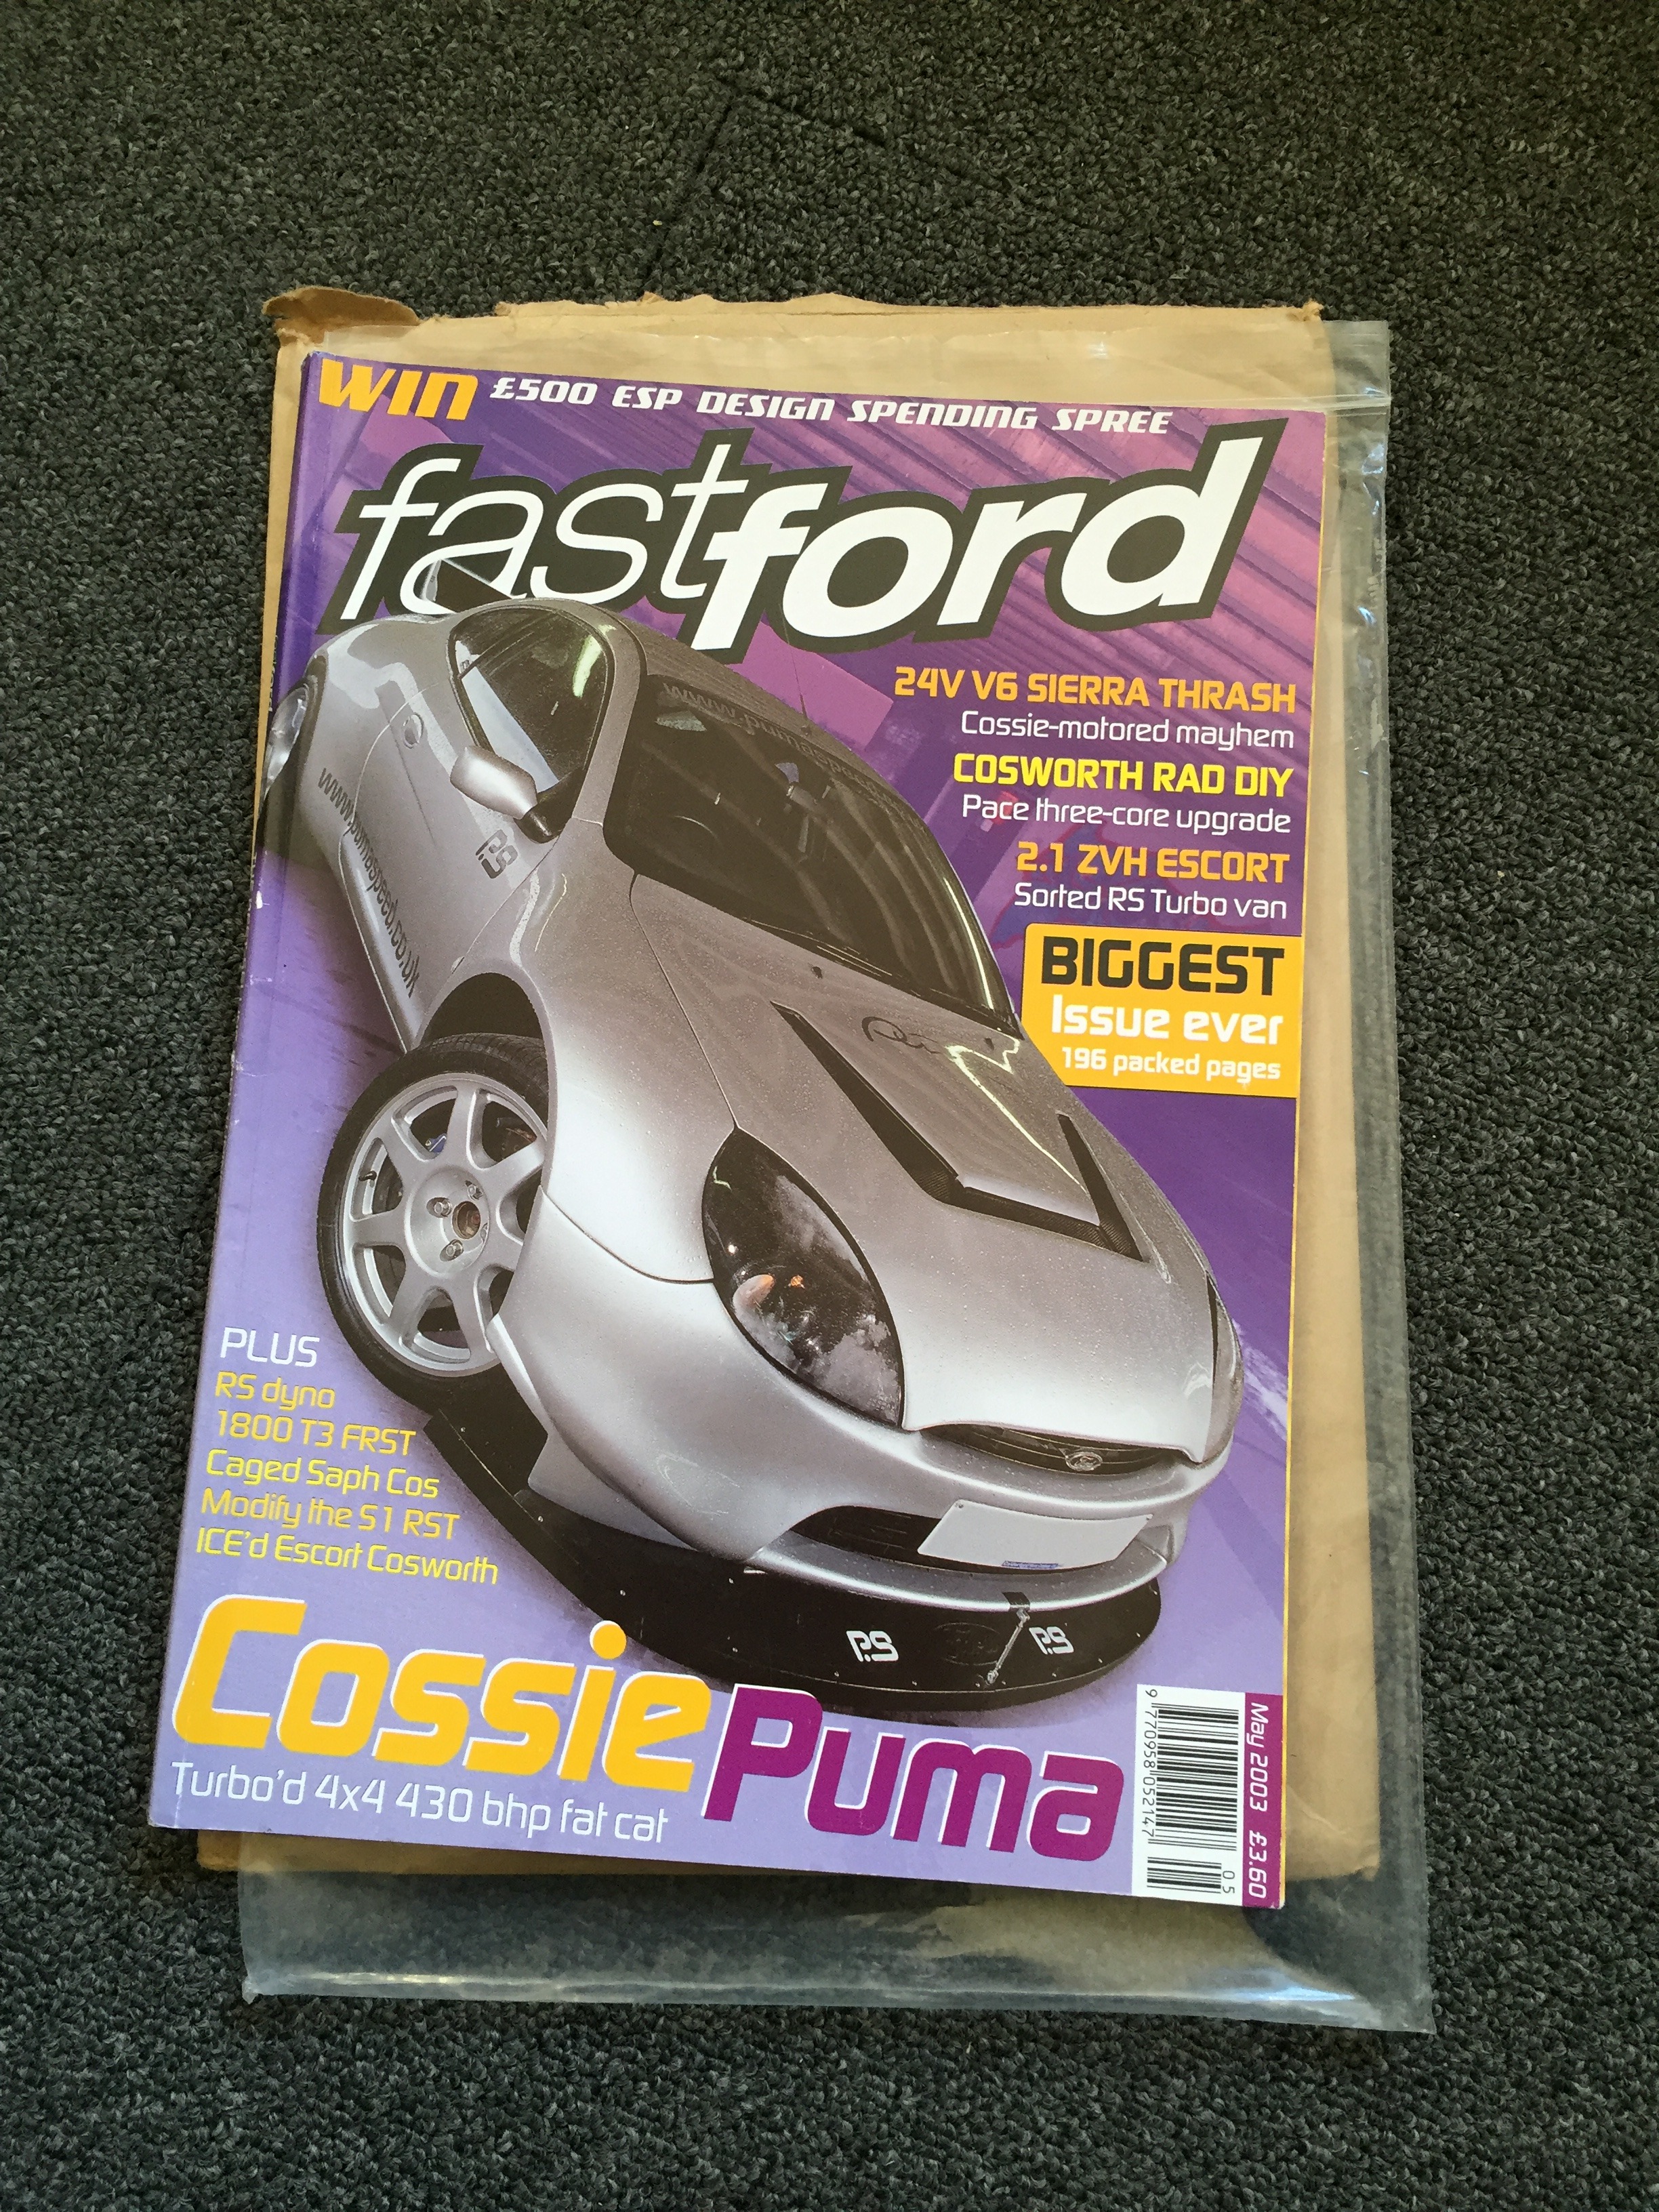
Also bought the magazine that featured the car back in 2003!
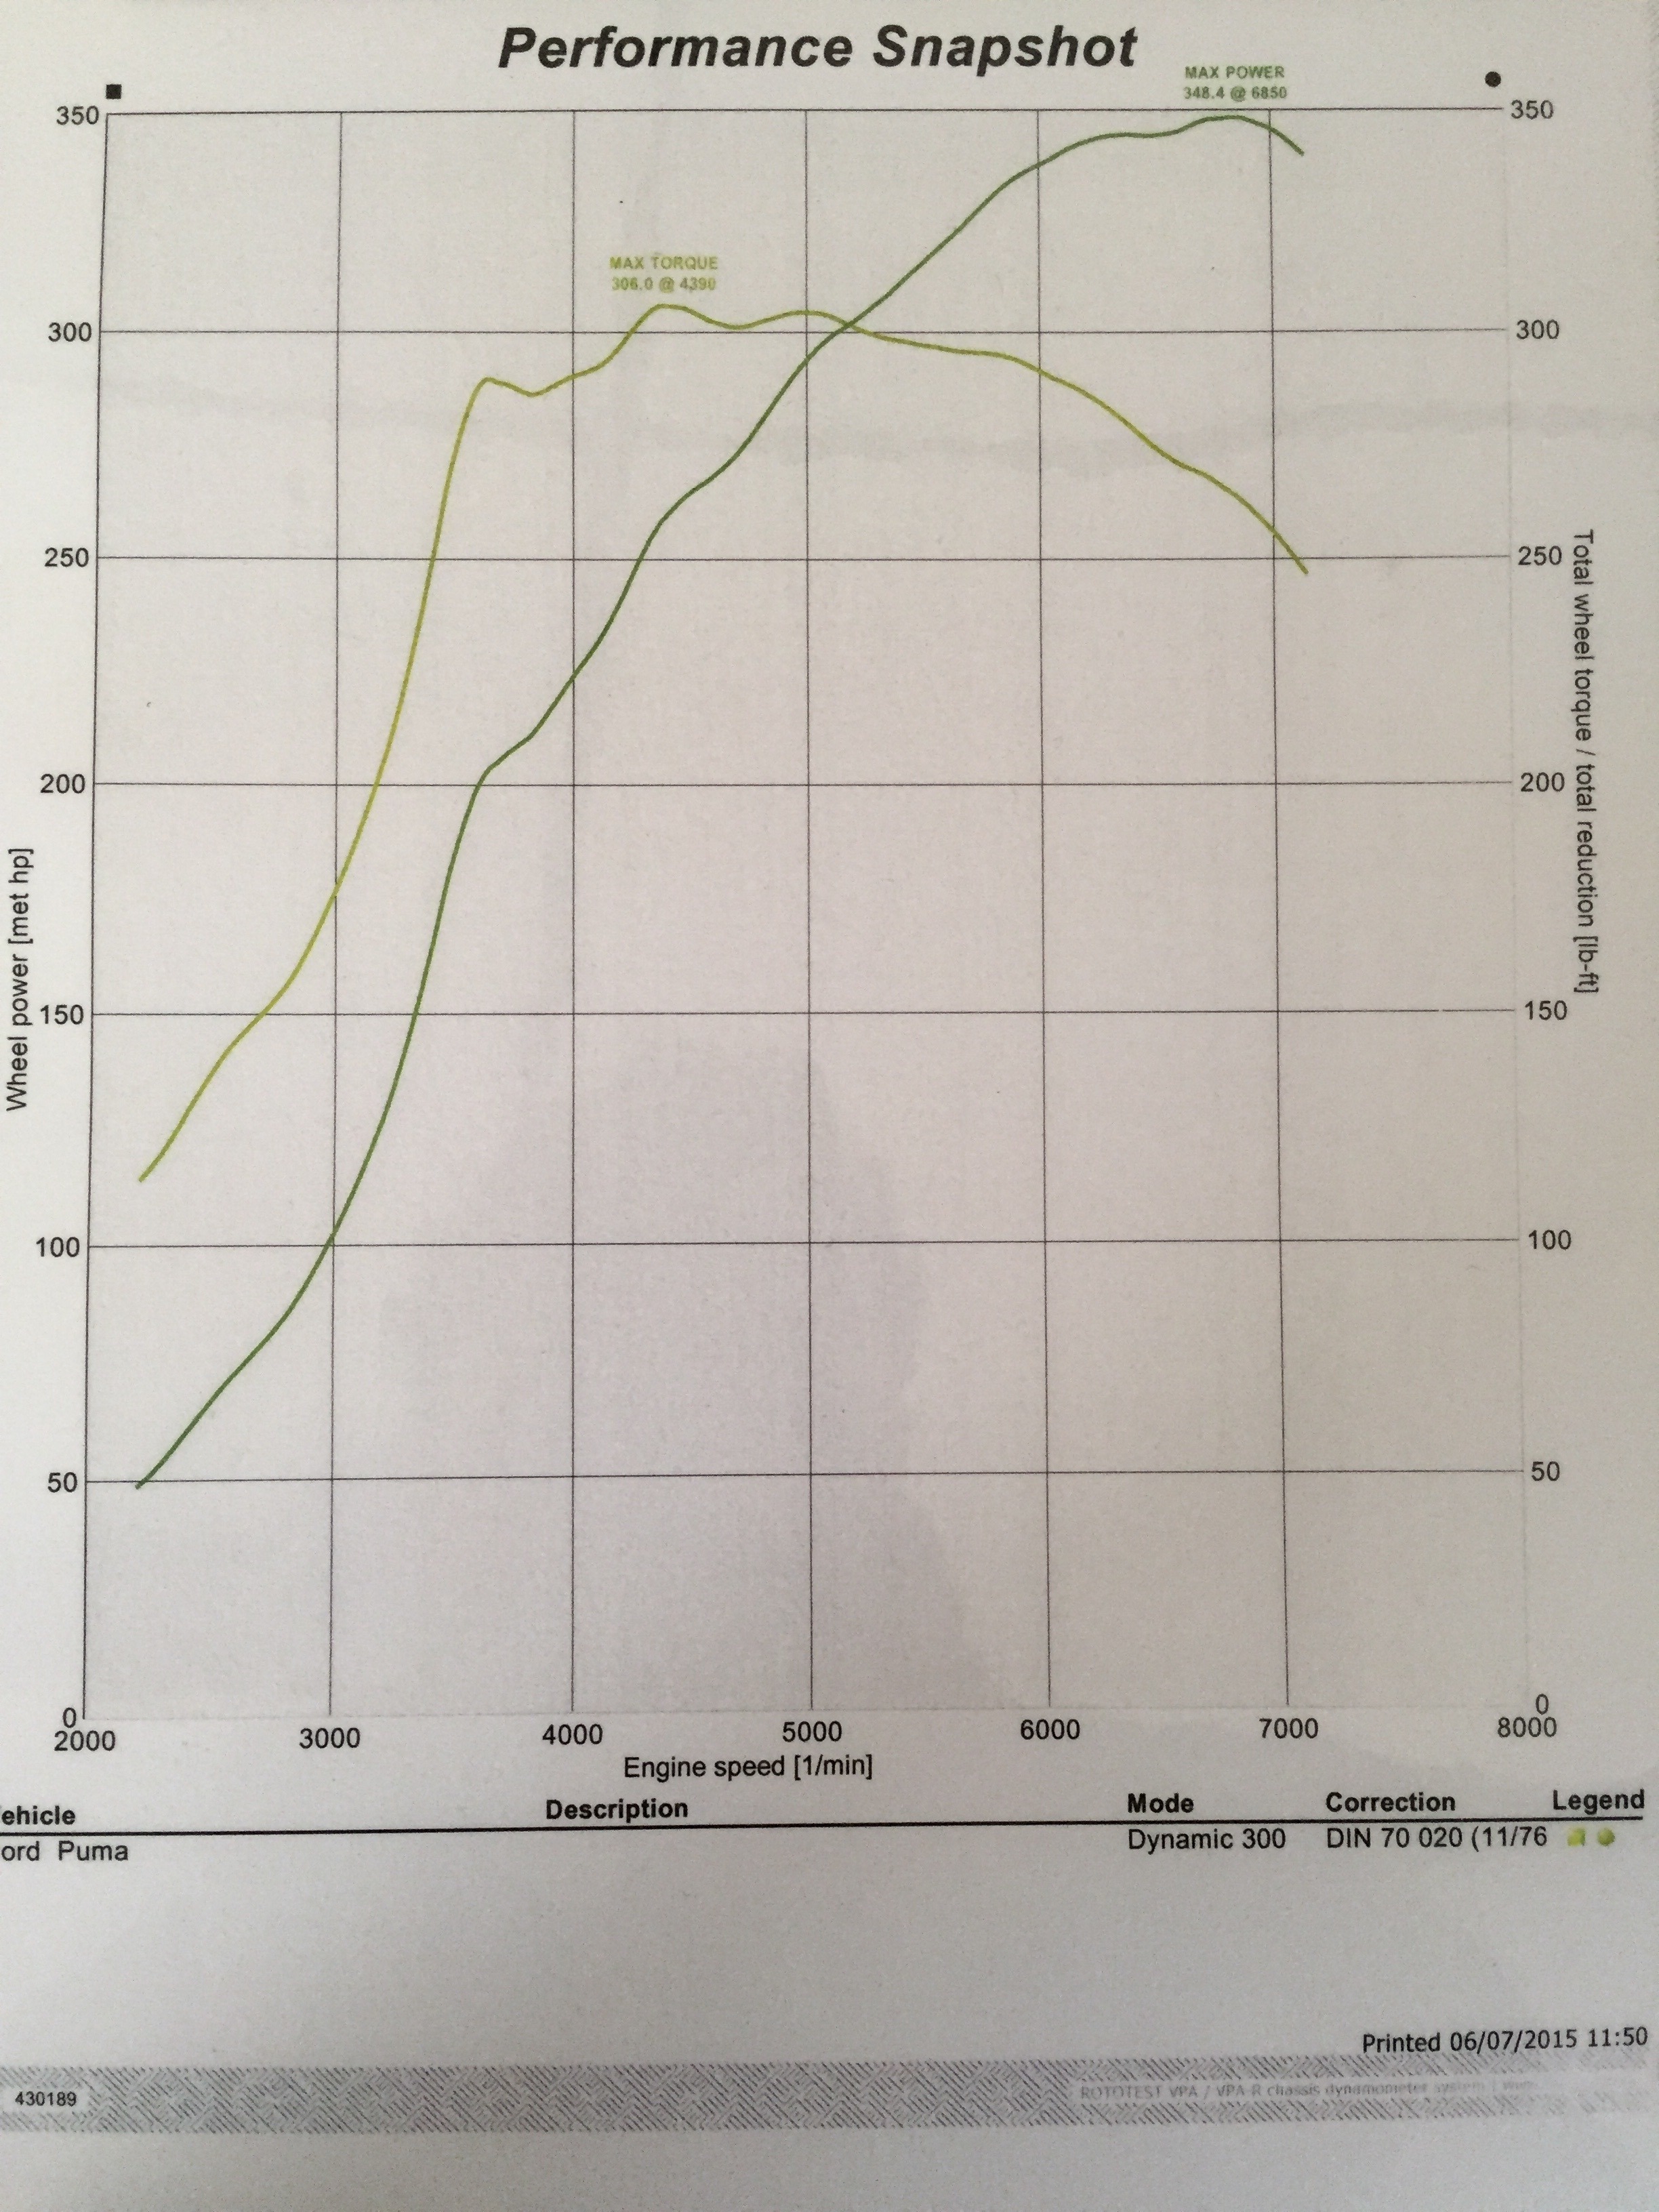
The all important dyno graph...
So that is how the car stands today, with one slight new addition.. A power steering fluid leak. Took the car out at the weekend and once home again had a look under the bonnet to check everything over.. And spotted this
Leaking out around the end of the rack on the passenger side is some fluid. Which says to mean the seals have gone! It's always the next problem with this car... Anyway, new seals are ordered and waiting for them to turn up!
Where did you get the joint with 2 different sized splines? I couldn't find 1 when searching
Thanks
Marc
A company called b2(squared) automotive components ltd - www.bsquaredautomotive.co.uk - they supply car builder solutions the 'sierra' triangle joint UJ on the column so I'm told. Really helpful and knew what splined joint I was talking about. Cost around �40 if I remember correctly. Although as you can see it didn't have as much movement as I needed. Still at some point want to go back to them to see if they can make something more in line with the movement on the original joint.
A company called b2(squared) automotive components ltd - www.bsquaredautomotive.co.uk - they supply car builder solutions the 'sierra' triangle joint UJ on the column so I'm told. Really helpful and knew what splined joint I was talking about. Cost around �40 if I remember correctly. Although as you can see it didn't have as much movement as I needed. Still at some point want to go back to them to see if they can make something more in line with the movement on the original joint.
Hope that helps.
Thanks mate
so can you confirm they made you a joint with opposite ends of ......
FORD RACK PINION SIZE - 17.4mm dia x 40 spline
STANDARD AFTERMARKET SPLINE SIZE - 3/4 X 48 spline
Whilst there's no denying the bodges credit also to the car for having covered enough miles to end up with all that mileage related wear n tear. Once you have finally sorted out a long list of bodges you should be left with a car that will be good for many many more miles.
I just wish I had a fraction of your skill and commitment.
Im sure my mates black escort turbo was in that issue!
Crappy delta bodykit, wank 18's and an ott sound system?
It got some fanny in its day though haha
EDIT.. yes it is! Page 68. He bought a MINT s2 and ruined it haha.
The nitrous was never connected either!!
Although the delta bodykit came after that feature.
so can you confirm they made you a joint with opposite ends of ......
FORD RACK PINION SIZE - 17.4mm dia x 40 spline
STANDARD AFTERMARKET SPLINE SIZE - 3/4 X 48 spline
Thanks
Marc
They made me a UJ that had the Ford rack pinion of 17.4mm x 40 spline on one side and a 14mm x 36 spline on the other side.
I had the 36 spline end made so that it married up with end of the car builder solutions Sierra triangle joint. This way I could use a 36 spline column bar and cut down to suit.
When I spoke to B squared they said they could make this joint for me and around a week later the joint arrived in the post. Whether this means they picked it off a shelf from last weeks imports I don't know! But I'm pretty sure they manufacture in house, as they say they design and manufacture for the automotive industry. They seemed to know the ford spline very well and said they use to make the coupling for ford? Maybe under a different name or someone who works there use to somewhere else.
Either way they had the joint to me within a week and it fitted perfectly.
Whilst there's no denying the bodges credit also to the car for having covered enough miles to end up with all that mileage related wear n tear. Once you have finally sorted out a long list of bodges you should be left with a car that will be good for many many more miles.
I just wish I had a fraction of your skill and commitment.
Some credit is due to the car like you say for lasting this long. It had a good base it just hasn't had enough attention maybe over the years to correct the initial problems and improved where needed. Hopefully I can start to do this!
Thanks very much
Originally Posted by atm
Im sure my mates black escort turbo was in that issue!
Crappy delta bodykit, wank 18's and an ott sound system?
It got some fanny in its day though haha
EDIT.. yes it is! Page 68. He bought a MINT s2 and ruined it haha.
The nitrous was never connected either!!
Although the delta bodykit came after that feature.
It definitely shows a 'period' of styling with fords back then that mag! Made me smile a few times when I flicked through it!
Makes sense as i just remembered i run the larger grpa/wrc size splines hence my other end being 3/4 x 48
I had a mare and could not find 1 so i stripped my new rack and removed the pinion and welded a 3/4 x 48 spline to that and then used a 3/4 x 48 double joint from cbs
Thanks for the info though as i will try and get a joint now to suit my 2 sizes as it meant welding up a new rack again which was a ball ache when the rack needs replacing
Thanks
Marc
I remember reading your thread when you had a similar issue with a worn coupling and was worried that I would have to do something similar. It was through speaking to CBS that they out me on to B squared.
No problem glad I could help, it's probably the only aspect I can help you with! The rest you seem to have sorted just fine!
I hope you do a good job of repairing the rack cause i put new seals in my rack and they only lasted a few days and it pissed out again. I even had the boot off and checked for leaks before i built the car back up.
I have spoken with B2 and have ordered a joint with my 2 sizes to store away ready for when I need it
Glad it's getting sorted for you!
Originally Posted by Glenn_
Lol at the biro.
I hope you do a good job of repairing the rack cause i put new seals in my rack and they only lasted a few days and it pissed out again. I even had the boot off and checked for leaks before i built the car back up.
Im really enjoying this thread.
Glenn don't say that! I've just bolted the thing back in this evening having painted it all and fitted solid bushes.. I will be annoyed to say the least if it all goes wrong! I'm guessing you got a refurbed one after that?
 keep the updates coming matey top thread

 11-11-2015, 08:21 PM