Ford Racing Puma - Underbody Restoration

 03-12-2009, 08:55 PM
#44
Wahay!! I've lost my Virginity!!
Thread Starter

Join Date: Dec 2009
Location: Malvern
Posts: 69
Likes: 0
Received 0 Likes
on
0 Posts
Thursday 03/12/2009
Little update, my order of Hammerite rust gel arrived today, cheap ebay purchase going to apply the two pots to the two worst effected areas tomorrow night hopefully should remove the majority of the rust and save me time with the wire brushes etc. Theres was some Jenolite going for a �2 so i thought i would give it a try on some of the less effected areas.
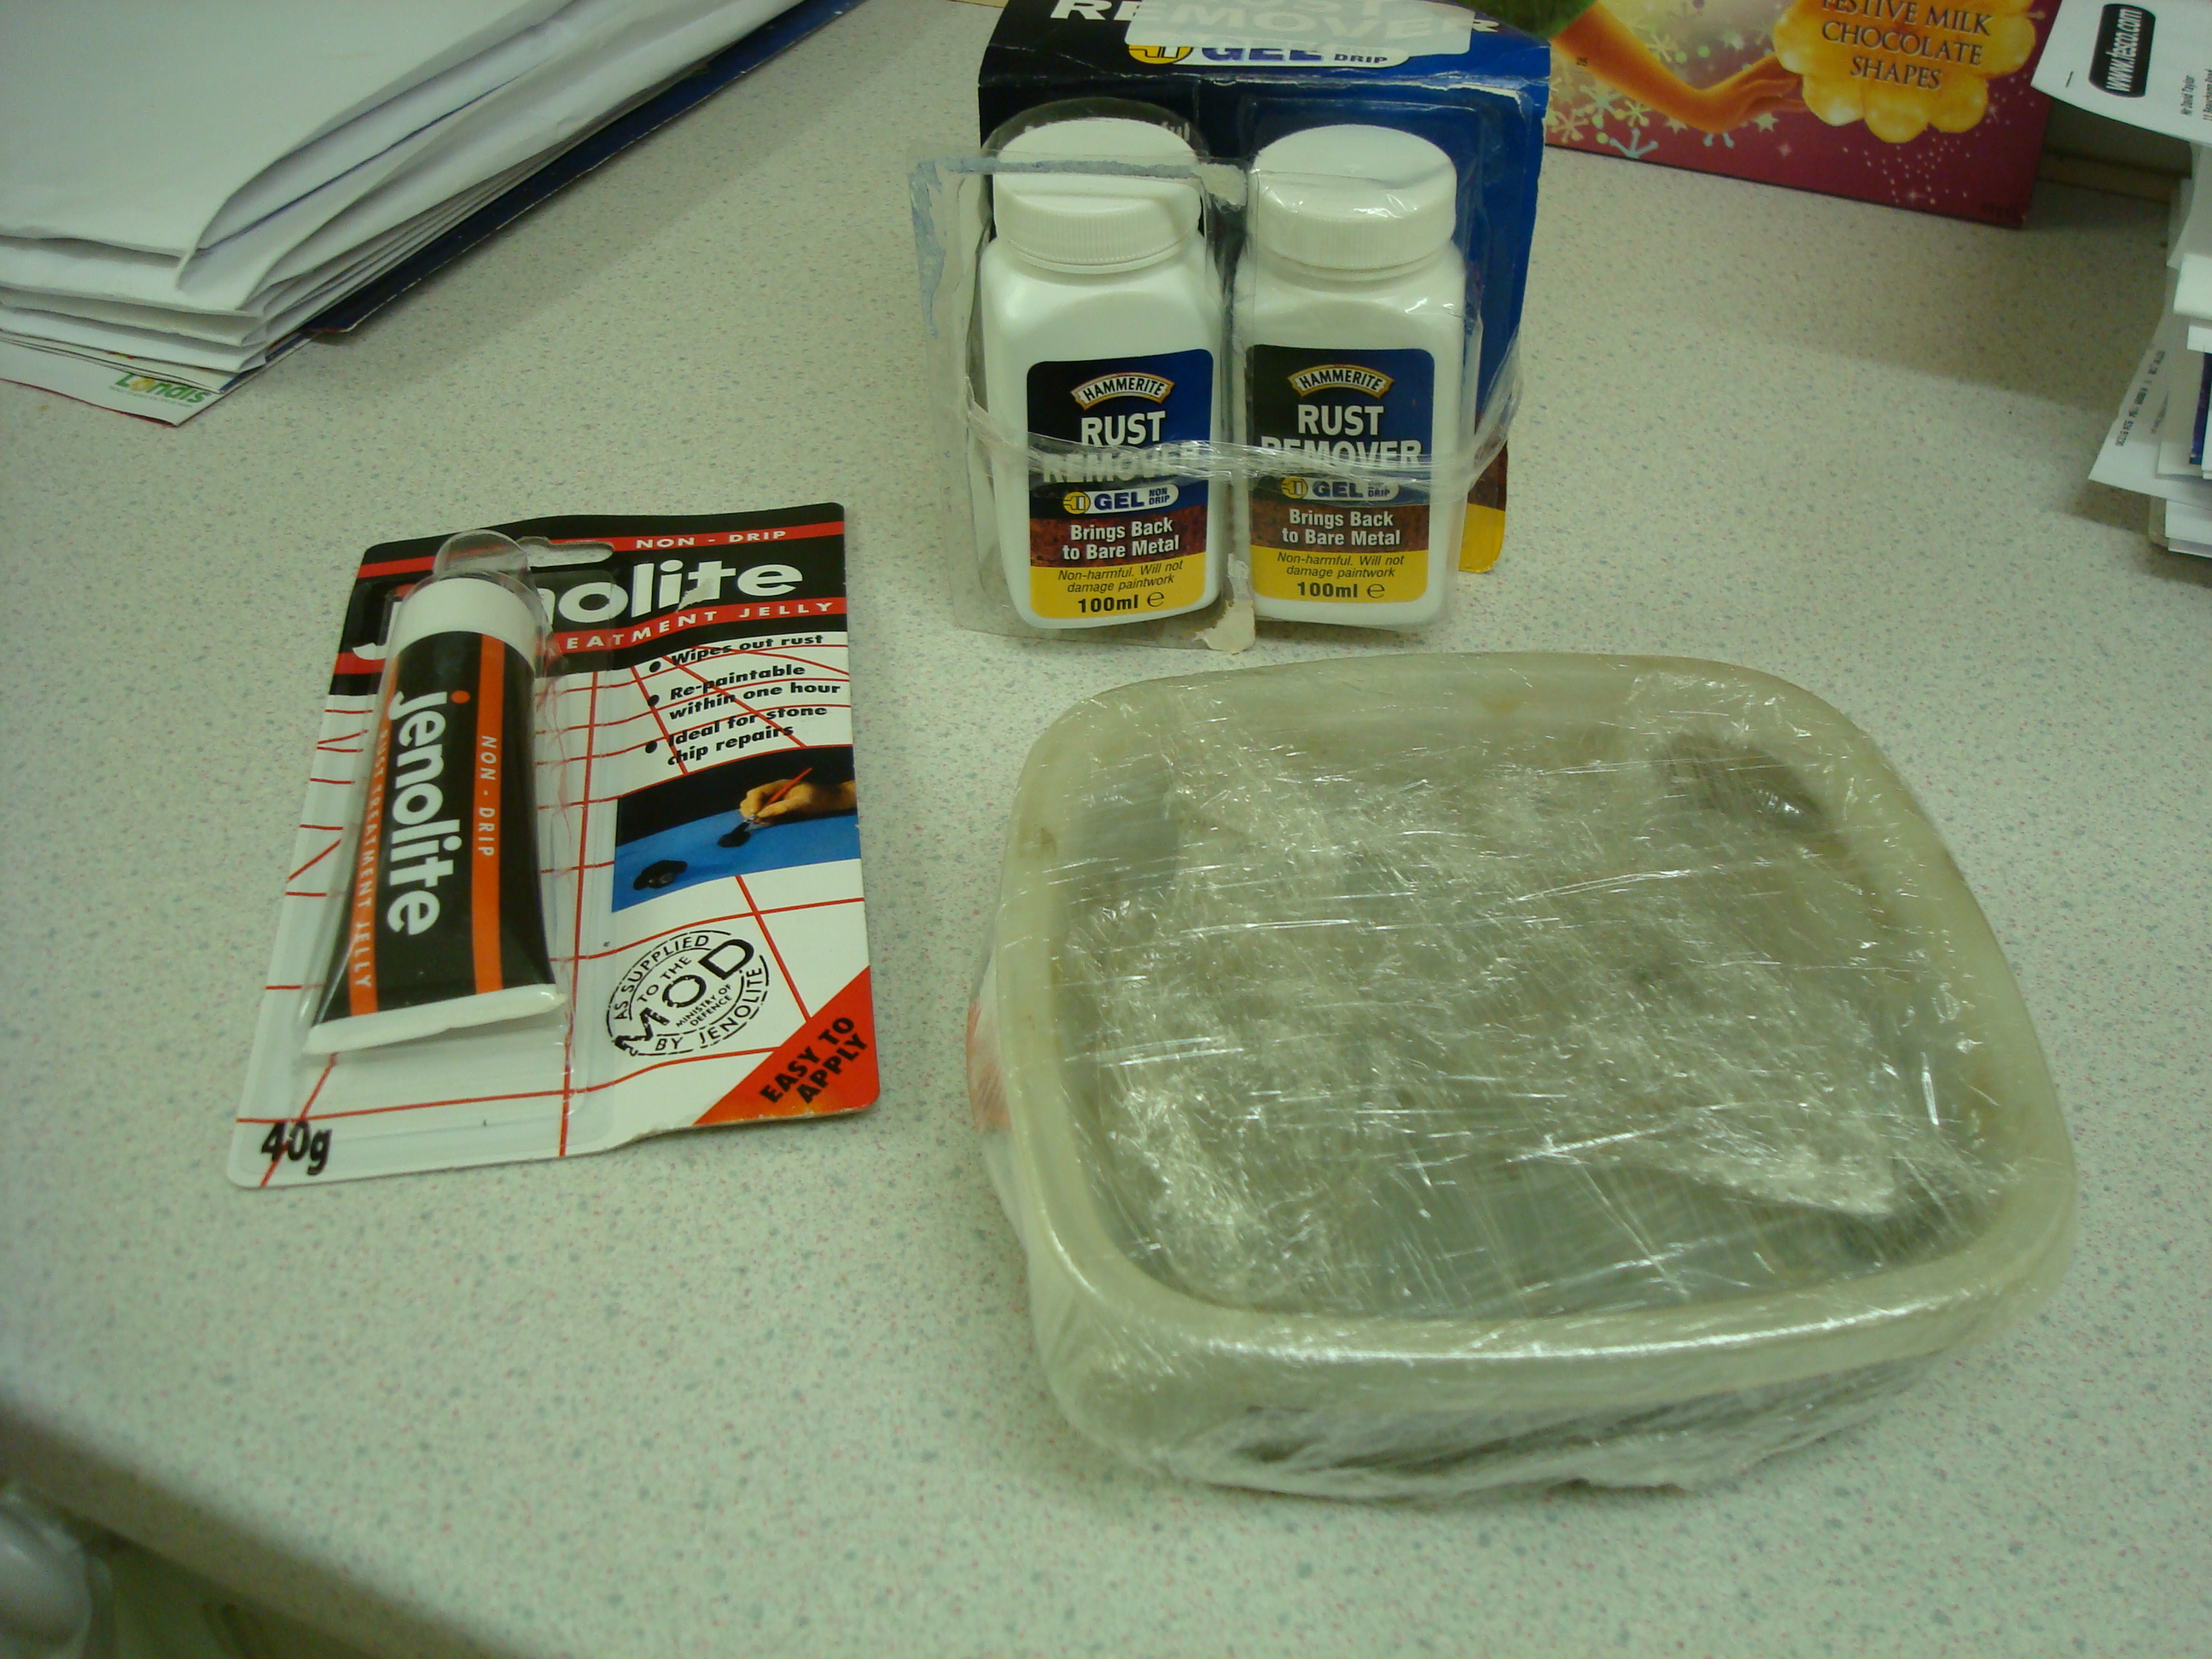
In the tub wrapped in cling film are the nuts and bolts with some of the liquid Hammerite rust remover out of the bucket. Friend popped over earlier as he's taking them to the place he gets his metal treated. Hopefully should be getting them back by next Wednesday. Left them in the fluid as theres one or two still a little rusty.
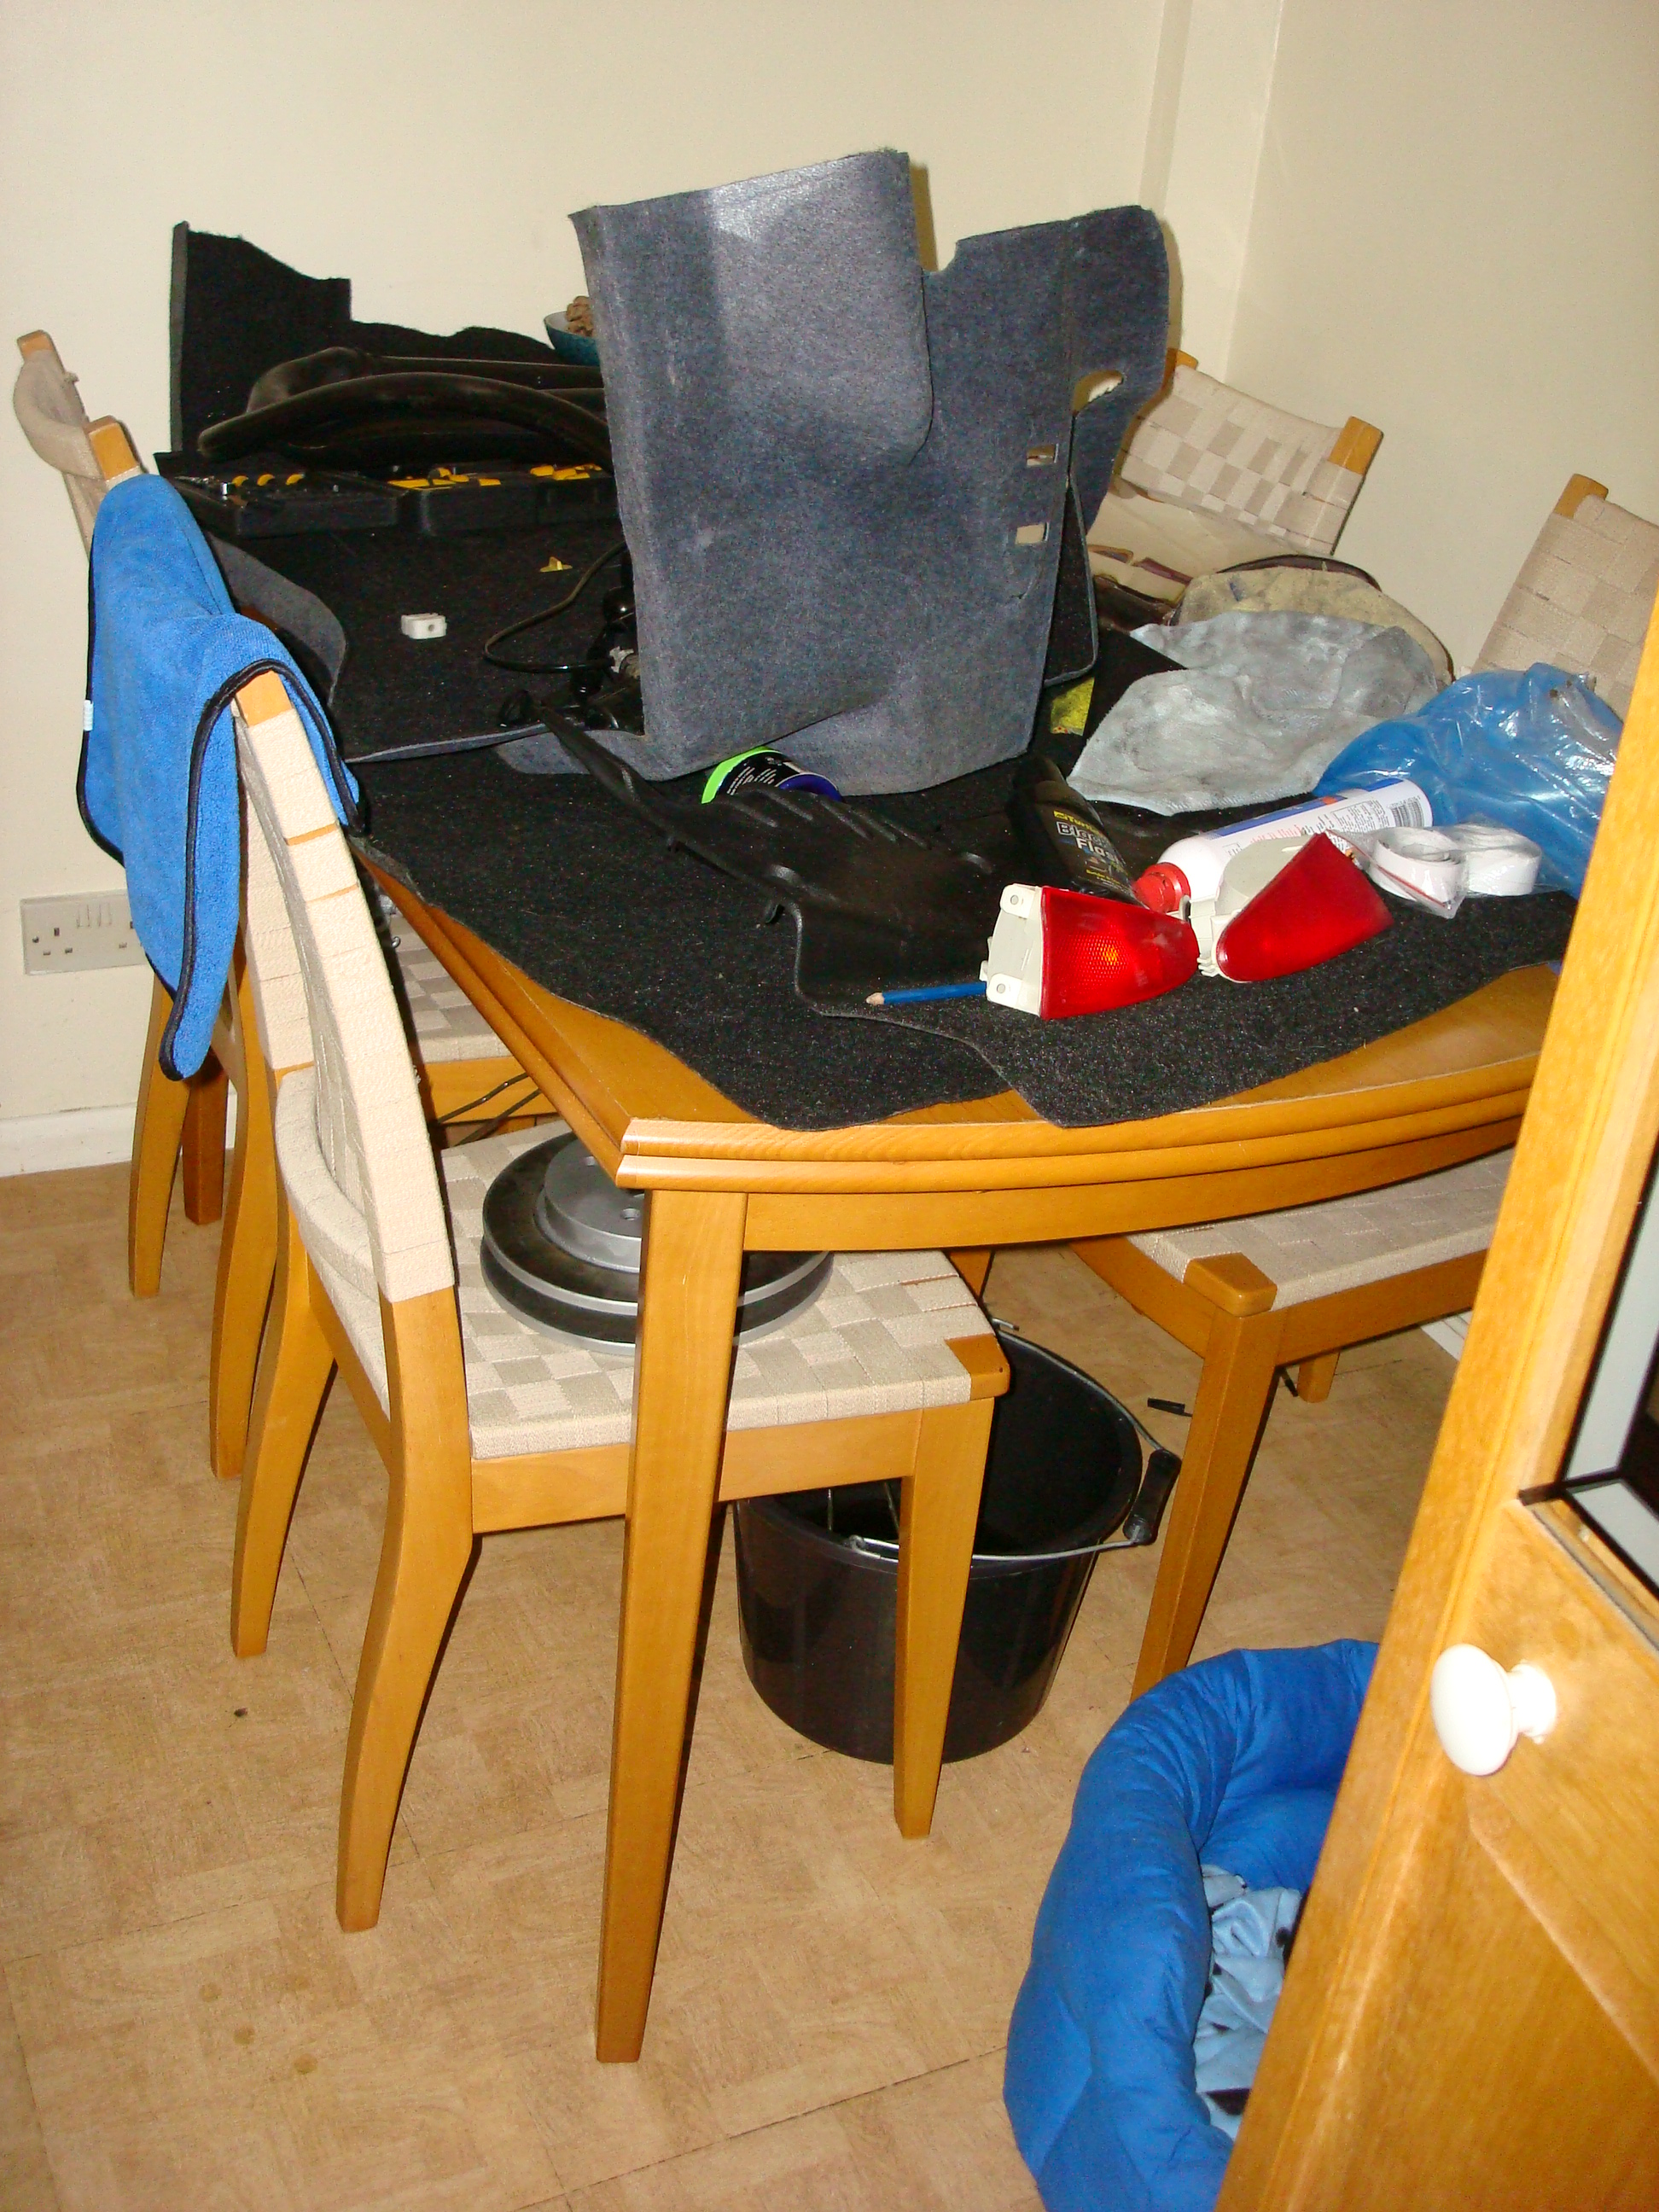
Kitchen beginning to get a little crowded.
David
Little update, my order of Hammerite rust gel arrived today, cheap ebay purchase going to apply the two pots to the two worst effected areas tomorrow night hopefully should remove the majority of the rust and save me time with the wire brushes etc. Theres was some Jenolite going for a �2 so i thought i would give it a try on some of the less effected areas.
In the tub wrapped in cling film are the nuts and bolts with some of the liquid Hammerite rust remover out of the bucket. Friend popped over earlier as he's taking them to the place he gets his metal treated. Hopefully should be getting them back by next Wednesday. Left them in the fluid as theres one or two still a little rusty.
Kitchen beginning to get a little crowded.
David
Last edited by williamsclio; 03-12-2009 at 08:58 PM.
04-12-2009, 04:29 PM
#48
PassionFord Post Troll

other cars dont do they, bmws, pugs etc?
bloody great work though

looks like itll be lovely
05-12-2009, 03:24 PM
#50
Wahay!! I've lost my Virginity!!
Thread Starter
Join Date: Dec 2009
Location: Malvern
Posts: 69
Likes: 0
Received 0 Likes
on
0 Posts
Saturday 05/11/2009
Treated the rusted areas with the Hammerite rust gel last night and after inspected this morning it seems to have lifted some of the surface rust but nothing to major most areas will still require a good going over with the wire brush.
So far this morning spent a good hour with a tough brush giving the drivers side arch a really good scrub down ready for stone chip etc. No pictures as not much to show.
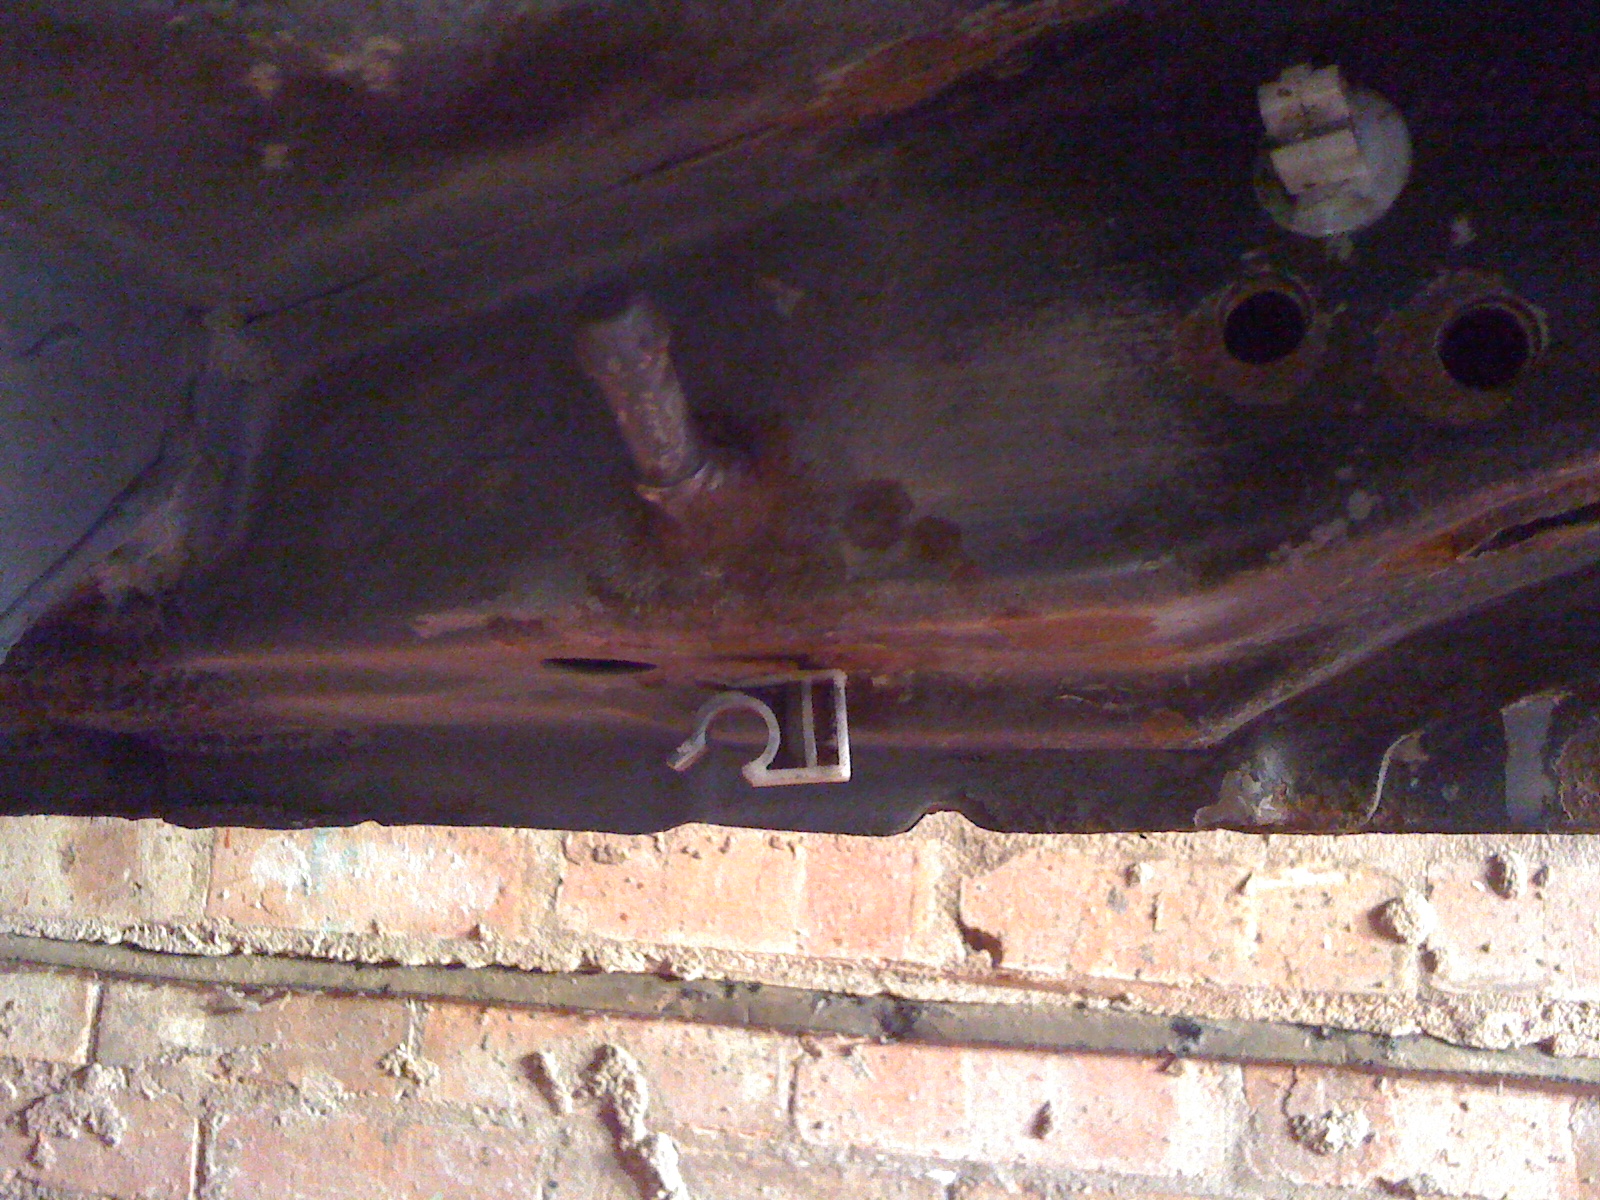
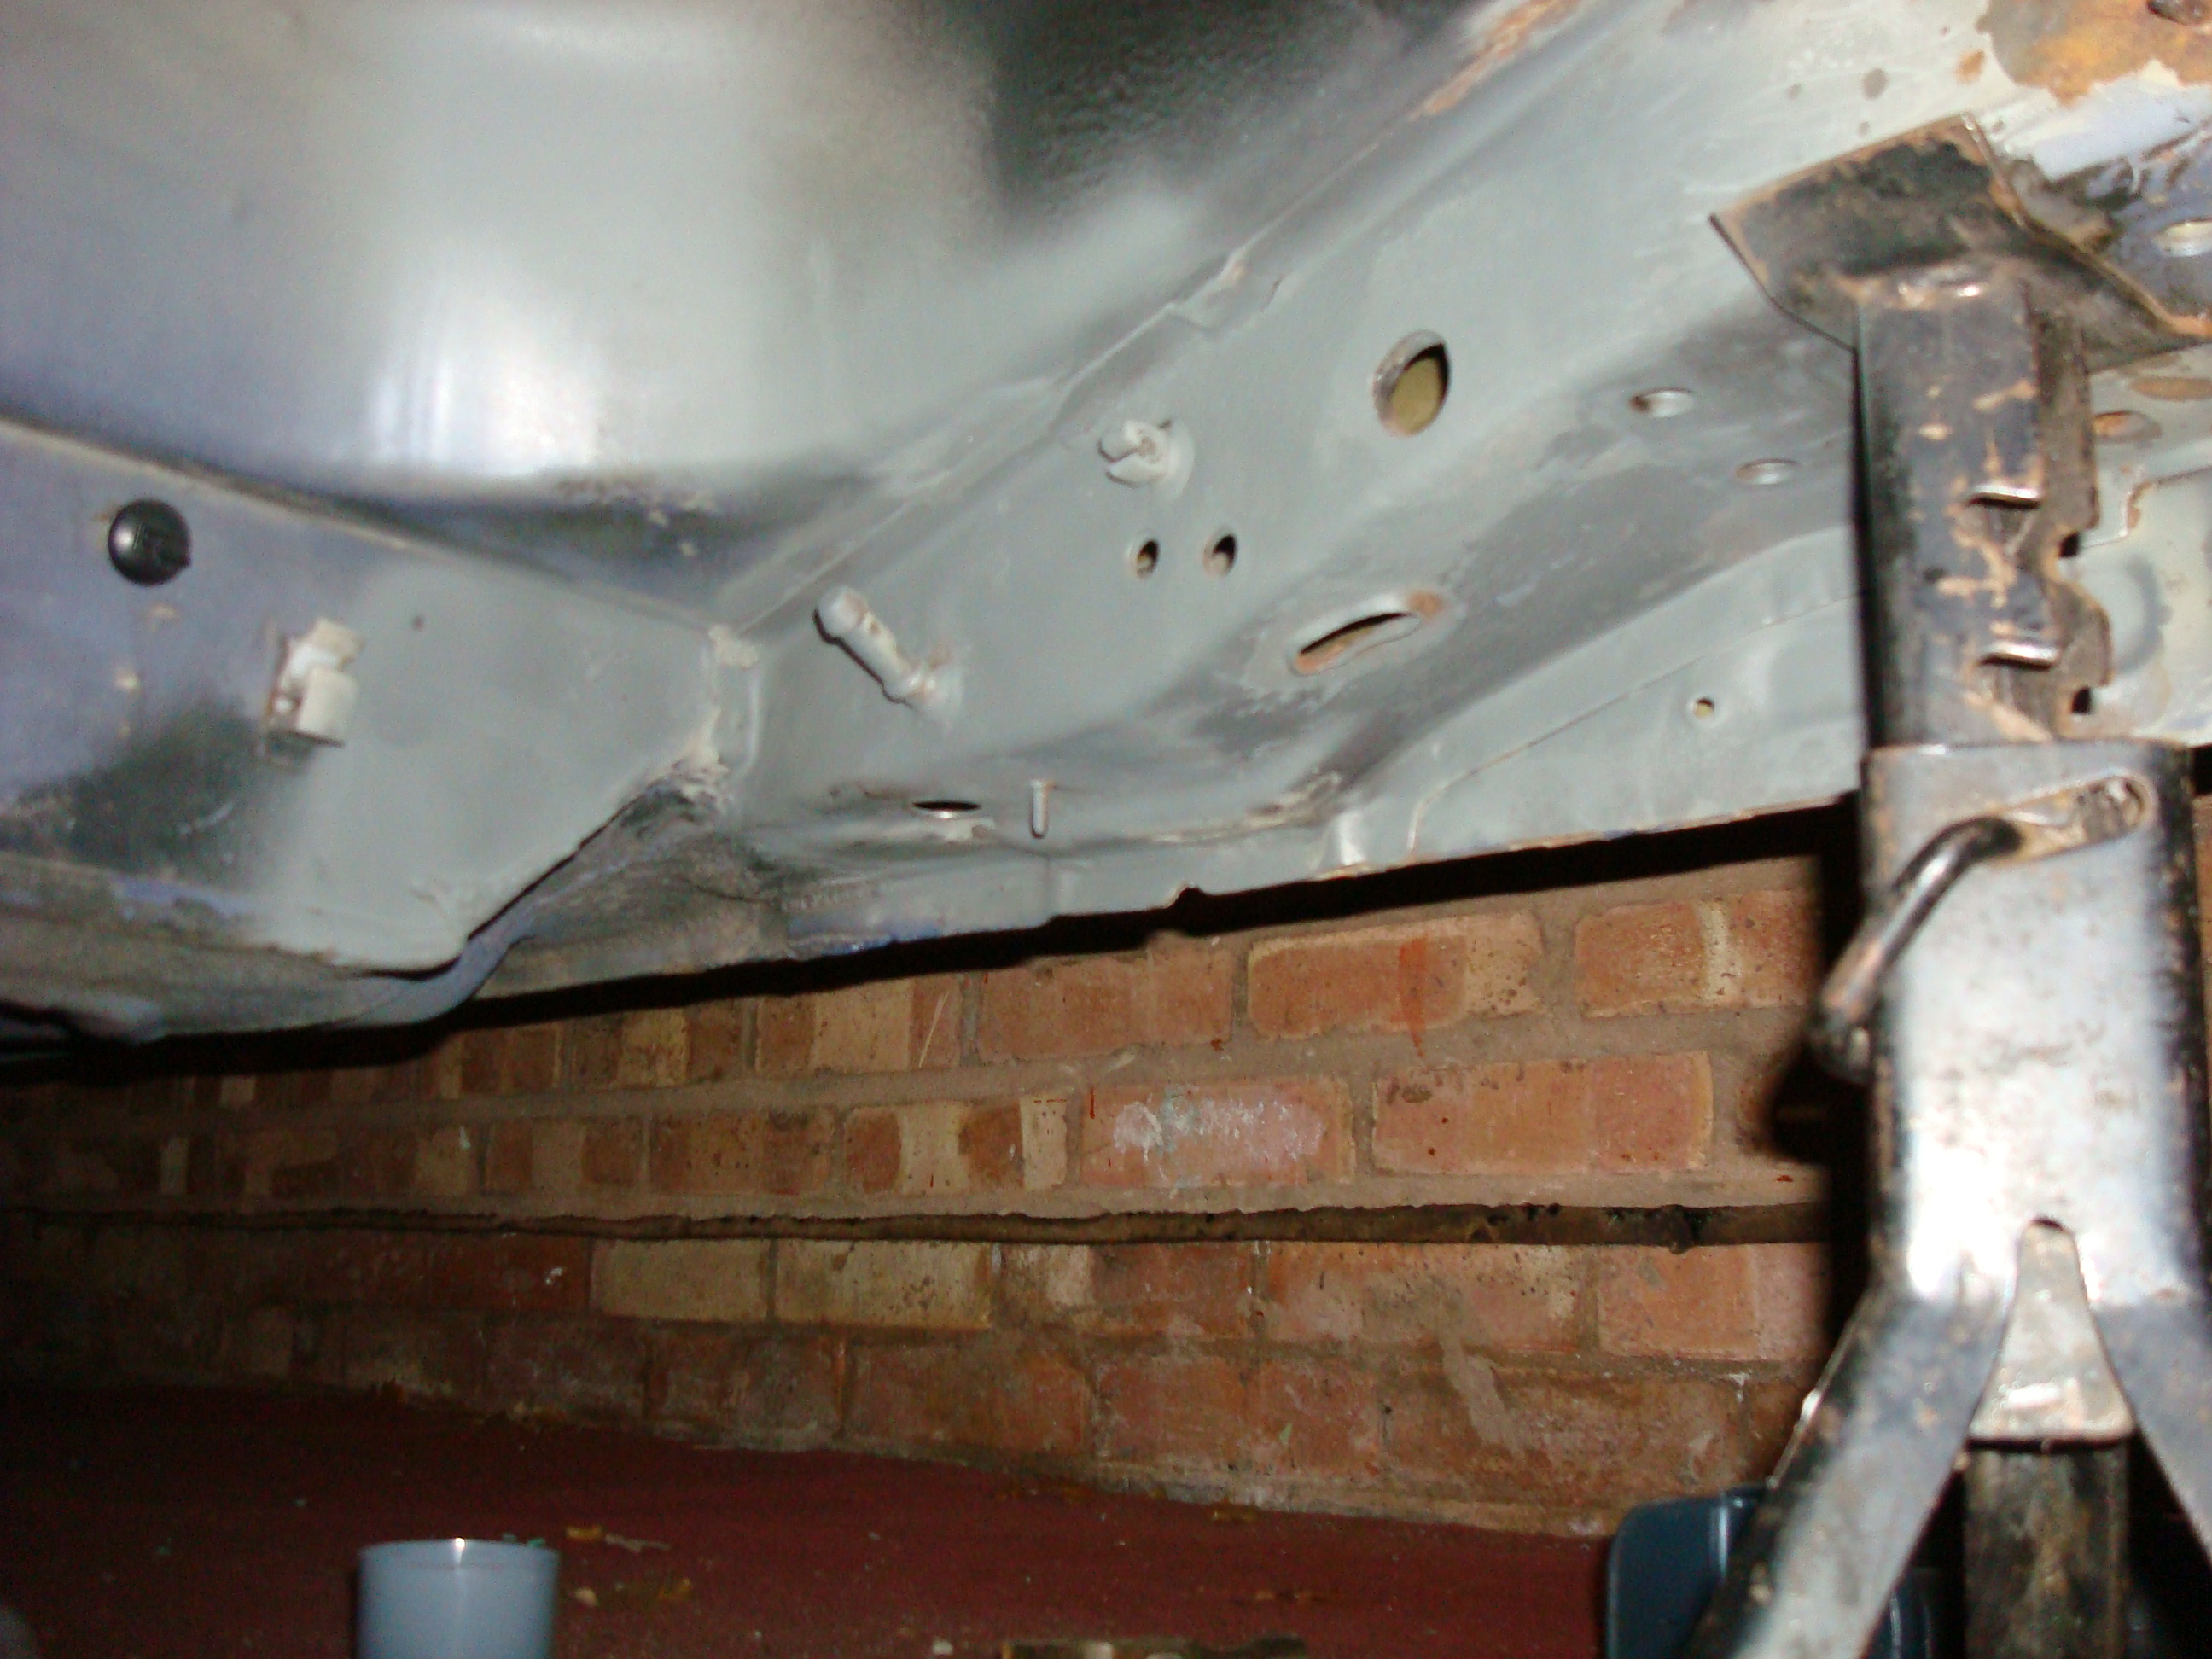
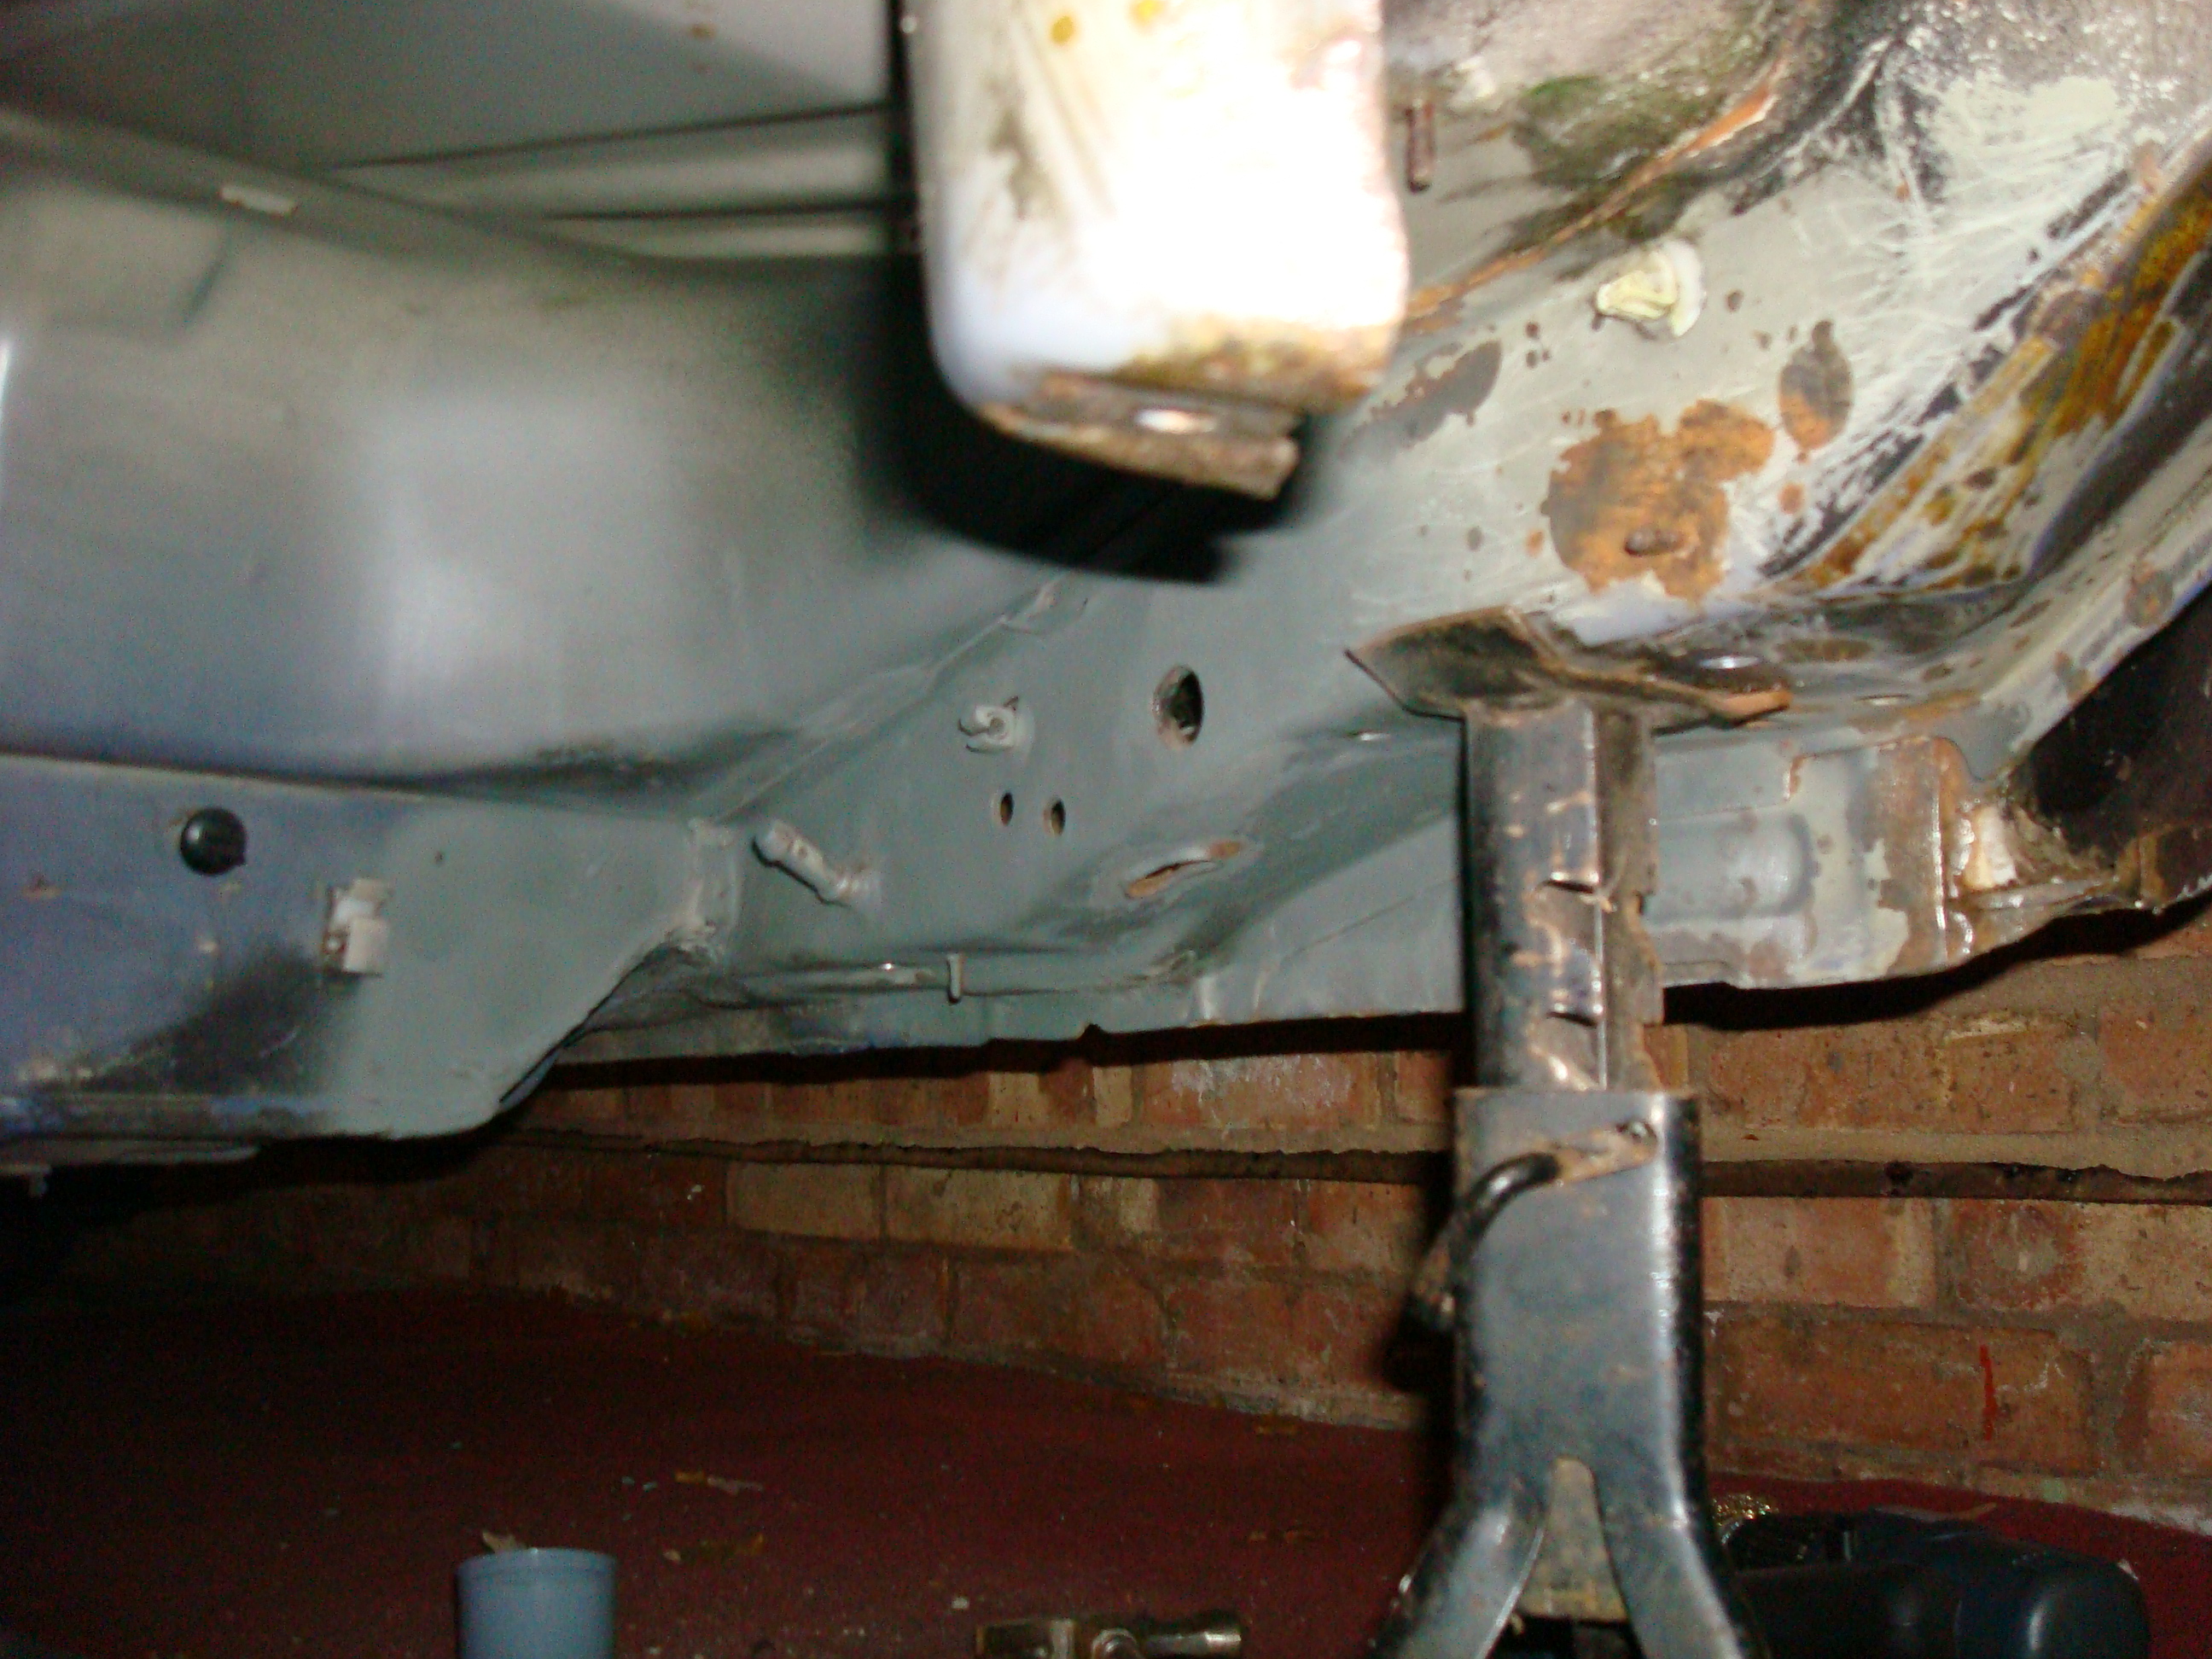
Started masking taping up some of the underside in preparation for the spraying of zinc primer, epoxy mastic 121 and imperial blue paint. As you can see haven’t finished yet came in to watch the football.
Before the masking I made a start on the drivers side sill, decided to buy some grey zinc primer to apply to areas that I do to stop rust coming back before I get chance to treat the whole underside with the epoxy mastic 121 product.
This area so far has taken me a few hours, not expecting the other areas to take as long as this is the worst section.
Before:
After:
Would note that I had removed the rest of the rusty orange patches before spraying
David
Treated the rusted areas with the Hammerite rust gel last night and after inspected this morning it seems to have lifted some of the surface rust but nothing to major most areas will still require a good going over with the wire brush.
So far this morning spent a good hour with a tough brush giving the drivers side arch a really good scrub down ready for stone chip etc. No pictures as not much to show.
Started masking taping up some of the underside in preparation for the spraying of zinc primer, epoxy mastic 121 and imperial blue paint. As you can see haven’t finished yet came in to watch the football.
Before the masking I made a start on the drivers side sill, decided to buy some grey zinc primer to apply to areas that I do to stop rust coming back before I get chance to treat the whole underside with the epoxy mastic 121 product.
This area so far has taken me a few hours, not expecting the other areas to take as long as this is the worst section.
Before:
After:
Would note that I had removed the rest of the rusty orange patches before spraying
David
Last edited by williamsclio; 05-12-2009 at 03:39 PM.
05-12-2009, 08:45 PM
#51
PassionFord Post Troll
Join Date: Apr 2004
Location: Shropshire.
Posts: 3,047
Likes: 0
Received 0 Likes
on
0 Posts
Have a read up on the Epoxy Mastic before you paint it over that Zinc primer m8.
Its designed to go straight onto the pitted metal,so all you are doing by using the Zinc primer is stopping the Epoxy Mastic doing what its designed to do,thats how I read the info on there site anyway!!!!
Copied off there site:
If you are going for the very best start possible, and are able to blast clean to SA2.5 standard (bright clean steel) Then the aplication of Epoxy-Anode zinc rich primer followed by Epoxy-Mastic is a superior coating system giving you the benefits of cathodic protection via the zinc coating followed by the durability of the Epoxy-Mastic, but please remember the zinc coating is reliant on a good electrical contact with the steels surface to be able to give you cathodic protaction.
If this cannot be assured then go for the Epoxy-Mastic.
Last edited by CosKev3; 05-12-2009 at 08:54 PM.
05-12-2009, 10:08 PM
#53
Wahay!! I've lost my Virginity!!
Thread Starter
Join Date: Dec 2009
Location: Malvern
Posts: 69
Likes: 0
Received 0 Likes
on
0 Posts
Have a read up on the Epoxy Mastic before you paint it over that Zinc primer m8.
Its designed to go straight onto the pitted metal,so all you are doing by using the Zinc primer is stopping the Epoxy Mastic doing what its designed to do,thats how I read the info on there site anyway!!!!
Copied off there site:
If you are going for the very best start possible, and are able to blast clean to SA2.5 standard (bright clean steel) Then the aplication of Epoxy-Anode zinc rich primer followed by Epoxy-Mastic is a superior coating system giving you the benefits of cathodic protection via the zinc coating followed by the durability of the Epoxy-Mastic, but please remember the zinc coating is reliant on a good electrical contact with the steels surface to be able to give you cathodic protaction.
If this cannot be assured then go for the Epoxy-Mastic.
Its designed to go straight onto the pitted metal,so all you are doing by using the Zinc primer is stopping the Epoxy Mastic doing what its designed to do,thats how I read the info on there site anyway!!!!
Copied off there site:
If you are going for the very best start possible, and are able to blast clean to SA2.5 standard (bright clean steel) Then the aplication of Epoxy-Anode zinc rich primer followed by Epoxy-Mastic is a superior coating system giving you the benefits of cathodic protection via the zinc coating followed by the durability of the Epoxy-Mastic, but please remember the zinc coating is reliant on a good electrical contact with the steels surface to be able to give you cathodic protaction.
If this cannot be assured then go for the Epoxy-Mastic.
Will stop using the zinc primer and when the Mastic arrives i'll mix up the amount I need for each section I clear of rust.
Thanks for pointing it out to me, just goes to show why its important to read up on products
Cheers again
David
06-12-2009, 01:16 AM
#55
But i agree, performance and RS models should have better protection from factory as they are expected to last longer than a bogo car.

 06-12-2009, 06:31 PM
#60
Wahay!! I've lost my Virginity!!
Thread Starter
Join Date: Dec 2009
Location: Malvern
Posts: 69
Likes: 0
Received 0 Likes
on
0 Posts
Sunday 06/12/2009 (phone photos )
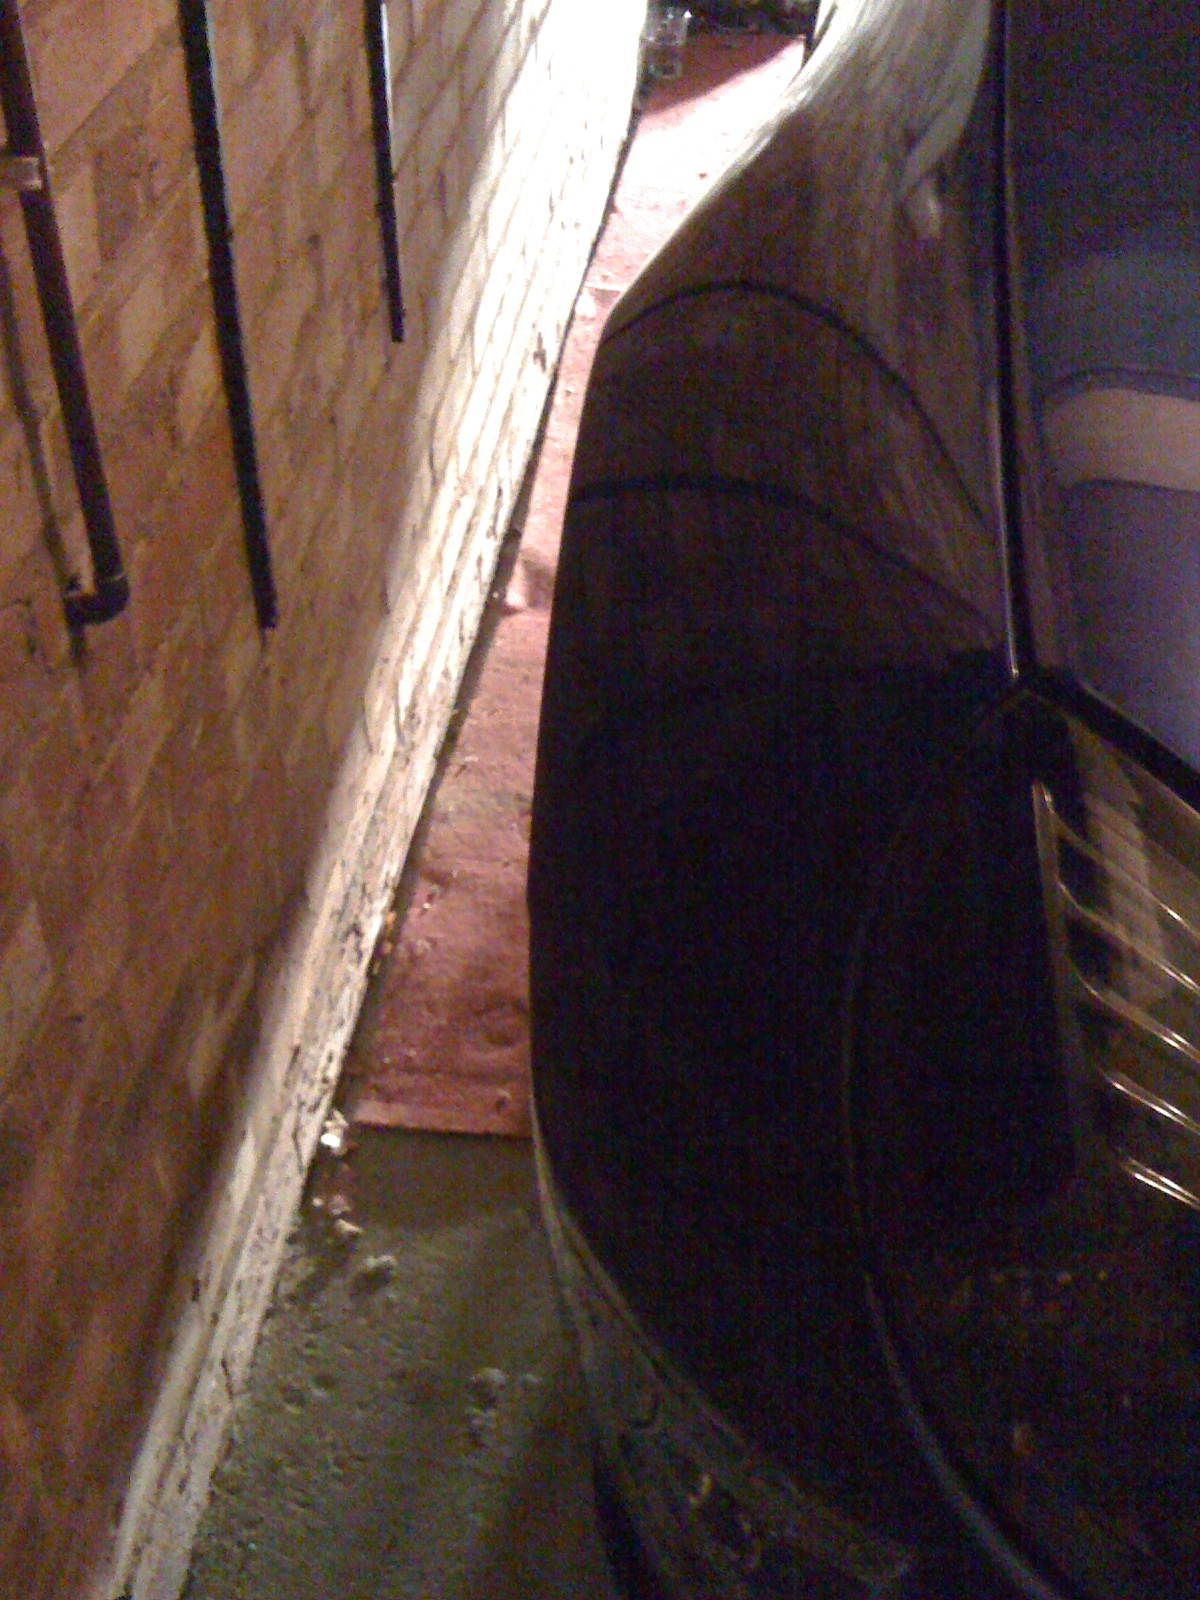
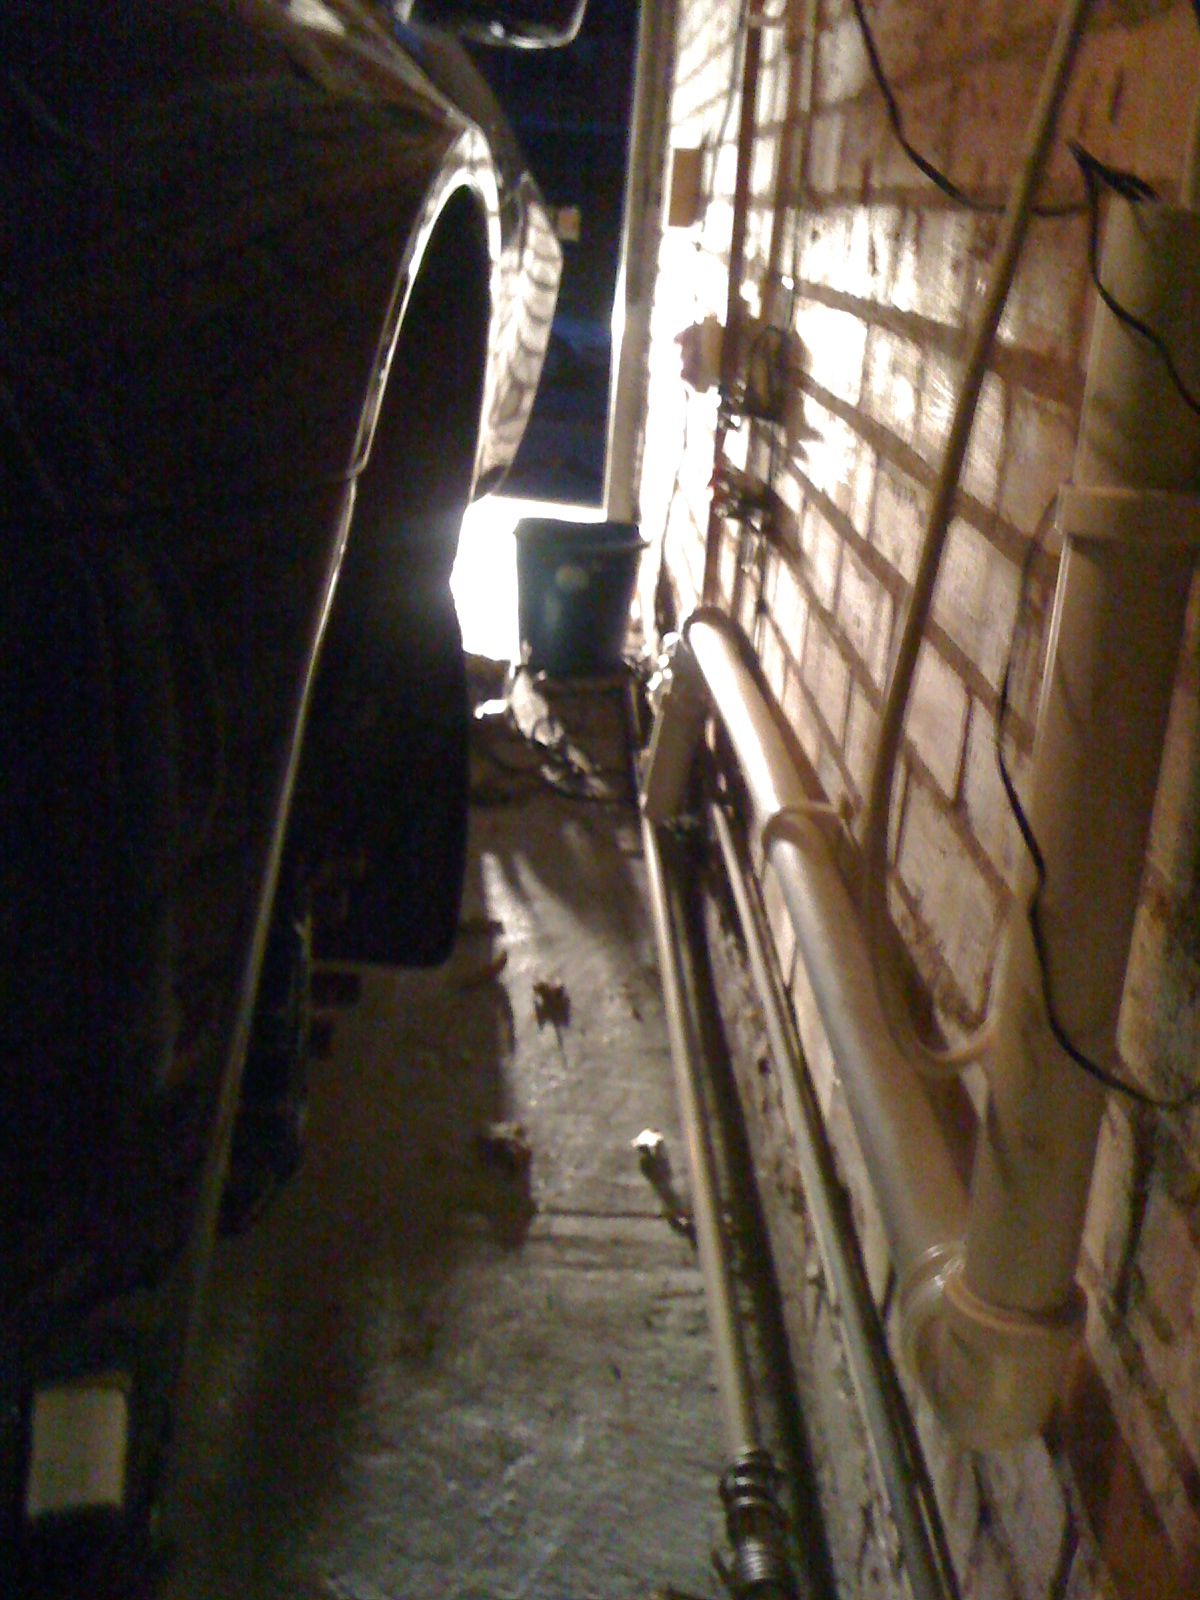
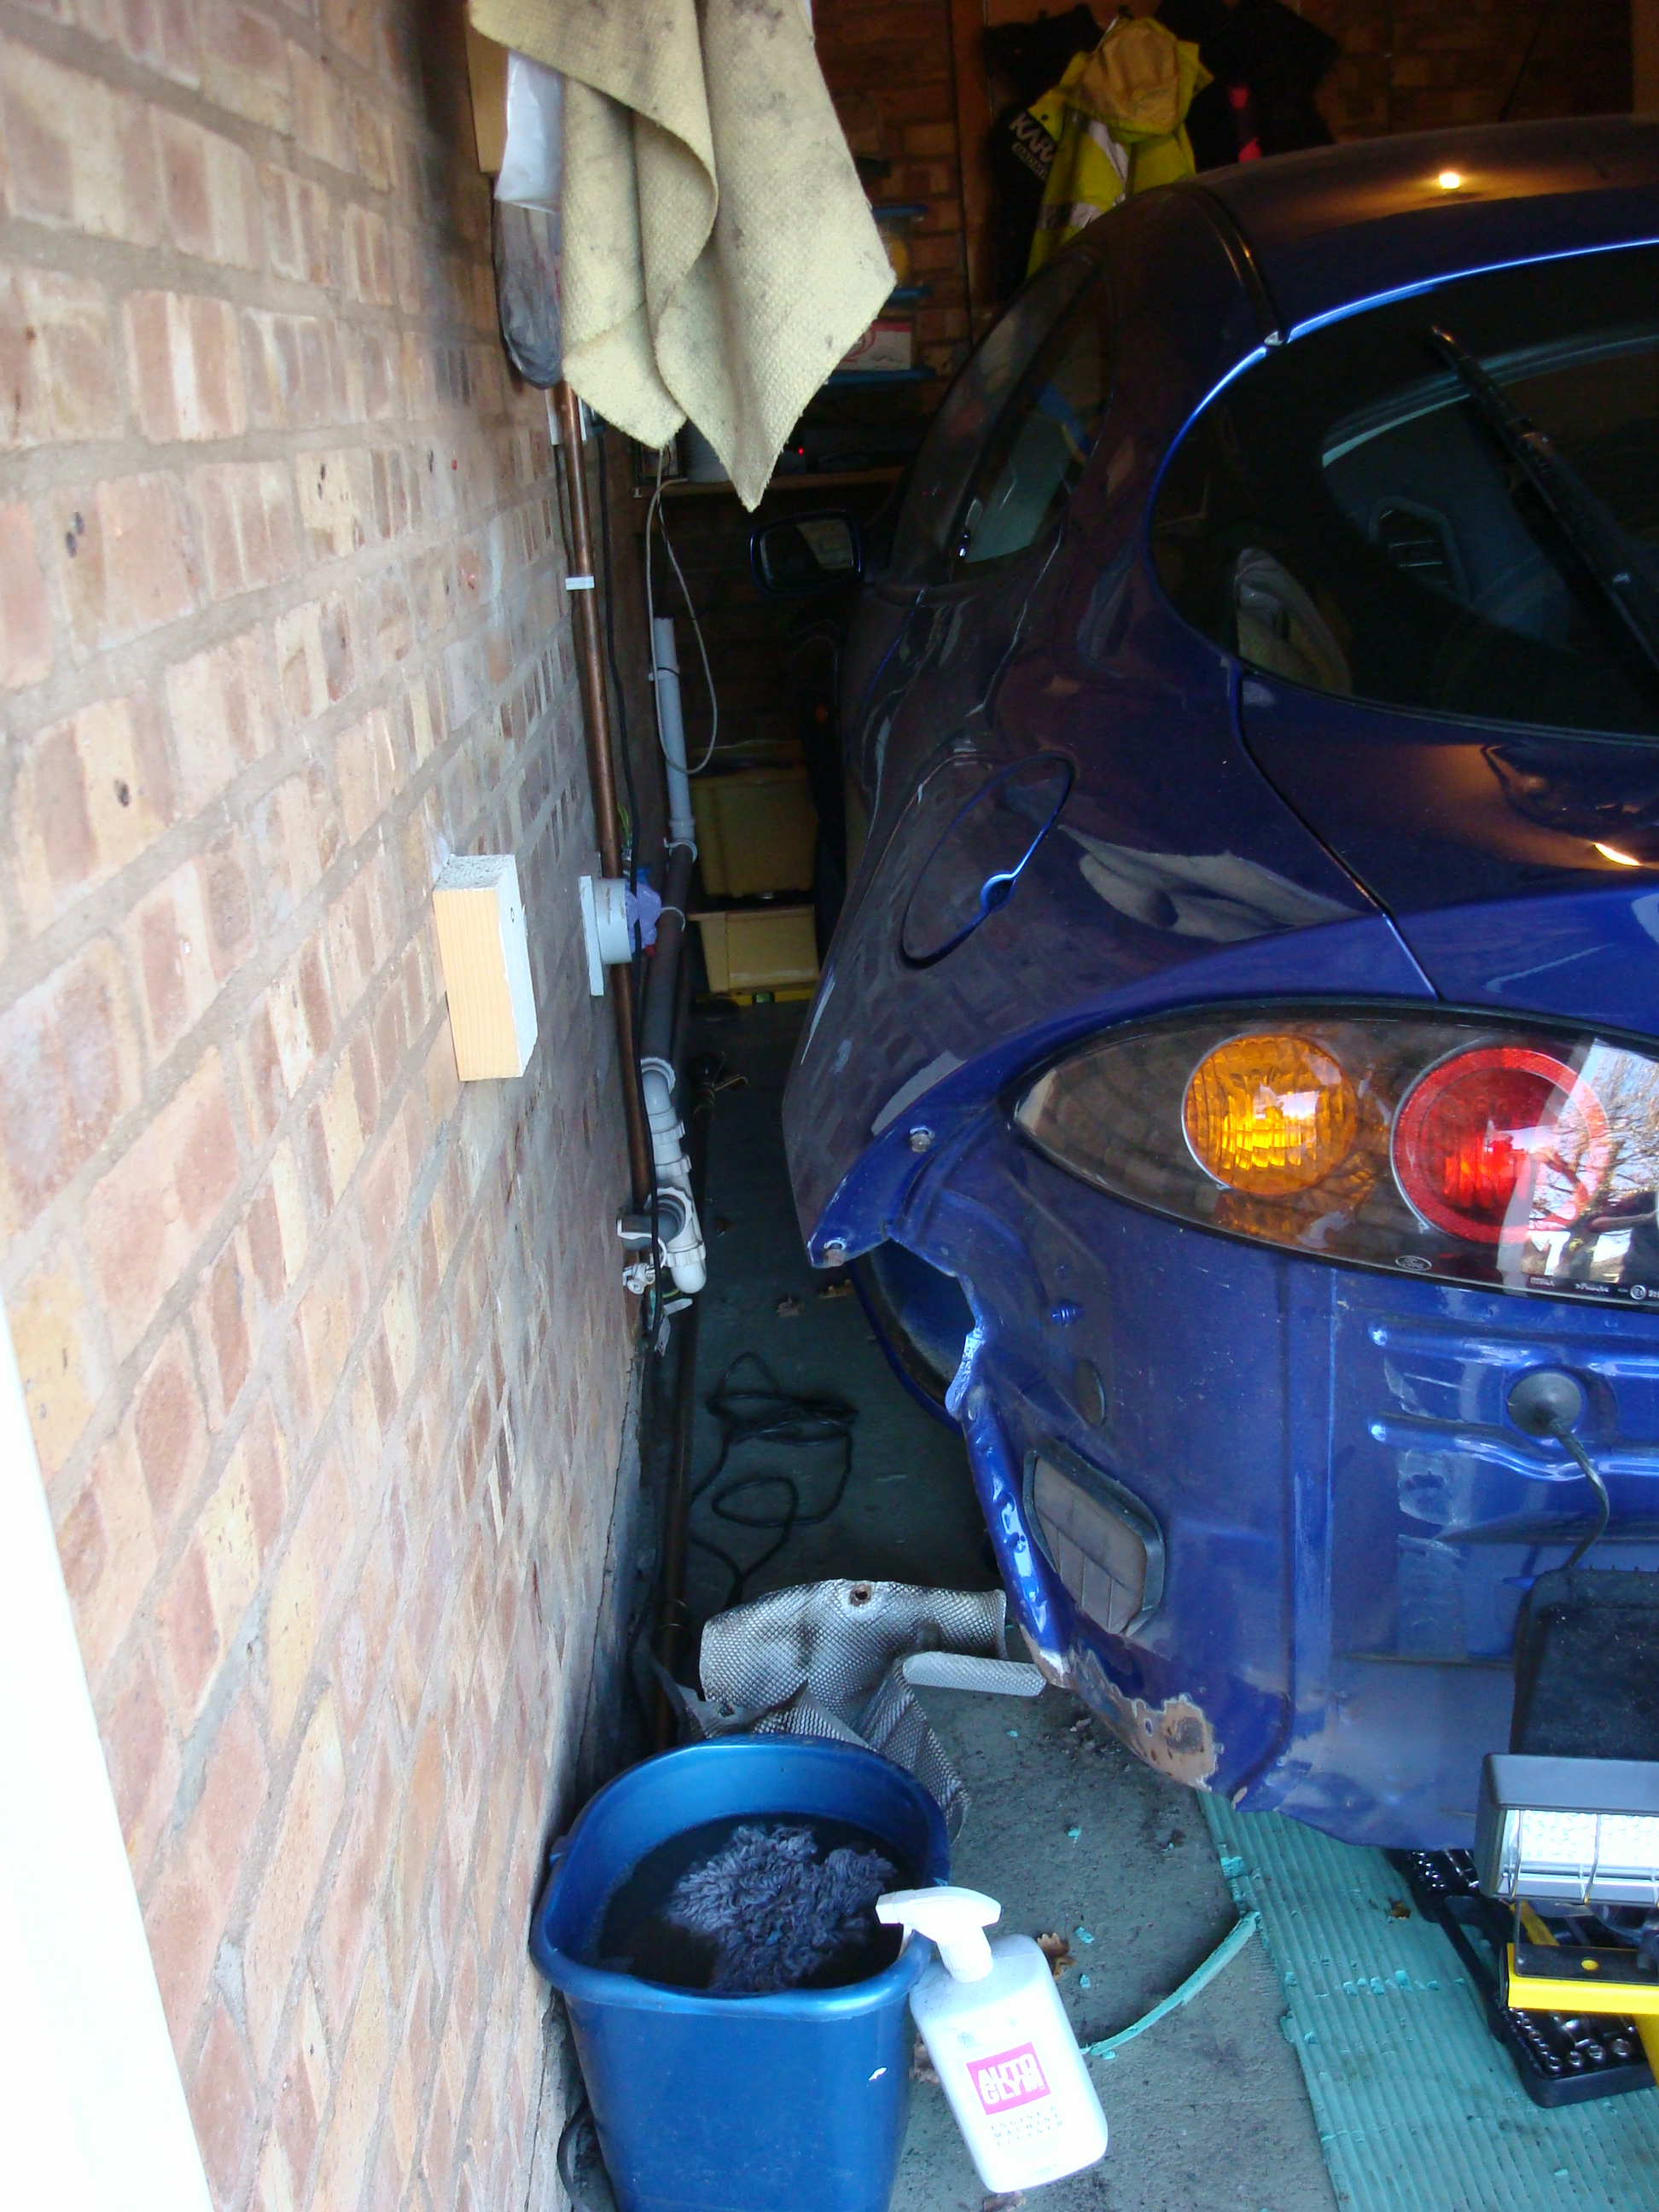
Early hours of this morning decided to get the front of the car up on the ramps so that I could raise the rear axles to gain better access to the underside of the car. Took around an hour to get it to the required height as we had to raise each corner one axle height at a time and try to shift the front of the car more central in the garage so I could get the front wheel off when it was in the air, as you can imagine this wasn’t by any means easy however in the end we got it up and removed the front two wheels.
As you can see not a lot of remove either side but just enough to walk down.
Only had a few hours today but managed to clean up the front wheels and use some wheel sealant:
Used G101 multi purpose cleaner and then red cheery wheel cleaner with megs brush and brushes
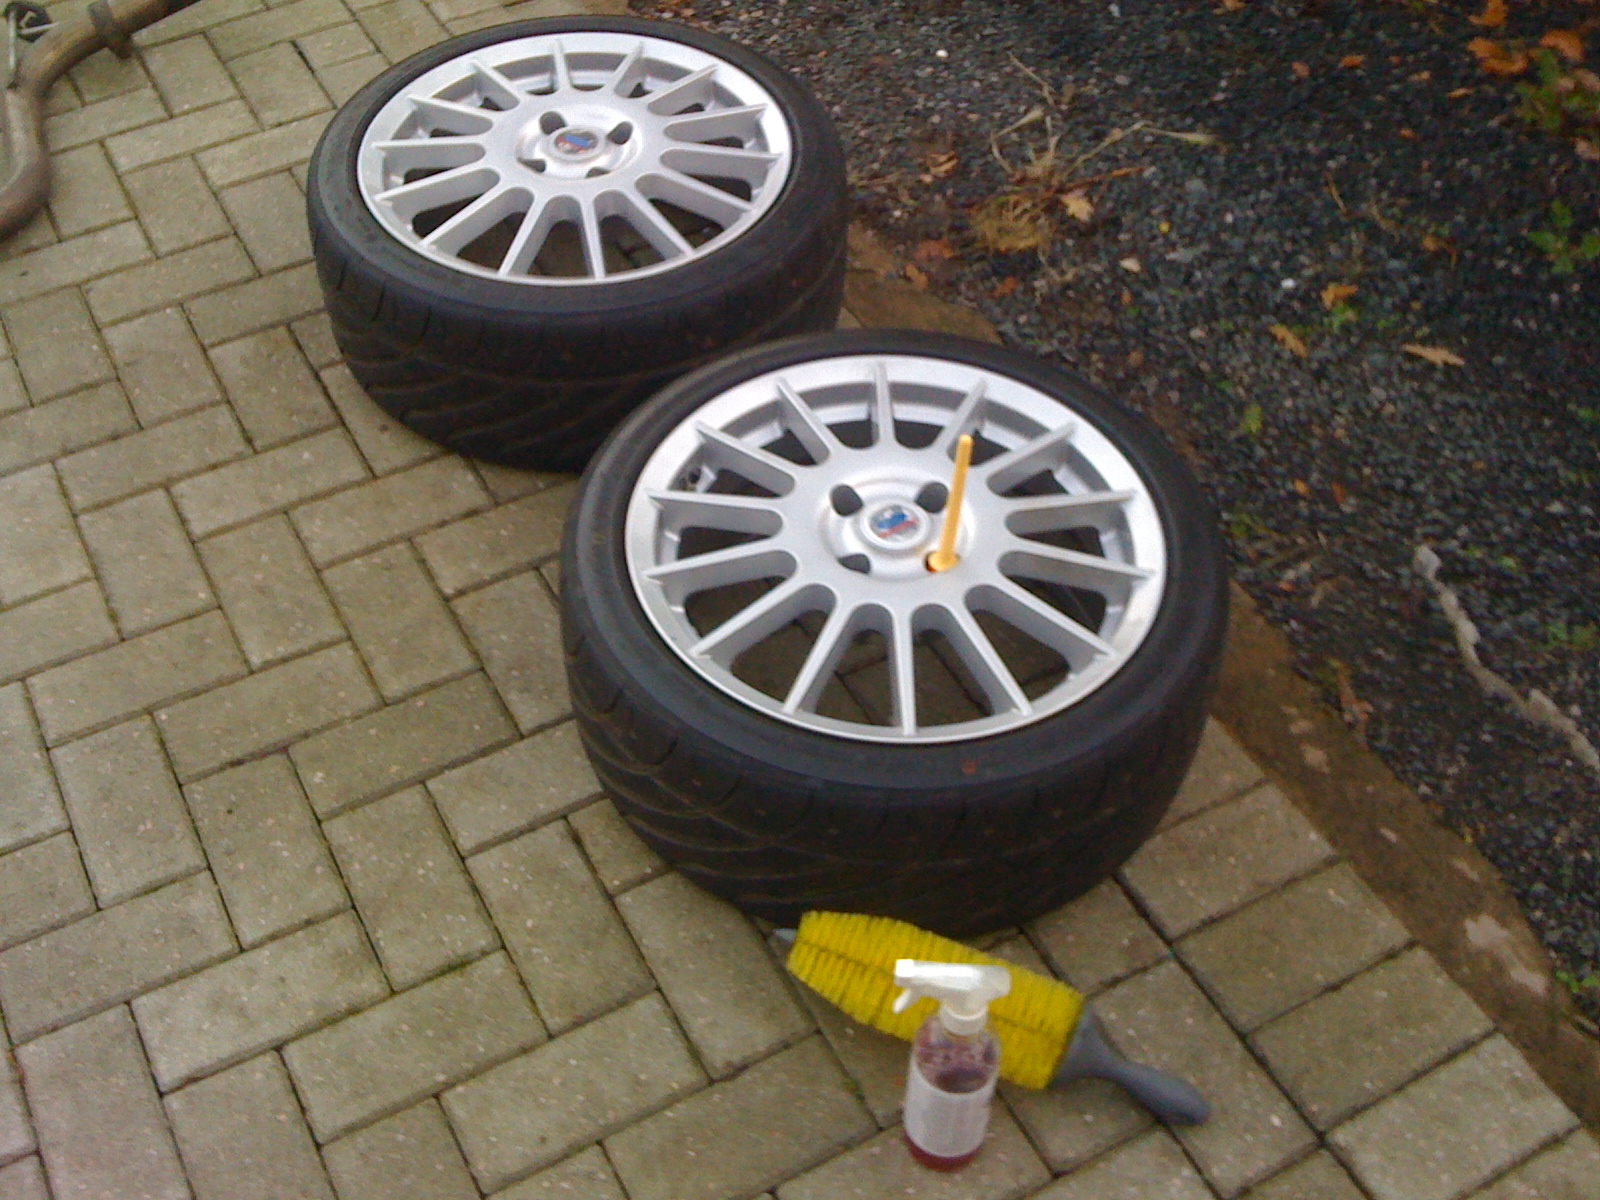
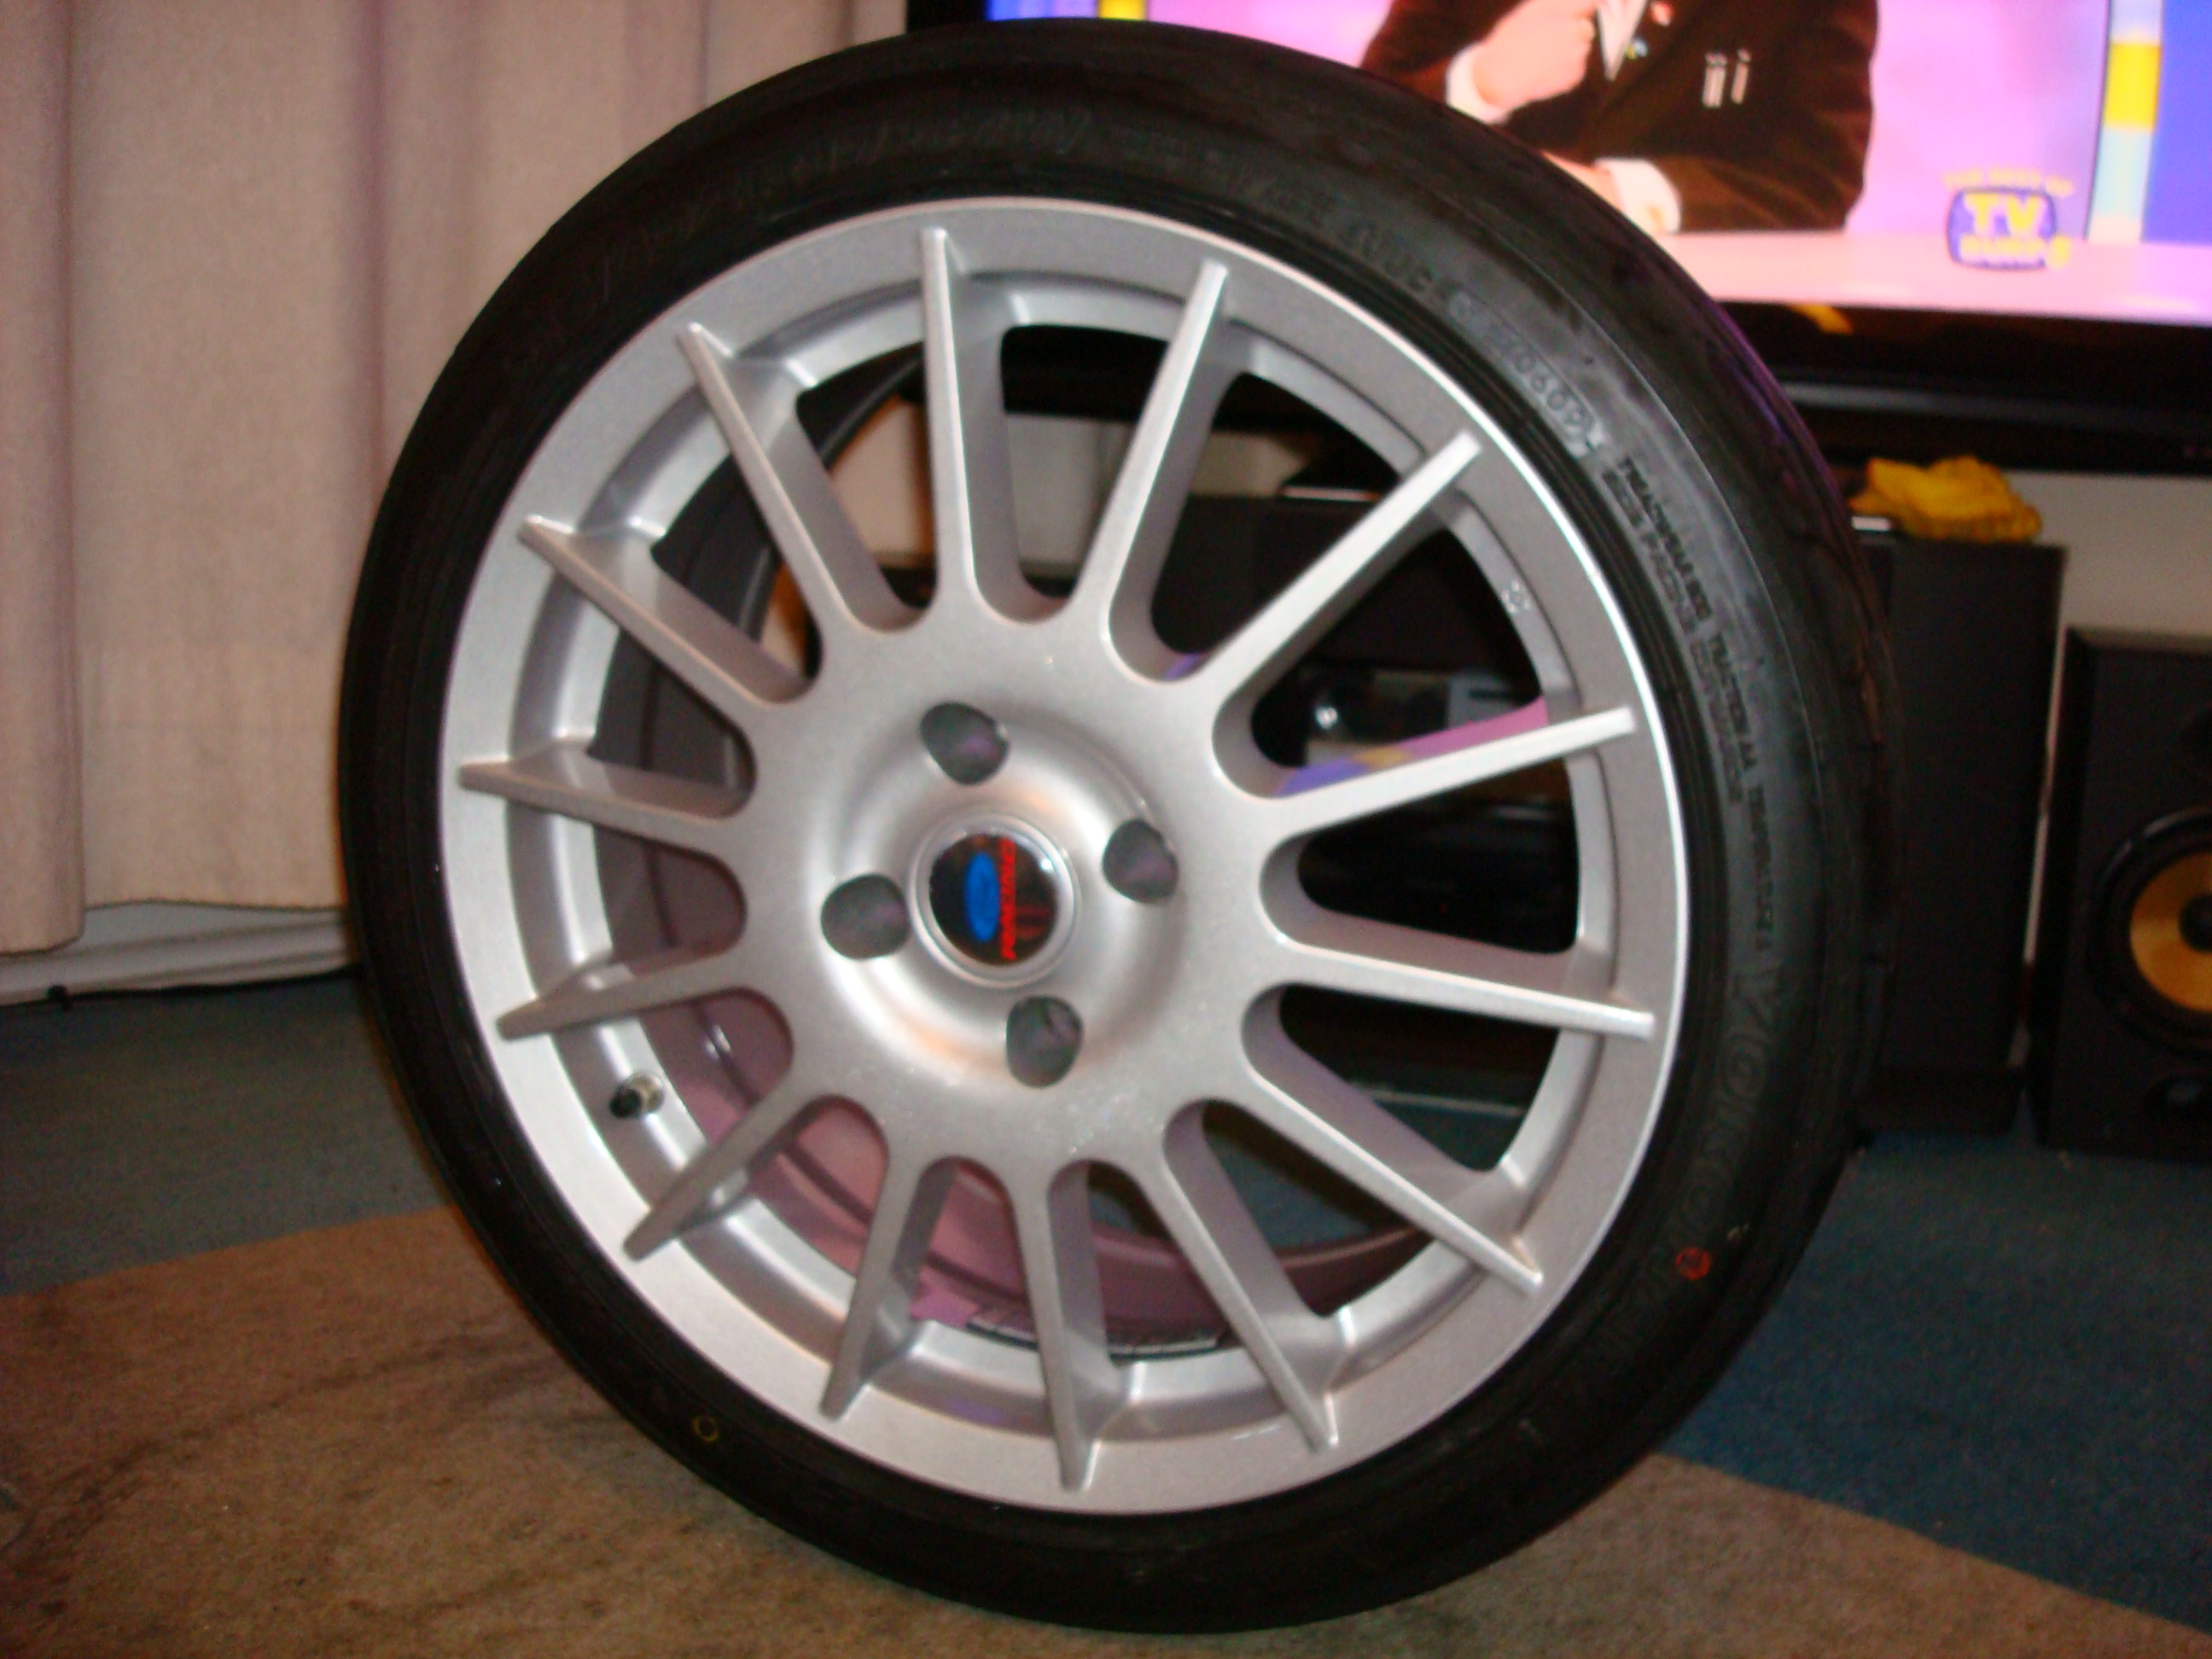
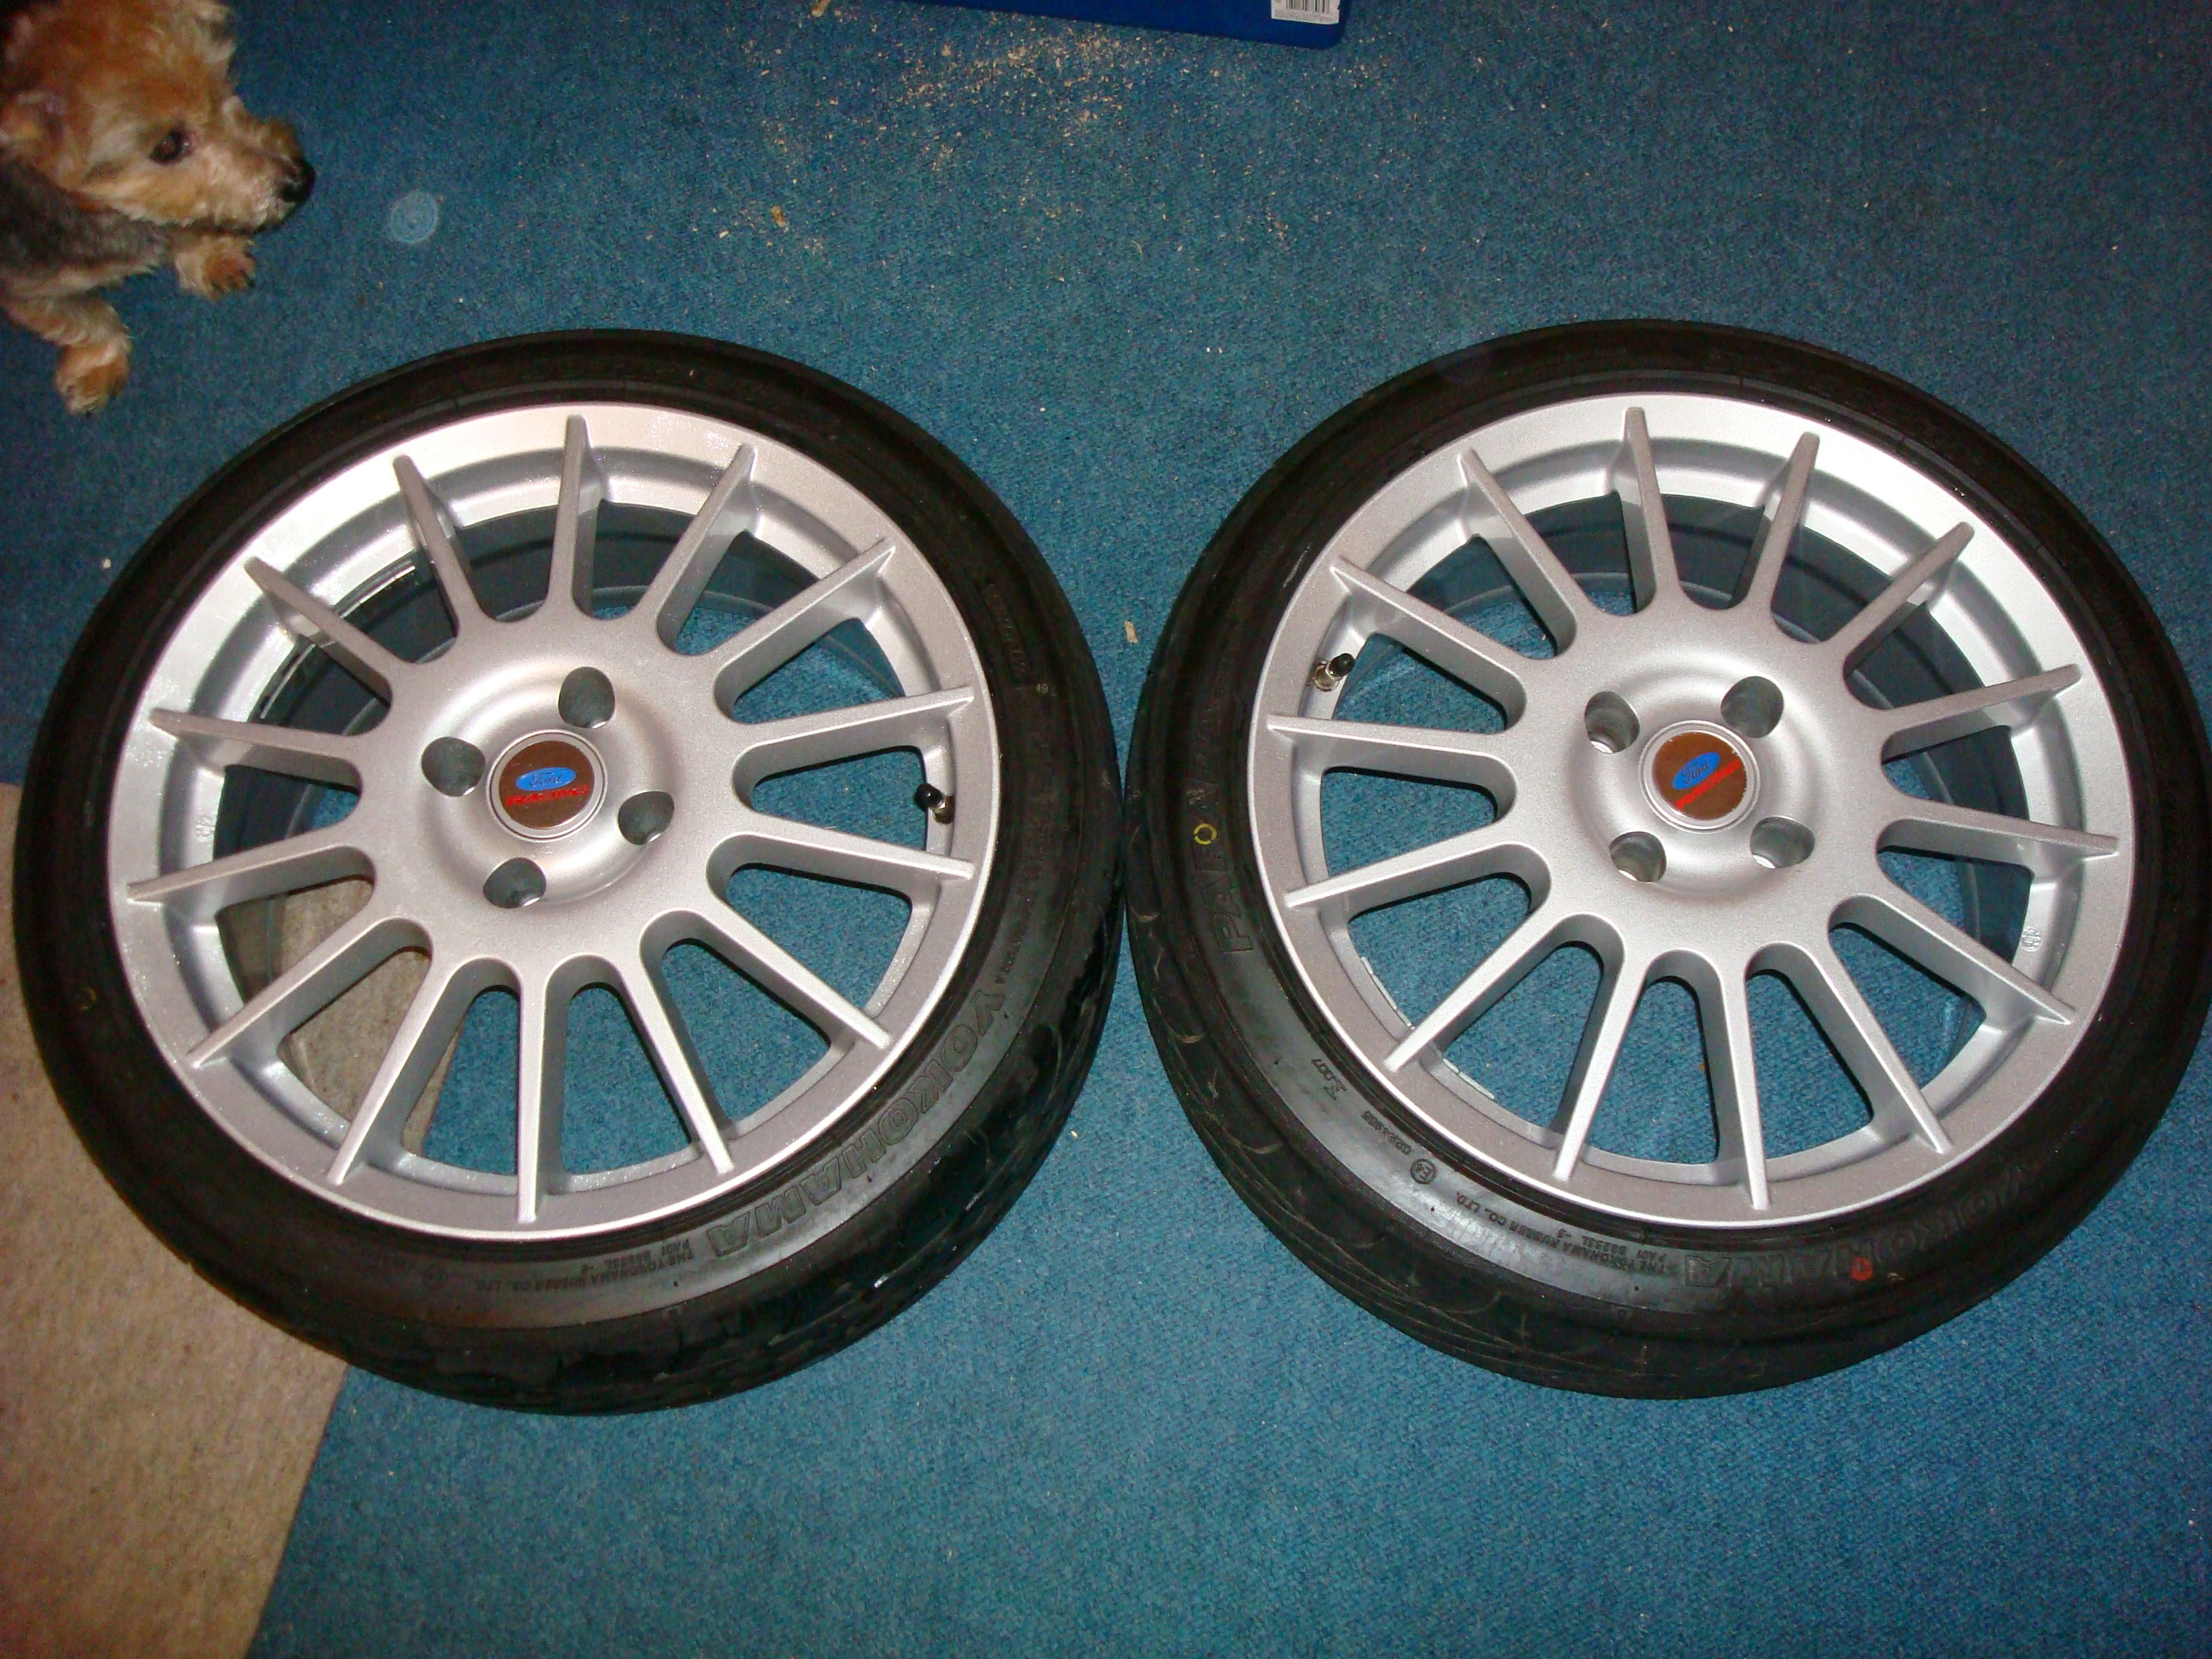
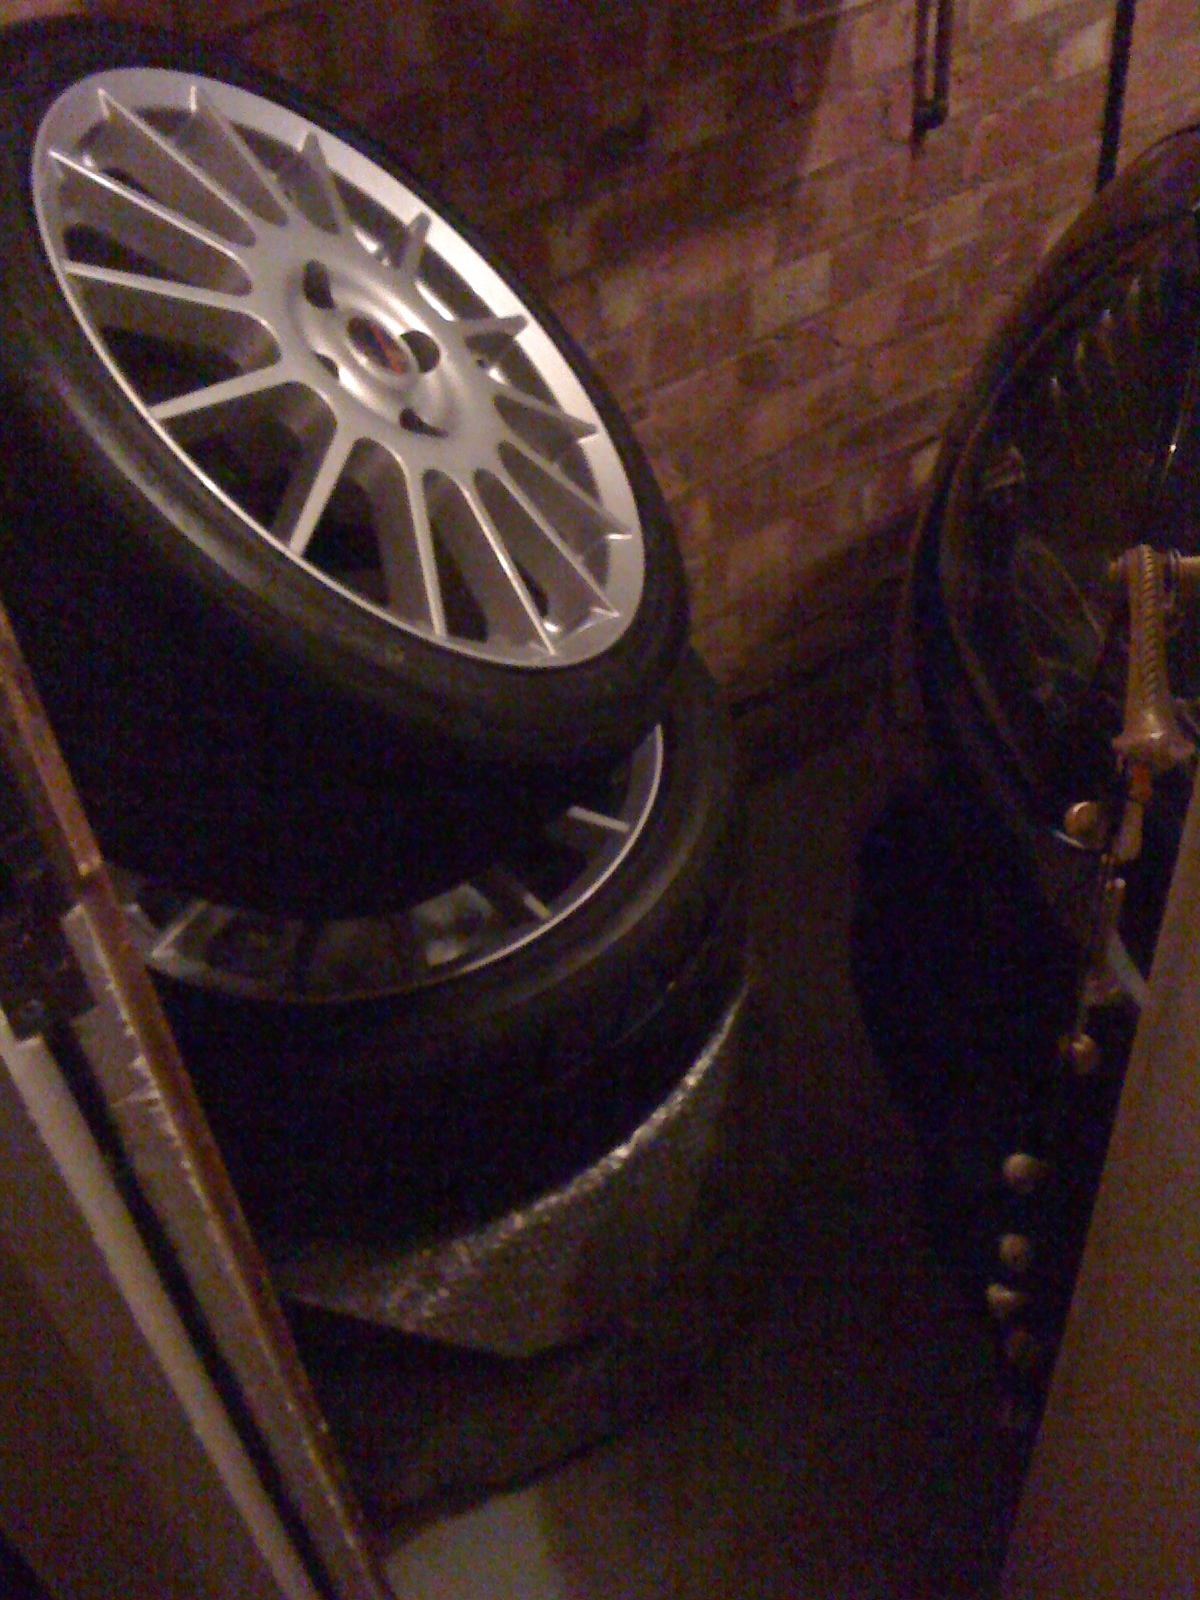
Now stored in the garage with the other two.
After being told that the mastic 121 product is best applied to bare stripped metal I will now remove the rust / paint and leave untreated until the epoxy mastic 121 arrives. (Thanks for pointing that out CosKev)
David
Early hours of this morning decided to get the front of the car up on the ramps so that I could raise the rear axles to gain better access to the underside of the car. Took around an hour to get it to the required height as we had to raise each corner one axle height at a time and try to shift the front of the car more central in the garage so I could get the front wheel off when it was in the air, as you can imagine this wasn’t by any means easy however in the end we got it up and removed the front two wheels.
As you can see not a lot of remove either side but just enough to walk down.
Only had a few hours today but managed to clean up the front wheels and use some wheel sealant:
Used G101 multi purpose cleaner and then red cheery wheel cleaner with megs brush and brushes
Now stored in the garage with the other two.
After being told that the mastic 121 product is best applied to bare stripped metal I will now remove the rust / paint and leave untreated until the epoxy mastic 121 arrives. (Thanks for pointing that out CosKev)
David
06-12-2009, 07:31 PM
#61
Wahay!! I've lost my Virginity!!
Thread Starter
Join Date: Dec 2009
Location: Malvern
Posts: 69
Likes: 0
Received 0 Likes
on
0 Posts
07-12-2009, 09:05 PM
#63
Focus WRC
Join Date: Sep 2009
Location: cheshire
Posts: 701
Likes: 0
Received 0 Likes
on
0 Posts
Read with great interest, REALLY surprised how bad that has rusted for a relatively new car (new compared to say a 1990 escort) what the heck did ford use to make the puma and the Zetec-S' as they tend to rust REALLY bad.
Glad your on the way to bringing it back to how it should be mate!
Glad your on the way to bringing it back to how it should be mate!
08-12-2009, 10:00 PM
#64
Wahay!! I've lost my Virginity!!
Thread Starter
Join Date: Dec 2009
Location: Malvern
Posts: 69
Likes: 0
Received 0 Likes
on
0 Posts
Tuesday 08/12/2009
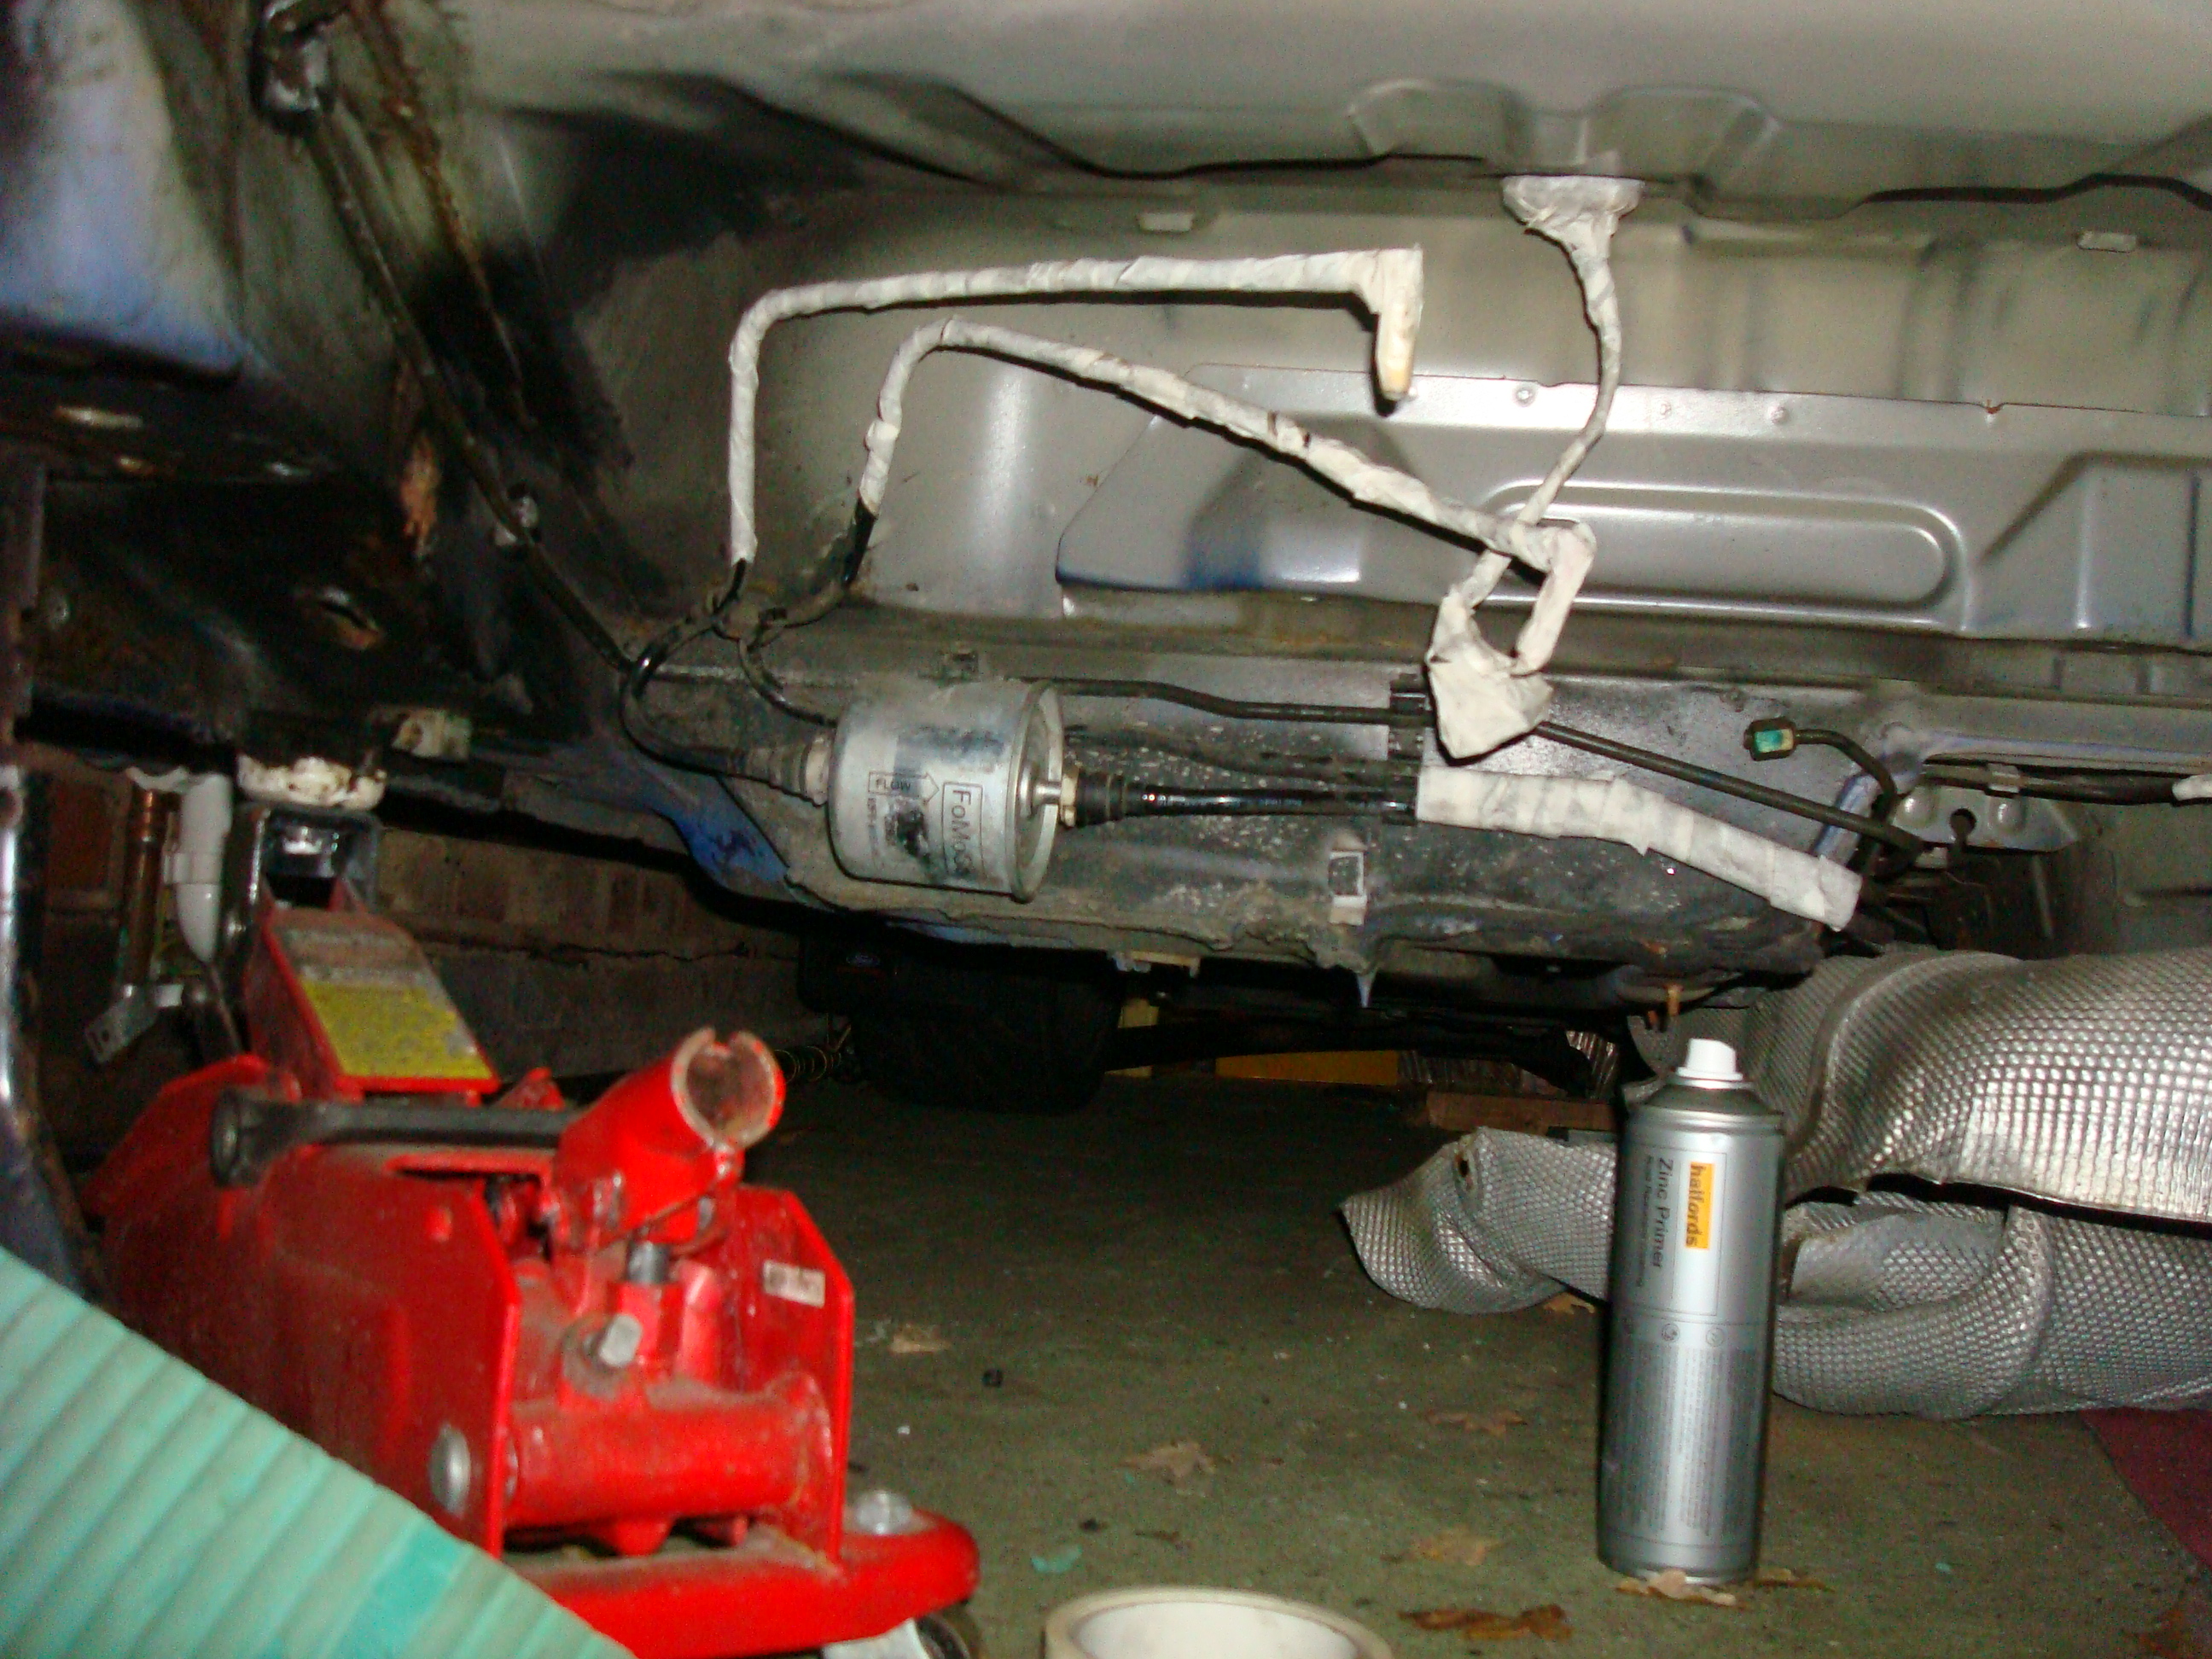
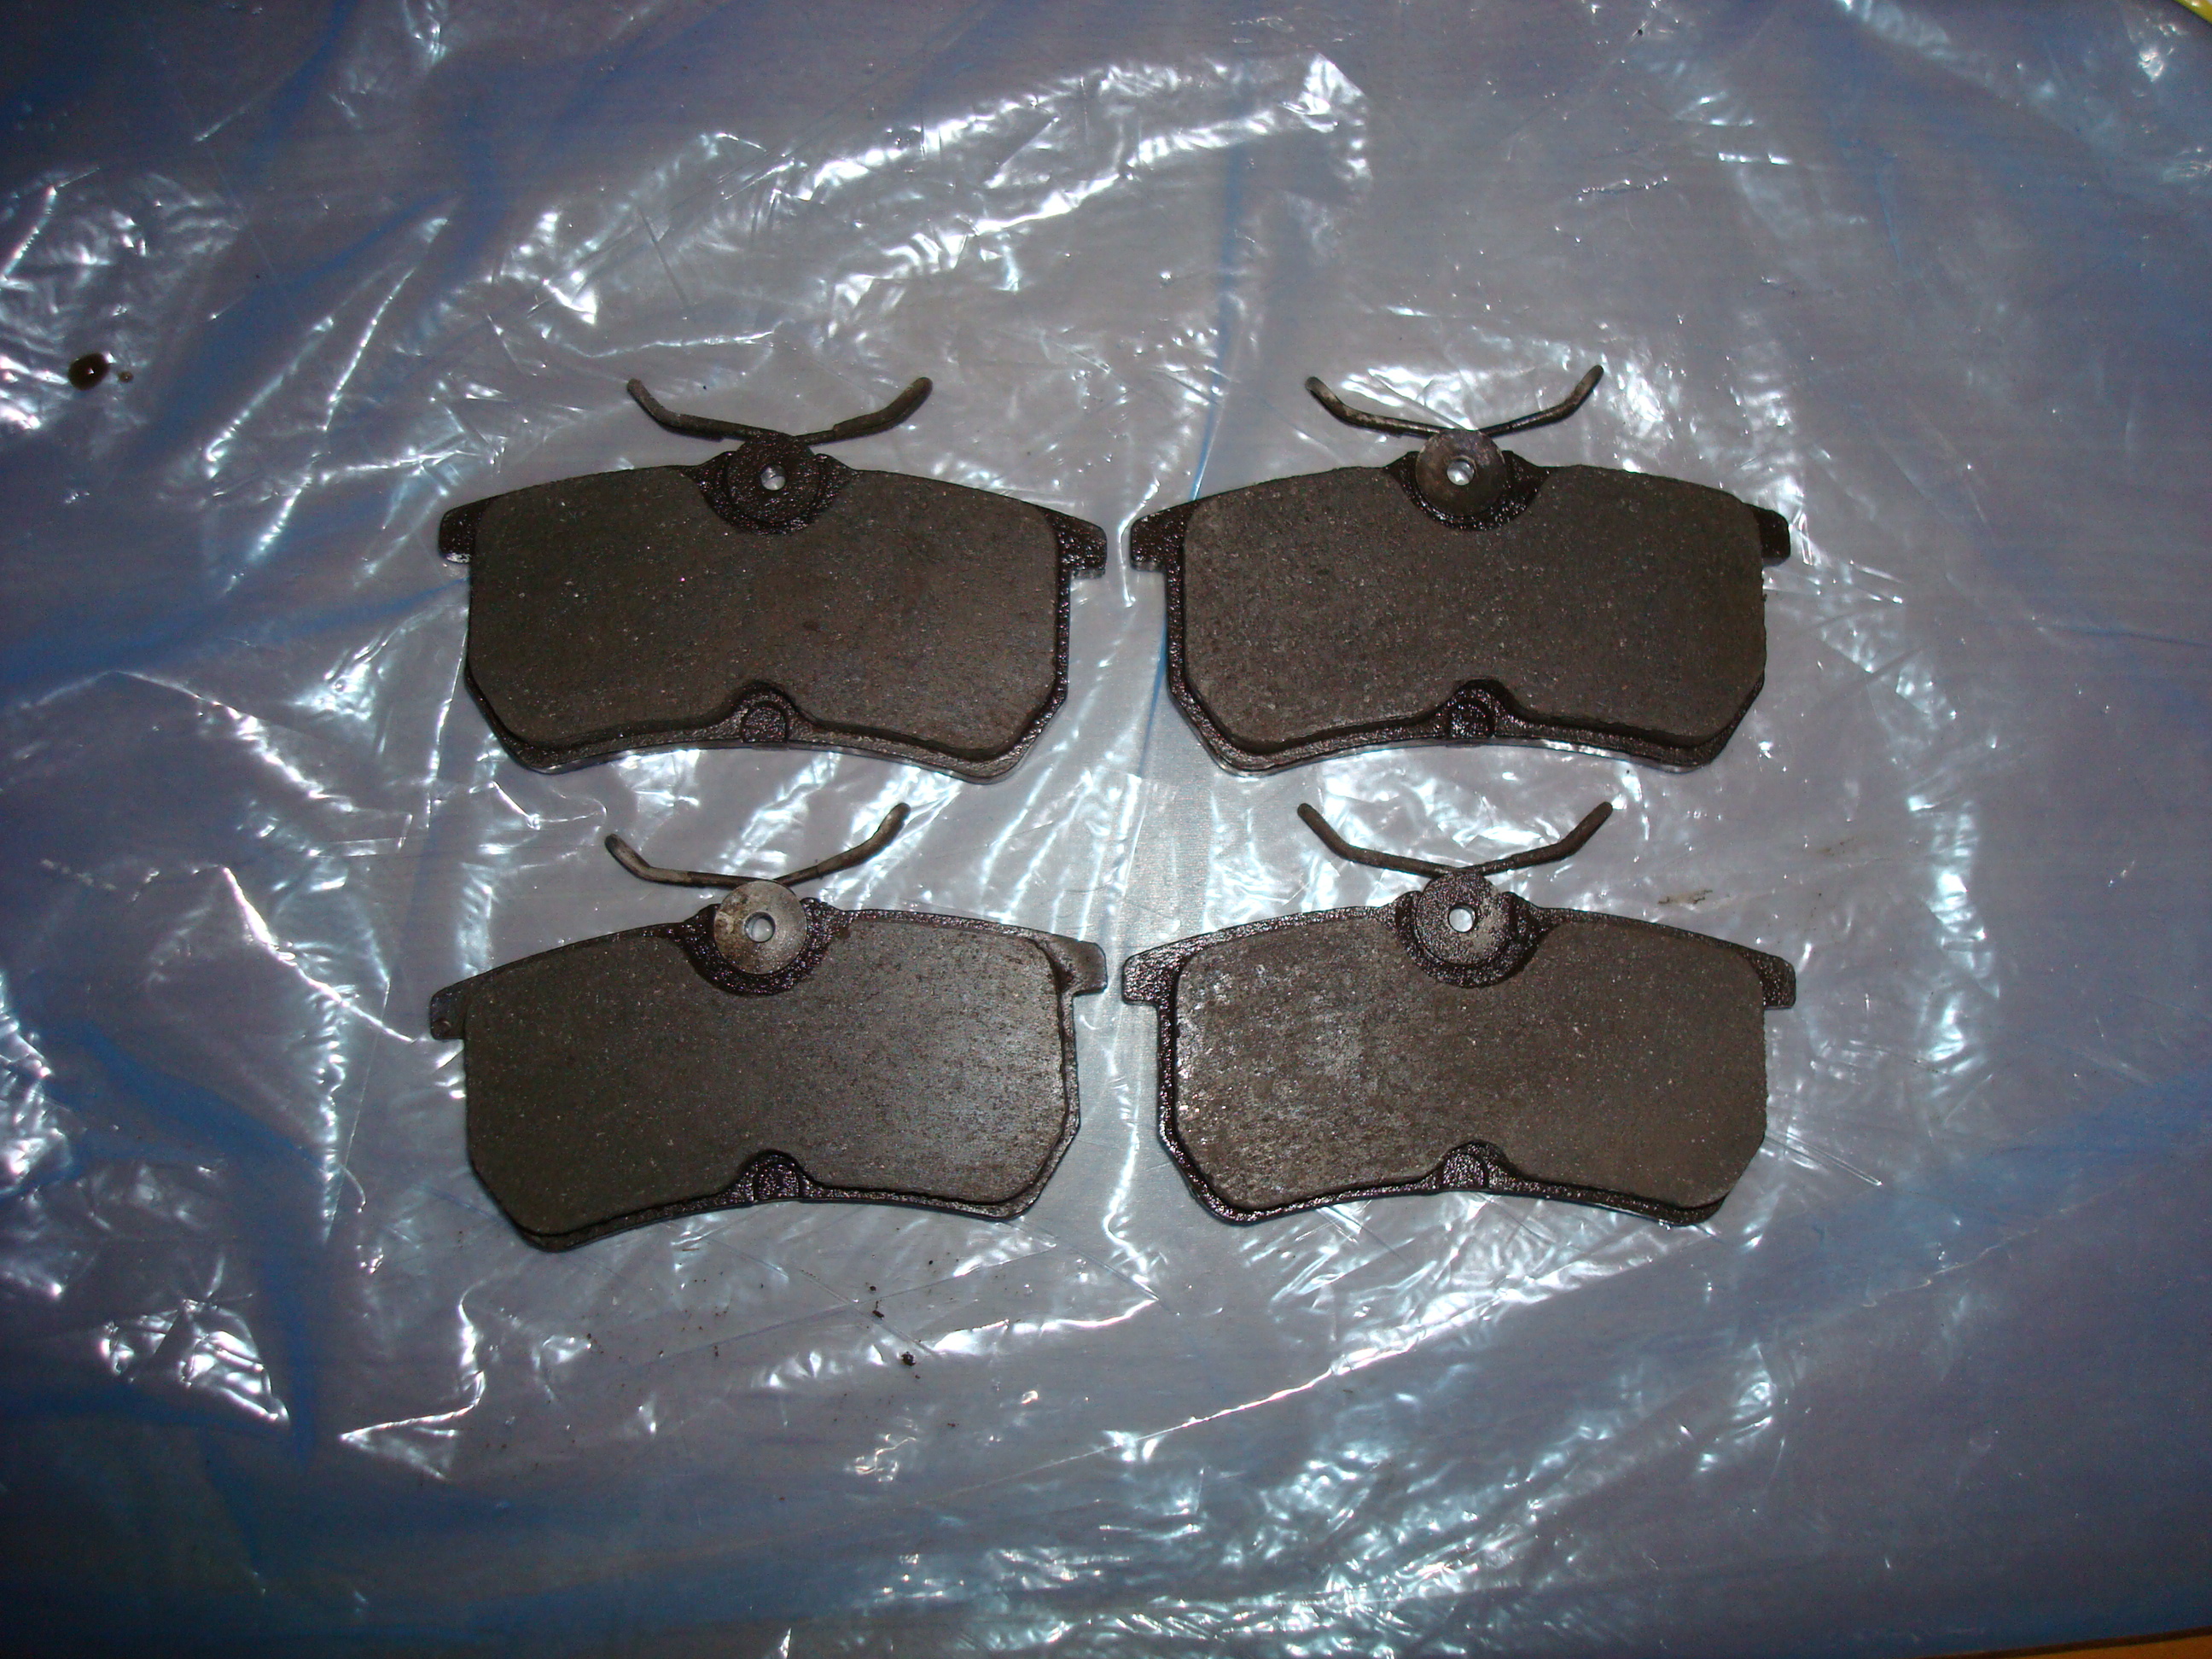
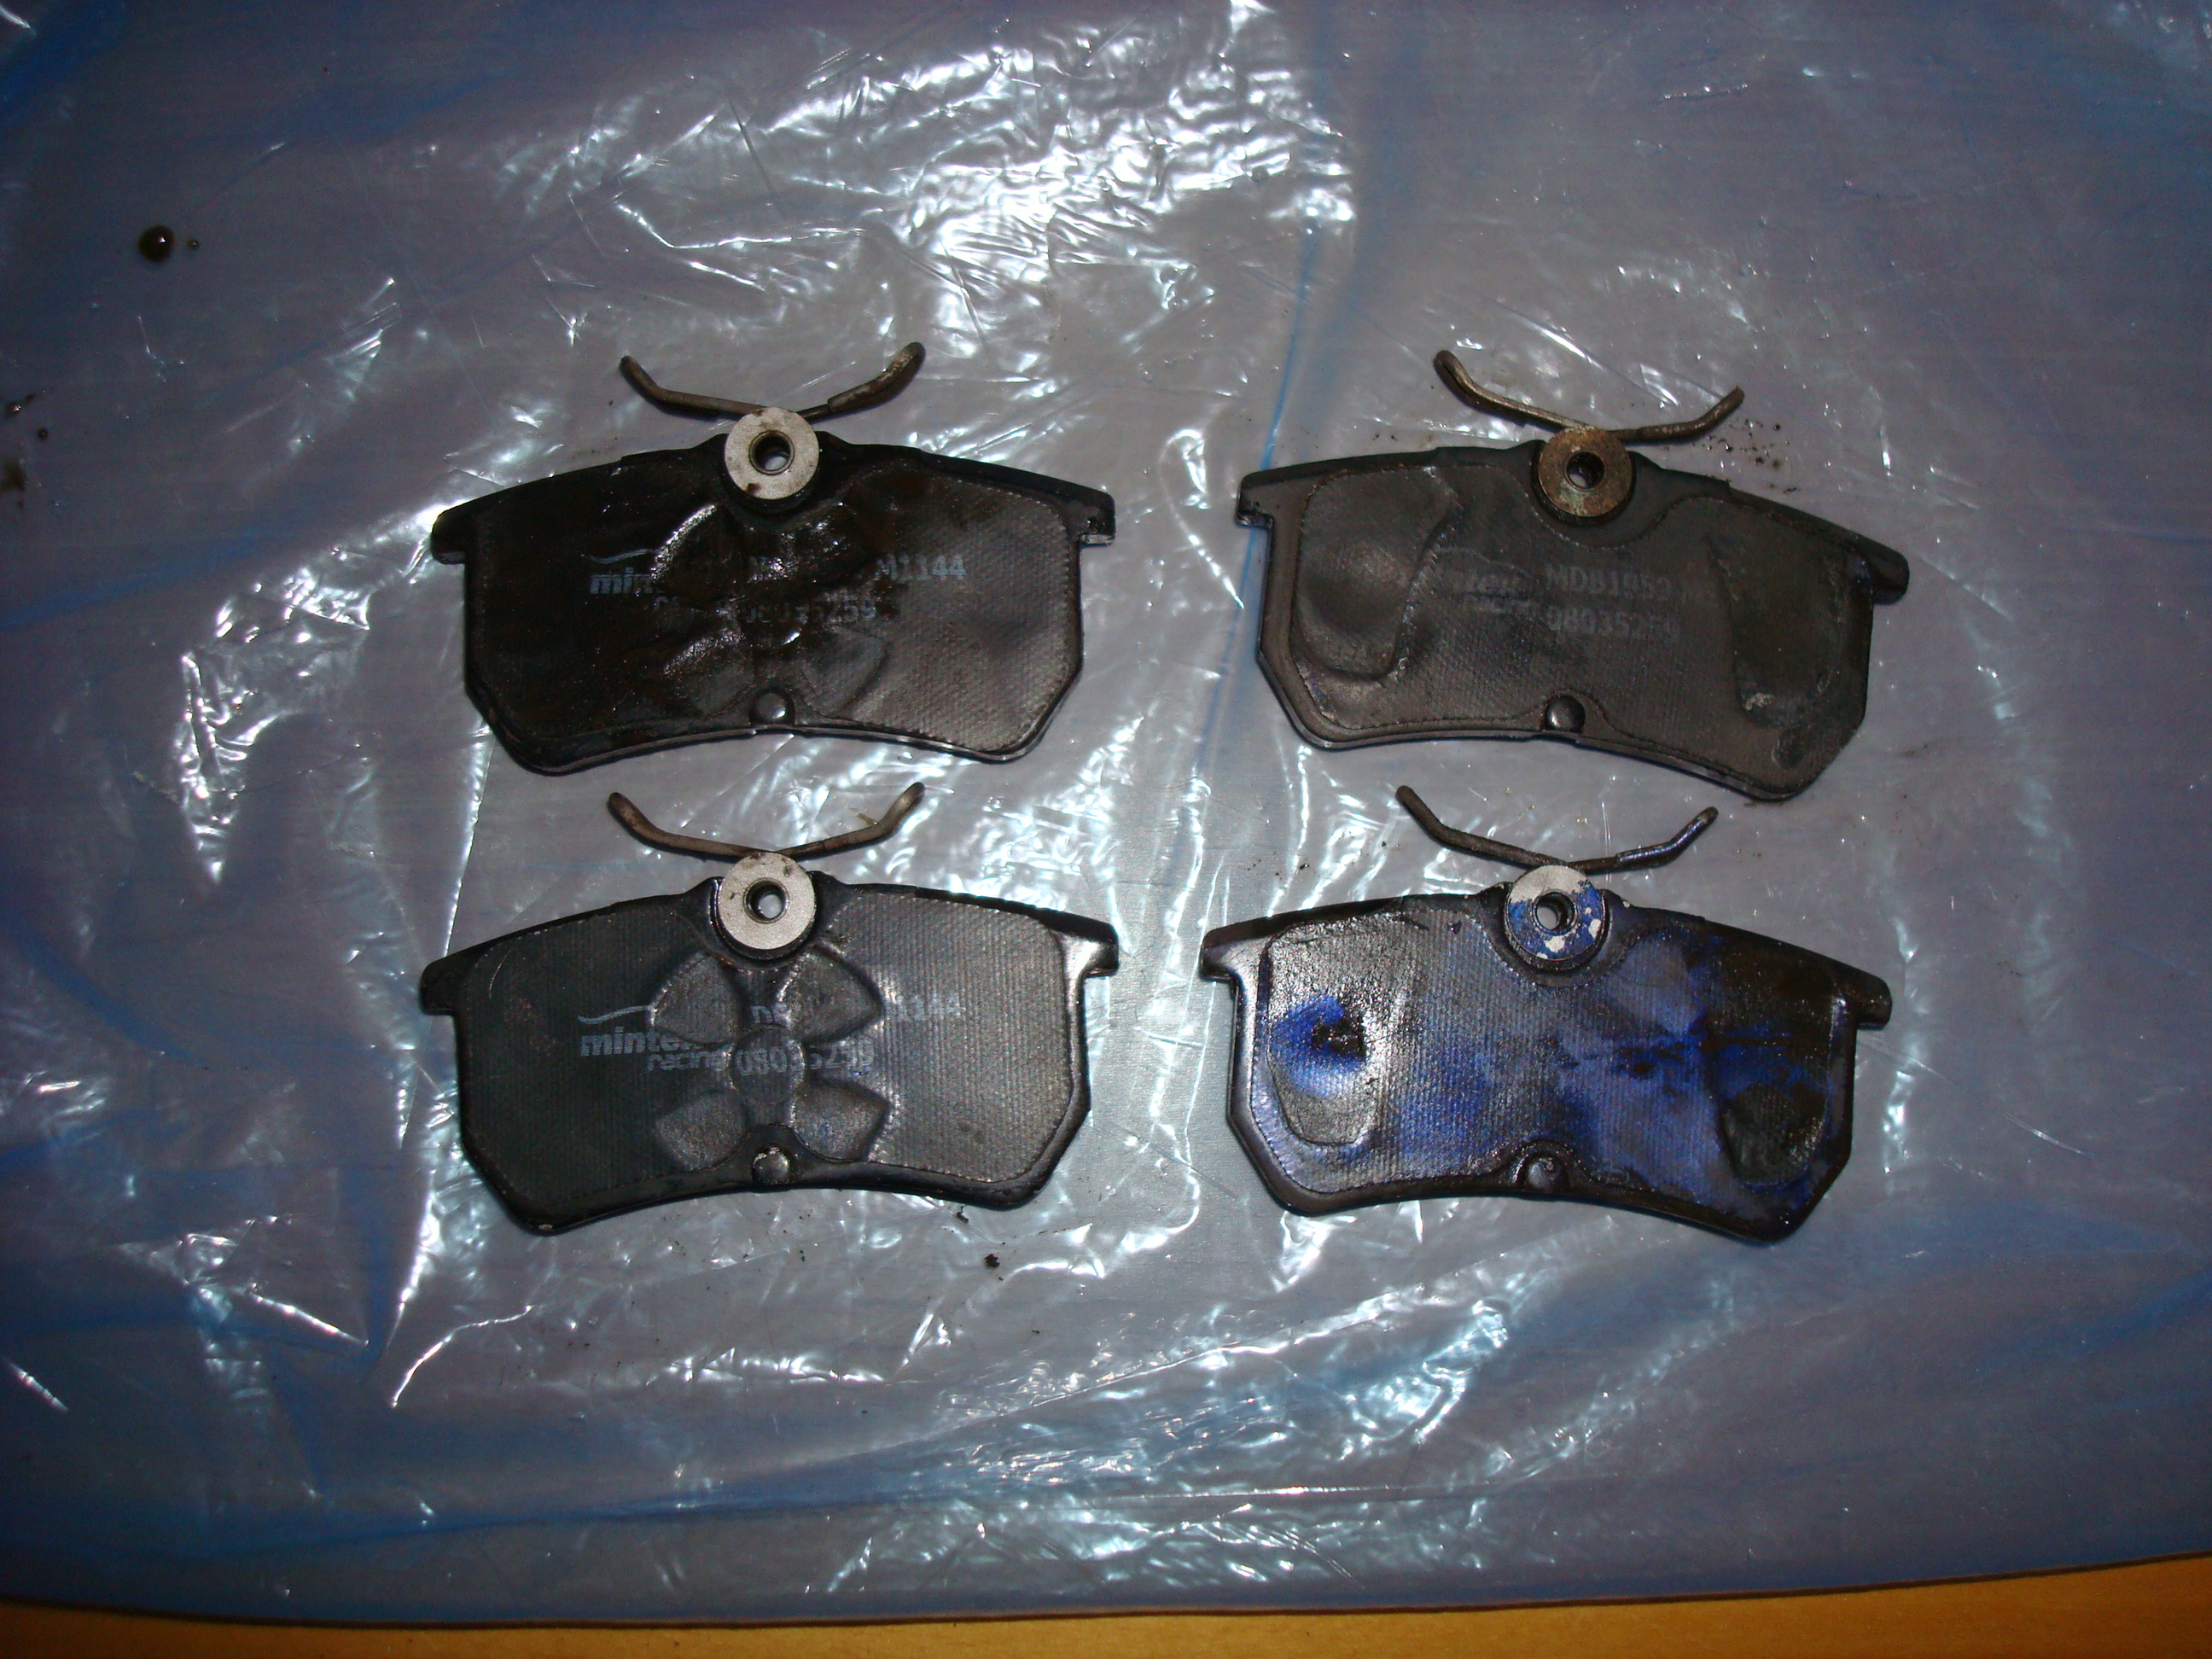
Busy ish day today, removed the rear brake pads from the Hammerite Rust remover bucket
Before:

After:
Loaded the freshly painted callipers and pads in to the ruck sack and walked down to friend’s garage. Used the correct calliper piston tool to push the piston back in.
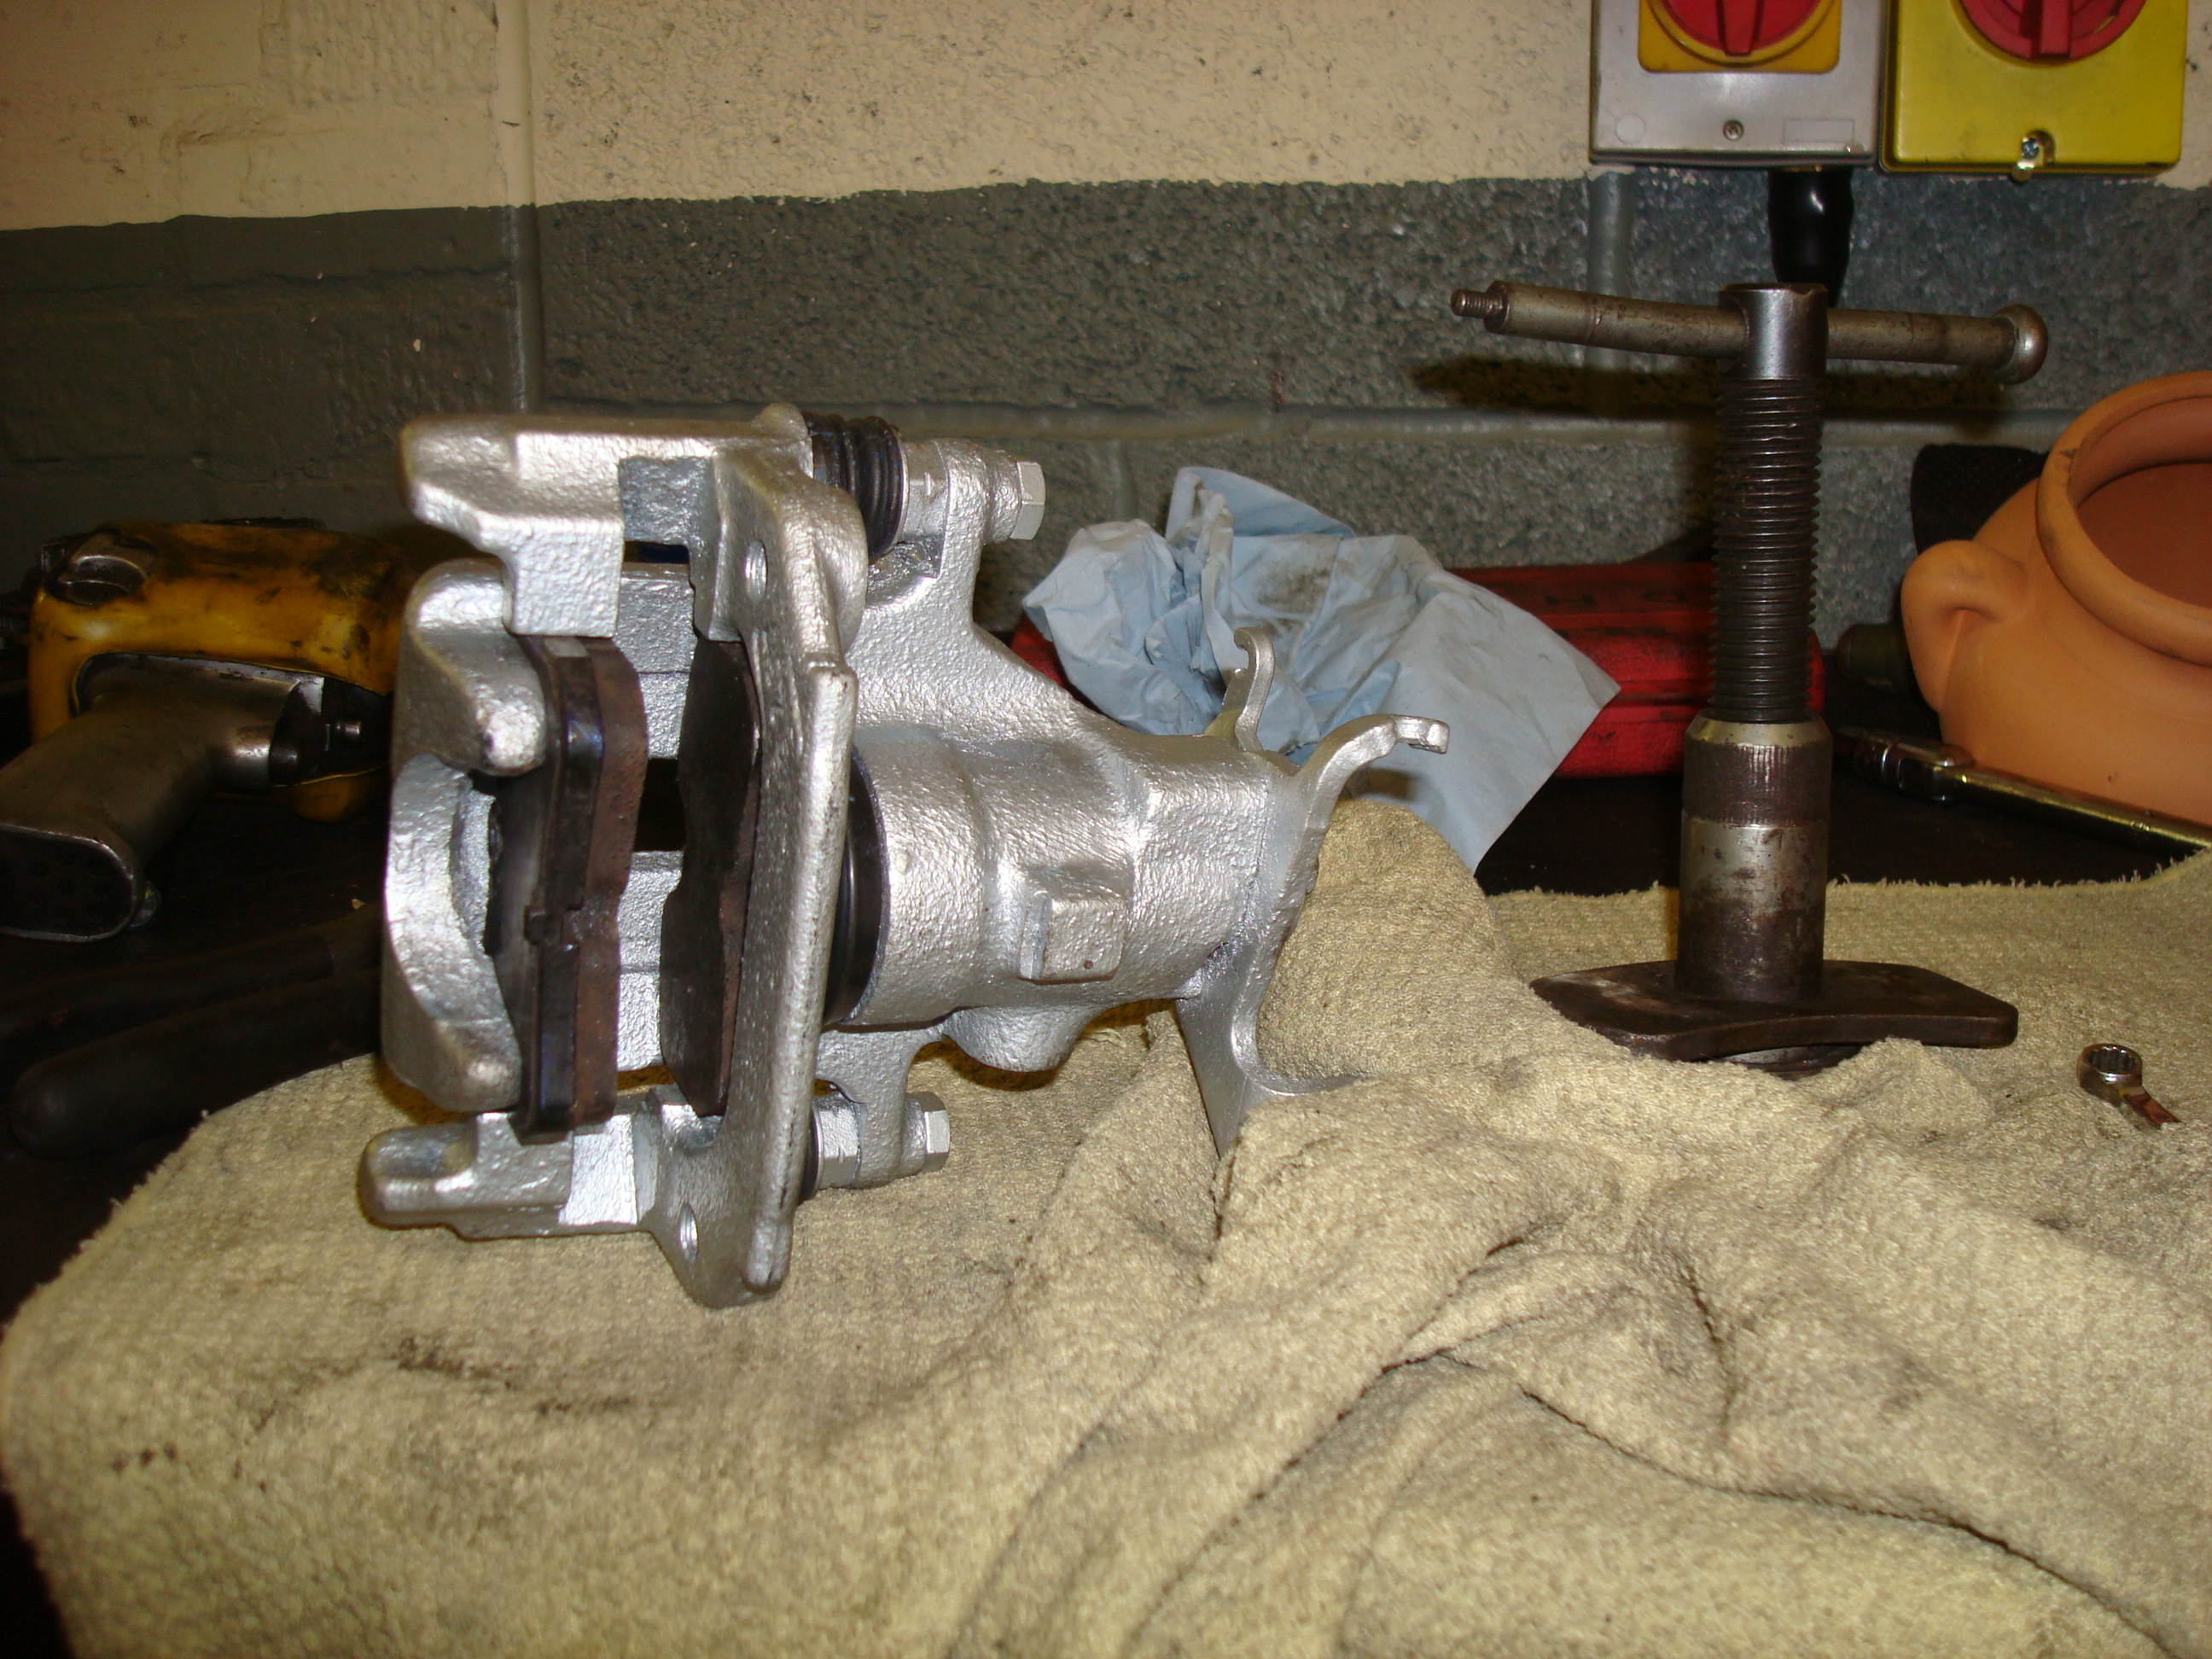
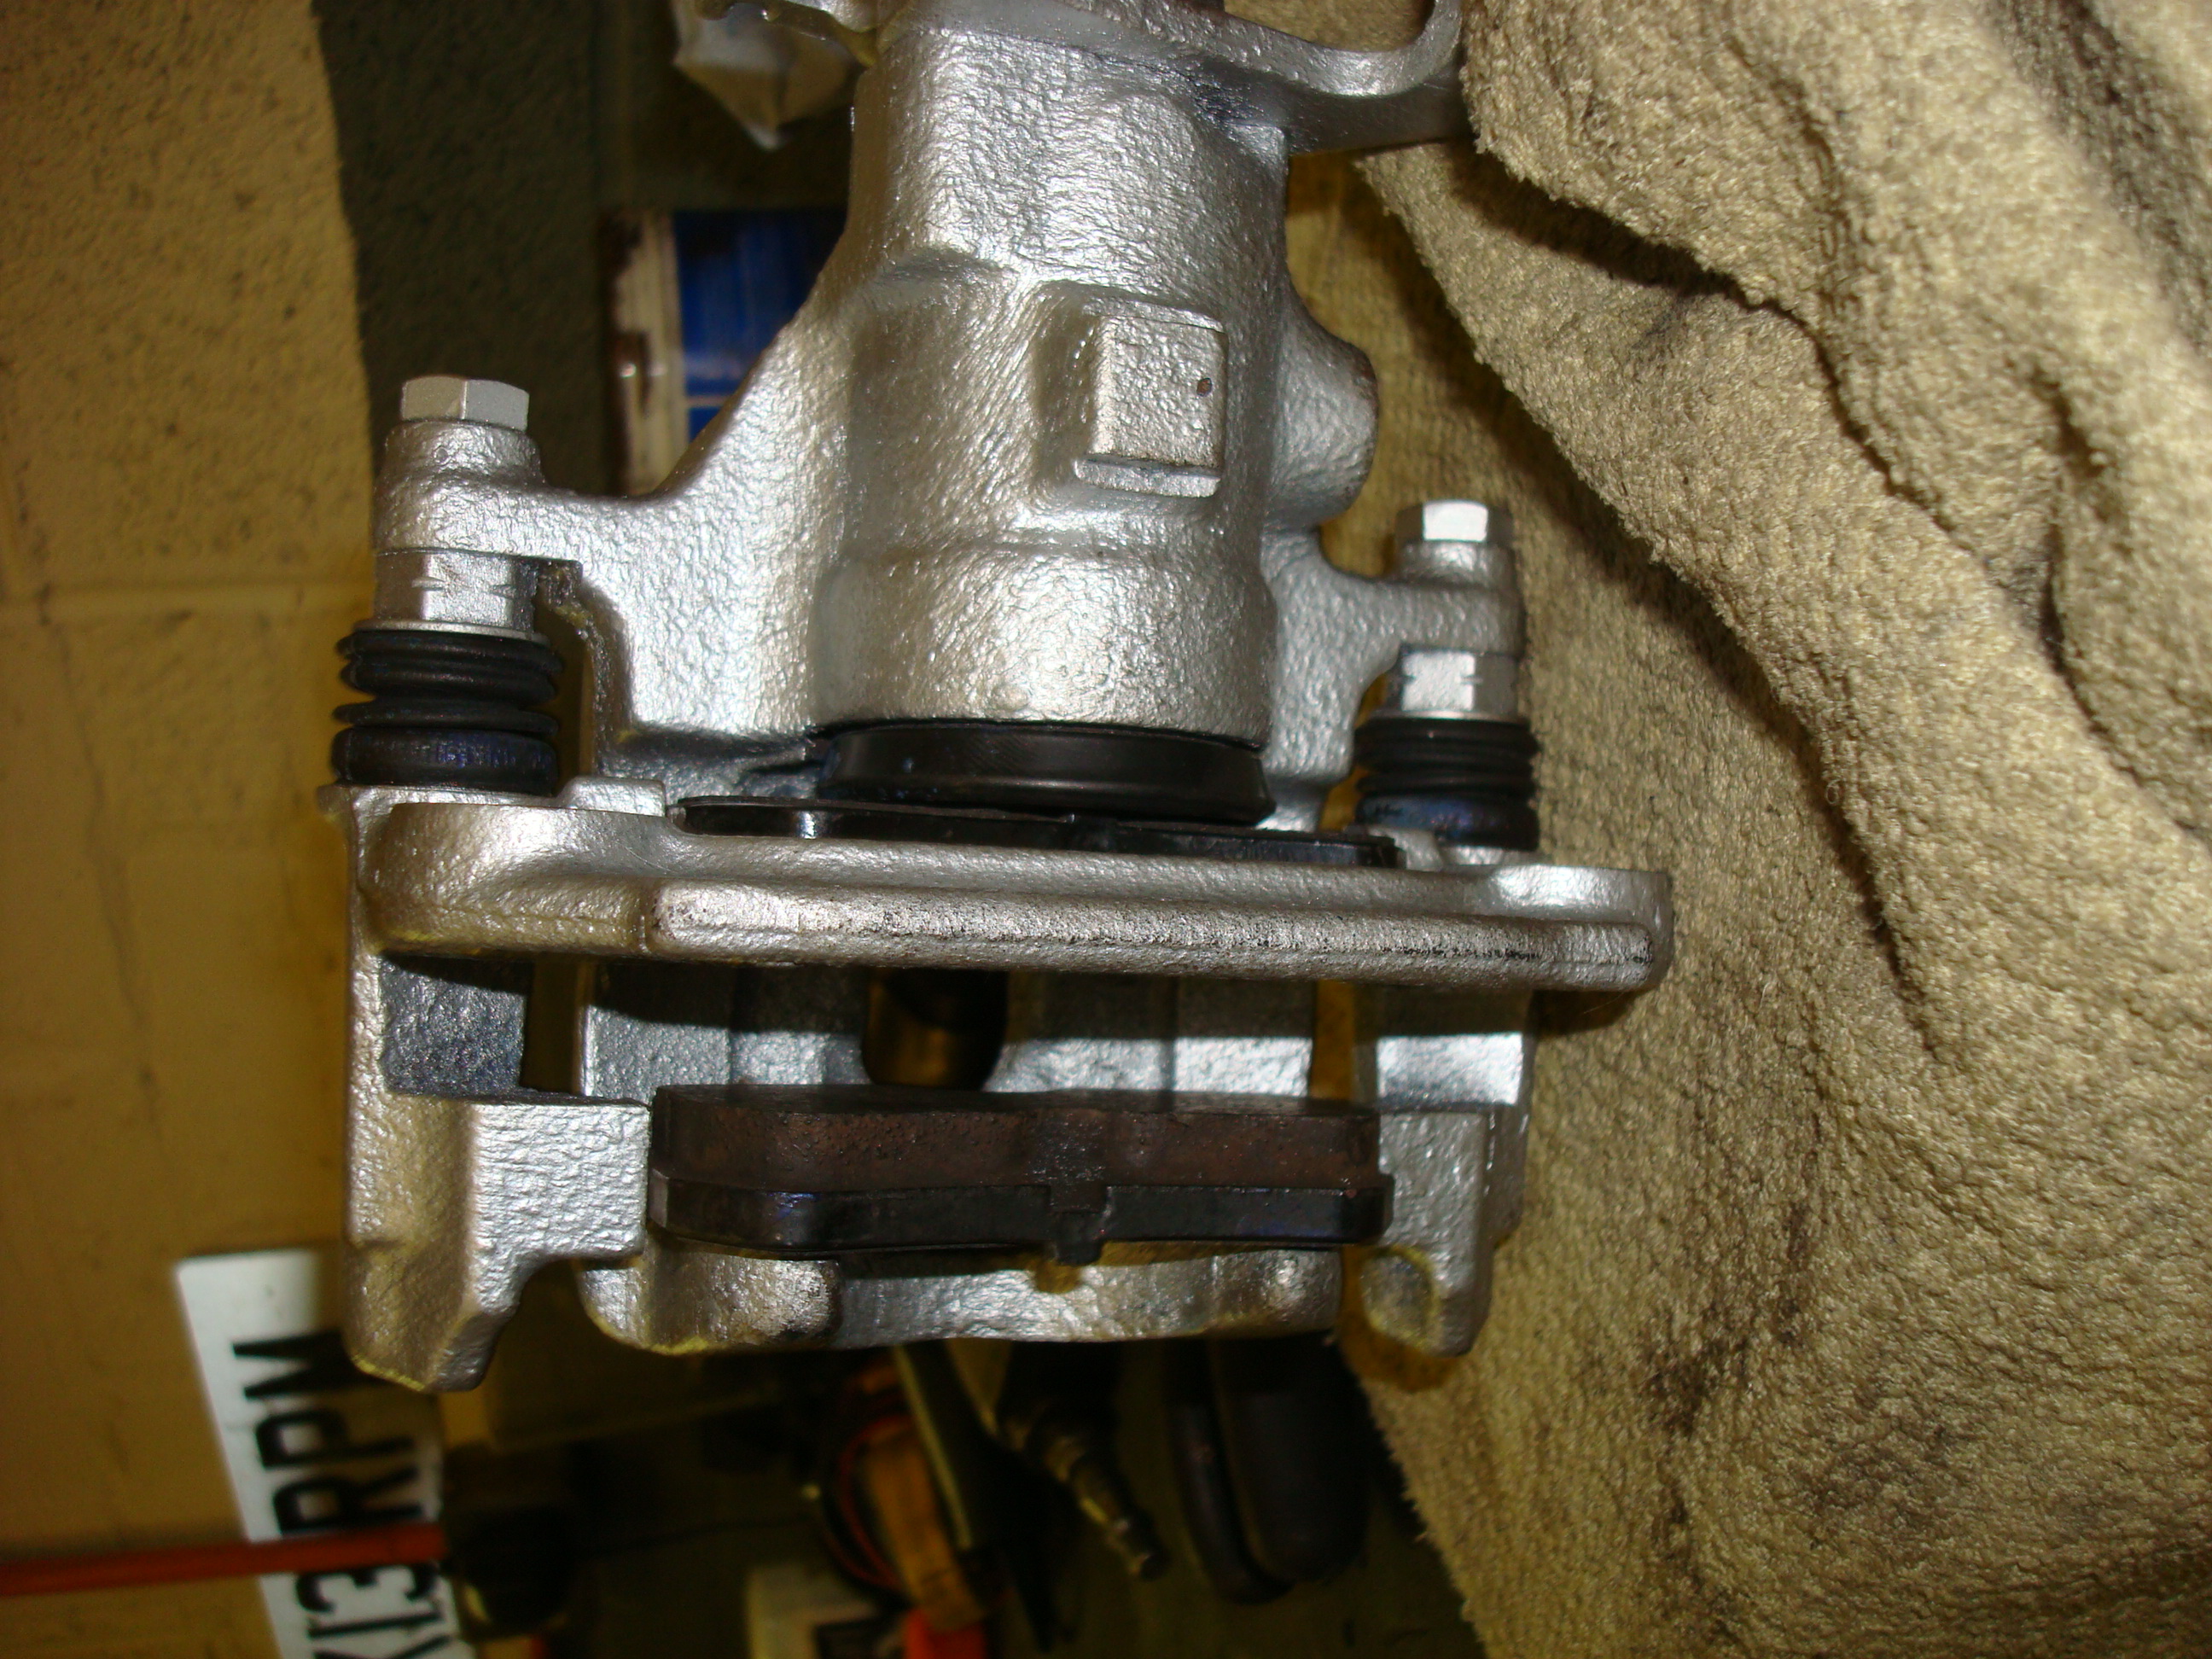
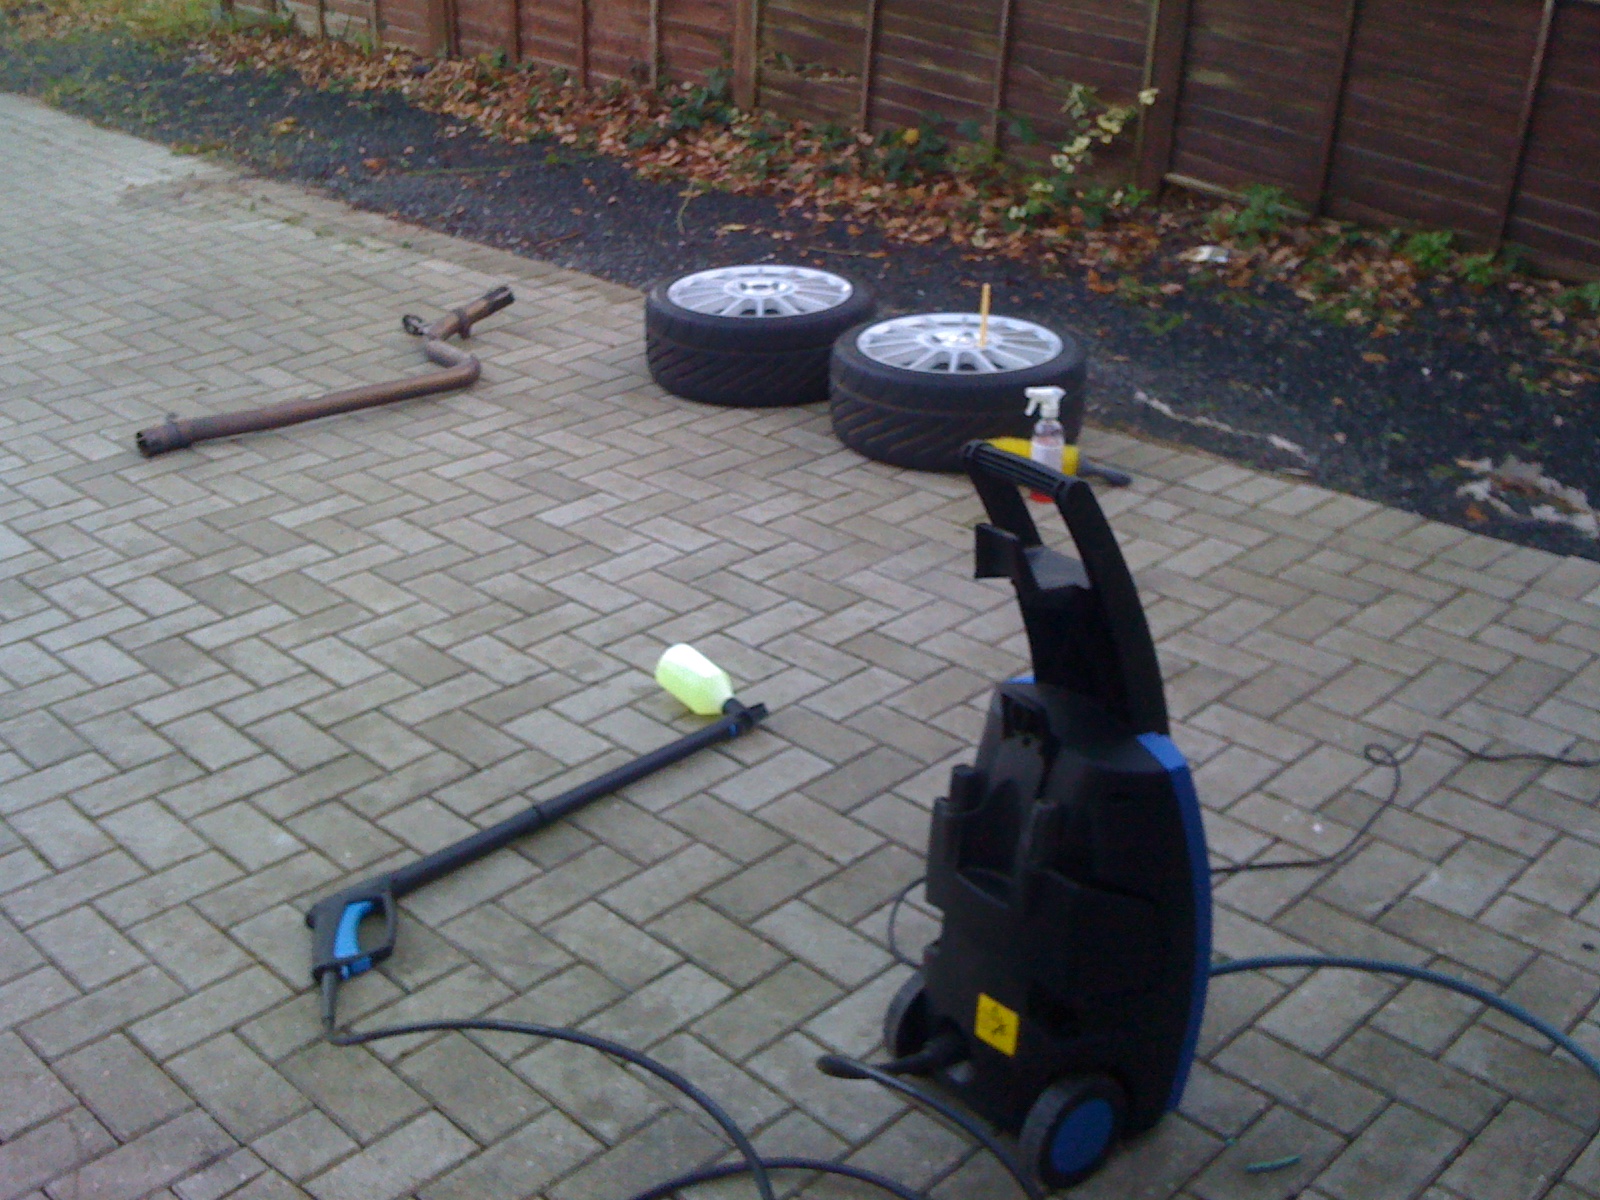
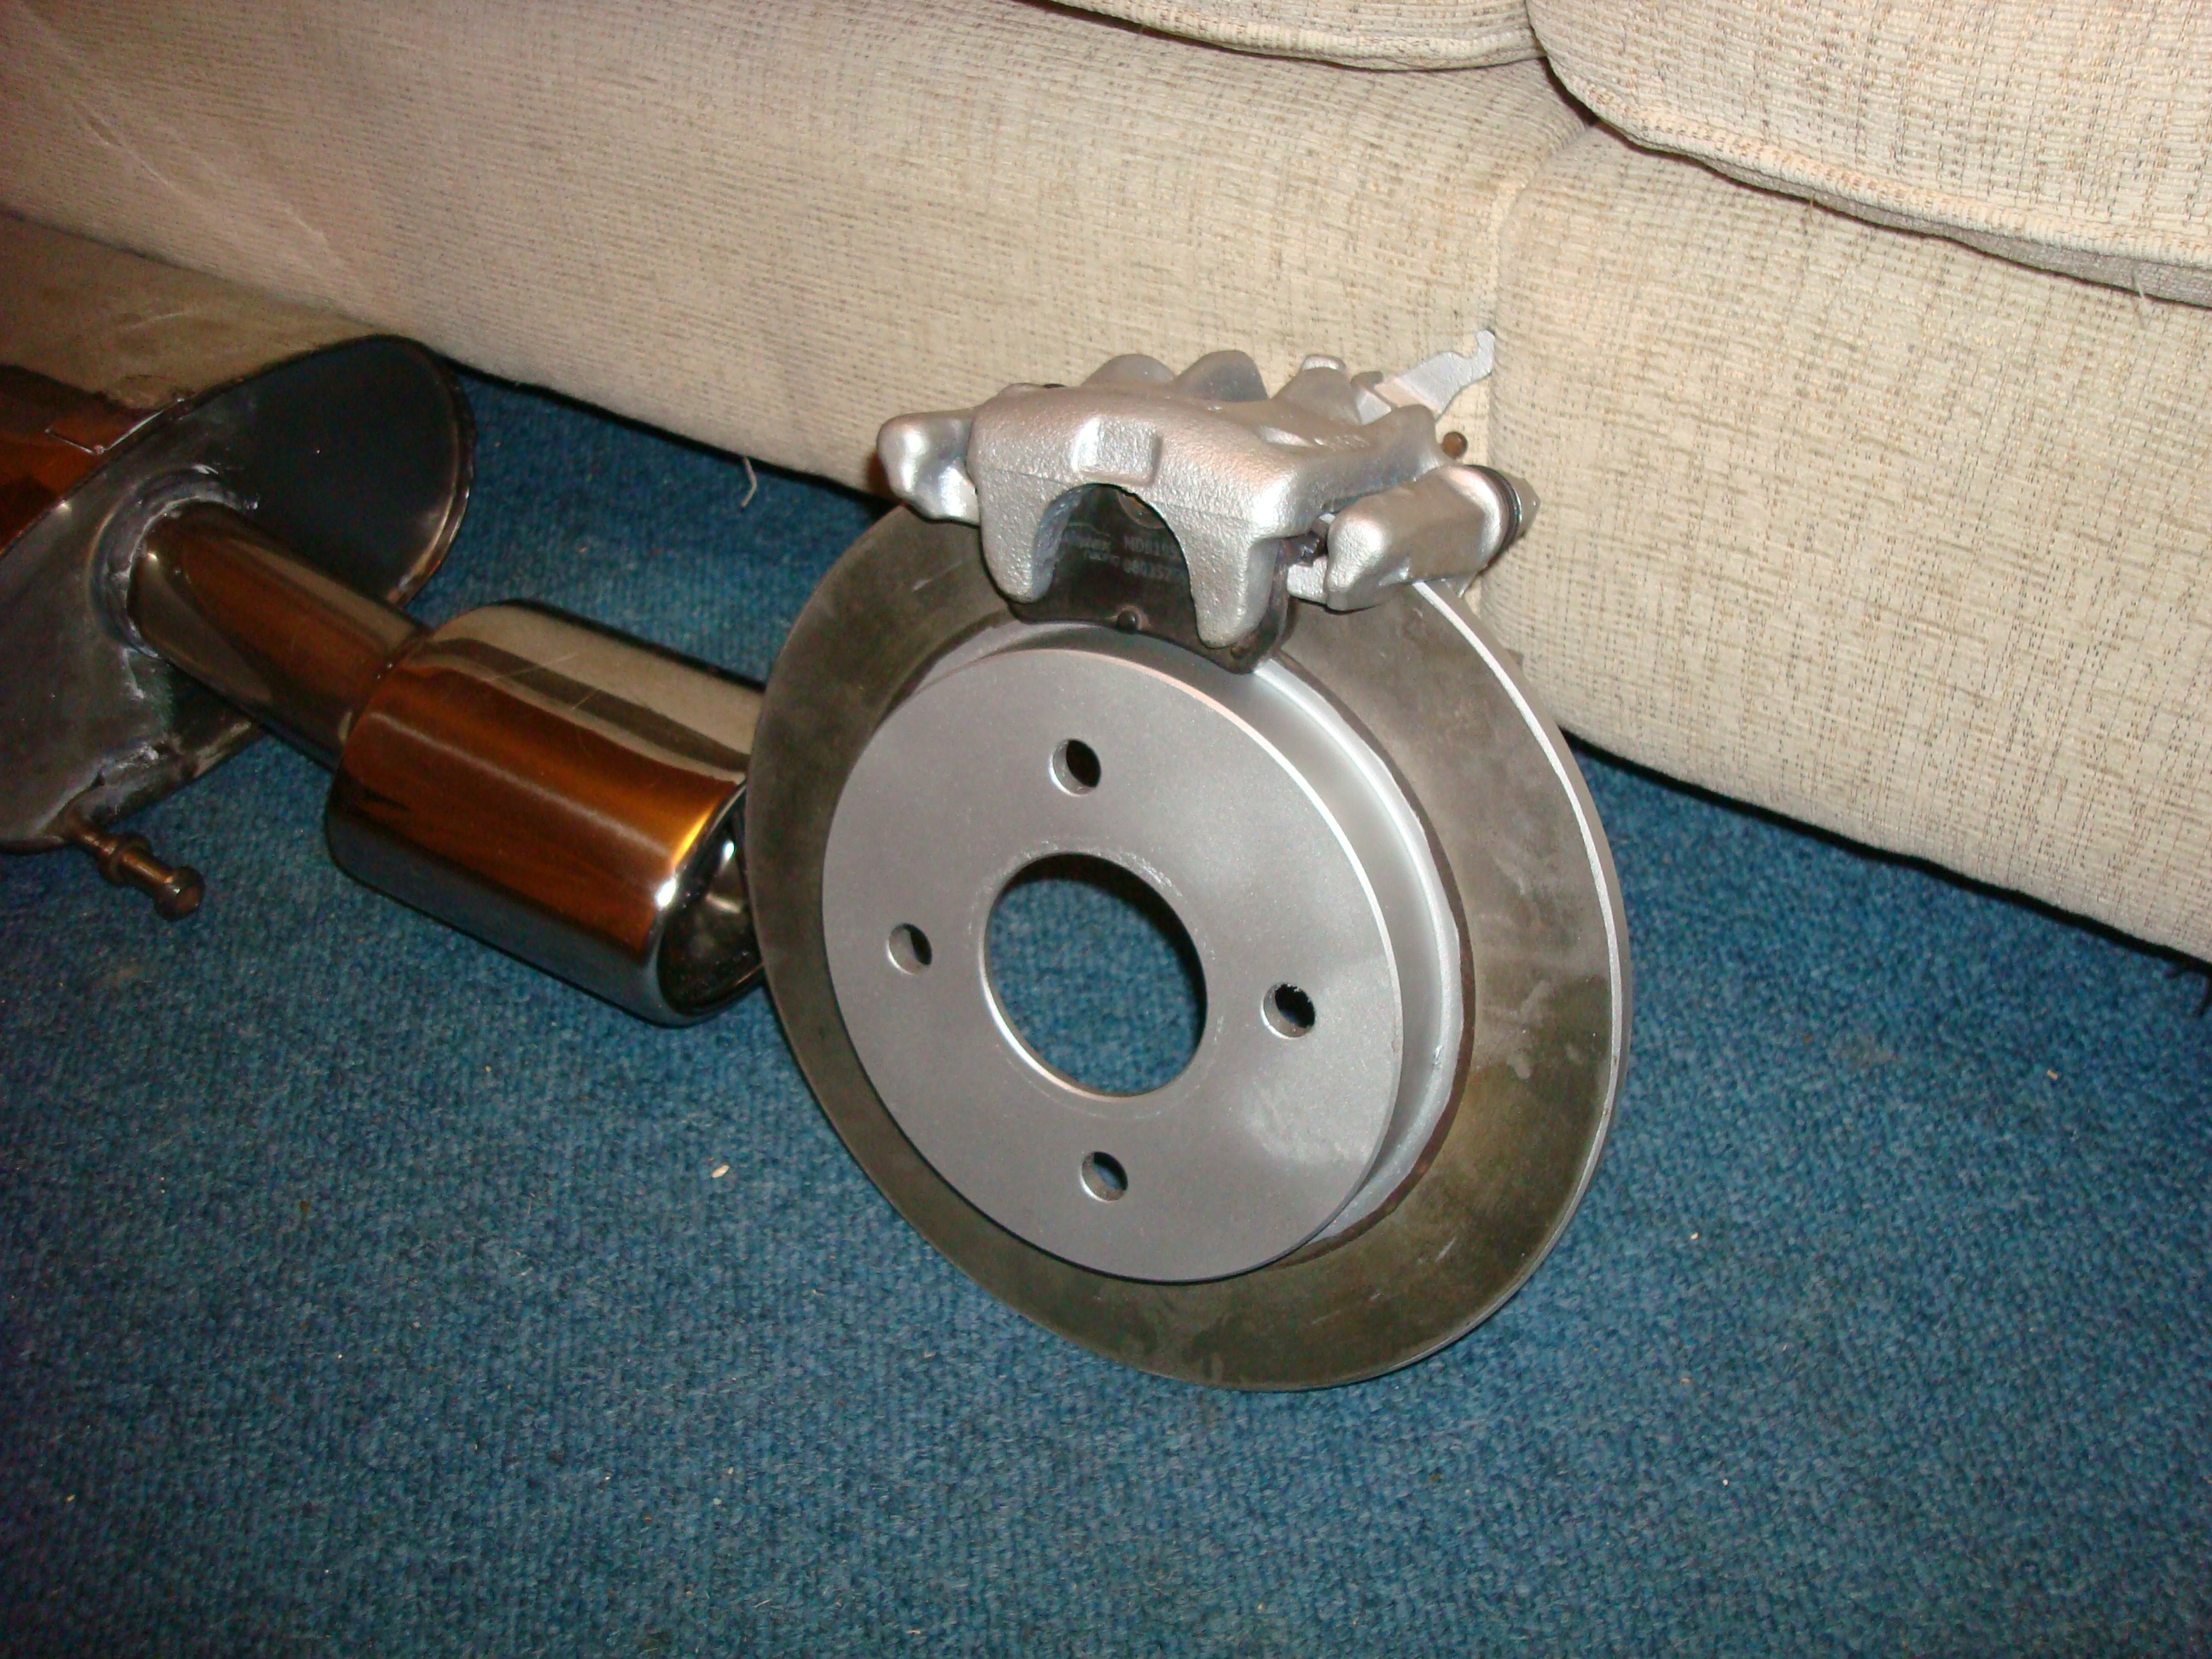
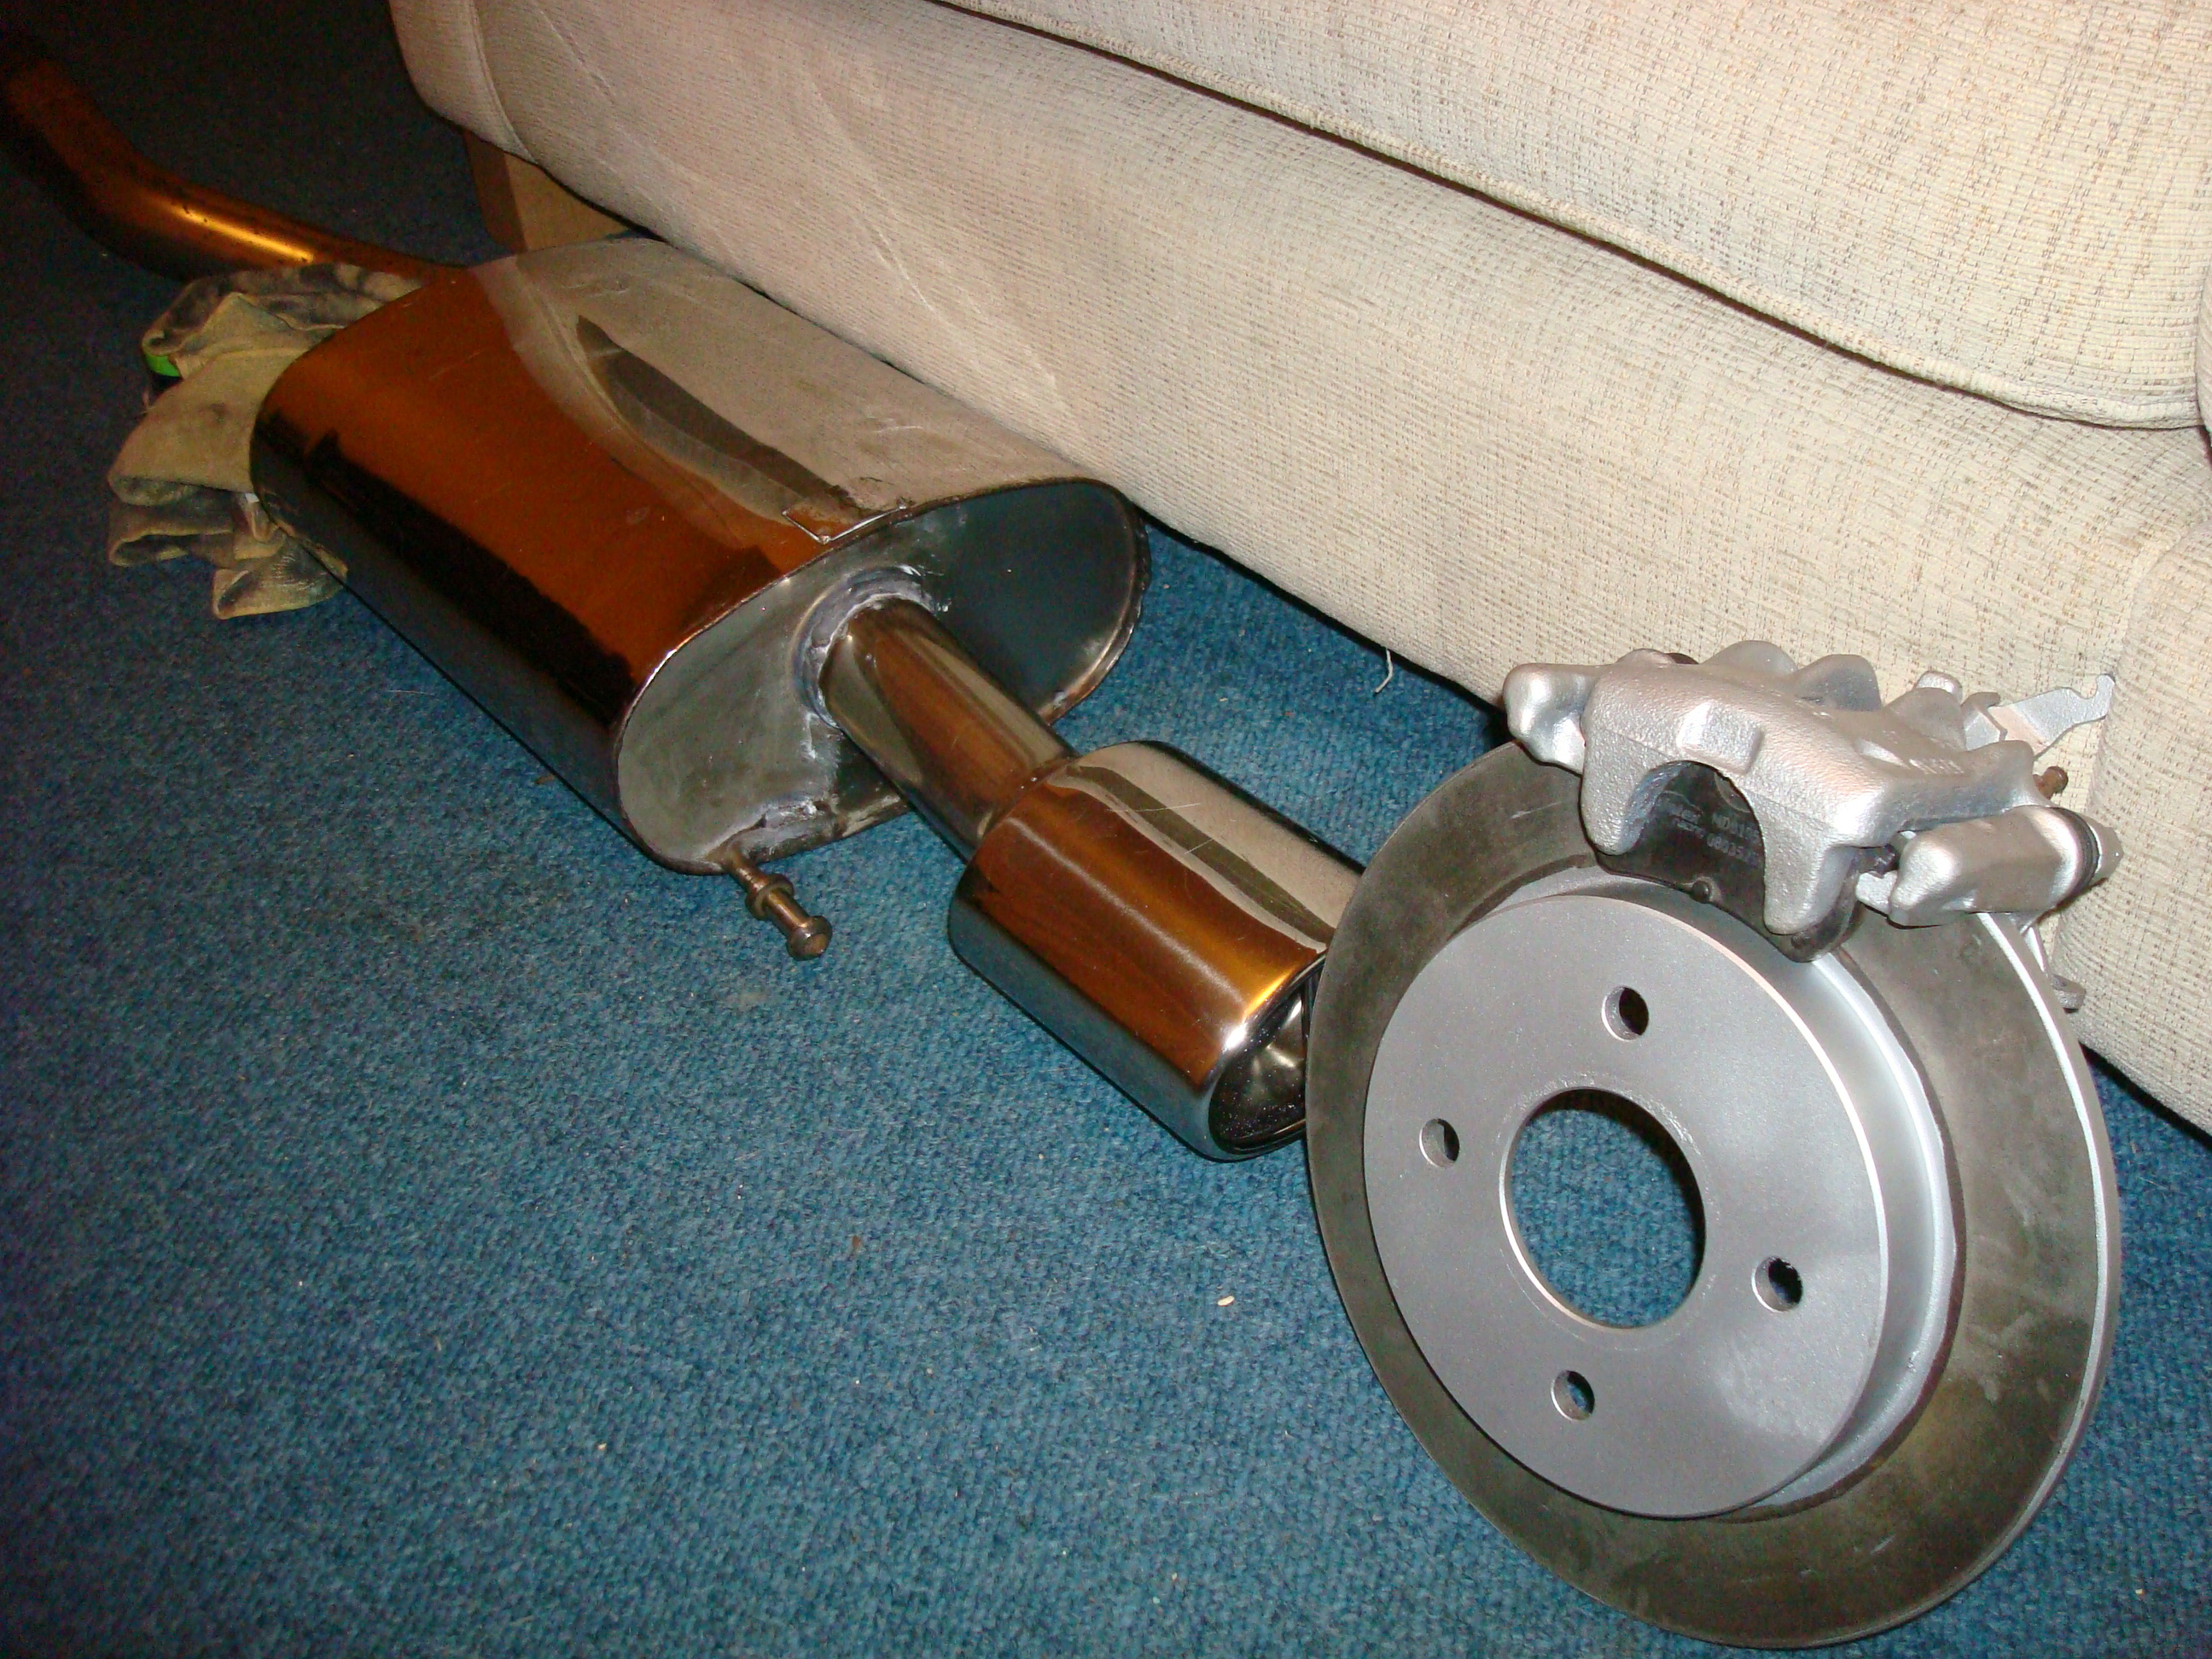
Calliper back home situated on the disc, looking pretty good if I say so myself. You can see few more hours done on the exhaust, finally getting there however as you can see still some bits to finish off and the centre section to make a start on.
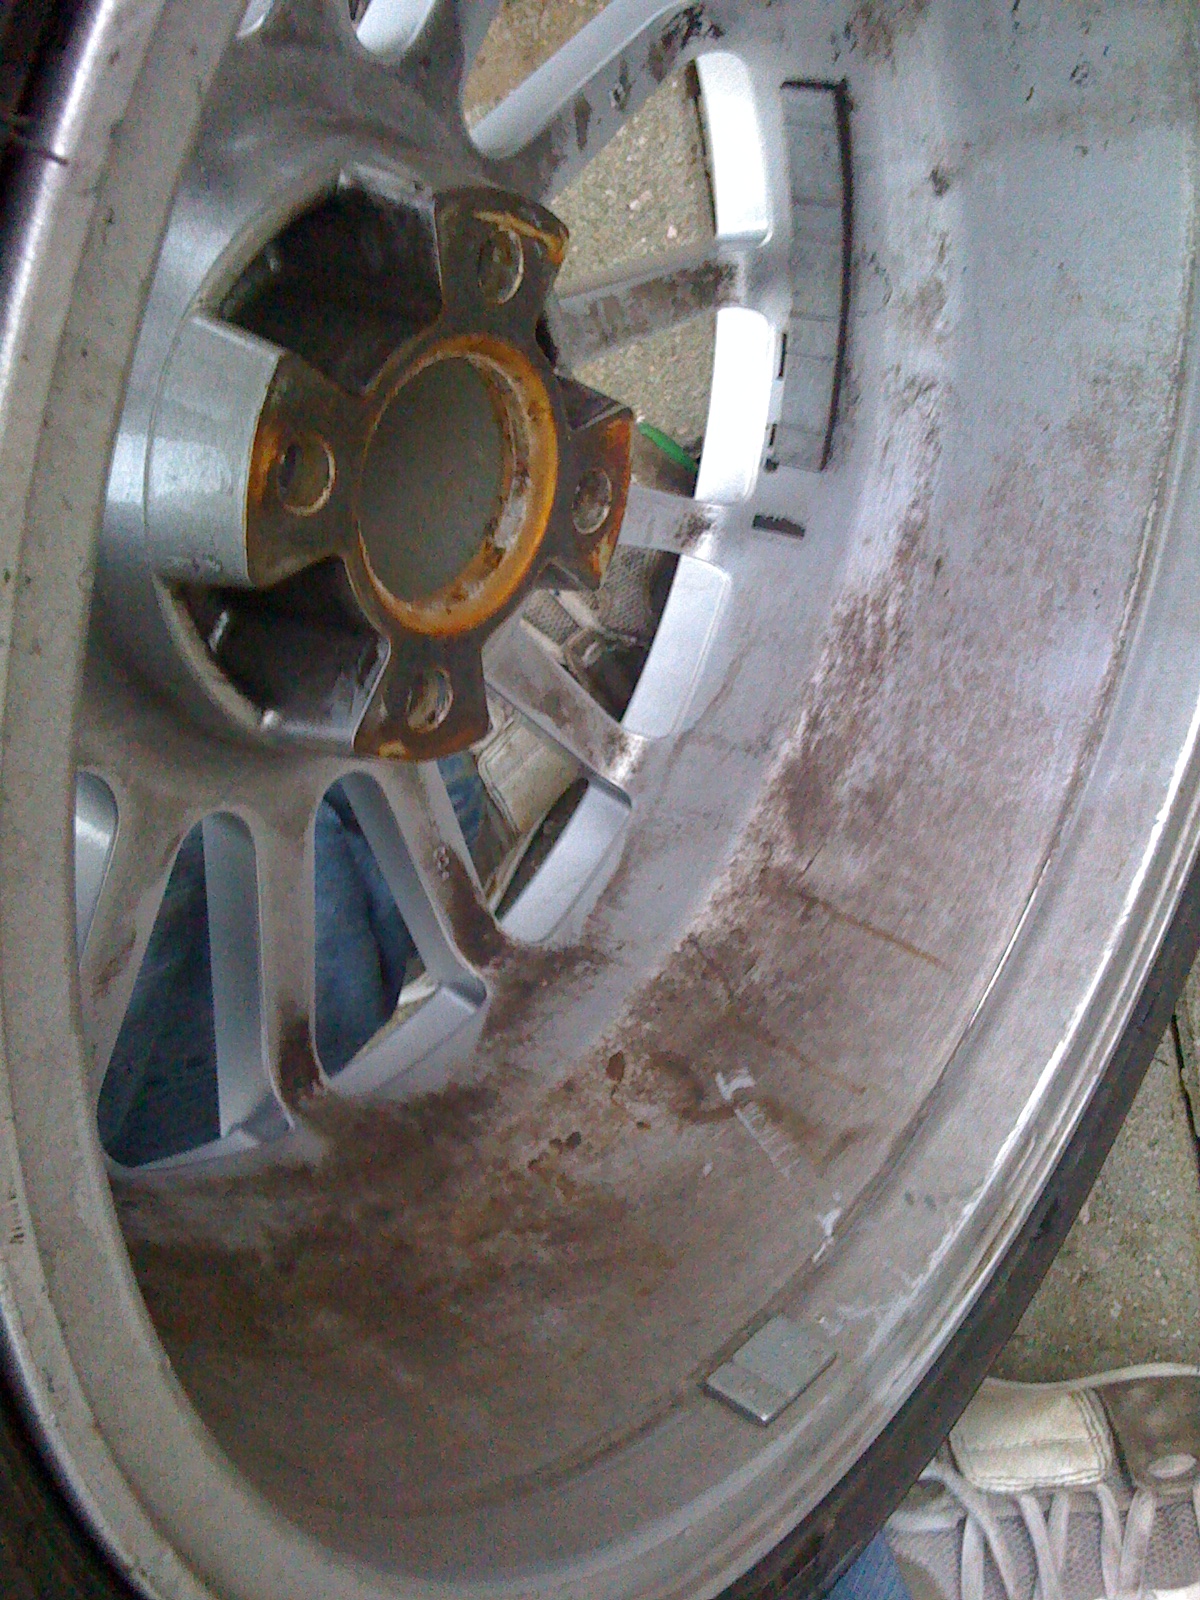
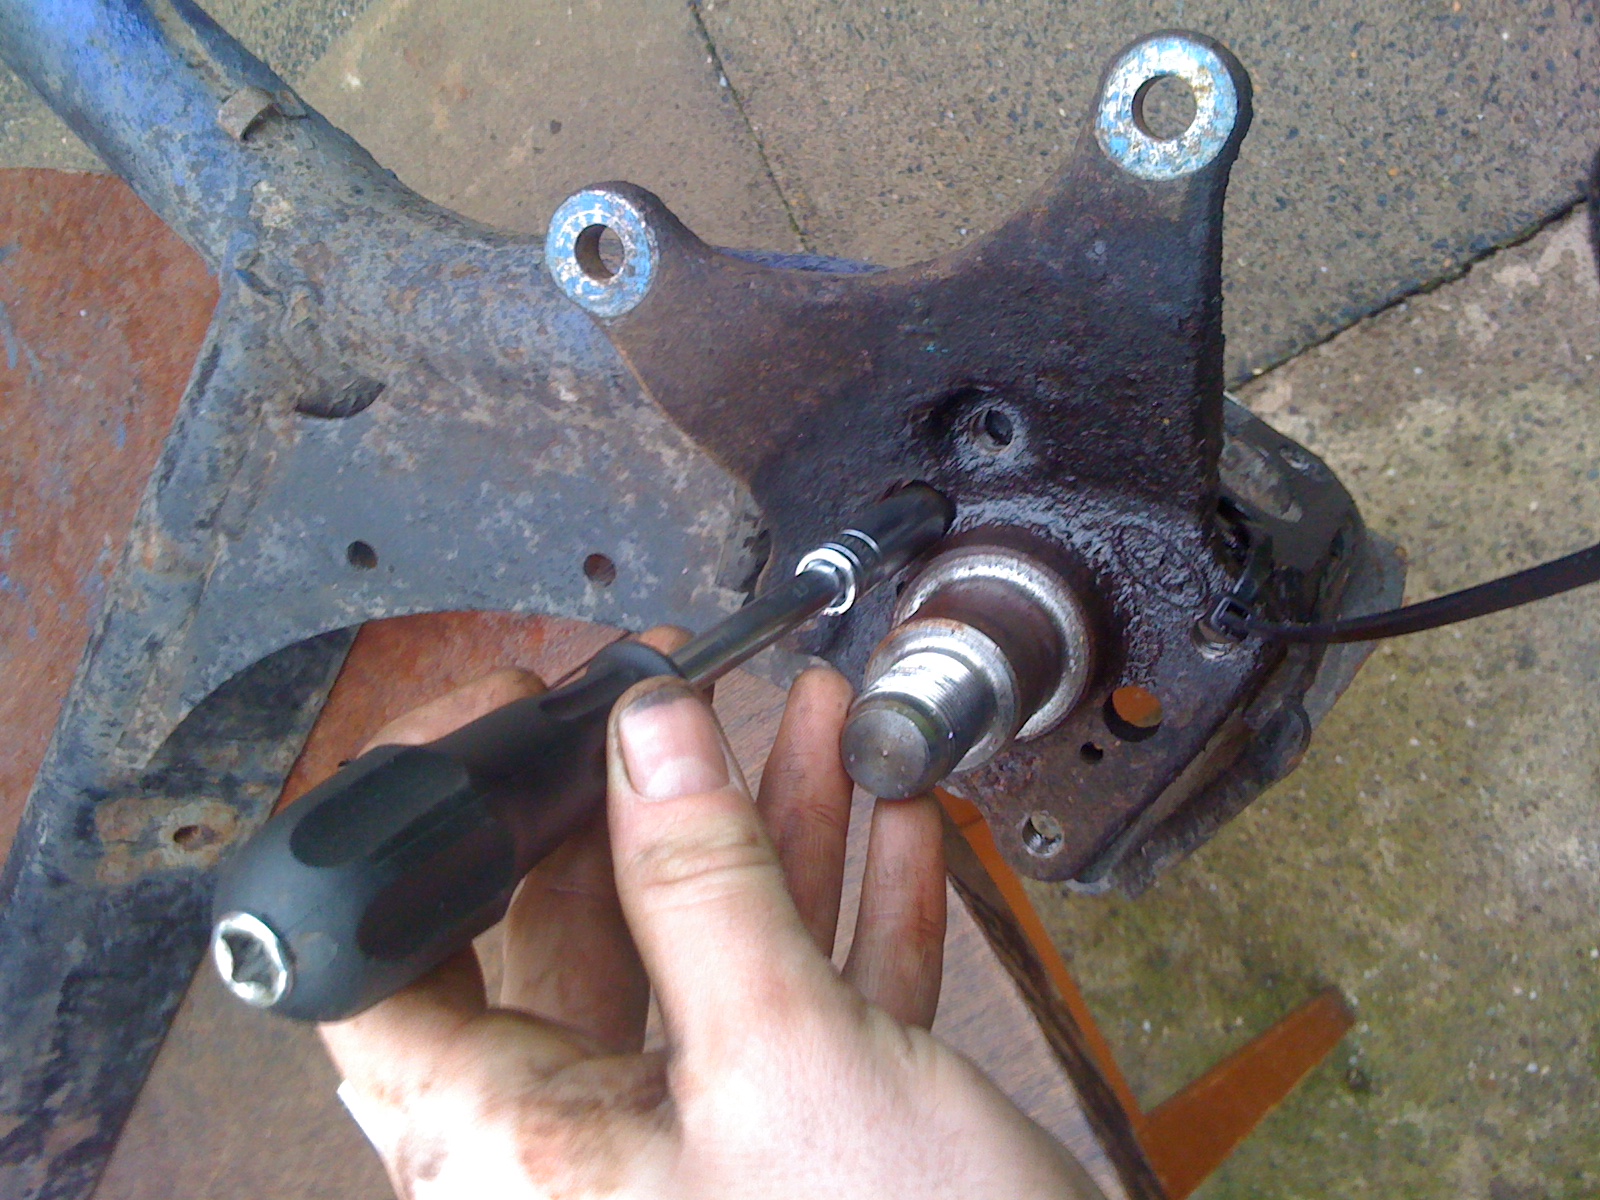
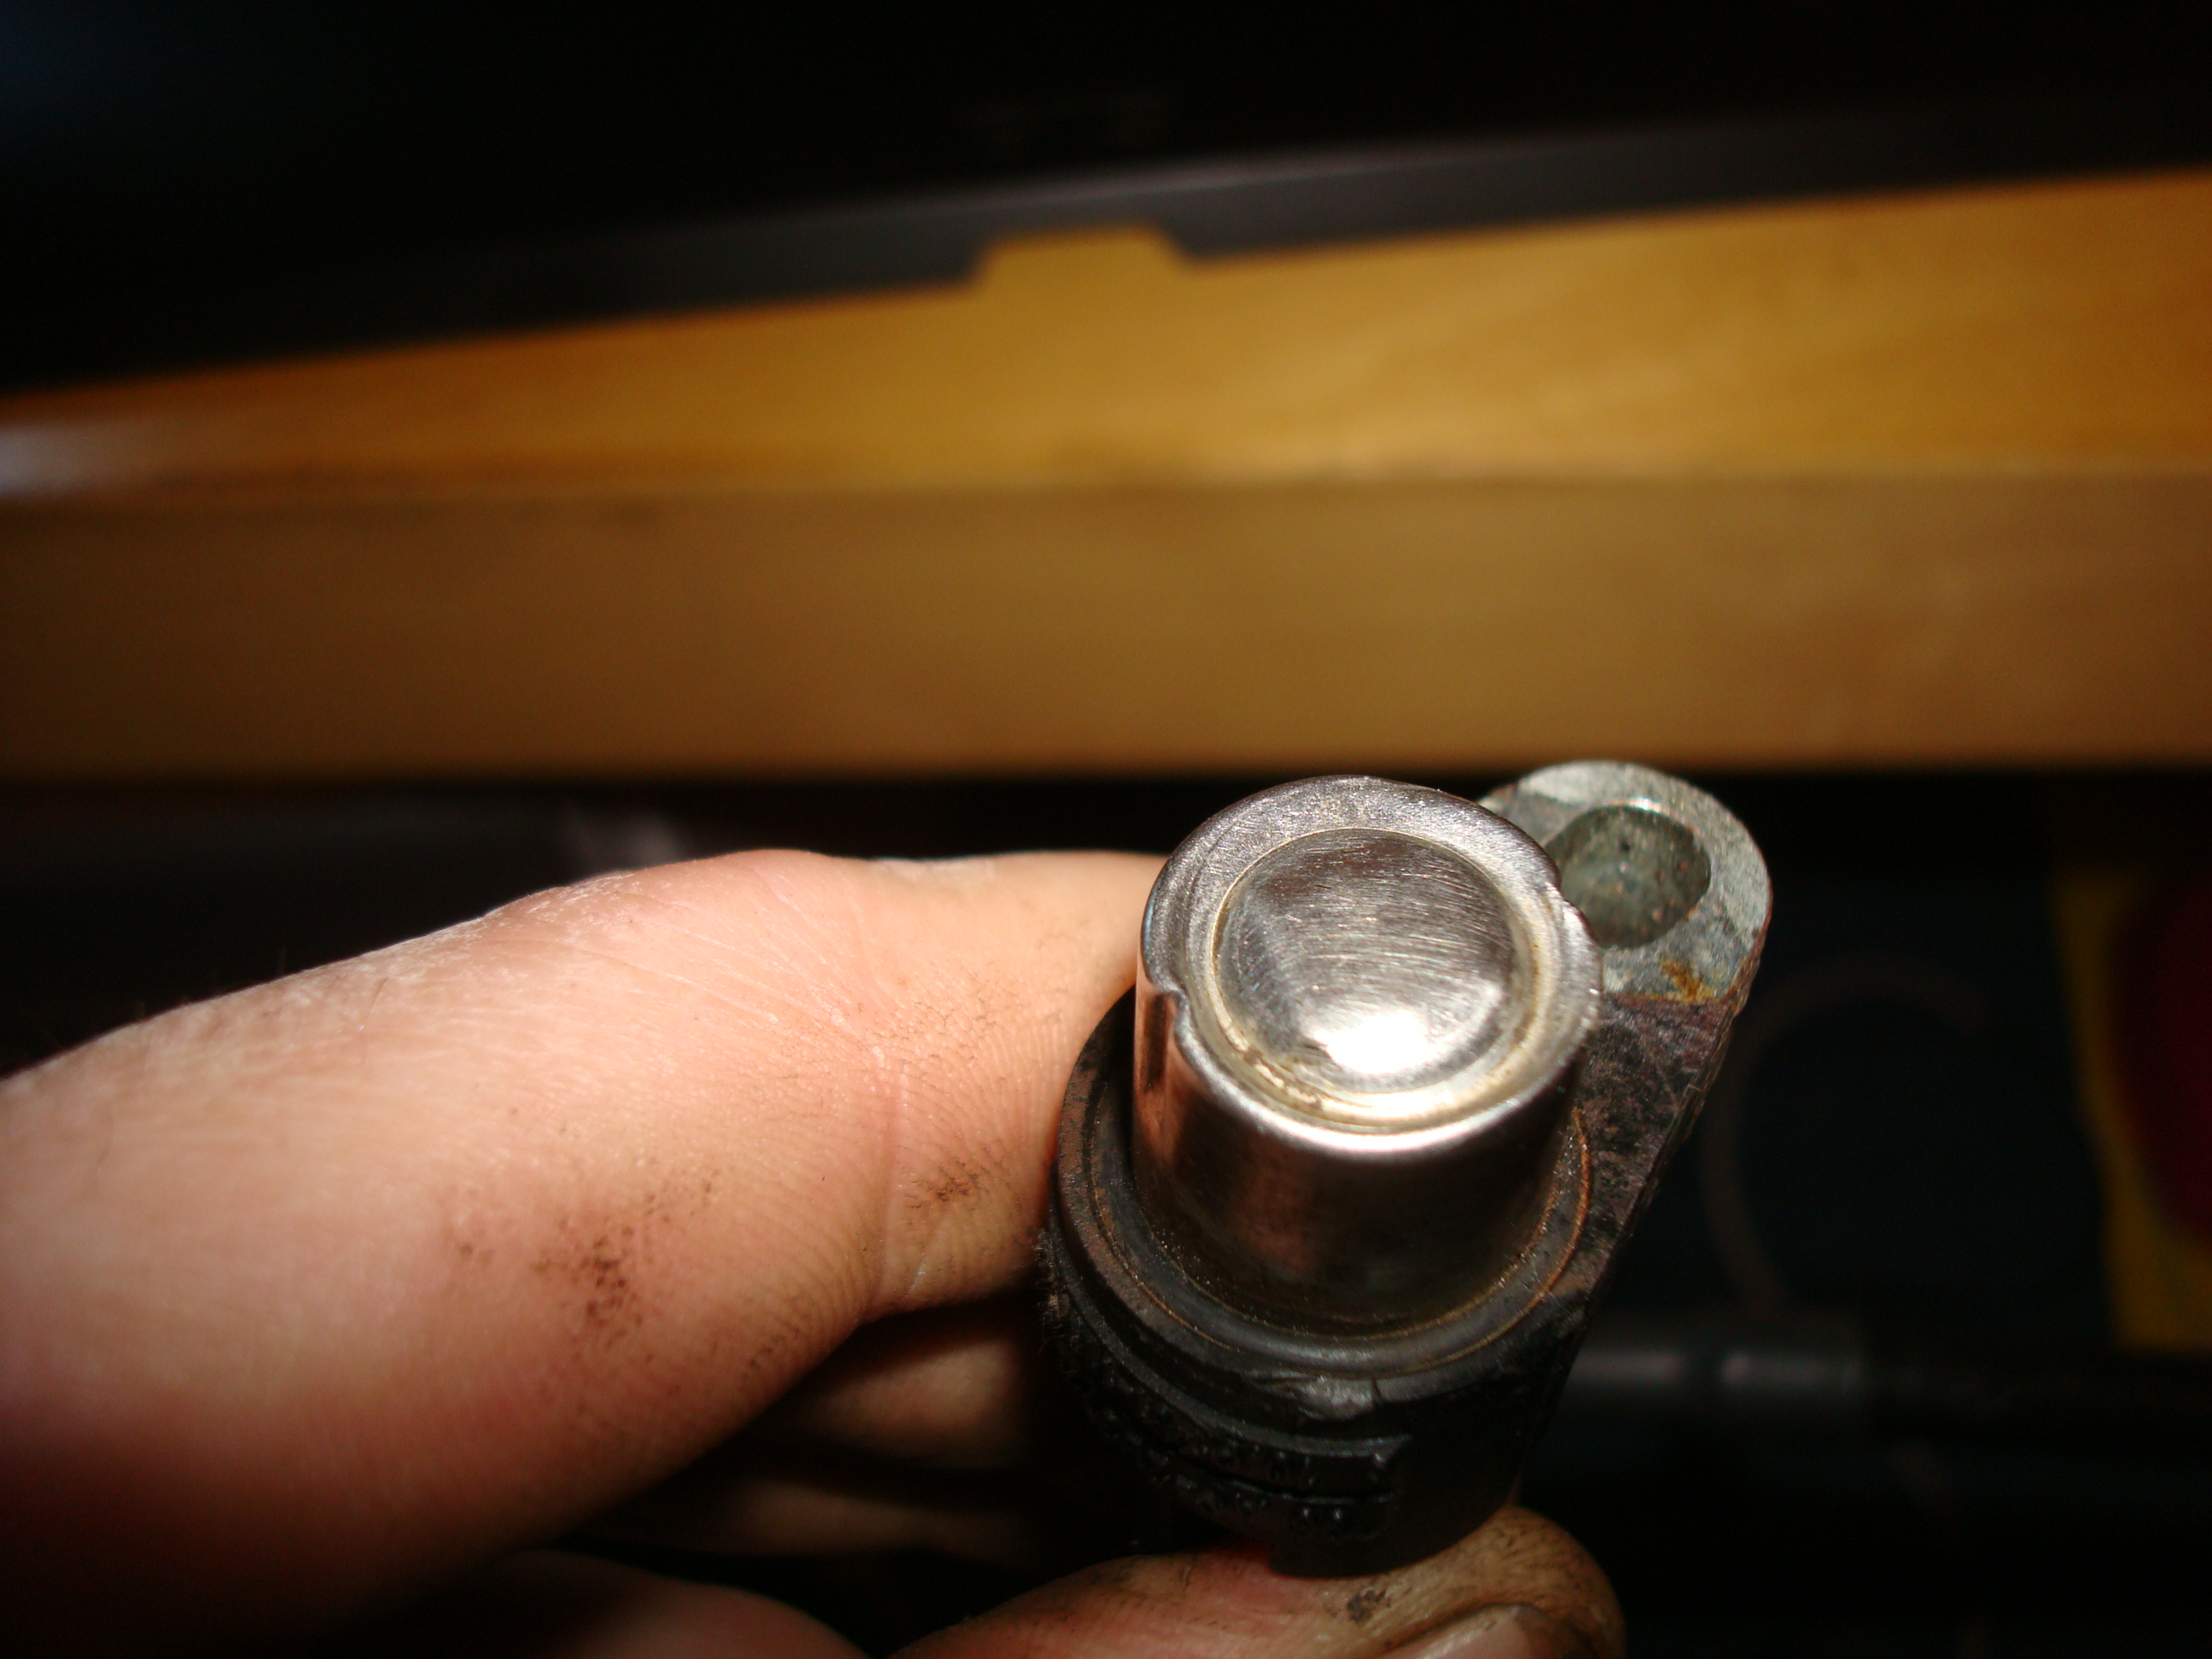
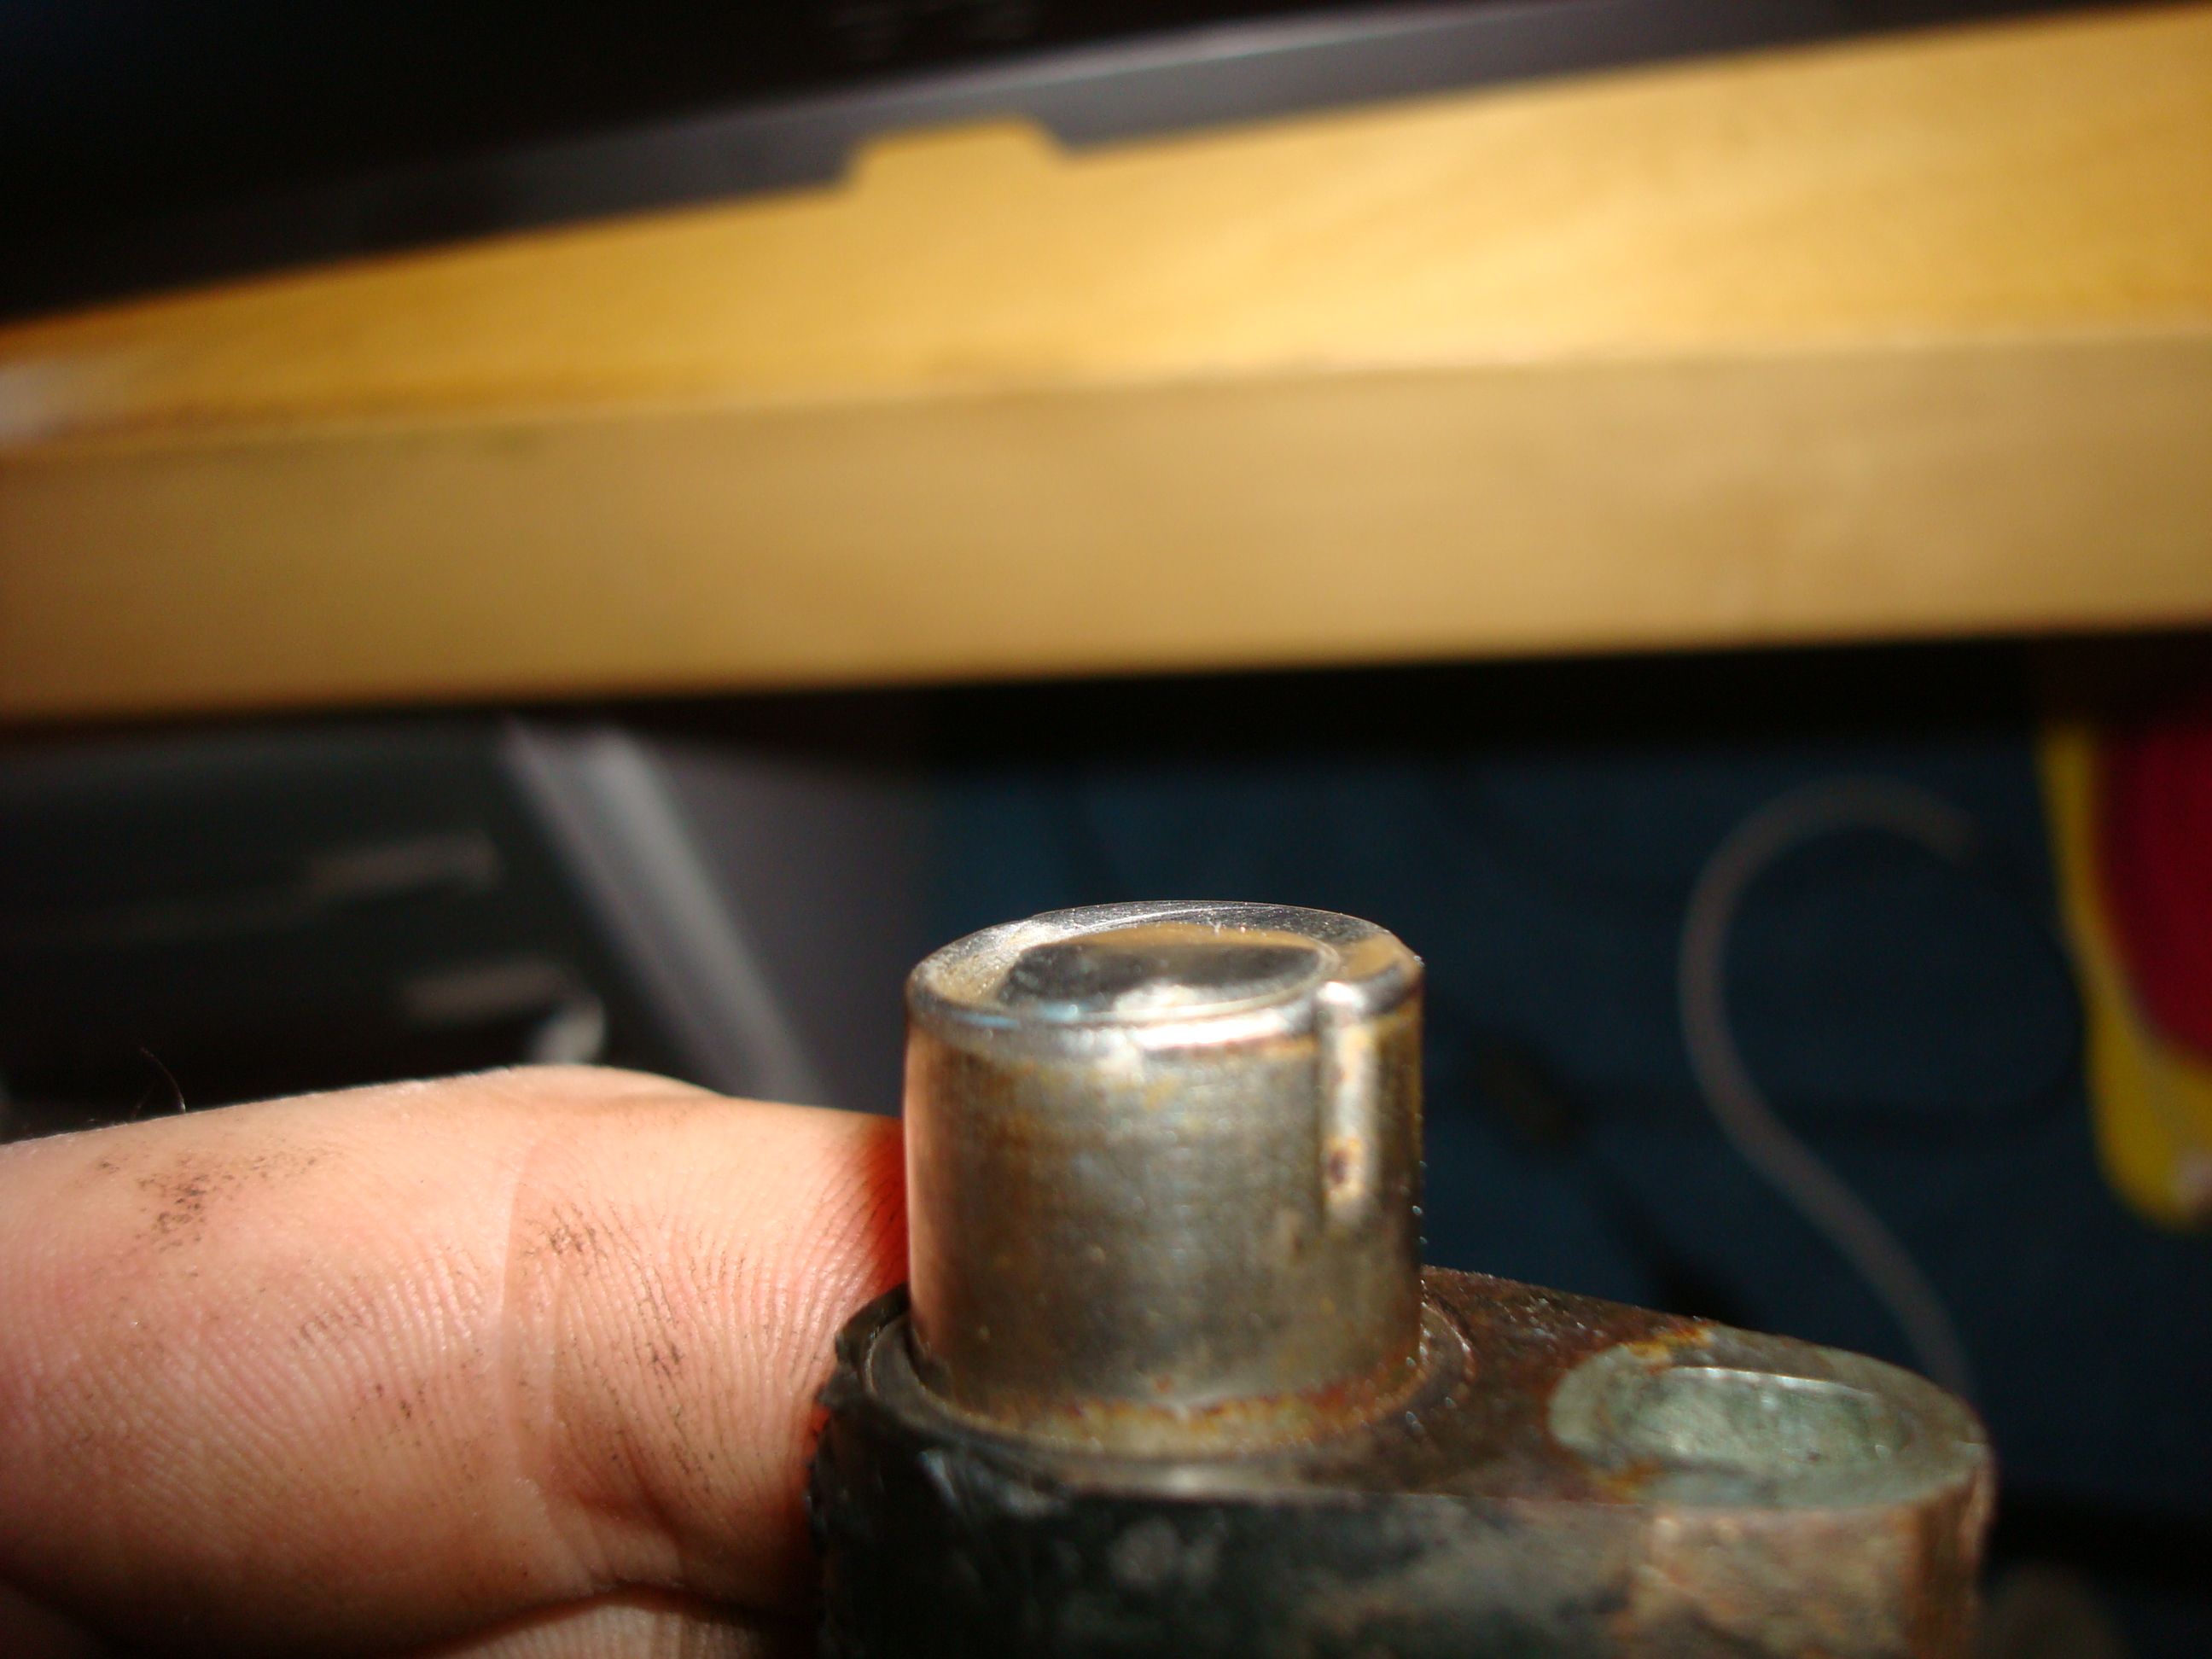
Decided to see if I could remove the ABS sensor on the rear beam without it breaking as a replacement one is �118 + vat. As mentioned before they usually brake when removing so a gently gently approach was used.
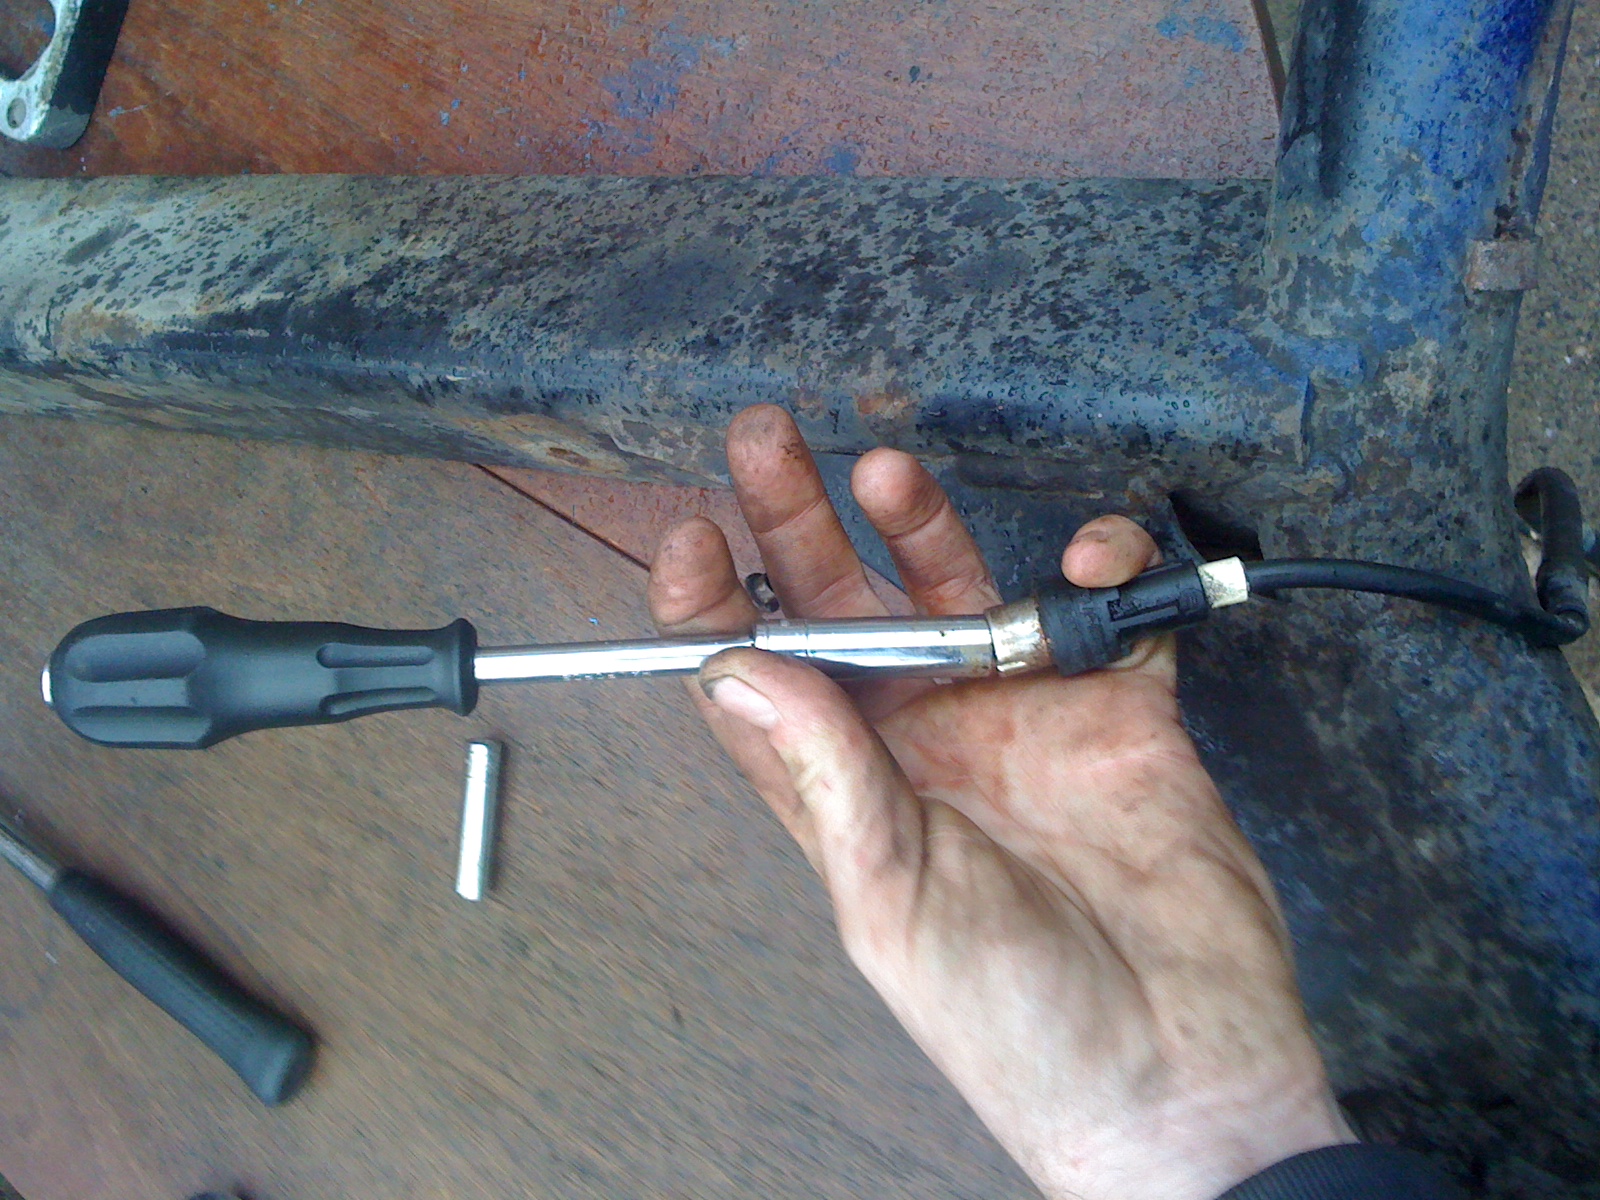
Sprayed plenty of WD40 on to the sensor and bolts. Bolts were on tight but managed to get them off after plenty of elbow, as for the sensor they were in tight, used a 8mm and 10mm socket and lined it up on the edges of the sensor and gently tapped away with a hammer. Sensor finally came loose
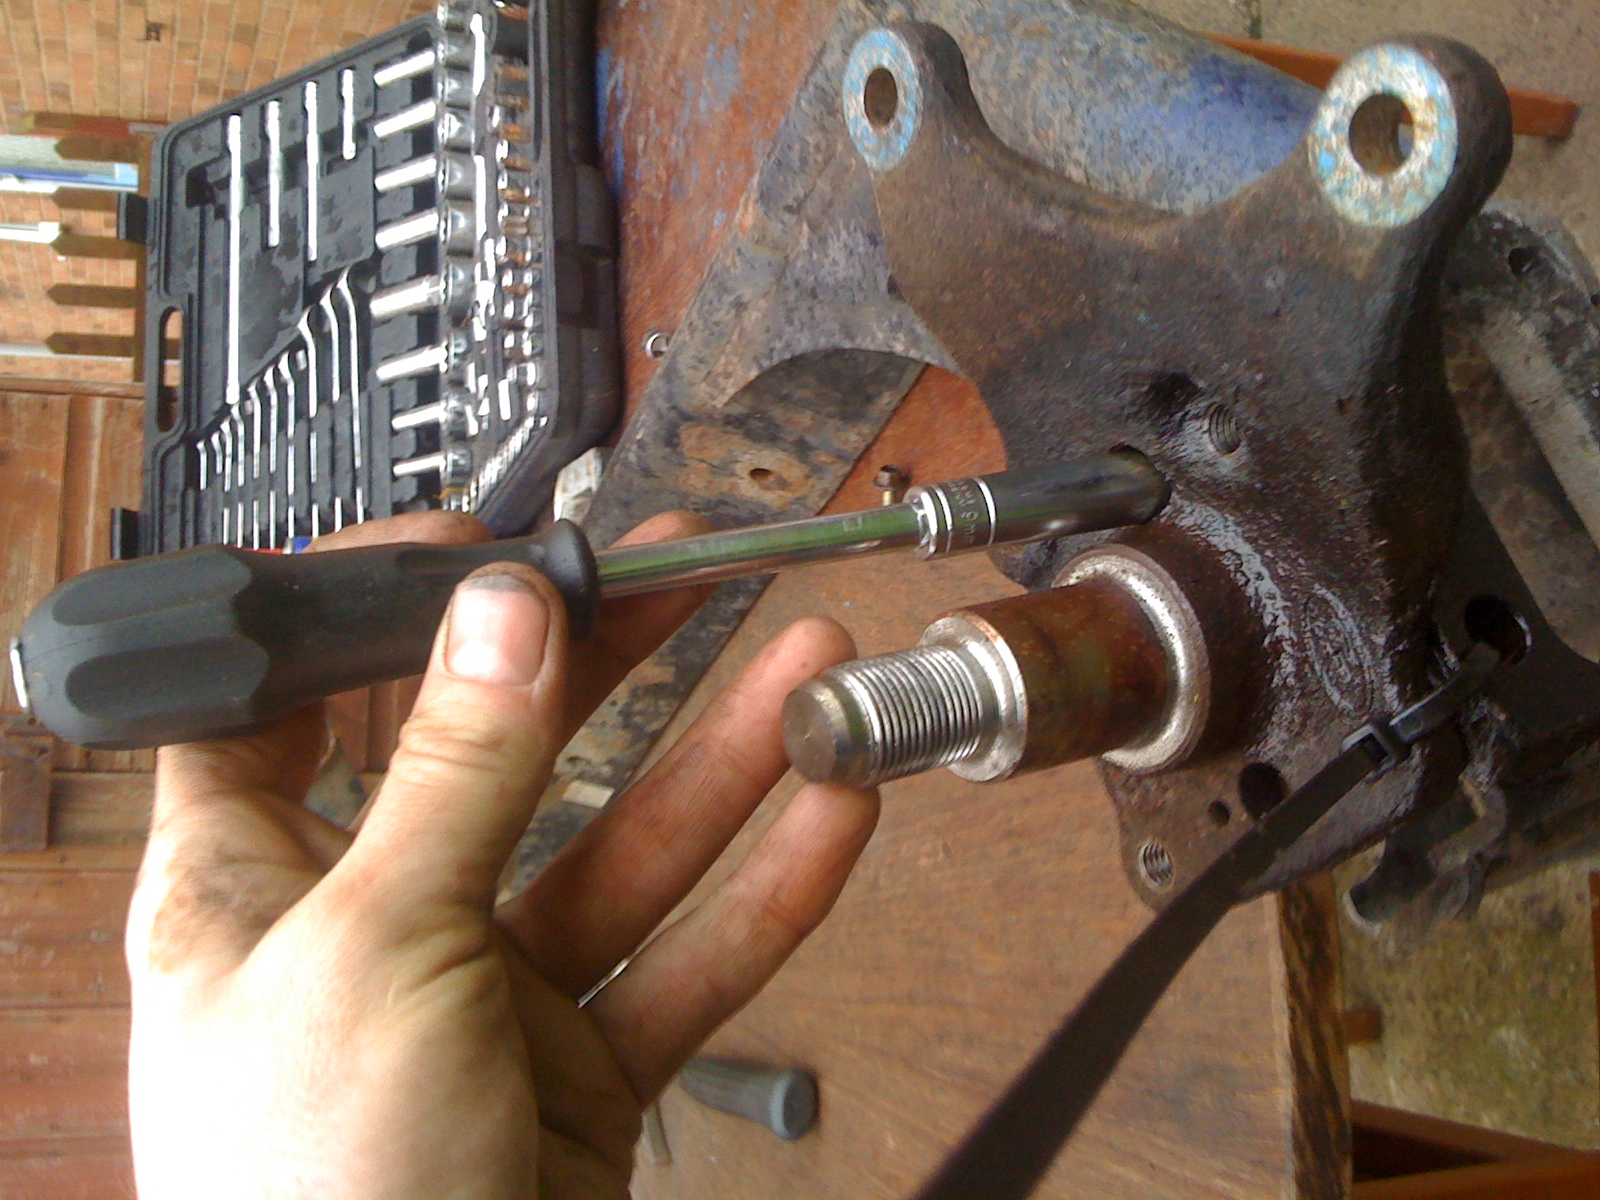
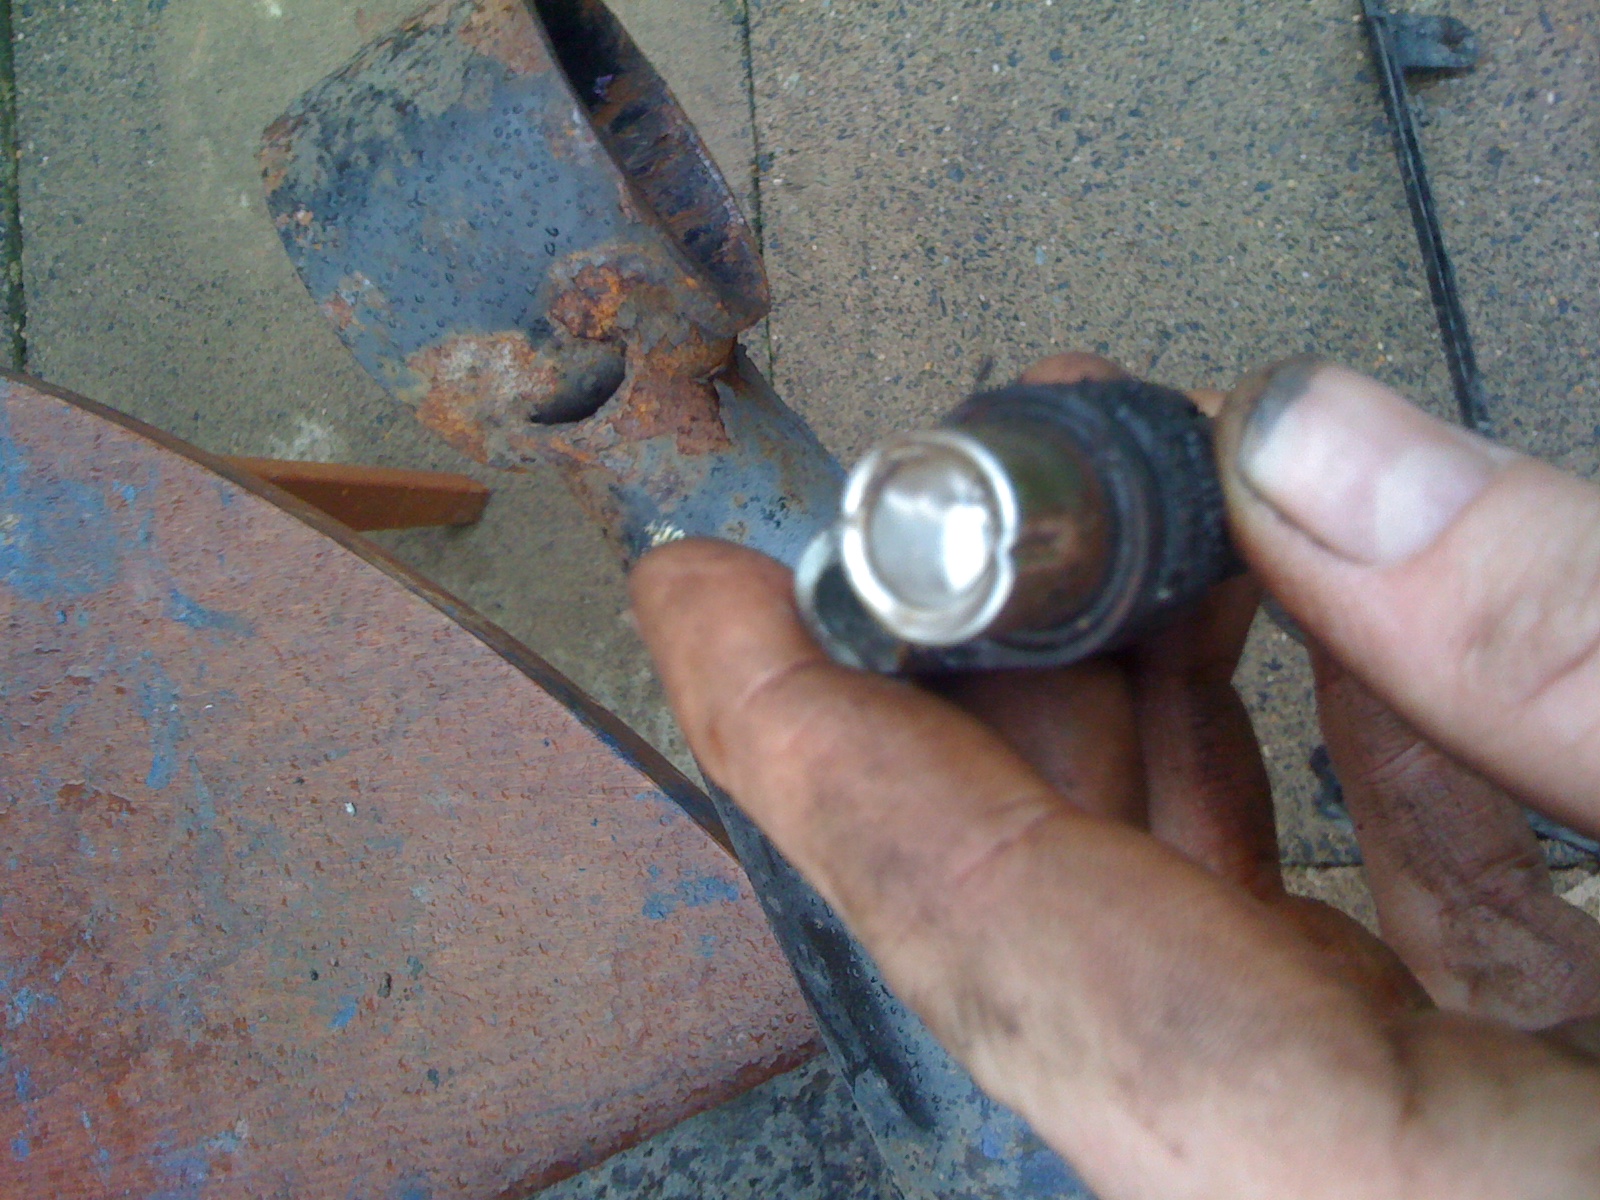
Unfortunately there has been some minor dents on the tops of the sensors, only minor but after speaking to my mate (mechanic) he reckons there pretty sensitive so may not work, says once its back on the car I’ll be able to tell straight away as the warning light will show on the dash if its faulty.
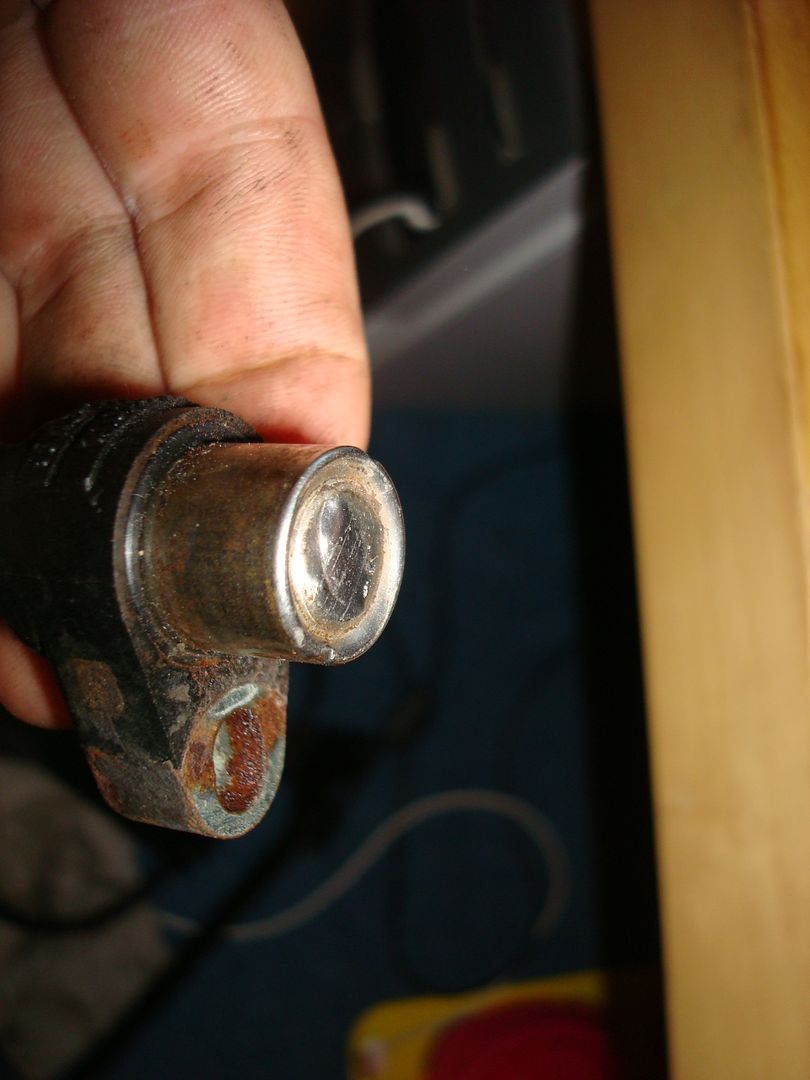
Is there anyone else here that has any knowledge on this, does this look as though it might be to damage to be ok still, obviously hoping it’ll be ok as �118 is a lot of money for something that was original ok
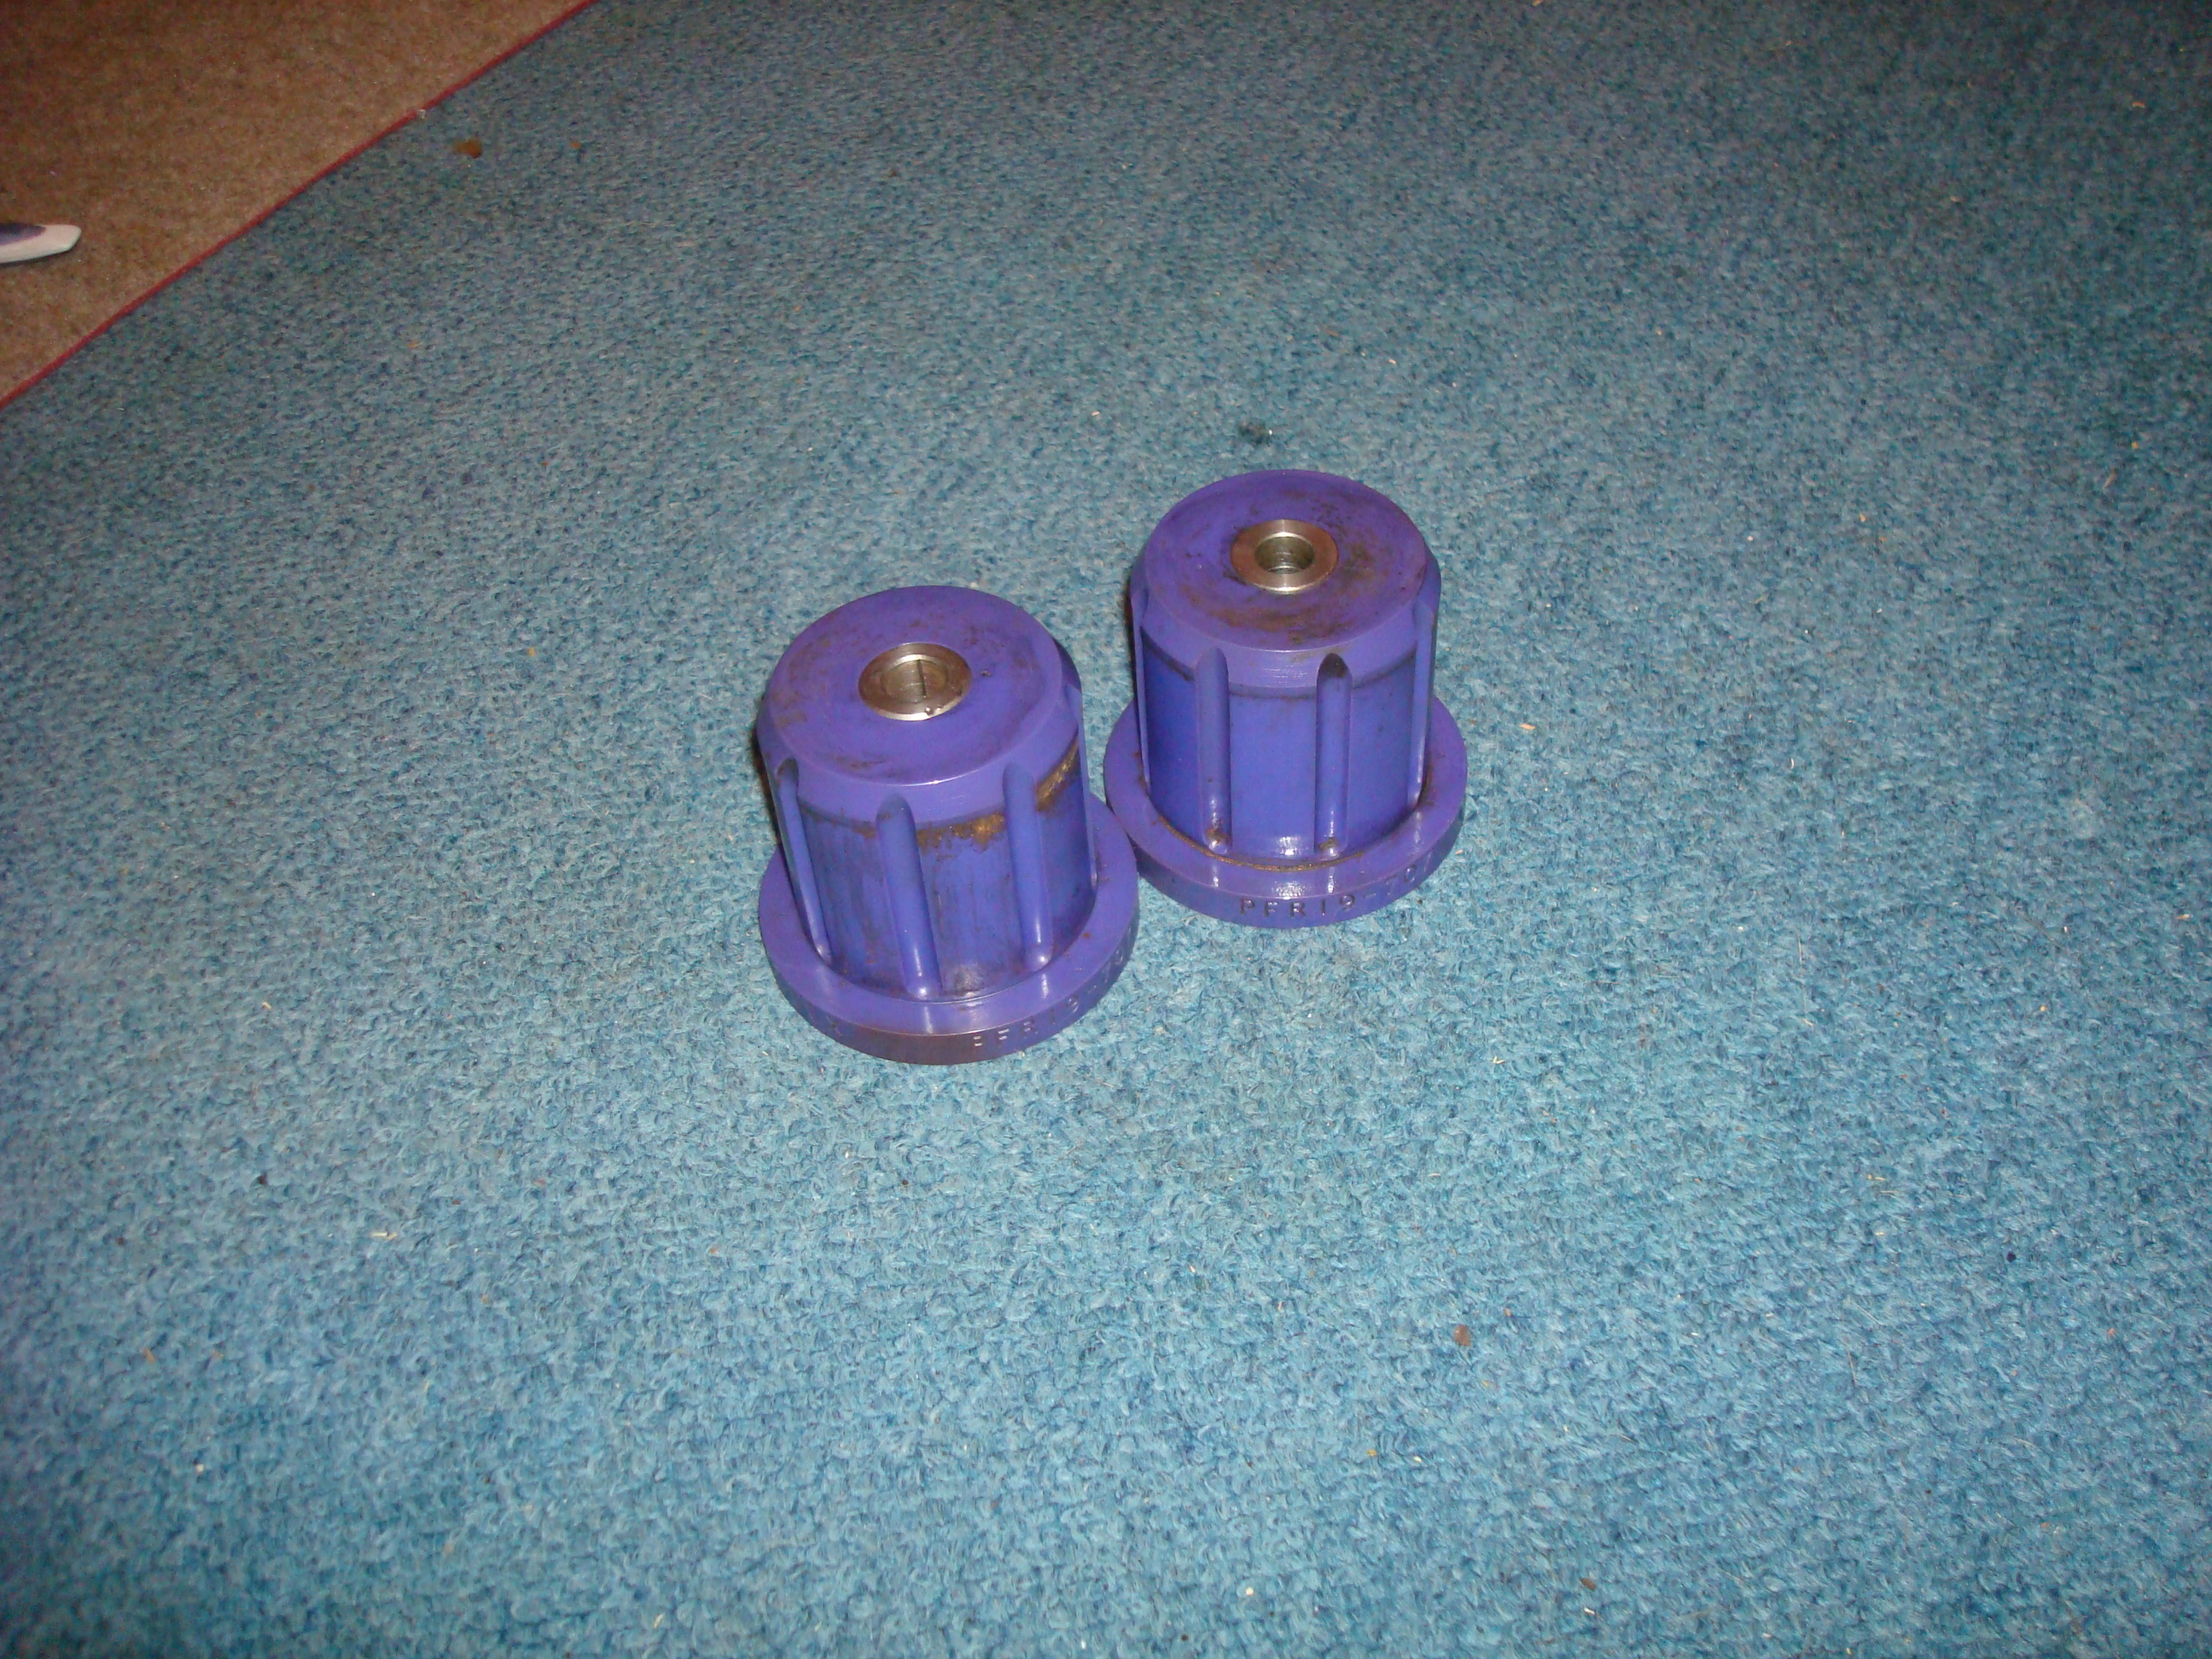
This evening I’ve cleaned up the rear ABS loop, suspension piston covers and rear bushes.
Before:

After:
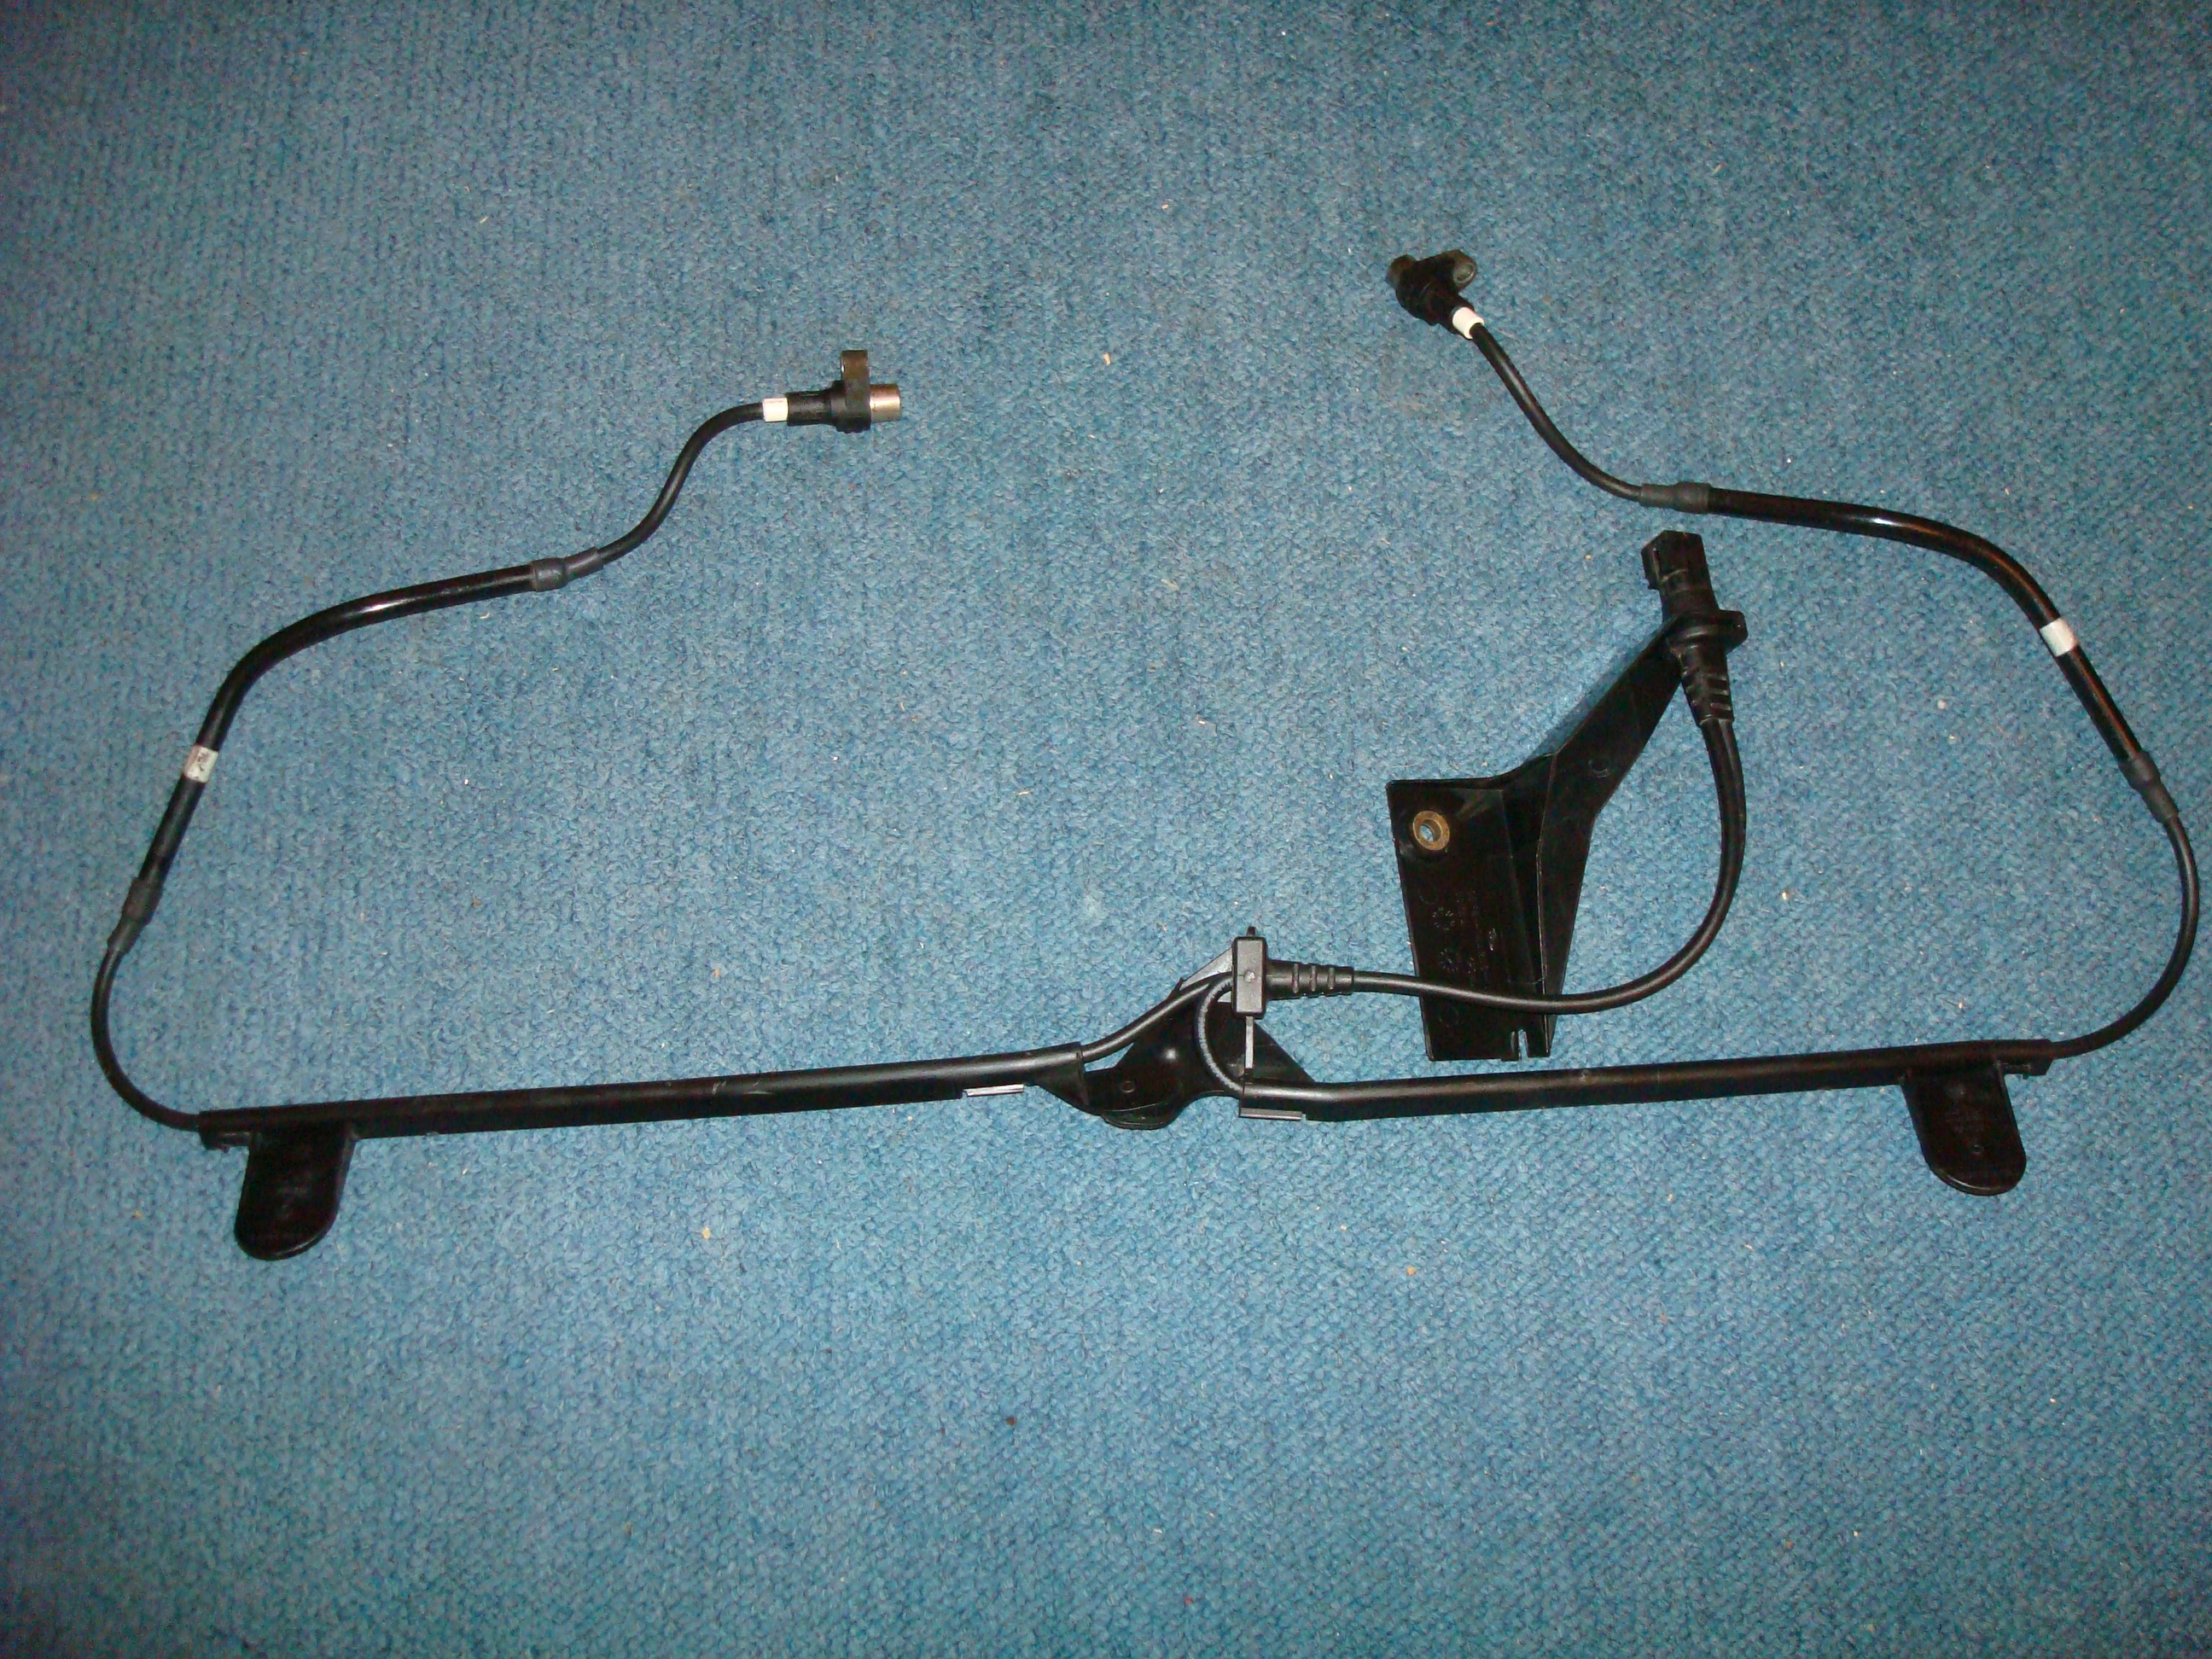
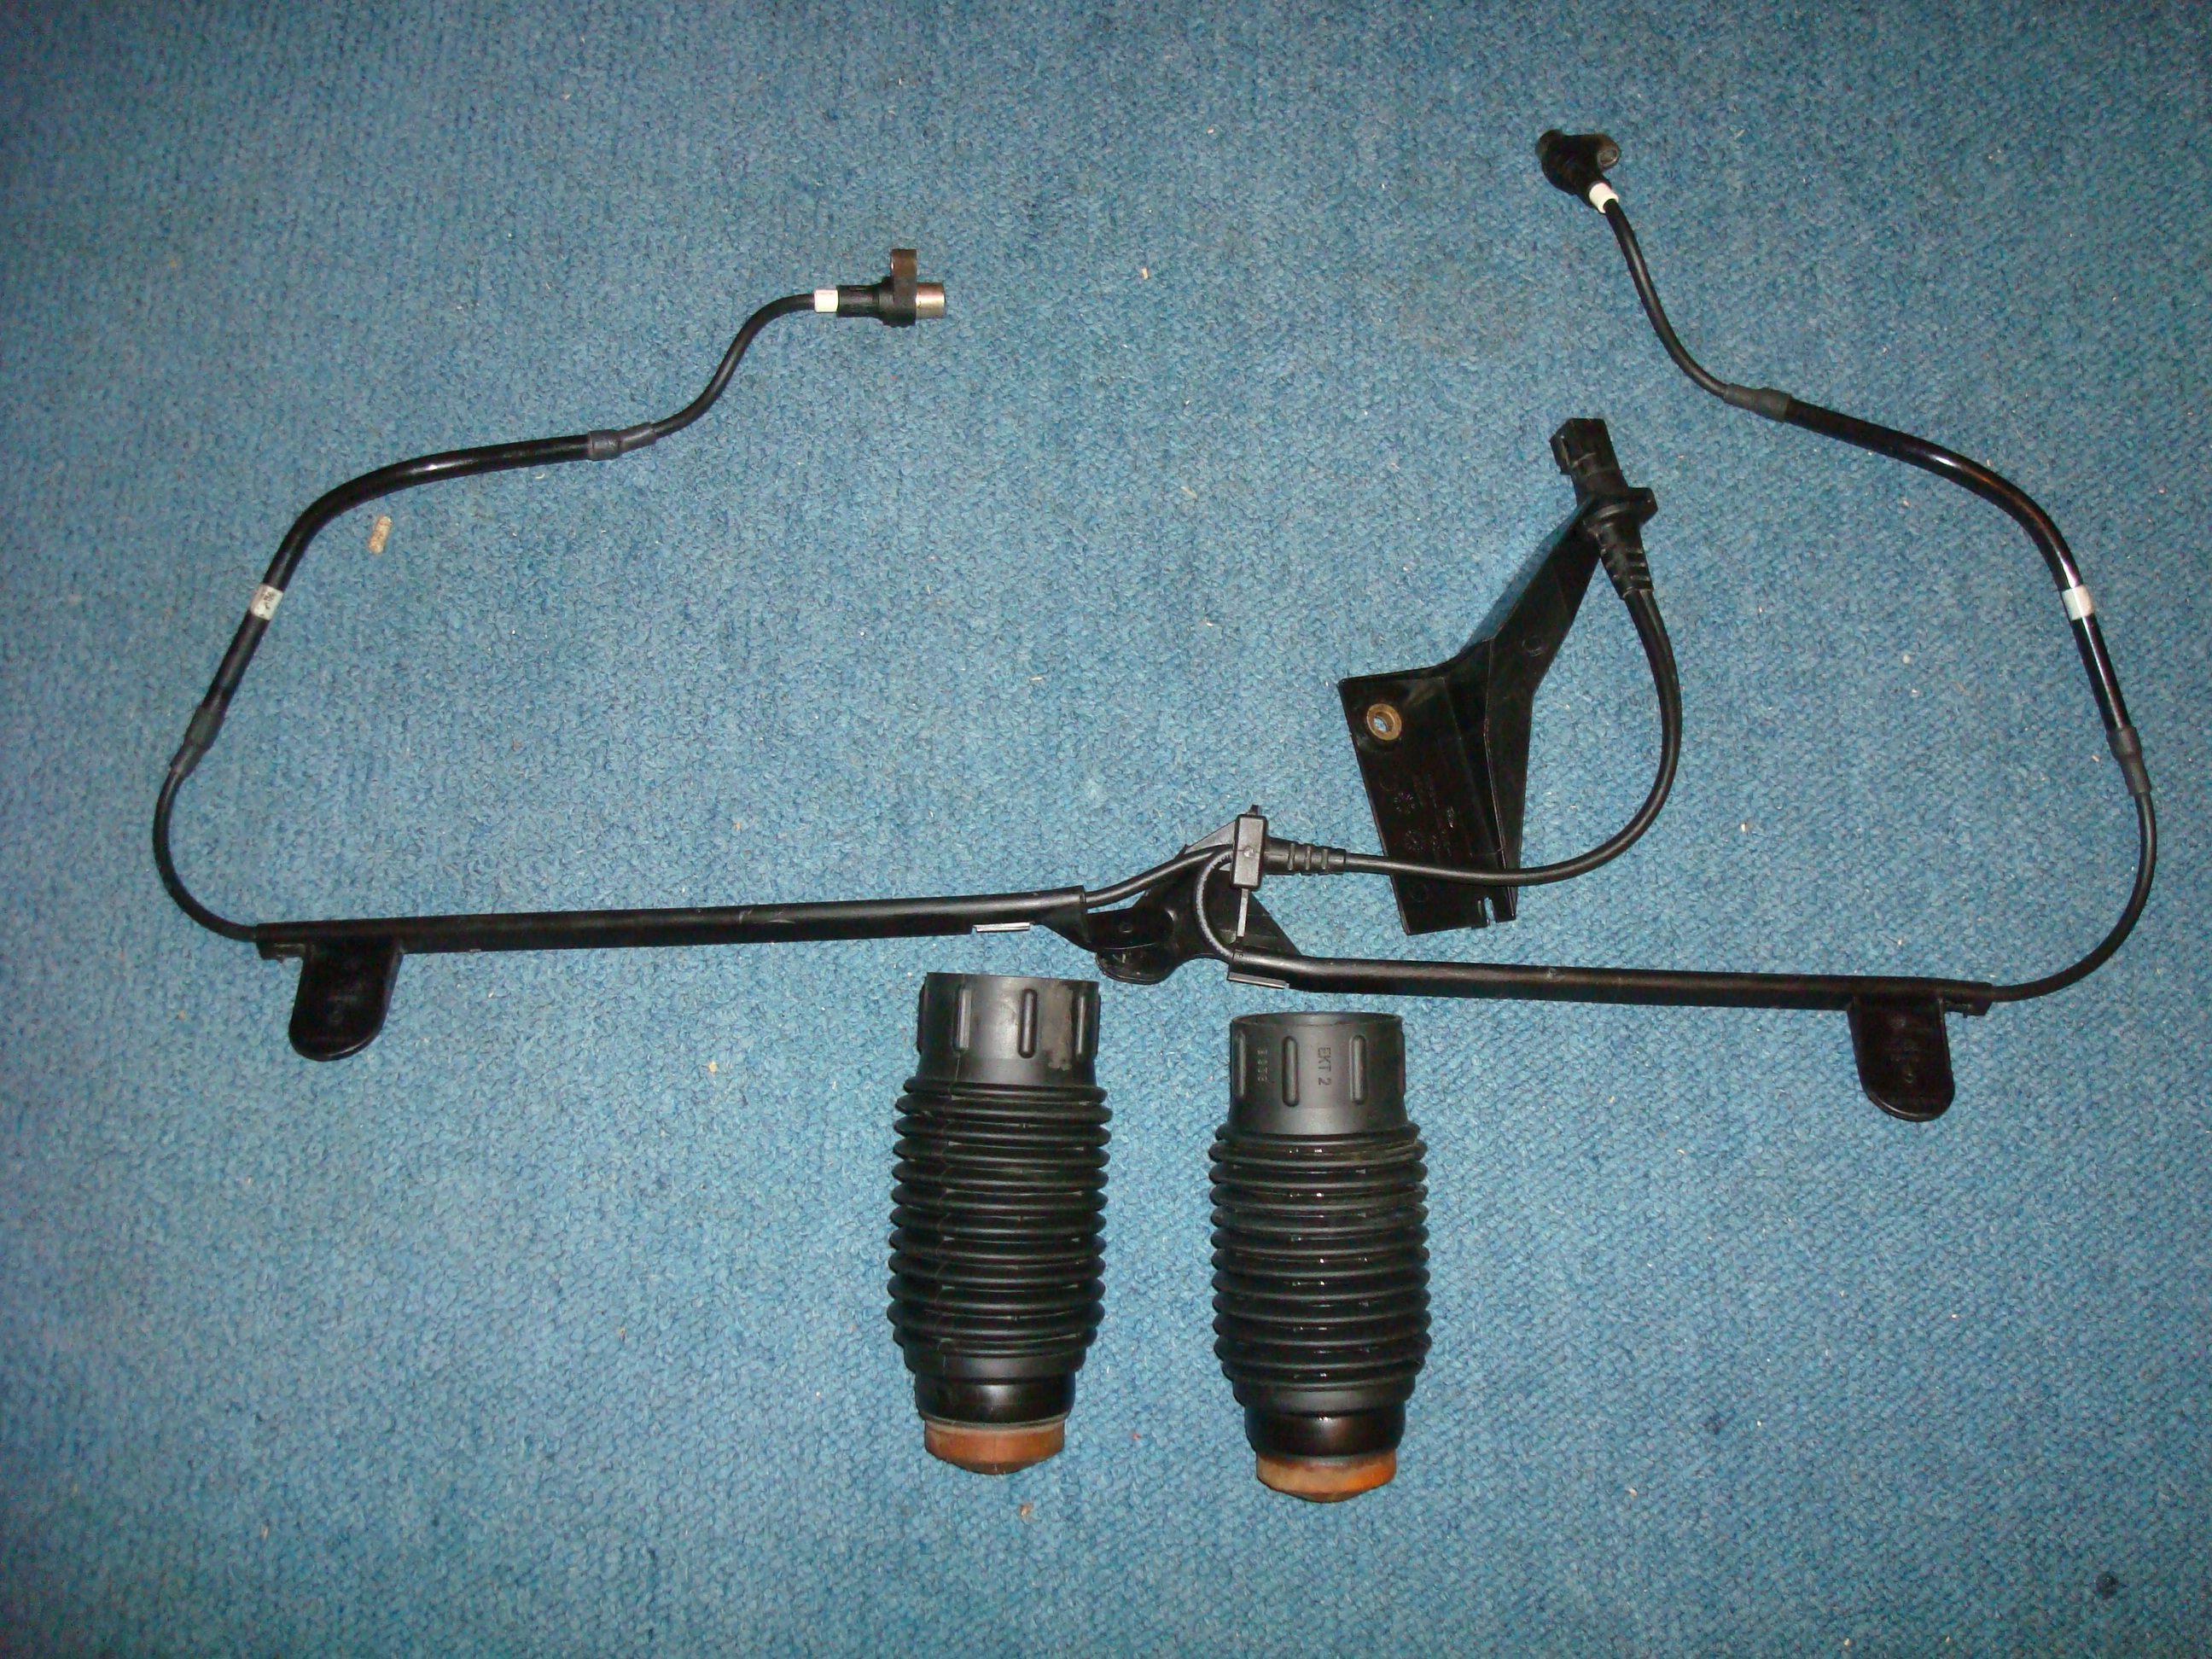
Before:
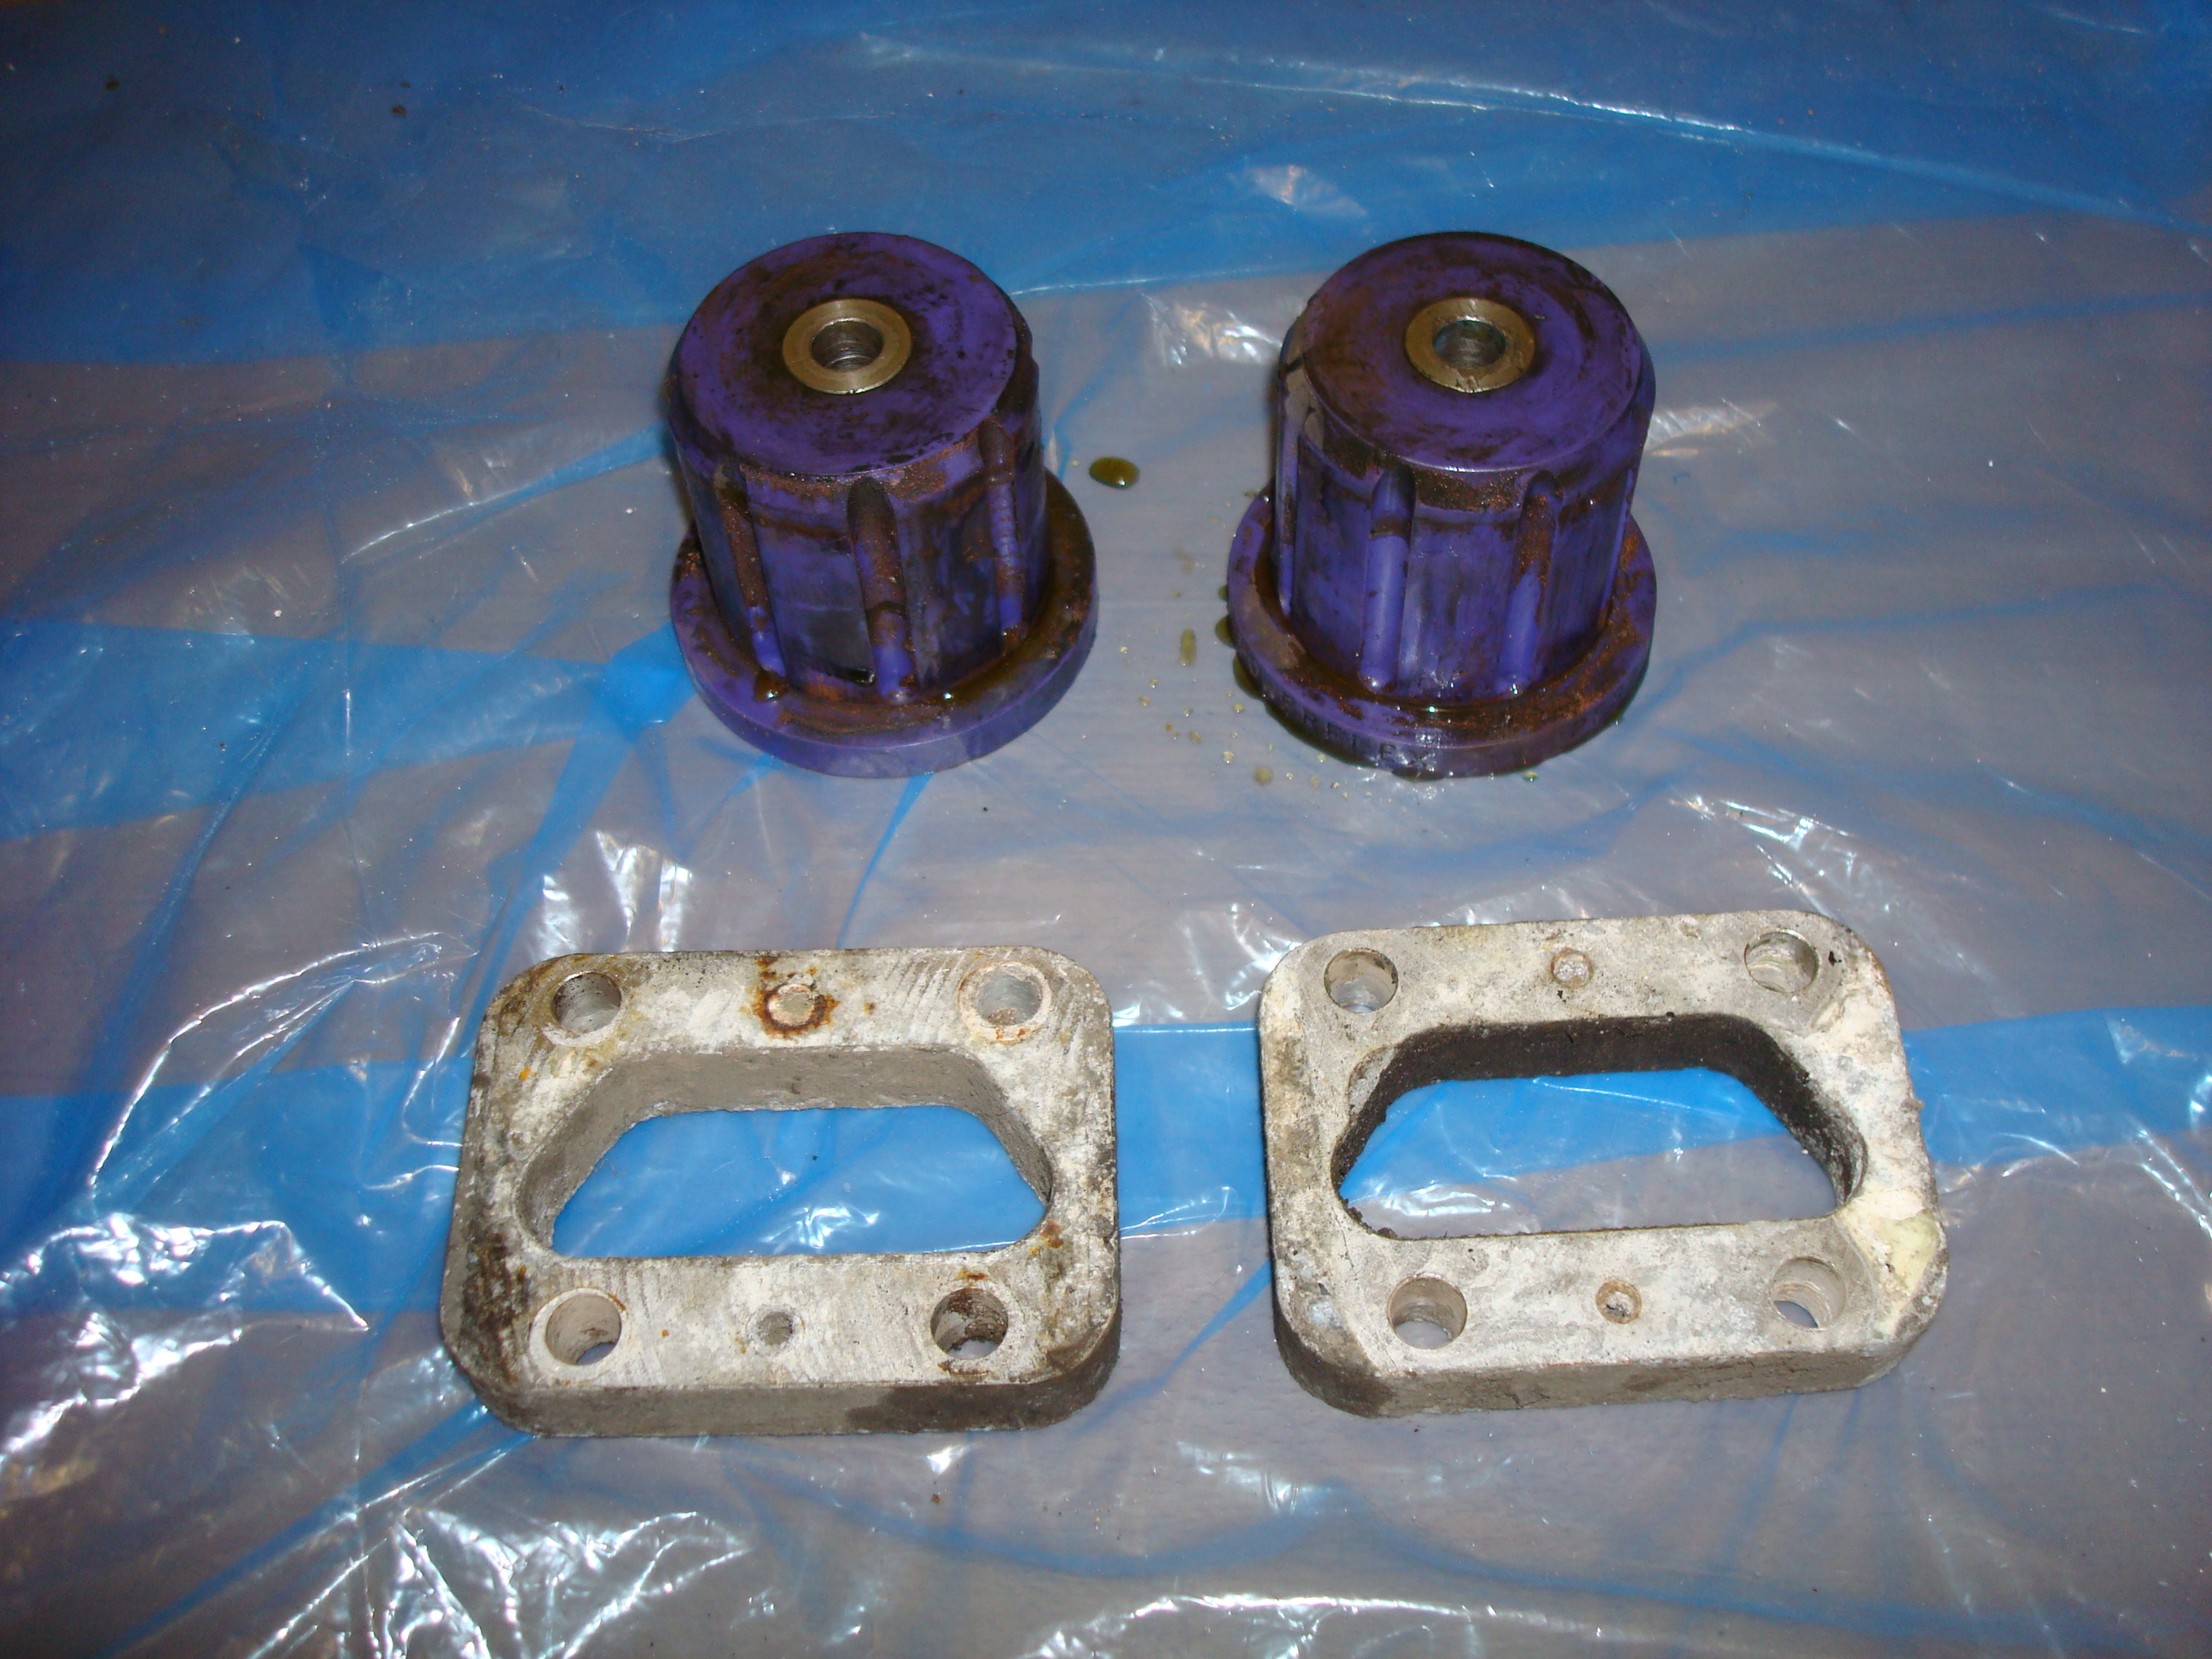
After:
Keep them comments coming
David
Busy ish day today, removed the rear brake pads from the Hammerite Rust remover bucket
Before:
After:
Loaded the freshly painted callipers and pads in to the ruck sack and walked down to friend’s garage. Used the correct calliper piston tool to push the piston back in.
Calliper back home situated on the disc, looking pretty good if I say so myself. You can see few more hours done on the exhaust, finally getting there however as you can see still some bits to finish off and the centre section to make a start on.
Decided to see if I could remove the ABS sensor on the rear beam without it breaking as a replacement one is �118 + vat. As mentioned before they usually brake when removing so a gently gently approach was used.
Sprayed plenty of WD40 on to the sensor and bolts. Bolts were on tight but managed to get them off after plenty of elbow, as for the sensor they were in tight, used a 8mm and 10mm socket and lined it up on the edges of the sensor and gently tapped away with a hammer. Sensor finally came loose
Unfortunately there has been some minor dents on the tops of the sensors, only minor but after speaking to my mate (mechanic) he reckons there pretty sensitive so may not work, says once its back on the car I’ll be able to tell straight away as the warning light will show on the dash if its faulty.
Is there anyone else here that has any knowledge on this, does this look as though it might be to damage to be ok still, obviously hoping it’ll be ok as �118 is a lot of money for something that was original ok
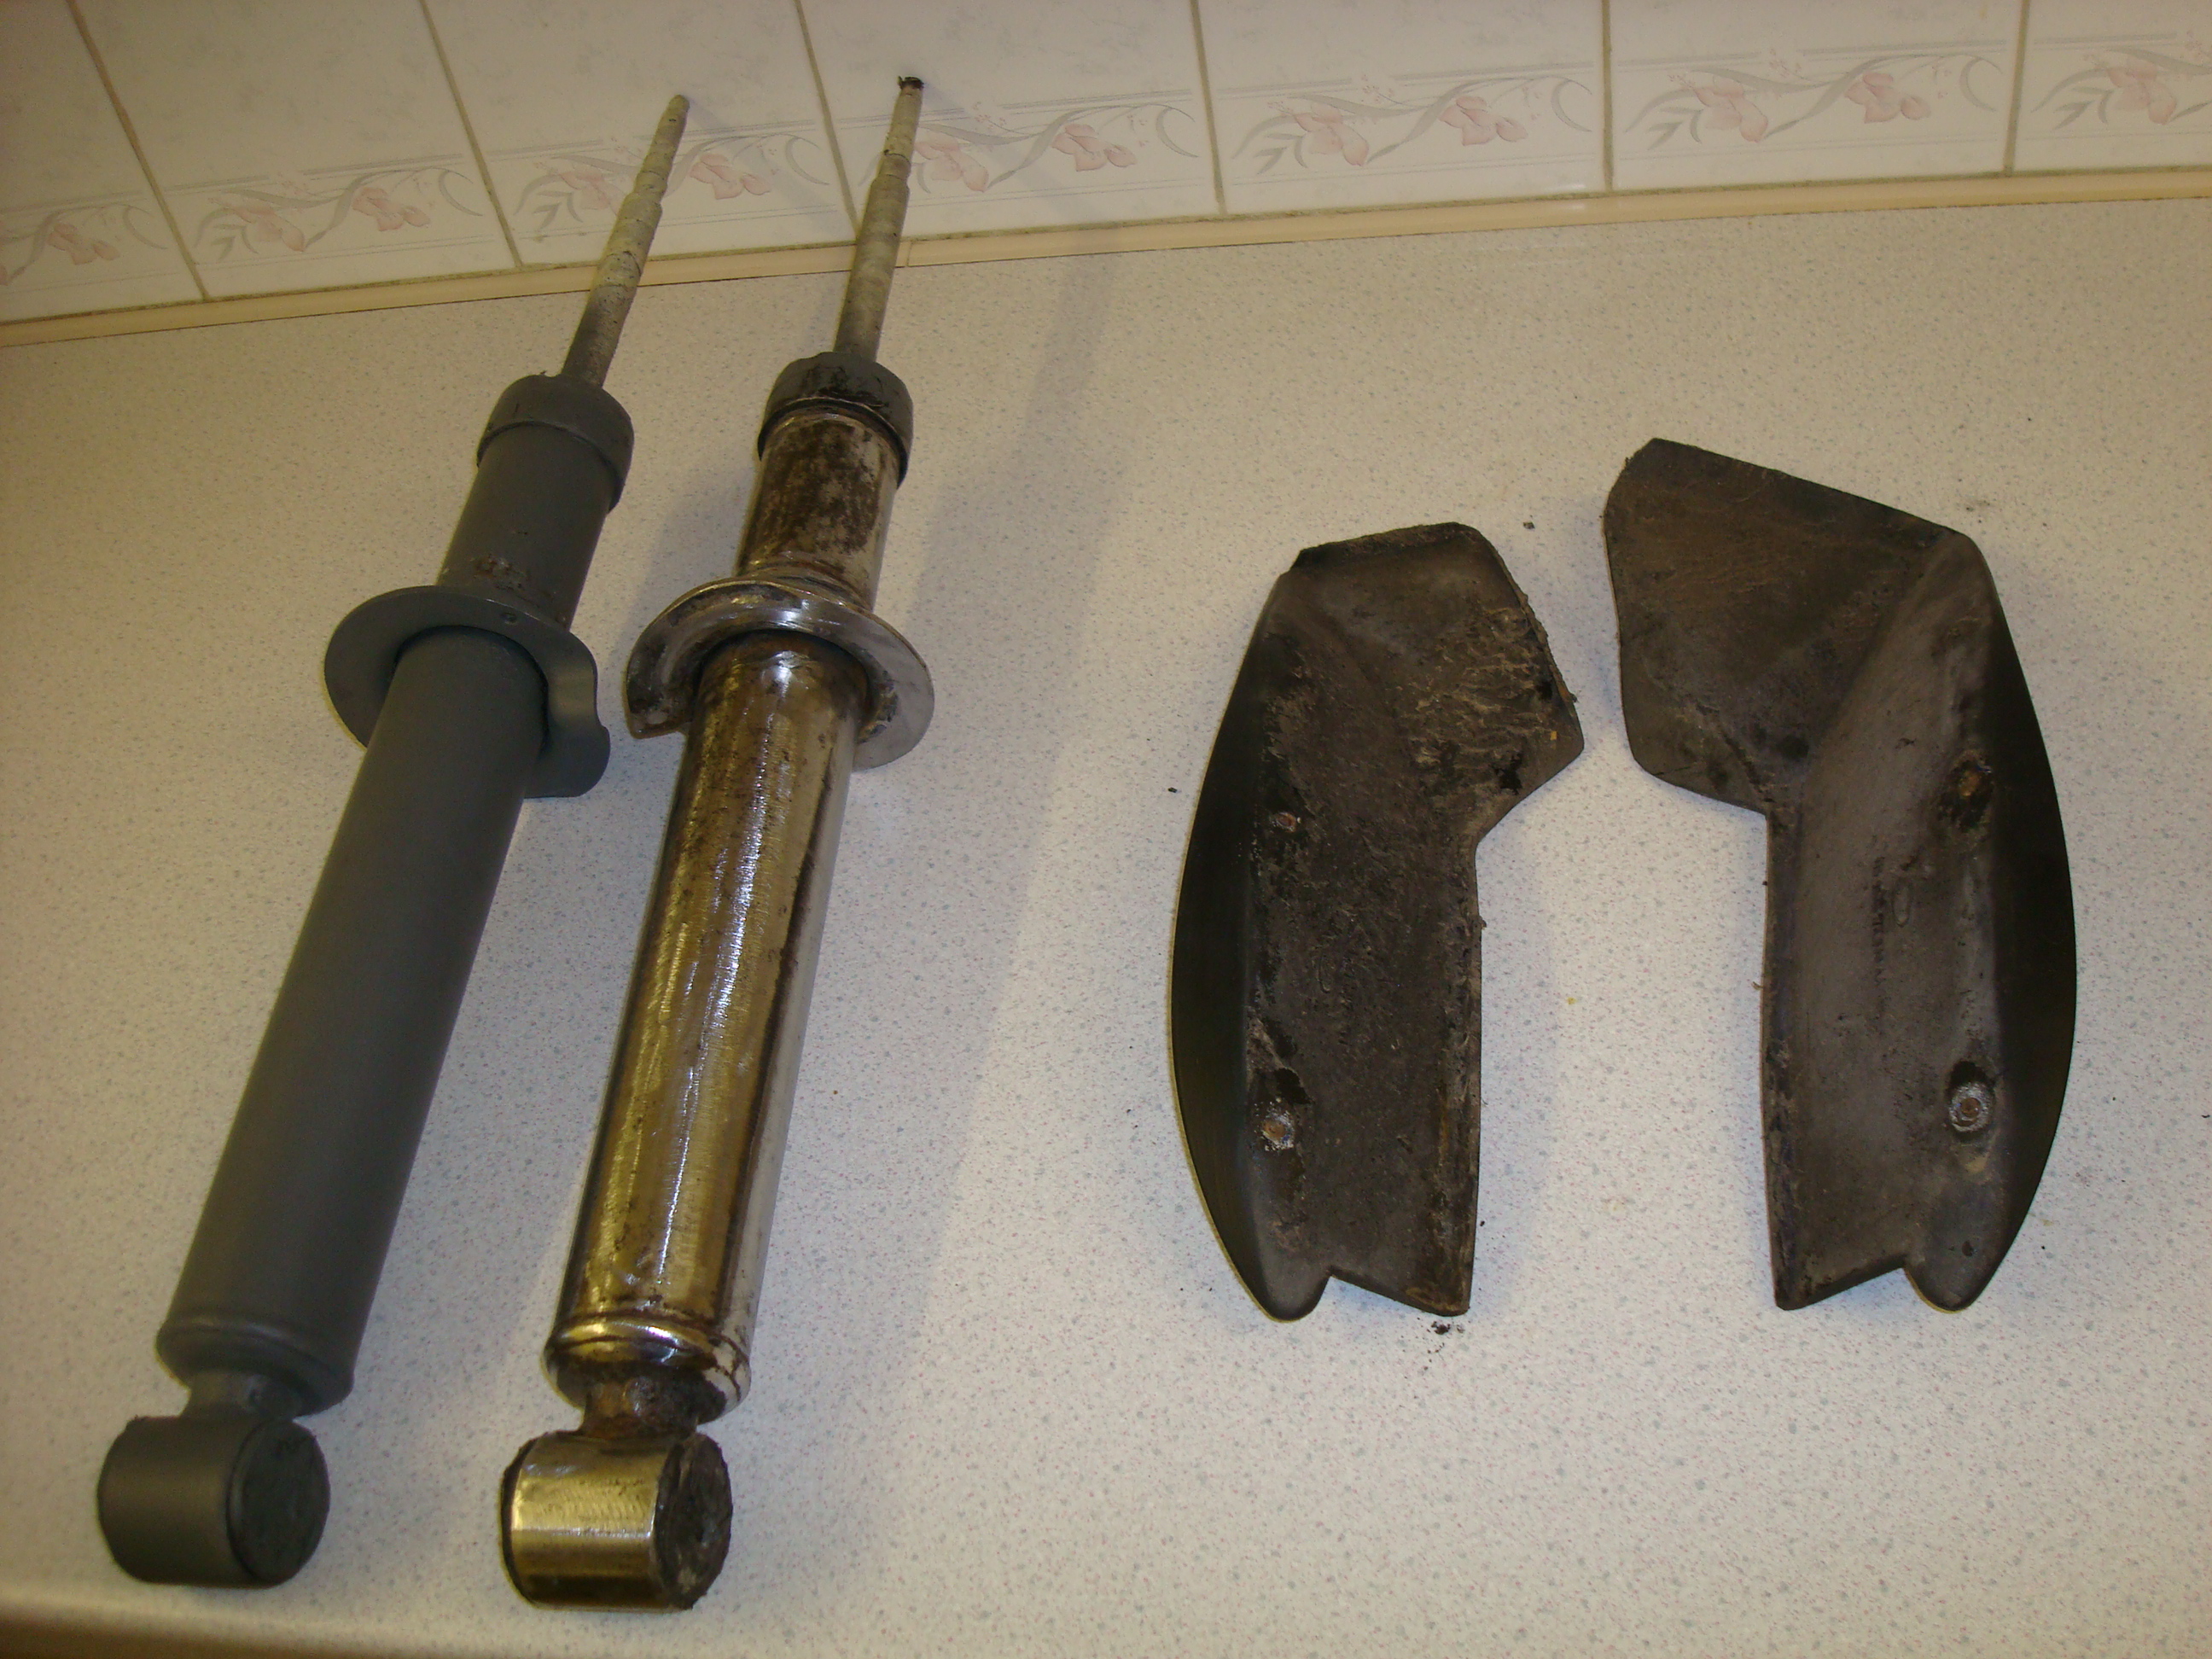
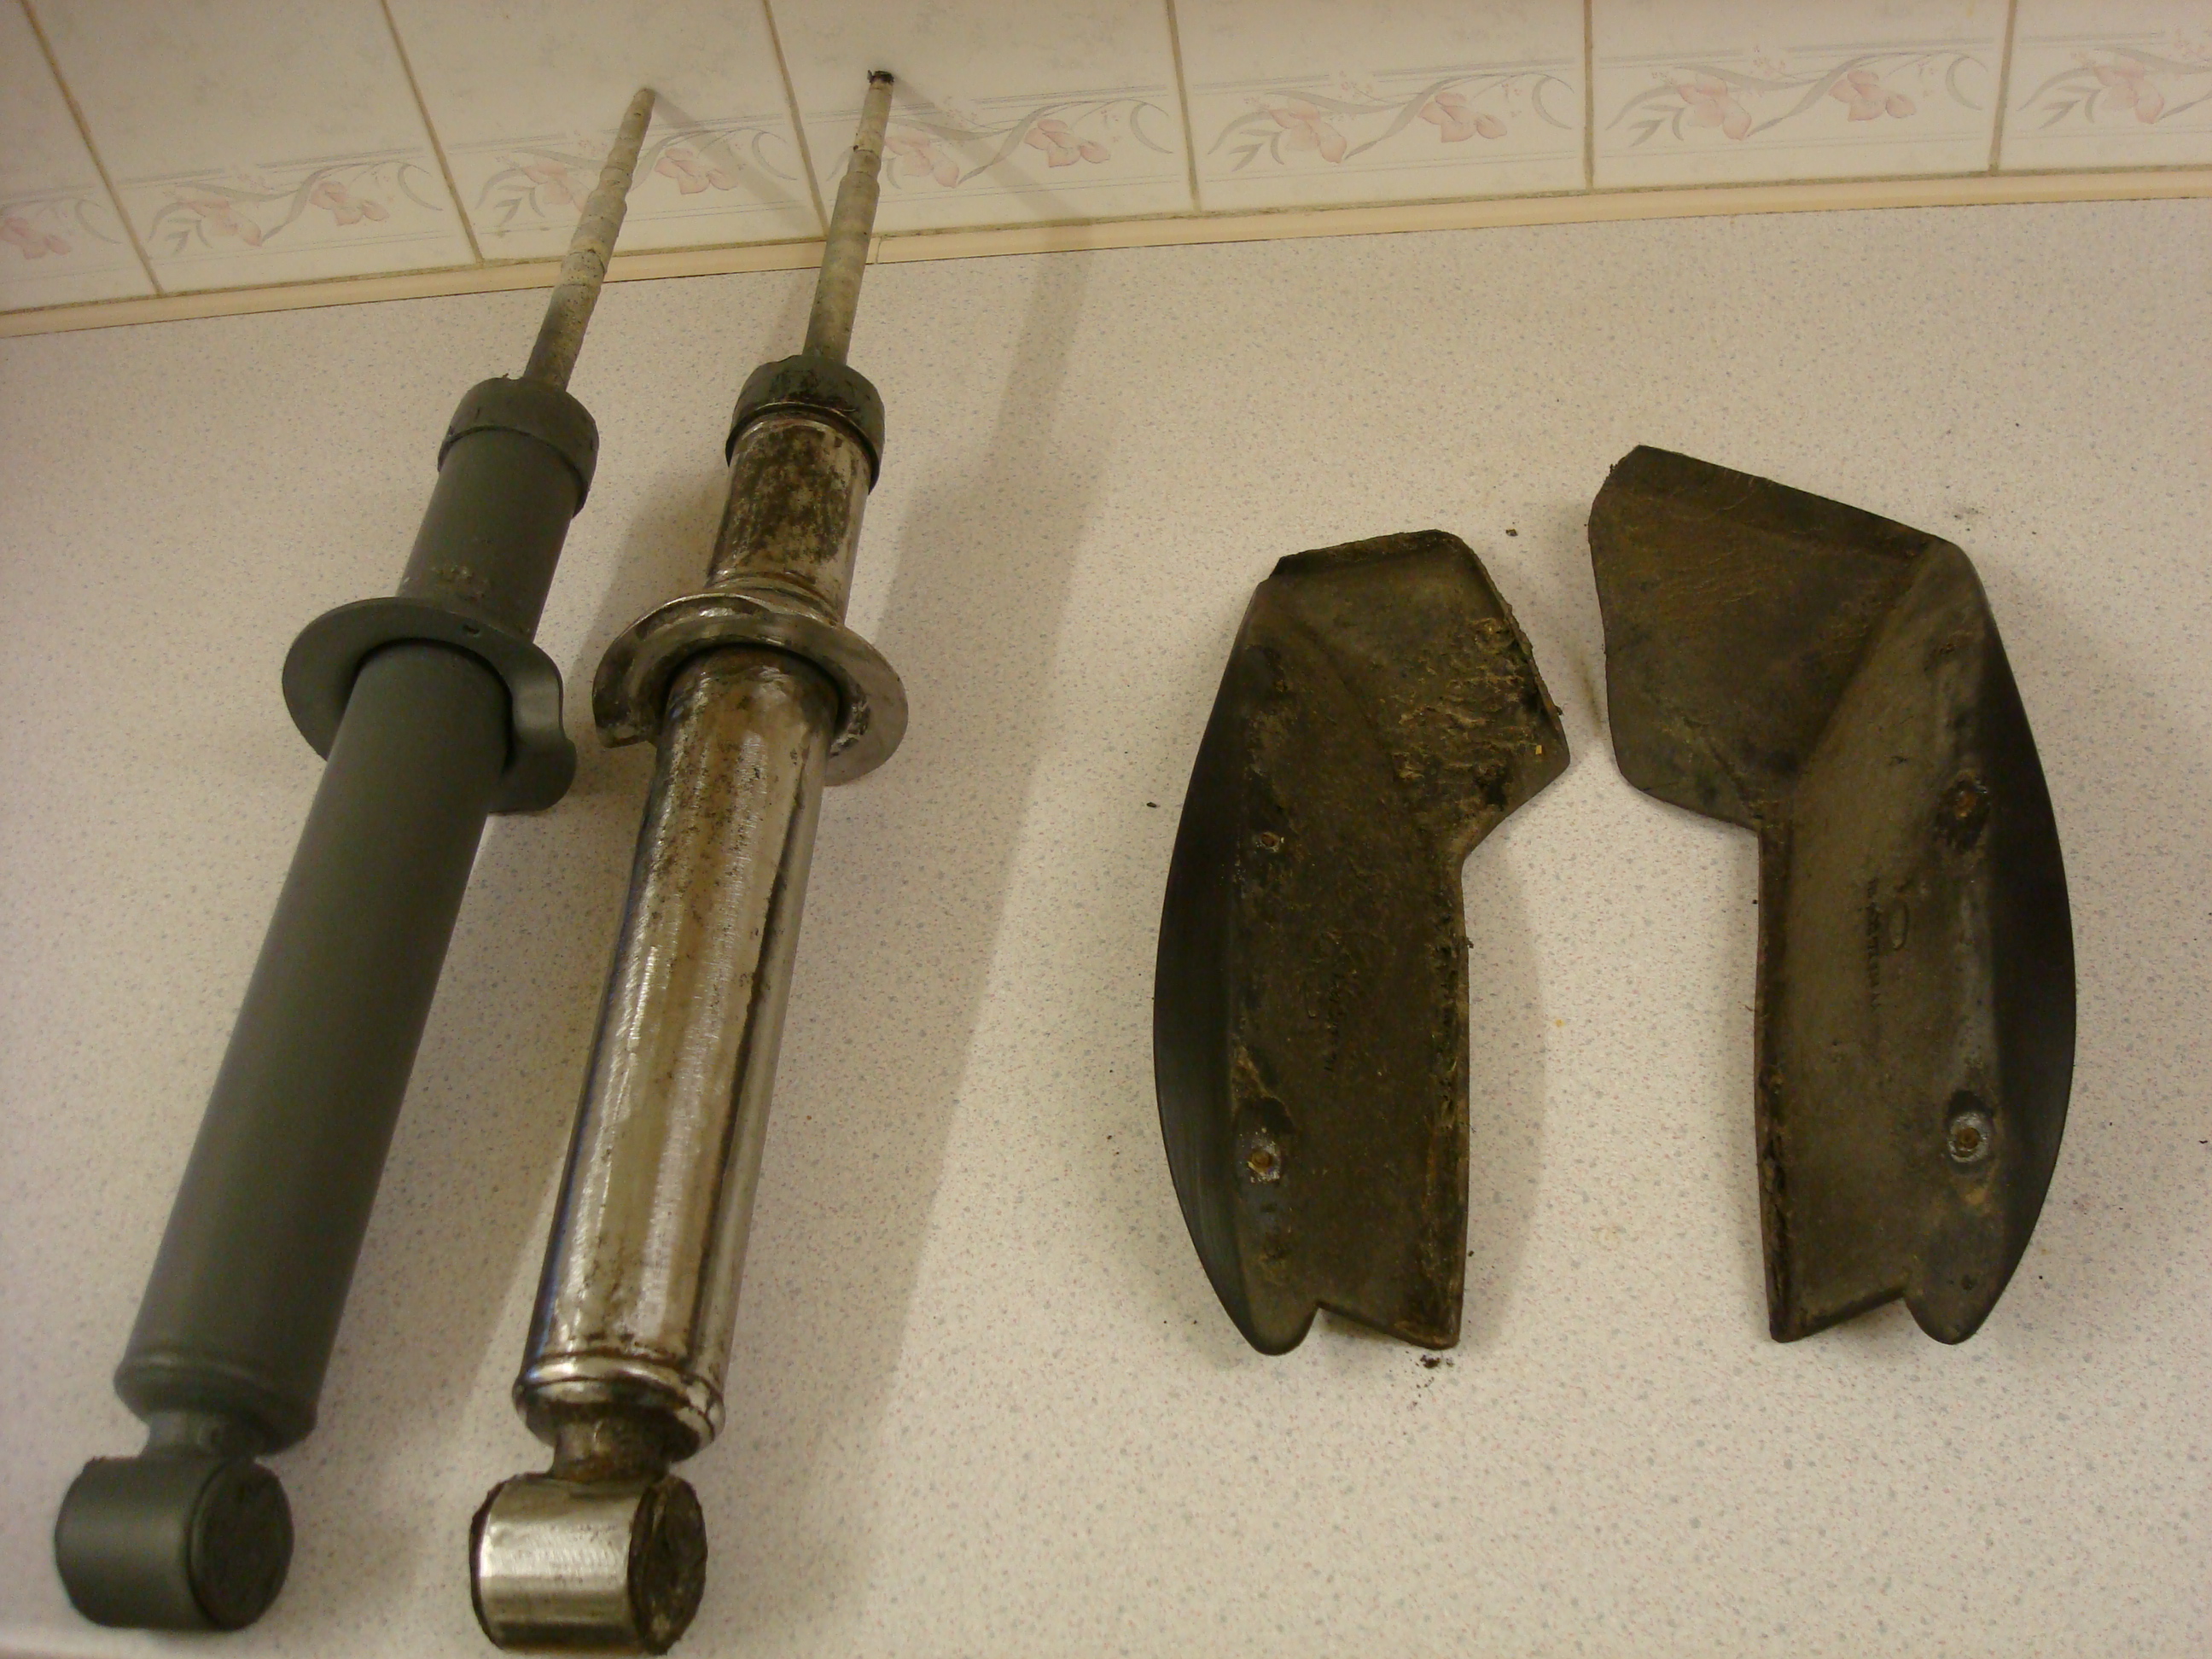
This evening I’ve cleaned up the rear ABS loop, suspension piston covers and rear bushes.
Before:
After:
Before:
After:
Keep them comments coming
David

 10-12-2009, 10:17 PM
#68
Wahay!! I've lost my Virginity!!
Thread Starter
Join Date: Dec 2009
Location: Malvern
Posts: 69
Likes: 0
Received 0 Likes
on
0 Posts
Thursday 10/12/2009
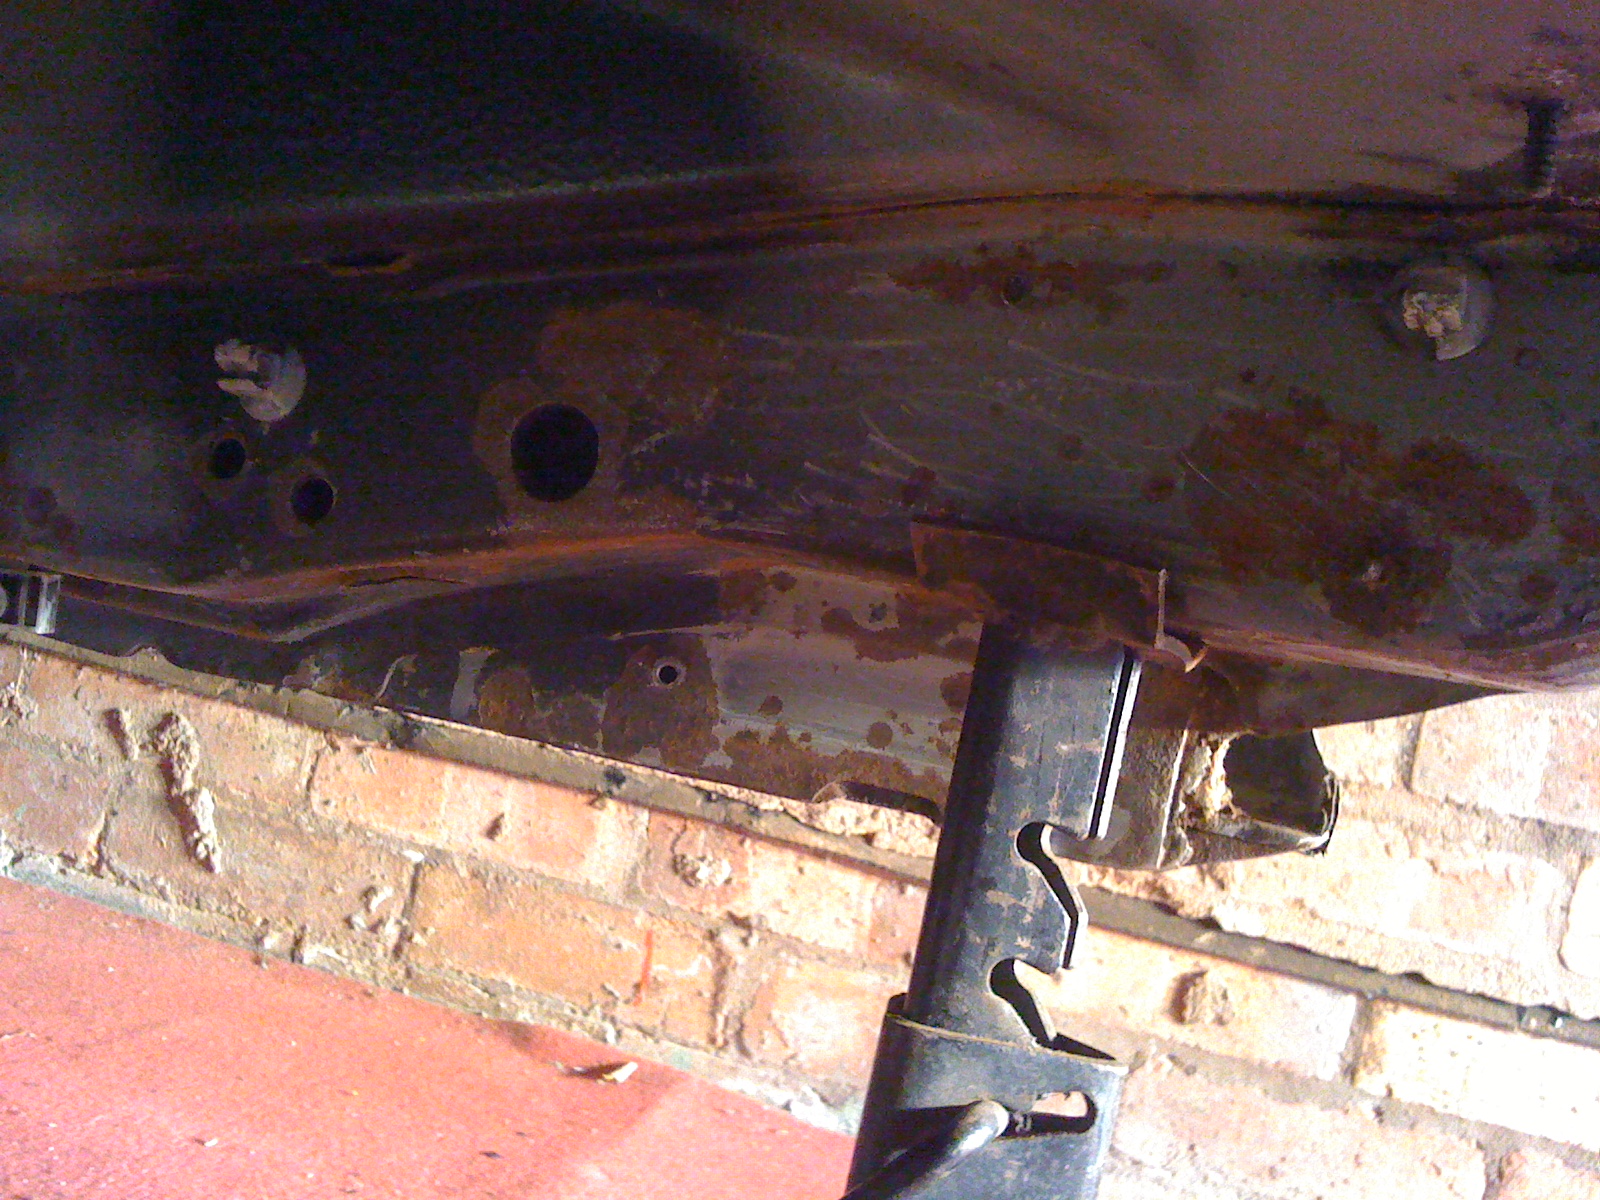
Spent around an hour under the car working on one of the sills, will upload some photos tomorrow of an area I'm unsure what to do about and hopefully someone can suggest to me what my options are.
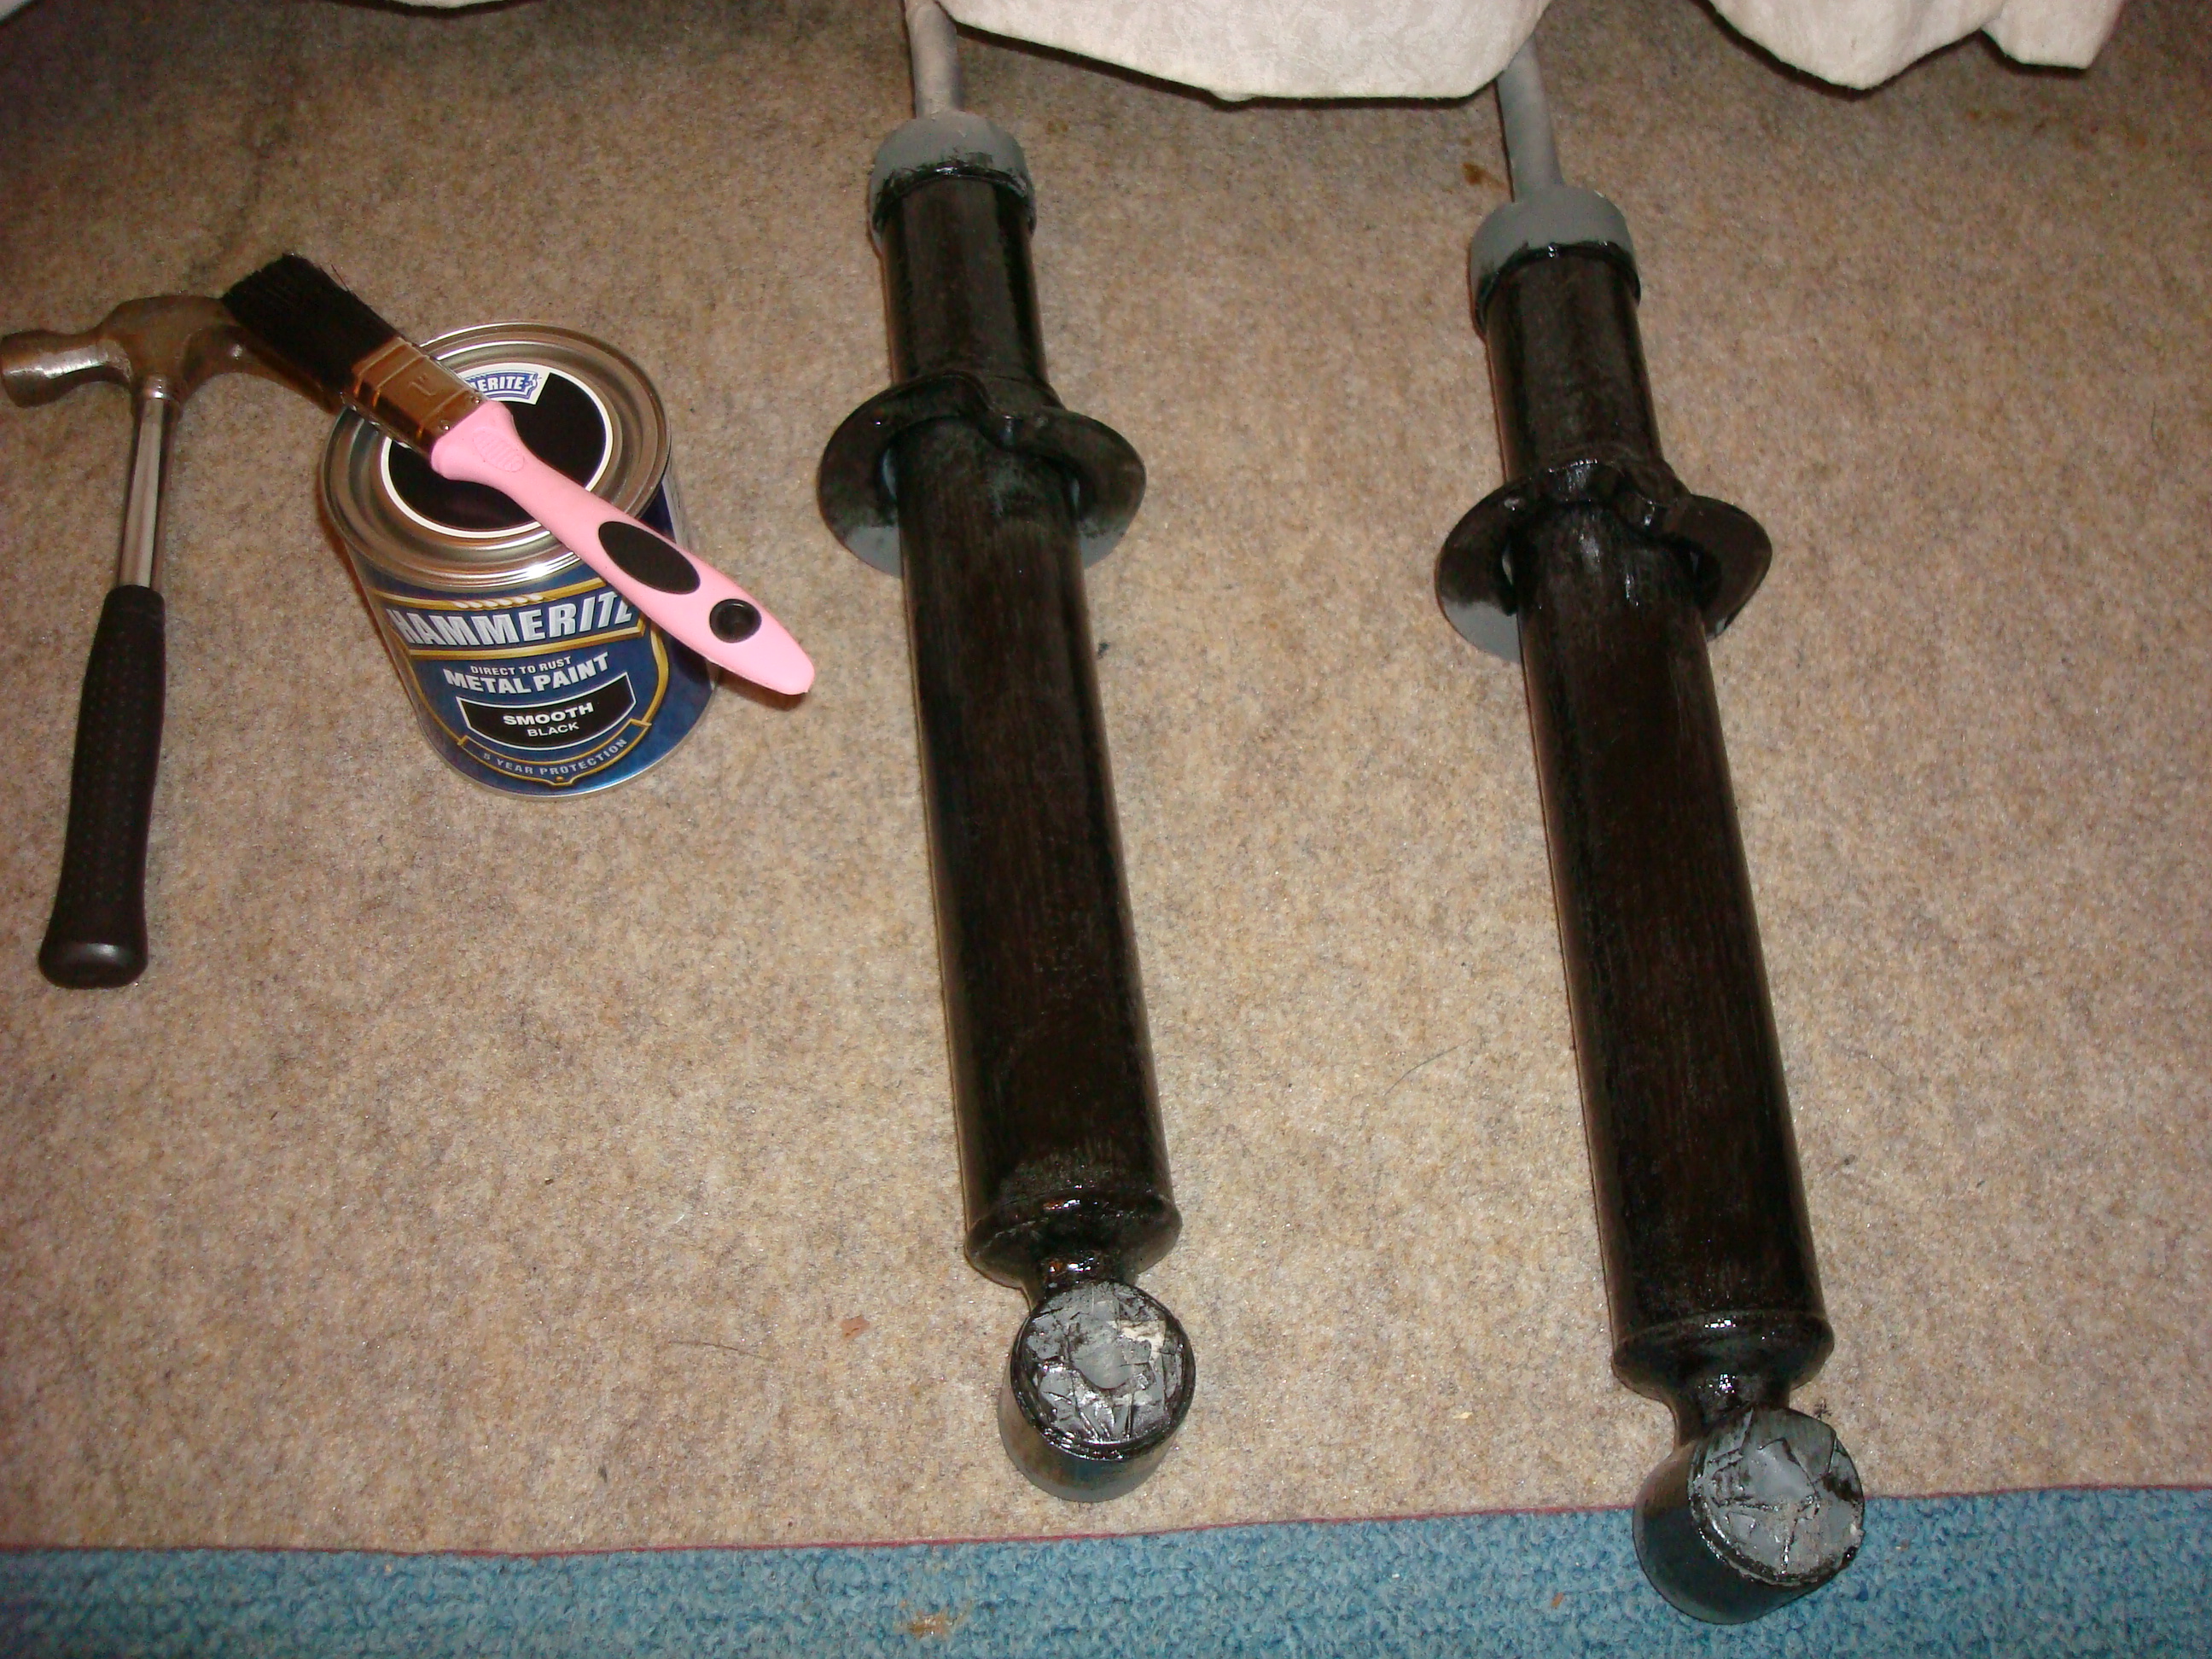
Started removing the rust off the suspension with a hammer and wire brush then applied some Jenolite with a brush to remove the orange stains, the finish was still a bit wruff in places however decided to spray the one in zinc grey primer to see what its like, pretty good finish tbh after just two coats, going to use Hammerite black smooth finish so hopefully that will make it look smooth giving a nice final finish.
Before:
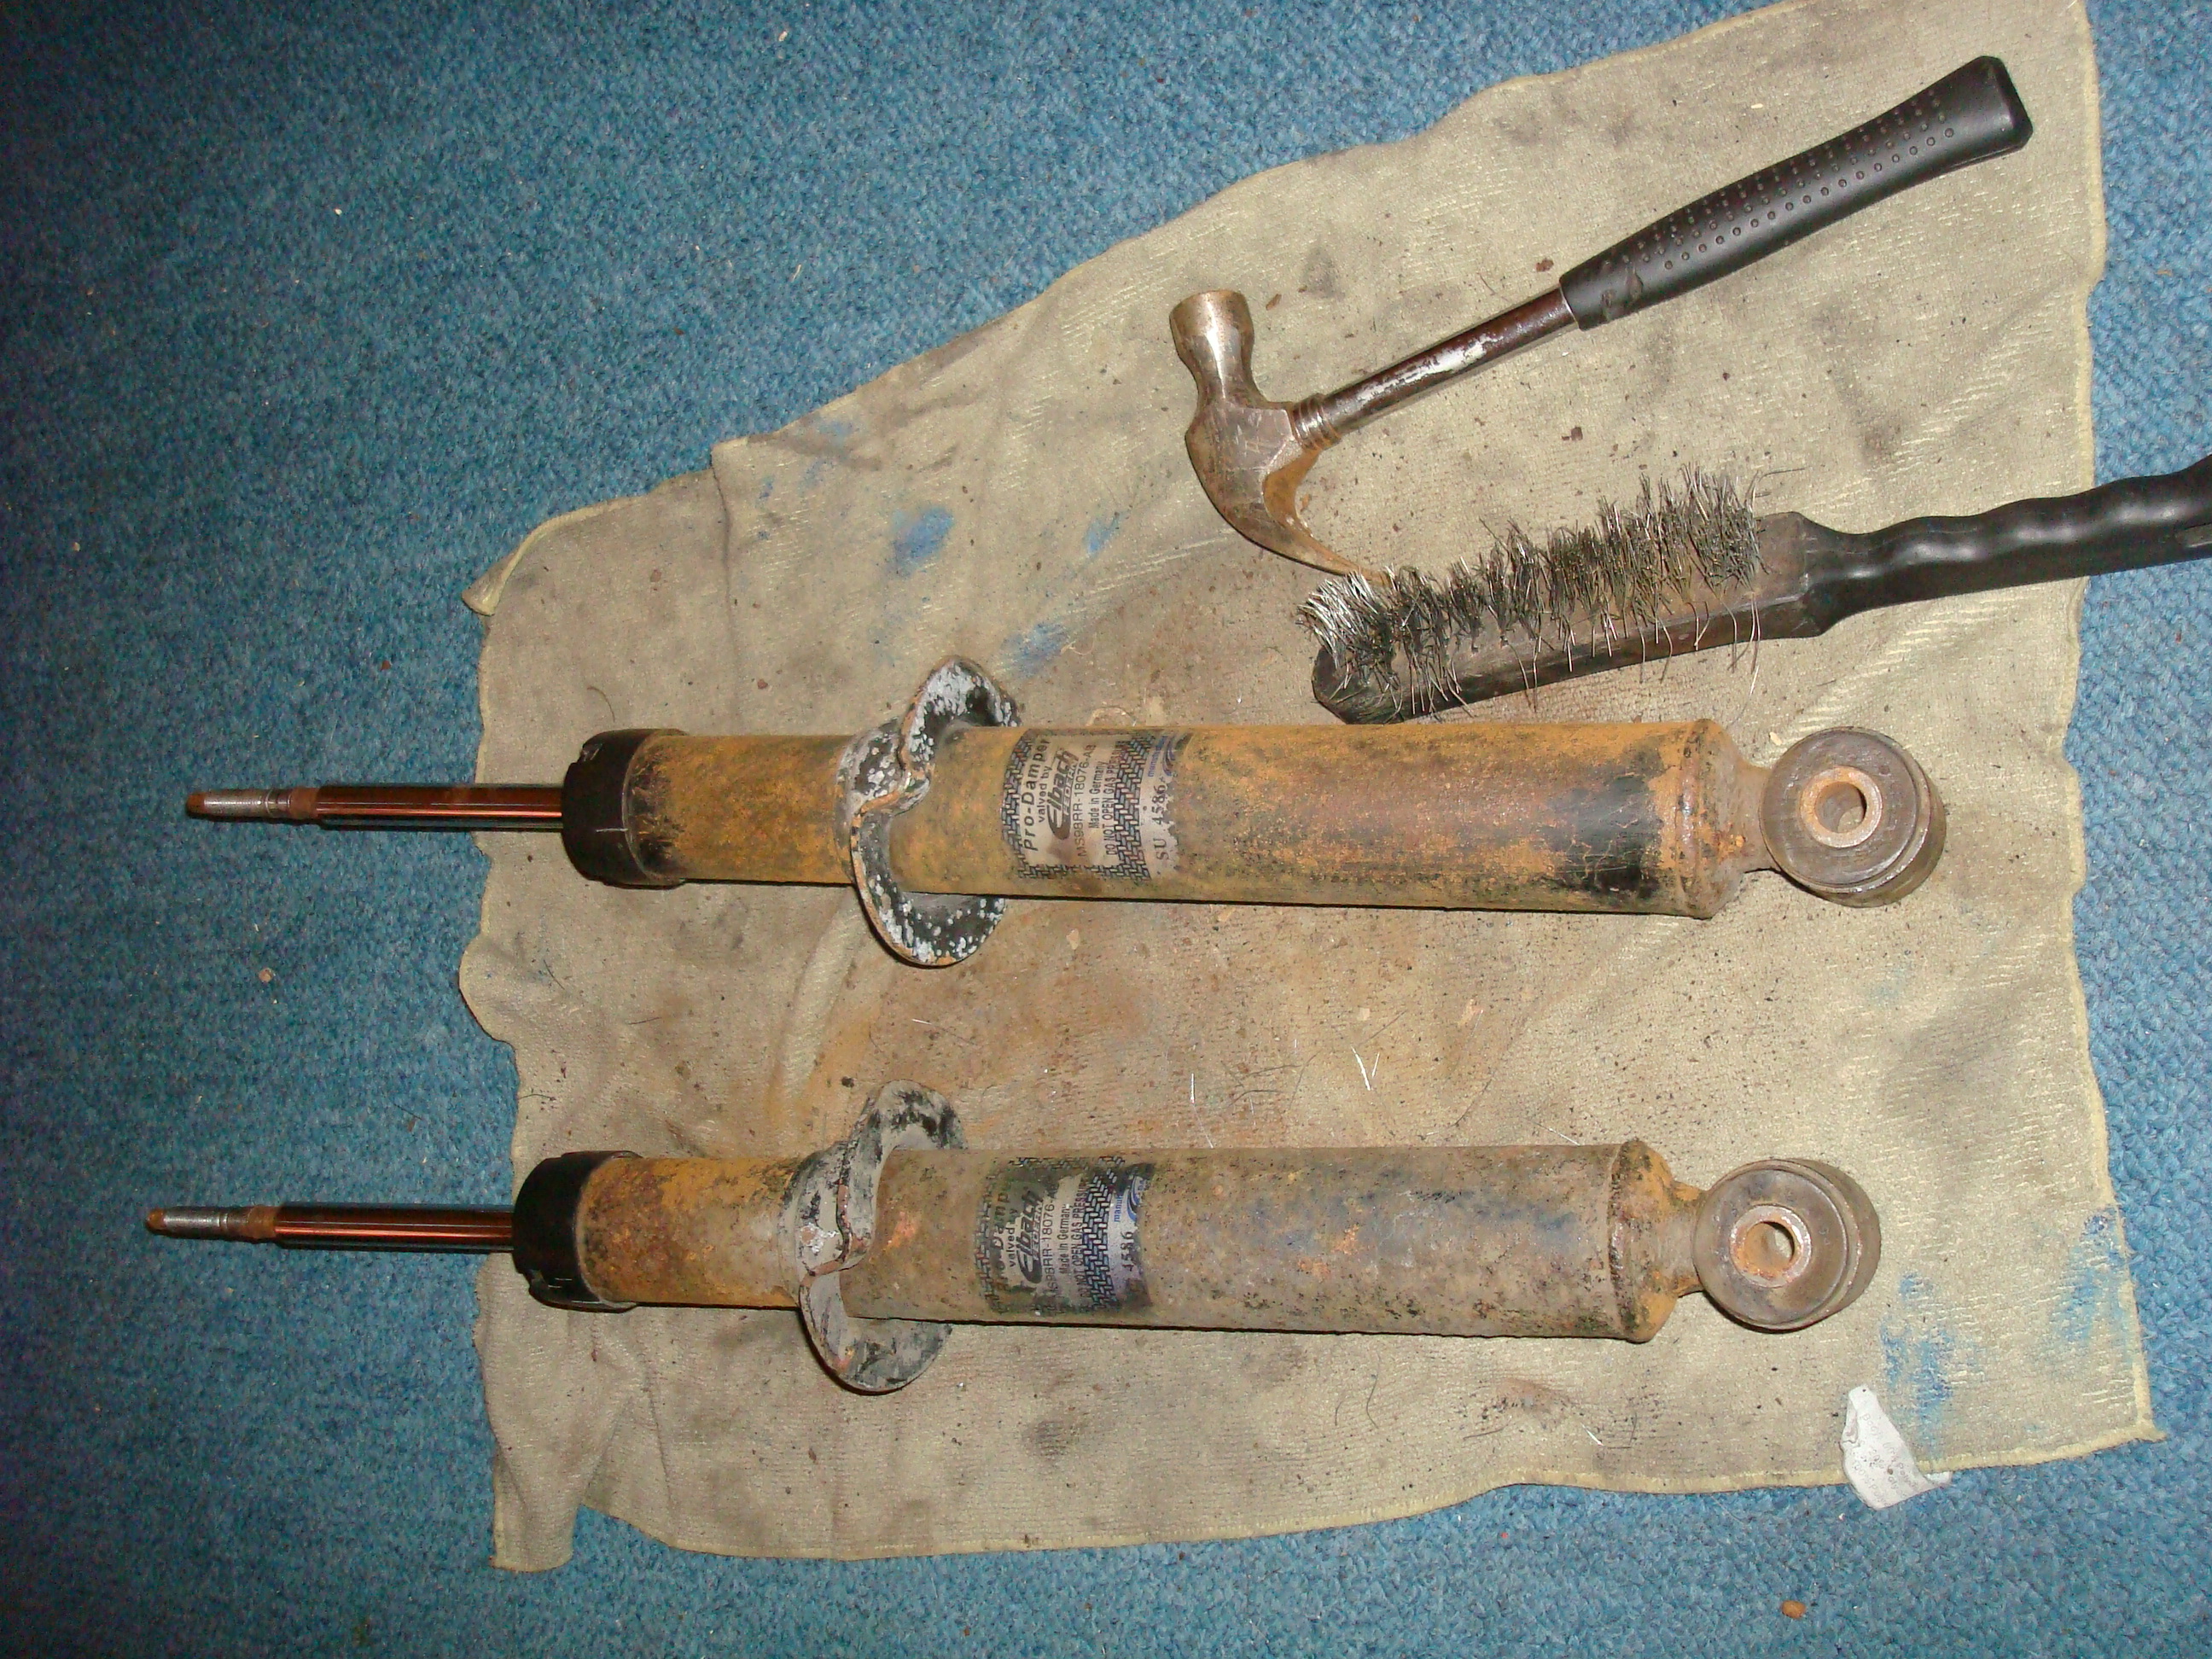
During:
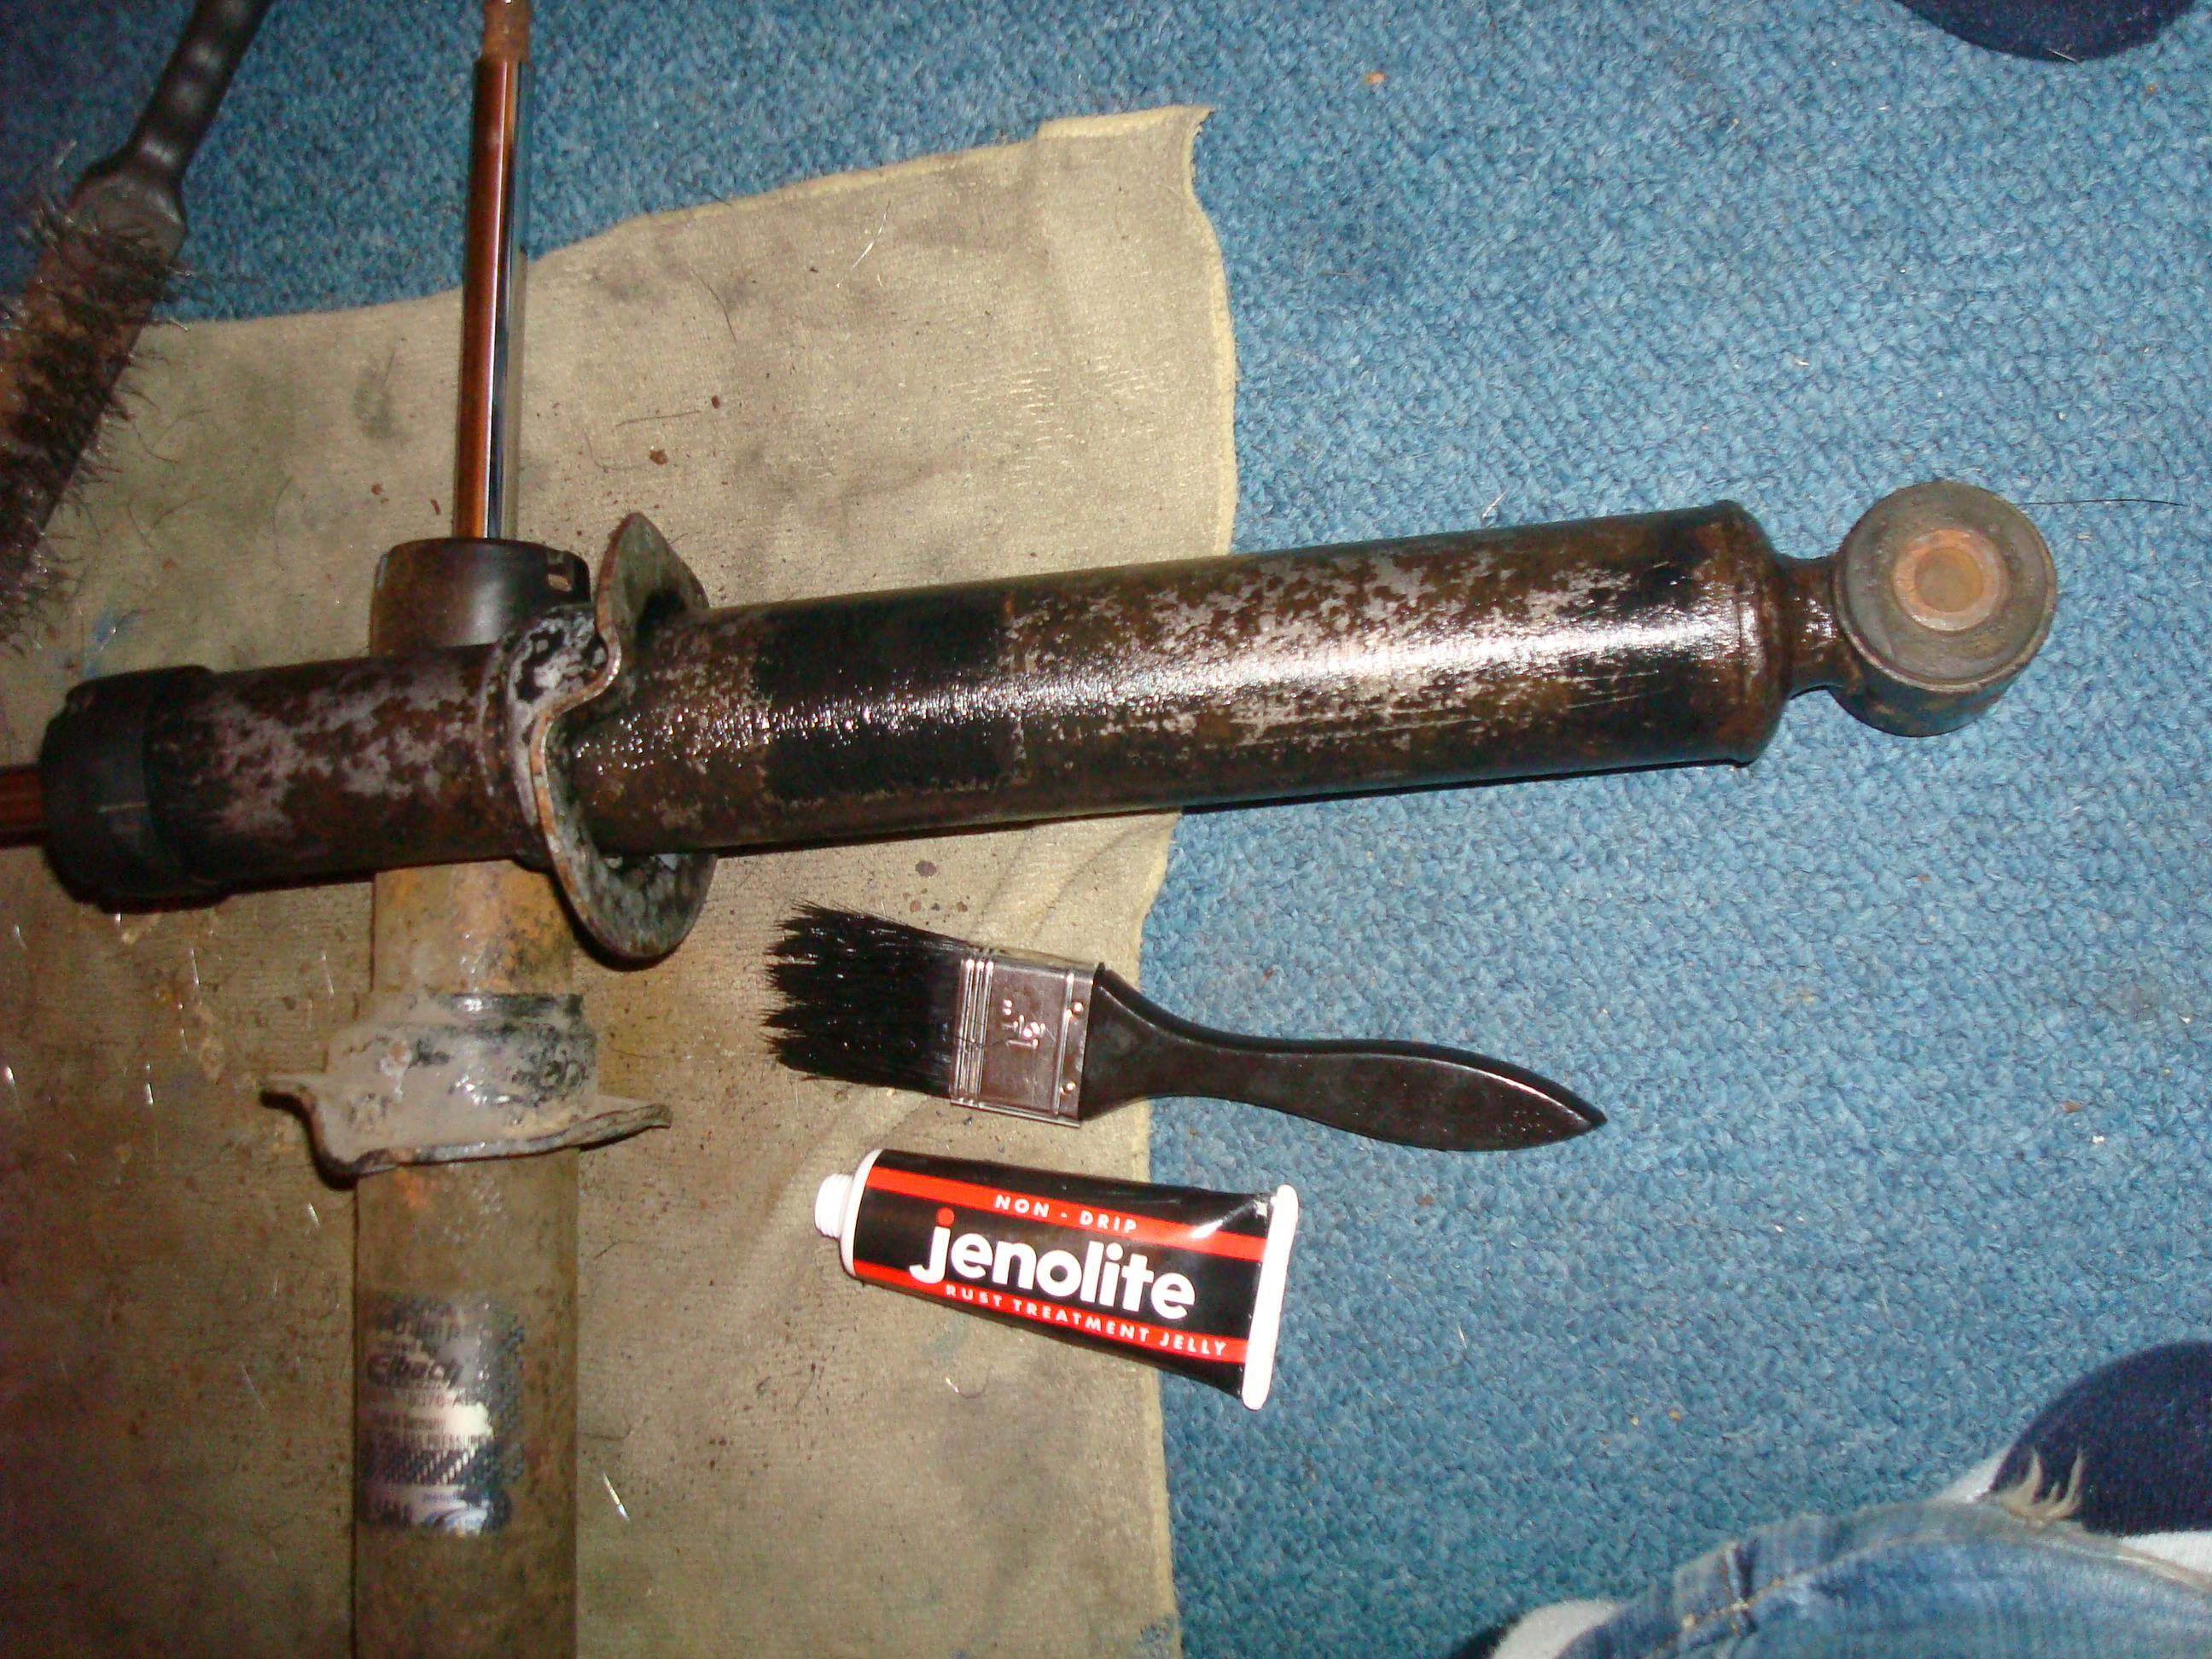
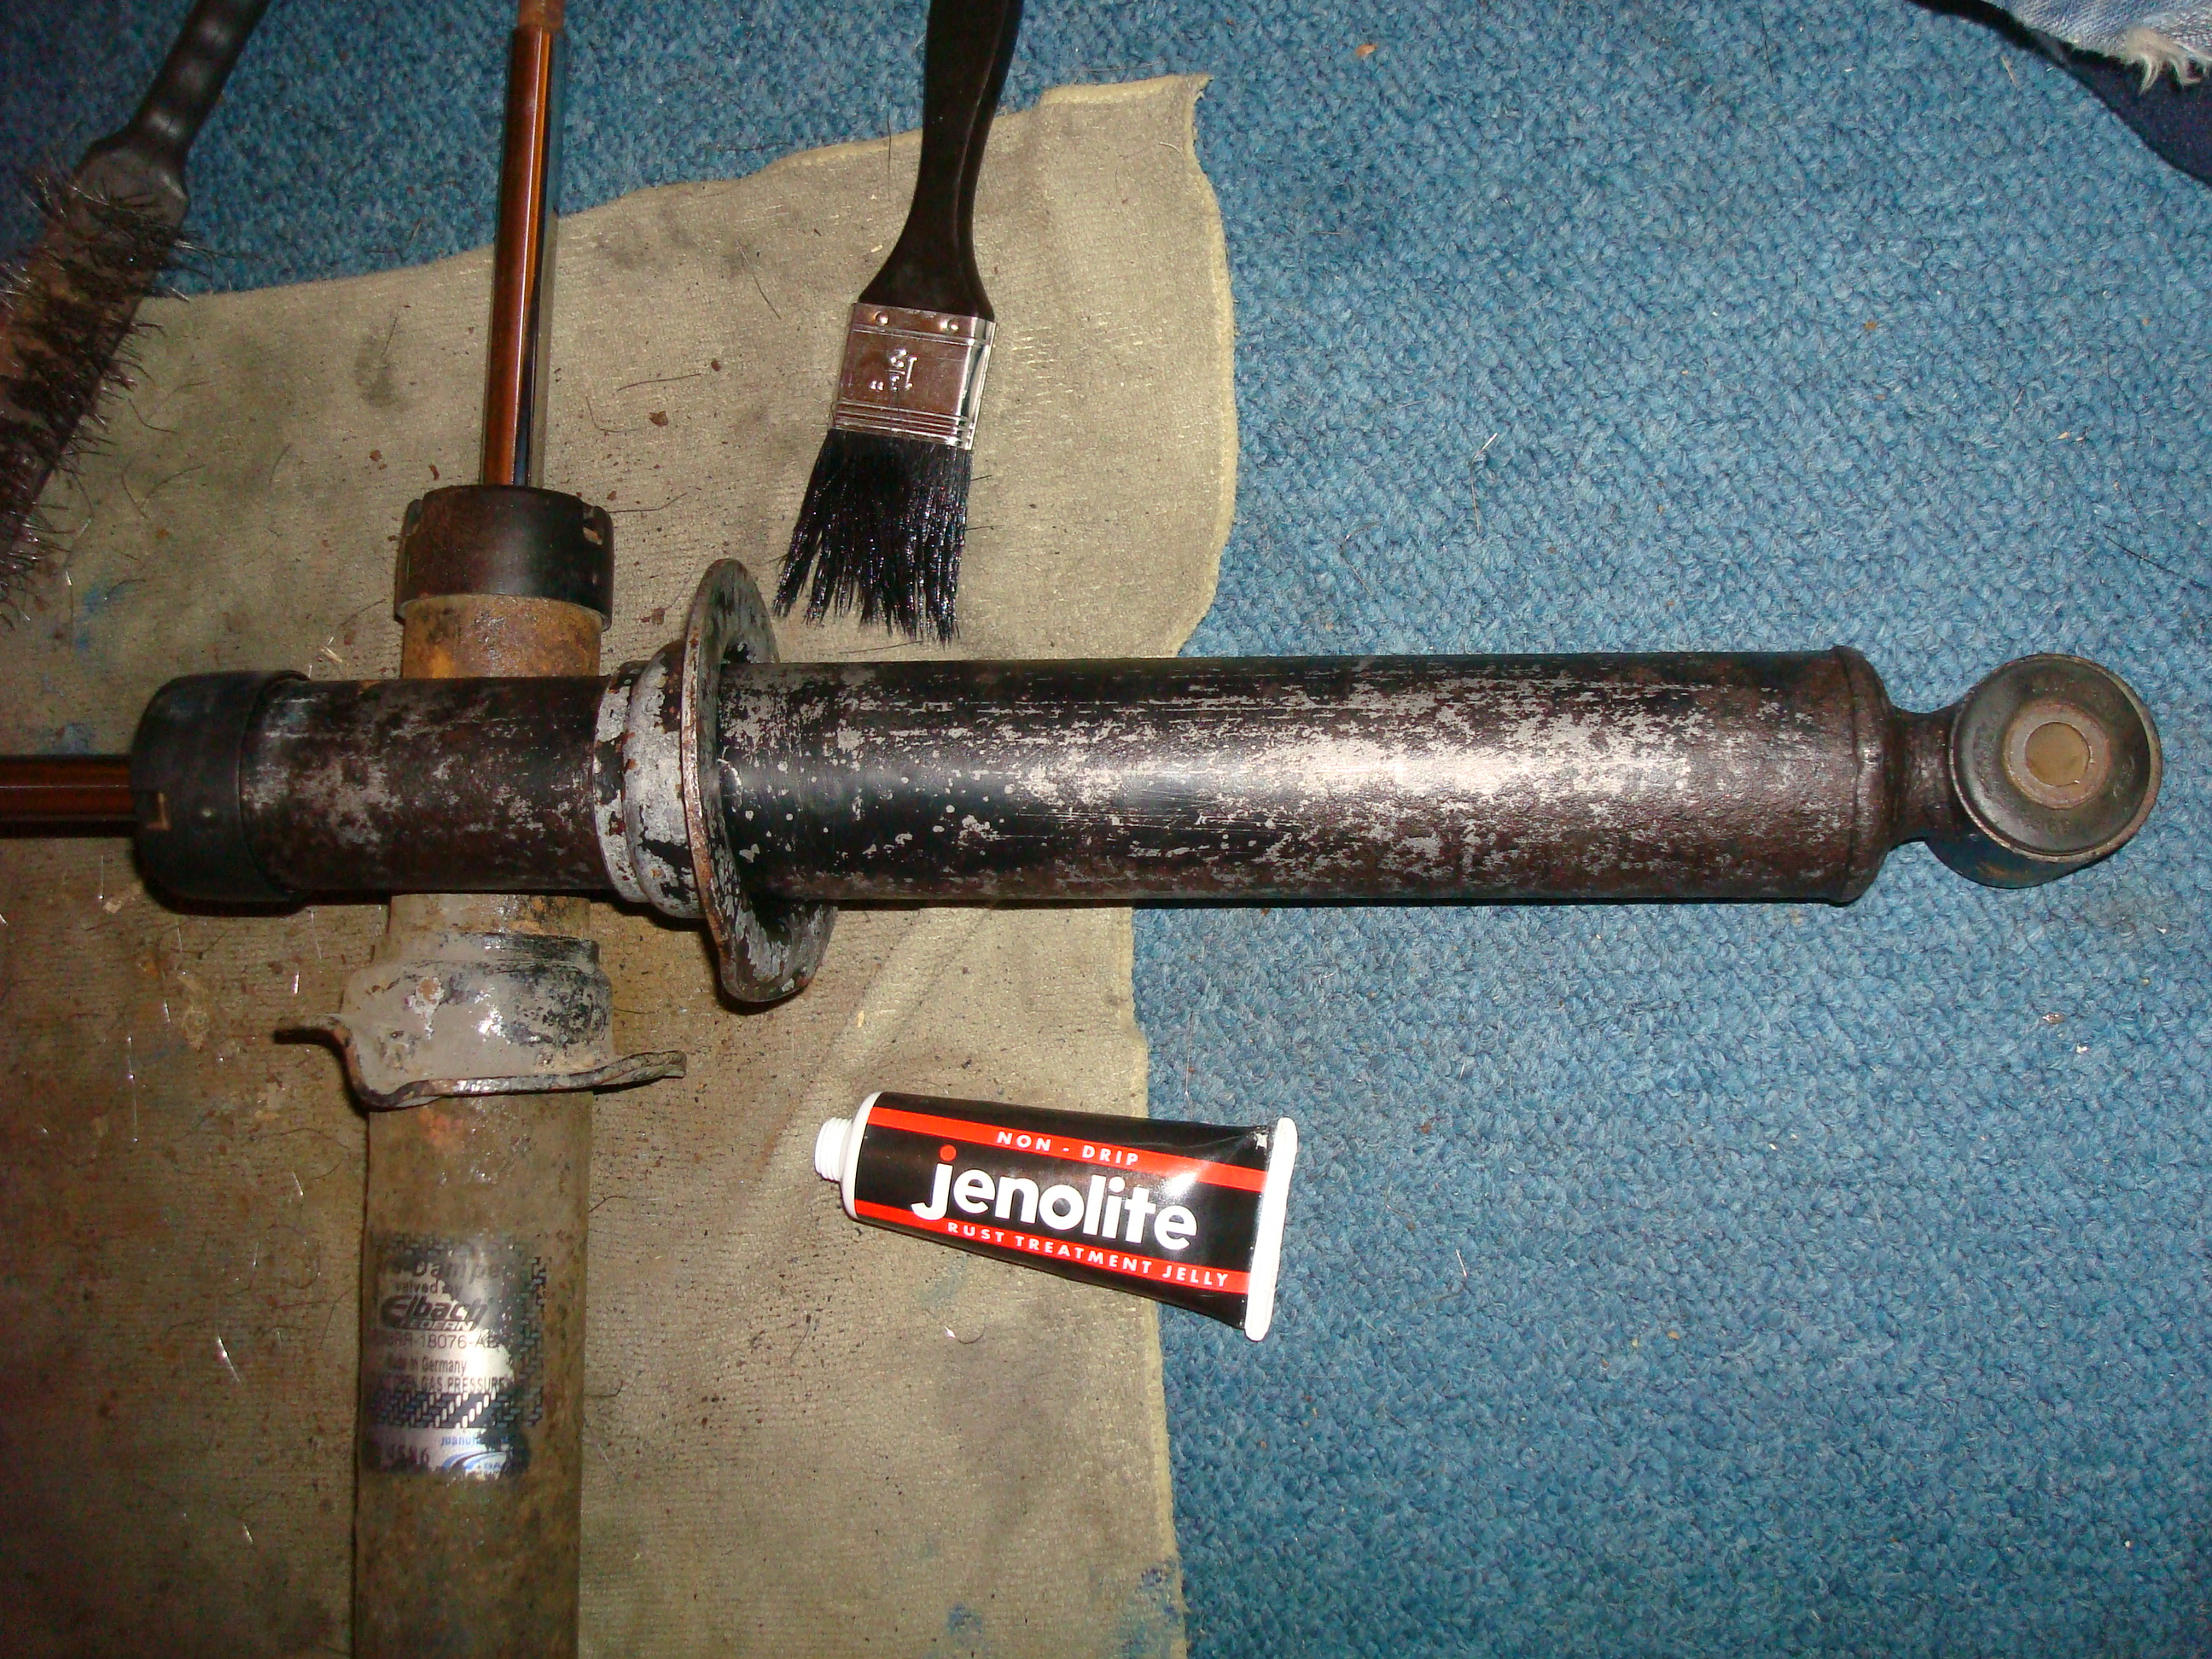
After:
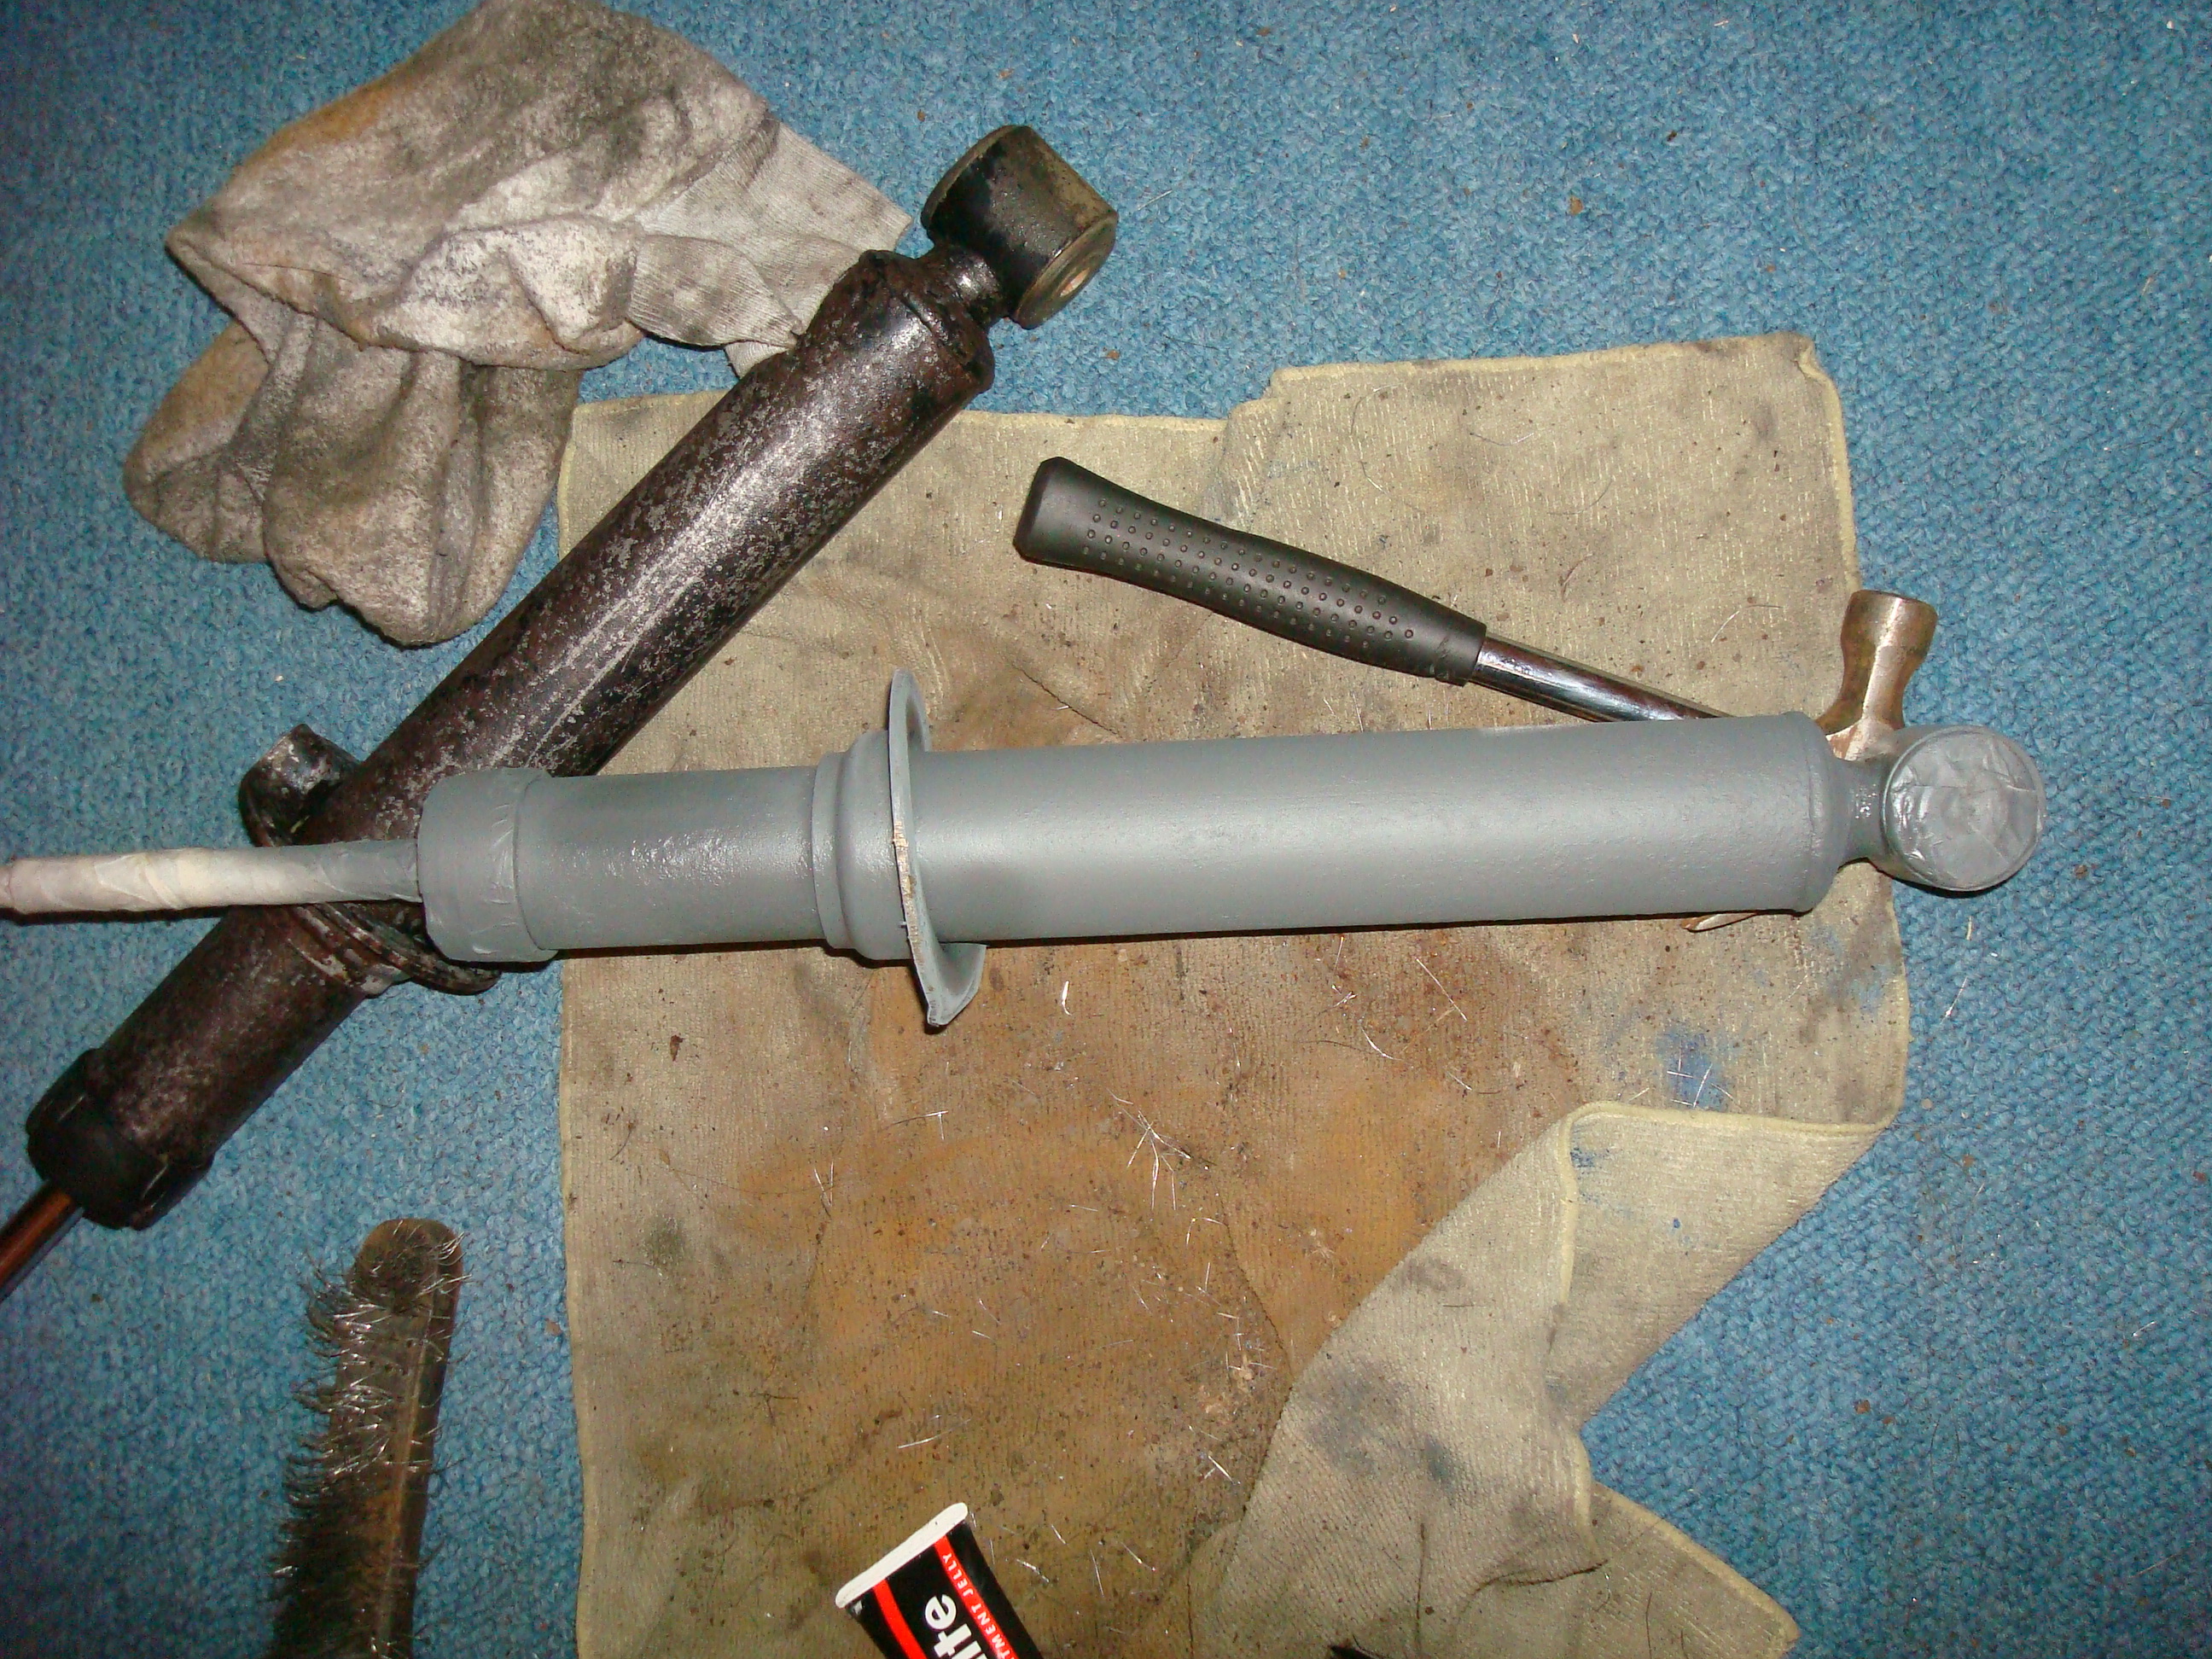

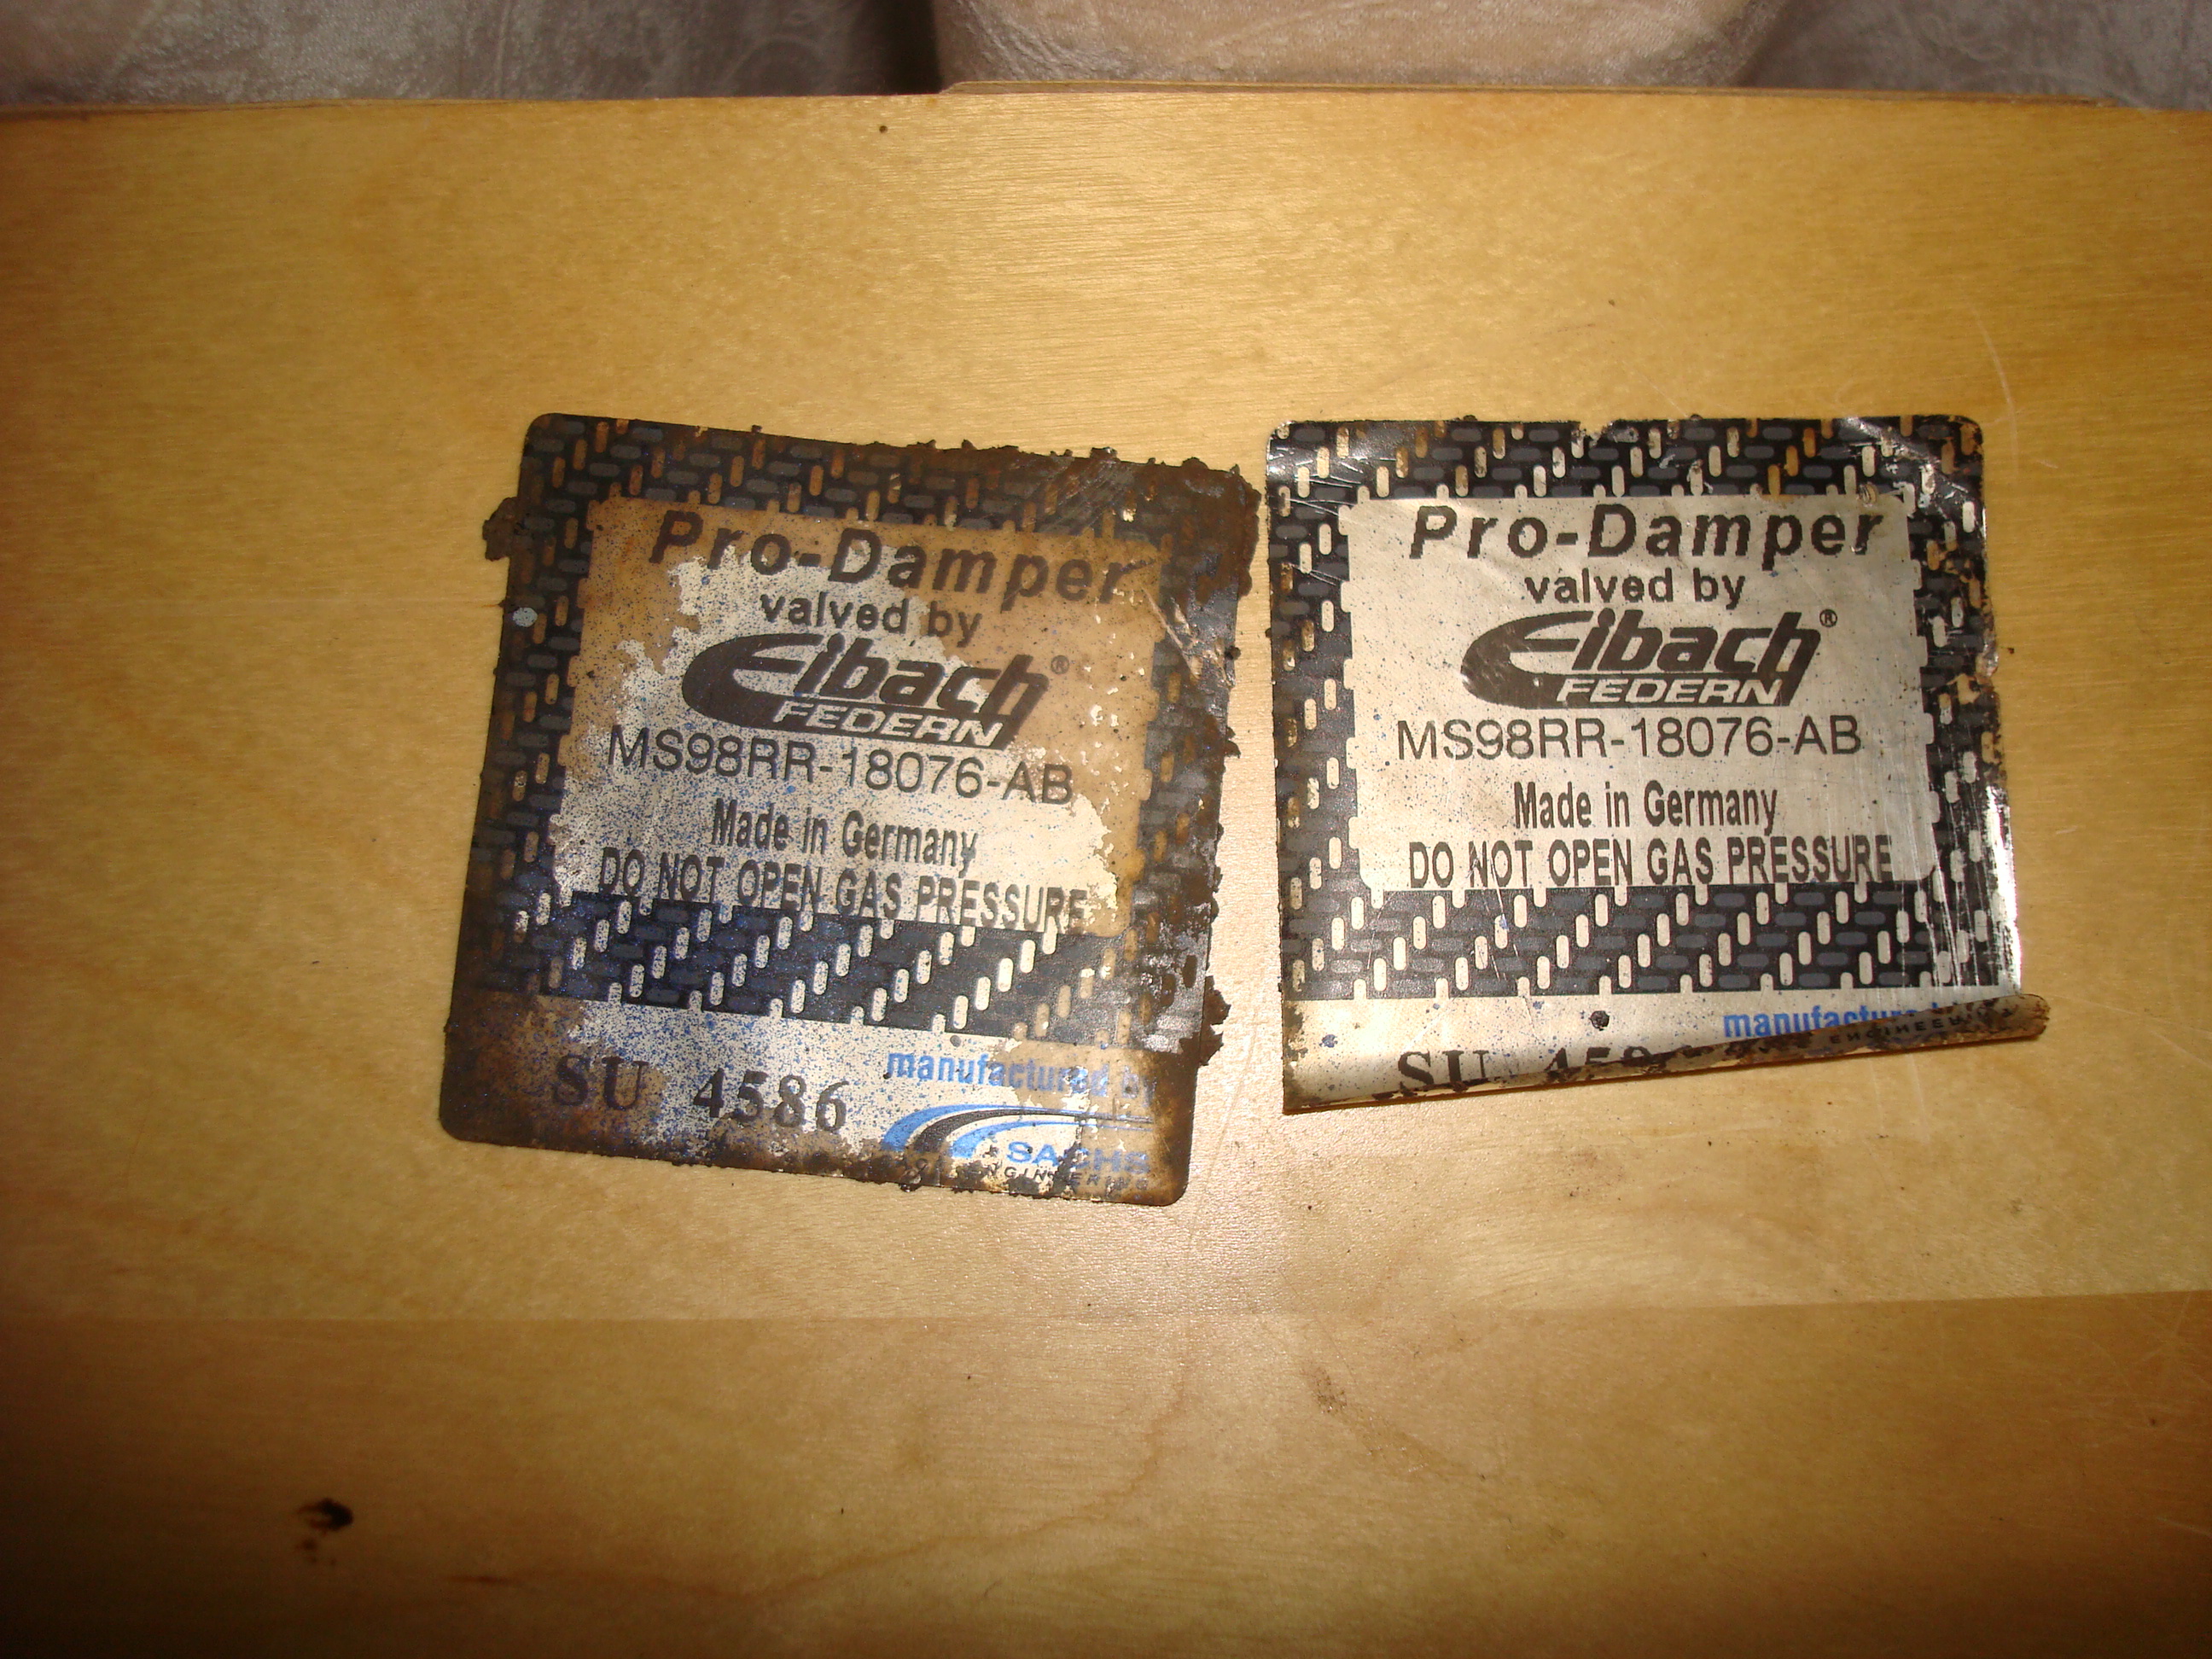
I have removed the Eibach stickers off them and hoping to clean them up and reapply, however not overly confident they will look good enough, so uncertain at the moment. Stupid question but do you think you can get replacement stickers?
David
Spent around an hour under the car working on one of the sills, will upload some photos tomorrow of an area I'm unsure what to do about and hopefully someone can suggest to me what my options are.
Started removing the rust off the suspension with a hammer and wire brush then applied some Jenolite with a brush to remove the orange stains, the finish was still a bit wruff in places however decided to spray the one in zinc grey primer to see what its like, pretty good finish tbh after just two coats, going to use Hammerite black smooth finish so hopefully that will make it look smooth giving a nice final finish.
Before:
During:
After:
I have removed the Eibach stickers off them and hoping to clean them up and reapply, however not overly confident they will look good enough, so uncertain at the moment. Stupid question but do you think you can get replacement stickers?
David
11-12-2009, 04:08 PM
#71
Wahay!! I've lost my Virginity!!
Thread Starter
Join Date: Dec 2009
Location: Malvern
Posts: 69
Likes: 0
Received 0 Likes
on
0 Posts
Friday 11/12/2009
Show registration plate turned up today from a ex FRP owner on the rpoc forum (thanks Daz)
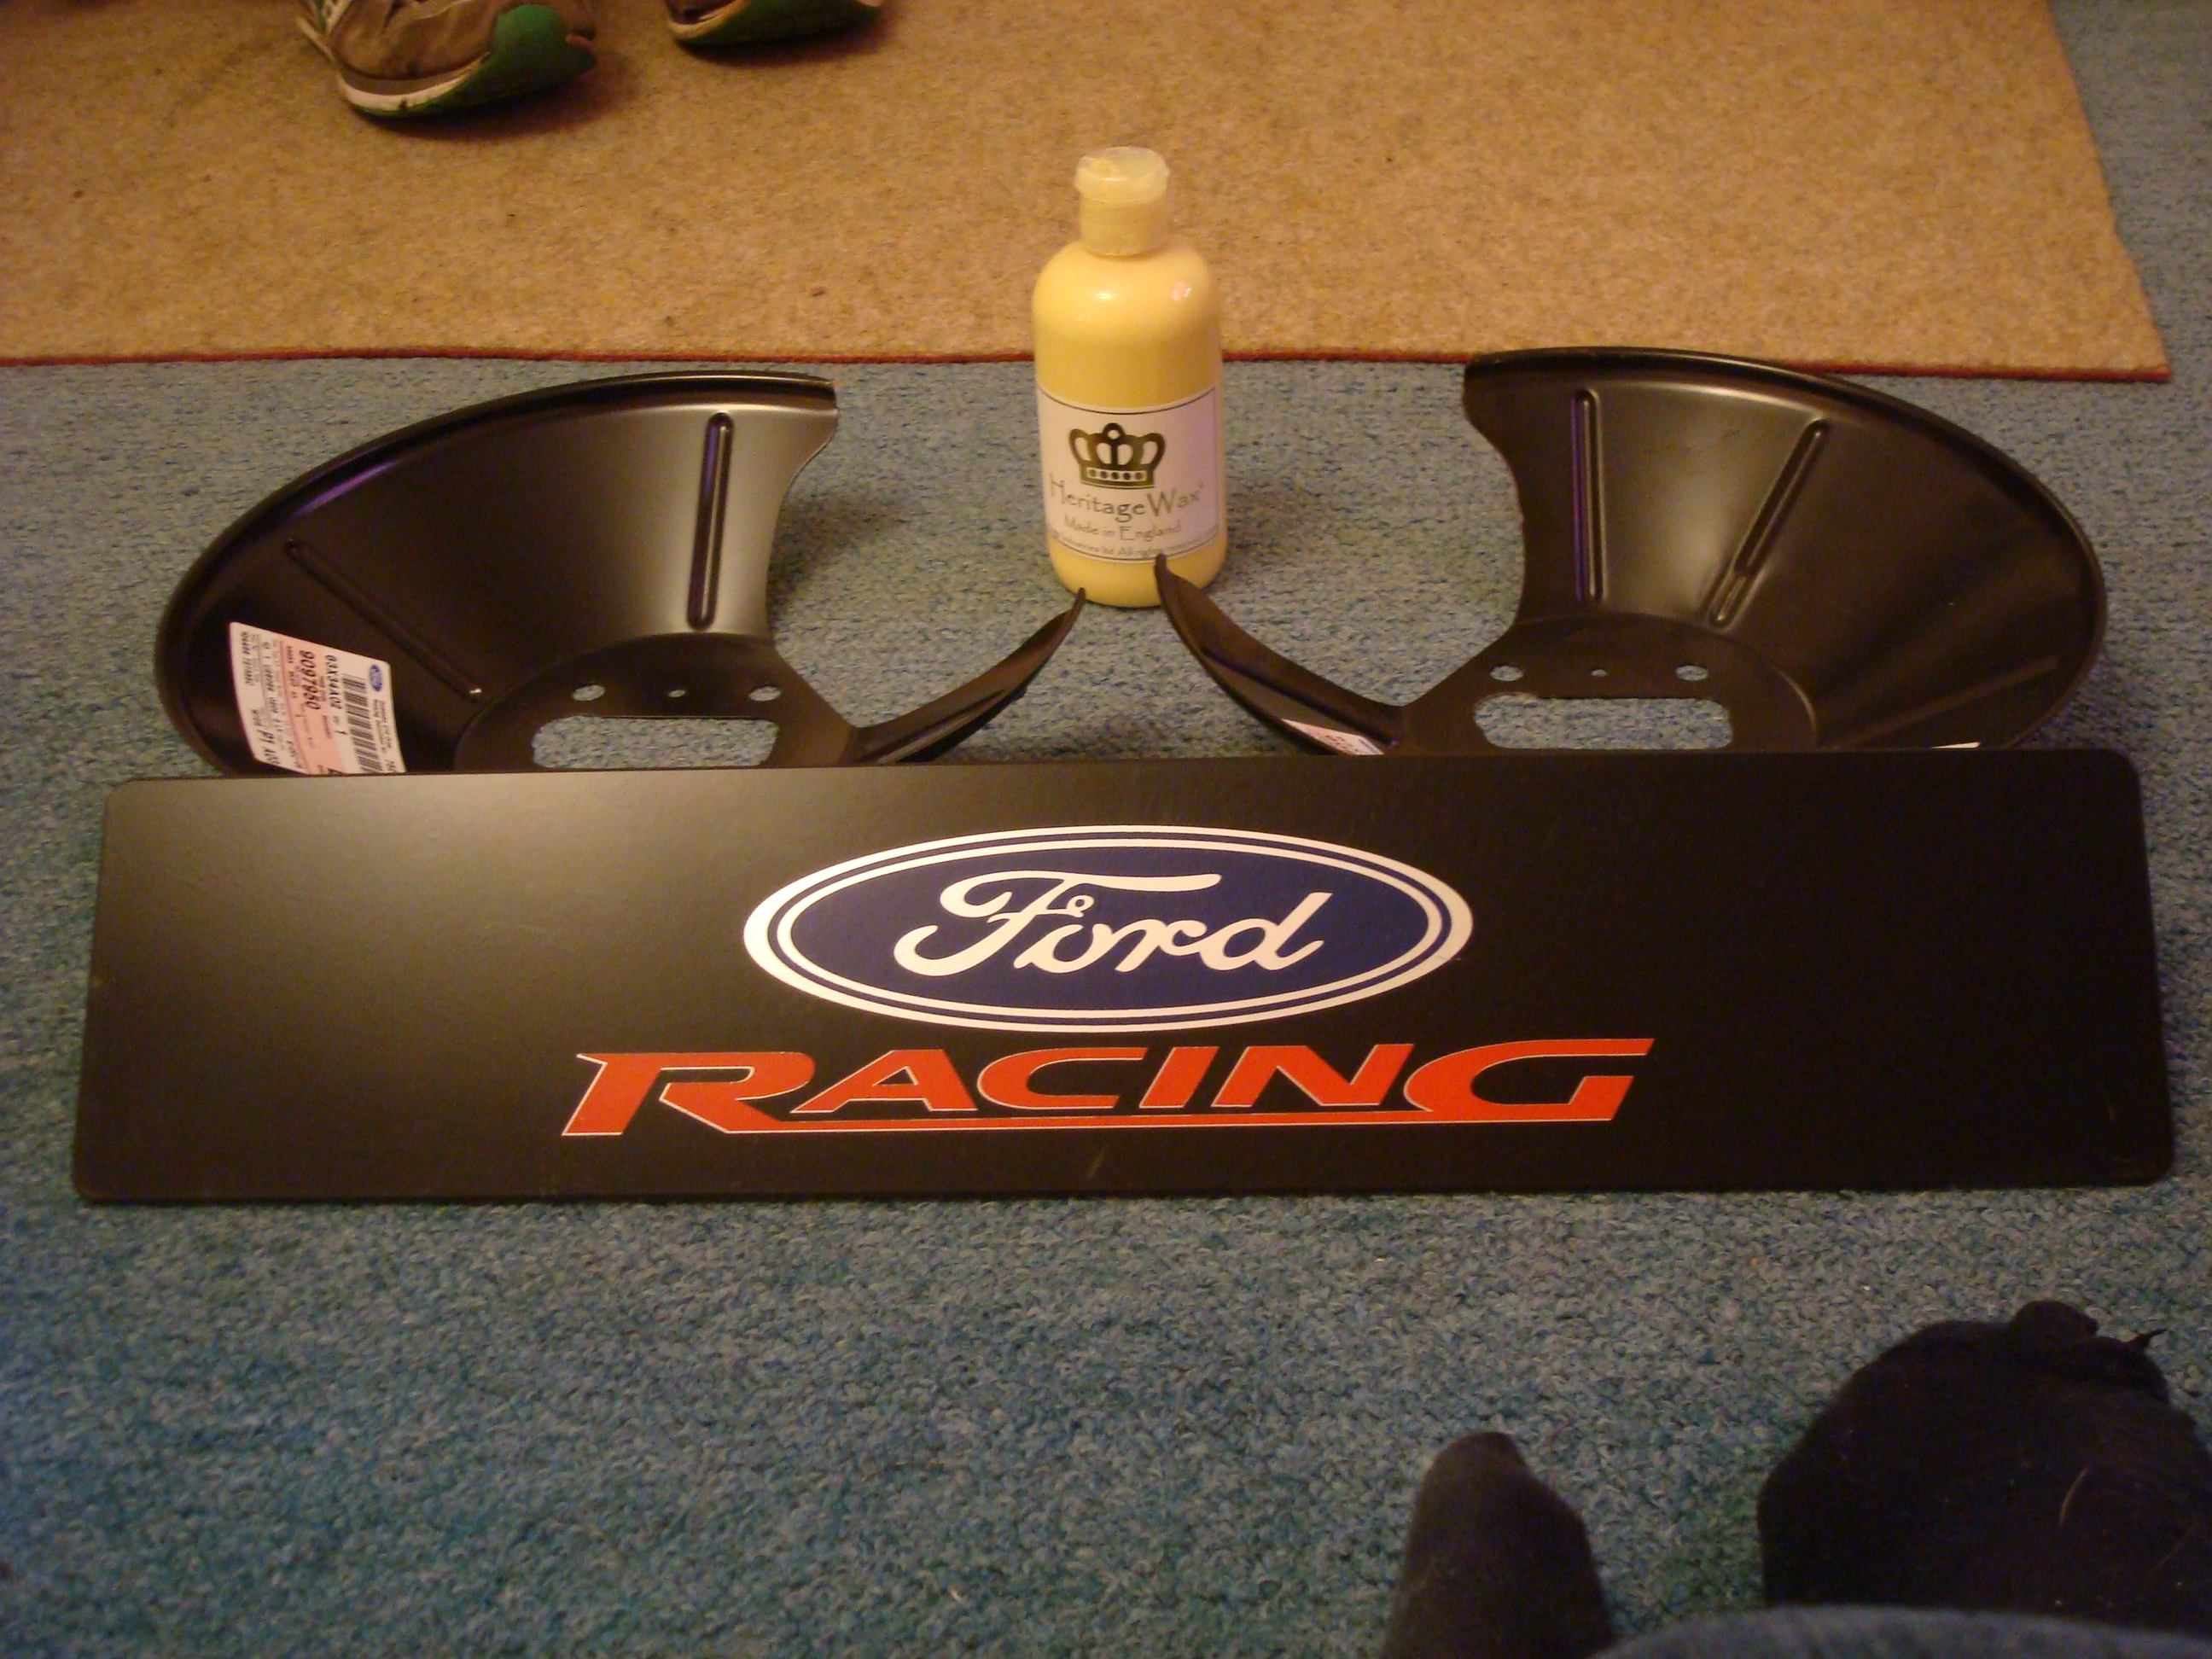
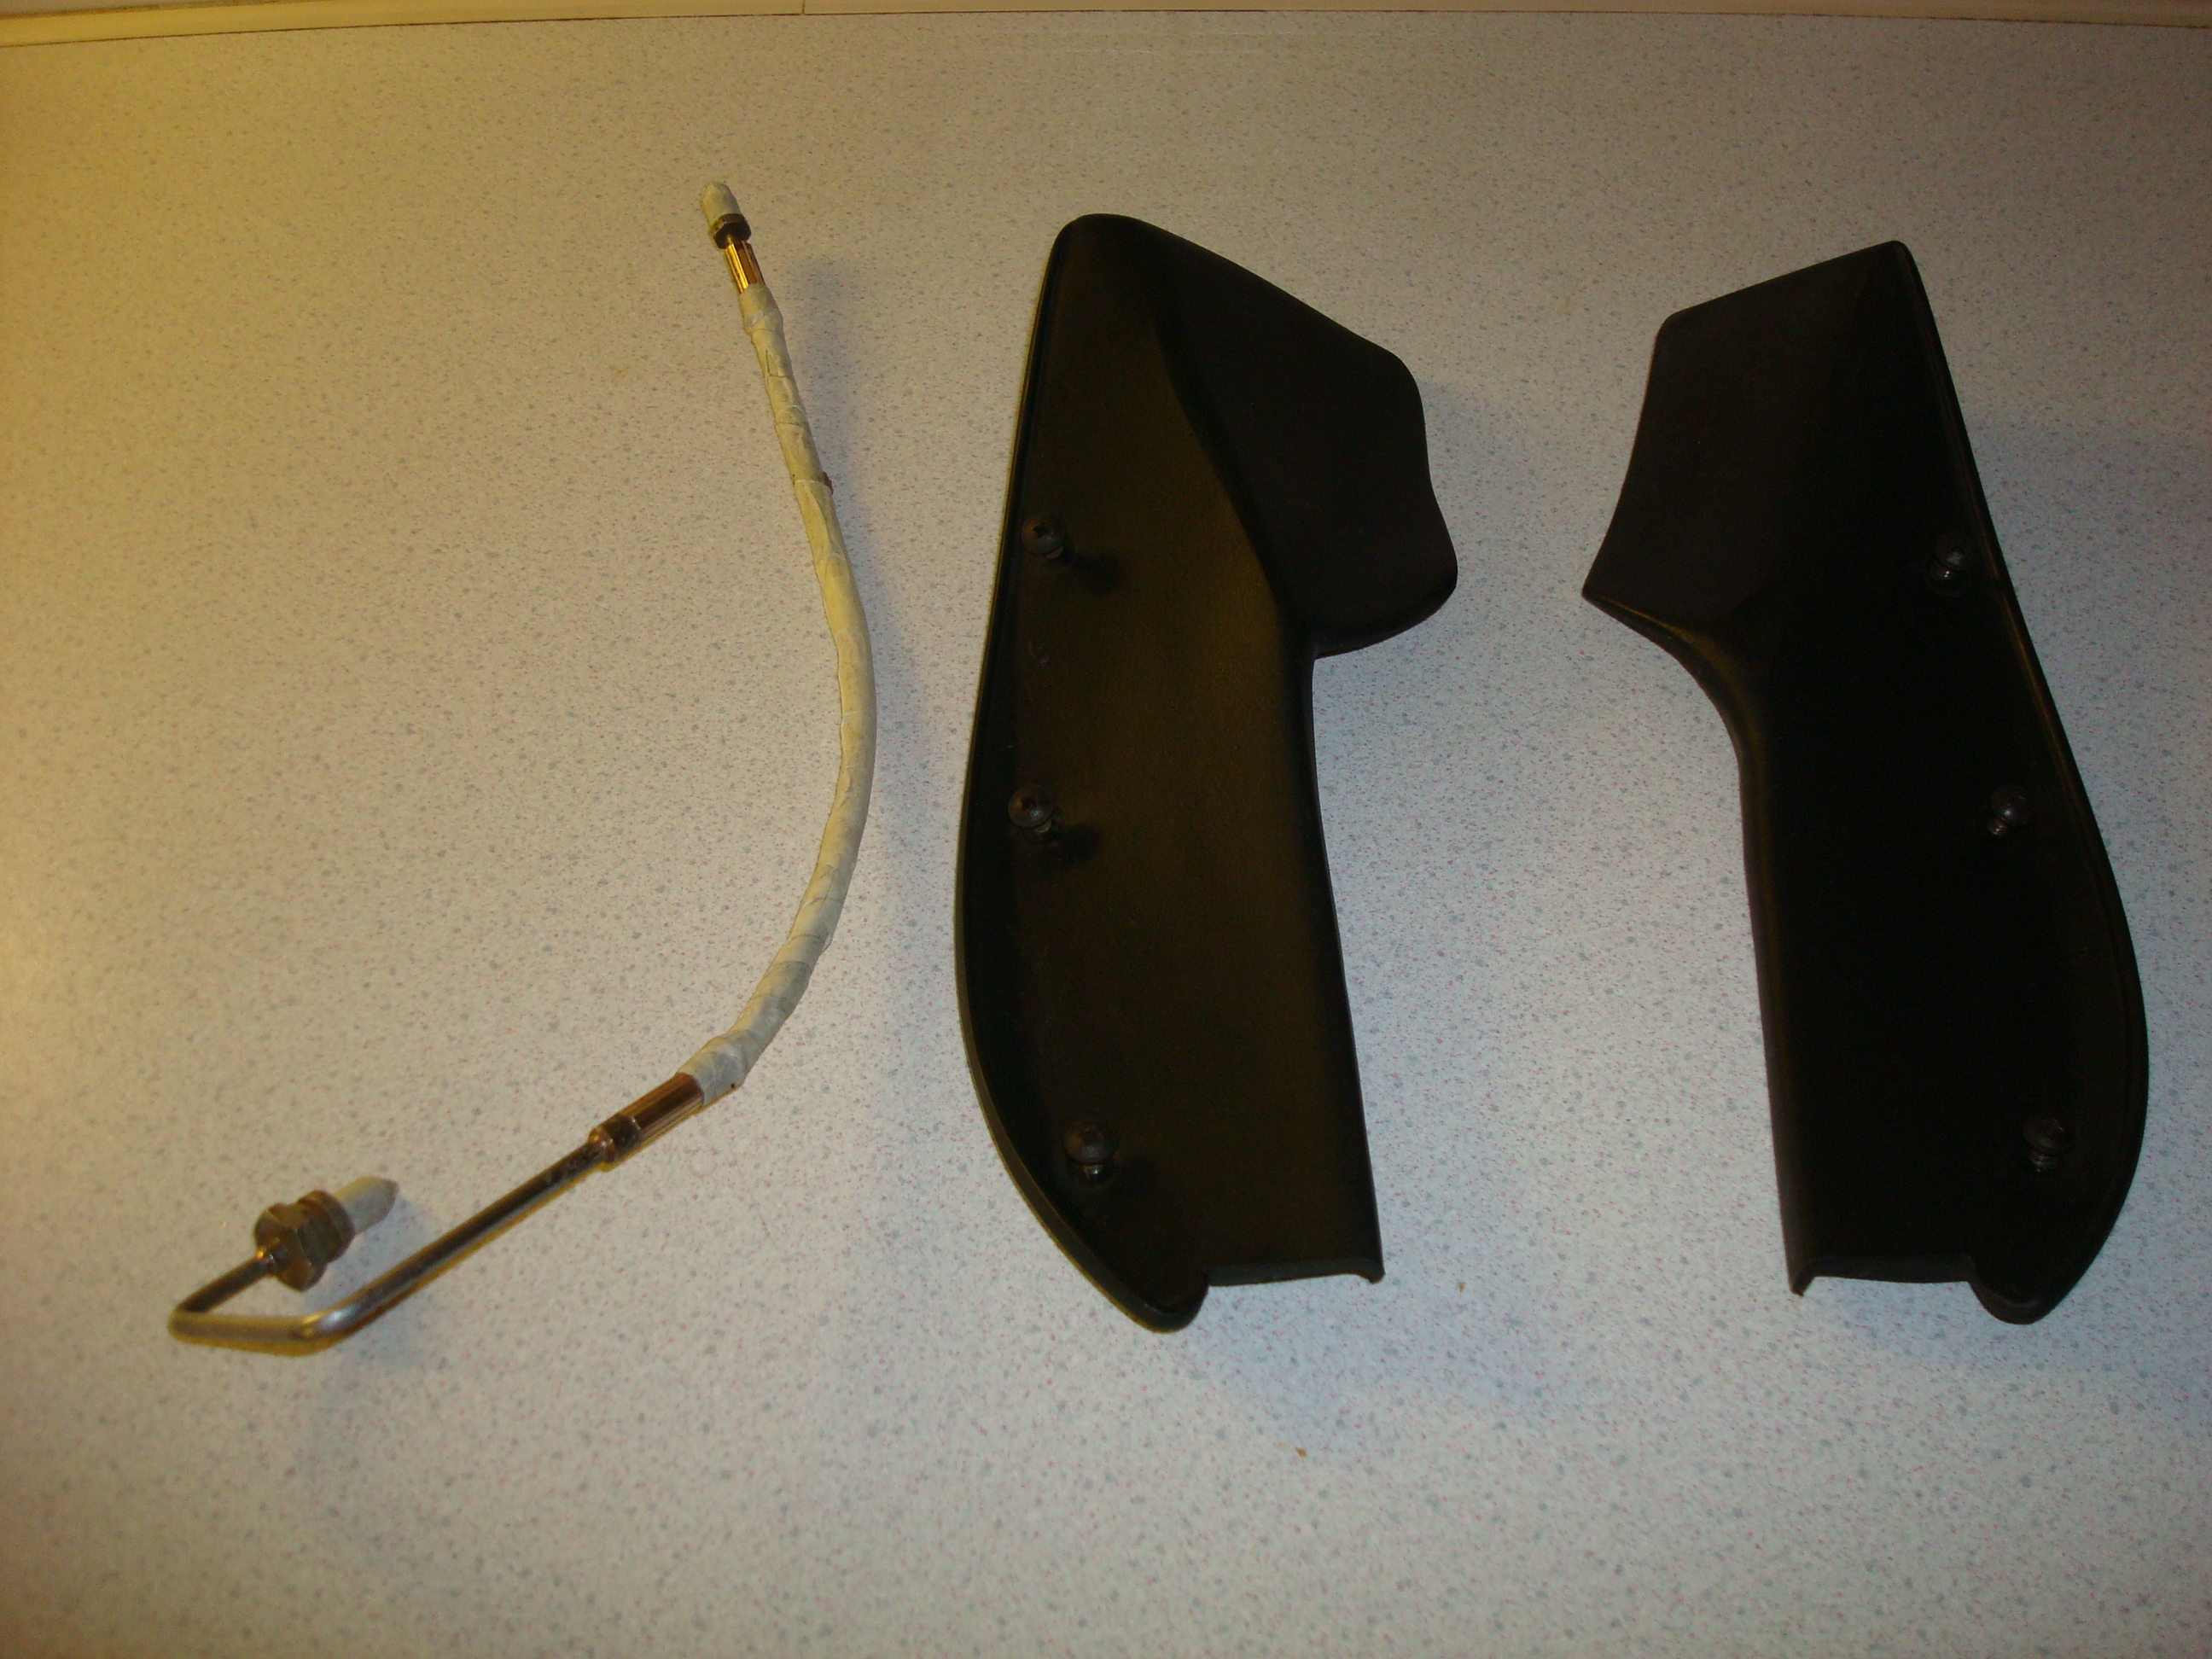
Popped up to Ford to collect my replacement splash guards @ a whopping �4.60
Received another wax from a sale on www.detailingworld.co.uk to add to my collection
Expecting delivery of my coated nuts and bolts later so hopefully i'll upload some photos later.
David
Show registration plate turned up today from a ex FRP owner on the rpoc forum (thanks Daz)
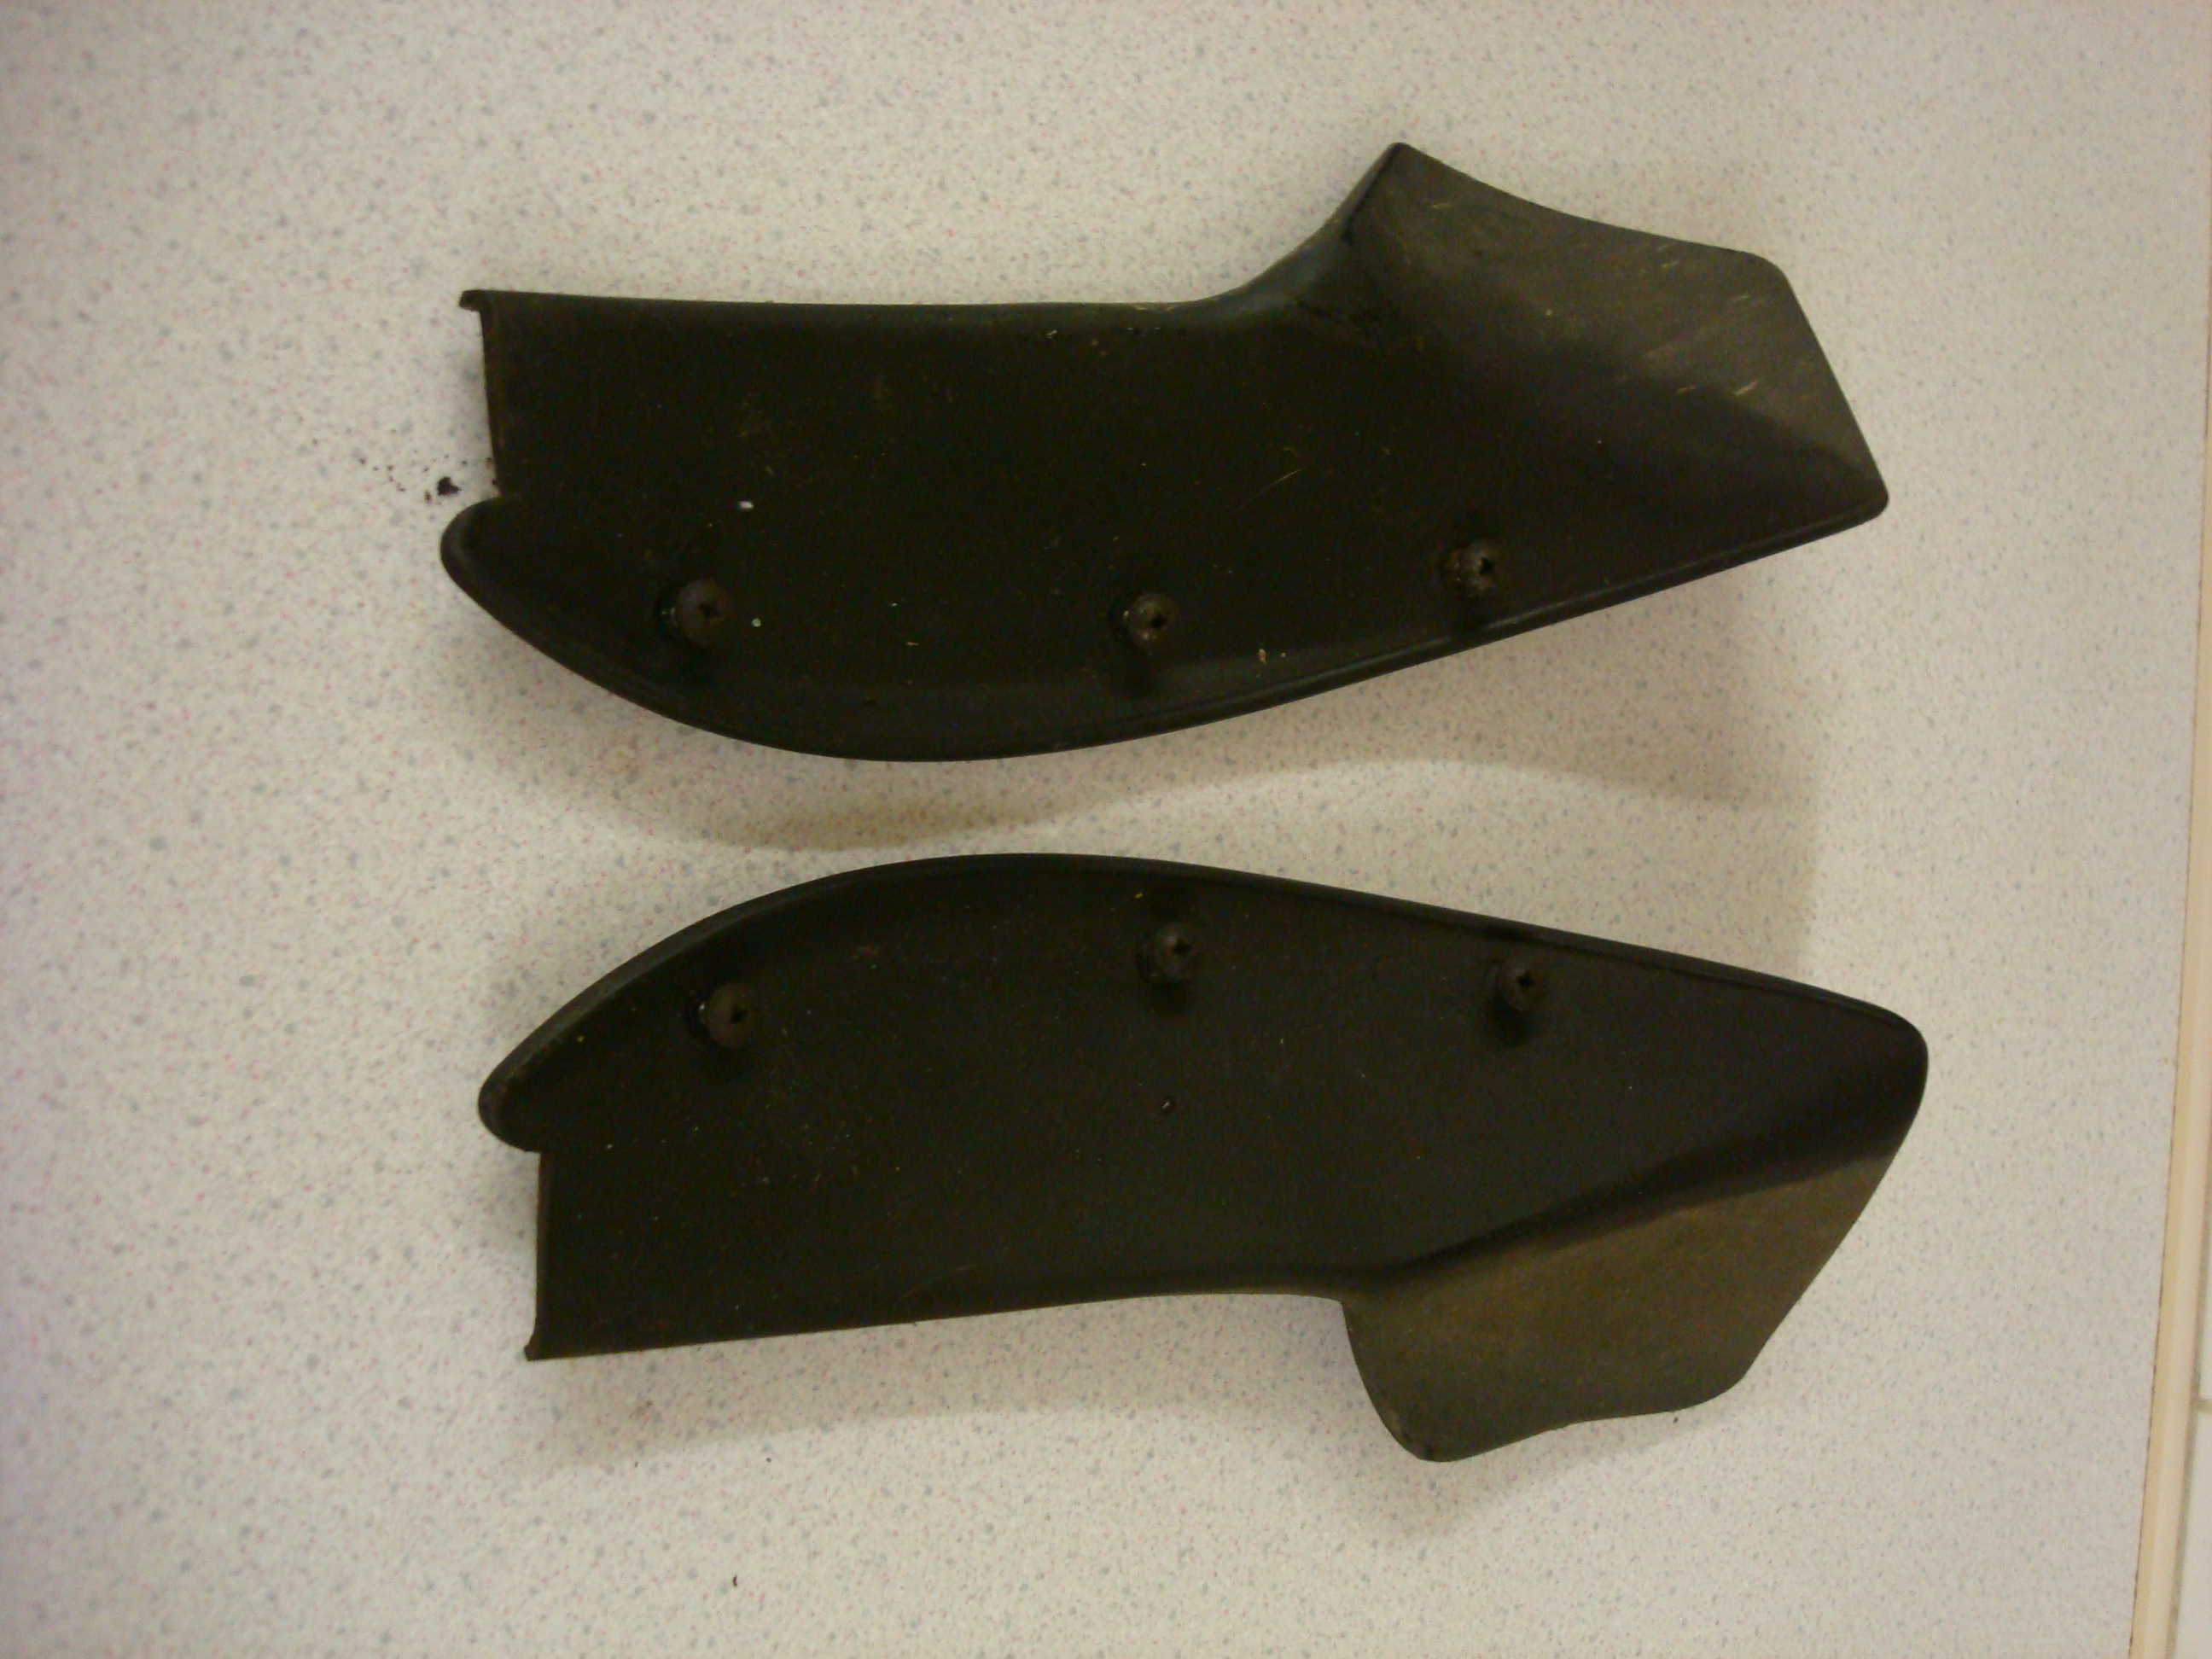
Popped up to Ford to collect my replacement splash guards @ a whopping �4.60
Received another wax from a sale on www.detailingworld.co.uk to add to my collection
Expecting delivery of my coated nuts and bolts later so hopefully i'll upload some photos later.
David
11-12-2009, 04:45 PM
#72
Wahay!! I've lost my Virginity!!
Thread Starter
Join Date: Dec 2009
Location: Malvern
Posts: 69
Likes: 0
Received 0 Likes
on
0 Posts
Wouldn't believe it managed to find someone on the rpoc forum who has some for sale

David
11-12-2009, 07:11 PM
#73
Shawspeed zs

Join Date: May 2009
Location: Blaina
Posts: 211
Likes: 0
Received 0 Likes
on
0 Posts
wicked thread mate the whls look amazing!!!!!
i would say a definate yes that the sensors are fucked! they are the same set up as the zs and a stupidly sensitive!! have a search on ebay for sensors mate you can get them cheaper than that!! ive had 3 haha
i would say a definate yes that the sensors are fucked! they are the same set up as the zs and a stupidly sensitive!! have a search on ebay for sensors mate you can get them cheaper than that!! ive had 3 haha
11-12-2009, 10:37 PM
#74
Wahay!! I've lost my Virginity!!
Thread Starter
Join Date: Dec 2009
Location: Malvern
Posts: 69
Likes: 0
Received 0 Likes
on
0 Posts
Friday 11/12/2009 (Pissed up )
Started paining the rear suspension arms in Hammerite smooth finish, not really getting the finish I want as uber shiney and showing off the imperfections to much, going to sand the paint back slightly and spray over with a satin Hammerite finish, hopefully giving a new finish look.
Nice think layers of paint, enough to flat back and spray up with satin finish.
Hammered David (off to town now)
14-12-2009, 11:52 AM
#75
Wahay!! I've lost my Virginity!!
Thread Starter
Join Date: Dec 2009
Location: Malvern
Posts: 69
Likes: 0
Received 0 Likes
on
0 Posts
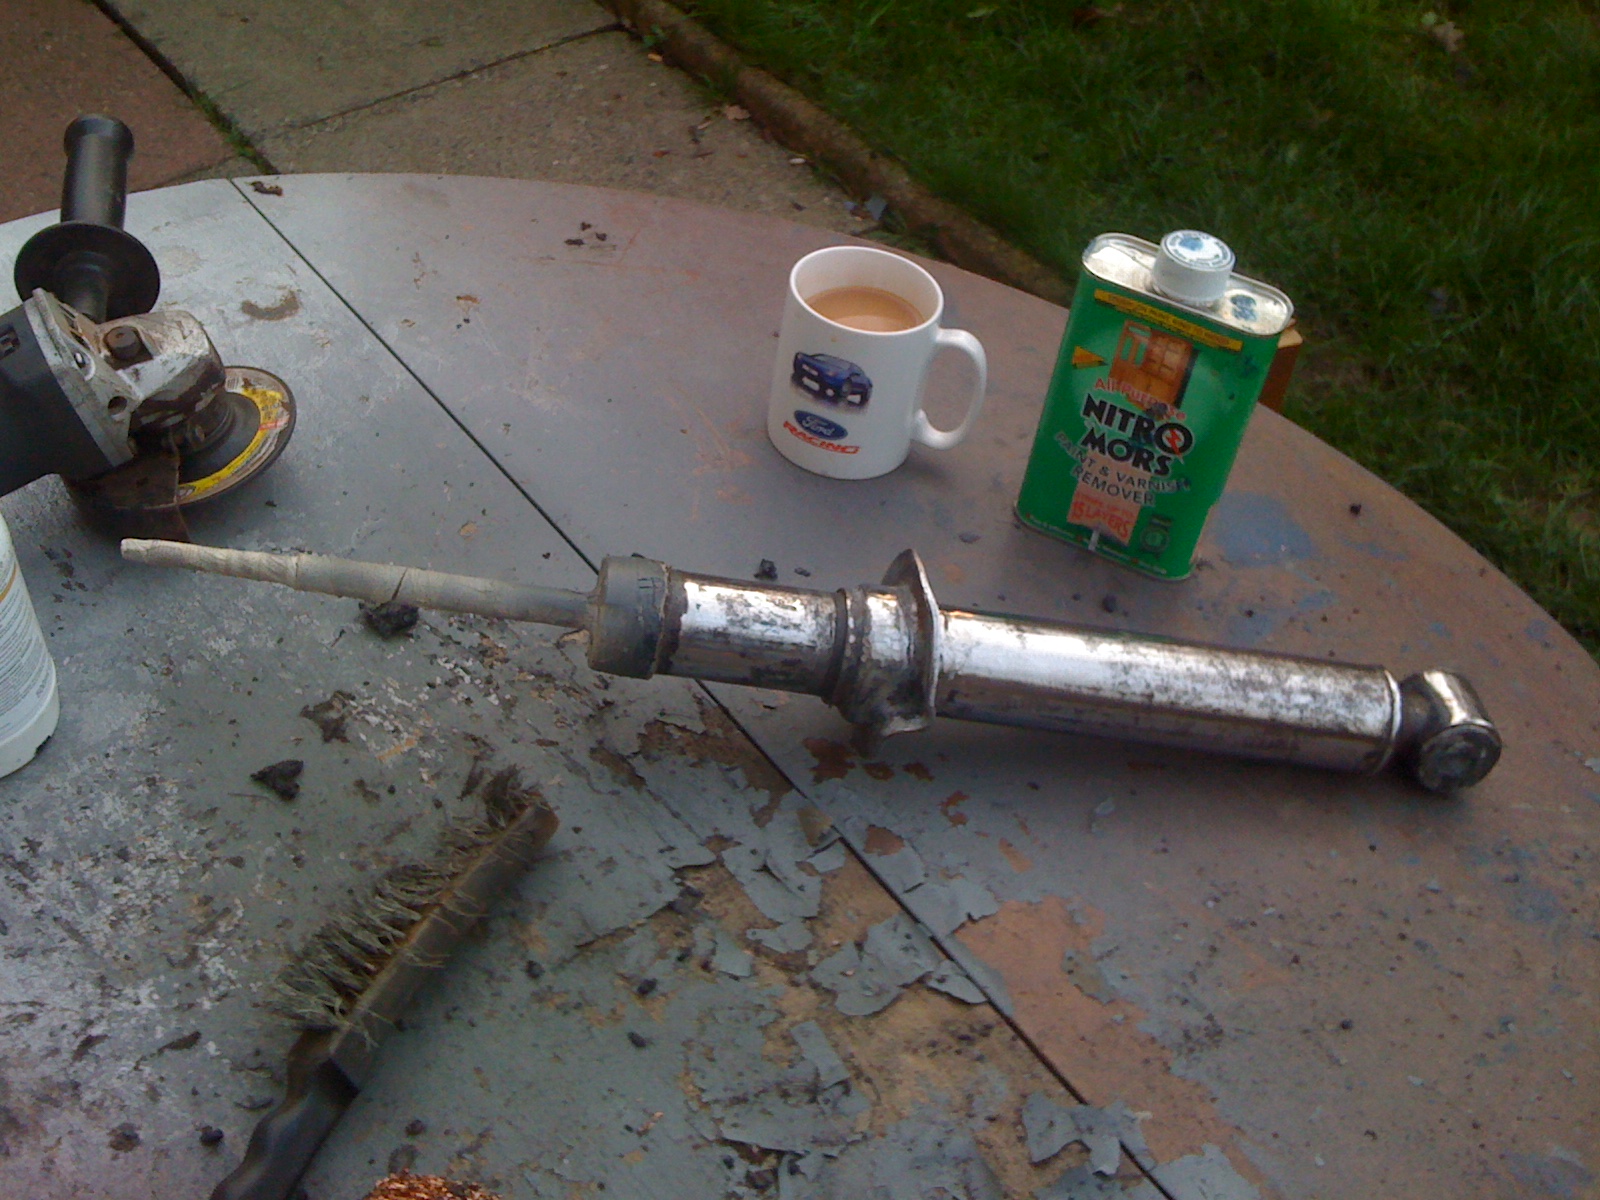
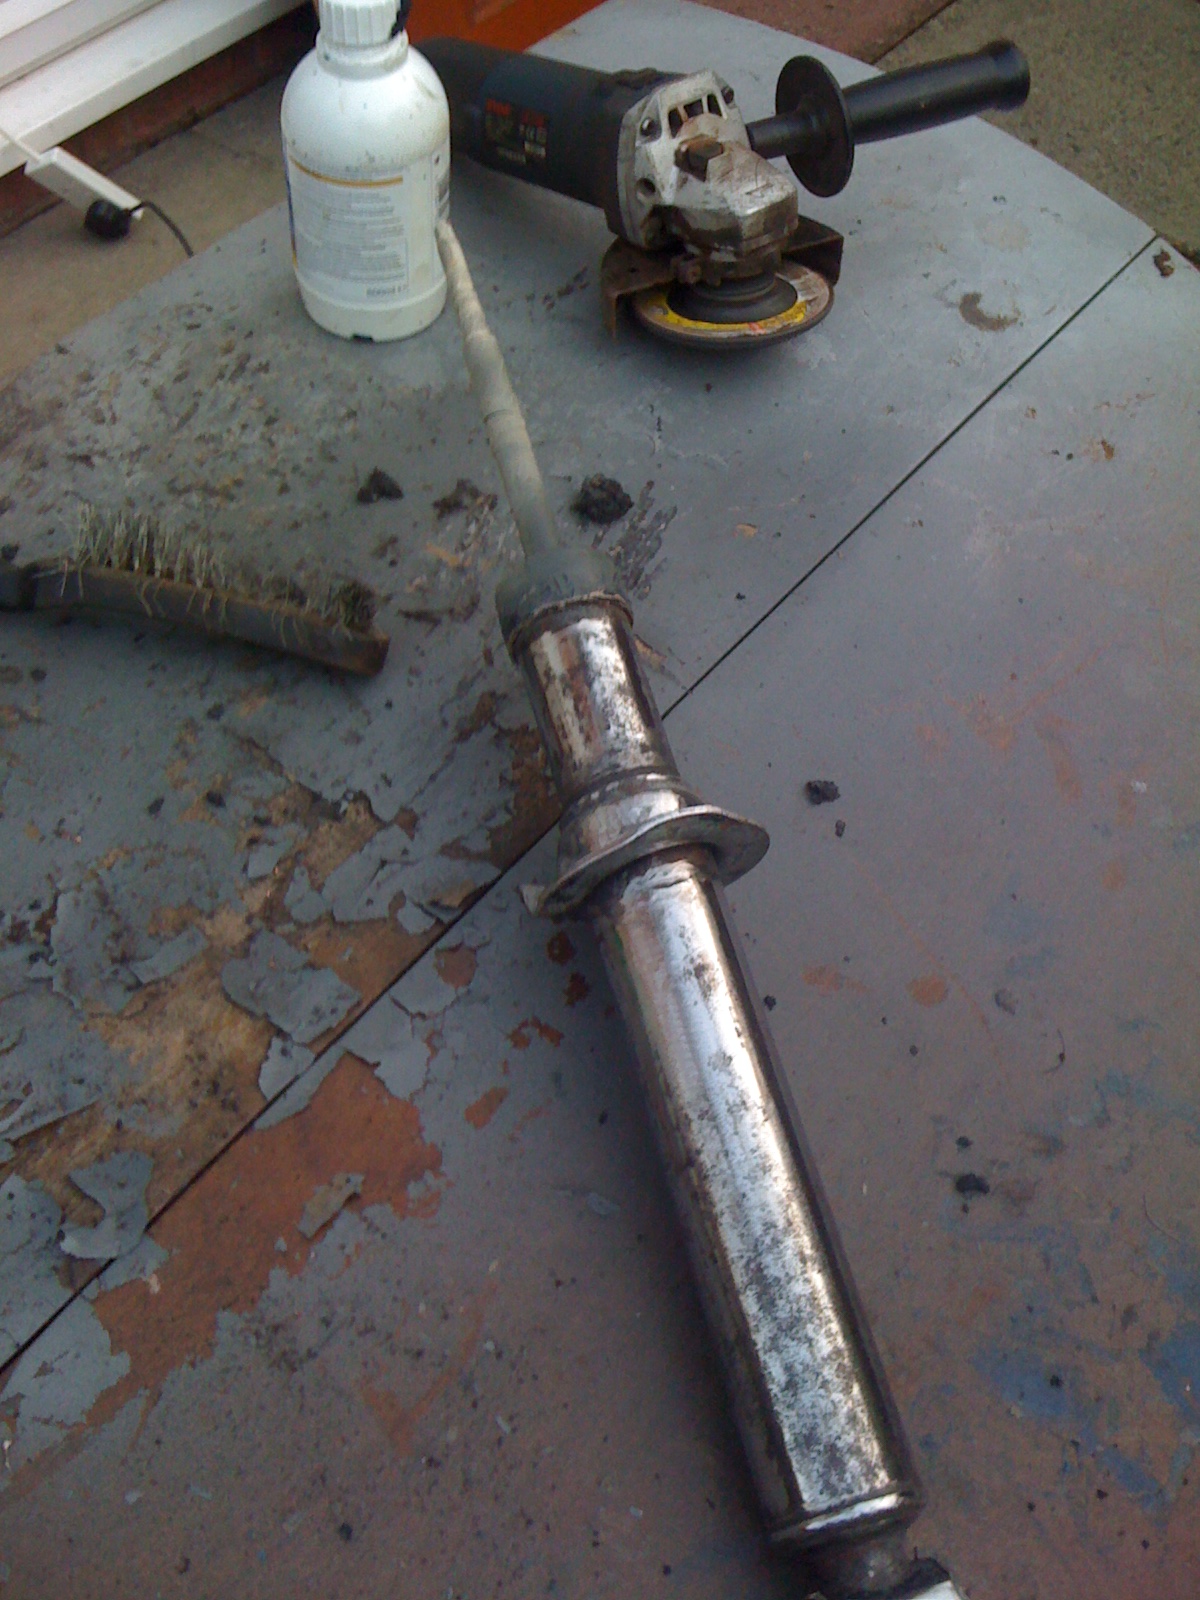
Will be putting an update on later tonight, after painting the rear arms up on Friday night whilst drinksy i decided yesterday that i didnt achieve a good enough finish. So stripped them back using good old Nitro-Morse to take them back to bare metal and attacked with a paint stripping wheel on an angle grinder, since sprayed up with Zinc undercoat and got a fantastic smooth finish, just the other one to strip back and then will buy some matt black spraycans to add some final coats. I knew that it would annoy me if i put them back on the car looking the way they did as wasn't a nice smooth finish (my OCD to blame there again)
David
David
14-12-2009, 10:00 PM
#76
Wahay!! I've lost my Virginity!!
Thread Starter
Join Date: Dec 2009
Location: Malvern
Posts: 69
Likes: 0
Received 0 Likes
on
0 Posts
Monday 14/12/2009
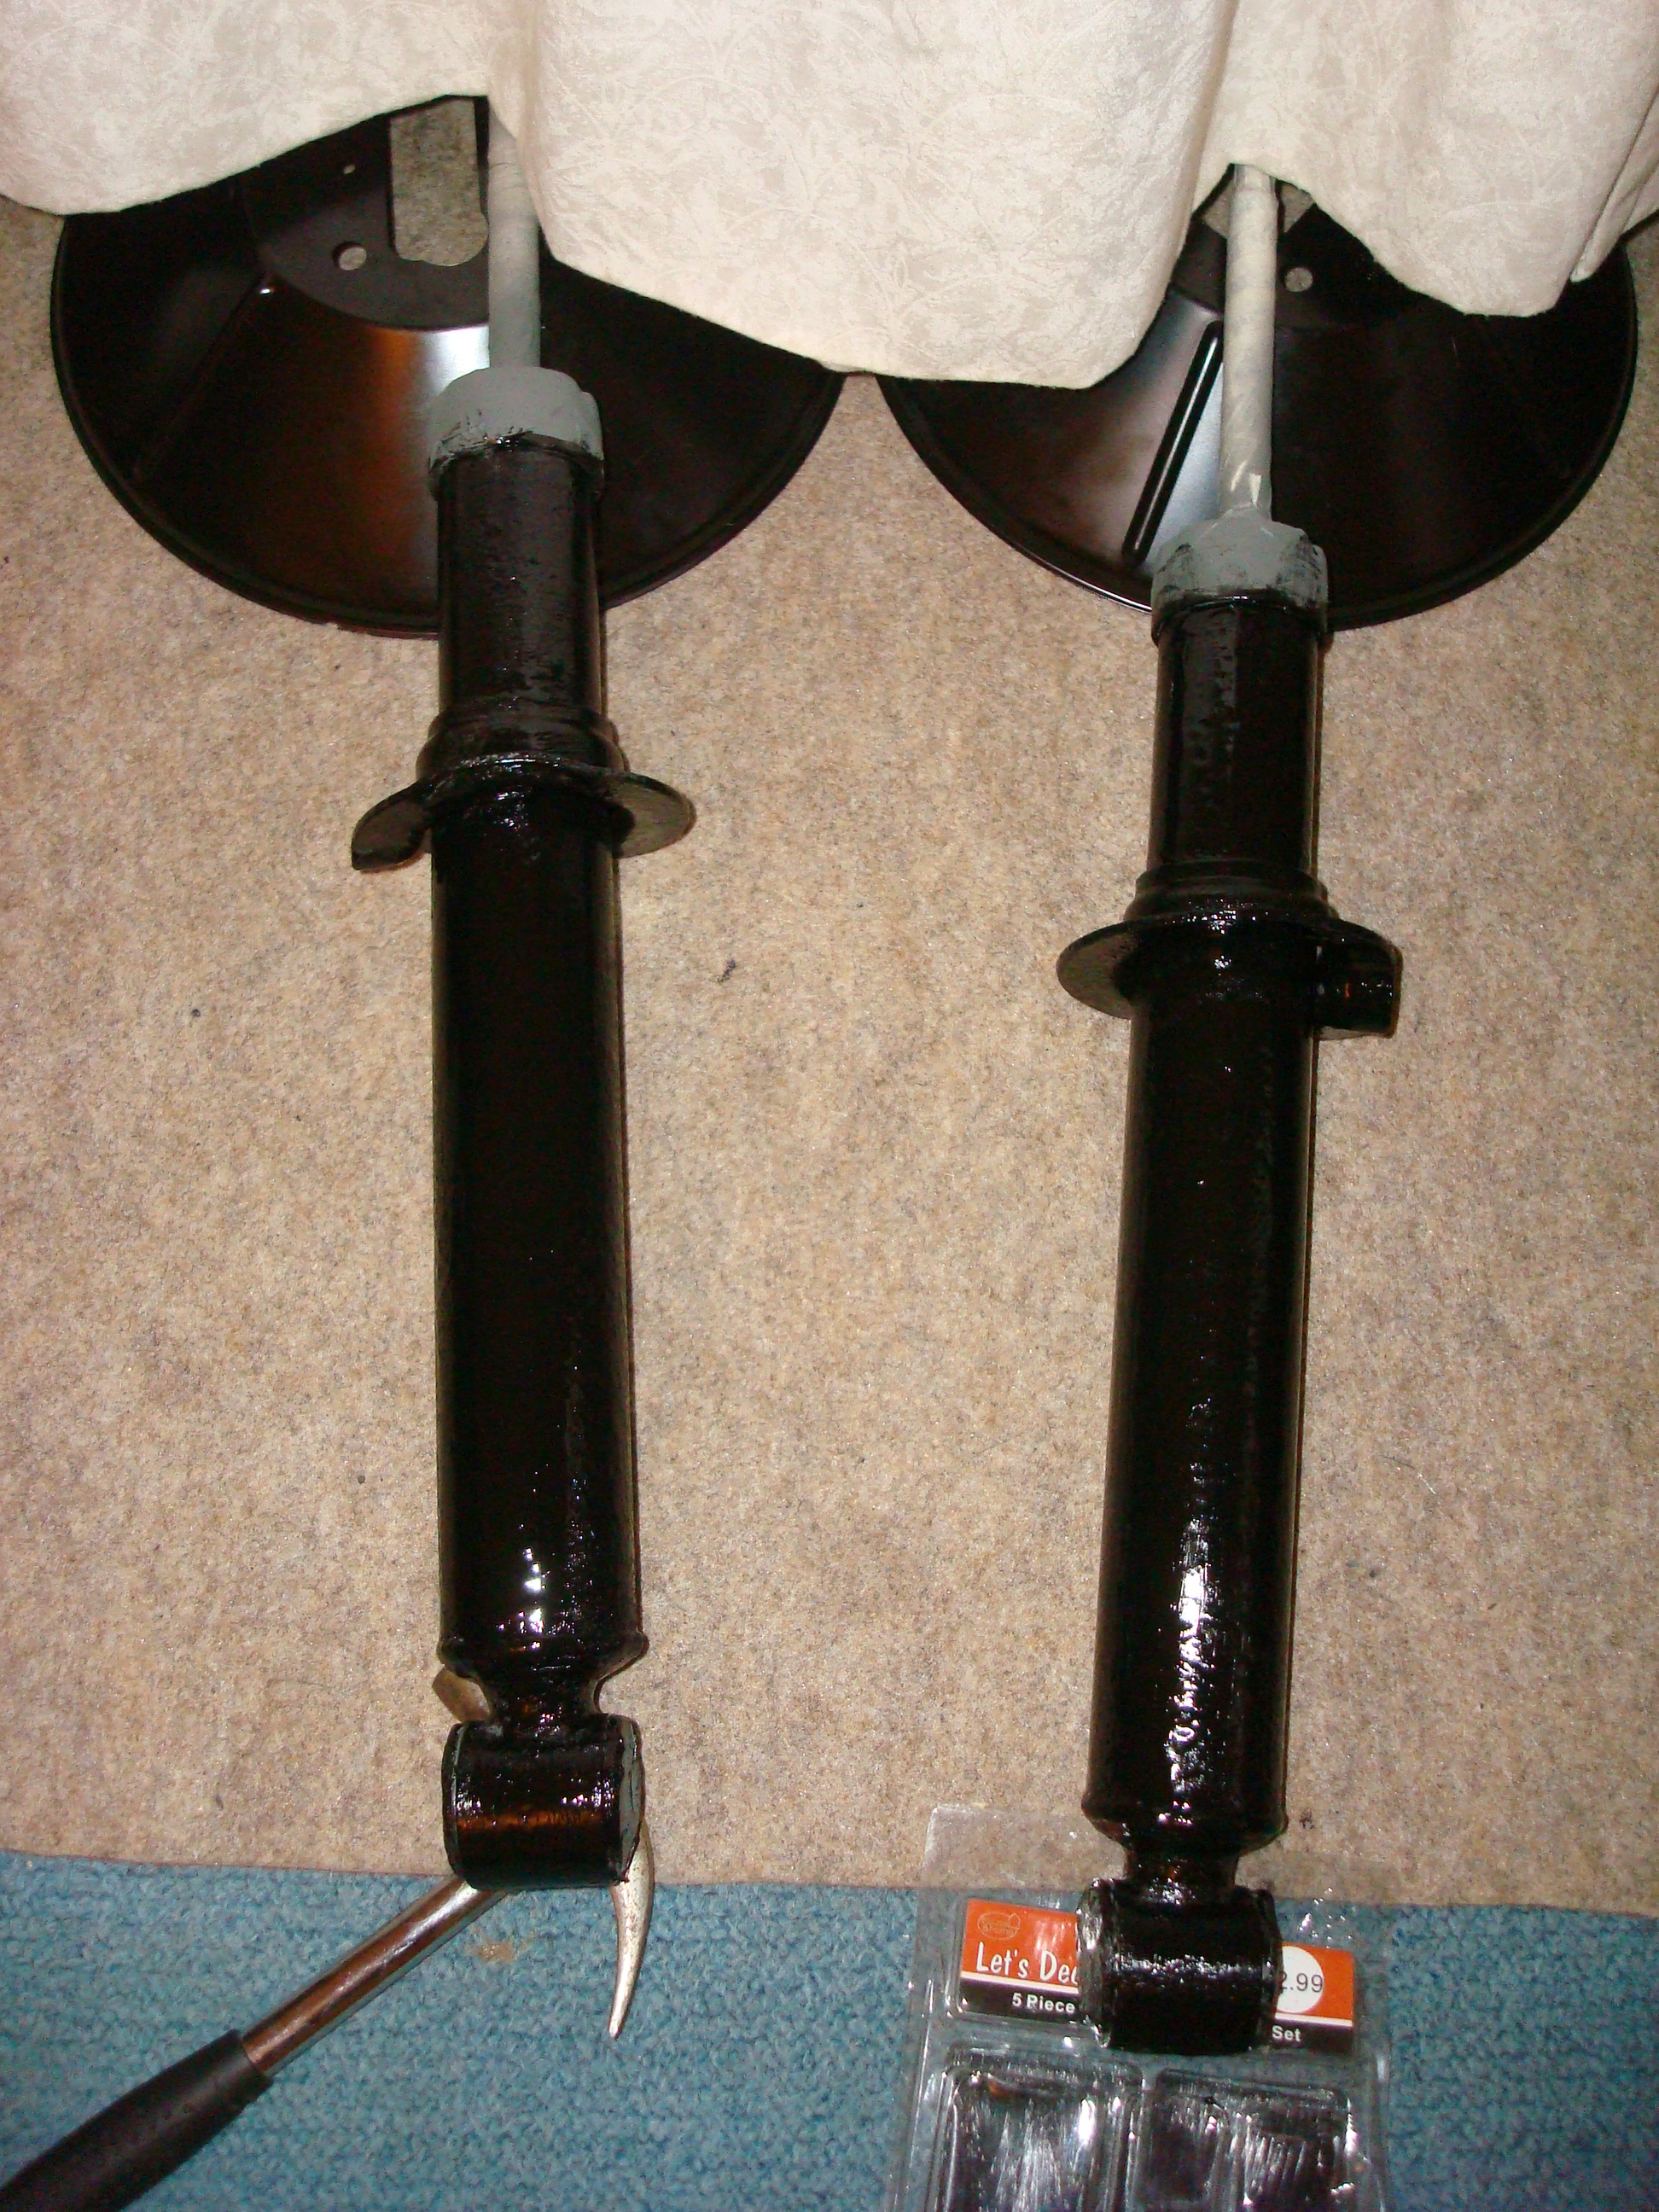
Take two on the rear suspension dampers after a stripping and taking back properly this time. The angle grinder just the tool for the job, must admit took it steady as the dampers heated up quickly.
Only done the one so far will make a start on the other tomorrow think you'll agree looking a lot better this time around. need to get some more zinc primer tomorrow and a black matt finish spray paint.
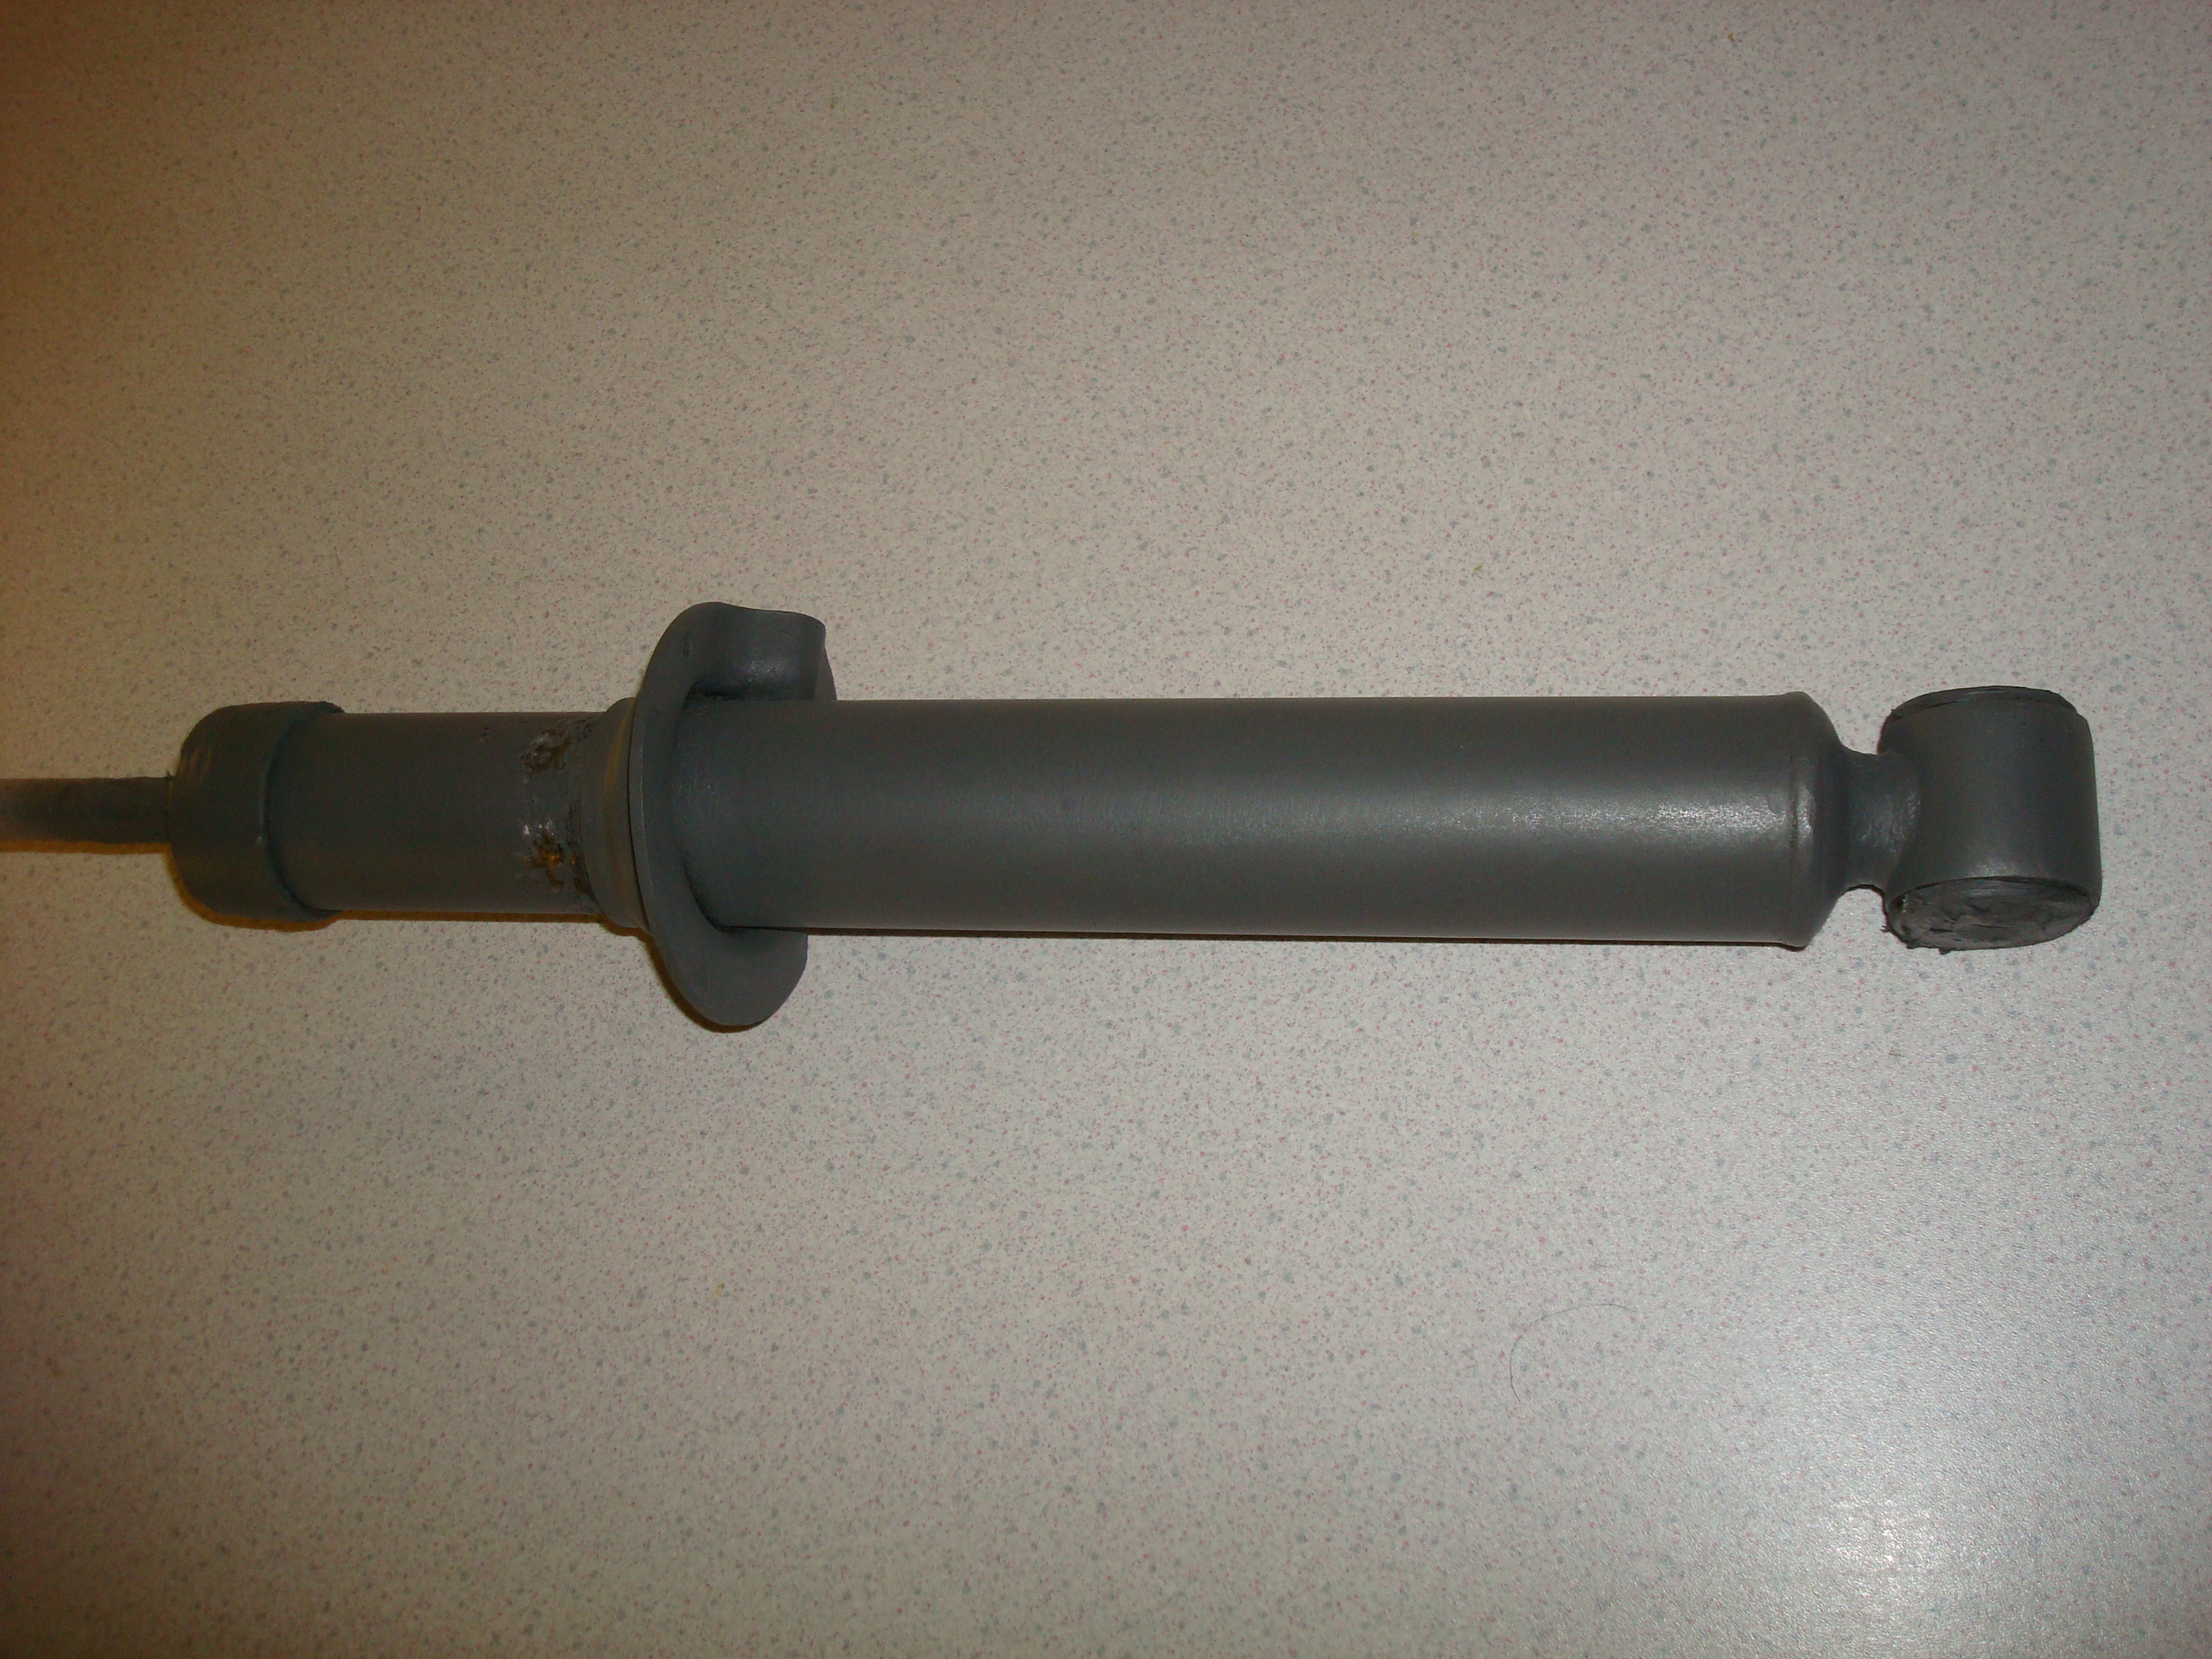
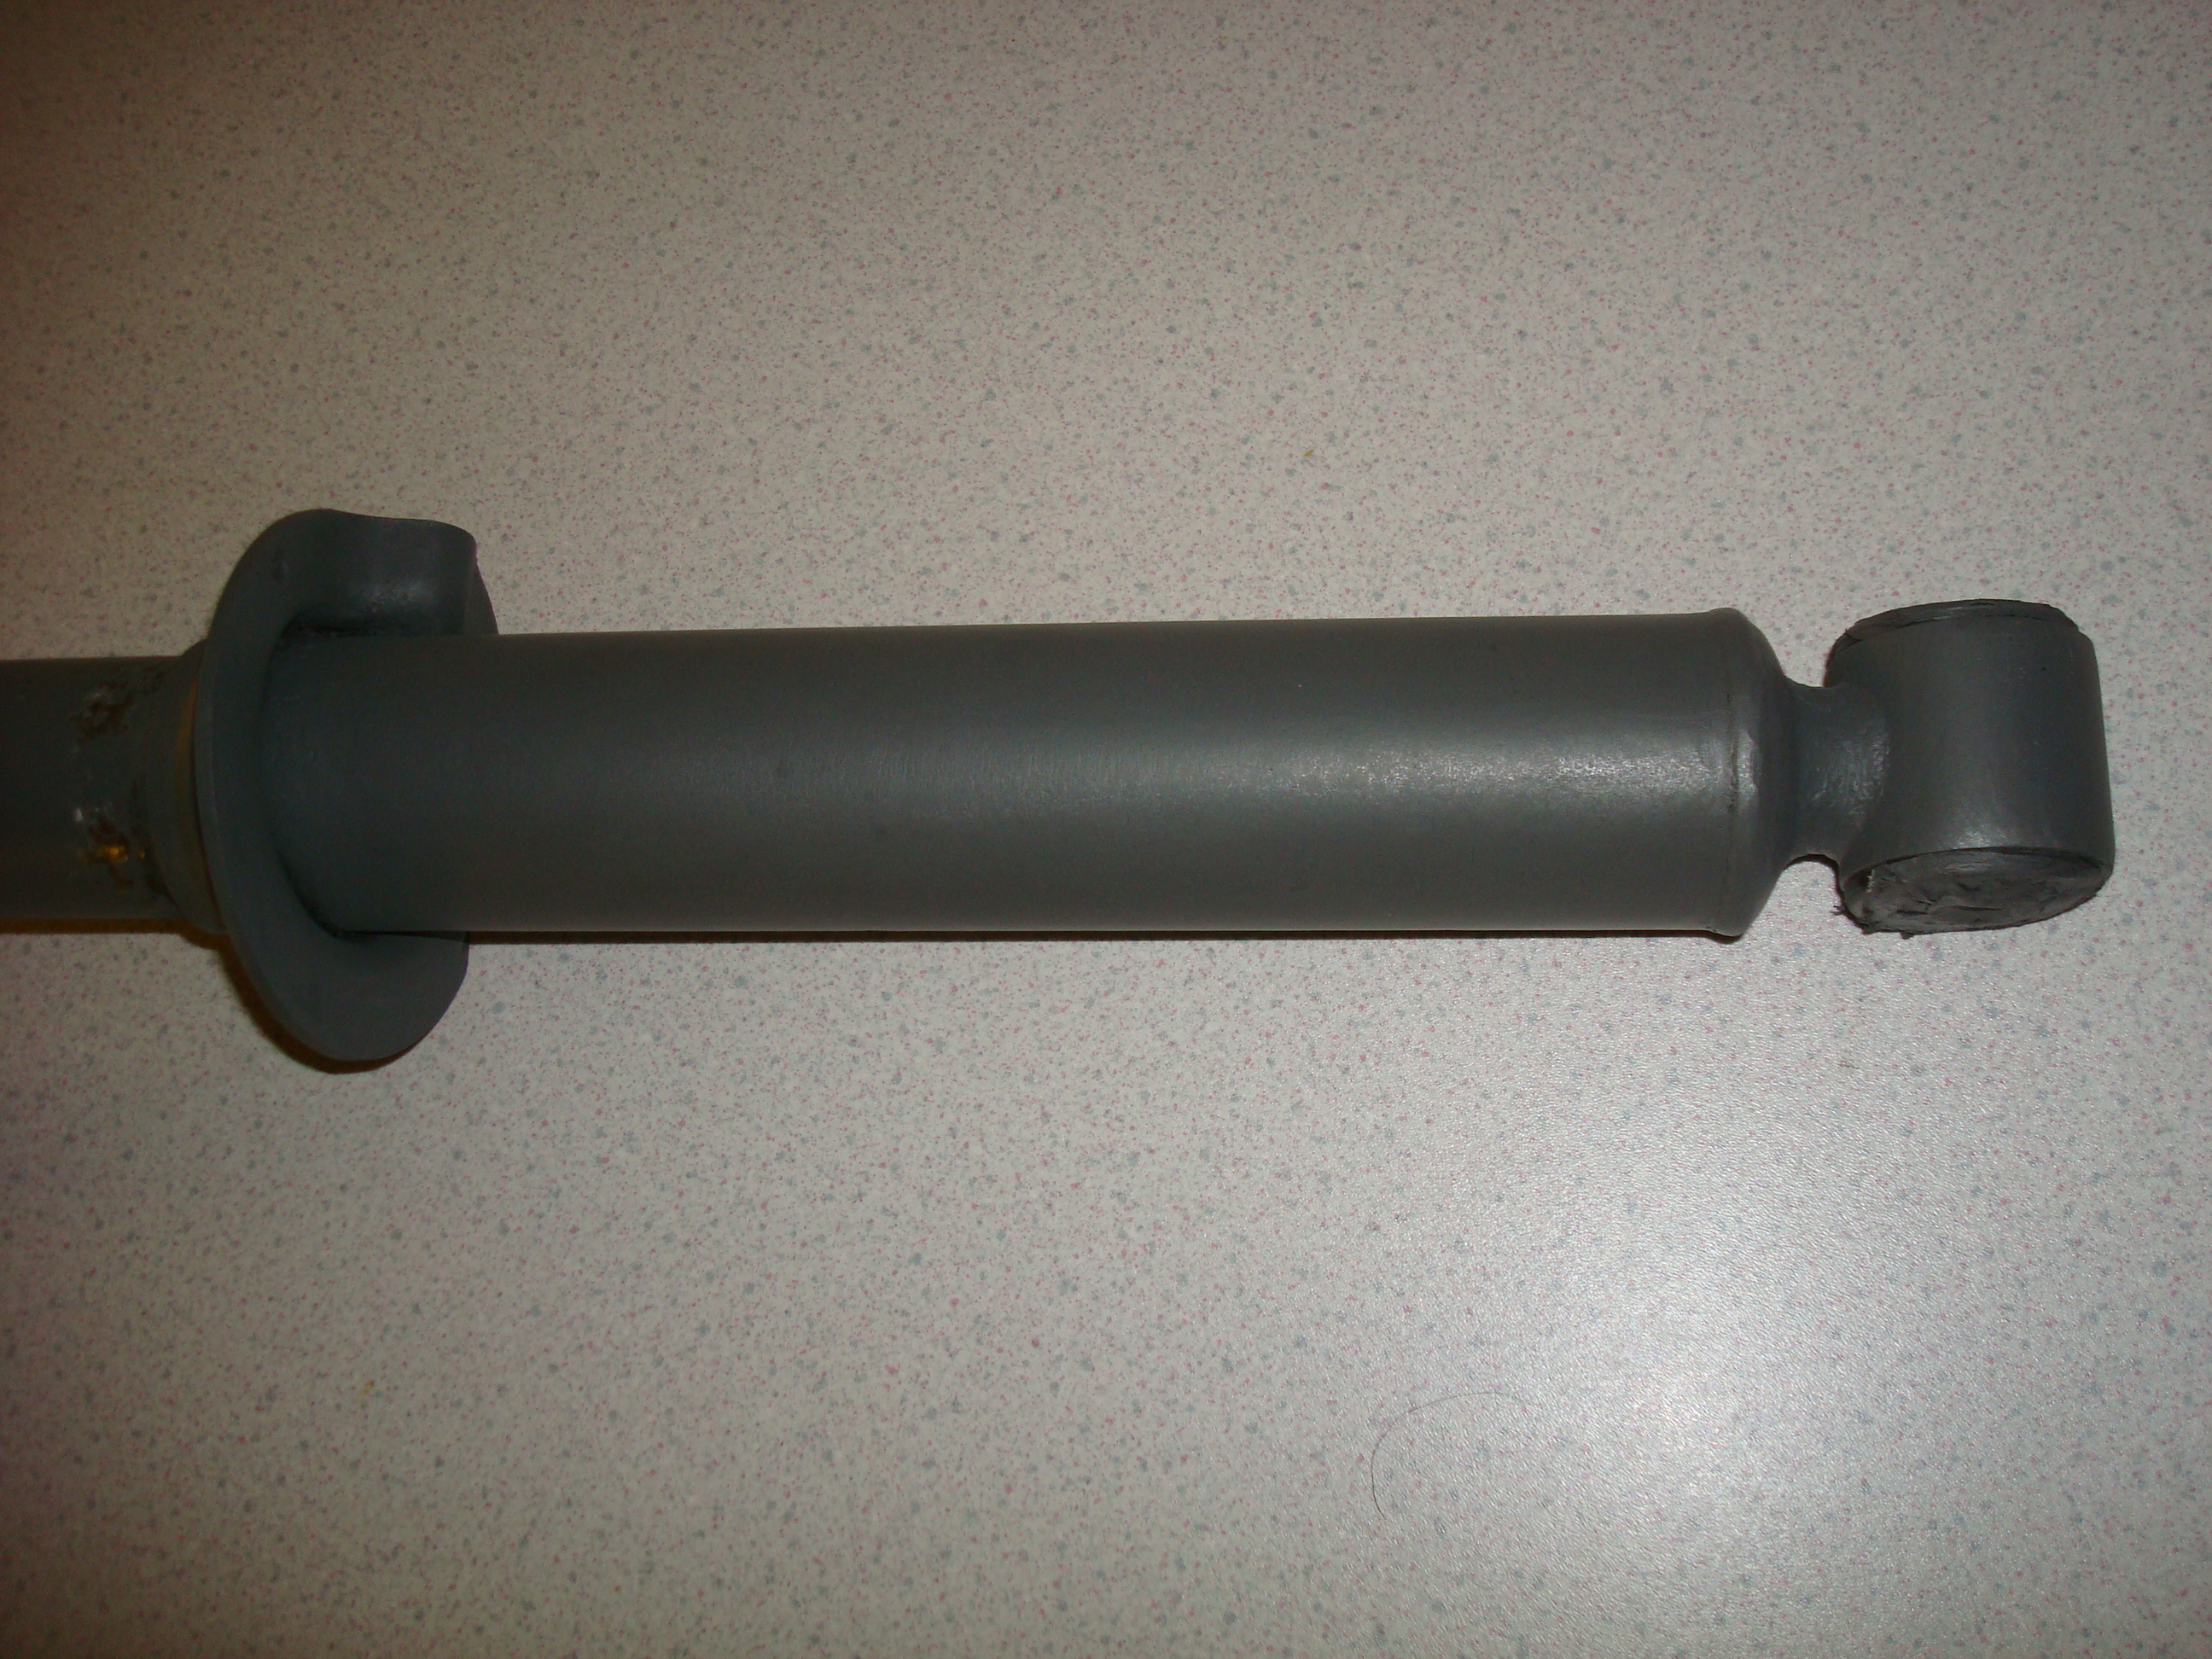
Little section not sprayed as sanded back again as slight imperfection.
David
Take two on the rear suspension dampers after a stripping and taking back properly this time. The angle grinder just the tool for the job, must admit took it steady as the dampers heated up quickly.
Only done the one so far will make a start on the other tomorrow think you'll agree looking a lot better this time around. need to get some more zinc primer tomorrow and a black matt finish spray paint.
Little section not sprayed as sanded back again as slight imperfection.
David
 15-12-2009, 11:37 AM
#78
PassionFord Regular

Nice work there mate!! I always wondered why brits don't have the tendency to rust proofing the car from new! That way it would never rust and enthousiasts would only need to remove the protection if they need to detail the under body! Lat May I bought a Focus TDCI from The UK and the first Thing I done was to clean the ares where it was started to get rusty and sprayed an undrseal protection!
15-12-2009, 01:48 PM
#79
Too many posts.. I need a life!!
Join Date: May 2008
Location: England
Posts: 528
Likes: 0
Received 0 Likes
on
0 Posts
Looks wicked mate, surprised at how much rust there was but you're doing a good job at getting rid of it.
The respray looks top notch, better than Ford themselves!
The respray looks top notch, better than Ford themselves!
15-12-2009, 01:53 PM
#80
Wahay!! I've lost my Virginity!!
Thread Starter
Join Date: Dec 2009
Location: Malvern
Posts: 69
Likes: 0
Received 0 Likes
on
0 Posts
Tuesday 15/12/2009
Stripped last rear damper but still need to get some more paint.
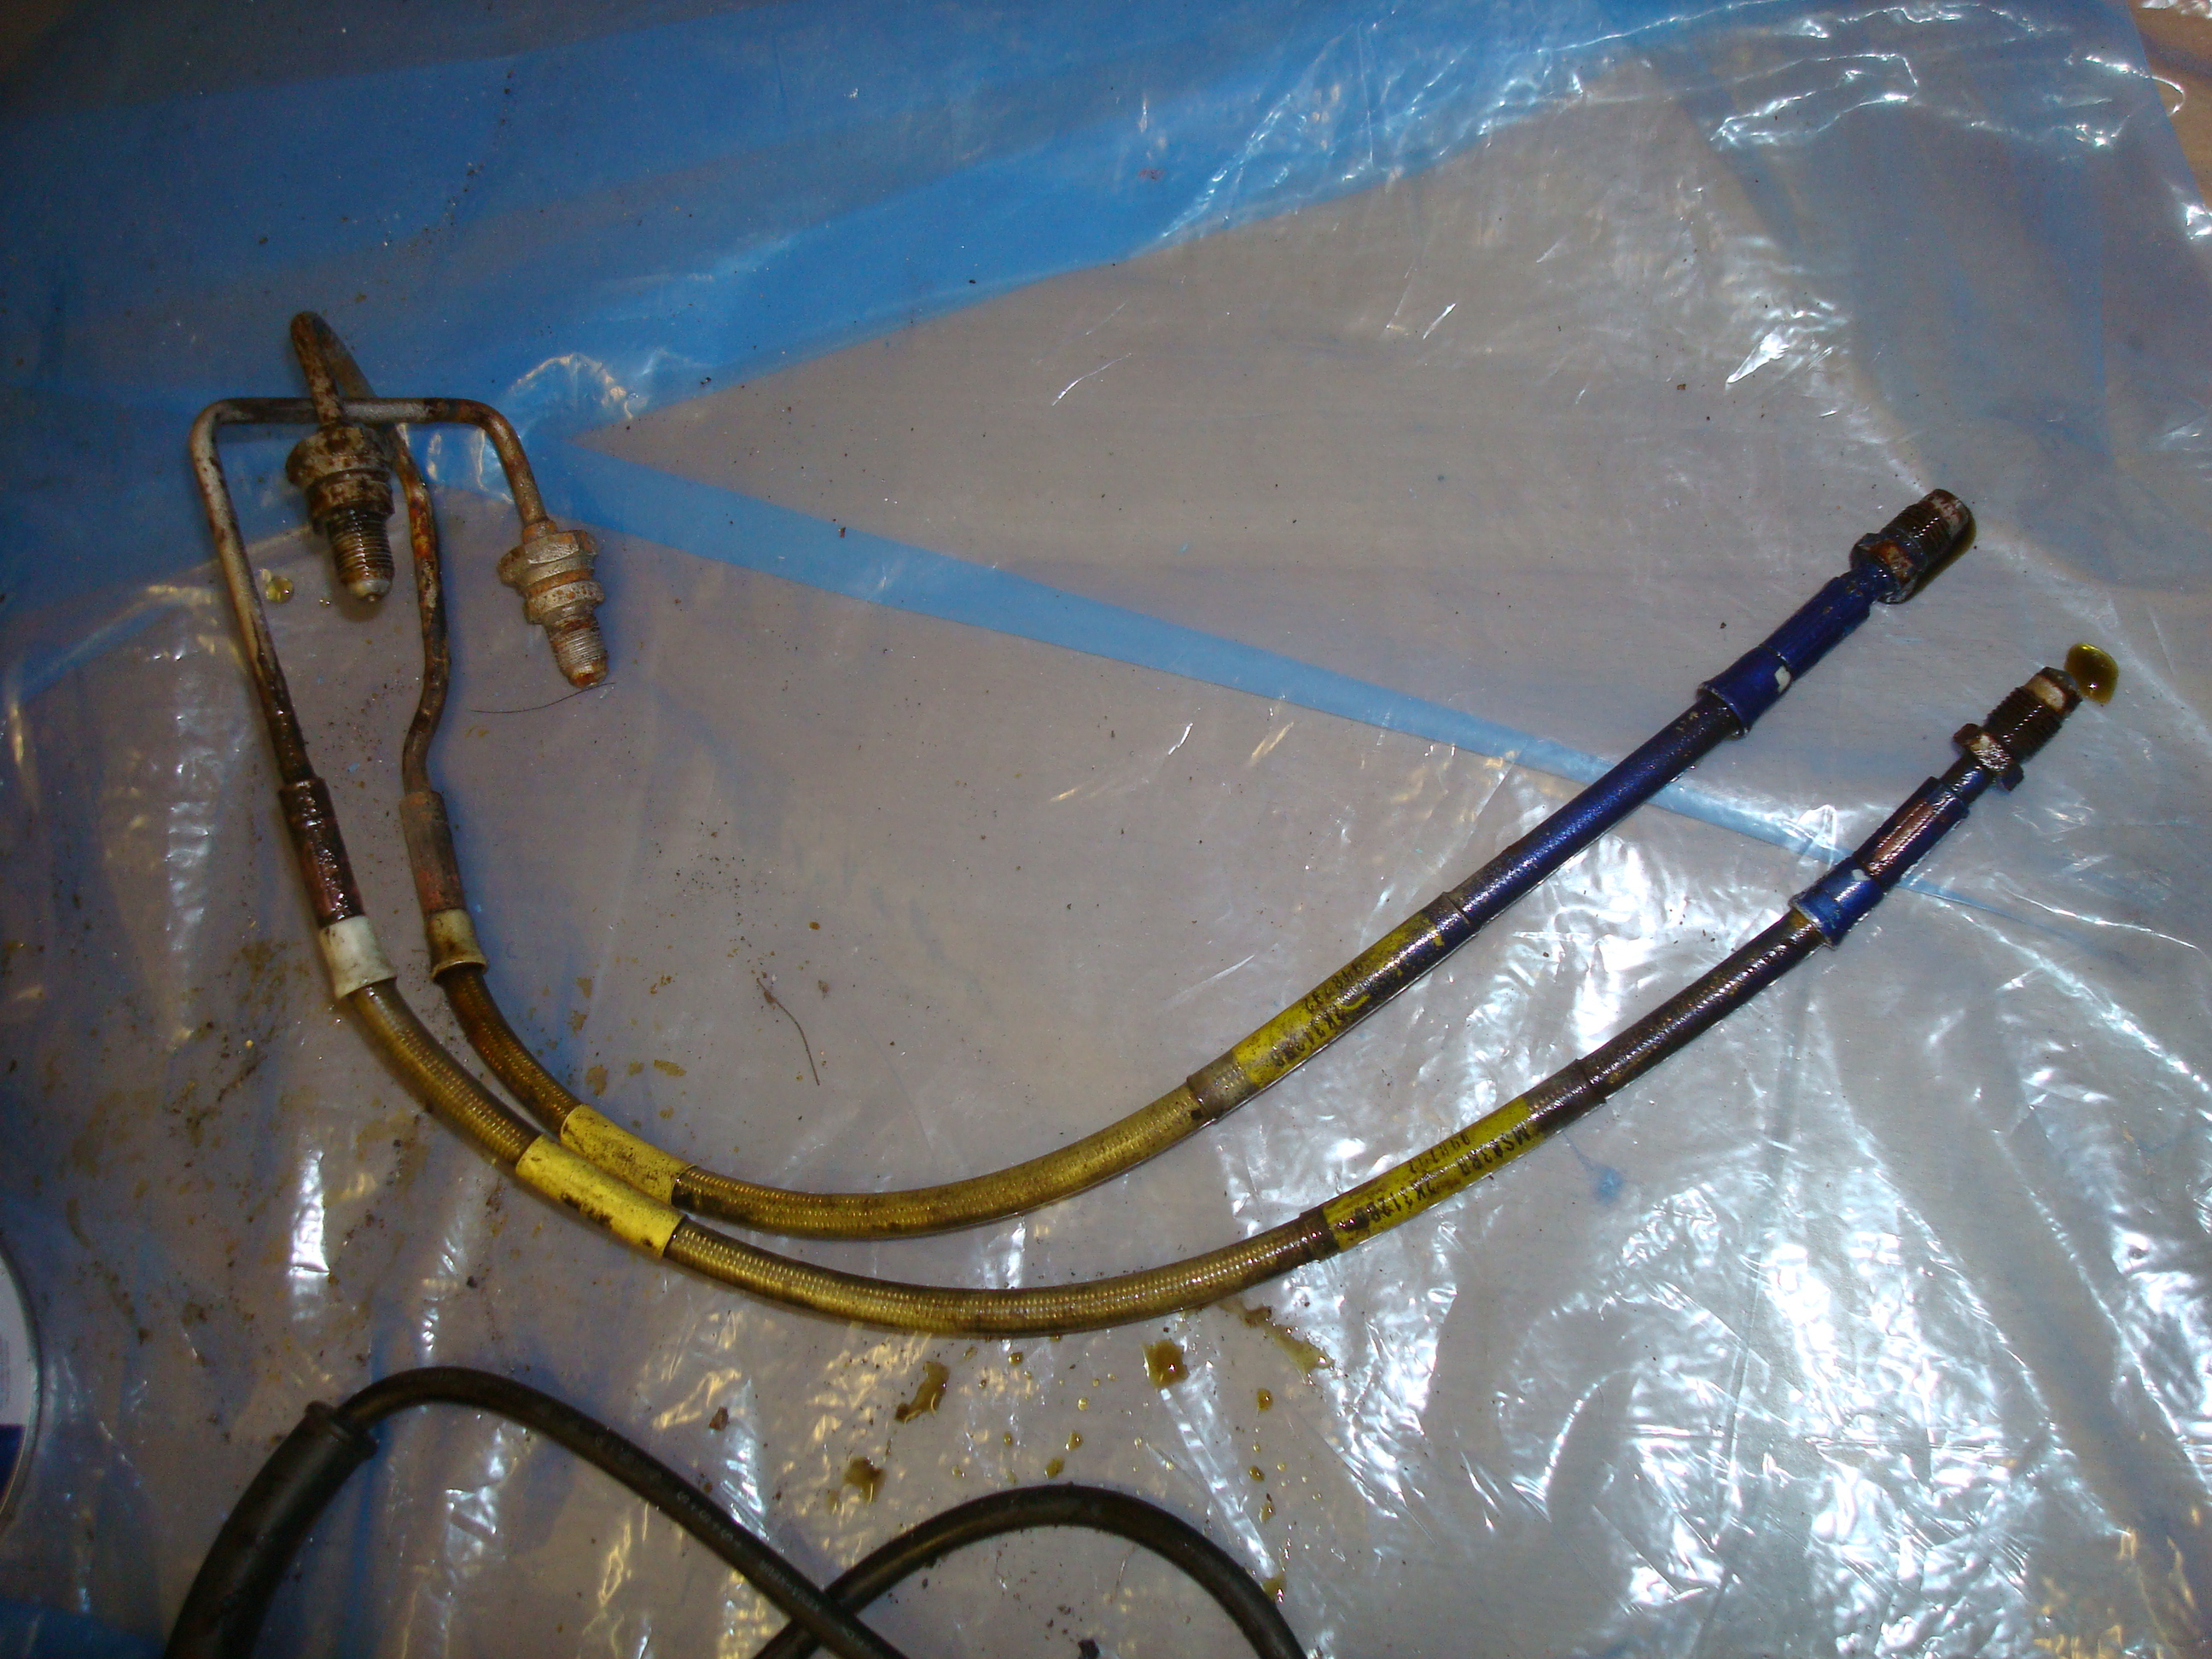
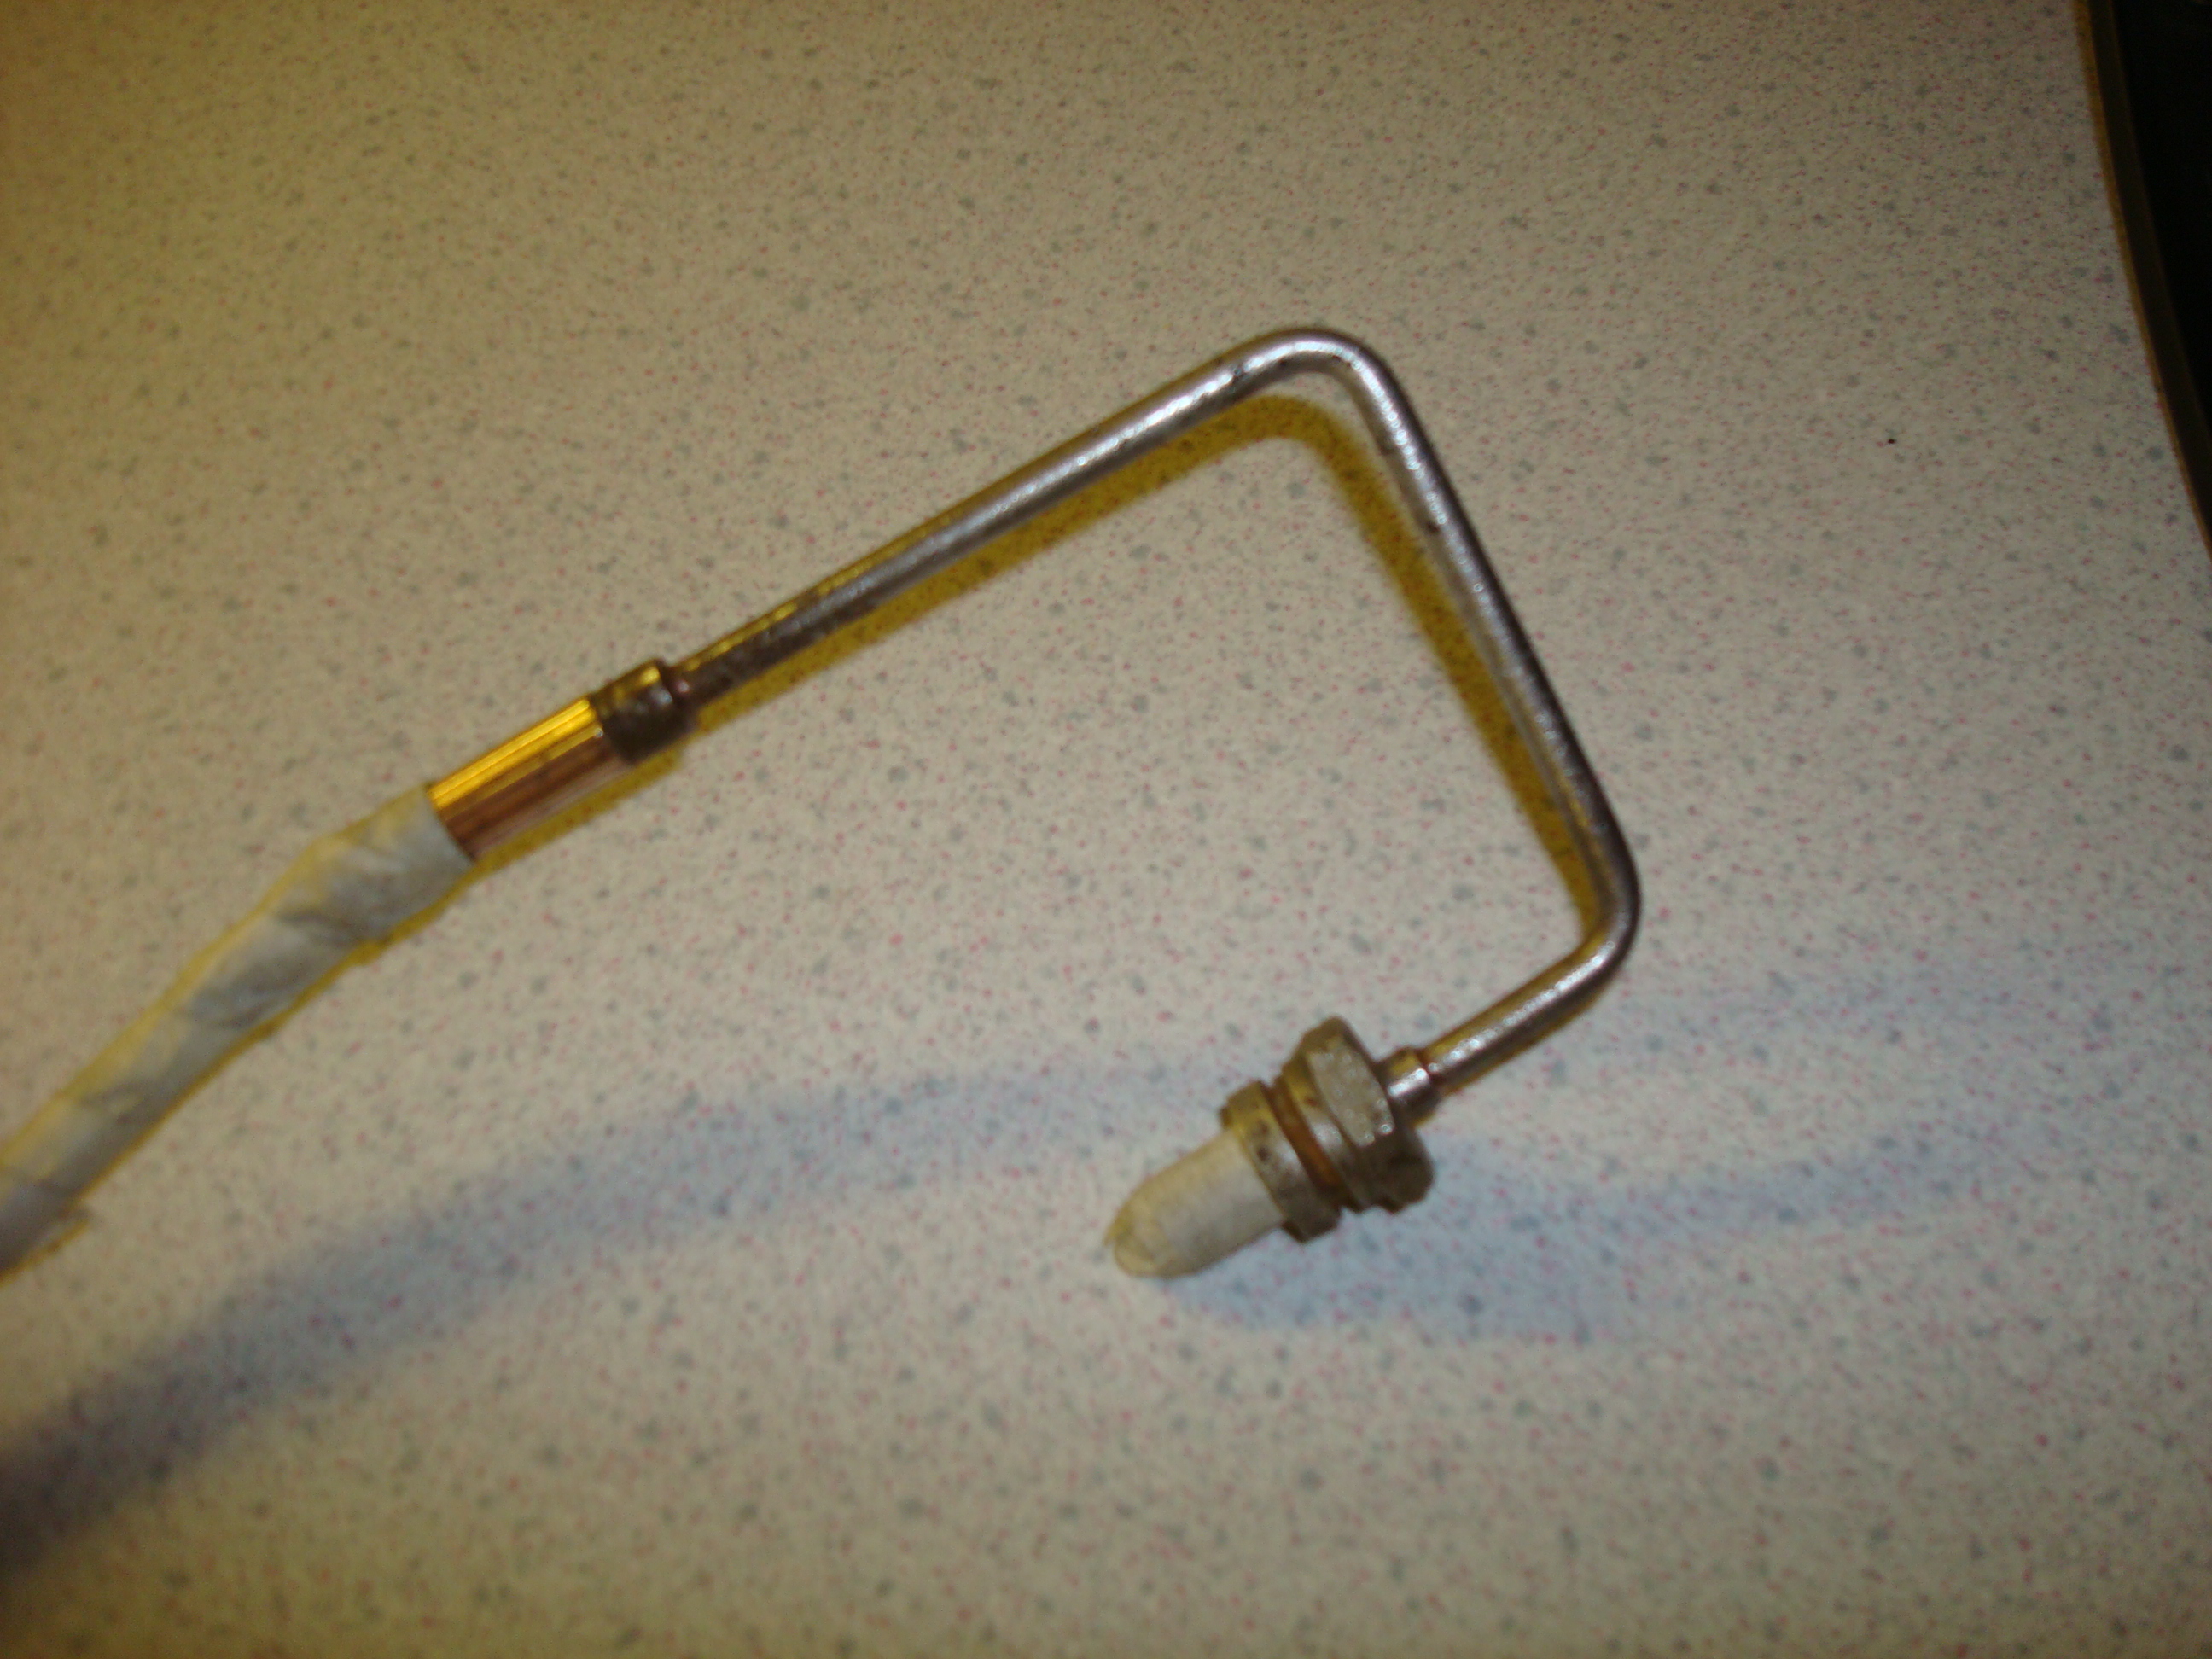
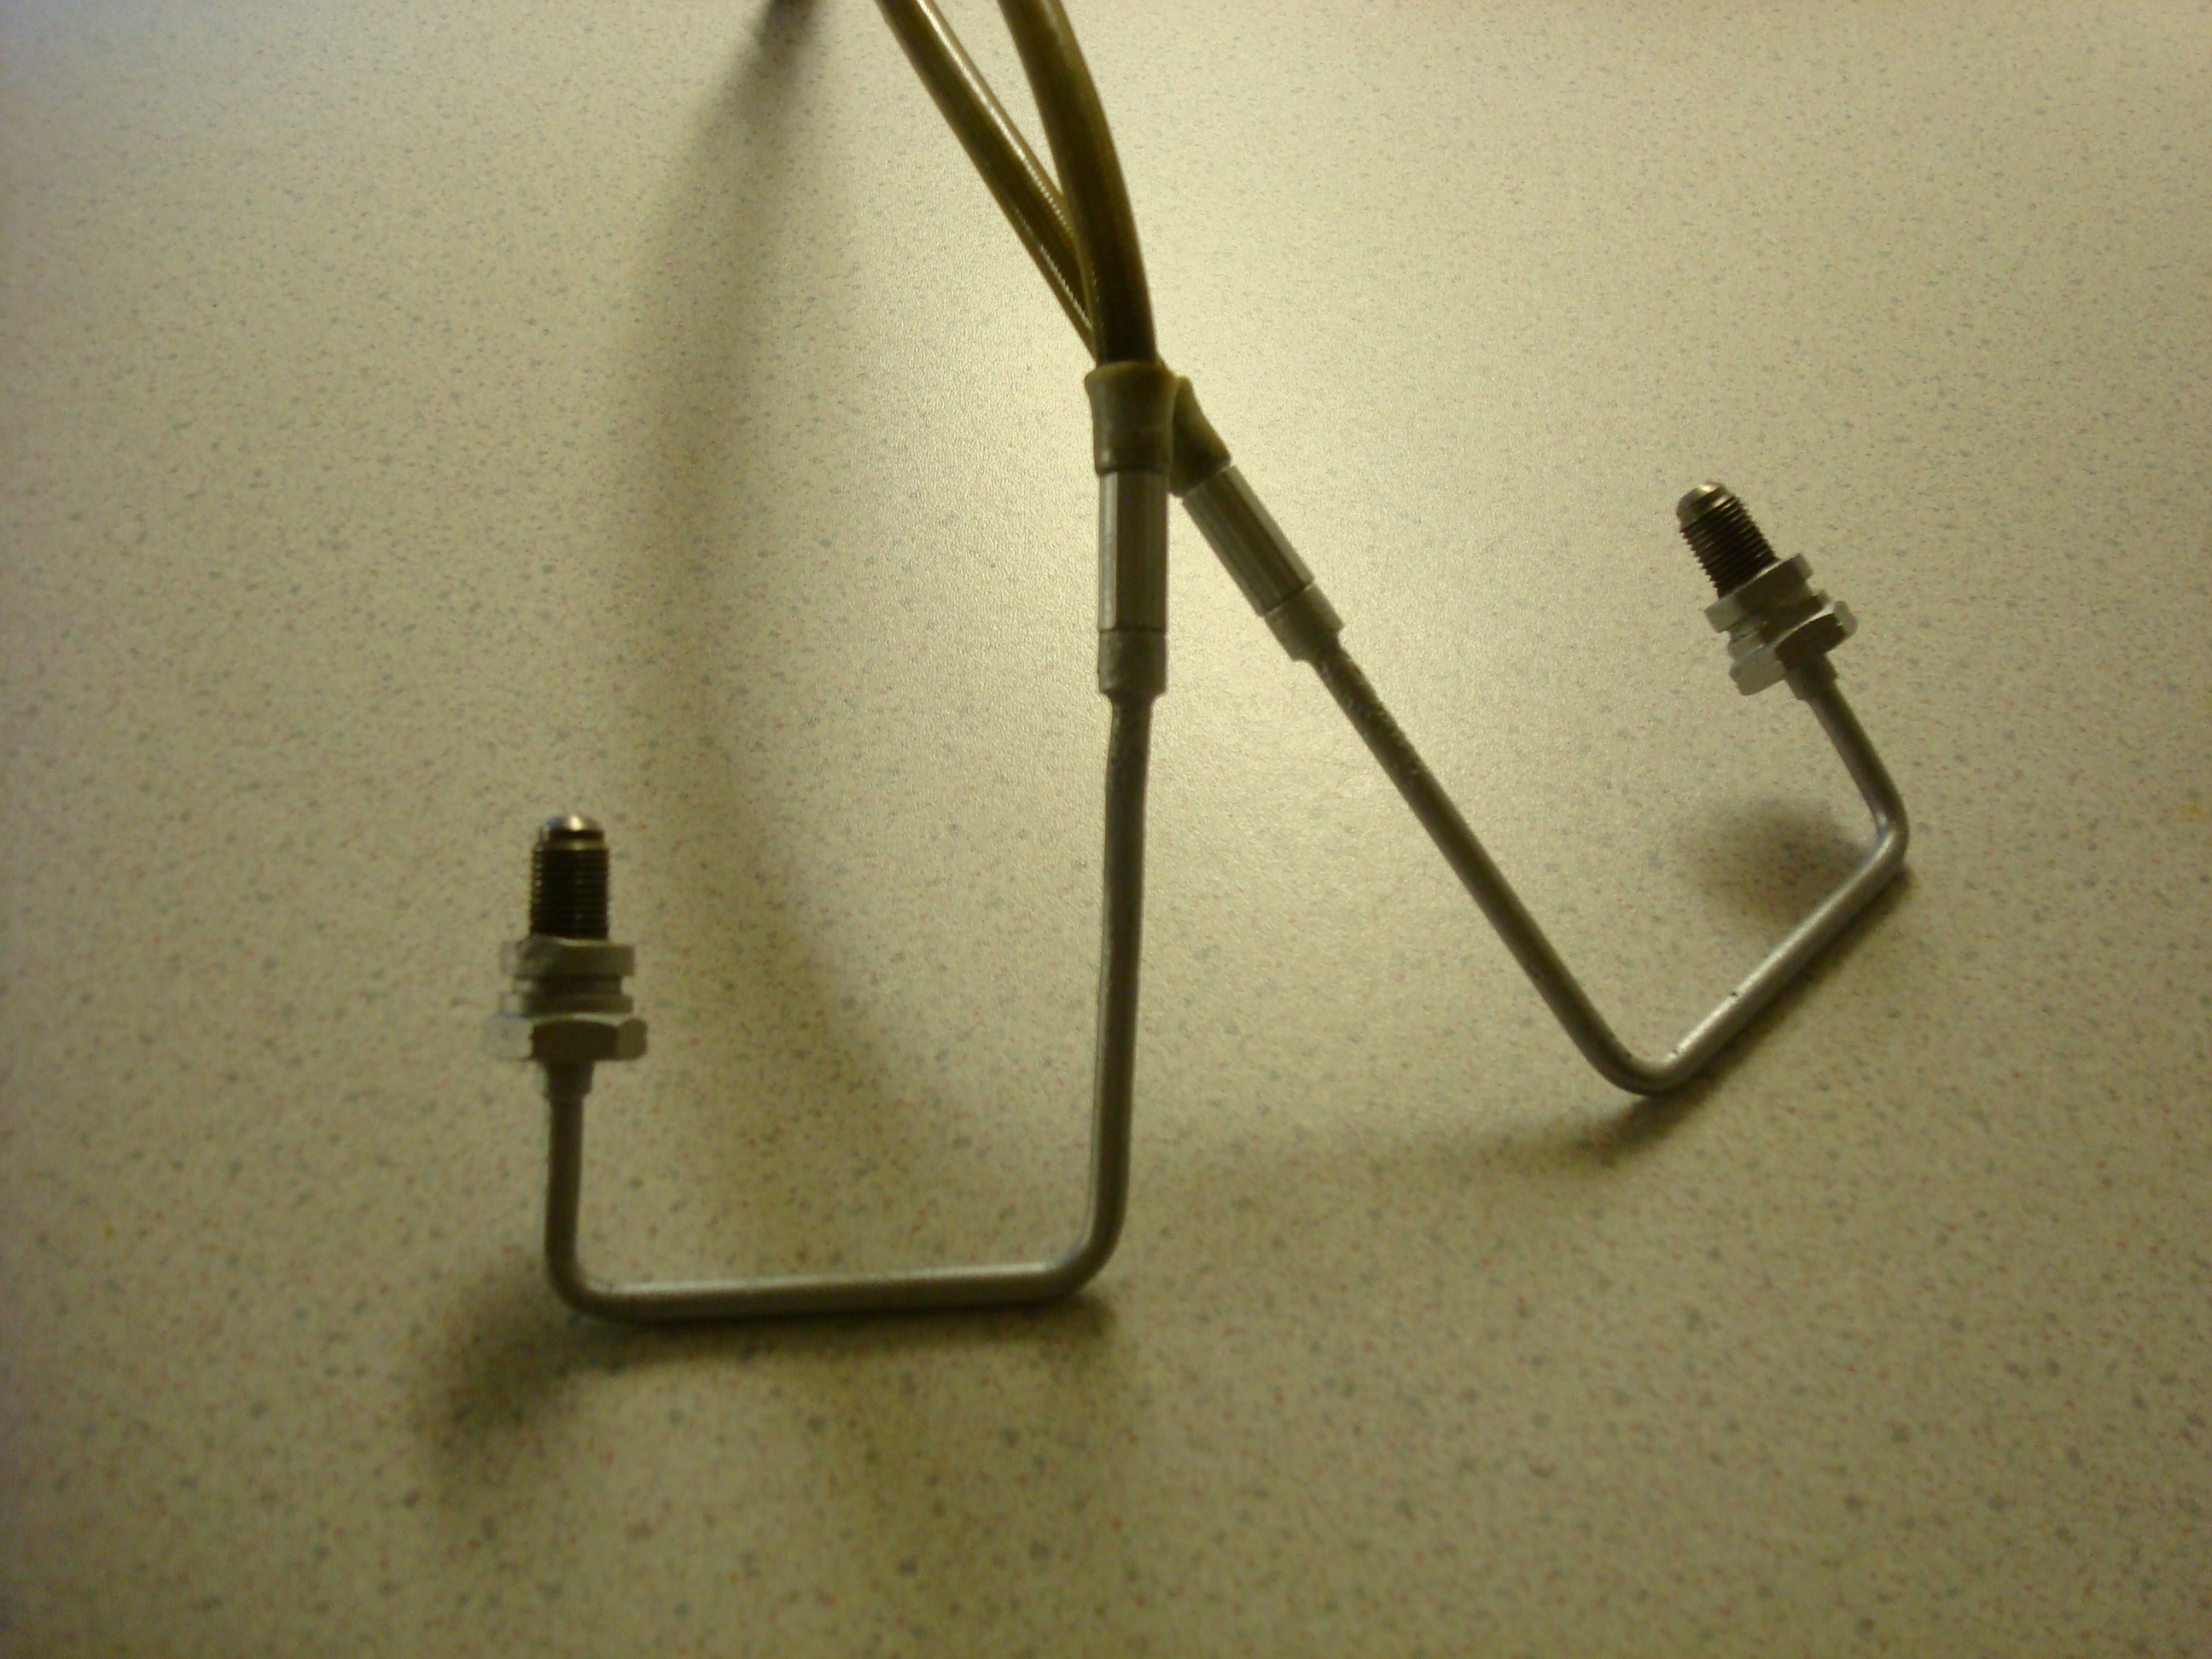
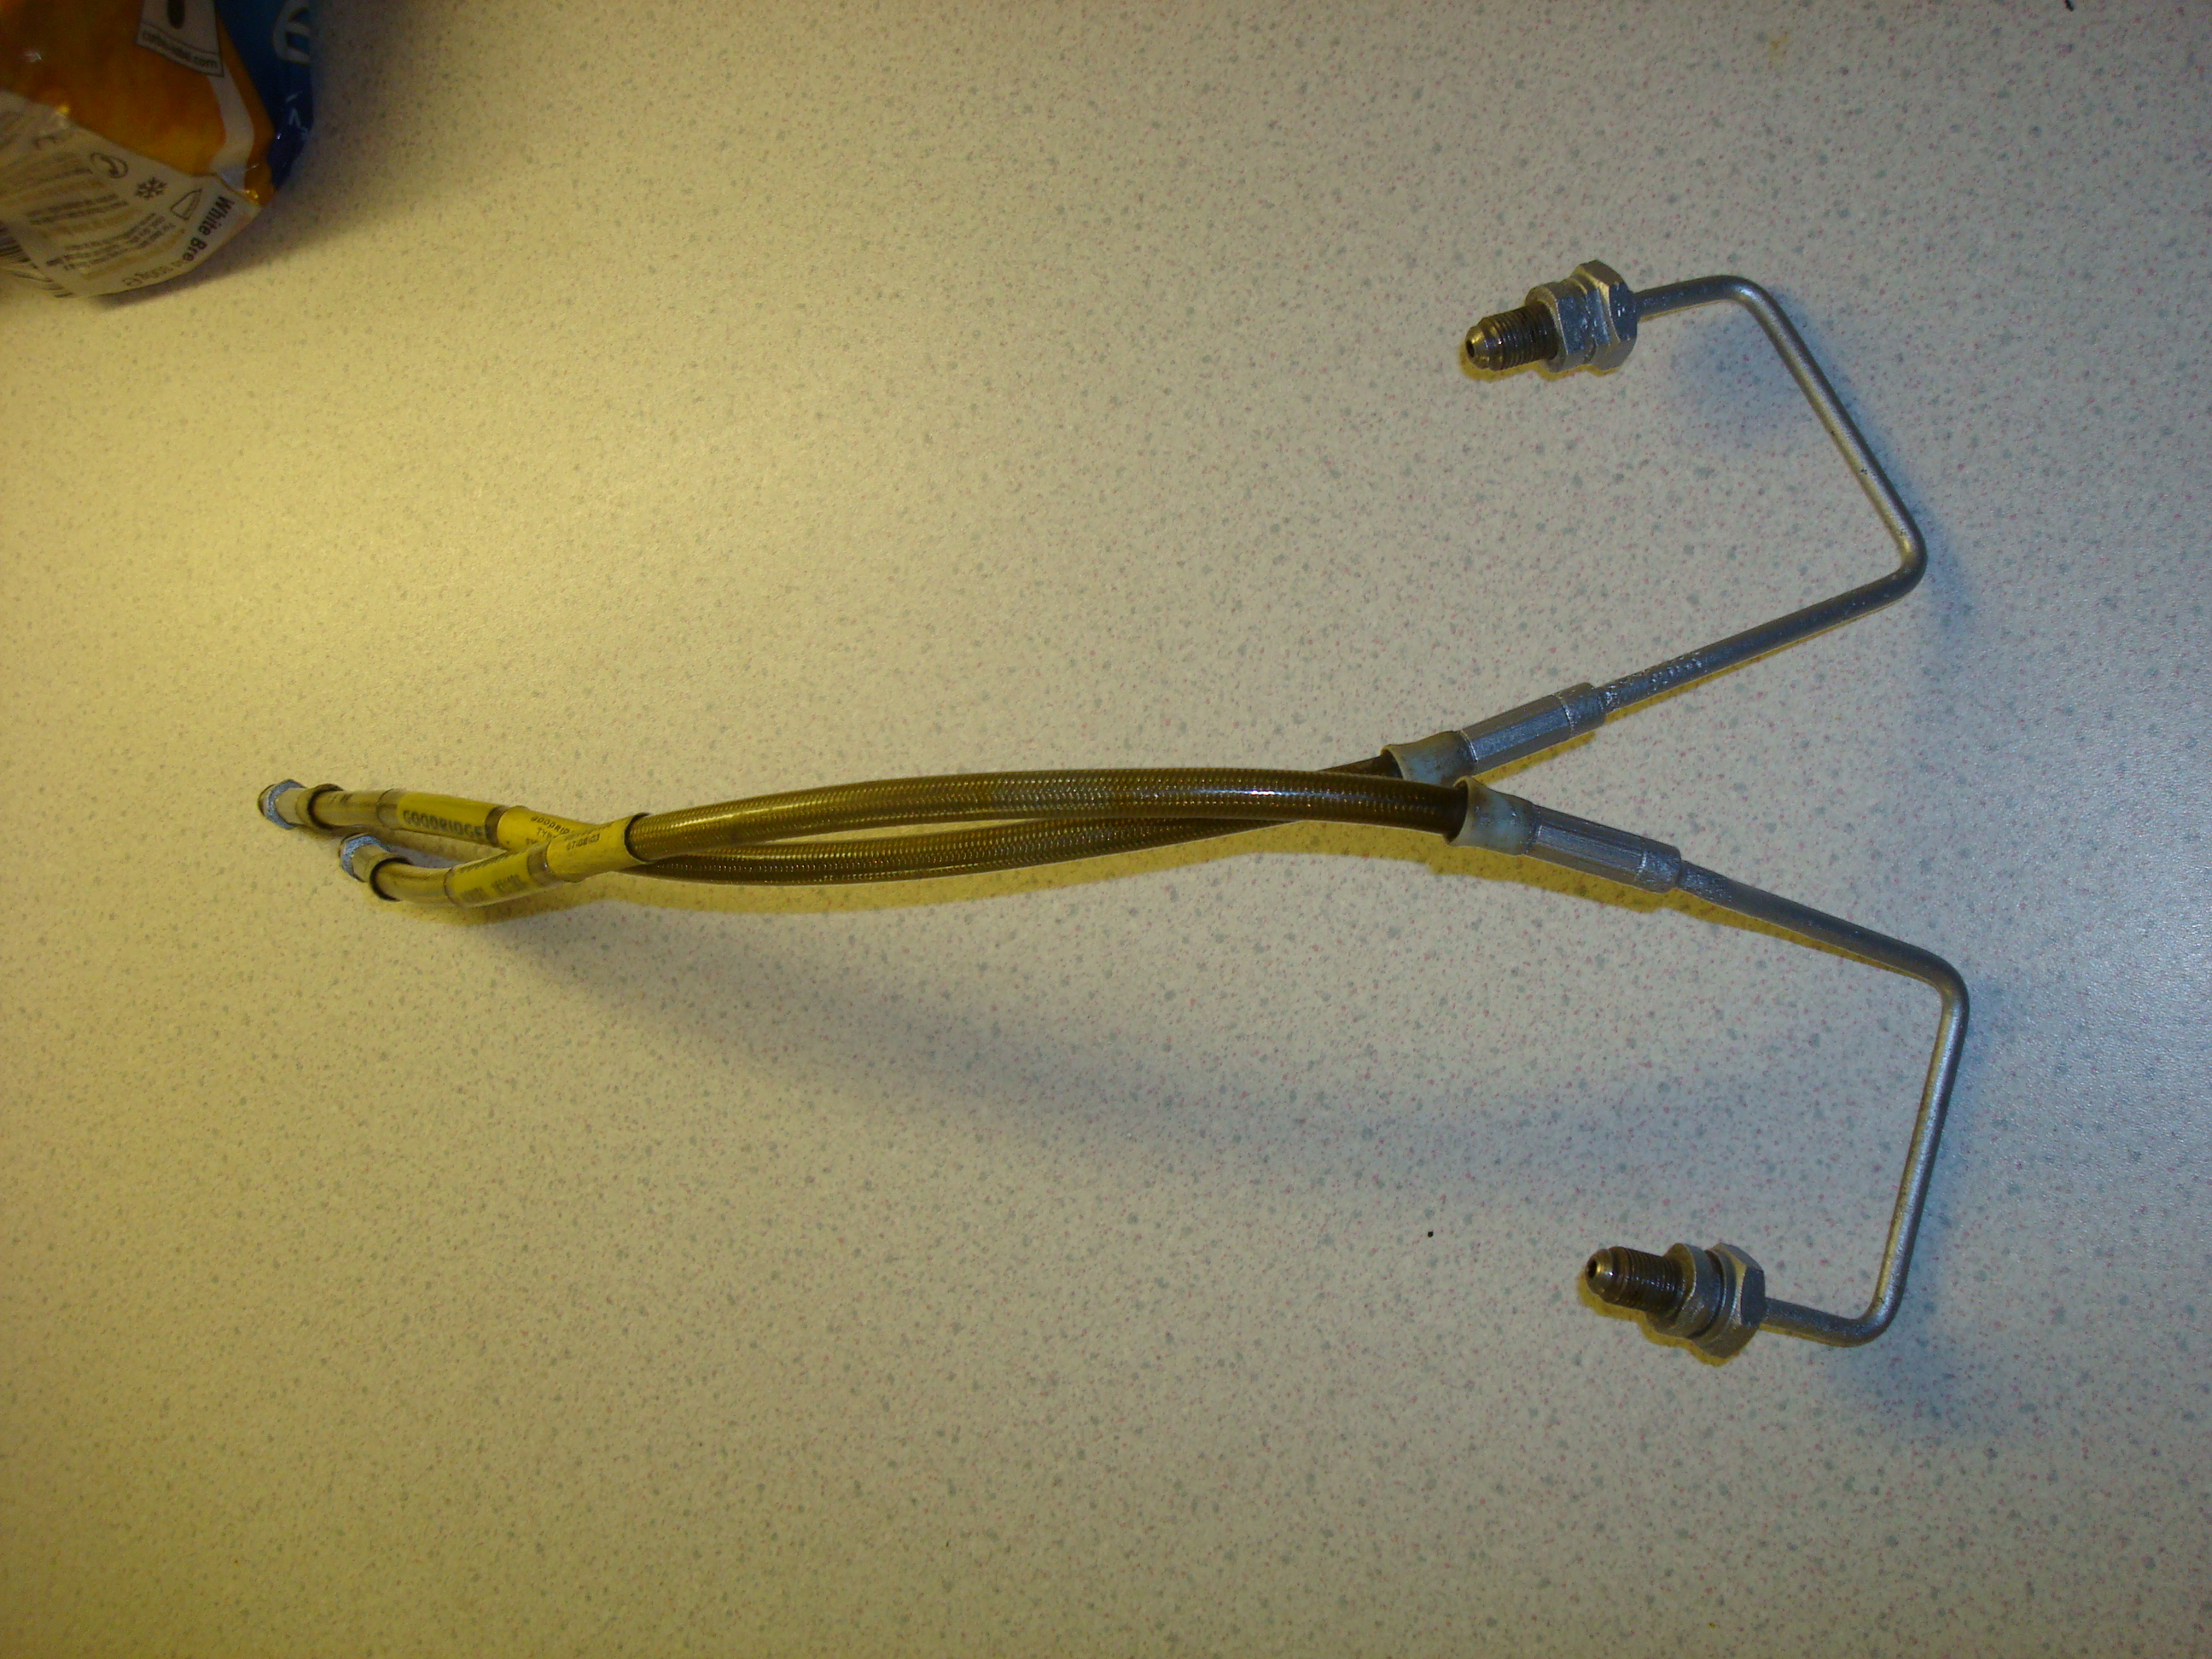
Cleaned up the rear brake lines, used a bit of Nitro-Morse on the blue paint and then cleaned up the metal before spraying with some left over silver calliper paint, unfortunately they seem to be a little pitted in places, had intended on replacing them but at �70 I'd rather save the pennies for else were.
Before:
Masked Up: (and cleaned up splash guards)
After:

David
Stripped last rear damper but still need to get some more paint.
Cleaned up the rear brake lines, used a bit of Nitro-Morse on the blue paint and then cleaned up the metal before spraying with some left over silver calliper paint, unfortunately they seem to be a little pitted in places, had intended on replacing them but at �70 I'd rather save the pennies for else were.
Before:
Masked Up: (and cleaned up splash guards)
After:
David