BMW M3 Evolution Imola Individual GT2 Journal
 06-07-2014, 11:11 AM
#121
Advanced PassionFord User
Thread Starter

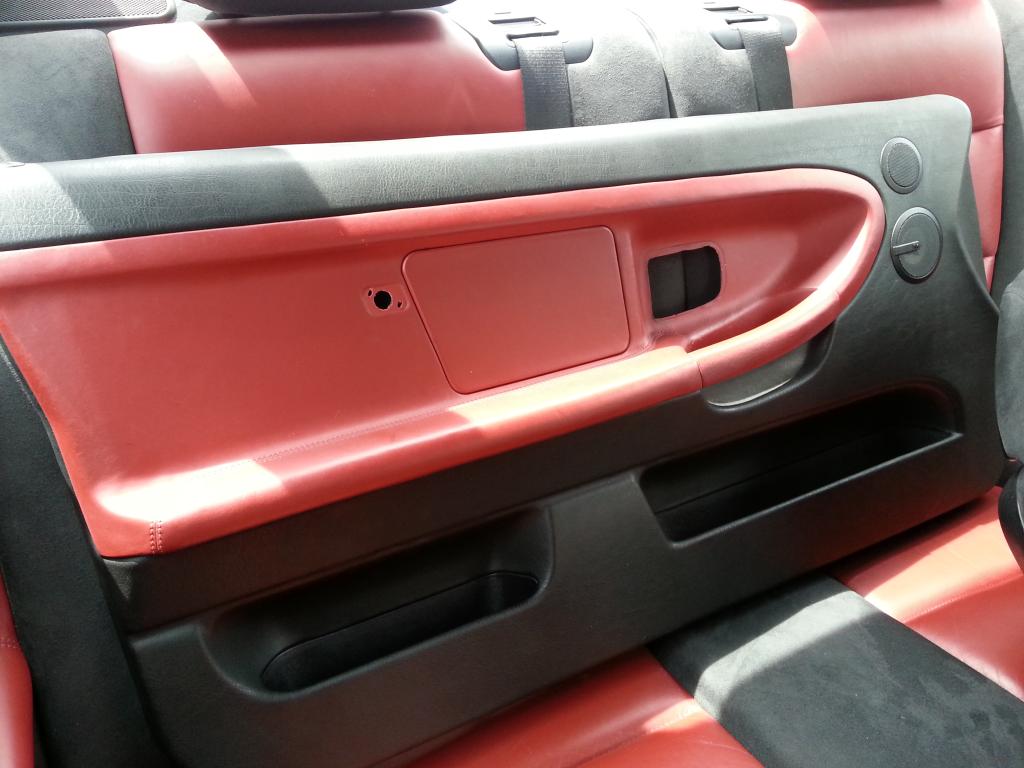
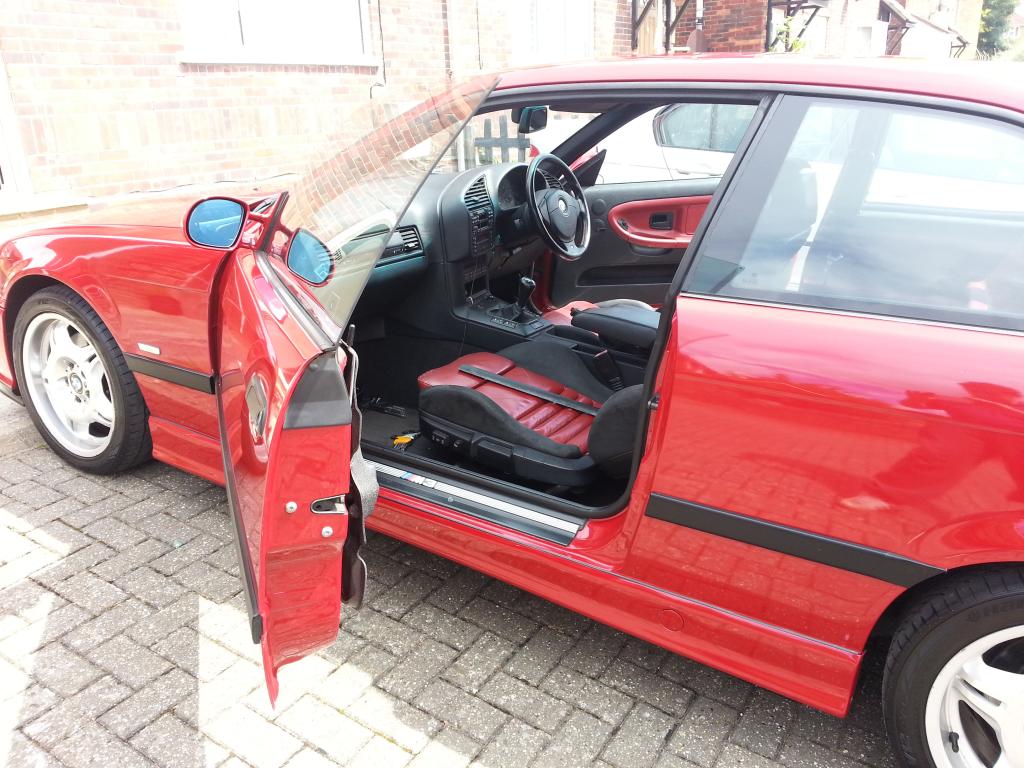
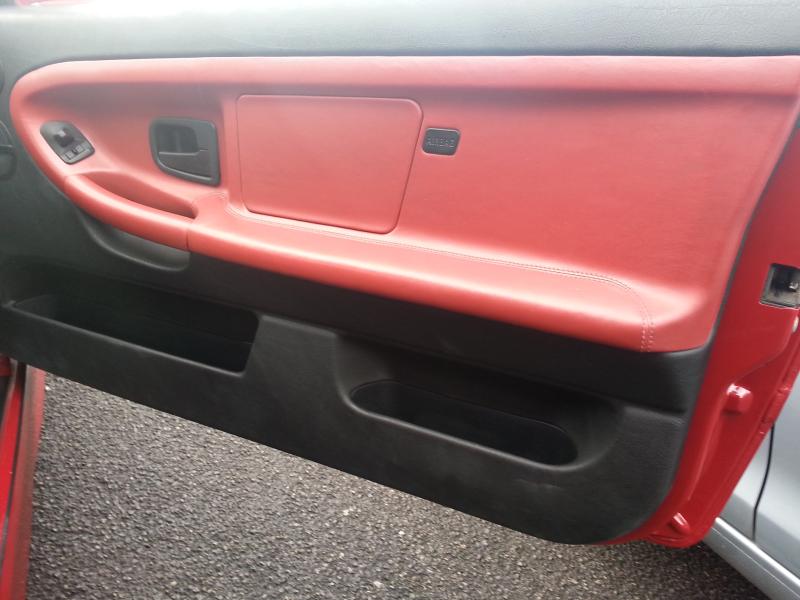
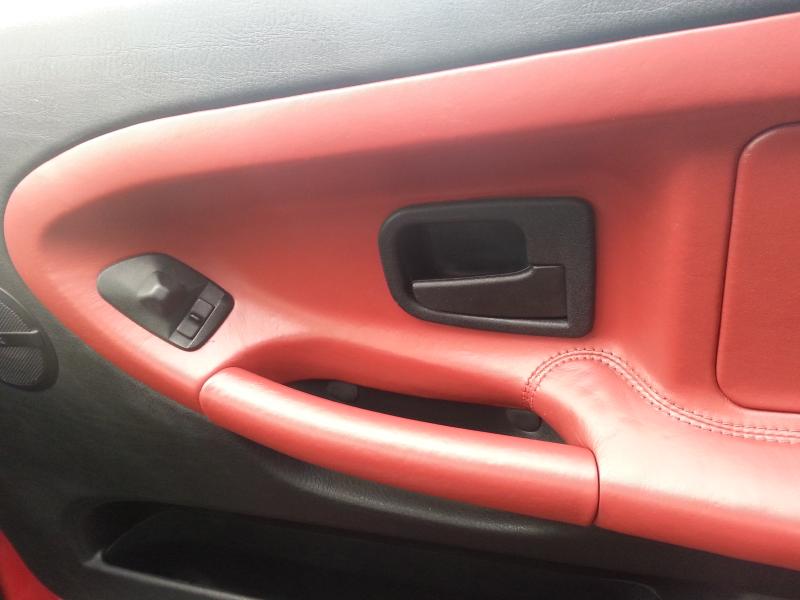
So my passenger door stopped working from the inside and out. The door was locked and pulling the internal handle would lift the lock button but it would not stay up and the door would not open.
This means the door cannot be opened... great fun!
This was down to a lock actuator which had gone faulty causing the door to stay double locked so could not be opened with this attached. Removing the actuator means you can use the door again but no central locking or double locking will work. You have to unlock and lock the door from the inside. But tgis means you can get the thing open again
Anyway, start by removing the door card.
there are two hex screws holding the door card in place. Remove the two little covers near the internal handle and undo the screws.
if yours is a GT like mine or has the optiinal side airbags remeber to remove the Airbag badge next to the airbag flap and remove the extra screw. A small screw driver to prize this badge off works.
once these have been removed its time to get physical.
I started by getting my fingers under the front bottom part of the door card and giving a sharp pull, you will hear the clips either break or pull out.
gently work your way around the door card until the whole bottom and sides pull away from the door.*
Now you need to pull the top of the door card out towards you. 9/10 times you will pull the glue on the top of the door card and leave the brackets attached to the car. You can glue these back on.
remove any speaker cables etc (GT2 has the extra HK setup so remove all before pulling away) now the door card should pull out gently. Set this to one side
next up is the plastic membrain that keeps the damp etc out. Do your best to pull this away without wripping. Not.easy as the glue is very strong. Do this around the lock mechanism.
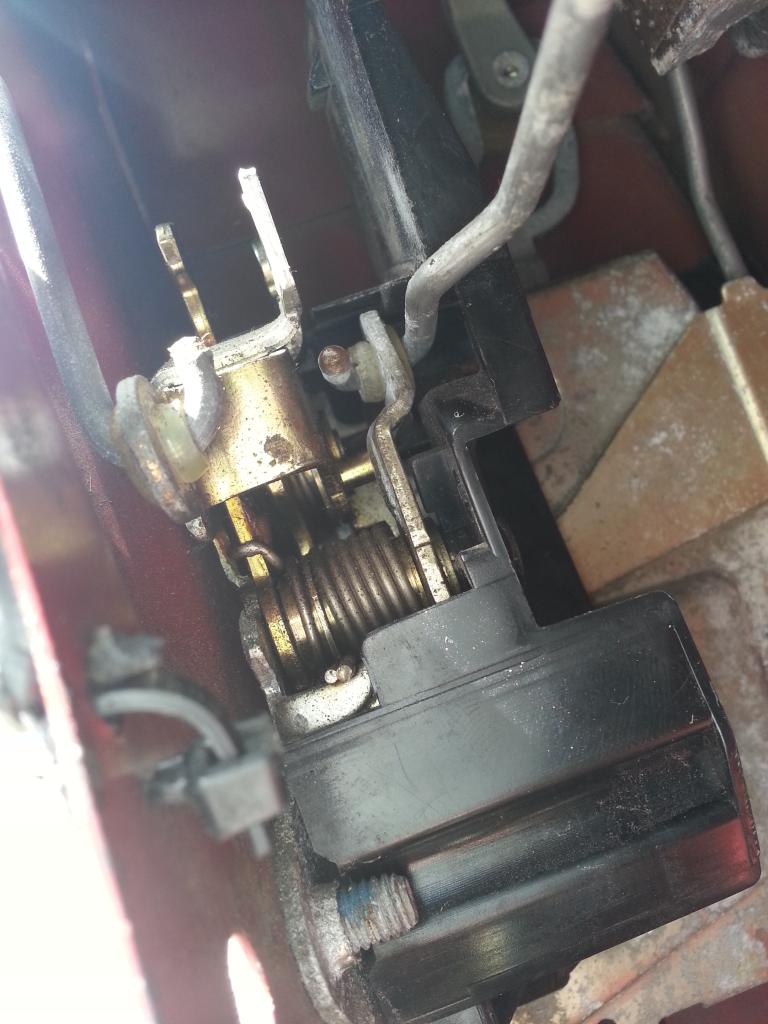
Now you should see the lock and mech, its a pain to see etc but doable.* The part we need to change is the lock actuator. This is a black box with one cable coming out. Leave the cable attached and push the actuator up away from the lock. It should just push up with a few clcicks and eventually come away. Pull this out of the door and gently remove the cable (push the cable grip down and this should release)
Once this is off the door should now unlock and open.
replace with a new item and put back together.
these are some photos of mine in progress
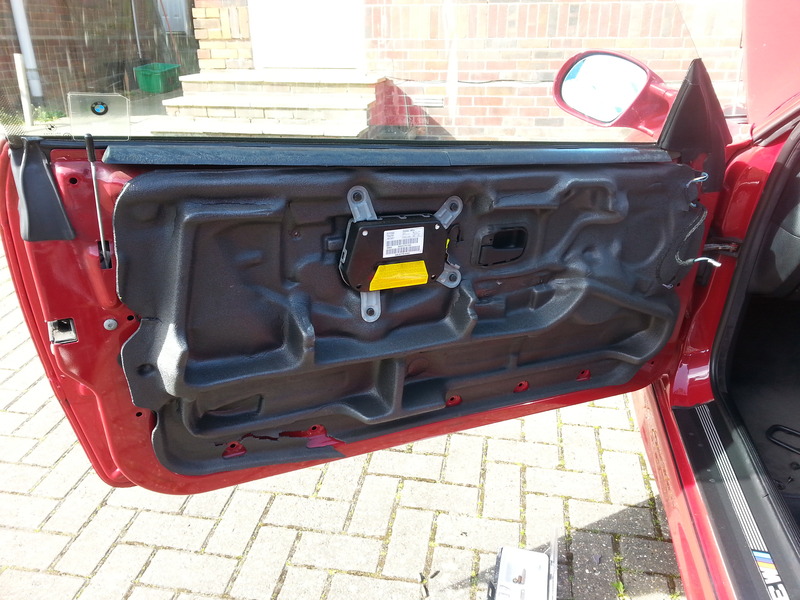
Removing the door card
Whats behind the door card. Remove the left hand side of the door membrane

This is where the actuator sits (it has been removed in this photo)
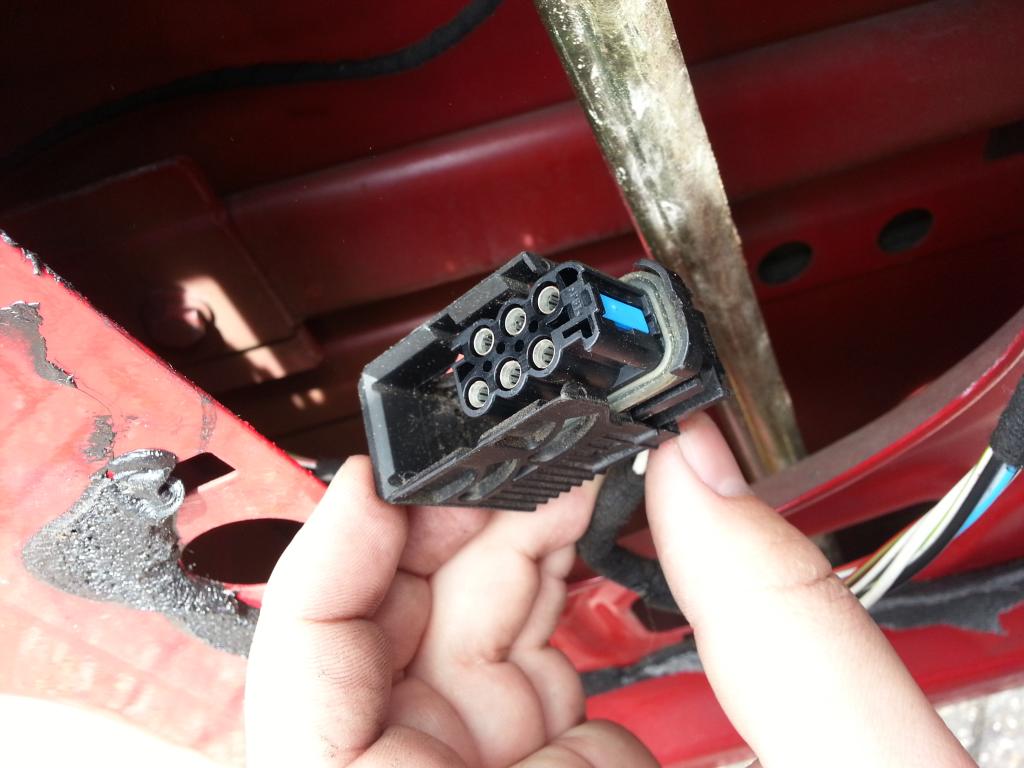
The wiring loom that plugs into the actuator
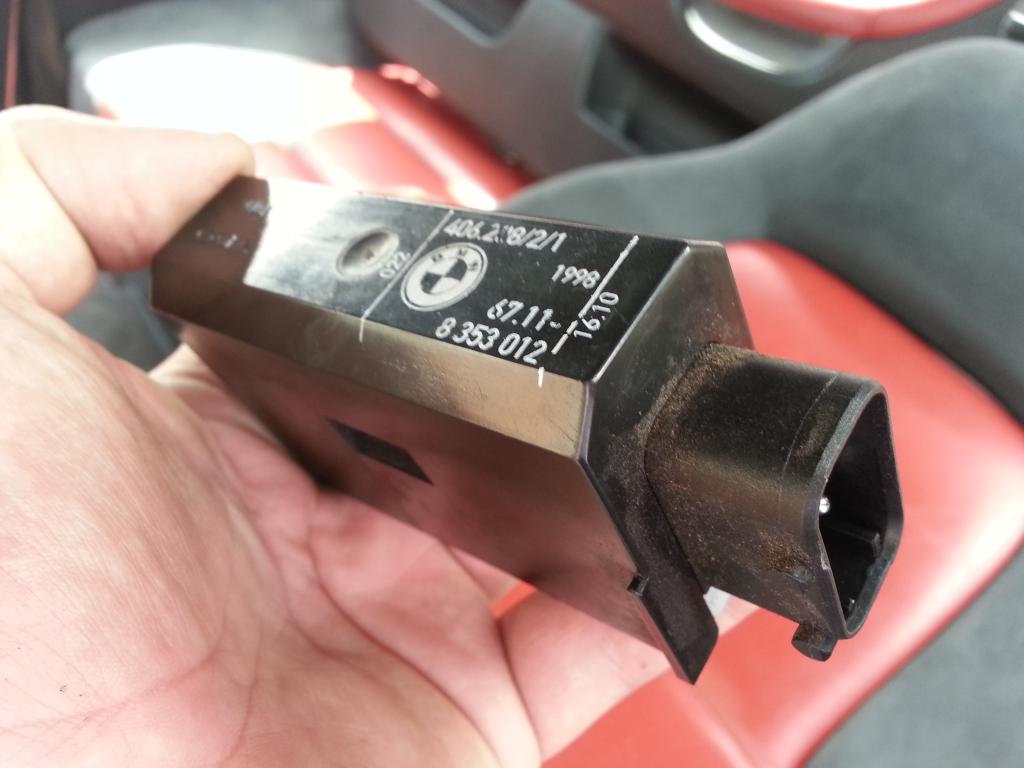
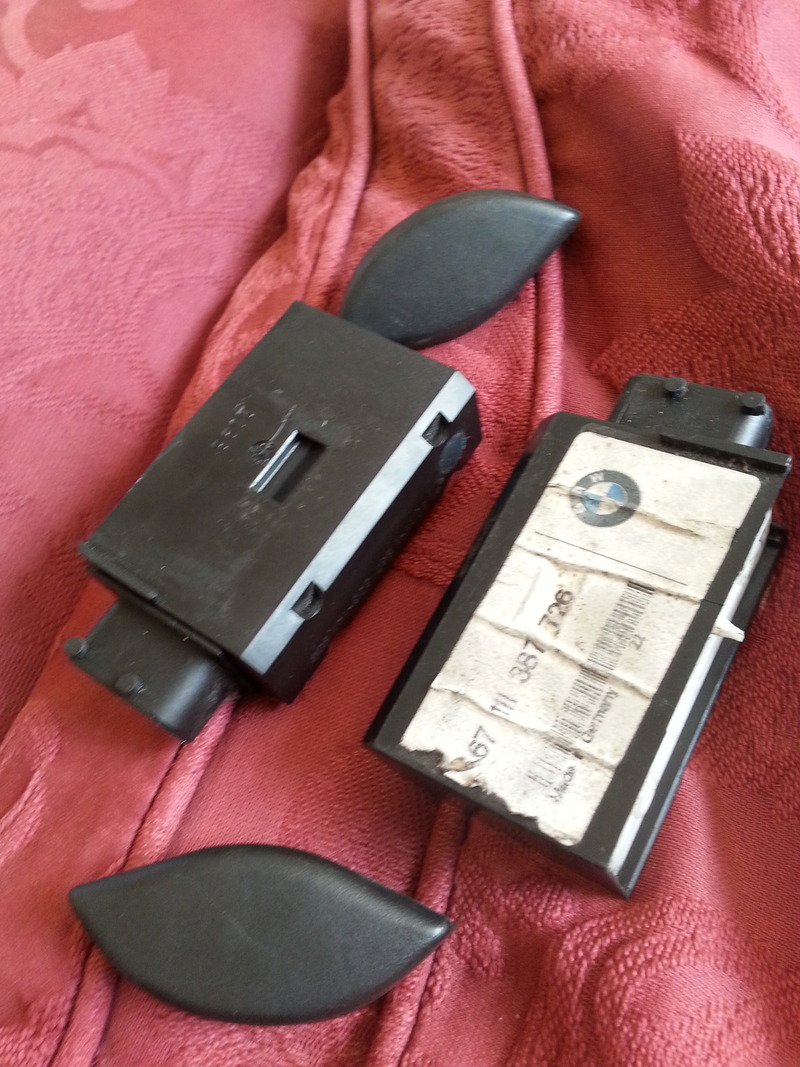
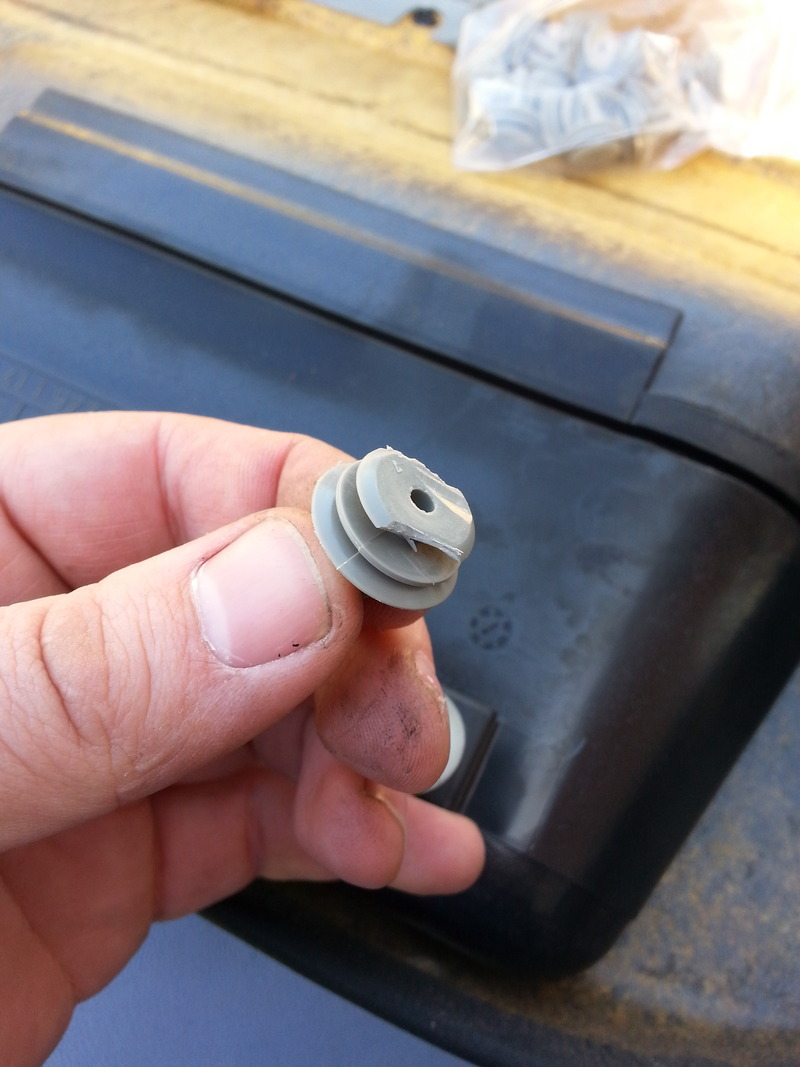
And the actuator itself
And the end product. A door that actually opens again!!!
Now on the hunt for an actuator. Waiting for prices to come back.
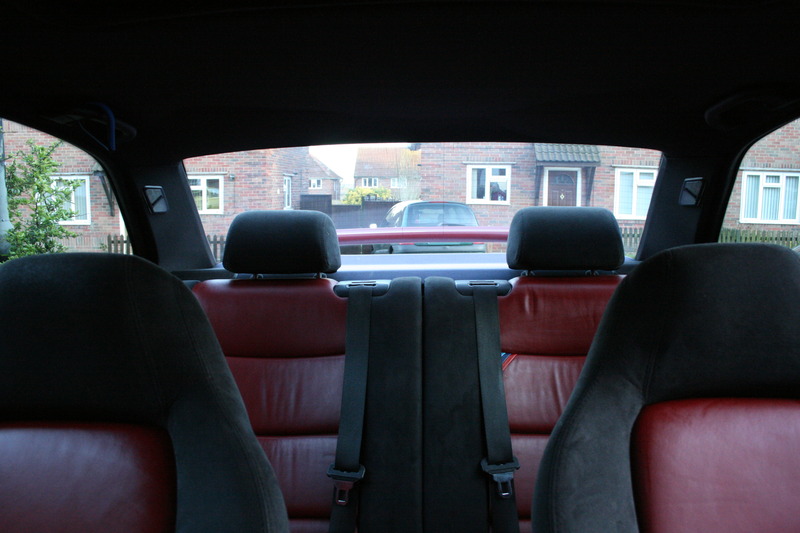
Hope this helps someone, was a dick trying to get the door card off with expensive limited edition seats in the way. But certainly a DIY
heers guys. Slowly ticking off things on my to do list. Keeps me out of trouble I guess. The values are on the up as well which is lovely
This means the door cannot be opened... great fun!
This was down to a lock actuator which had gone faulty causing the door to stay double locked so could not be opened with this attached. Removing the actuator means you can use the door again but no central locking or double locking will work. You have to unlock and lock the door from the inside. But tgis means you can get the thing open again
Anyway, start by removing the door card.
there are two hex screws holding the door card in place. Remove the two little covers near the internal handle and undo the screws.
if yours is a GT like mine or has the optiinal side airbags remeber to remove the Airbag badge next to the airbag flap and remove the extra screw. A small screw driver to prize this badge off works.
once these have been removed its time to get physical.
I started by getting my fingers under the front bottom part of the door card and giving a sharp pull, you will hear the clips either break or pull out.
gently work your way around the door card until the whole bottom and sides pull away from the door.*
Now you need to pull the top of the door card out towards you. 9/10 times you will pull the glue on the top of the door card and leave the brackets attached to the car. You can glue these back on.
remove any speaker cables etc (GT2 has the extra HK setup so remove all before pulling away) now the door card should pull out gently. Set this to one side
next up is the plastic membrain that keeps the damp etc out. Do your best to pull this away without wripping. Not.easy as the glue is very strong. Do this around the lock mechanism.
Now you should see the lock and mech, its a pain to see etc but doable.* The part we need to change is the lock actuator. This is a black box with one cable coming out. Leave the cable attached and push the actuator up away from the lock. It should just push up with a few clcicks and eventually come away. Pull this out of the door and gently remove the cable (push the cable grip down and this should release)
Once this is off the door should now unlock and open.
replace with a new item and put back together.
these are some photos of mine in progress
Removing the door card

Whats behind the door card. Remove the left hand side of the door membrane

This is where the actuator sits (it has been removed in this photo)

The wiring loom that plugs into the actuator

And the actuator itself

And the end product. A door that actually opens again!!!

Now on the hunt for an actuator. Waiting for prices to come back.
Hope this helps someone, was a dick trying to get the door card off with expensive limited edition seats in the way. But certainly a DIY
heers guys. Slowly ticking off things on my to do list. Keeps me out of trouble I guess. The values are on the up as well which is lovely
 30-07-2014, 12:27 PM
#122
Advanced PassionFord User
Thread Starter
Well its been a while.
I have done nothing but drive the car. Probably put a good 600 miles on her recently with not a single wash.
As you can imagine, its pretty horrible!!
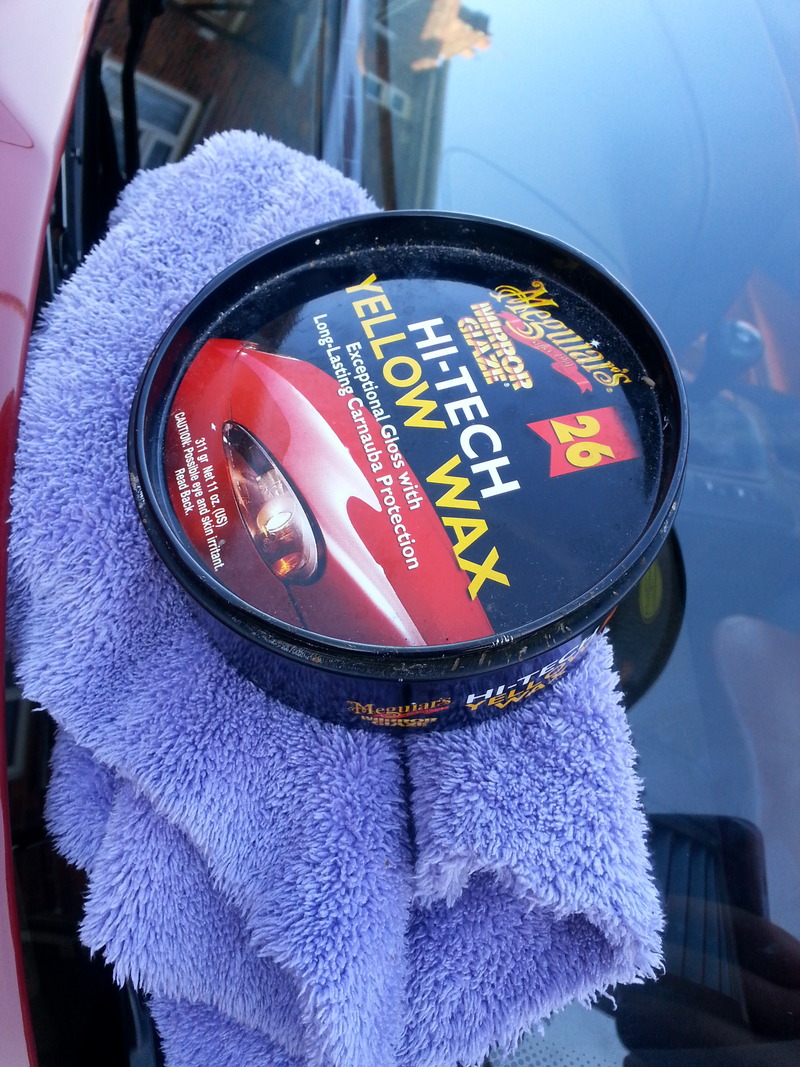
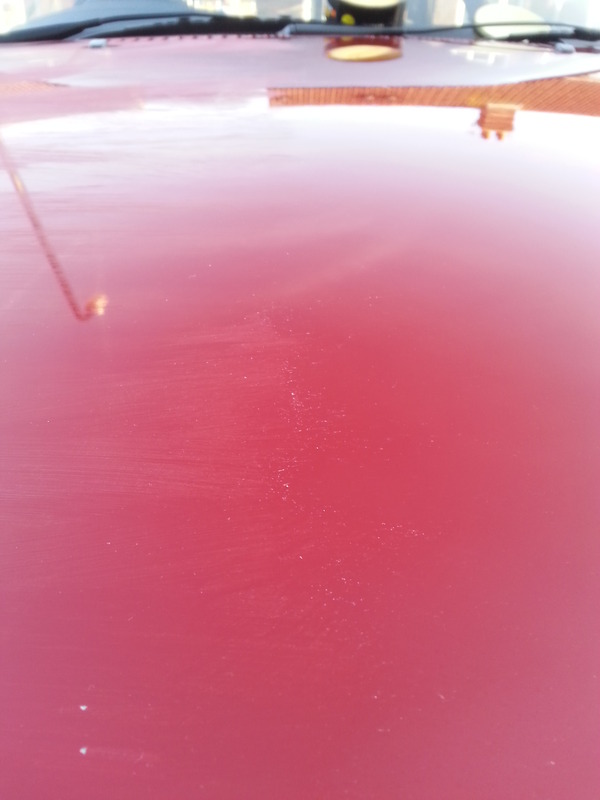
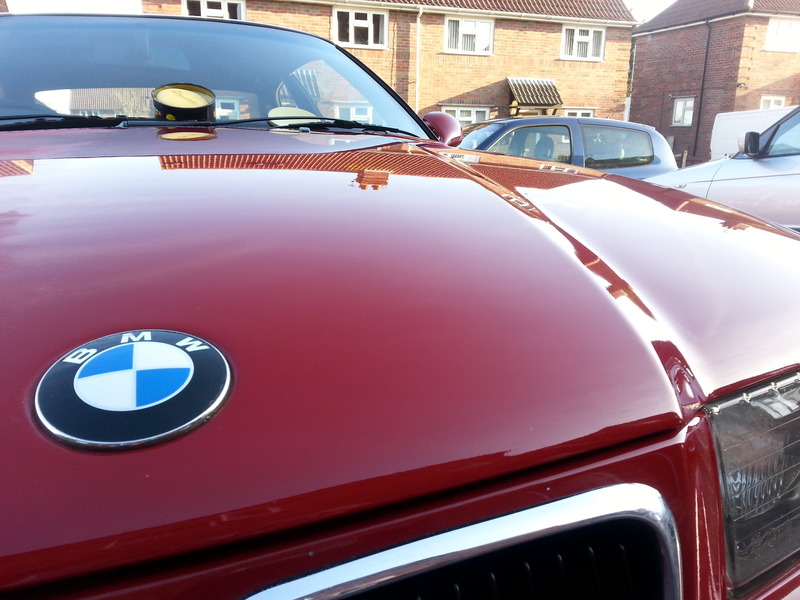
So thought I would give it a quick clean last night before I took it out on another long run
Before
After
The car has been faultless. Averaging 26MPG as well. Pulls hard and well but also shuts up when you put her in 6th and hit the motorways. It really is a credit to BMW just how good these cars are.
I have done nothing but drive the car. Probably put a good 600 miles on her recently with not a single wash.
As you can imagine, its pretty horrible!!
So thought I would give it a quick clean last night before I took it out on another long run
Before


After


The car has been faultless. Averaging 26MPG as well. Pulls hard and well but also shuts up when you put her in 6th and hit the motorways. It really is a credit to BMW just how good these cars are.
06-09-2014, 02:21 PM
#123
Advanced PassionFord User
Thread Starter
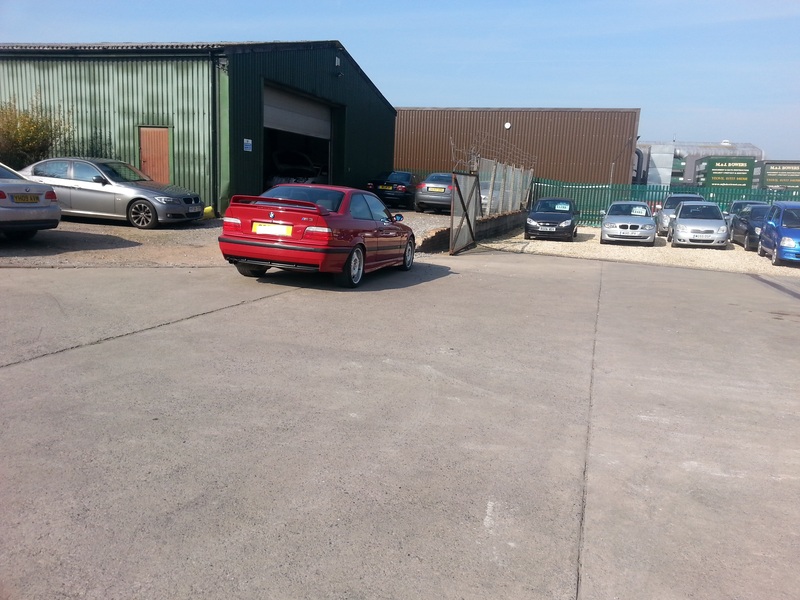
A few advisories
rear brake pipes
front pads
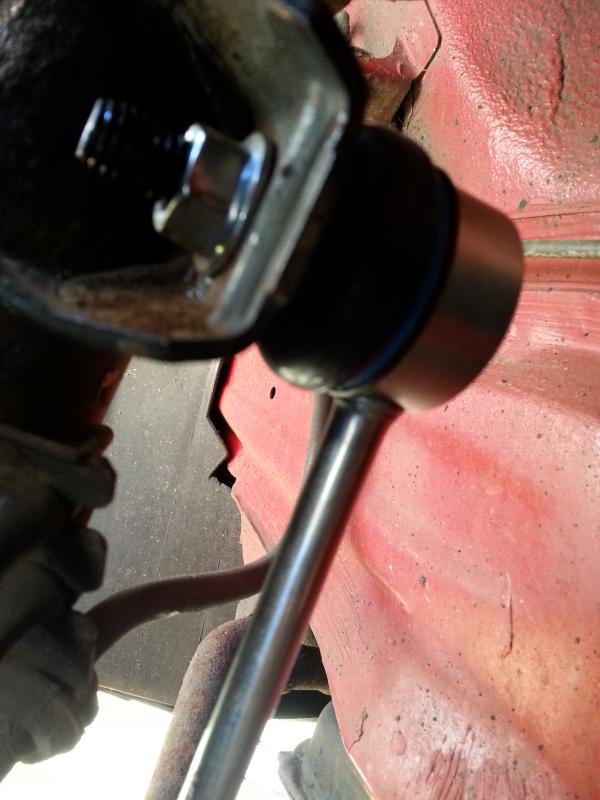
anti role bar front passenger
relatively happy with that. Shame its going to spend most of this MOT in the garage ha
rear brake pipes
front pads
anti role bar front passenger
relatively happy with that. Shame its going to spend most of this MOT in the garage ha
15-09-2014, 04:01 PM
#126
Advanced PassionFord User
Thread Starter
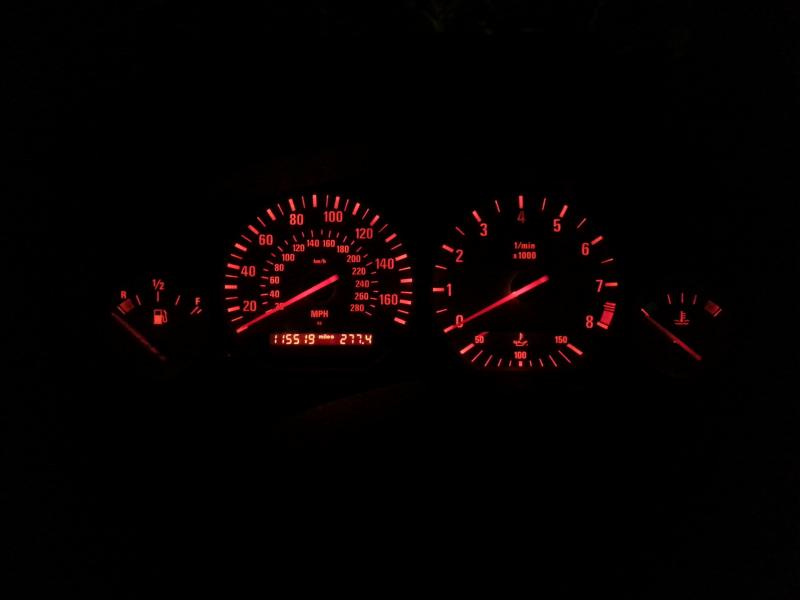
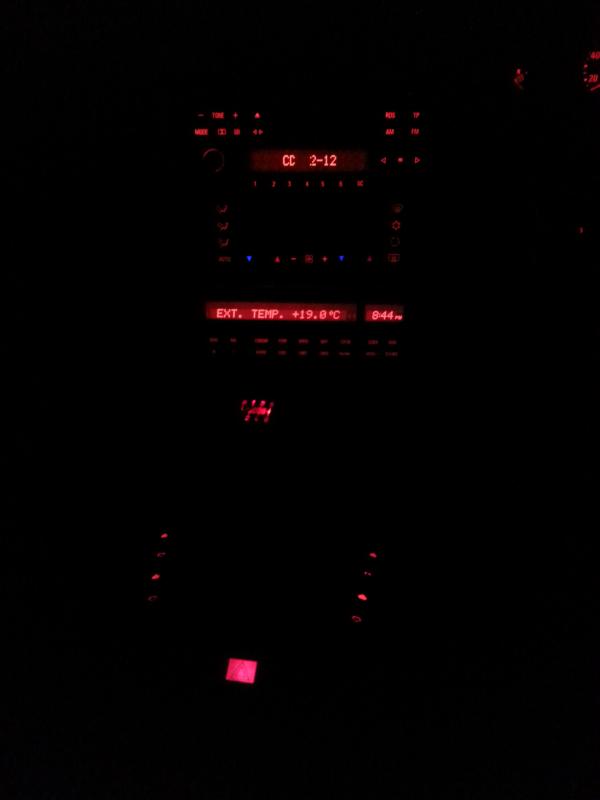
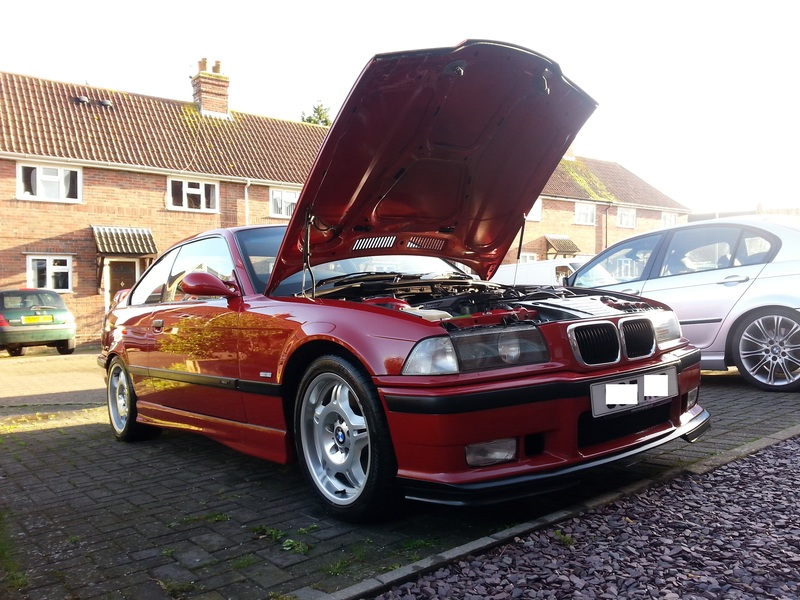
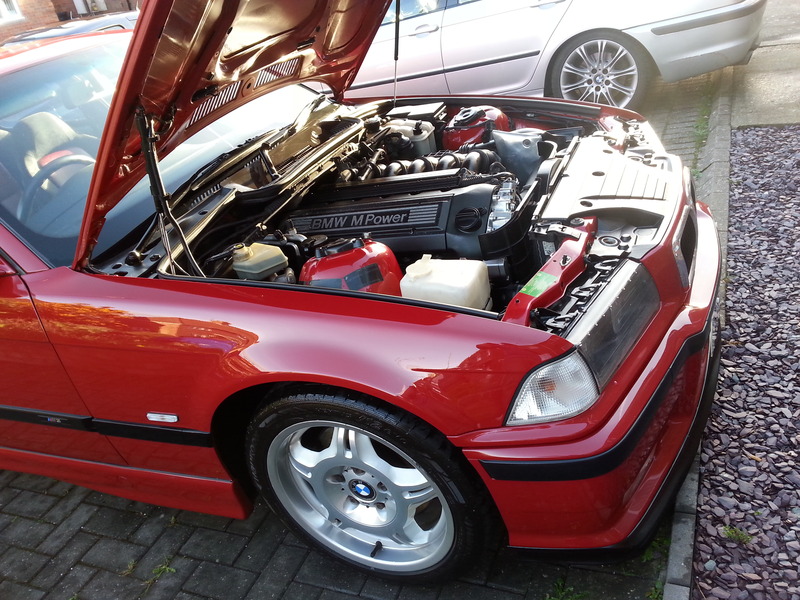
A couple snaps of the car during MOT sat waiting for the engine to warm up.
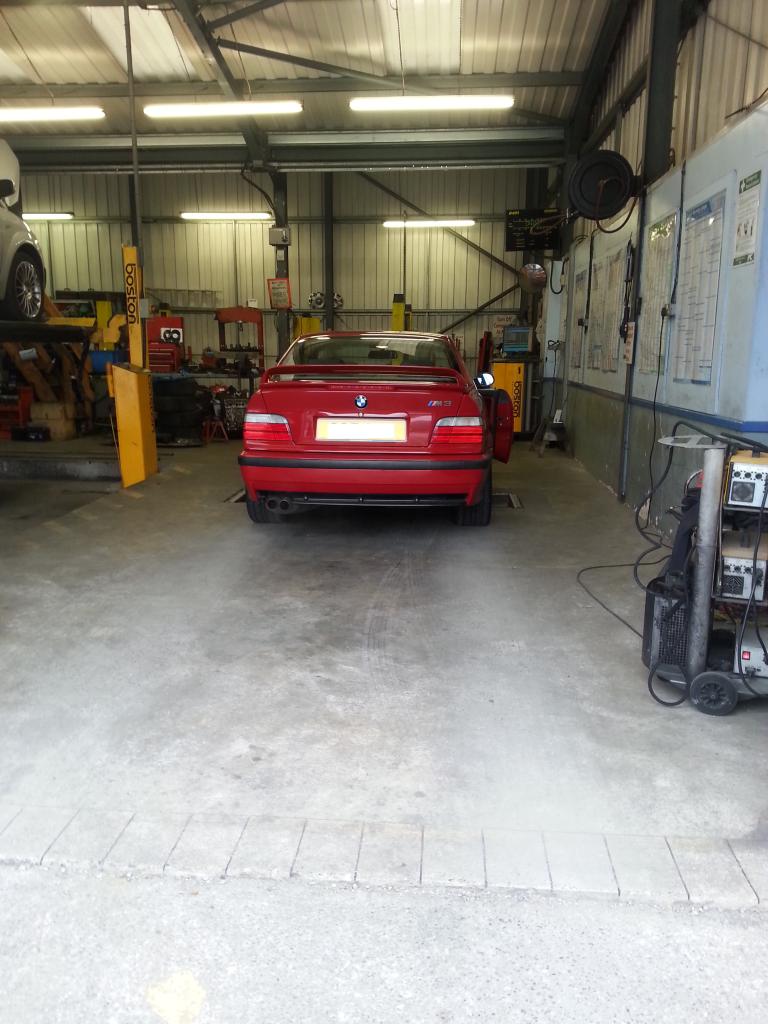
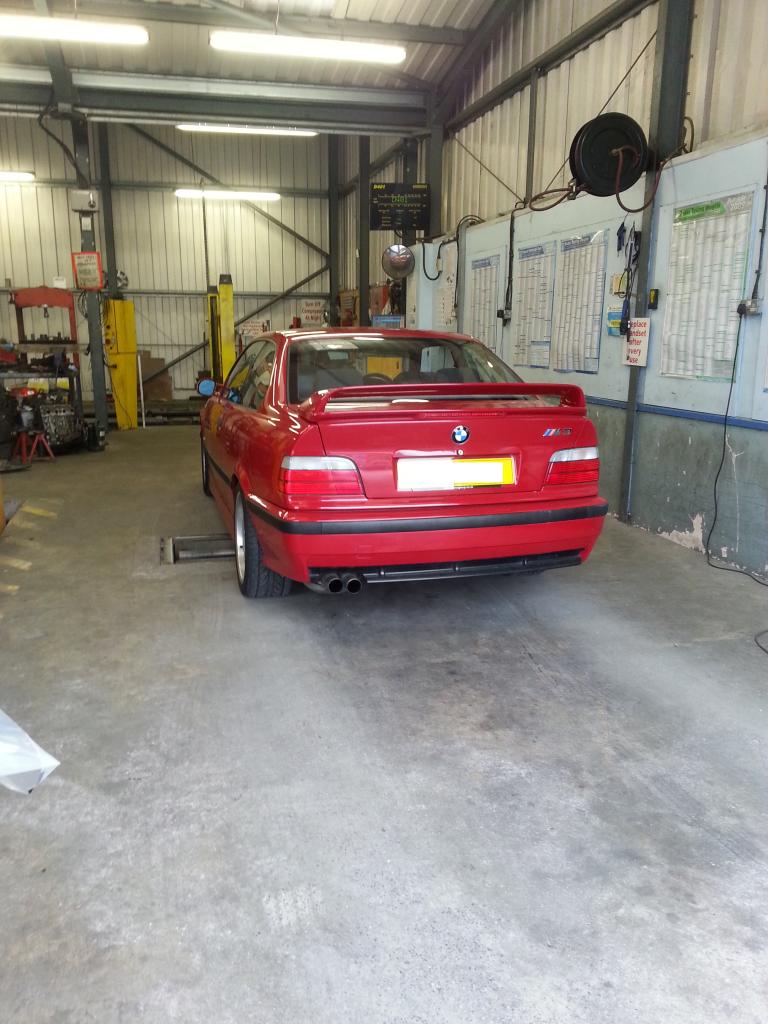
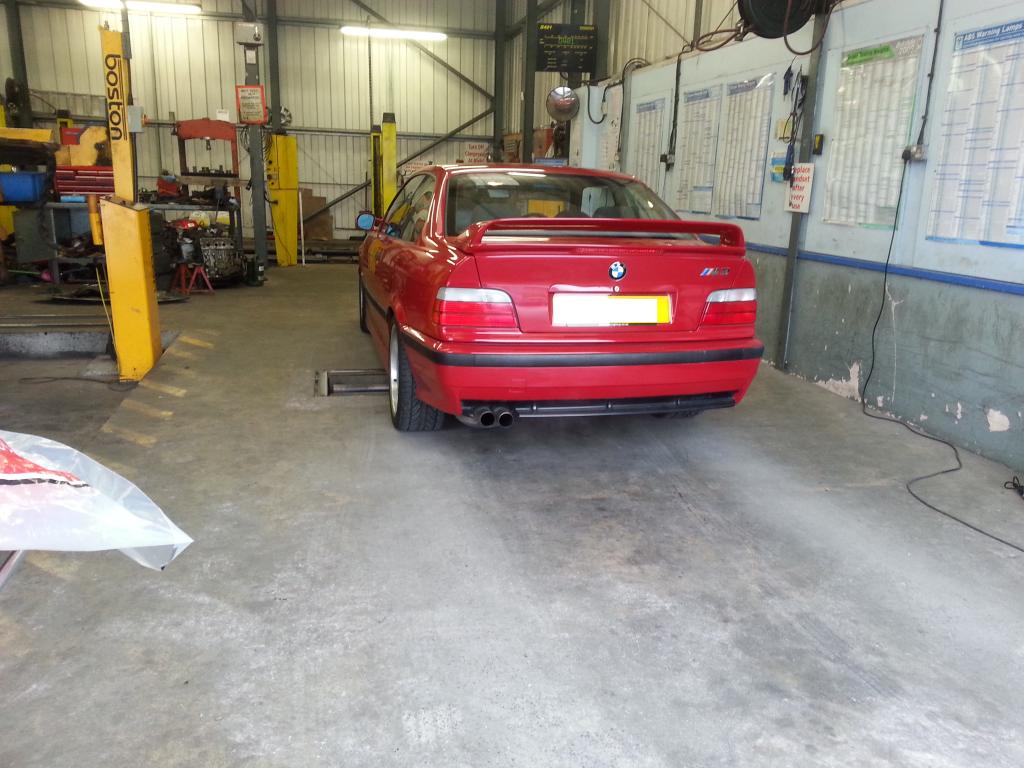
And a couple of her down in West Bay Dorset
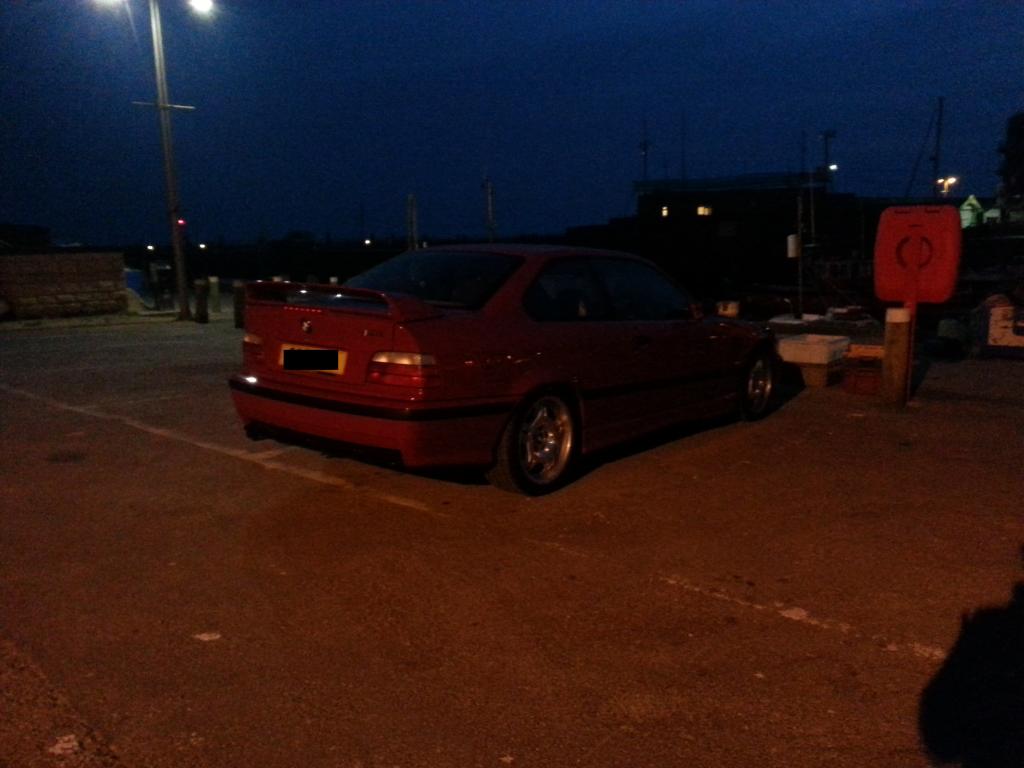
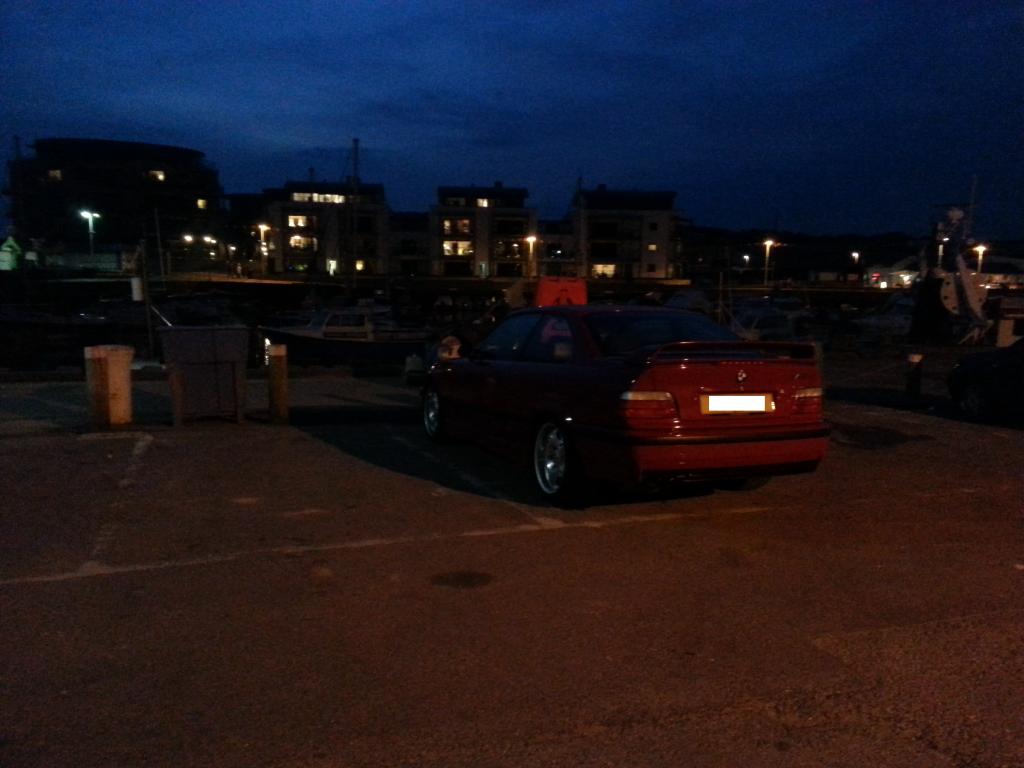
Car has been faultless


And a couple of her down in West Bay Dorset


Car has been faultless
19-09-2014, 03:17 PM
#127
Advanced PassionFord User
Thread Starter
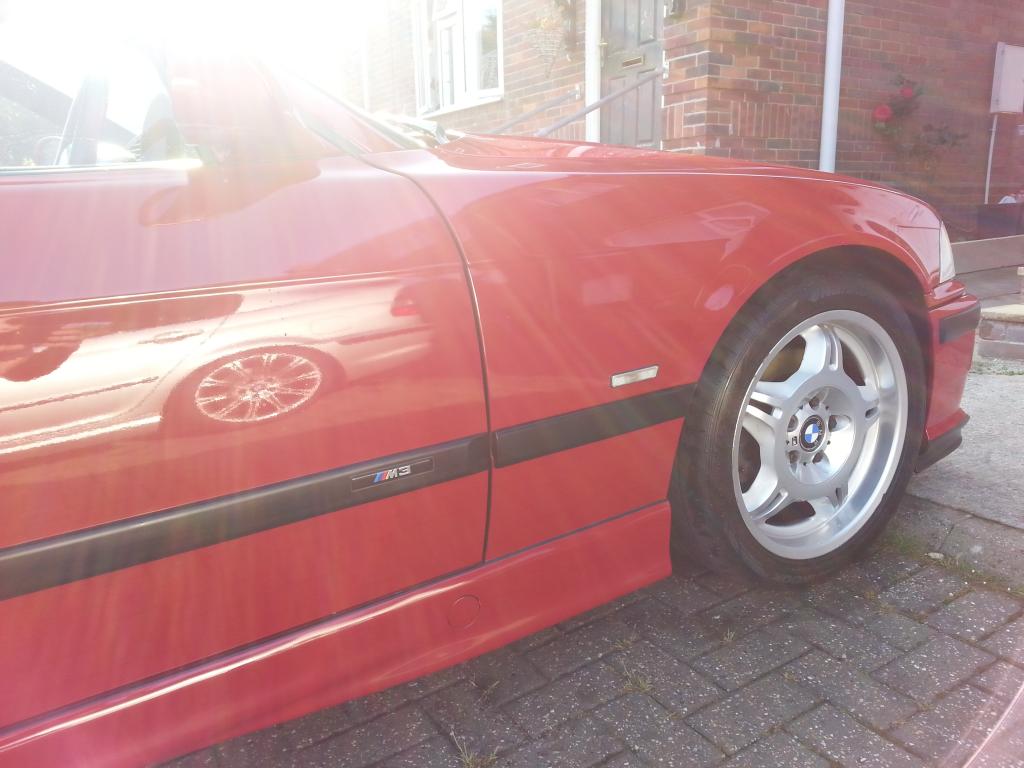
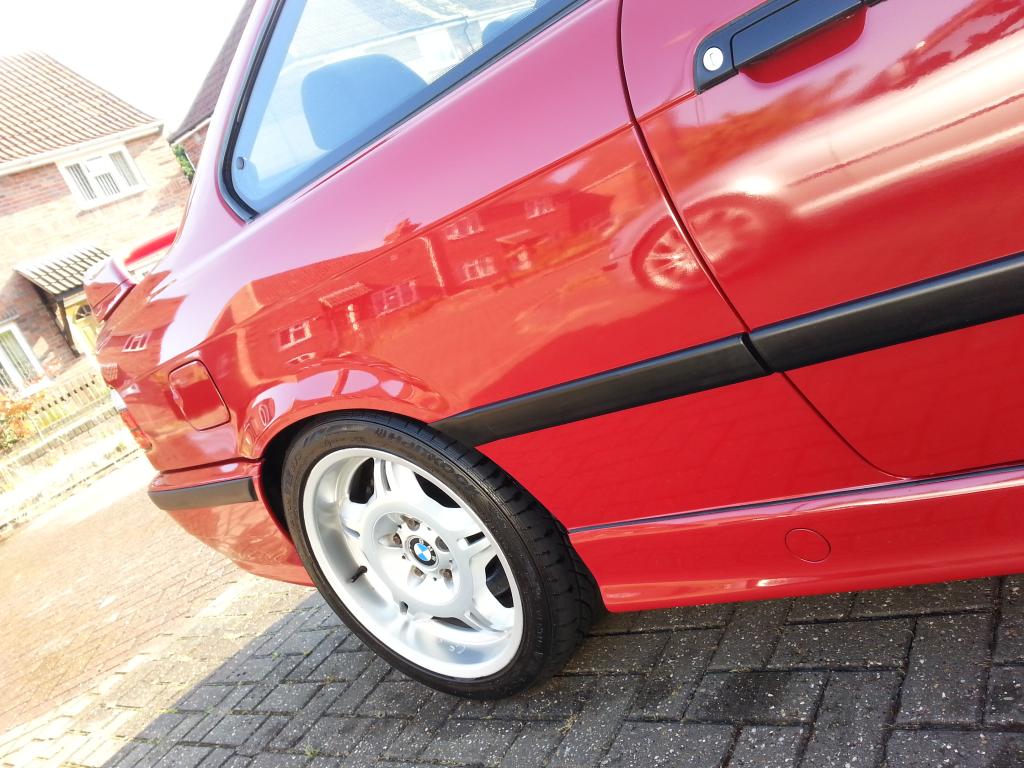
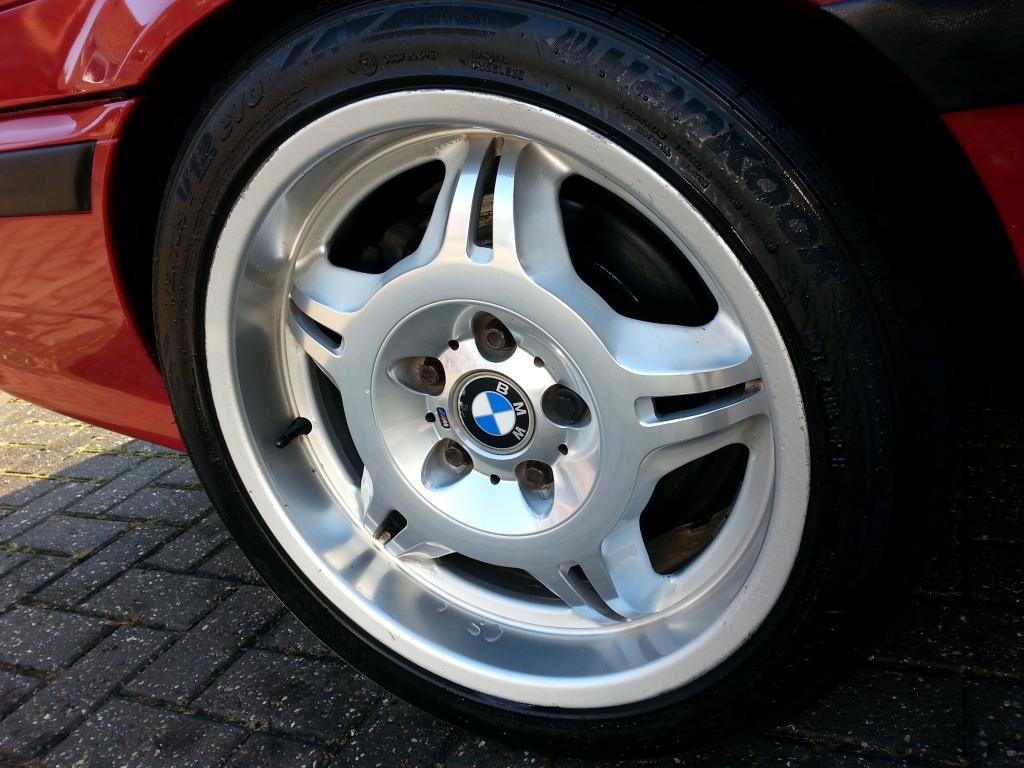
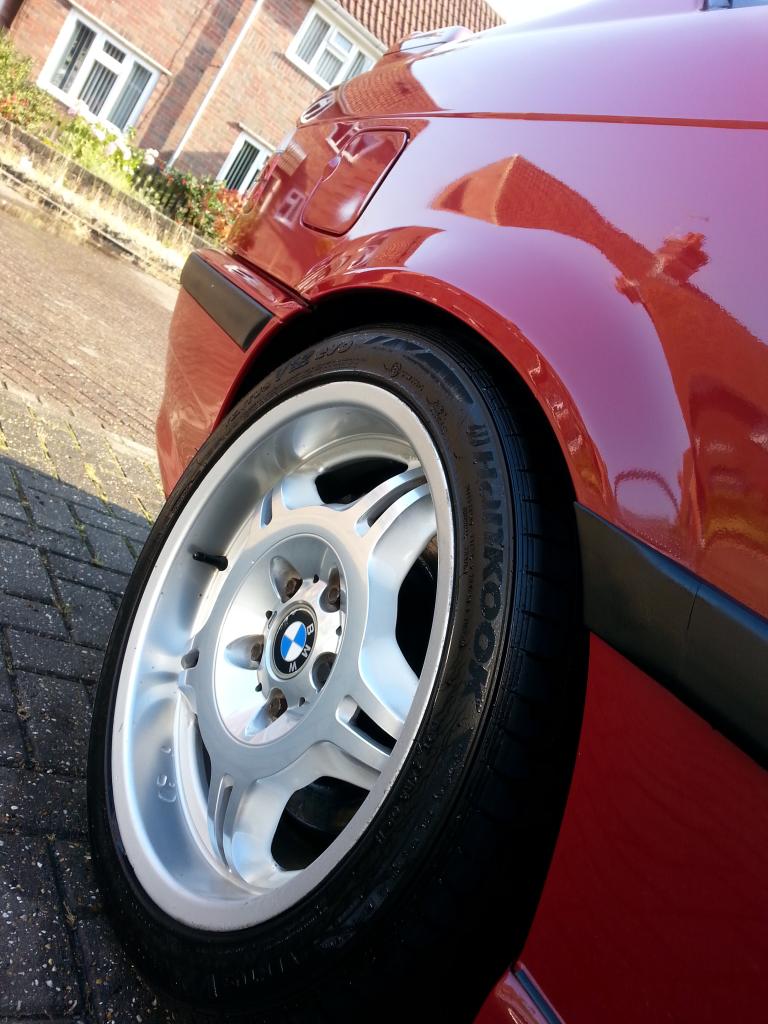
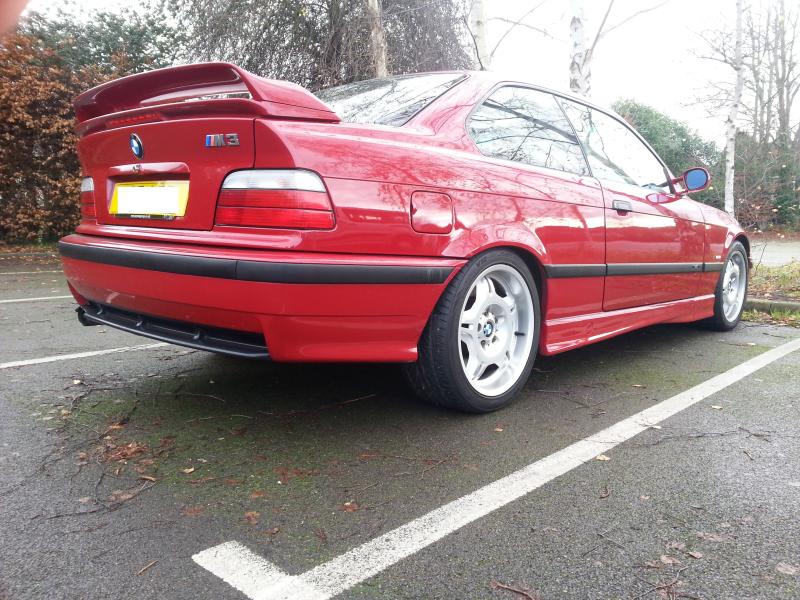
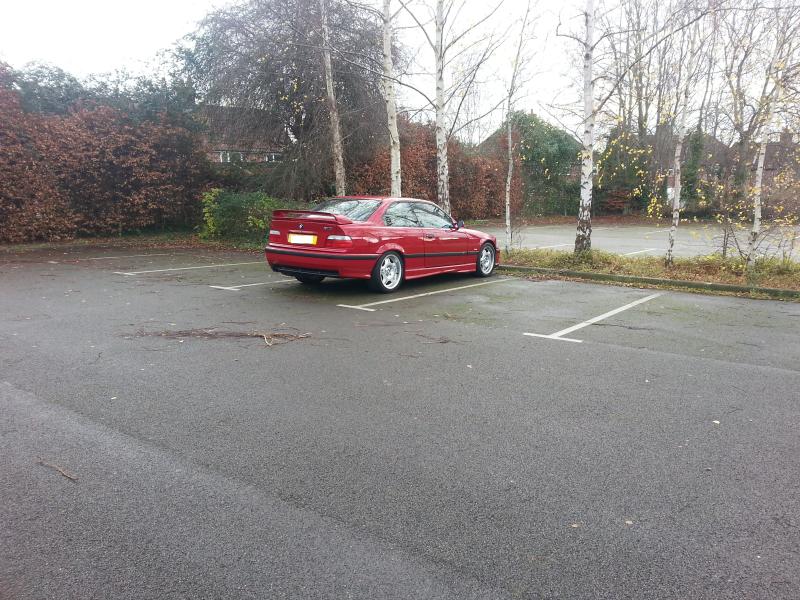
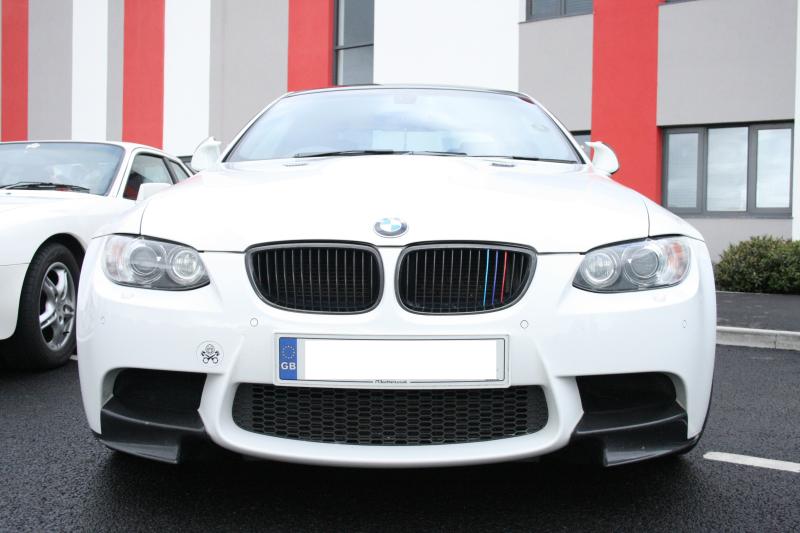
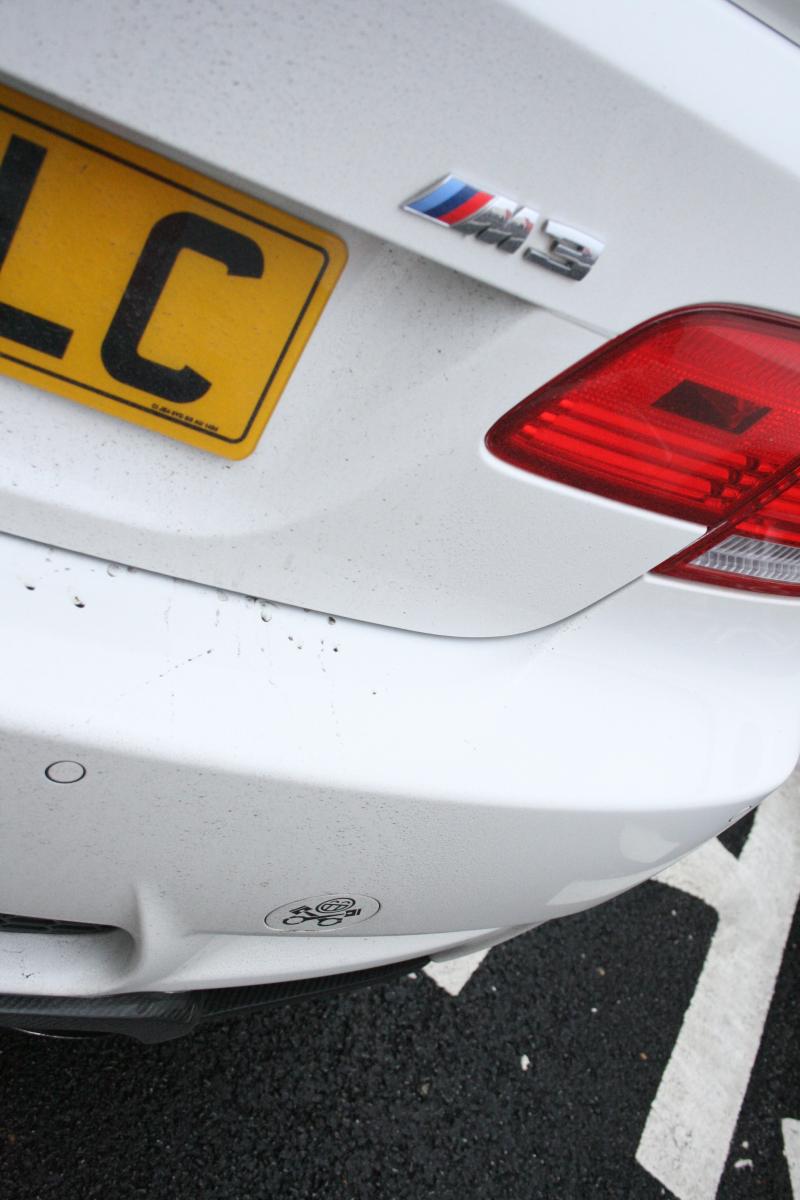
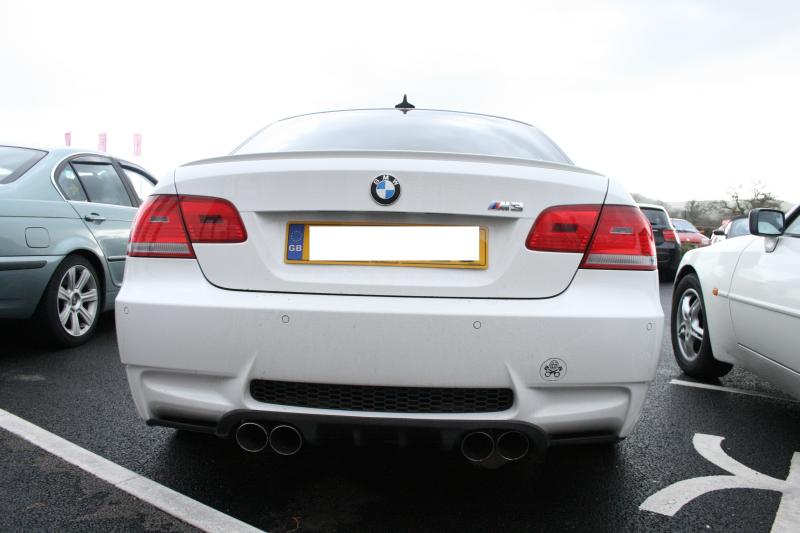
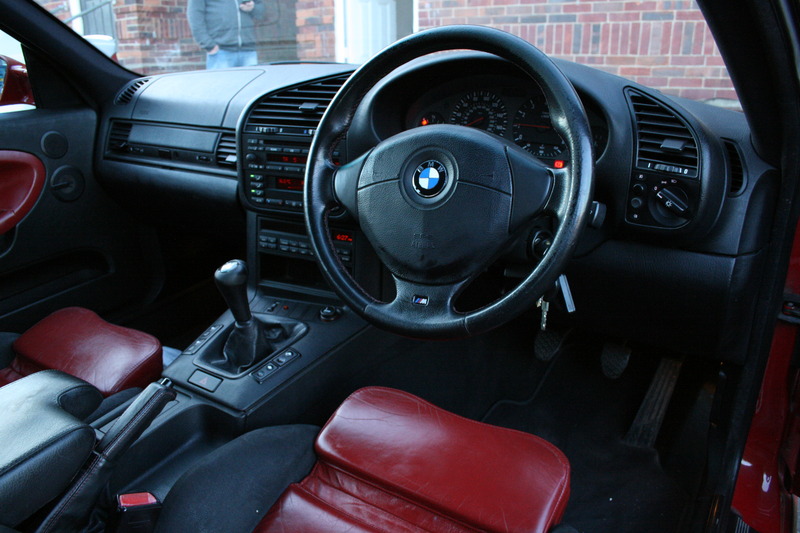
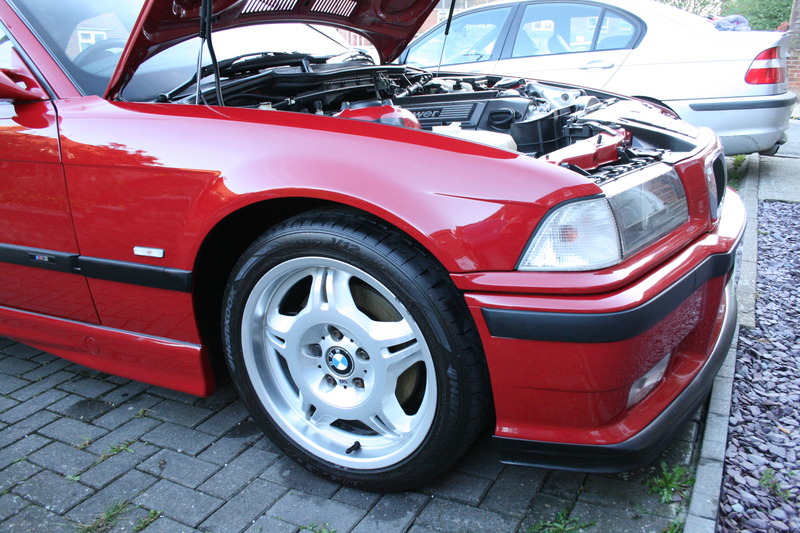
I thought I had posted these but it seems I have not.
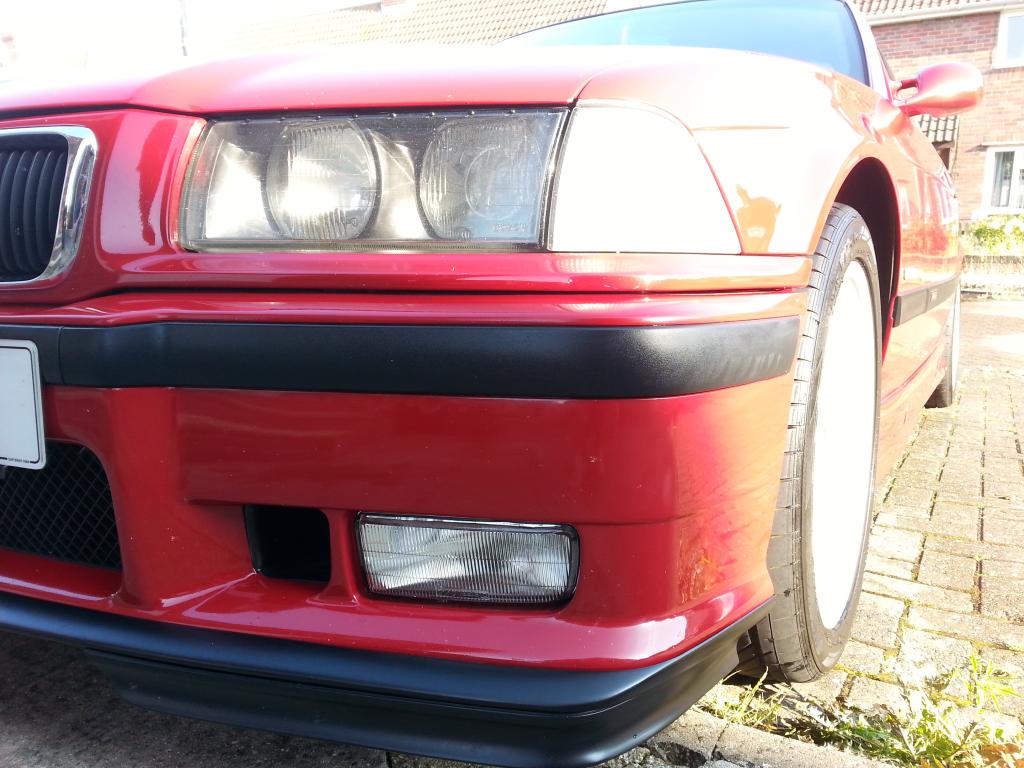
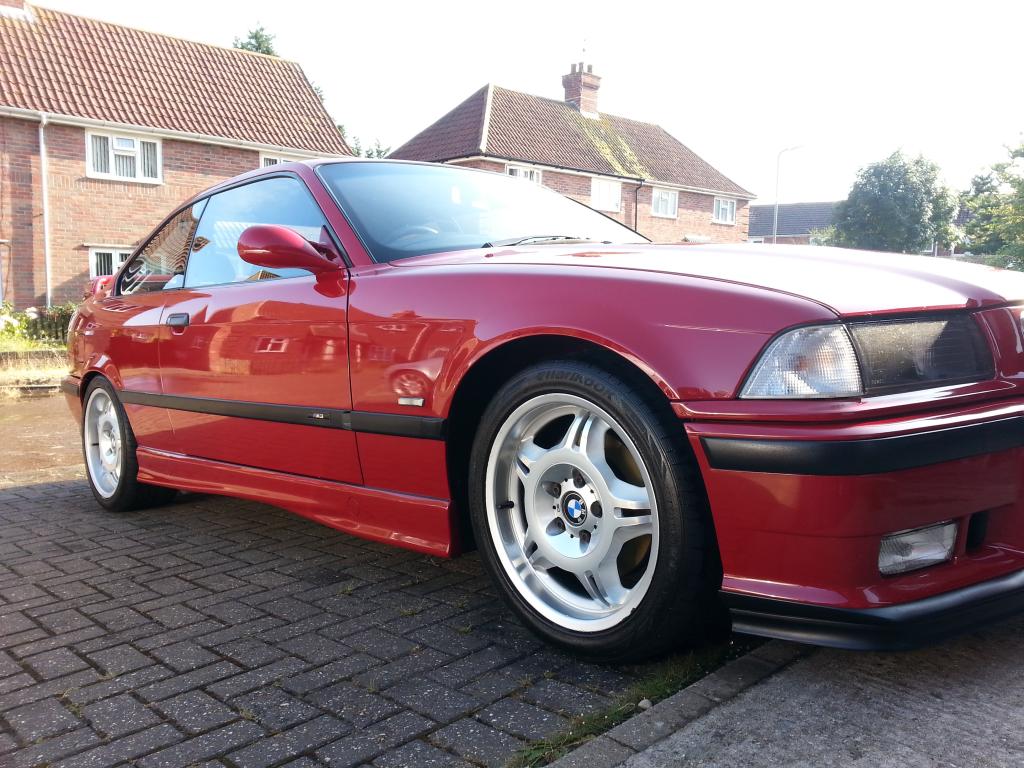
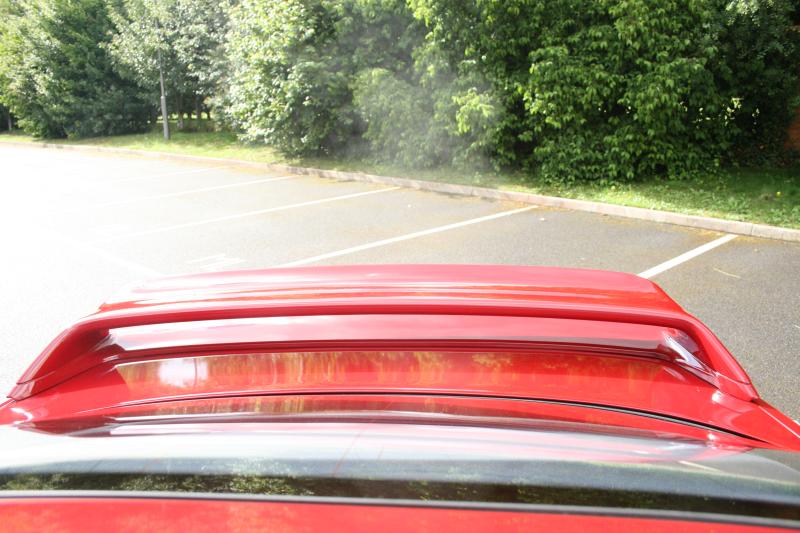
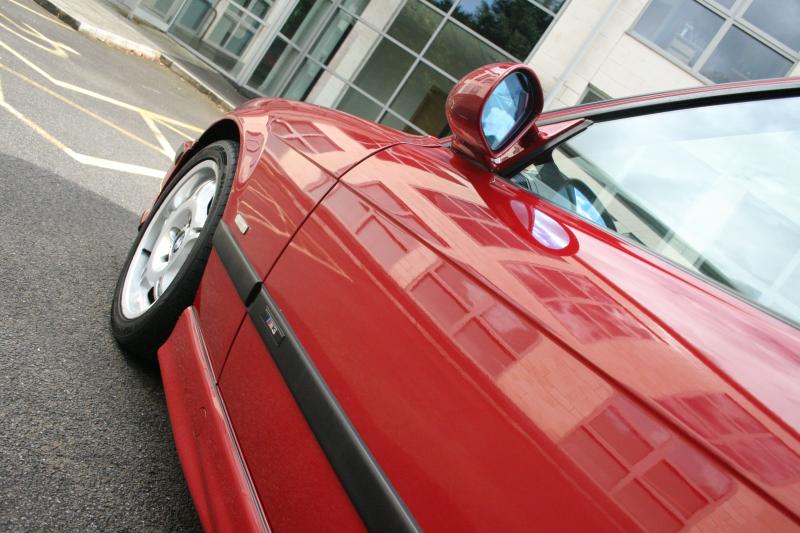
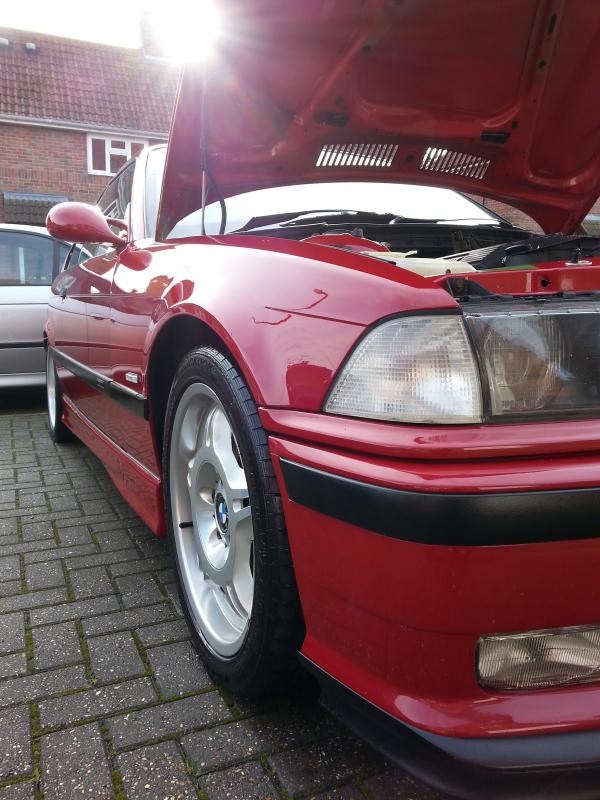
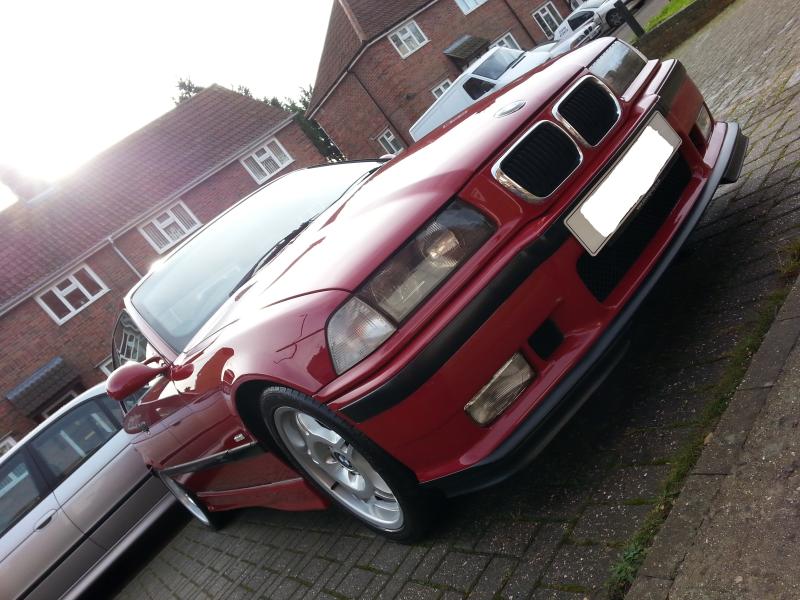
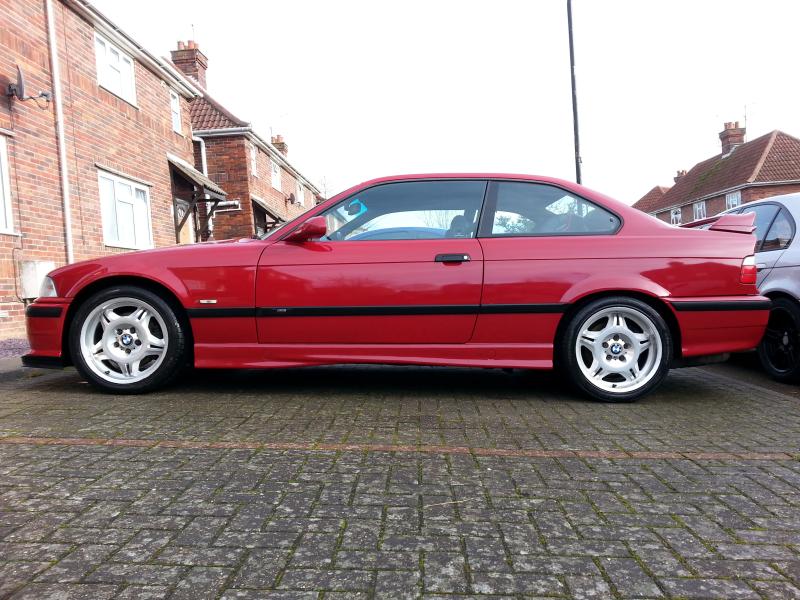
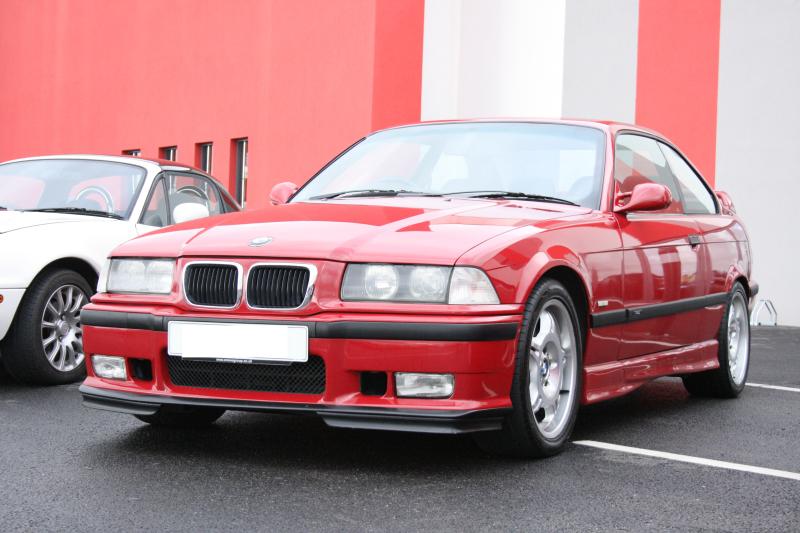
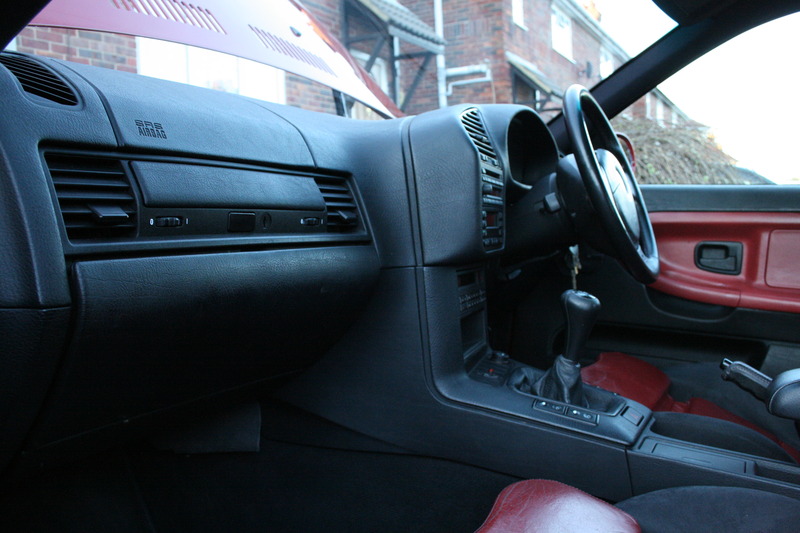
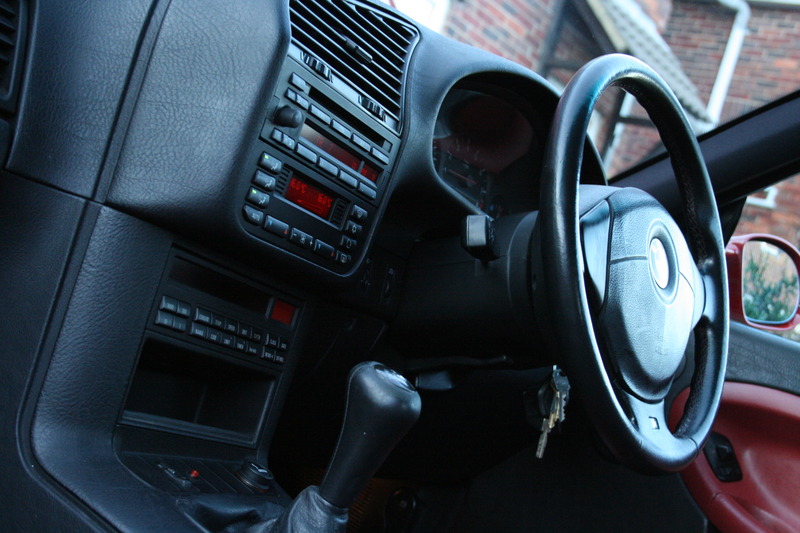
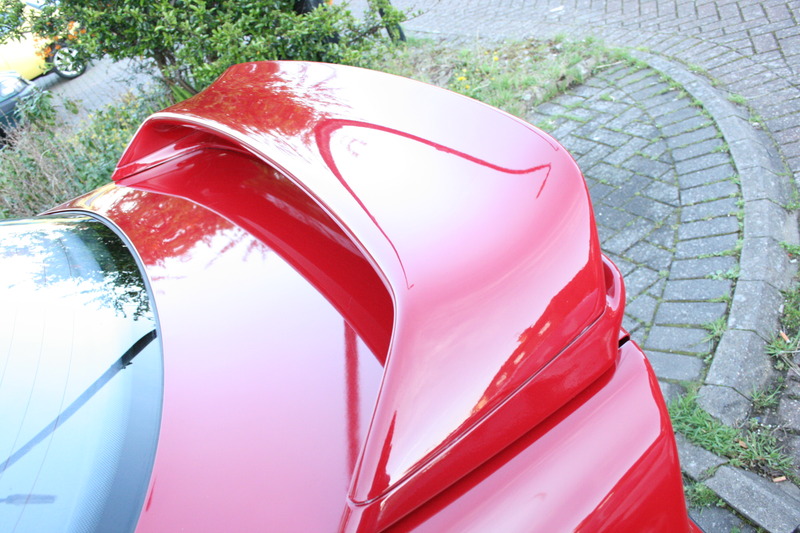
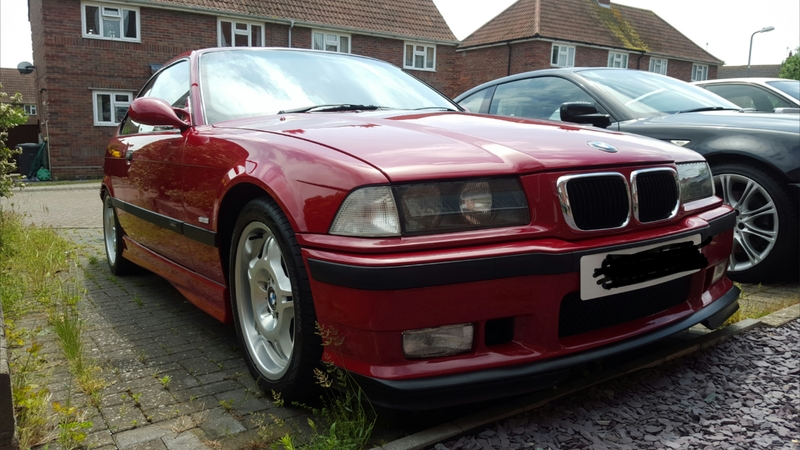
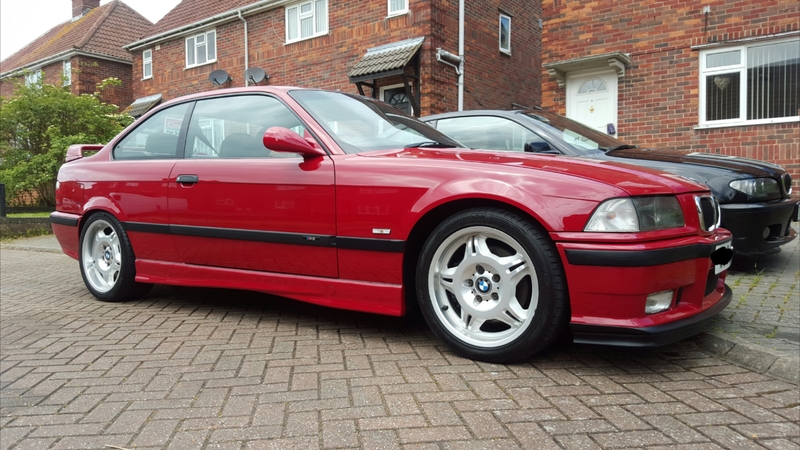
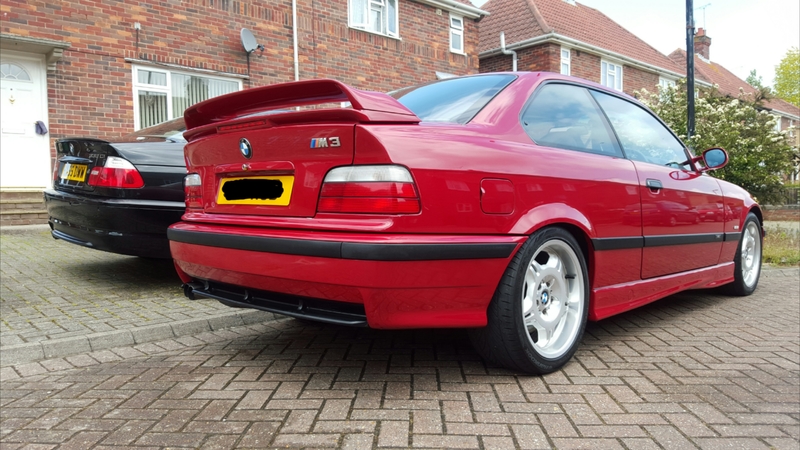
I gave the car a good clean (a little while ago now) and decided to use my DSLR to get some decent photos of the car. Every photo you have seen before has been from my mobile phone.
Shows the car in a better light
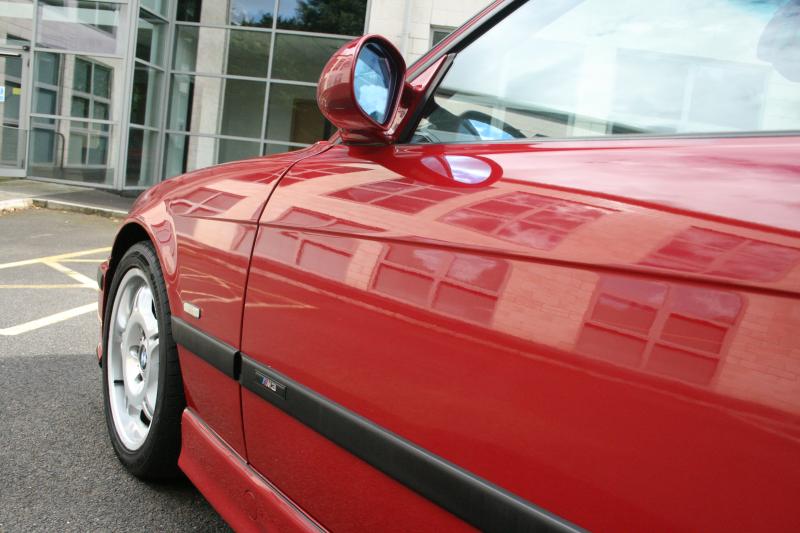
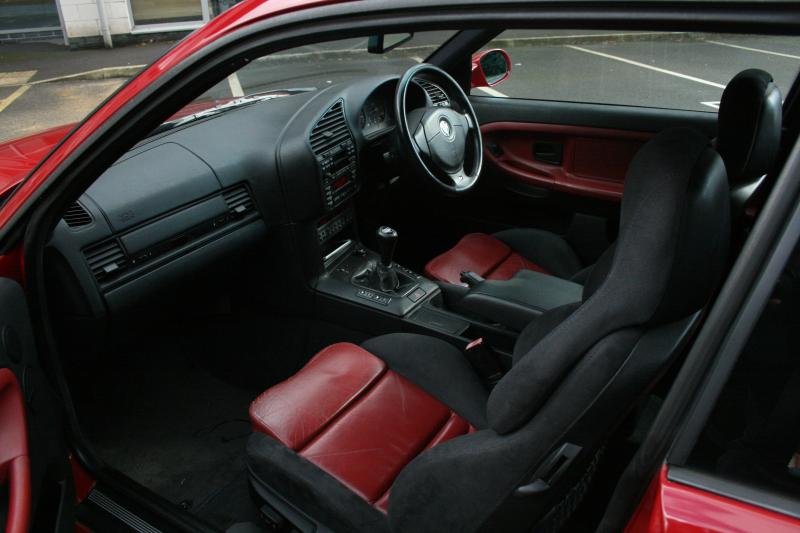
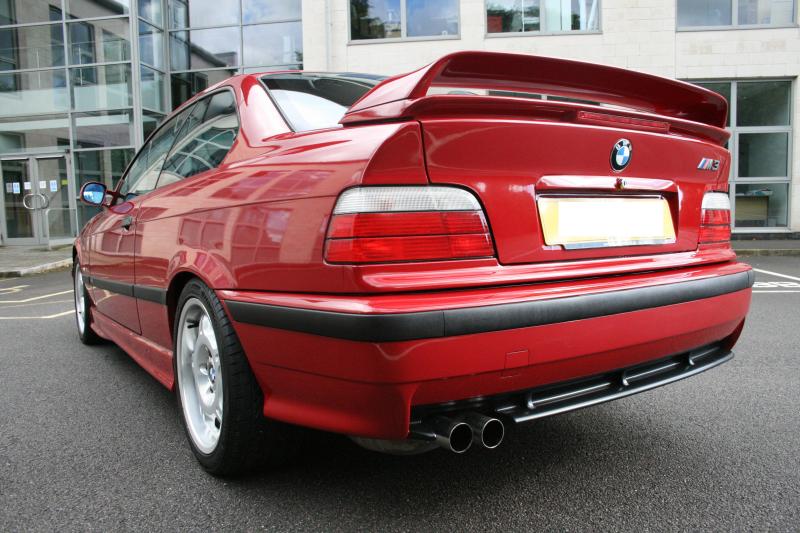
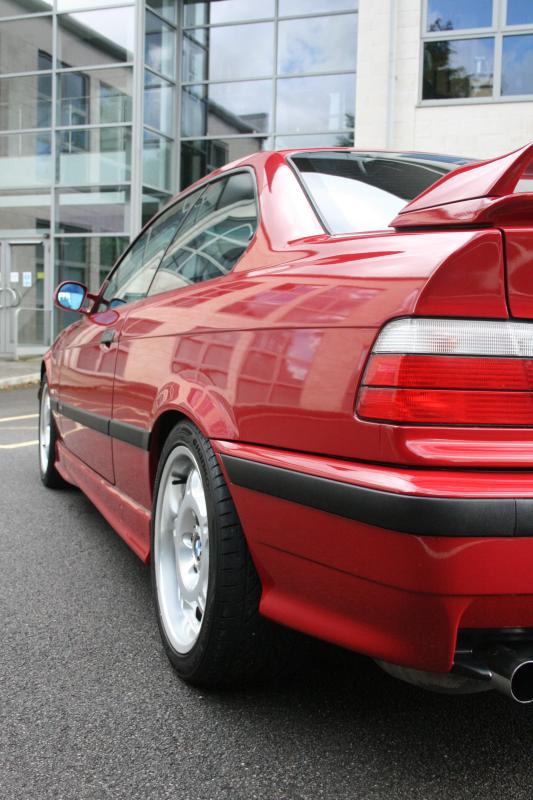
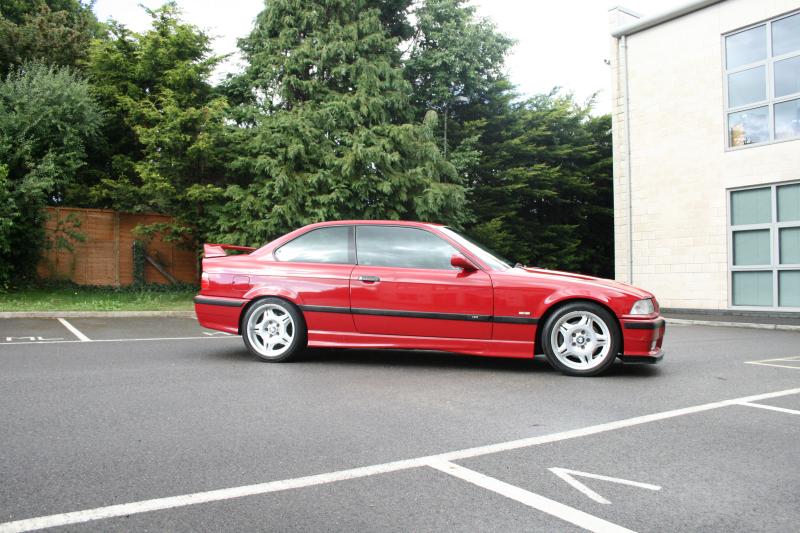
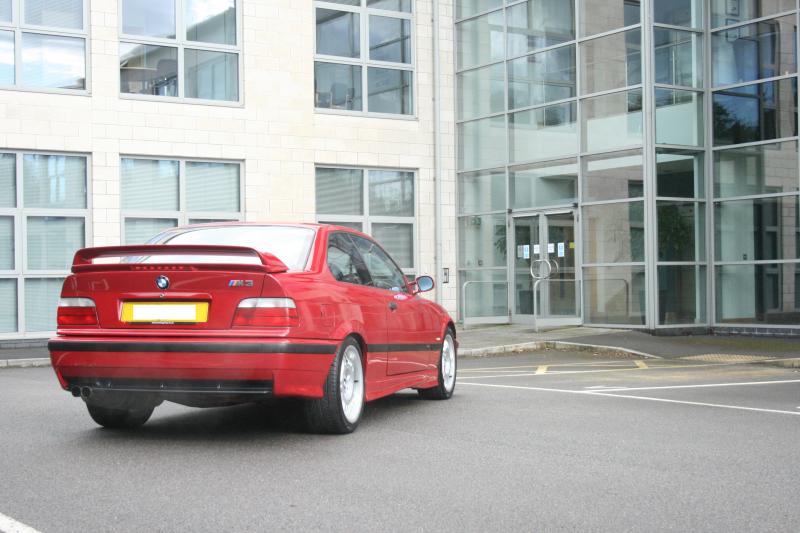
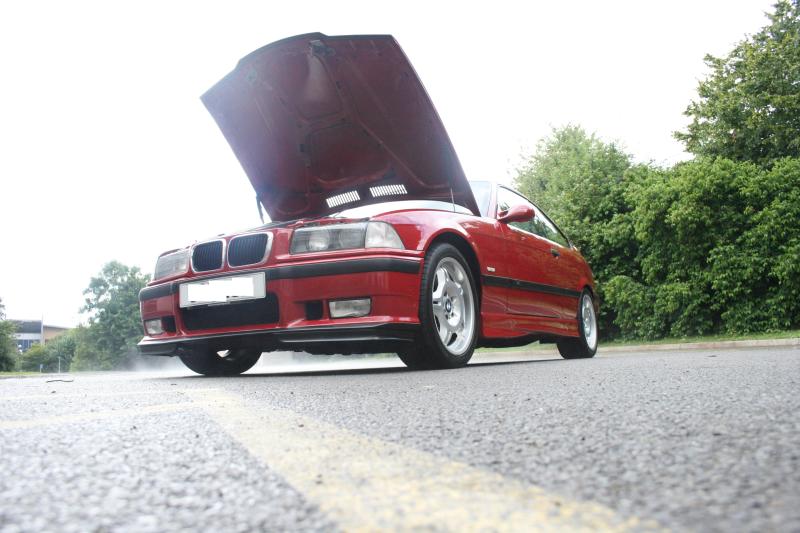
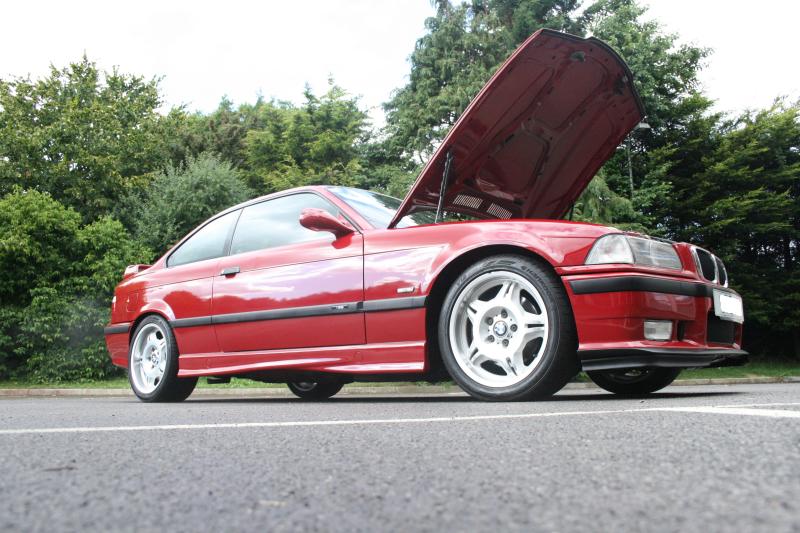
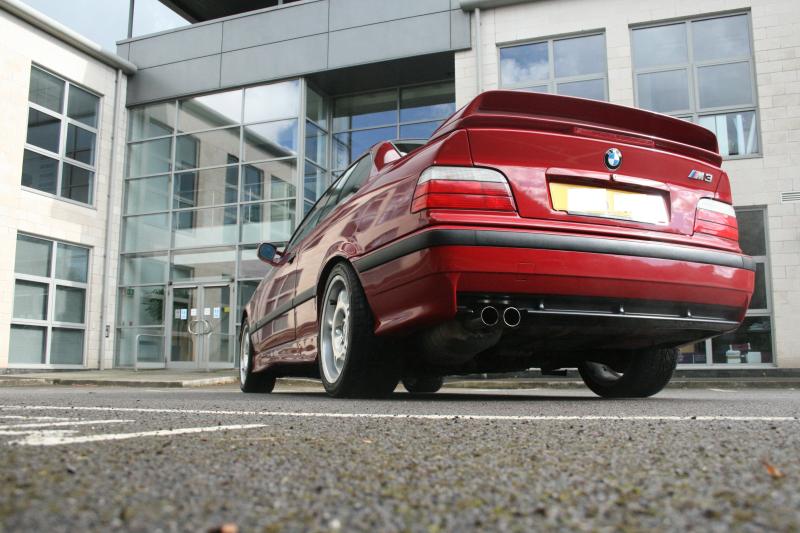
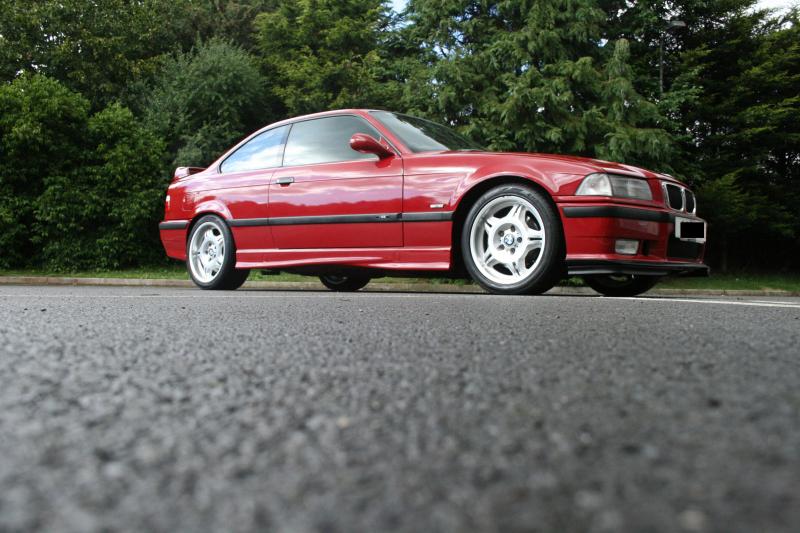

Cheers
Mark
I gave the car a good clean (a little while ago now) and decided to use my DSLR to get some decent photos of the car. Every photo you have seen before has been from my mobile phone.
Shows the car in a better light


Cheers
Mark
07-10-2014, 09:28 AM
#128
Advanced PassionFord User
Thread Starter
Update:
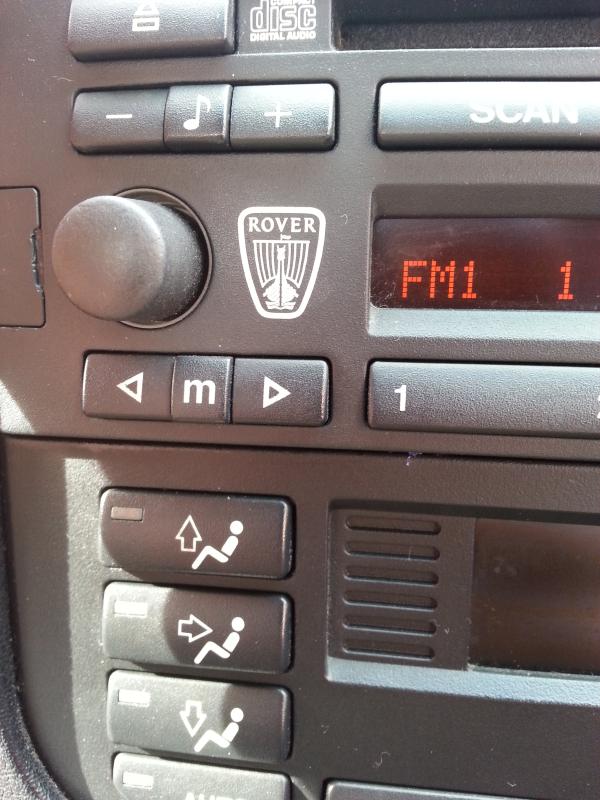
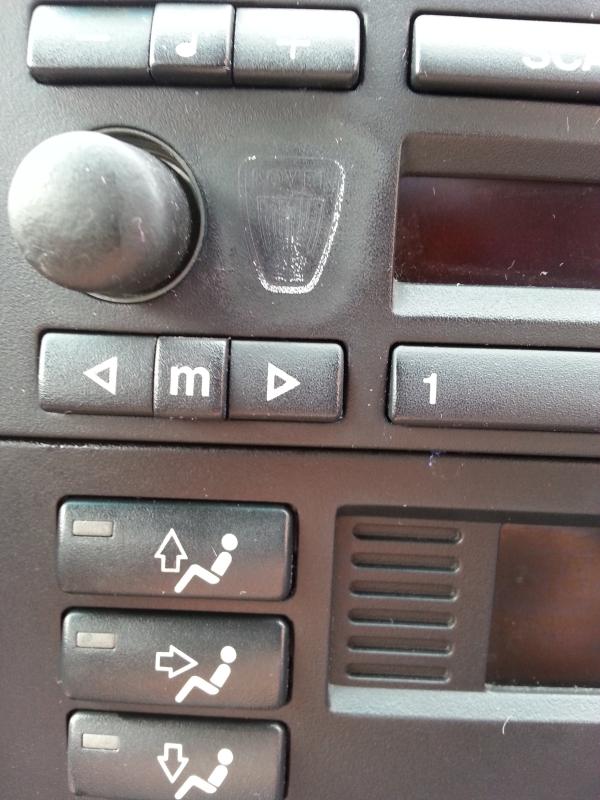
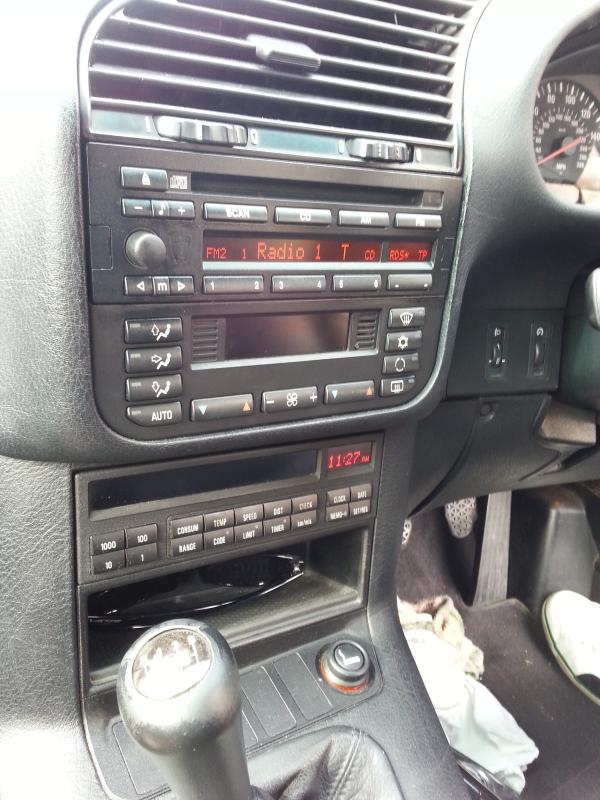
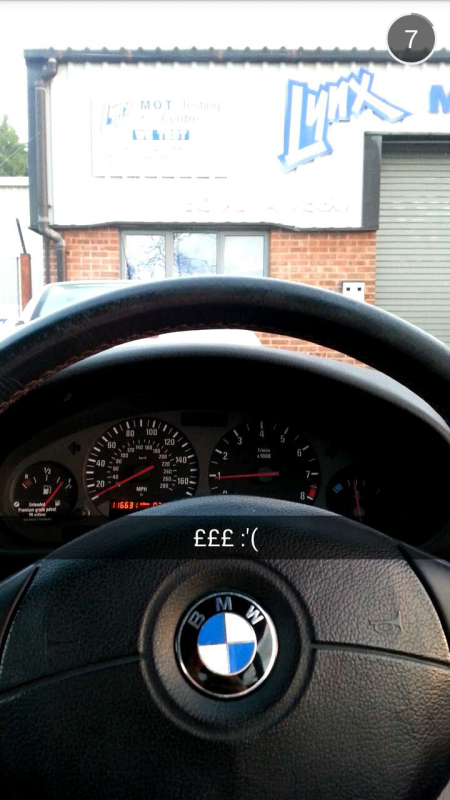
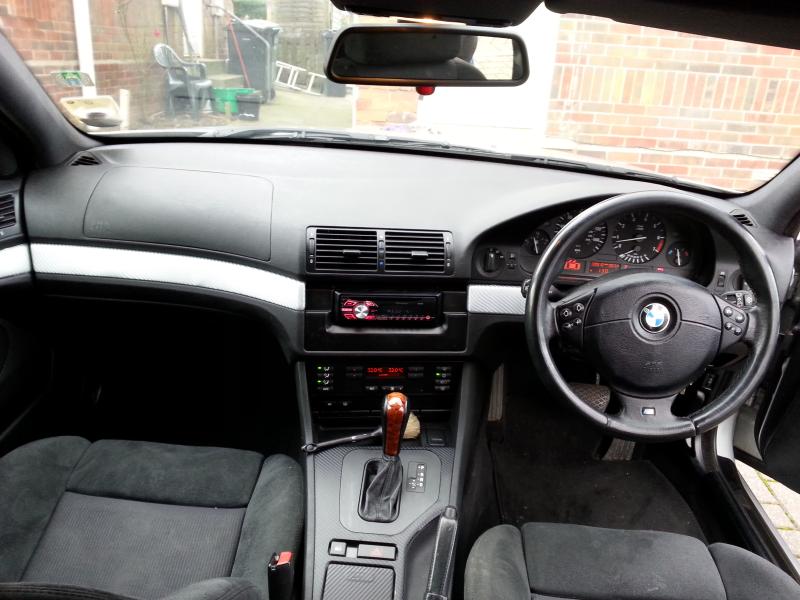
So I got fedup with my BMW Business RDS Head unit (tape player) screen missing pixels, dodgy volume button and tape player not working
so decided to hunt down a Blaupunkt CD43 headunit as to keep the BMW look but upgrade to bluetooth/USB/AUX eventually.*
So managed to find one from a Rover on eabay for �26 delivered. Not bad considering the BMW ones go for over �100.
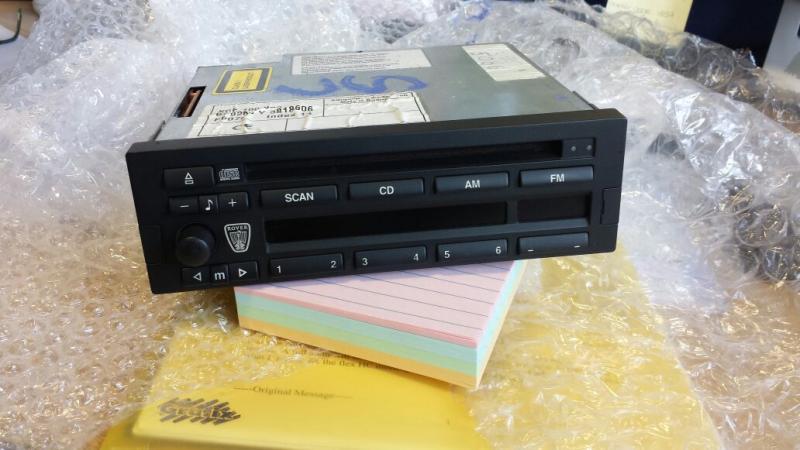
Fitting was easy enough, two hex bolts holding it in.
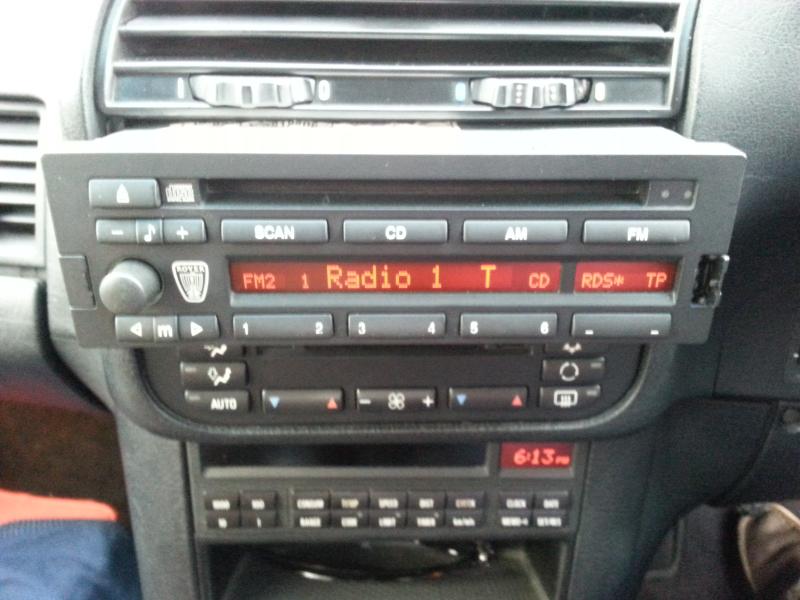
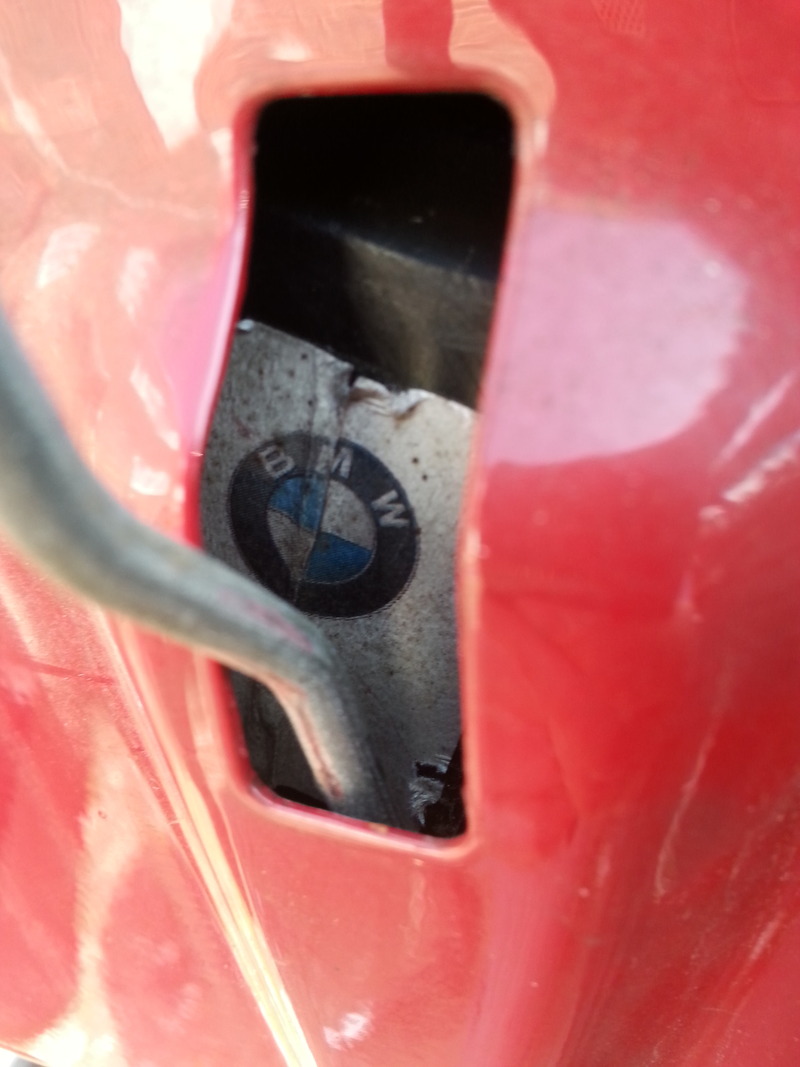
Everything worked perfect, just that Rover badge. I seen a few people sticking stuff over the badge but xouldnt find a perfect size BMW badge to do the job so opted to try remove the Rover badge.
This is what I used
One wet cloth to remove liquid

Nail Varnish remover
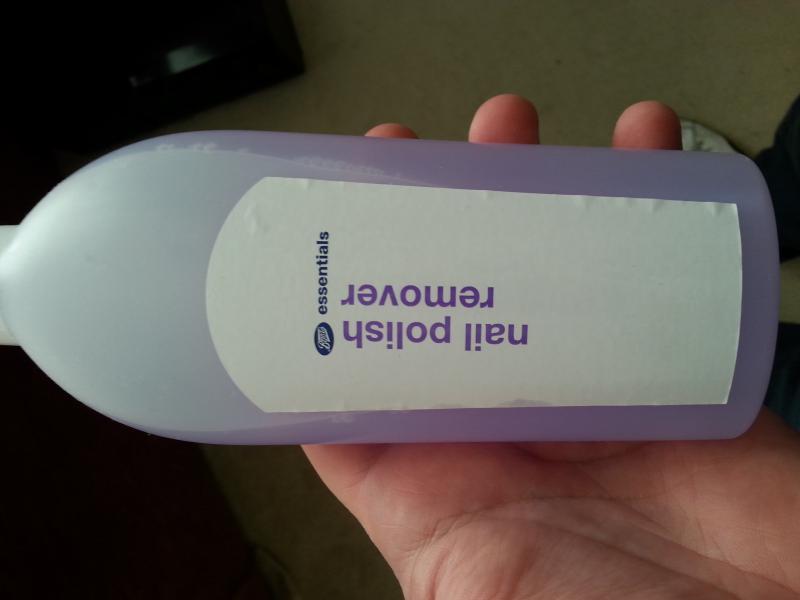
The important ingredient. *Acetone
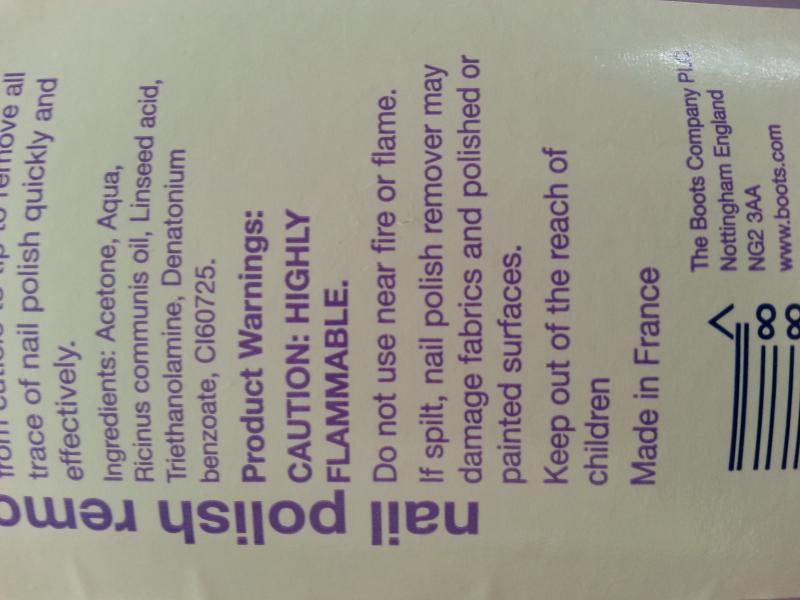
Cotton wool buds

So I started gently rubbing this in with cotton wool buds expecting it to work with ease. No, not the case. It took about 45 minutes applying moderate pressure using loads of buds to keep the paint coming off.
This is a kind of start to finish through the process.
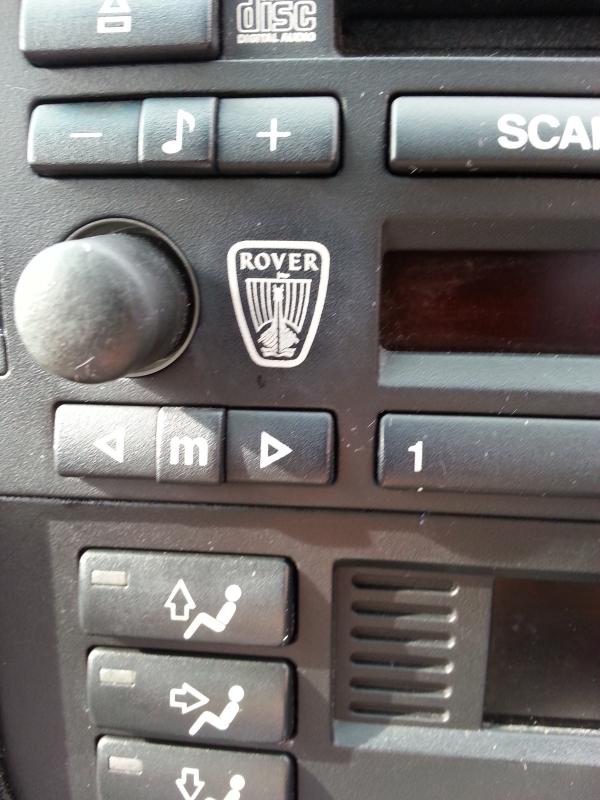
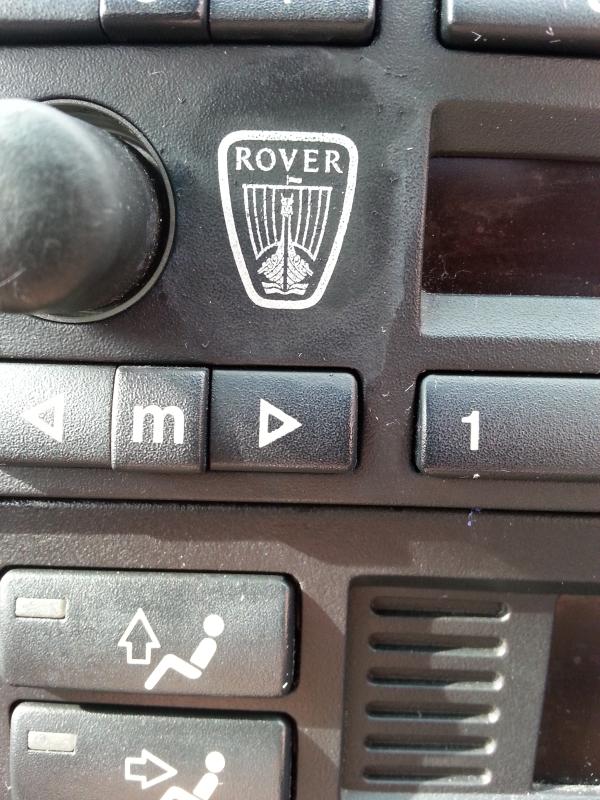
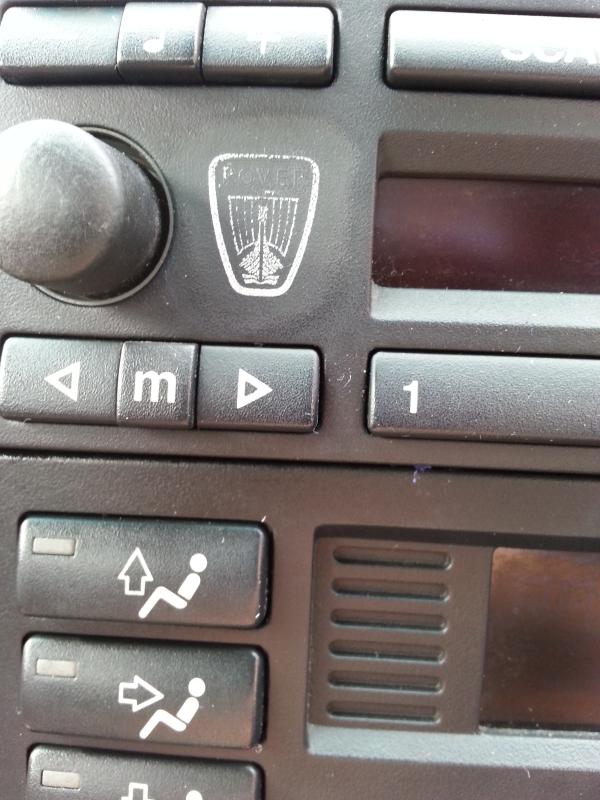
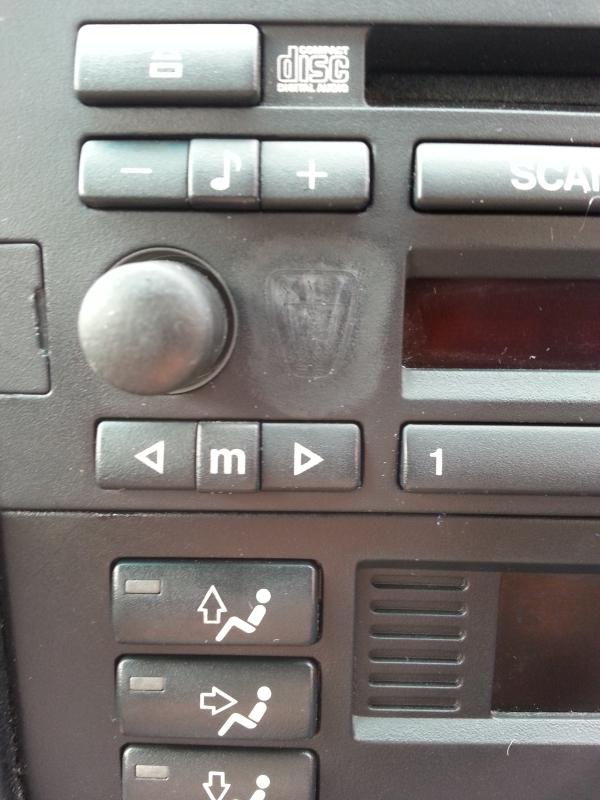
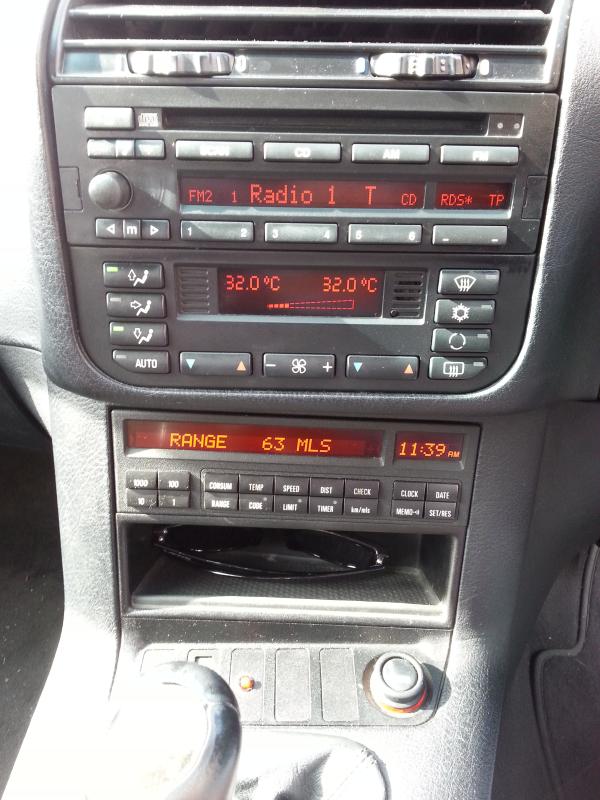
So thats the paint removed. As you can see it has discoloured the plastic a bit so treated it with some silicon spray
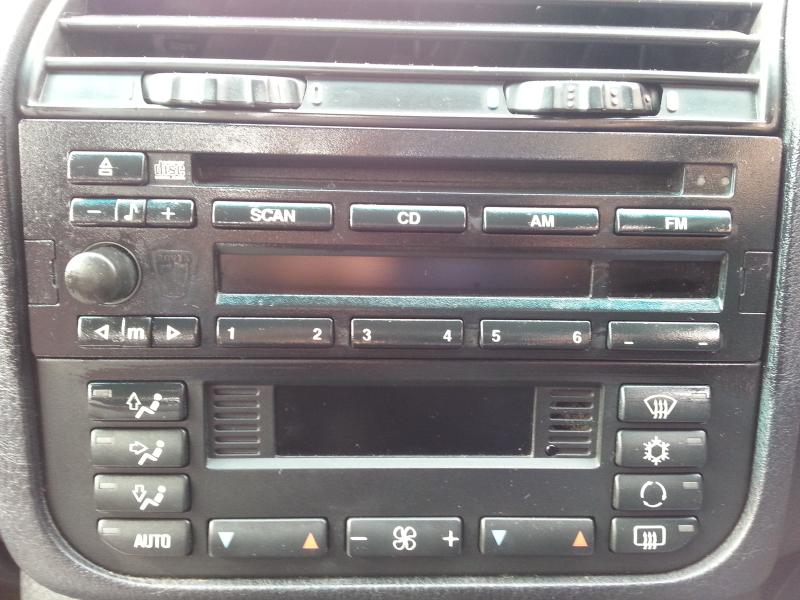
The photos make it look like it sticks out like a sore thumb but it really does not. If you look for it, its still there but only at certain angles
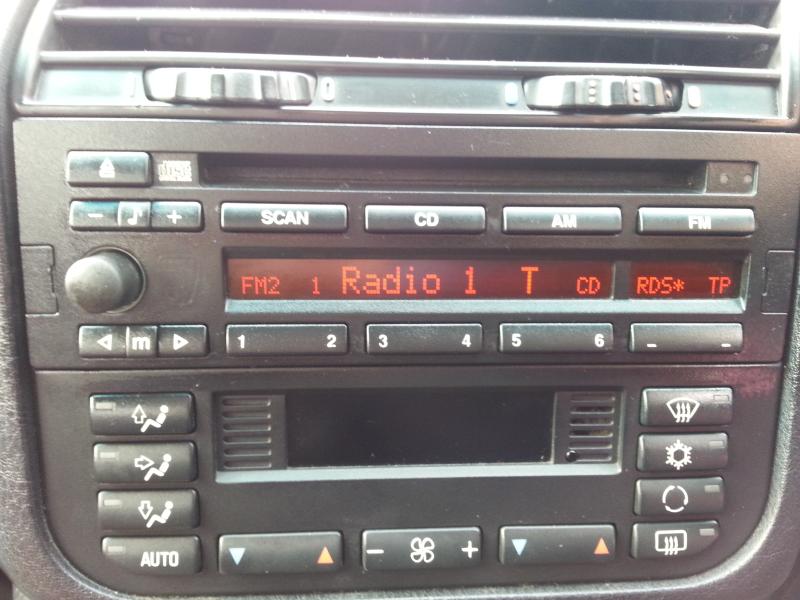
And a couple further back like you was sat driving
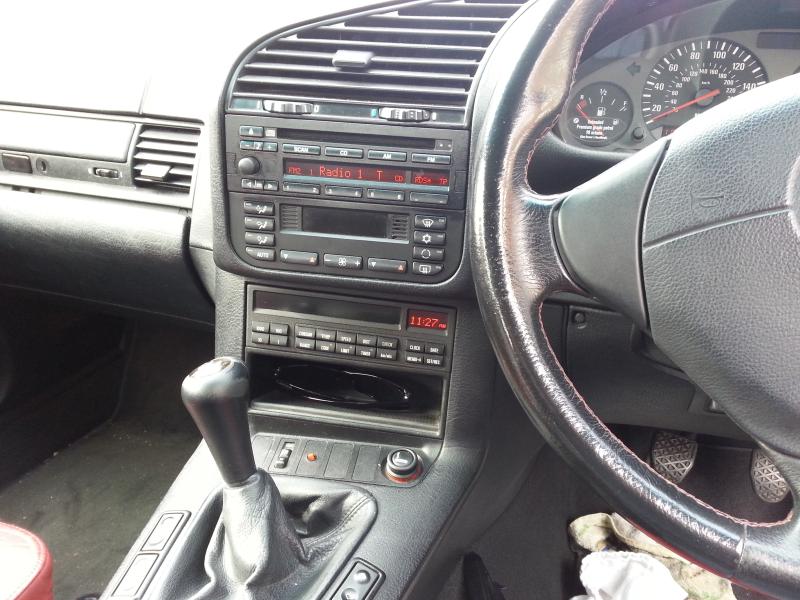
So that turned out OK and I am happy with the results. The headunit does sound much better than the old item. One thing to remember when upgrading to the CD43 is the CD changer in the E36 is not iBus compatible so will not work. You have to upgrade the cable and changer from a E46 if you want this option. I am looking to replace my CD changer with a Bluetooth/USB/AUX connector in the near future.
I have never really driven this one hard until I had a call from my brother saying my dad had been taken to hospital with a suspect heart attack. Lets just say it went like a scolded cat when you need it and handled really well for a standard car (My dad is OK now, was not a heart attack) but the heavey drive was too much for something
Brake pads took a pounding but performed well. So I have ordered some ATE pads which are the ones BMW use but with out BMW badges. These were under half the price of BMW so well worth it and also ordered two front anti role bars for the old girl. It has a slight knock on bumpy roads and was diagnosed as the fault. So that will be my next two jobs. Luckyly I still have my pad wear sensor from my old M3 which I never used.
Thats all, car has been faultless as always and completed a good amount of miles now. Returns 36MPG with ease which is nice.
Thanks
Mark
So I got fedup with my BMW Business RDS Head unit (tape player) screen missing pixels, dodgy volume button and tape player not working
so decided to hunt down a Blaupunkt CD43 headunit as to keep the BMW look but upgrade to bluetooth/USB/AUX eventually.*
So managed to find one from a Rover on eabay for �26 delivered. Not bad considering the BMW ones go for over �100.

Fitting was easy enough, two hex bolts holding it in.

Everything worked perfect, just that Rover badge. I seen a few people sticking stuff over the badge but xouldnt find a perfect size BMW badge to do the job so opted to try remove the Rover badge.
This is what I used
One wet cloth to remove liquid

Nail Varnish remover

The important ingredient. *Acetone

Cotton wool buds

So I started gently rubbing this in with cotton wool buds expecting it to work with ease. No, not the case. It took about 45 minutes applying moderate pressure using loads of buds to keep the paint coming off.
This is a kind of start to finish through the process.


So thats the paint removed. As you can see it has discoloured the plastic a bit so treated it with some silicon spray

The photos make it look like it sticks out like a sore thumb but it really does not. If you look for it, its still there but only at certain angles


And a couple further back like you was sat driving


So that turned out OK and I am happy with the results. The headunit does sound much better than the old item. One thing to remember when upgrading to the CD43 is the CD changer in the E36 is not iBus compatible so will not work. You have to upgrade the cable and changer from a E46 if you want this option. I am looking to replace my CD changer with a Bluetooth/USB/AUX connector in the near future.
I have never really driven this one hard until I had a call from my brother saying my dad had been taken to hospital with a suspect heart attack. Lets just say it went like a scolded cat when you need it and handled really well for a standard car (My dad is OK now, was not a heart attack) but the heavey drive was too much for something

Brake pads took a pounding but performed well. So I have ordered some ATE pads which are the ones BMW use but with out BMW badges. These were under half the price of BMW so well worth it and also ordered two front anti role bars for the old girl. It has a slight knock on bumpy roads and was diagnosed as the fault. So that will be my next two jobs. Luckyly I still have my pad wear sensor from my old M3 which I never used.
Thats all, car has been faultless as always and completed a good amount of miles now. Returns 36MPG with ease which is nice.
Thanks
Mark
07-10-2014, 02:30 PM
#129
Too many posts.. I need a life!!

Very nice always liked these cars, got a cool look to them. A small pointer with the rover badge onthe head unit, you could probably mask up the buttons and puff some suitable plastic adhesion black aerosol on it.
16-10-2014, 10:56 AM
#130
Advanced PassionFord User
Thread Starter
I have always liked the look and drive of them.
I have heard people doing this. The front panel comes off to make it easier. I am happy enough with it at the moment. Might look into it another time
I have heard people doing this. The front panel comes off to make it easier. I am happy enough with it at the moment. Might look into it another time
03-12-2014, 10:55 AM
#131
Advanced PassionFord User
Thread Starter
BIG UPDATE: This is an update for the last 3 months or so
Right, Since owning the car I have known the front pads needed changing, just been waiting for the light to arrive and it did a while ago now. So I bought some ATE OEM Pads, I had a sensor from my previous M3 and bought some front anti role bars to resolve a knock on the front end.
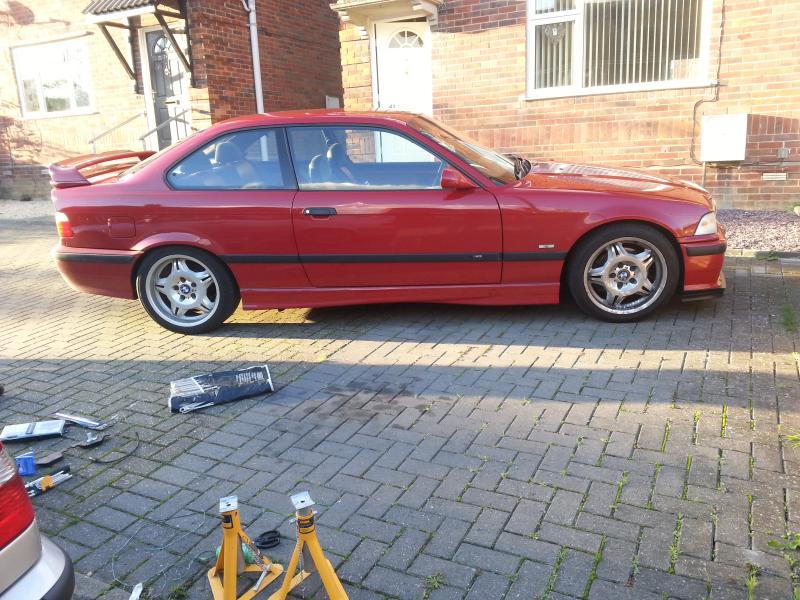
A few photos of stripping it down etc
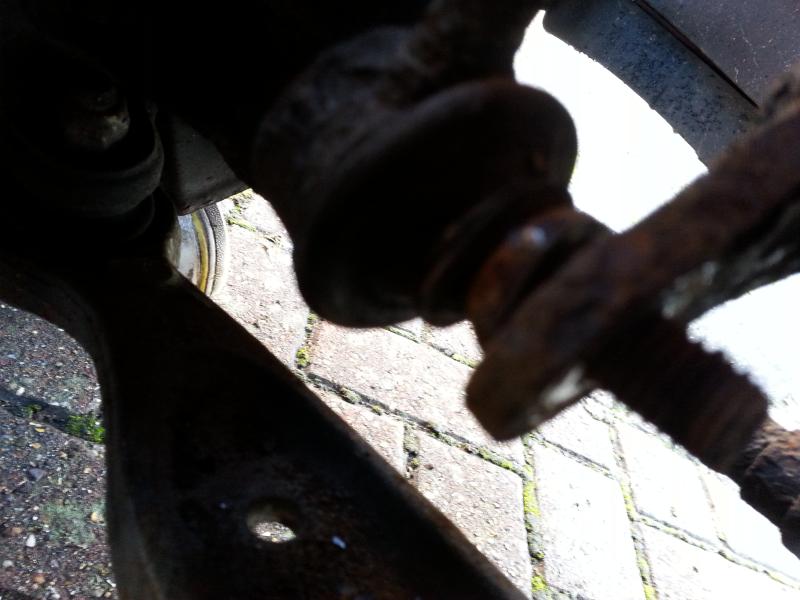
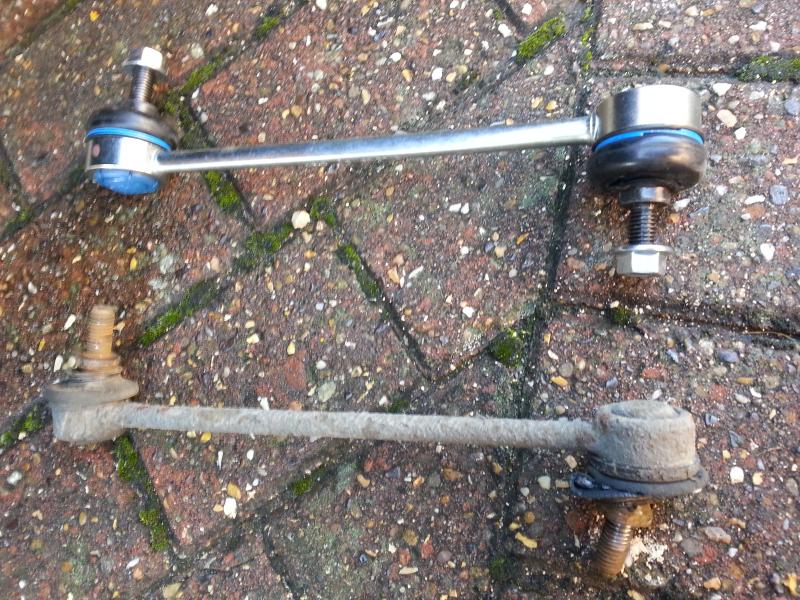
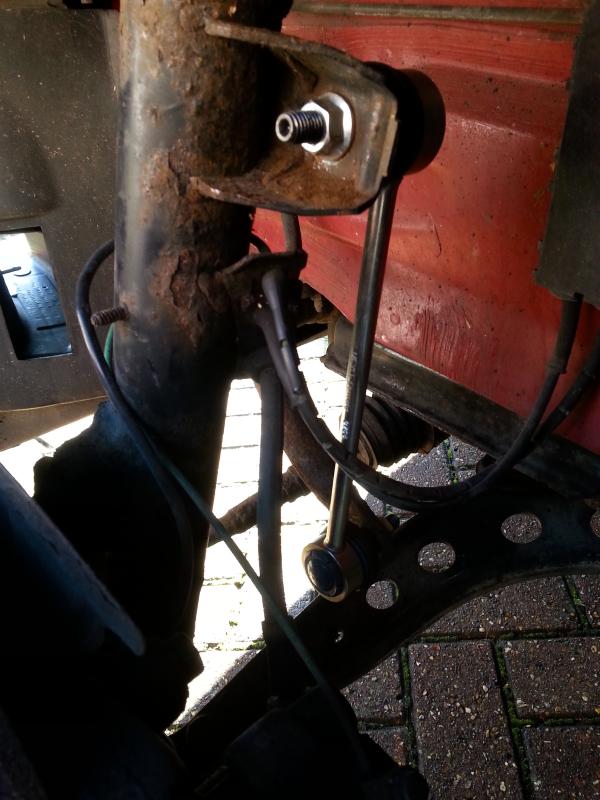
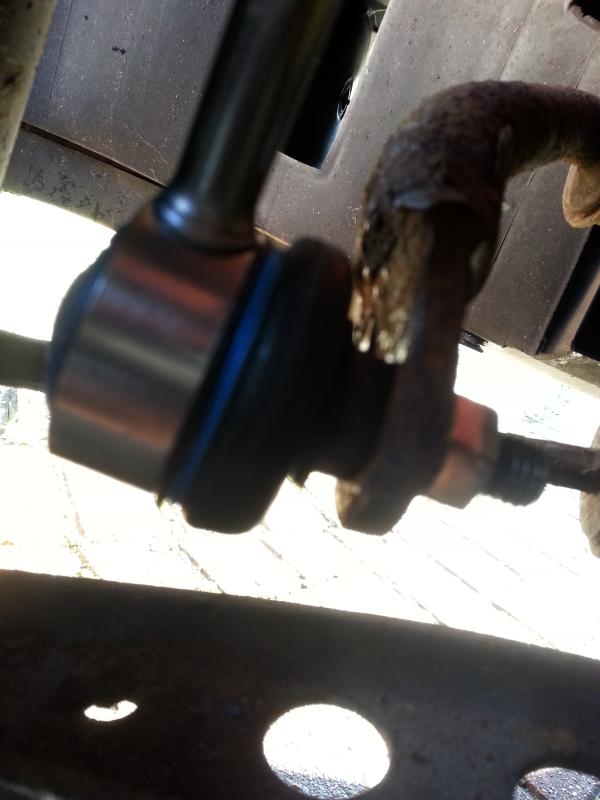
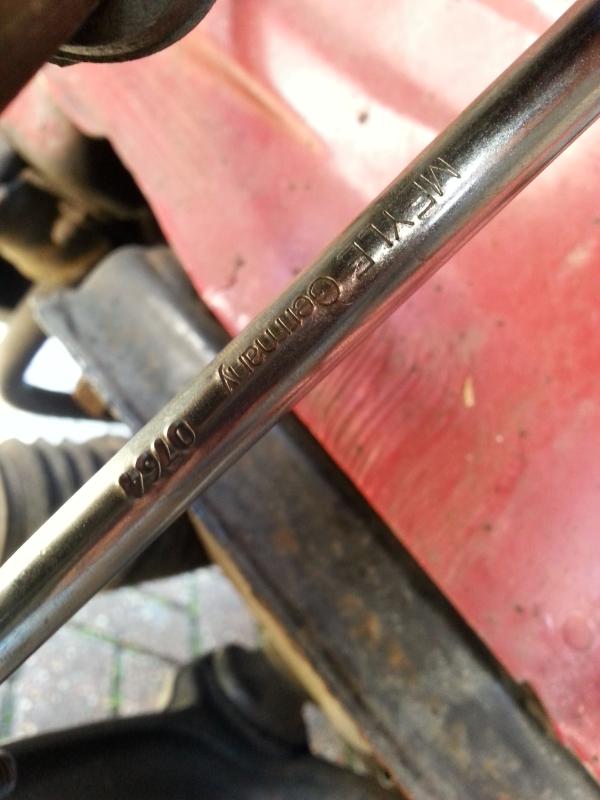
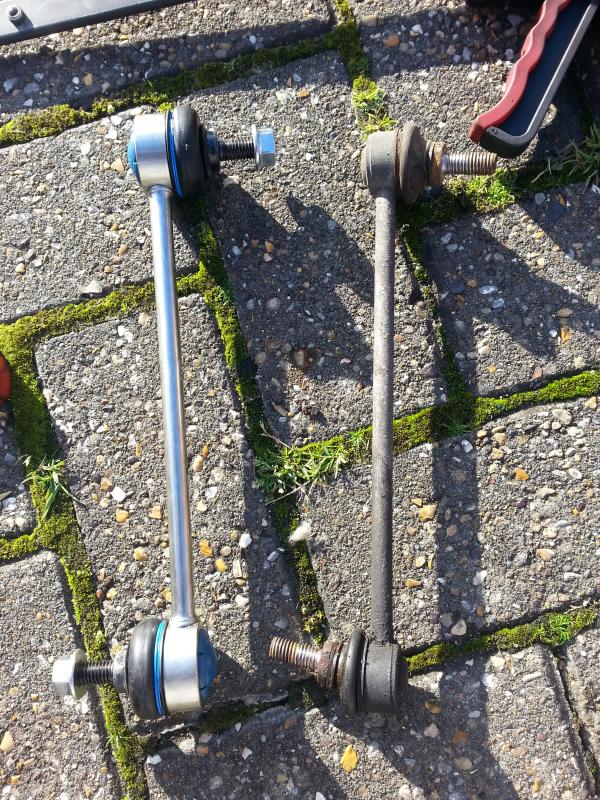
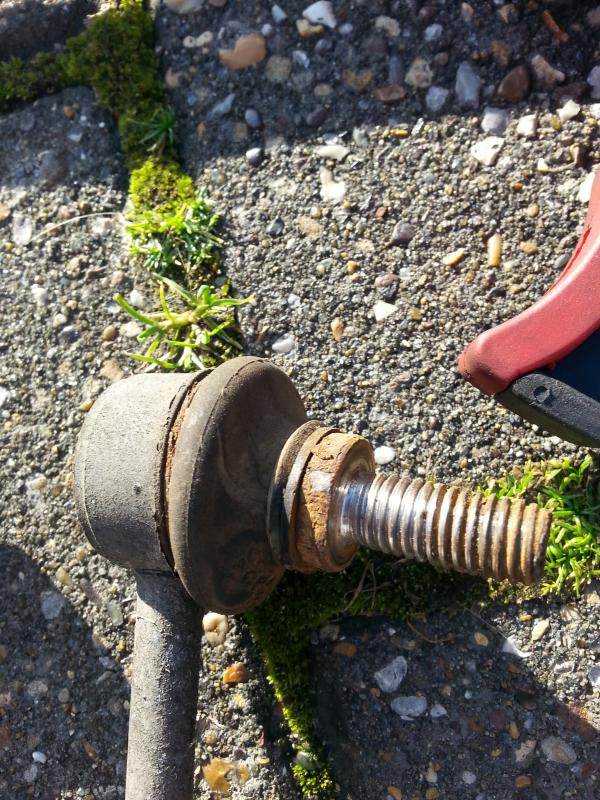
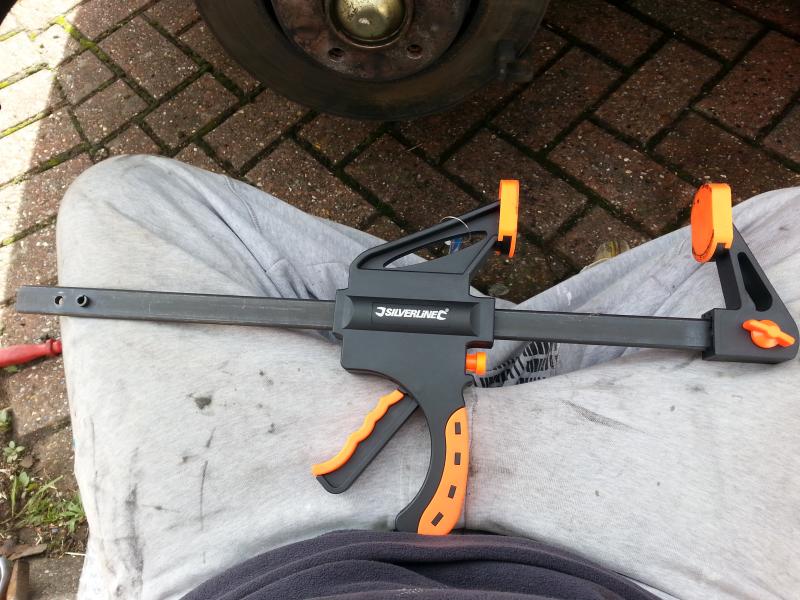
Anti role bar removal and replace
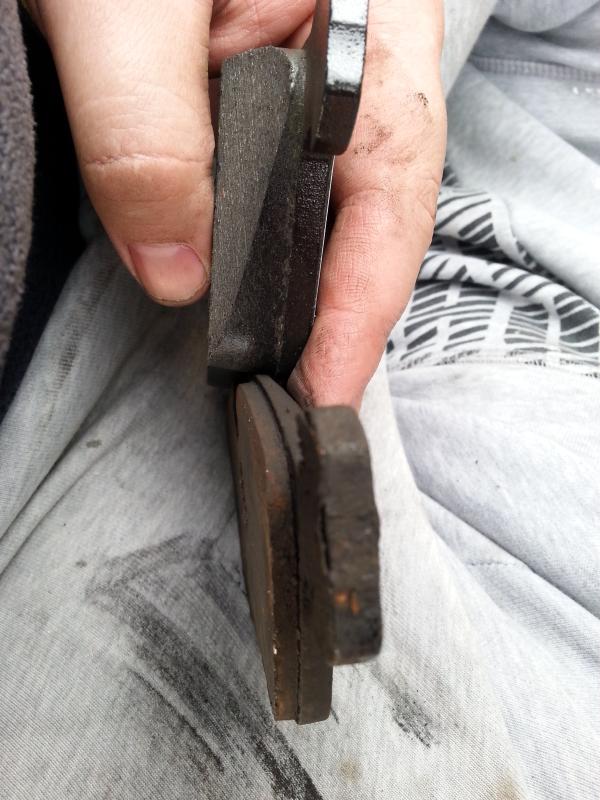
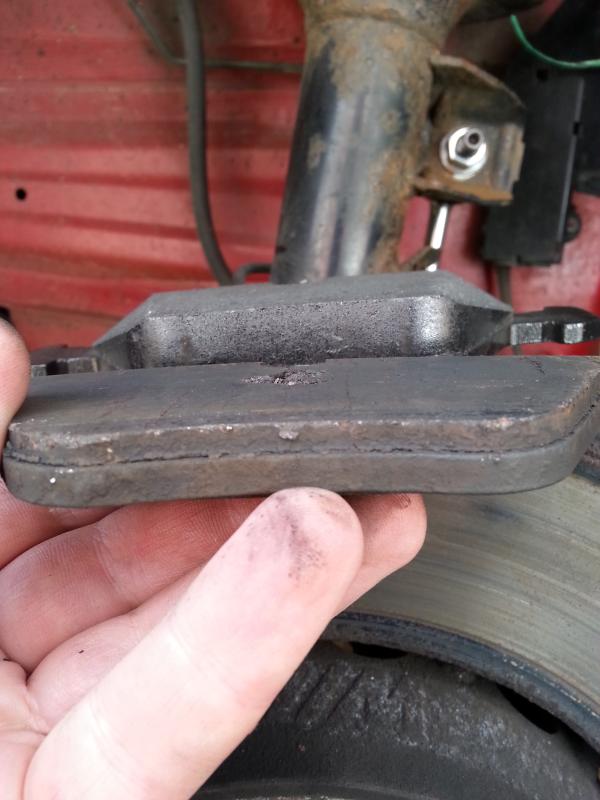
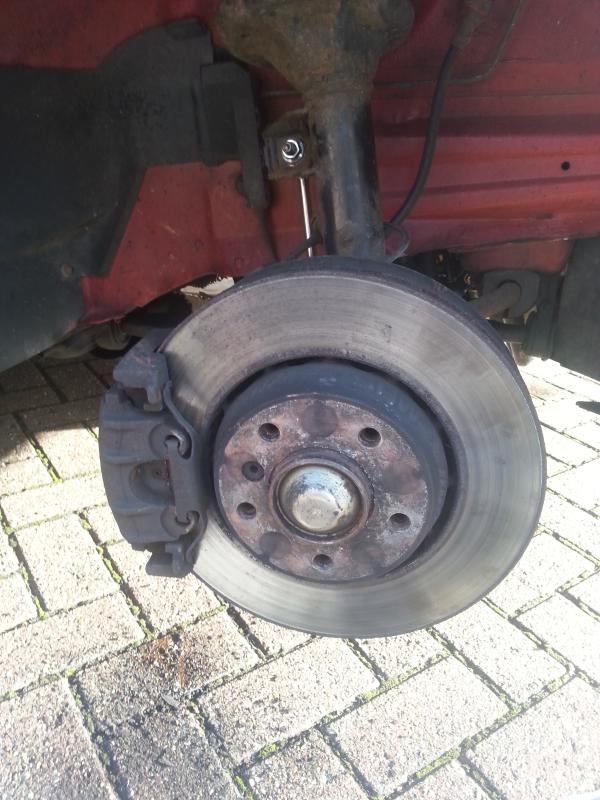
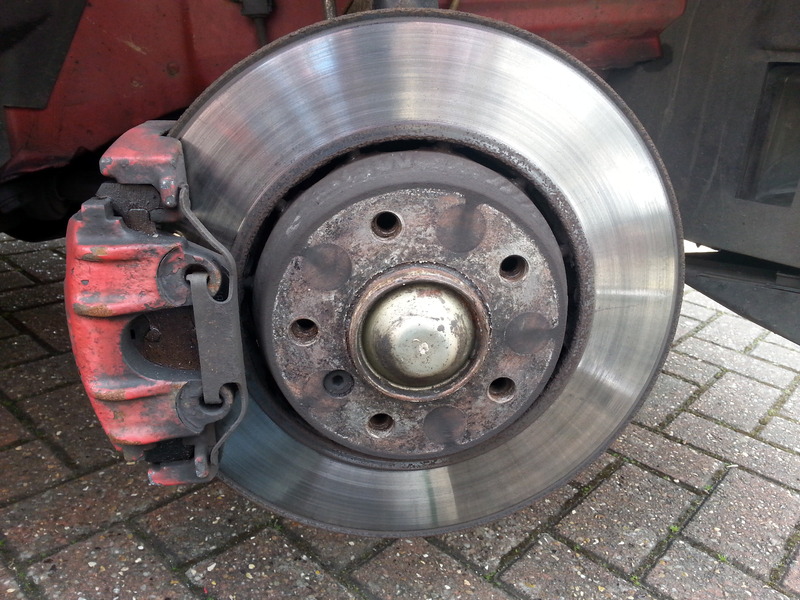
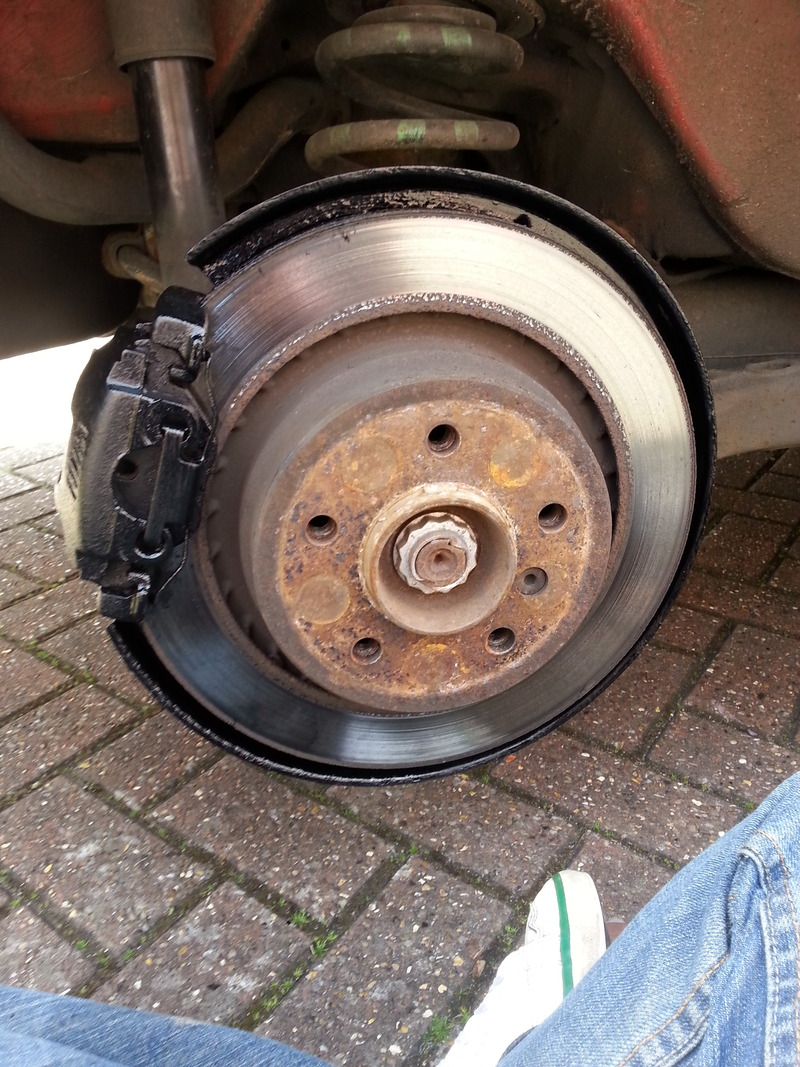
Next up was the brake pads...
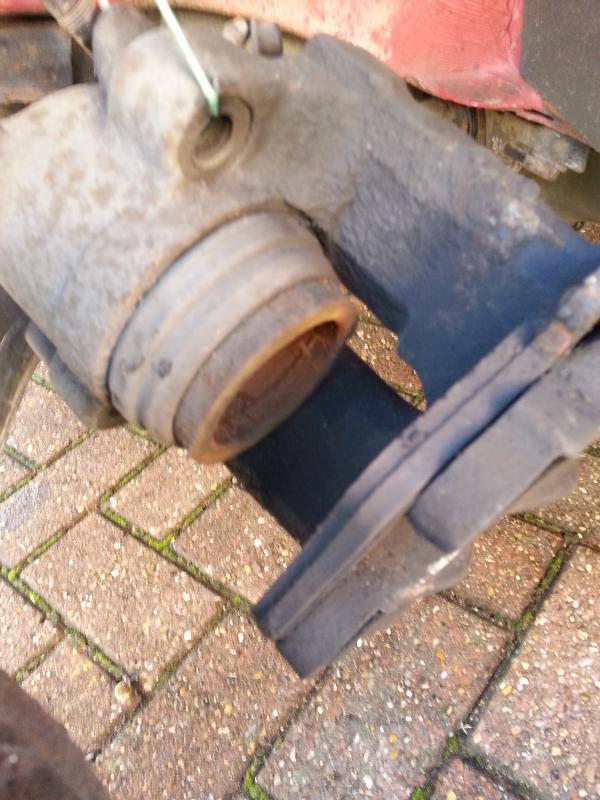


And then this...
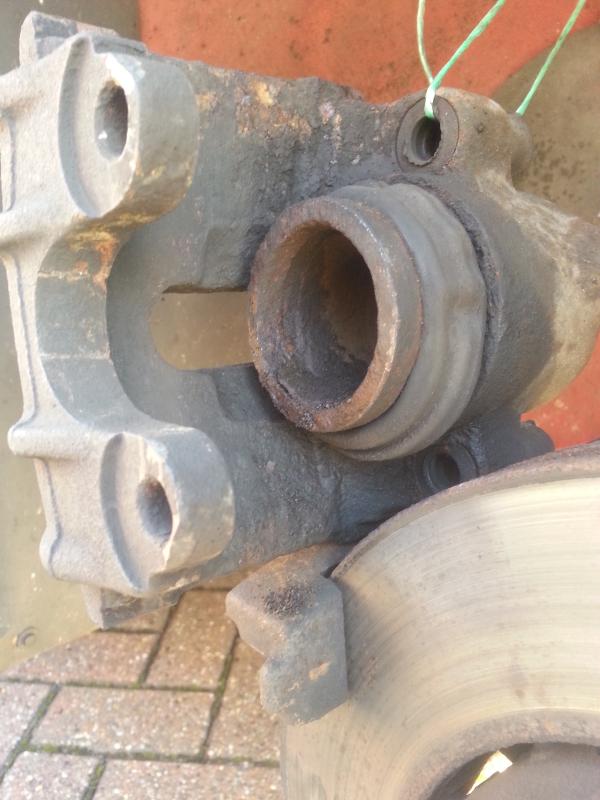
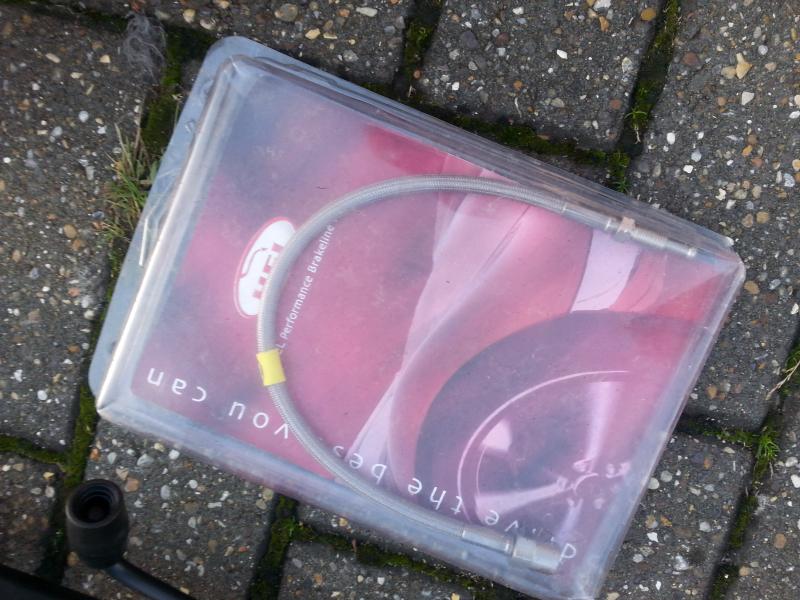
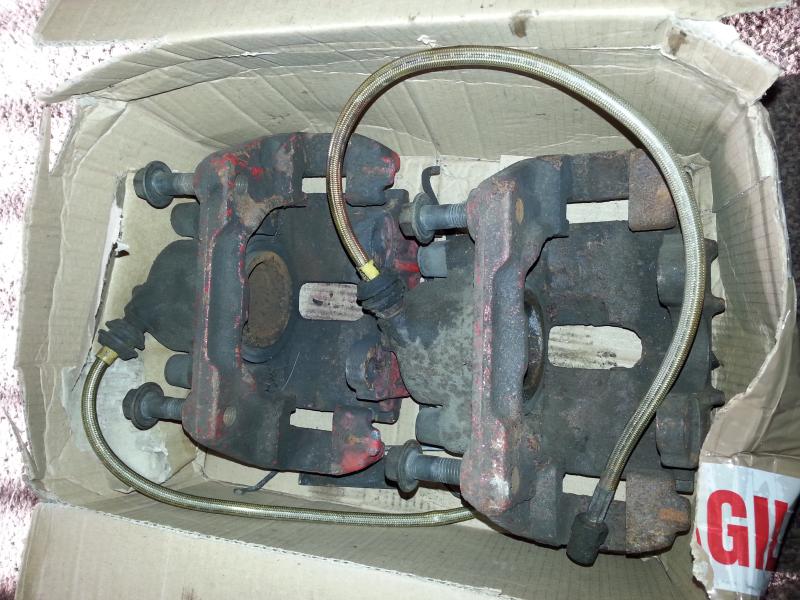
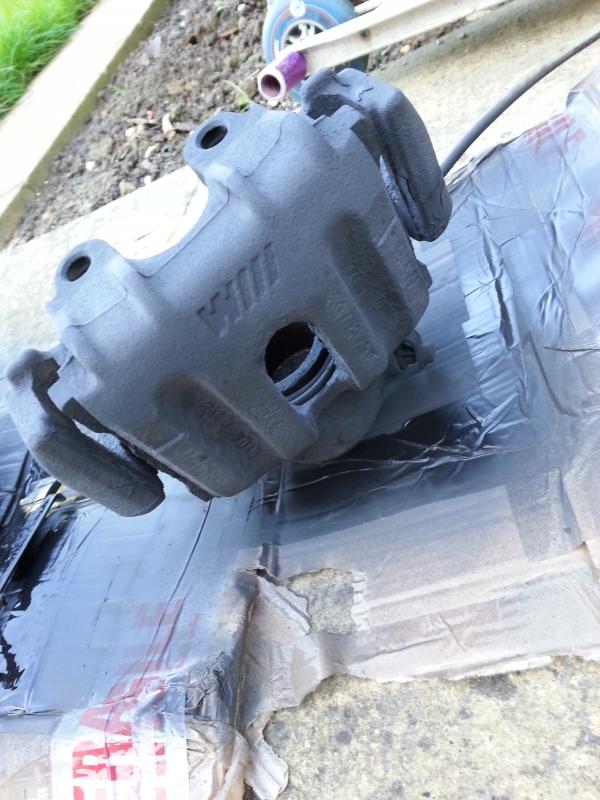
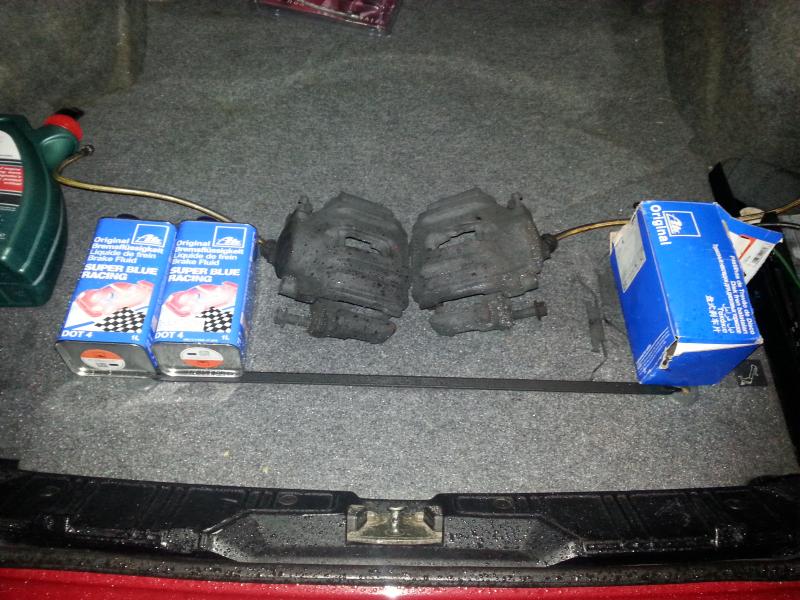
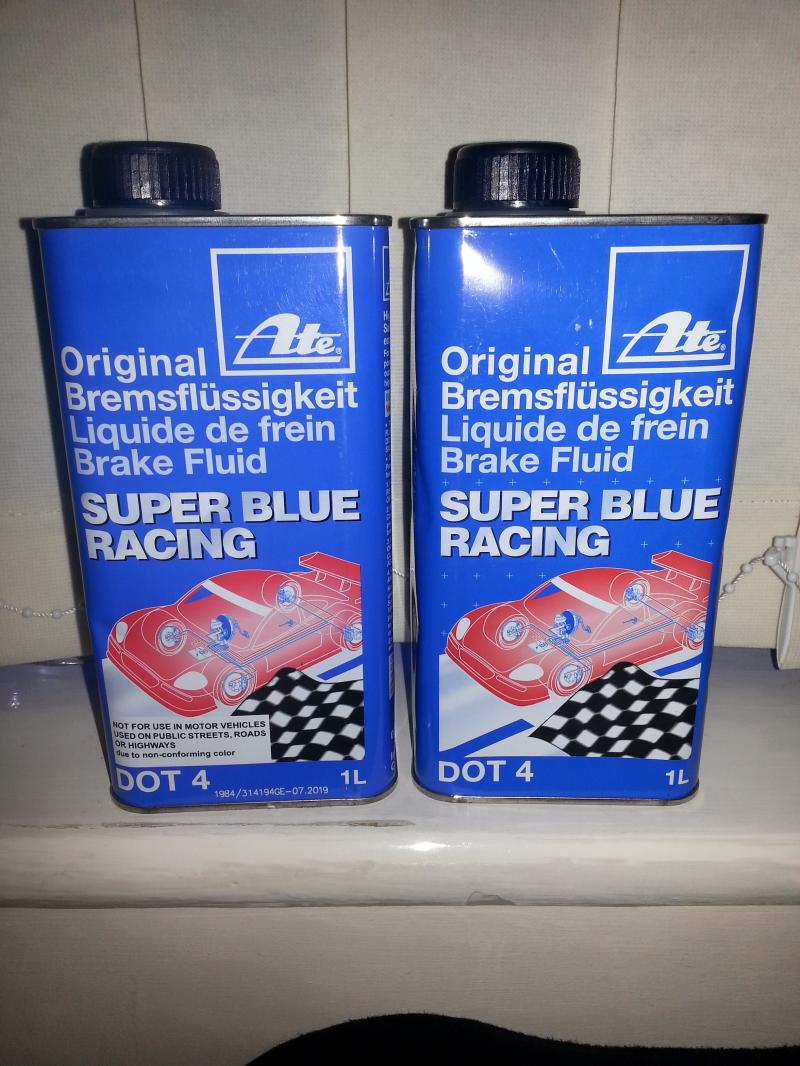
Looks complete doesn't it. Nope. The bloody front calipers have sized and will not retract correctly. I thought about refurbing these but not keen on messing with the hydraulic side of the brakes so opted to buy some used working items and replace. I might rebuild these calipers and sell on or keep for spares. So lucky for me. I managed to get the old pads back in so I could use the car or at least move it. I have just bought some working calipers and put a bit of paint on them. They also came with braided brake lines which was nice. These will be fitted by a mechanic mate after hours and I will be helping him. I will also be changing the brake fluid for ATE Super Blue and getting the HEL braided clutch line fitted at the same time.
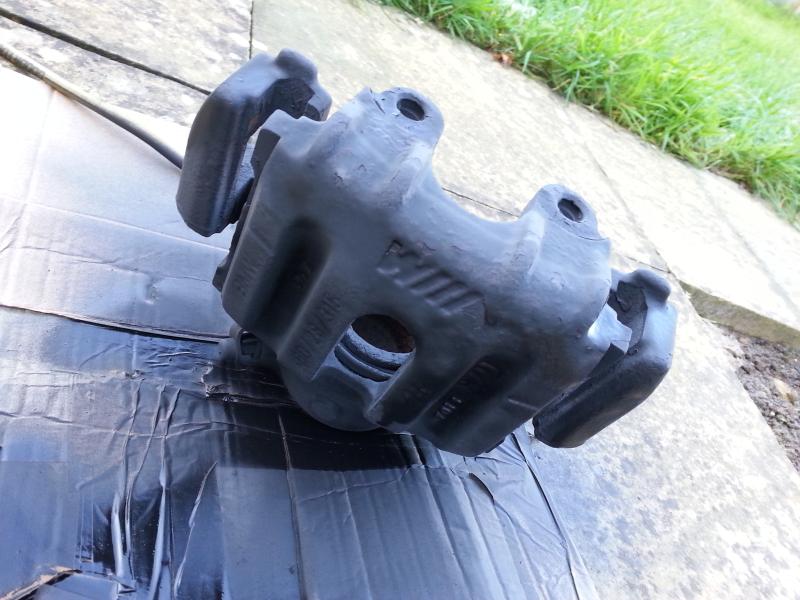
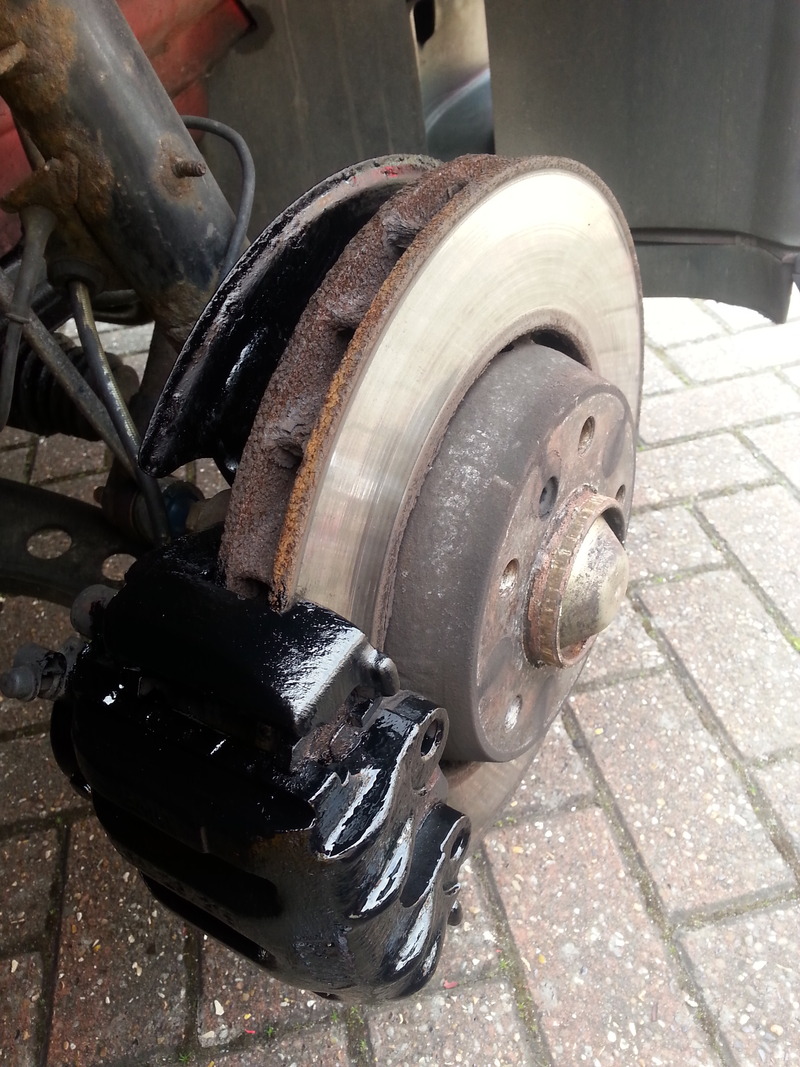
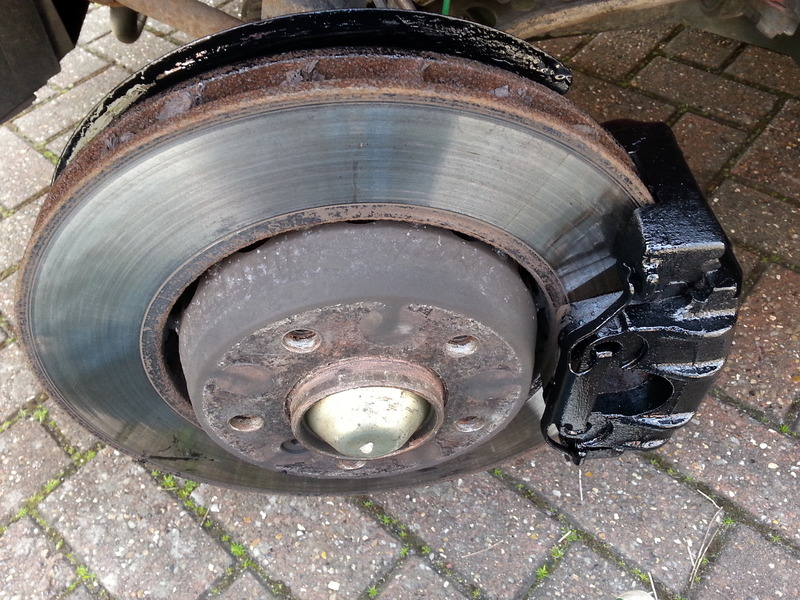
A few snaps of the calipers and a bit of paint
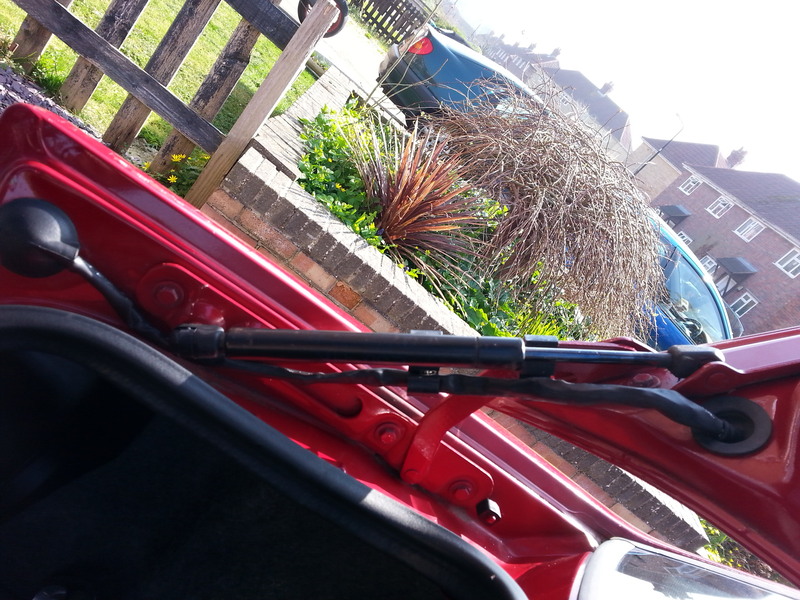
Also I decided to tackle the parking light that had failed on the passenger side.
Why do you have to remove the air box to get at this? Rubbish but all sorted now after lots of bleeding knuckles etc
I started to take the head light out as well!! Bloody thing. But it is all working now and looks good
I have also replaced the boot actuator for the central locking as the boot does not lock on the button. Sadly this has not resolved the issue so need to investigate that. If anyone has ideas on this please let me know?
There is more to the update but that is on going at the moment so will put that up when its finished.
The car as always has been faultless to drive, always starts etc. I have not used it for a couple weeks and took her for a blast the other night and its astonishing how quick the car is even in 6th gear.
Thanks for reading
Mark
Right, Since owning the car I have known the front pads needed changing, just been waiting for the light to arrive and it did a while ago now. So I bought some ATE OEM Pads, I had a sensor from my previous M3 and bought some front anti role bars to resolve a knock on the front end.
A few photos of stripping it down etc
Anti role bar removal and replace


Next up was the brake pads...


And then this...


Looks complete doesn't it. Nope. The bloody front calipers have sized and will not retract correctly. I thought about refurbing these but not keen on messing with the hydraulic side of the brakes so opted to buy some used working items and replace. I might rebuild these calipers and sell on or keep for spares. So lucky for me. I managed to get the old pads back in so I could use the car or at least move it. I have just bought some working calipers and put a bit of paint on them. They also came with braided brake lines which was nice. These will be fitted by a mechanic mate after hours and I will be helping him. I will also be changing the brake fluid for ATE Super Blue and getting the HEL braided clutch line fitted at the same time.
A few snaps of the calipers and a bit of paint


Also I decided to tackle the parking light that had failed on the passenger side.
Why do you have to remove the air box to get at this? Rubbish but all sorted now after lots of bleeding knuckles etc


I started to take the head light out as well!! Bloody thing. But it is all working now and looks good
I have also replaced the boot actuator for the central locking as the boot does not lock on the button. Sadly this has not resolved the issue so need to investigate that. If anyone has ideas on this please let me know?
There is more to the update but that is on going at the moment so will put that up when its finished.
The car as always has been faultless to drive, always starts etc. I have not used it for a couple weeks and took her for a blast the other night and its astonishing how quick the car is even in 6th gear.
Thanks for reading
Mark
06-12-2014, 10:23 AM
#132
Advanced PassionFord User
Thread Starter
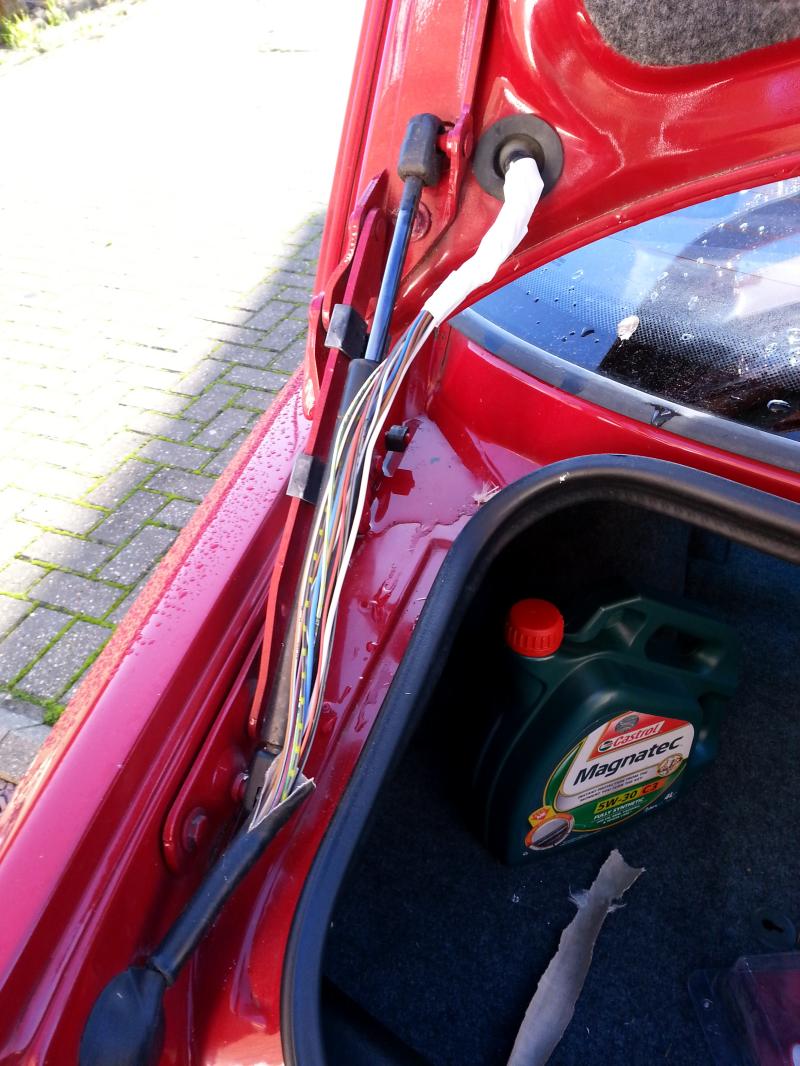
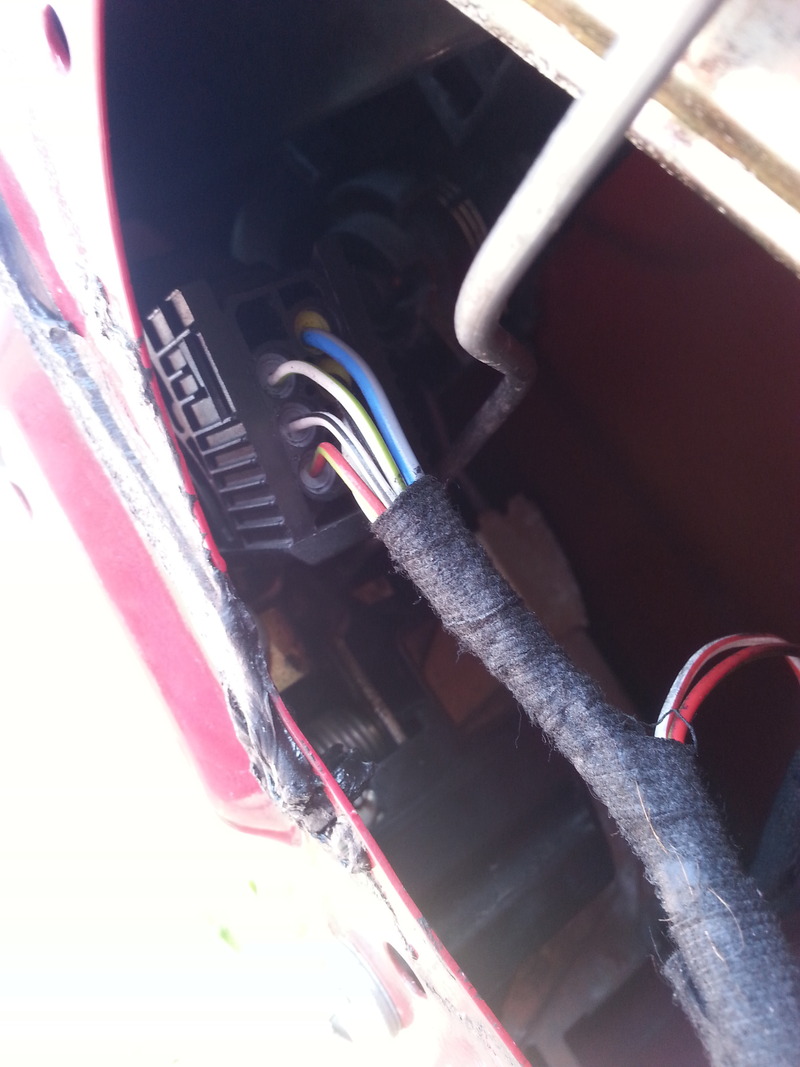
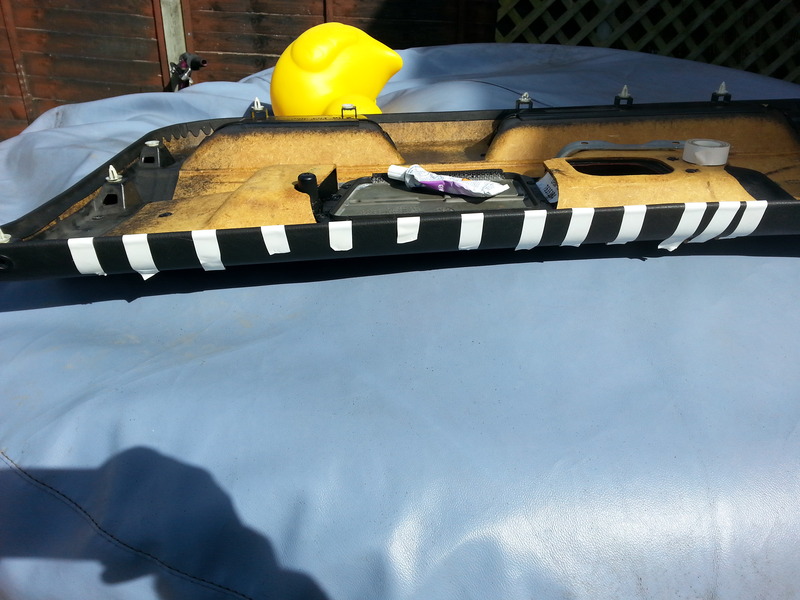
Today I looked into why the boot central locking was not working. I have parted out the actuator and this did not solve the issue. So next up was the boot loom.*
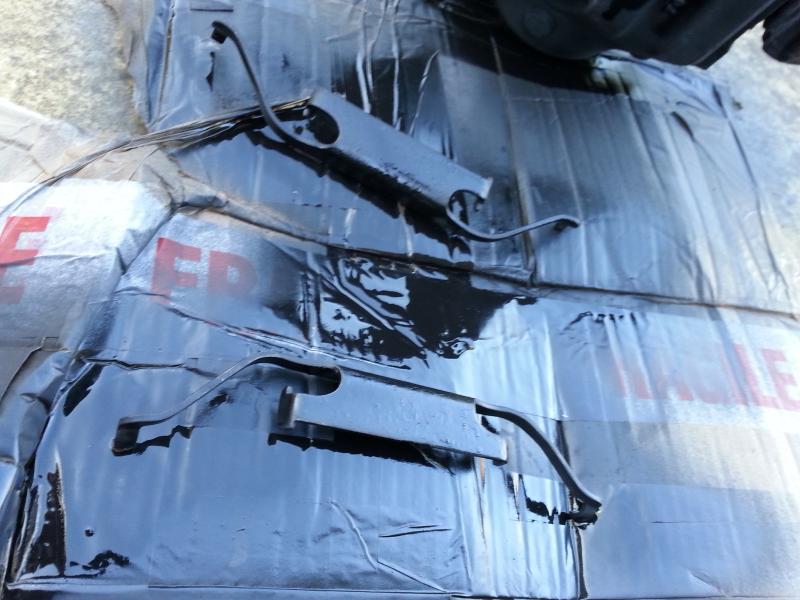
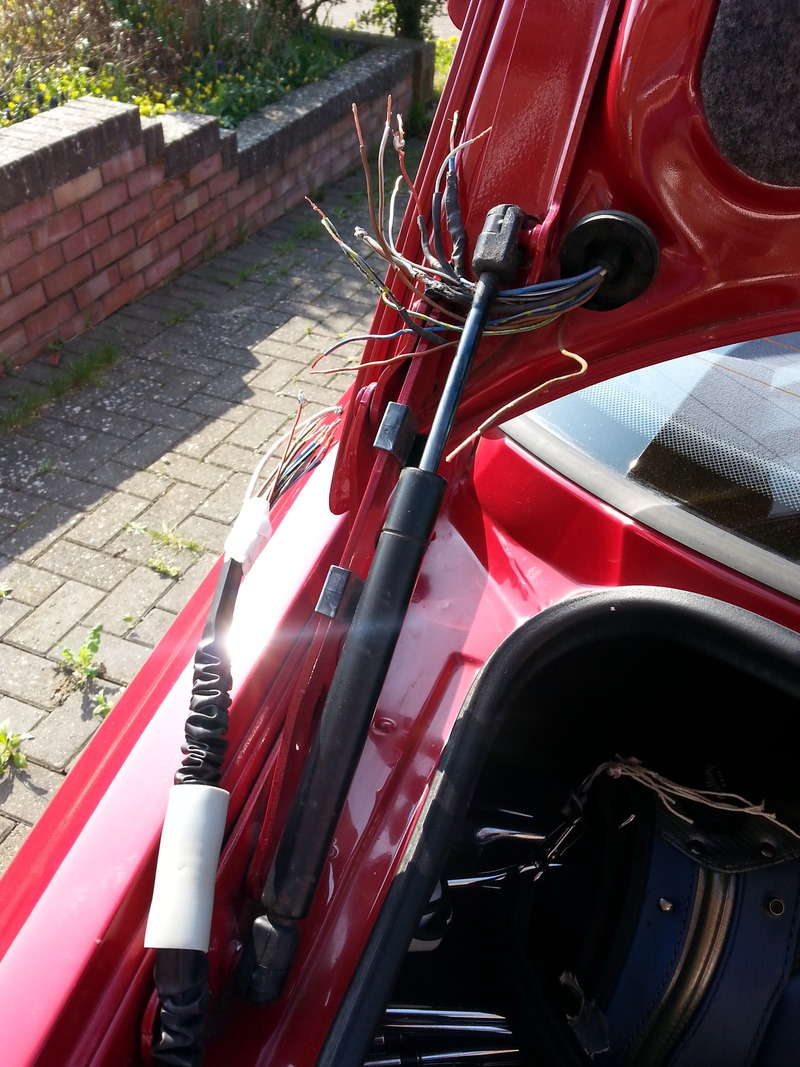
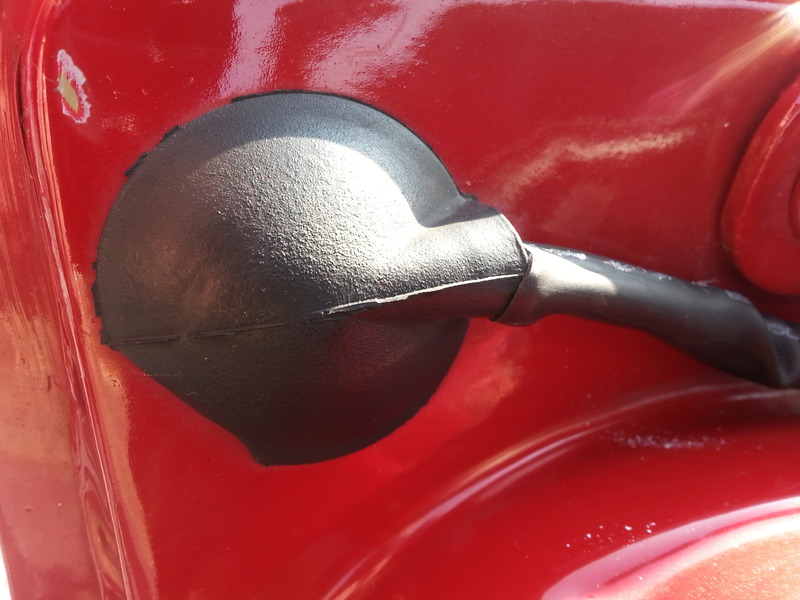
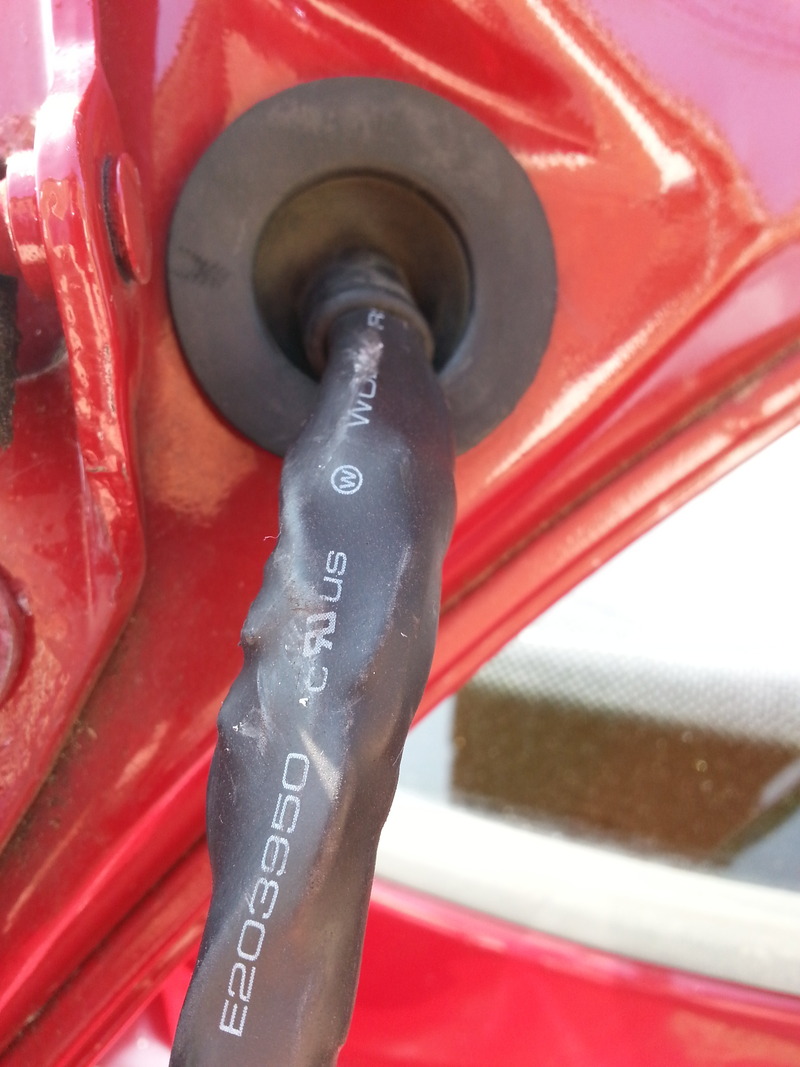
Couple photos before, you can see damage to the outer skin
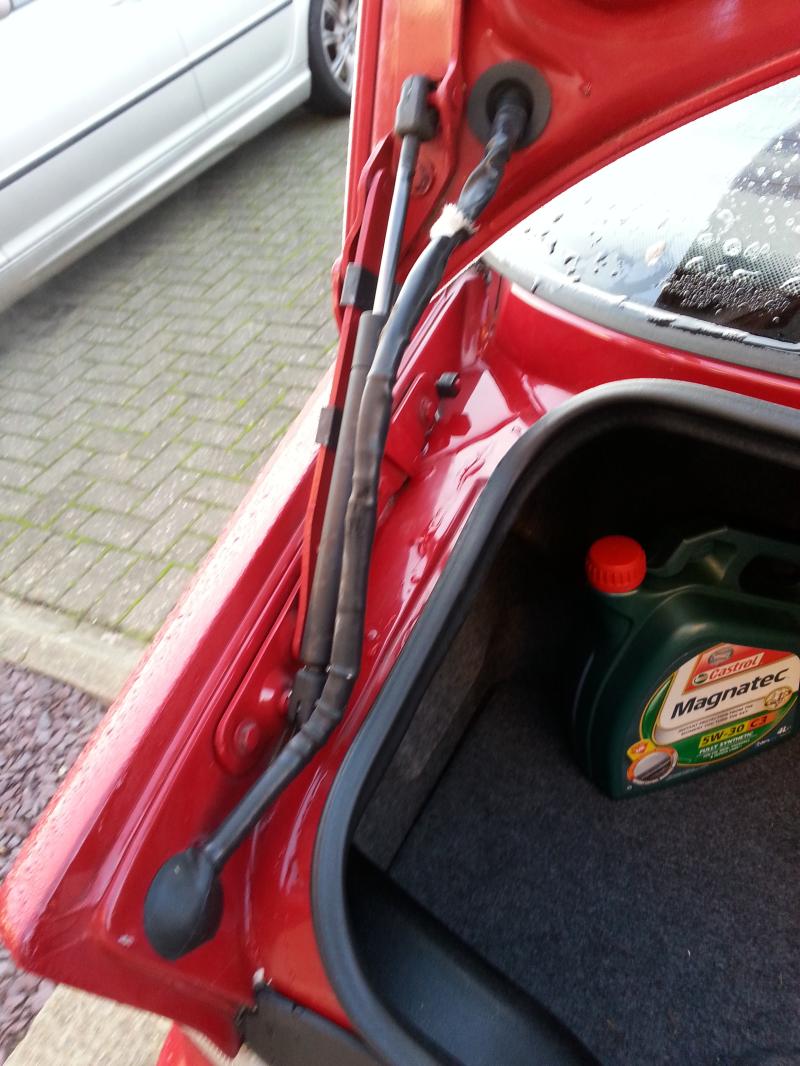
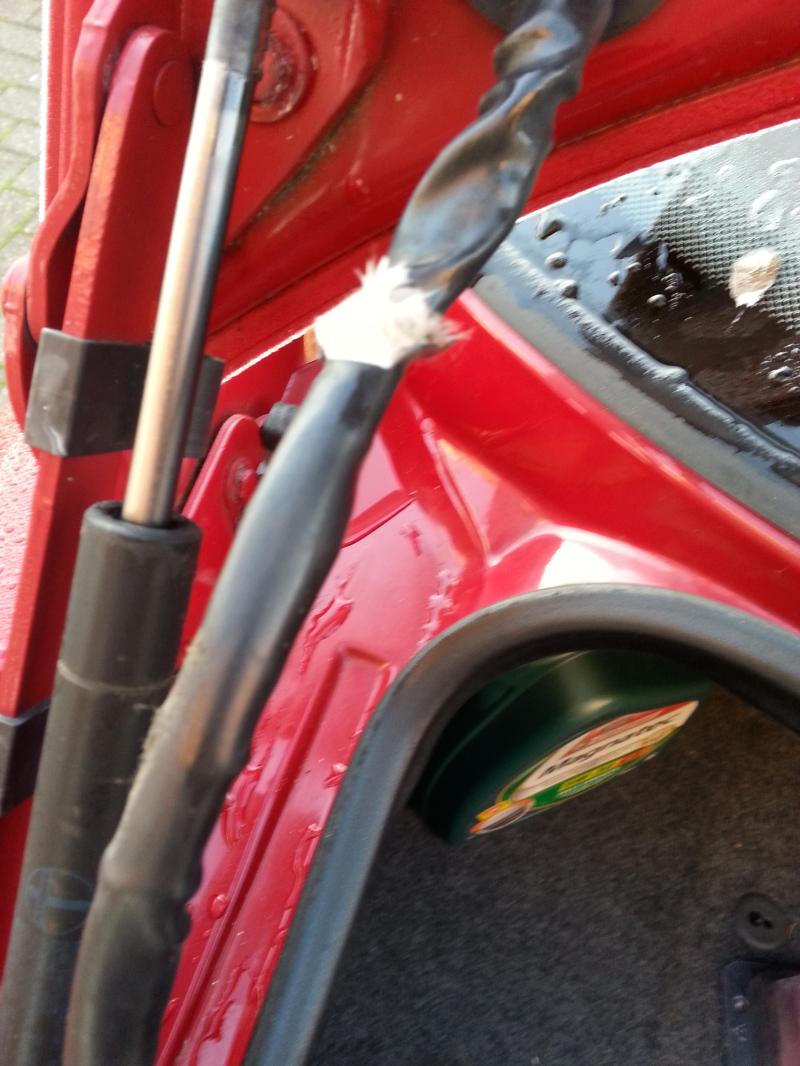
And as expected, once I had cut this back I found broken cables (the joys)
So what I thought would be a nice easy repair turned out to be a pain in my ass (as always with old cars)
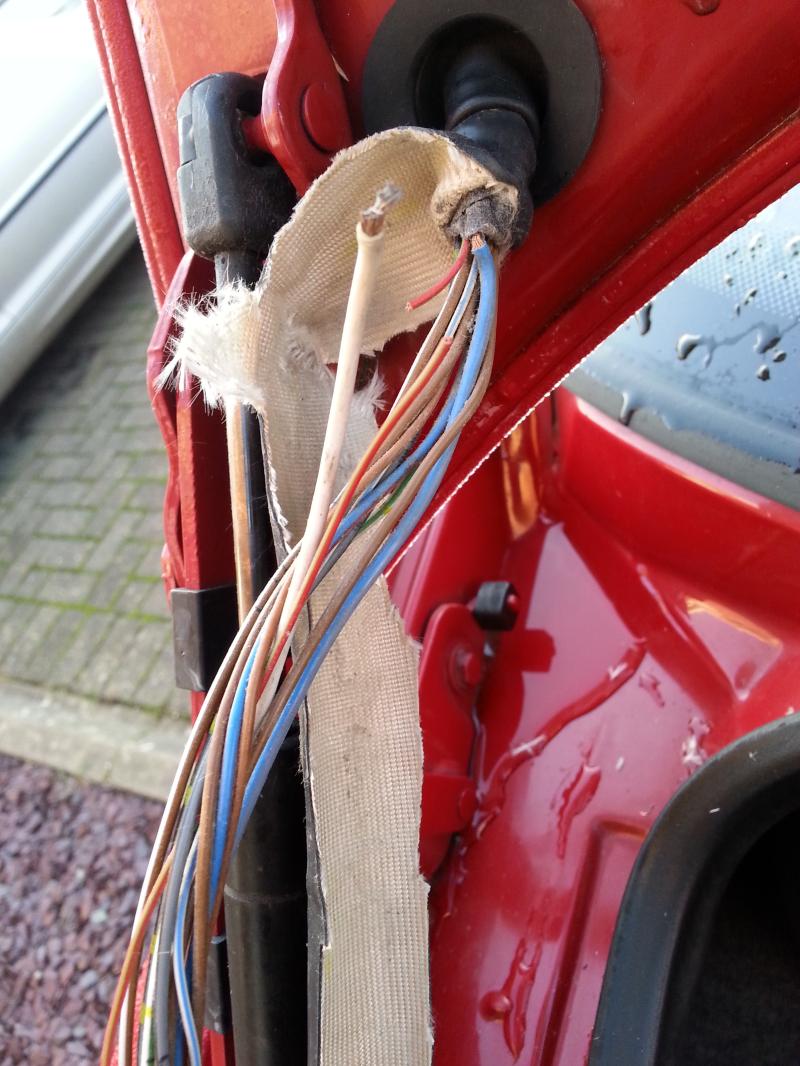
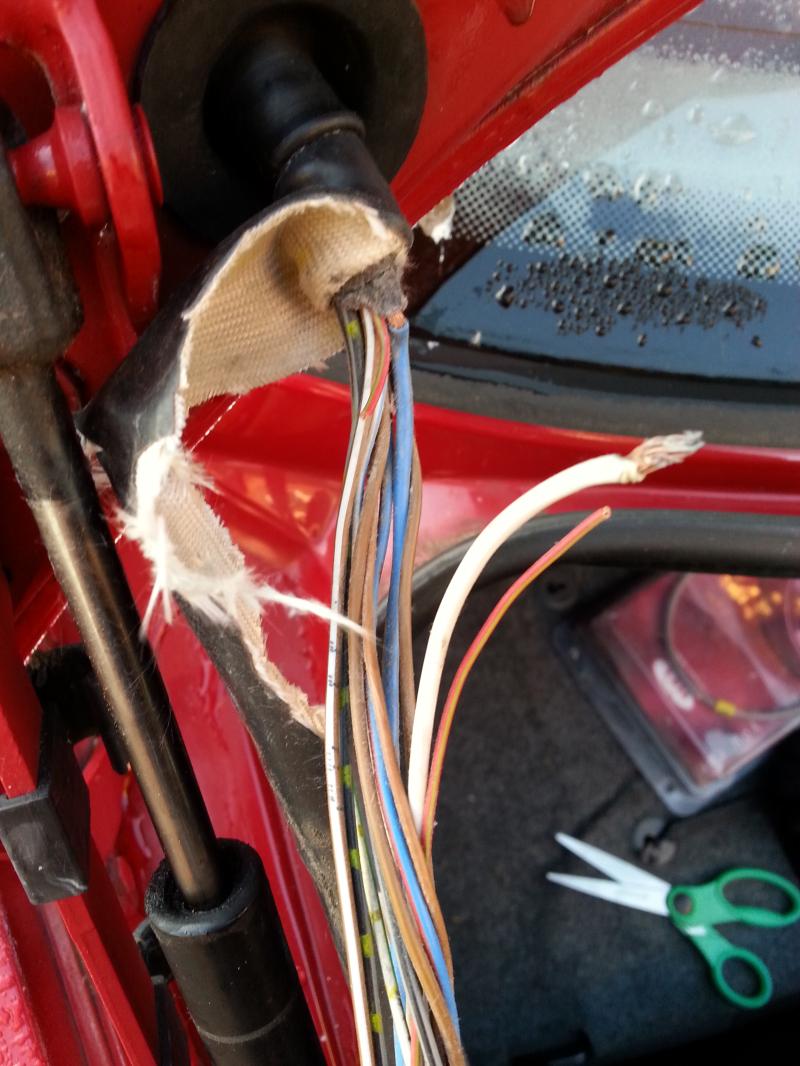
The pain in the ass being where the central locking cable had broken too
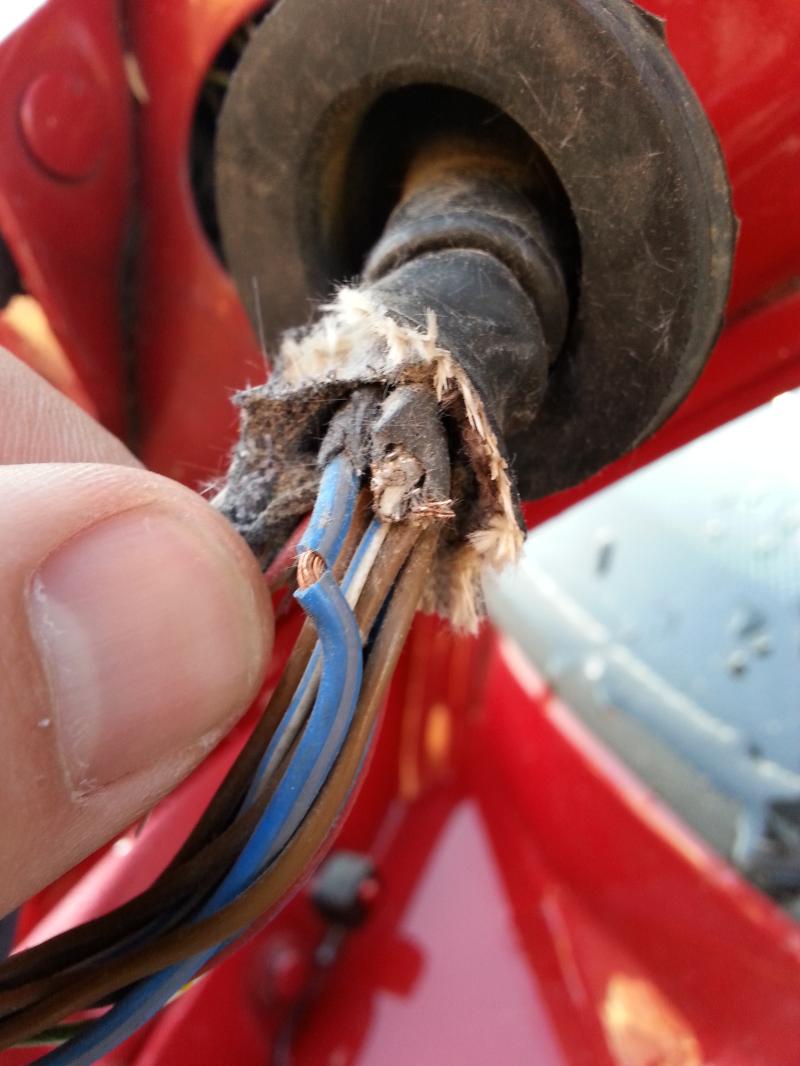
Lovely!
So rather than spend time putting in a good, long lasting fix I have decided to solder it back together for now the best I could and look to replace the boot loom. Looking around on ebay shows loom repair/replacements but only for the Z3. So will try and find one for our cars and part it out for a long term solution
Taped up all the bare ends etc
And will pick up some black tape to make it not look so bad until the part arrives.
I do however have a working boot central locking actuator now which is nice. Going to pickup a replacement passenger side actuator this afternoon so that will be all the locks back up and running again. Hooray!*
Couple photos before, you can see damage to the outer skin


And as expected, once I had cut this back I found broken cables (the joys)
So what I thought would be a nice easy repair turned out to be a pain in my ass (as always with old cars)


The pain in the ass being where the central locking cable had broken too

Lovely!
So rather than spend time putting in a good, long lasting fix I have decided to solder it back together for now the best I could and look to replace the boot loom. Looking around on ebay shows loom repair/replacements but only for the Z3. So will try and find one for our cars and part it out for a long term solution
Taped up all the bare ends etc

And will pick up some black tape to make it not look so bad until the part arrives.
I do however have a working boot central locking actuator now which is nice. Going to pickup a replacement passenger side actuator this afternoon so that will be all the locks back up and running again. Hooray!*
06-12-2014, 10:41 AM
#133
What a nightmare hey. Should have bought an old Ford, think you might have come across less issues!!
Have you tried repairing the loom with some solder butt connectors? I use them quite a bit at work and are much better than soldering and insulating separately.
Have you tried repairing the loom with some solder butt connectors? I use them quite a bit at work and are much better than soldering and insulating separately.
17-12-2014, 09:05 AM
#135
Advanced PassionFord User
Thread Starter
Update:
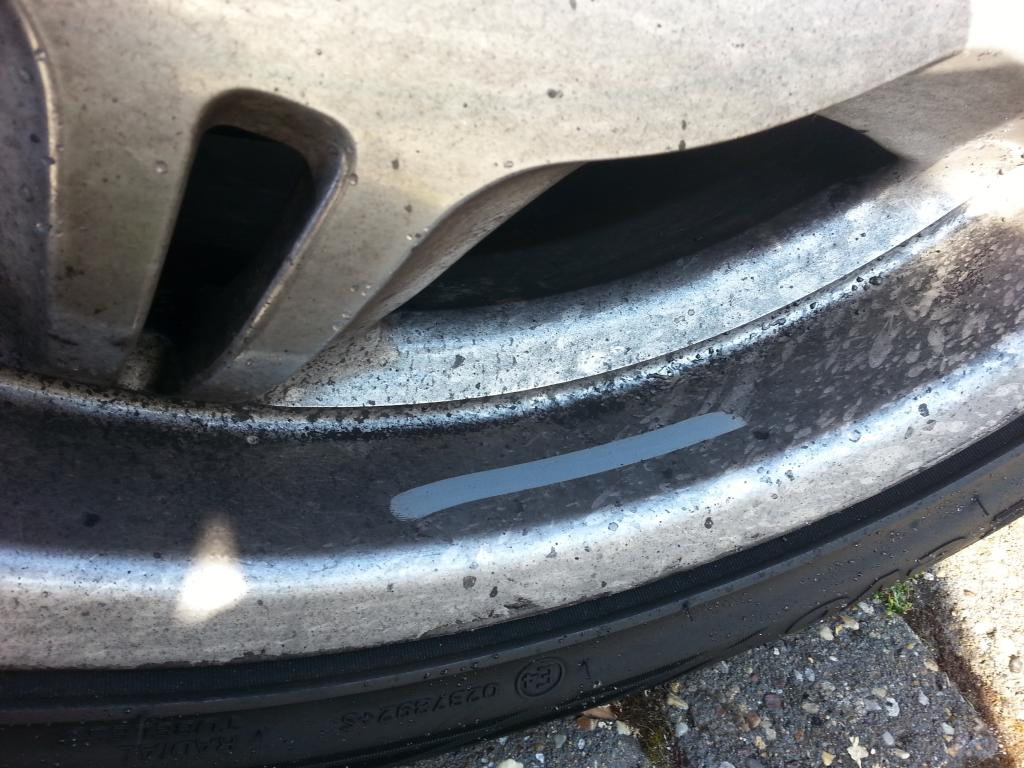
So I wanted to make a start on the bodywork and decided the side with the dent in was more annoying than the side with the key marks.
So off to the bodyshop it went, I was advised to get a new door so this is what I did. Took 14 days to turn up from Germany.
So the door was fitted, painted and blended in etc. Got the call to collect the car. It was dark when I collected so agreed for me to check it out on the Saturday and let them know.
Unhappy was an understatement.
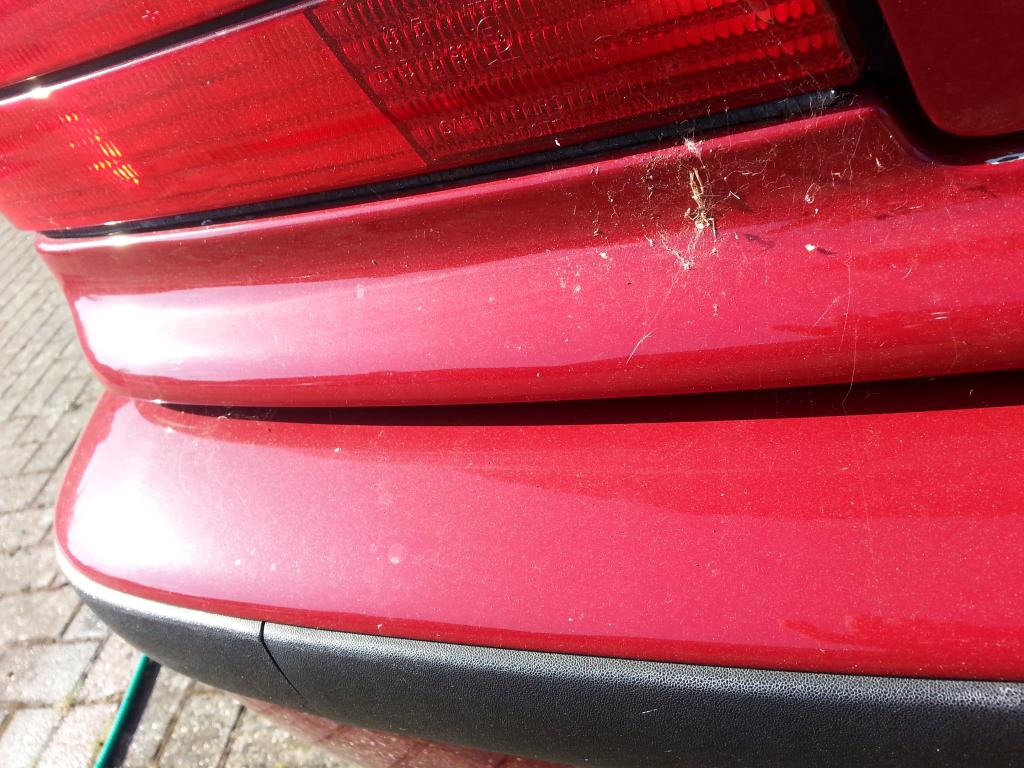
There was a blemish in the paintwork
Buffer marks all over that side from machine polishing
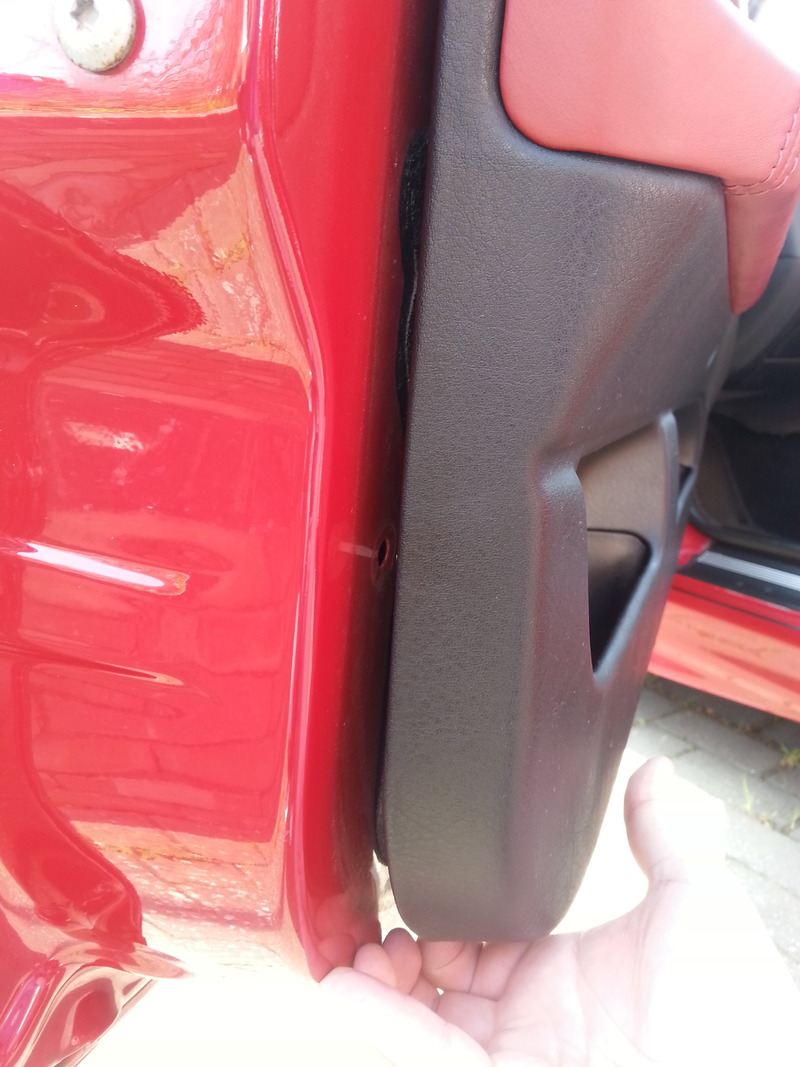
The rear window seal was not fitted correctly and came off when opening the electric rear windows.
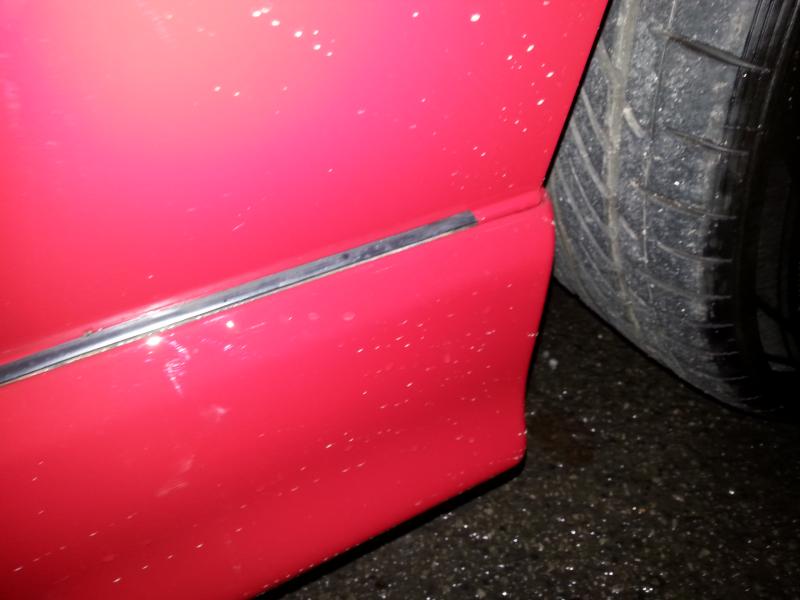
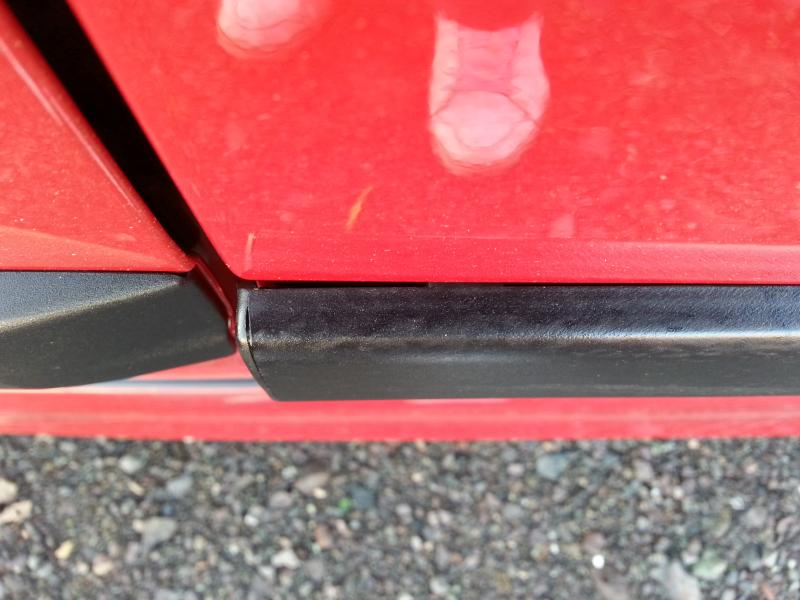
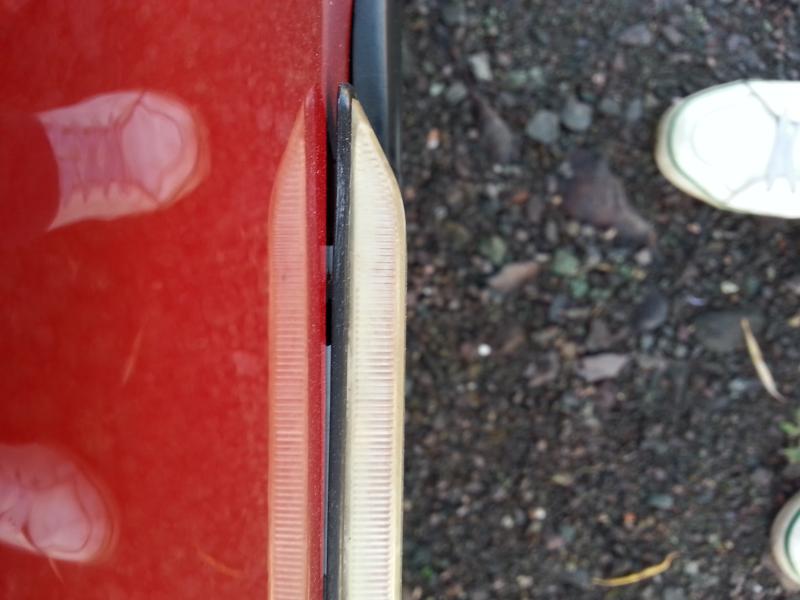
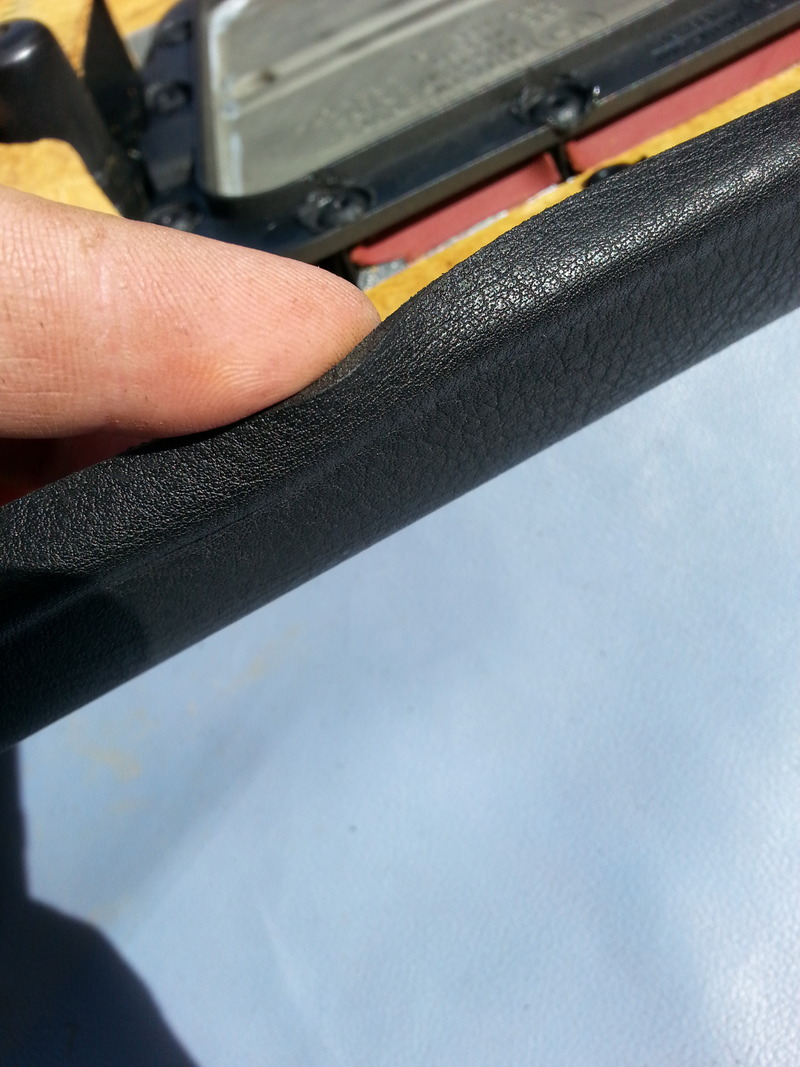
Side kit rubber seal was around 2" short. See the photos below
And terrible wind noise from you drivers window.
So an email later and the car is booked back in the following week to sort these problems.
Again, picked the car up after work and it is dark, so look over it saturday and find it is even worse!!
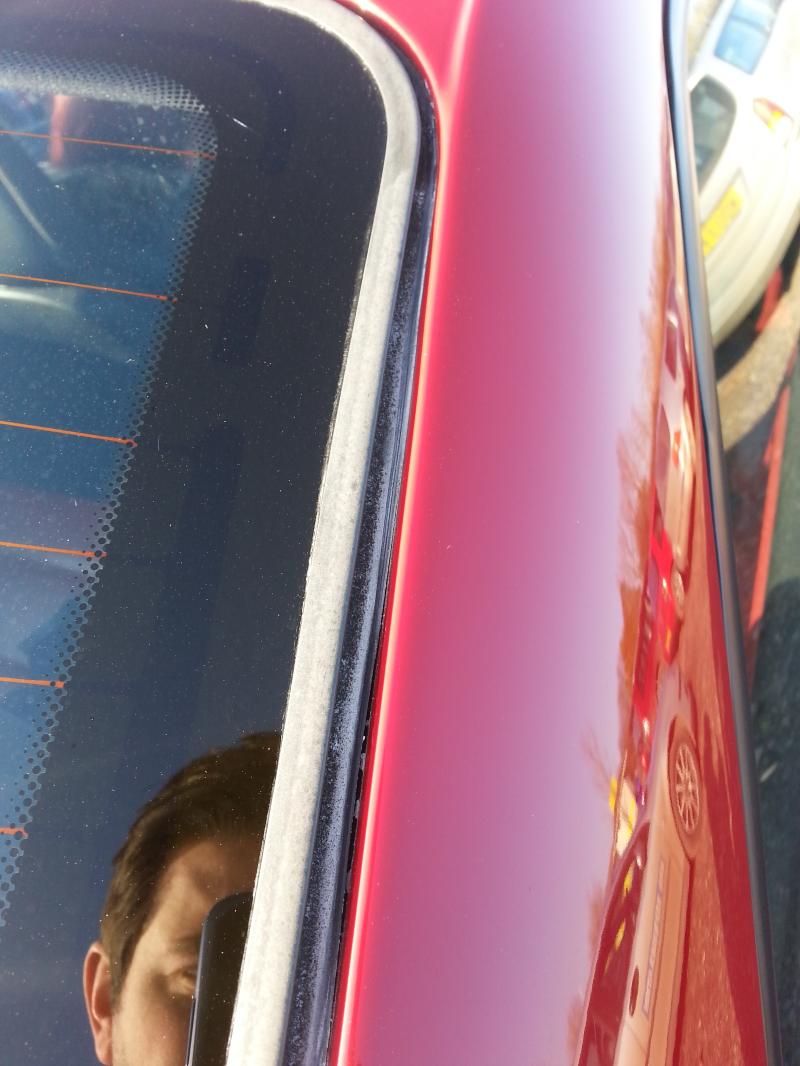
So this time, they have got polish all over the rear screen rubber seal
Wing indicator is not fitted correctly
Clips are sagging on the side trim and the side kit
Door card practically fell off in my hands (bottom clips broken) and the internal door surround fell off.
Wind noise is just as bad but the adjustment in the door means it does not line up correctly with the other panels.
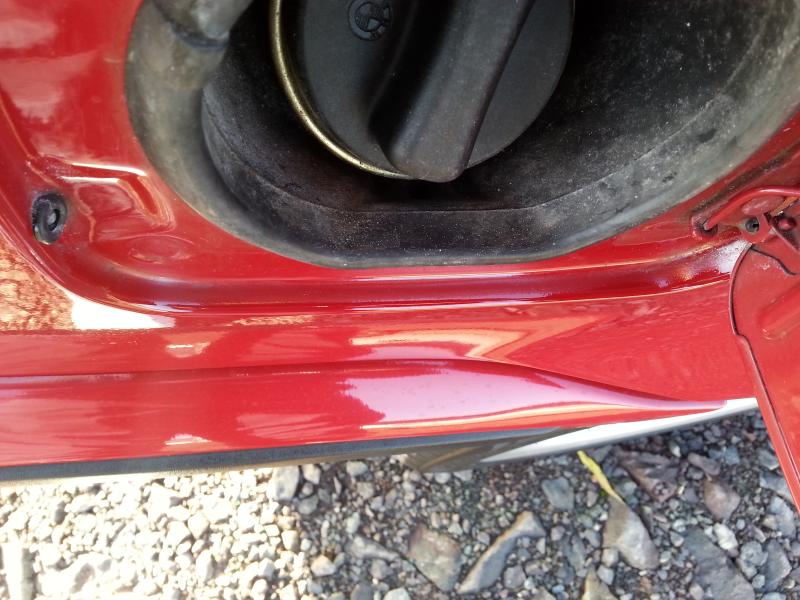
Build up of pait (lip) on the drivers door seal and petrol flap.
And the worst of all, the door card has a small hole in the leather :'( real tears!
So another email and after a few questions the car is booked back in with a list of things they need to sort.
See the pics
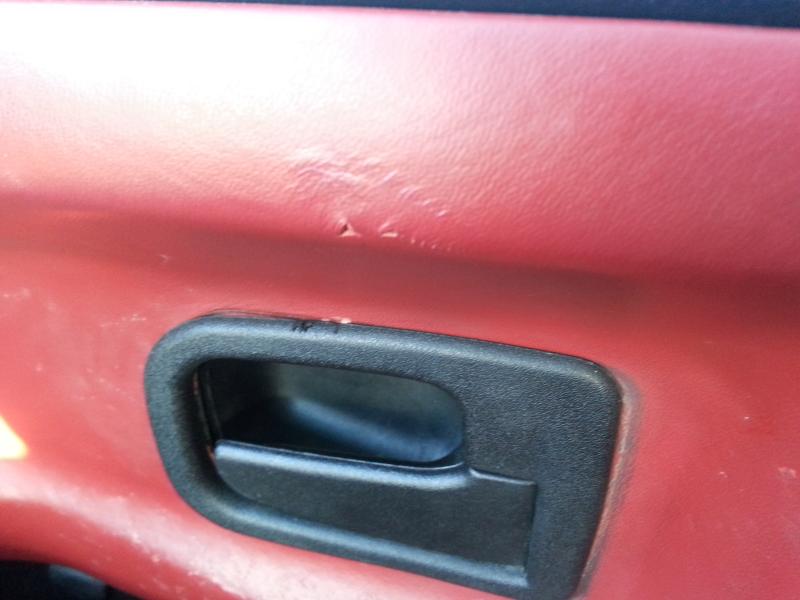

So this time it had all new clips, new indicator, door card removed and fixed etc (�580 for one door card) internal door surround replaced with new, the paint work bits sorted, and the window noise nearly sorted (still has a bit and is going back in Thursday again).
So I have nearly got the car how I wanted when it first went in. One side looks lovely now.
Really impressed with the repair. I have the guys number and will be getting all the leather sorted. Cost �60 to do this door card.
Now the car looks like this (it is dirty in the pics)
So you are probably reading this thinking, cheap bodyshop or repair etc, should of paid more etc etc. Well this bodyshop is the BMW approved shop for most of the South West. They also are approved bodyshop for Range Rover, Volvo and Jaguar. *I have a life time warrenty with the work carried out and the work cost the same as a ropey E36 M3. Hence why inwas so picky and got the car how I wanted.
So next up, the brakes.
I have been nursing the car for a while now trying not to use the brakes too hard. A reminder why, the calipers had siezed where the car was stored for so long. So I purchased some used working calipers, braided brake lines came with them, ATE pads, pagid brake sensor, HEL braided clutch pipe and 2 litres of ATE Super Blue brake fluid.
*
I had the guys who MOT the car do the work as I know the guy who did the work. So nice to have a proper service from a decent local company, car was in and out, work is spot on! Had a good chat about the car and any up coming work it will need. Car drives spot on! He found the car already had a braided clutch pipe so left that alone. Used three quaters of one litre brake fluid. Brakes really nice and strong! No pulling to one side etc, no judders etc. Lovely.
So the only thing left to do was brim the tank and take her for a blast! My god dont they pull well. Effortless power and so smooth

I also had to tax the car. It will probably spend most of its time in the garage now.
Cheers for reading
Mark
So I wanted to make a start on the bodywork and decided the side with the dent in was more annoying than the side with the key marks.
So off to the bodyshop it went, I was advised to get a new door so this is what I did. Took 14 days to turn up from Germany.
So the door was fitted, painted and blended in etc. Got the call to collect the car. It was dark when I collected so agreed for me to check it out on the Saturday and let them know.
Unhappy was an understatement.
There was a blemish in the paintwork
Buffer marks all over that side from machine polishing
The rear window seal was not fitted correctly and came off when opening the electric rear windows.
Side kit rubber seal was around 2" short. See the photos below
And terrible wind noise from you drivers window.


So an email later and the car is booked back in the following week to sort these problems.
Again, picked the car up after work and it is dark, so look over it saturday and find it is even worse!!
So this time, they have got polish all over the rear screen rubber seal
Wing indicator is not fitted correctly
Clips are sagging on the side trim and the side kit
Door card practically fell off in my hands (bottom clips broken) and the internal door surround fell off.
Wind noise is just as bad but the adjustment in the door means it does not line up correctly with the other panels.
Build up of pait (lip) on the drivers door seal and petrol flap.
And the worst of all, the door card has a small hole in the leather :'( real tears!
So another email and after a few questions the car is booked back in with a list of things they need to sort.
See the pics


So this time it had all new clips, new indicator, door card removed and fixed etc (�580 for one door card) internal door surround replaced with new, the paint work bits sorted, and the window noise nearly sorted (still has a bit and is going back in Thursday again).
So I have nearly got the car how I wanted when it first went in. One side looks lovely now.


Really impressed with the repair. I have the guys number and will be getting all the leather sorted. Cost �60 to do this door card.
Now the car looks like this (it is dirty in the pics)


So you are probably reading this thinking, cheap bodyshop or repair etc, should of paid more etc etc. Well this bodyshop is the BMW approved shop for most of the South West. They also are approved bodyshop for Range Rover, Volvo and Jaguar. *I have a life time warrenty with the work carried out and the work cost the same as a ropey E36 M3. Hence why inwas so picky and got the car how I wanted.
So next up, the brakes.
I have been nursing the car for a while now trying not to use the brakes too hard. A reminder why, the calipers had siezed where the car was stored for so long. So I purchased some used working calipers, braided brake lines came with them, ATE pads, pagid brake sensor, HEL braided clutch pipe and 2 litres of ATE Super Blue brake fluid.


*

I had the guys who MOT the car do the work as I know the guy who did the work. So nice to have a proper service from a decent local company, car was in and out, work is spot on! Had a good chat about the car and any up coming work it will need. Car drives spot on! He found the car already had a braided clutch pipe so left that alone. Used three quaters of one litre brake fluid. Brakes really nice and strong! No pulling to one side etc, no judders etc. Lovely.
So the only thing left to do was brim the tank and take her for a blast! My god dont they pull well. Effortless power and so smooth

I also had to tax the car. It will probably spend most of its time in the garage now.
Cheers for reading
Mark
 10-01-2015, 02:11 PM
#138
Advanced PassionFord User
Thread Starter
As I promised myself, the GTII is coming off the road and going back into storage.
I managed to pick up a complete bargain
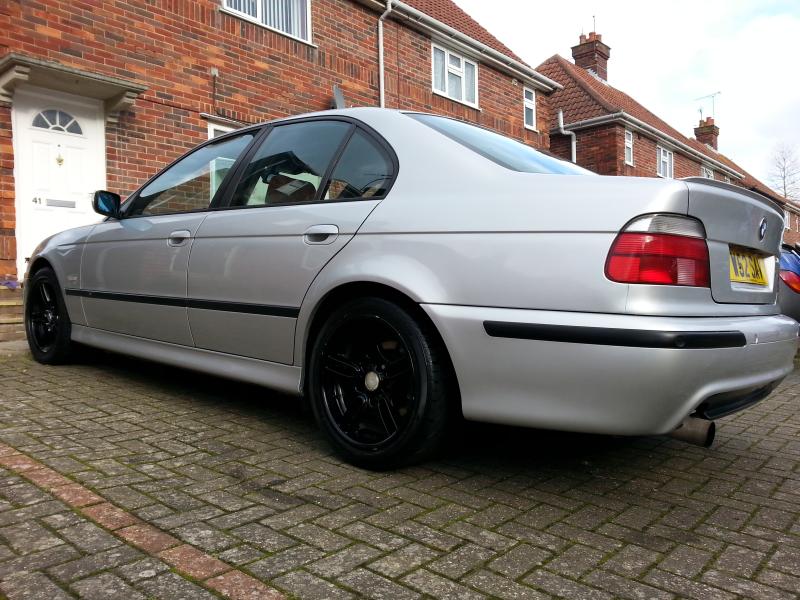
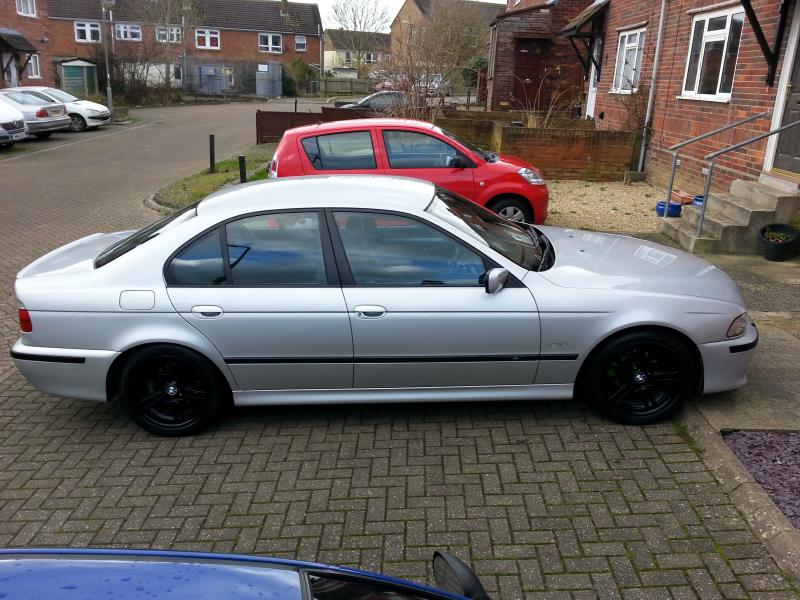
BMW E39 528i Sport Auto
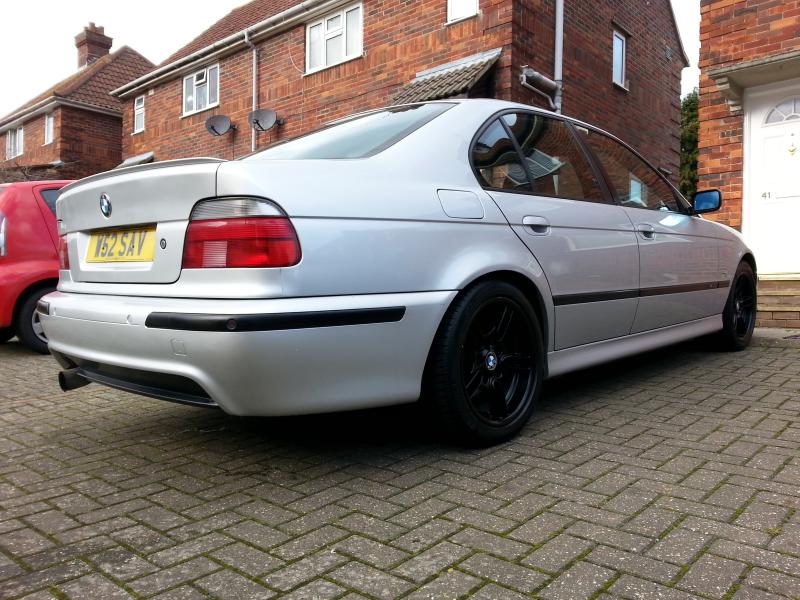
I will get a photo of all three of the BMWs together at some point (E46 330i Sport, BMW M3 GTII and this Sport)
Happy days
I managed to pick up a complete bargain
BMW E39 528i Sport Auto


I will get a photo of all three of the BMWs together at some point (E46 330i Sport, BMW M3 GTII and this Sport)
Happy days
11-01-2015, 07:08 PM
#139
I've found that life I needed.. It's HERE!!
That looks clean, your M3 is looks too good to have out in the salty winter roads
14-01-2015, 09:54 AM
#140
Advanced PassionFord User
Thread Starter
It sits in the garage most of the time. Only bring it out to tinker or take to the garage. Walking is rubbish hence why I bought the E39
 17-01-2015, 12:22 PM
#142
Advanced PassionFord User
Thread Starter
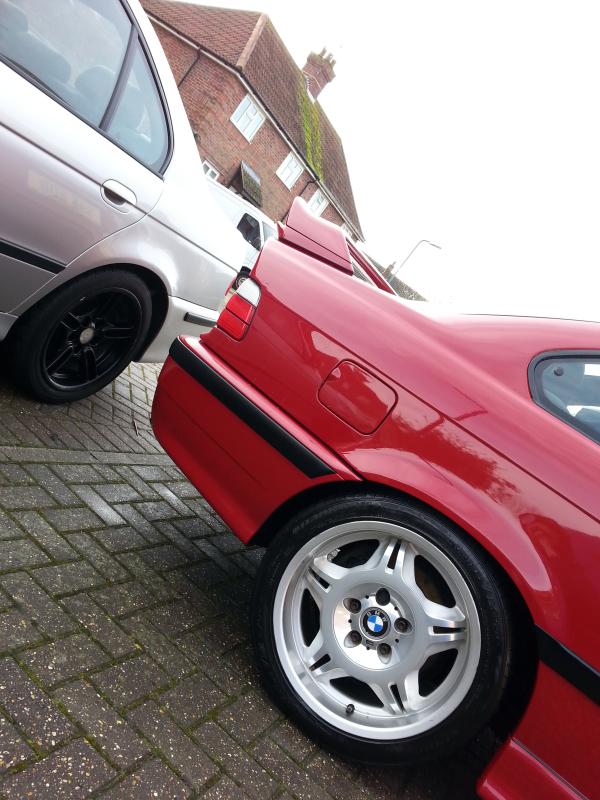
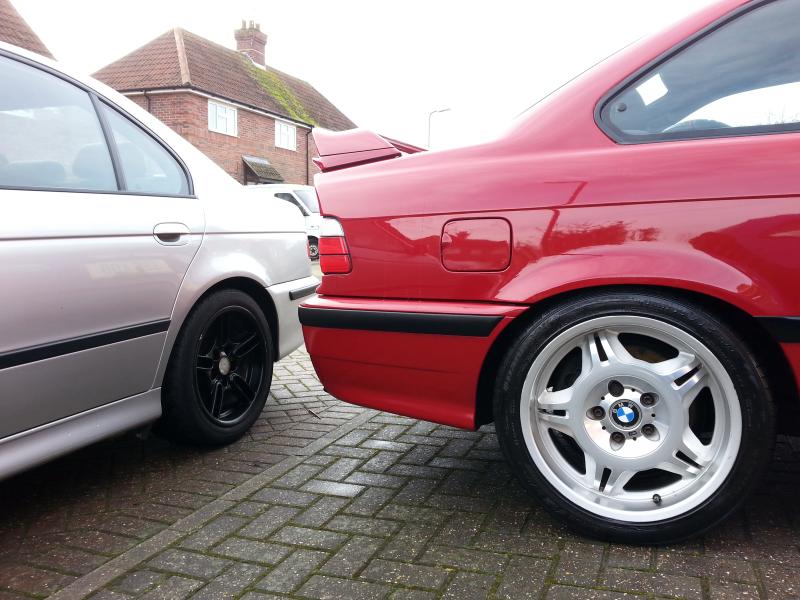
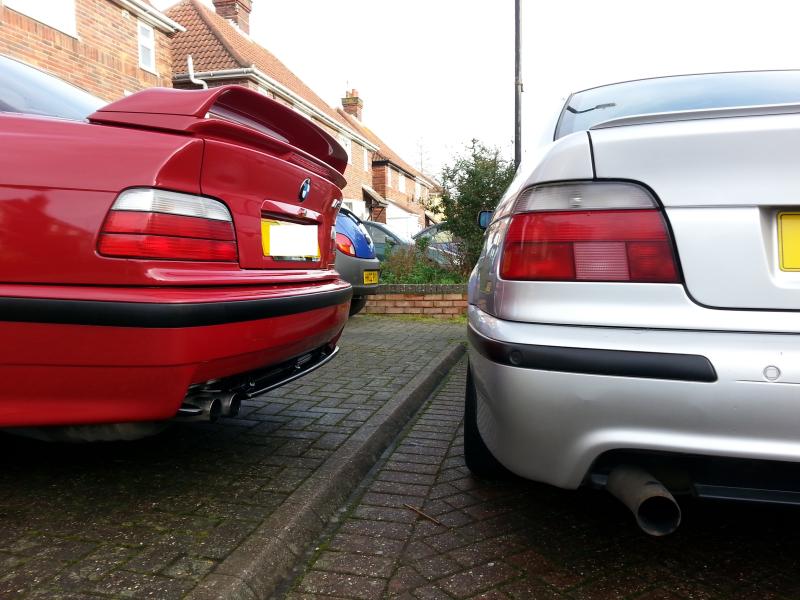
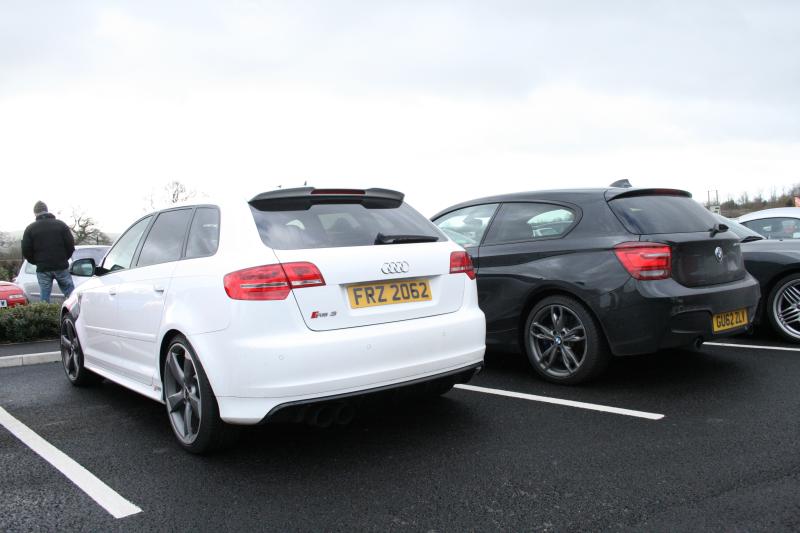
Got the car booked back into the bodyshop on Tuesday so got the old girl out and gave her a clean. Also took a couple snaps of it next to my new purchase.
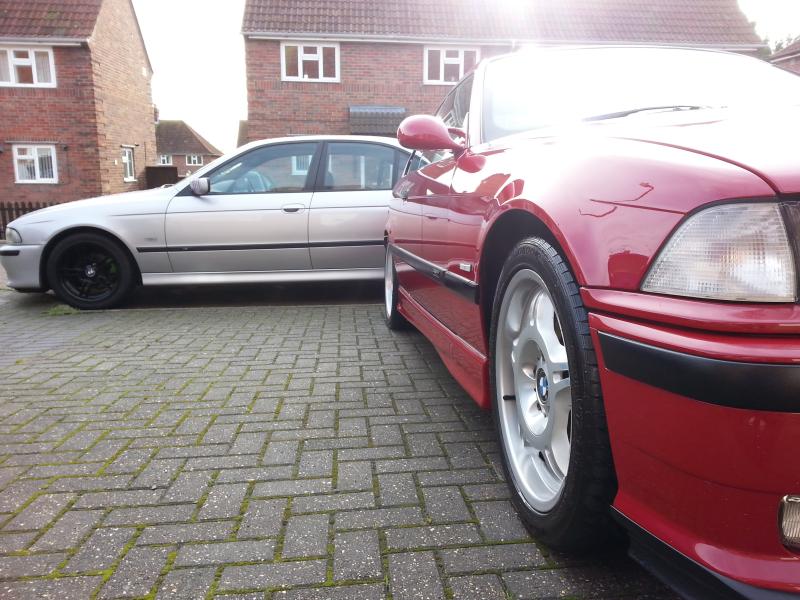
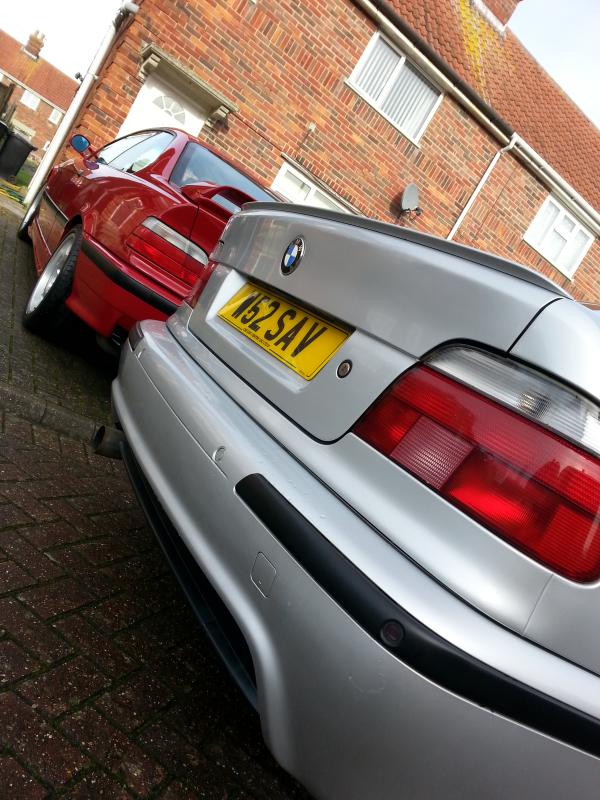
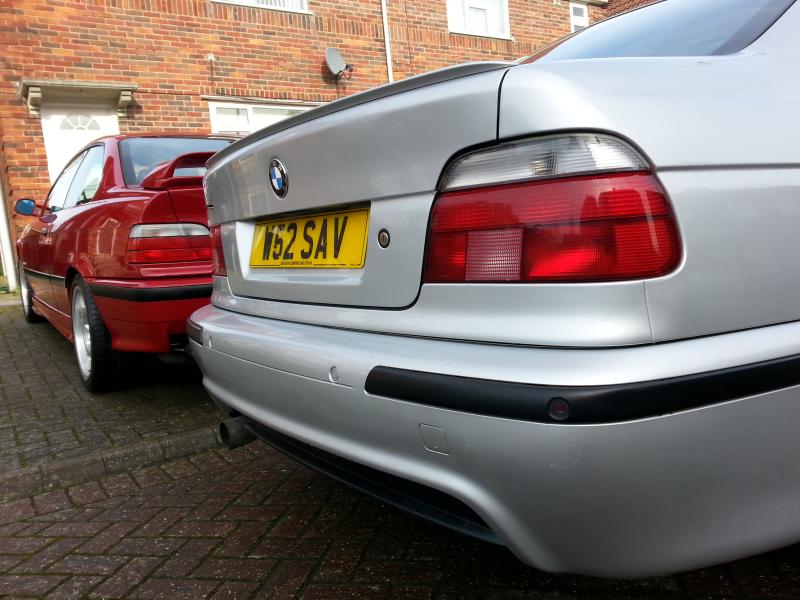
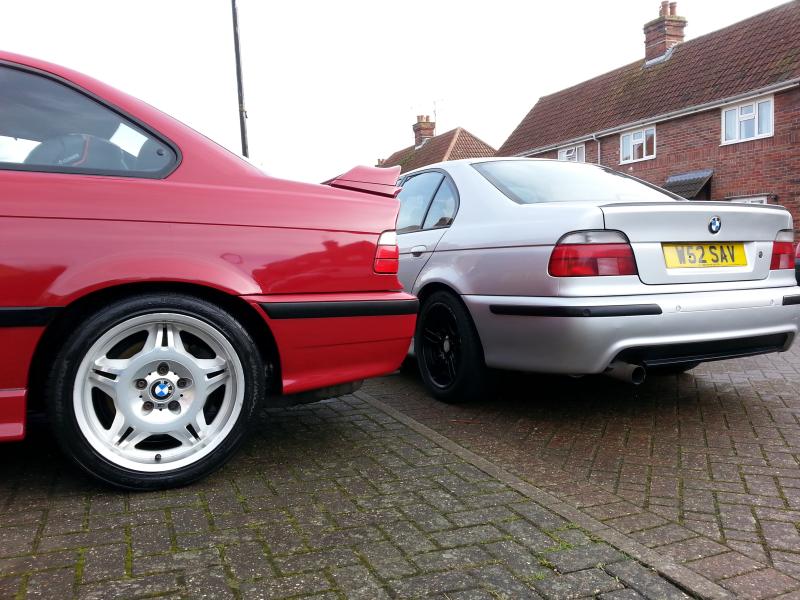
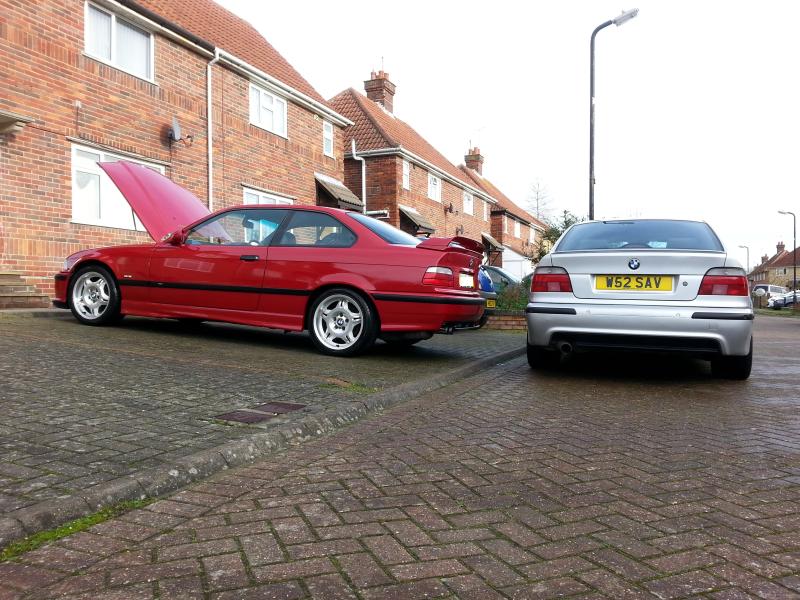
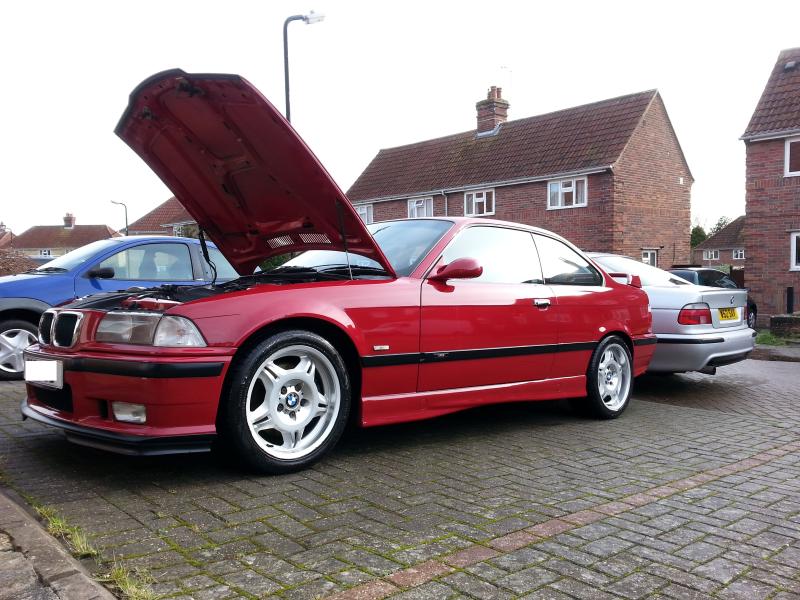
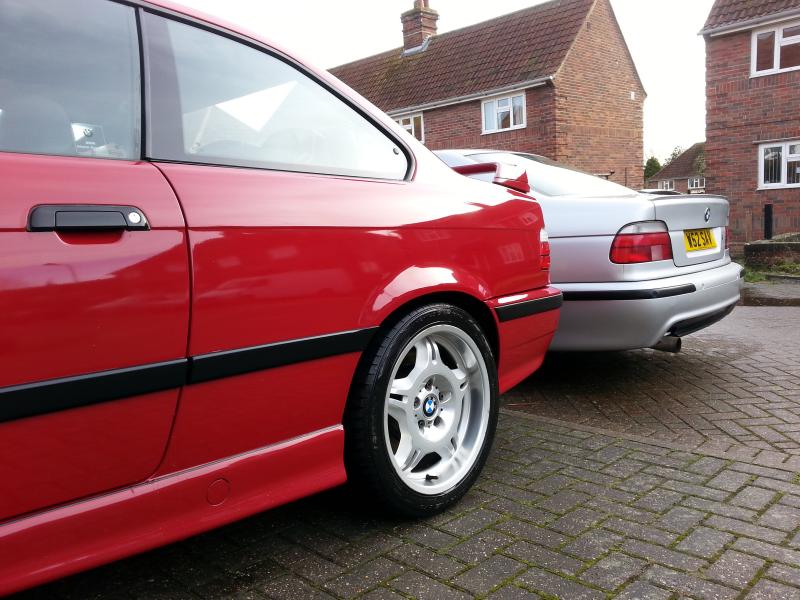
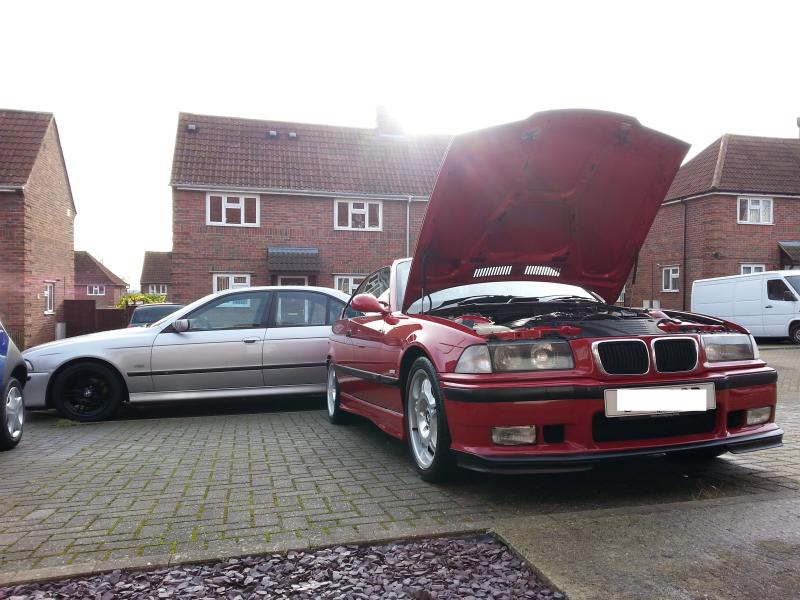
Cheers
Mark


Cheers
Mark
25-01-2015, 09:49 PM
#144
Professional Waffler

Beautiful car mate 
That 5 series looks damn clean too? I suppose it's already had a good going over by yourself hence why it looks so clean! What year is she?
That 5 series looks damn clean too? I suppose it's already had a good going over by yourself hence why it looks so clean! What year is she?
Last edited by BM08; 26-01-2015 at 05:59 AM.
13-02-2015, 09:12 PM
#145
Advanced PassionFord User
Thread Starter
The 5 is a 2000 reg preface lift. Been spot on the last few weeks I have used it. Drives nice.
Moved the M3 to my storage location and the thing just wants to go all the time. Its like an excited puppy
Moved the M3 to my storage location and the thing just wants to go all the time. Its like an excited puppy
01-03-2015, 02:03 PM
#146
Advanced PassionFord User
Thread Starter
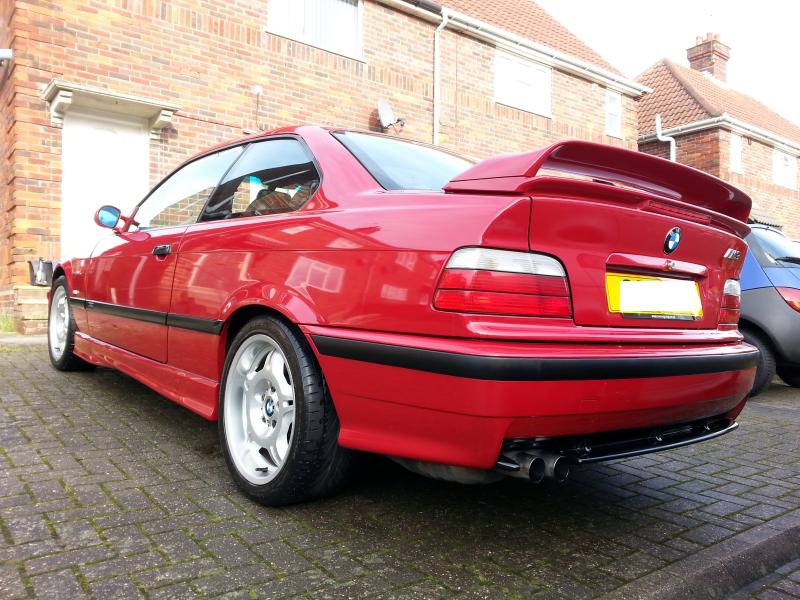
Decided I was going to a local Pistonheads breakfast car meet this morning at Haynes, not seen the car for over a month and forgot about it a bit. Opened the garage and and got her out, started first time and sounded so sweet. I have forgotten how fun driving can be, the E39 is nice and quiet but it is not a drivers car. Had a bit of a play on the way out and opened her up a bit, still goes like a scalded cat and the turn in and handling is lovely. It just feels so good. I really appreciate this car now I do not use it much, its epic to get in and drive..
Anyway, some photos of the meet. Alot of mine but hey, why not.

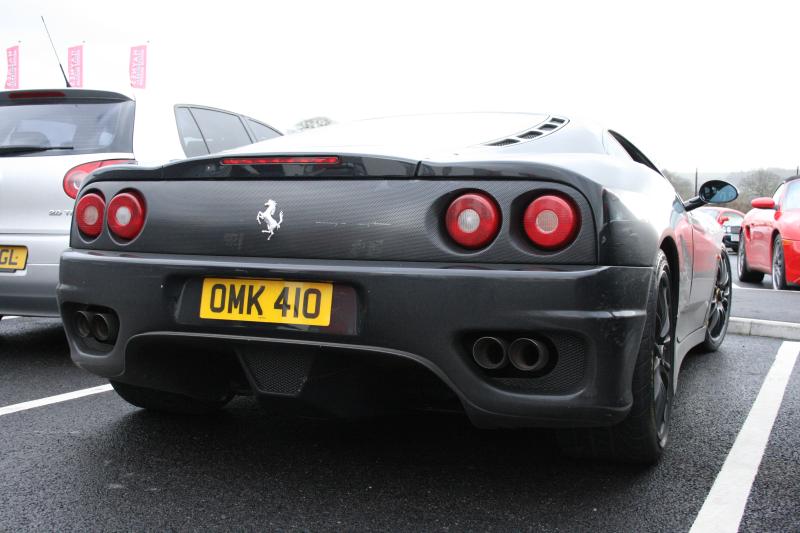
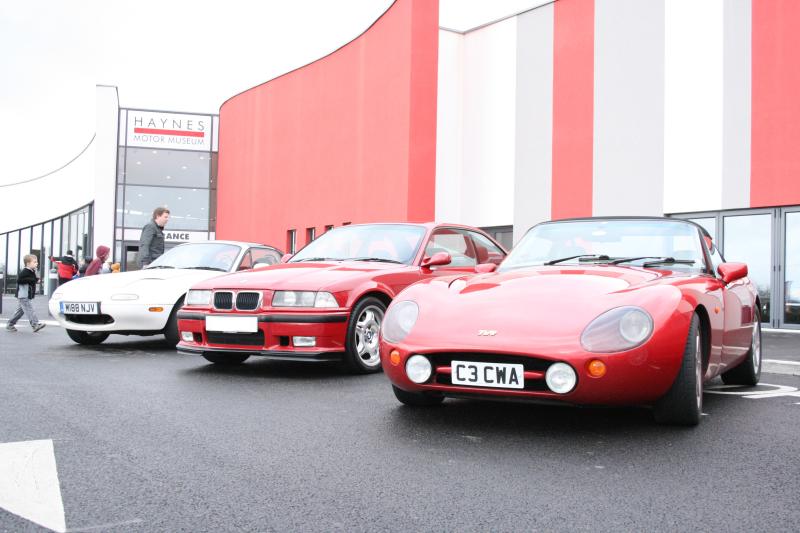


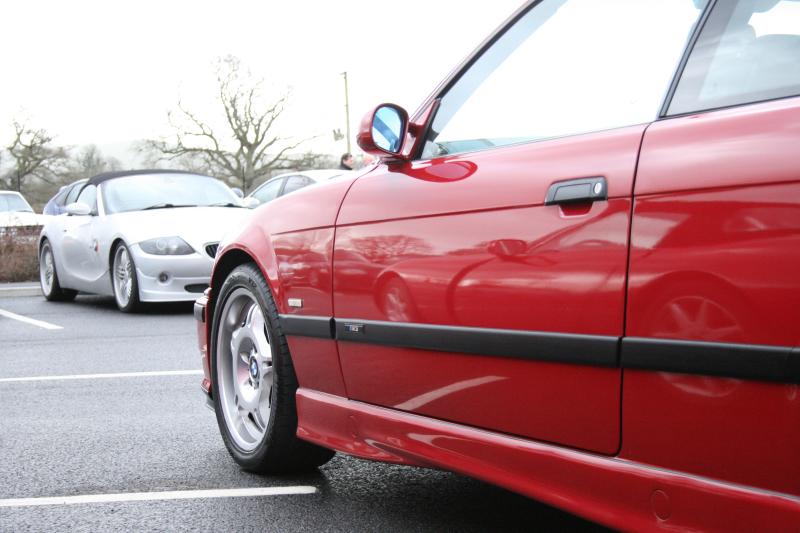
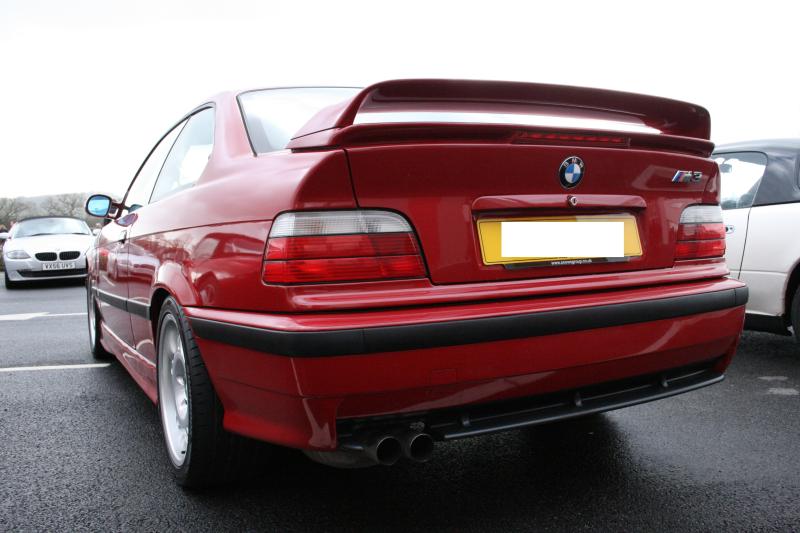
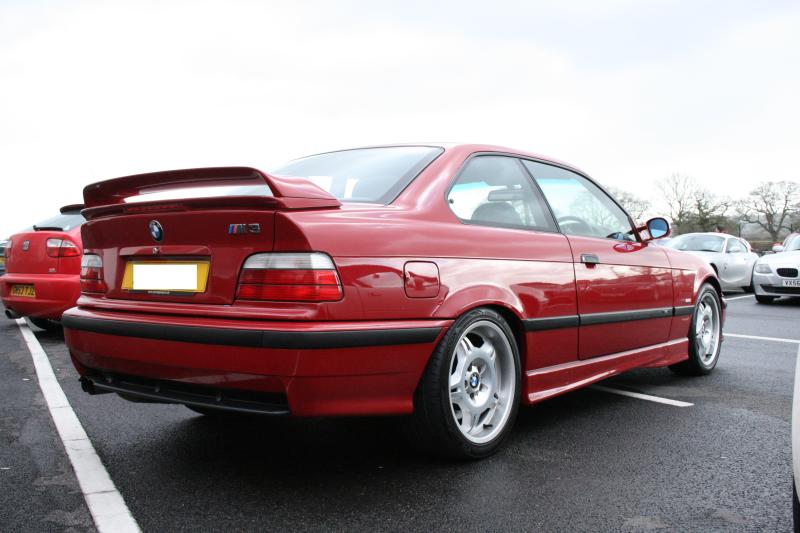
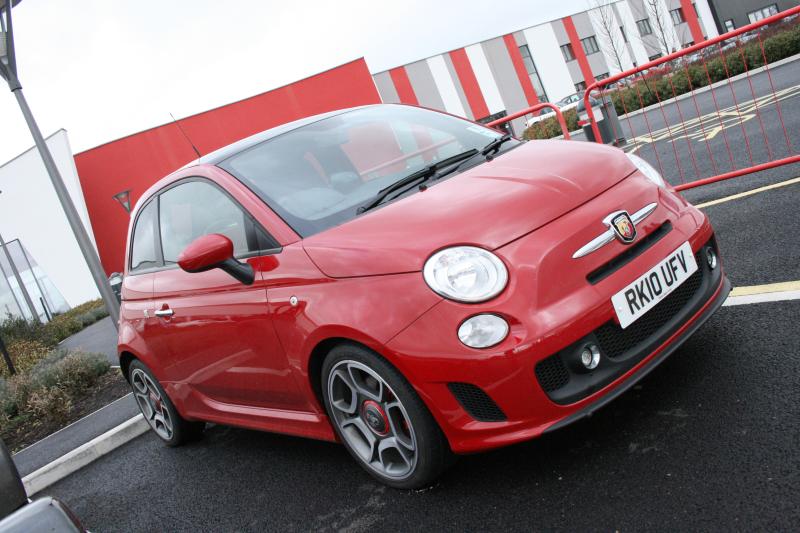

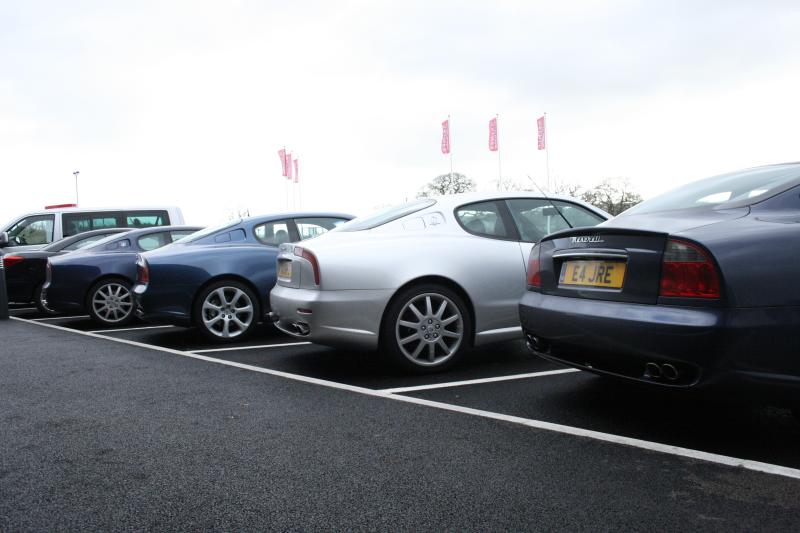
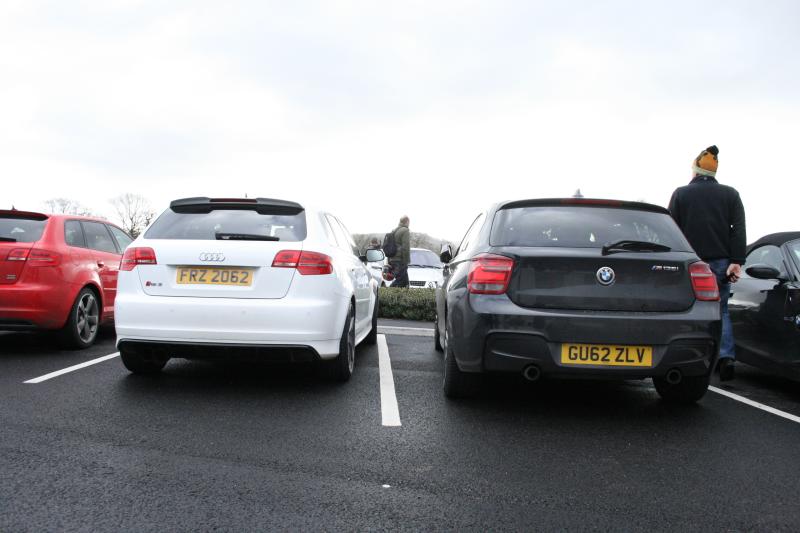
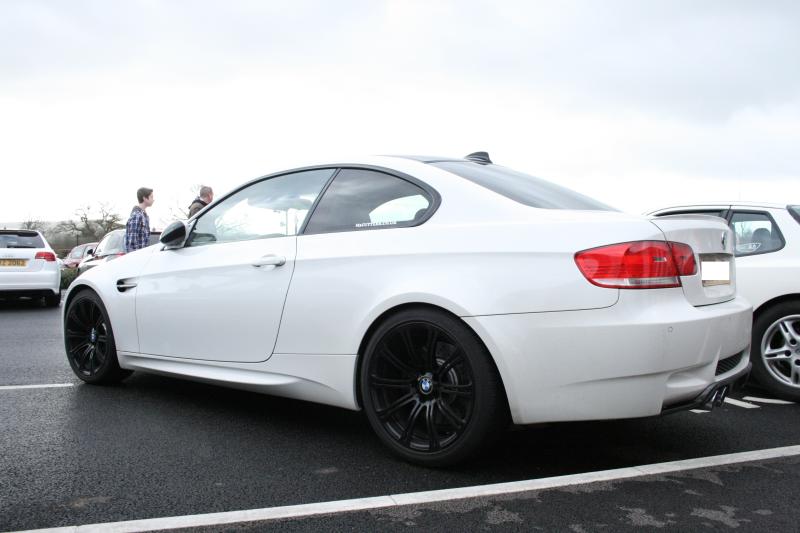
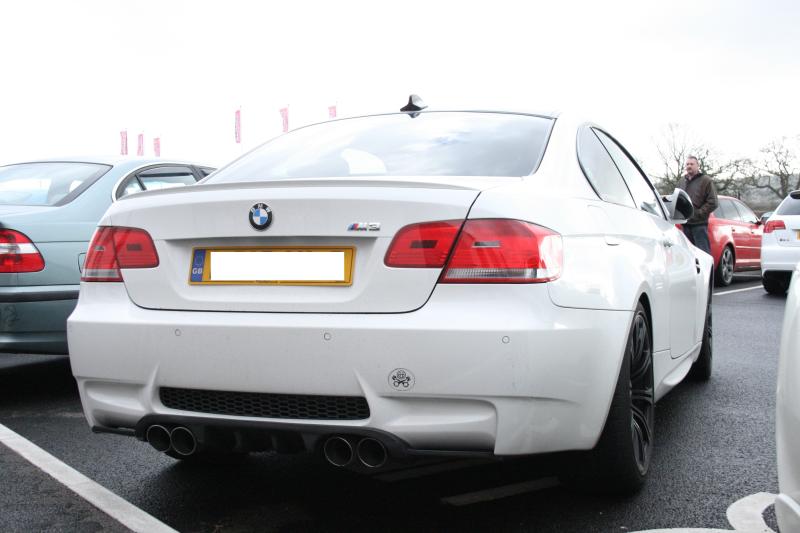


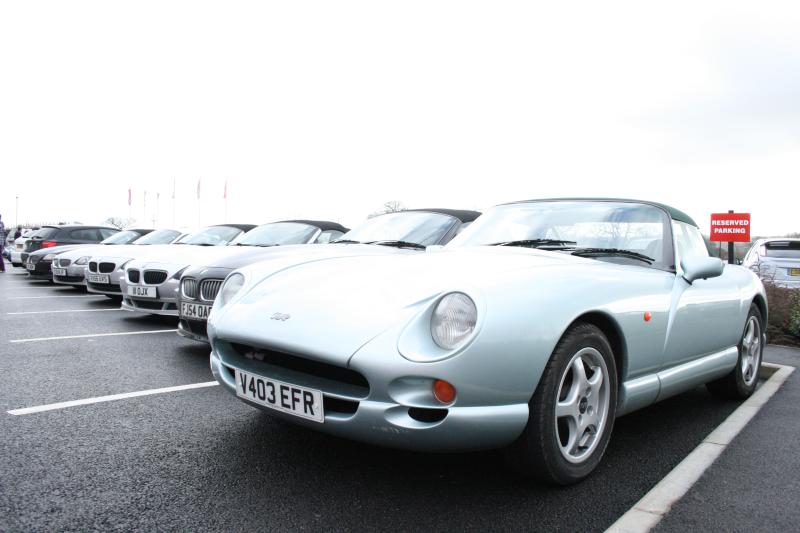
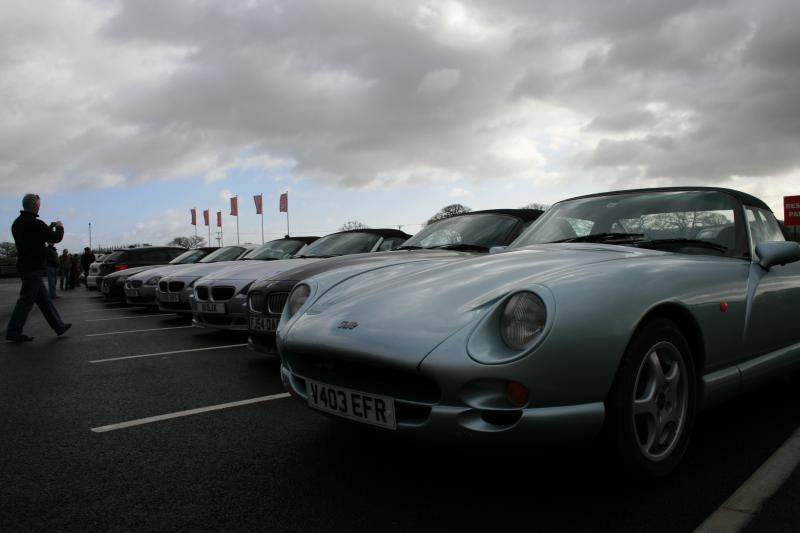


Anyway, some photos of the meet. Alot of mine but hey, why not.


 21-03-2015, 07:56 PM
#147
Advanced PassionFord User
Thread Starter
Update;
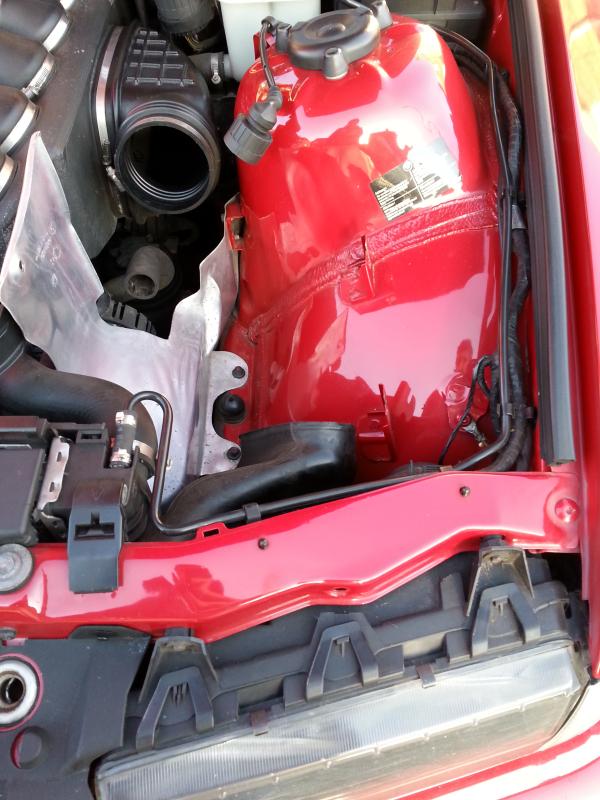
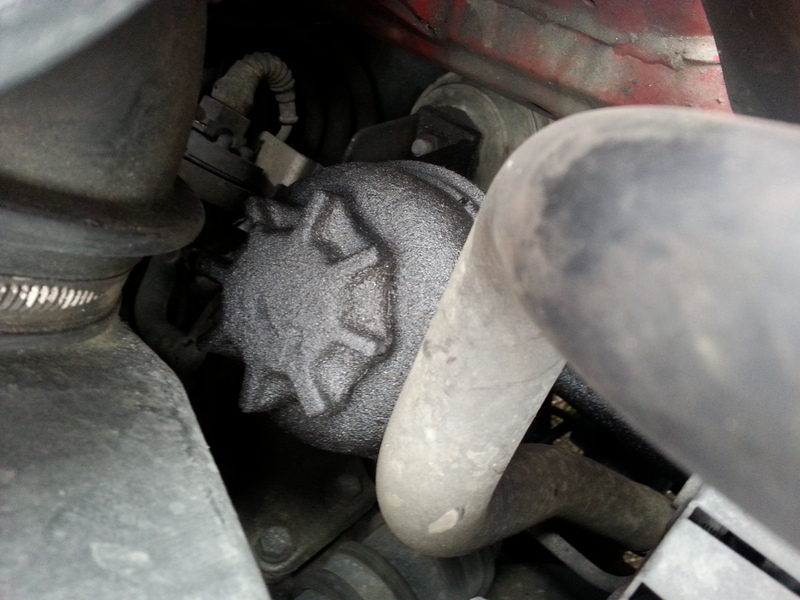
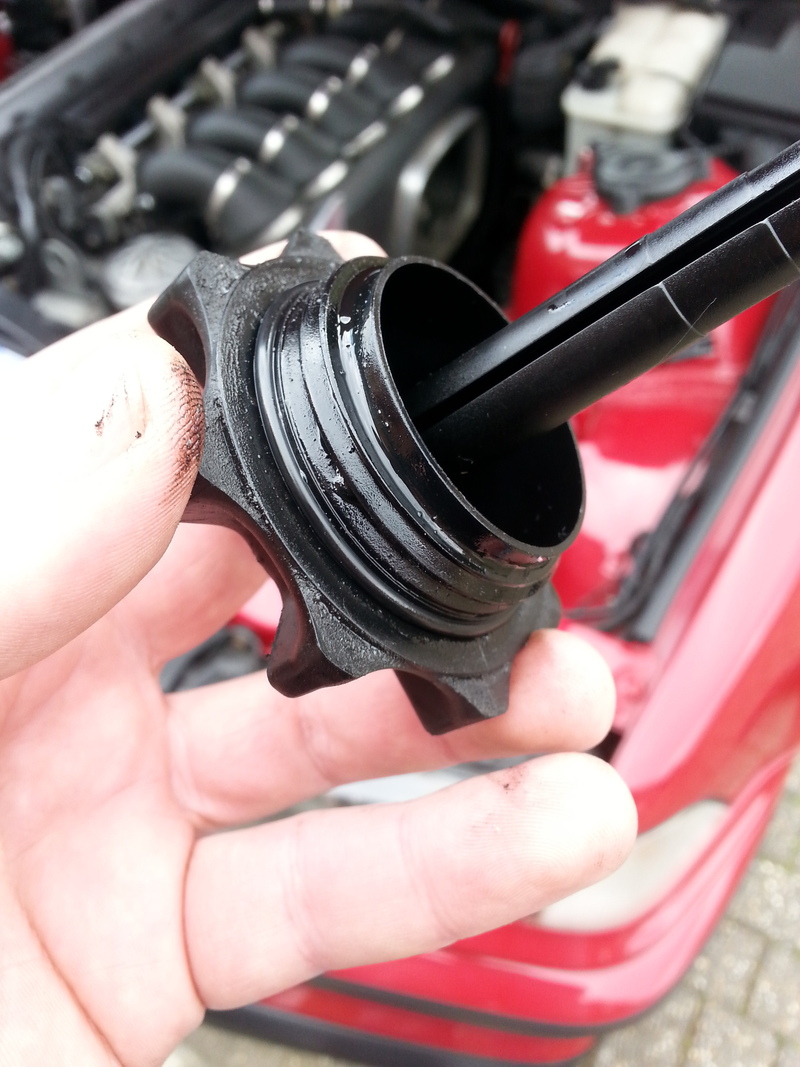
Got the car out today as the weather was lovely. Had a man and car day. Ages ago I bought the o ring to fix the power steering leak I had. The power steering started making a noise where it was low so decided today was the day.
This is what I could see which annoyed me.
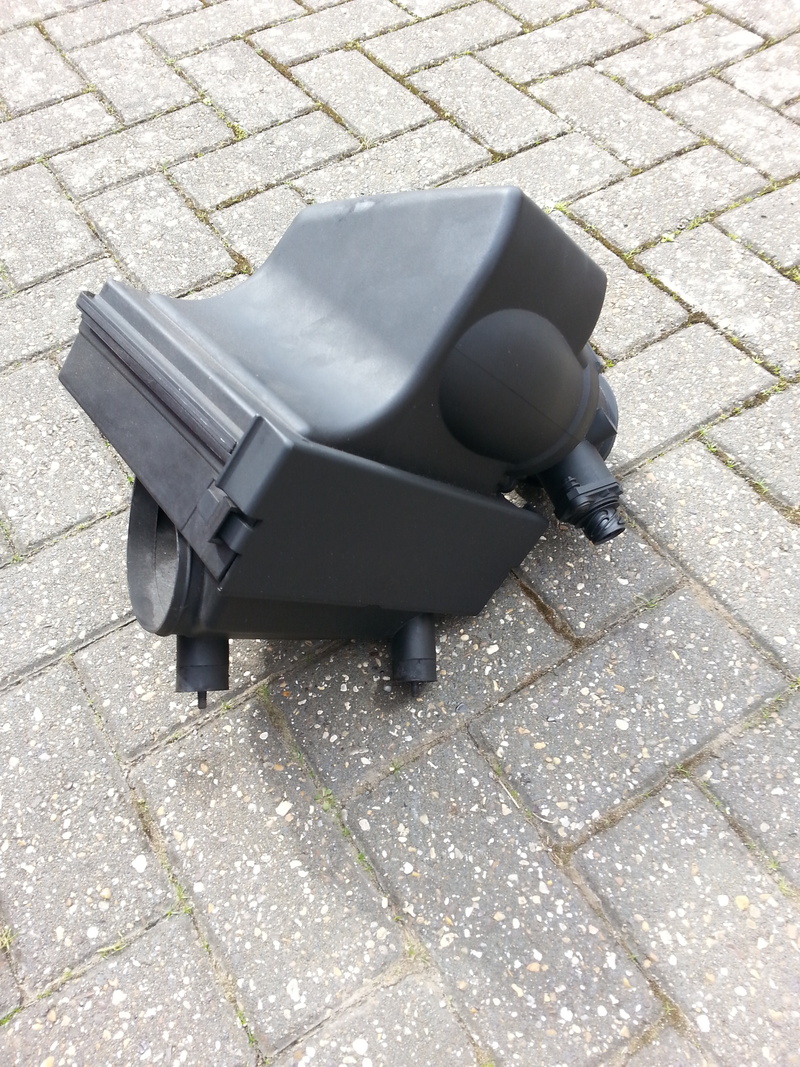
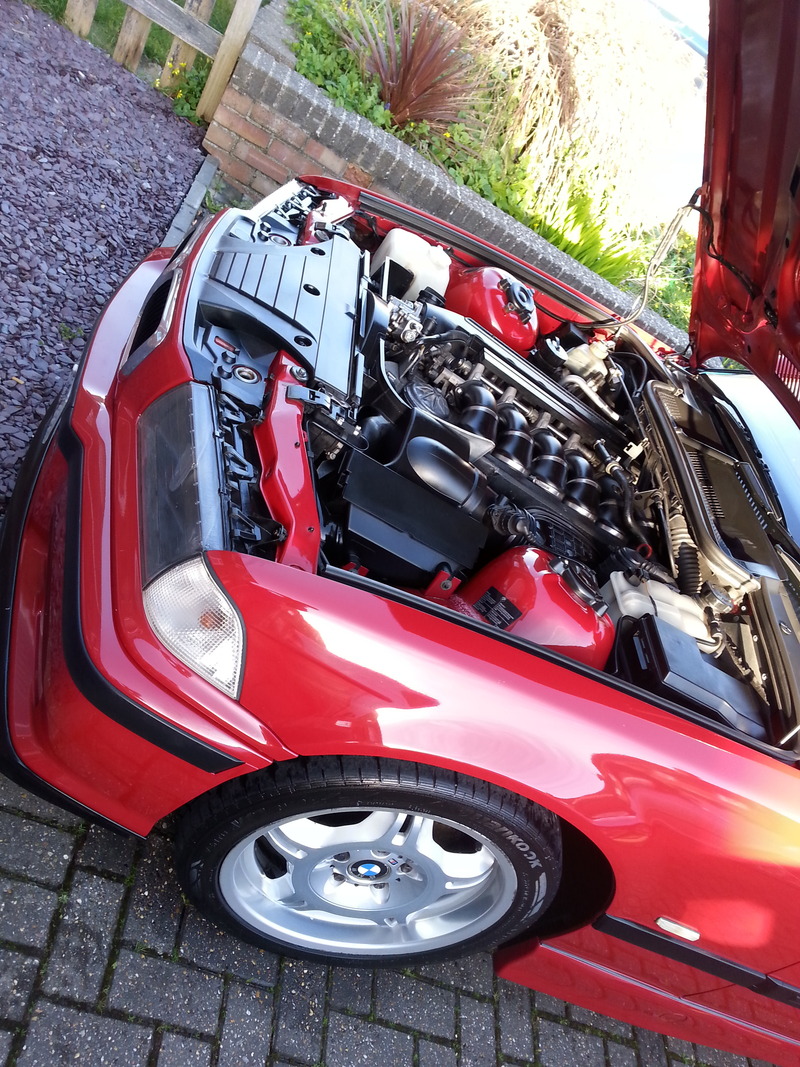
So air box out
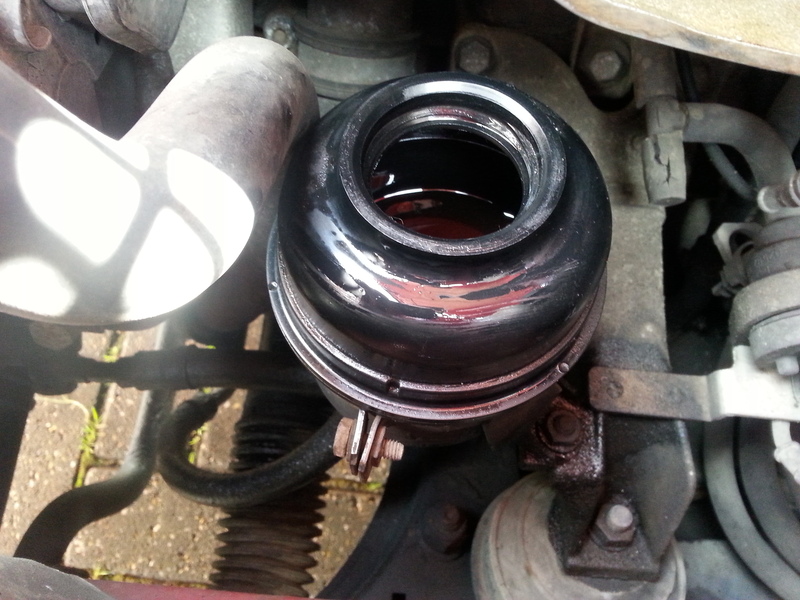
Cap off and the tank cleaned
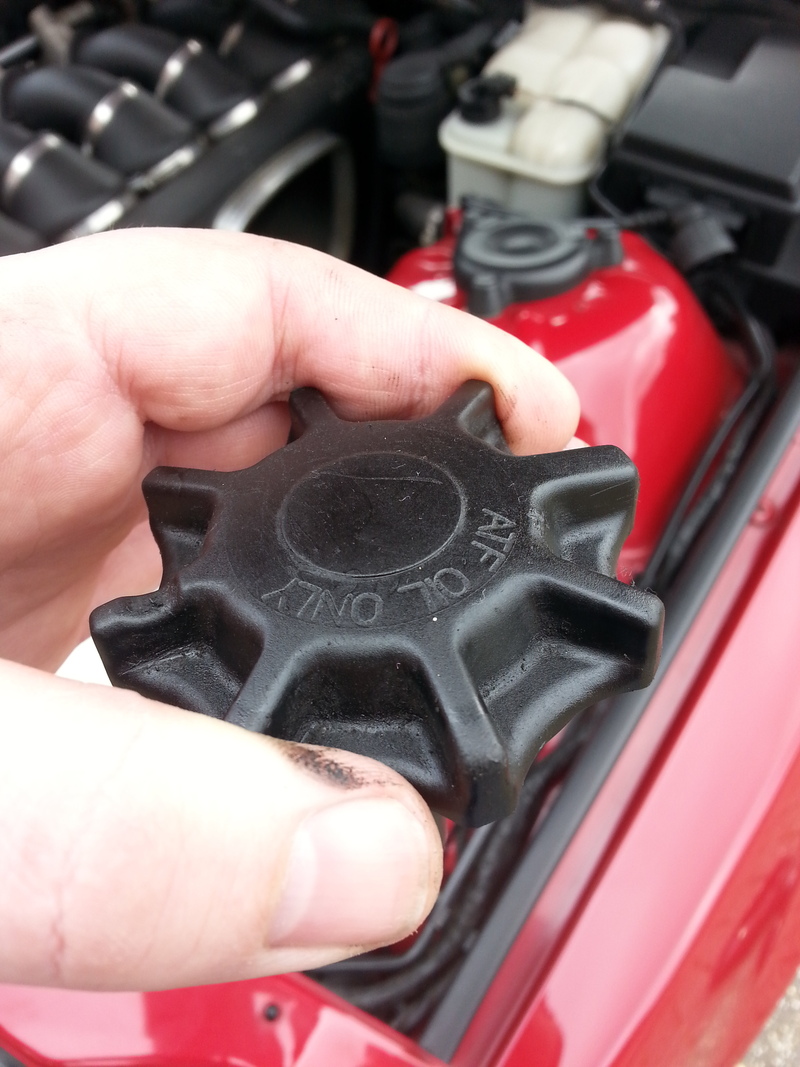
Cap cleaned
O ring replaced
Fluid topped up and cap back on
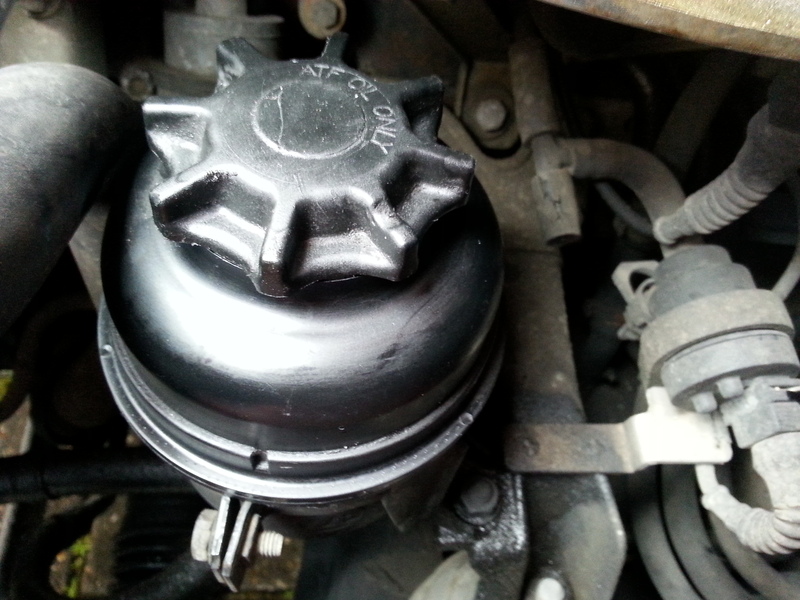
And all back together
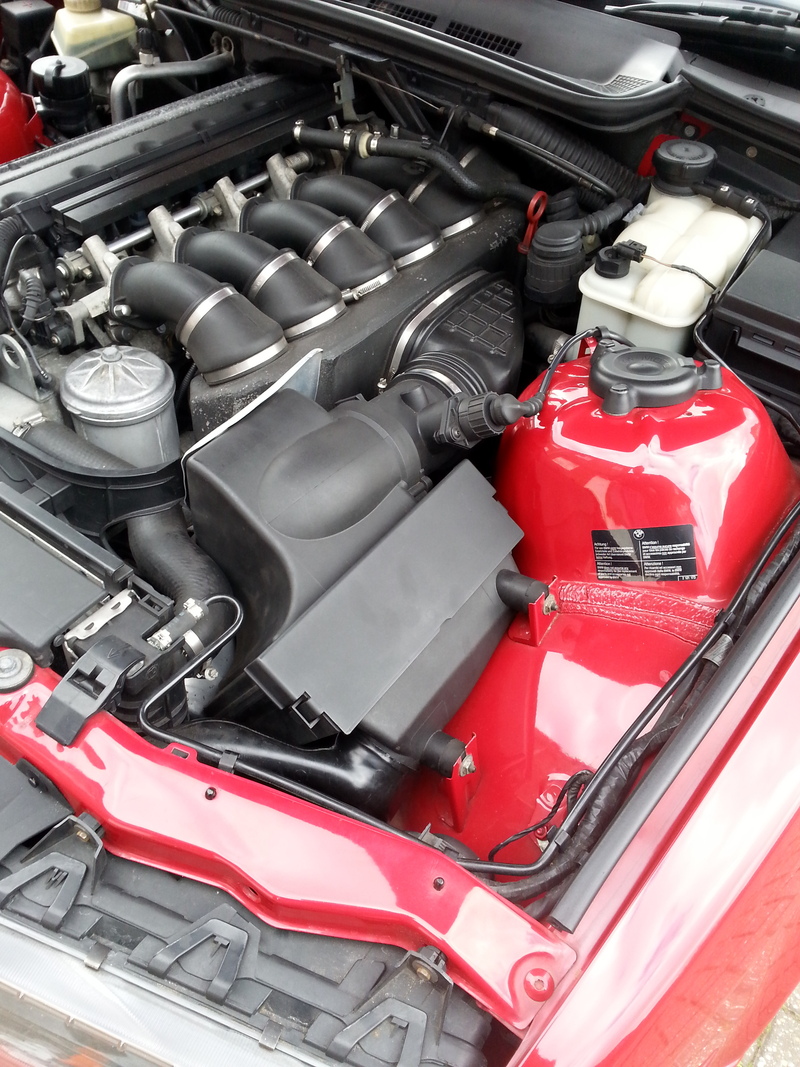
Power steering is now silent and no leaks. Car drove lovely again, goes like stink and so persist. Love it
Got the car out today as the weather was lovely. Had a man and car day. Ages ago I bought the o ring to fix the power steering leak I had. The power steering started making a noise where it was low so decided today was the day.
This is what I could see which annoyed me.

So air box out

Cap off and the tank cleaned

Cap cleaned

O ring replaced

Fluid topped up and cap back on

And all back together

Power steering is now silent and no leaks. Car drove lovely again, goes like stink and so persist. Love it
08-04-2015, 10:27 AM
#148
Advanced PassionFord User
Thread Starter
I pulled the old girl out today and decided to take her down to my local BMW Specialist and ask a couple questions.

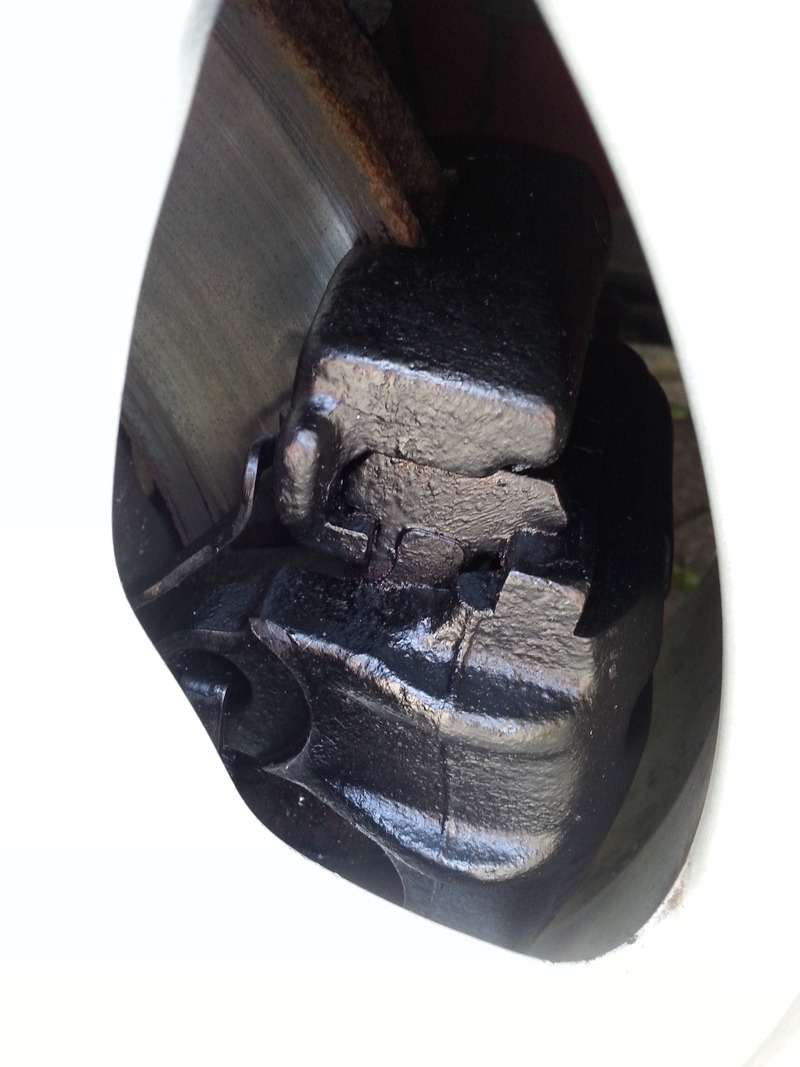
Says it all really.
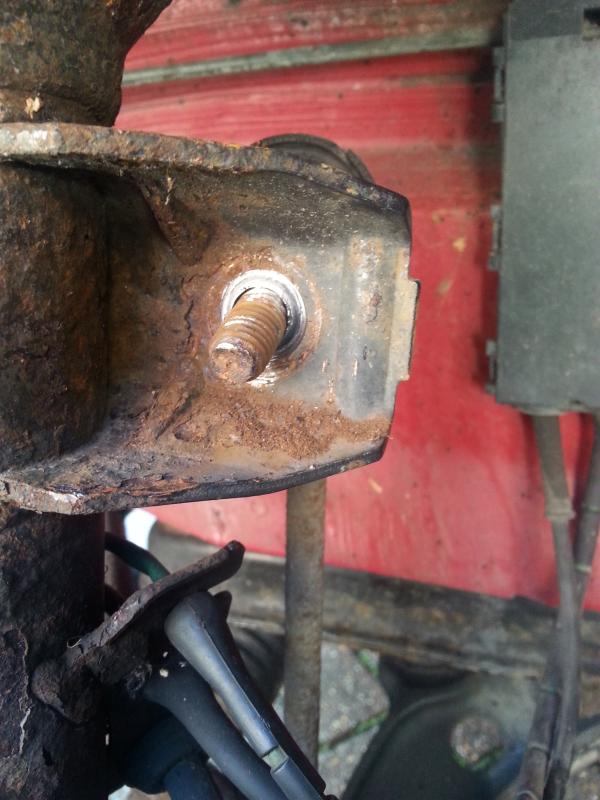
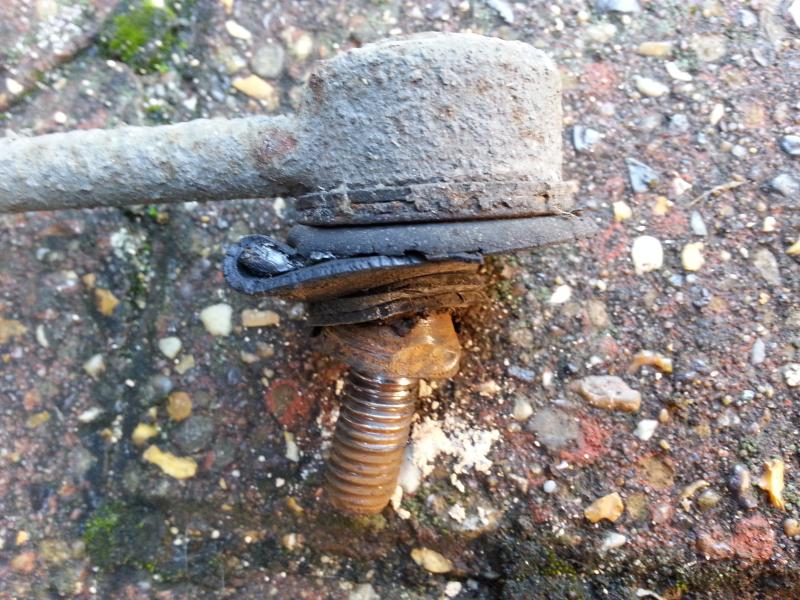
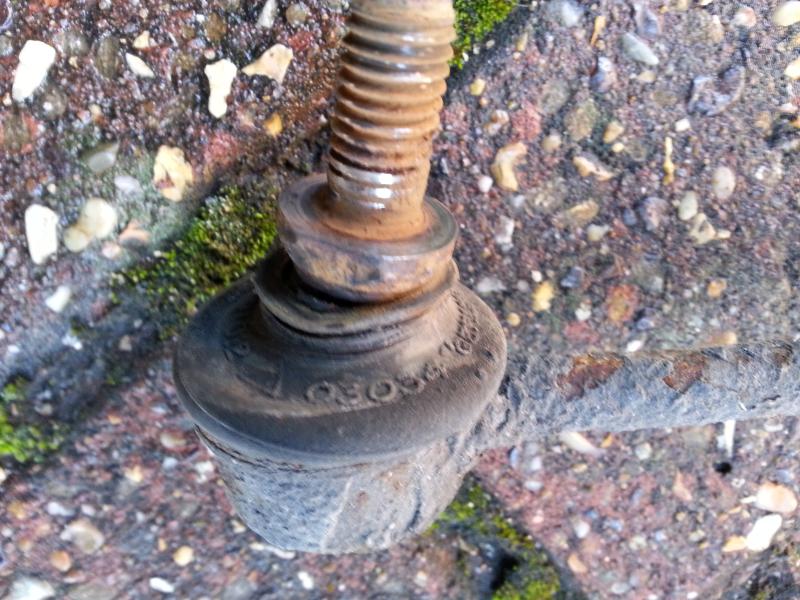
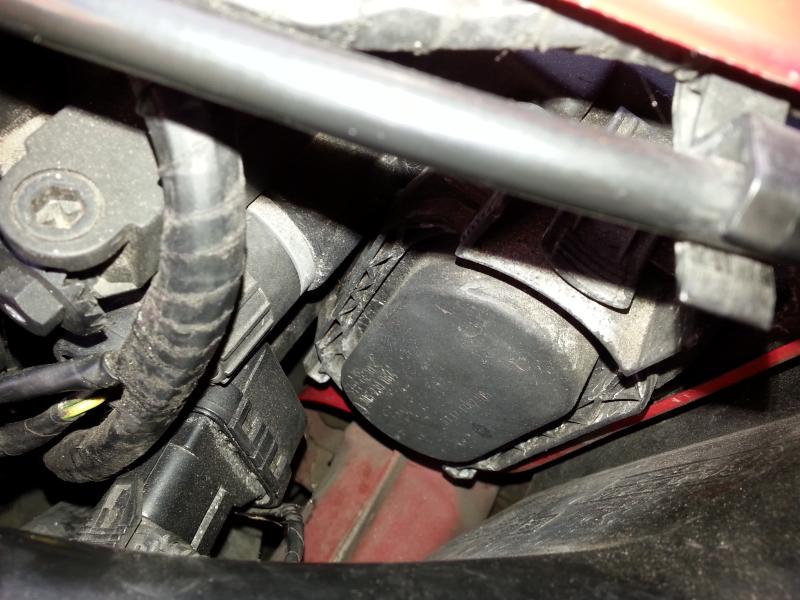
I have a weep from one of the vanos covers (left hand side when stood at the front of the engine) I have a sheared bolt on this cover as well which I looked at before (see above previous post)
After a good chat we decided to replace all seals and gaskets in the vanos which is costing around the �300 mark. The vanos is nice and quiet and was replaced with a brand new one in 2007 (�2500 from BMW just for the part) He also confirmed that back in the day BMW recalled the Evo for the bolts, he said the new bolts they supply should be uprated so we are going with all new BMW bolts and seals to keep it original.
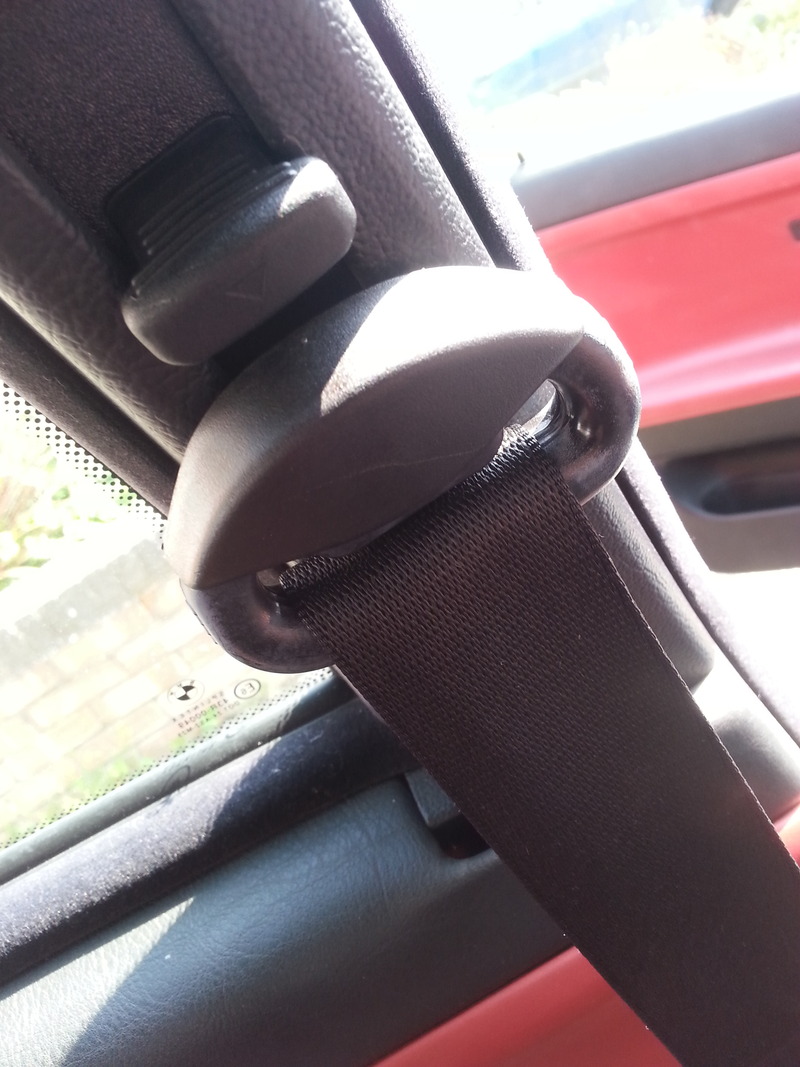
I have also ordered these items in
Locking door actuators (used and bought from a friend who breaks these cars, didnt fancy a hong kong version. And the covers for the top seat belt bolts. One of mine is missing and little things like this do my head in.
I have also ordered in a load of new interior fixing clips for the door cards and some Glipton leather conditioner.*
She is currently sat on the drive looking stunning! Took it for a quick blast to get her up to temps etc and love it.


Says it all really.
I have a weep from one of the vanos covers (left hand side when stood at the front of the engine) I have a sheared bolt on this cover as well which I looked at before (see above previous post)
After a good chat we decided to replace all seals and gaskets in the vanos which is costing around the �300 mark. The vanos is nice and quiet and was replaced with a brand new one in 2007 (�2500 from BMW just for the part) He also confirmed that back in the day BMW recalled the Evo for the bolts, he said the new bolts they supply should be uprated so we are going with all new BMW bolts and seals to keep it original.
I have also ordered these items in

Locking door actuators (used and bought from a friend who breaks these cars, didnt fancy a hong kong version. And the covers for the top seat belt bolts. One of mine is missing and little things like this do my head in.
I have also ordered in a load of new interior fixing clips for the door cards and some Glipton leather conditioner.*
She is currently sat on the drive looking stunning! Took it for a quick blast to get her up to temps etc and love it.
09-04-2015, 01:13 PM
#149
Advanced PassionFord User
Thread Starter
Central locking update
Two things were not working on my central locking, and passenger door and the boot.
The boot I tracked down to the wiring loom between the car and the boot.
And the passenger door was the lock actuator.
So this morning I stripped the tape off ai did as a quick fix and with a worried look on my face, cut all the cables in two. I stripped the cables as seen in this photo
I then slowly started soldering it all back in with the new heat shrink in place. Bloody fiddly and being colour blind didnt help but managed to get it all back togethere, tidy and more importantly working. A few pics of my progress
Next up was the passenger door actuator. I have ordered all new door trim clips as mine are broken, they have not arrived yet but couldn't be assed to wait so cracked on. Removed the door card and started fiddling with the actuator (already removed the old one)
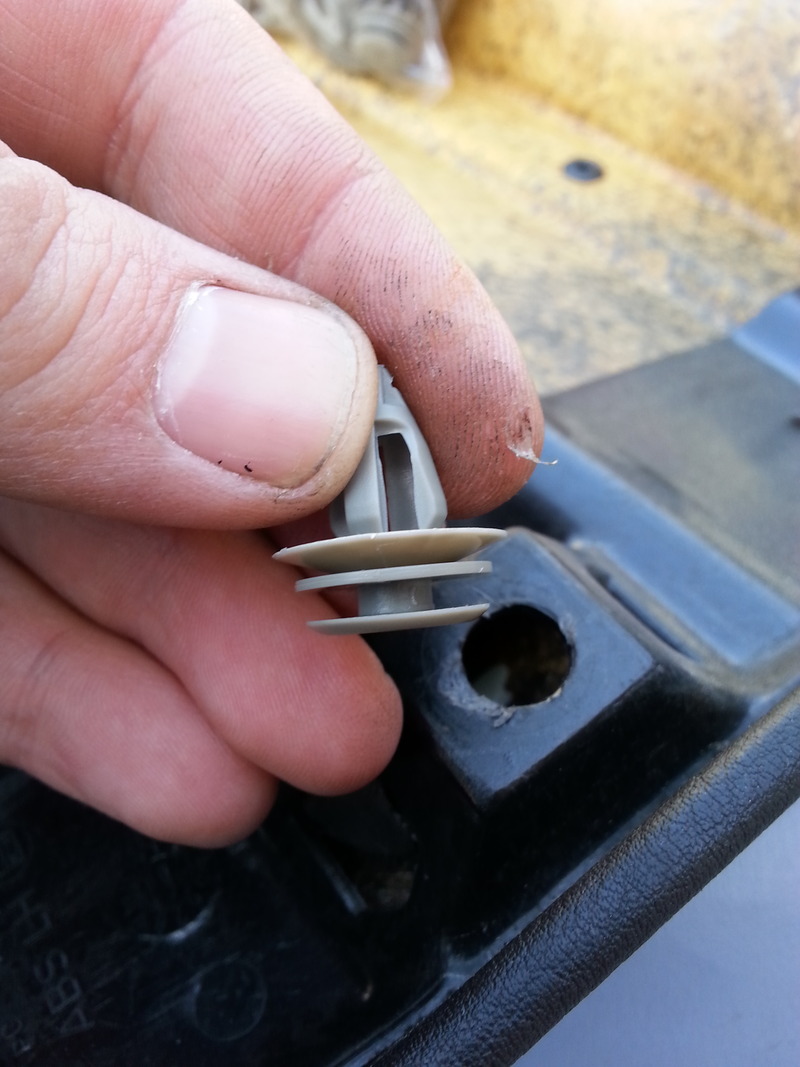
Now these are a complete pain in the ass, trying to look up through the door through a small gap and try to gauge and line up everything is near impossible. But I think I found the mistake we all make with them.
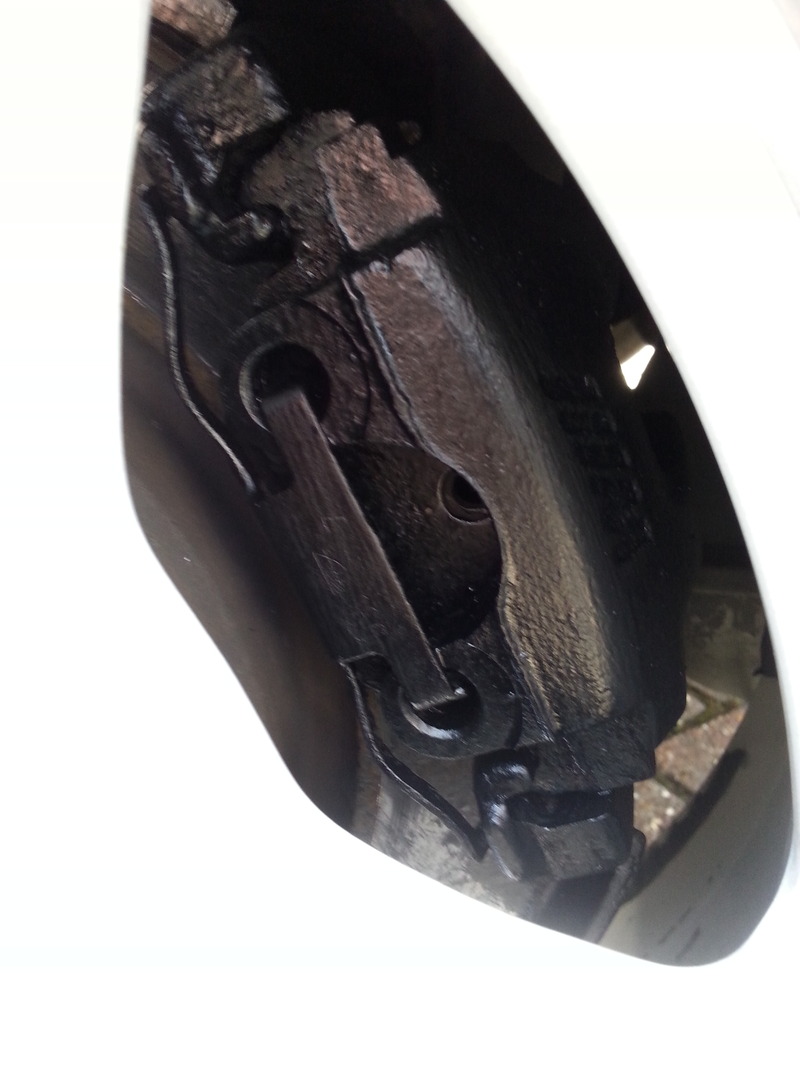
Have a look at this photo and I will explain
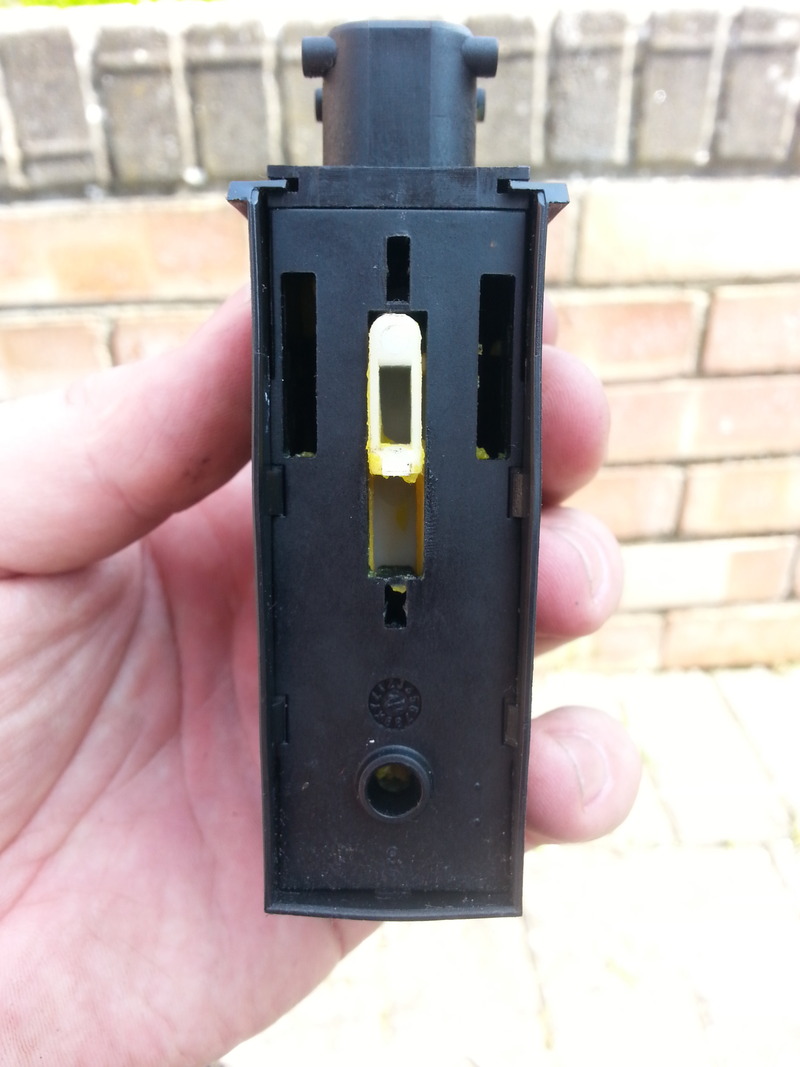
Now when you look on the underside of the actuator, and look through the door, it makes you think you have a clip in the door for each corner of the actuator, you don't. *I was working on my passenger door (RHD car) and it actually slips in the centre holes (near the part that moves) it only fixes on two points. Once I noticed this I clipped it in within seconds. I found it easier to do it without it being plugged in.
If I had known that, it would of took longer getting the door card off than fitting the actuator.
A few pics of it coming out ans going in.
I also fitted this, it is the little things that make a difference. It was there but has gone walkies so got another set in.
I have an alarm question. I have the two button alarm (Red and Grey button type) it was working fine, then all of a sudden, nothing. I get a light on the fob when I press the buttons but nothing from the car. Any ideas? Could my fob battery be on its last legs and causing this? I took the fob a part and it looks ok. The batterys are really old style (never seen them before)
Has anyone had this?
Cheers all
Mark
Two things were not working on my central locking, and passenger door and the boot.
The boot I tracked down to the wiring loom between the car and the boot.
And the passenger door was the lock actuator.
So this morning I stripped the tape off ai did as a quick fix and with a worried look on my face, cut all the cables in two. I stripped the cables as seen in this photo

I then slowly started soldering it all back in with the new heat shrink in place. Bloody fiddly and being colour blind didnt help but managed to get it all back togethere, tidy and more importantly working. A few pics of my progress


Next up was the passenger door actuator. I have ordered all new door trim clips as mine are broken, they have not arrived yet but couldn't be assed to wait so cracked on. Removed the door card and started fiddling with the actuator (already removed the old one)
Now these are a complete pain in the ass, trying to look up through the door through a small gap and try to gauge and line up everything is near impossible. But I think I found the mistake we all make with them.
Have a look at this photo and I will explain

Now when you look on the underside of the actuator, and look through the door, it makes you think you have a clip in the door for each corner of the actuator, you don't. *I was working on my passenger door (RHD car) and it actually slips in the centre holes (near the part that moves) it only fixes on two points. Once I noticed this I clipped it in within seconds. I found it easier to do it without it being plugged in.
If I had known that, it would of took longer getting the door card off than fitting the actuator.
A few pics of it coming out ans going in.


I also fitted this, it is the little things that make a difference. It was there but has gone walkies so got another set in.

I have an alarm question. I have the two button alarm (Red and Grey button type) it was working fine, then all of a sudden, nothing. I get a light on the fob when I press the buttons but nothing from the car. Any ideas? Could my fob battery be on its last legs and causing this? I took the fob a part and it looks ok. The batterys are really old style (never seen them before)
Has anyone had this?
Cheers all
Mark
10-04-2015, 02:23 PM
#150
Advanced PassionFord User
Thread Starter
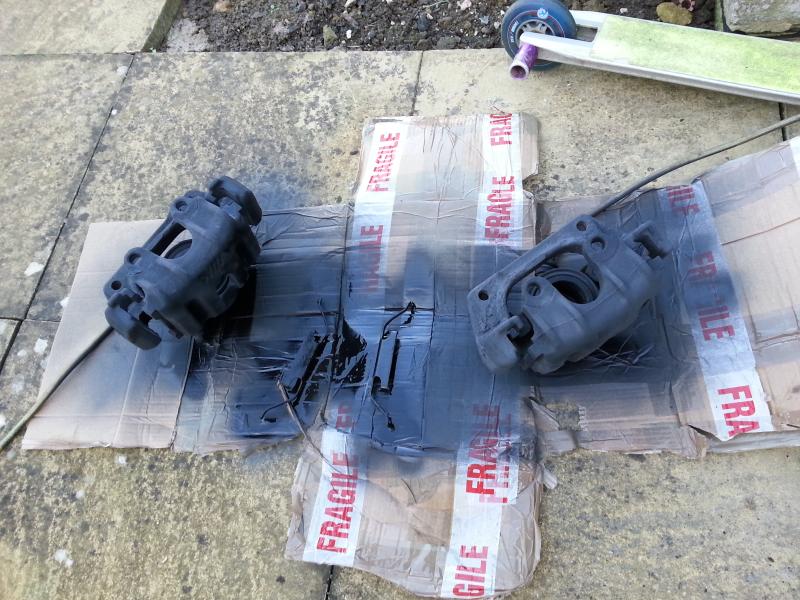
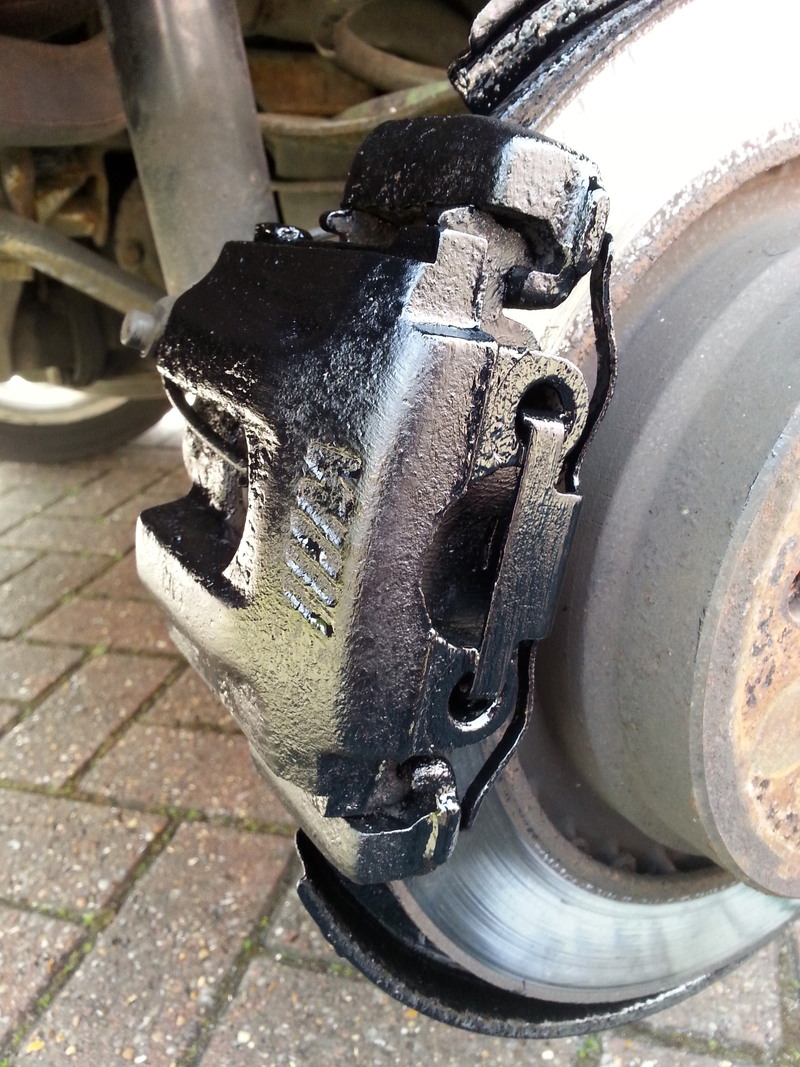
Update, brake caliper paint.
So a while ago I had to replace the front calipers as they had seized. I bought some good second hand items and got them fitted with braided hoses and new fluid.
Sadly, one was red and the other was black. Not my cup of tea
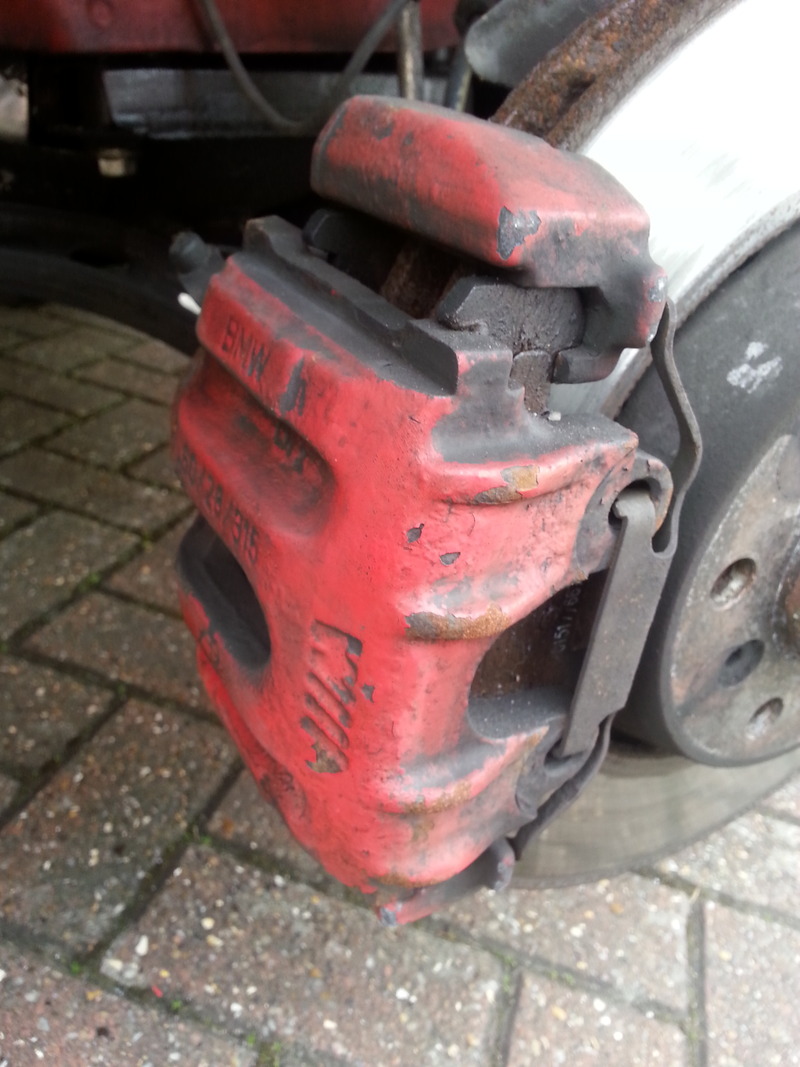
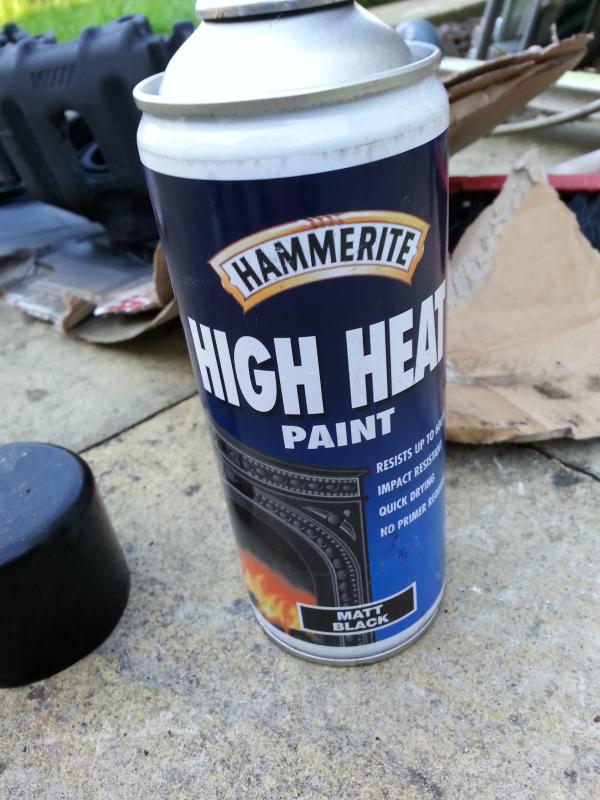
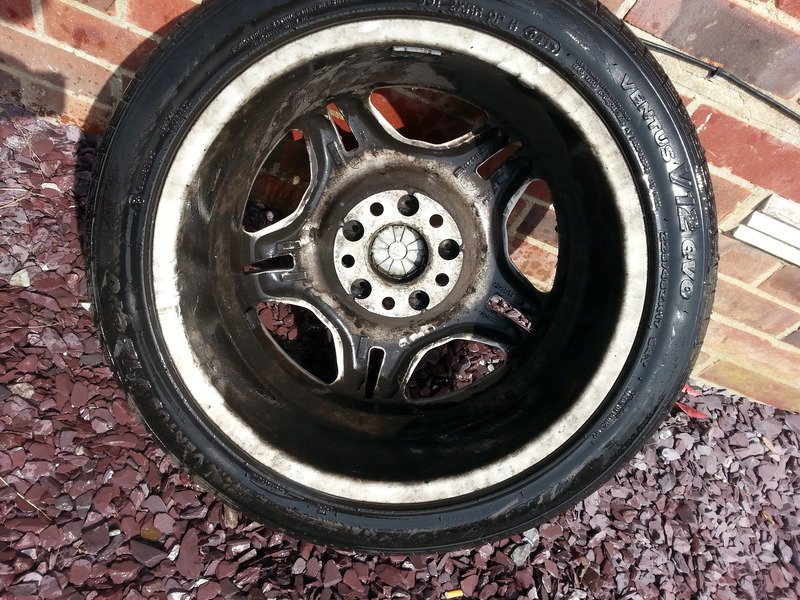
So today was alloys off and some nice satin black hamarite high temp paint to freshen the calipers up.
A few photos of the process, decided to clean the backs of the wheels out as well while they was off


And my interior clips have arrived so will get that door card sorted. She is filthy now on the outside (dust) waiting for the sun to go away so I can give her a bath
So a while ago I had to replace the front calipers as they had seized. I bought some good second hand items and got them fitted with braided hoses and new fluid.
Sadly, one was red and the other was black. Not my cup of tea

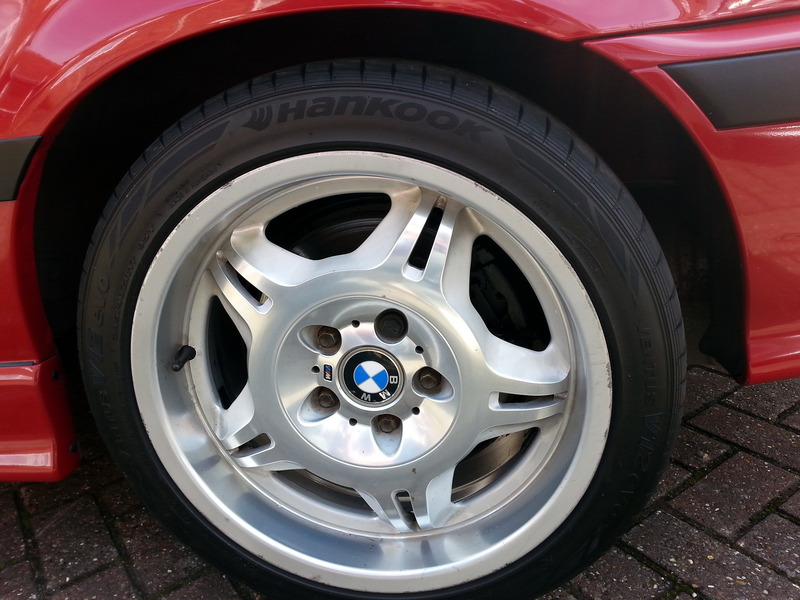
So today was alloys off and some nice satin black hamarite high temp paint to freshen the calipers up.
A few photos of the process, decided to clean the backs of the wheels out as well while they was off


And my interior clips have arrived so will get that door card sorted. She is filthy now on the outside (dust) waiting for the sun to go away so I can give her a bath
12-04-2015, 04:56 PM
#151
Advanced PassionFord User
Thread Starter
Update; Cleaned, polished, waxed, door card repaired, leather conditioned.
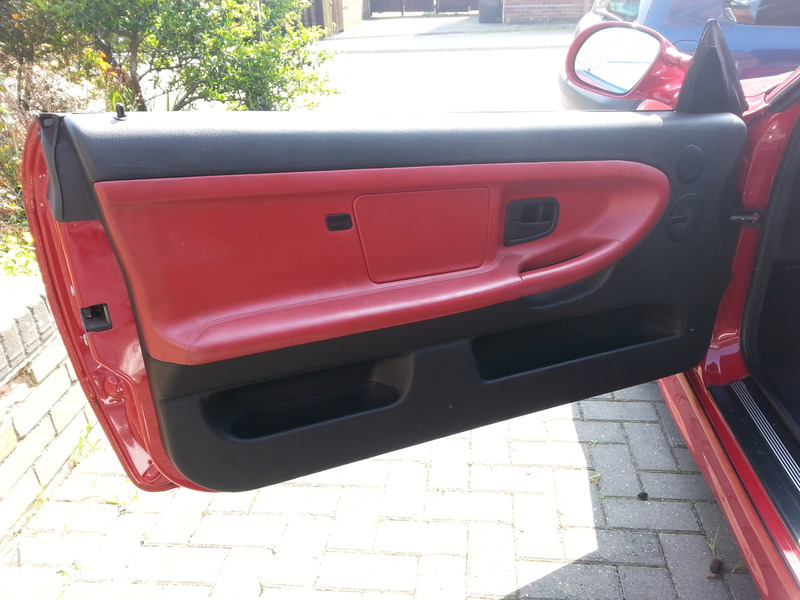
As mentioned above, my door card clips had broken, it was also coming off at thr top which you can see in these photos
So, removed the door card
Got the glue out
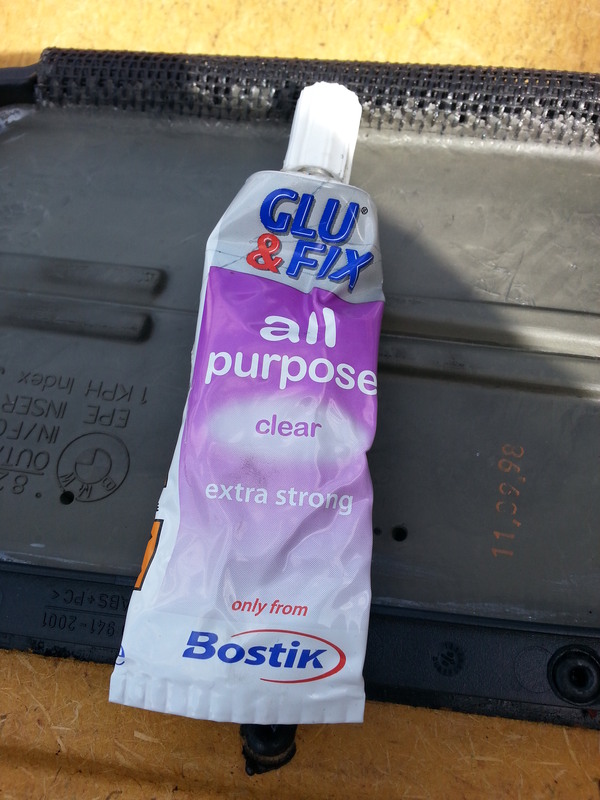
And stuck it down, taped it in place too
Let that go off while I was replacing the clips, got these off ebay
I had to modify them a bit as they was never going on the door card
Got them all on

Removed the tape and replaced the door card. Much better, no more rattles.
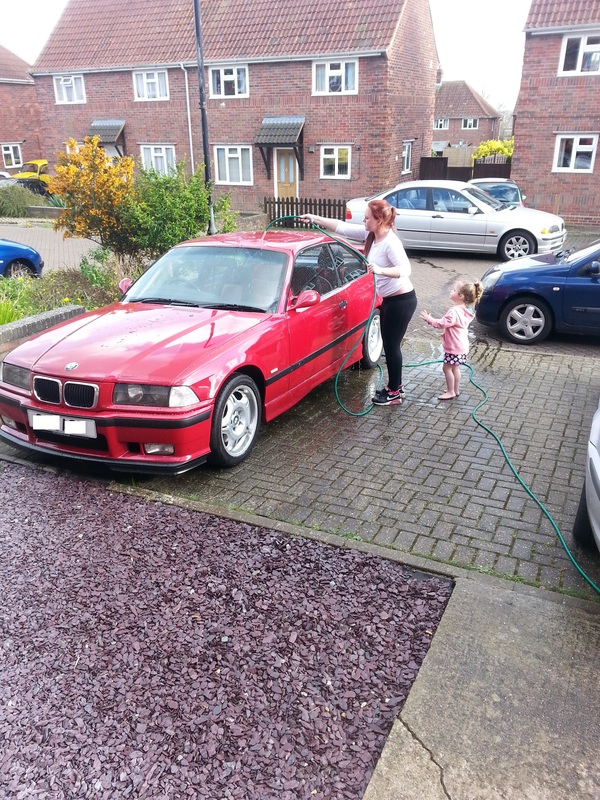
Next up was a clean, it has not veen used much so not road grim, just lots of dust. Got some helpers too, well they got the car wet for me ha
So cleaned it down, polished and waxed with my failthful
A couple during and after
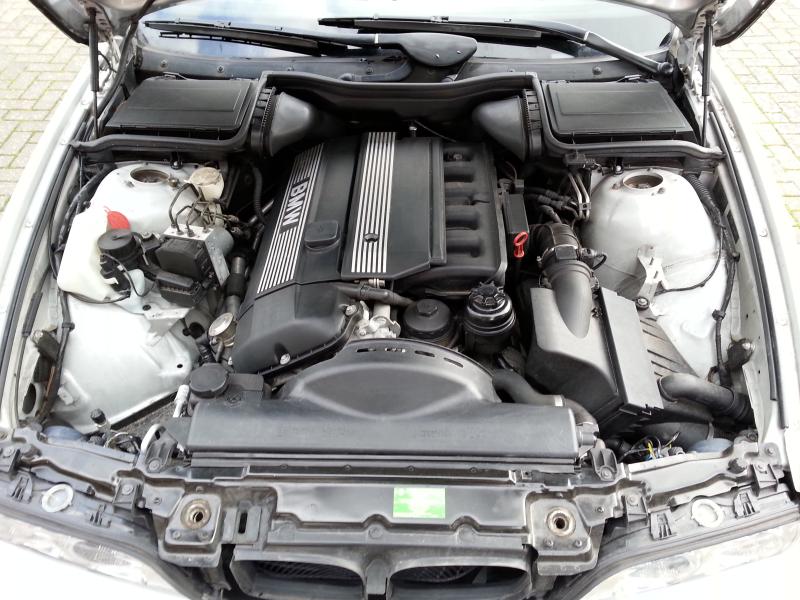
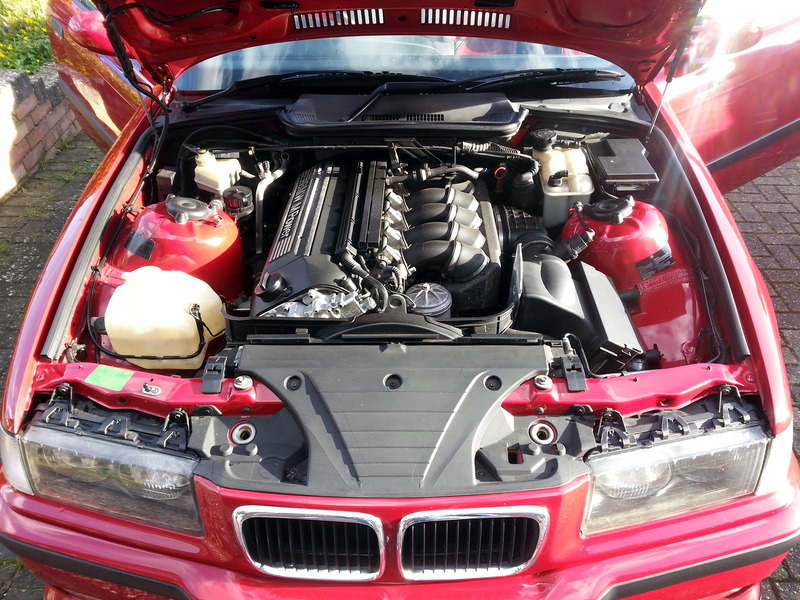
Next up was the engine bay
Before
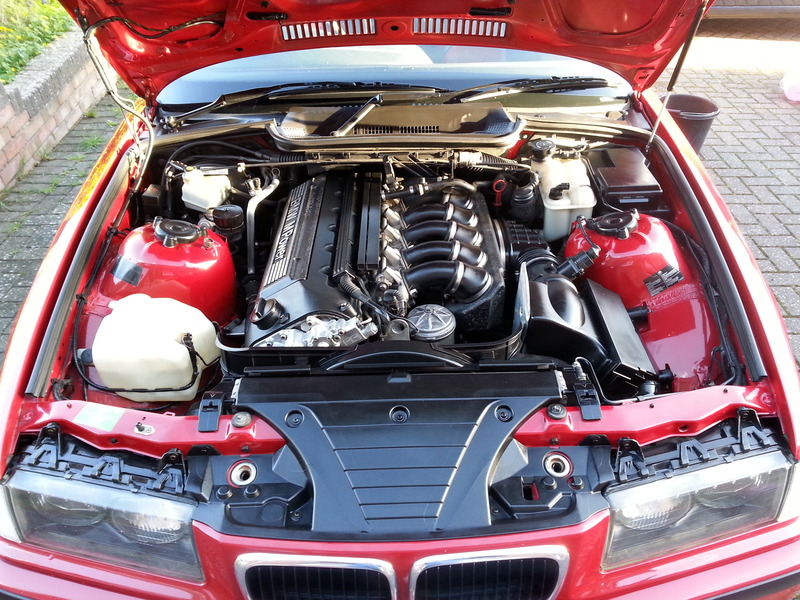
After
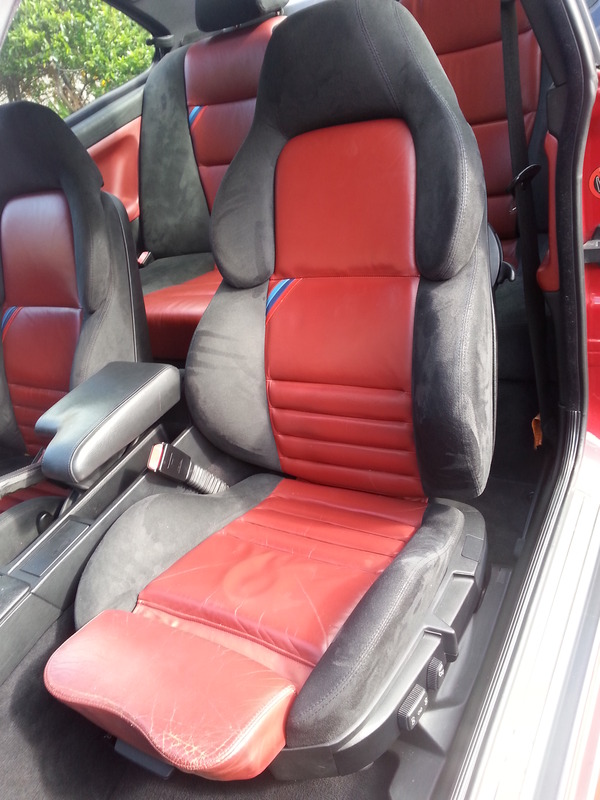
Next up was the leather. I use Glipton leather cleaner and conditioner, great stuff
Before
After
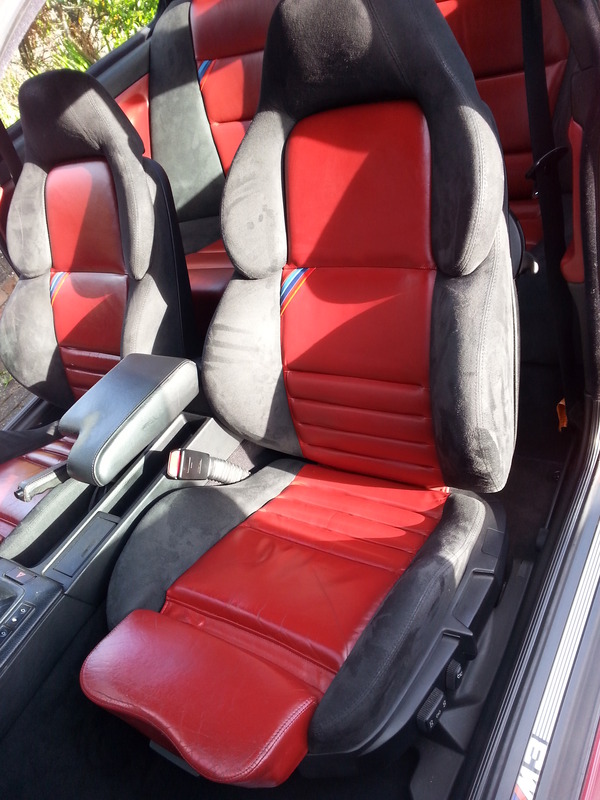
I really slapped the conditioner on, put about three coats on. I recommend this to anyone with leather, makes it smell new and grips you in the seat. It also looks much better too
Still need to find a fix for my glovebox
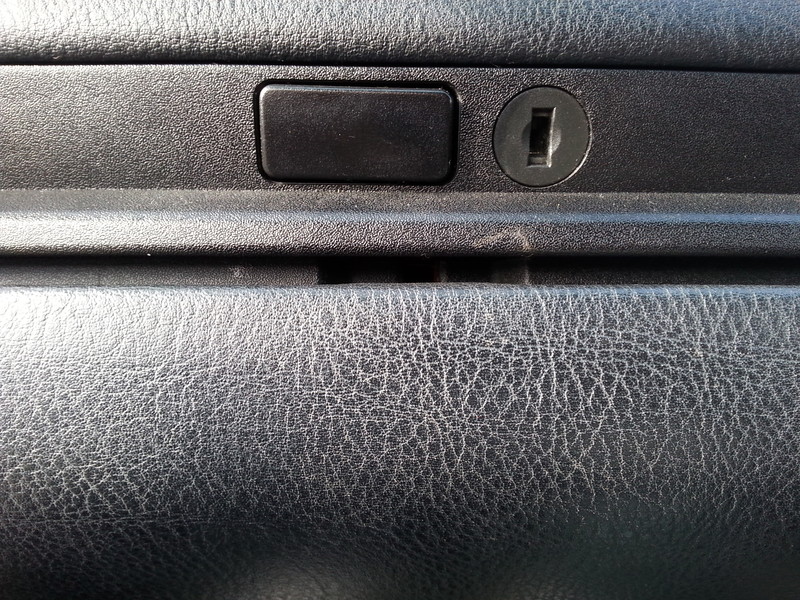
Any ideas?
And just some snaps of the car after the work/clean and some with my daily runaround which I will post shortly
At my specialist getting booked in
As mentioned above, my door card clips had broken, it was also coming off at thr top which you can see in these photos

So, removed the door card

Got the glue out

And stuck it down, taped it in place too

Let that go off while I was replacing the clips, got these off ebay

I had to modify them a bit as they was never going on the door card

Got them all on

Removed the tape and replaced the door card. Much better, no more rattles.
Next up was a clean, it has not veen used much so not road grim, just lots of dust. Got some helpers too, well they got the car wet for me ha

So cleaned it down, polished and waxed with my failthful

A couple during and after


Next up was the engine bay
Before

After

Next up was the leather. I use Glipton leather cleaner and conditioner, great stuff
Before

After

I really slapped the conditioner on, put about three coats on. I recommend this to anyone with leather, makes it smell new and grips you in the seat. It also looks much better too
Still need to find a fix for my glovebox


Any ideas?
And just some snaps of the car after the work/clean and some with my daily runaround which I will post shortly


At my specialist getting booked in


 17-04-2015, 08:35 PM
#152
Regular Contributor
Love the car, been looking at just normal 3.0ltr's an evo's lately before they follow e30 prices. Do you mind if i ask where you found the car or had you known of it for awhile?
Love the attention to detail as well. When it's your own car there the things that seem glaringly obvious to you but if you ask someone else they'll wonder what your looking at!lol
Sorry if you've already posted it but what products did you use to detail the engine bay? I've got G101 etc but was wondering if you used a specific degreaser and also what you put on the plastics and if it's lasting well. Thanks
27-04-2015, 01:30 PM
#153
I've found that life I needed.. It's HERE!!

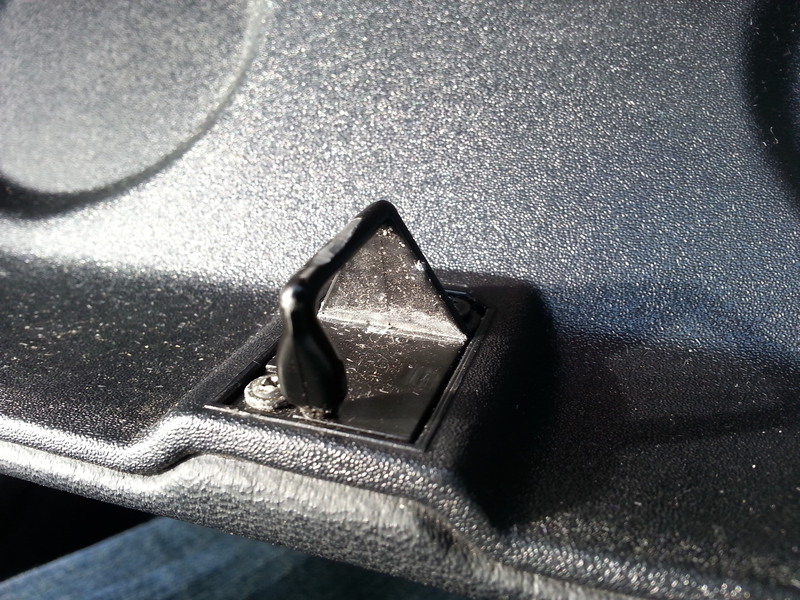
Idea for the glove box.. Assume it's just the gap thats the issue once it's closed..
what about taking the fitting off the door and carefully knocking the top bar down into a slight V shape (assuming it's metal) using a cold chisel or something and that should lift the door up by the amount you've bent the bar down. Effectively shortening the height of the latch part..
or you could wrap something round the latch part on the door increasing the diameter of the top bar but that will make it bigger all round, not just where you need it, so might cause issues with it fitting into the catch..
or easier still, a couple of velcro pads on the top corners but I guess that would not really cut it as a fix and would be annoying every rime you opened it with a rrrrriipppppp...
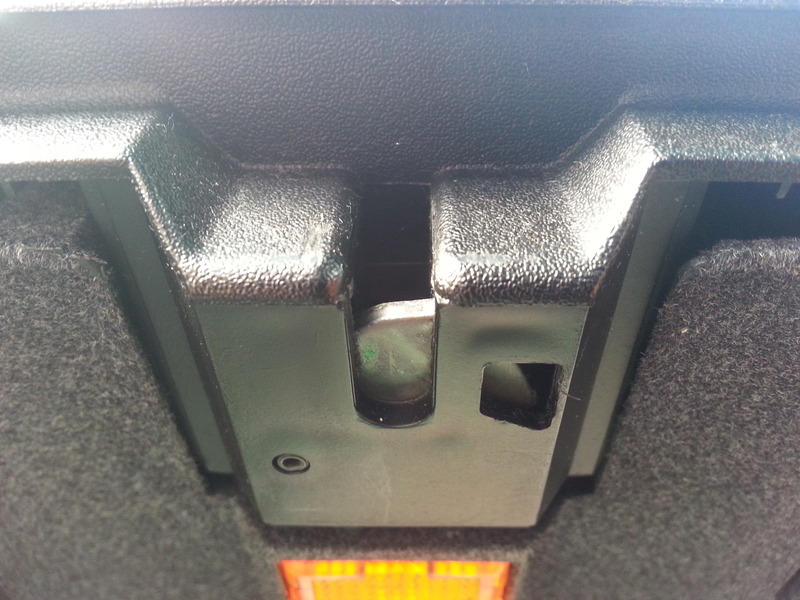
Something has obviously dropped and if its the catch in the dashboard that could be harder to 'fix'
2p
what about taking the fitting off the door and carefully knocking the top bar down into a slight V shape (assuming it's metal) using a cold chisel or something and that should lift the door up by the amount you've bent the bar down. Effectively shortening the height of the latch part..
or you could wrap something round the latch part on the door increasing the diameter of the top bar but that will make it bigger all round, not just where you need it, so might cause issues with it fitting into the catch..
or easier still, a couple of velcro pads on the top corners but I guess that would not really cut it as a fix and would be annoying every rime you opened it with a rrrrriipppppp...
Something has obviously dropped and if its the catch in the dashboard that could be harder to 'fix'
2p
Last edited by Farmer Giles; 27-04-2015 at 01:58 PM.
31-05-2015, 06:49 PM
#154
Advanced PassionFord User
Thread Starter
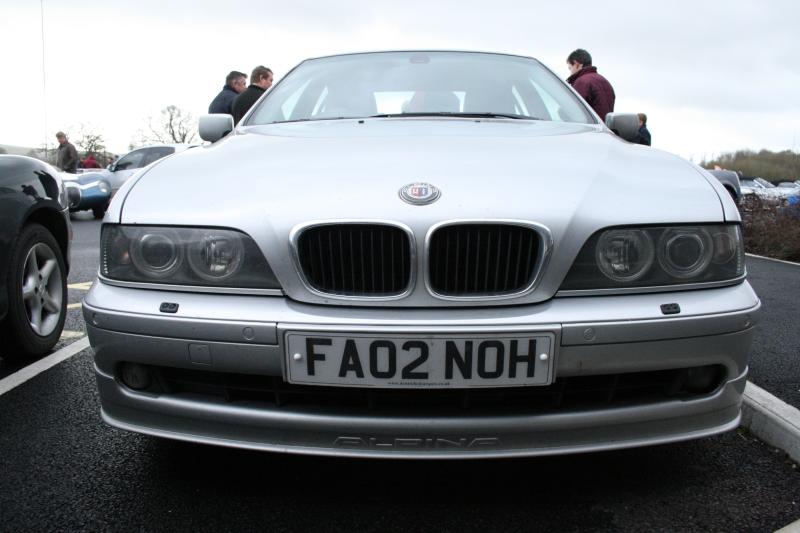
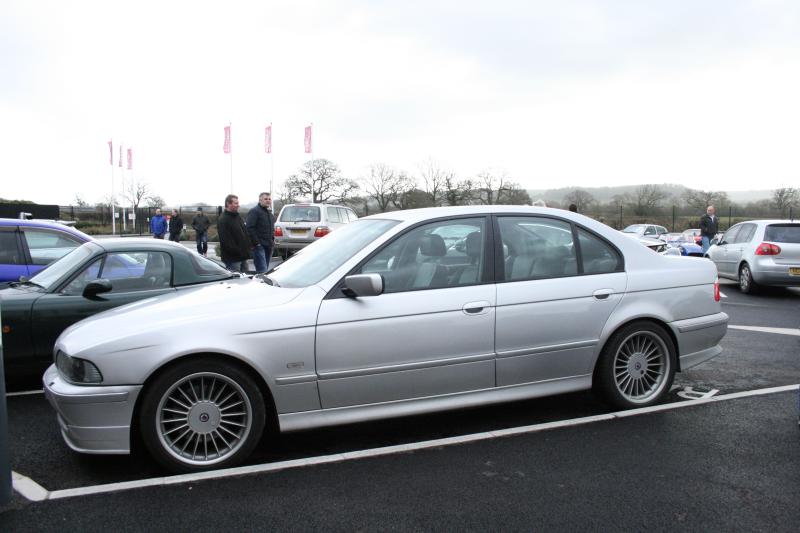
Upgraded my daily driver to this.

It belonged to a Premier League football player so the spec is pretty impressive.
Freeview/Digital TV
Bluetooth
Xenons
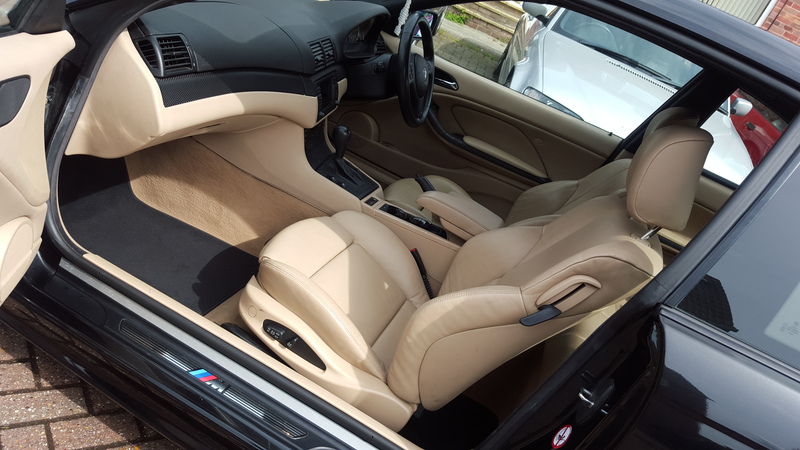
Electric memory Leather seats
Professional Sat Nav
Tyre pressure warning system.*
Auto lights
Auto wipers
Folding mirrors
Folding rear seats
Isofix
And so on...
I still have the M3 but not spent much time with it recently.


It belonged to a Premier League football player so the spec is pretty impressive.
Freeview/Digital TV
Bluetooth
Xenons
Electric memory Leather seats
Professional Sat Nav
Tyre pressure warning system.*
Auto lights
Auto wipers
Folding mirrors
Folding rear seats
Isofix
And so on...
I still have the M3 but not spent much time with it recently.
06-06-2015, 05:10 PM
#155
Advanced PassionFord User
Thread Starter
My agreed valuation has finally been sorted. I can breath a sigh of relieve and not worry so much.
Very easy to setup as well with these guys
Very easy to setup as well with these guys
 14-06-2015, 07:48 AM
#156
Advanced PassionFord User
Thread Starter
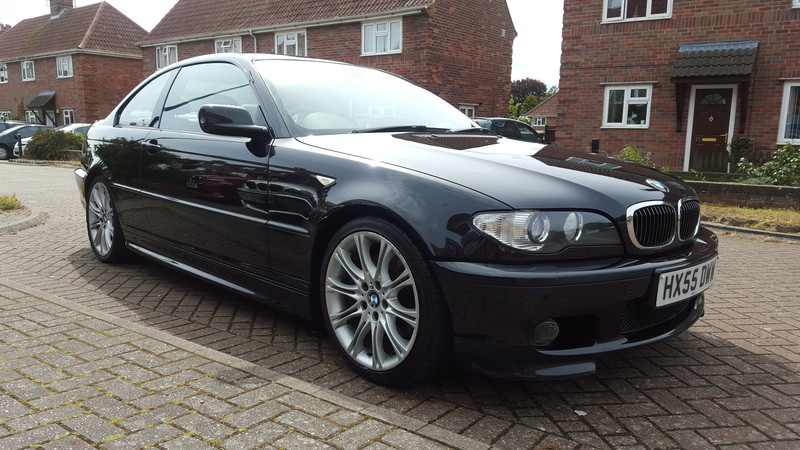
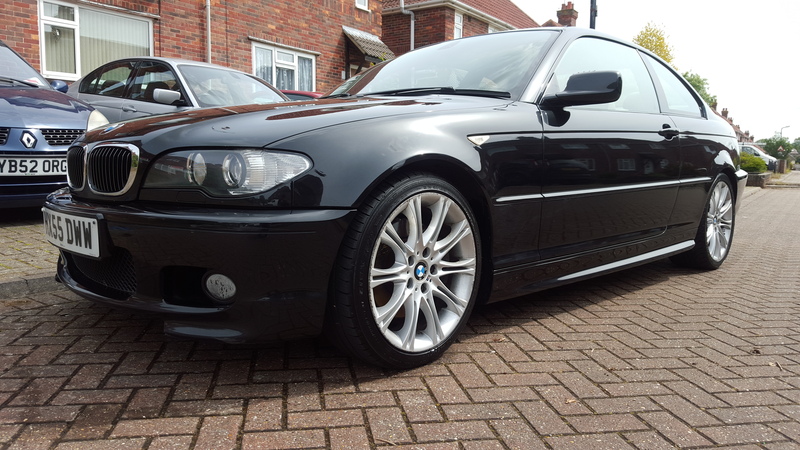
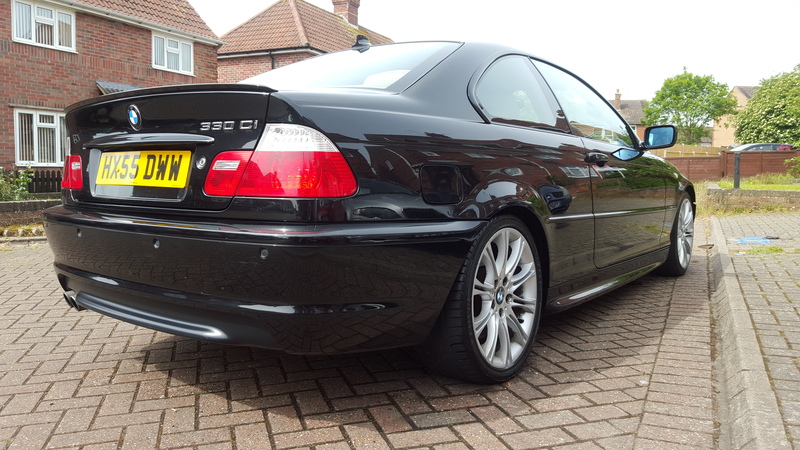
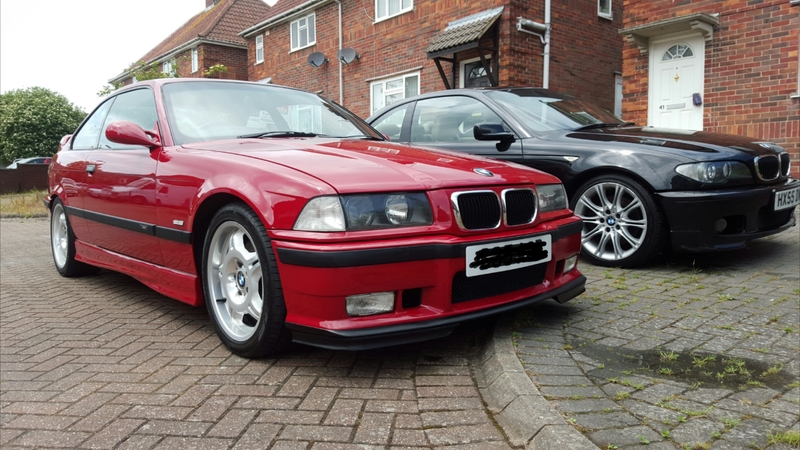
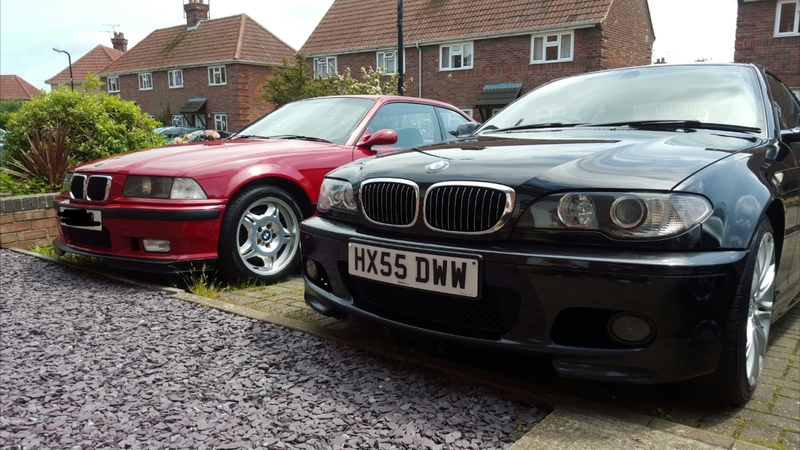
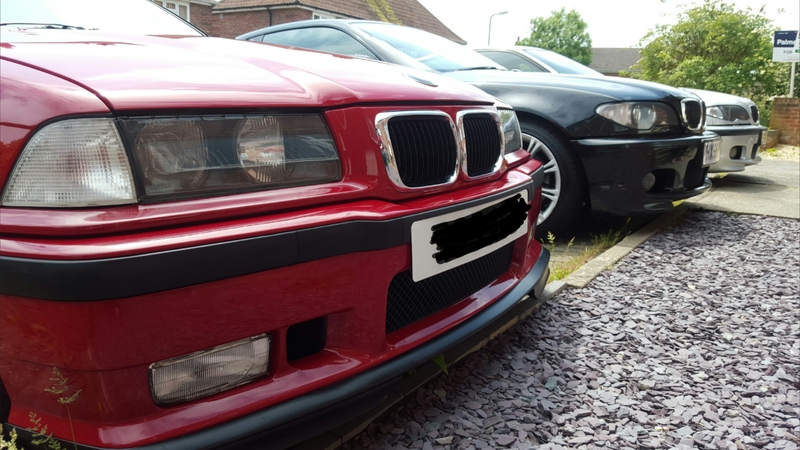
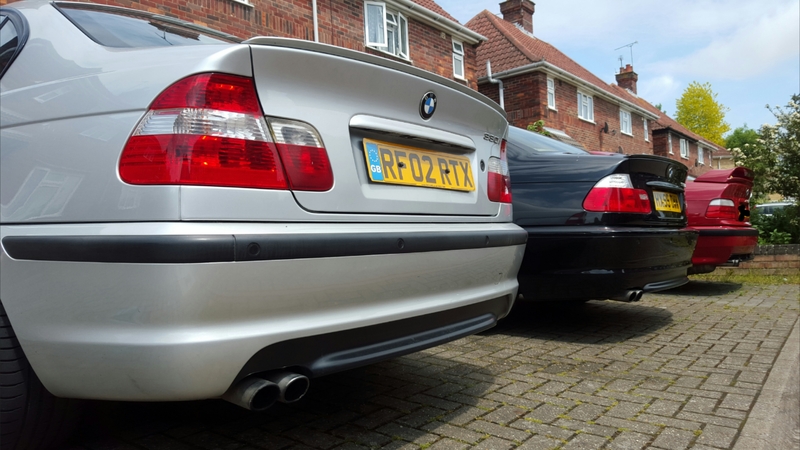
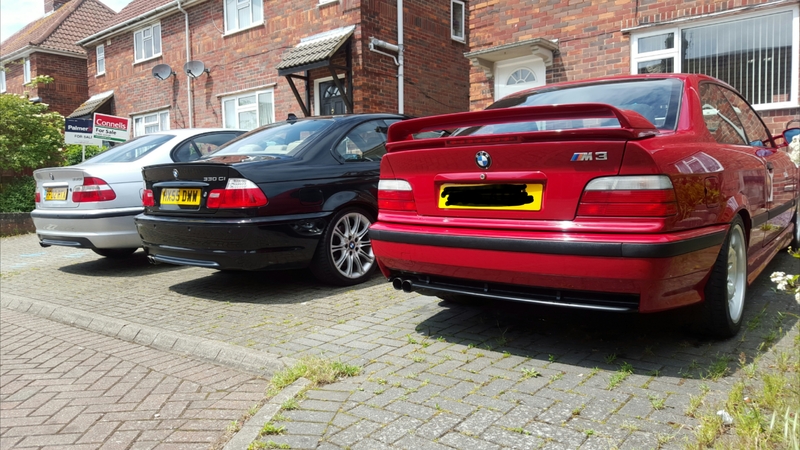
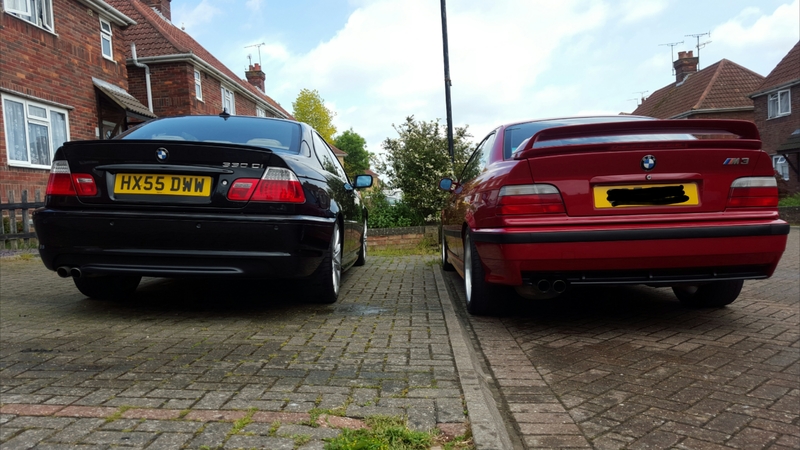
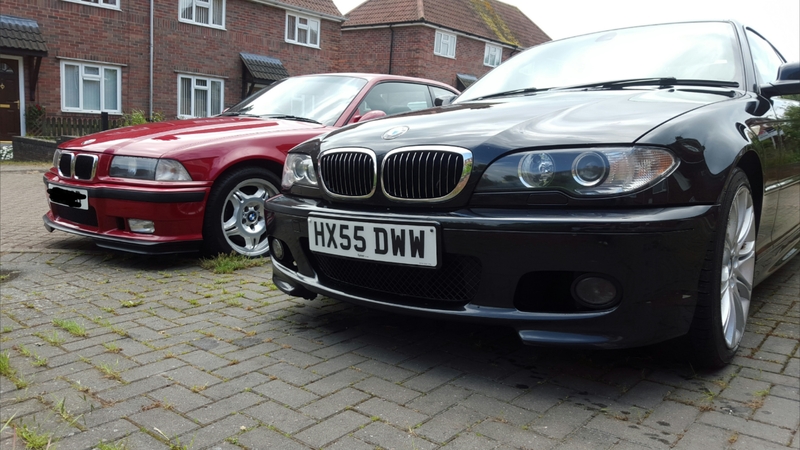
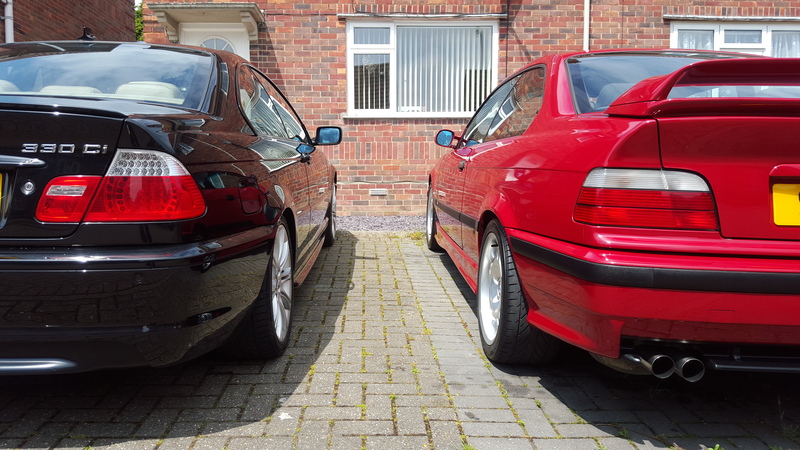
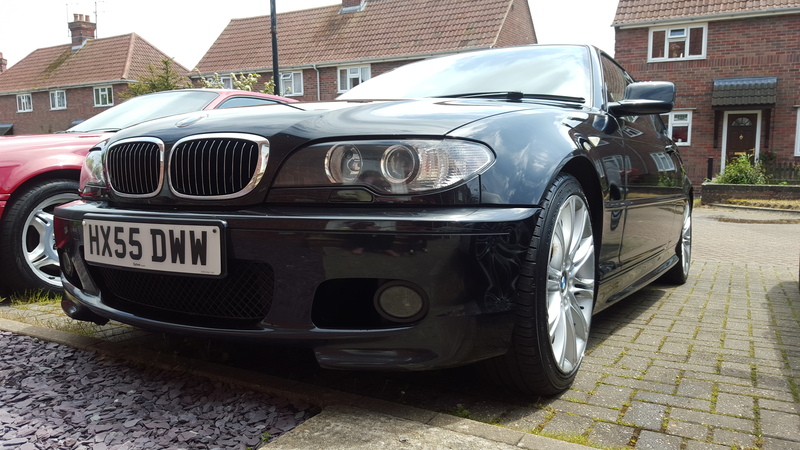
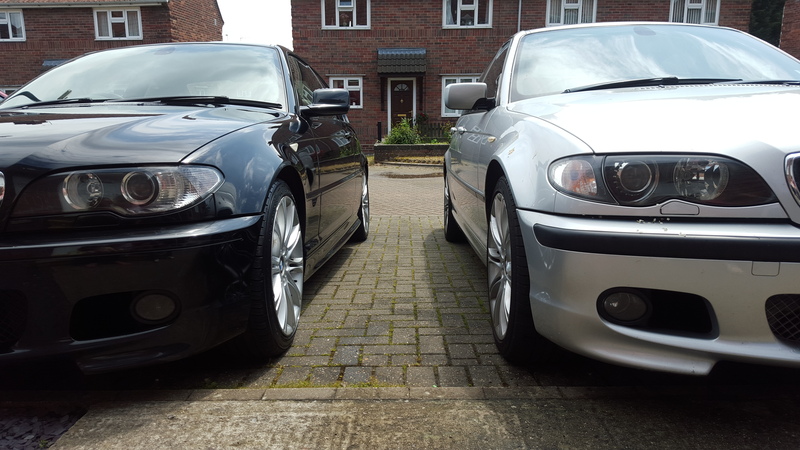
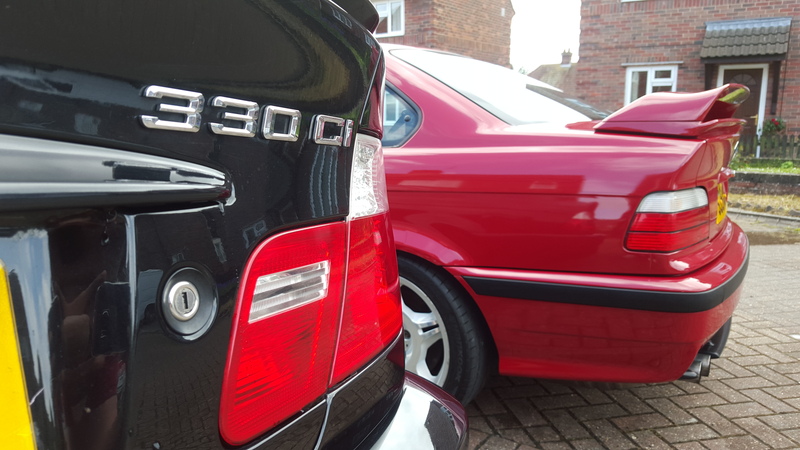
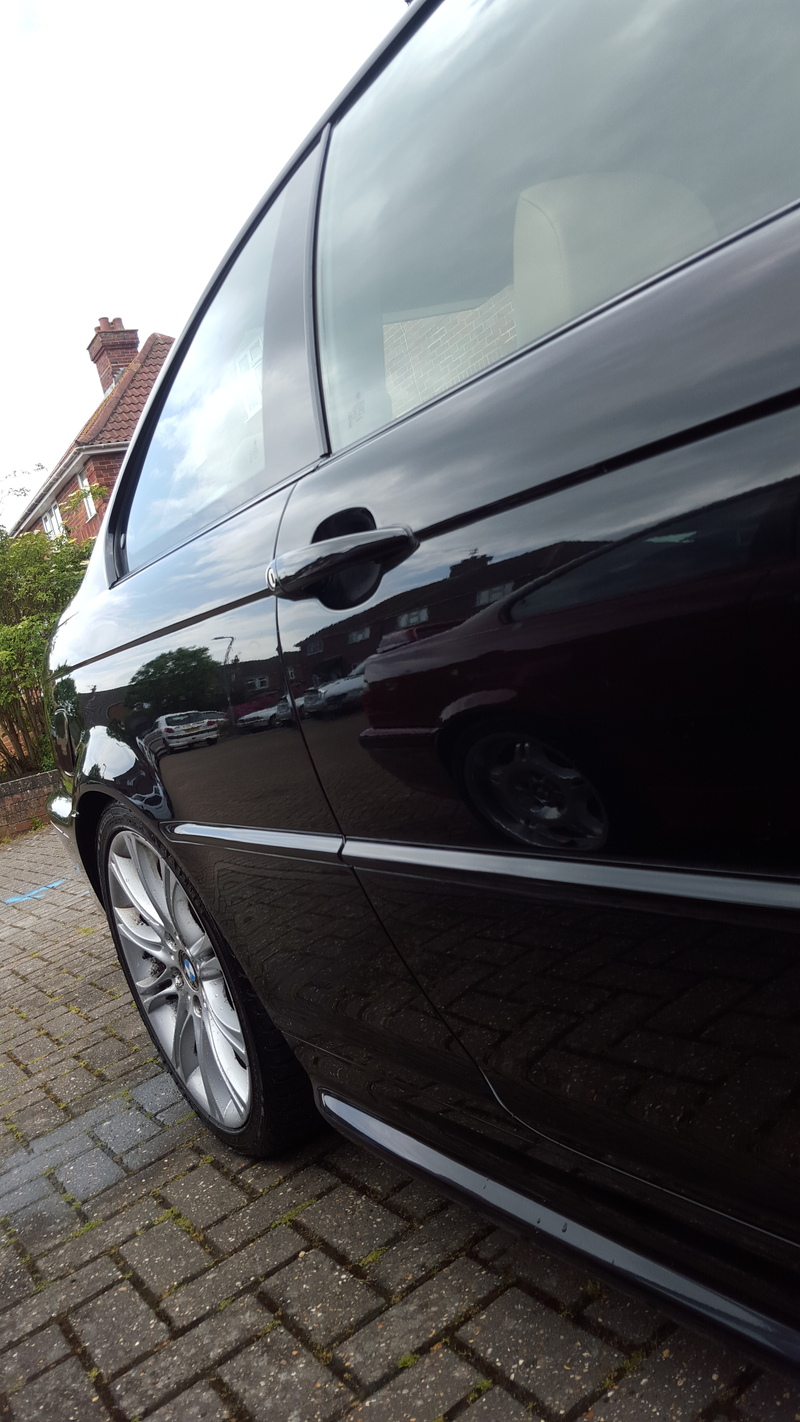
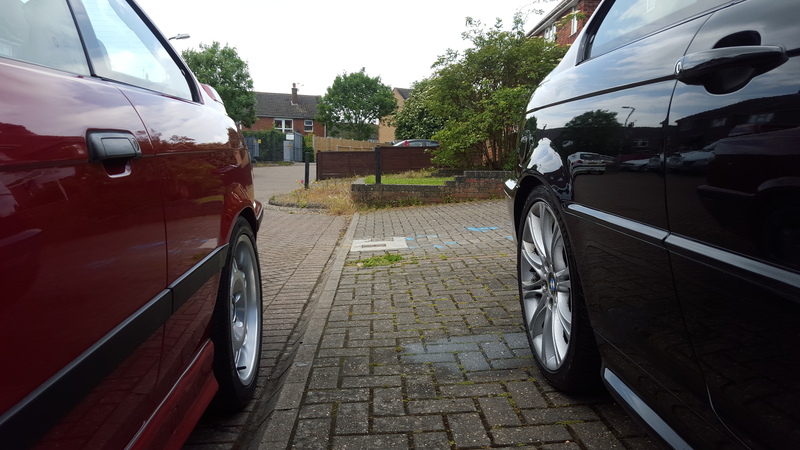
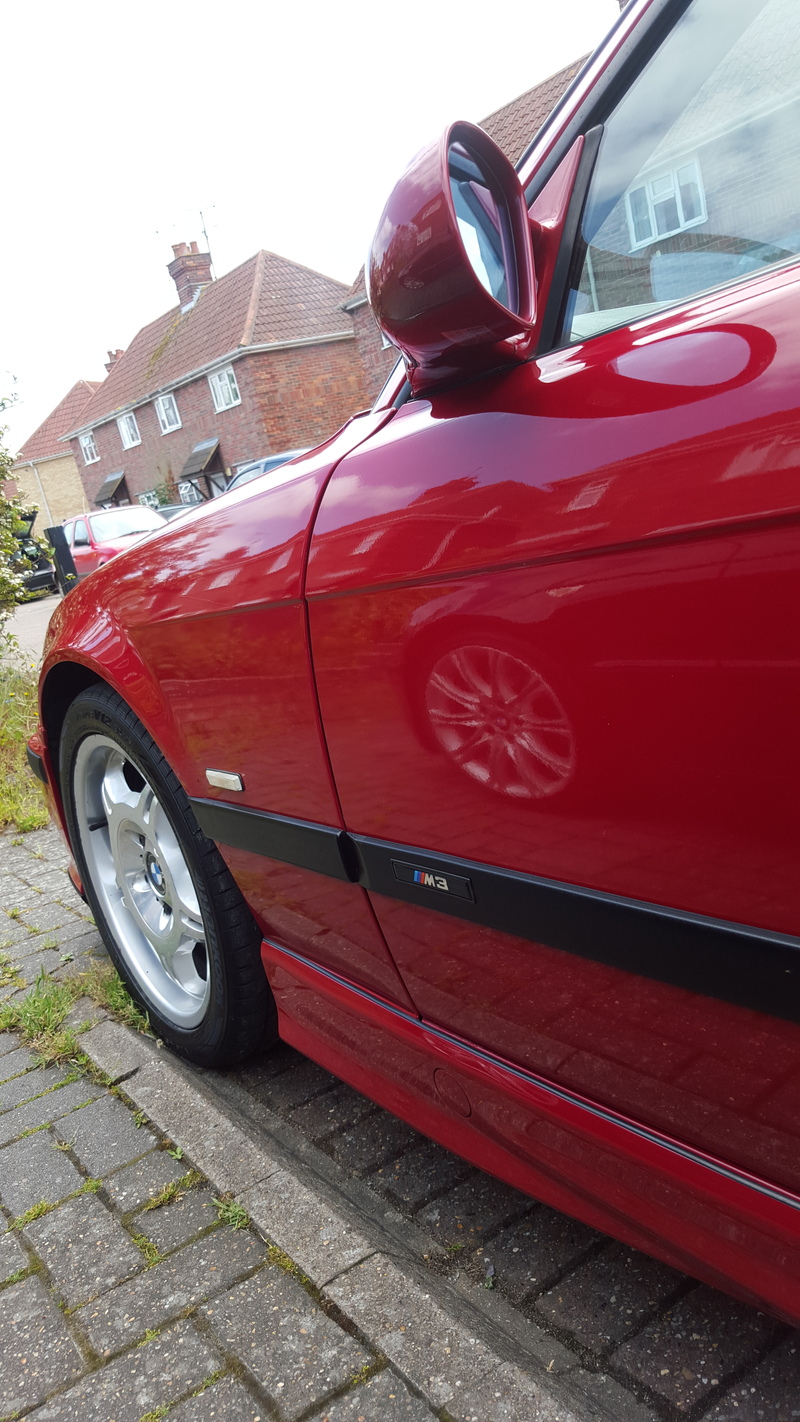
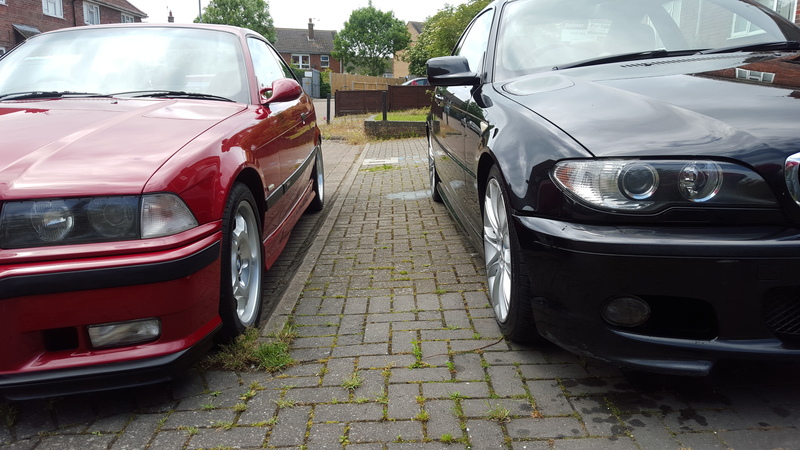
Today I wanted to give the M3 a clean down. The 330ci was also covered in dust so that got a clean too. First time I managed to get some photos of them all together.
After cleaning them, I appreciate just how clean the M3 is now

After cleaning them, I appreciate just how clean the M3 is now


 25-08-2015, 09:44 PM
#160
Advanced PassionFord User
Thread Starter
Tonight I sat down with a beer and sorted through the history folder for my 330ci. I had a few bits I needed to put into the M3s folder so did them both at the same time. It's a workout moving this lot about
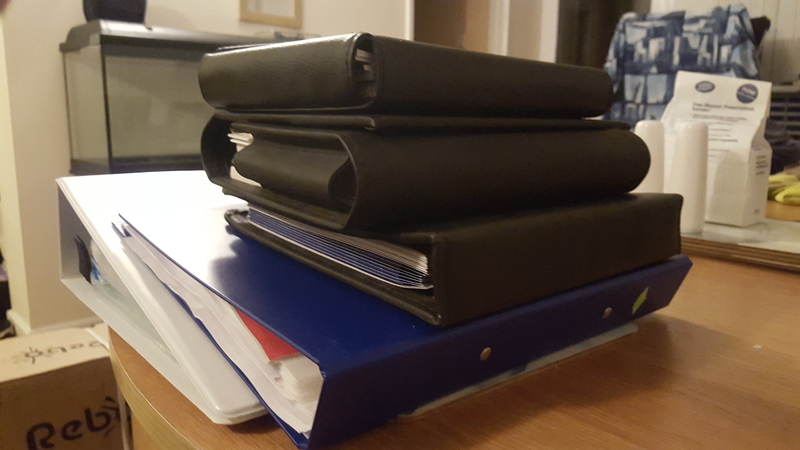
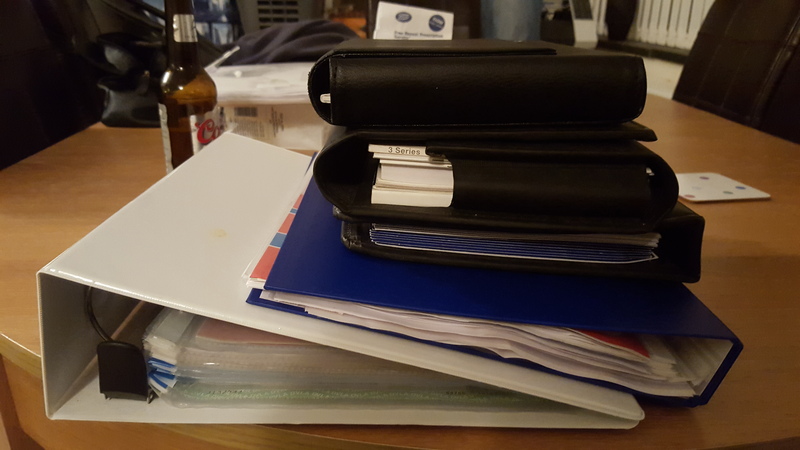
☺


☺