The Taxi Reincarnation. 08/03/20 Engine finally in :-)
#41
Last Time, Get Off PF FFS
Thread Starter
Nah mate. Engine was solid as. Only thing I'm doing is putting a 2wd sump on it.
Going to enquire about those bumpers before I paint the new shell up.
Going to enquire about those bumpers before I paint the new shell up.
Last edited by kosienutter; 23-01-2019 at 07:12 PM.
#42
Last Time, Get Off PF FFS
Thread Starter
Been a busy few days.
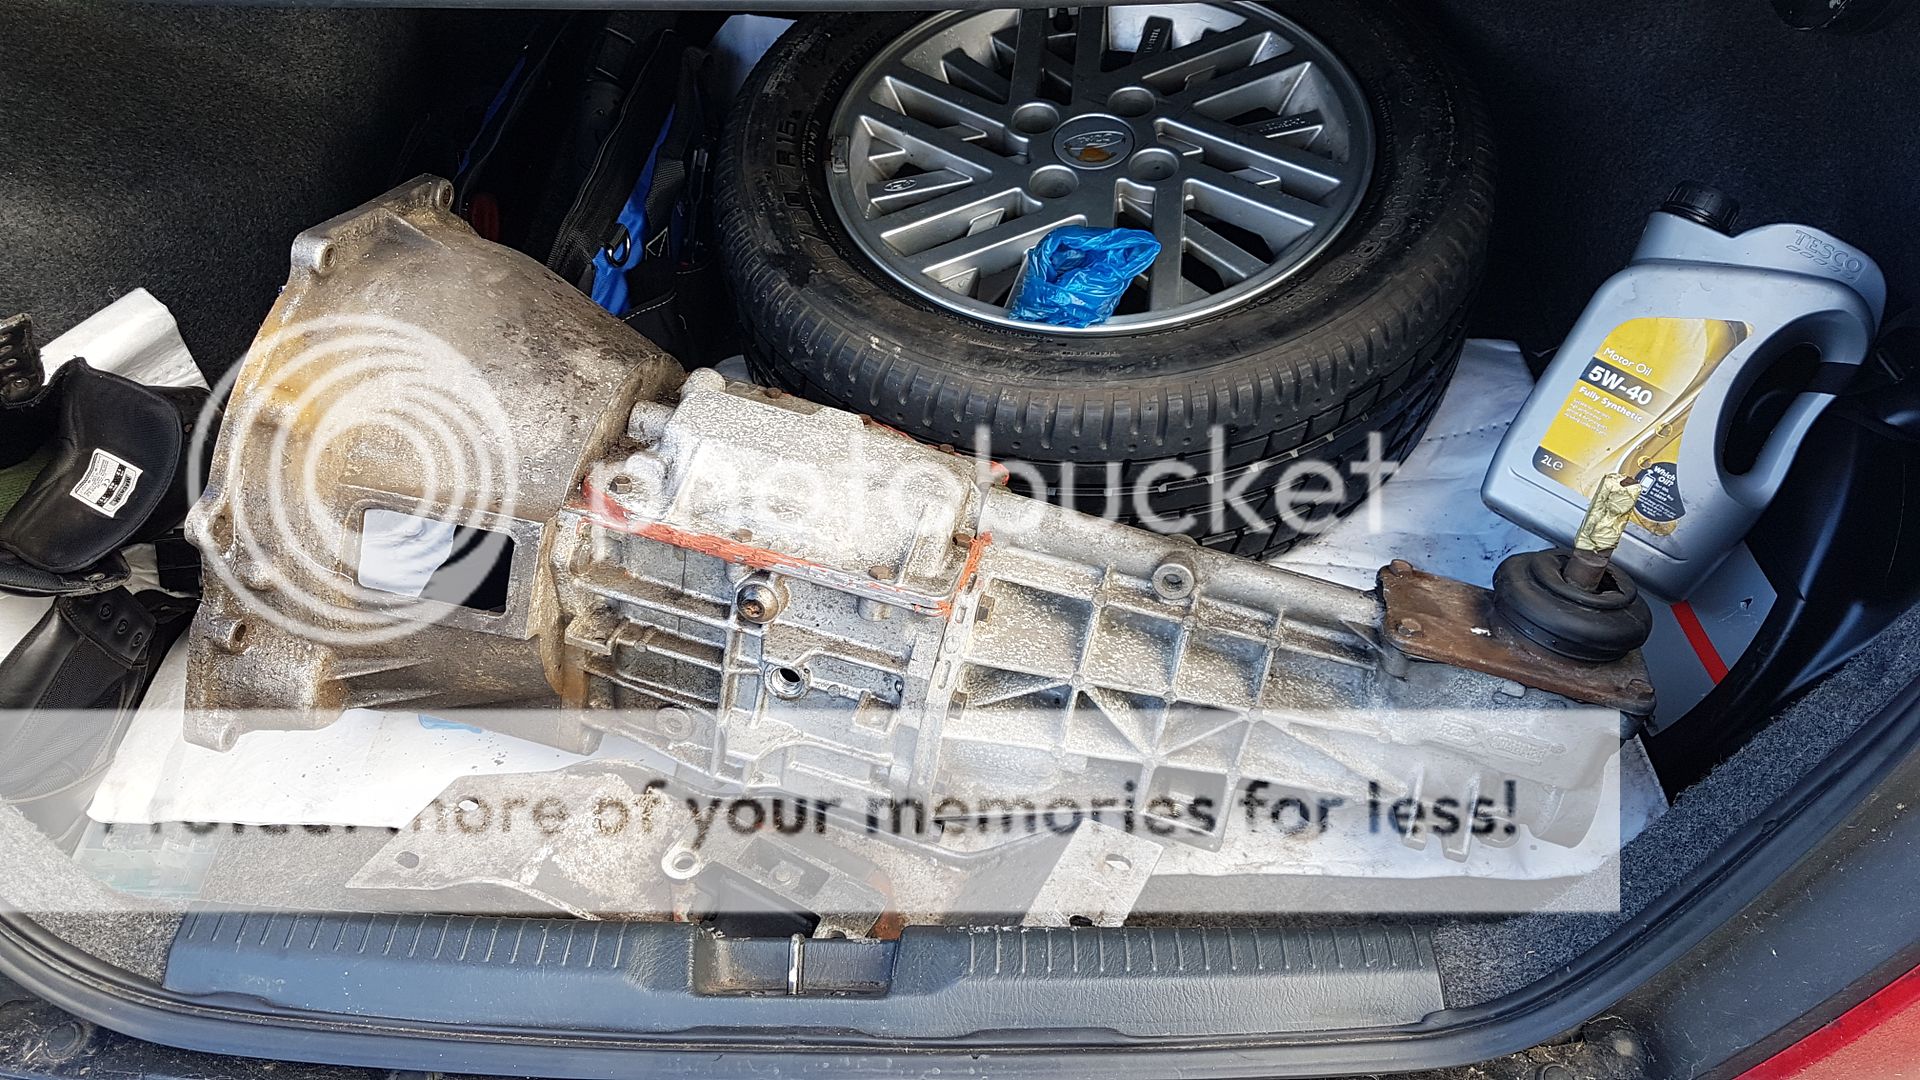
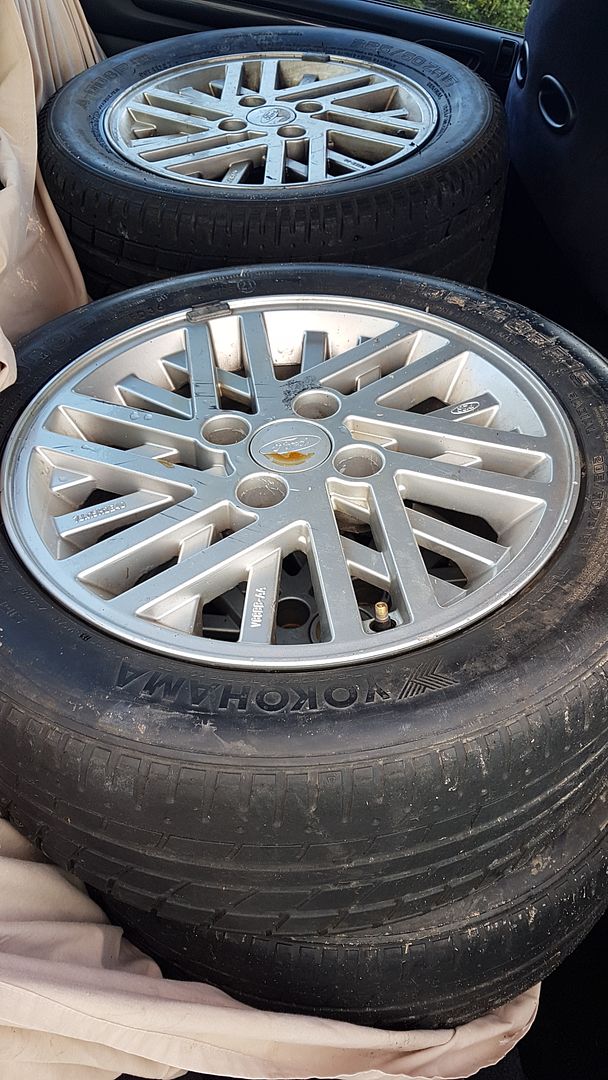
Had a trip to pick up my T5 gearbox with speedo drive and mount etc and exchanged my 5 sharktooth's for some tidy lattice alloys. The marks on them will wipe off. The box's bearings are tired, so will be replacing them once I have cleaned it externally. They're not bloody cheap hey
 . Remember when I had one and you only parted with 500 quid for one.
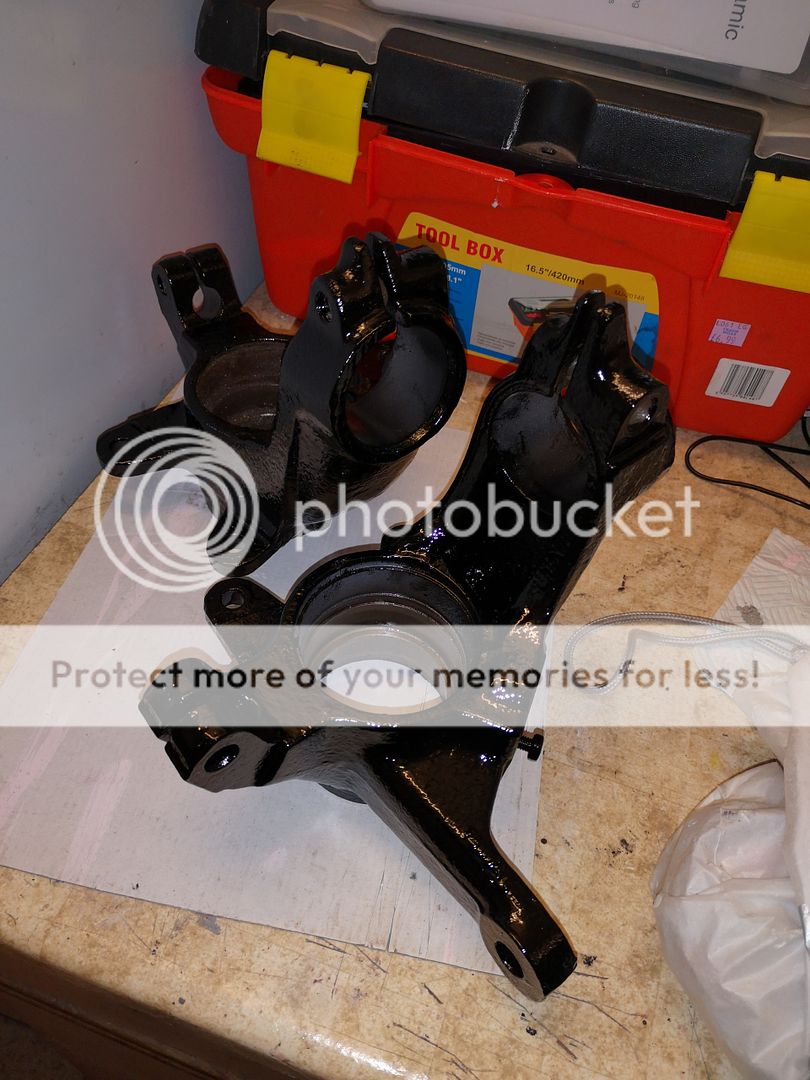
Dropped these of just over a week ago to the blasters and powder coaters.
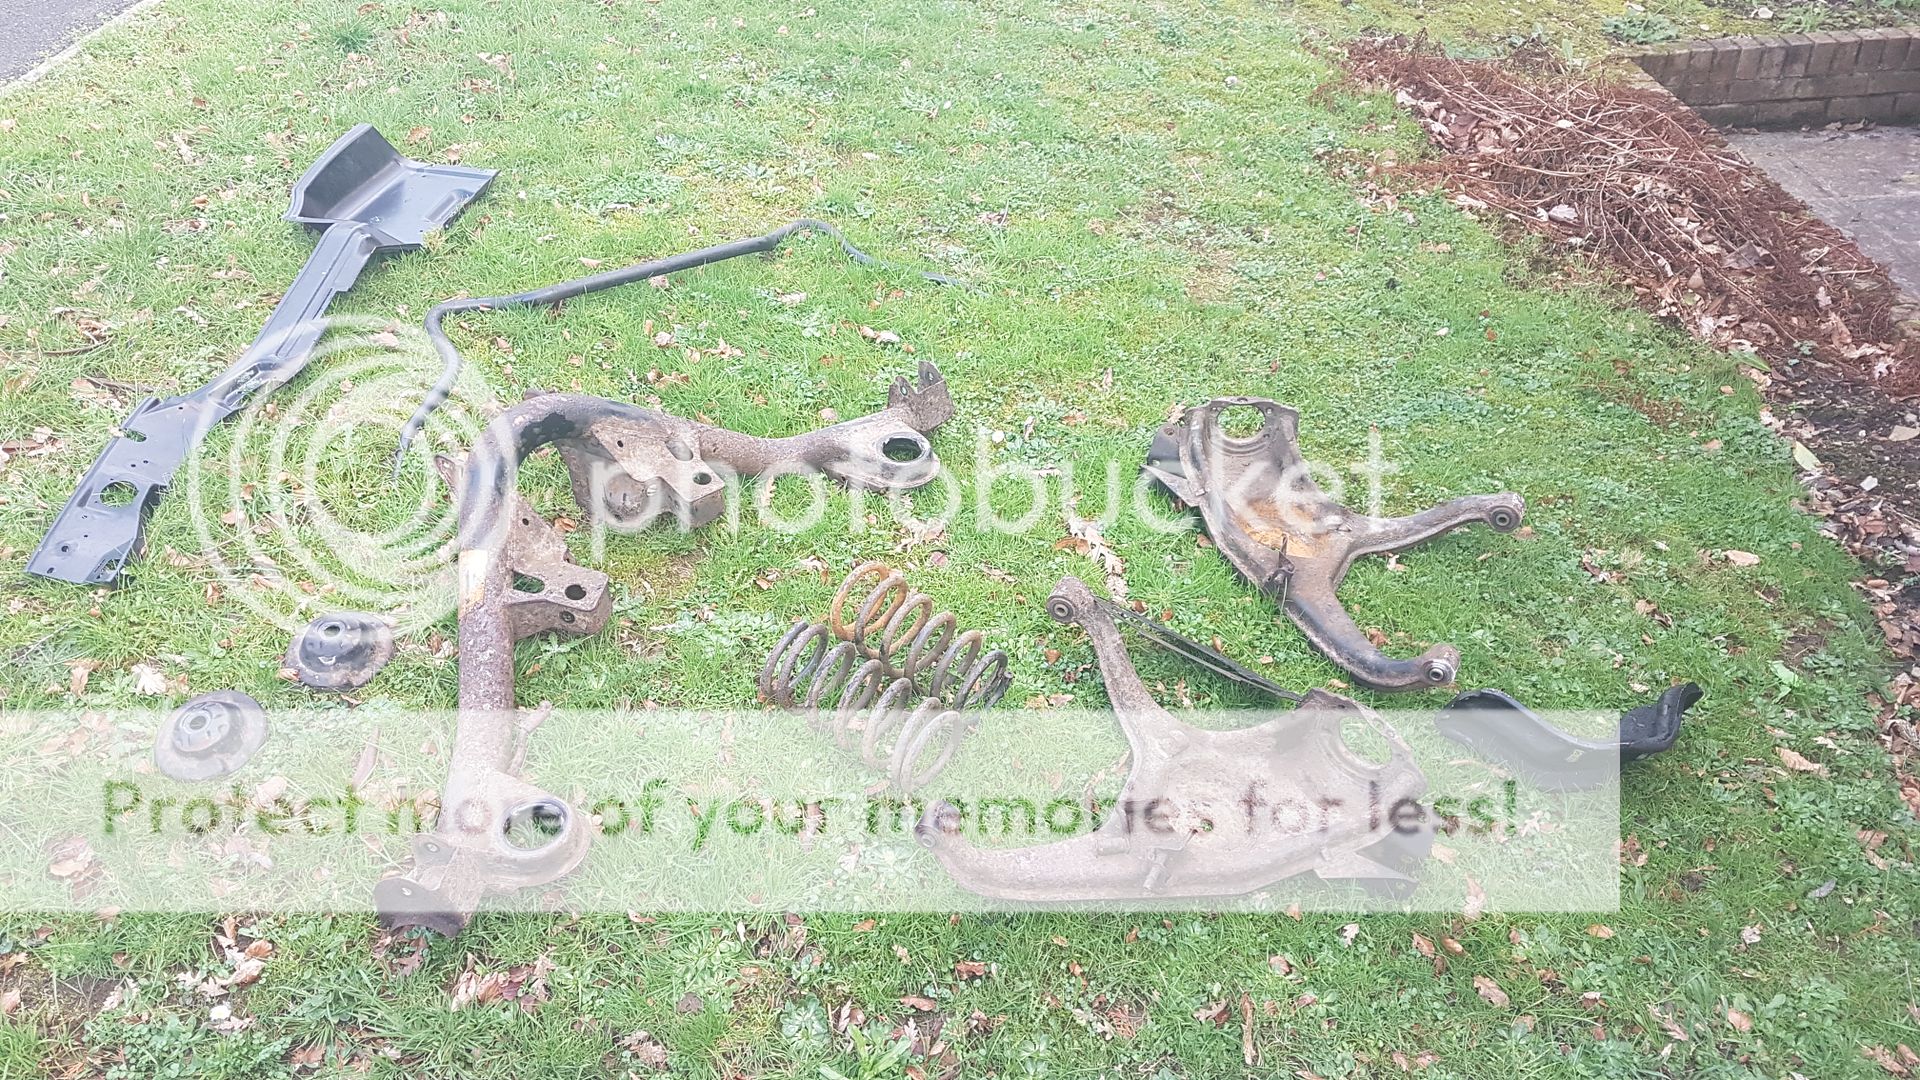
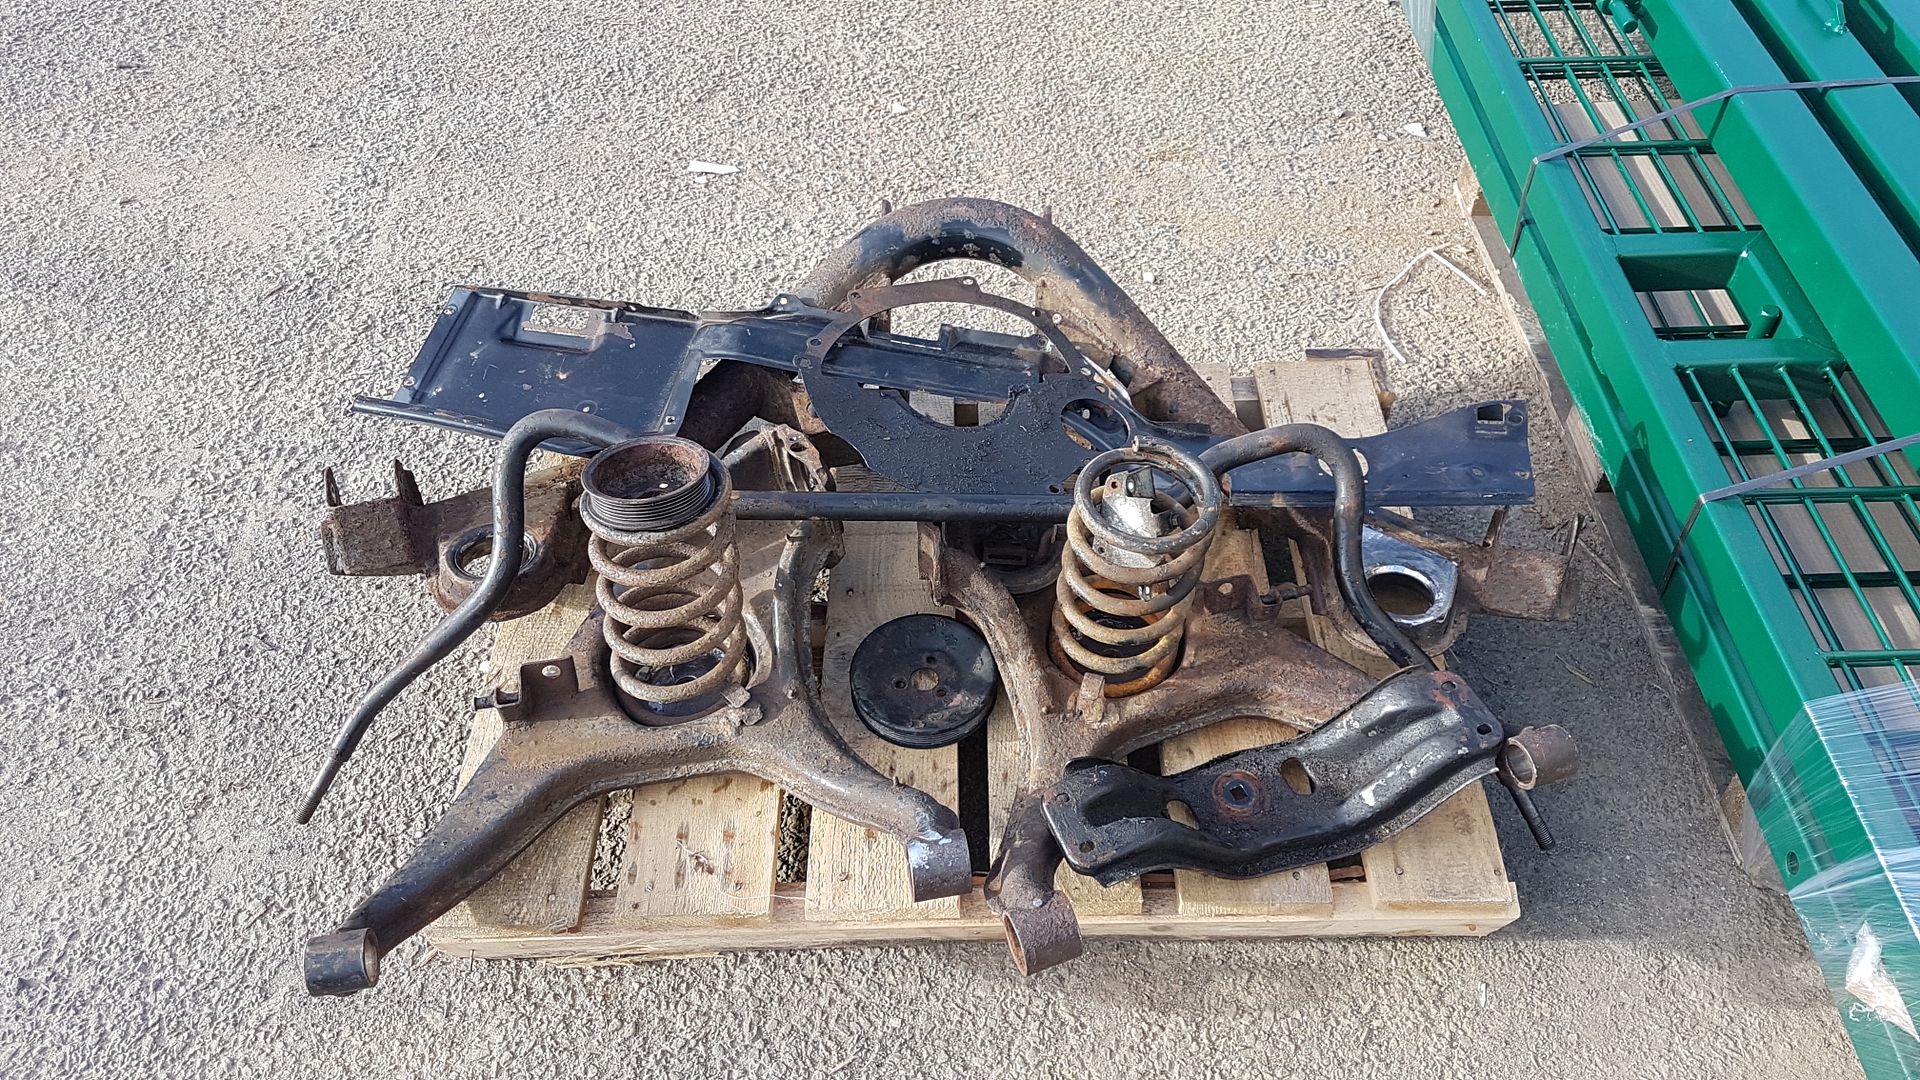
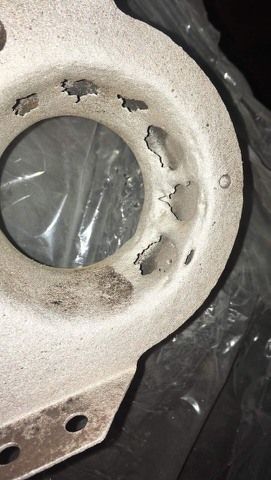
Had to have a bit of a repair on one of the bush cups, but their fabricator did his magic and repaired it brilliantly.
Had a phone call yesterday, that my powder coating was ready for collection.
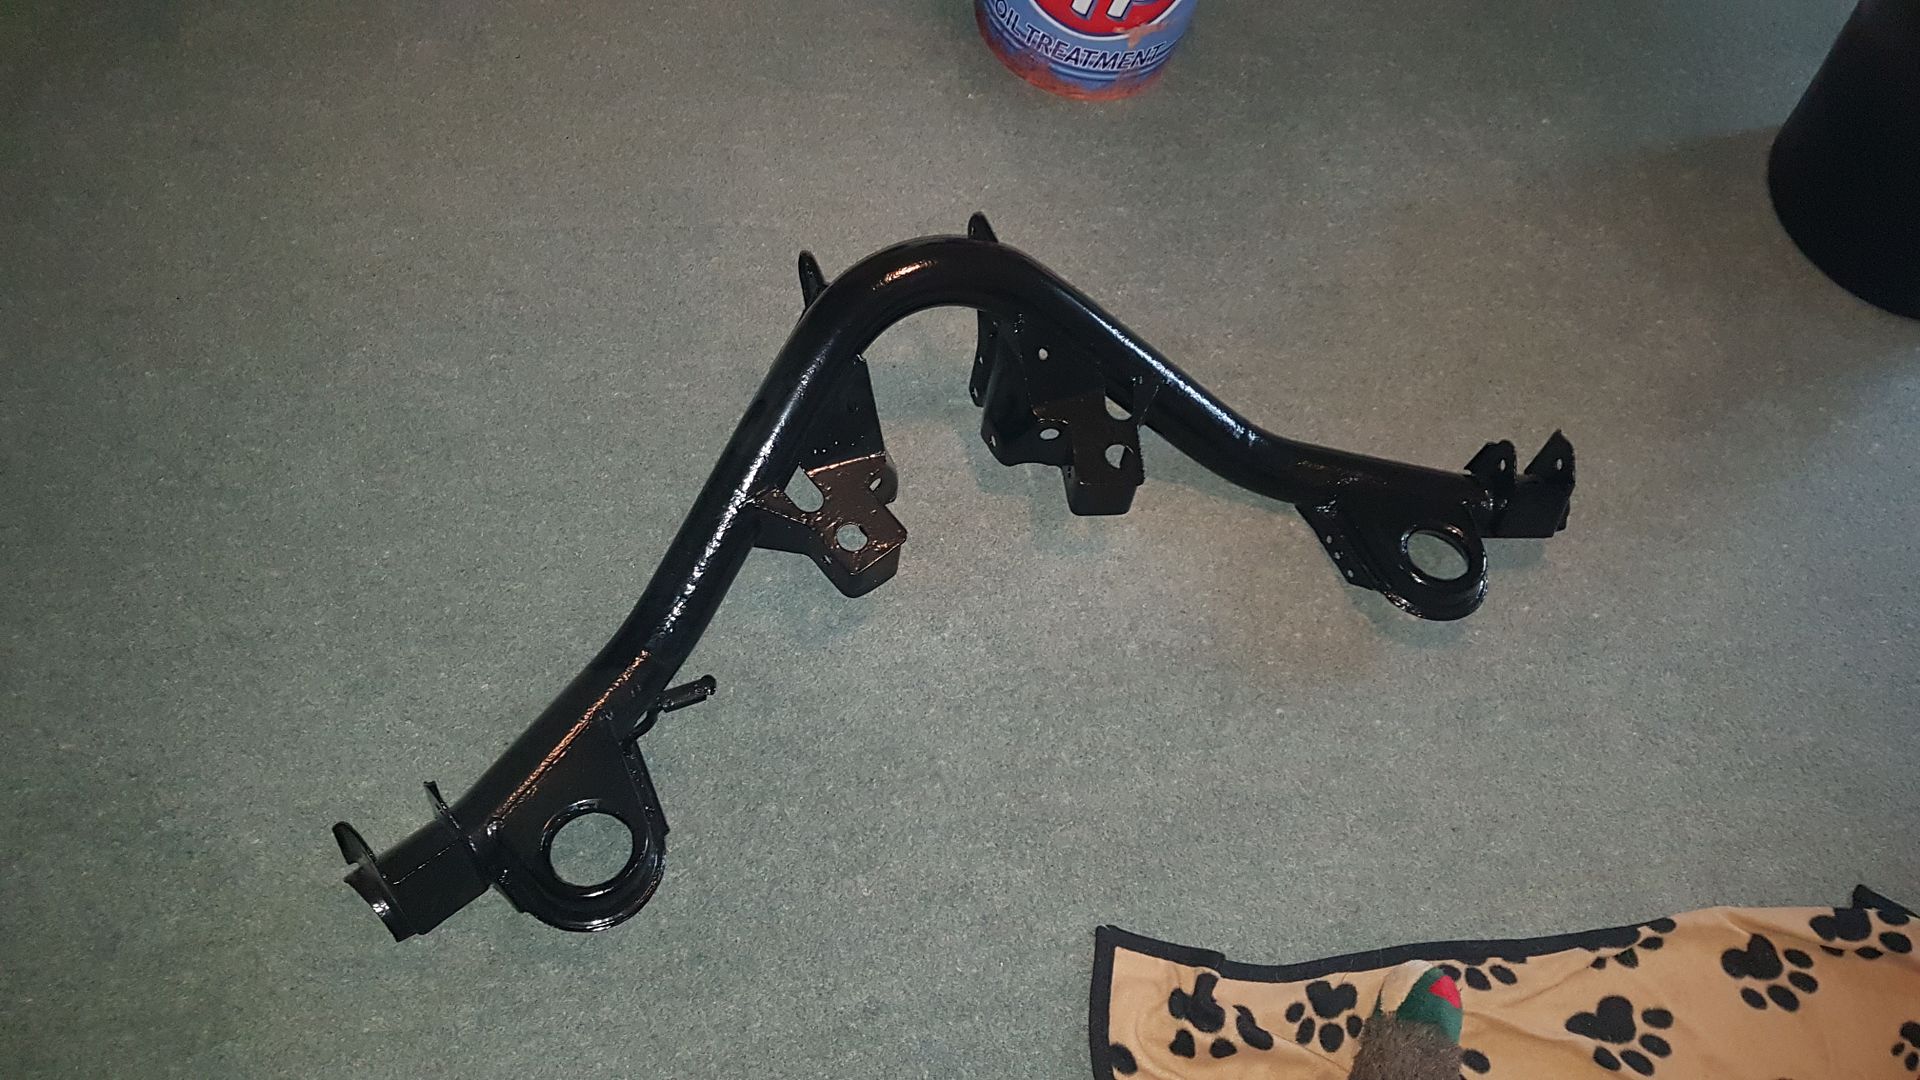
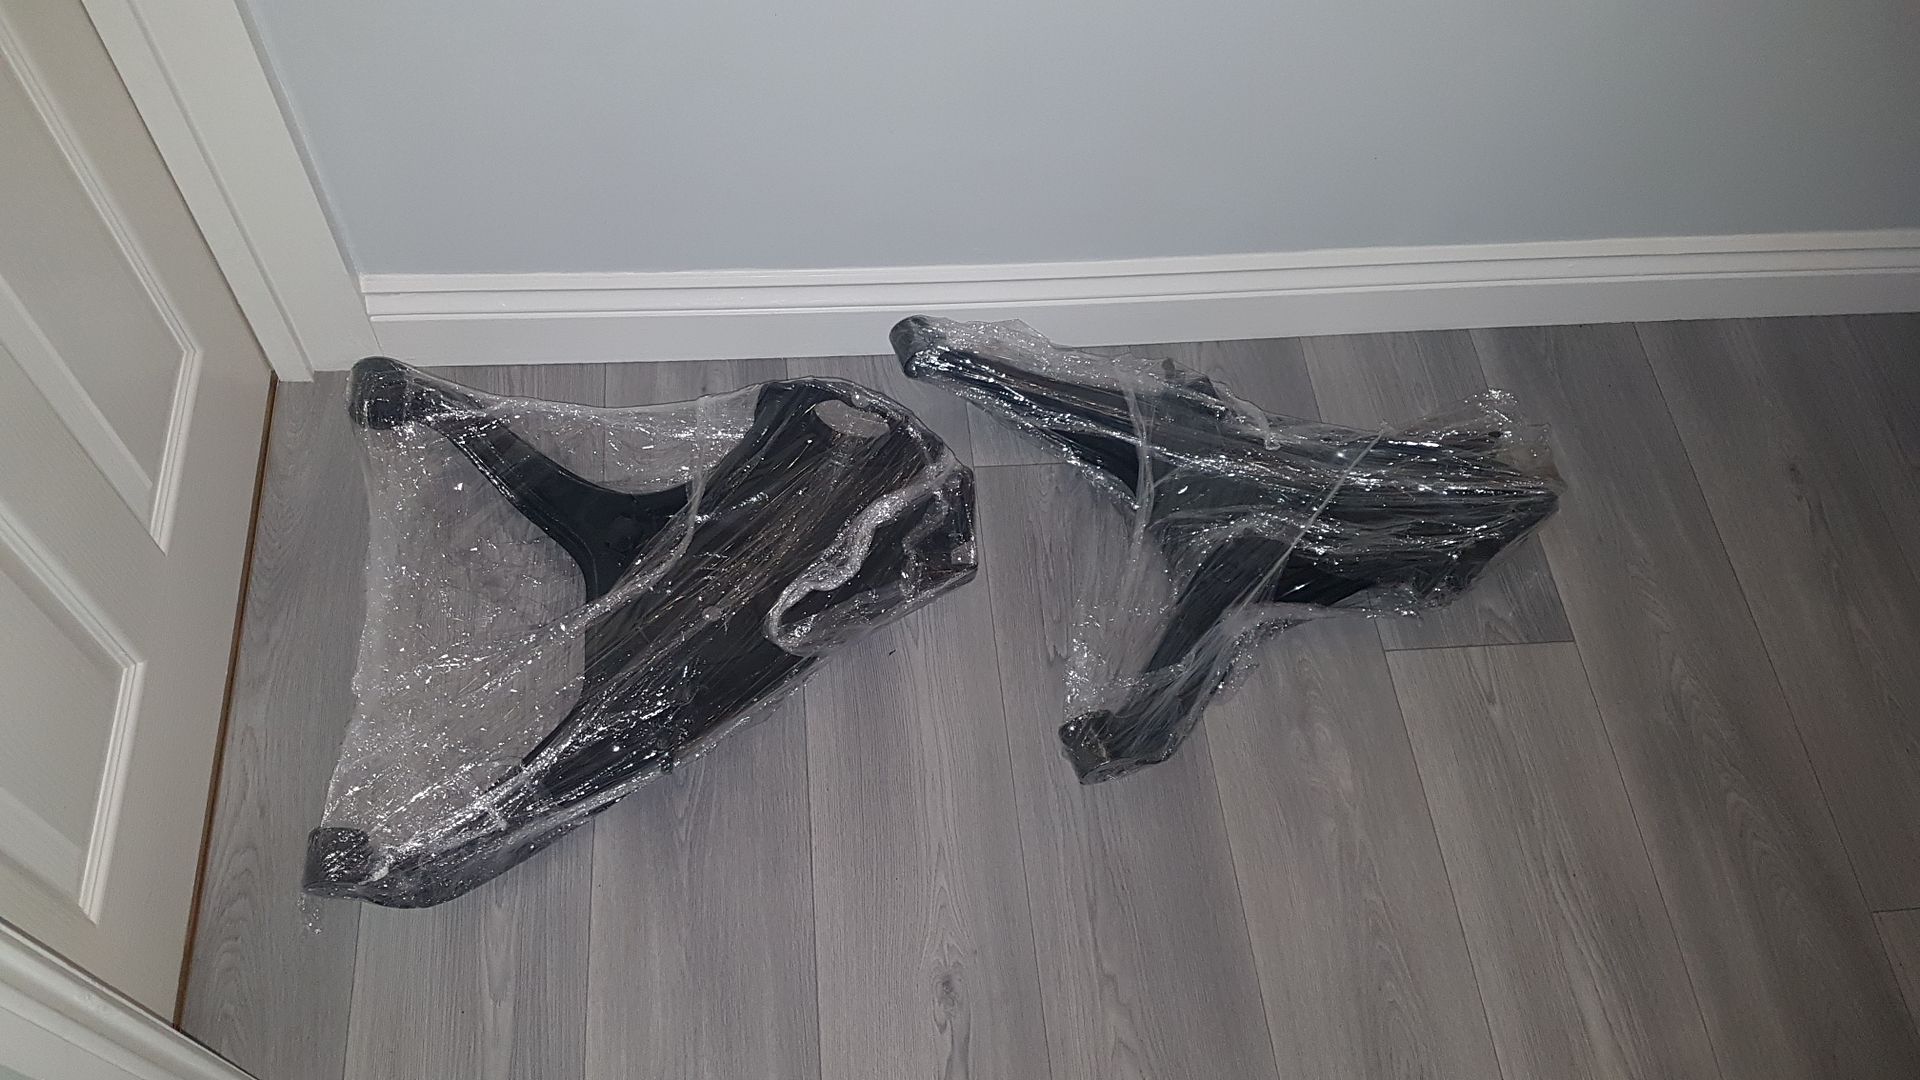
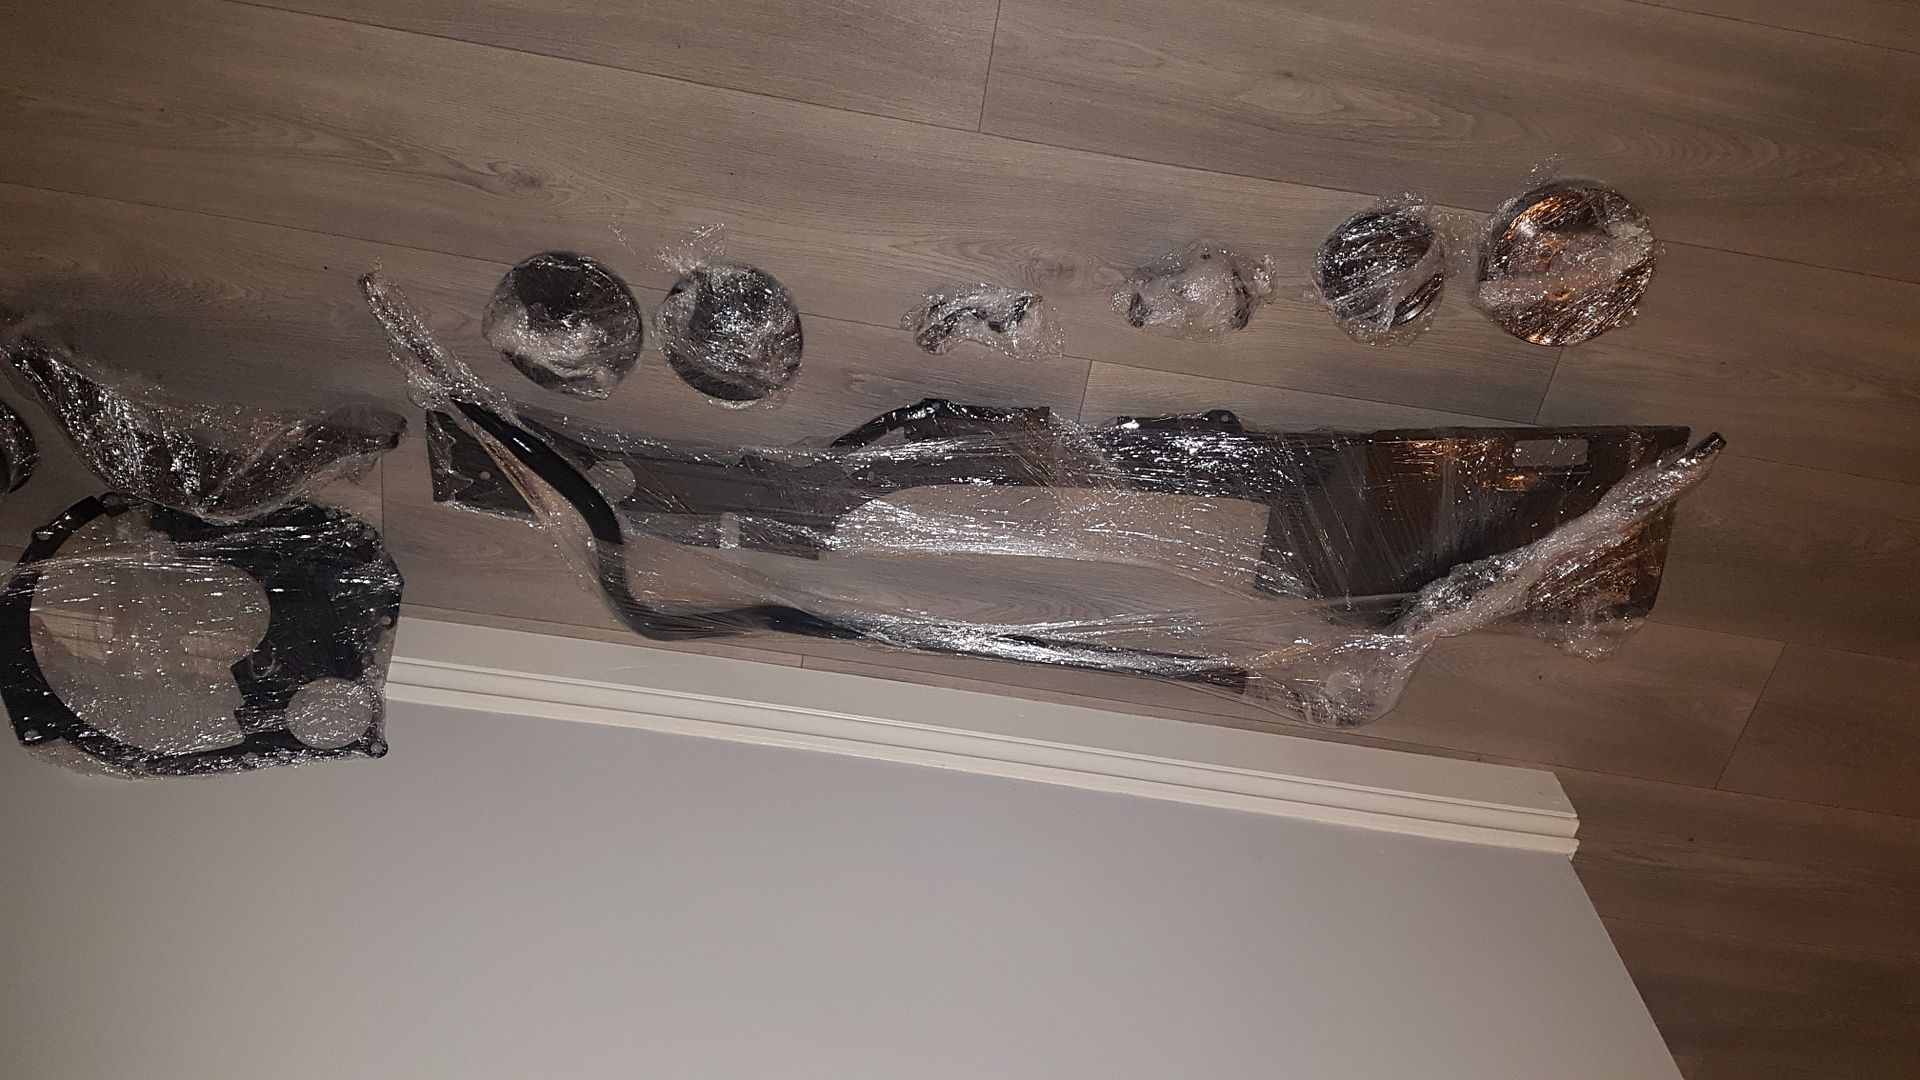
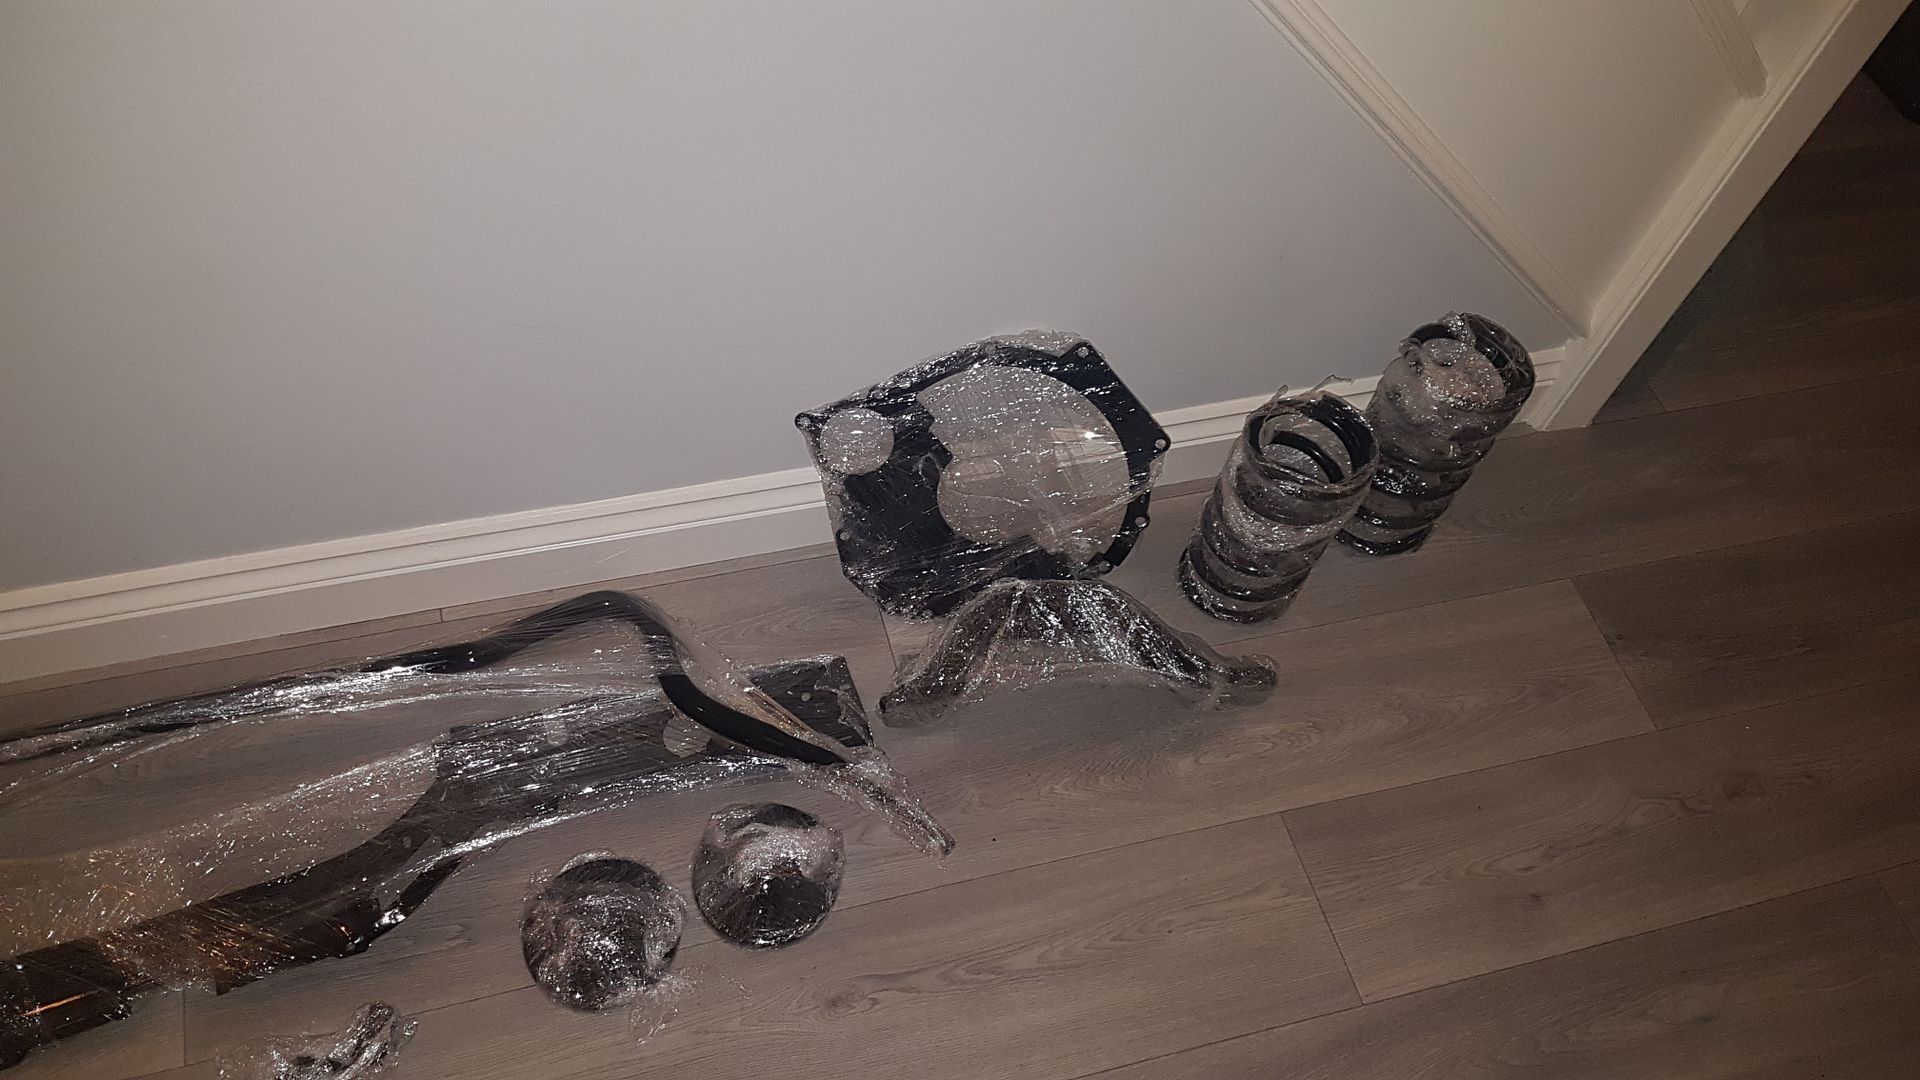
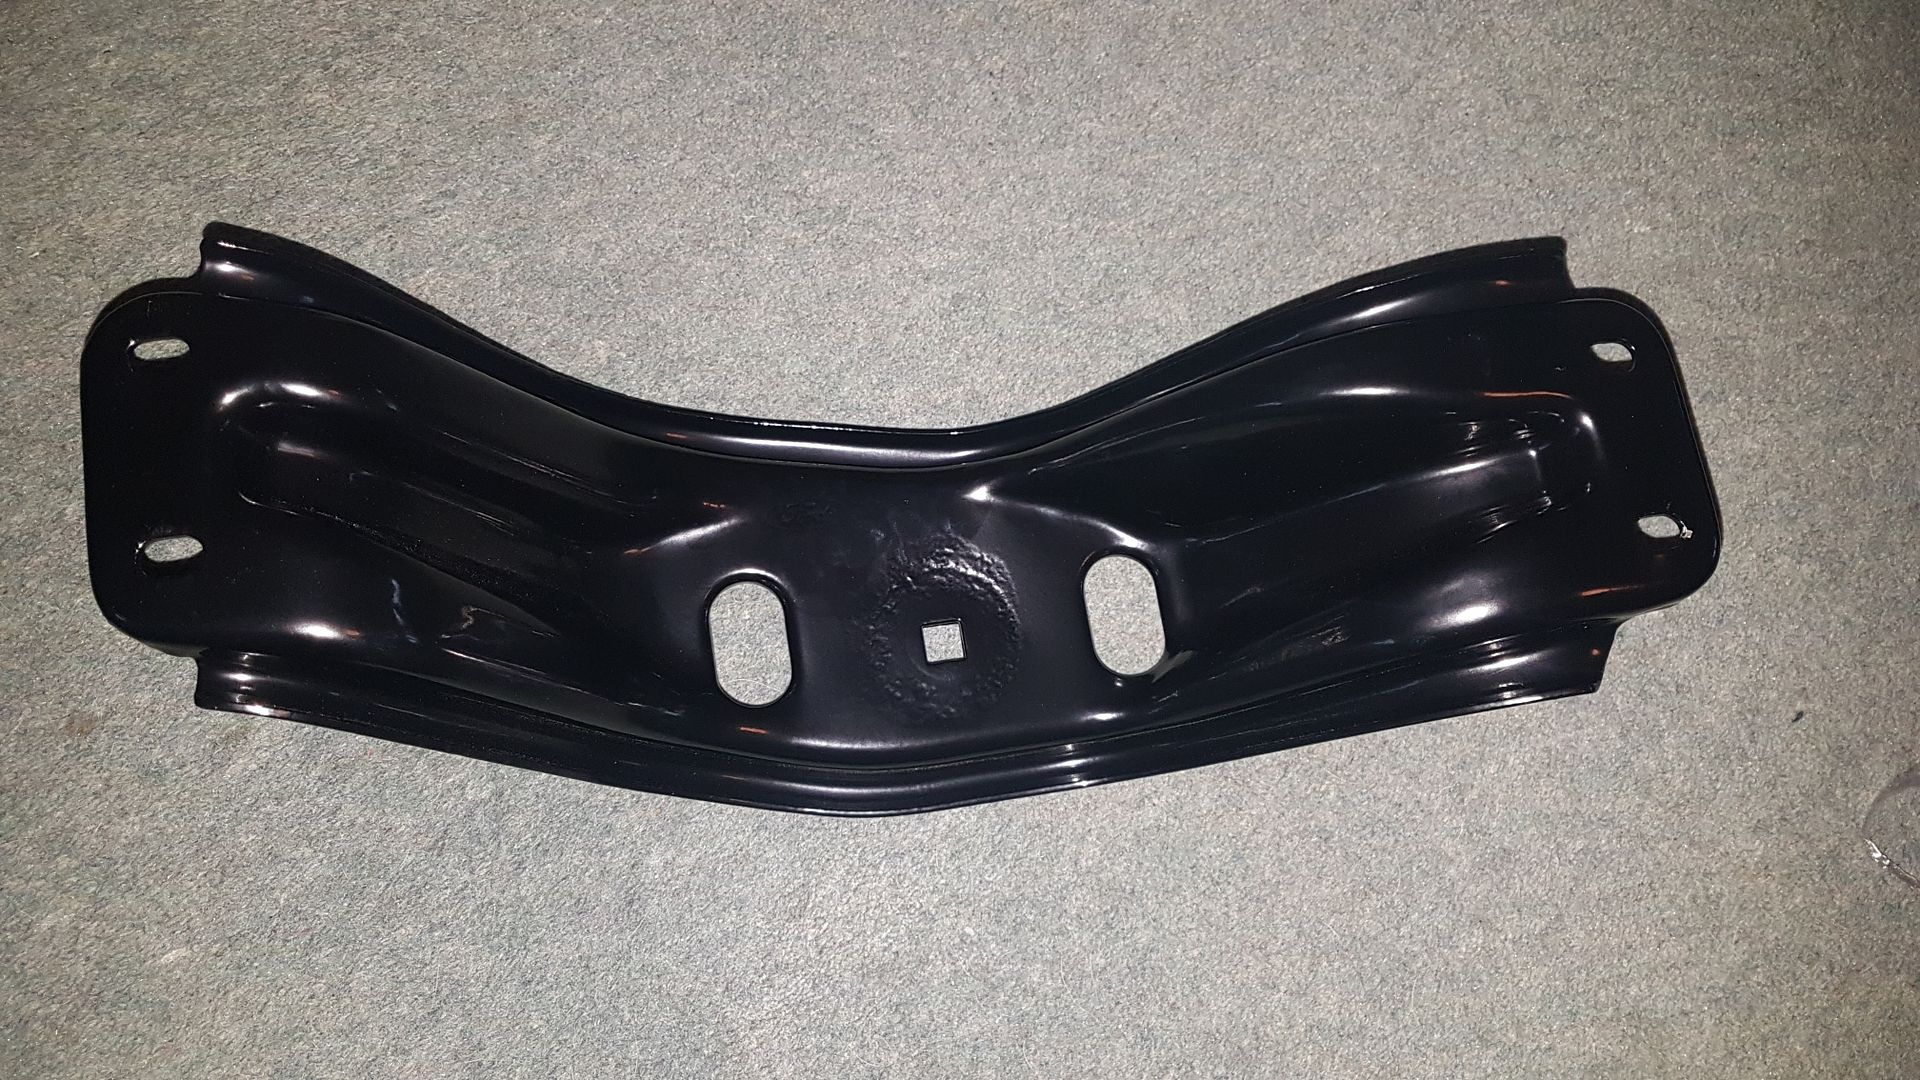
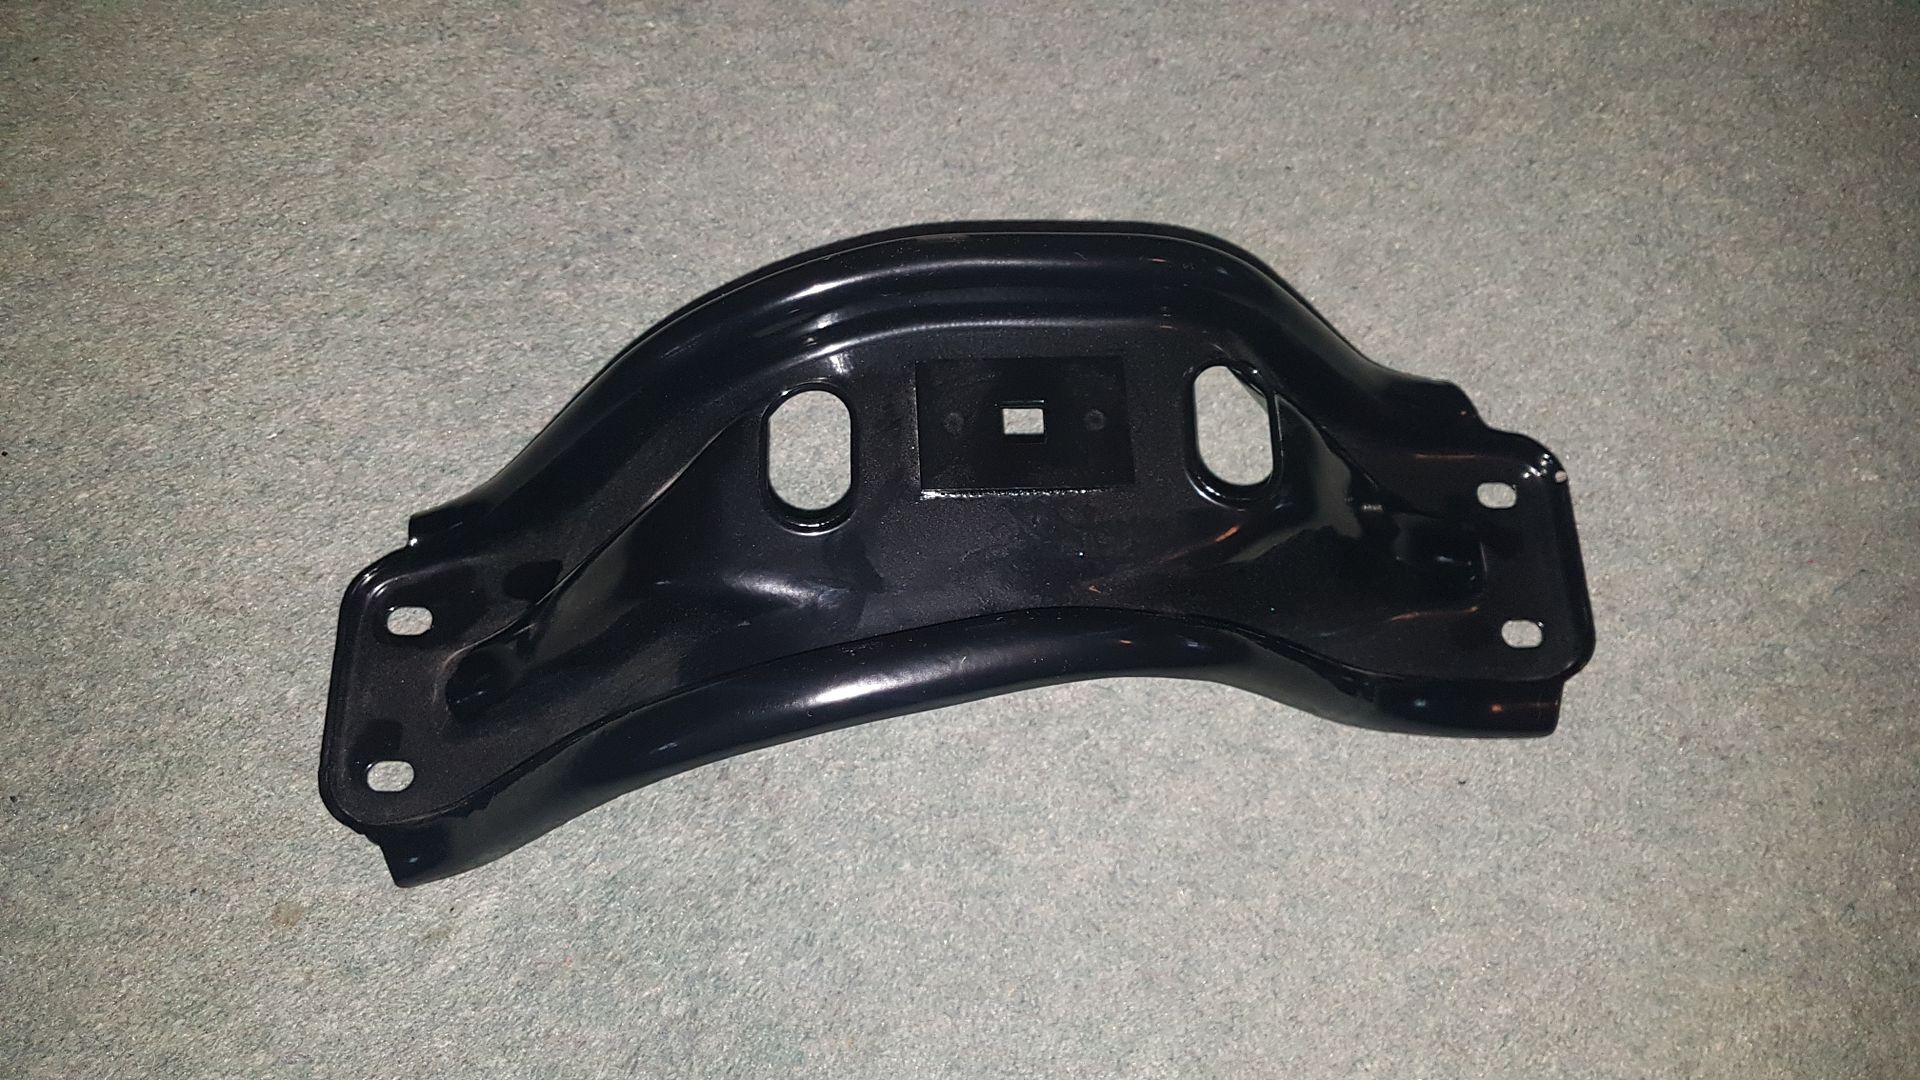
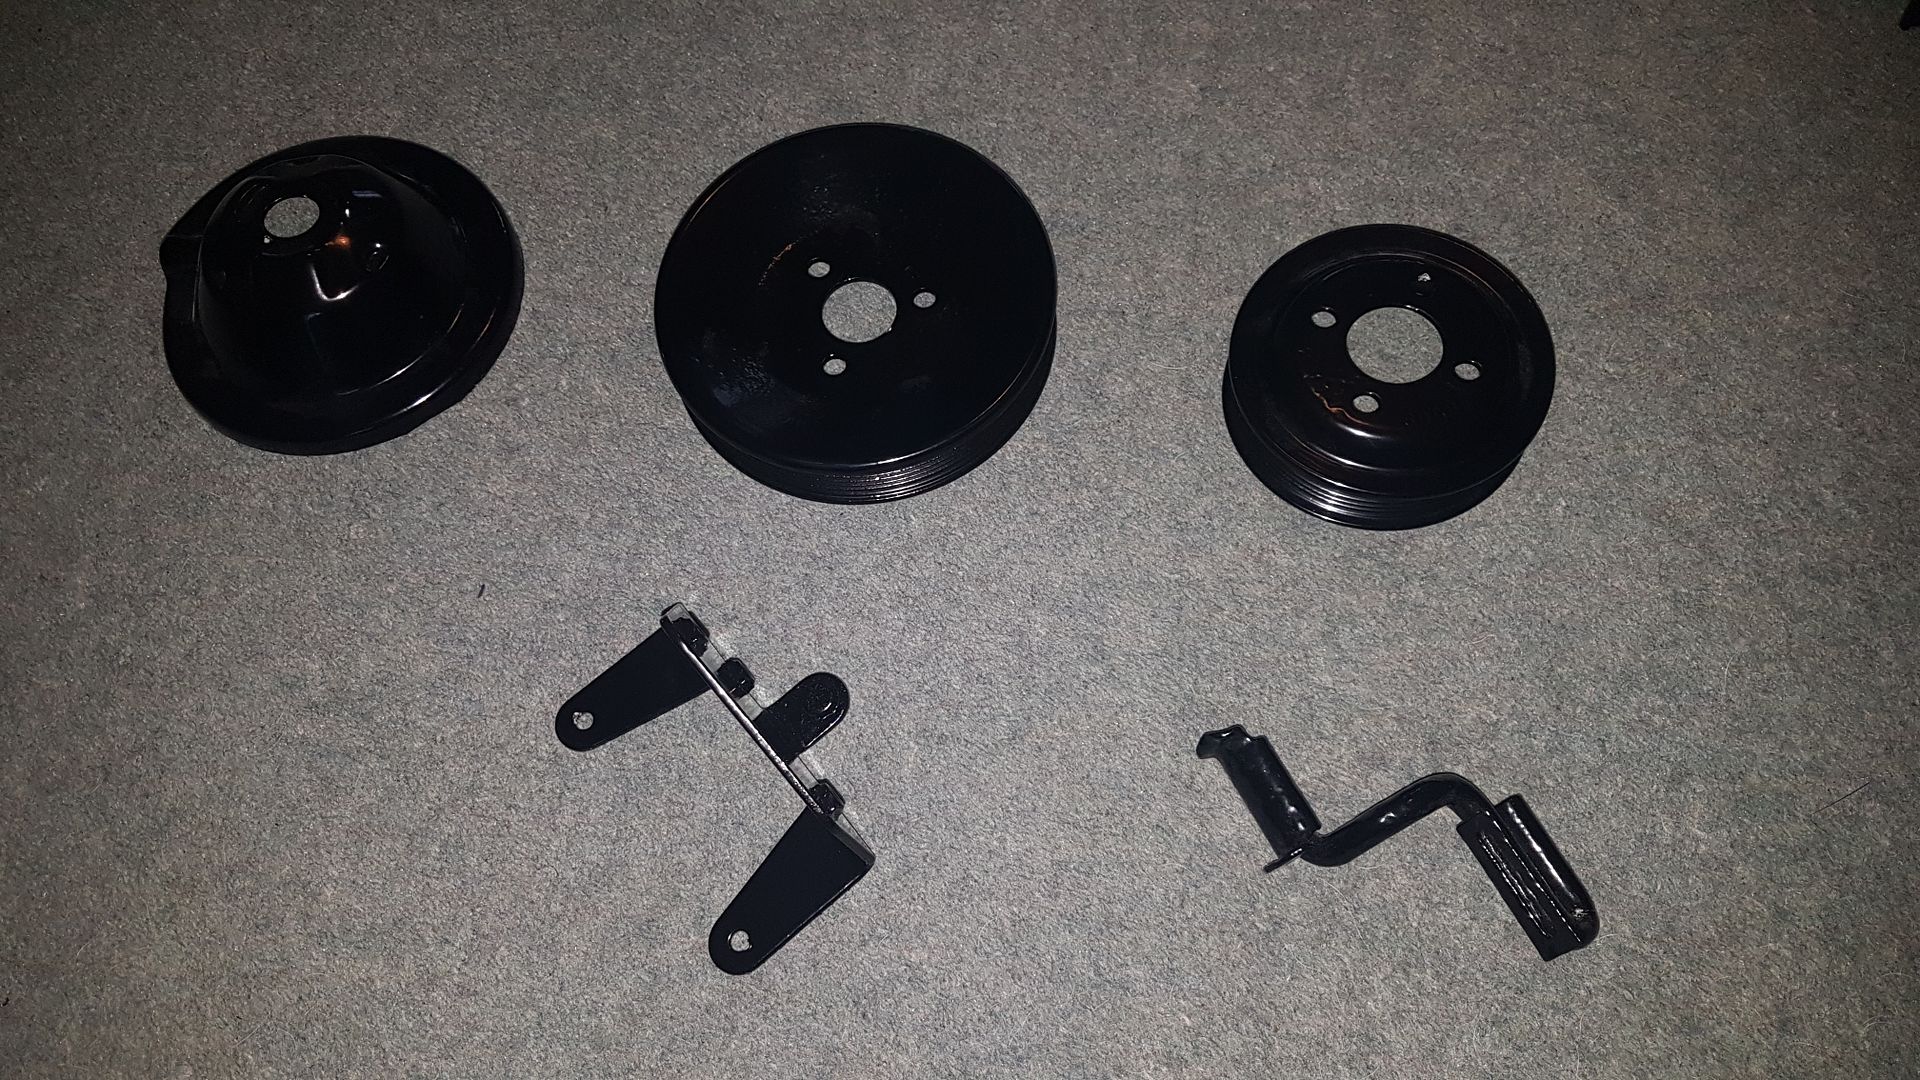
Picked them up this afternoon and I am thrilled with the results considering how buggered they where when I dropped them off.
Once I have cleaned up a few more things and ordered the bushes I will be loosely putting them on the new shell so I can move it around better as it is a pain in the aRSe to move at the moment on the little dolly wheels.
Hopefully tomorrow I will have the rear callipers and rear hub units cleaned up and all painted, weather permitting.
Had a trip to pick up my T5 gearbox with speedo drive and mount etc and exchanged my 5 sharktooth's for some tidy lattice alloys. The marks on them will wipe off. The box's bearings are tired, so will be replacing them once I have cleaned it externally. They're not bloody cheap hey

 . Remember when I had one and you only parted with 500 quid for one.

Dropped these of just over a week ago to the blasters and powder coaters.


Had to have a bit of a repair on one of the bush cups, but their fabricator did his magic and repaired it brilliantly.

Had a phone call yesterday, that my powder coating was ready for collection.


Picked them up this afternoon and I am thrilled with the results considering how buggered they where when I dropped them off.
Once I have cleaned up a few more things and ordered the bushes I will be loosely putting them on the new shell so I can move it around better as it is a pain in the aRSe to move at the moment on the little dolly wheels.
Hopefully tomorrow I will have the rear callipers and rear hub units cleaned up and all painted, weather permitting.
The following users liked this post:
kosienutter (23-01-2019)
#44
Advanced PassionFord User
This is shaping up to be a minter. Loving your work so far. Subscribed !
The following users liked this post:
kosienutter (23-01-2019)
#45
PassionFord Post Whore!!
It is amazing what powder coating can achieve to parts which often look like they are just scrap!! Your car will be like new by the time you have finished it!! Your sense of achievement when it,s finished will be immense!!
The following users liked this post:
kosienutter (24-01-2019)
#46
Last Time, Get Off PF FFS
Thread Starter
Hey all.
Been a busy last couple of weeks.
Been stripping and cleaning more parts to put the rear end of the shell on wheels for transportation.
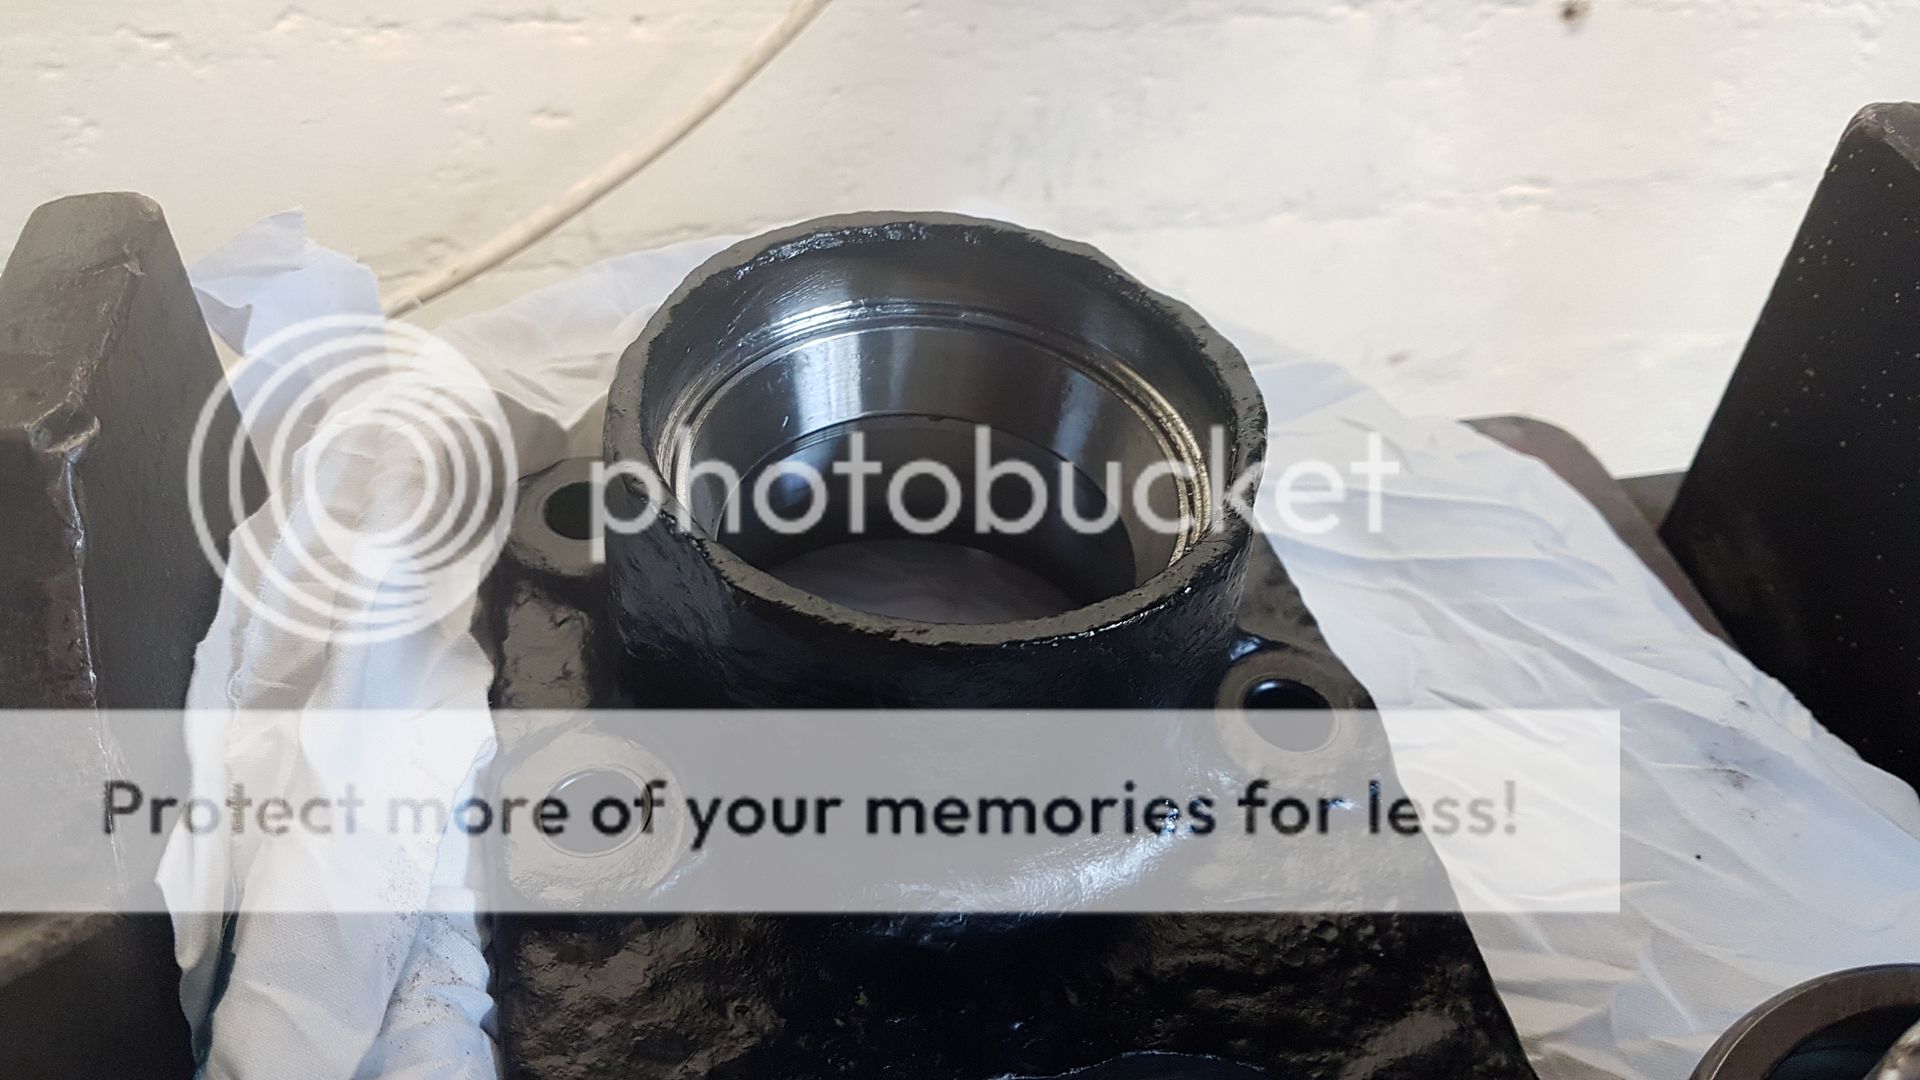
Gave the wheel hubs a good going over.
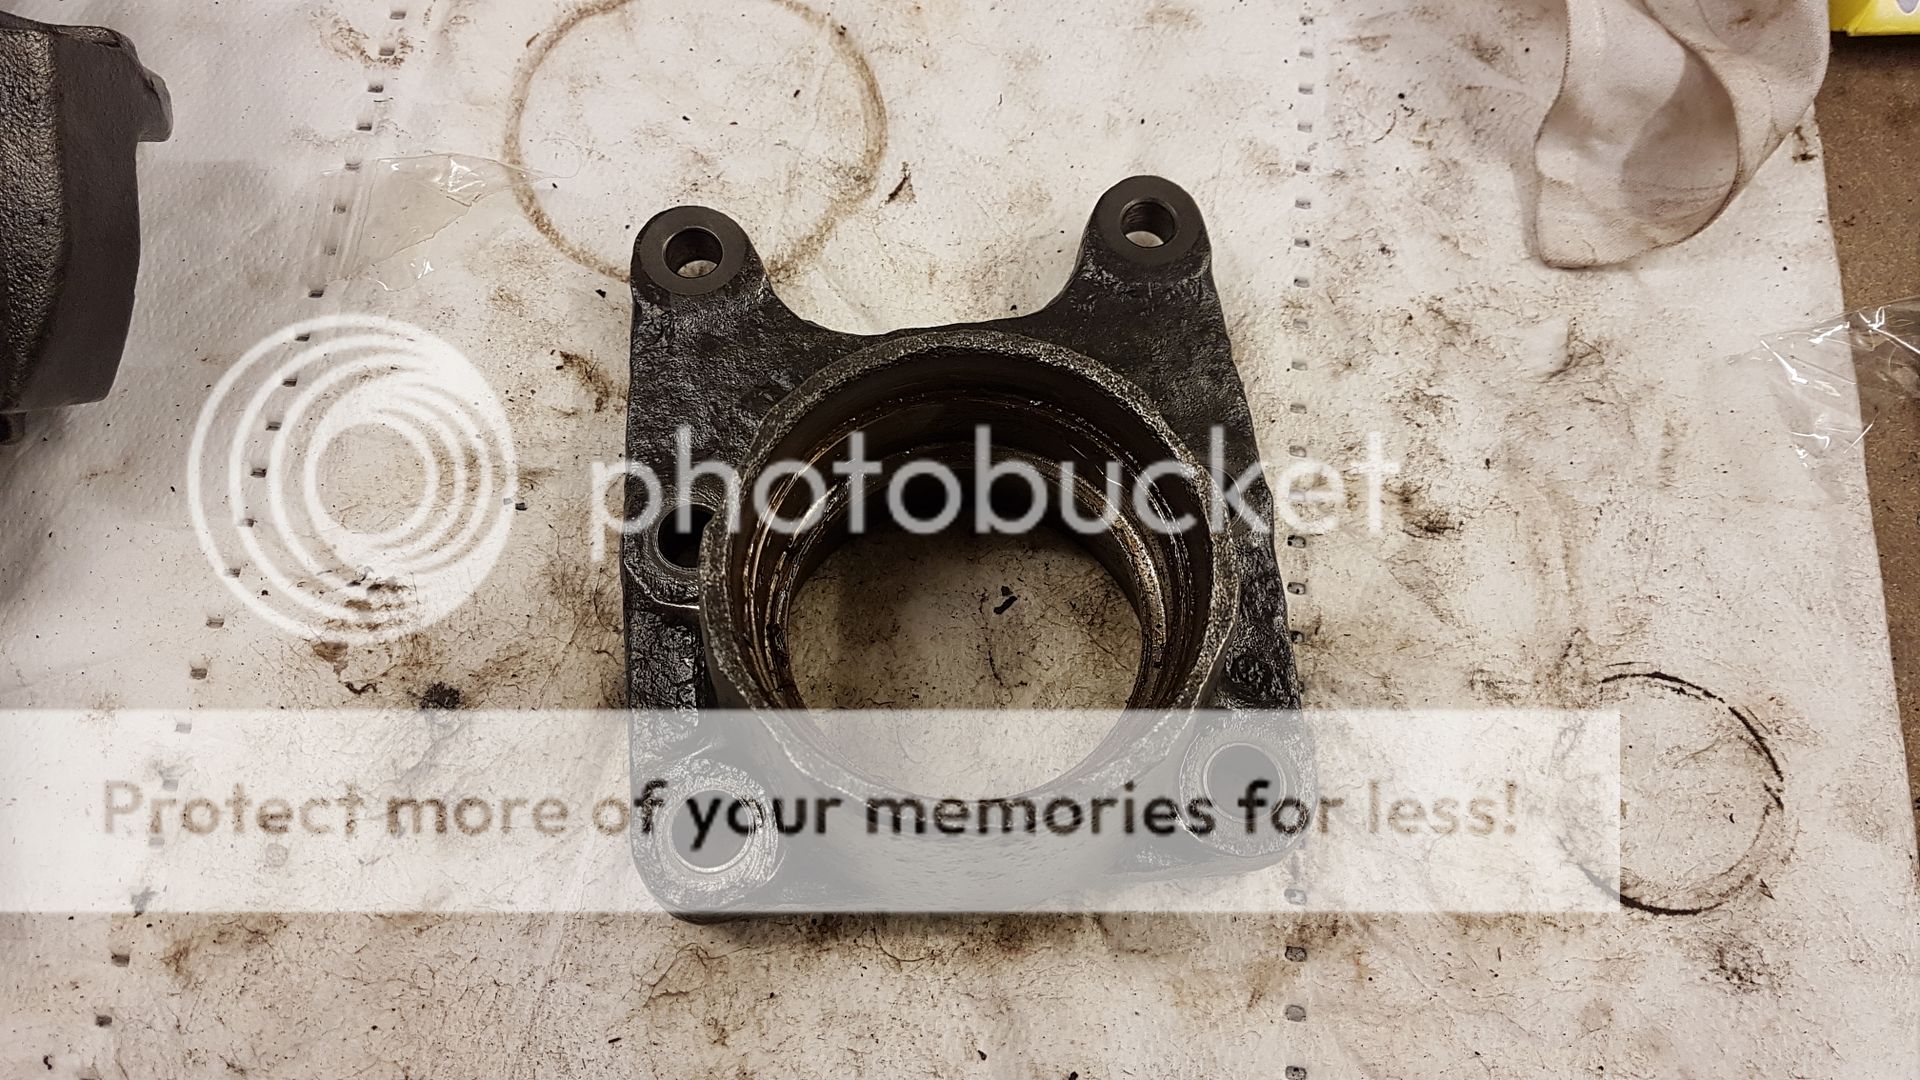
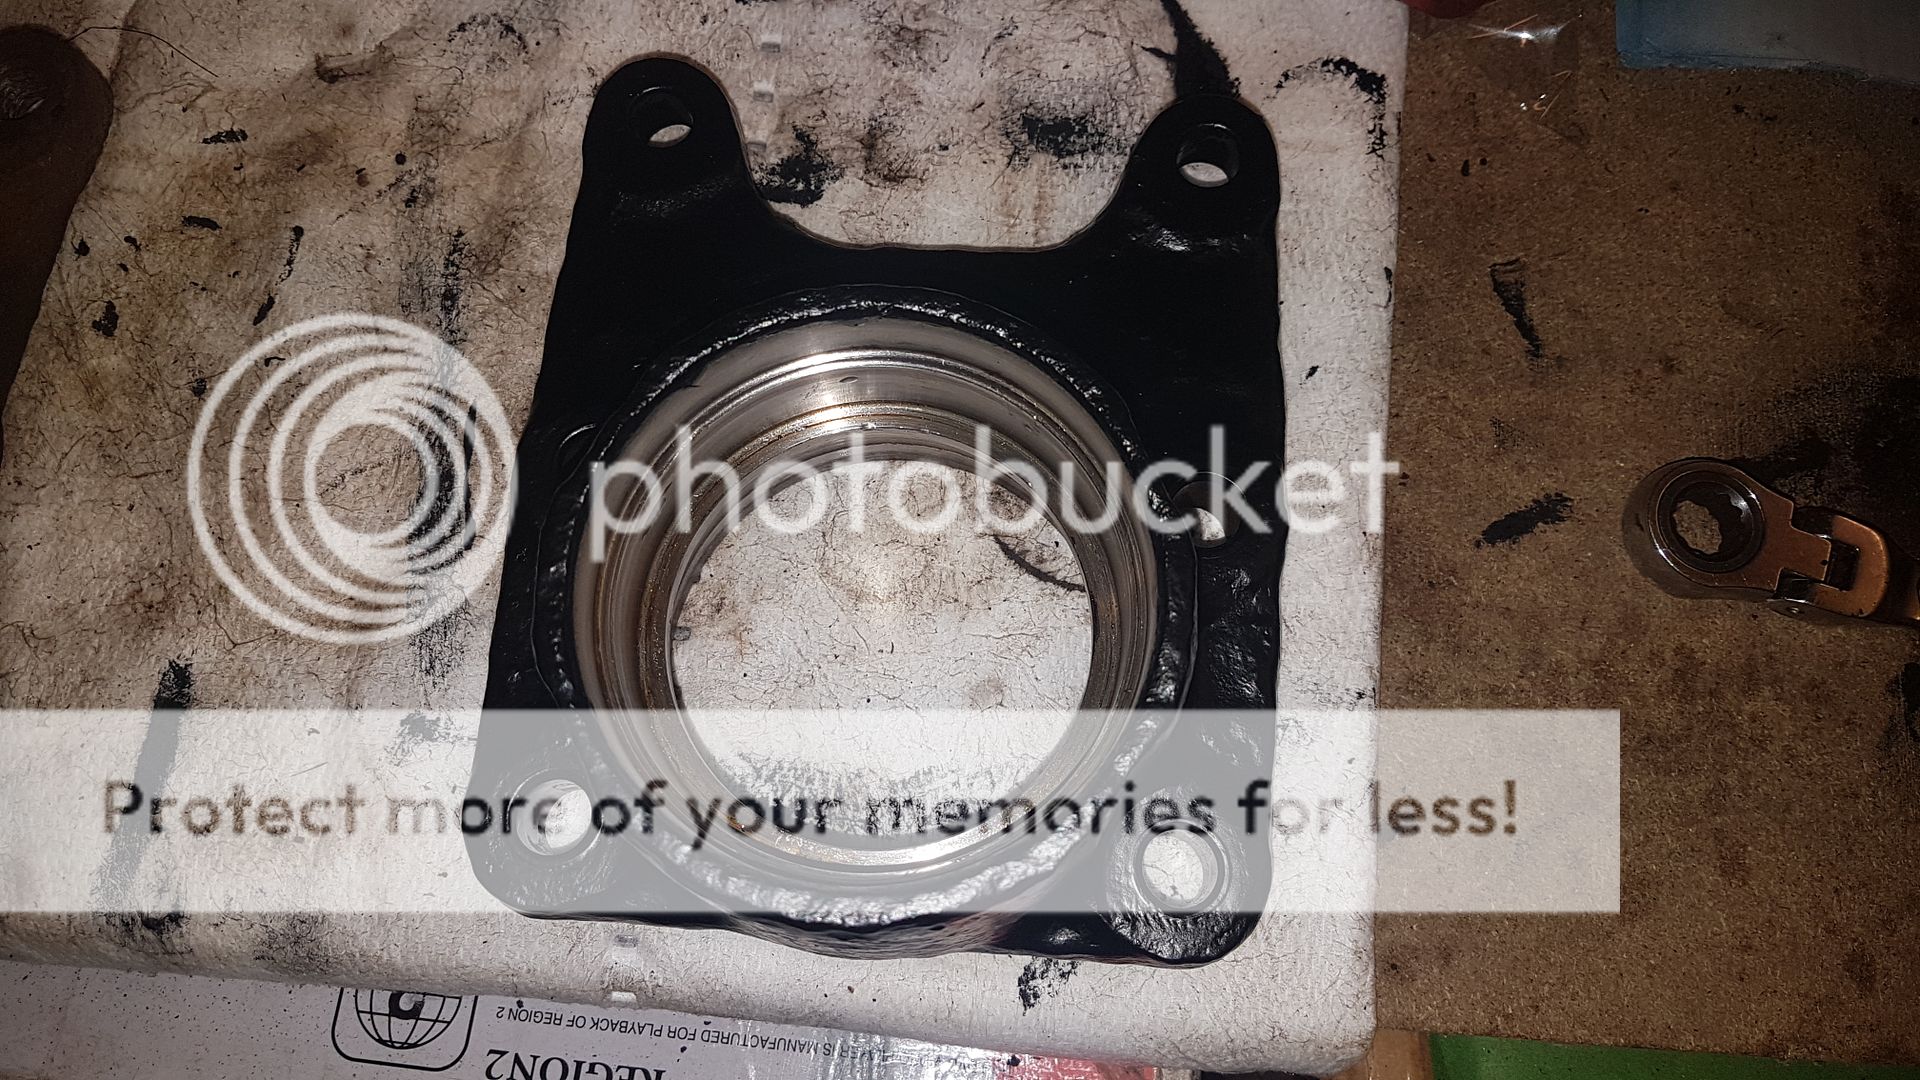
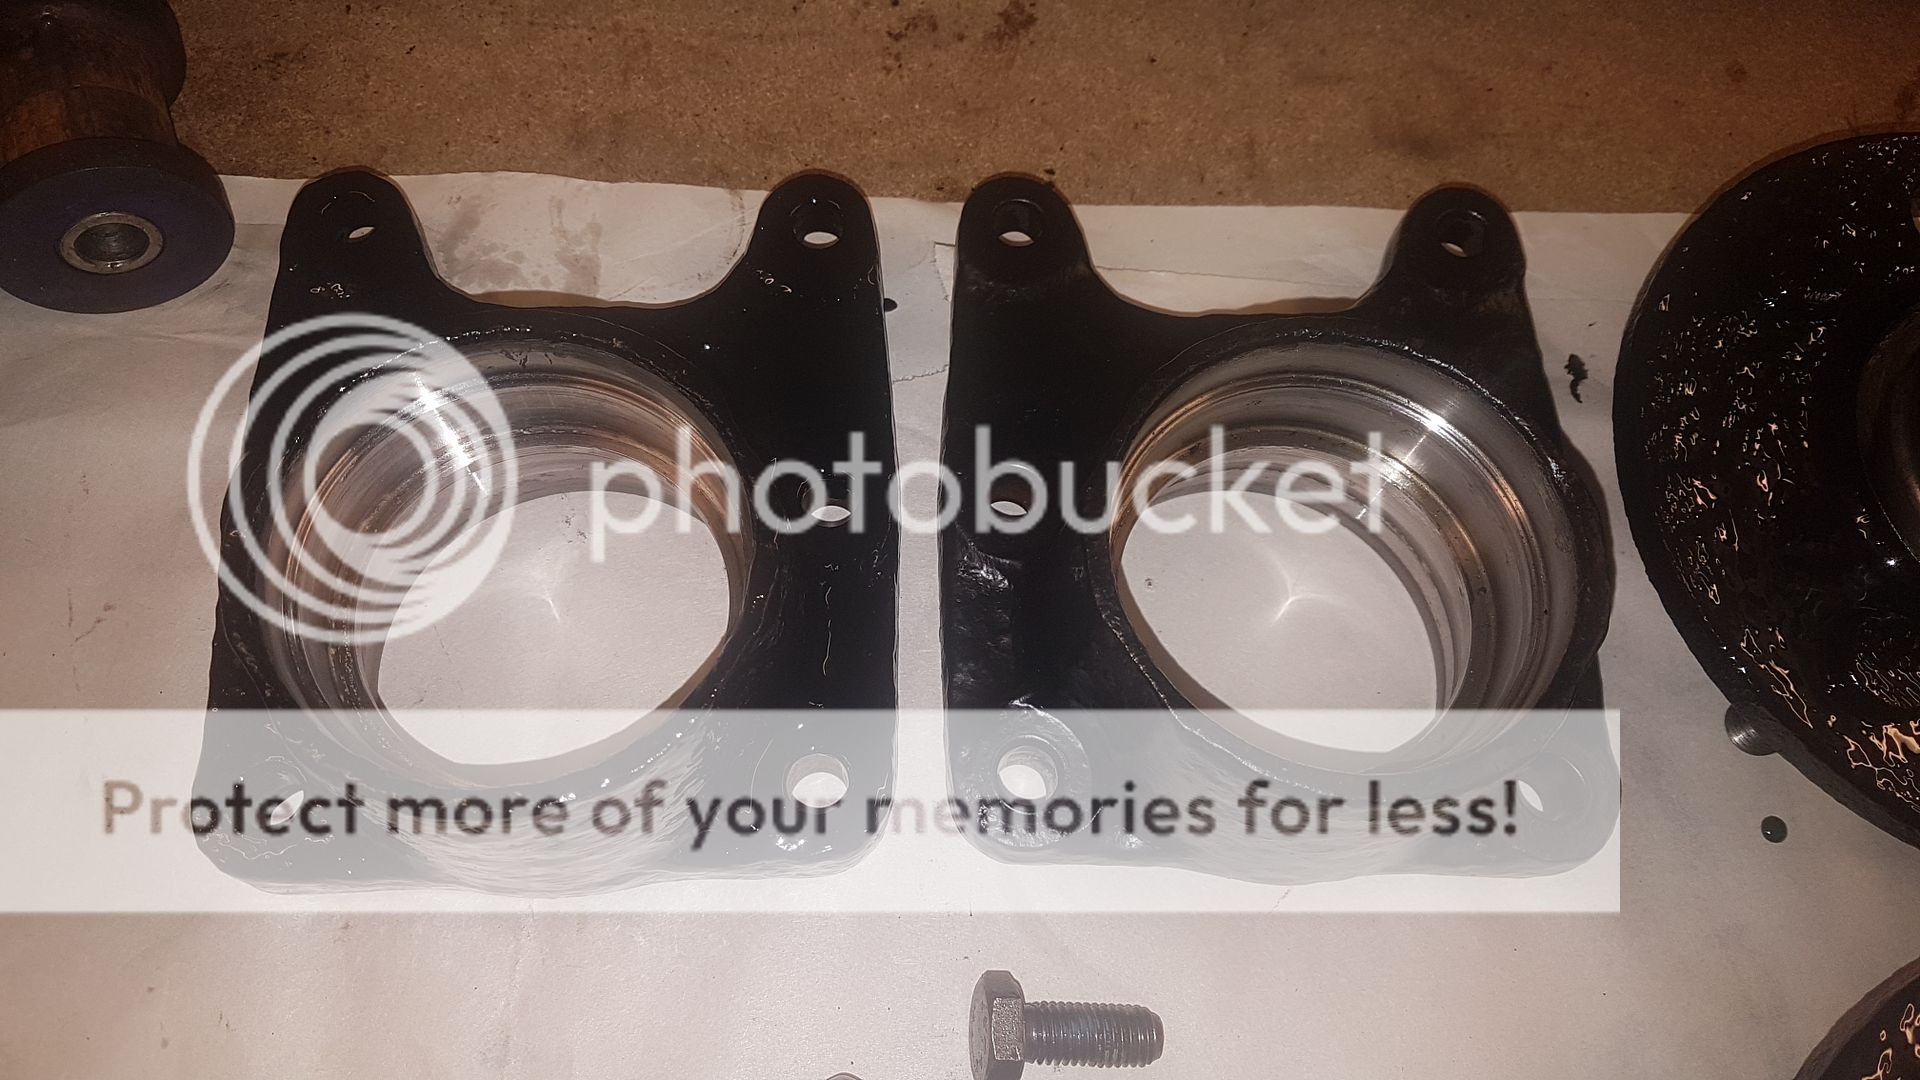
And pressed the races in place.
Been getting there with the brakes.
One of the rear callipers has come out great. The other is now in primer awaiting its paint after it needed a lot of cleaning up in comparison to the other.
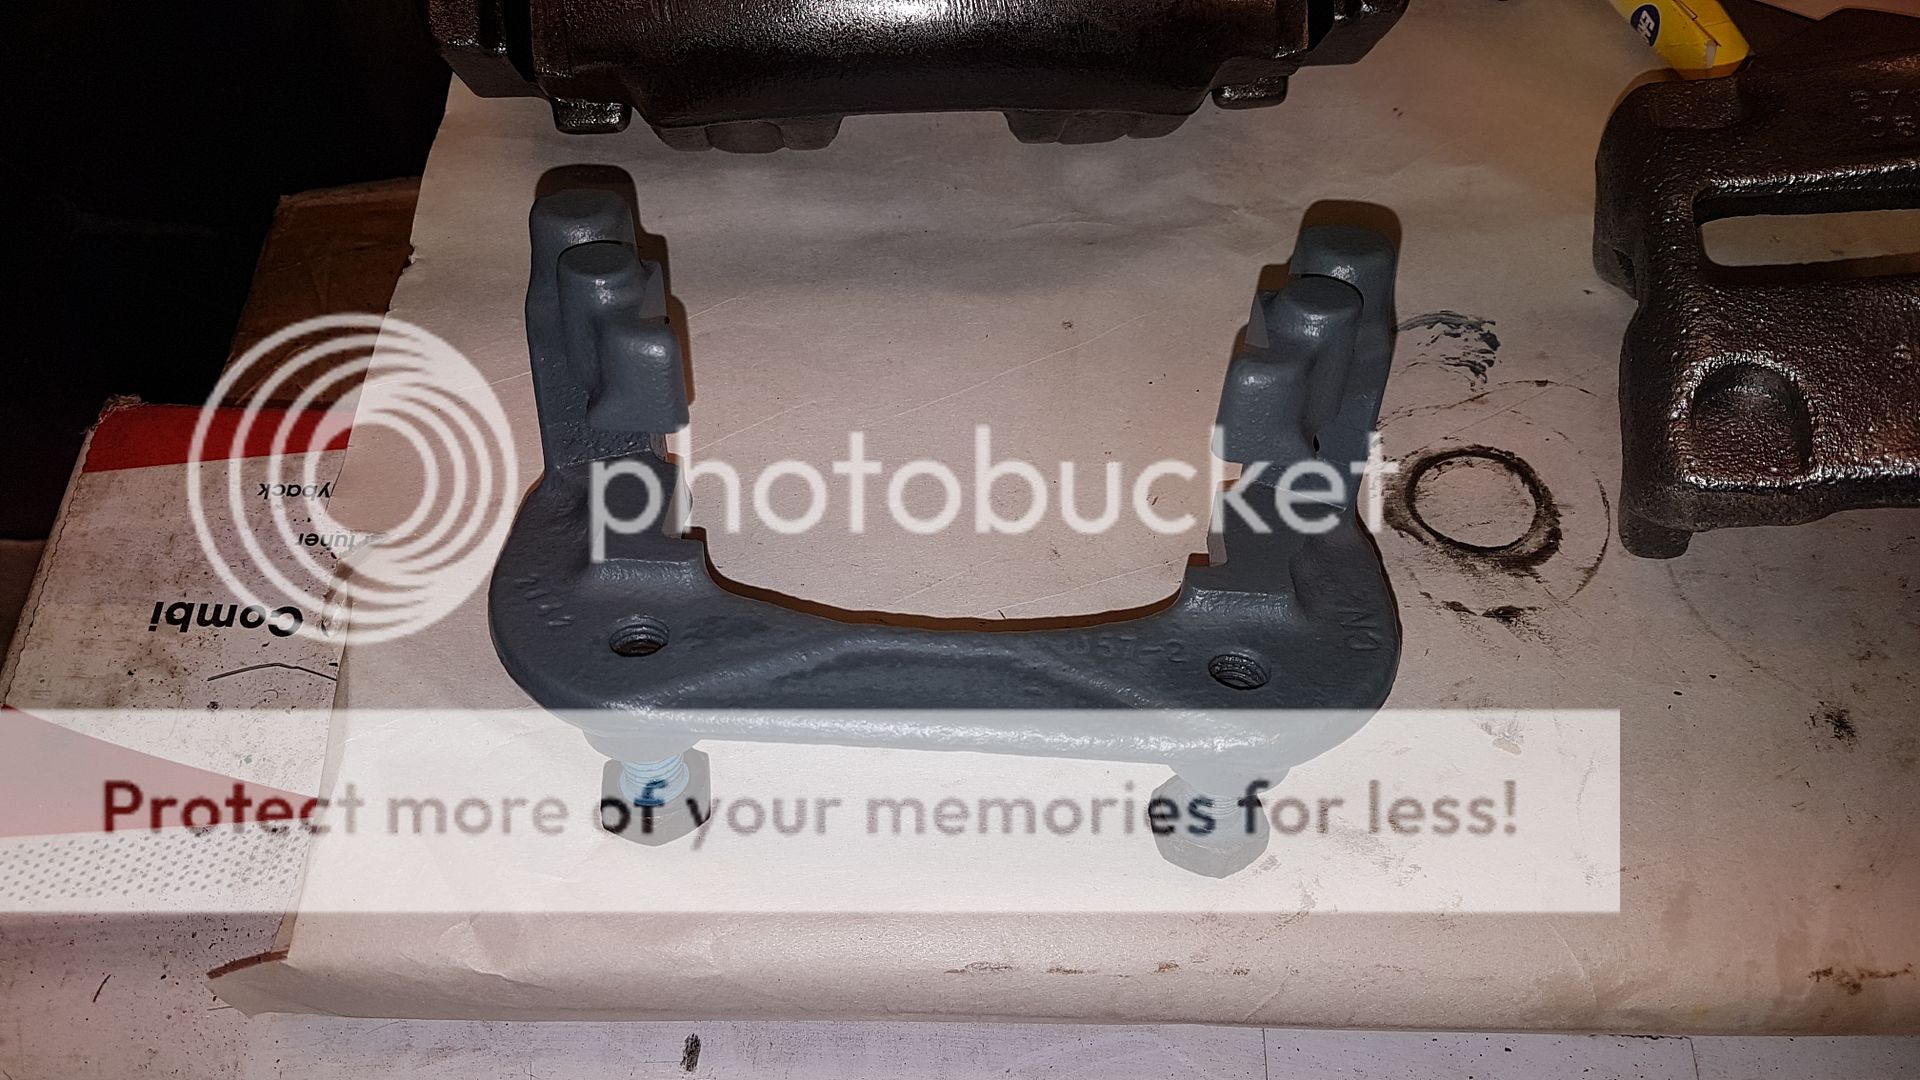
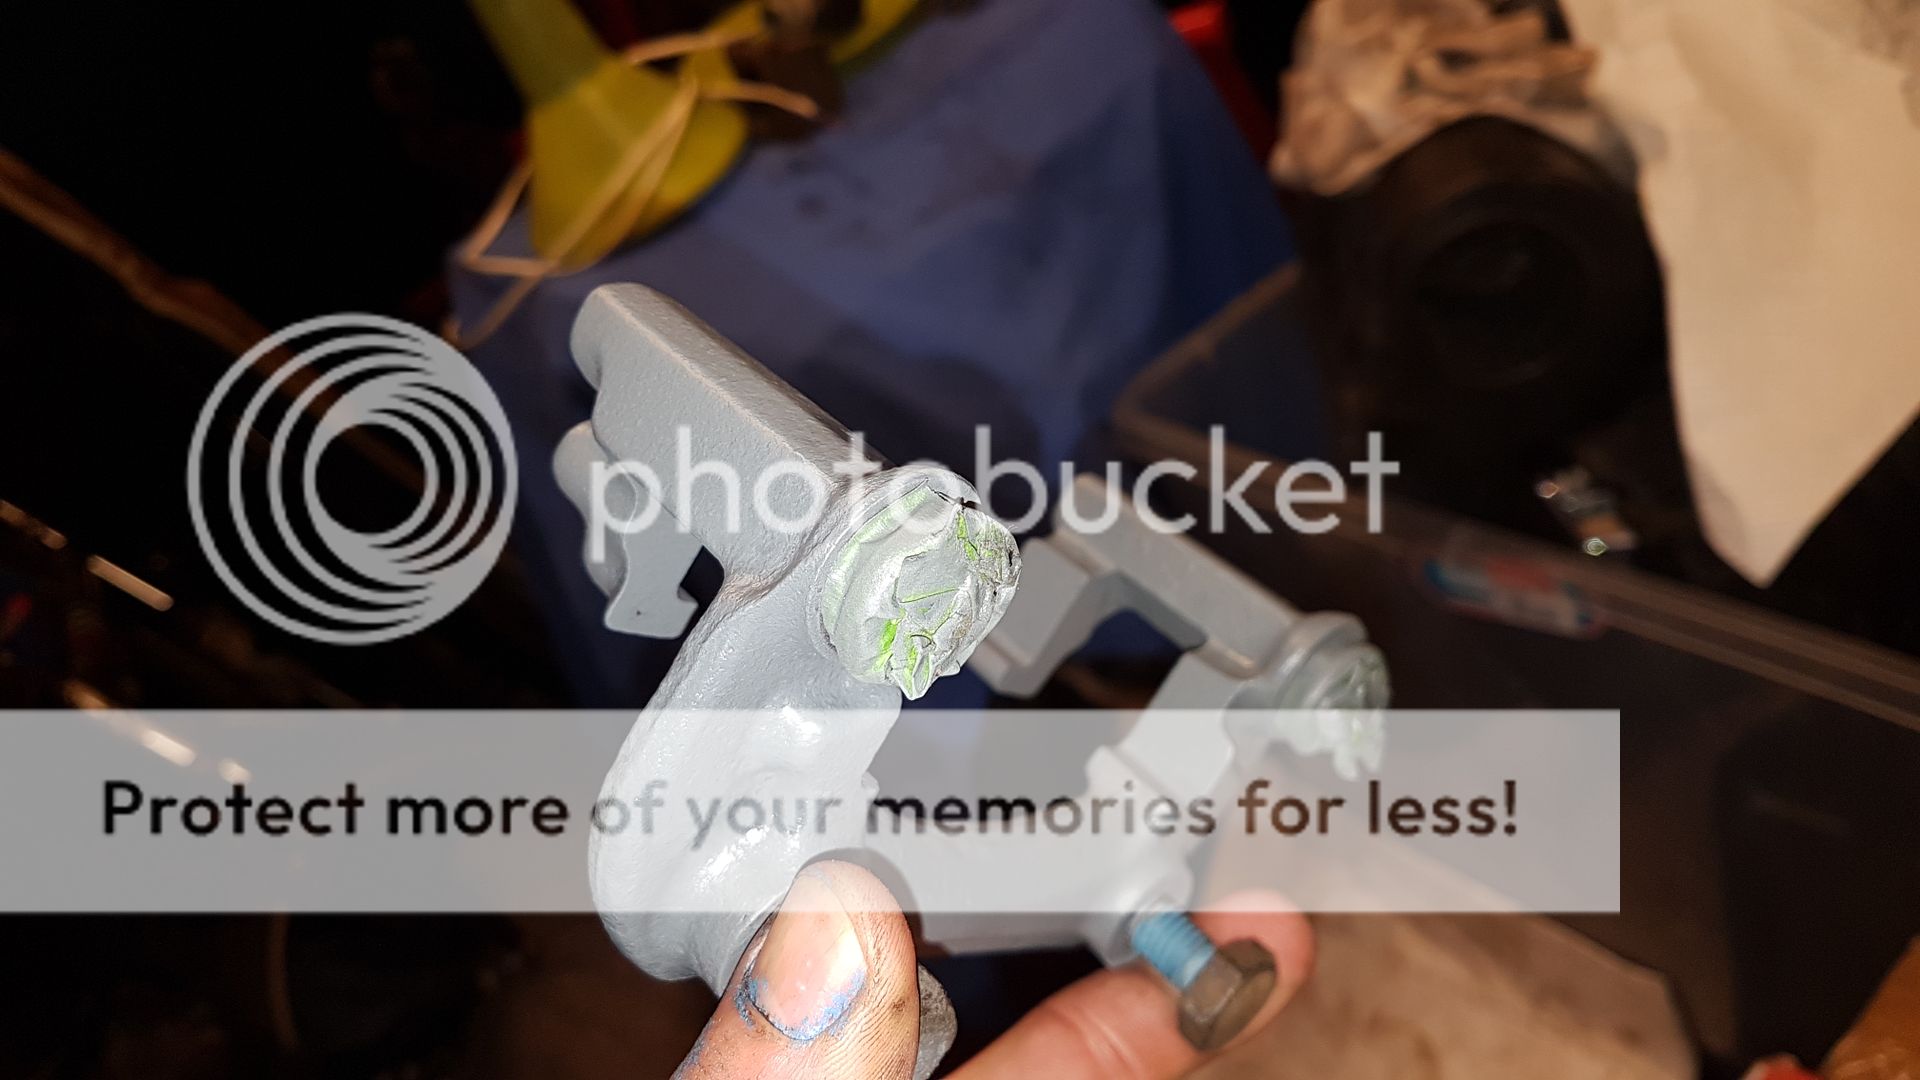
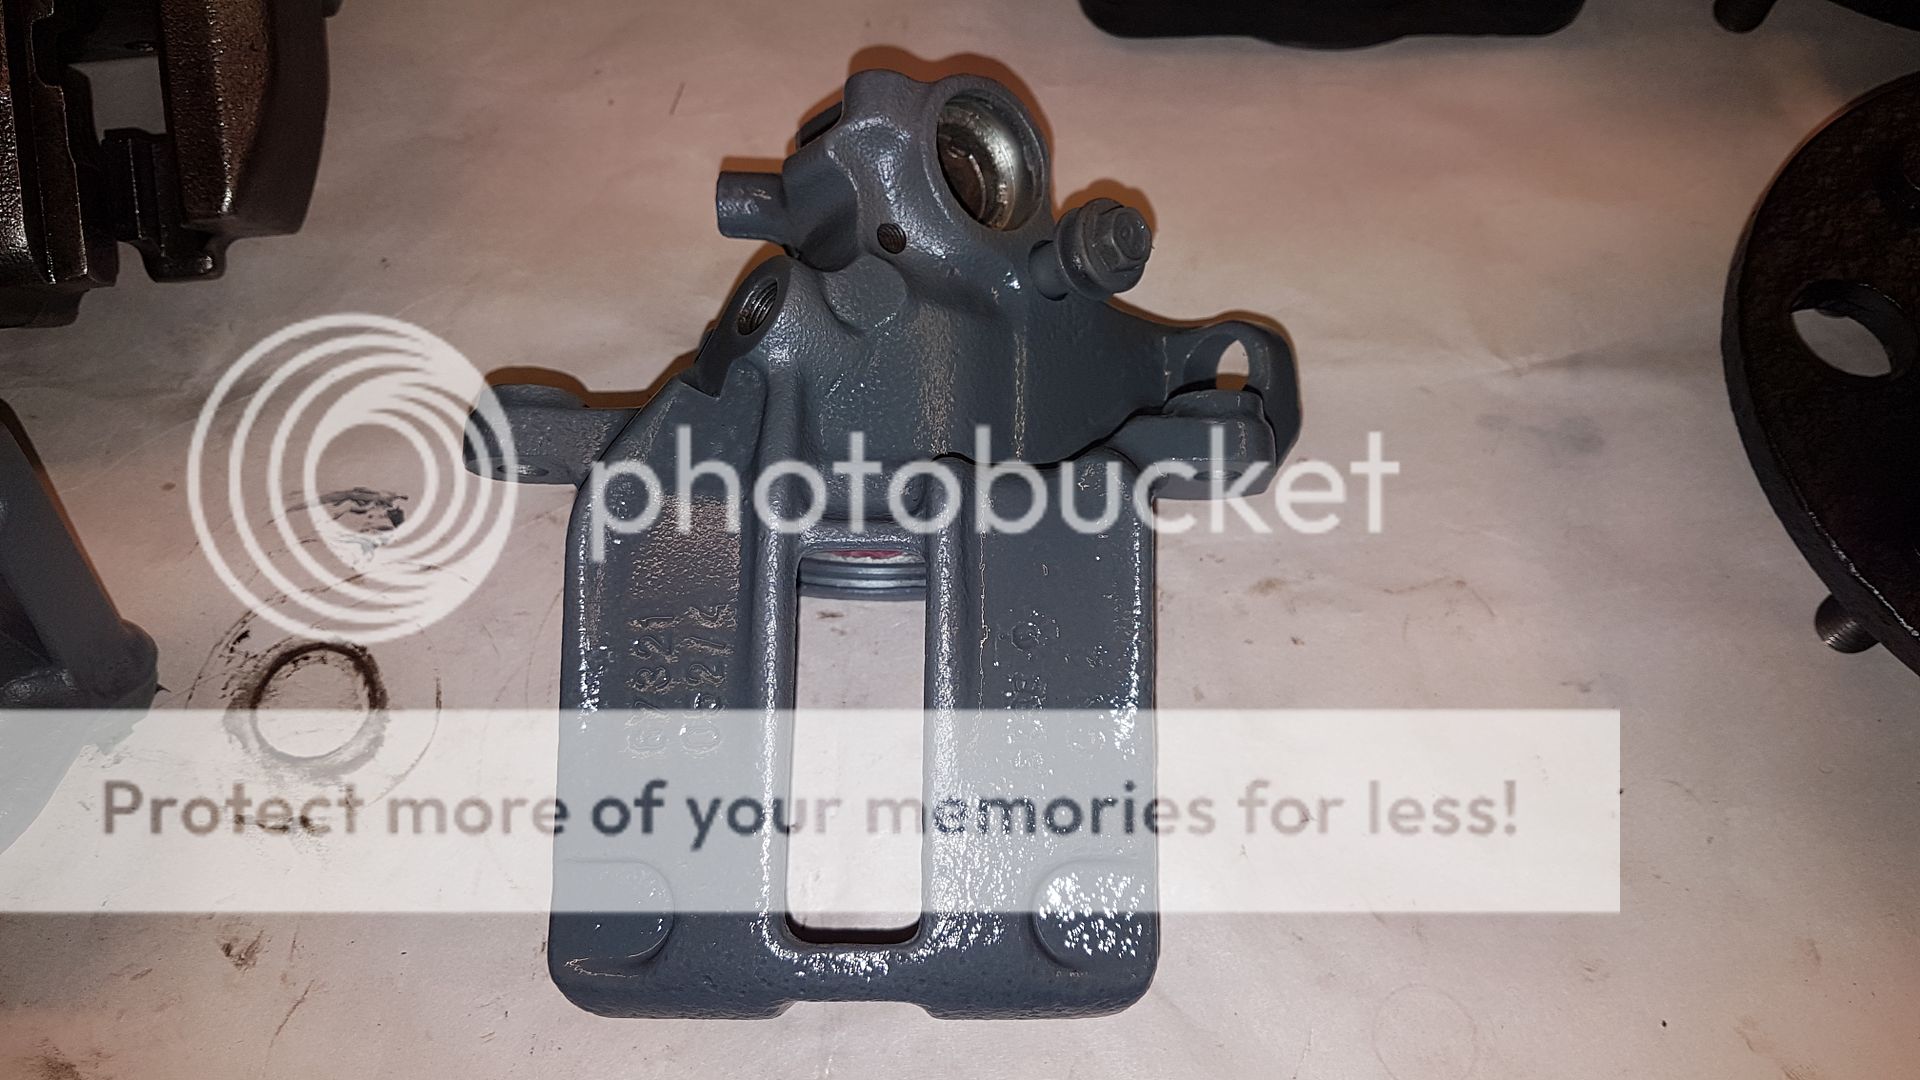
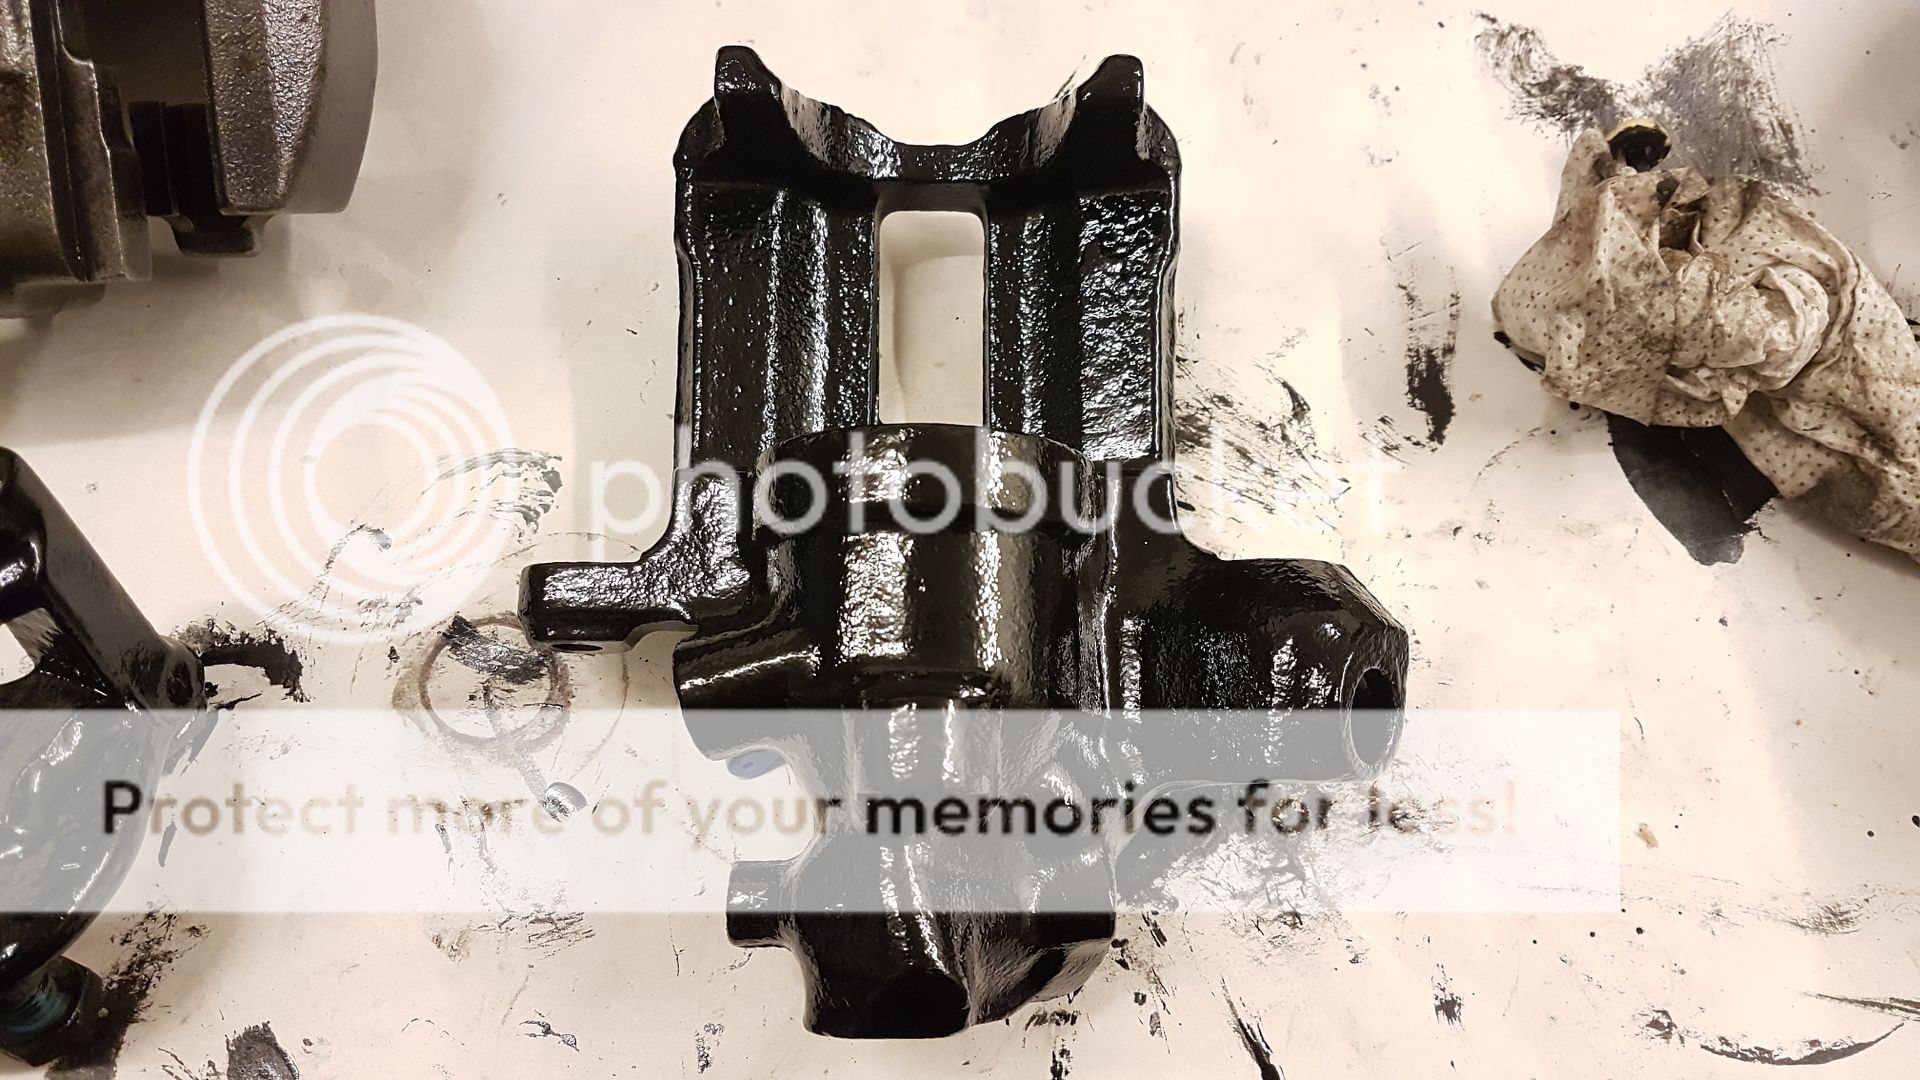
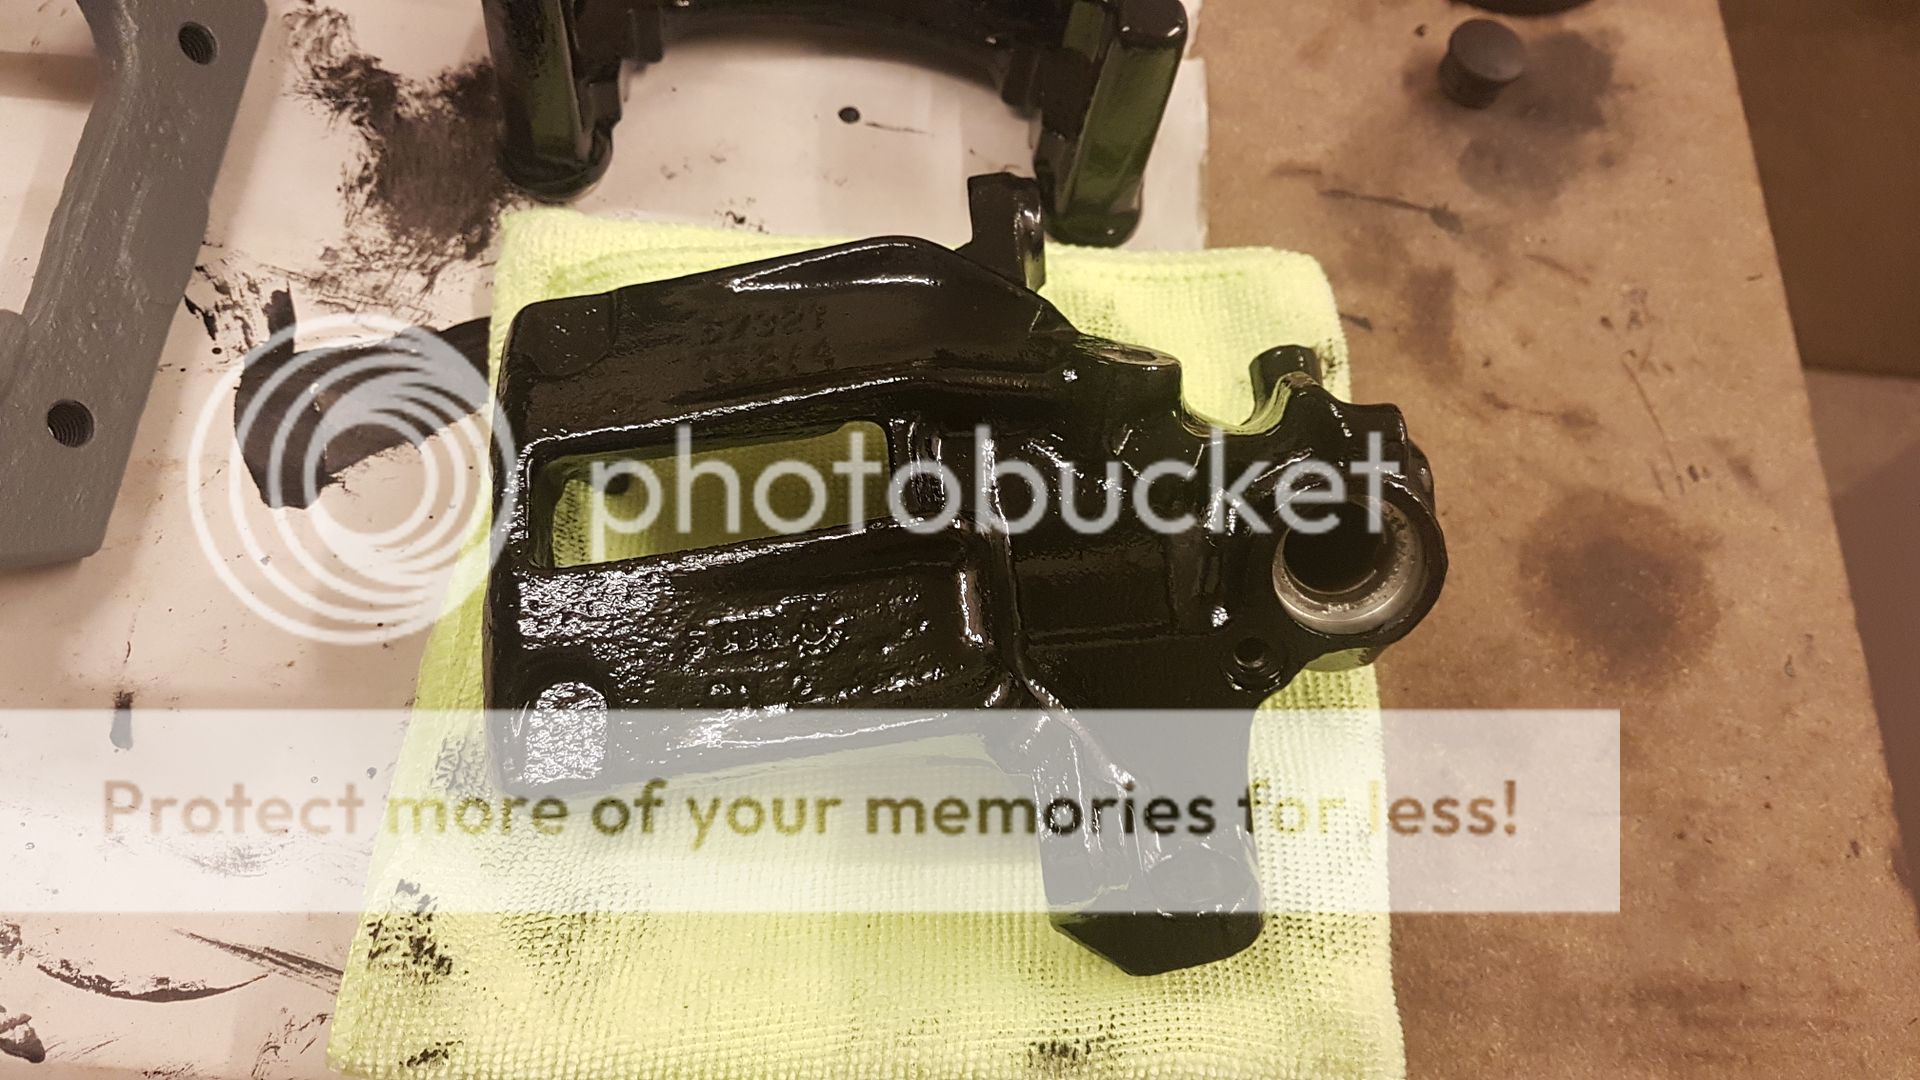
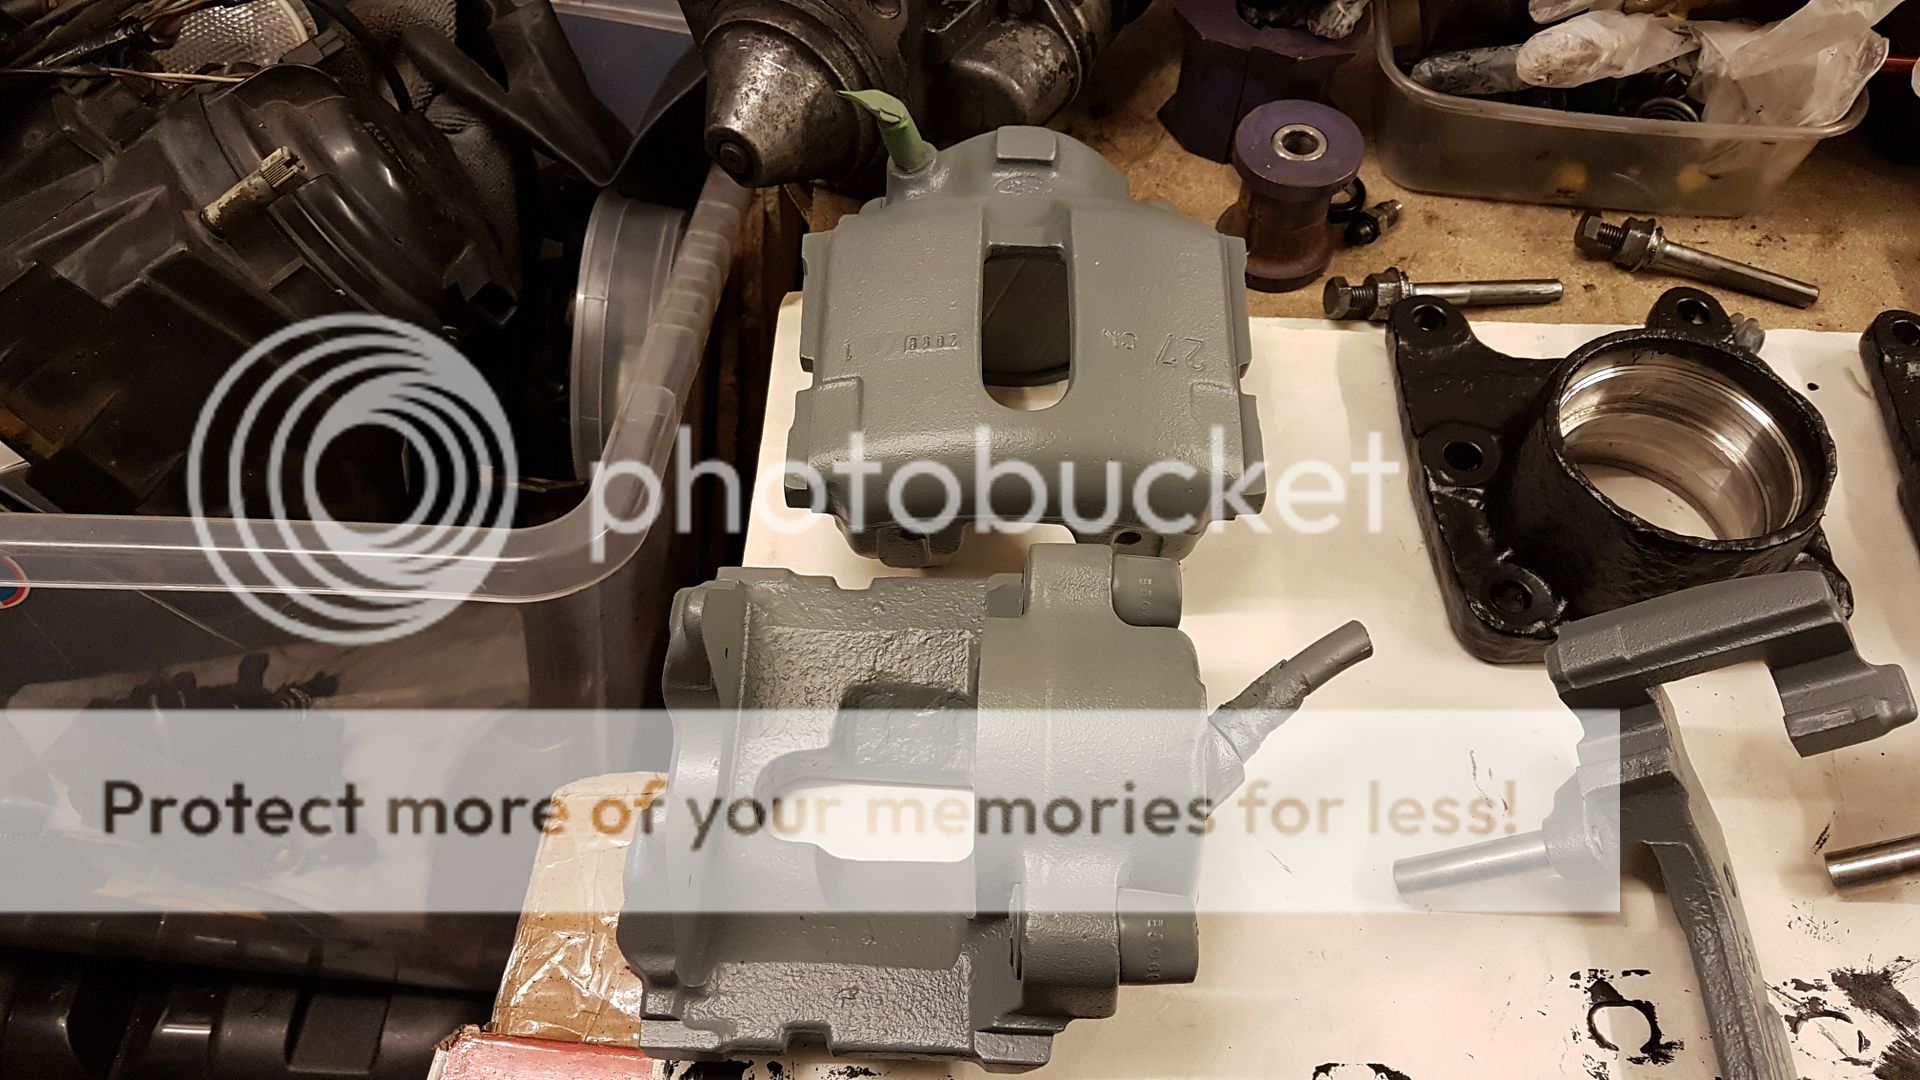
Also have now got the front brakes in primer and half way through painting them up, half at a time and then turning them over so to speak.
Got the rear arms together putting the drive shaft ends in.
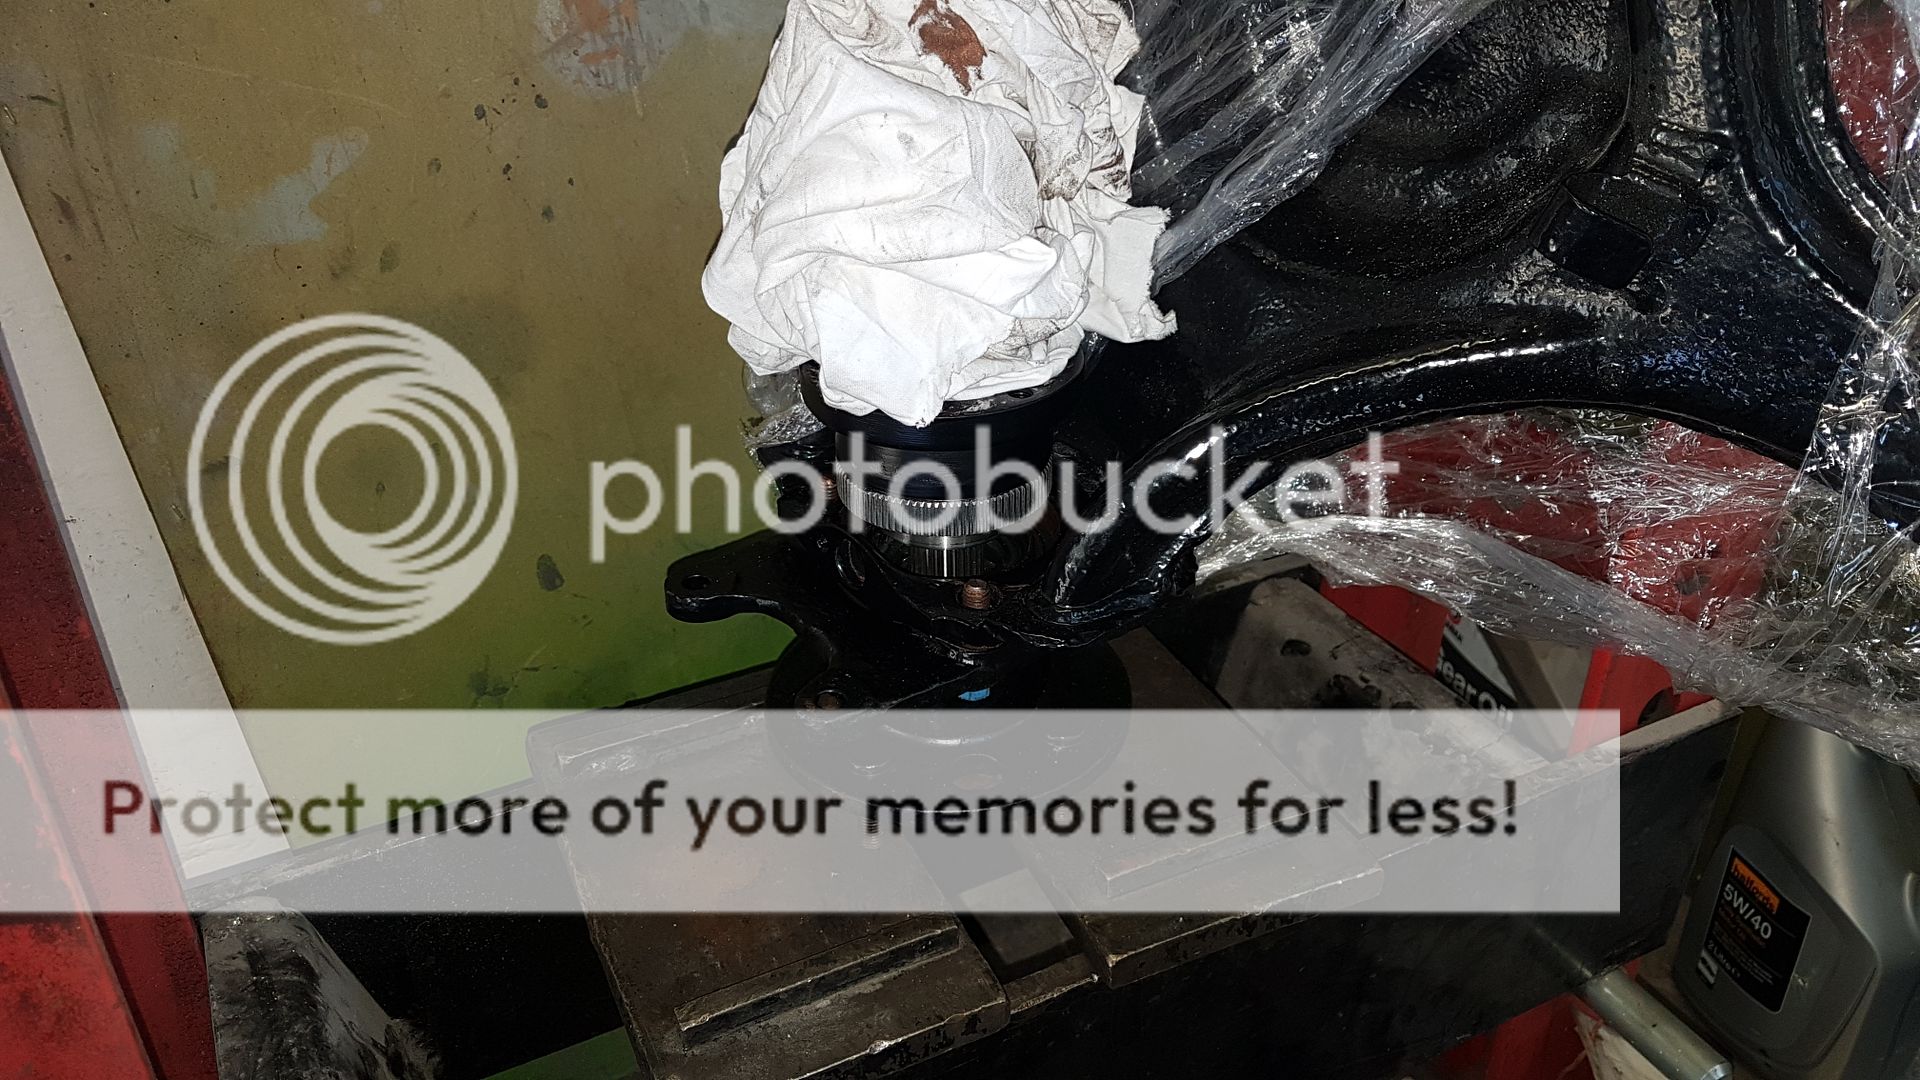
So hard not to scratch the powder coating

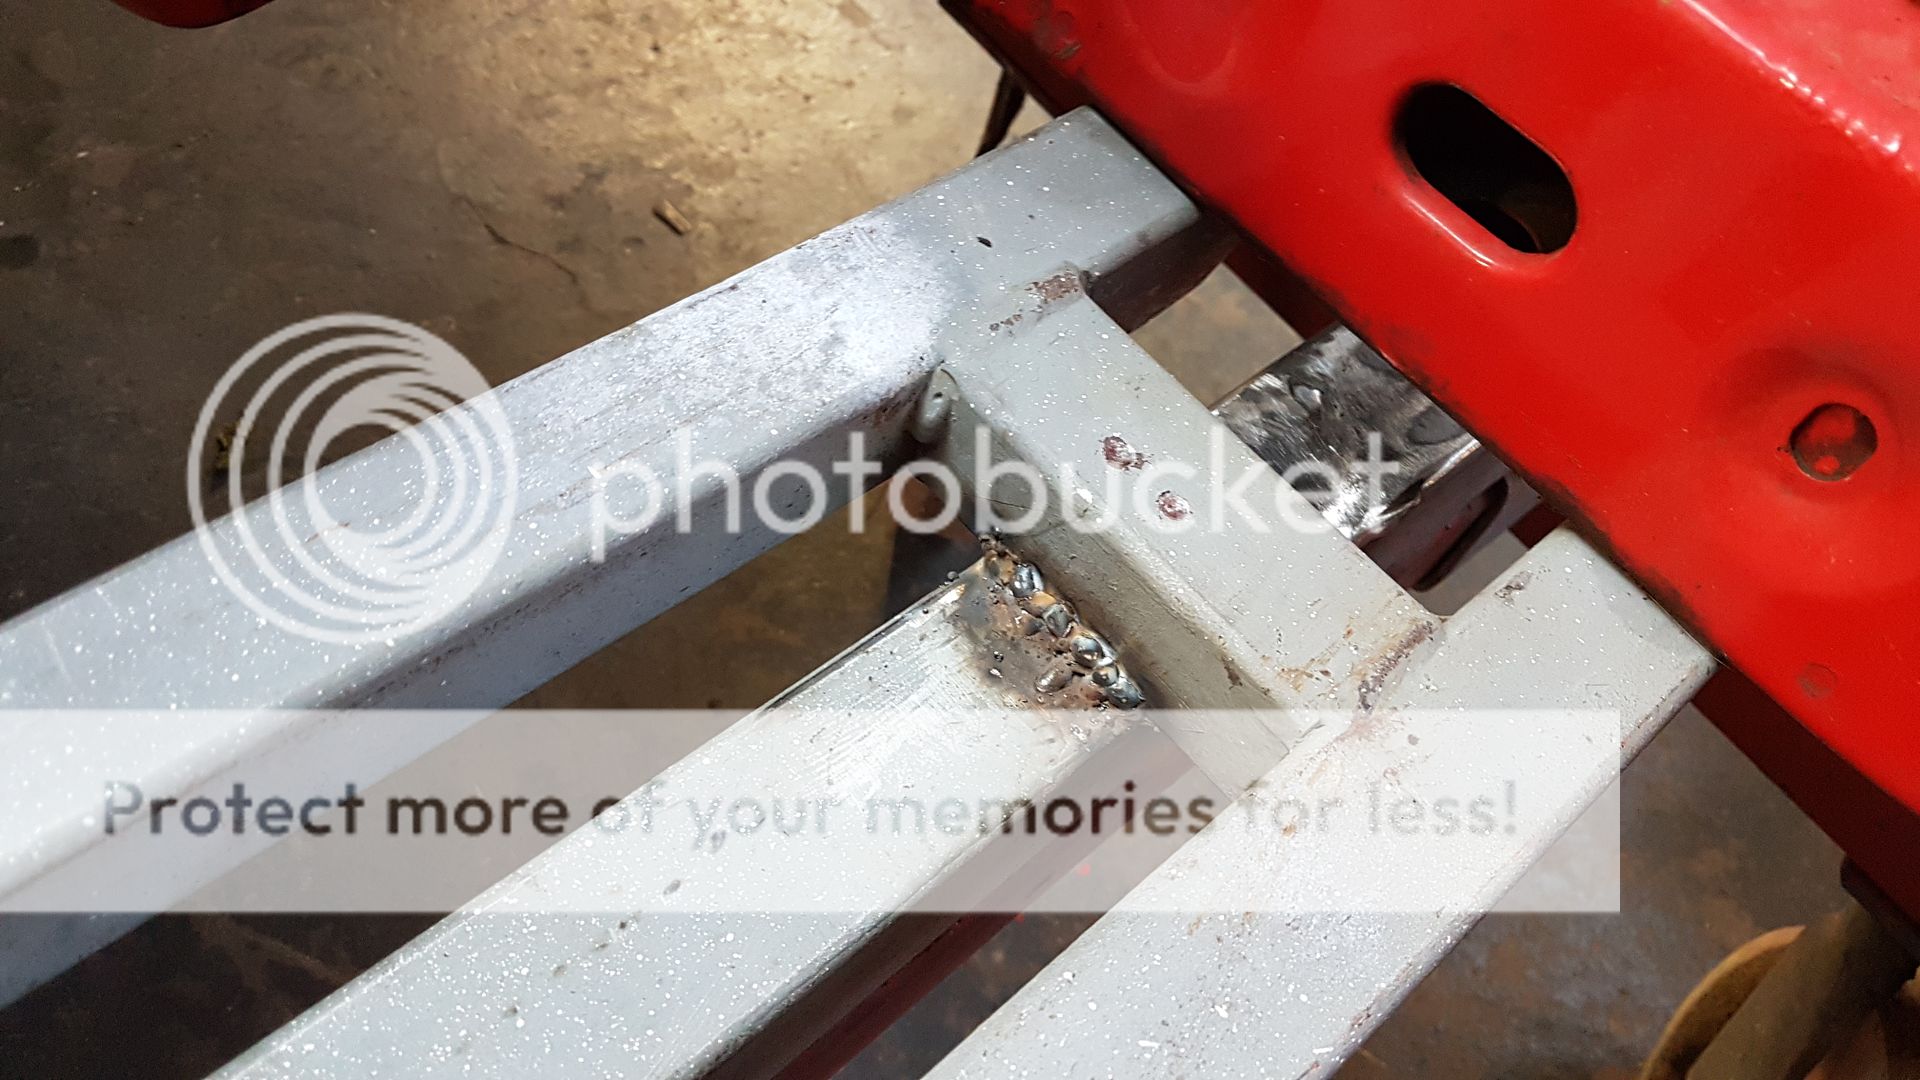
Did some cutting and welding to the front dollies crossmember rig to get it low enough.
Got to where the shell was and prepped it ready to put the rear beam on. One of the beam bolts was an absolute bugger to get up the slot, but got there in the end only to discover I forgot that the beam needs to be down a bit to put the outer arm bolts in

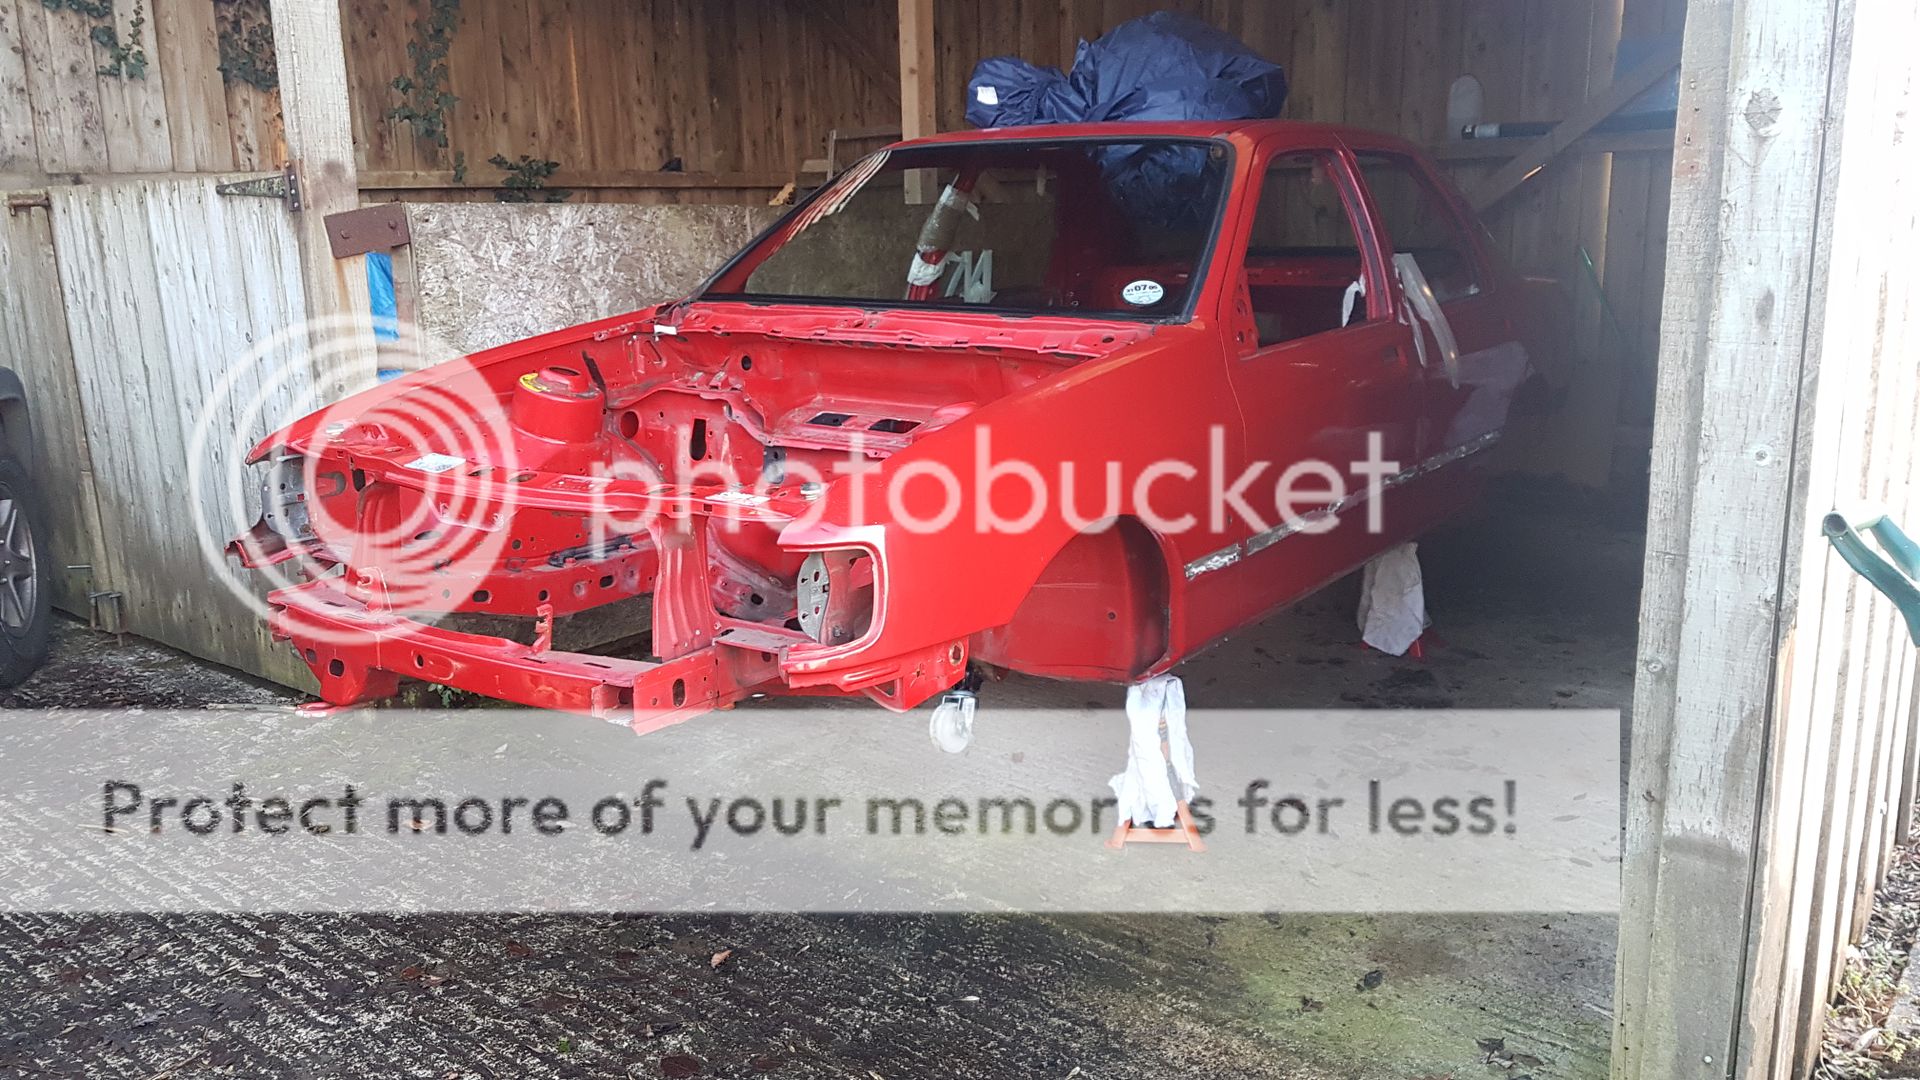
Got it all together minus the shocks.
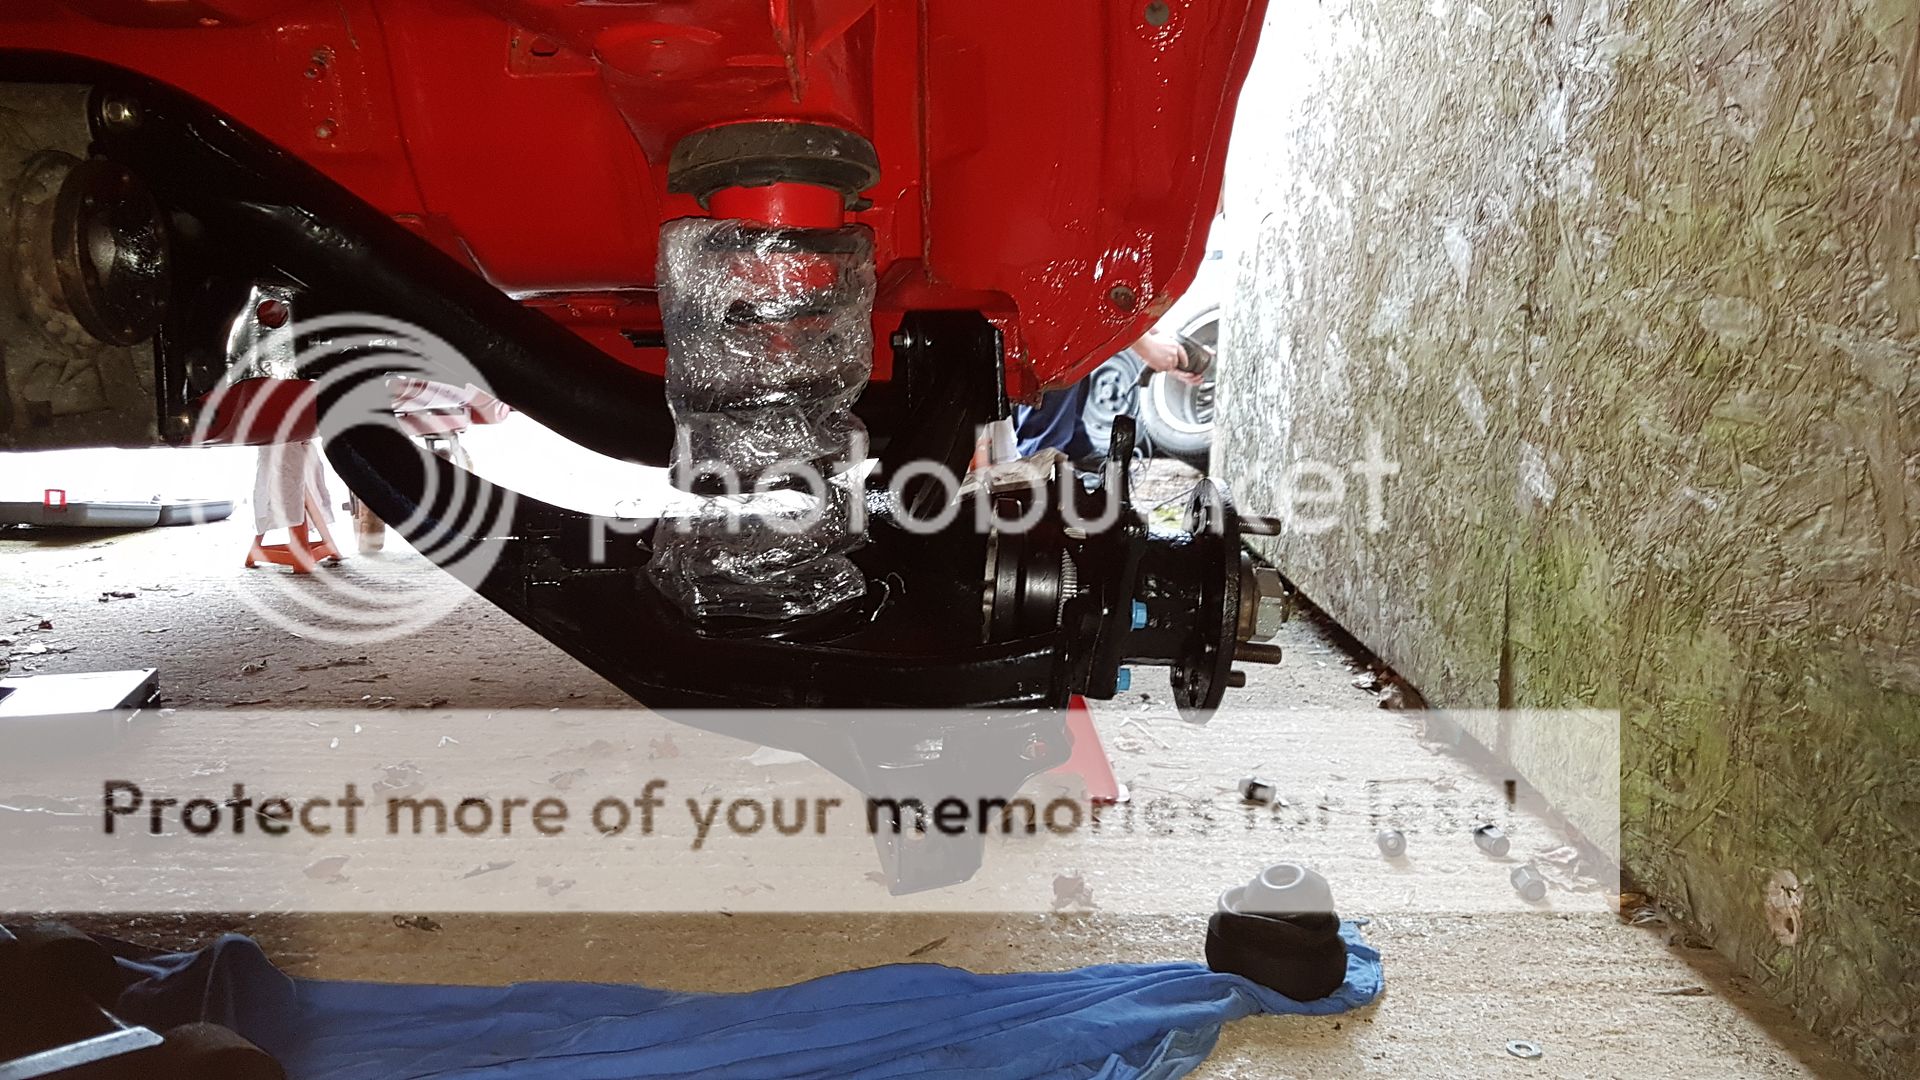
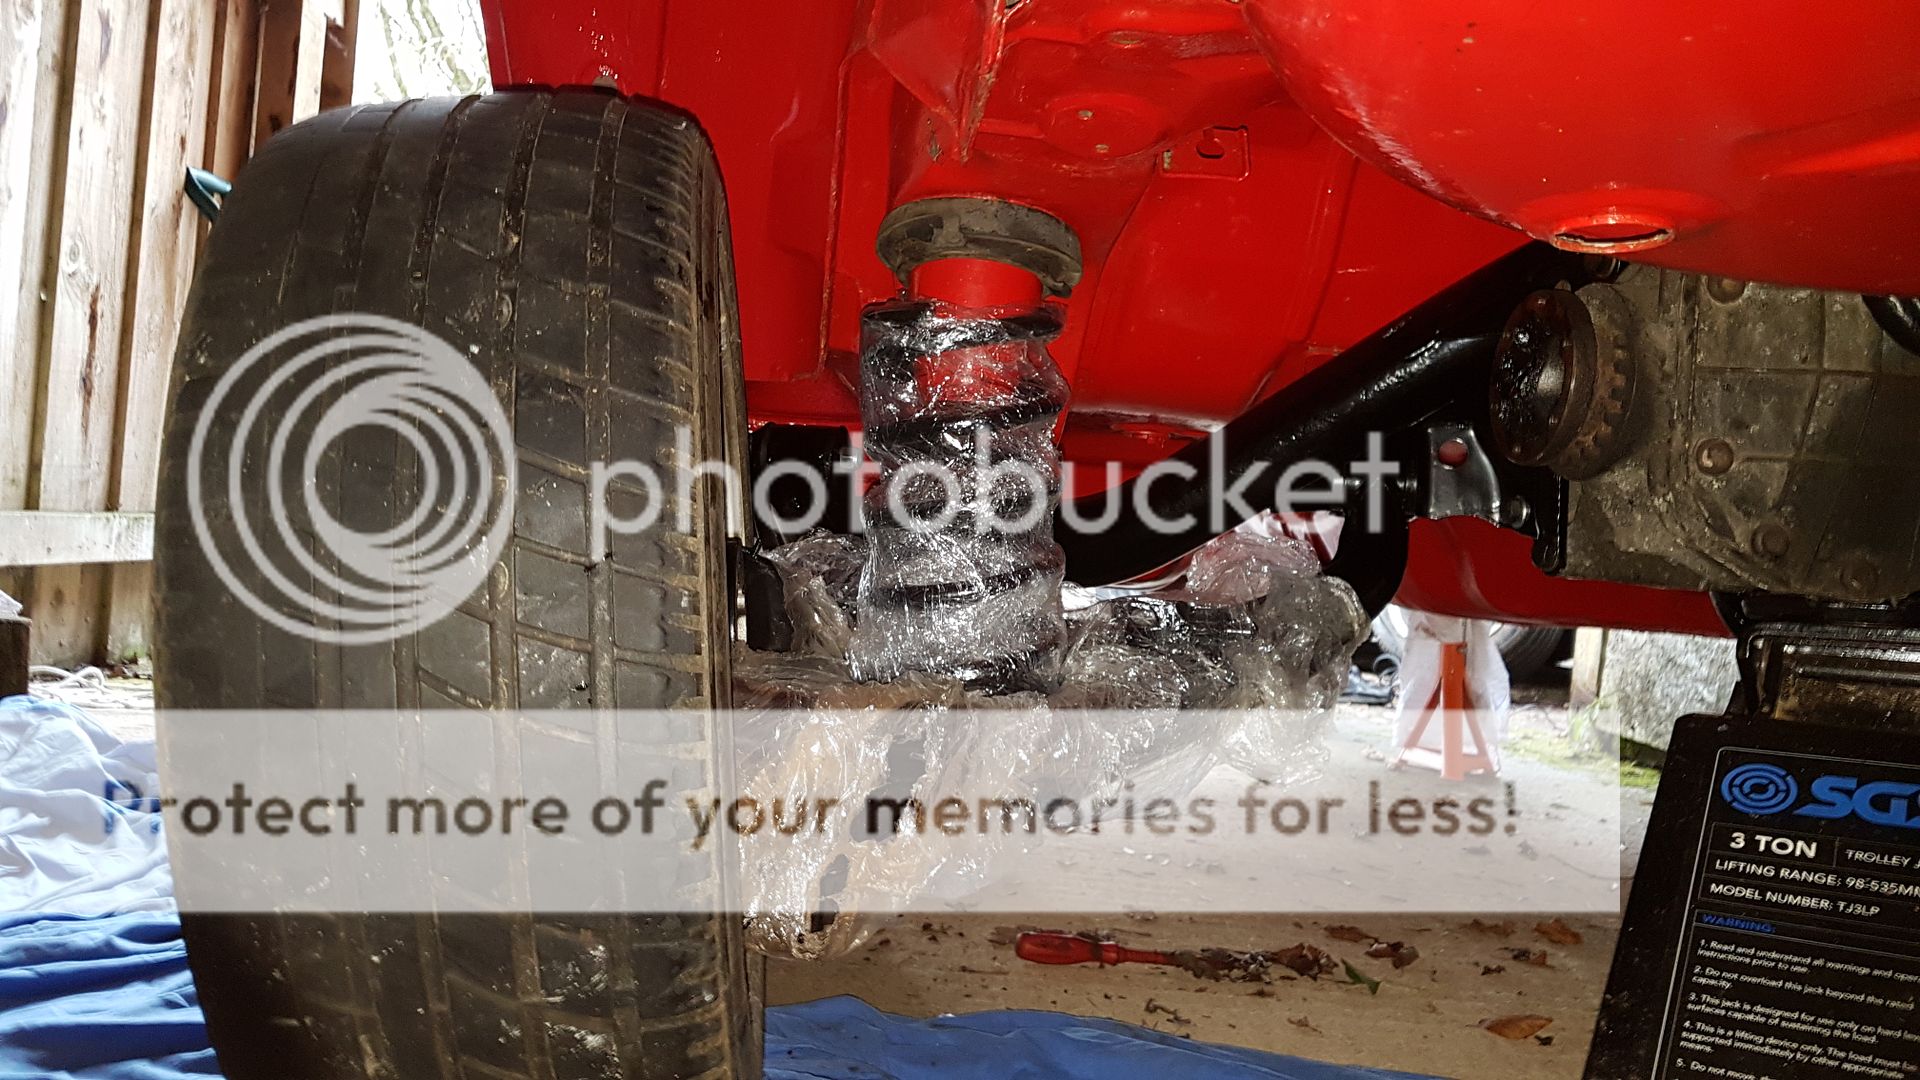
Richie and Beany from work then came with his huge trailor to get the car in. So much easier to move now in comparison to the silly trolley wheels it was on previously. Massive thanks for the help

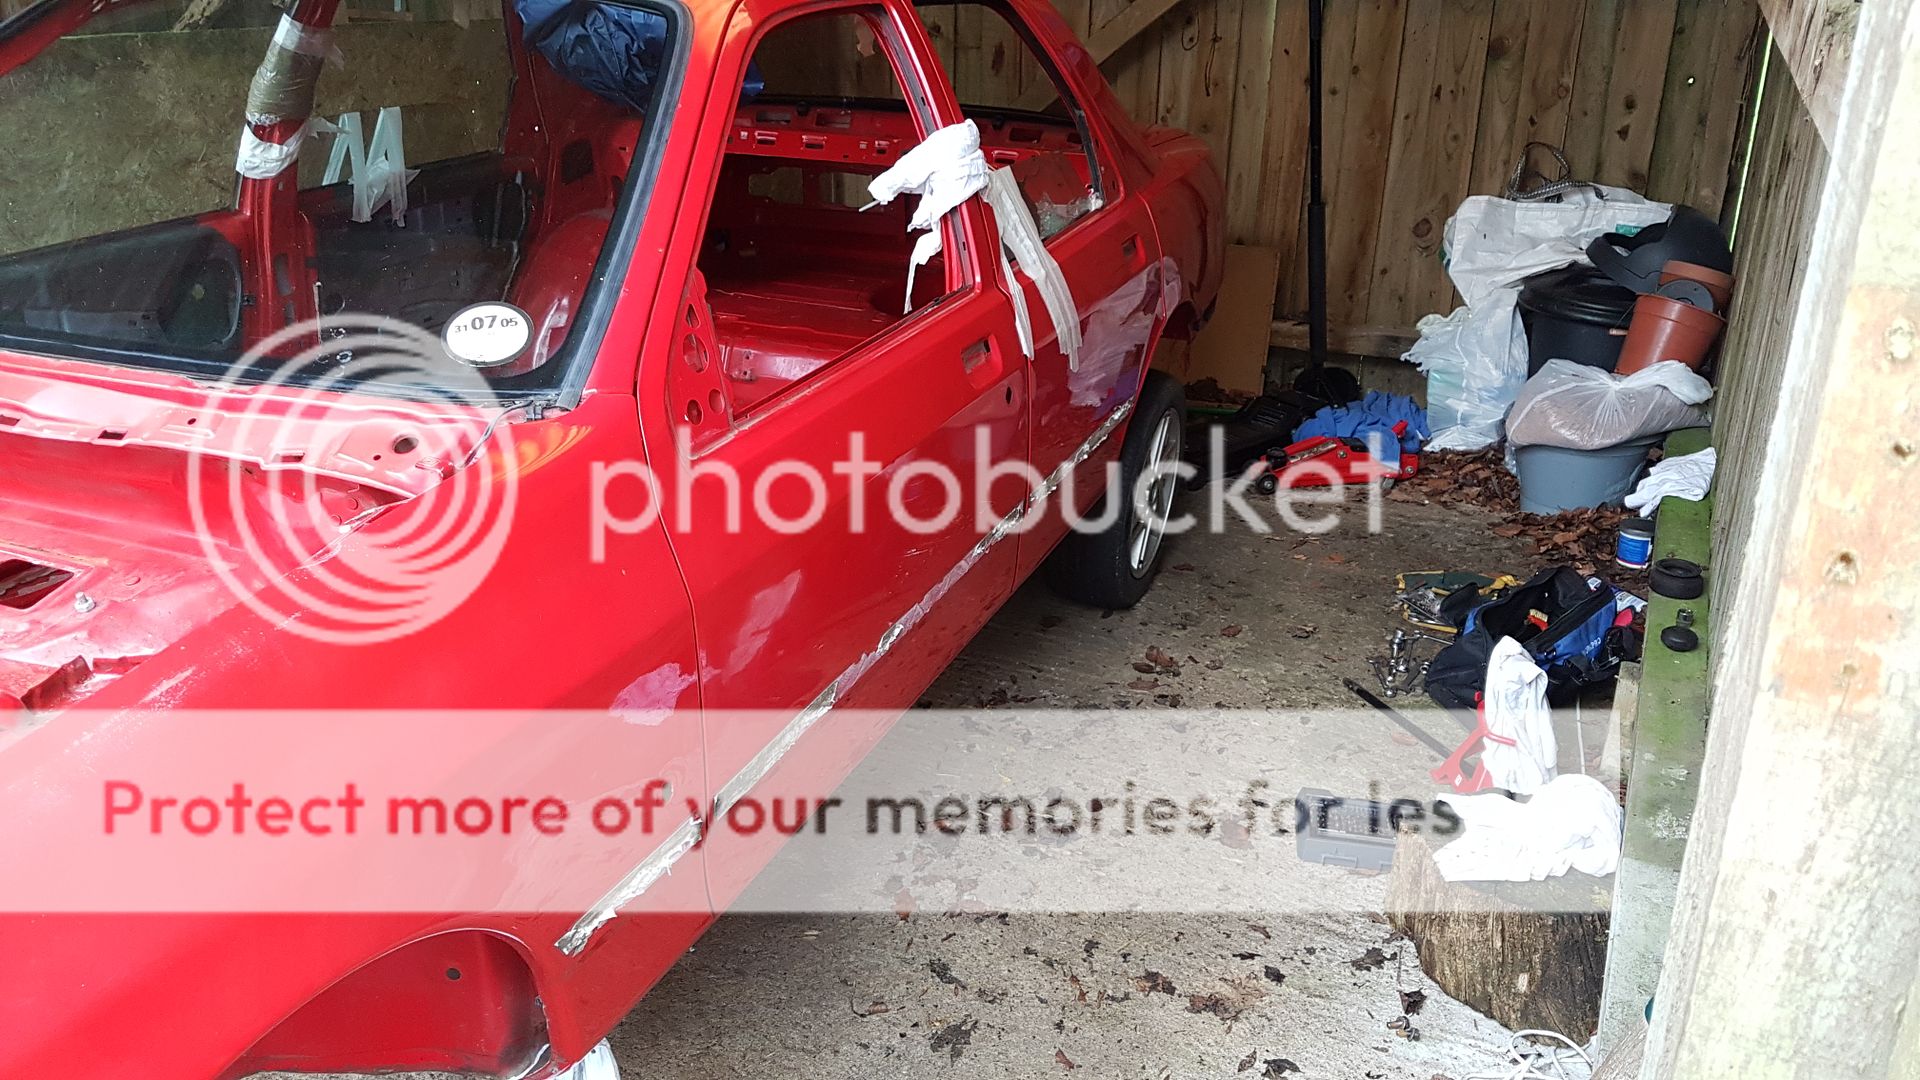
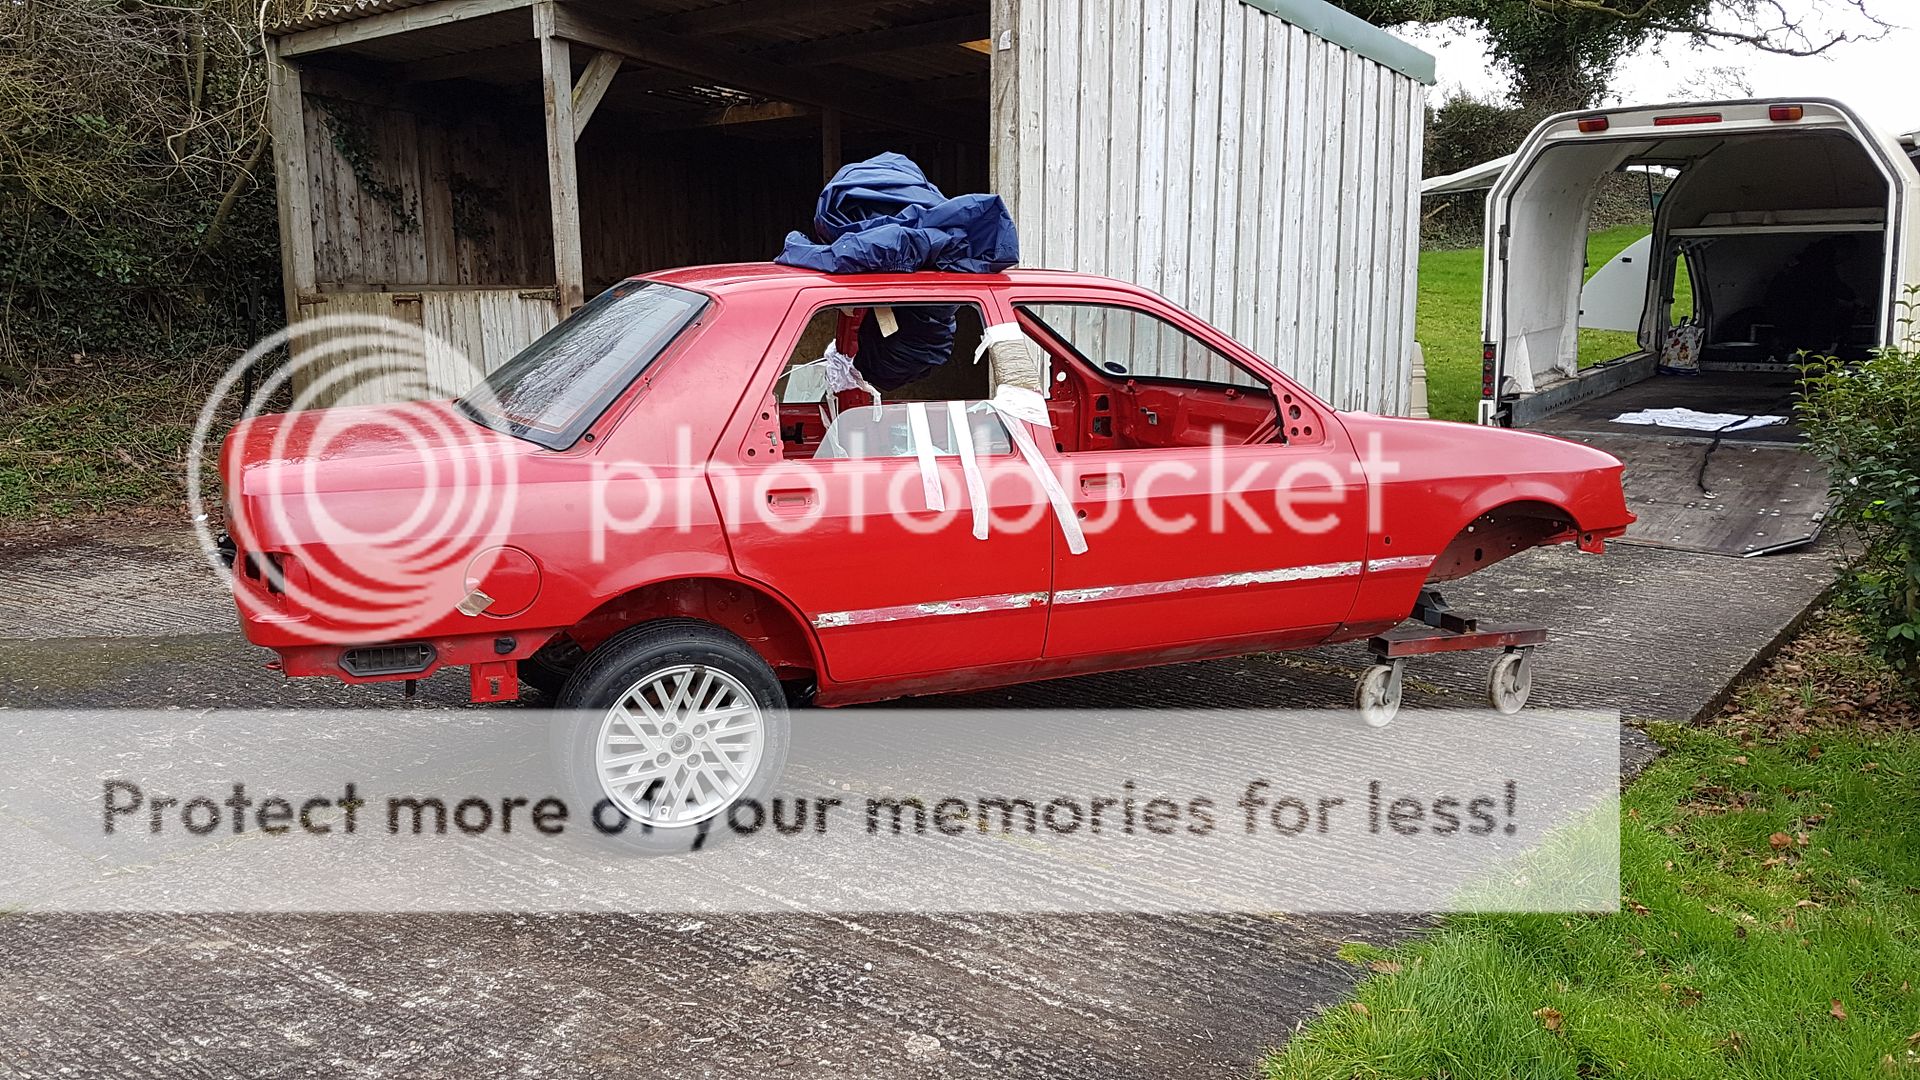
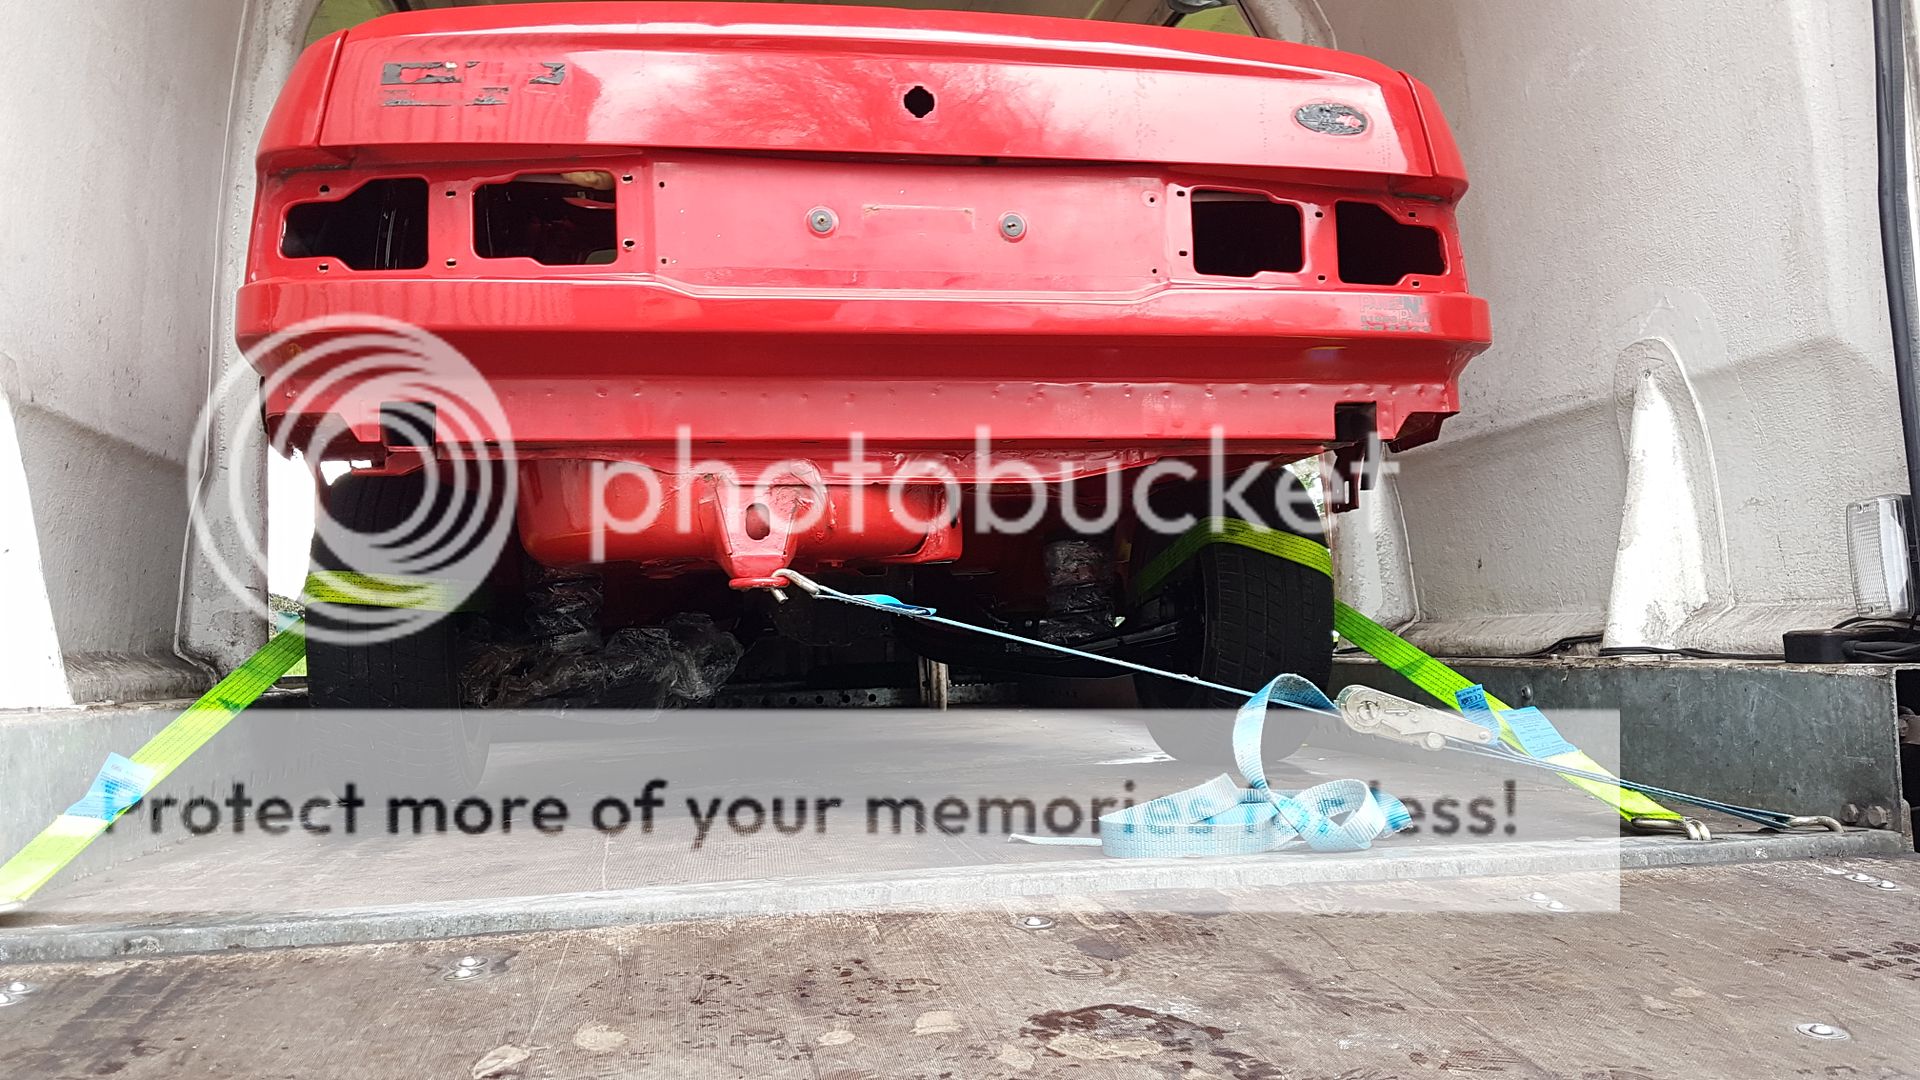
Awaiting its entrance to the club.
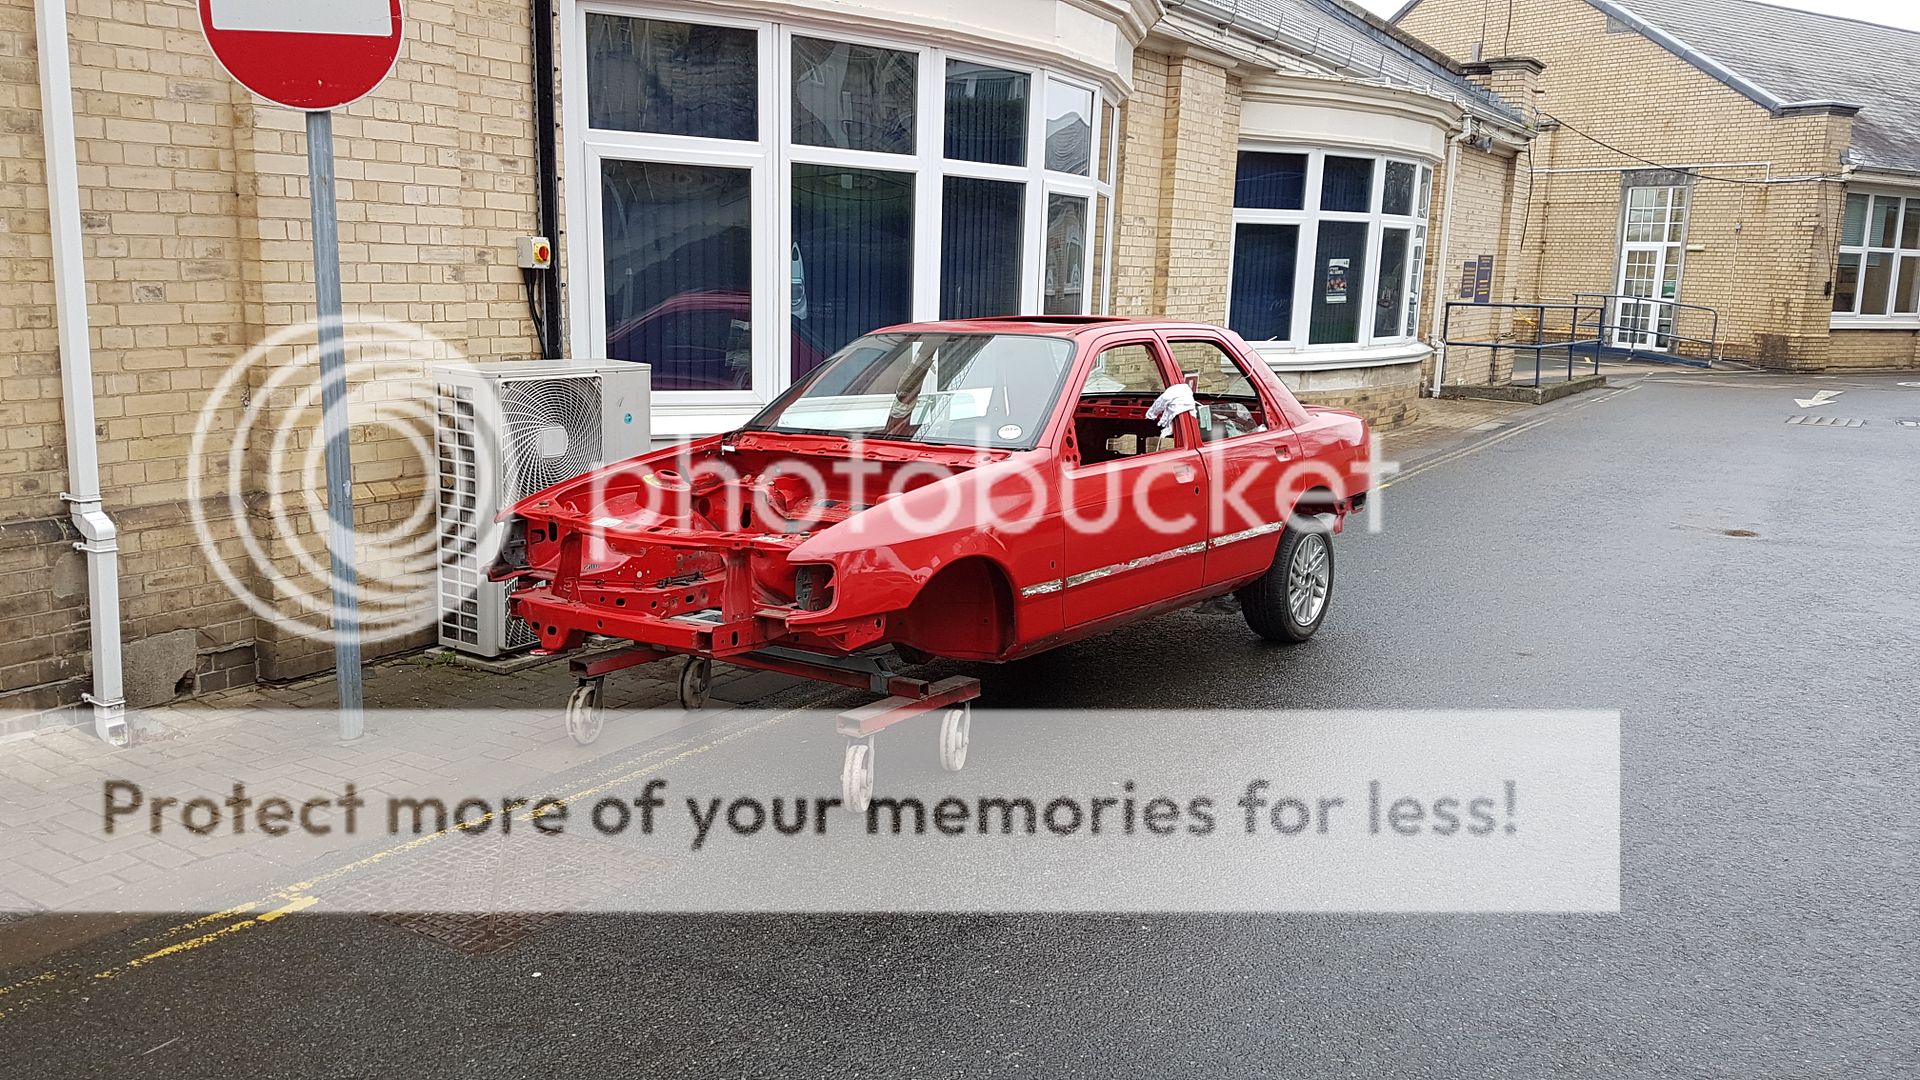
And in its bay ready to be lifted off the ground again to sort a few things on it and key up prep and get the underneath covered in UPOL Raptor. Need to decide by Monday if I go tintable or normal Black Upol paint??
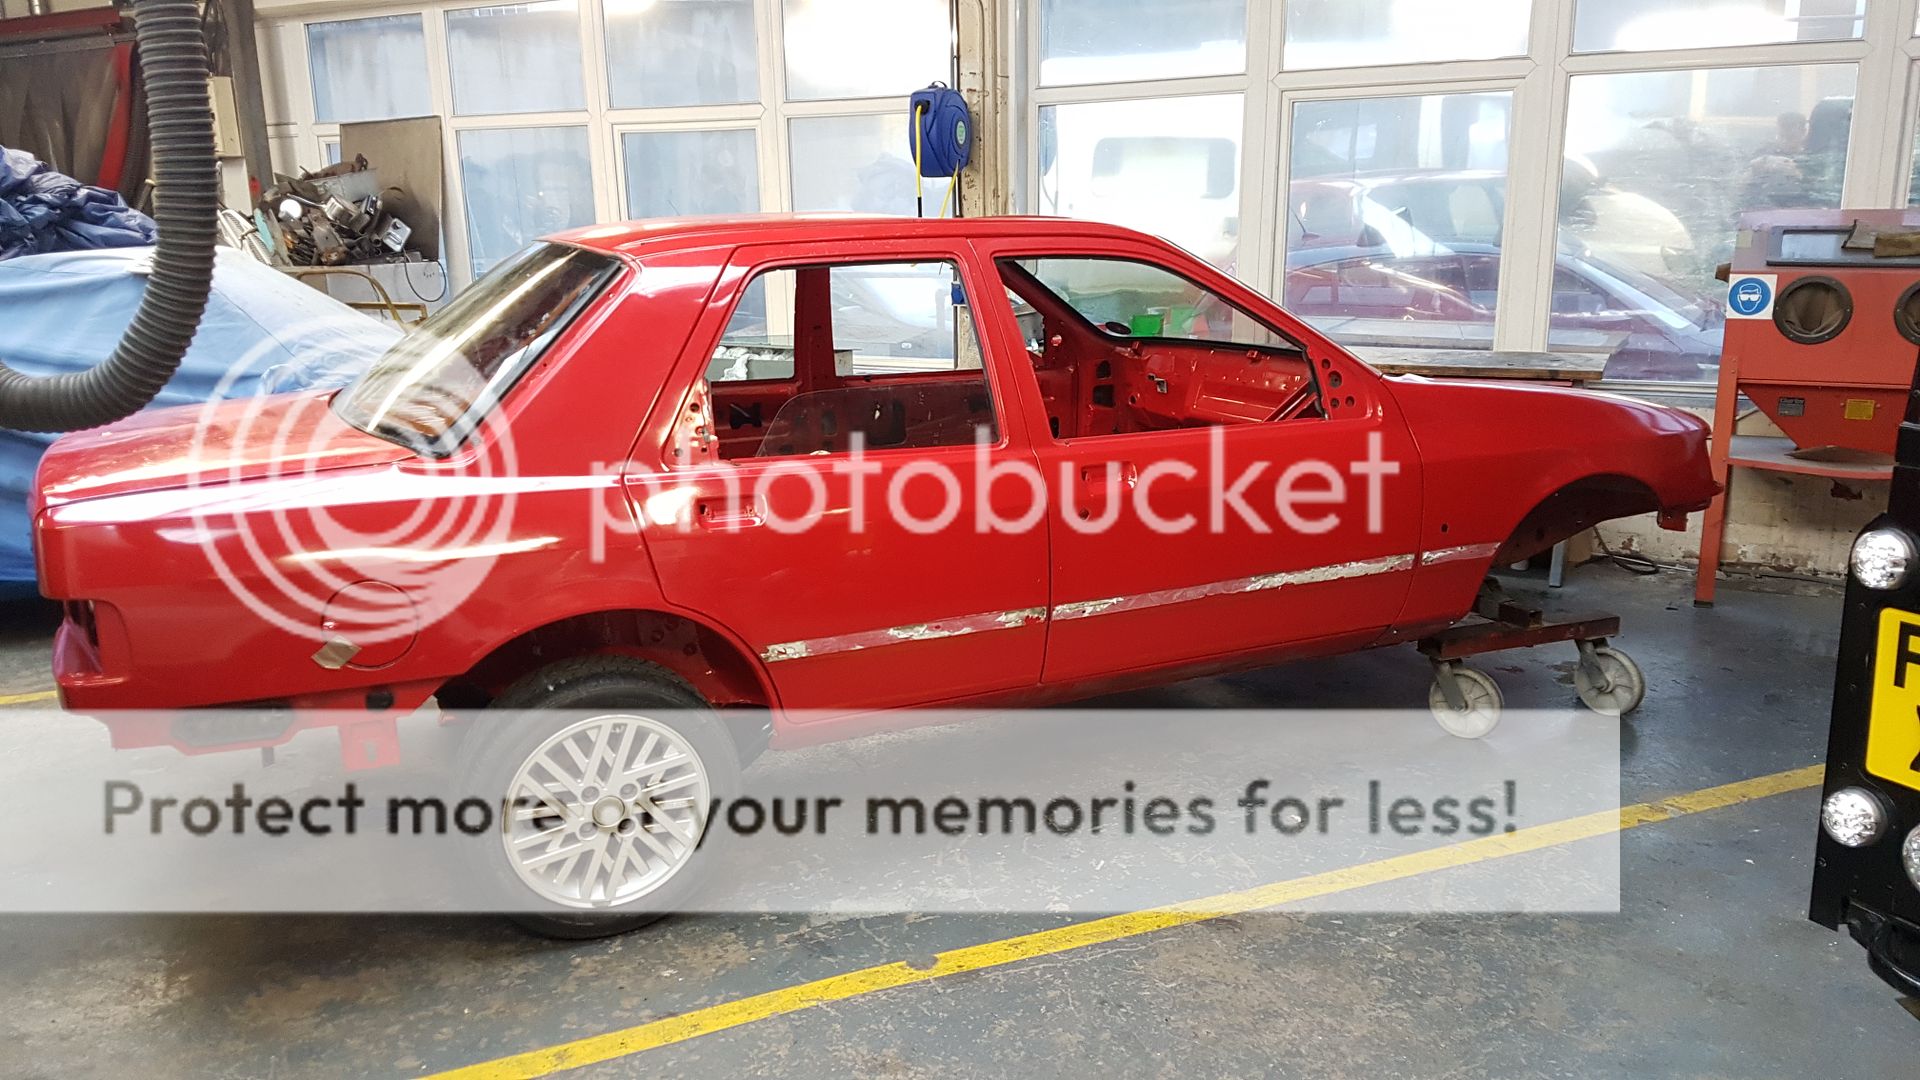
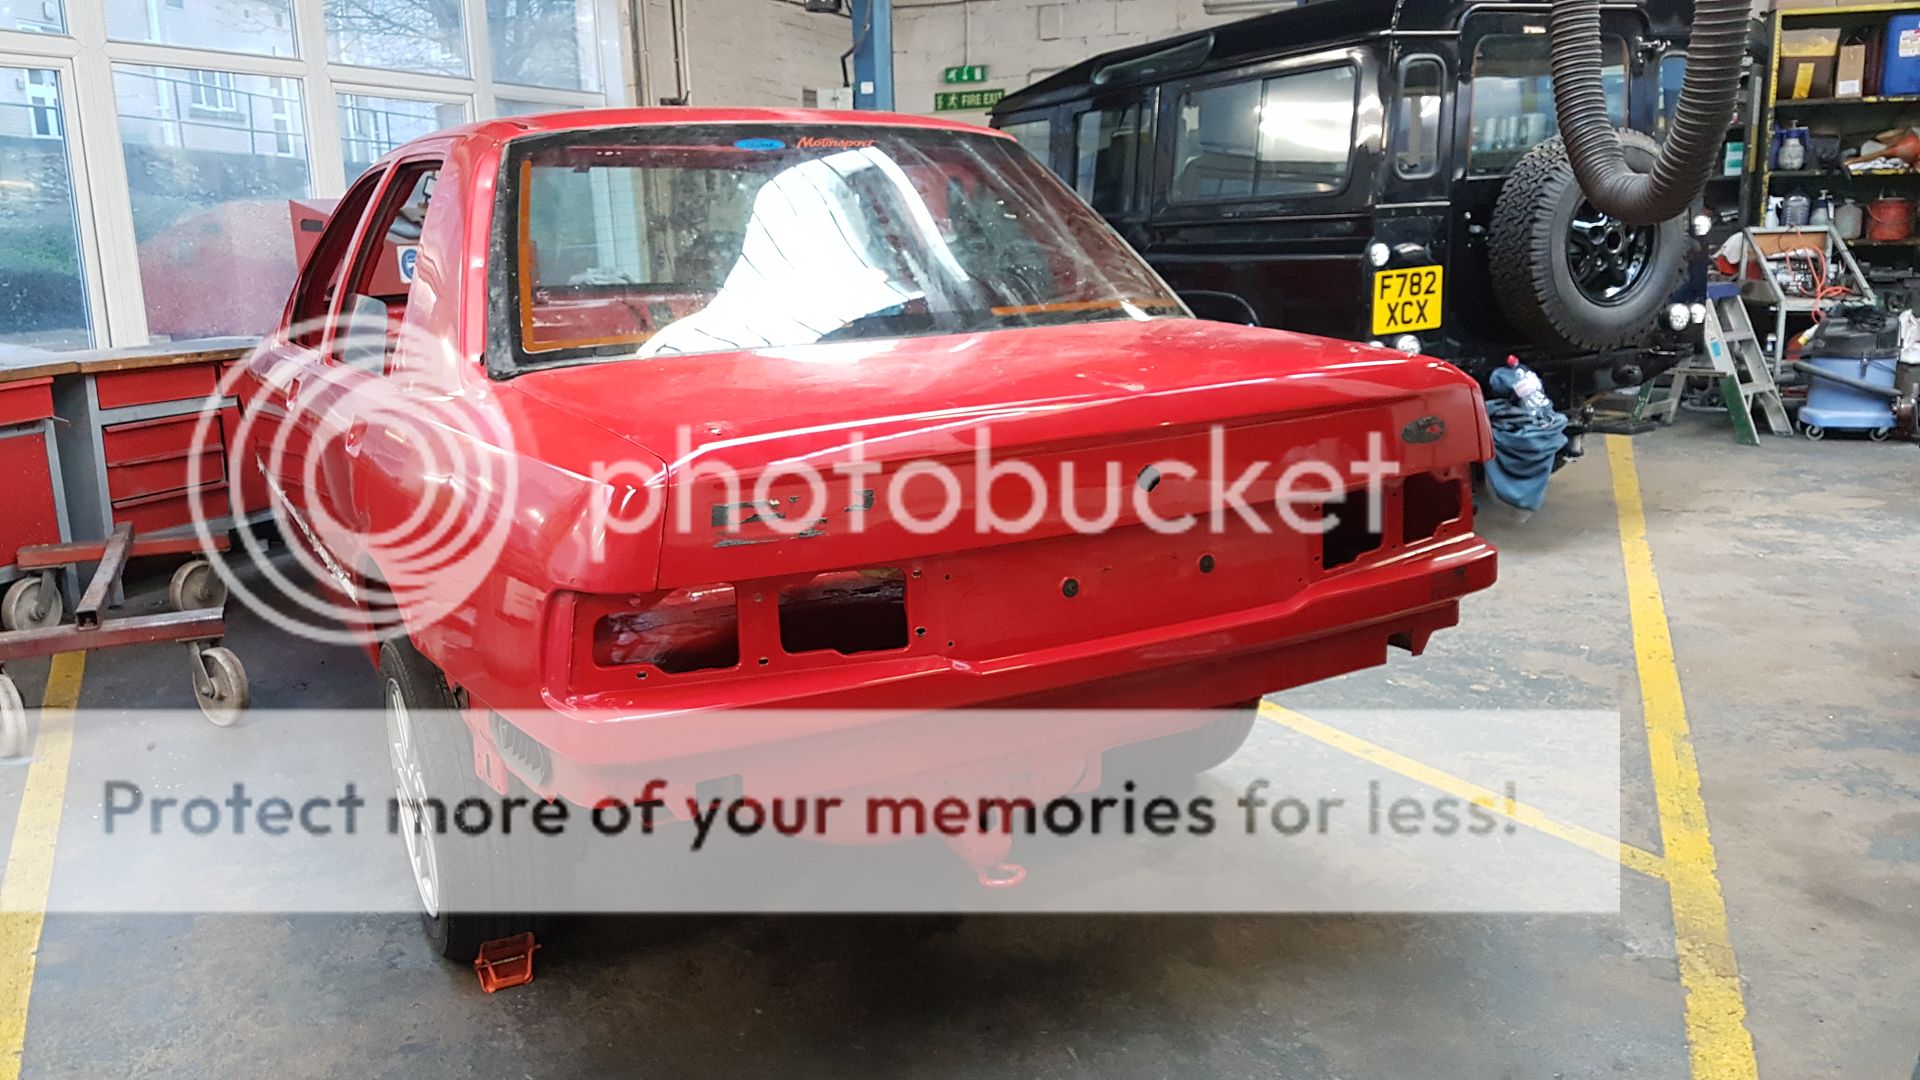
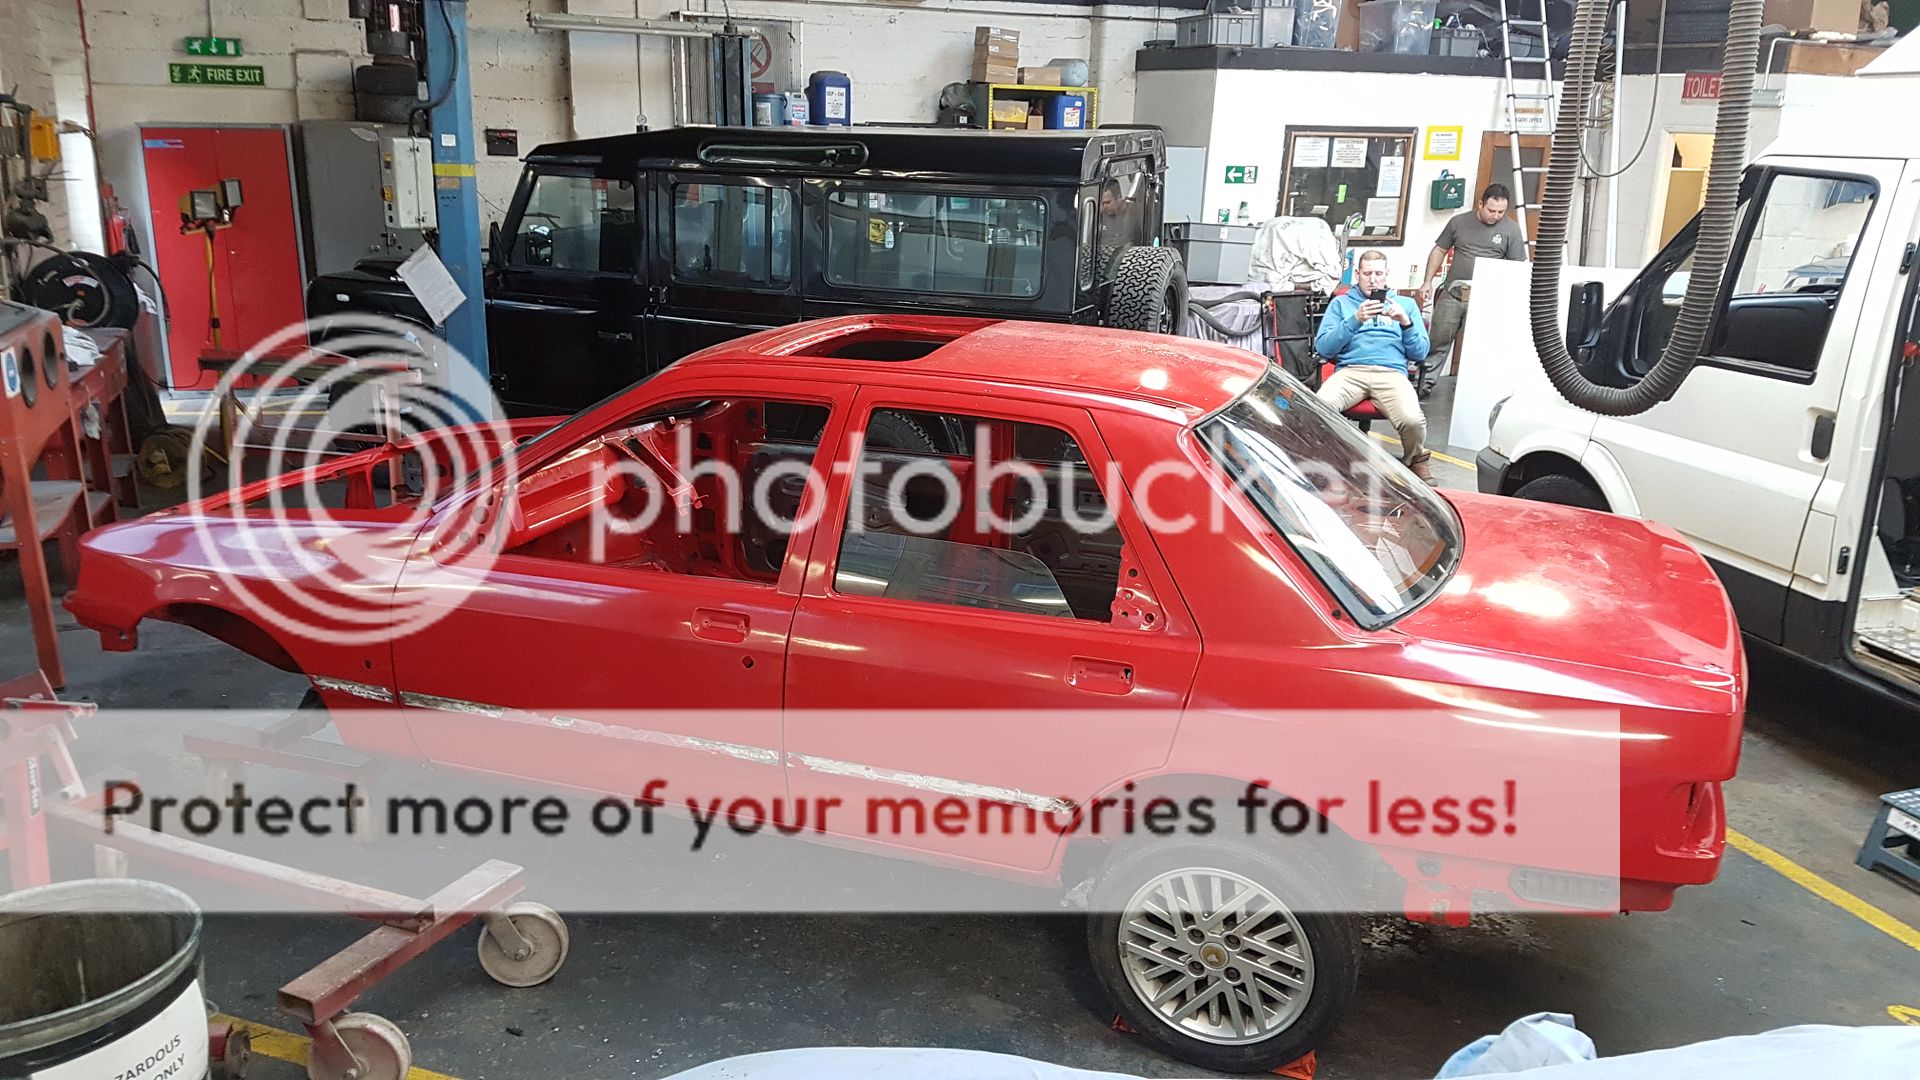
Let the fun really begin


Been a busy last couple of weeks.
Been stripping and cleaning more parts to put the rear end of the shell on wheels for transportation.
Gave the wheel hubs a good going over.


And pressed the races in place.

Been getting there with the brakes.
One of the rear callipers has come out great. The other is now in primer awaiting its paint after it needed a lot of cleaning up in comparison to the other.


Also have now got the front brakes in primer and half way through painting them up, half at a time and then turning them over so to speak.

Got the rear arms together putting the drive shaft ends in.

So hard not to scratch the powder coating


Did some cutting and welding to the front dollies crossmember rig to get it low enough.

Got to where the shell was and prepped it ready to put the rear beam on. One of the beam bolts was an absolute bugger to get up the slot, but got there in the end only to discover I forgot that the beam needs to be down a bit to put the outer arm bolts in


Got it all together minus the shocks.


Richie and Beany from work then came with his huge trailor to get the car in. So much easier to move now in comparison to the silly trolley wheels it was on previously. Massive thanks for the help


Awaiting its entrance to the club.

And in its bay ready to be lifted off the ground again to sort a few things on it and key up prep and get the underneath covered in UPOL Raptor. Need to decide by Monday if I go tintable or normal Black Upol paint??


Let the fun really begin


Last edited by kosienutter; 16-02-2019 at 05:59 PM.
The following users liked this post:
kosienutter (21-02-2019)
#48
Last Time, Get Off PF FFS
Thread Starter
Thanks mate.
No not yet. Just in my car club on my base to do a little work on it, then get underneath to Raptor it, then off to a paint shop for full inside and out and bonnet, boot, bumpers and skirts etc.
No not yet. Just in my car club on my base to do a little work on it, then get underneath to Raptor it, then off to a paint shop for full inside and out and bonnet, boot, bumpers and skirts etc.
Last edited by kosienutter; 16-02-2019 at 06:00 PM.
The following users liked this post:
kosienutter (21-02-2019)
#52
Last Time, Get Off PF FFS
Thread Starter
A little bit mate.
Been going over the new shell sorting things out and putting new front jacking point panels in. Got the rear window out without breaking it and currently getting the front out.
Will do another piccy update soon.
My old shell sold and took away yesterday.
Got to clean the driveway up a bit

Been going over the new shell sorting things out and putting new front jacking point panels in. Got the rear window out without breaking it
 and currently getting the front out.
Will do another piccy update soon.
My old shell sold and took away yesterday.
Got to clean the driveway up a bit


#53
Part of the Furniture
Looking really good, just a few questions.
Regarding the rear hubs that you had the bearing races installed are they fitted in through both sides and is there a step inside?
And what did you paint the rear callipers and rear hubs with? As I am in the middle of stripping my underside of mine
Regarding the rear hubs that you had the bearing races installed are they fitted in through both sides and is there a step inside?
And what did you paint the rear callipers and rear hubs with? As I am in the middle of stripping my underside of mine
The following users liked this post:
kosienutter (03-04-2019)
#54
PassionFord Post Troll
Looking really good, just a few questions.
Regarding the rear hubs that you had the bearing races installed are they fitted in through both sides and is there a step inside?
And what did you paint the rear callipers and rear hubs with? As I am in the middle of stripping my underside of mine
Regarding the rear hubs that you had the bearing races installed are they fitted in through both sides and is there a step inside?
And what did you paint the rear callipers and rear hubs with? As I am in the middle of stripping my underside of mine
The following users liked this post:
kosienutter (03-04-2019)
#55
Last Time, Get Off PF FFS
Thread Starter
Looking really good, just a few questions.
Regarding the rear hubs that you had the bearing races installed are they fitted in through both sides and is there a step inside?
And what did you paint the rear callipers and rear hubs with? As I am in the middle of stripping my underside of mine
Regarding the rear hubs that you had the bearing races installed are they fitted in through both sides and is there a step inside?
And what did you paint the rear callipers and rear hubs with? As I am in the middle of stripping my underside of mine
I have brush painted using Halfords Matt black engine block paint on the hubs and flanges and used the gloss version for the rear callipers. Did 2 layers.
I sprayed some zinc primer on first mind and used the old calliper piston with the square edged seal as a template to cut some cardboard to cover the piston hole.
The following users liked this post:
Jules44 (07-03-2019)
#56
Last Time, Get Off PF FFS
Thread Starter
Hey guys. Apologise for the lack of an update on the Taxi. The usual busy at work and on courses away, which is coming to an end this week at long last 

So a little update on what I could get done before I went away. Got the O/S jacking panel in place and welded in. Just need to clean off the welds and prime, tiger seal and put the top floor panel piece in place. Need to fettle the metal a bit more around where the ARB mounts too, to close the gap a little but it is already miles better than the old panel that was crushed to buggery


 http://s243.photobucket.com/user/kosienutter/media/20190320_165648_zpsgpaasnyj.jpg.html]
 [/URL[/url]]


Was able to keep the fuel and brake line mounting point and measure it up to weld onto the new N/S jacking panel.

Also went round the doors to cut out the holes that the rubbers create when the water traps under the seal. Strangely only the O/S had holes but the N/S is solid which is a bit weird but hey ho.


Back to working on the car next week and cant wait to get stuck into it and get the other side done along with the doors and a few areas of the sills.
I plan on diverting the front sunroof drain lines to come out behind the front arch liners instead of into the sills as that's what I believe causes most of the rust problems in the sills.
Chow for now top:
top:


So a little update on what I could get done before I went away. Got the O/S jacking panel in place and welded in. Just need to clean off the welds and prime, tiger seal and put the top floor panel piece in place. Need to fettle the metal a bit more around where the ARB mounts too, to close the gap a little but it is already miles better than the old panel that was crushed to buggery


 http://s243.photobucket.com/user/kosienutter/media/20190320_165648_zpsgpaasnyj.jpg.html]
 [/URL[/url]]


Was able to keep the fuel and brake line mounting point and measure it up to weld onto the new N/S jacking panel.

Also went round the doors to cut out the holes that the rubbers create when the water traps under the seal. Strangely only the O/S had holes but the N/S is solid which is a bit weird but hey ho.


Back to working on the car next week and cant wait to get stuck into it and get the other side done along with the doors and a few areas of the sills.
I plan on diverting the front sunroof drain lines to come out behind the front arch liners instead of into the sills as that's what I believe causes most of the rust problems in the sills.
Chow for now
 top:
top:
Last edited by kosienutter; 03-04-2019 at 05:56 PM.
#57
Last Time, Get Off PF FFS
Thread Starter
Hi all.
Been a busy time again with work and on the car late into the evenings but I have made good progress on her.
First of all though she is booked in for paint in the last week of May at last.
Final things to do before hand, is clean the underside prior to Raptoring underneath.
Finally got the other side of the jacking panel in place and all buttoned up. I'll admit I have lagged the floor with Tiger seal and doesn't look pretty but I'd rather it be covered and protected well than putting the minimal amount on and risking it corroding so to speak.

Also a few other bits welded up such as the 4x4 rear number plate backing plate holes filled in.

Took back most of the front end to check, prime and tiger seal up too.


Got the holes sorted out on the O/S door window edges.

Also put captive nuts as it where for the engine bay tanks, saving having to remove the wheels and liners to get them out so it will save time when cleaning them


Got all my last engine bits ready to put it back together, so made a start on prepping the rocker cover for paint. Richie kindly lent me one of his spare covers whilst mine is of to be painted.


Also with only wire wheeling (Again ) did the engine mounts and they have come out a reet treat.

Gave the TCA's a lick of paint and cleaned up the bushes and put new boots on the ball joints.


Gave the front shocks a going over and painted them up too. I have I'll admit after priming I hand painted them, only because they are old and still working for a few years yet so didn't want to make them look mega pretty and find them ware out after spending a lot of time on them if you know what I mean. Still they have came up very very well considering.


Got some new bearings for the front wheel hubs and they are being blasted and ready to be dropped of next week and painted up too.
So it will be hands to battle stations the week after next when I am next at the car getting the Raptor on and flatting everything being painted back before going to the booth.
Stay tune folks

Been a busy time again with work and on the car late into the evenings but I have made good progress on her.
First of all though she is booked in for paint in the last week of May at last.
Final things to do before hand, is clean the underside prior to Raptoring underneath.
Finally got the other side of the jacking panel in place and all buttoned up. I'll admit I have lagged the floor with Tiger seal and doesn't look pretty but I'd rather it be covered and protected well than putting the minimal amount on and risking it corroding so to speak.

Also a few other bits welded up such as the 4x4 rear number plate backing plate holes filled in.

Took back most of the front end to check, prime and tiger seal up too.


Got the holes sorted out on the O/S door window edges.

Also put captive nuts as it where for the engine bay tanks, saving having to remove the wheels and liners to get them out so it will save time when cleaning them


Got all my last engine bits ready to put it back together, so made a start on prepping the rocker cover for paint. Richie kindly lent me one of his spare covers whilst mine is of to be painted.


Also with only wire wheeling (Again
 ) did the engine mounts and they have come out a reet treat.
Gave the TCA's a lick of paint and cleaned up the bushes and put new boots on the ball joints.


Gave the front shocks a going over and painted them up too. I have I'll admit after priming I hand painted them, only because they are old and still working for a few years yet so didn't want to make them look mega pretty and find them ware out after spending a lot of time on them if you know what I mean. Still they have came up very very well considering.


Got some new bearings for the front wheel hubs and they are being blasted and ready to be dropped of next week and painted up too.
So it will be hands to battle stations the week after next when I am next at the car getting the Raptor on and flatting everything being painted back before going to the booth.
Stay tune folks


Last edited by kosienutter; 22-08-2019 at 05:58 PM.
The following users liked this post:
Mark V8 (05-05-2019)
#58
Advanced PassionFord User
Some very good work going on there,keep it up.
The following users liked this post:
kosienutter (28-04-2019)
The following users liked this post:
kosienutter (28-04-2019)
The following users liked this post:
kosienutter (28-04-2019)
The following users liked this post:
kosienutter (28-04-2019)
#62
Last Time, Get Off PF FFS
Thread Starter
Another update on the shell.
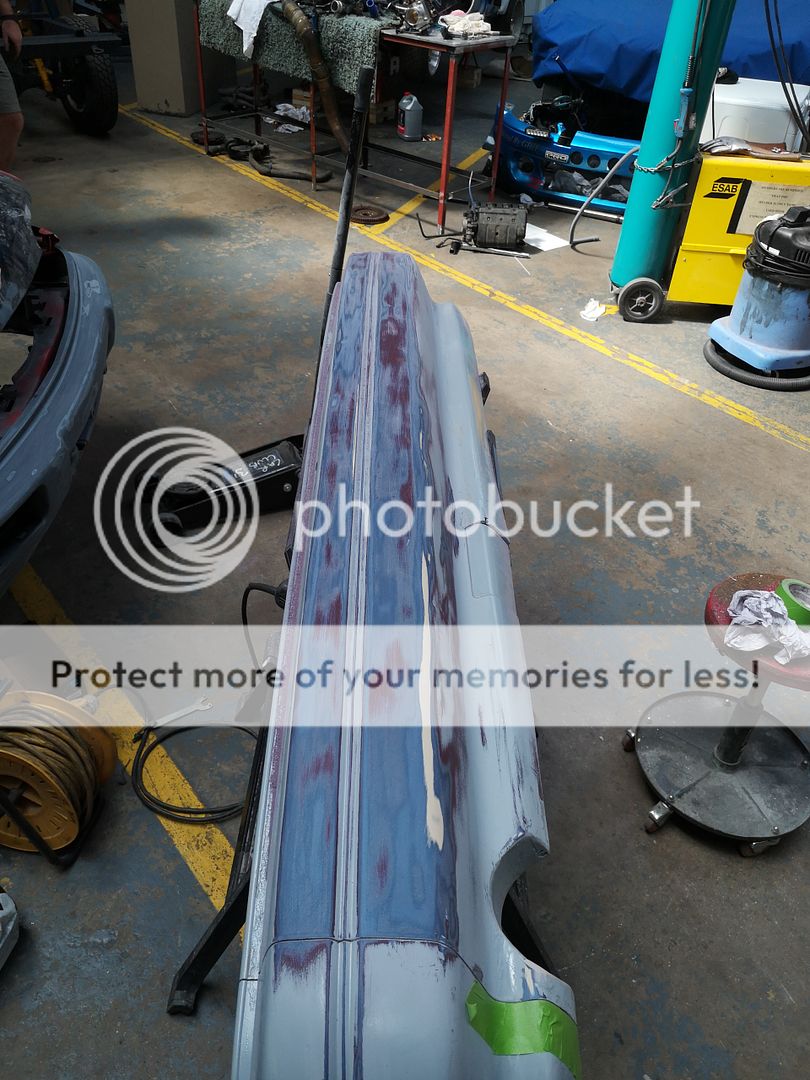
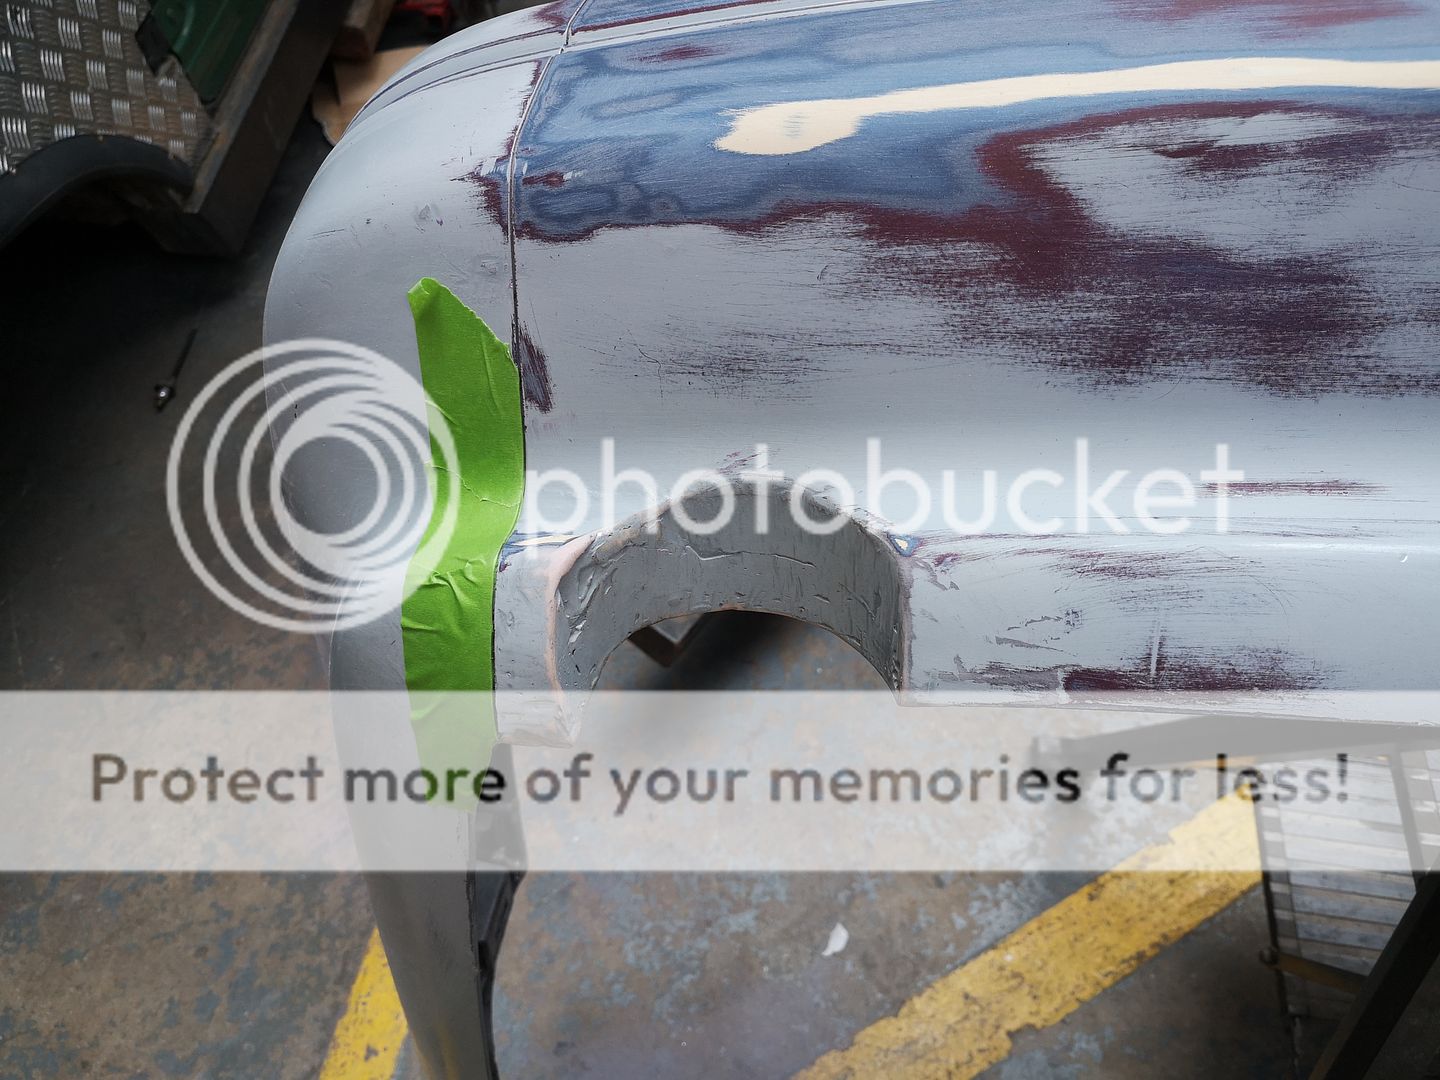
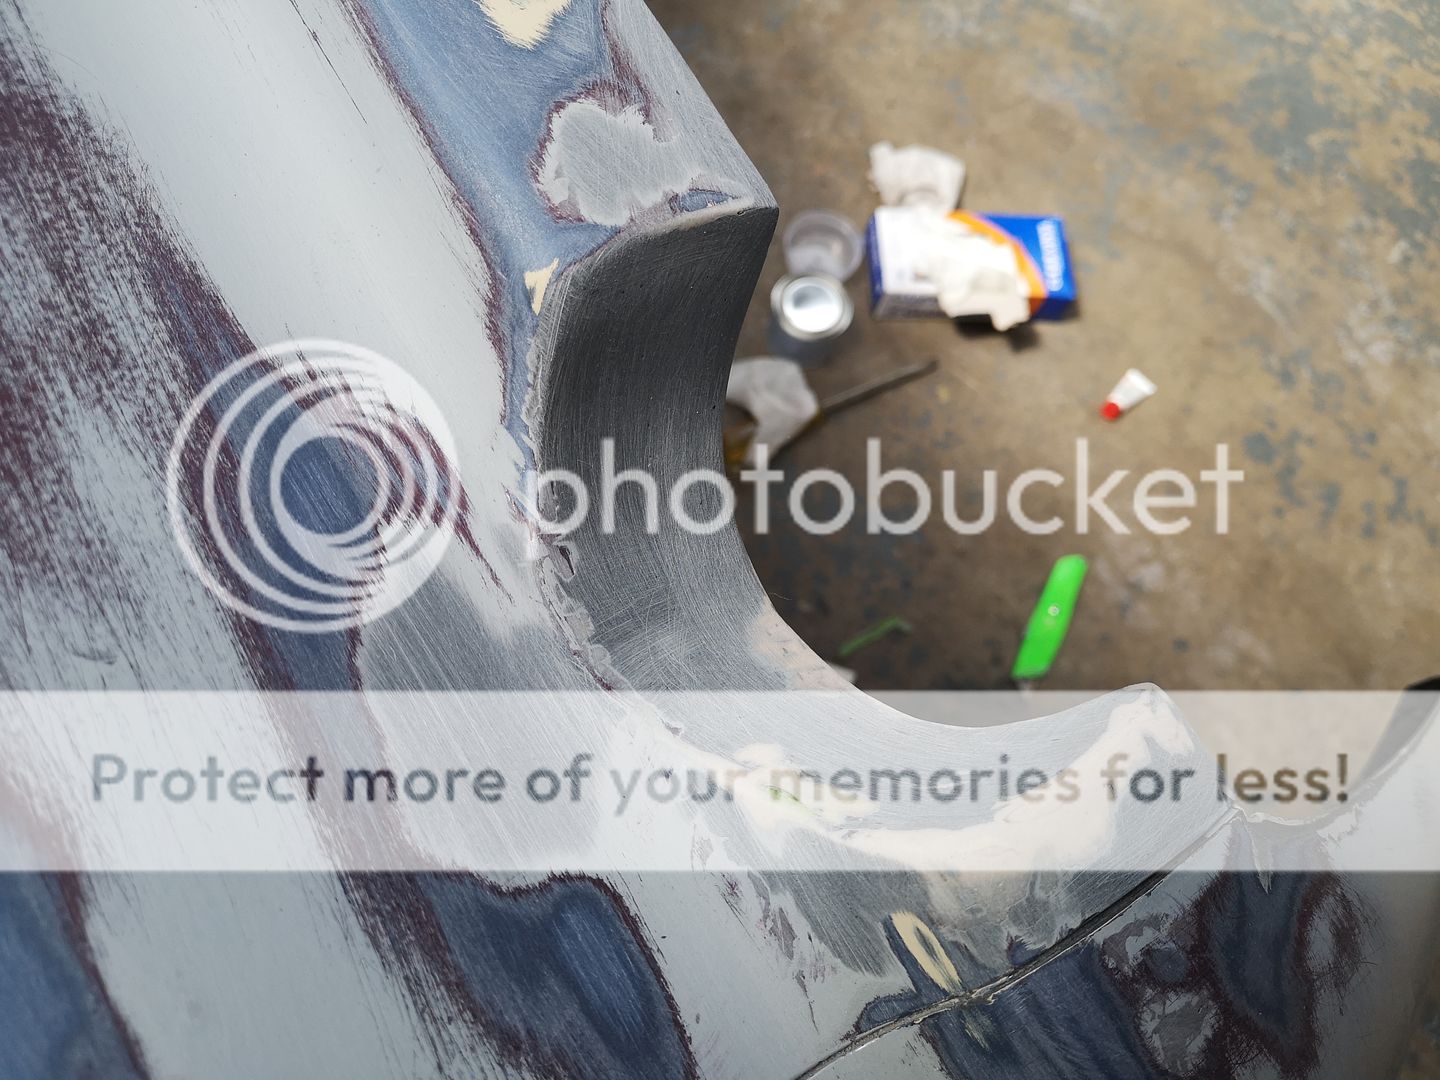
Started getting the front and rear bumpers rubbed down whilst waiting for paint and seam sealer/tiger seal to dry.
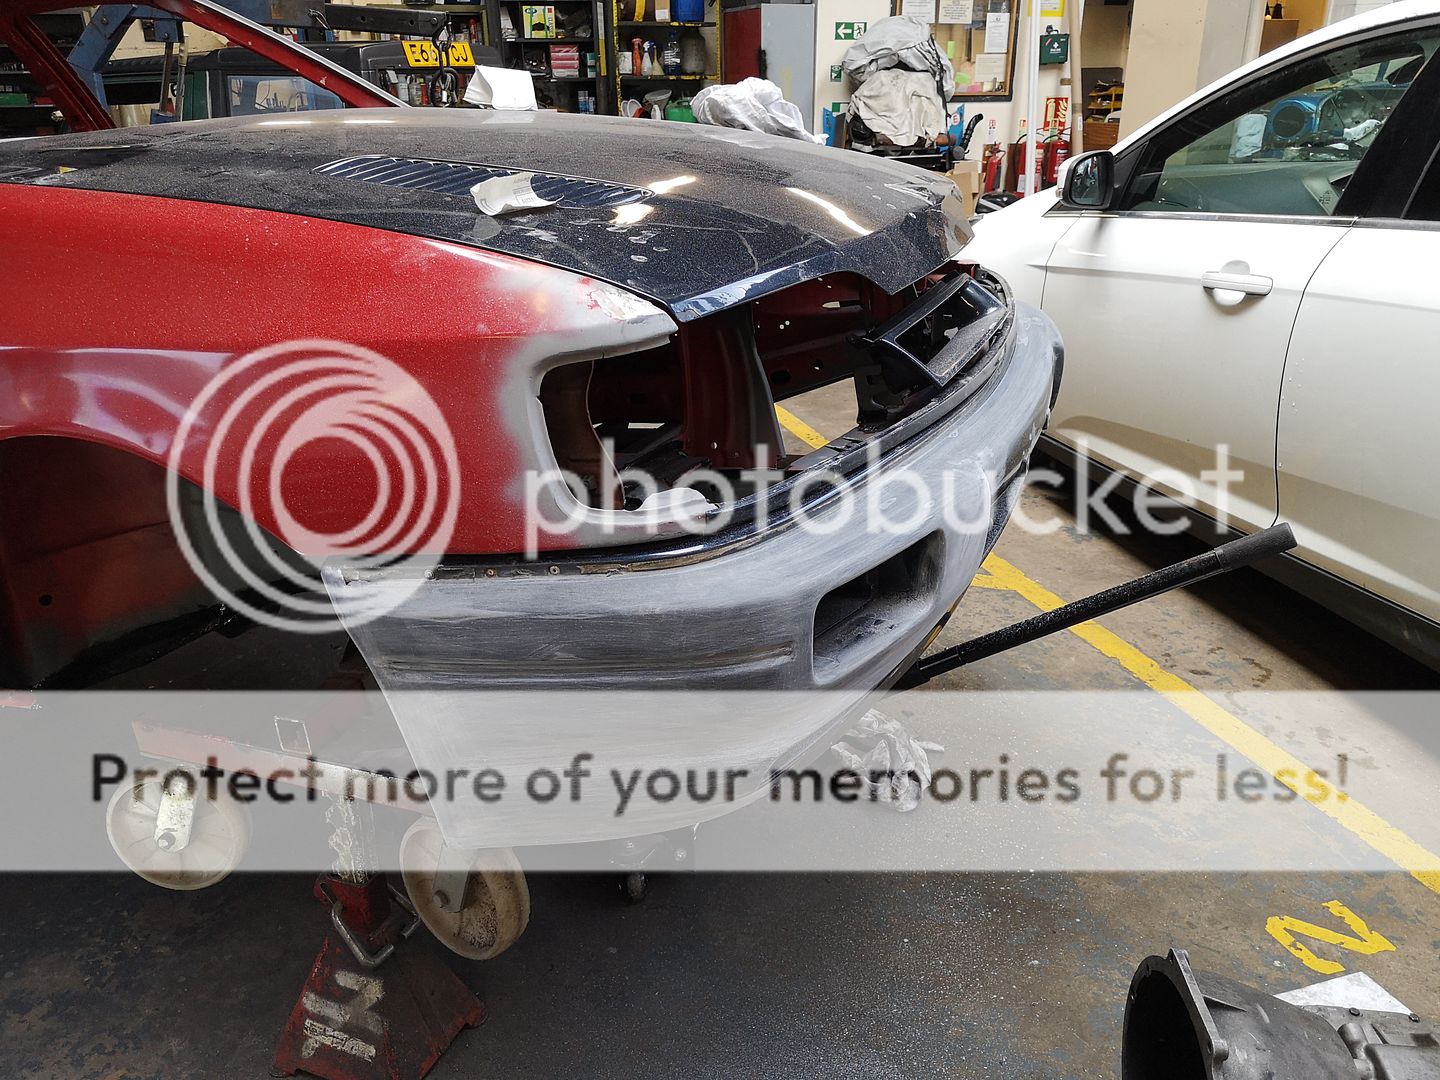
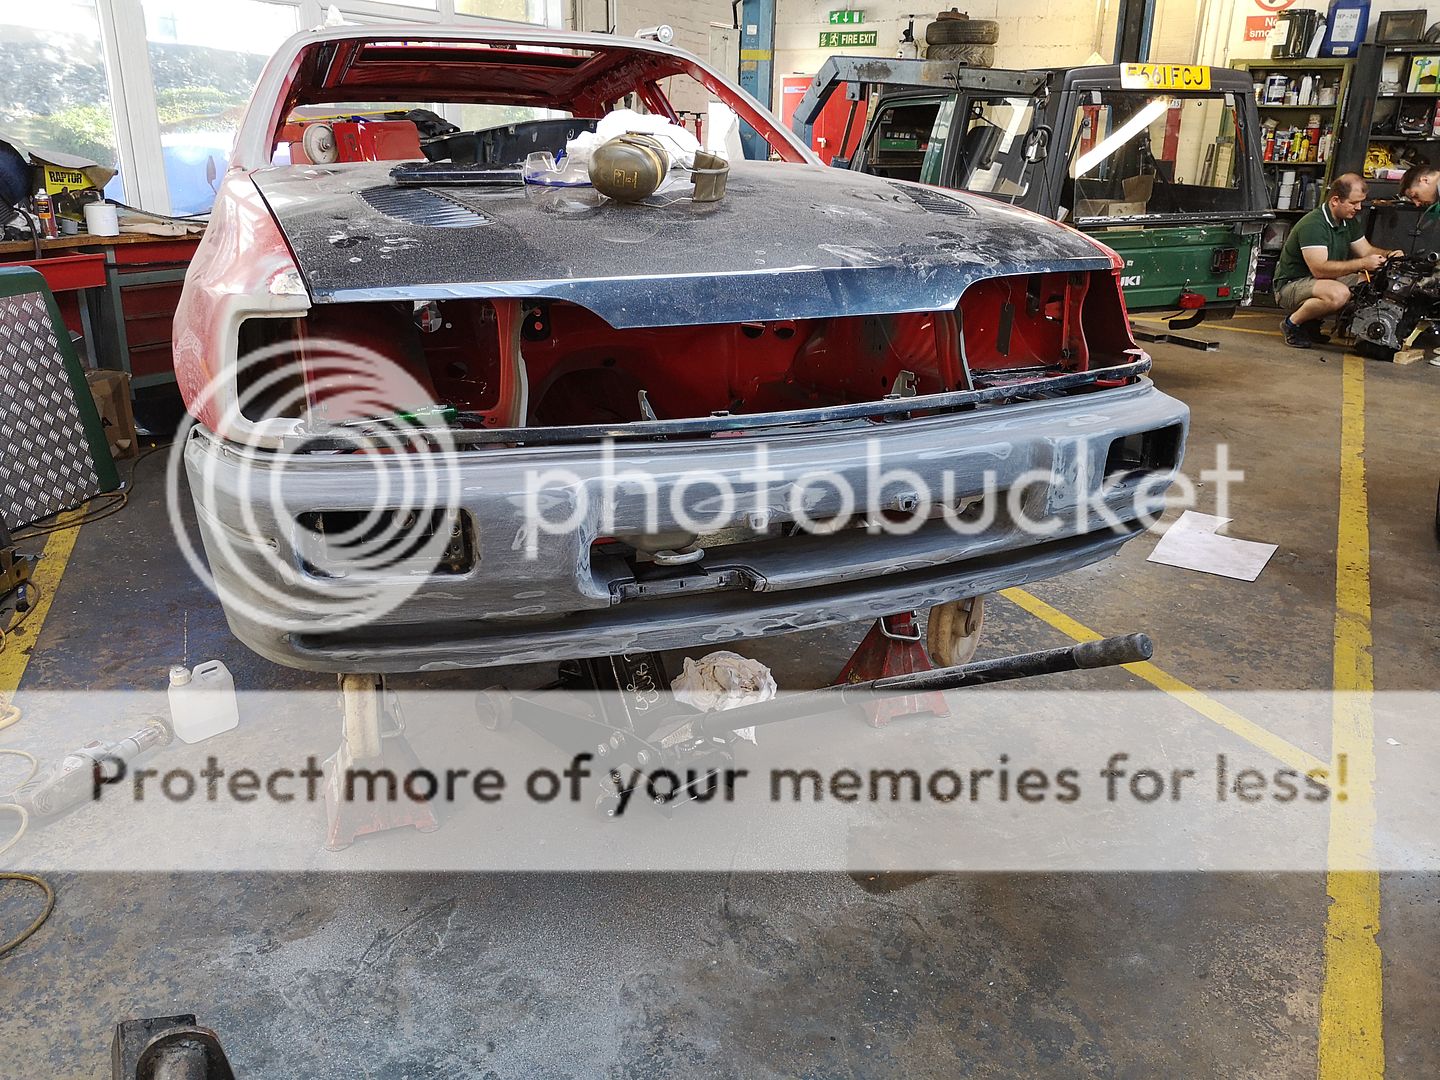
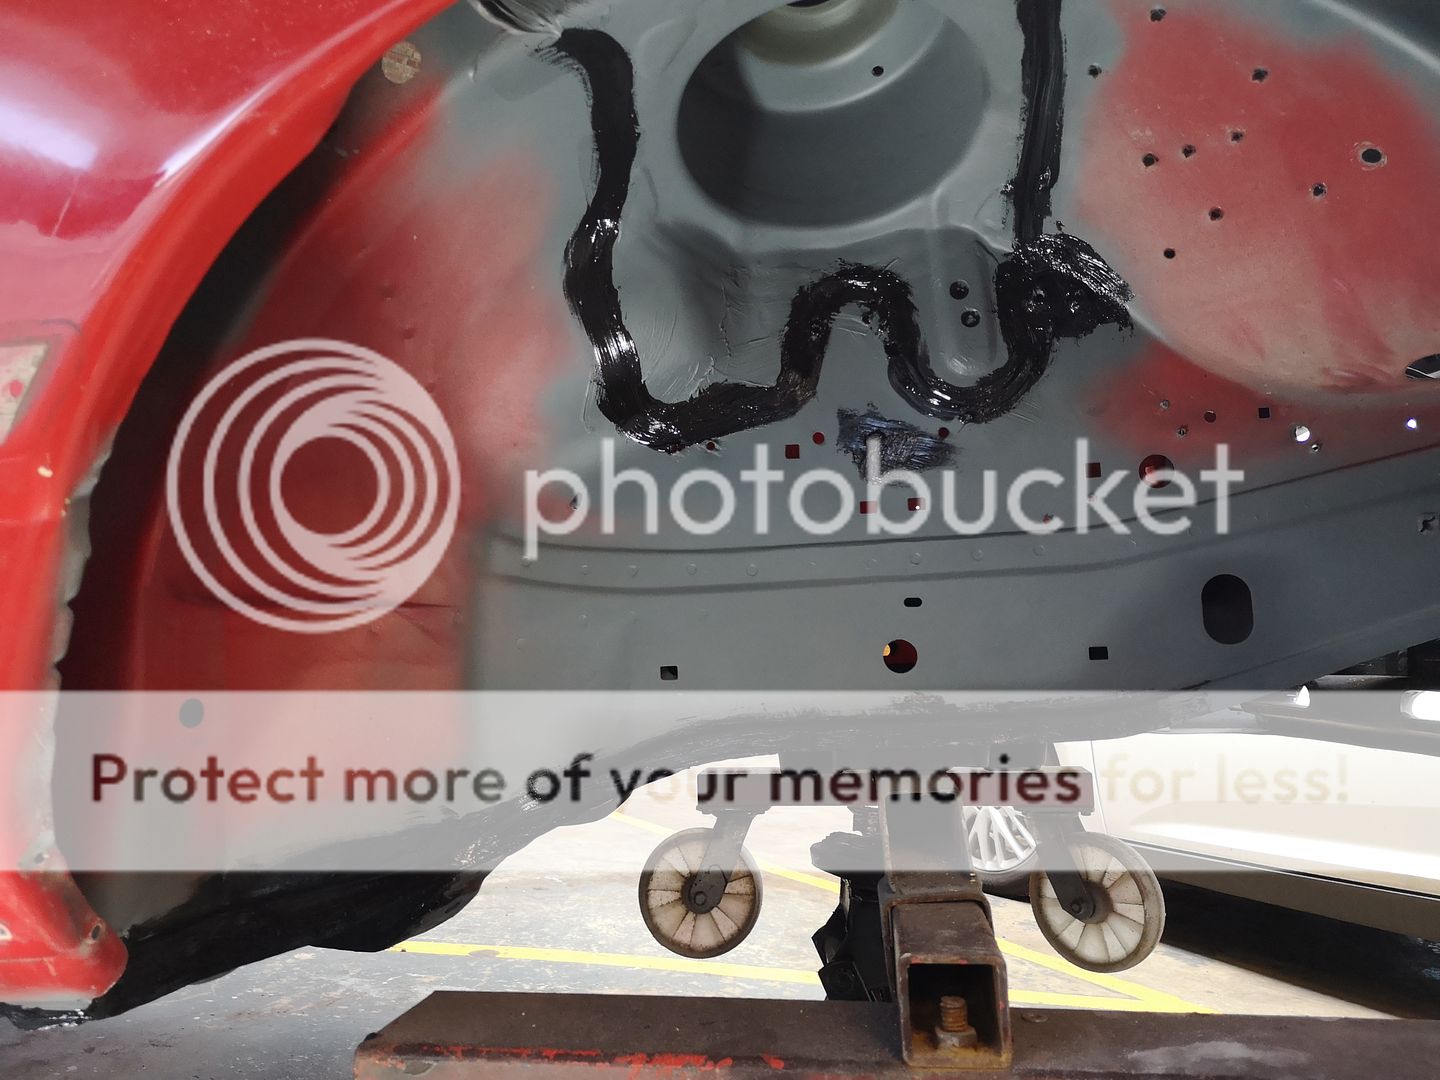
Tiger sealing up the front arches where needed.
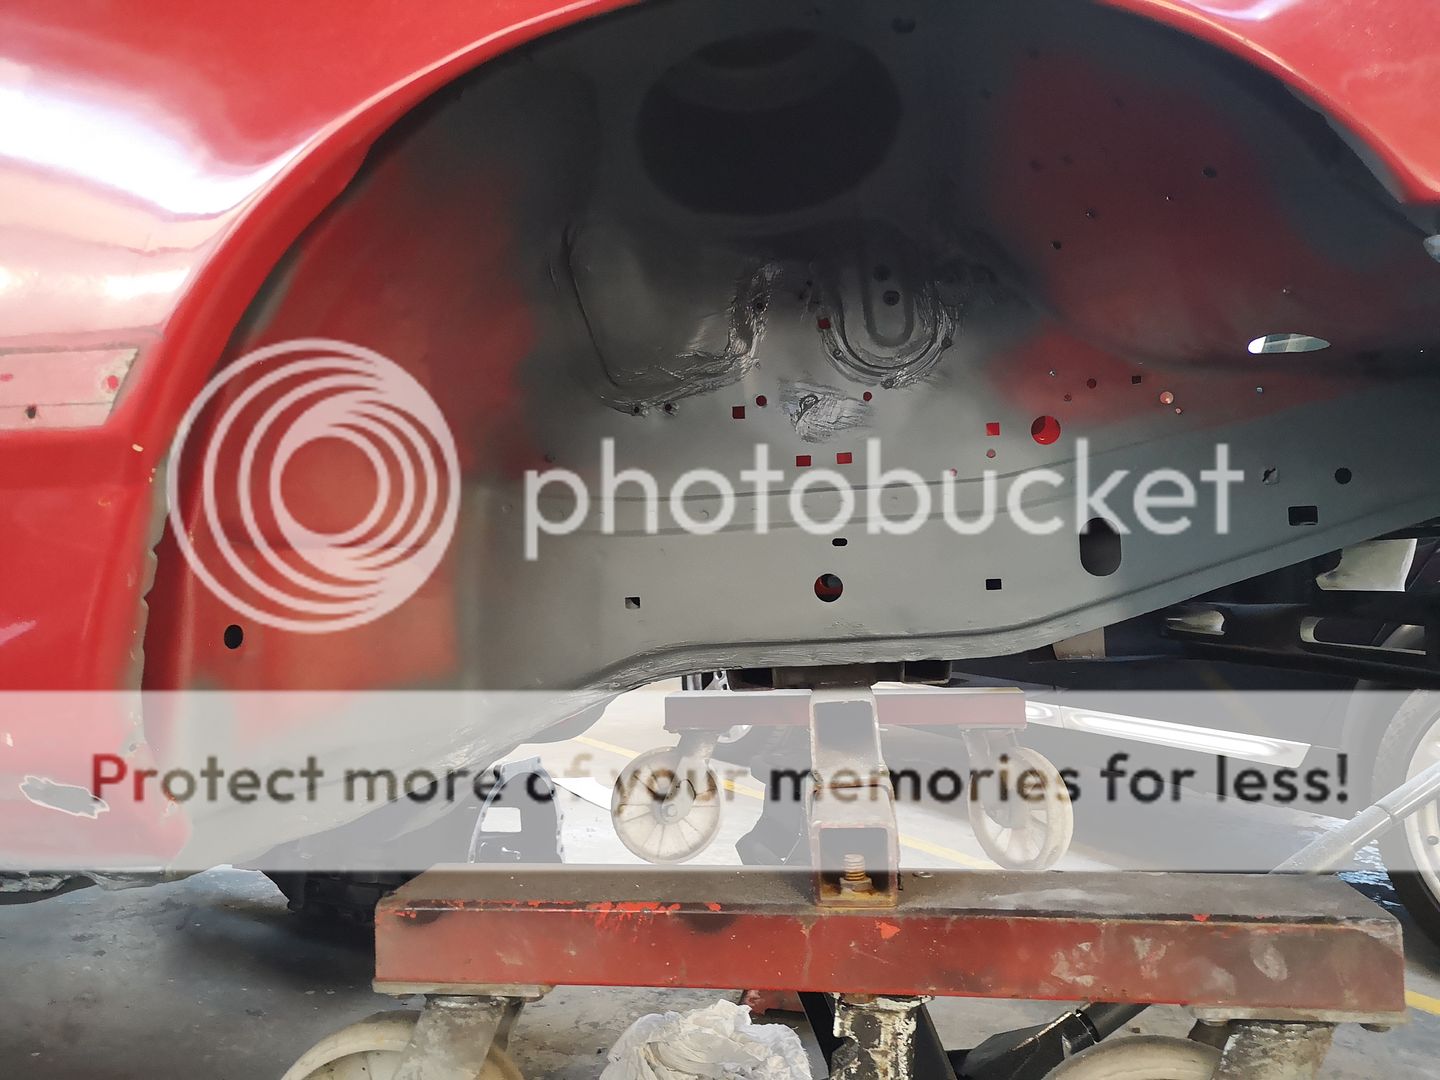
And the 3M Seam Sealer and primer on top once I got a reasonable OEM type of finish.
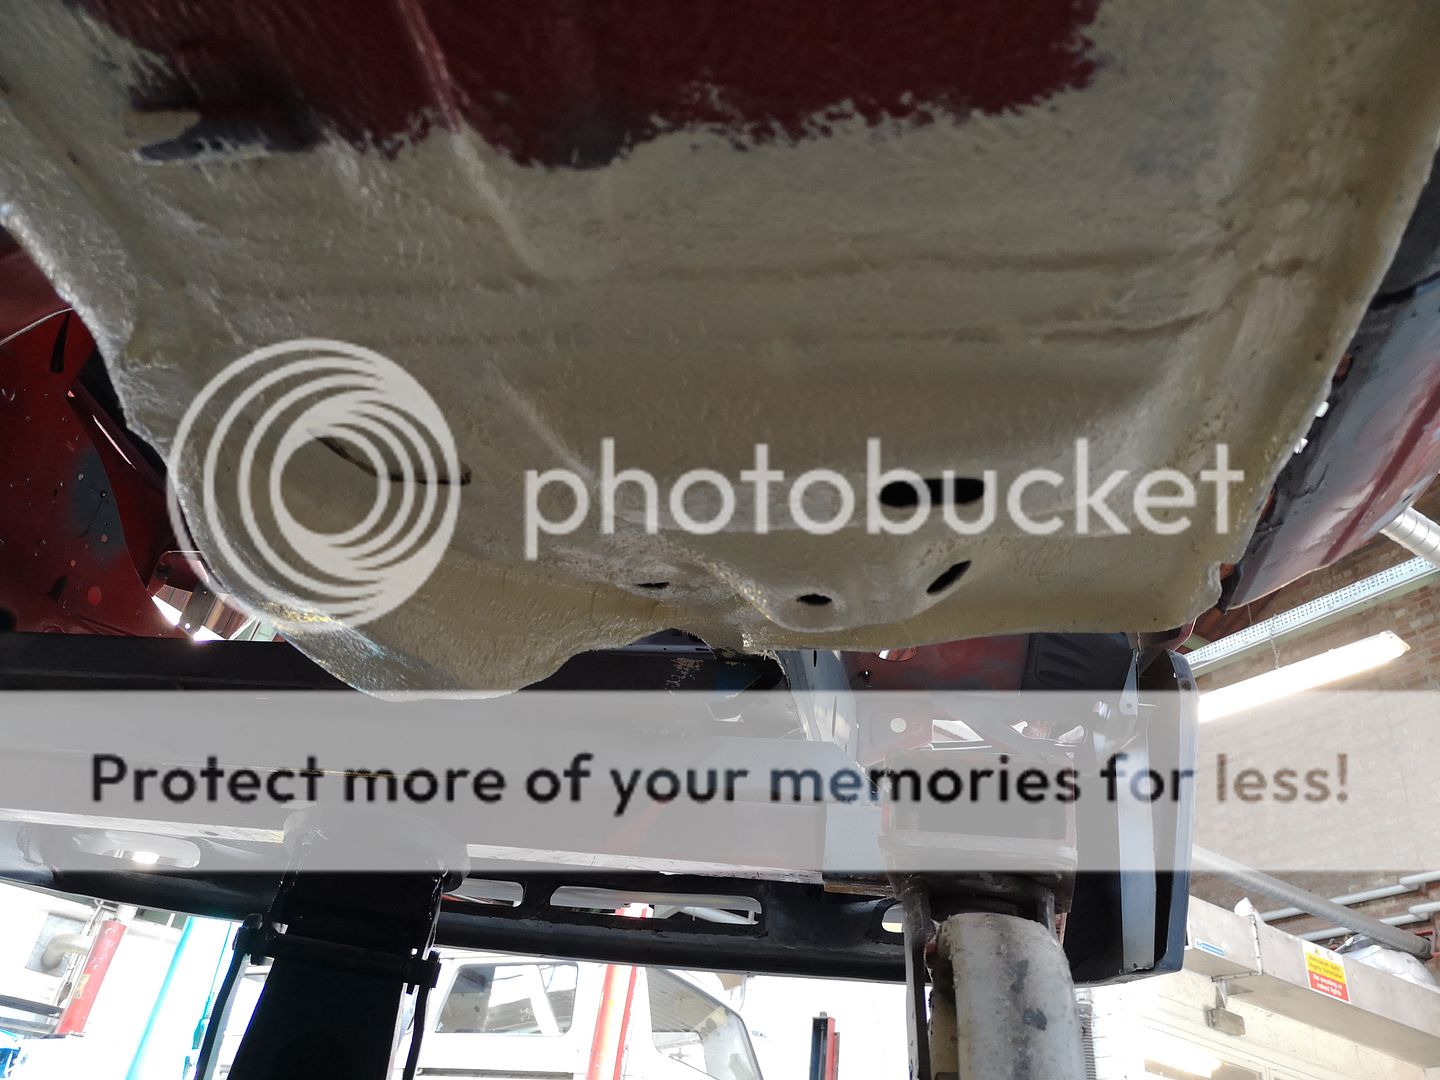
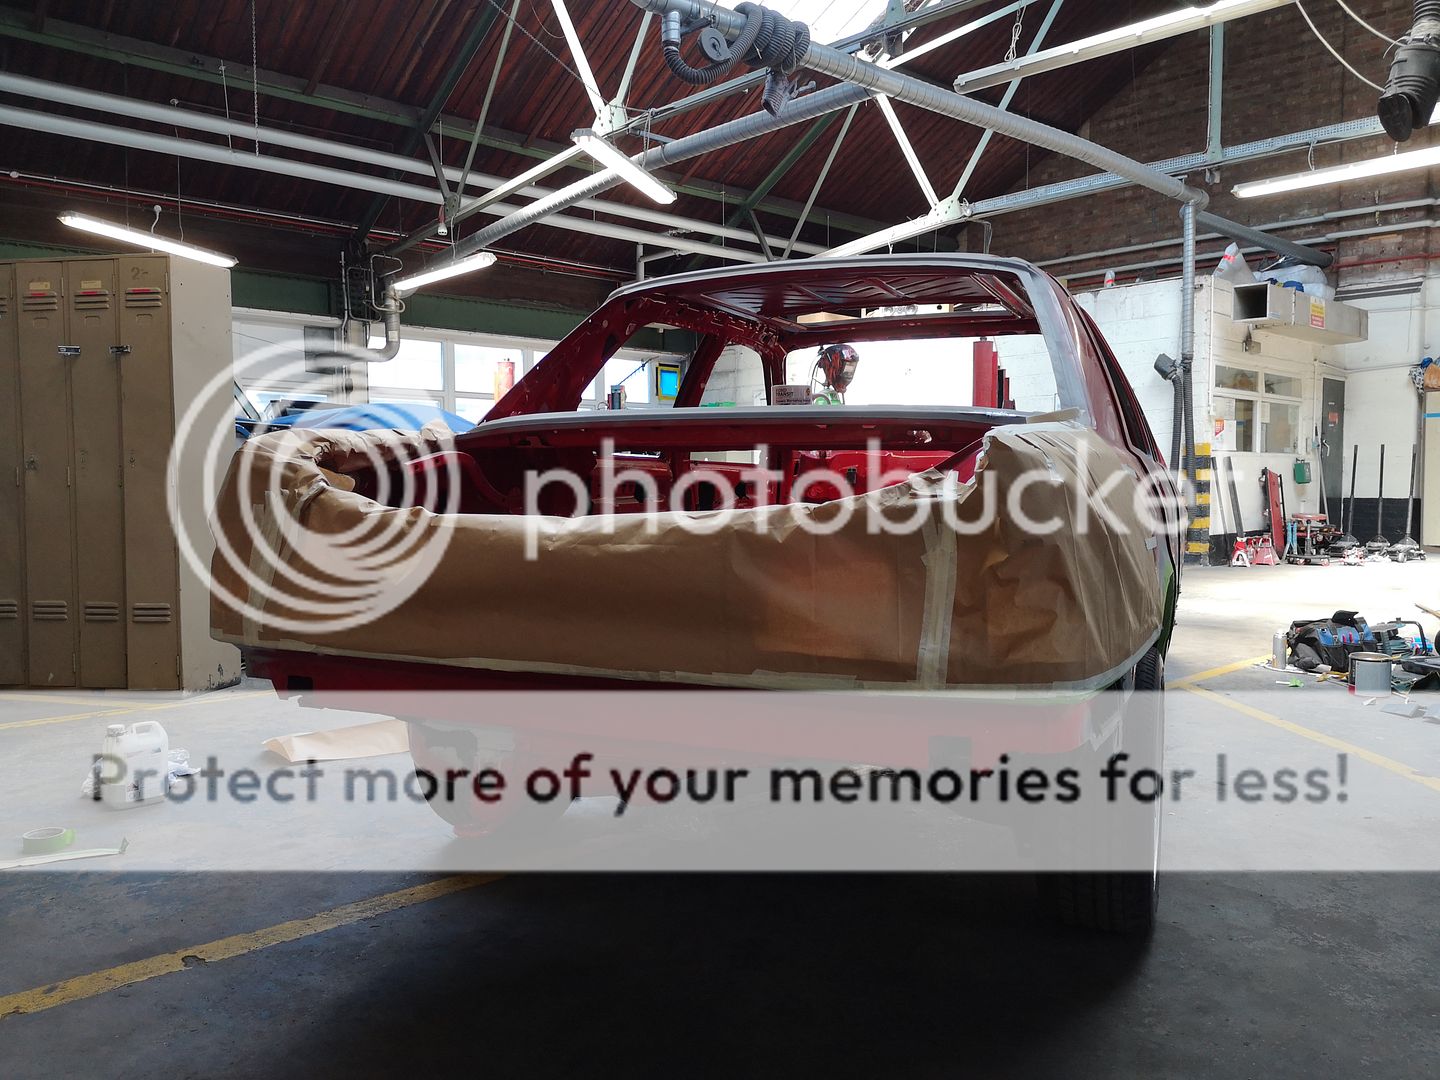
Then came the fun part last night of masking off the car for the Raptor underneath. Took ages to do

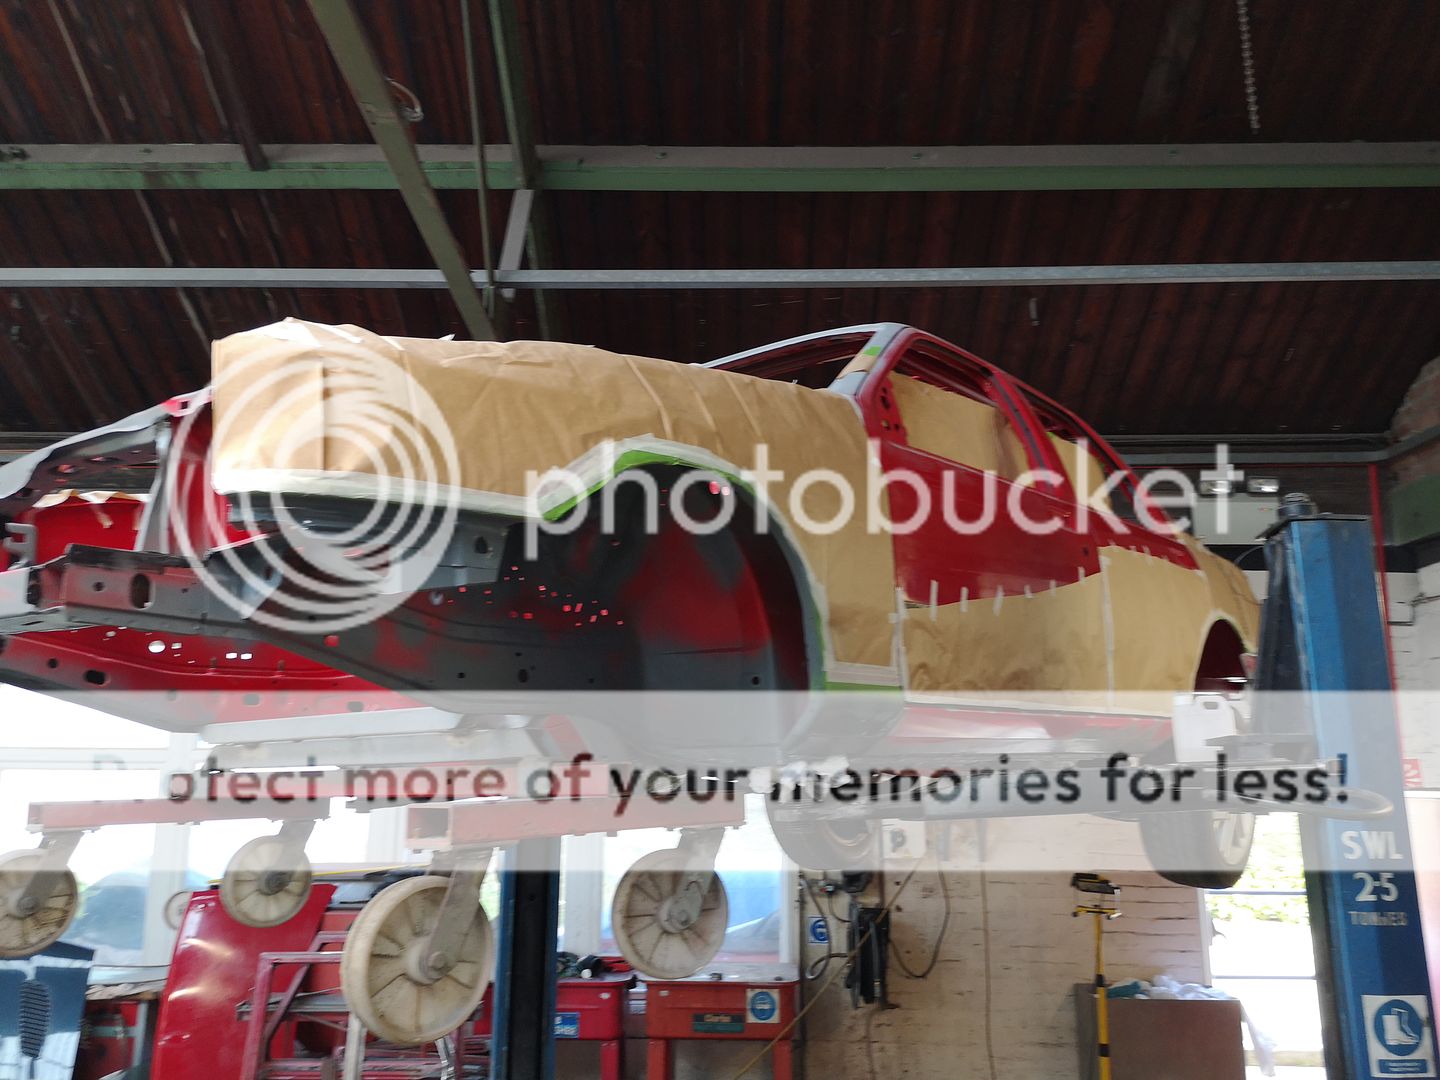
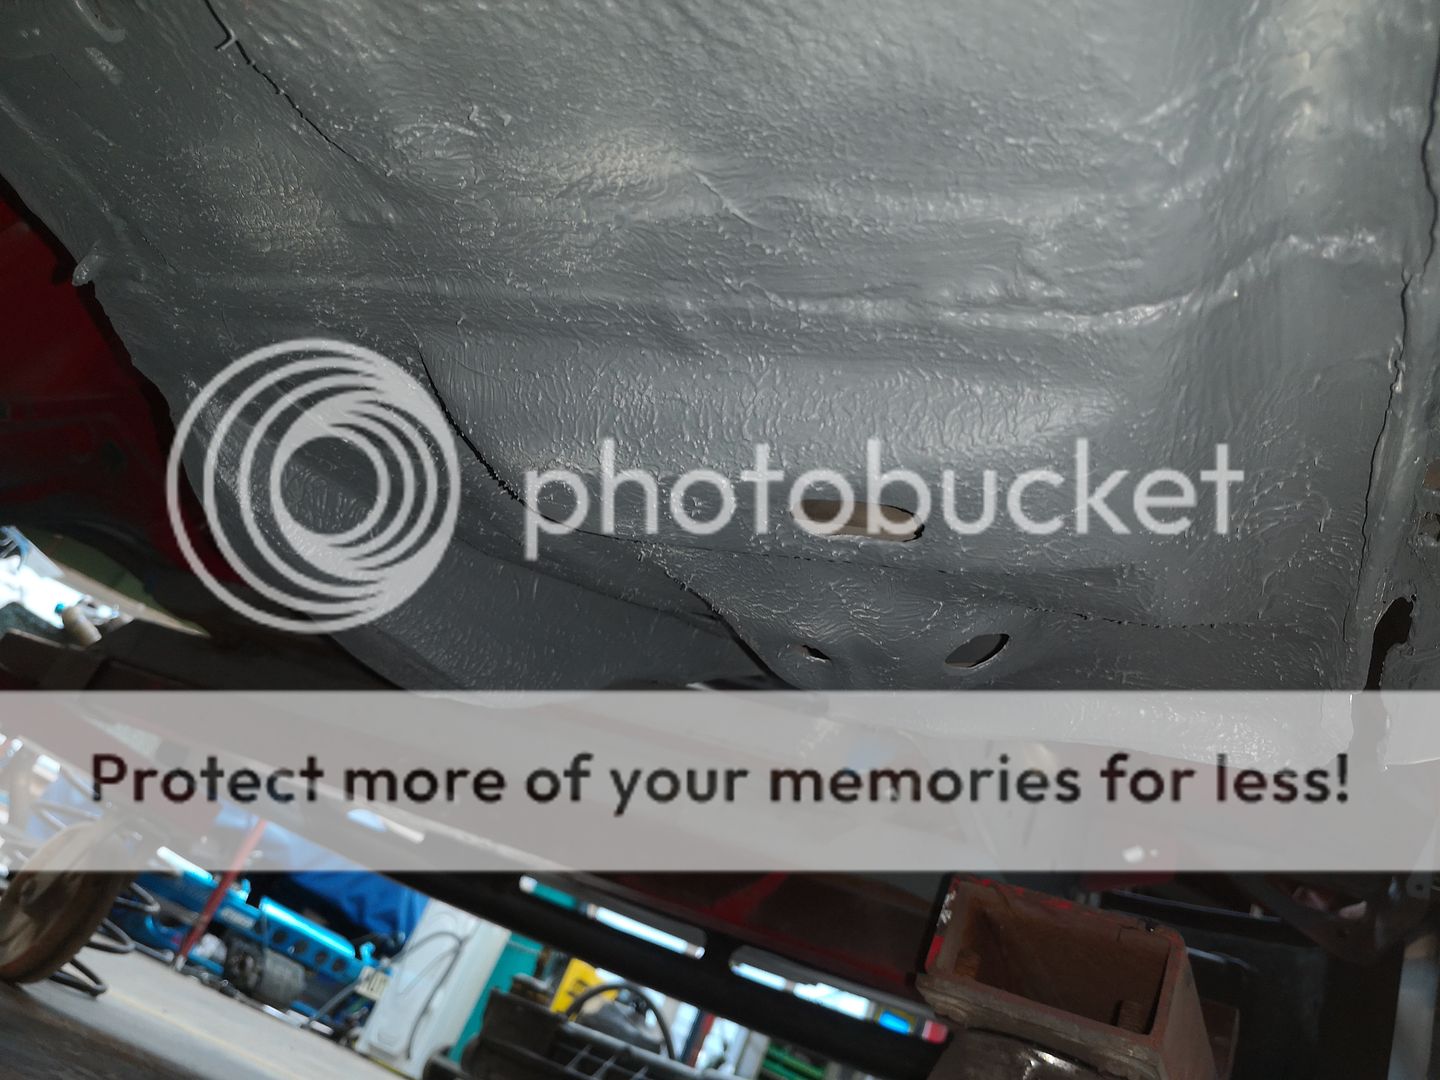
Once all keyed up nicely and cleaned up at last I got the Raptor on.

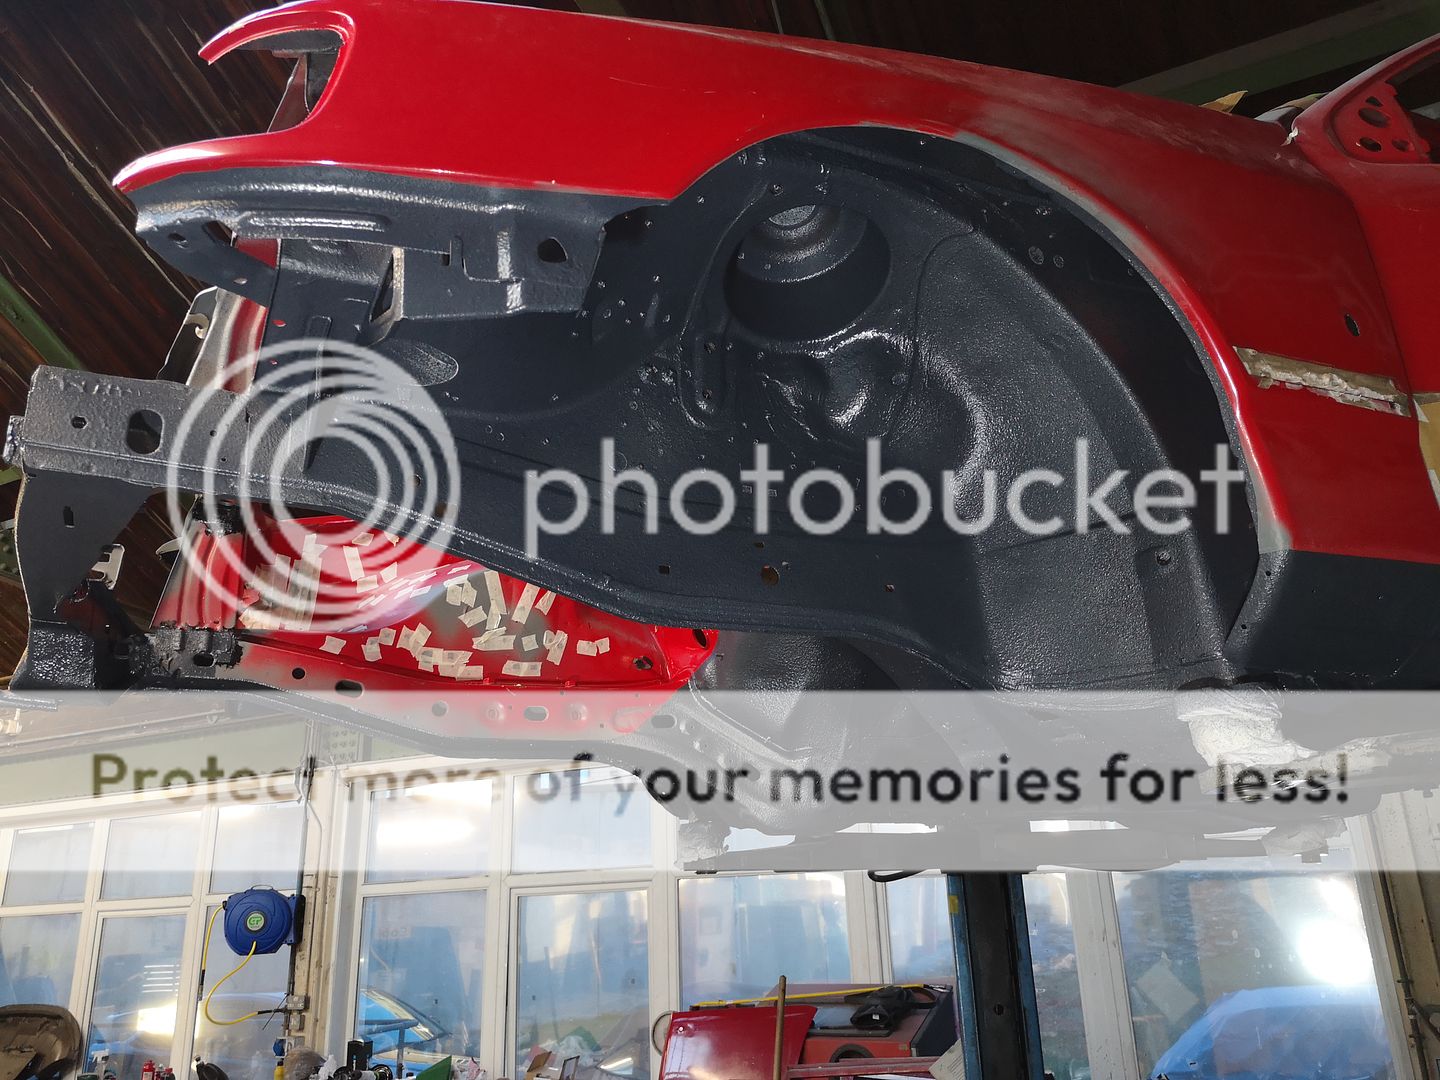
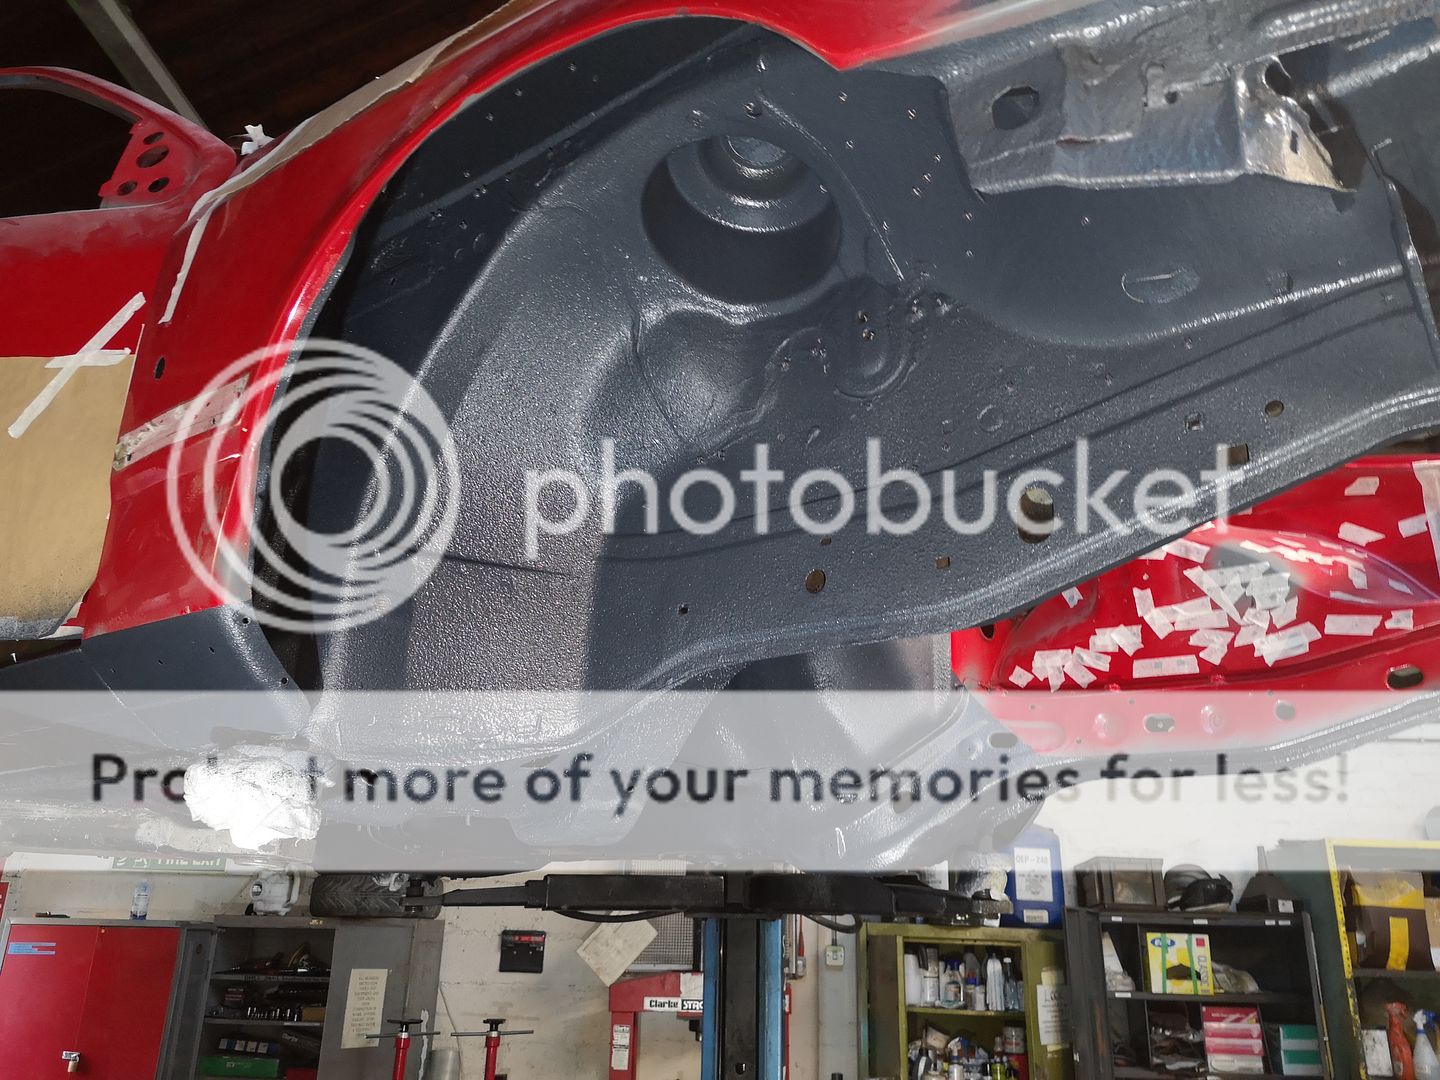
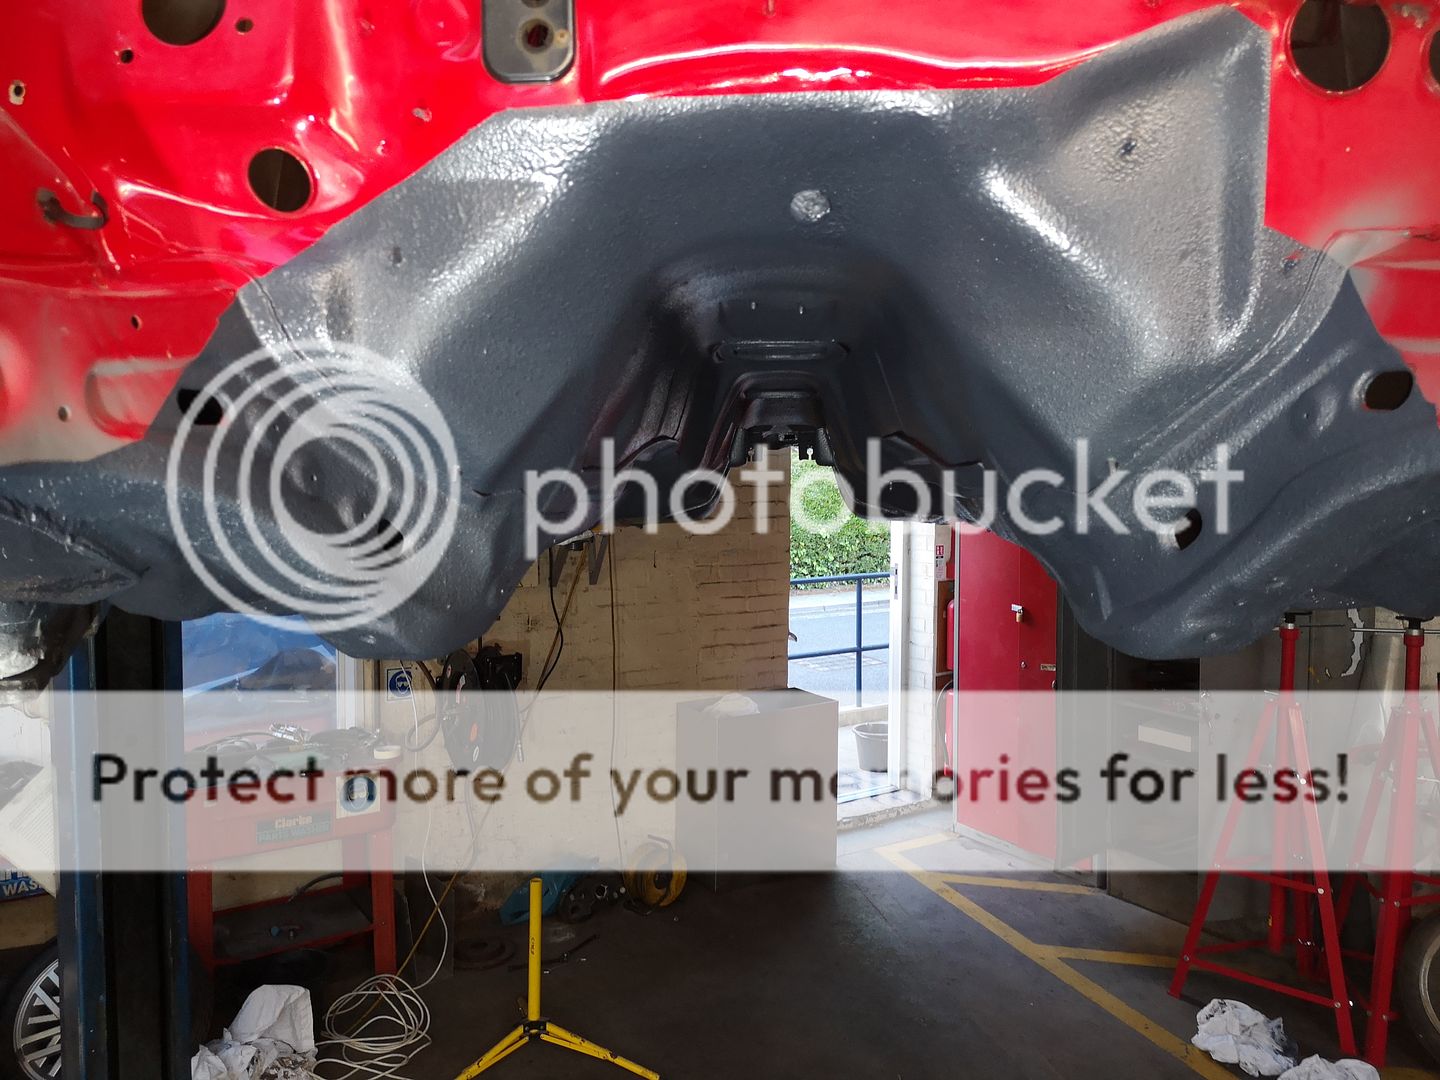
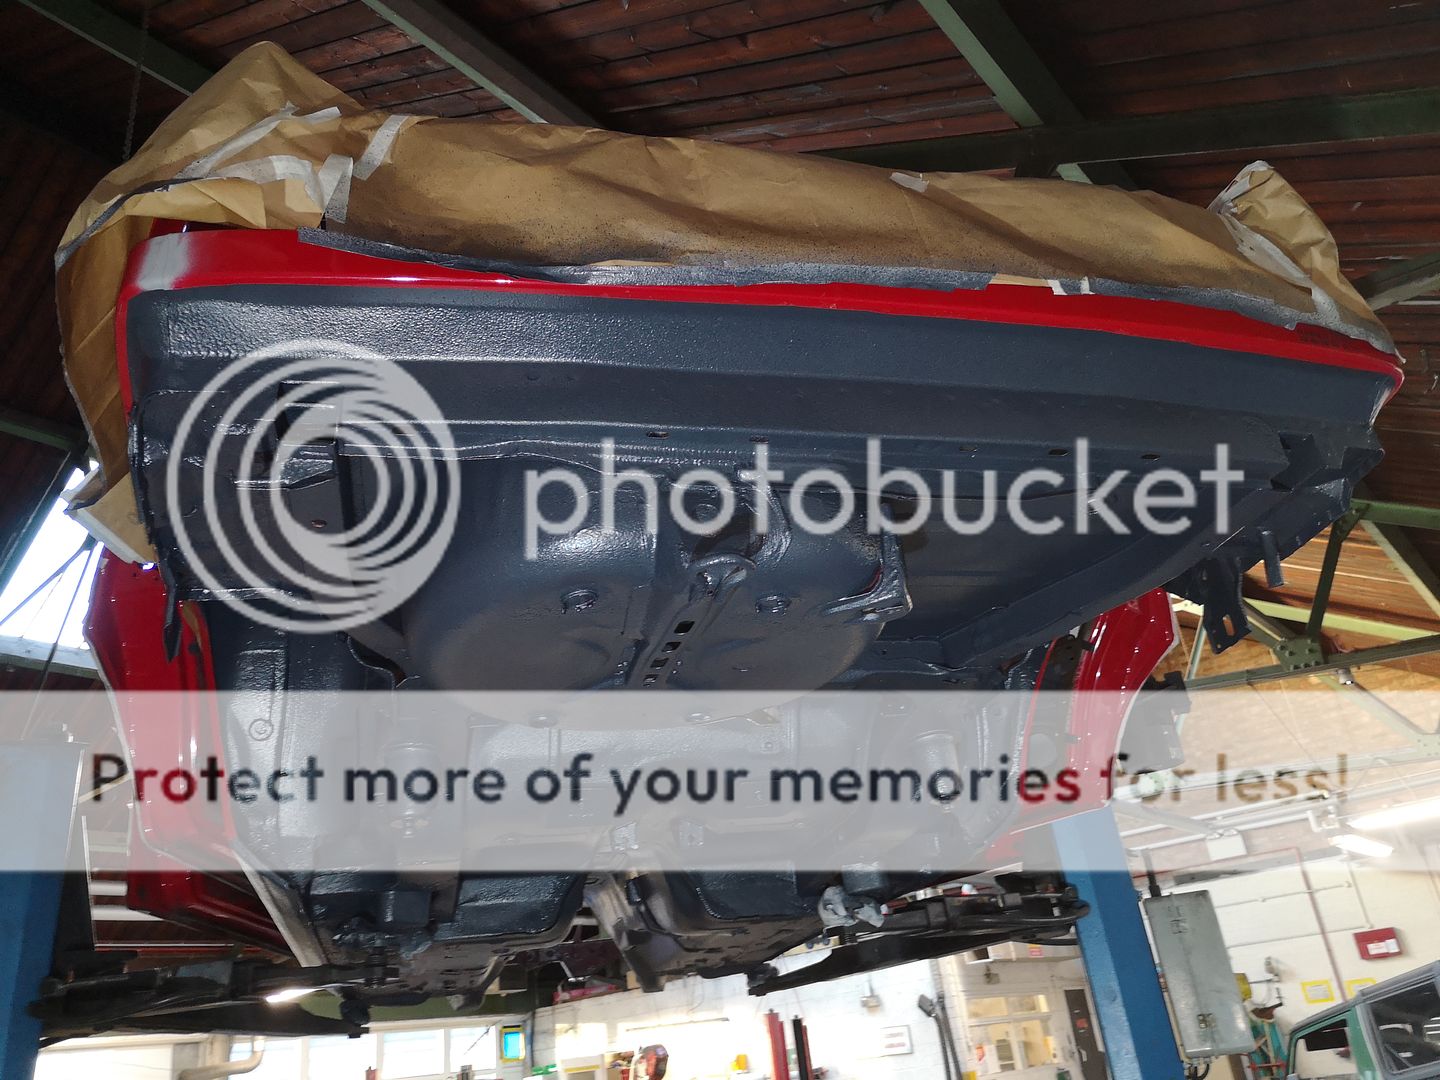
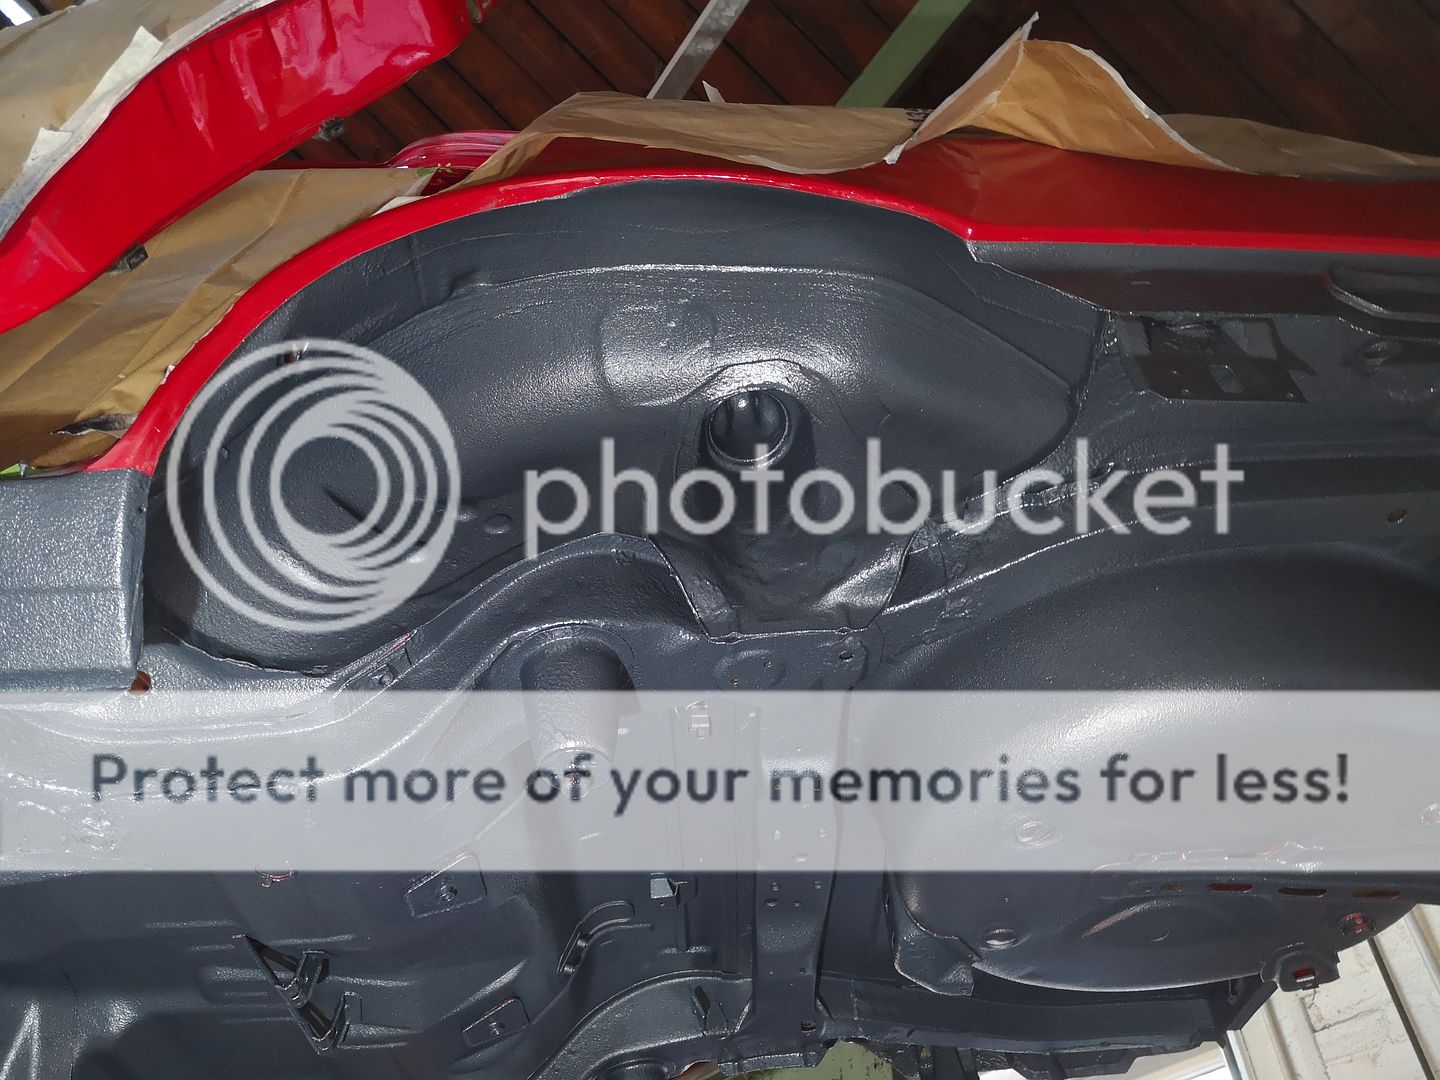
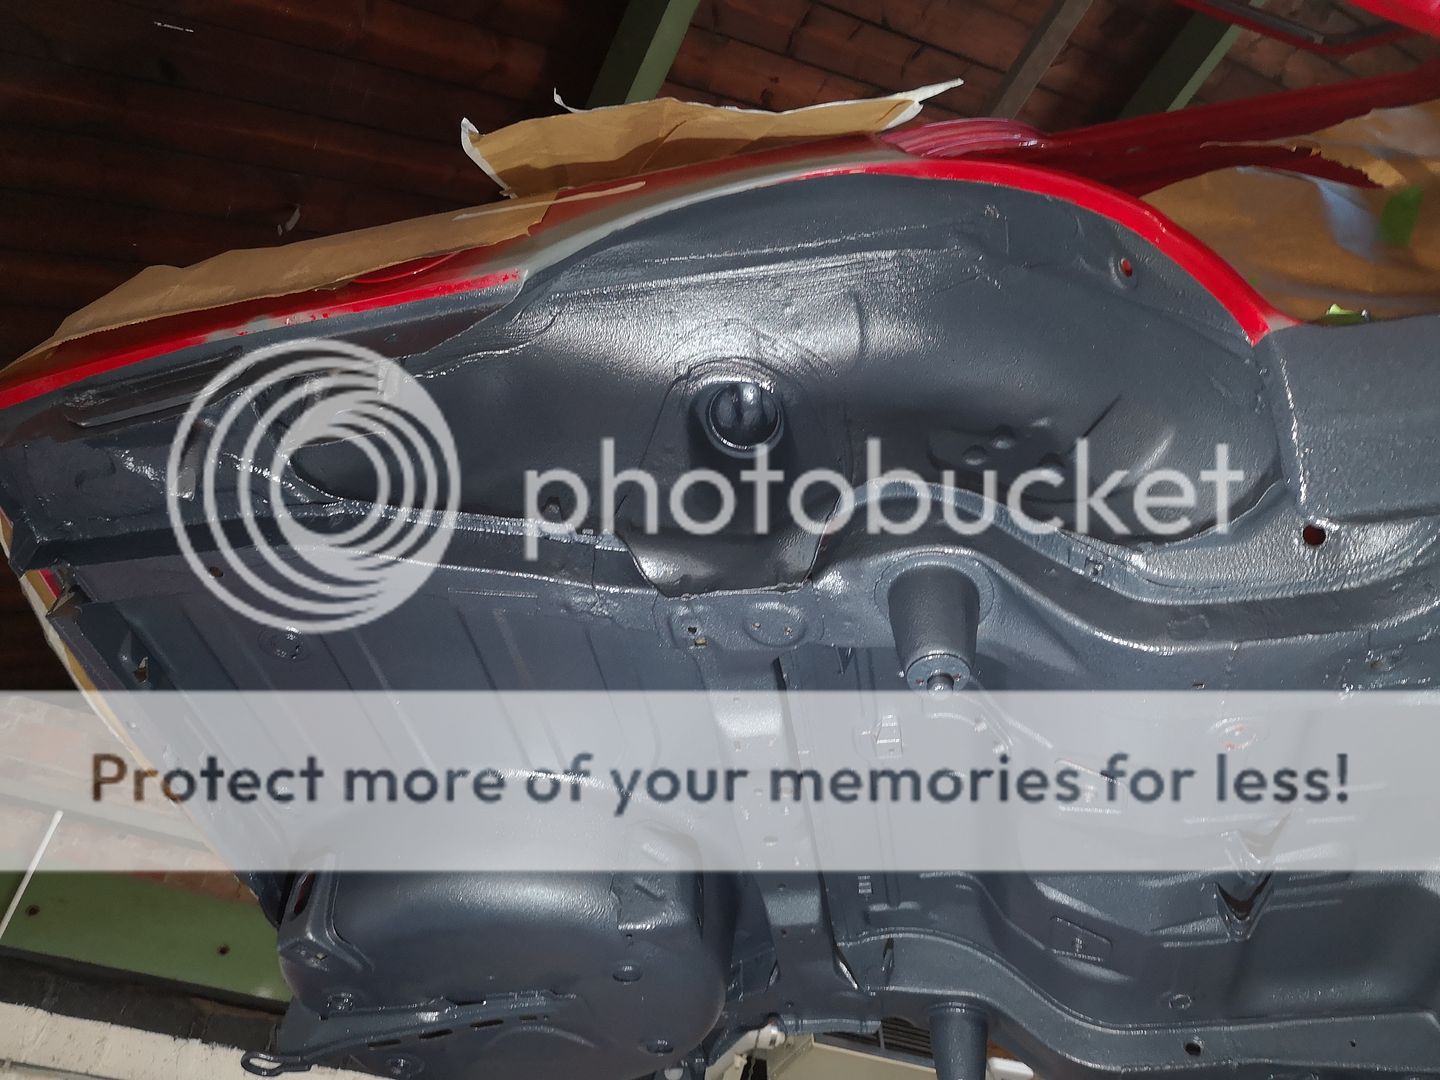
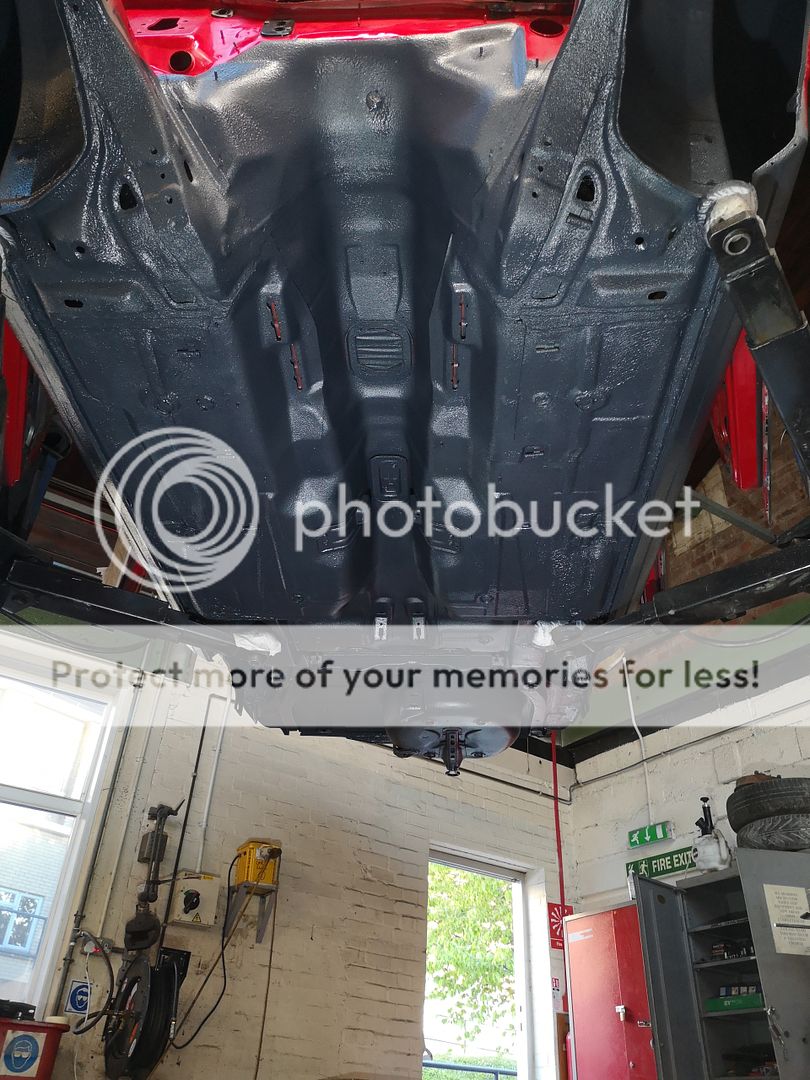
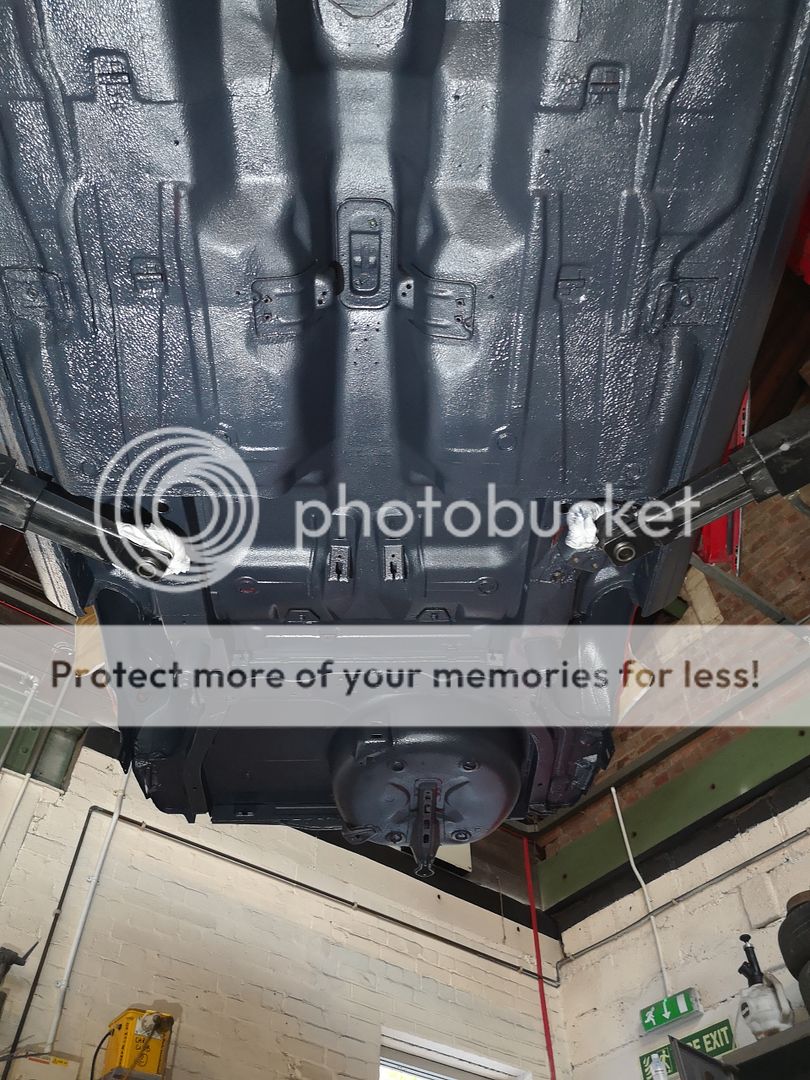
Was a bit nervous getting the mixing right as it was a tintable raptor but it has gone rather well.
This morning, went to check it and all seems good and now it is back on its front stand and rear wheels again so I can touch up where the 2 poster lift points were.
Now onto sanding back the main body before it goes off to the paint shop.
cheeRS all

Started getting the front and rear bumpers rubbed down whilst waiting for paint and seam sealer/tiger seal to dry.


Tiger sealing up the front arches where needed.


And the 3M Seam Sealer and primer on top once I got a reasonable OEM type of finish.


Then came the fun part last night of masking off the car for the Raptor underneath. Took ages to do


Once all keyed up nicely and cleaned up at last I got the Raptor on.


Was a bit nervous getting the mixing right as it was a tintable raptor but it has gone rather well.
This morning, went to check it and all seems good and now it is back on its front stand and rear wheels again so I can touch up where the 2 poster lift points were.
Now onto sanding back the main body before it goes off to the paint shop.
cheeRS all


Last edited by kosienutter; 06-09-2019 at 07:09 PM.
The following users liked this post:
kosienutter (15-05-2019)
#64
Advanced PassionFord User
Great looking work . That should keep it nice for a few years
The following users liked this post:
kosienutter (15-05-2019)
The following users liked this post:
kosienutter (15-05-2019)
The following users liked this post:
kosienutter (15-05-2019)
The following users liked this post:
kosienutter (15-05-2019)
#68
Last Time, Get Off PF FFS
Thread Starter
Here's a link to their website.
https://www.steelpanels.co.uk/
The following users liked this post:
kosienutter (26-06-2019)
#70
Last Time, Get Off PF FFS
Thread Starter
Sorry for the late reply. Away suddenly short notice with work.
I used 7 bottles and have 1 spare for when I can do the touch ups from where the 2 poster was when I get the car back from the paint shop mate.
#71
Last Time, Get Off PF FFS
Thread Starter
Hi guys.
Back from being away with work for a short period.
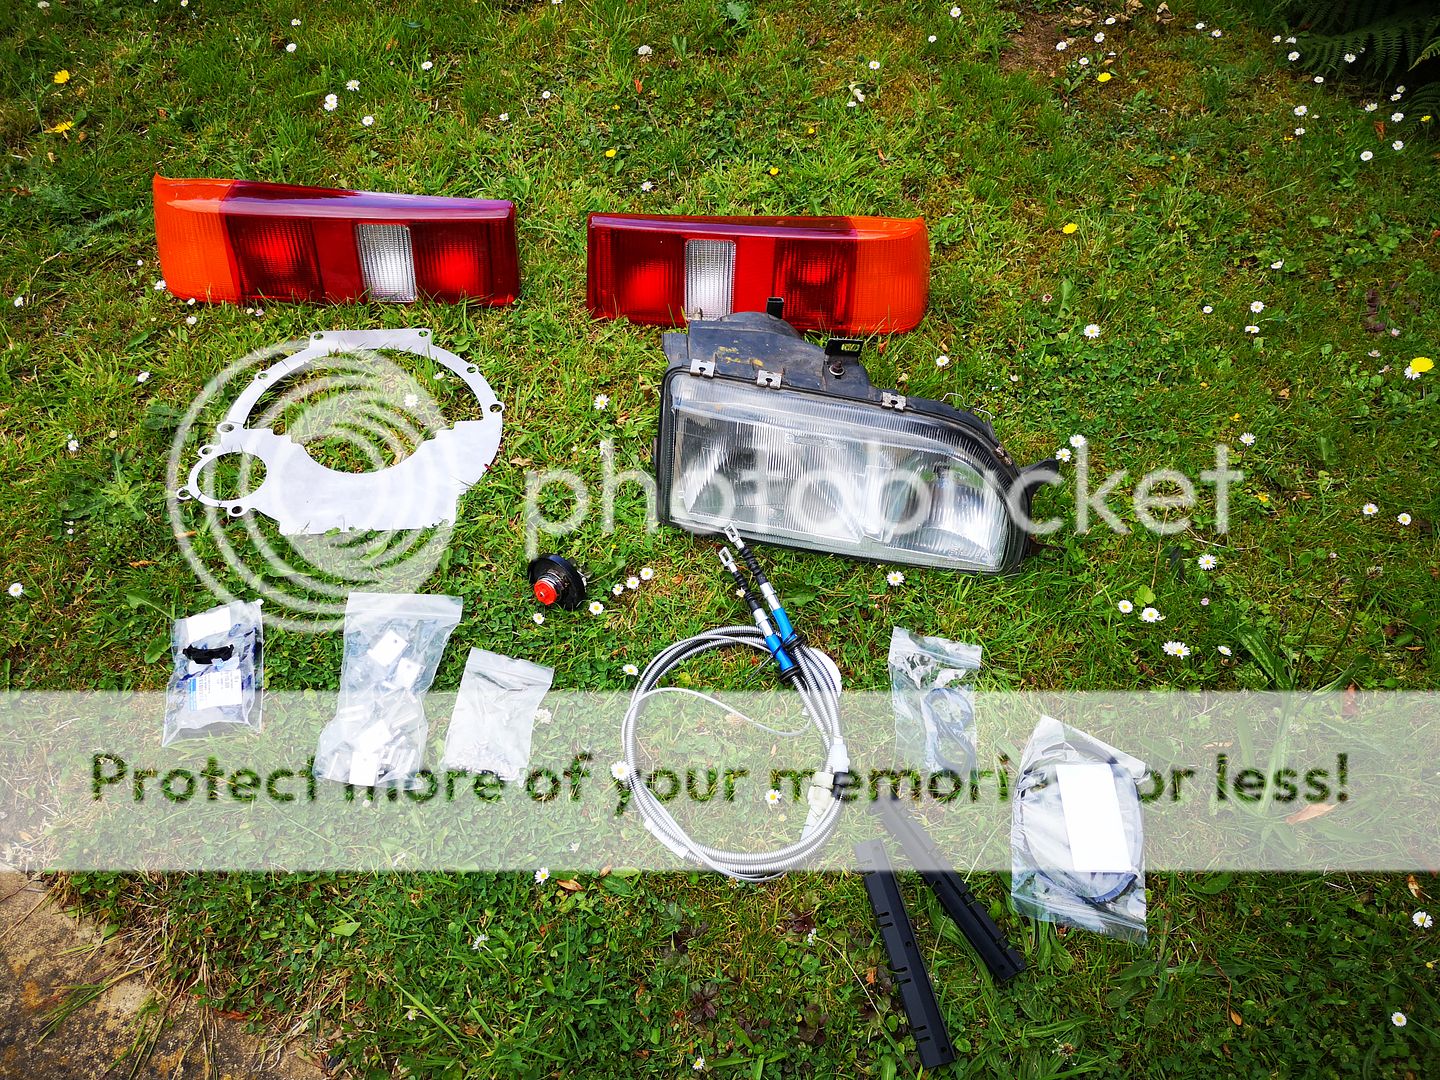
Been ordering parts again keeping the postie's busy. Amongst with the parts new side skirt clips from MSD, sandwich plate from SIERRA'S R US and a new fuel filler cap seal as with all of them the old one crumbled up. I have heard about the "Make sure the tank is above 1/4" on these new tanks but dam it looks good quality.
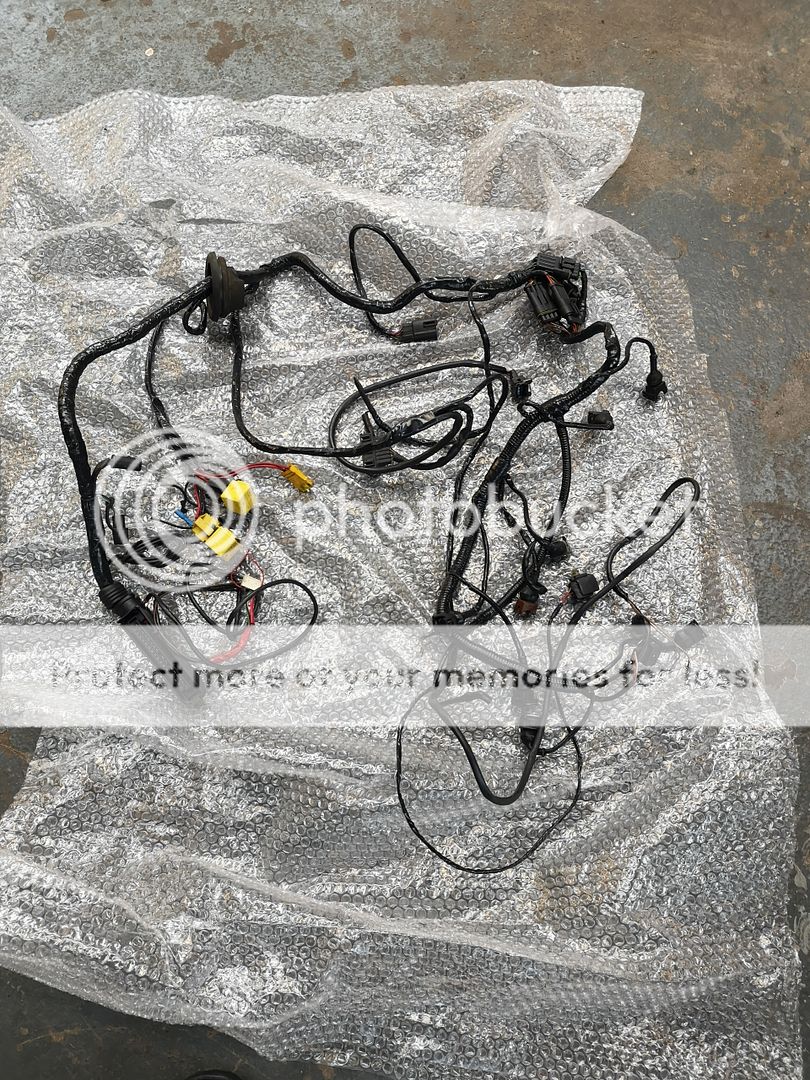
Tidied (even though it doesn't look it ) the engine loom and re-taped it. Still a good couple of years left in it with 0.03 resistance on all the wires. Will get an Auto Dynamix one in the future. Halfway through re-taping the main car look. Take is taking a long time

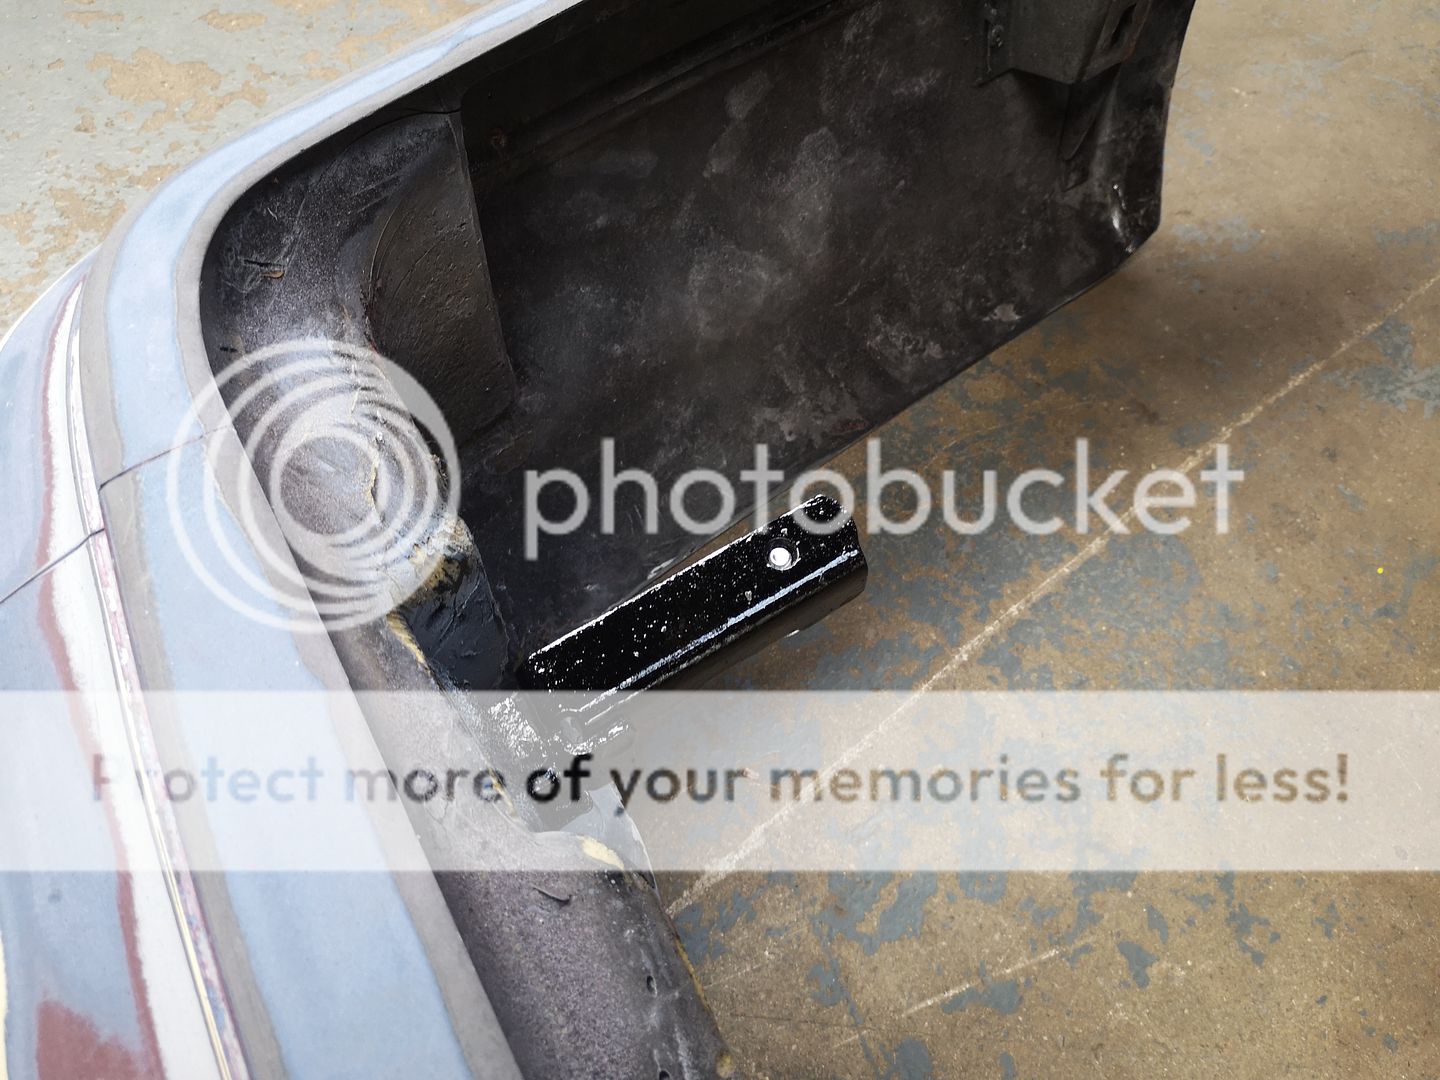
Check tapped the rear bumper bracket threads and gave them a lick of paint.

Painted a few more parts in the last couple of days. Got the front hubs vapour blasted, and have come up well. Just the bearings to fit into them. I got some new bearing seals for them too.
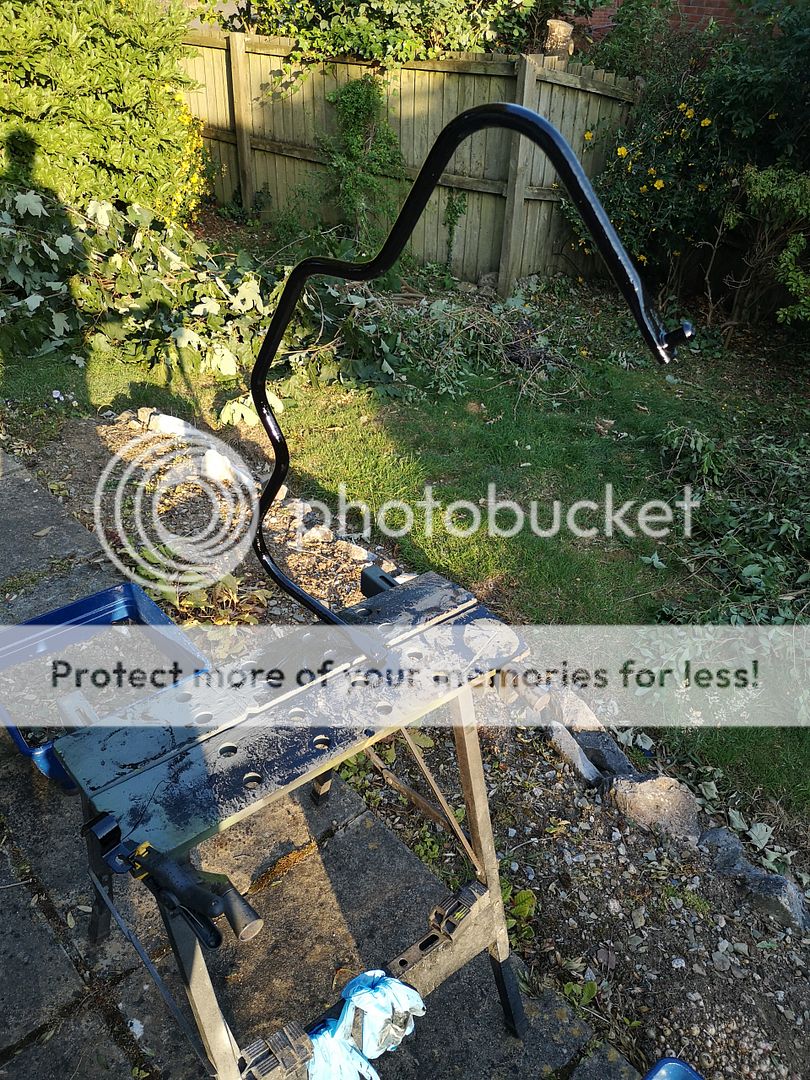
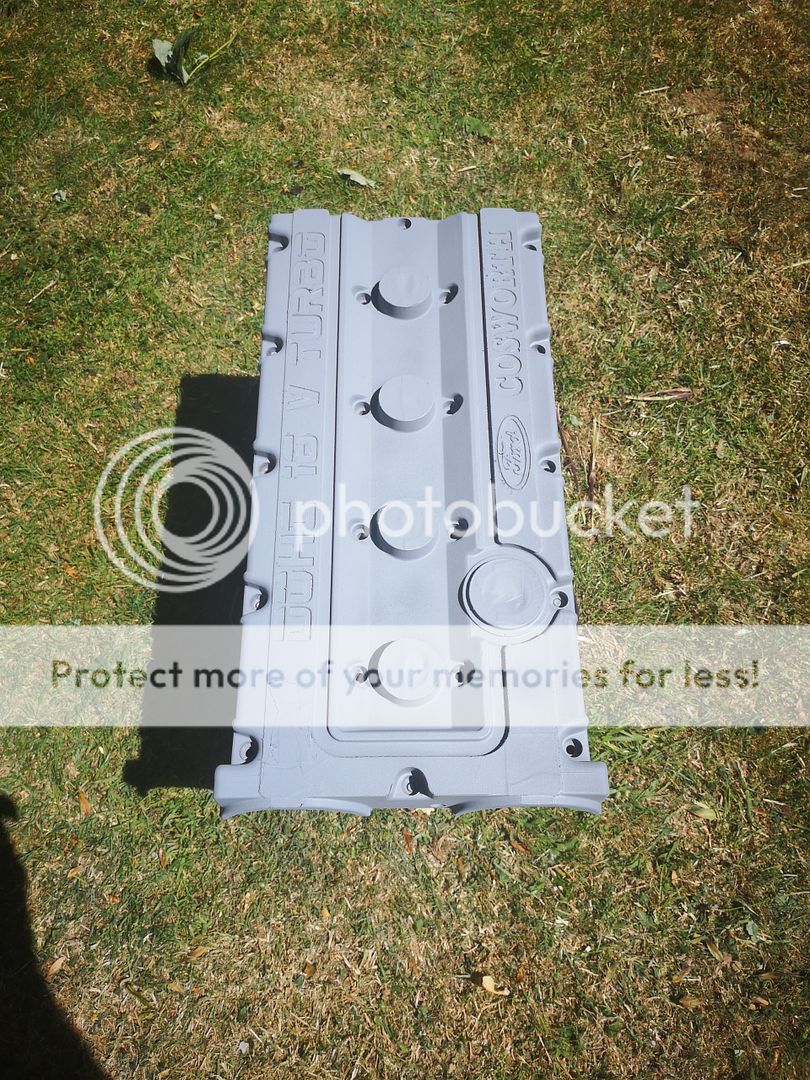
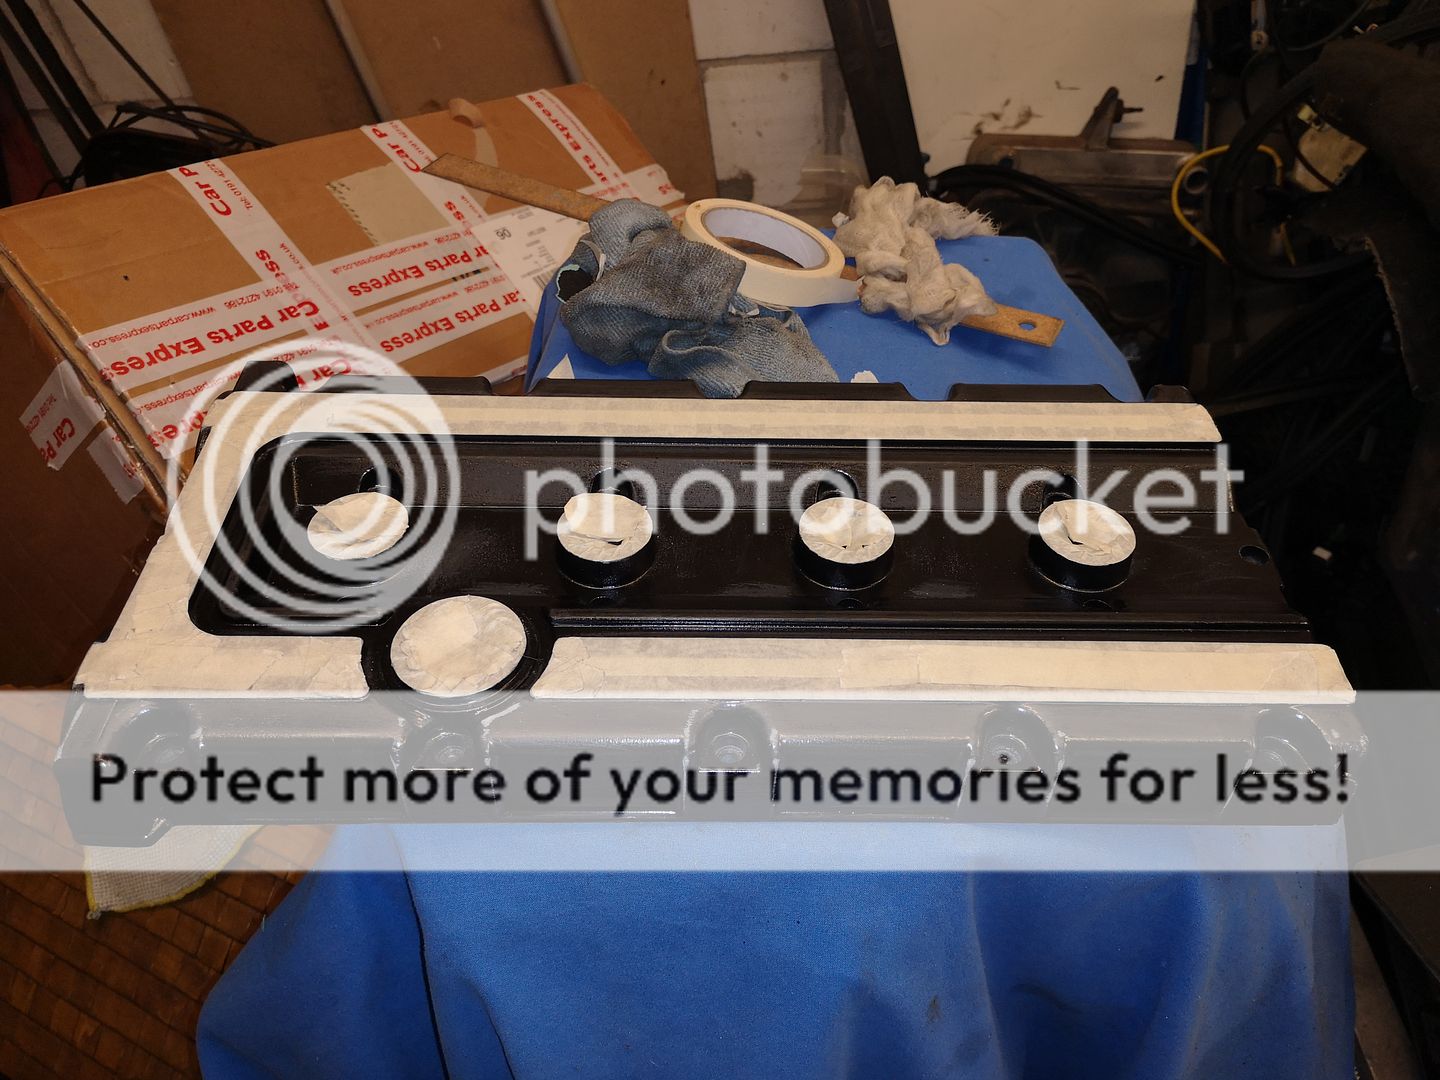
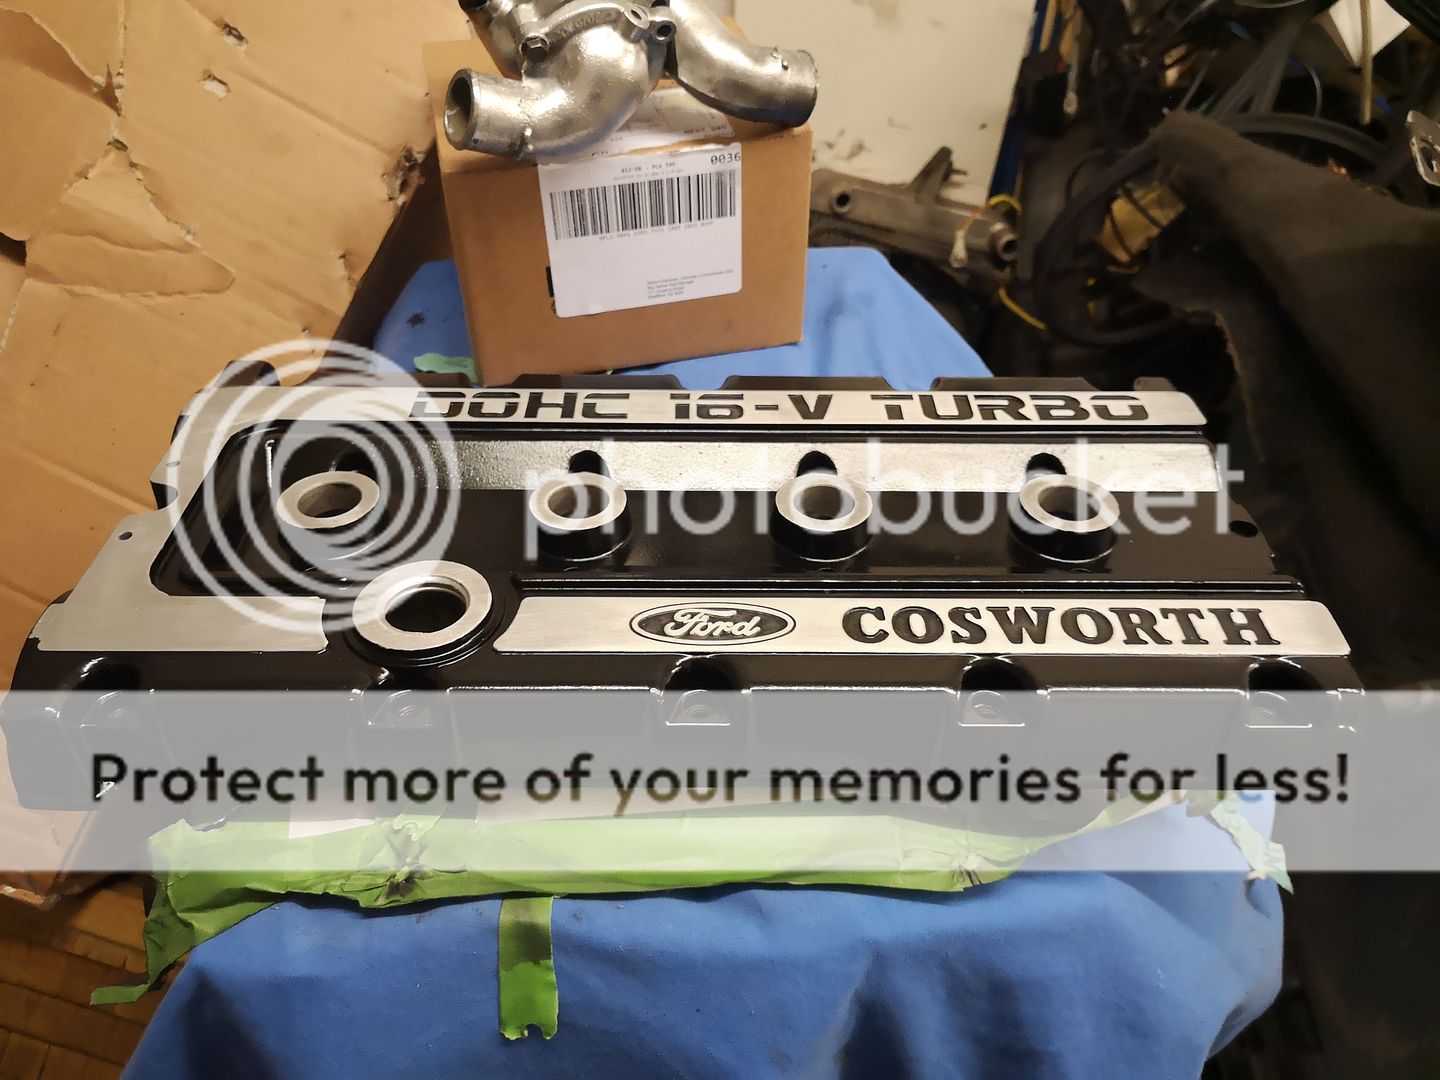
Got the rocker cover in etch primer. Have painted it black and waiting for it to dry and get the masking tape off and polish up the metal bit around the lettering.
And before I left I got the car into the spray shop. Went to have a nose today and the main body and main panels are now in primer. He had found a few dinks and things he wanted to sort out first.
Putting the bonnet, boot and bumper's prior to delivering her to the paint shop.
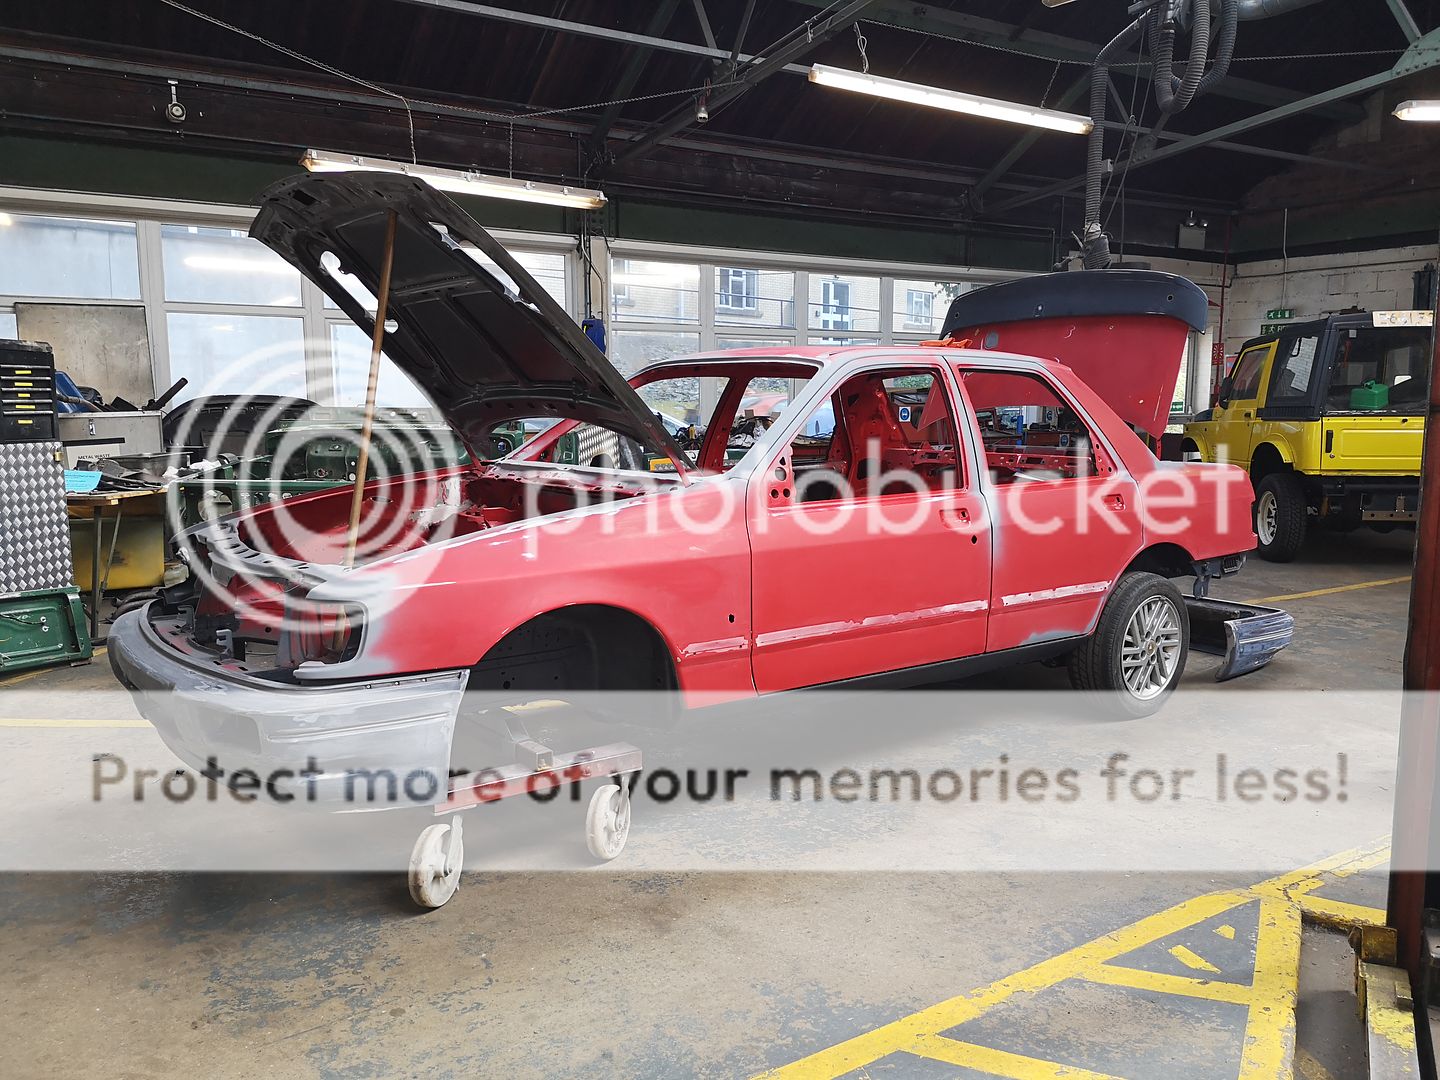
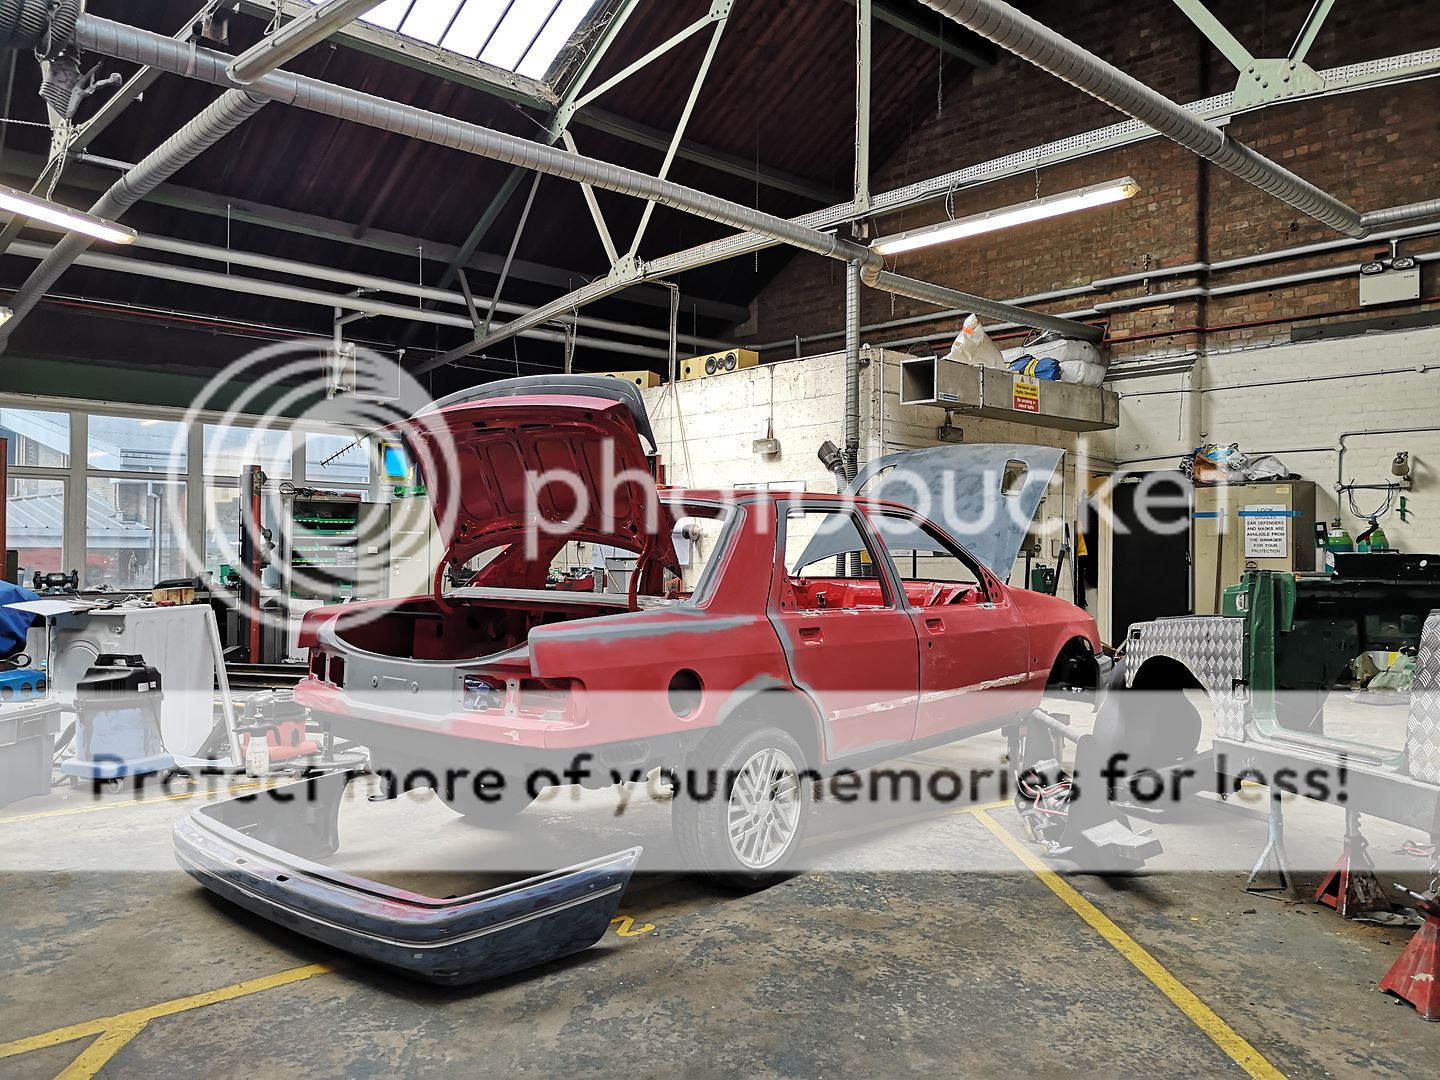
Had to put tarpaulin and a cover on,
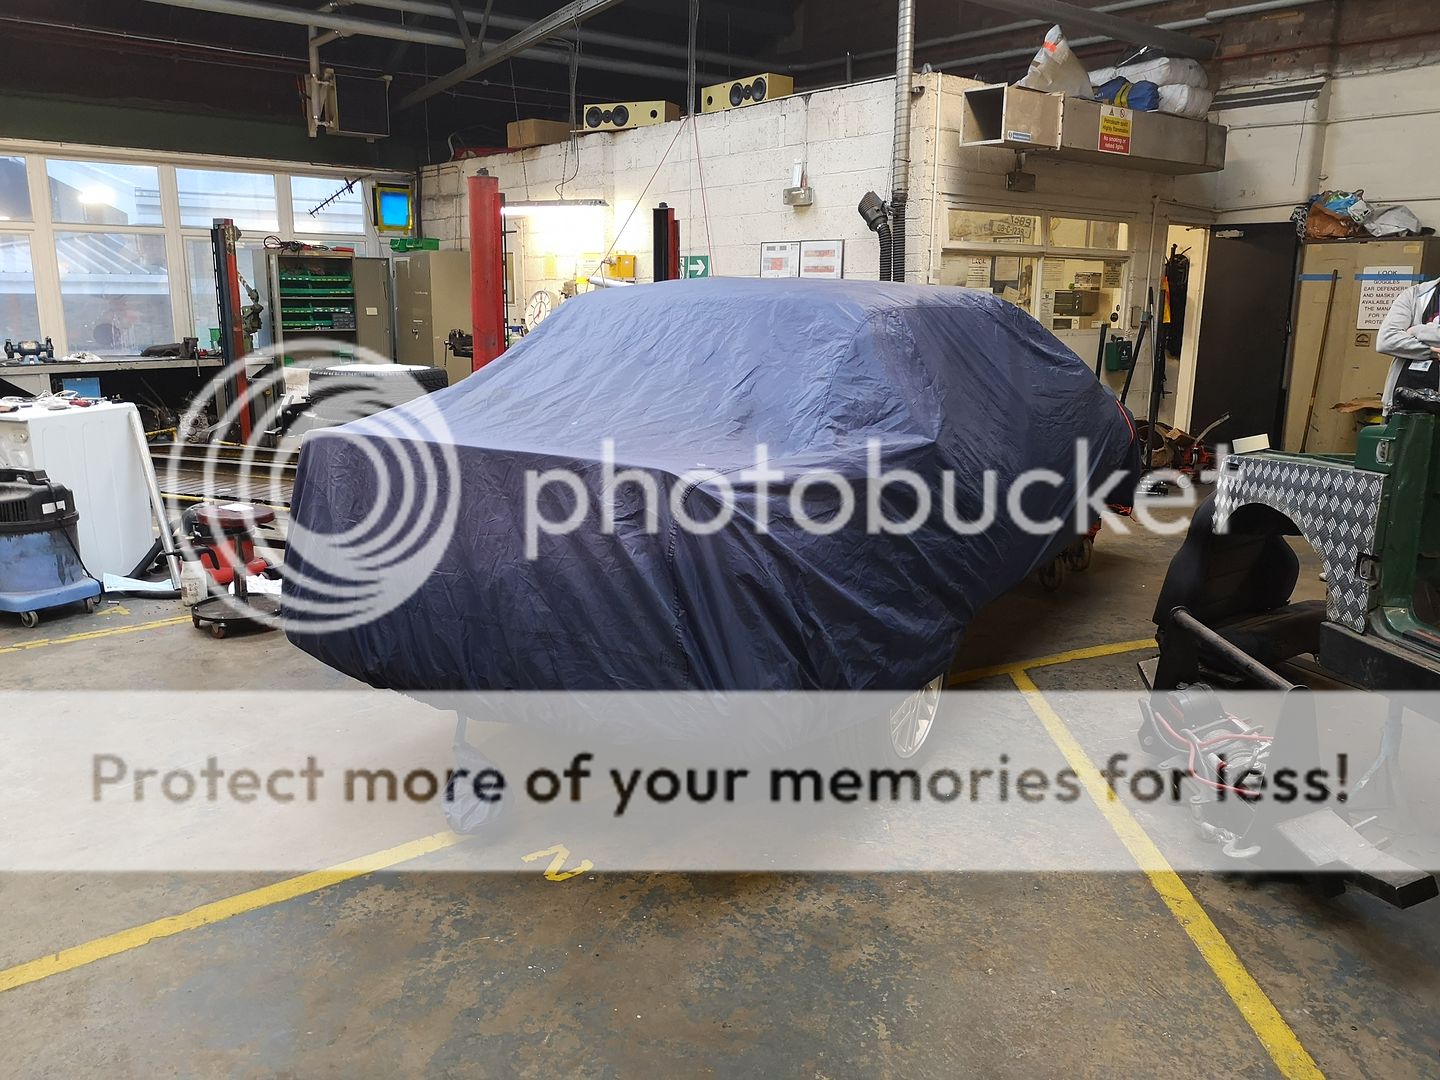
Cause sod's law it was bloody raining the day I take it to the shop. Gherrrrrrrrr!!!!
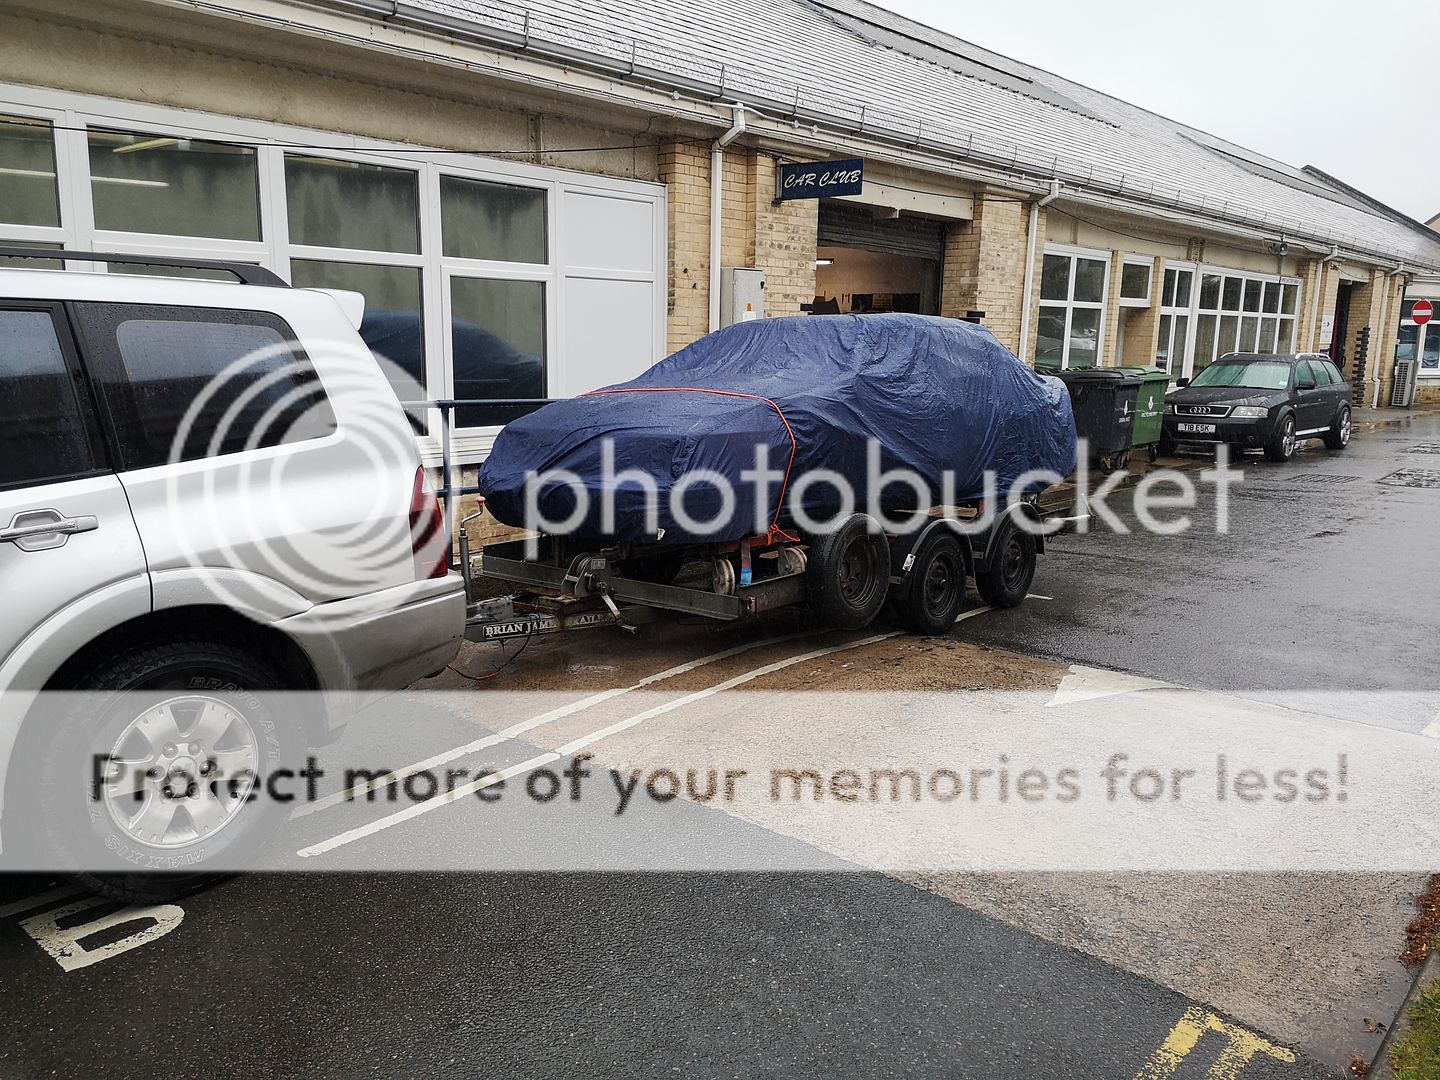
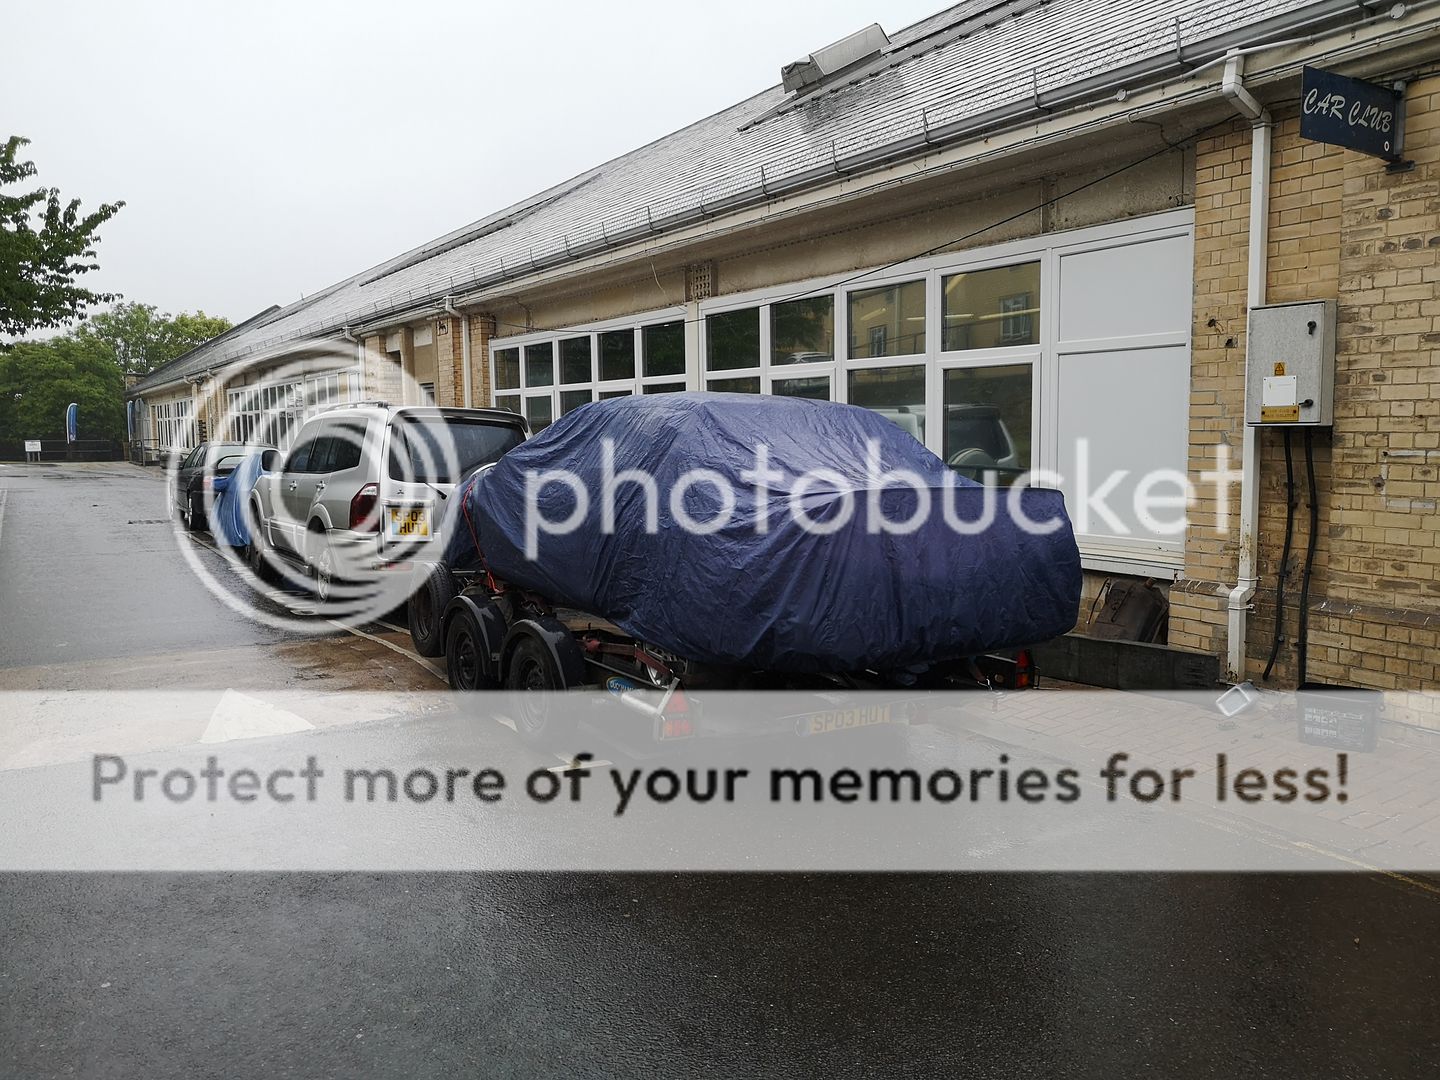
So went there today to drop of the outer 'C' trim pieces to get painted as I forgot to drop them off with the car and bag full of parts to get painted with the car.
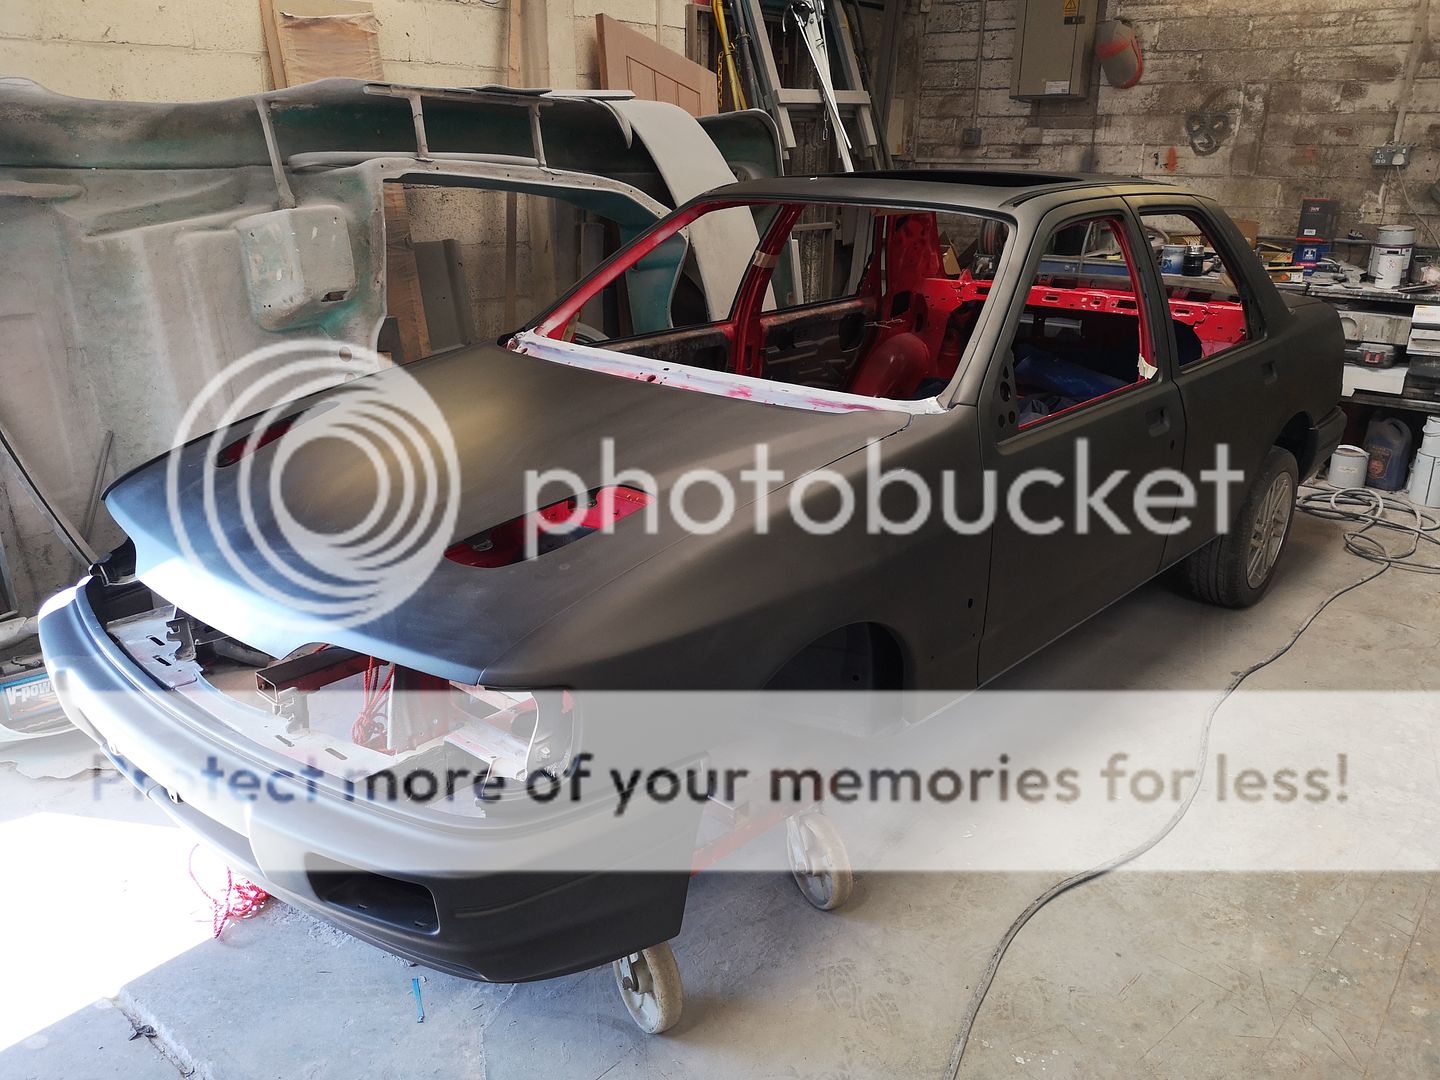
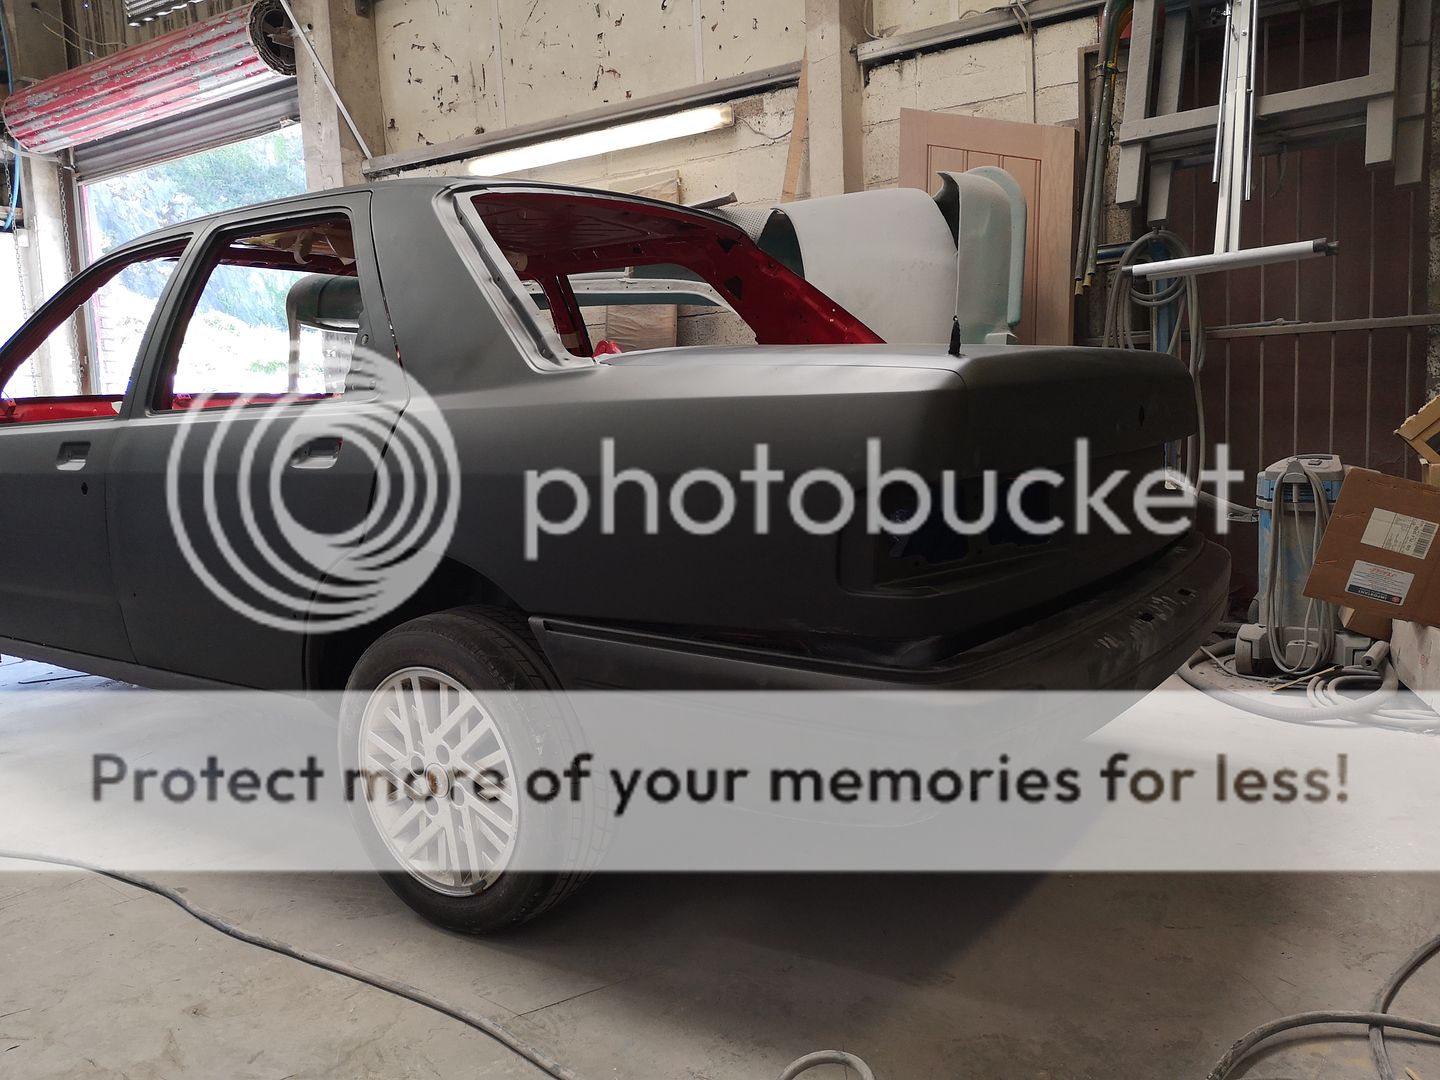
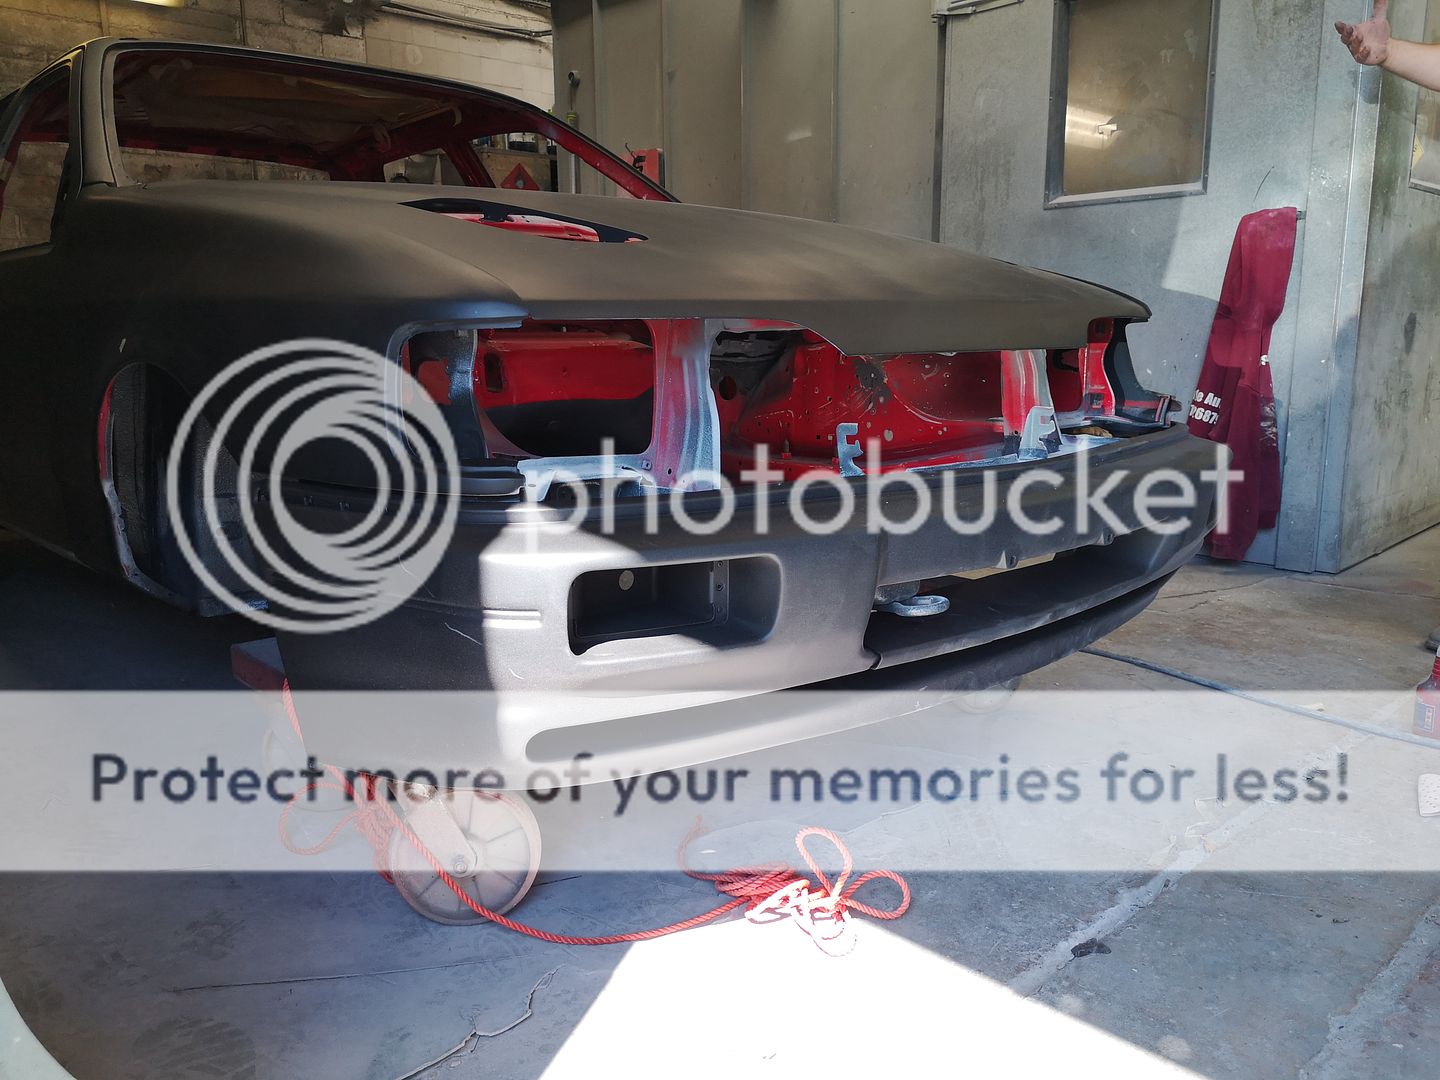
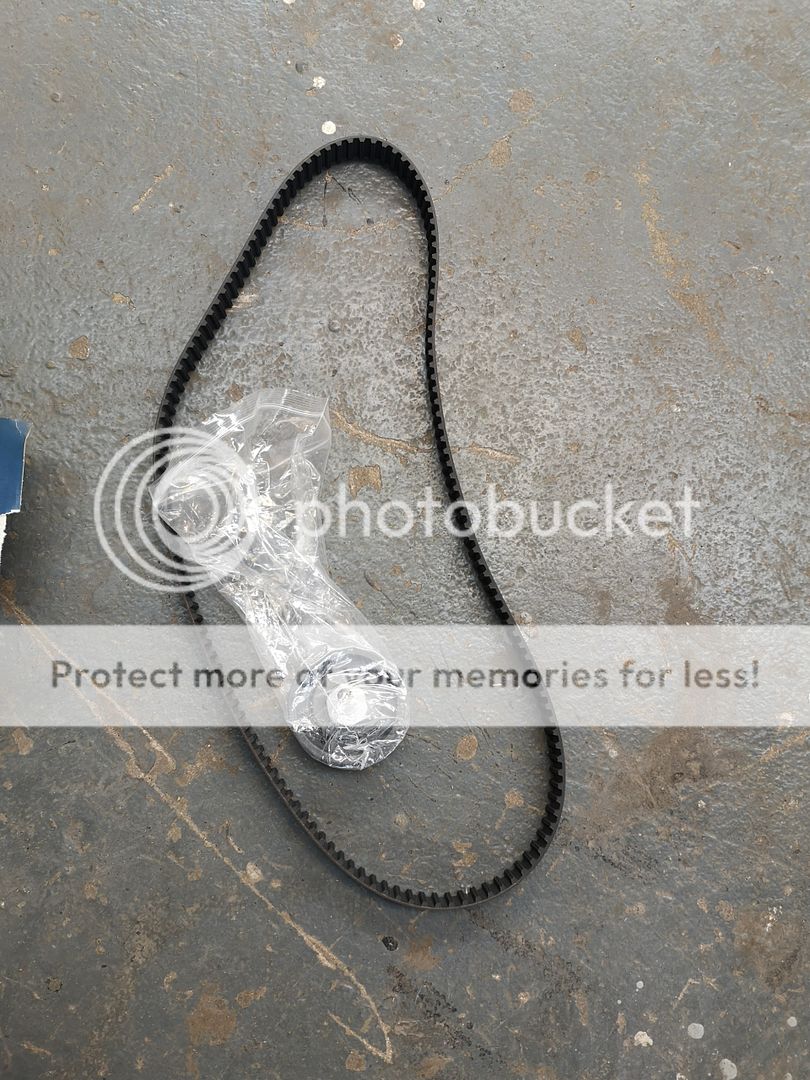
Putting the engine back together around next weekend with Richie making sure the cambelt is on properly with me. Just got to take the sump off, give it a clean and check the pick-up pipe and pump are good for safe measure.
Chow for now chaps

Back from being away with work for a short period.
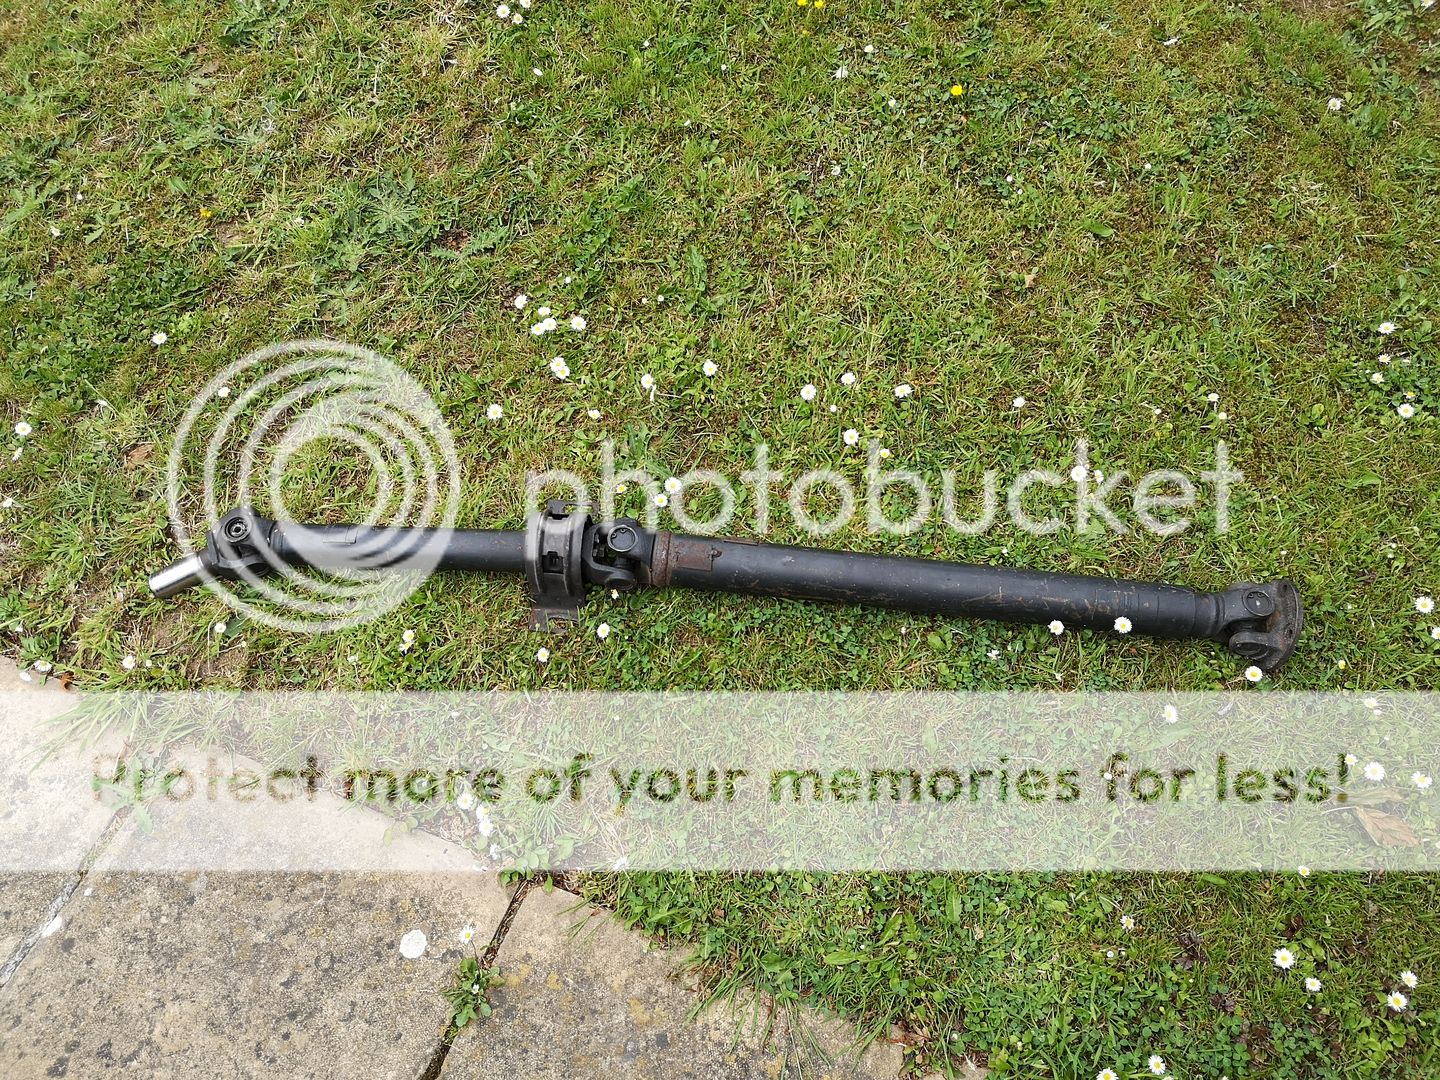
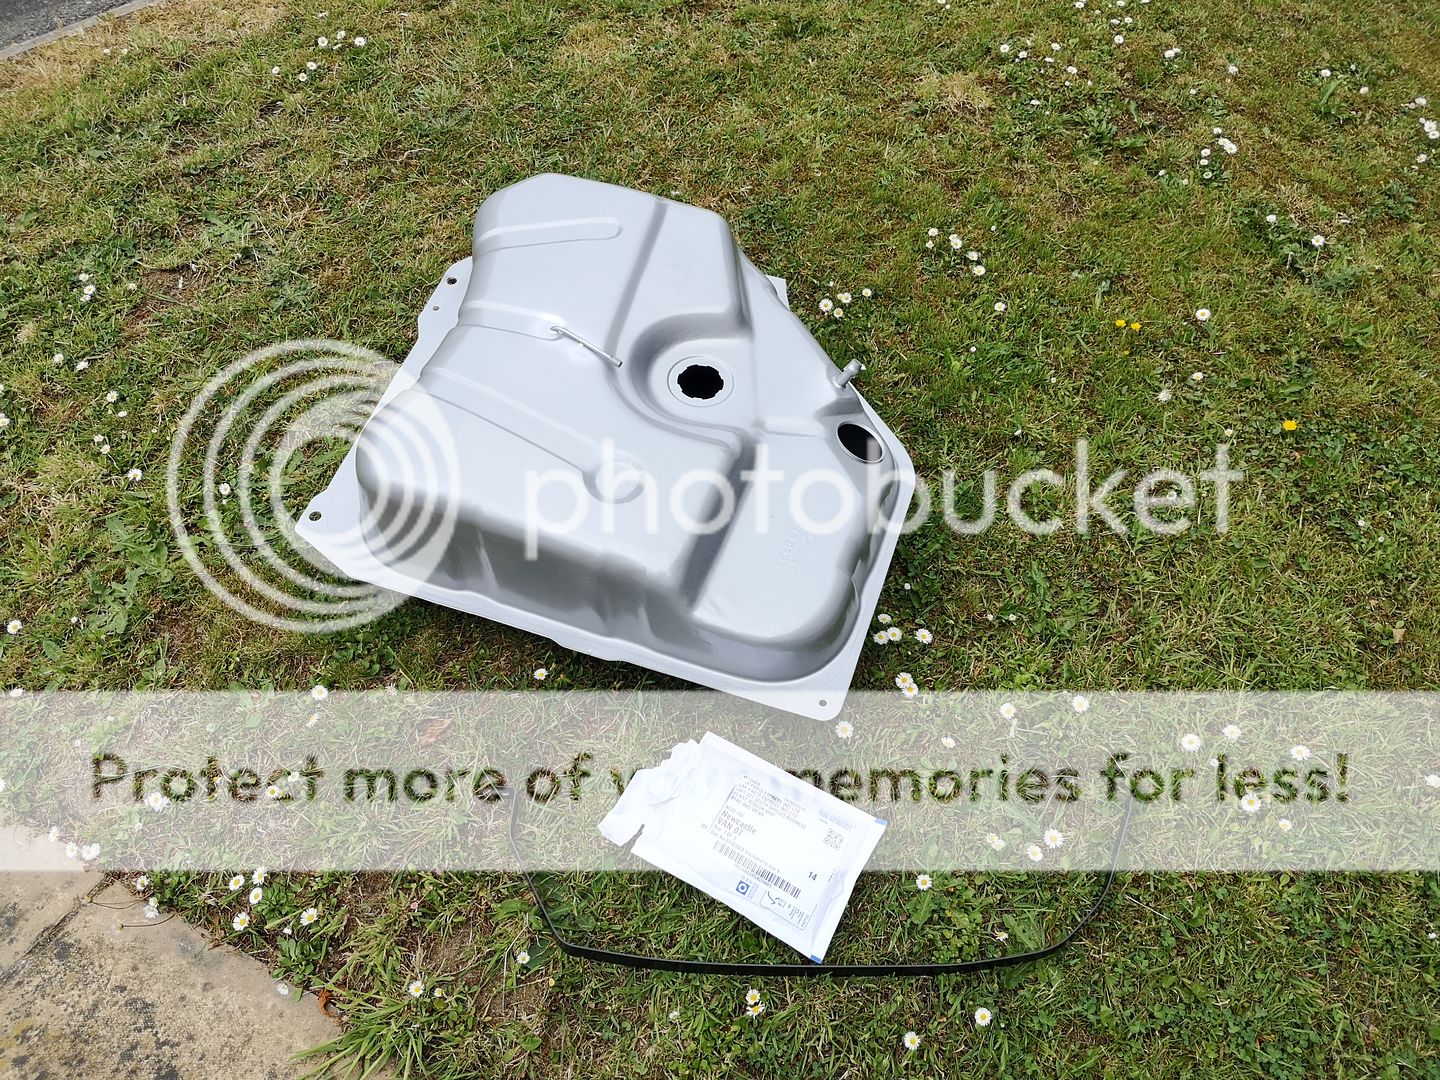
Been ordering parts again keeping the postie's busy. Amongst with the parts new side skirt clips from MSD, sandwich plate from SIERRA'S R US and a new fuel filler cap seal as with all of them the old one crumbled up. I have heard about the "Make sure the tank is above 1/4" on these new tanks but dam it looks good quality.


Tidied (even though it doesn't look it
 ) the engine loom and re-taped it. Still a good couple of years left in it with 0.03 resistance on all the wires. Will get an Auto Dynamix one in the future. Halfway through re-taping the main car look. Take is taking a long time


Check tapped the rear bumper bracket threads and gave them a lick of paint.


Painted a few more parts in the last couple of days. Got the front hubs vapour blasted, and have come up well. Just the bearings to fit into them. I got some new bearing seals for them too.


Got the rocker cover in etch primer. Have painted it black and waiting for it to dry and get the masking tape off and polish up the metal bit around the lettering.

And before I left I got the car into the spray shop. Went to have a nose today and the main body and main panels are now in primer. He had found a few dinks and things he wanted to sort out first.
Putting the bonnet, boot and bumper's prior to delivering her to the paint shop.


Had to put tarpaulin and a cover on,

Cause sod's law it was bloody raining the day I take it to the shop. Gherrrrrrrrr!!!!


So went there today to drop of the outer 'C' trim pieces to get painted as I forgot to drop them off with the car and bag full of parts to get painted with the car.


Putting the engine back together around next weekend with Richie making sure the cambelt is on properly with me. Just got to take the sump off, give it a clean and check the pick-up pipe and pump are good for safe measure.
Chow for now chaps


Last edited by kosienutter; 04-07-2019 at 10:25 PM.
The following users liked this post:
kosienutter (05-07-2019)
The following users liked this post:
kosienutter (05-07-2019)
The following users liked this post:
kosienutter (06-07-2019)
The following users liked this post:
kosienutter (16-07-2019)
#76
I've found that life I needed.. It's HERE!!
I noticed some on eBay Glenn as I was hoping to find just the actual jacking dish/cups without the complete panels that the op has replaced on his, they are £370 + postage
The following users liked this post:
kosienutter (16-07-2019)
#77
Last Time, Get Off PF FFS
Thread Starter


Thanks mate.
Thanks mate.
Yes they were expensive but the quality is absolutely brilliant. If I'm not mistaken the ones on eBay are the same ones from Ex-pressed Steel. Took bloody ages getting the old ones out mind


I have seen a mate just cut the cups on his Escos and bashed it back into shape and re-welded it in. Wouldn't know it was done.
#78
Last Time, Get Off PF FFS
Thread Starter
Evening guys.
Done a few more bits and got all the gunk off the steering rack. That was a task

More painting of parts. Not much left to paint now
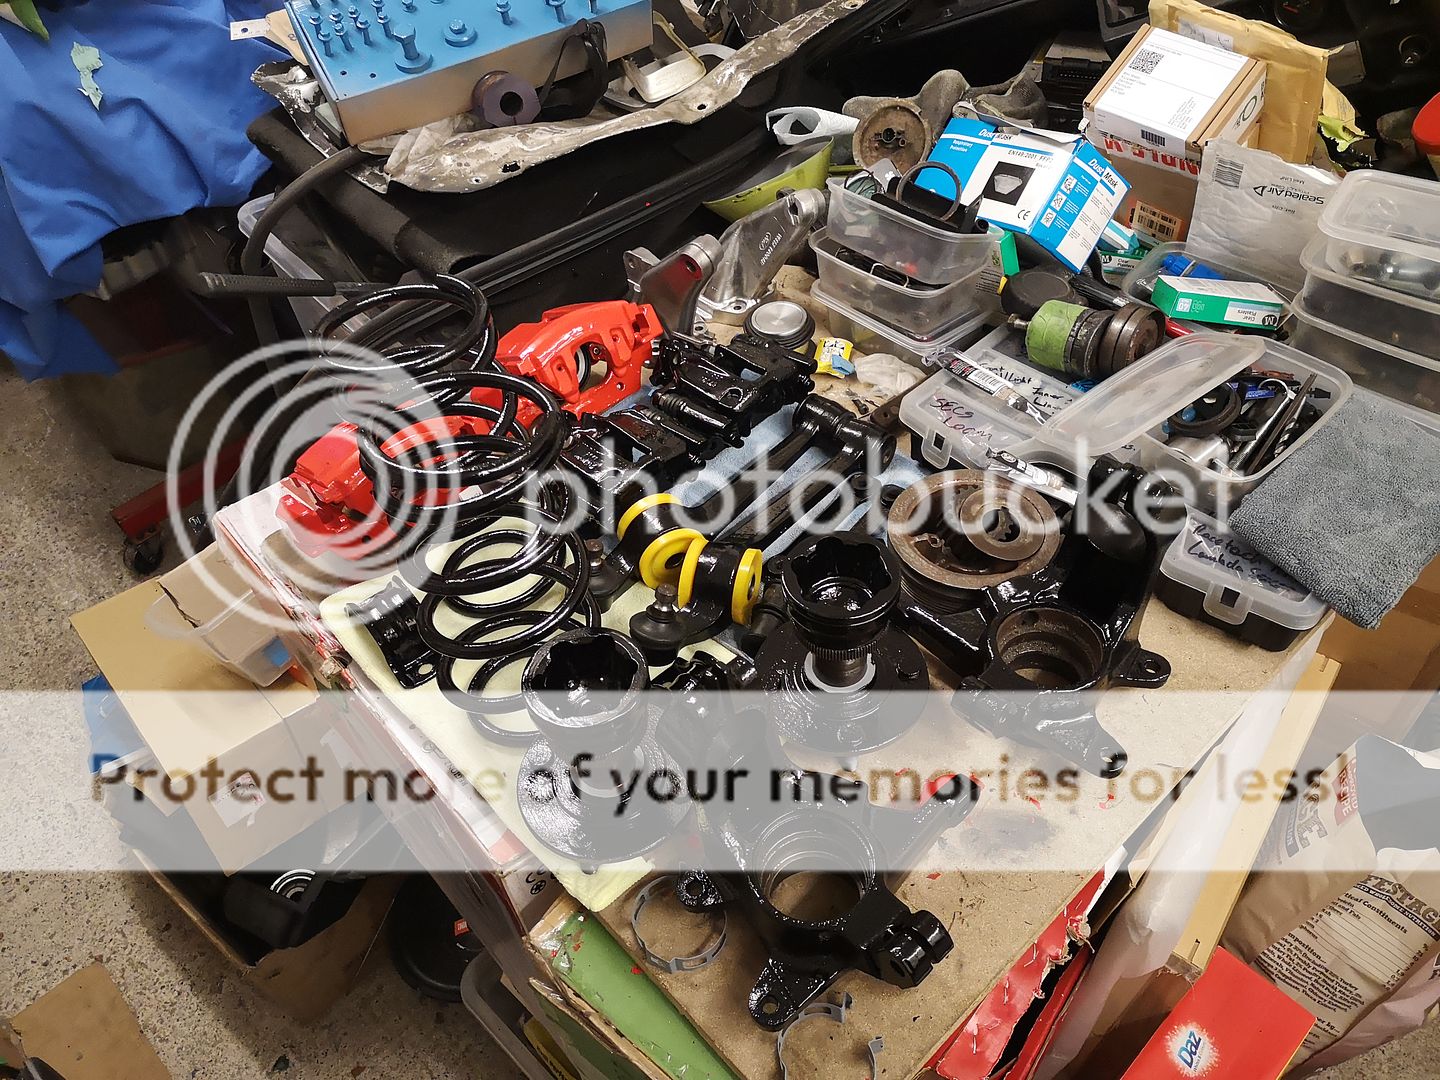
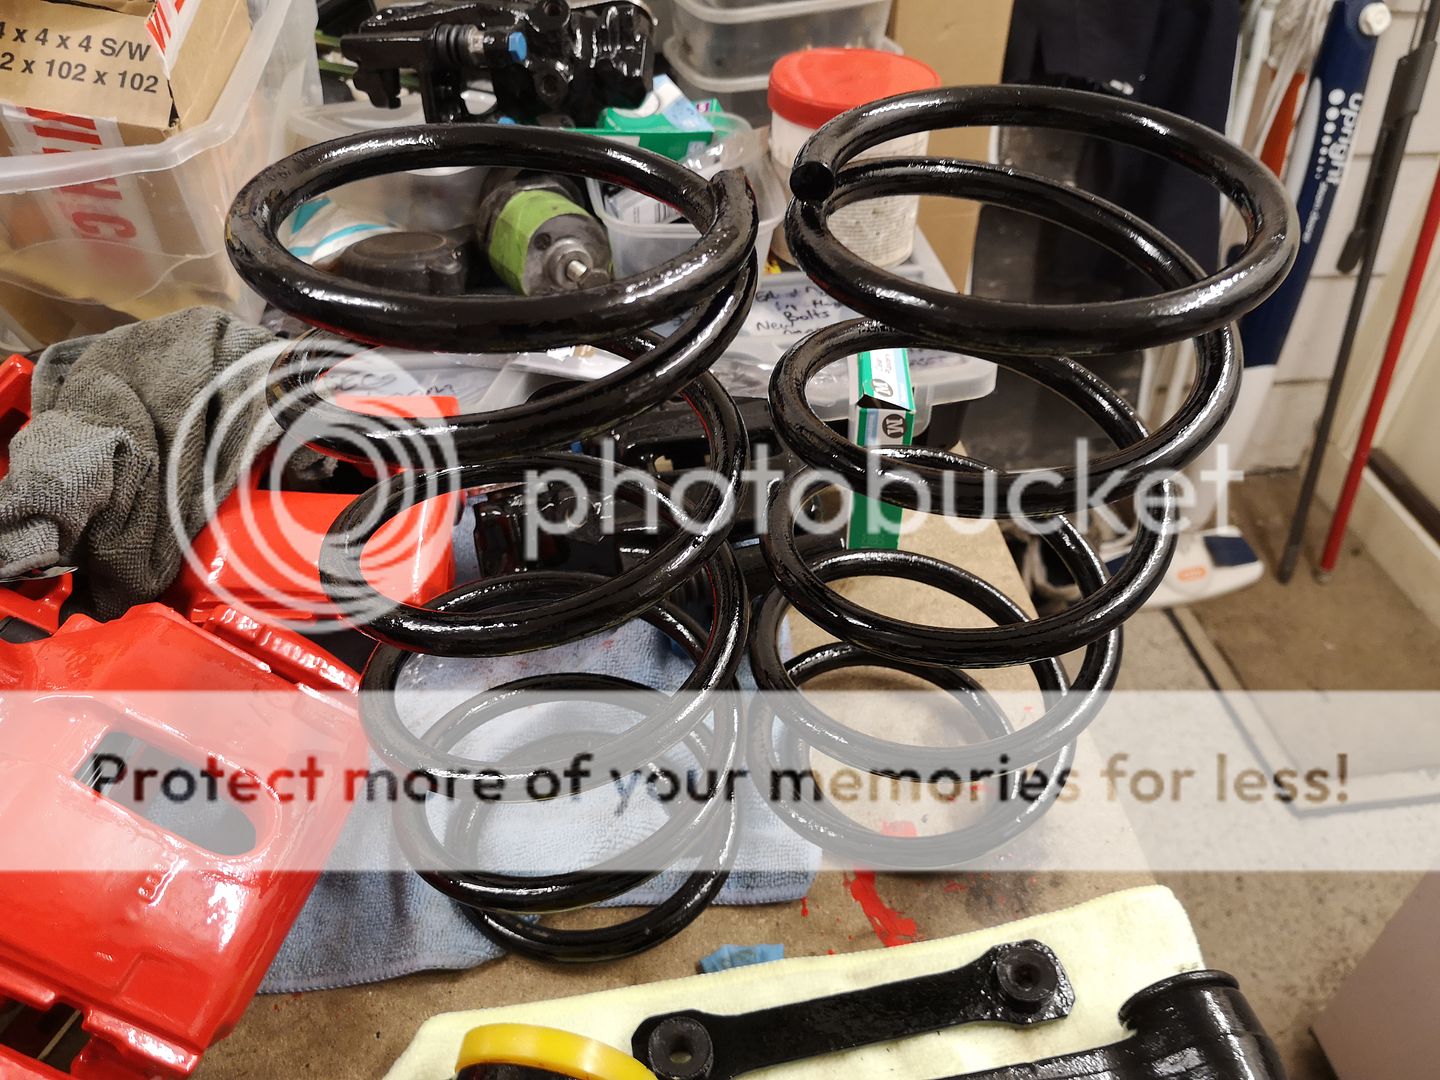
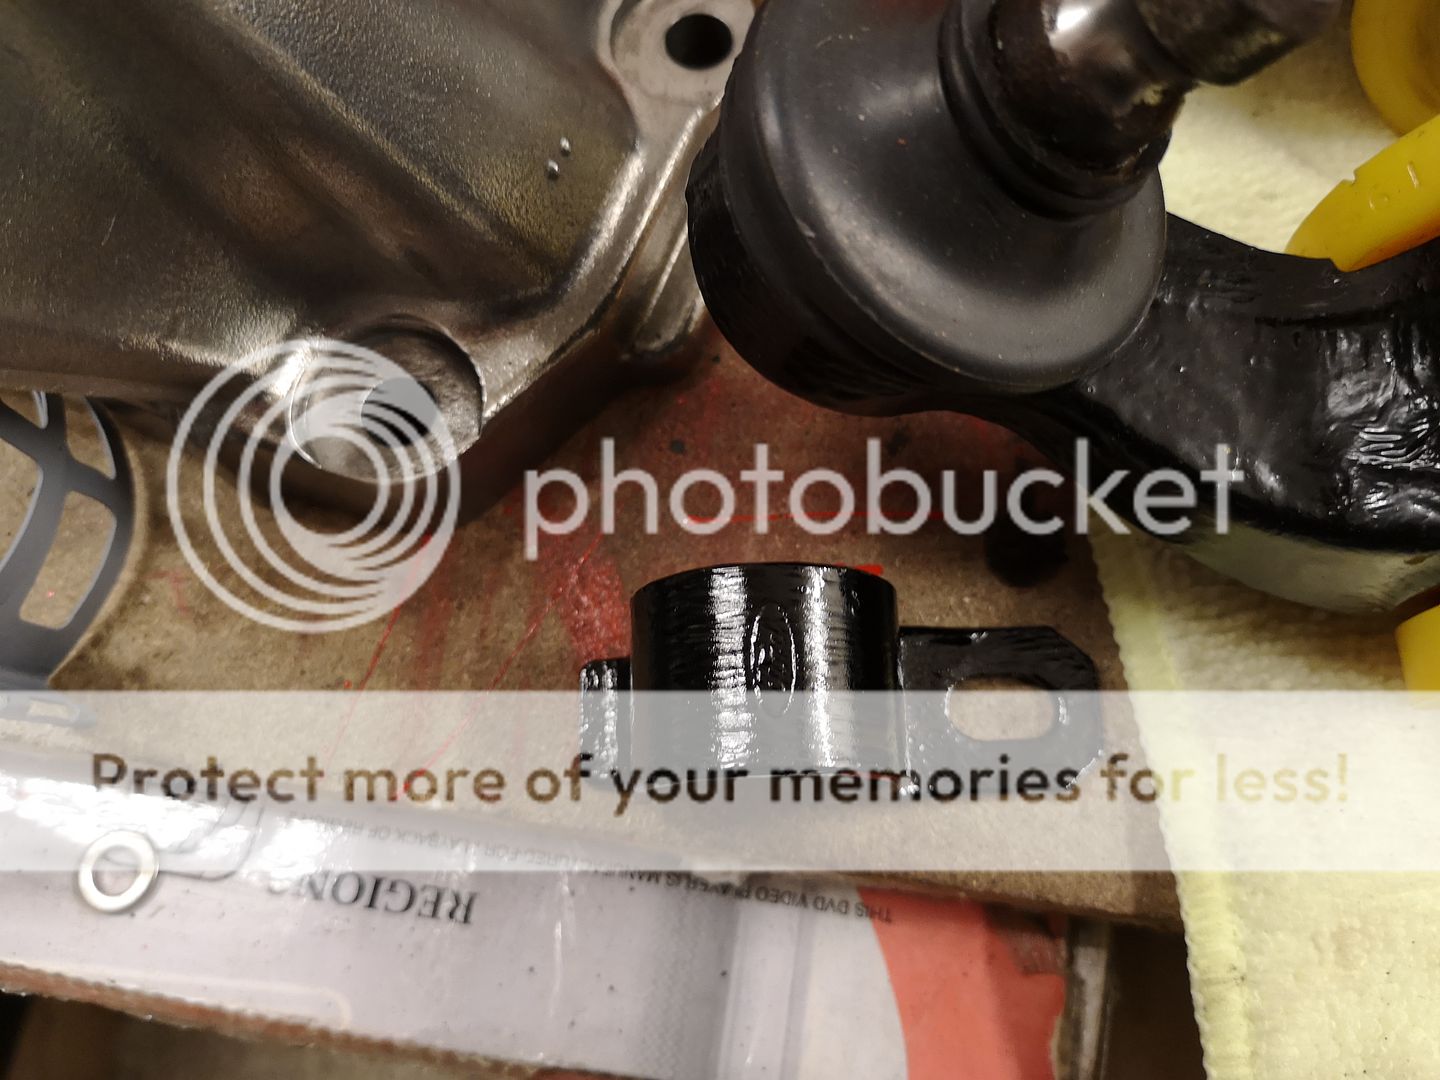
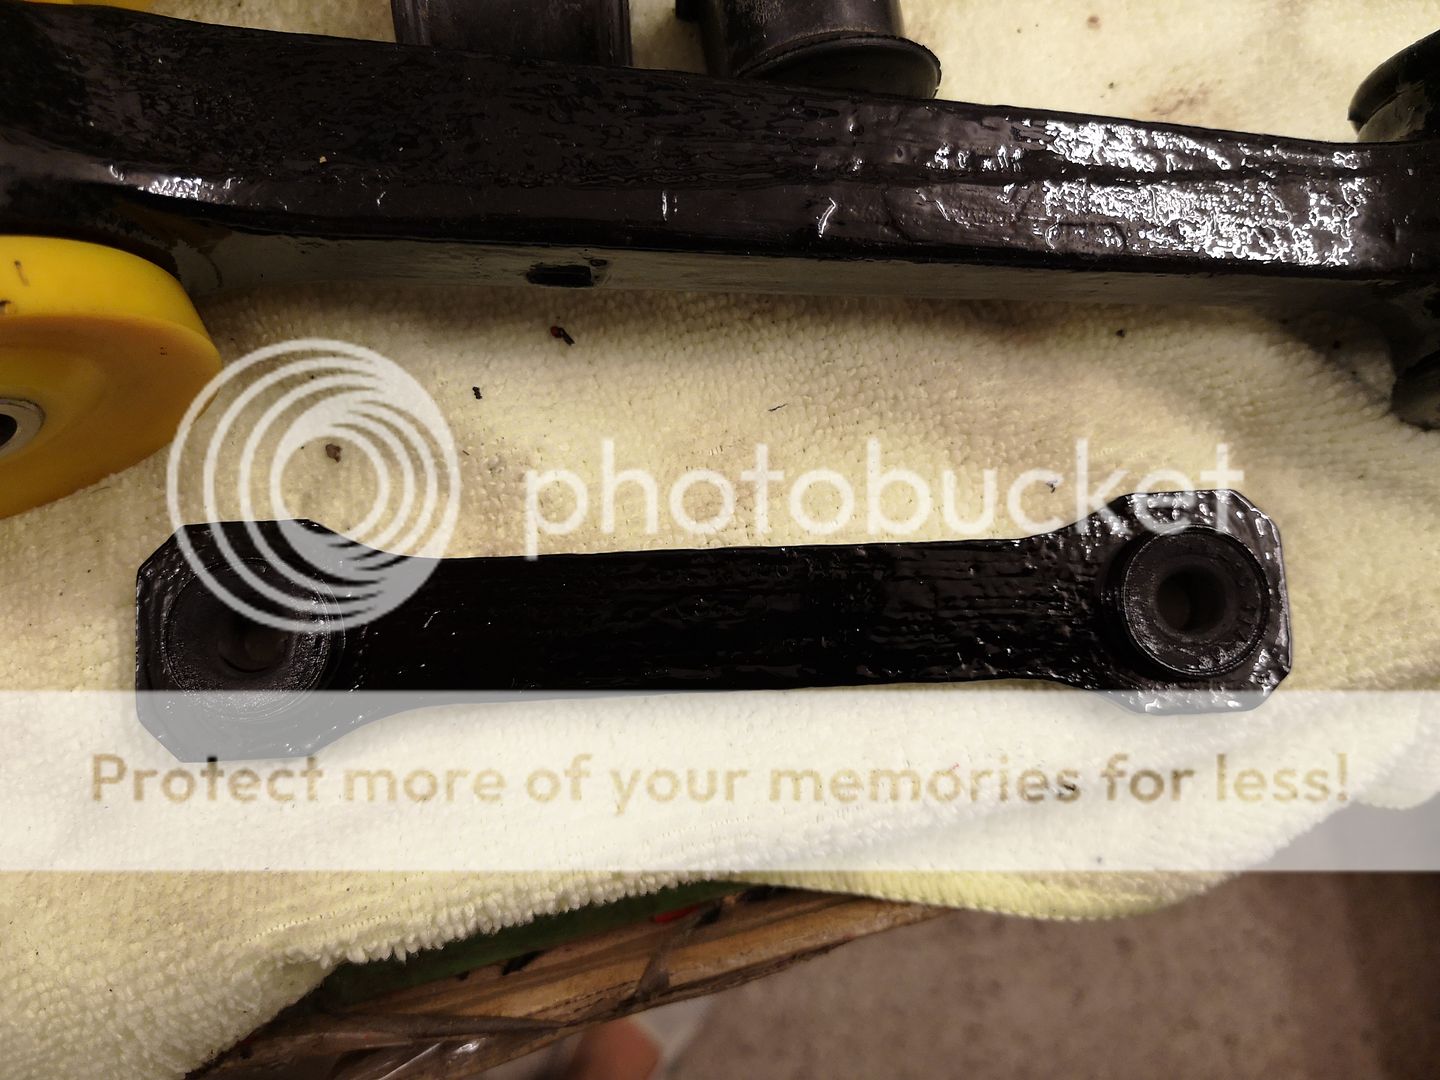
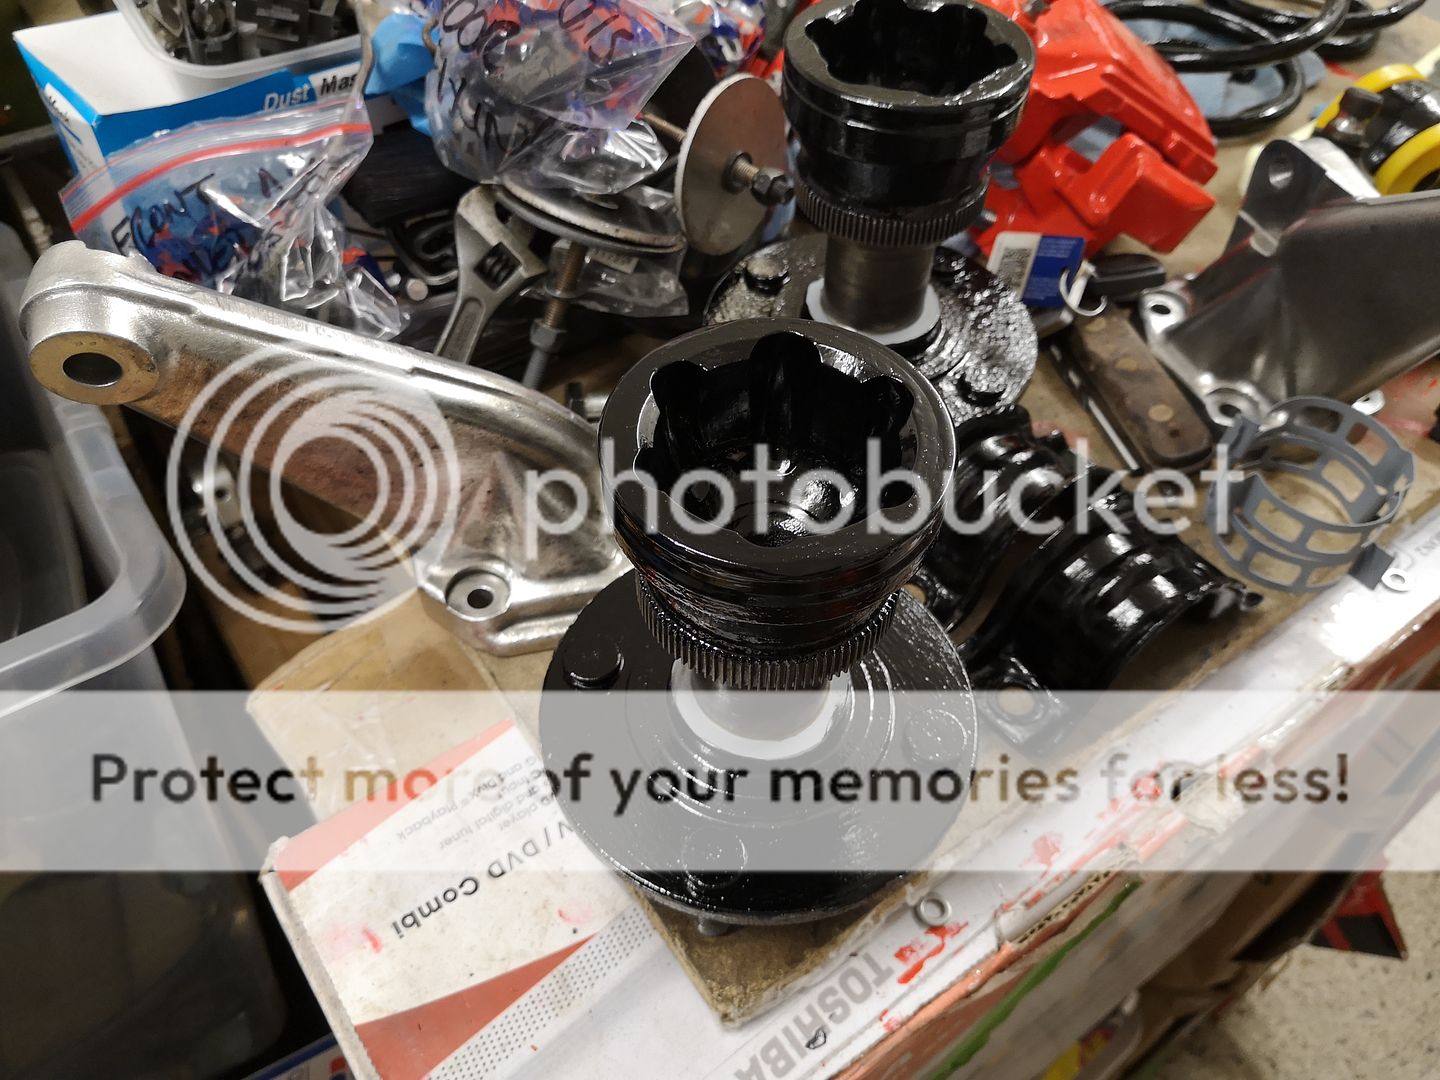
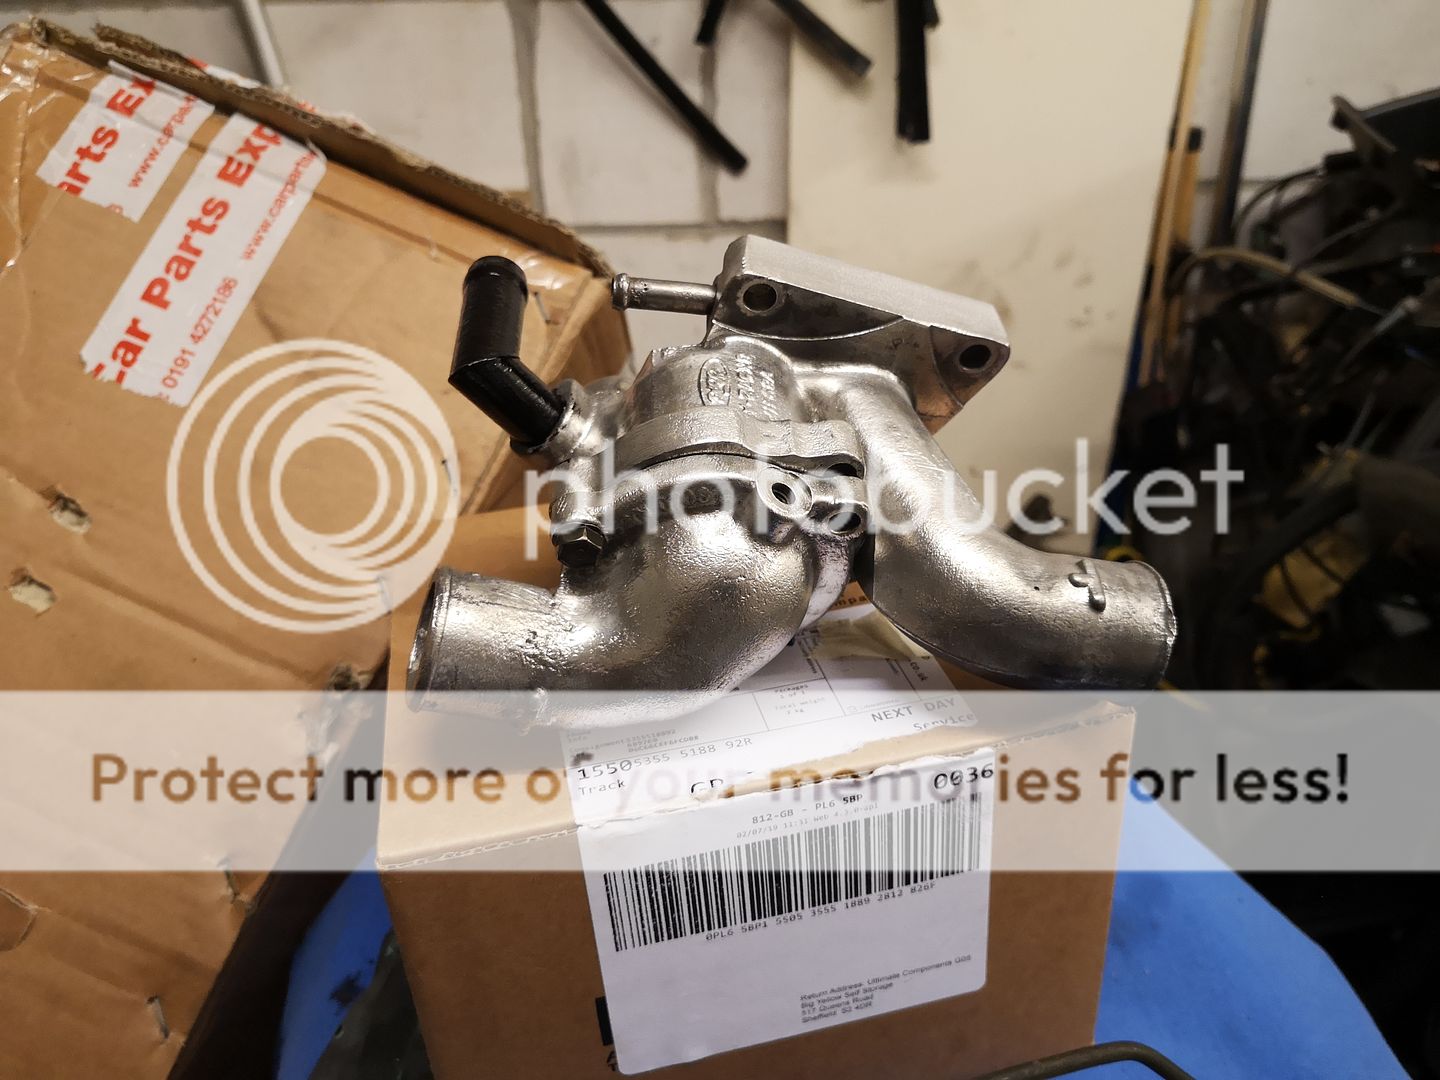
Got the thermostat housing cleaned up. Just need to carefully remove the spots of black paint but that can wait for a second.
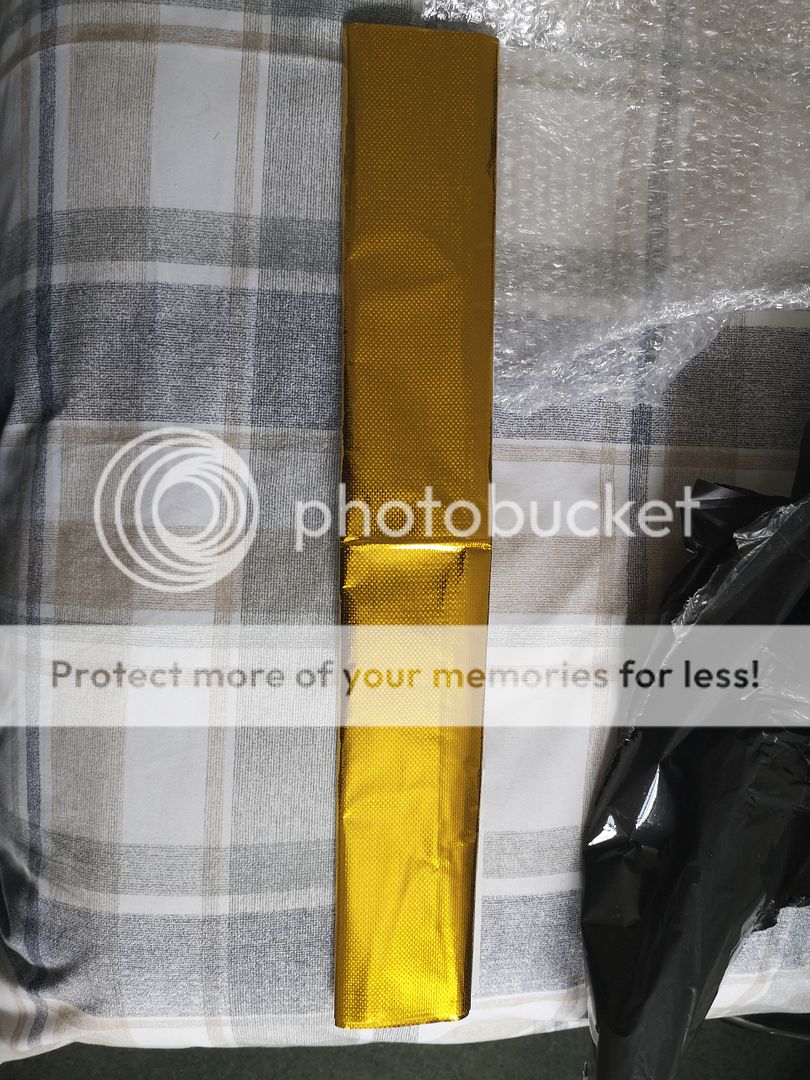
Got this gold reflective stuff for the OS inner wing to keep the turbo heat at bay.
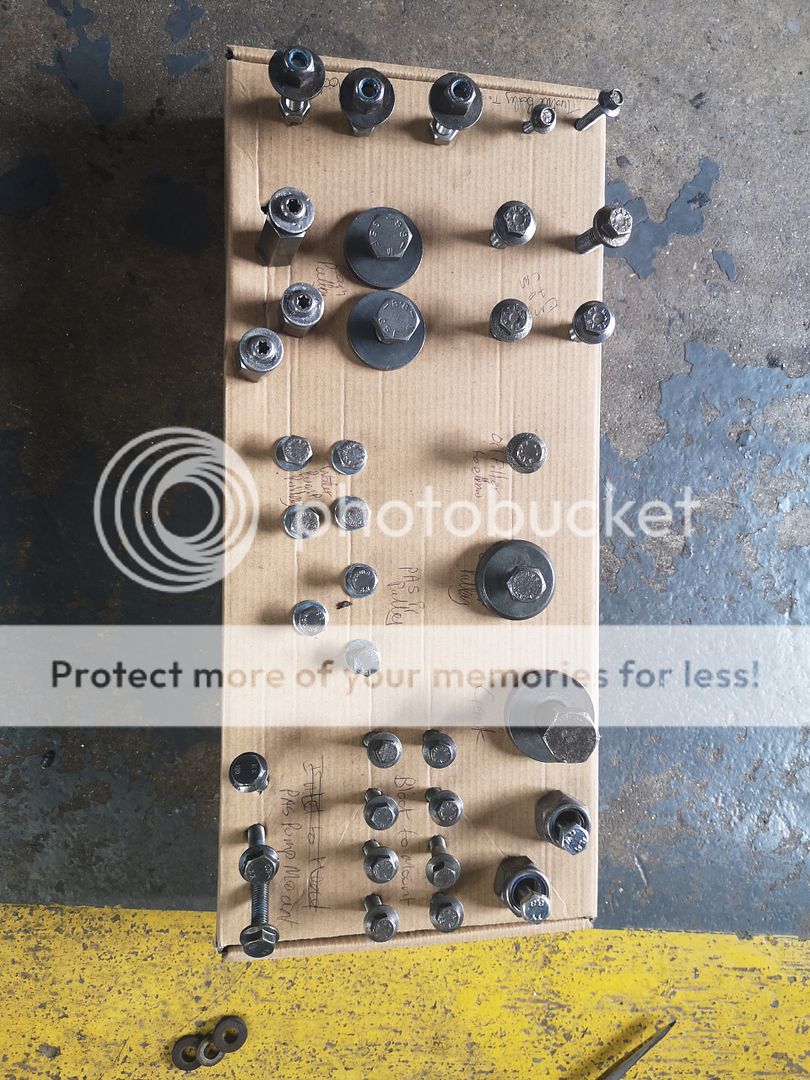
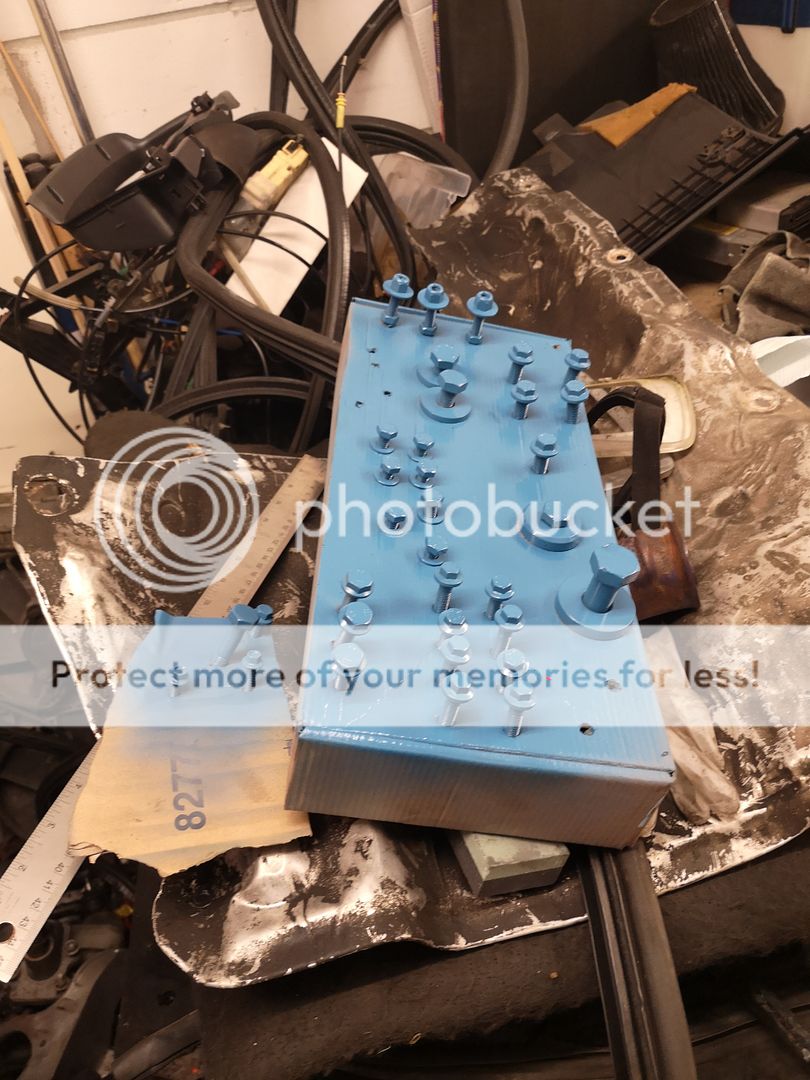
Been at it with the blue paint again
 Didn't paint the Cam Cover brackets and Bolts Blue though.
Fitted all the remaining gaskets including the crank, cam pulleys and oil pump seals with new, bar the thermostat ones once I fit the hose and jubilee clips between it and the water pump. All that after fitting the rocker cover. Please with my results. Few dinks here and there but not bad
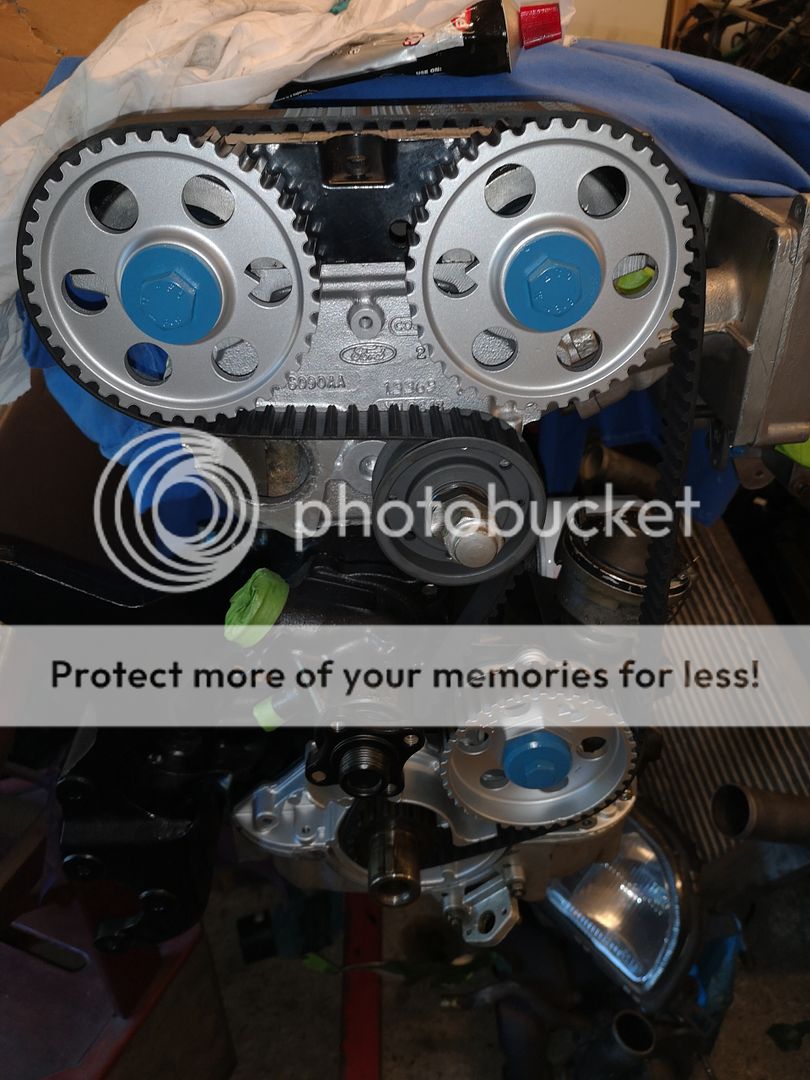
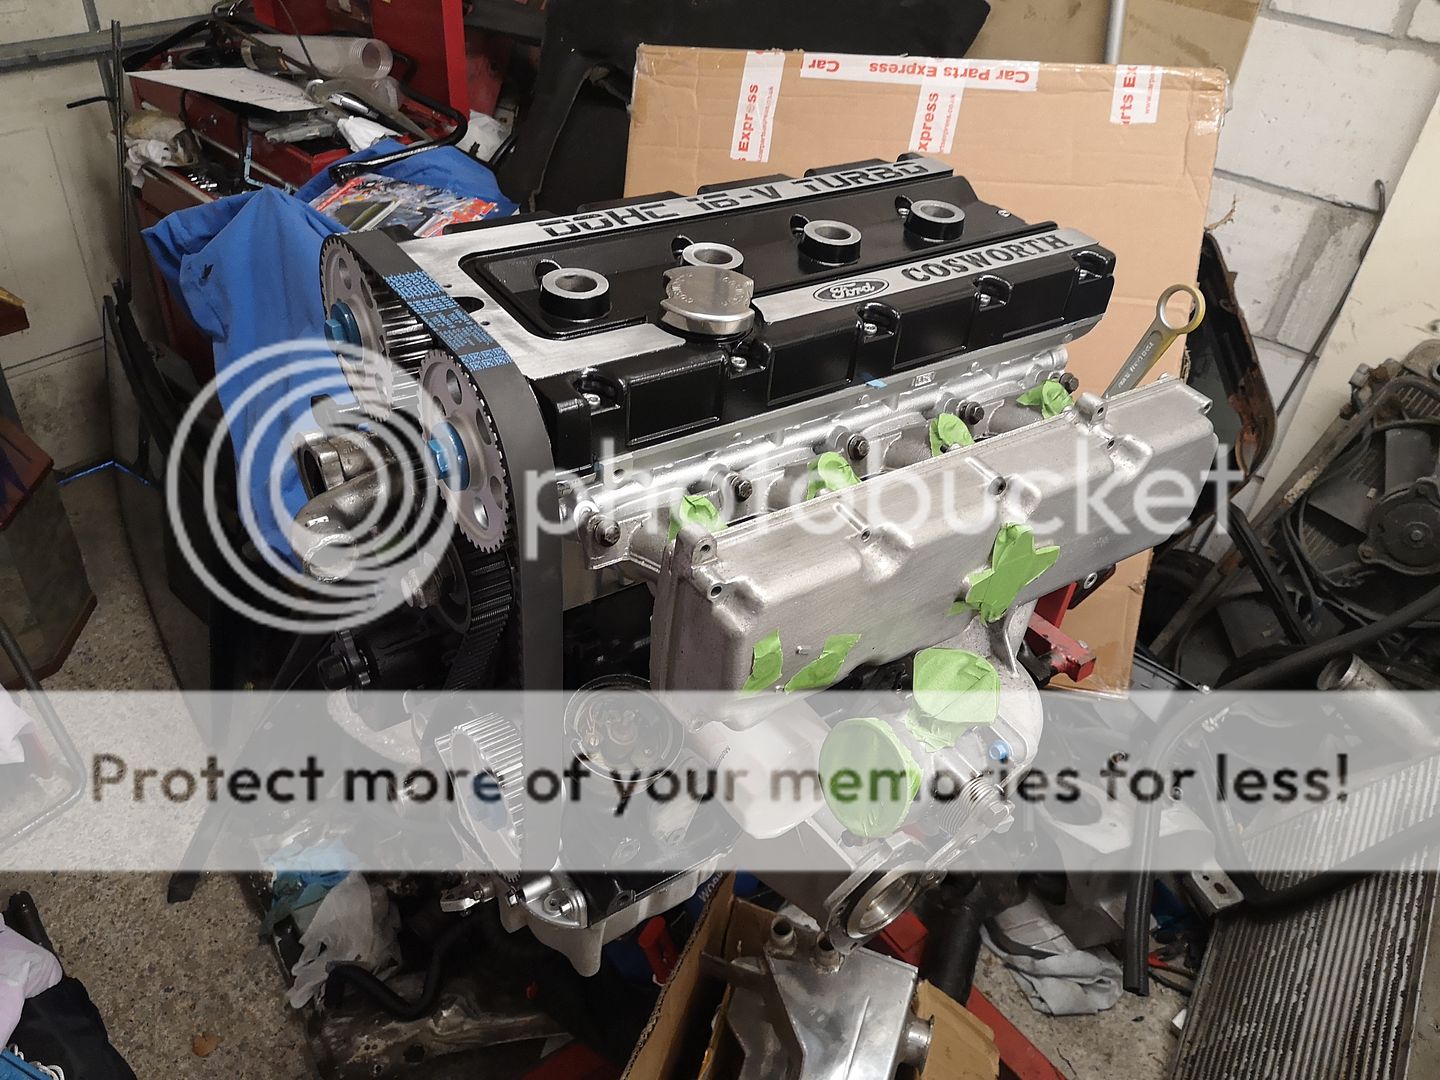
Took the sump off to have a check around. Found the sump plug to be helicoiled which is a shame but other than that just the usual dried or baked in oil that washed out easily. Found the crank and everything inside the guts of the engine to be in great shape so happy with the engine.
Took the oil pump cover off to check inside it and it was in very good shape.
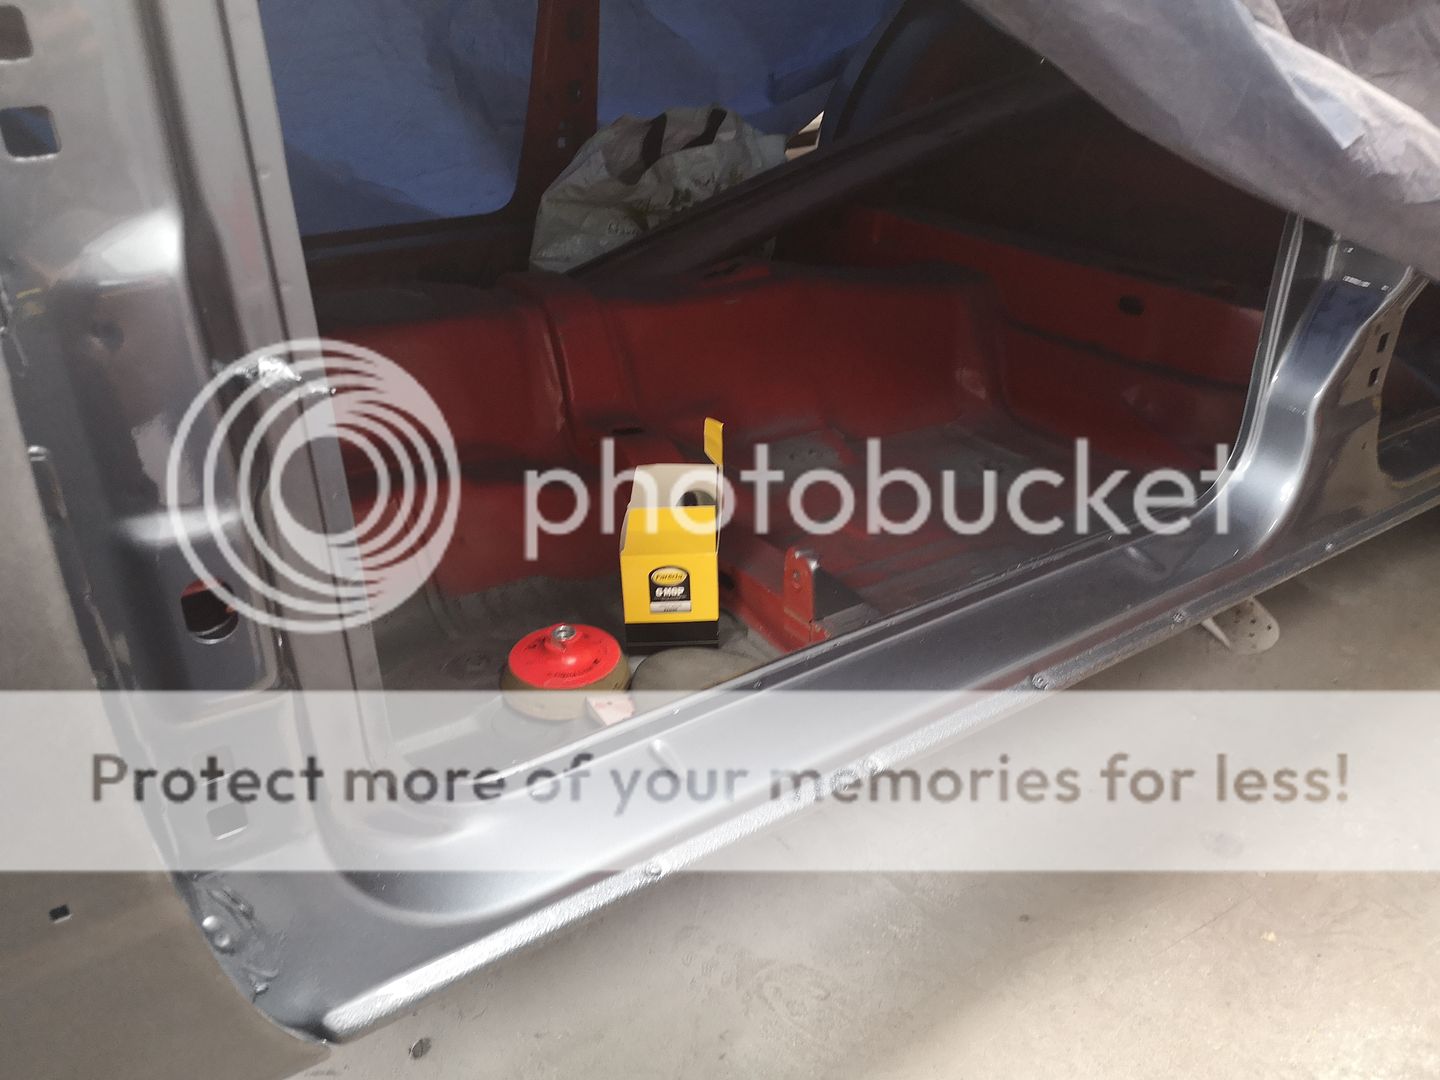
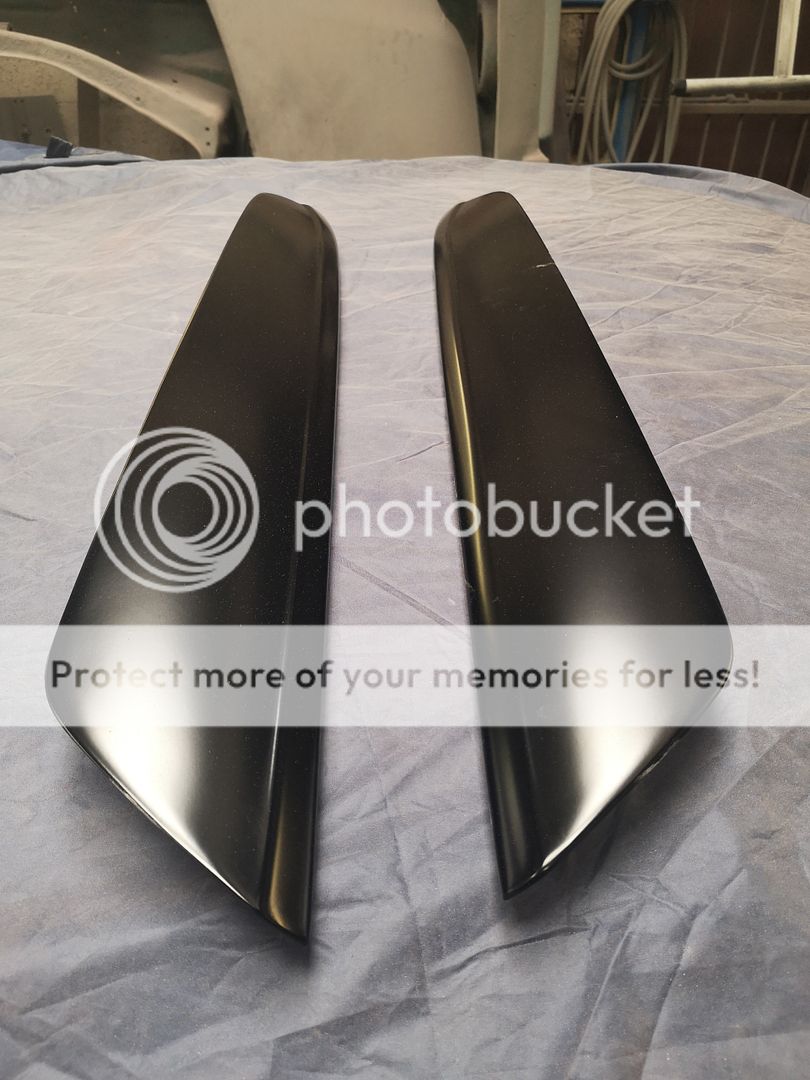
Went to the paint shop this afternoon to see how the sprayer is getting on.
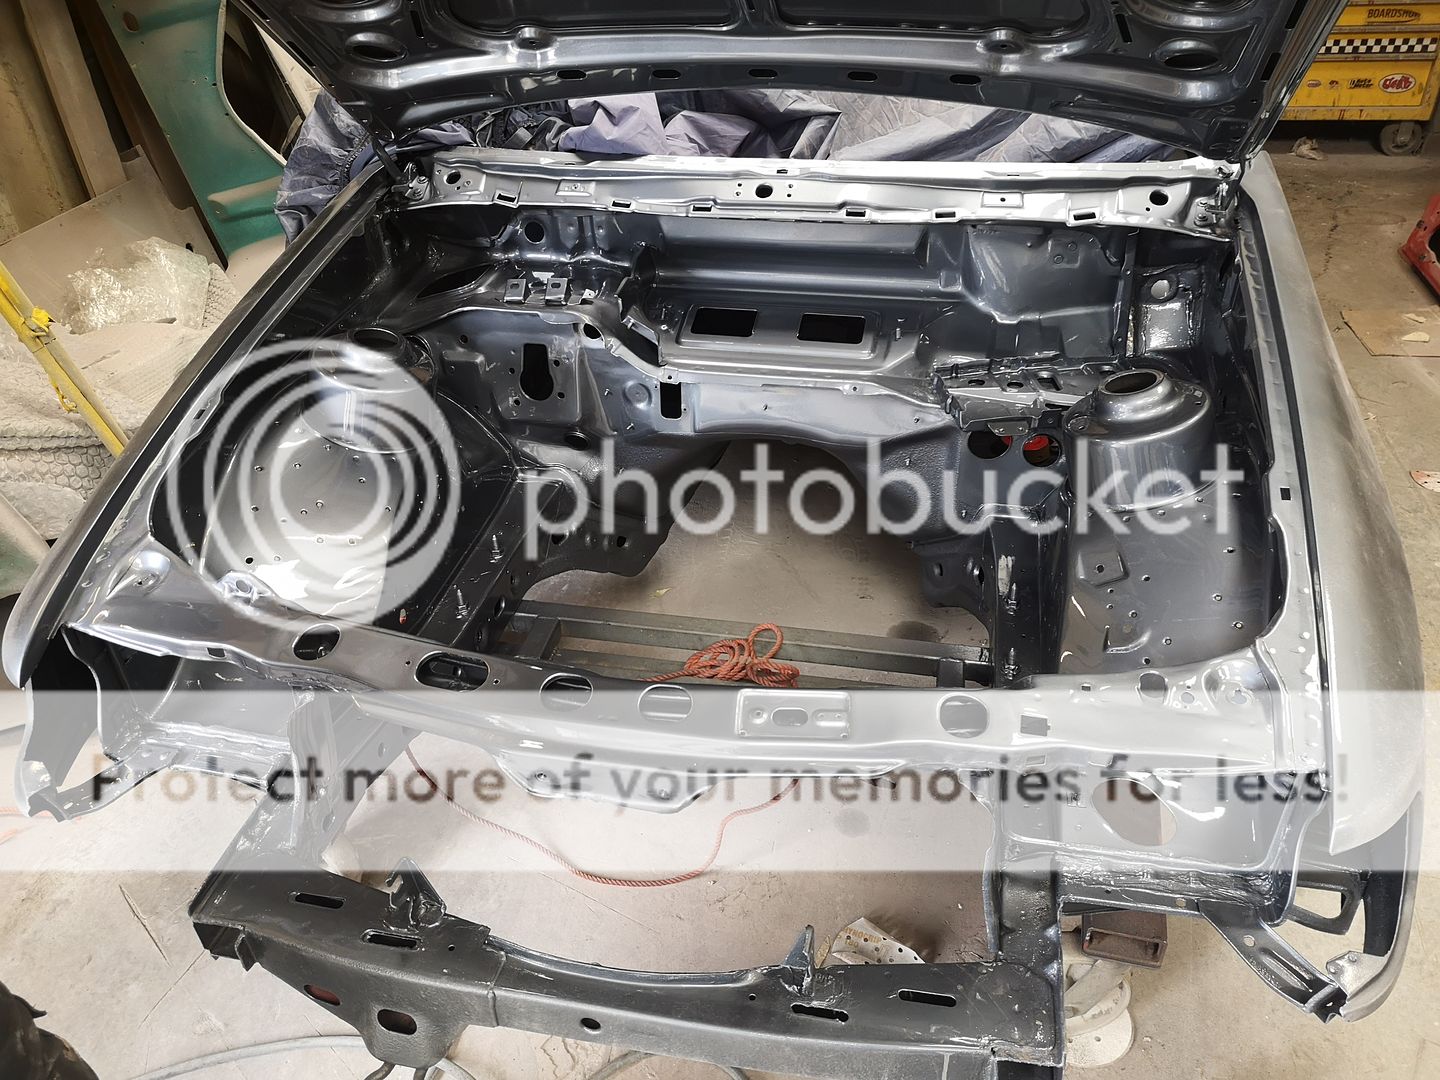
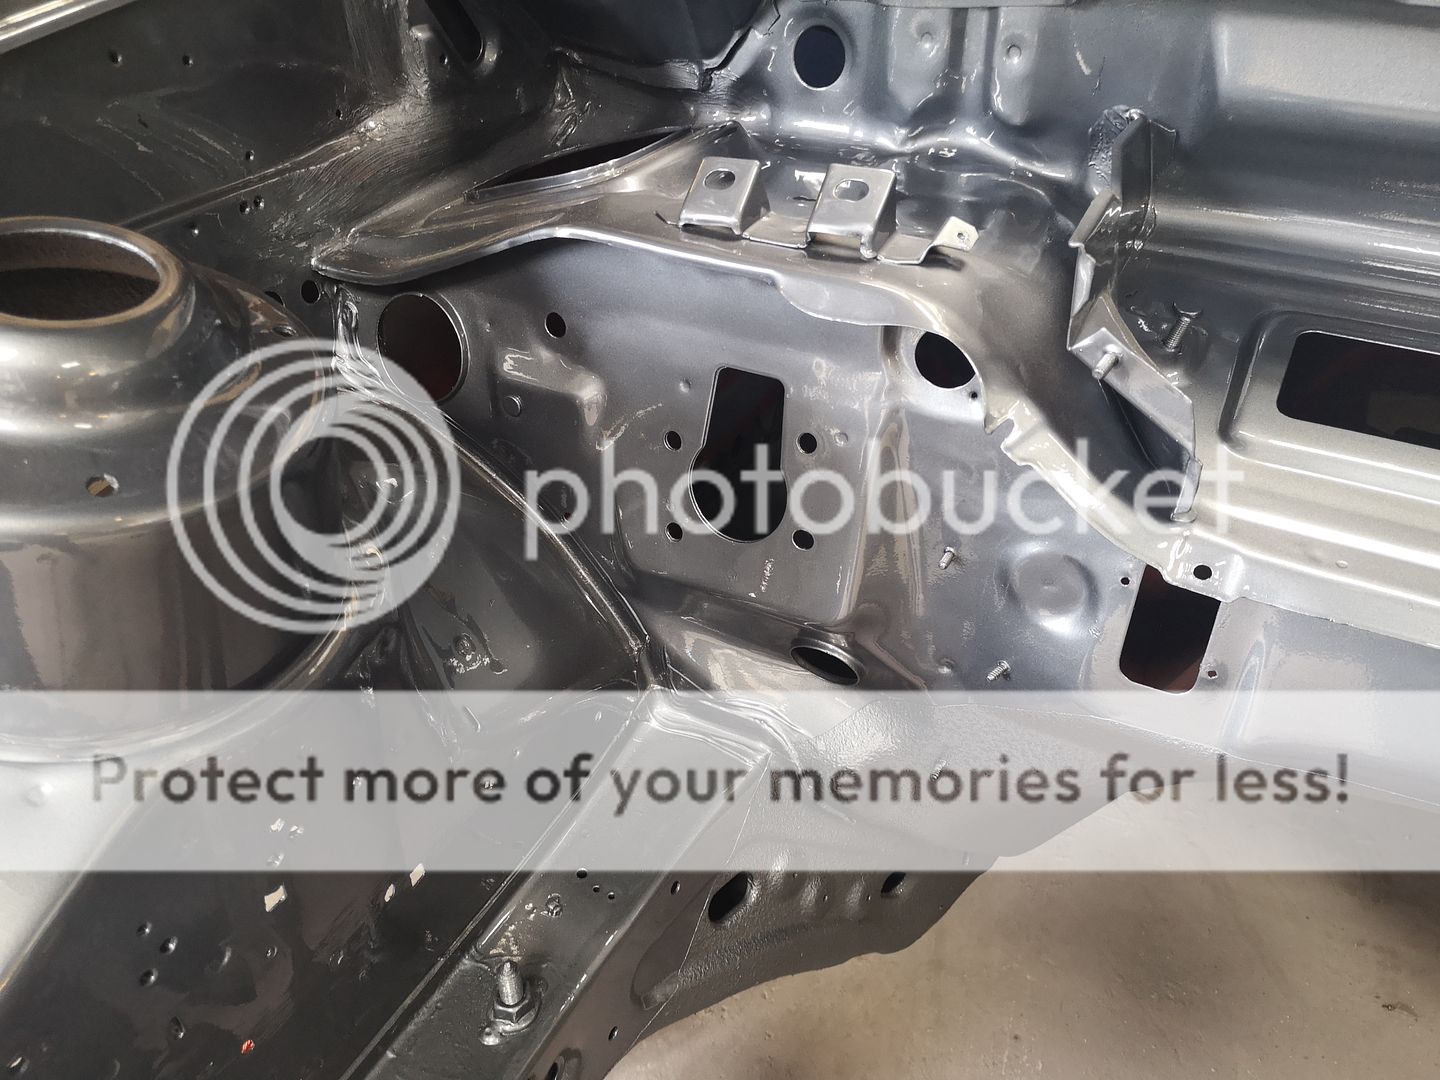
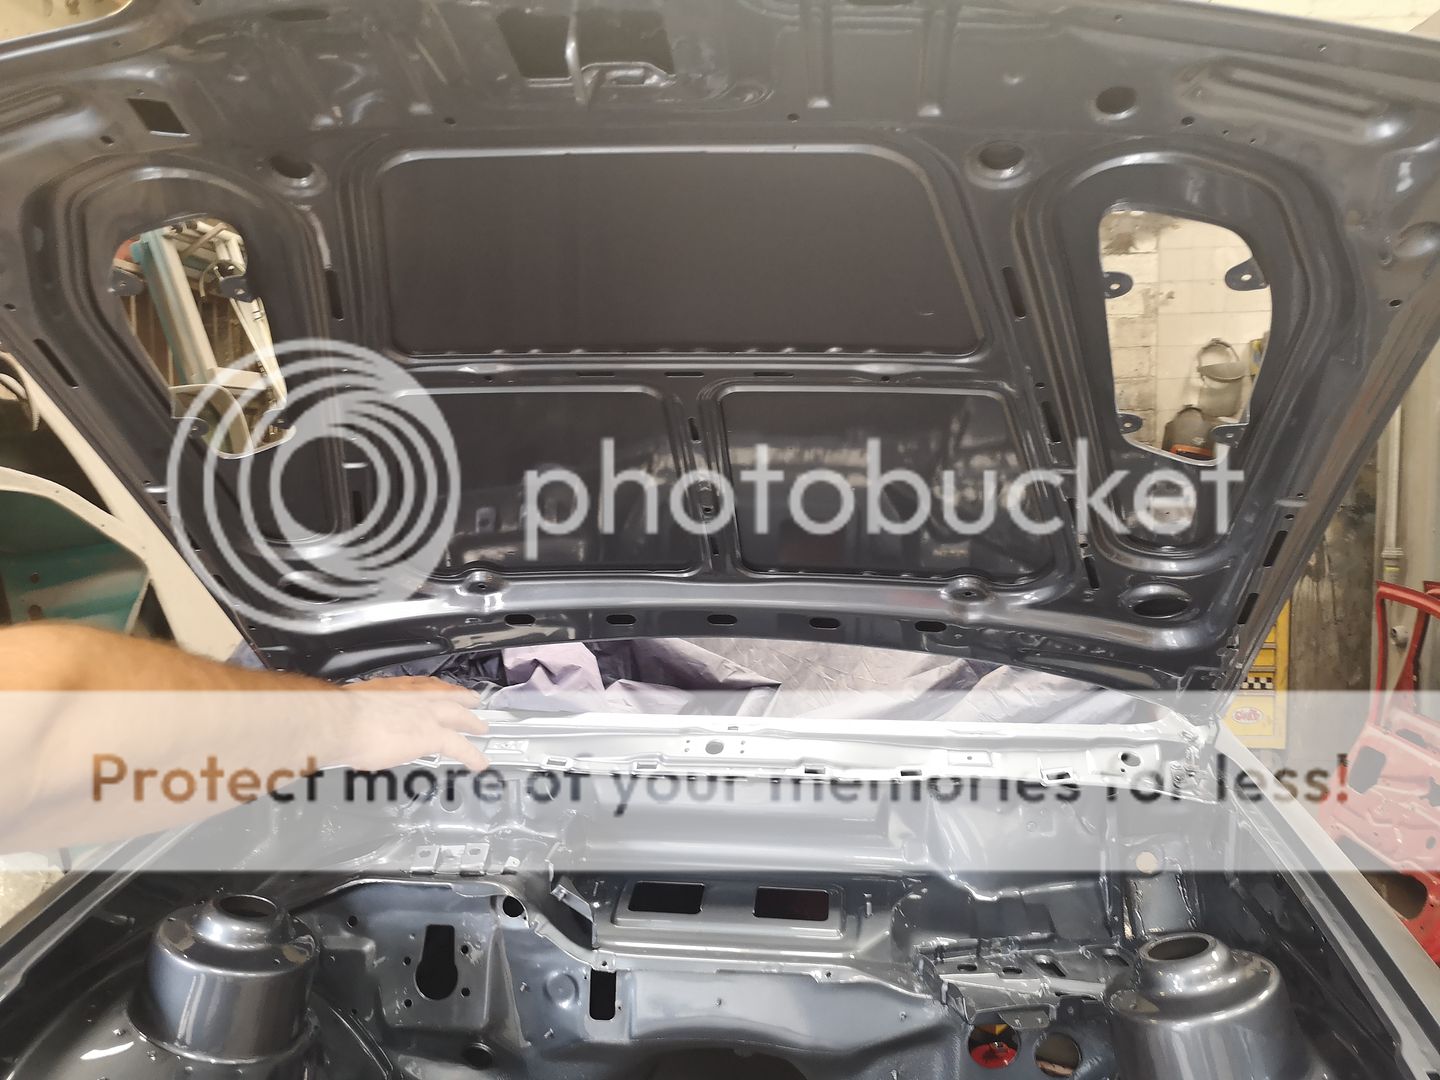
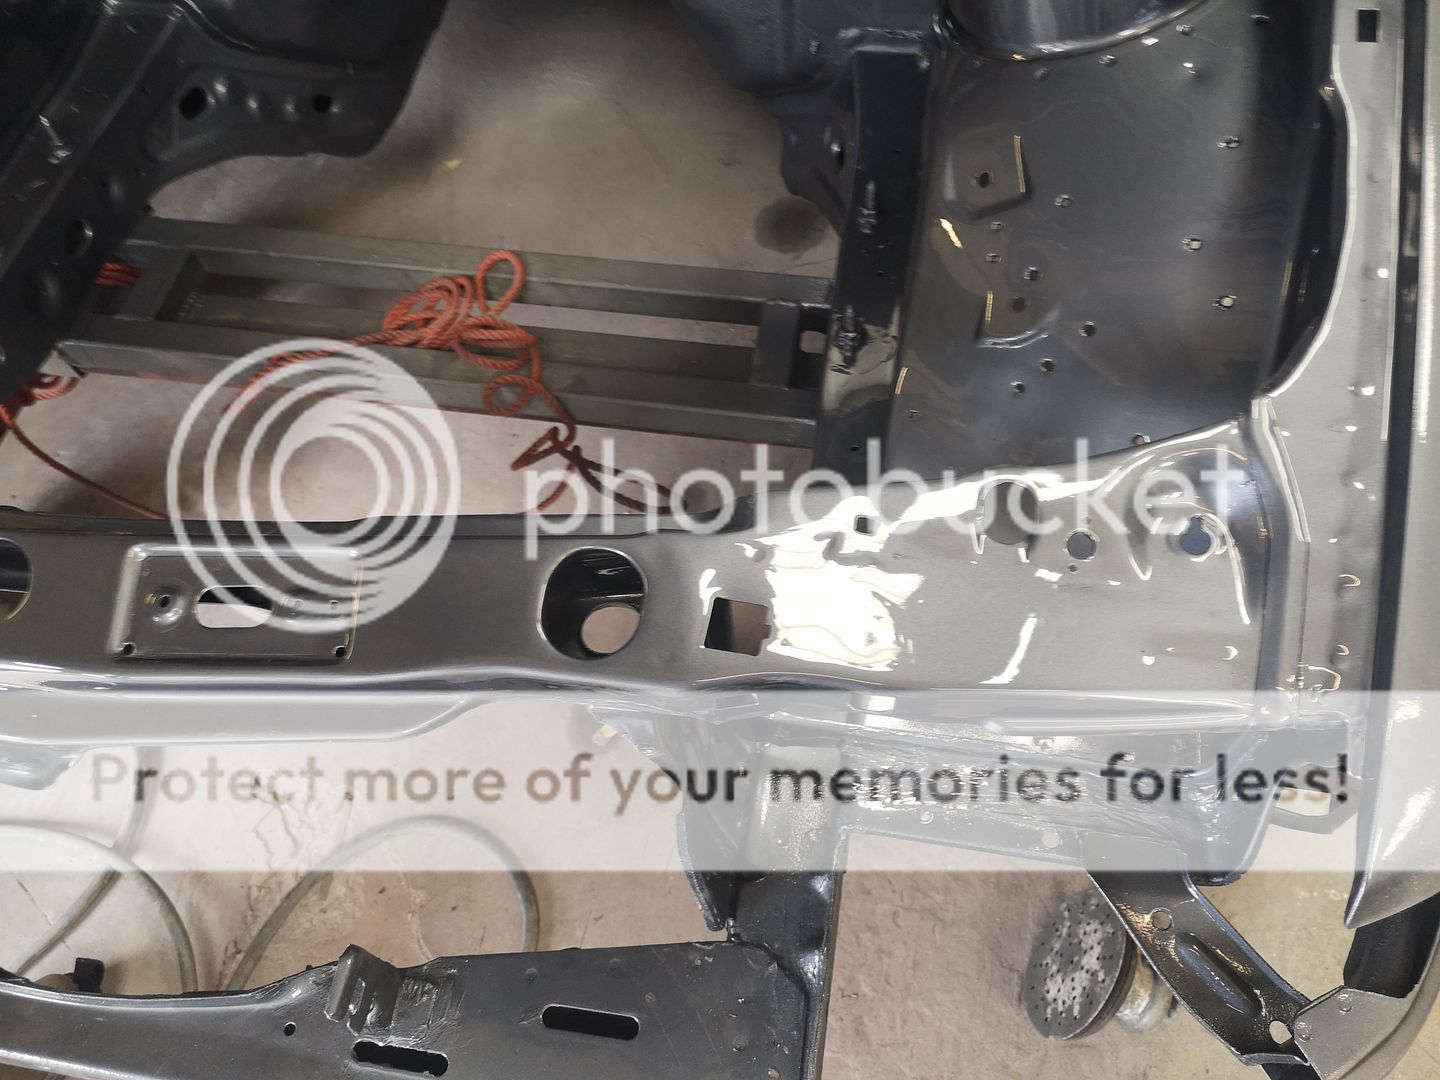
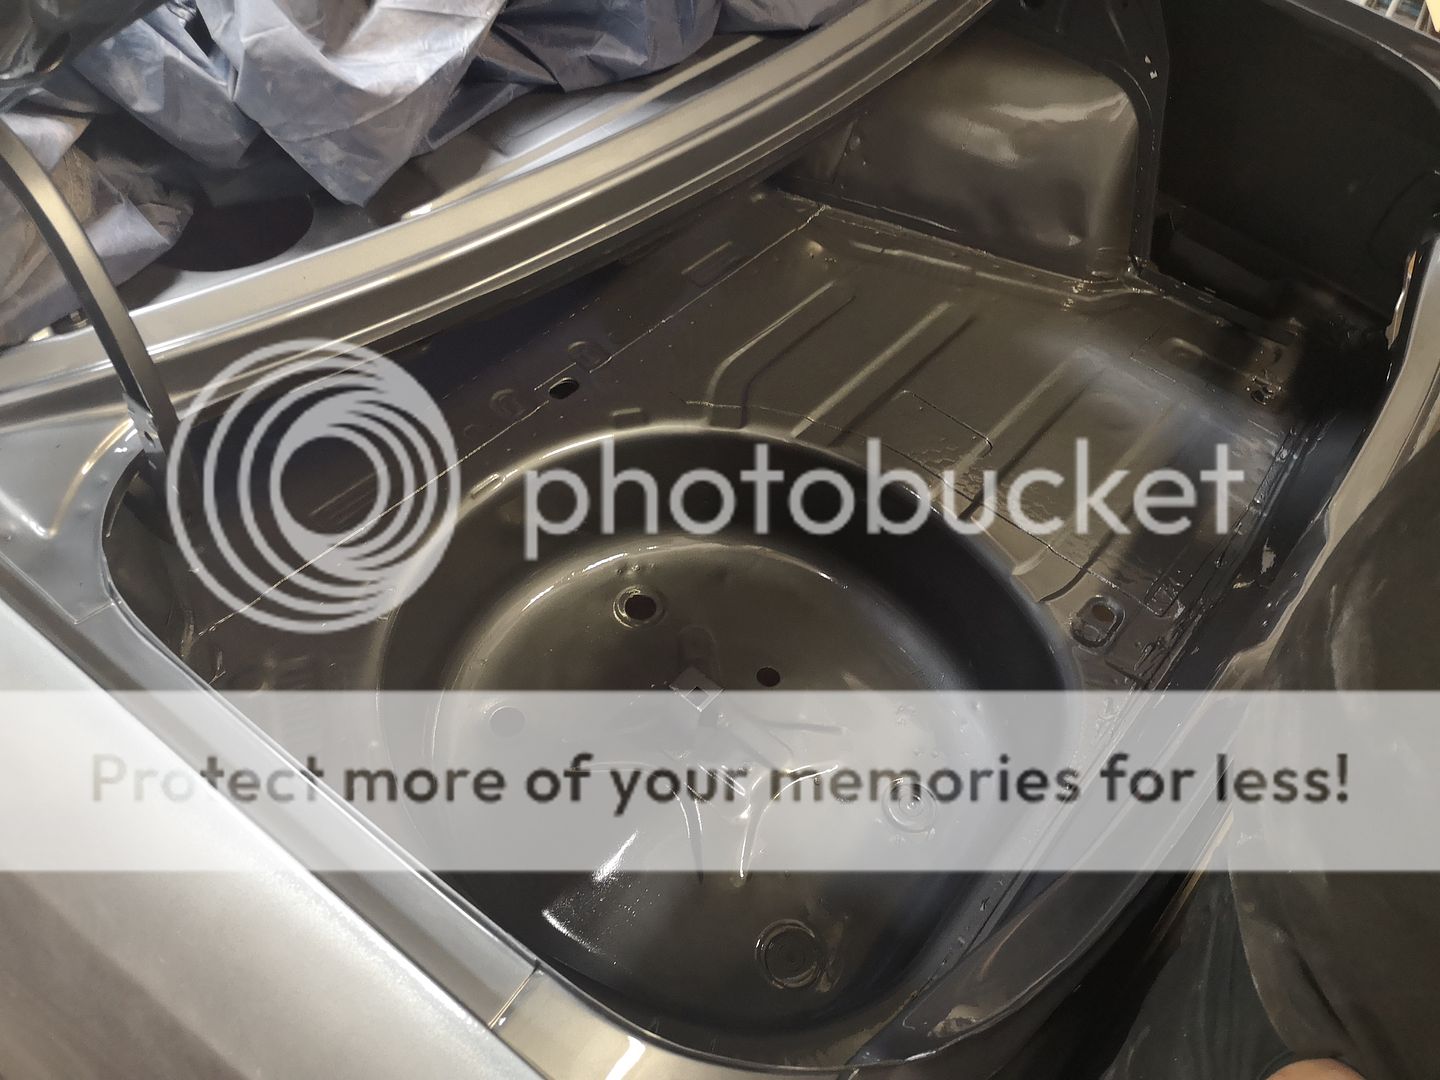
He also got the 'C' Pillar trims done too. Don't worry that's just dust on the right hand one near the top

All I'll say is if the body is as good as the engine bay, I'll be very happy.
Seeing the shell again next Friday and hopefully have it in the car club the Monday after to fit it all back up. The sprayer is also organising the front and rear windows to be put in for me.
Chow for now folks.
Done a few more bits and got all the gunk off the steering rack. That was a task


More painting of parts. Not much left to paint now


Got the thermostat housing cleaned up. Just need to carefully remove the spots of black paint but that can wait for a second.

Got this gold reflective stuff for the OS inner wing to keep the turbo heat at bay.

Been at it with the blue paint again

 Didn't paint the Cam Cover brackets and Bolts Blue though.

Fitted all the remaining gaskets including the crank, cam pulleys and oil pump seals with new, bar the thermostat ones once I fit the hose and jubilee clips between it and the water pump. All that after fitting the rocker cover. Please with my results. Few dinks here and there but not bad


Took the sump off to have a check around. Found the sump plug to be helicoiled which is a shame but other than that just the usual dried or baked in oil that washed out easily. Found the crank and everything inside the guts of the engine to be in great shape so happy with the engine.
Took the oil pump cover off to check inside it and it was in very good shape.
Went to the paint shop this afternoon to see how the sprayer is getting on.


He also got the 'C' Pillar trims done too. Don't worry that's just dust on the right hand one near the top


All I'll say is if the body is as good as the engine bay, I'll be very happy.
Seeing the shell again next Friday and hopefully have it in the car club the Monday after to fit it all back up. The sprayer is also organising the front and rear windows to be put in for me.
Chow for now folks.

Last edited by kosienutter; 18-07-2019 at 08:43 PM.
The following users liked this post:
Jules44 (19-07-2019)
The following users liked this post:
kosienutter (23-07-2019)


