When you click on links to various merchants on this site and make a purchase, this can result in this site earning a commission. Affiliate programs and affiliations include, but are not limited to, the eBay Partner Network.
Quantum kitcar (based on mk2 fiesta) ecoboost conversion
Hi guys, I’ve been ‘lurking’ on this forum for quite some time now and just thought I’d share some pictures/updates about the rebuild I’m currently doing on my Quantum kitcar.
For those who don’t know the Quantum 2+2 is based on an mk2 XR2 fiesta. I purchased the car in September 2013 when I was 16 with the standard 1600cvh. It needed a few bits and pieces doing but on the whole it was solid. I turned 17 in December 2013 and passed my driving test in March 2014. It was my first car and I loved every second of driving it. Until it got dark, and I discovered the headlights were shit and about as affective as 2 tea-lights. After some poking around with a multi meter the voltage at each light was 5.3v. This turned out to be dodgy wiring connections and I quickly rectified it.
I knew the engine was worn after conducting a compression test with some ‘interesting’ results. It only let me down once and this was when the distributor failed. I drove it for 9 months until one morning I was driving to work and it started to idle at 400rpm, I blipped the throttle a bit and it started to idle better, if very rough. When I looked in the rear view mirror there was an enormous cloud of dense white smoke and the unmistakable smell of burning oil. By the time I got to work It had cleared up and seemed to running ok.
I’d already been planning an engine change, considering ZVH, zetec, duratec etc before my Dad suggested Fords 1.0 ecoboost. Originally I was completely against it, how could a 1.0 3 cylinder possibly be any good?! Then I test drove the new focus with 1.0 engine in and I was amazed. It pulled well from any revs and actually didn’t sound too bad! I then bought an engine on Ebay with 700 miles on the clock and all wiring & ecu. I stripped the old engine out in January of this year and started gathering other bits and pieces.
I’ve got a 125 bhp engine with the focus 6 speed gearbox, the same gearbox used in the current fiesta st. The reason for choosing this gearbox was I simply wanted 6 gears and Quaife make an LSD for it.
Sorry for the essay, I just thought I’d give you a bit of a background.
after a clean, the day before going to Stoneleigh.
I've got both a hardtop and soft top for it, roof was nearly always down!
'V' cut out to clear (tiny!) turbo and enable me to move engine and 'box further forwards
top left rail had to be remade to clear pipework
first time I offered it up, the spaceframe requires some modification but it fits!
I'm currently making the exhaust and rear engine mount.
Nice little project. Cracking engine the ecoboost got the fiesta zetec s the only thing that spoils it is the 5 speed box because you have to make sure your in the correct gear, why they never put the 6 speed in is beyond me might be to do with the start stop.
CrOwSoN15 - yes, I was driving it a few months ago! Although I think there's a chance it'll need to go for another one when it's finished. What do people usually do after an engine swap?
colarado red - i agree. There isn't much engine speed difference when in top between the 5 speed & 6 speed, about 200rpm. So that must mean the 6 speeder has slightly closer ratio's? Another factor that made me buy a 6 speed was it's used in the fiesta ST, and people are pushing north of 280bhp. So there's scope for some power upgrades on mine without blowing it up!
that's the plan! It weighs about 750kg so with 200nm of torque It'll shift. I'll run it in fairly standard tune first off and then up the power gradually.
After altering the space frame and giving the engine a bit more space it was time to work out what mounts to use. Using the old XR2 top mount would have been ideal but it was too far back. So I sourced the correct mount for the car and made up a crude bracket to enable it to bolt onto the engine and welded on some angle to support the mount.
onto the gearbox end, sourced a mount and added in some framework to bolt it onto
the studding is there so i can set the height of the gearbox. Once i'm happy with it I'll swap it out for a proper bolt. The mounting brackets are very crude and I'll probably remake them once I'm confident there're in the right place.
been very slack at updating this... the good news is that work on the car is still getting done!!
I've got more pictures somewhere but struggling to find them at the moment
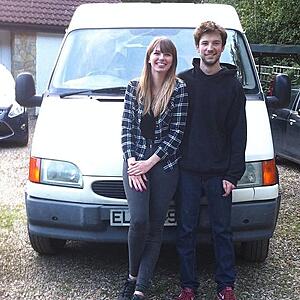
I had initially planned to have the thing on the road for may this year...that might have been a little optimistic! I've now dragged the girlfriend in to give me a hand with things!
a brief summary of the last few months work...
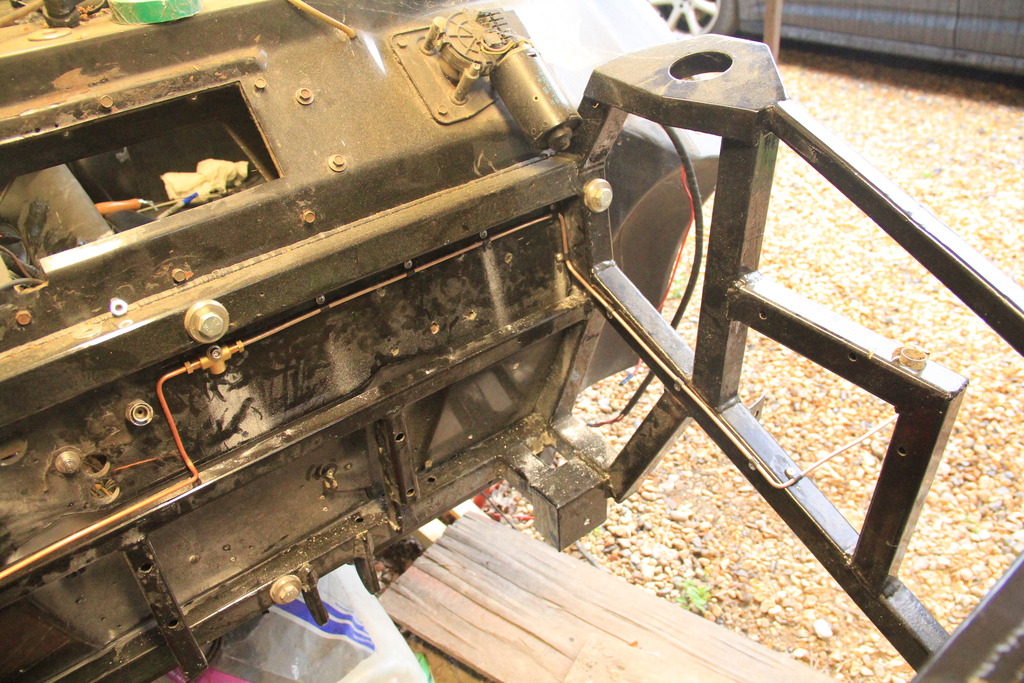
-front subframe is bolted & bonded onto the car
-mk2 escort pedal box fitted, with bias bar (these are the pictures i'm struggling to find)
-front & rear brake lines are largely done
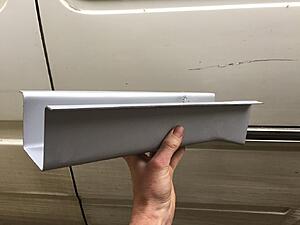
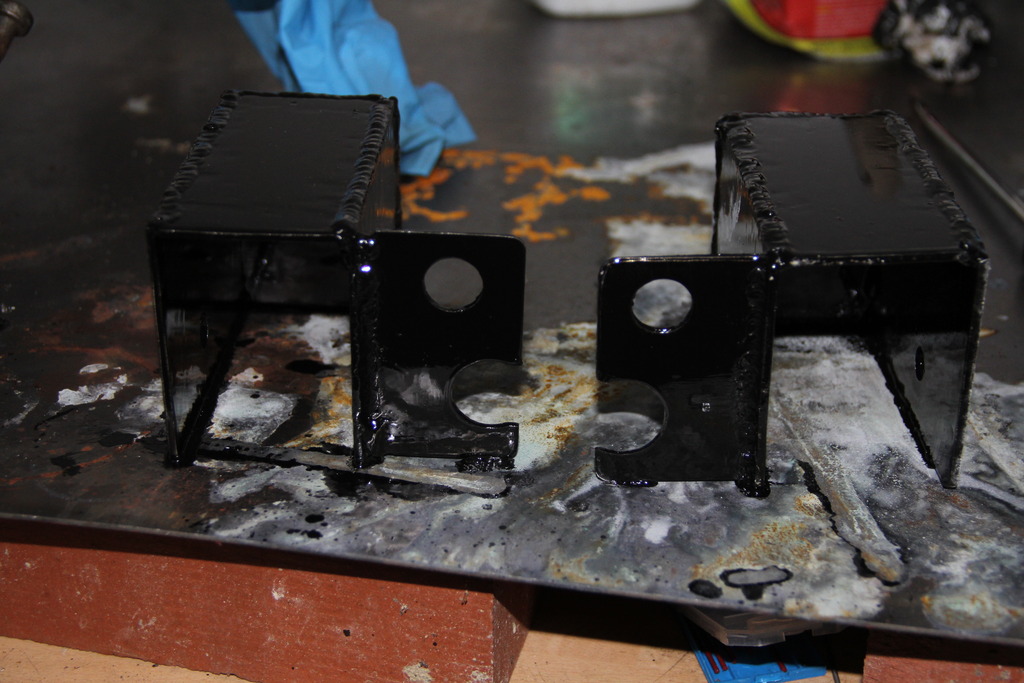
-rear trailing arm box's remade, painted & fitted with captive nut plates on the inside
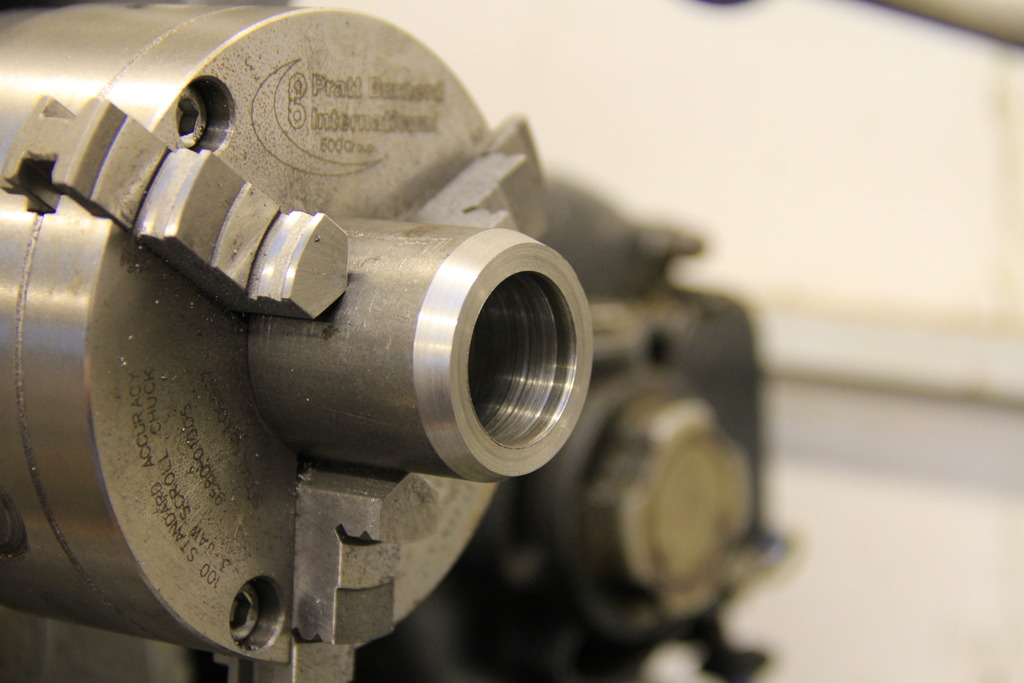
- driveshafts mocked up and sleeves machined so i can temporarily fit them to check clearances.
I've also recently (may 2016) bought a ford focus with a 1.0 ecoboost 125 & 6 speed...exactly the same as i'm trying to fit to the quantum
currently i'm waiting for some metal to arrive so i can fabricate the engine mounts..for the final time I hope!! One thing i've been struggling with is clearance. Although the engine block of the 3 cylinder will fit on an a4 piece of paper, once the twin cam head & ancillaries are bolted on its actually rather large. This coupled to the 6 speed gearbox really doesn't leave much room. What i've recently discovered (entirely by accident!) is that if the engine & gearbox are tilted back a few degrees it free's up space and generally fits in the hole better! anyway, this is the story so far...
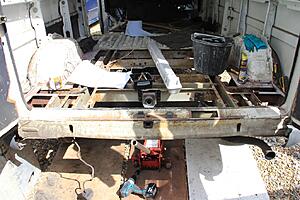
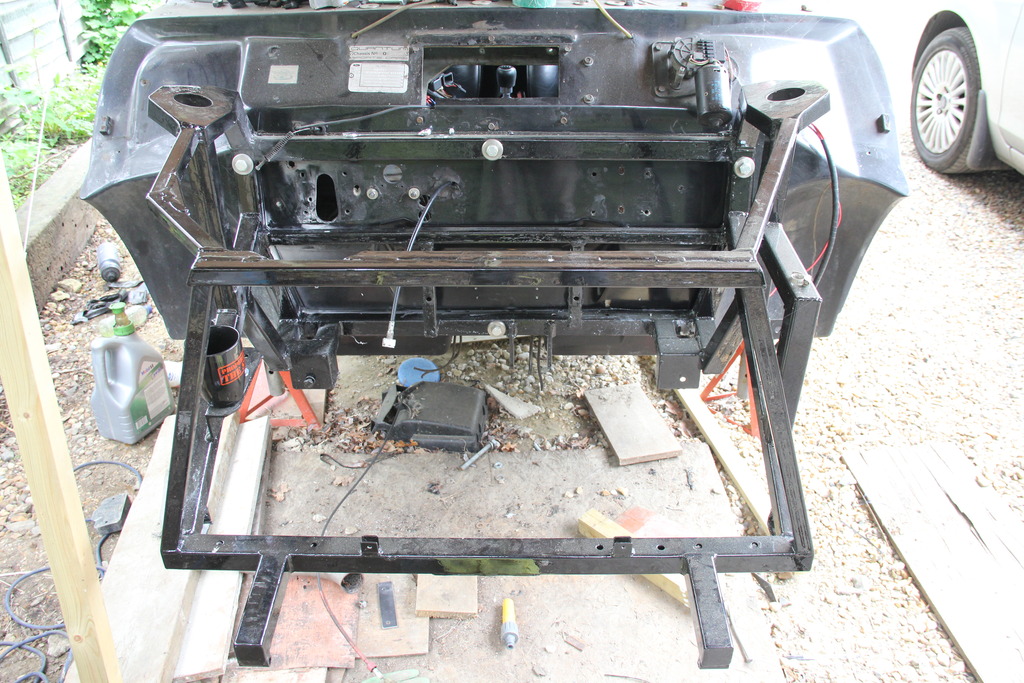
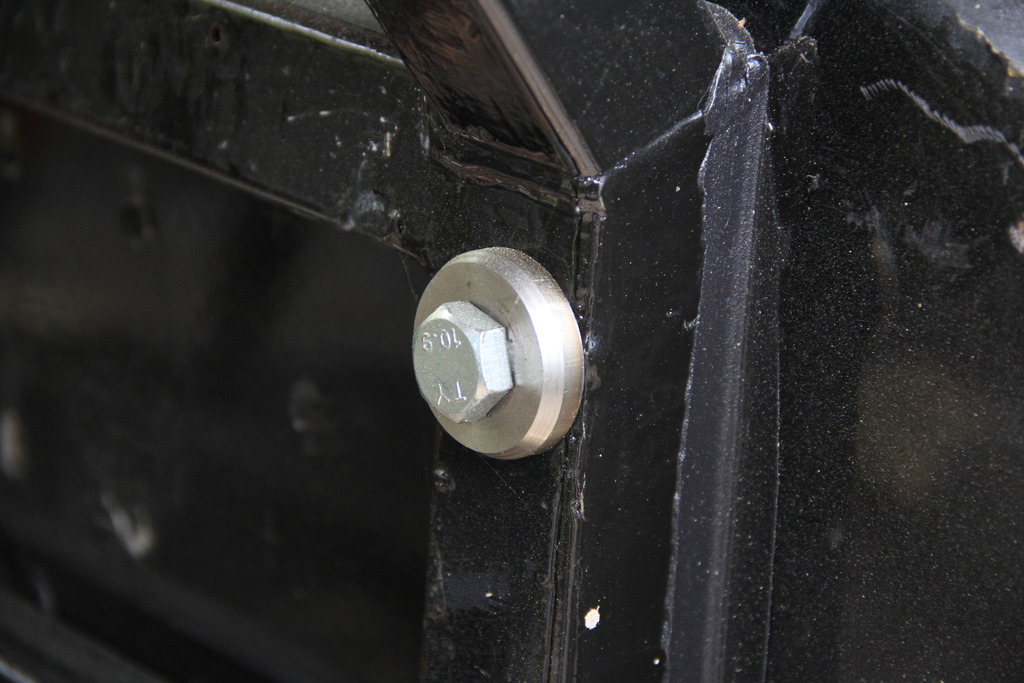
subframe bolted back onto the shell, shiny paint & shiny stainless washers!
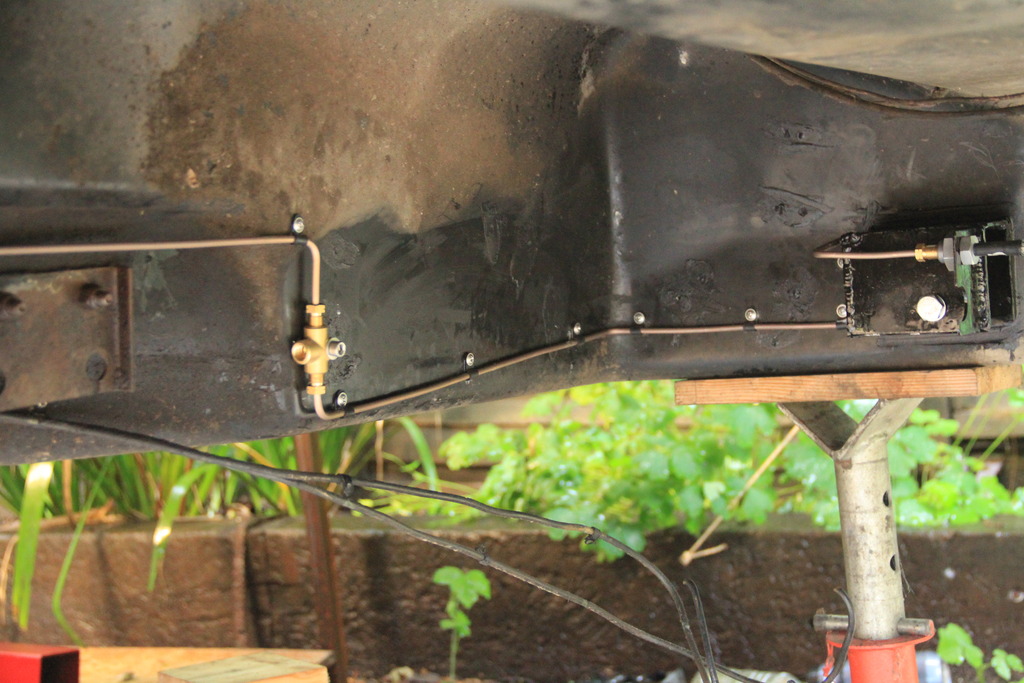
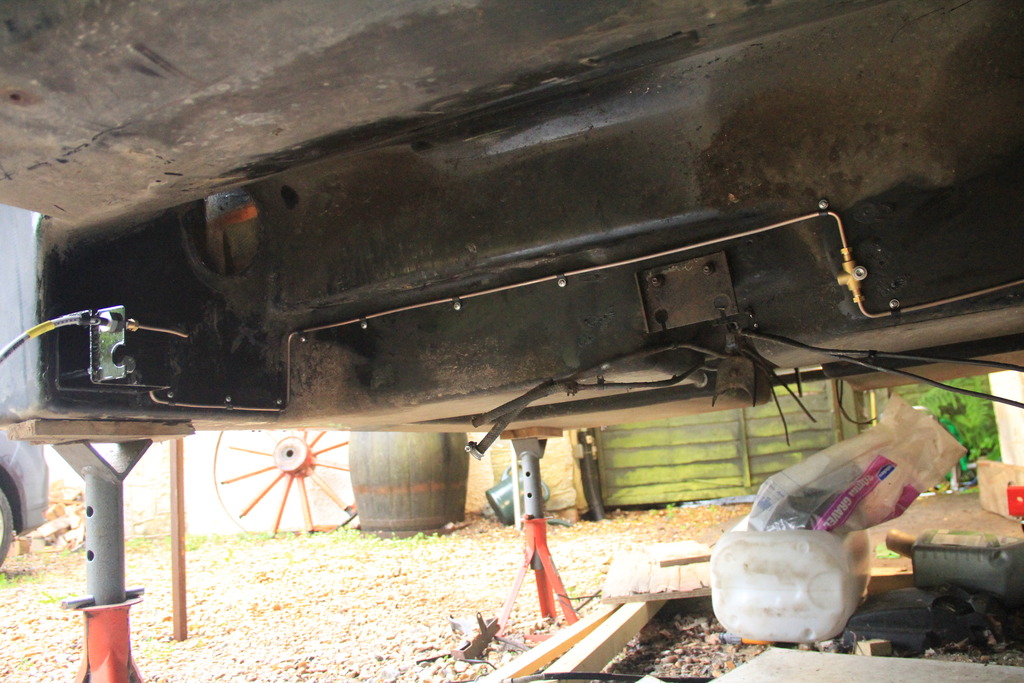
one of the jobs i was dreading was fitting the brake lines under the car, but I actually found it to be one of the more satisfying tasks!
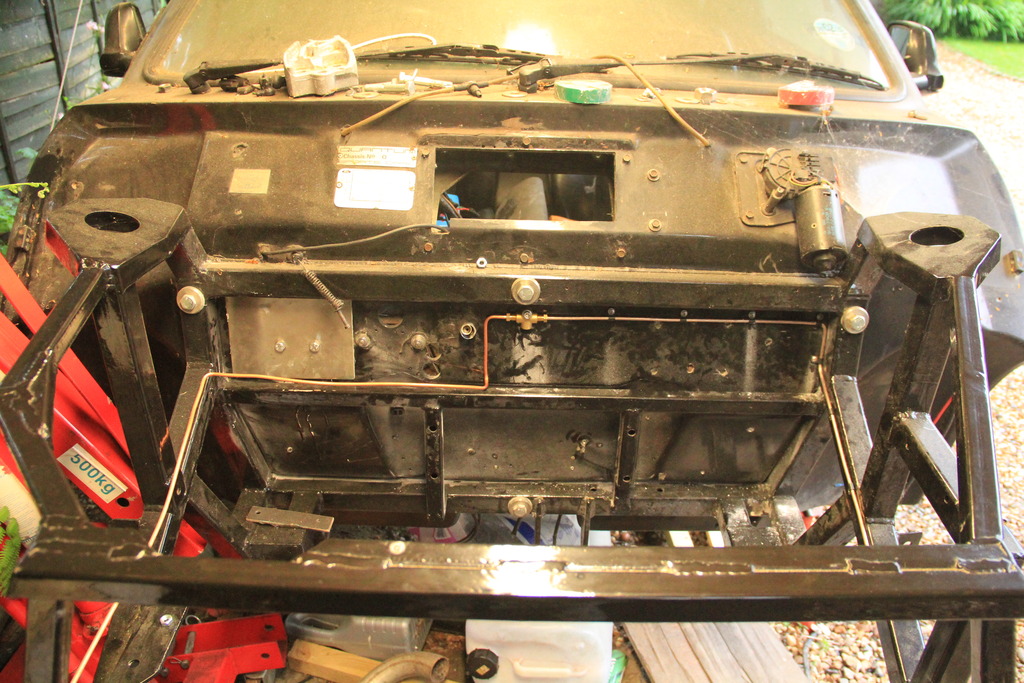
view of the engine bay and brake lines routed
've completely done away with the fieata setup, partly because I haven't got the space in the engine bay for linkage & M/C. The mk2 escort pedal box i've got is a bias box so it has 2 master cylinders - one for the front brakes and another for the rears.
The rear trailing arm boxes were in very bad condition with some very heavy corrosion. So I decided to make some replacements, 3mm steel and TIG welded.
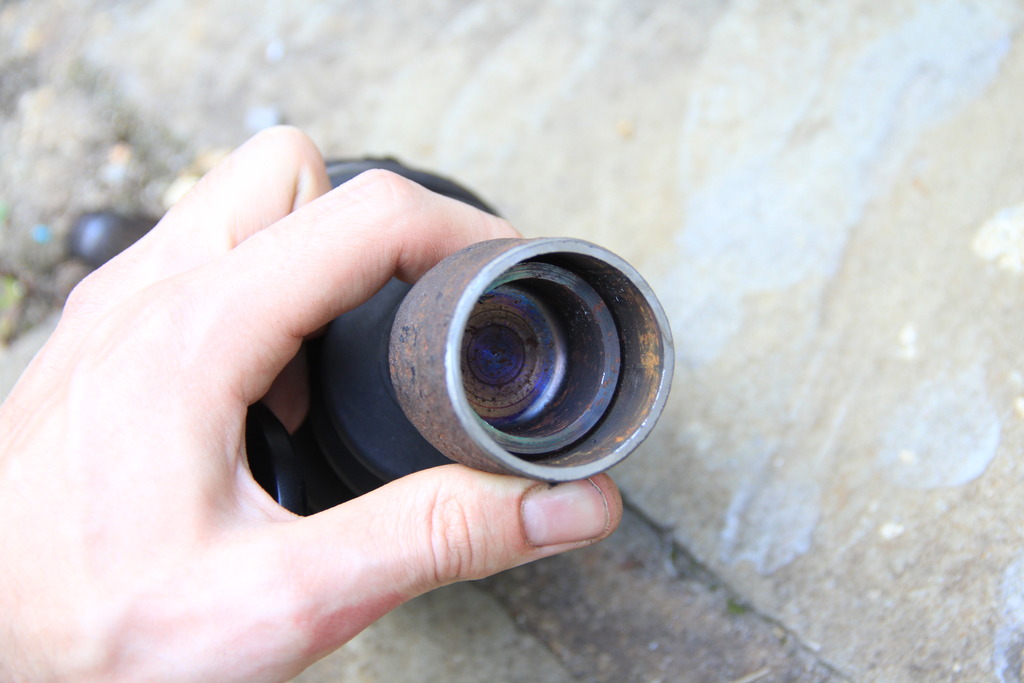
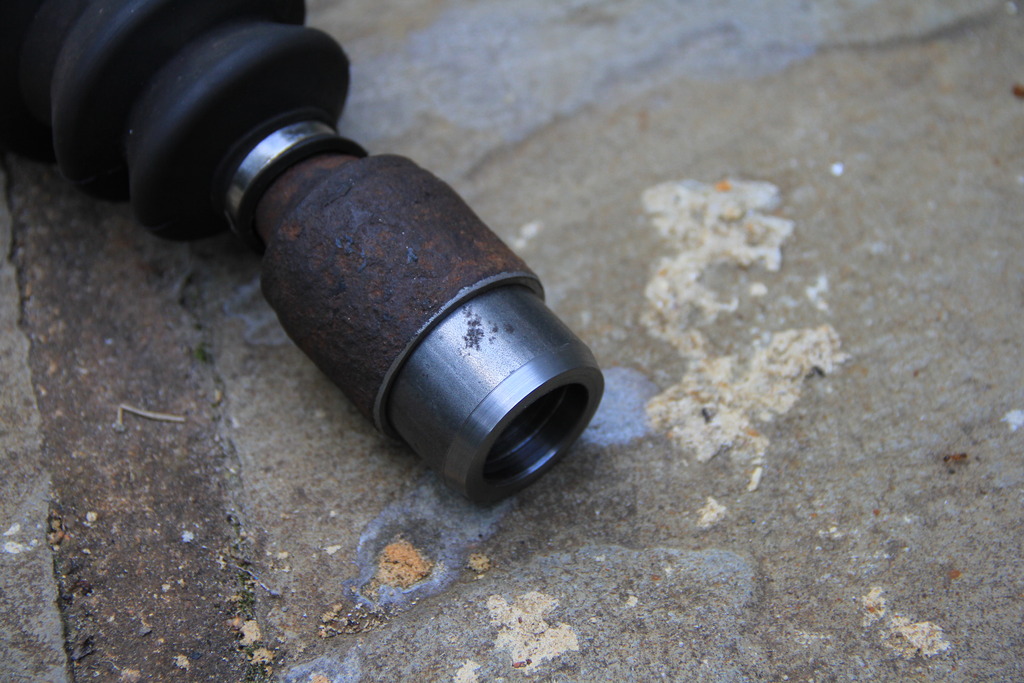
one of the problems with the swap i'm doing is the gearbox change. The old ford BC5 gearbox and the IB6 (the one going in now) do not share the same splines. I tried a number of combinations but nothing was working. So currently i've got a mk3 focus driveshaft poking out the gearbox, and a mk2 fiesta xr2 driveshaft poking out the hub. Some sleeves were machined to enable me to temporarily join the 2 in order to make a pattern which i can then send off and have made into one proper shaft.
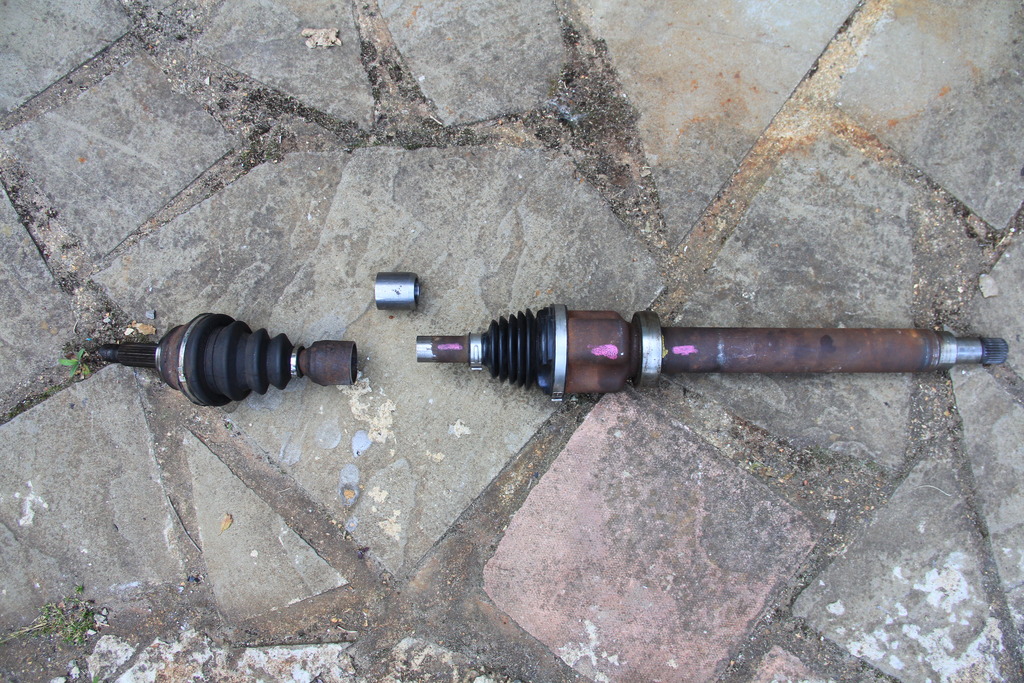
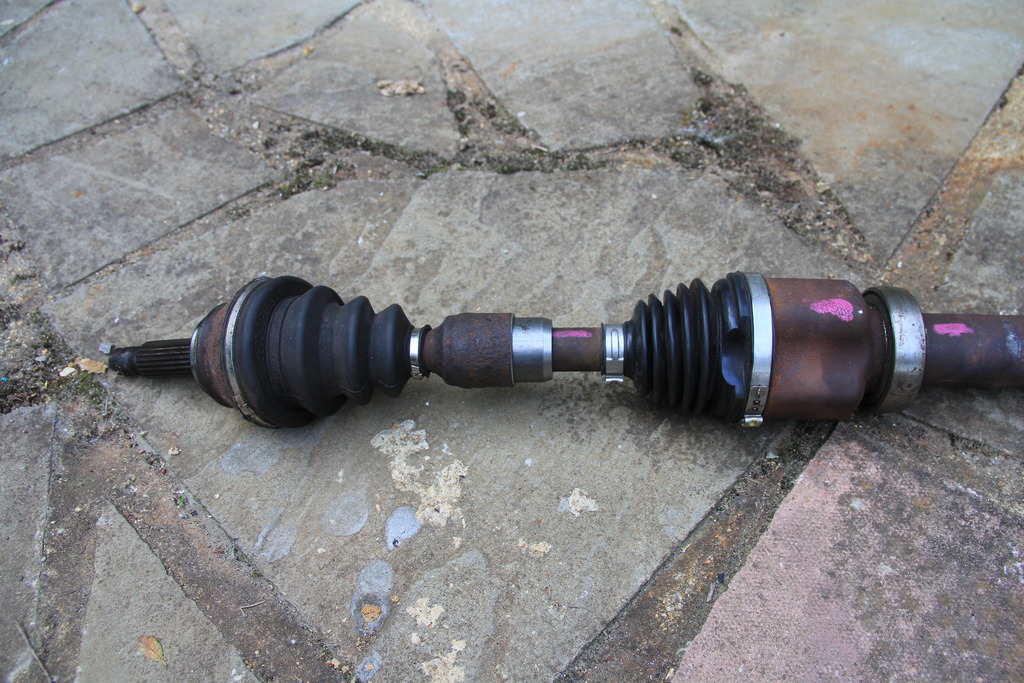
this is the long driveshaft that goes along the back of the engine. On the left is whats left of the fiesta shaft, in the middle is the sleeve (girlfriend did well on the old myford! ), and on the right is whats left of the mk3 focus driveshaft after i'd attacked it with the grinder.
the same was done for the other side.
so as you can see it's no where near being on the road, however i've made some progress! And i'll try my best to update this more often!
on a side note, I'm really impressed with my new focus. exactly the same oily bits as I'm putting into the quantum and it's certainly no slouch in a car that weighs around 1300kg. also doing 40+ MPG all the time with a mixture of driving, mostly stop/start. Driving the focus gave me a much needed kick up the arse to progress with the quantum!
In the last couple of month's I've finally managed to complete the engine mounts. The initial things I made were only ever temporary while I hacked the rest of the subframe around to make it all fit and try to form some sort of plan...a plan that would later change, and change again...
I got the idea for these engine mounts from working on the transit van at work. I was checking it over for the MOT and found myself looking at the leaf spring bush. This rubber bush seemed to be exactly what I had been trying to find for the last few months.
This engine and gearbox combination has 3 mounts. One on the timing belt end of the engine, another on the back of the diff housing part of the gearbox, and another one supporting the end of the gearbox.
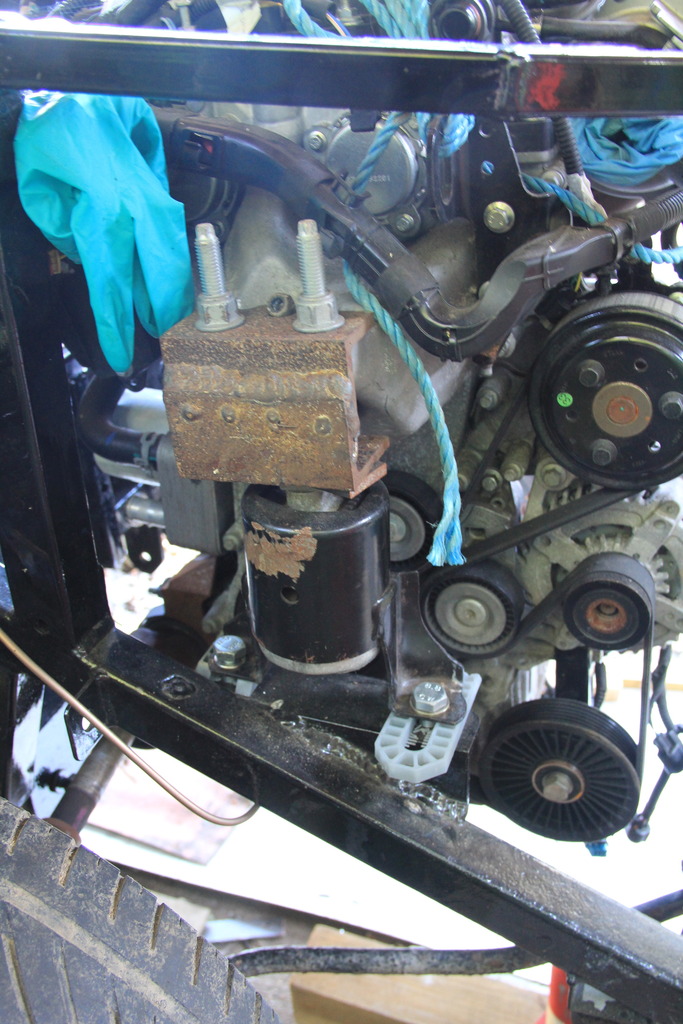
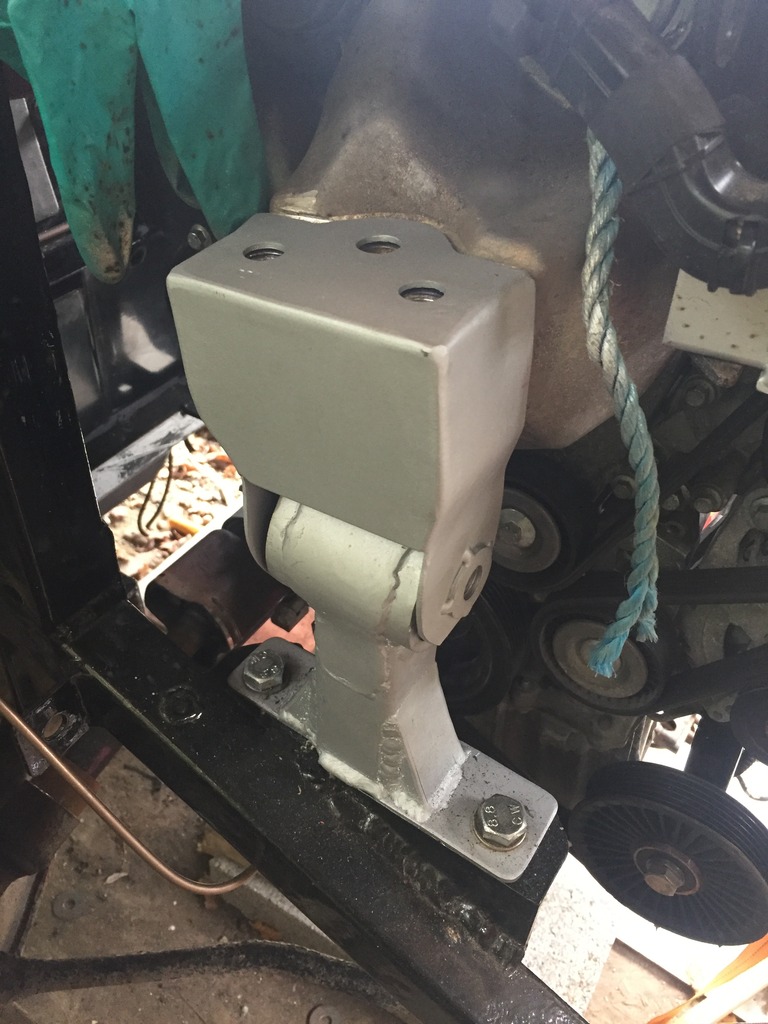
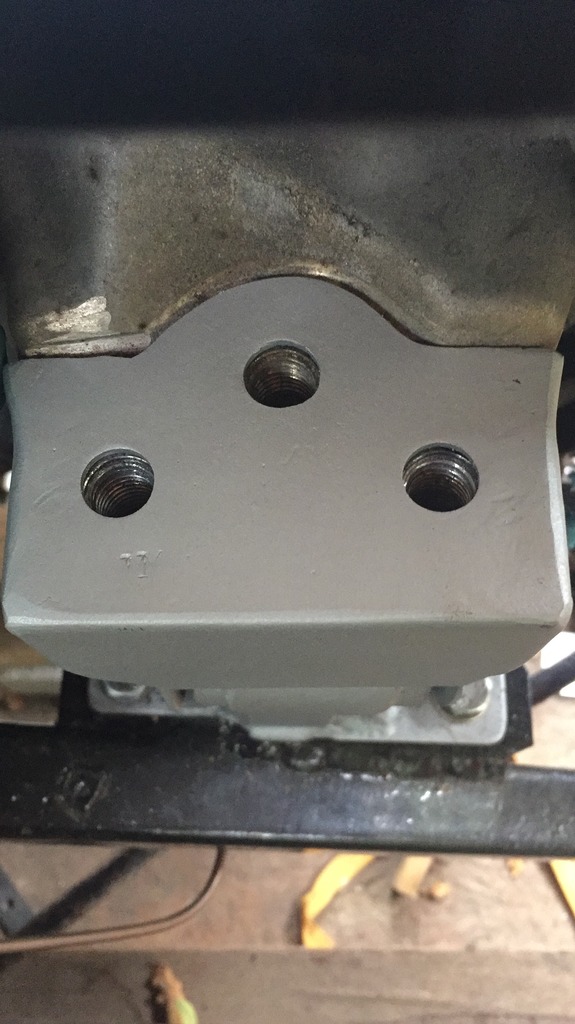
Driver side engine mount
This was my starting point. 2 pieces of angle welded together with a few holes drilled to bolt it to the engine and the mount. This mount is from a fiesta 1.0 and I was never happy with it because I had to cut a side support bracket off otherwise it would have fowled on the wheel arch.
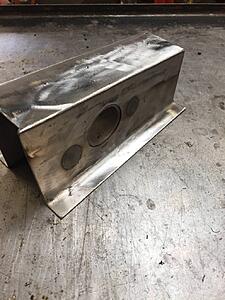
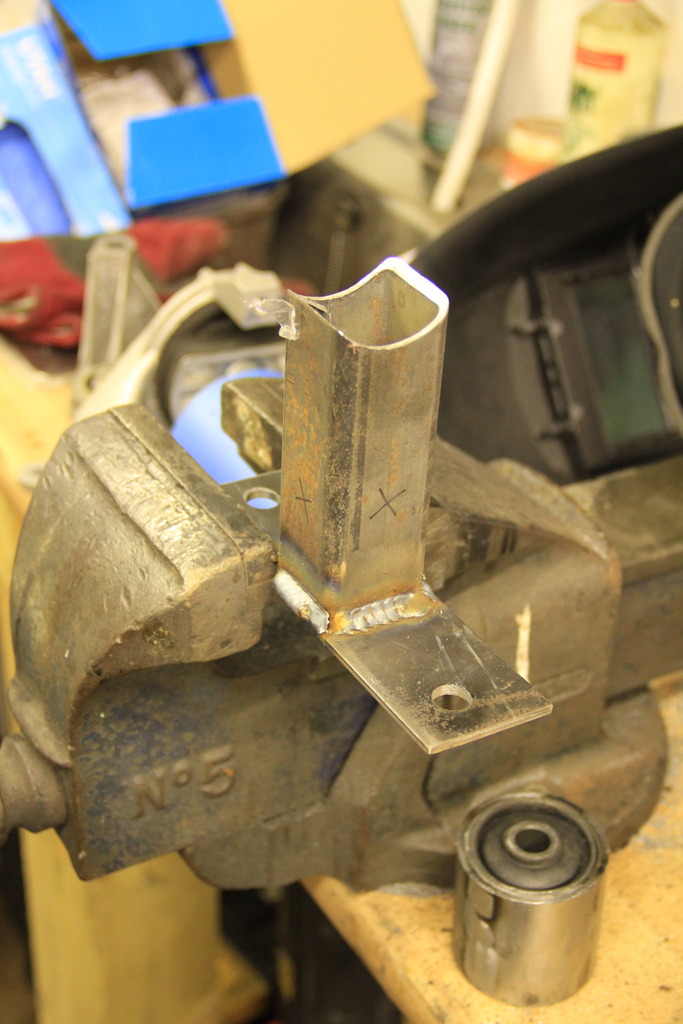
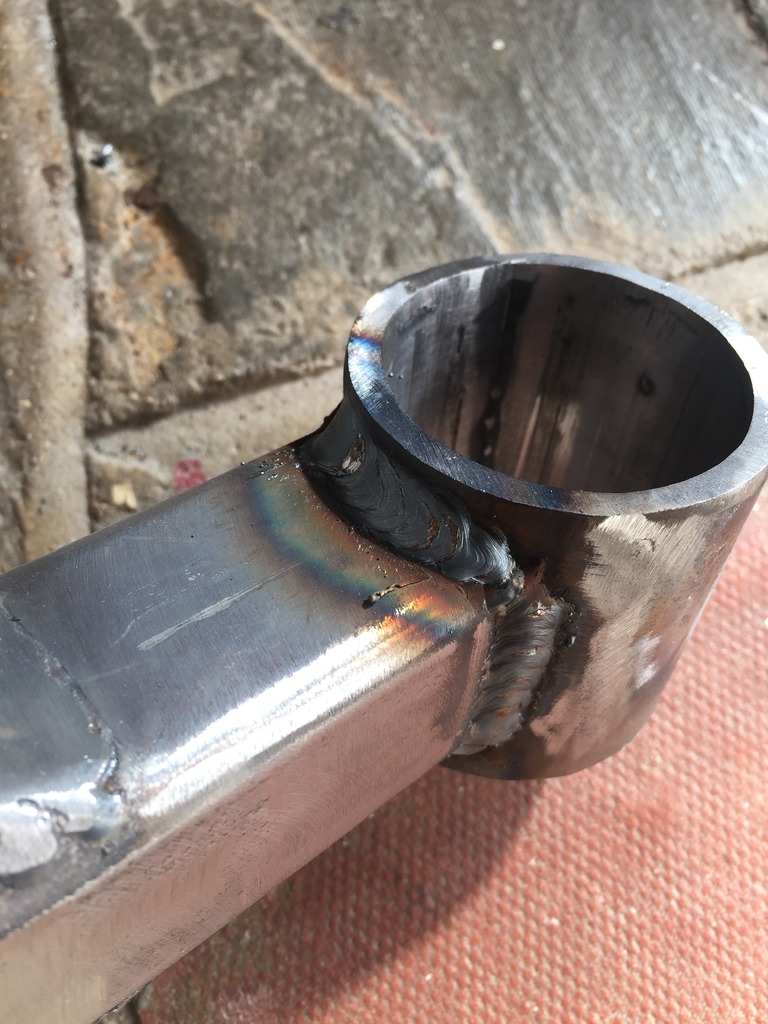
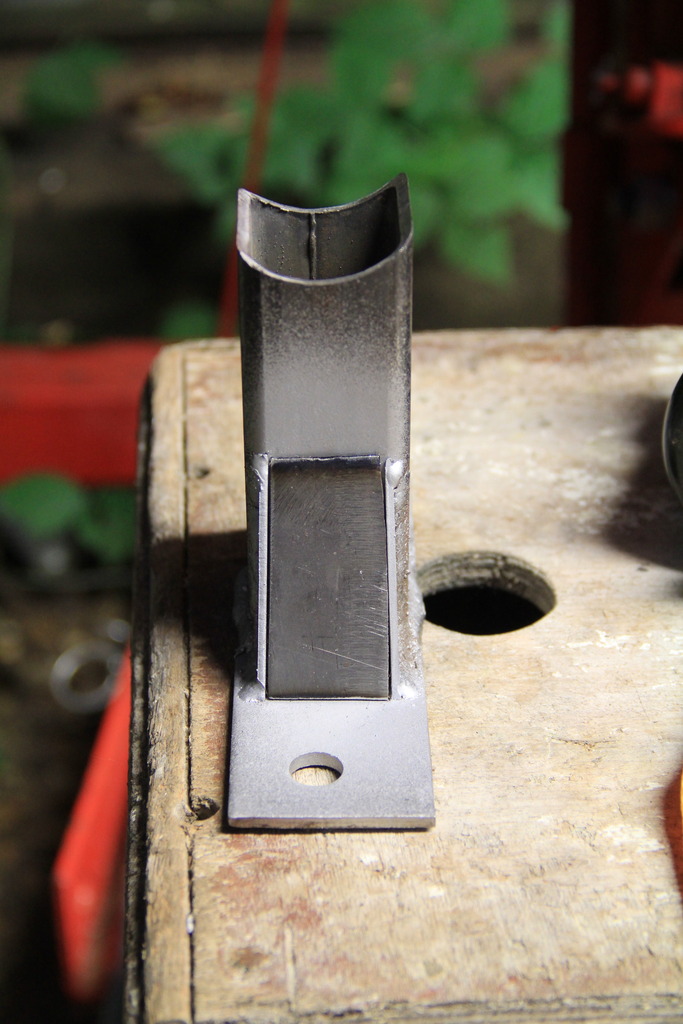
The starting point. 3mm steel base with a stick of 40x40x3 box section welded to it. The top was cut with a hole-saw to give a profile for the bush housing to sit in.
Bush housing welded onto the box section.
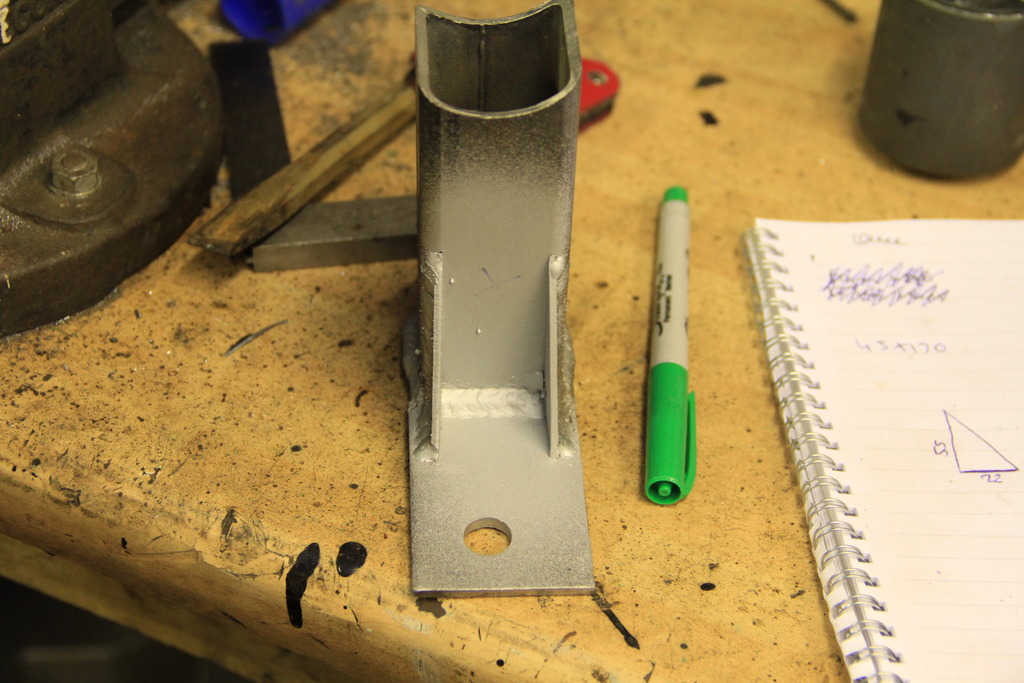
Inside sprayed with U-POL weld through primer to give the metal some protection. Showing the fit of the cover plate. Once this picture was taken I shaved 2mm off the ends of the plate to give me a 1mm gap to weld into before grinding it down flush.
Unfortunately I haven’t got any pictures of the build for the top piece. It was all made from 2mm steel sheet, strengthened and triangulated on the inside.
Good to see you sticking with this, nice to see something different!
I just work on it as and when I have the time & money. Looking in to the fuel system currently
Originally Posted by Rowe
cool project this! What management are you planning on using?
cheers Looking into a Delta ECU at the moment. It seems there aren't many aftermarket ECU's out there which will run direct injection as well as variable cam timing on both cams. Delta is favourite at the moment because they'll also modify the engine loom to suit, essentially making it plug & play.
Torque Reaction Mount
There isn’t a lot of space for the engine to move around, the gearbox is very close to the steering rack! So the torque reaction mount needs to be fairly firm. In hindsight this is probably much too firm, but I’ll wait and see.
There’s a small bush on the rear section of the gearbox which is factory and being used. The other end is made using a lower arm poly-bush.
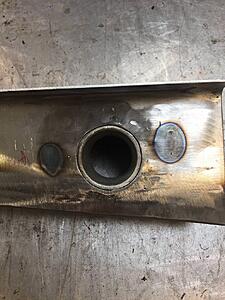
Some round bar I had laying around being machined into the bush housing.
Bored out to accept the bush.
This collection will form the mount. At the back is the lower arm bush in the housing complete with spacer tube, at either side are the end plates, in the centre are some spacers which I machined in order to assemble the mount and hold it together while I weld it all up. These are only temporary. And finally at the bottom is the top plate which is bent round the whole lot.
The top plate heated up and bent round. After this picture was taken I managed to squeeze the mig torch inside and get some sensible welds.
Seeing as how I’d managed to get much better welds on the inside then I thought I’d be able to I thought I’d have a play with the TIG on the outside. As you can see, I’ve not had much practice! But it’s stuck together…
Just need to get a picture of it under the car. I’m not 100% sure on this one, the fact the TIG welds aren’t very precise with a lot of undercutting irritates me, I know it’s hidden under the car, but I know it’s there! It may also be far too stiff, so once it’s on the road and been driven there’s a good chance I’ll remake it. Time will tell!
Hi TPM, great work getting the thread going as it's a fab source of info for me, I own a Quantum 2+2 and I've got a 1.0 ecoboost to go in it!
If you haven't got the driveshafts made up yet is there any chance I could piggyback and ask you to get a set made up for me at the same time as this would be a big help ?
Cheers
Pete
Hi Pete, apologies for not replying sooner! are you using the 6 speed focus gearbox?
My driveshafts are still just mock ups at the moment, I haven't yet sent them off to be made. I've been quoted Ł110 each + vat which I think is very reasonable.
How's your build coming along?
Long time no update! Don't worry, it isn't gone, I'm still working on it!
Shame all the pictures have disappeared, I'll have to try and sort that.
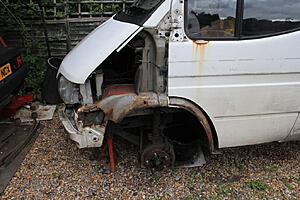
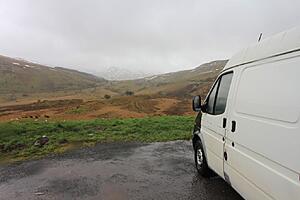
A year ago I'd just finished modifying the gear linkage. Then a little unexpectedly I took on another project. Long story short, my girlfriend and I had been talking about converting a van to a camper. Due to limited funds our choice of vans were very limited. Until my boss happened to mention that the trusty old MK5 LWB transit wouldn't be going for it's next MOT, but straight to the scrap yard. This got us thinking, and a few days later it was parked on my driveway, next to the Quantum!
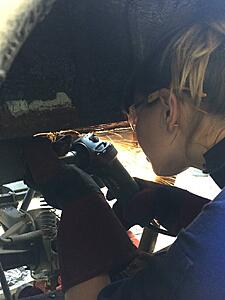
What I initially thought would be 4-6 weeks of welding, turned into a massive job which took about 5 months. And that was just to make it solid again! We've now started building the interior and actually took it to the Brecon beacons for our anniversary before christmas.
A few pictures to show what I've been up to:
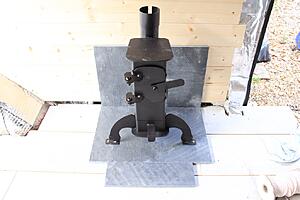
fabricated New rear outriggers and leaf spring hangers, chassis rail repairs, new front inner wings, arches, sills, driver step outer panels etc...a lot of work!! And we fitted a mini log burner!
For anyone who's interested, check out @moose_in_transit on instagram to check out our progress.
But now the Quantum has my full attention. I've made a start on the fuel system, and the ECU purchasing is in progress. I'm hoping to drive it to Stoneleigh kitcar show this year...if i don't drive it there I'll trailer it!!
Lots more updates to follow
 12-09-2015, 07:09 PM


 Looking into a Delta ECU at the moment. It seems there aren't many aftermarket ECU's out there which will run direct injection as well as variable cam timing on both cams. Delta is favourite at the moment because they'll also modify the engine loom to suit, essentially making it plug & play.
 So the torque reaction mount needs to be fairly firm. In hindsight this is probably much too firm, but I’ll wait and see.