Building a custom inlet manifold for YB


 07-02-2014, 12:07 PM
#50
Too many posts.. I need a life!!
Thread Starter

Hoping to do some back to back testing, however I currently have a welded/modified elbow 4x4 inlet, so no completely standard inlet to compare it with.
Also remember that ITBs won't show difference in engine response on a dyno, though im hoping it will show a huge gain in torque over a standard one
Thanks for the comments guys!
Last edited by nixon_2wd; 07-02-2014 at 12:23 PM.
03-03-2014, 04:02 PM
#52
Too many posts.. I need a life!!
Thread Starter
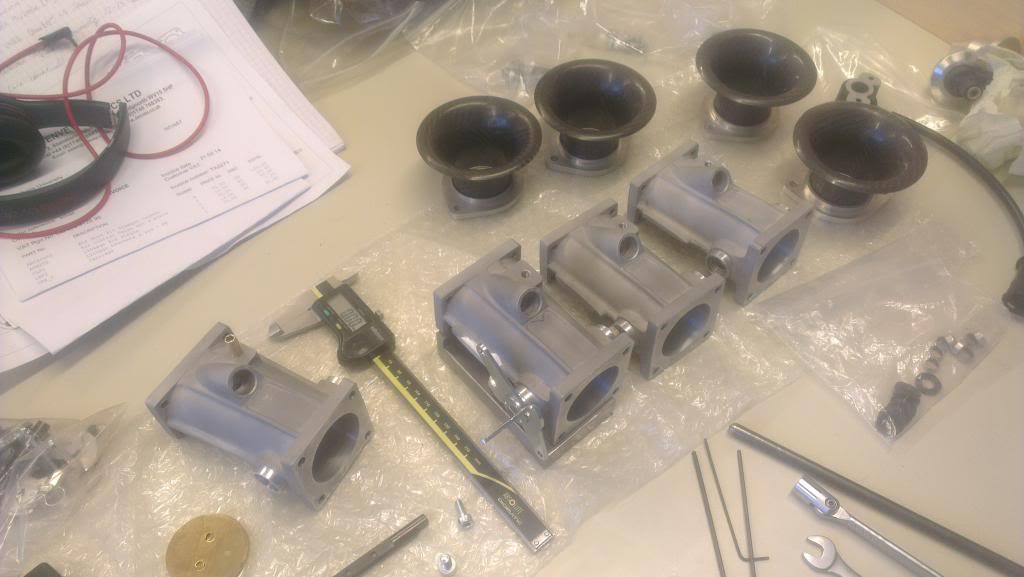
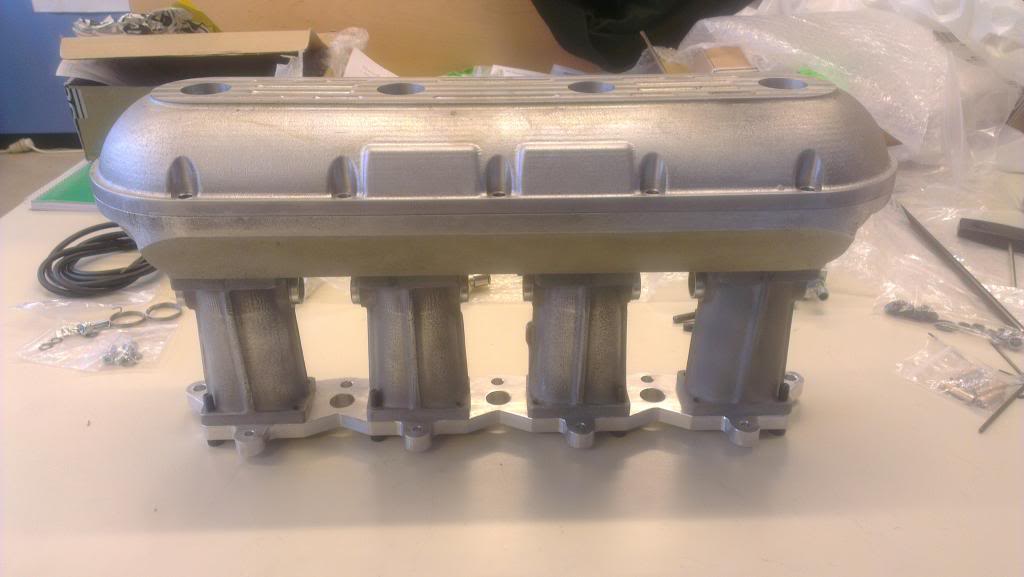
A small update on the project. Just picked up some more parts from Jenvey; once again awesome service from them!
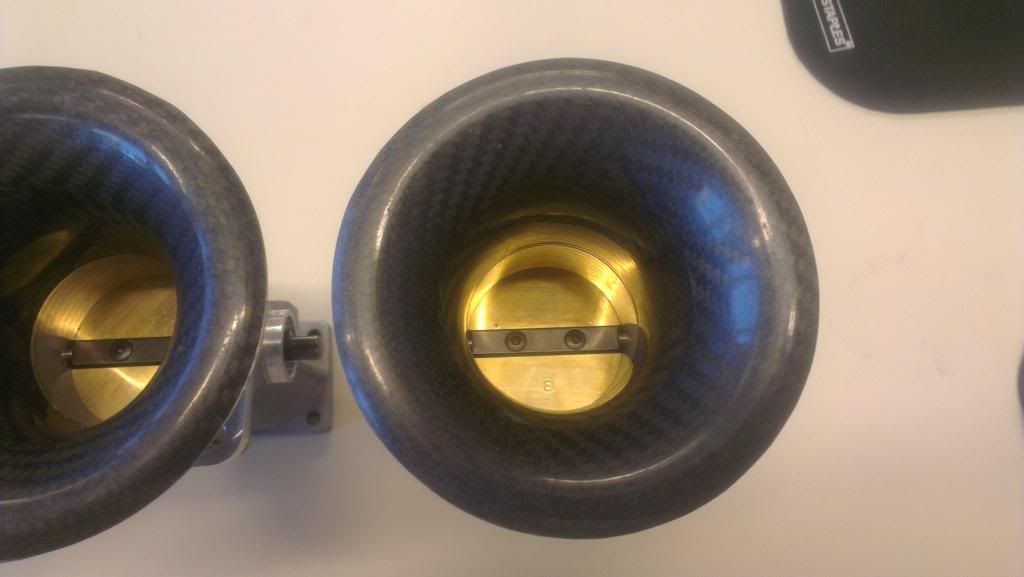
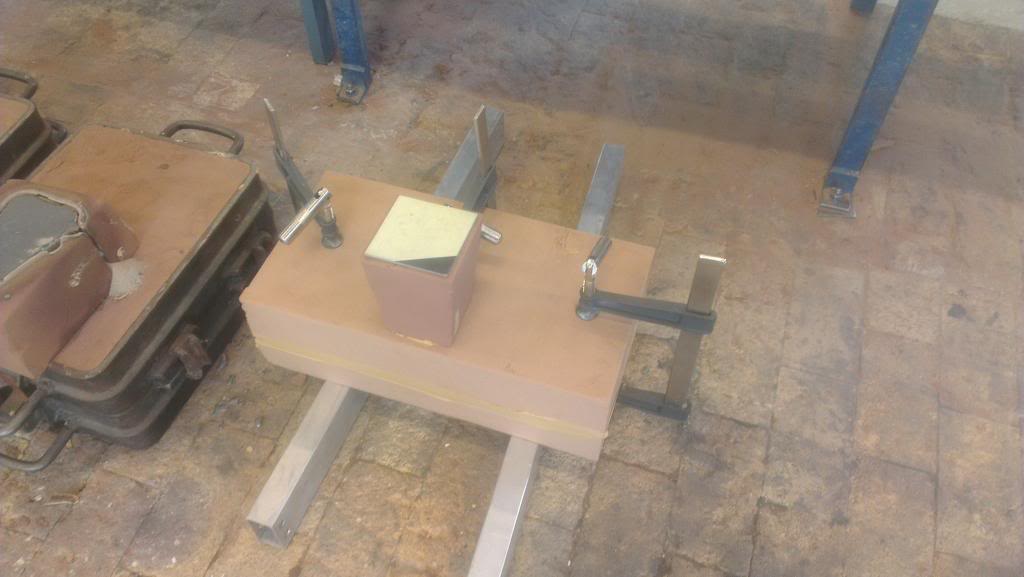
Did some machining today, finished the idle air feed on the runners, and I am currently hand finishing them as that + boring and tapping the idle adjustment screw is the only part left on them now before powdercoat.
Later today Im hoping to make sand molds of the plenum, just waiting for the guy down at the foundary as he's a bit busy.
Some pictures:
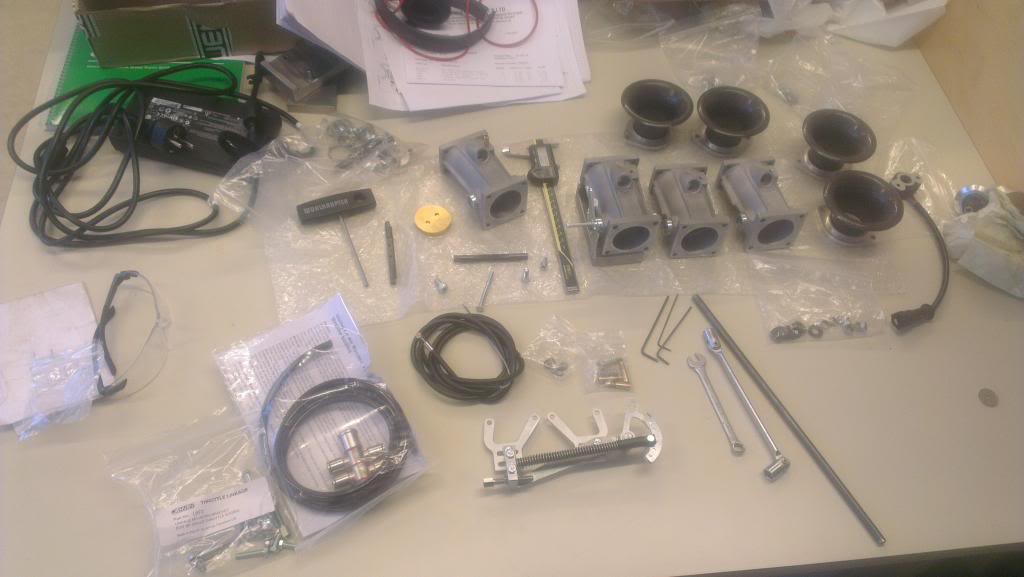
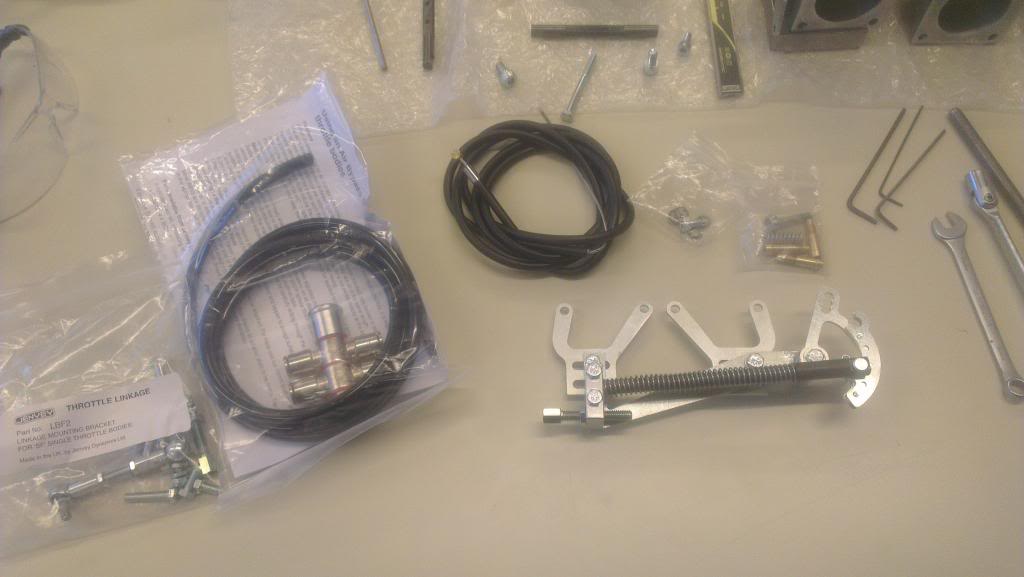
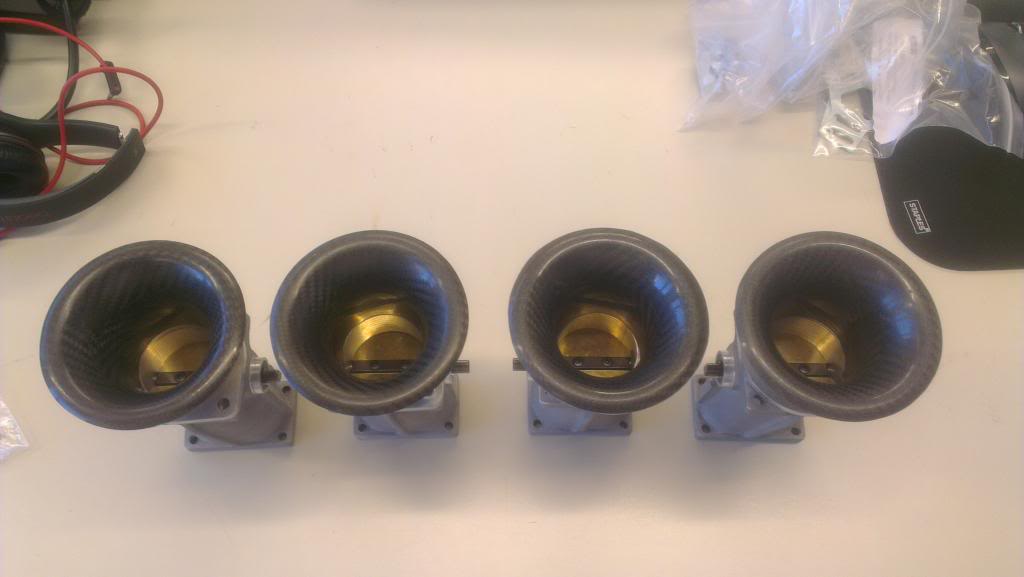
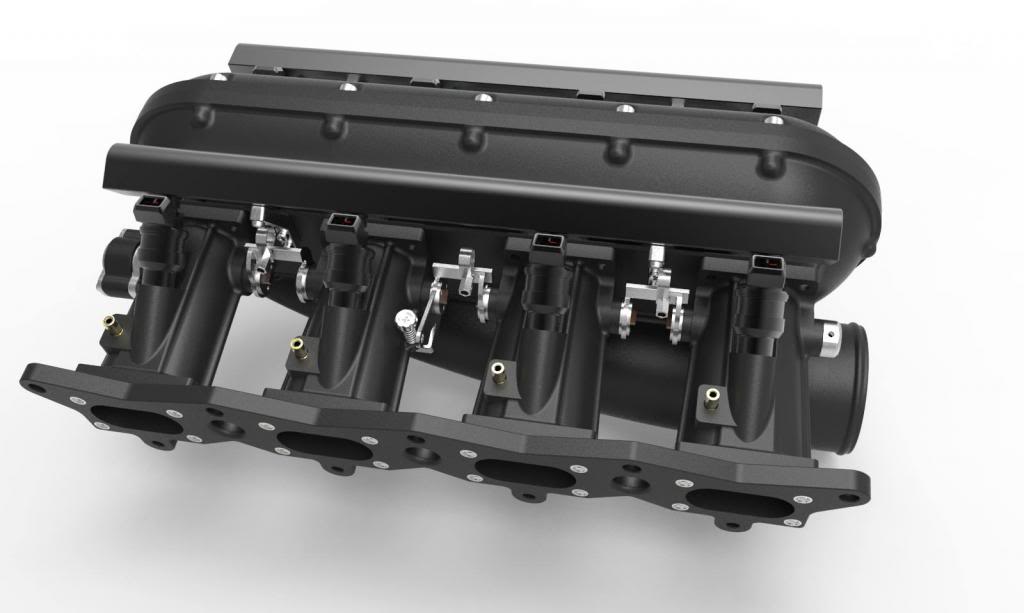
How the linkage should look when it's complete:
Will be working on this non-stop this week so Im pretty excited!
Did some machining today, finished the idle air feed on the runners, and I am currently hand finishing them as that + boring and tapping the idle adjustment screw is the only part left on them now before powdercoat.
Later today Im hoping to make sand molds of the plenum, just waiting for the guy down at the foundary as he's a bit busy.
Some pictures:
How the linkage should look when it's complete:
Will be working on this non-stop this week so Im pretty excited!
Last edited by nixon_2wd; 03-03-2014 at 04:08 PM.
 05-03-2014, 04:57 PM
#54
Too many posts.. I need a life!!
Thread Starter
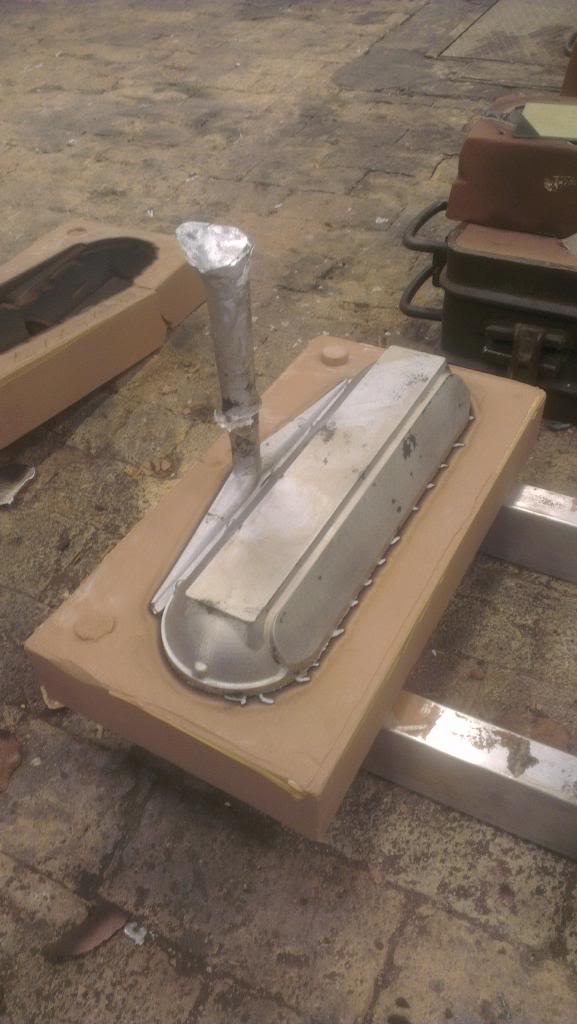
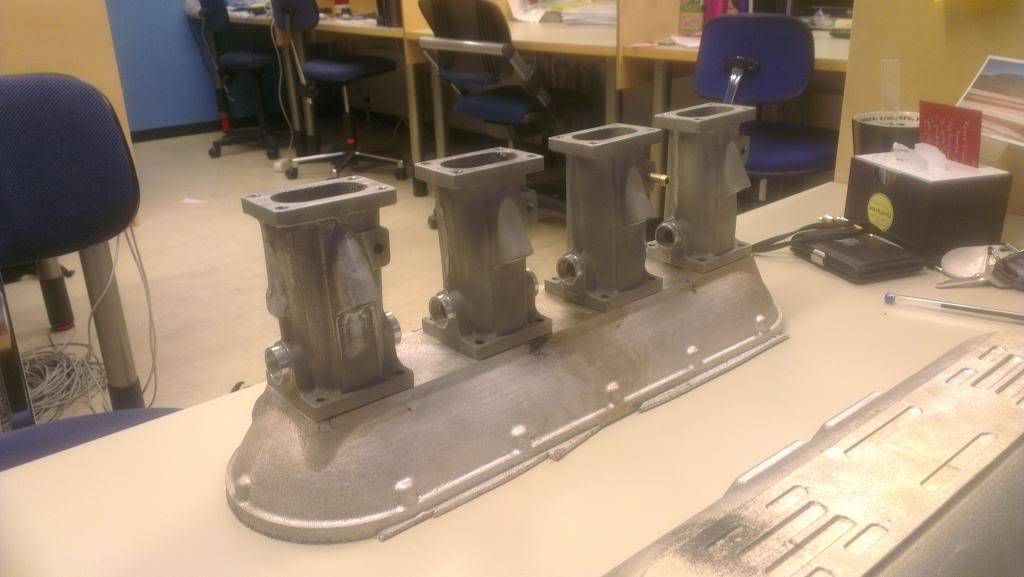
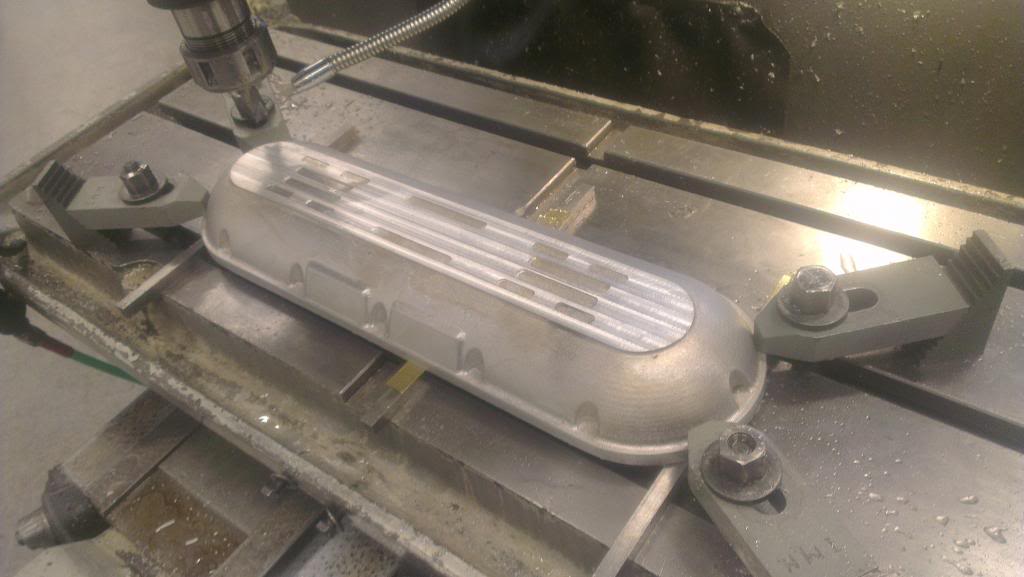
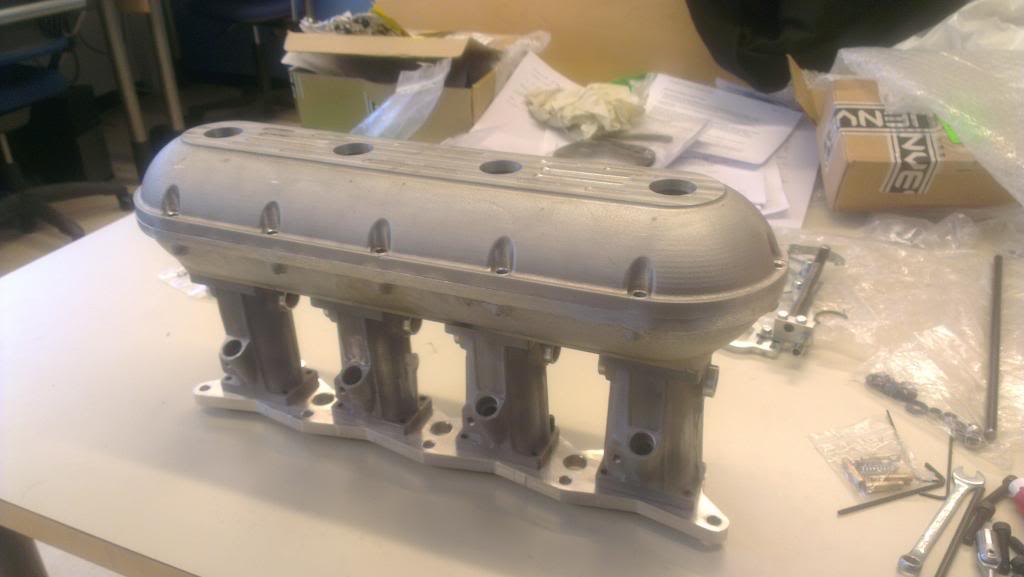
Got some more work done these last few days, so Im just going to post all the pics. Enjoy! 
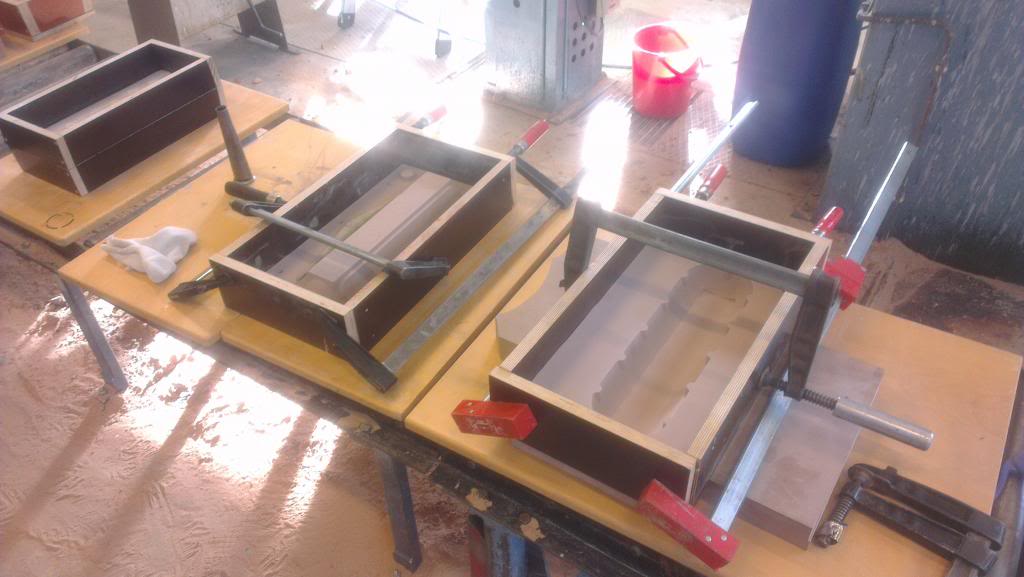
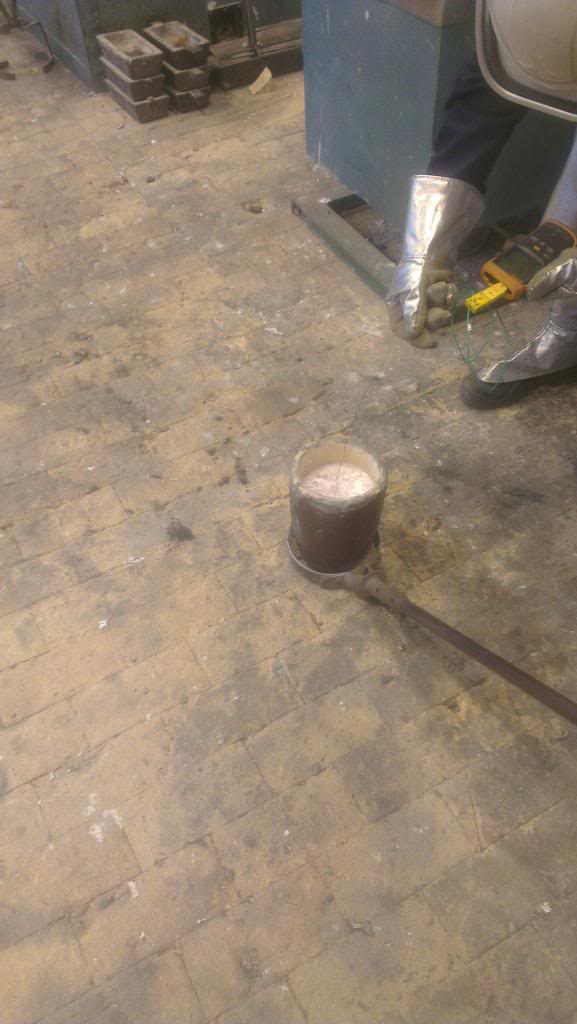
Checking the temp before pouring:
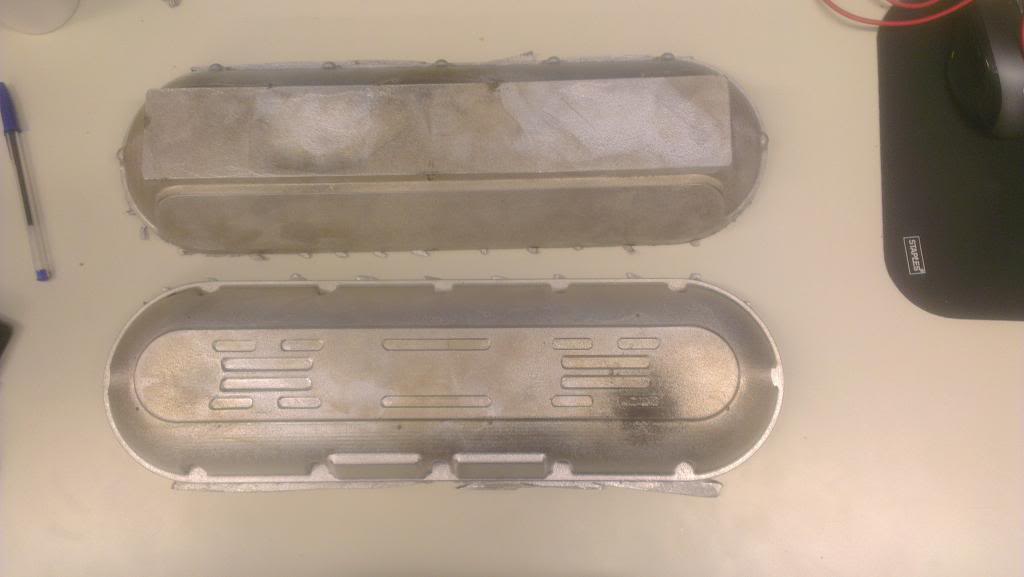
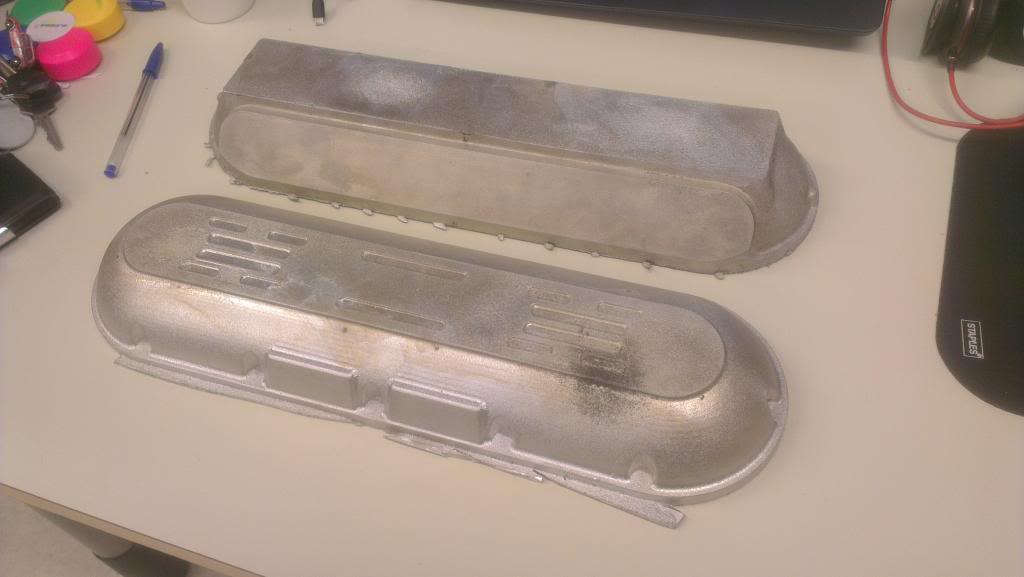
Finished castings:
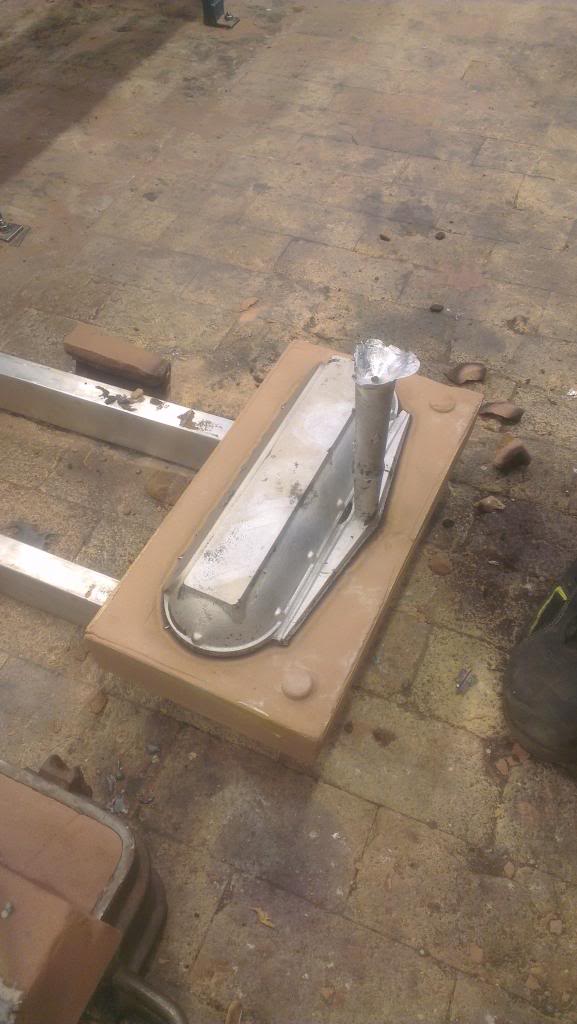
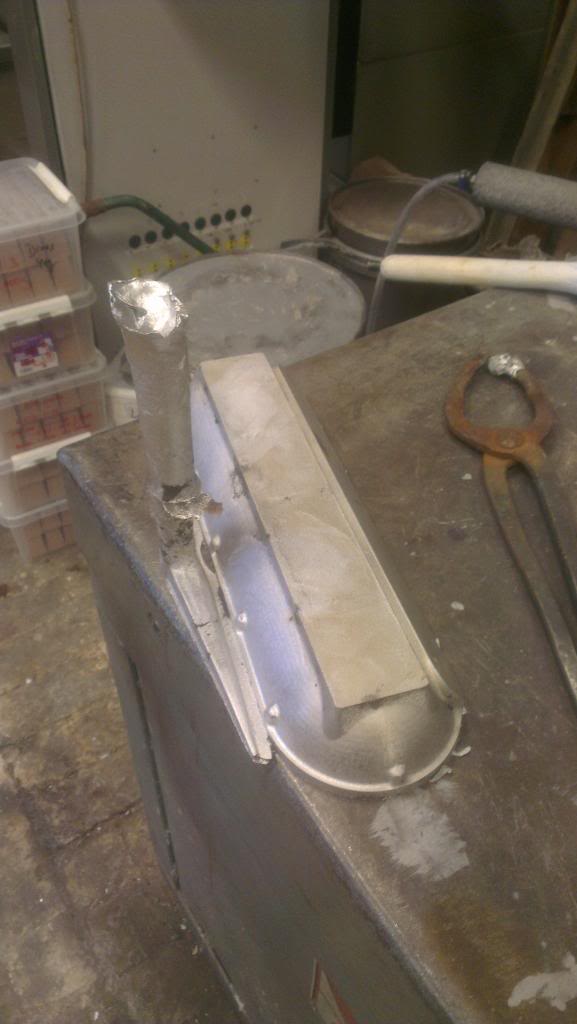
Second one:
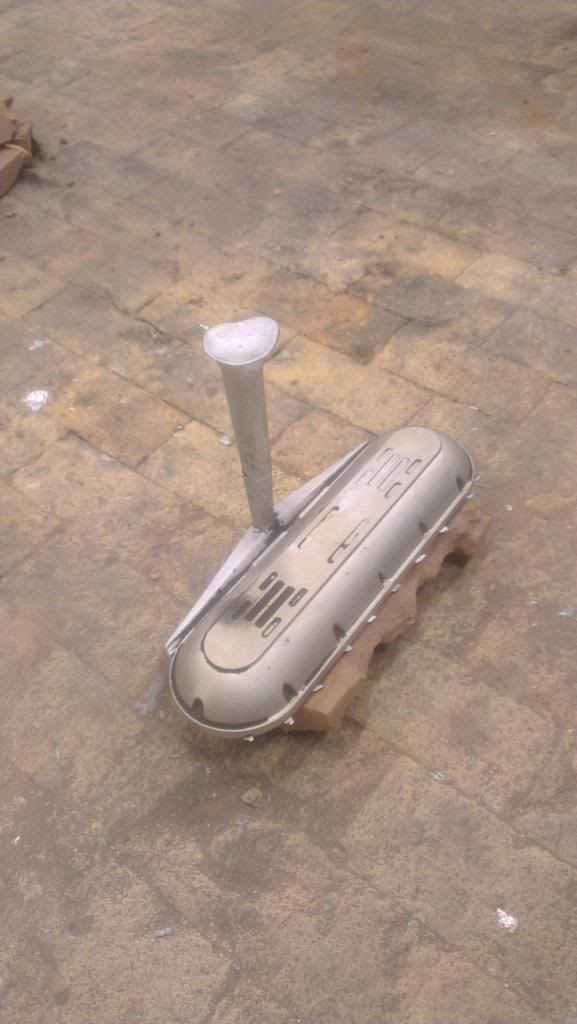
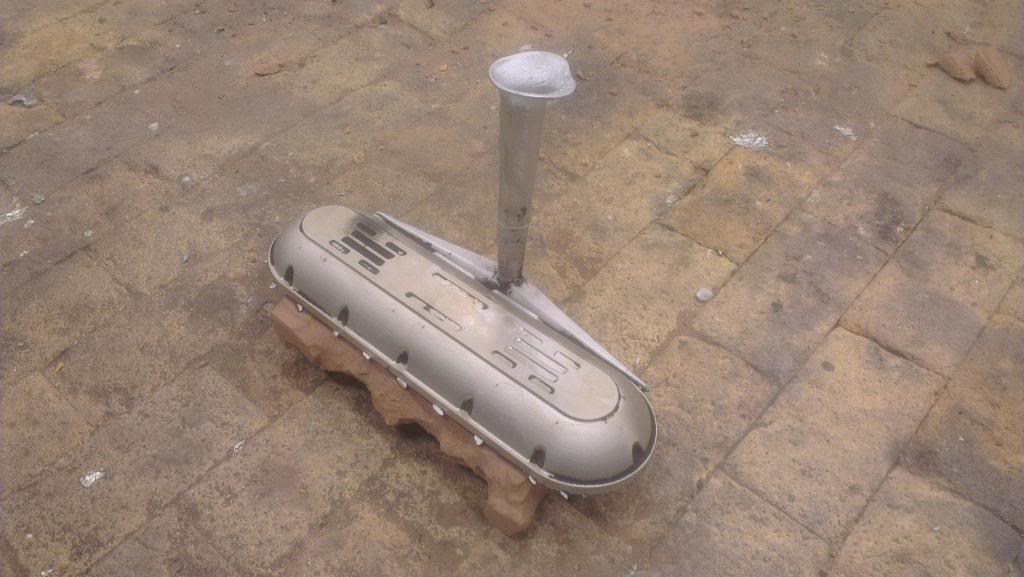
Both:
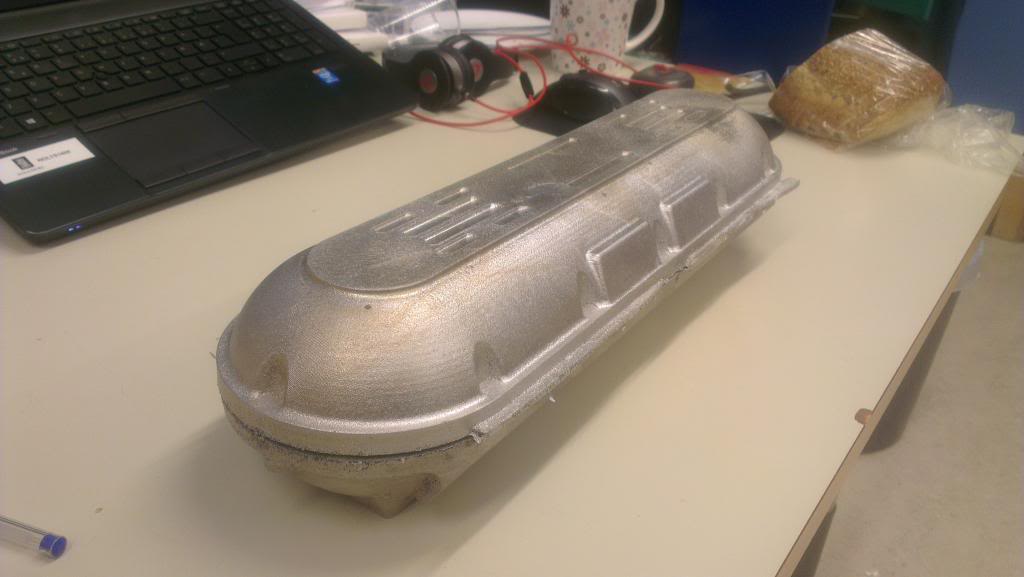
And had to try
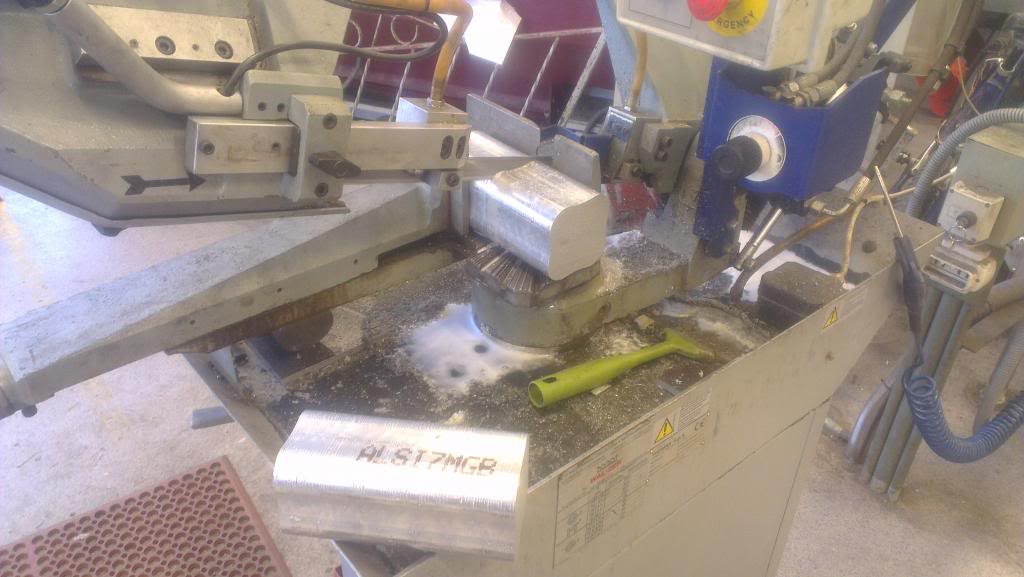
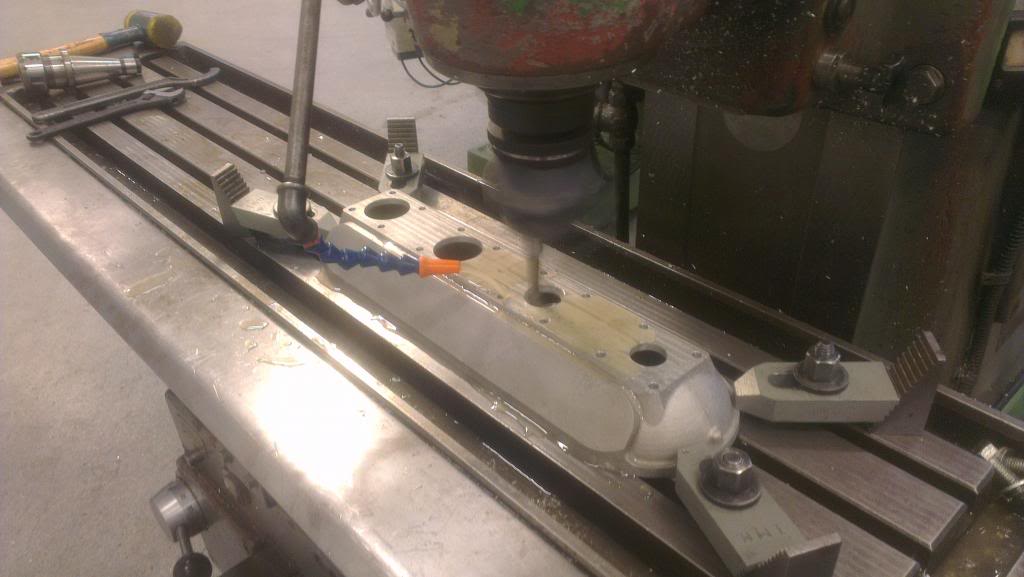
Started machining today

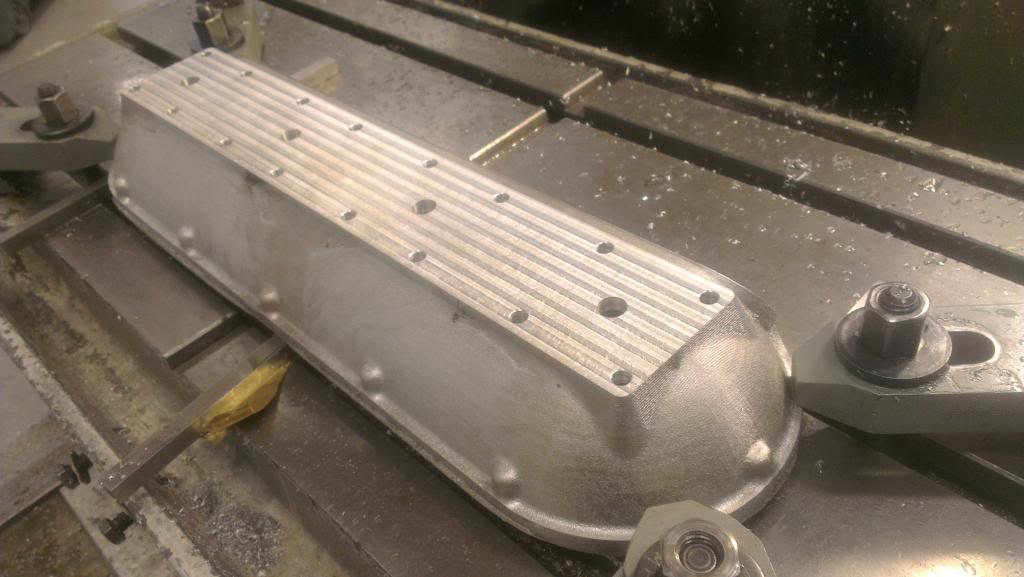
And thats where Im at now, more updates to follow these next few days Will finish this part tomorrow, boring it up to correct runner diameter, facing off the other side, boring and tapping, and then over to machining the other part.


Checking the temp before pouring:

Finished castings:


Second one:


Both:


And had to try


Started machining today


And thats where Im at now, more updates to follow these next few days
Last edited by nixon_2wd; 05-03-2014 at 05:01 PM.
 07-03-2014, 09:04 PM
#61
Too many posts.. I need a life!!
Thread Starter
Thanks guys, appreciate the comments 
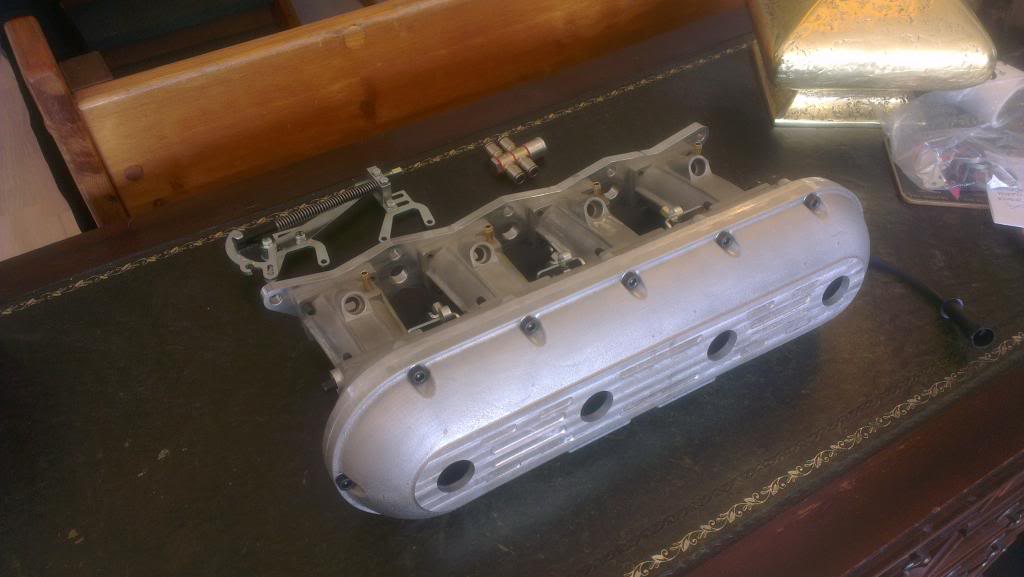
Did some more work
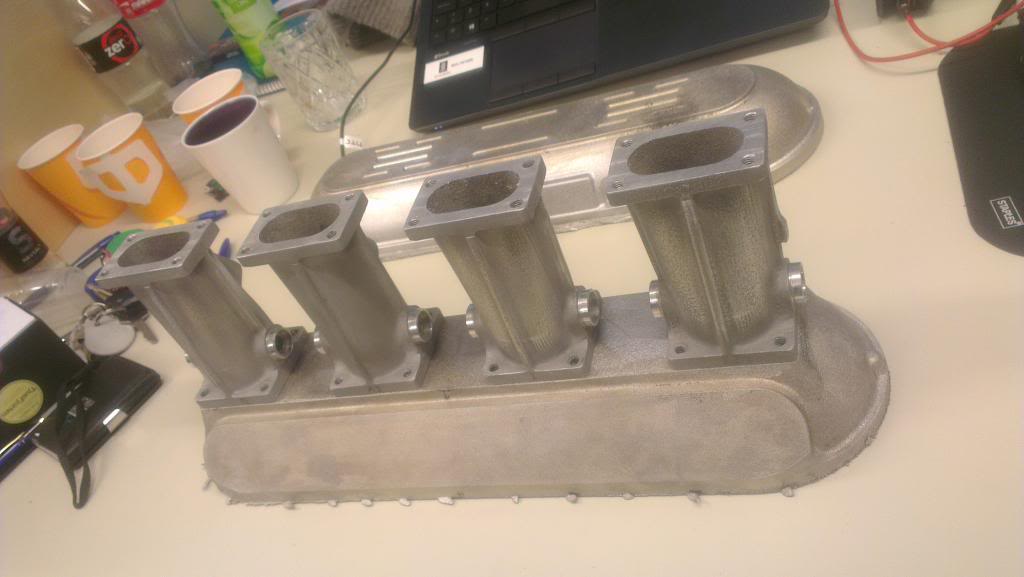
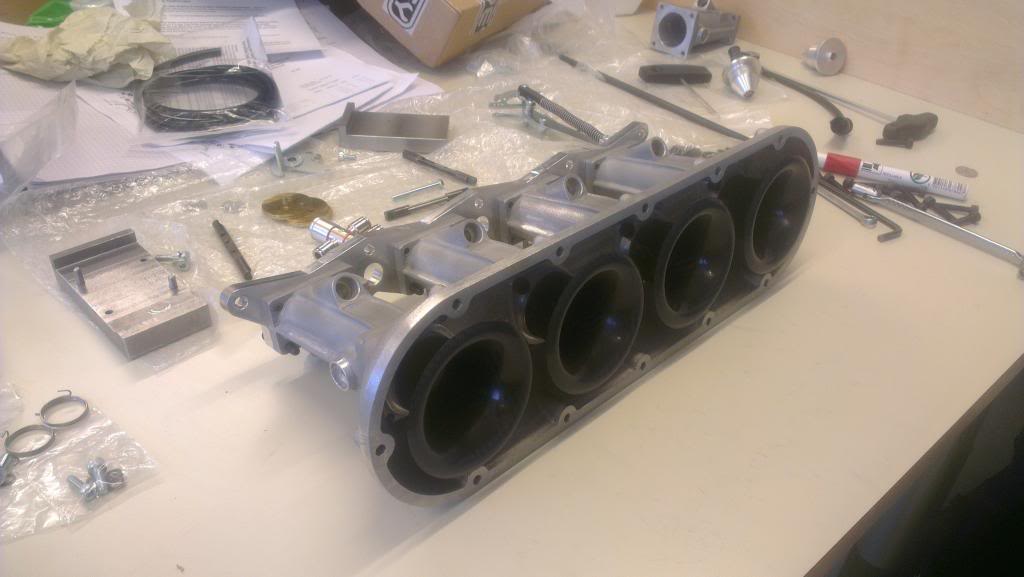
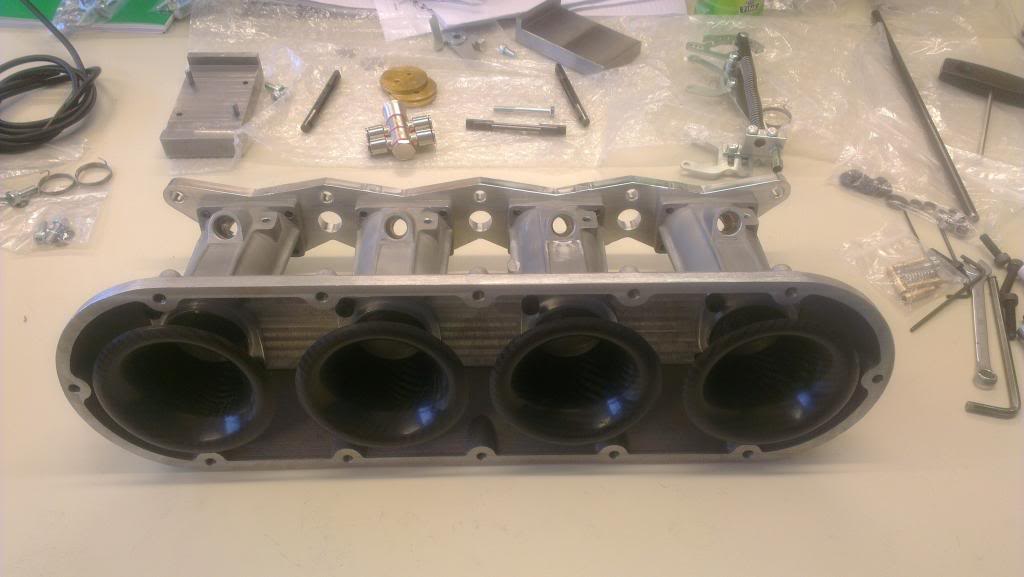
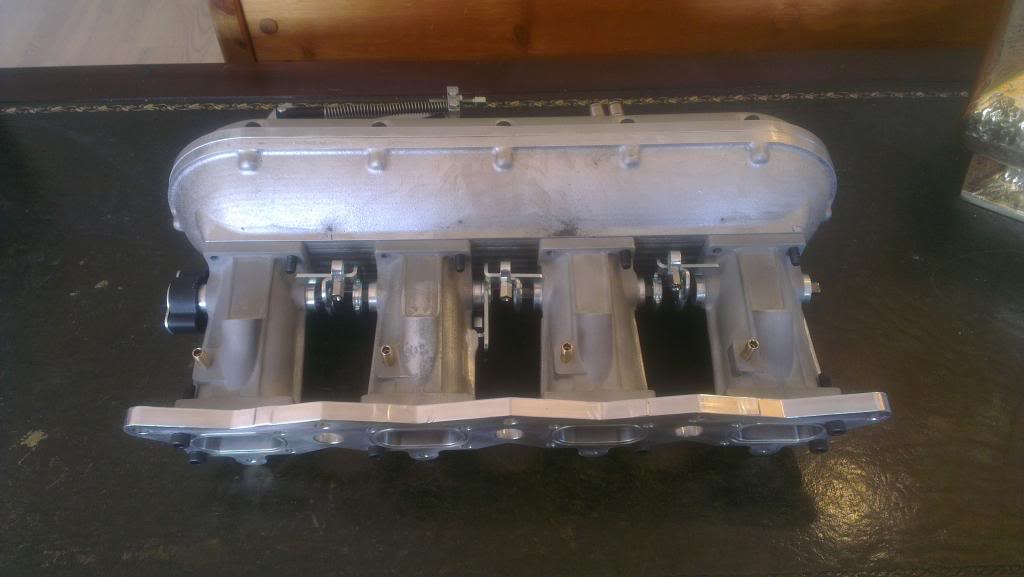
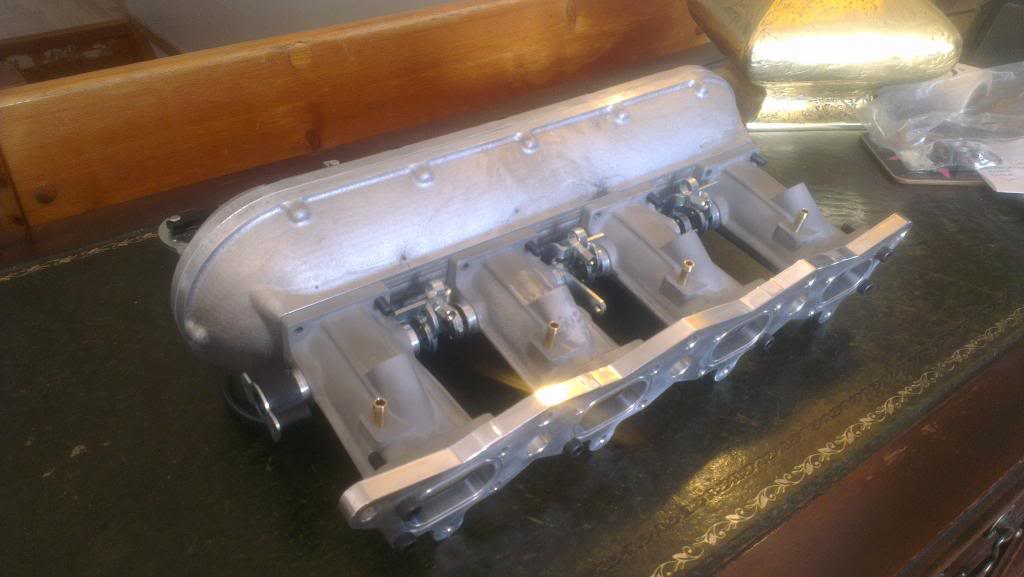
Almost finished machining the plenum. Need to machine the flange down to the lower plenum, but have to cast that part first and then verify dimensions before doing so. Also need to fnish the holes for the injector sockets, but didnt have time this turn around. Just need to bore and tap them and theyre ready.
Also got the cylinder head to manifold flange / adapter cut in 7075-T651 aluminum, which is aerospace grade material.
Here are some pictures of the current progress:
And finally!

I did try with 12 bolts on the plenum cover and it looks awesome. Will take some pictures of that tomorrow or sunday, as in my opinion it completes the look!
Im also going to get all stainless steel bolts for it
Did some more work
Almost finished machining the plenum. Need to machine the flange down to the lower plenum, but have to cast that part first and then verify dimensions before doing so. Also need to fnish the holes for the injector sockets, but didnt have time this turn around. Just need to bore and tap them and theyre ready.
Also got the cylinder head to manifold flange / adapter cut in 7075-T651 aluminum, which is aerospace grade material.
Here are some pictures of the current progress:
And finally!
I did try with 12 bolts on the plenum cover and it looks awesome. Will take some pictures of that tomorrow or sunday, as in my opinion it completes the look!
Im also going to get all stainless steel bolts for it
Last edited by nixon_2wd; 07-03-2014 at 09:07 PM.
07-03-2014, 09:11 PM
#62
Too many posts.. I need a life!!
Thread Starter
08-03-2014, 06:41 AM
#63
Ben

Absolutely outstanding work!
08-03-2014, 09:06 AM
#64

hi
i think you are doing a very good job ,are you doing it all your self design ,casting and machining ,i think you ought to market this inlet i think you will sell quite a few and its good to see someone do something new off there own back and at there own expense
very well done
mark
i think you are doing a very good job ,are you doing it all your self design ,casting and machining ,i think you ought to market this inlet i think you will sell quite a few and its good to see someone do something new off there own back and at there own expense
very well done
mark
08-03-2014, 10:51 AM
#65
Too many posts.. I need a life!!
Thread Starter
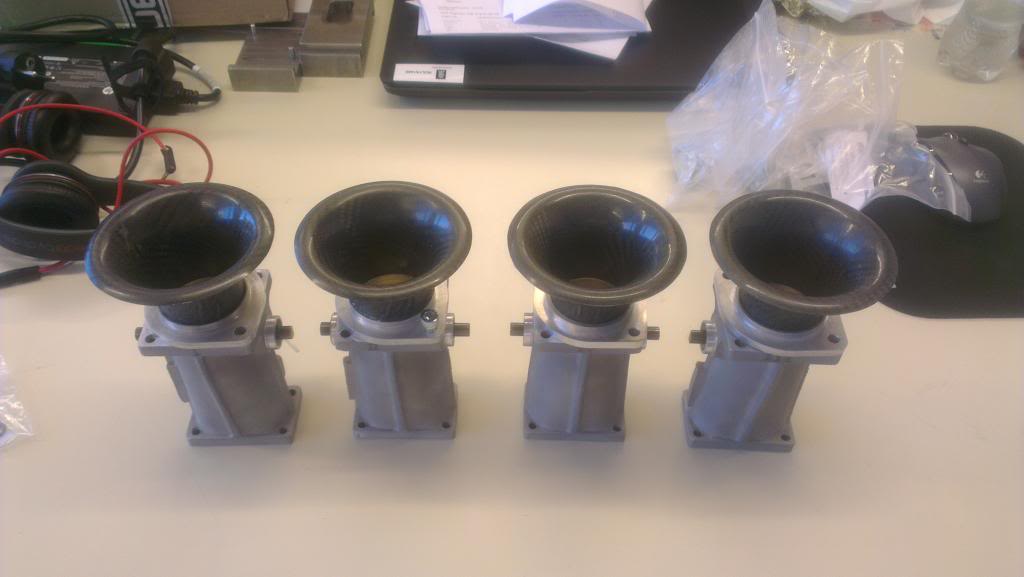
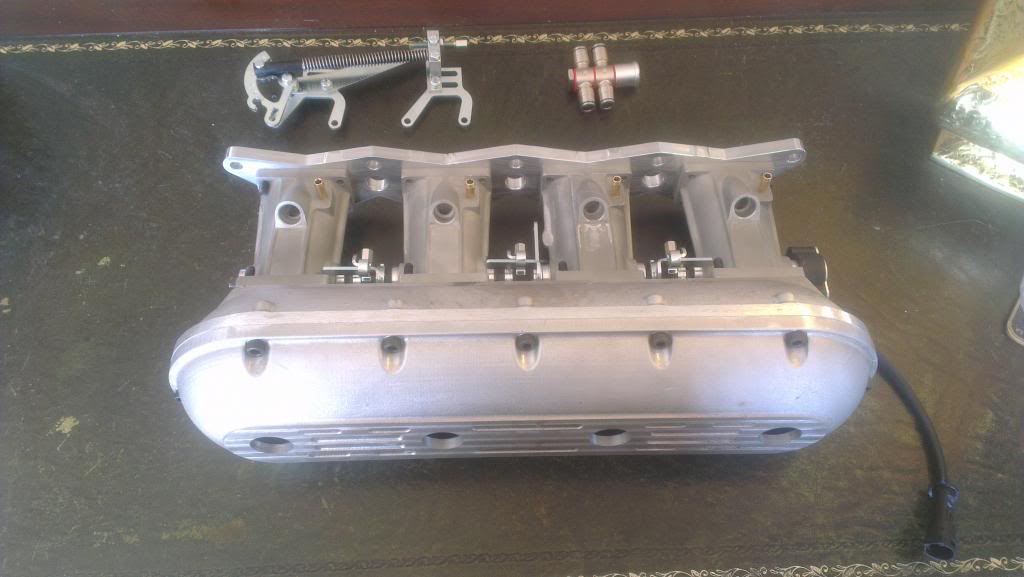
Thanks for the comments guys!
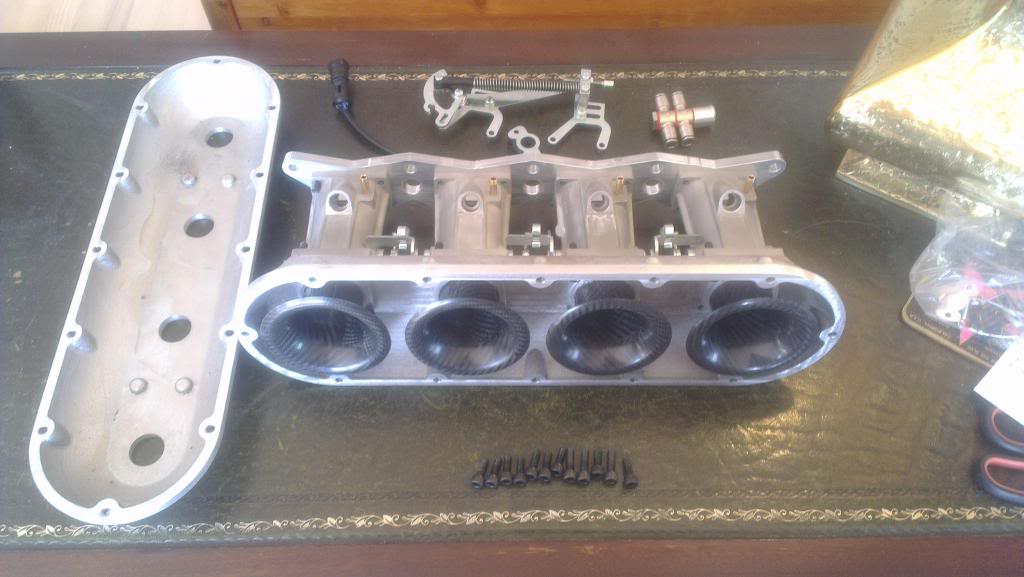
I get some help with some of the CNC work by a friend, except from that Im doing it all myself. Remember that I got all the linkage, axels, bearings and seals, velocity stacks etc from Jenvey, and without those parts this wouldnt have been possible. They normally dont sell these parts separate.
Mocked it up complete with throttle plates, axels, linkage etc. and it looks pretty nice if I may say so
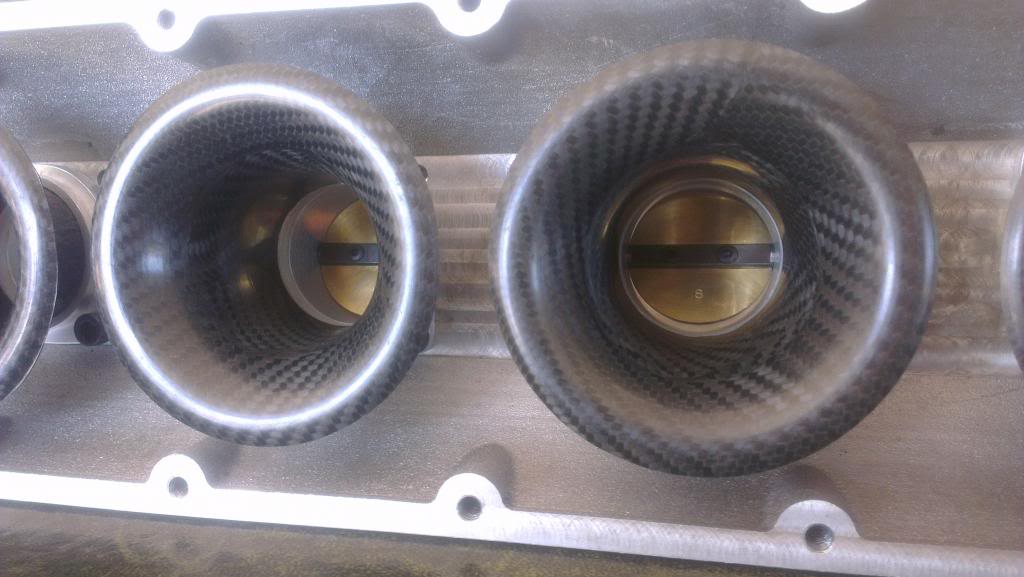
 08-03-2014, 06:15 PM
#68
PassionFord Post Whore!!
I guess there will be 1 big or 4 smaller slots there and a feed to the front will be bolted on.
Very impressive work.
After seeing what goes into design/make a part like this you can understand the high retail price of such a part.
09-03-2014, 11:15 AM
#69
Too many posts.. I need a life!!
Thread Starter
Originally Posted by ;6437317
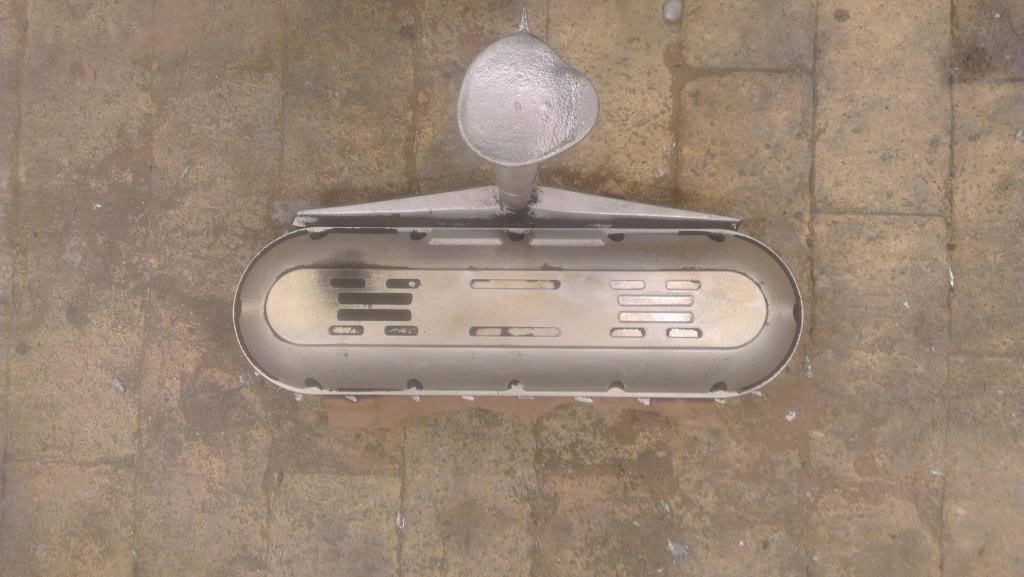
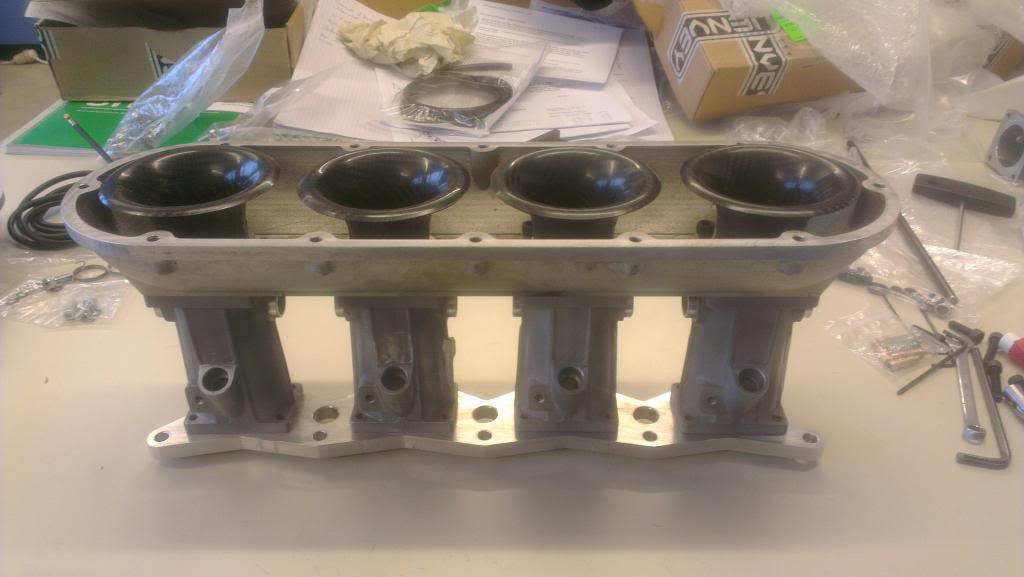
In picture 1 you can see a flat oval section just under the water feed nozzle.
I guess there will be 1 big or 4 smaller slots there and a feed to the front will be bolted on.
Very impressive work.
After seeing what goes into design/make a part like this you can understand the high retail price of such a part.
I guess there will be 1 big or 4 smaller slots there and a feed to the front will be bolted on.
Very impressive work.
After seeing what goes into design/make a part like this you can understand the high retail price of such a part.
Also remember that this is ITB, and the lower plenum acts as a pressure distributor. Using CFD I have adjusted the slope and taper for equal distribution.
I agree. The prices asked for these parts are totally reasonable
Last edited by nixon_2wd; 09-03-2014 at 12:19 PM.
09-03-2014, 07:57 PM
#70
Wahay!! I've lost my Virginity!!

Join Date: Nov 2011
Location: cheshire
Posts: 56
Likes: 0
Received 0 Likes
on
0 Posts
unreal, what a master piece, the finished item will be the bollox, take my hat of to you,i know how long it take to machine parts like that, and even more time on setting it all up, keep up the outstanding work, great thread
09-03-2014, 10:33 PM
#71
Too many posts.. I need a life!!
Thread Starter
It is actually unreal looking at it lying in front of me almost finished now
Last edited by nixon_2wd; 09-03-2014 at 10:41 PM.
09-03-2014, 10:37 PM
#72
Advanced PassionFord User

It truly is a great piece of work. 1 question, why only 1? You could sell these all day long I reckon
09-03-2014, 11:02 PM
#73
Too many posts.. I need a life!!
Thread Starter
Maybe I can get it in production in the future, but I will need to alter the linkage design, axels etc and poduce my own complete system, as I will not replicate Jenveys design and try to make money of it Thats their design, and its great.
Last edited by nixon_2wd; 09-03-2014 at 11:03 PM.
06-04-2014, 08:50 PM
#79
Too many posts.. I need a life!!
Thread Starter
Tested the fitment today


And I am gonna try with a 10mm spacer in the dynapack to see if it makes any difference, so checked the clearance for the strutbrace I have recently bought. Didn't mount the strut brace in this pic tho

Will be casting the final part and do the last bit of machining the week after easter And then the whole engine gets torn down and rebuilt with new pistons, Arrow rods, ported head and EFR xxxx. Just have to decide what EFR to go for..
And I am gonna try with a 10mm spacer in the dynapack to see if it makes any difference, so checked the clearance for the strutbrace I have recently bought. Didn't mount the strut brace in this pic tho
Will be casting the final part and do the last bit of machining the week after easter
Last edited by nixon_2wd; 06-04-2014 at 08:52 PM.