Fiesta pulled from grave and doing full resto and track car build, UPDATE
 16-06-2013, 10:09 PM
#1
PassionFord Regular
Thread Starter
iTrader: (1)
Join Date: May 2009
Location: eastbourne
Posts: 477
Likes: 0
Received 0 Likes
on
0 Posts
hi everyone. ill have to give you the quick low down as the thread i originally had for this car has been deleted.
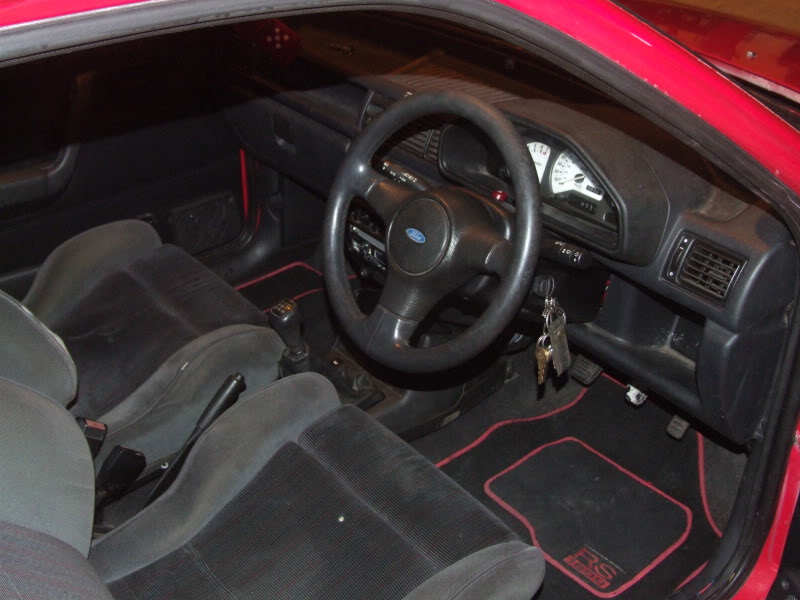
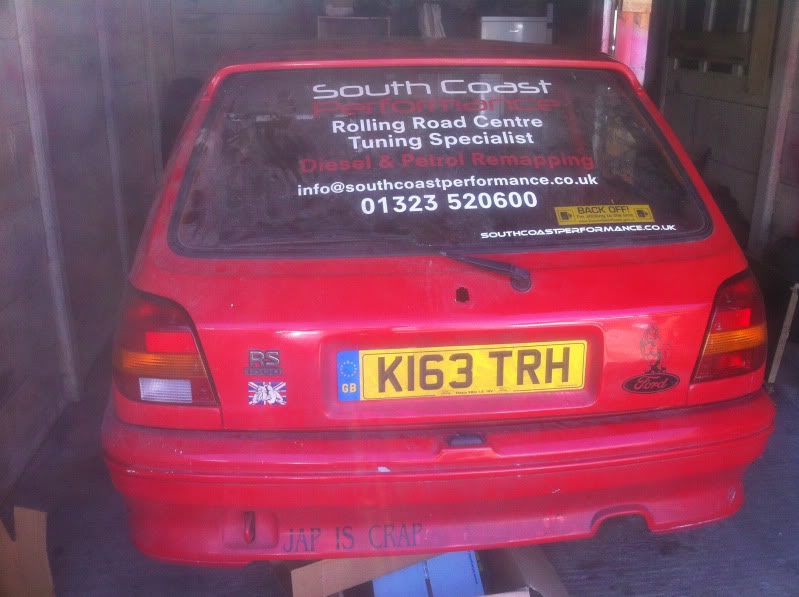
Ive had this car for 6 years now and its gone from an old dog to fairly clean to very clean and back to dog again lol. After doing loads of work including a full respray and 2.0l engine convertion it desided to blow itself to pieces and i had to break it to raise the money for another car but i kept the car in storage for 2 years. here is a few pics of the car in its prime.


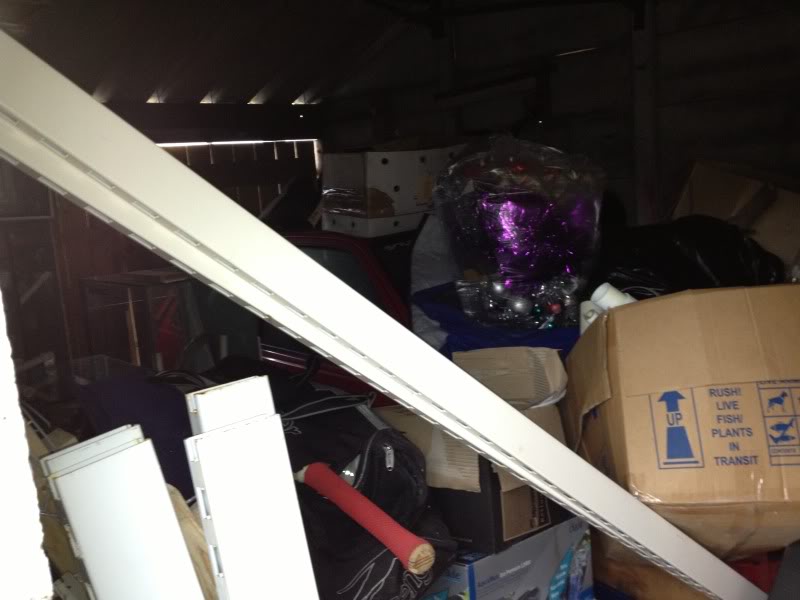
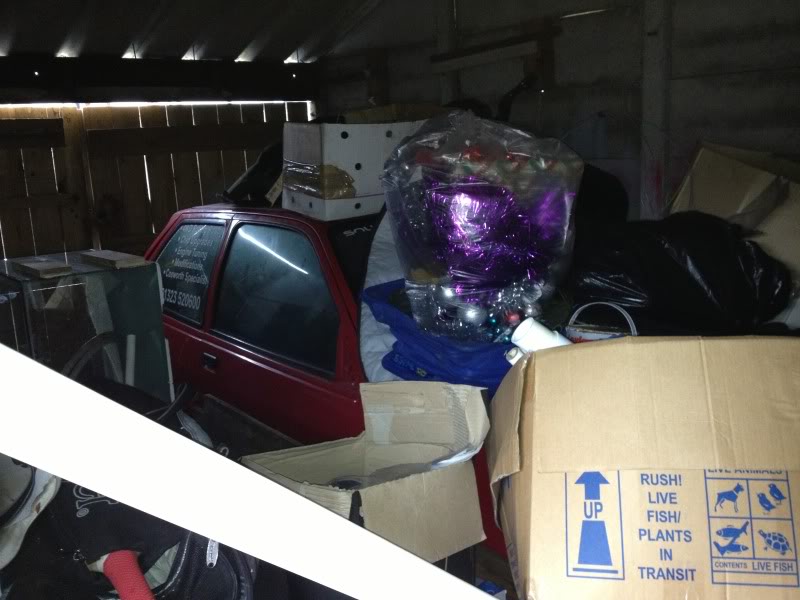
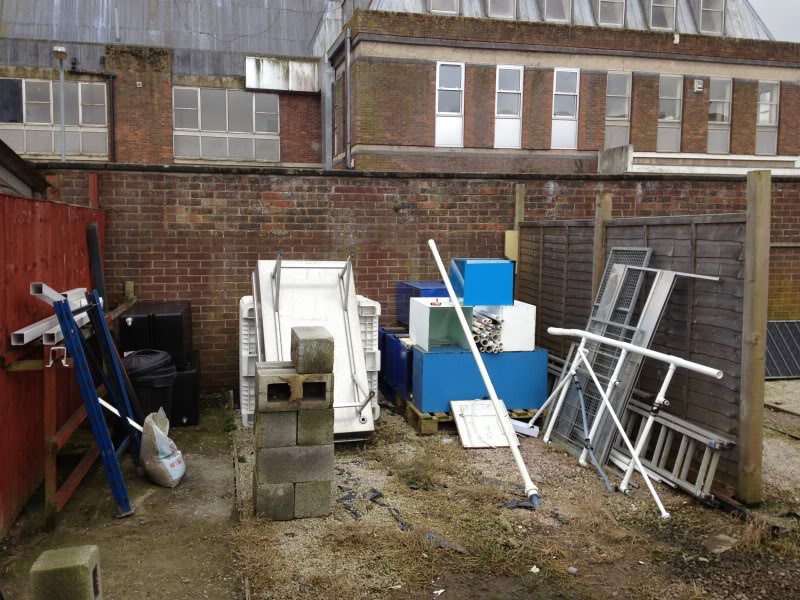
During the 2 years that it was stripped and in storage my father desided to fill the garage full of shit to the point of were you couldnt even see theres a car in there
After seeing the car in such a poor state and also missing fiesta ownership i desided to just build it back up into a usable car but first i had to get my garage back
"daddy. if i build you a shed for all your stuff can i have my garage back please?"
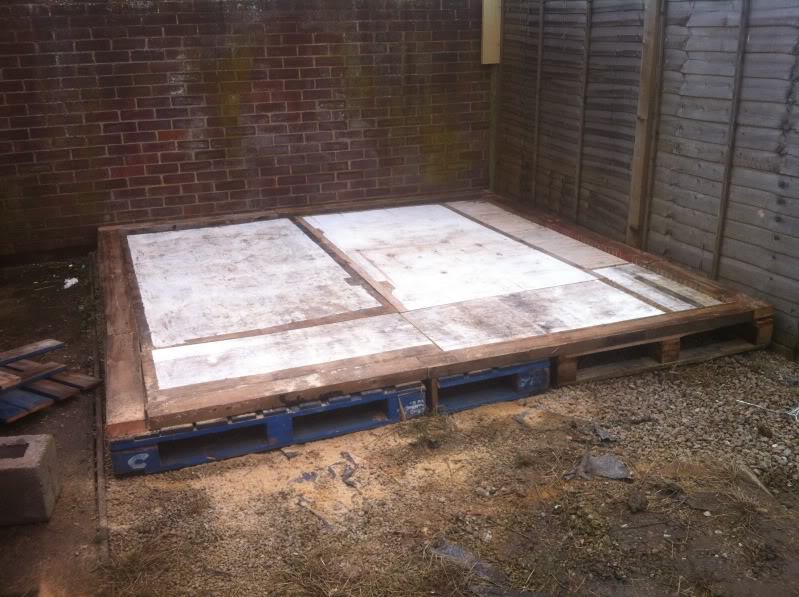
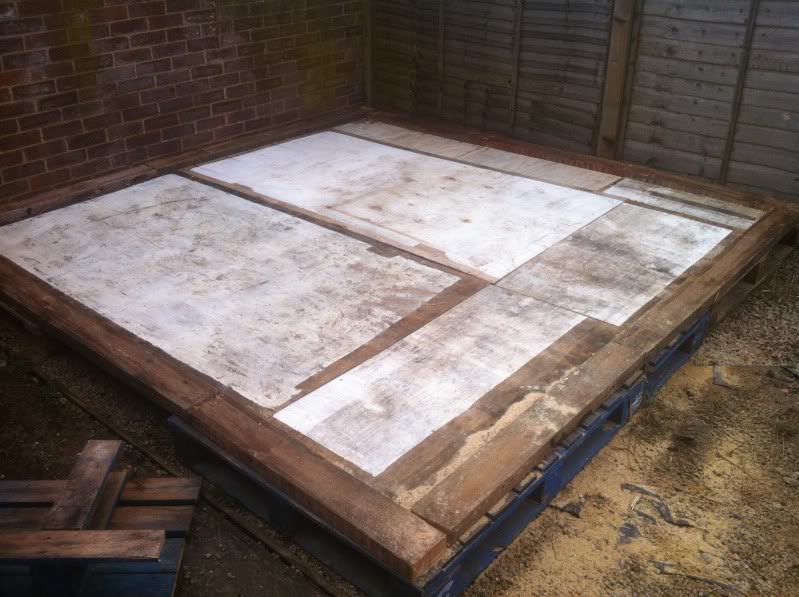
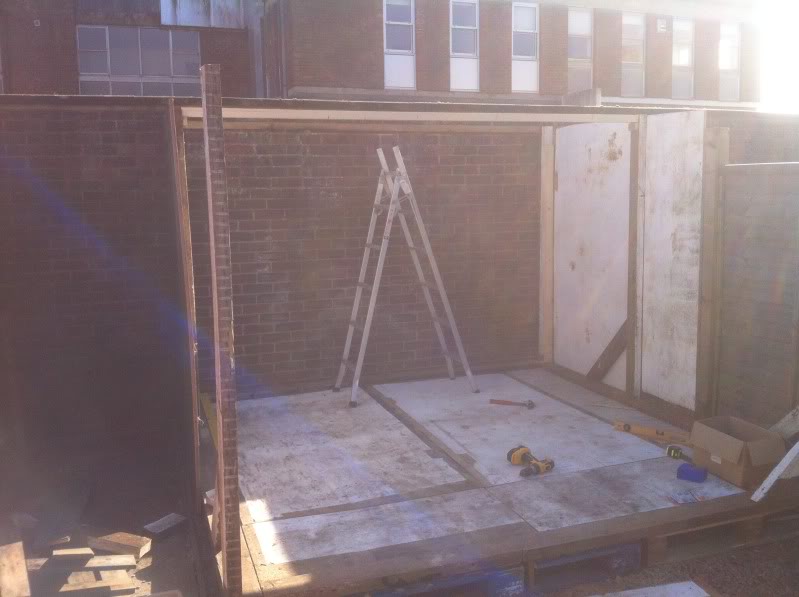
He said a reluctant yes but that was good enough for me so up the shed went in next to no time and then is was last of the manic task of deshit holing the garage and as my dad is not only a professional fish keeper hes also a horder!! broken massive tanks galore!!!
heres the shed in prosess
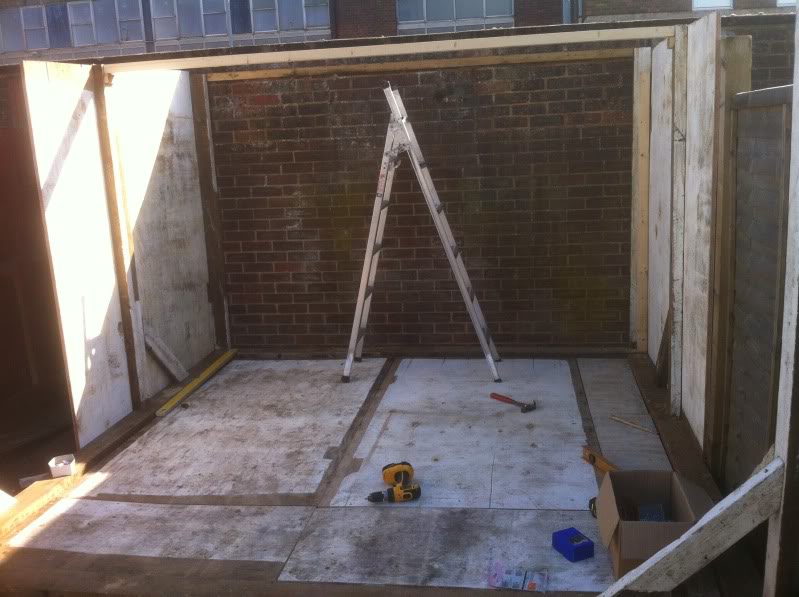
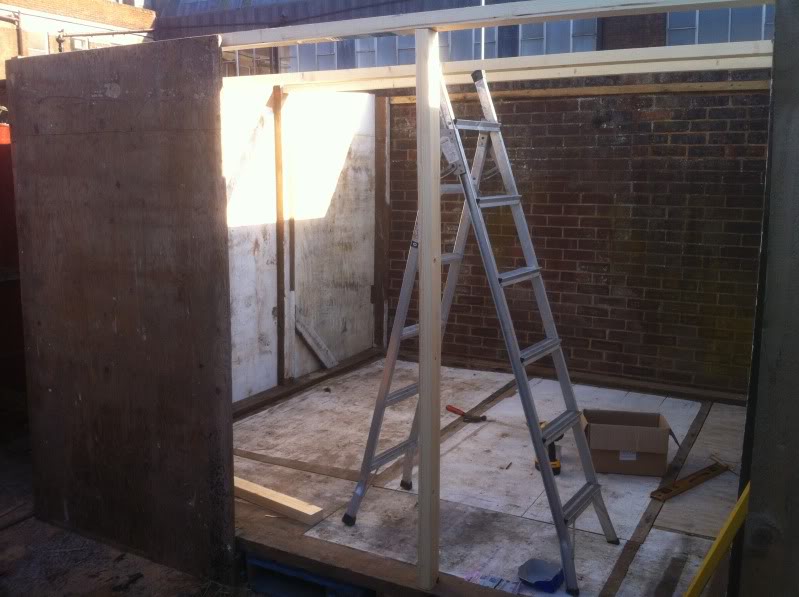
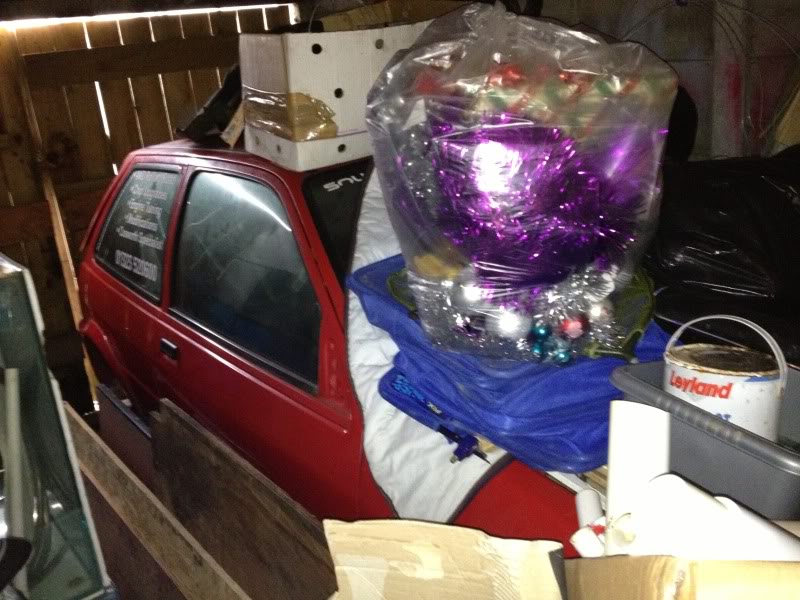
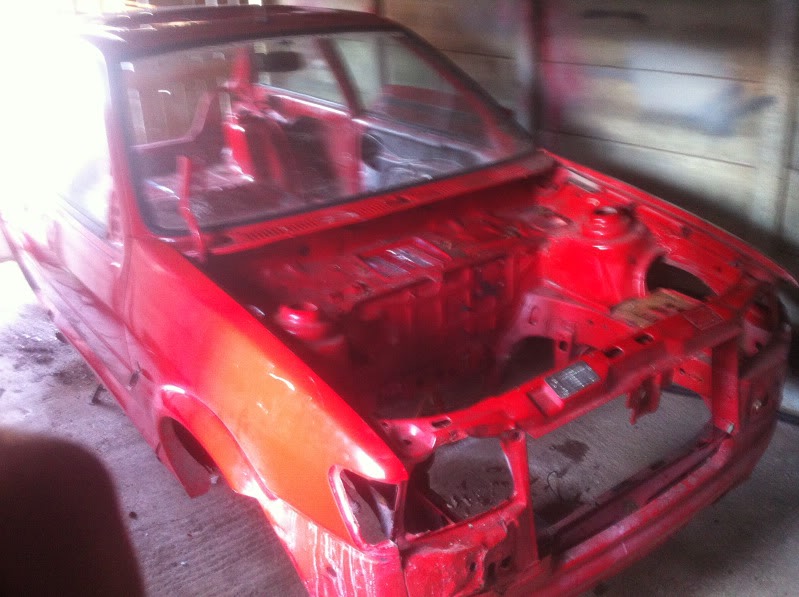
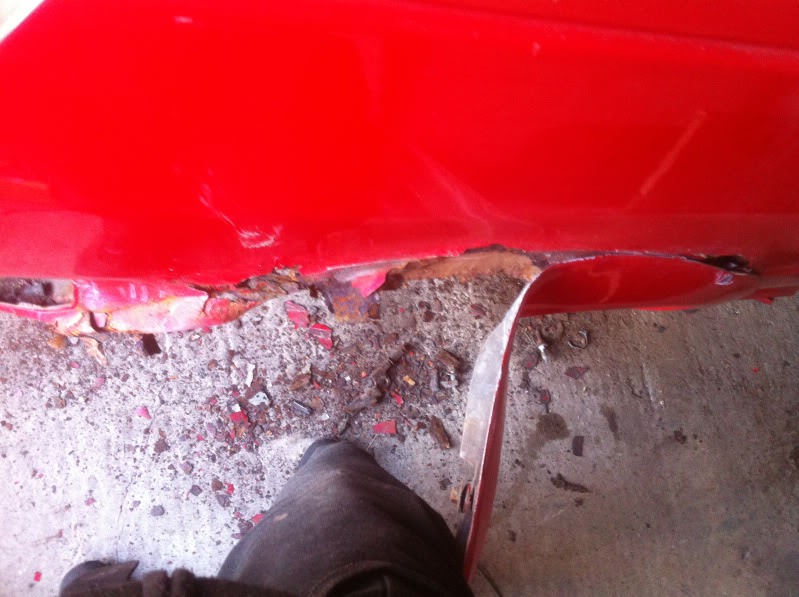
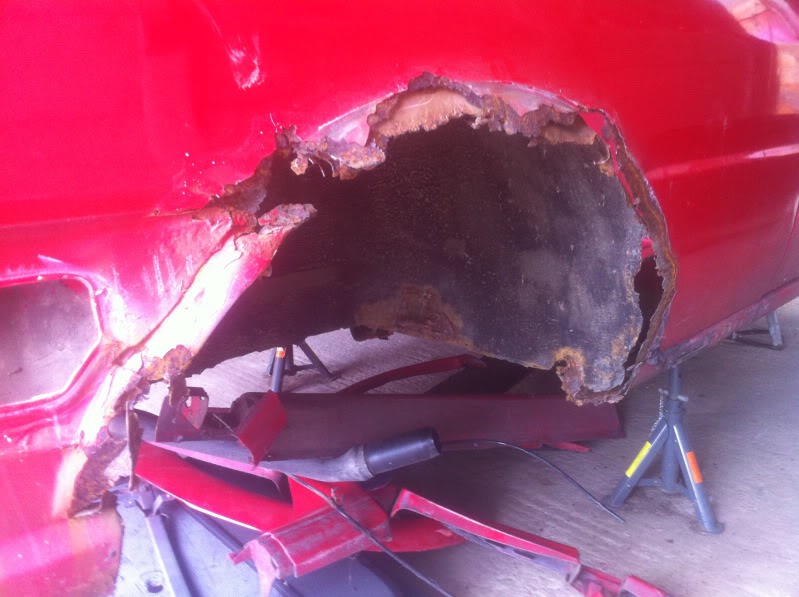
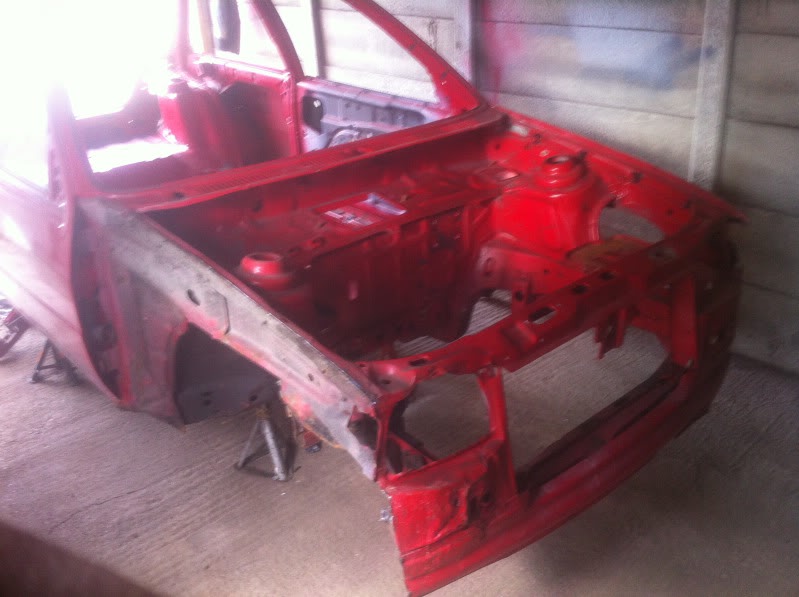
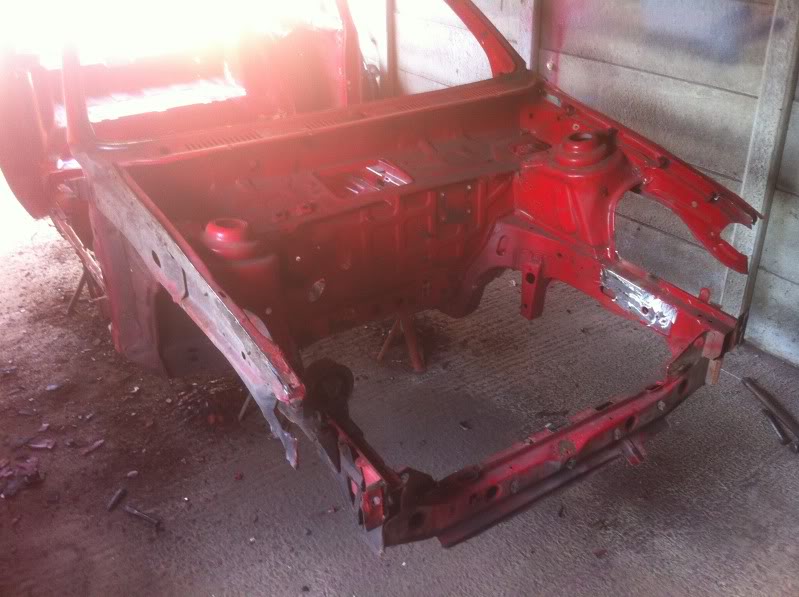
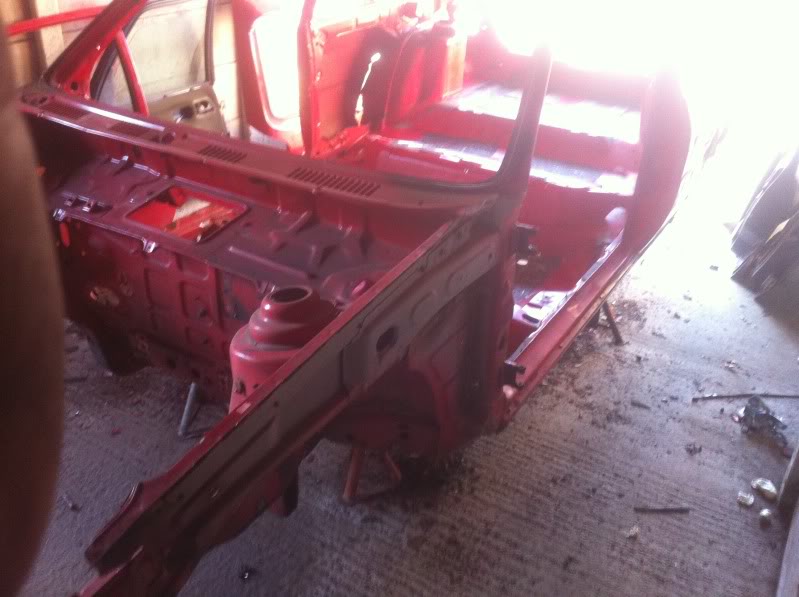
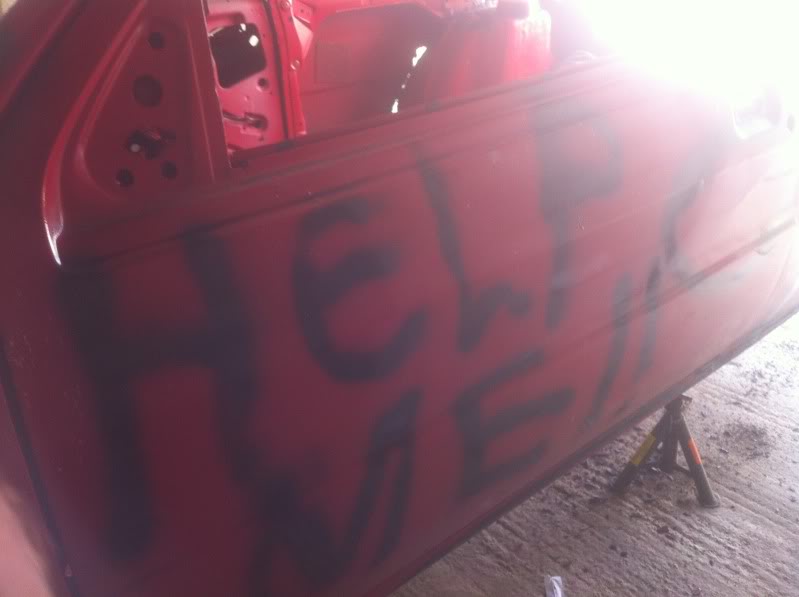
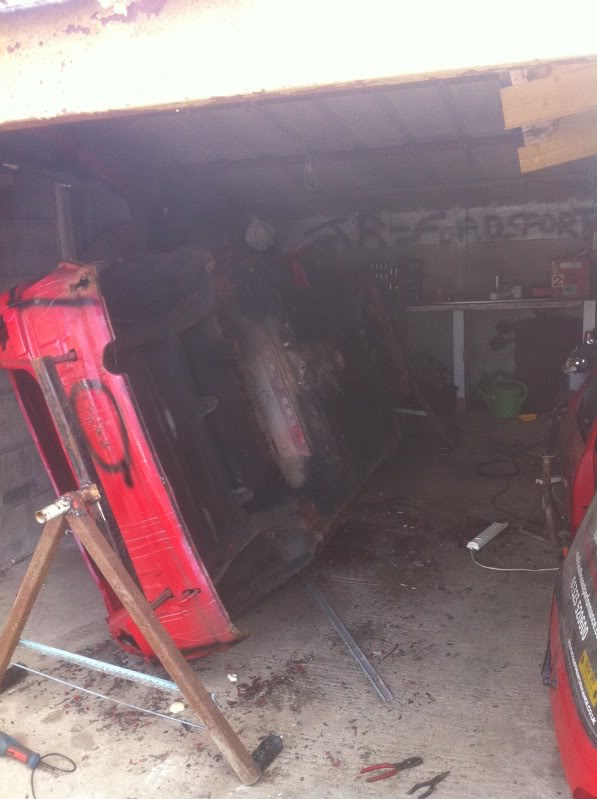
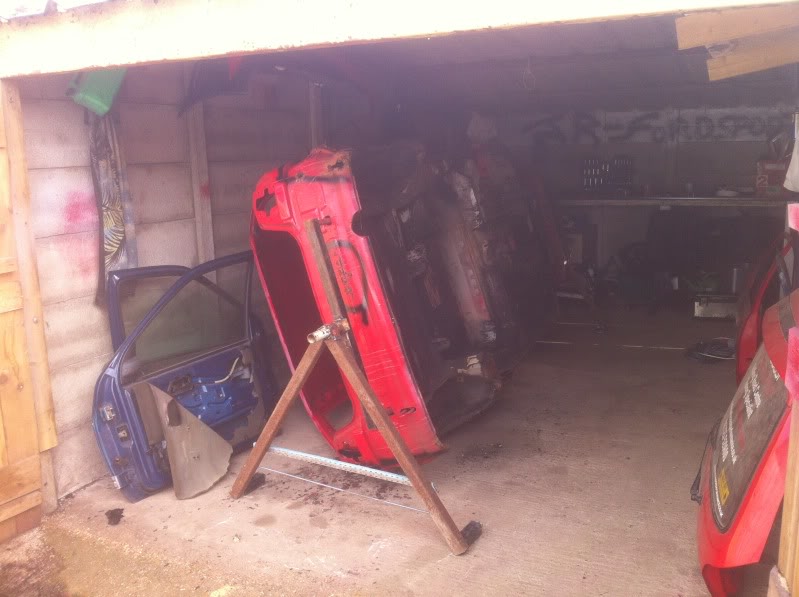
Any way hes some shots of the car dug out of its grave and things looked ok at first
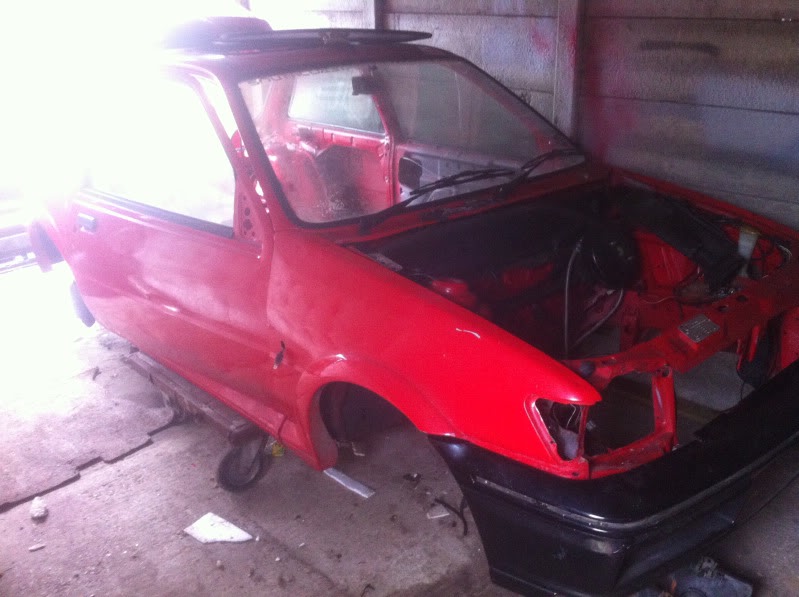
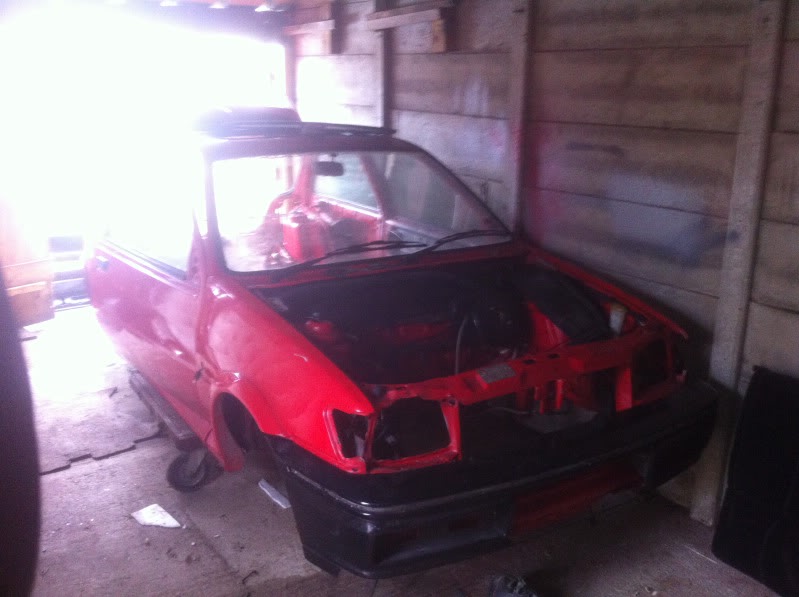
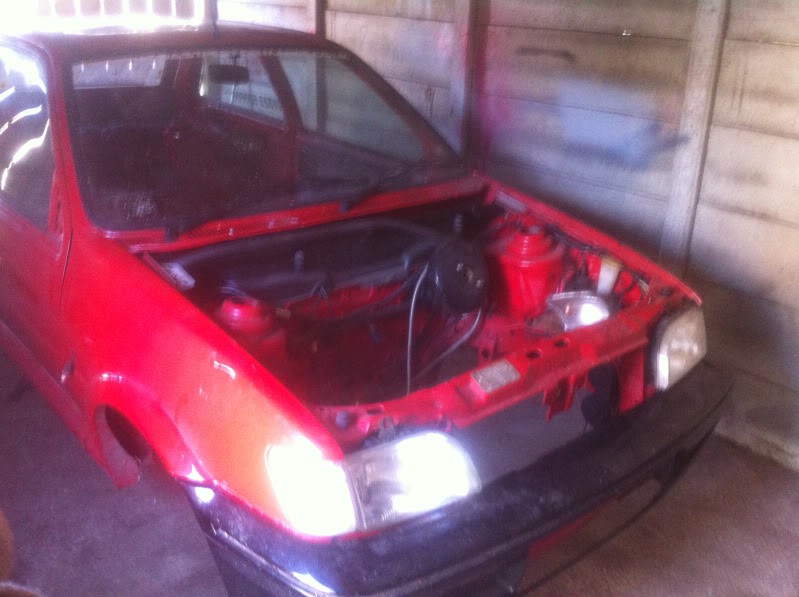
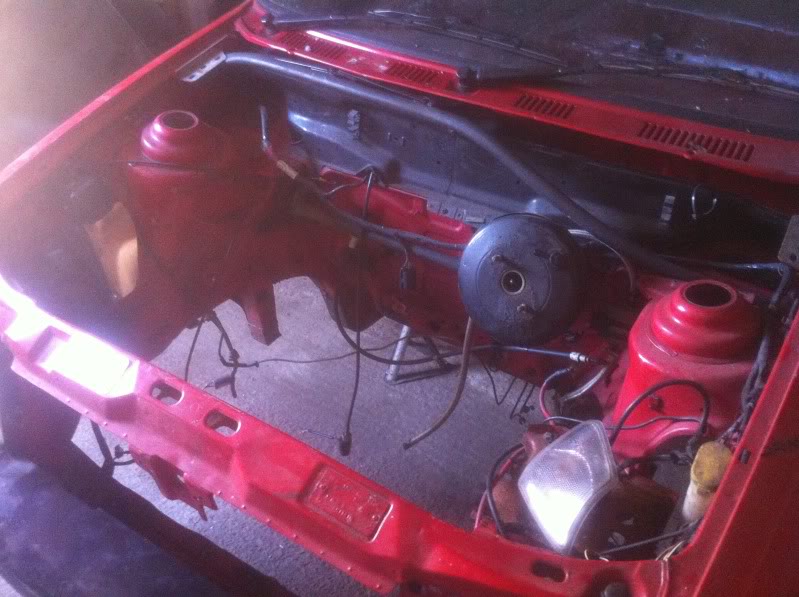
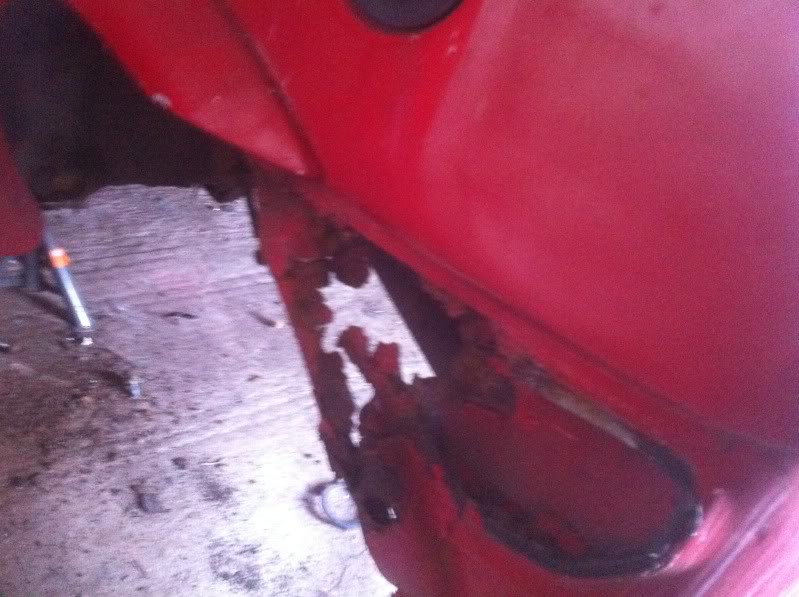
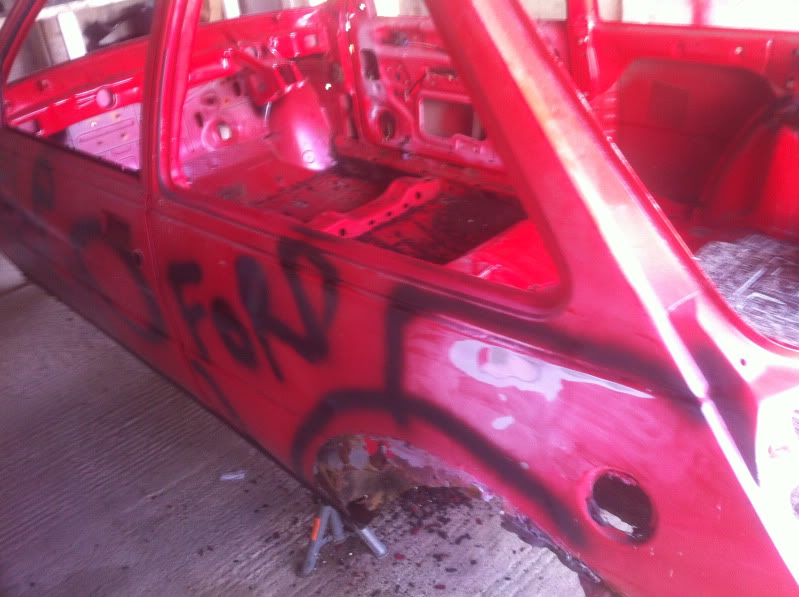
things didnt look to bad until i had a little poke about
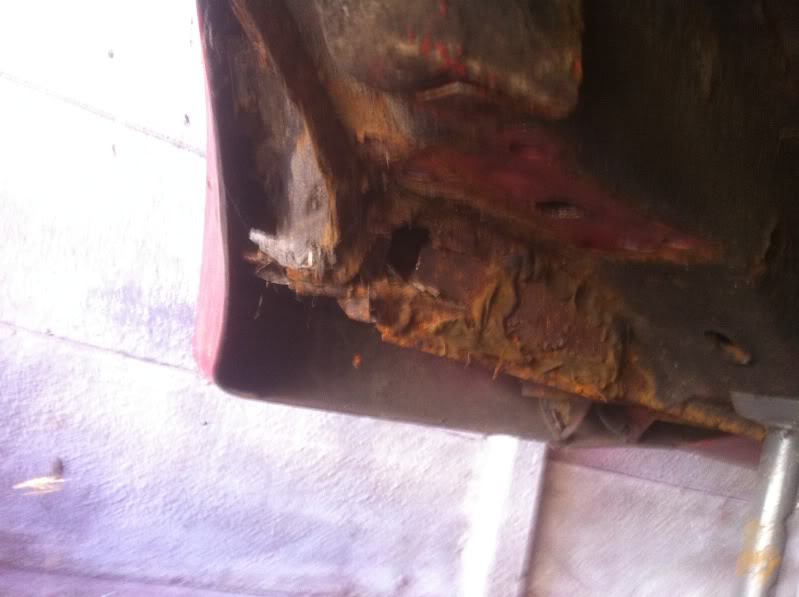
so a new plan has been inforced and thats a full restoration and i couldnt deside wether to go track car or road, but have now desided on track car as this is a car just for me, its my first car, i will never ever sell it so im going to build my own personal ultimate fez
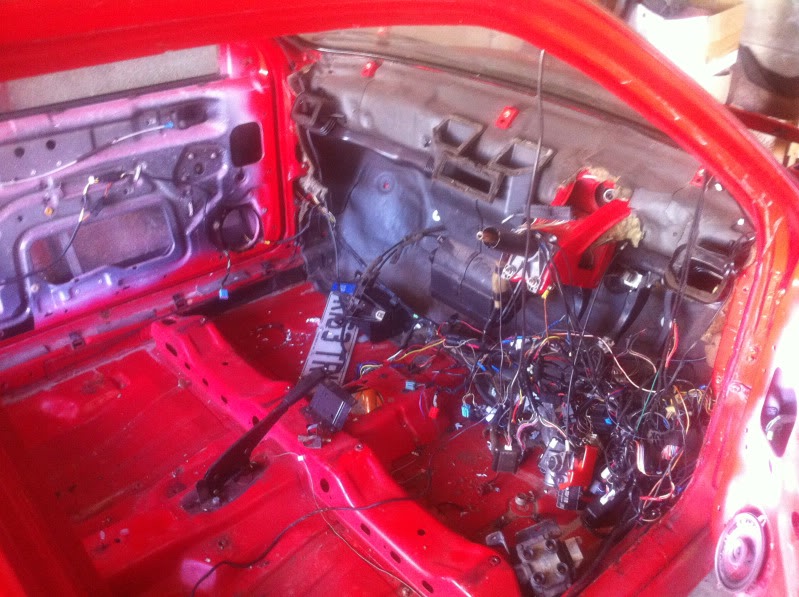
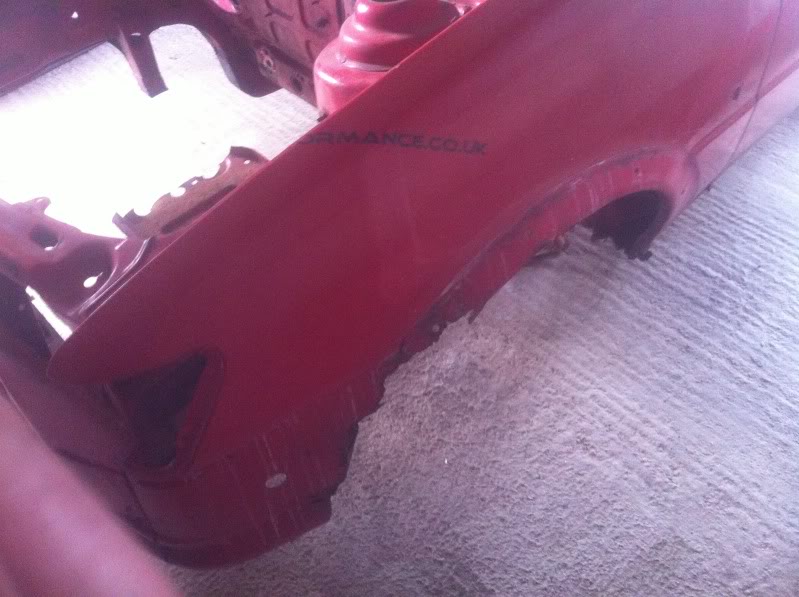
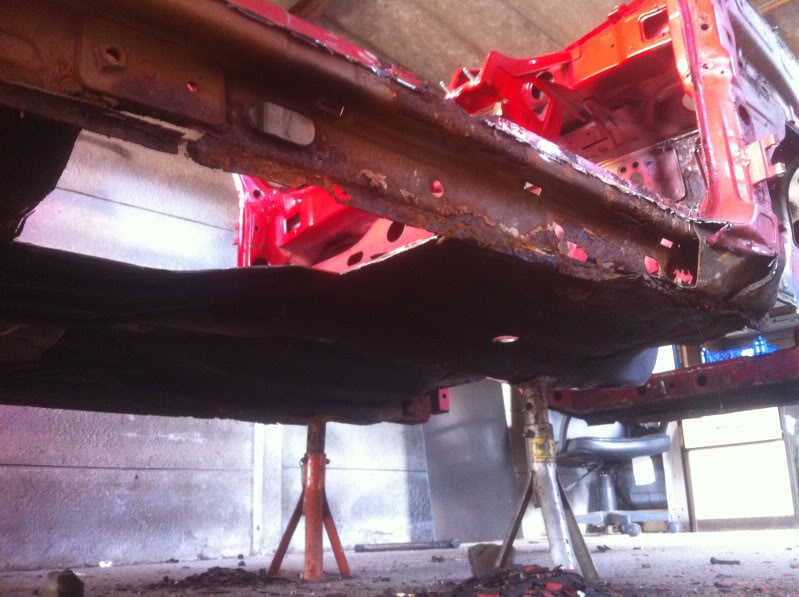
heres a few of the strip down fairly simple job considering its current state lol
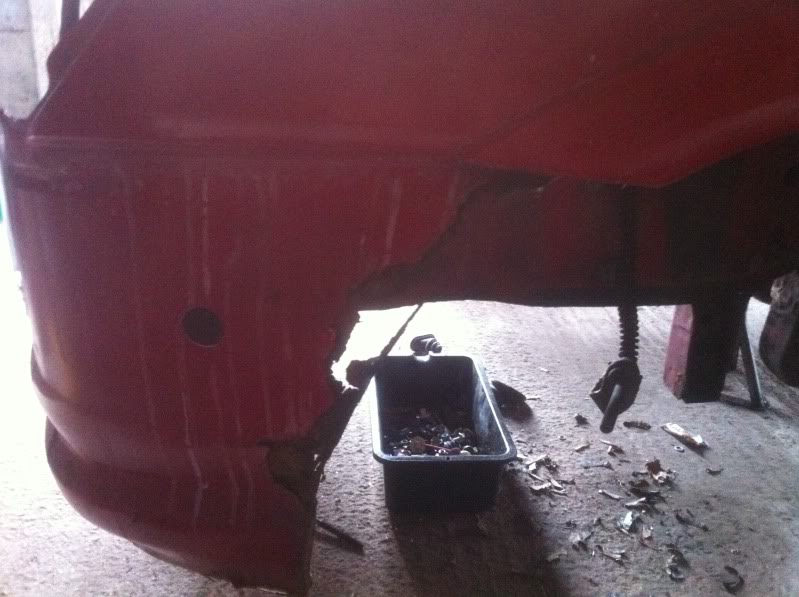
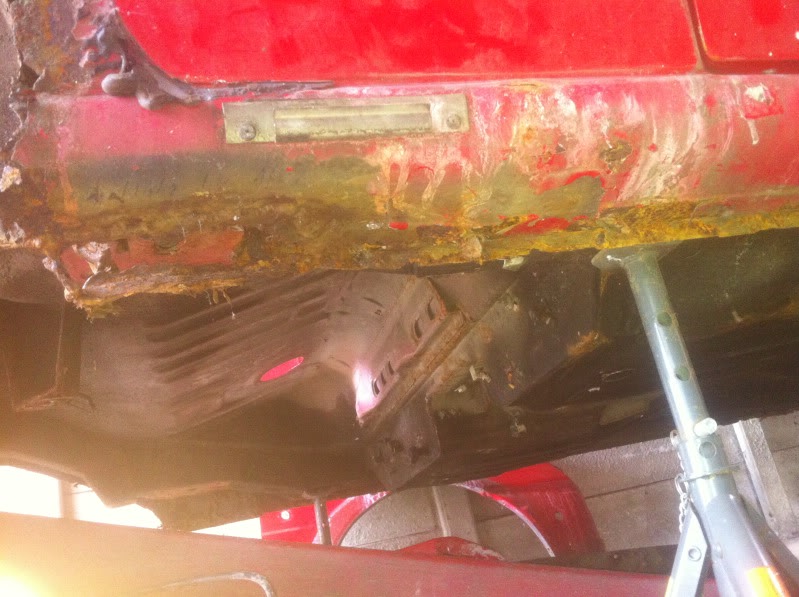
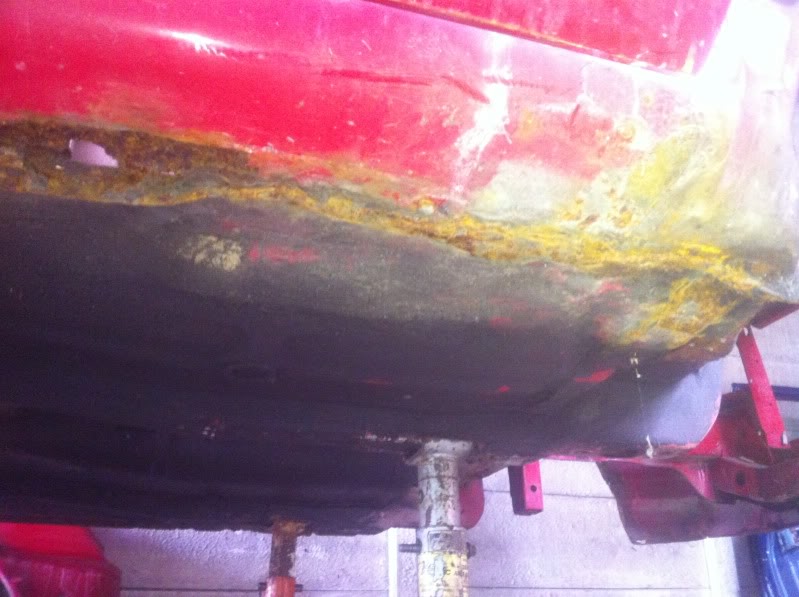

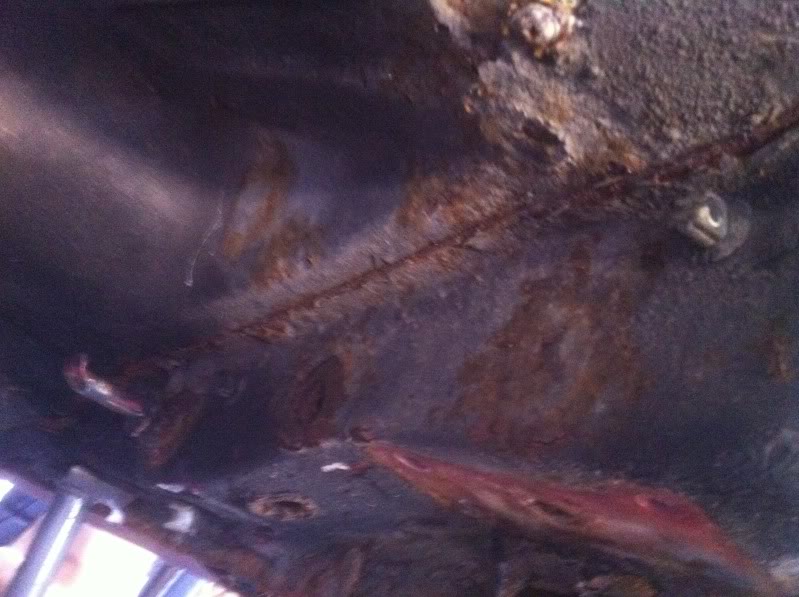
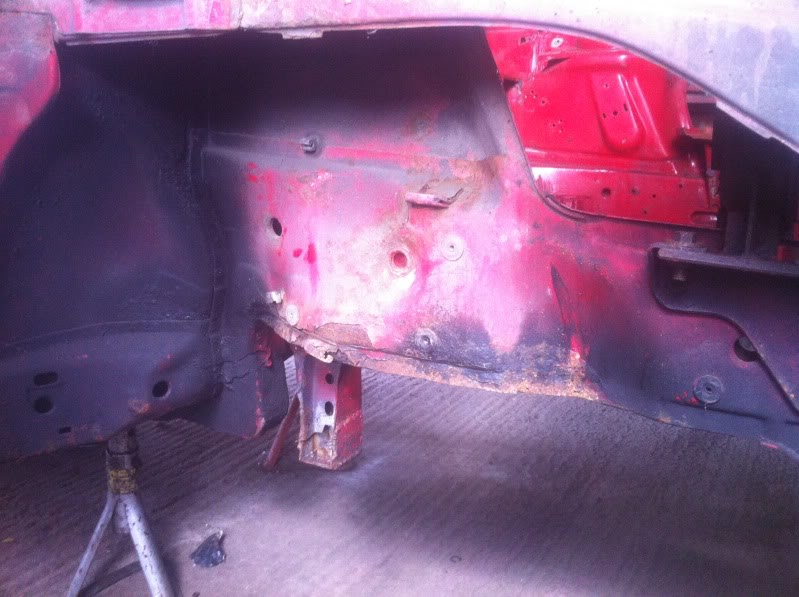
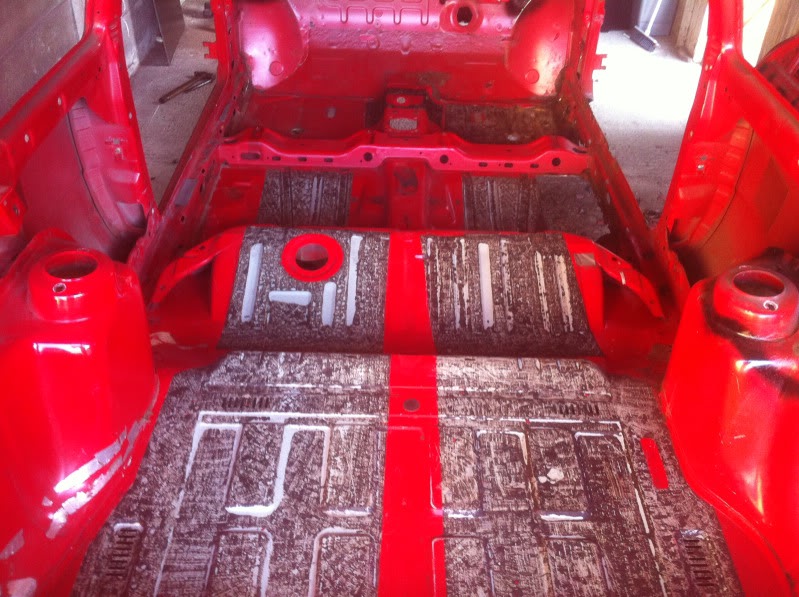
and now the cutting away the rotten panels and the glorious job of chipping off the sound deadening and under sealer
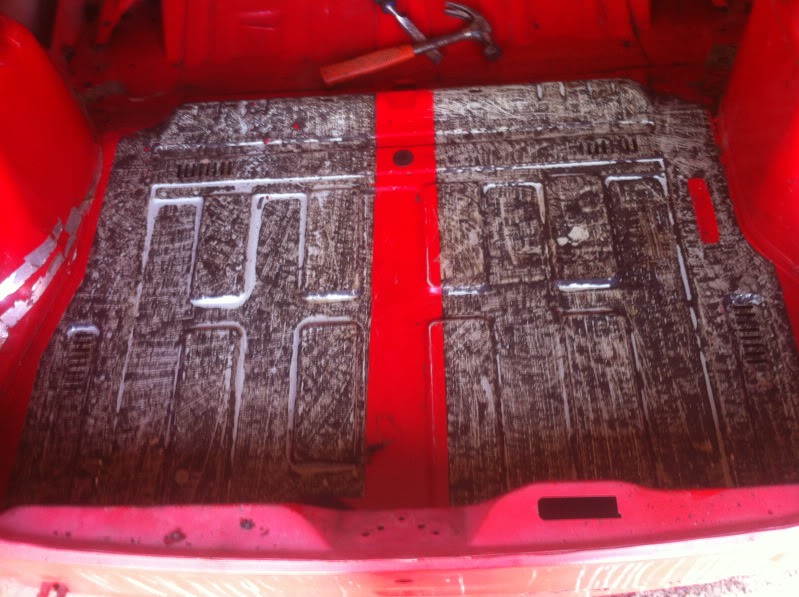
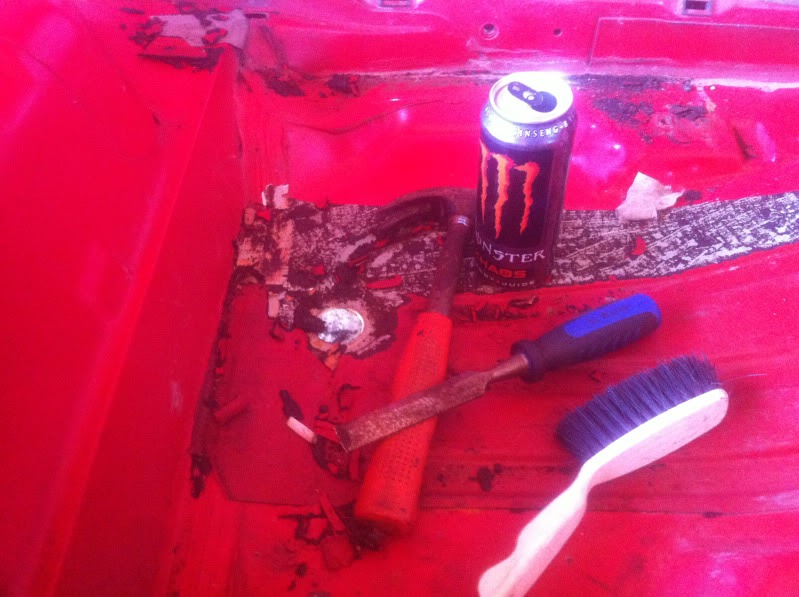
the only tools i used to do this horrible job!!

before i started this job i knew it was going to be bad but OMG sometimes i just wanted to die lol, plenty of this stuff was consumed during the prosess
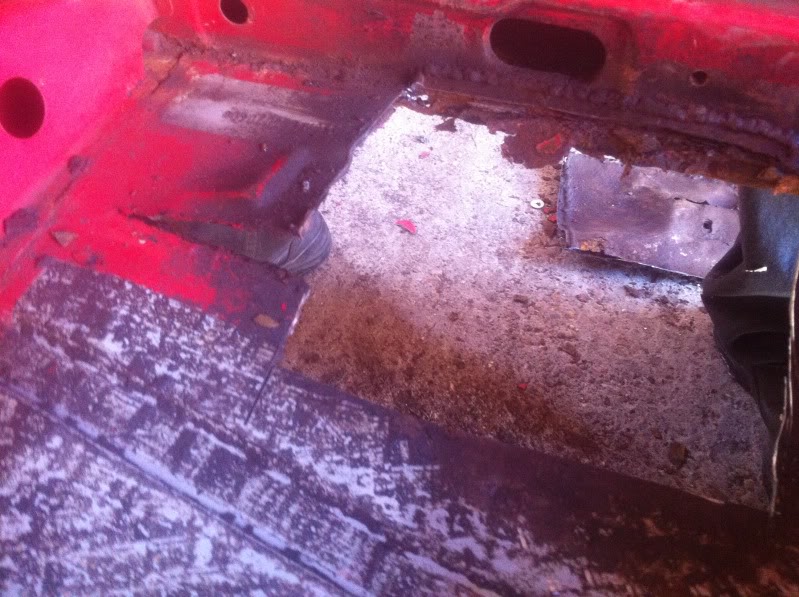

the old chassis leg repair from a few years ago now gone
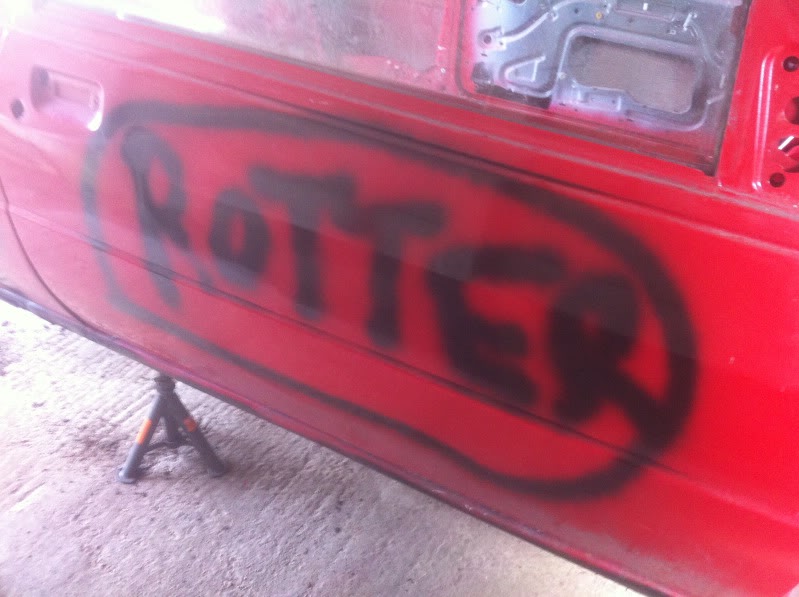
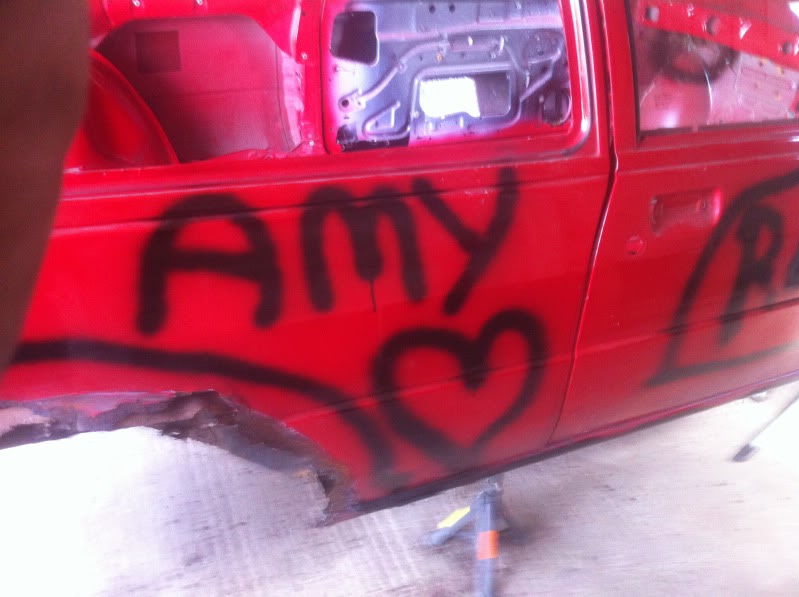
oh and i erm kinda had a funny 5 mins with some paint lol
i got so far and one night after doing a days work on it i was sat down and having a coffee and fag and thought to myself a spit would make life so much easyer so i thought how hard can it be to make one? so the next week i did lol
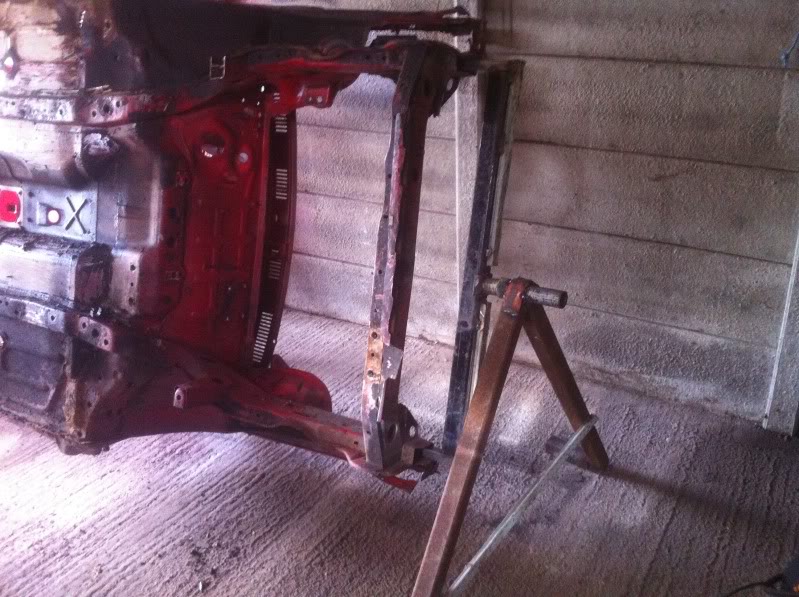
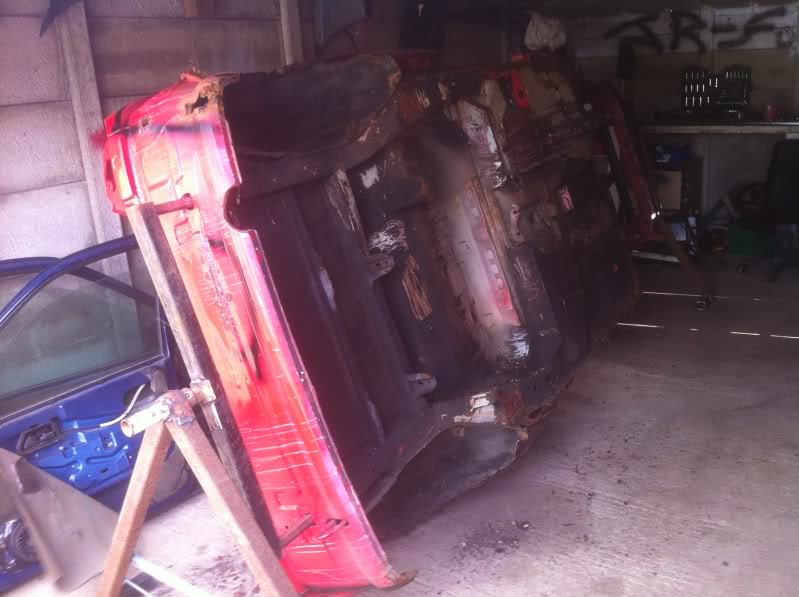
once the shell was on it side my mate terry started to scrape at the undersealer and to our suprise it pretty much falls off so we left it there as it had been a long, heavy day
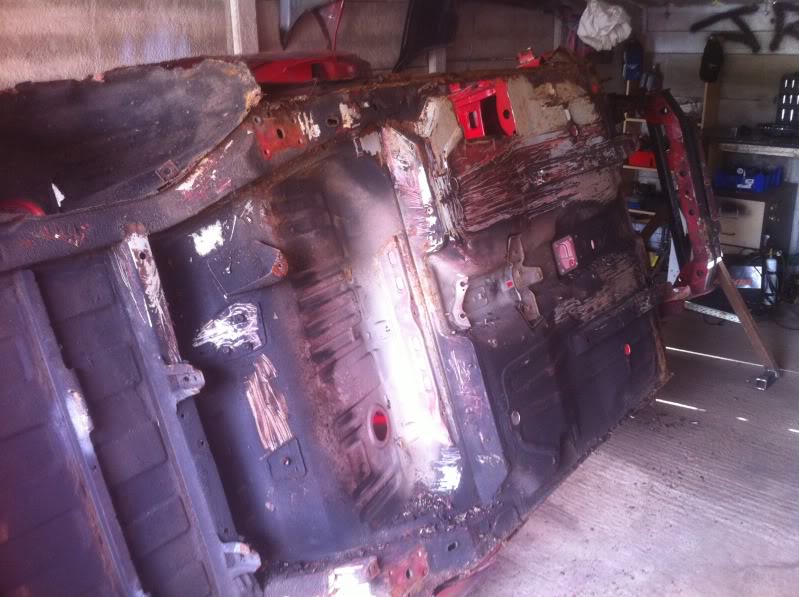
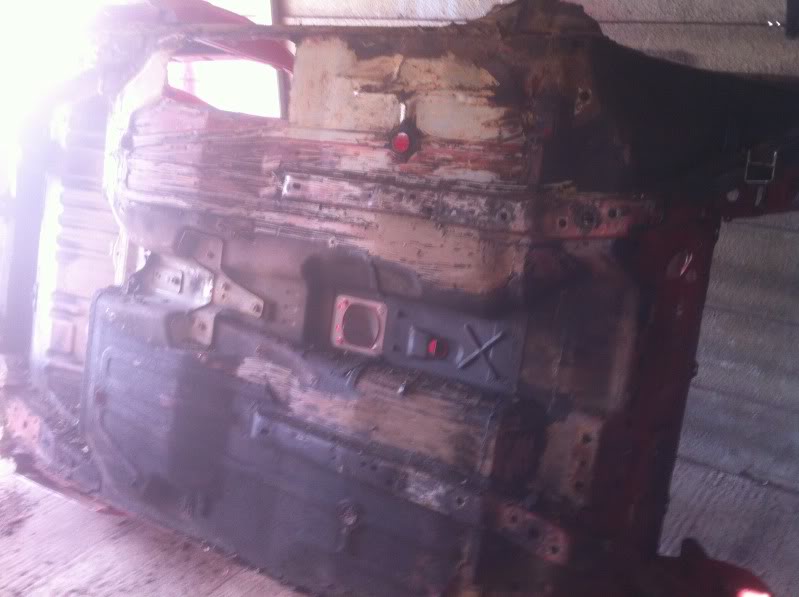
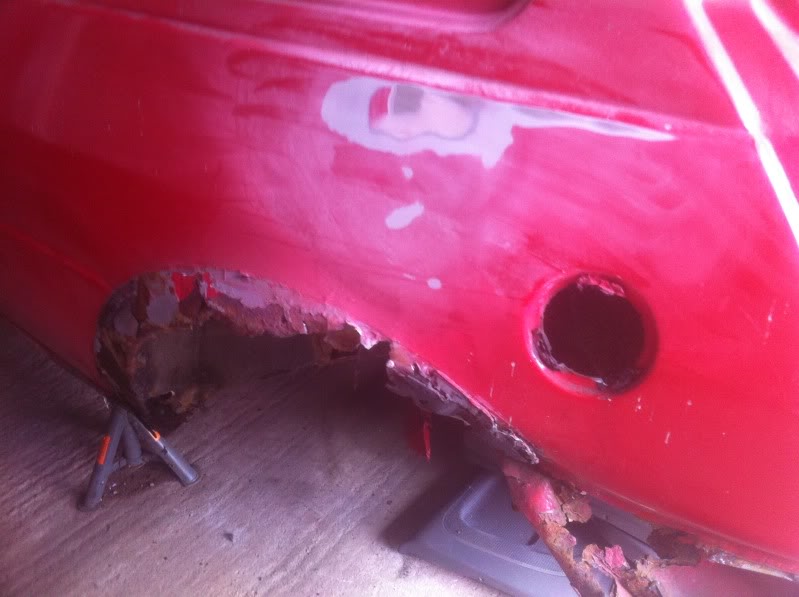
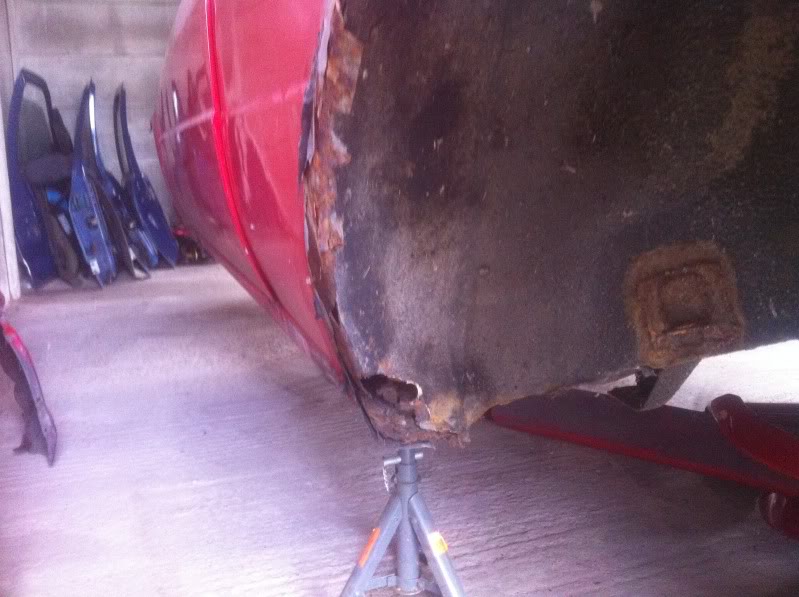
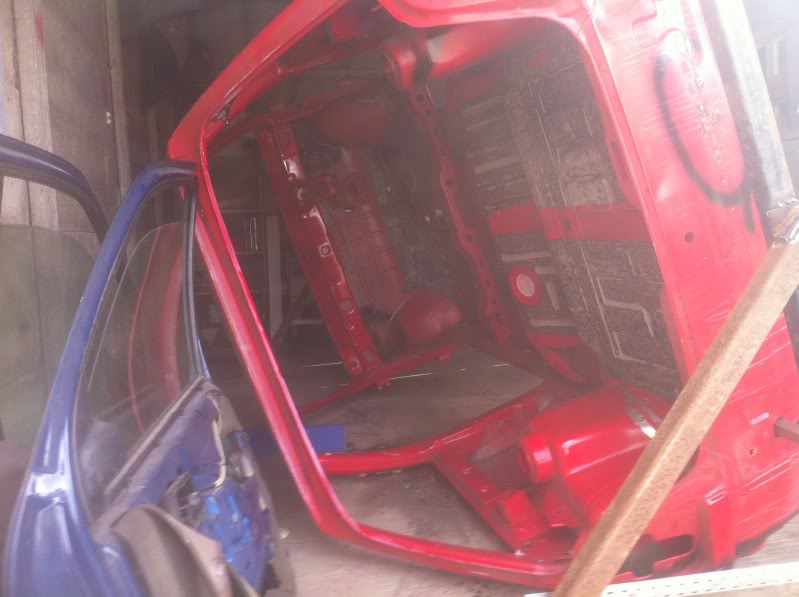
so the next time in the workshop i thought id satart by taking some better pics of the rot and start on scraping the undersealer off properly
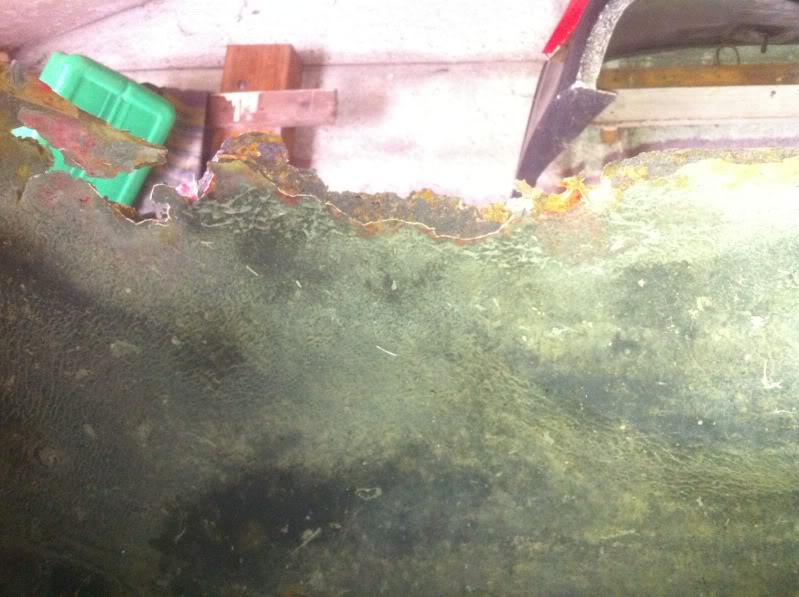


thats it for now but there will be slow but steady progress with this one as i only get to work on it on saturday afternoons . hope you like
  . see you next week
Ive had this car for 6 years now and its gone from an old dog to fairly clean to very clean and back to dog again lol. After doing loads of work including a full respray and 2.0l engine convertion it desided to blow itself to pieces and i had to break it to raise the money for another car but i kept the car in storage for 2 years. here is a few pics of the car in its prime.


During the 2 years that it was stripped and in storage my father desided to fill the garage full of shit to the point of were you couldnt even see theres a car in there


After seeing the car in such a poor state and also missing fiesta ownership i desided to just build it back up into a usable car but first i had to get my garage back
"daddy. if i build you a shed for all your stuff can i have my garage back please?"
He said a reluctant yes but that was good enough for me so up the shed went in next to no time and then is was last of the manic task of deshit holing the garage and as my dad is not only a professional fish keeper hes also a horder!! broken massive tanks galore!!!
heres the shed in prosess


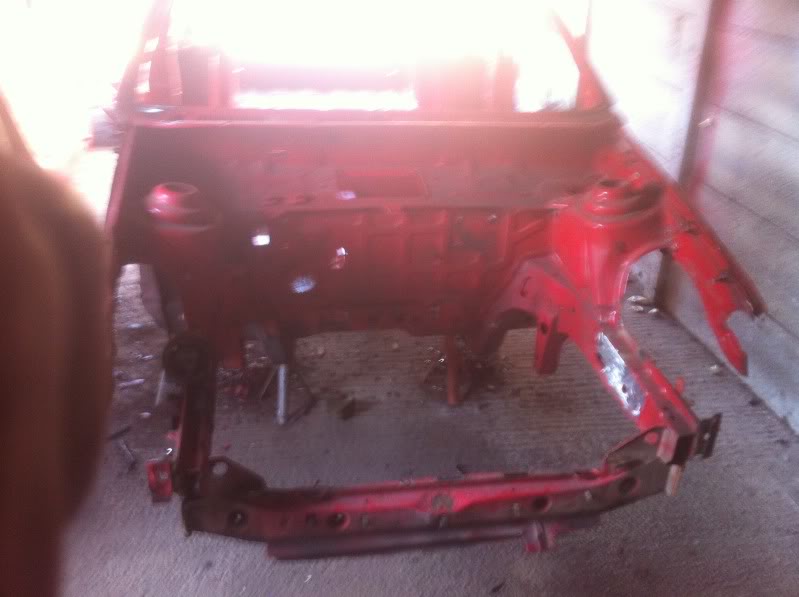
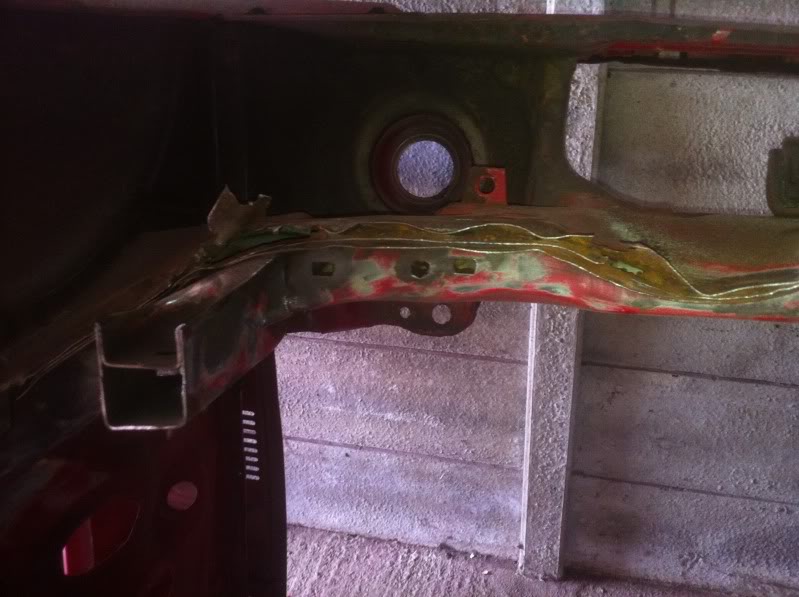
Any way hes some shots of the car dug out of its grave and things looked ok at first


things didnt look to bad until i had a little poke about


so a new plan has been inforced and thats a full restoration and i couldnt deside wether to go track car or road, but have now desided on track car as this is a car just for me, its my first car, i will never ever sell it so im going to build my own personal ultimate fez
heres a few of the strip down fairly simple job considering its current state lol


and now the cutting away the rotten panels and the glorious job of chipping off the sound deadening and under sealer


the only tools i used to do this horrible job!!


before i started this job i knew it was going to be bad but OMG sometimes i just wanted to die lol, plenty of this stuff was consumed during the prosess


the old chassis leg repair from a few years ago now gone


oh and i erm kinda had a funny 5 mins with some paint lol


i got so far and one night after doing a days work on it i was sat down and having a coffee and fag and thought to myself a spit would make life so much easyer so i thought how hard can it be to make one? so the next week i did lol


once the shell was on it side my mate terry started to scrape at the undersealer and to our suprise it pretty much falls off so we left it there as it had been a long, heavy day


so the next time in the workshop i thought id satart by taking some better pics of the rot and start on scraping the undersealer off properly


thats it for now but there will be slow but steady progress with this one as i only get to work on it on saturday afternoons
Last edited by jon_ross; 15-09-2013 at 09:25 PM.
 23-06-2013, 12:41 PM
#6
PassionFord Regular
Thread Starter
iTrader: (1)
Join Date: May 2009
Location: eastbourne
Posts: 477
Likes: 0
Received 0 Likes
on
0 Posts
Hello good ford people! Ive got a small update but im on my fone while the mrs is playing with lil one at soft play so atm im unsure if i can get pics to work. Ill give it ago tho
Firstly i just wana say this project proberly seems like to people that its one of the many that will never get finished but i can asure you it will. This is my first car and the love is too strong to give up on it lol
Right so with that out of the way ill get started. Only a small update but progress is progress lol.
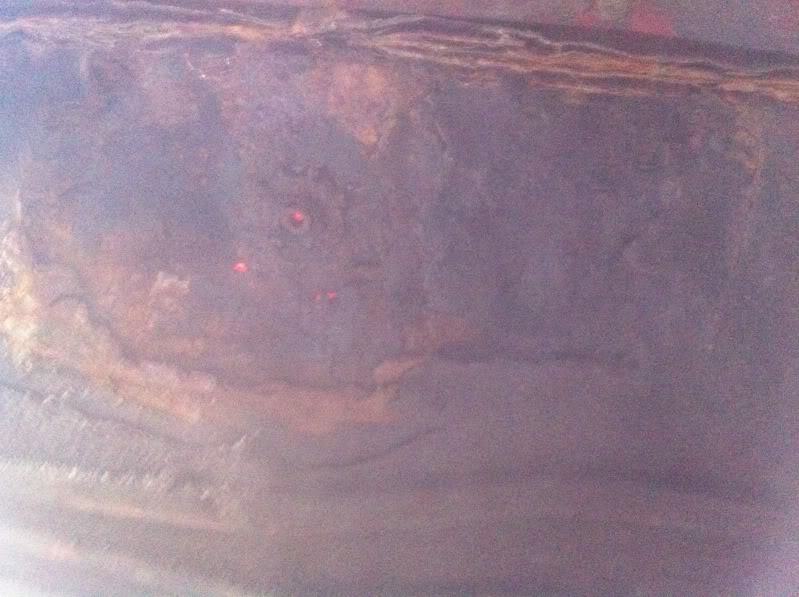
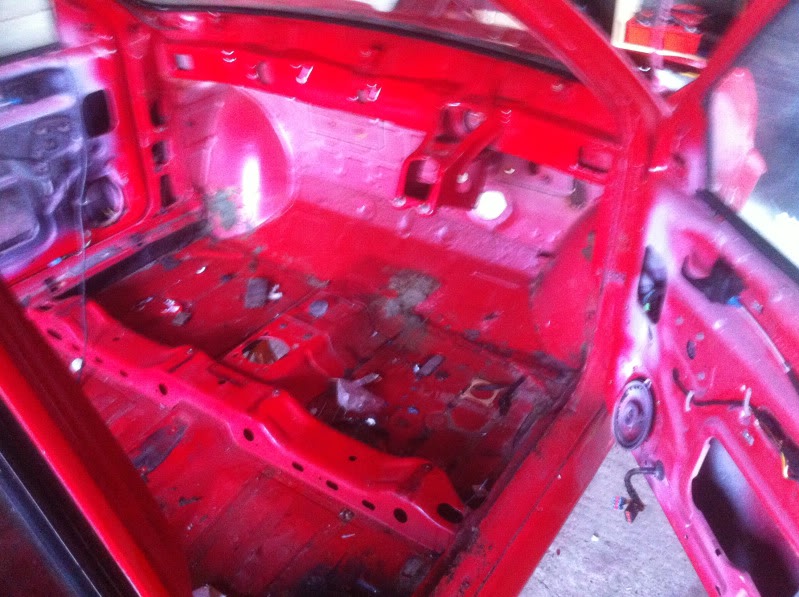
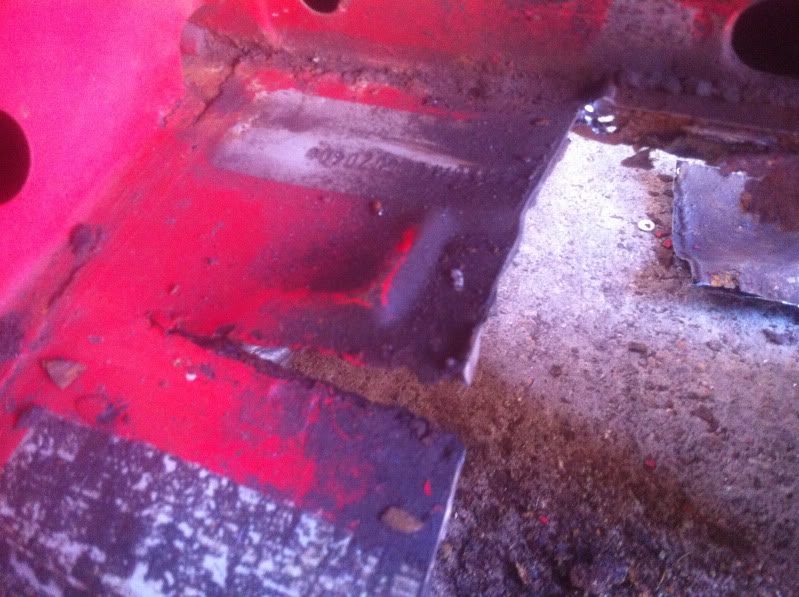
Yesterday i got down to the workshop and got on with the floor pan clean up. At first i was just going to use the wire wheel on a grinder to remove the lil bits of seam sealer but during the prosess i found tiny lil bits of rust starting to form under the primer so i desided to bare metal it. Right lets try load some pics lol
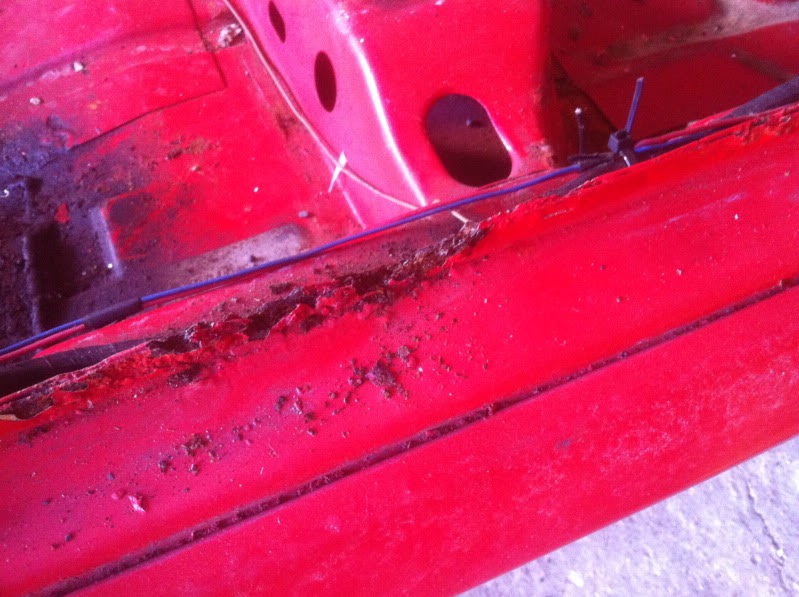
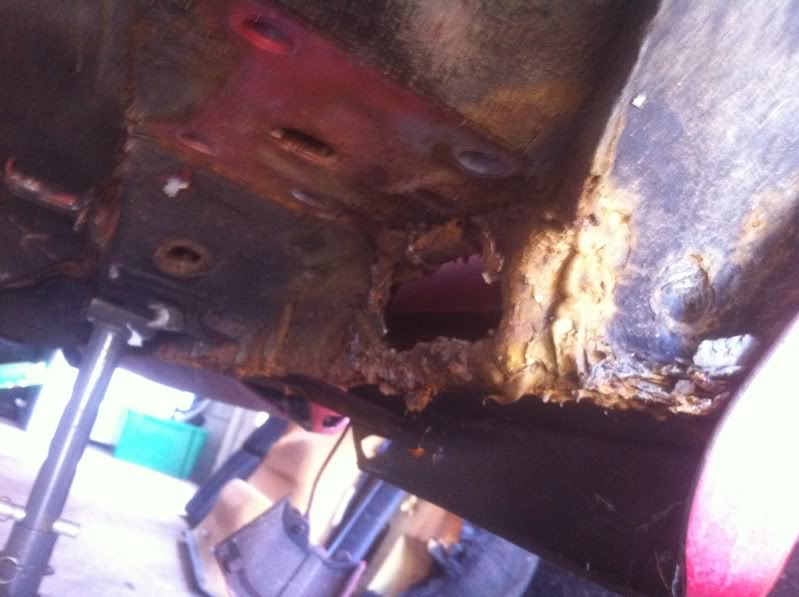
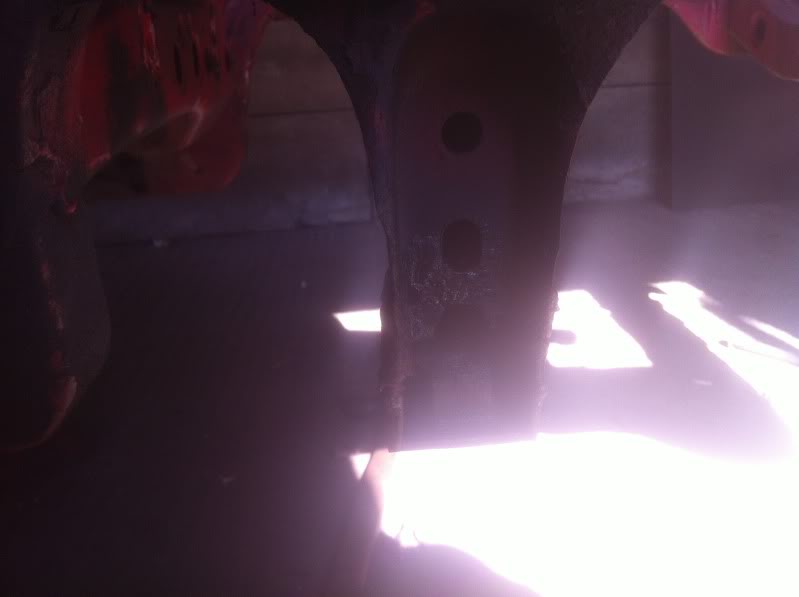
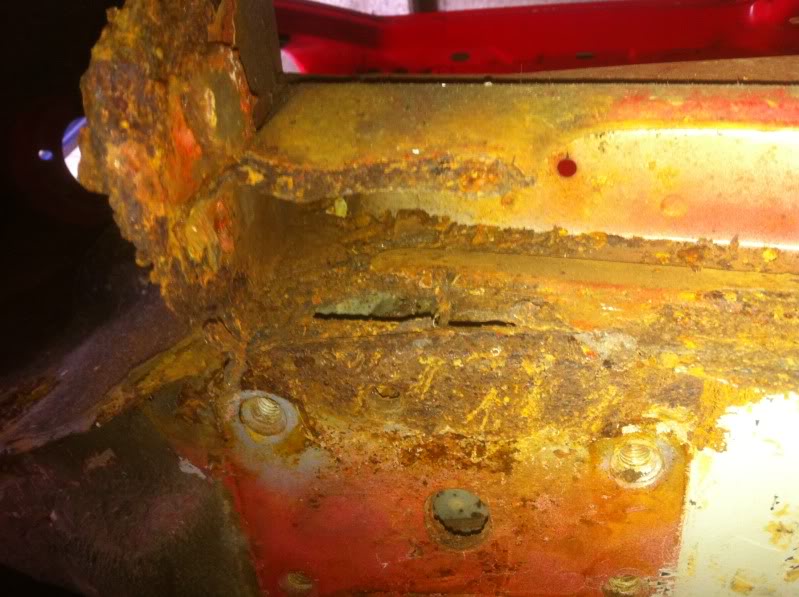
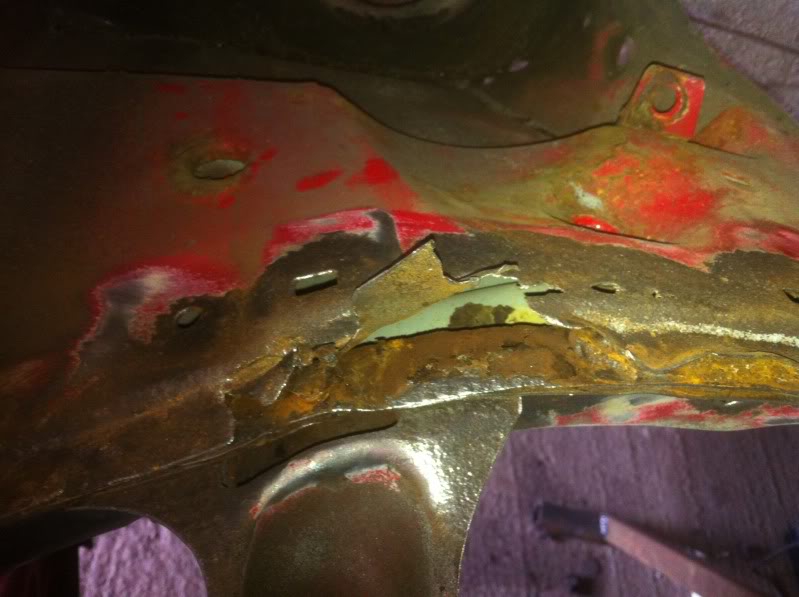
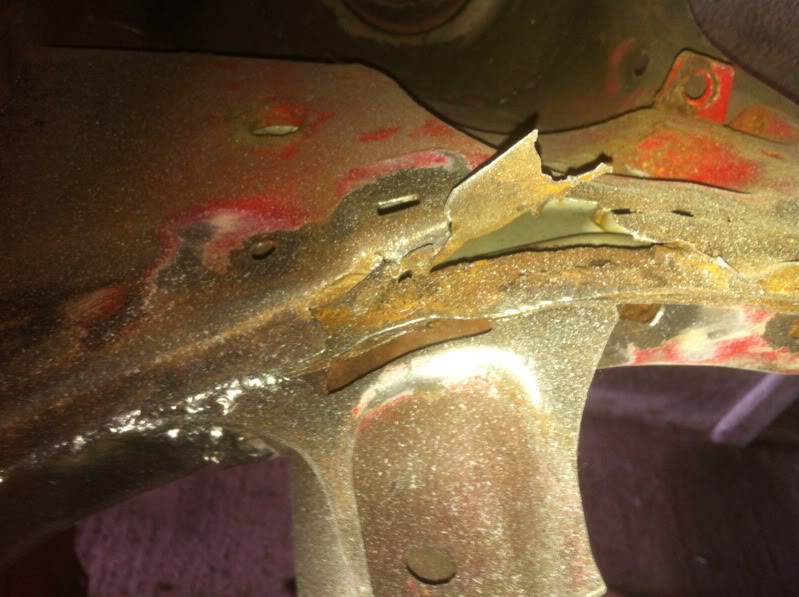
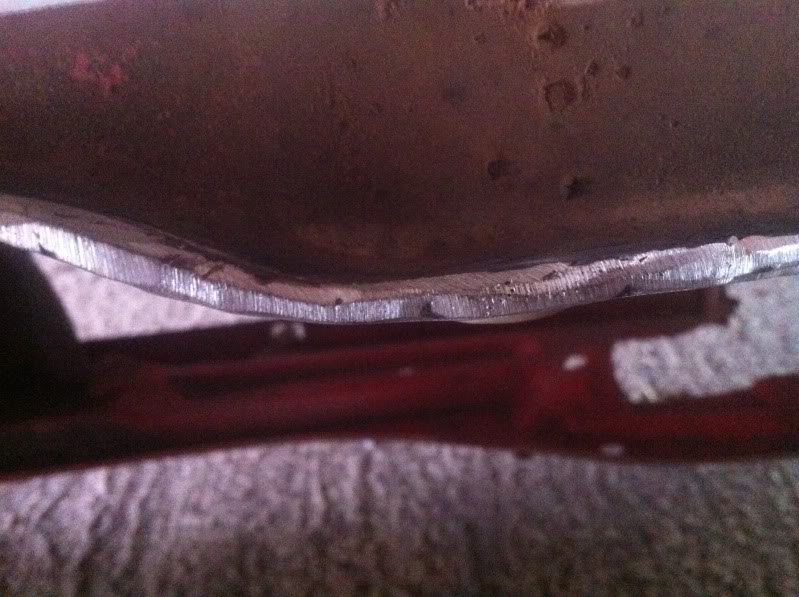
Not comming up to bad i rekon. Theres alot of metal work needed doing but im a very compitant welder and mechanic so nothing has scared me off yet lol. As seen in a previous picm, my front chassis leg edges are swelling with rust inbetween the layers of metal so i run over that with the wire wheel to and woah! Worse that i thought! Just glad the other one is nowere near as bad
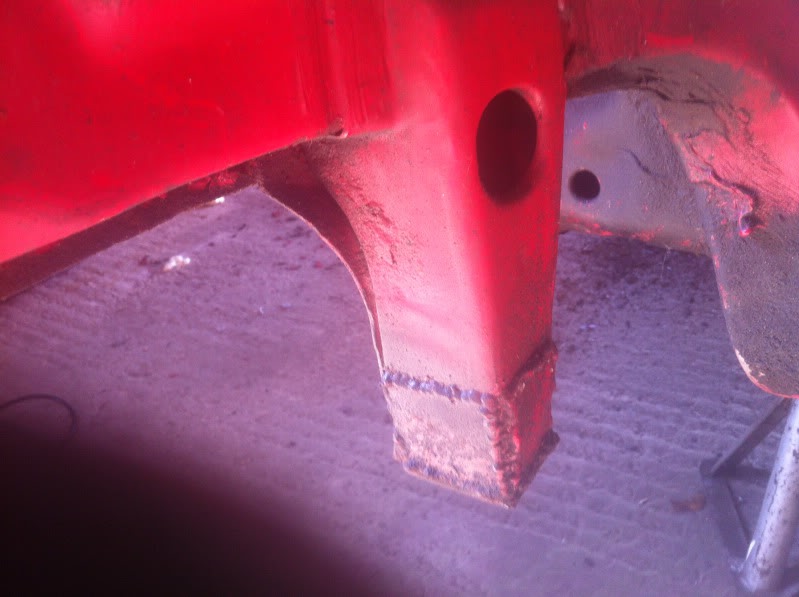
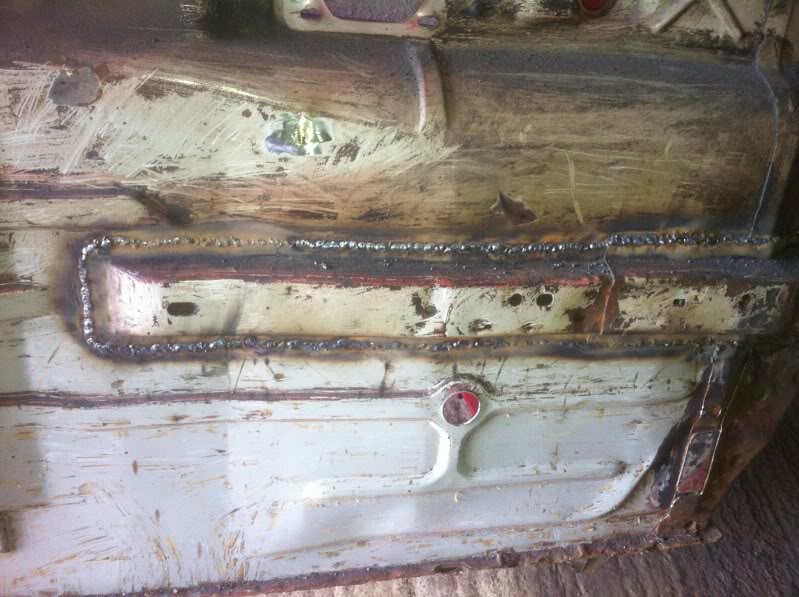
After around an hour or so i had gone deaf due to the high pitch scream of the wire wheel on the metal and also fed up with picking wires out of my face i thought id do a lil bit of welding and atm i have no thin cutting disc so i coundnt start on the holes so i desided to seam weld the chassis legs for added strength. Some say its pointless but i dont care. Its my car and in doing it my way lol
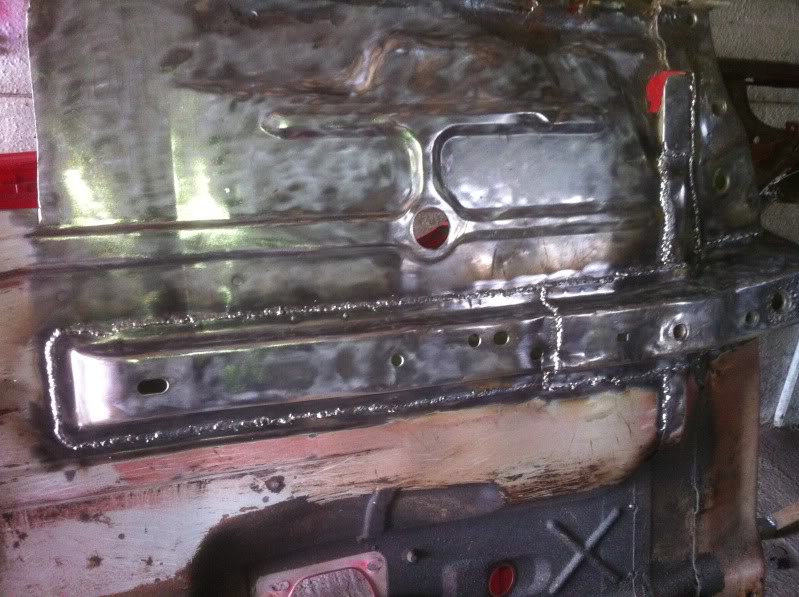
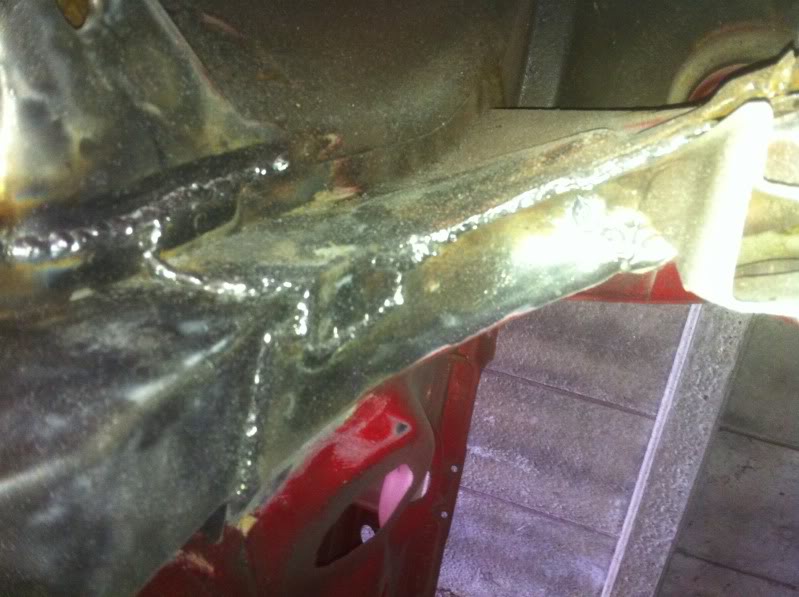
Welding aint as neat as i wanted it but my wlder kept spitting on ocasions and ill be re undersealing it anyway. Im not going to seam weld the whole shell but i will be doing the chassis legs and front and rear of the floor pan and rear chassis legs. So now fed up with getting burnt i thought id get the grinder back out before it got too late and bare metaled the rear section and the start of the rear leg.

Jeeze this takes a long time on a fone! Lol.
Now comming towards the end of the day. I wished i had more time to spend on it but i gotta keep the mrs happy so im with her on sundays doing family type stuff lol. As it was getting late i didnt want to piss the neibours off so i thought i best quieten down and also my wire wheel was almost worn out now ( most of it in my face and fleece lol) i thought id do abit of scraping of the other side so out come my office chair and wood chisel and away i went.
Im baffled as to why the nearside is so much better than the off side??? Its like a hundred times better. The chassis leg isnt swelling, theres no holes in the floor, the sill was no were near as bad. I just dont get it?
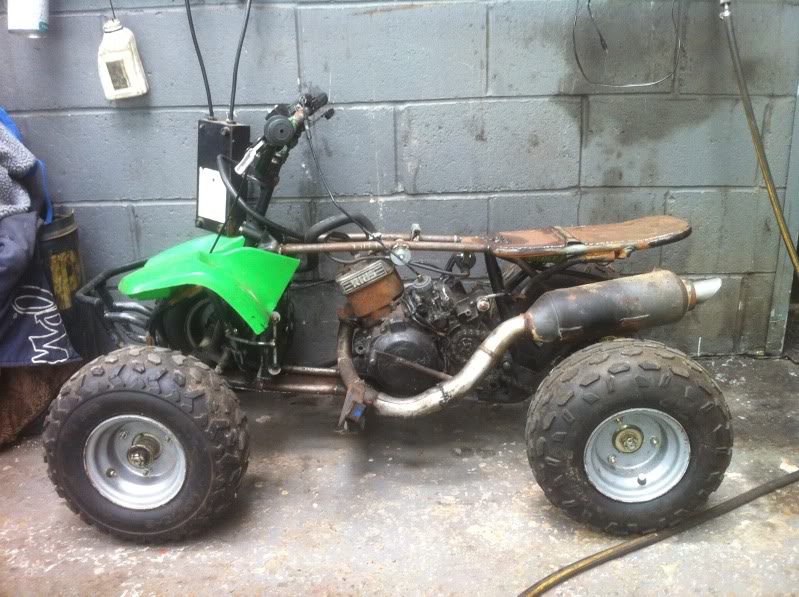
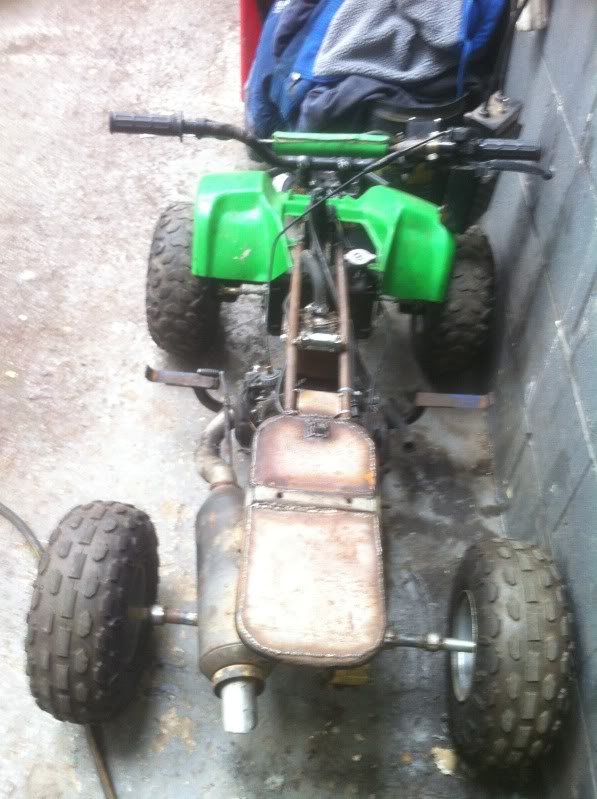
Thats it for this week but ive got one more lil thing to share with you lot and thats my awesome lil quad bike ive made and is now finished
Lil story about it first tho lol.
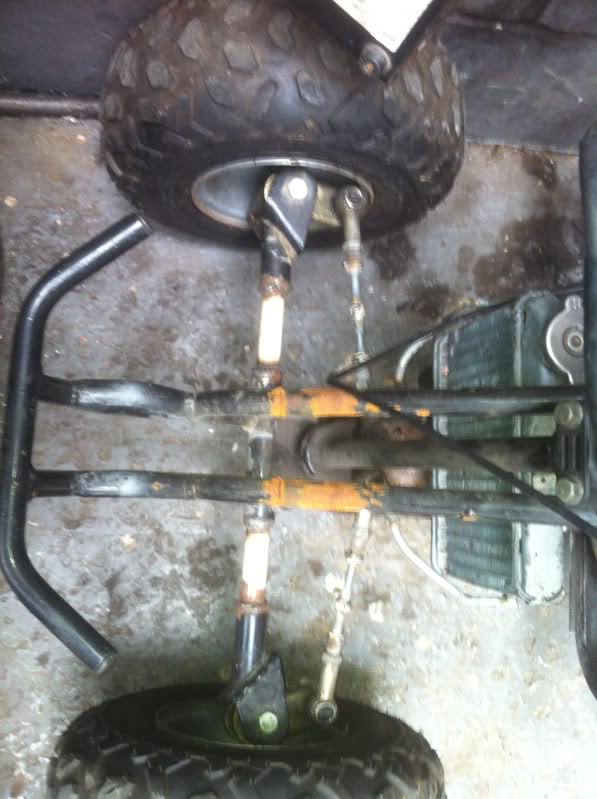
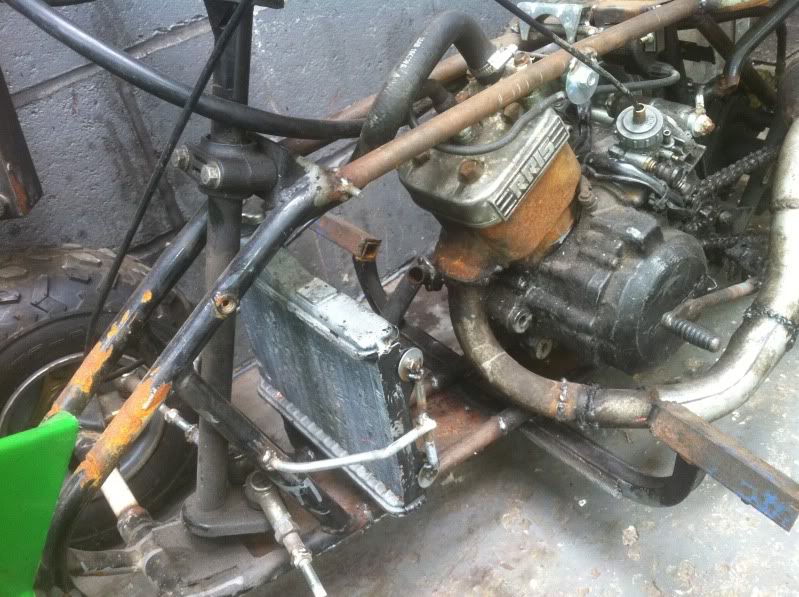
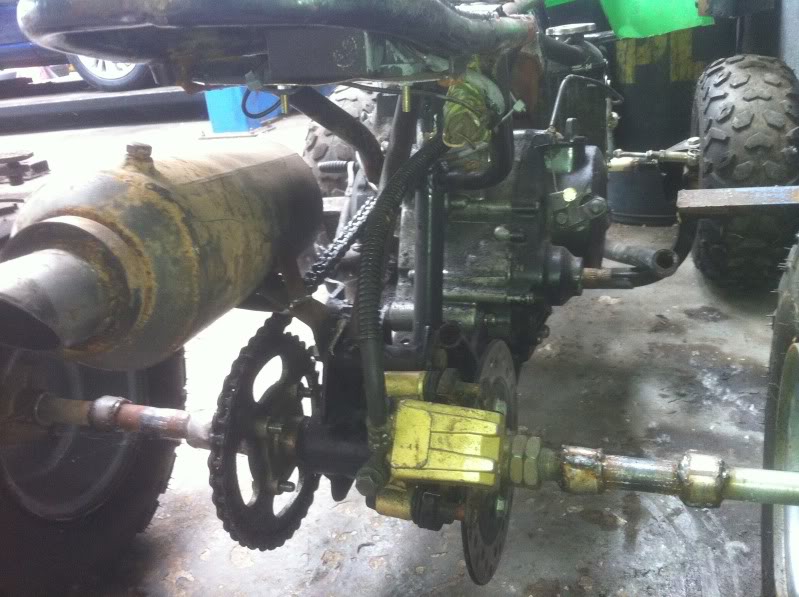
I got a job to get a lil 50cc kids quad running and i thought would be a breeze but wen i got it, it was fitted with an imbobaliser?? And it was all wired up with black wires so i used it as an excuse to not do the job and my mate just said oh you can have it if you want so i gave him a drink for it and i thought ooh ice got a kawasaki 125 engine and bits in the garage and shoved it in and got it going. On the first ride i found it was a death trap as it just wanted to wheelie in very gear and it didnt steer very well and lost interest. Then one day i thought, maybe if i widen and lenthen it it might handle abit better so i striped it down, deleted the rear suspension and welded up the frame then choped in in half and lengthened it then choped the axle and front arms and widened it and put it back together. So far this awesome lil toy has cost me 20 quid and its a hell of a buzz. Any way here she is!
Thats all folks xxx
Firstly i just wana say this project proberly seems like to people that its one of the many that will never get finished but i can asure you it will. This is my first car and the love is too strong to give up on it lol
Right so with that out of the way ill get started. Only a small update but progress is progress lol.
Yesterday i got down to the workshop and got on with the floor pan clean up. At first i was just going to use the wire wheel on a grinder to remove the lil bits of seam sealer but during the prosess i found tiny lil bits of rust starting to form under the primer so i desided to bare metal it. Right lets try load some pics lol
Not comming up to bad i rekon. Theres alot of metal work needed doing but im a very compitant welder and mechanic so nothing has scared me off yet lol. As seen in a previous picm, my front chassis leg edges are swelling with rust inbetween the layers of metal so i run over that with the wire wheel to and woah! Worse that i thought! Just glad the other one is nowere near as bad
After around an hour or so i had gone deaf due to the high pitch scream of the wire wheel on the metal and also fed up with picking wires out of my face i thought id do a lil bit of welding and atm i have no thin cutting disc so i coundnt start on the holes so i desided to seam weld the chassis legs for added strength. Some say its pointless but i dont care. Its my car and in doing it my way lol
Welding aint as neat as i wanted it but my wlder kept spitting on ocasions and ill be re undersealing it anyway. Im not going to seam weld the whole shell but i will be doing the chassis legs and front and rear of the floor pan and rear chassis legs. So now fed up with getting burnt i thought id get the grinder back out before it got too late and bare metaled the rear section and the start of the rear leg.
Jeeze this takes a long time on a fone! Lol.
Now comming towards the end of the day. I wished i had more time to spend on it but i gotta keep the mrs happy so im with her on sundays doing family type stuff lol. As it was getting late i didnt want to piss the neibours off so i thought i best quieten down and also my wire wheel was almost worn out now ( most of it in my face and fleece lol) i thought id do abit of scraping of the other side so out come my office chair and wood chisel and away i went.
Im baffled as to why the nearside is so much better than the off side??? Its like a hundred times better. The chassis leg isnt swelling, theres no holes in the floor, the sill was no were near as bad. I just dont get it?
Thats it for this week but ive got one more lil thing to share with you lot and thats my awesome lil quad bike ive made and is now finished
Lil story about it first tho lol.
I got a job to get a lil 50cc kids quad running and i thought would be a breeze but wen i got it, it was fitted with an imbobaliser?? And it was all wired up with black wires so i used it as an excuse to not do the job and my mate just said oh you can have it if you want so i gave him a drink for it and i thought ooh ice got a kawasaki 125 engine and bits in the garage and shoved it in and got it going. On the first ride i found it was a death trap as it just wanted to wheelie in very gear and it didnt steer very well and lost interest. Then one day i thought, maybe if i widen and lenthen it it might handle abit better so i striped it down, deleted the rear suspension and welded up the frame then choped in in half and lengthened it then choped the axle and front arms and widened it and put it back together. So far this awesome lil toy has cost me 20 quid and its a hell of a buzz. Any way here she is!
Thats all folks xxx
23-06-2013, 10:38 PM
#7
Regular Contributor
Join Date: Dec 2011
Location: south wales
Posts: 238
Likes: 0
Received 0 Likes
on
0 Posts
lmao that quad looks mental now you've tweaked it!
hats off to you for even attempting your fez tho, it is shockin just what lies beneath isn't it?!
ive not gone as far with mine as you have, but hope its nowhere near as bad lol
Your doing a good job so far tho, so keep it up!
good luck
james
hats off to you for even attempting your fez tho, it is shockin just what lies beneath isn't it?!
ive not gone as far with mine as you have, but hope its nowhere near as bad lol
Your doing a good job so far tho, so keep it up!
good luck
james
Trending Topics
24-06-2013, 12:20 PM
#8
PassionFord Regular
Thread Starter
iTrader: (1)
Join Date: May 2009
Location: eastbourne
Posts: 477
Likes: 0
Received 0 Likes
on
0 Posts
Lol ive driven some very fast cars in my time and that lil quad scares the crap outa me! Everyone that has a go comes back abit white lol
The fez looks so much worse in the pics but is still quite bad but wen its there in front of you, you can see its doable. Too many people throw away shells nowadays.
Im just going to keep ploding on with it really
The fez looks so much worse in the pics but is still quite bad but wen its there in front of you, you can see its doable. Too many people throw away shells nowadays.
Im just going to keep ploding on with it really

 21-07-2013, 08:56 PM
#10

Good luck with the project, but just so you know you haven't seam welded that chassis you have fully welded it, seam welding it weld and inch leave 2 inches weld and inch and so on..
also to get the sound deadening off you use a heat gun not a chisiel! it comes off in virtually one piece in minutes with a heat gun!
steve
also to get the sound deadening off you use a heat gun not a chisiel! it comes off in virtually one piece in minutes with a heat gun!
steve
08-09-2013, 10:08 PM
#11
PassionFord Regular
Thread Starter
iTrader: (1)
Join Date: May 2009
Location: eastbourne
Posts: 477
Likes: 0
Received 0 Likes
on
0 Posts
Hello peeps. It may seem to have come to a complete hault but rest assured it hasnt lol. Ive still been working on the car and do have a nice few pics to update with but its going slow atm mainly cos i can only spend every other sat afternoon on it now. Ill be updating next weekend after next saturdays work. Nothing great but progress is progress lol.
Steve, i did think of that but was told it makes it worse but i think ill give it a go because ive now got 95% of it off the floor but still got to do the arches and ive discovered the sealer in the arches is rock hard so i cant just pleasily push through it like the stuff on the floor pan. Is so easy to get off by just scraping it. The hammer was used on the sound deadening to just chip away at it and thats a job im glad to say is done.
I know i went overkill on the chassis legs and regret it abit now so ill just do the rest of it anyway and underseal over it and hope it dont look shit lol
15-09-2013, 09:23 PM
#13
PassionFord Regular
Thread Starter
iTrader: (1)
Join Date: May 2009
Location: eastbourne
Posts: 477
Likes: 0
Received 0 Likes
on
0 Posts
right update time lol. theres not loads of progress but I don't want to rush this project as I want to get it right and don't want to loose enthusiasm.
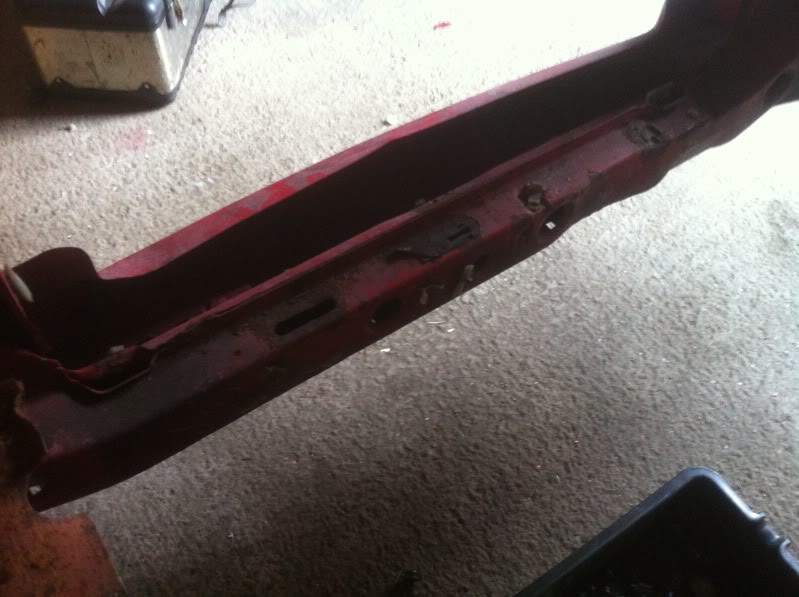
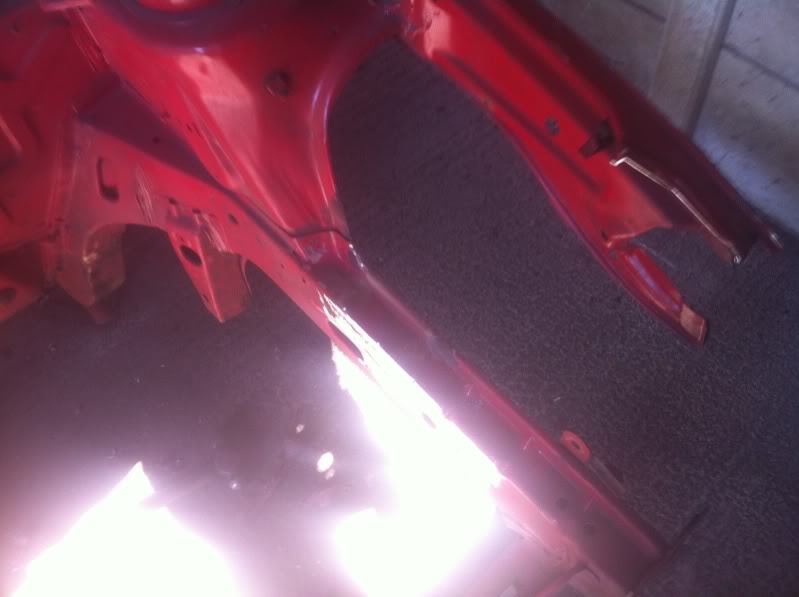
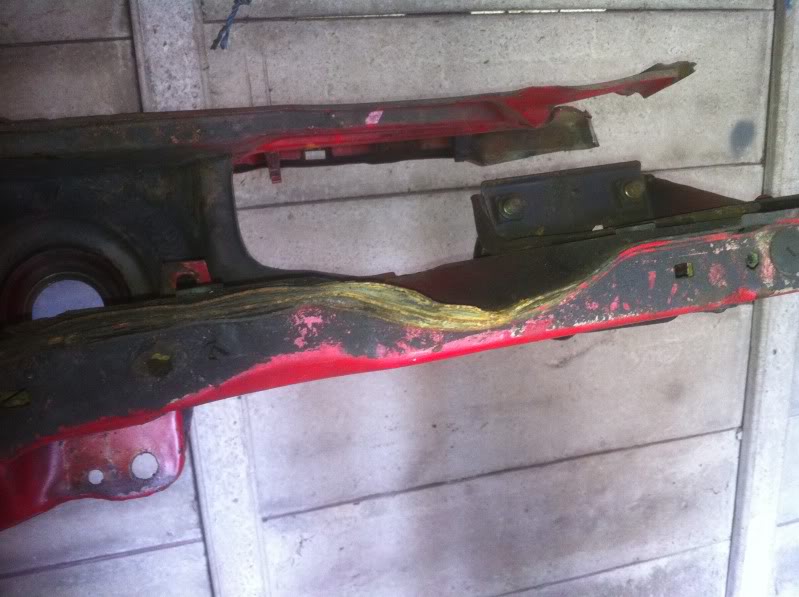
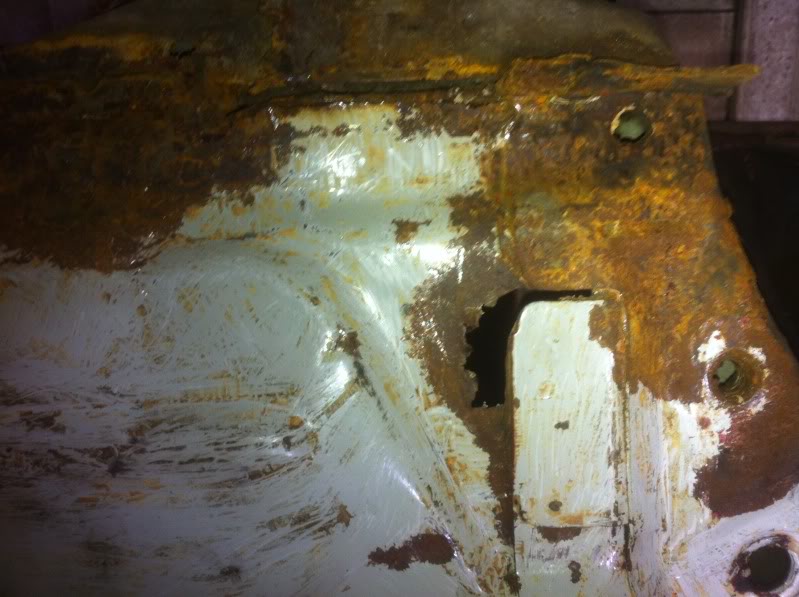
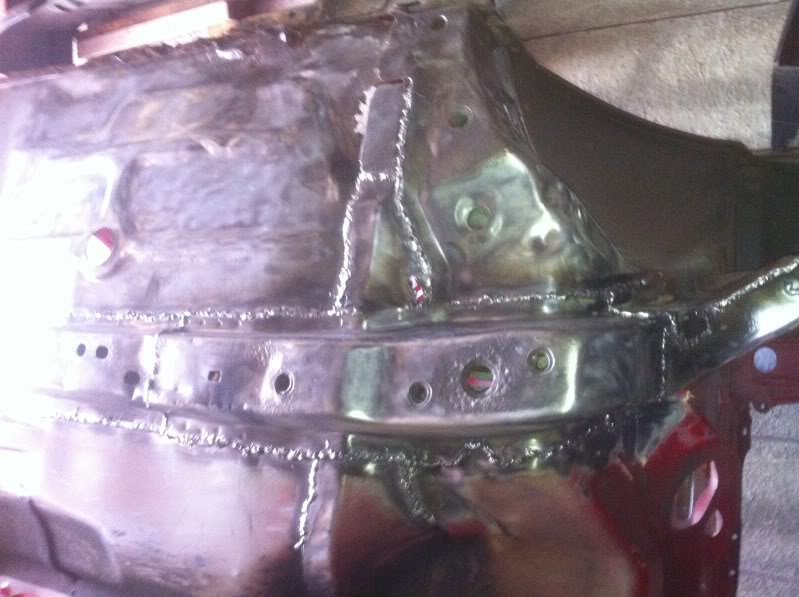
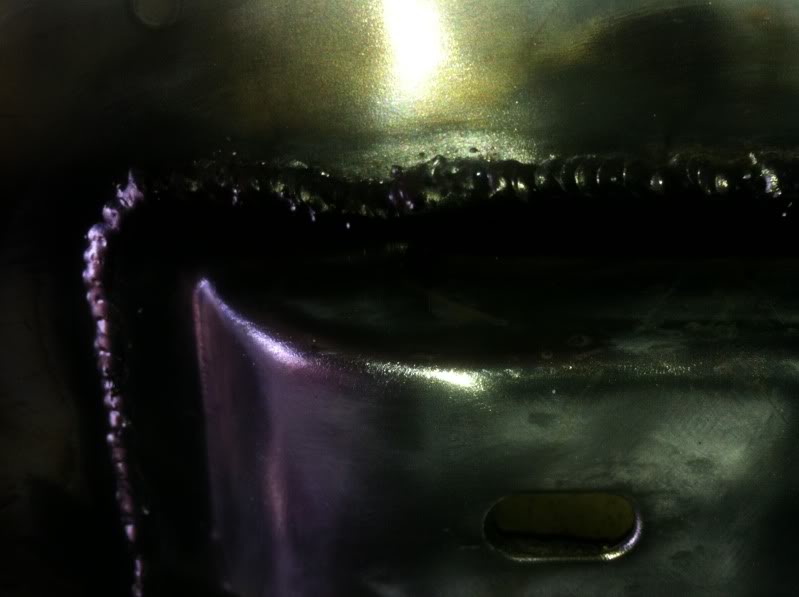
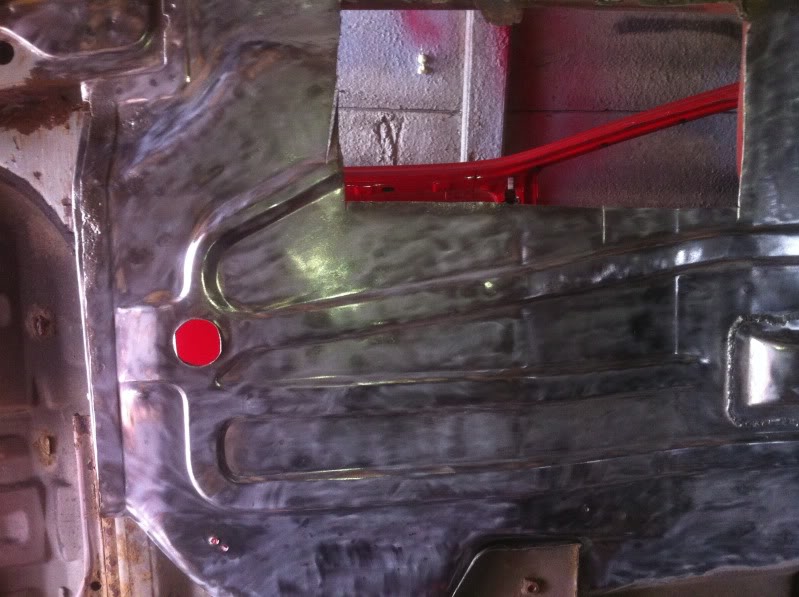
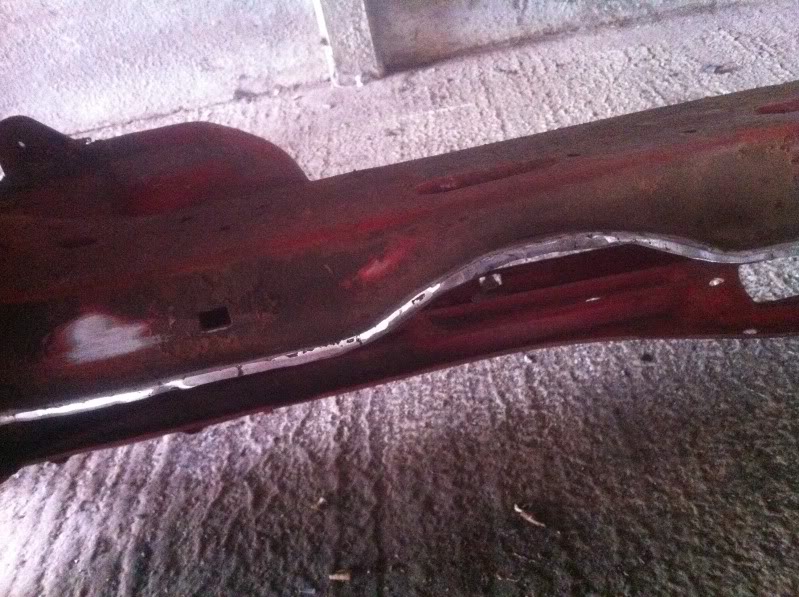
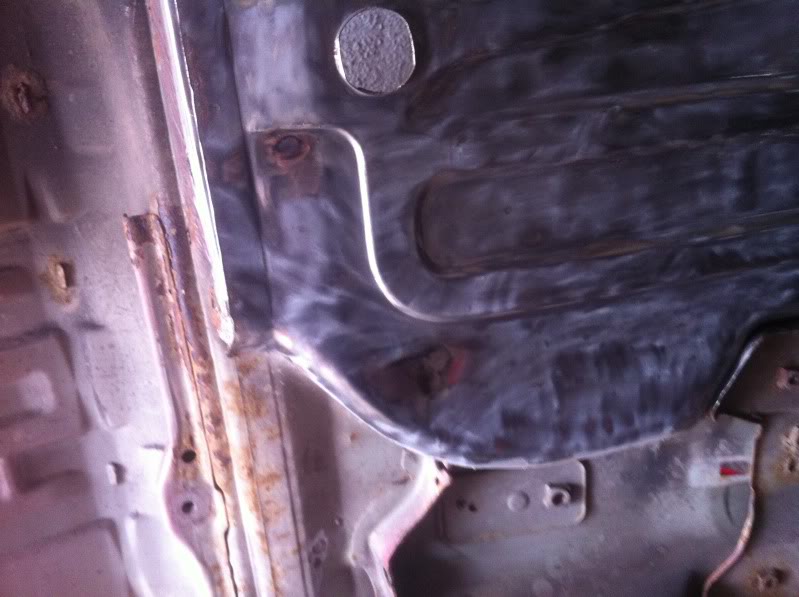
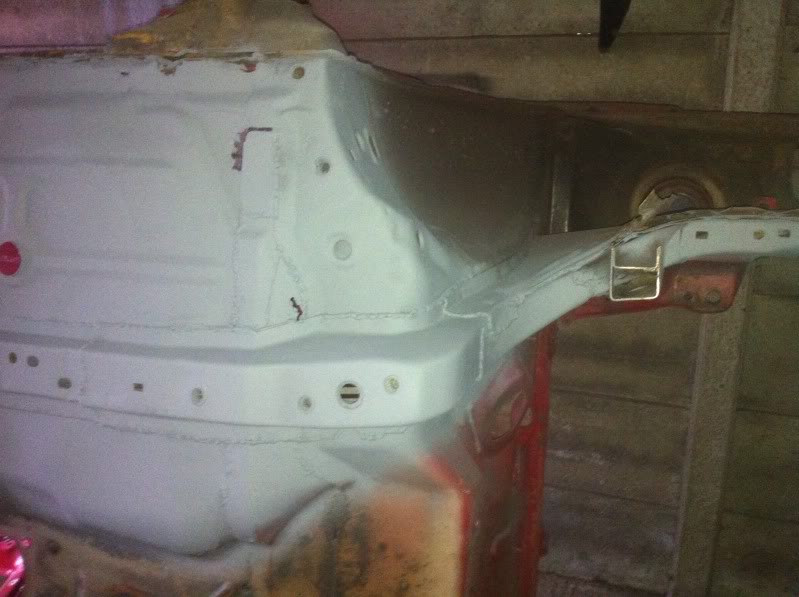
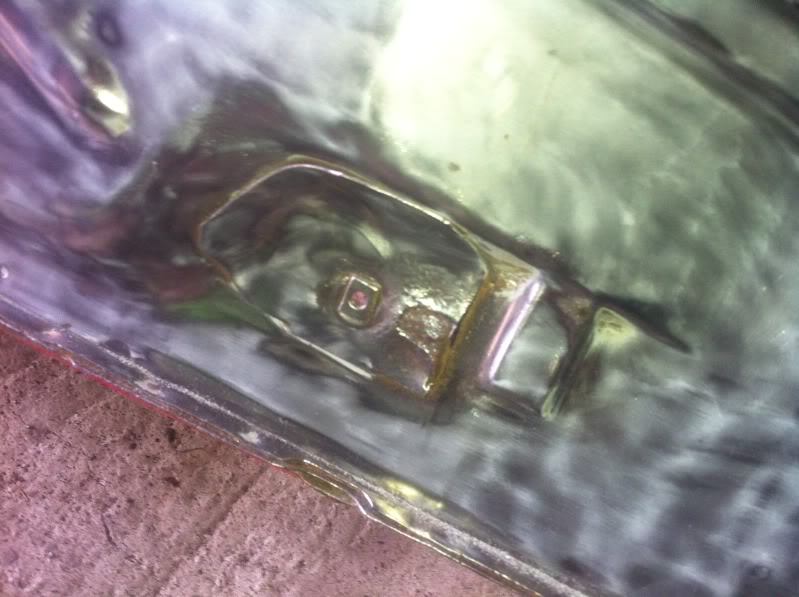
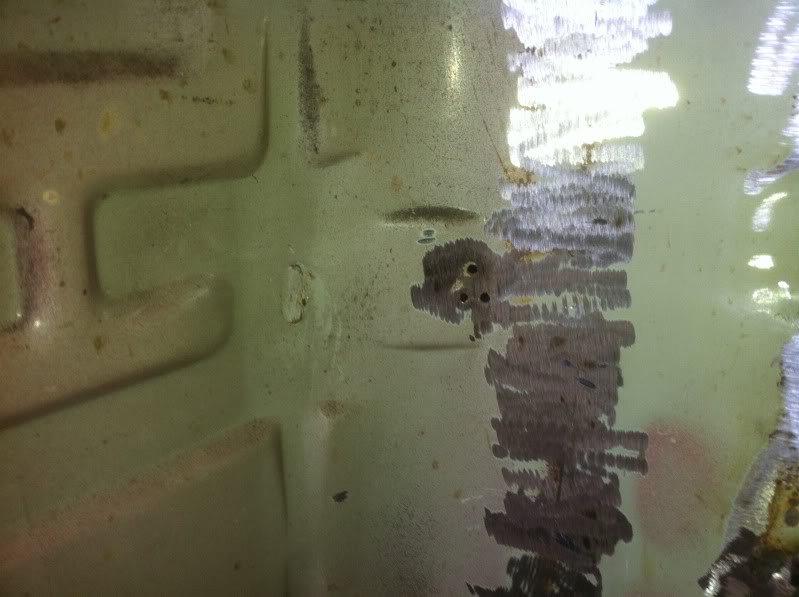
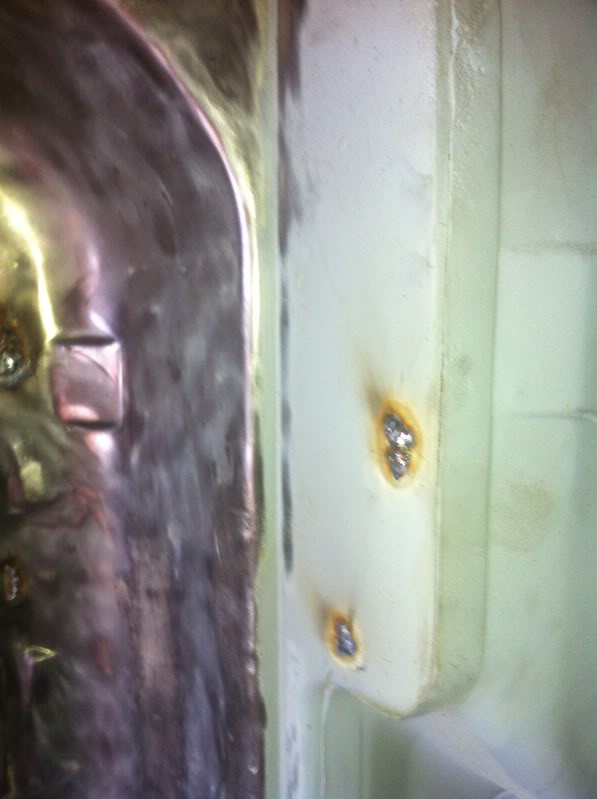
first thing to share is my lil idea on how to stop the layers of metal on the front chassis legs from swelling up like the offside one did. I baisicly just cleaned up and welded across the edge and ground it back down and once ive repaired the offside one ill do the same to that one
also ive welded the other chassis rail
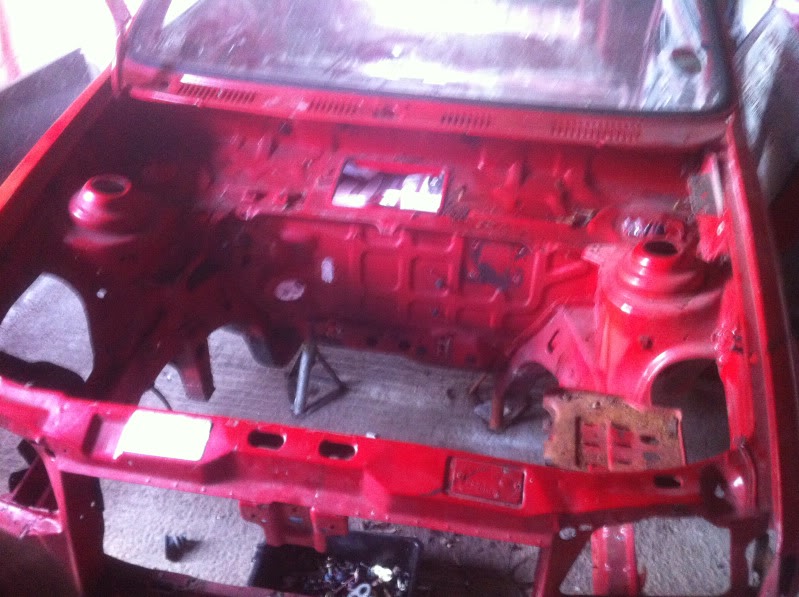
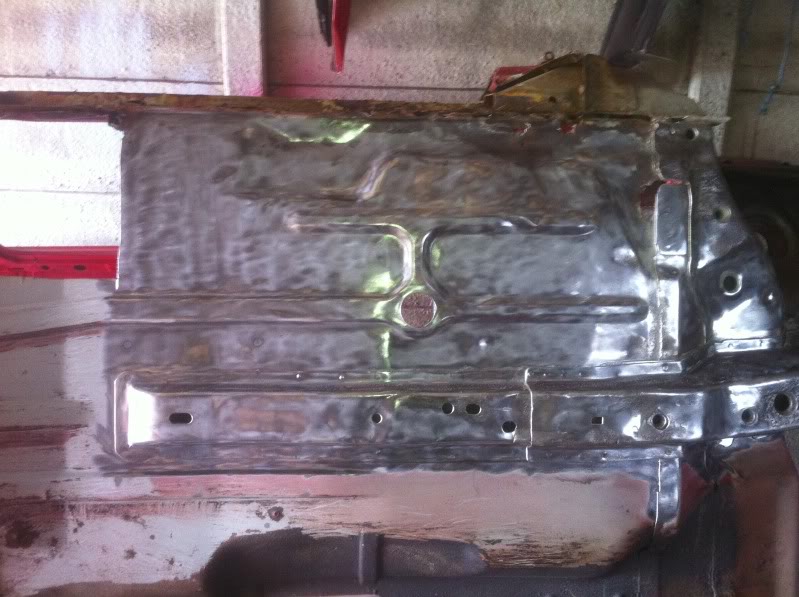
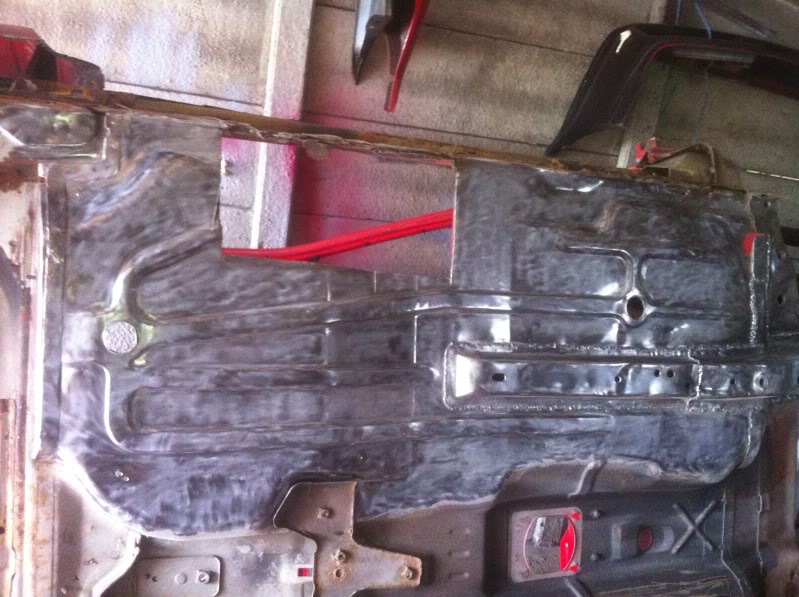
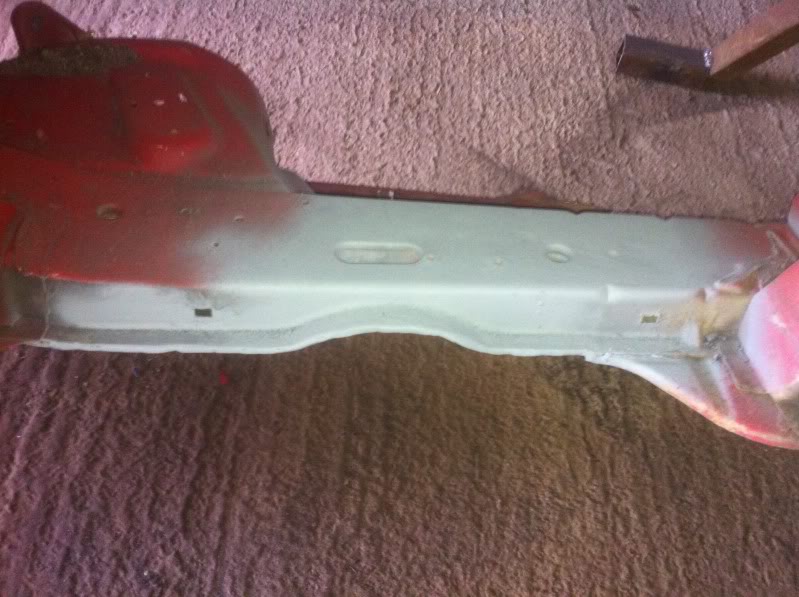
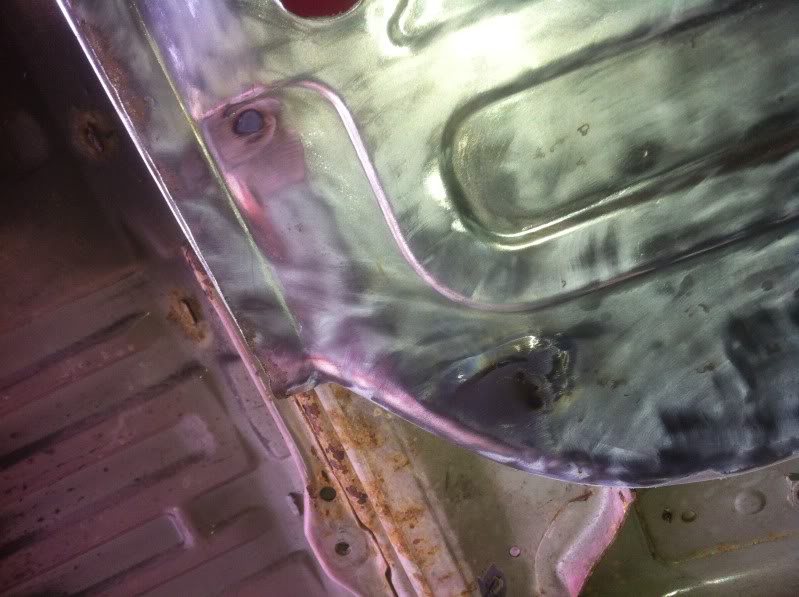
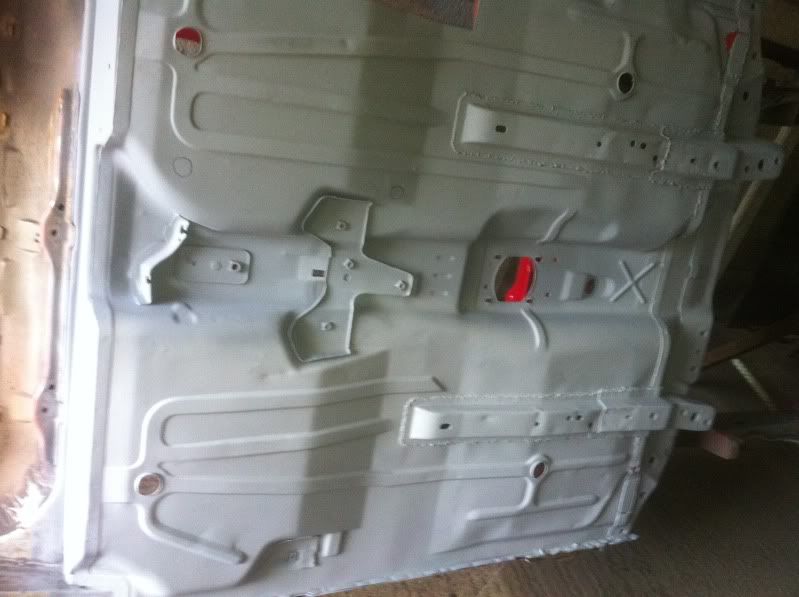
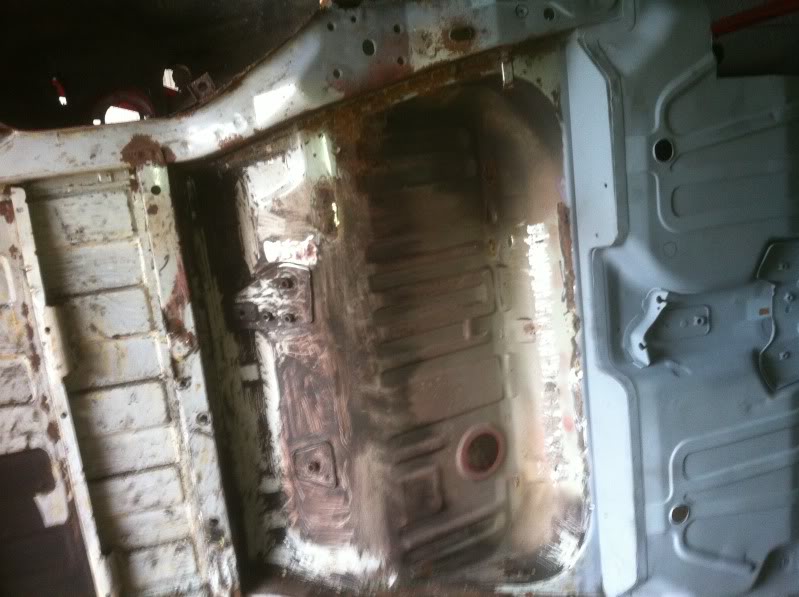
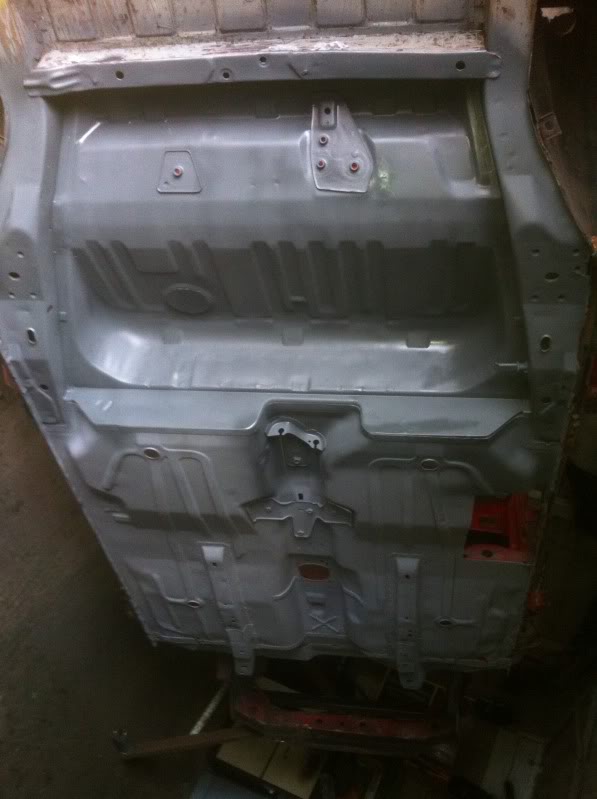
also bare metaled the back half of the floor pan and welded up various screw holes
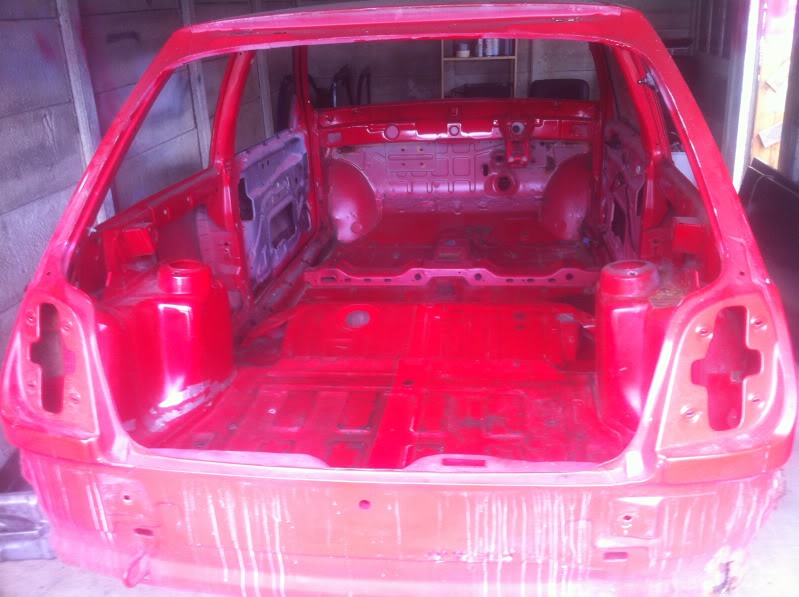
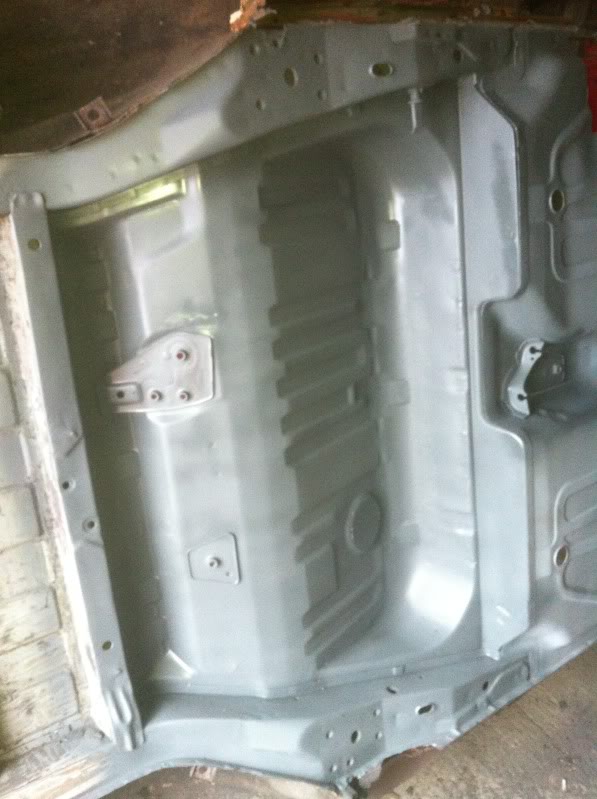
primed the offside half of the floorpan
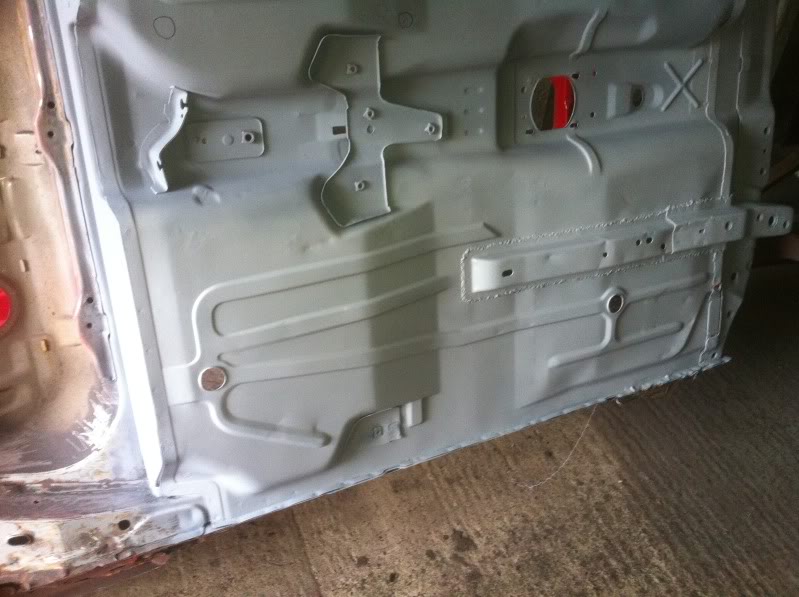
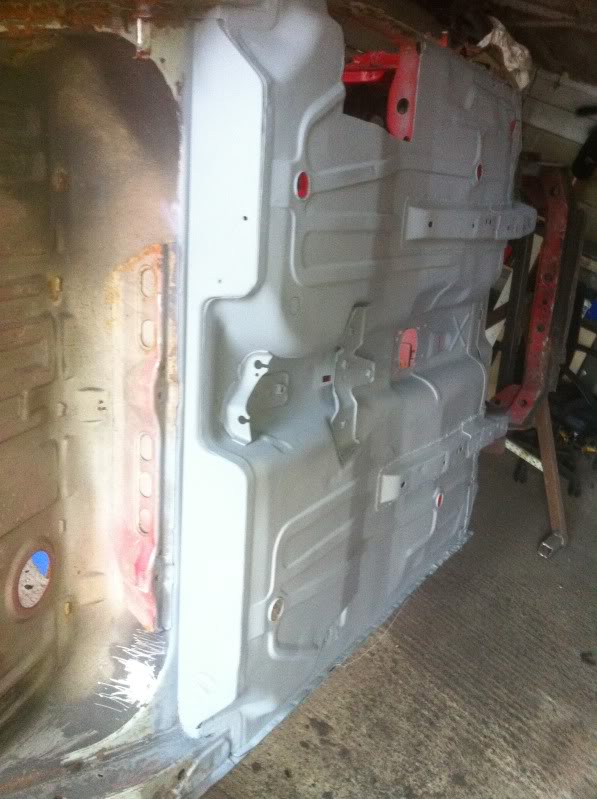
then I got on to bare metalling the nearside section and all primed up with zinc primer
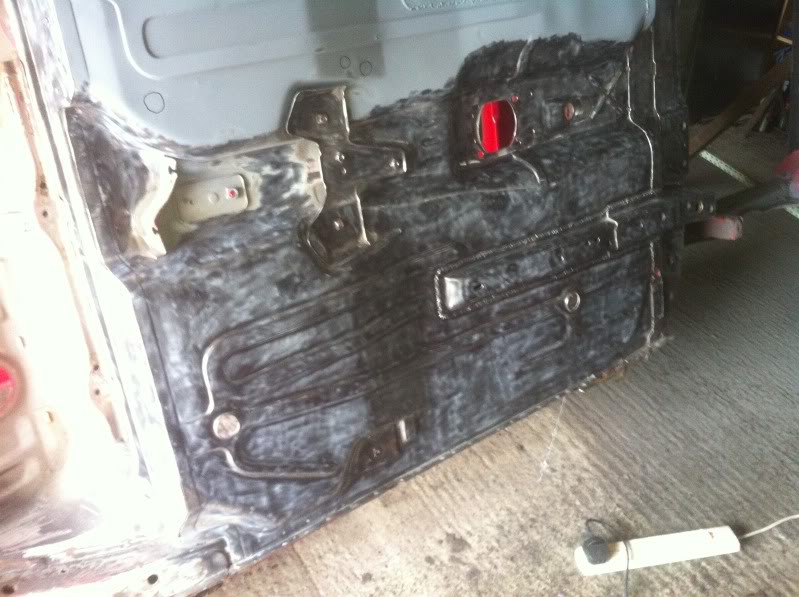
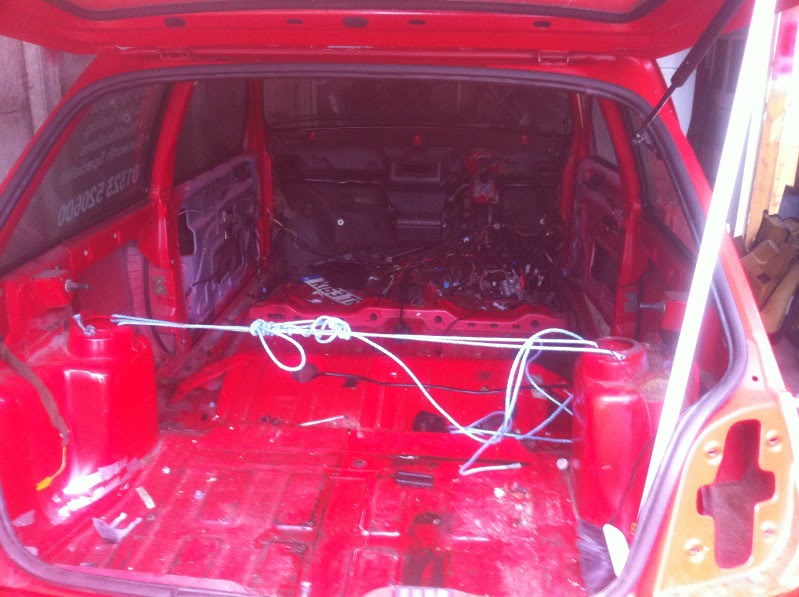
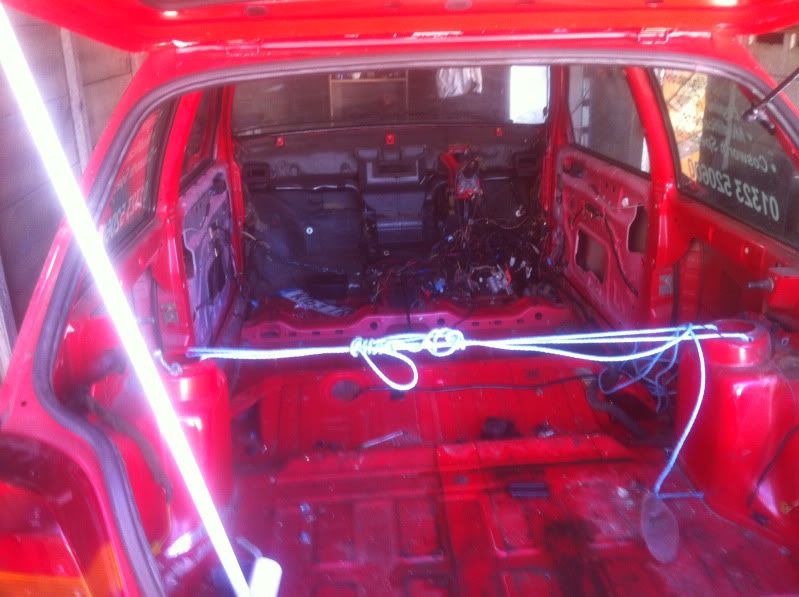
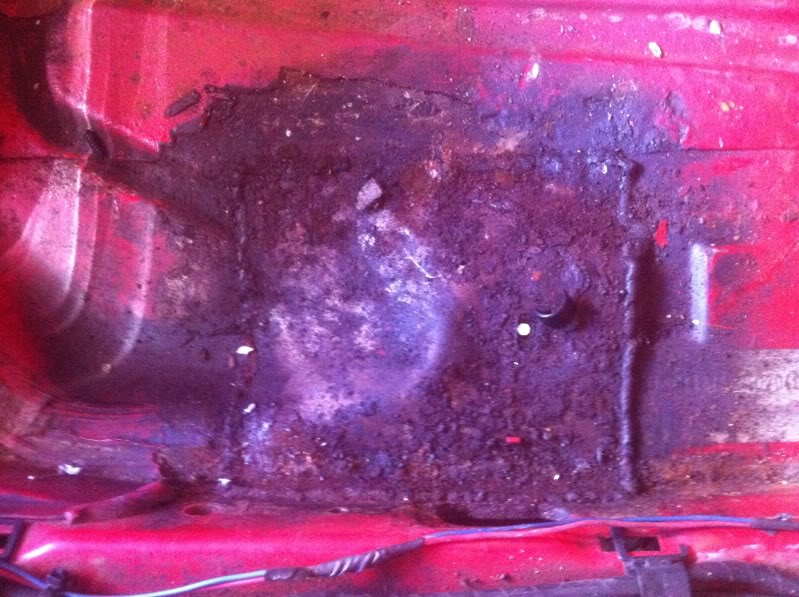
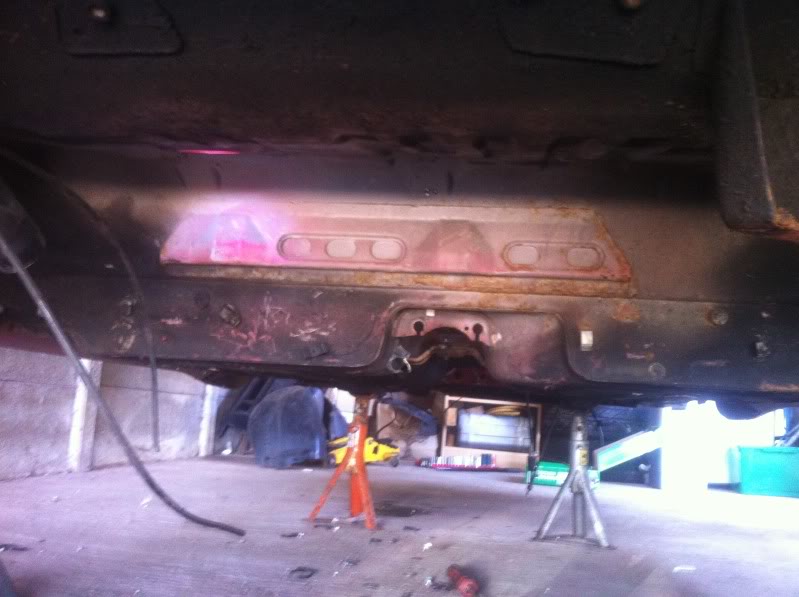
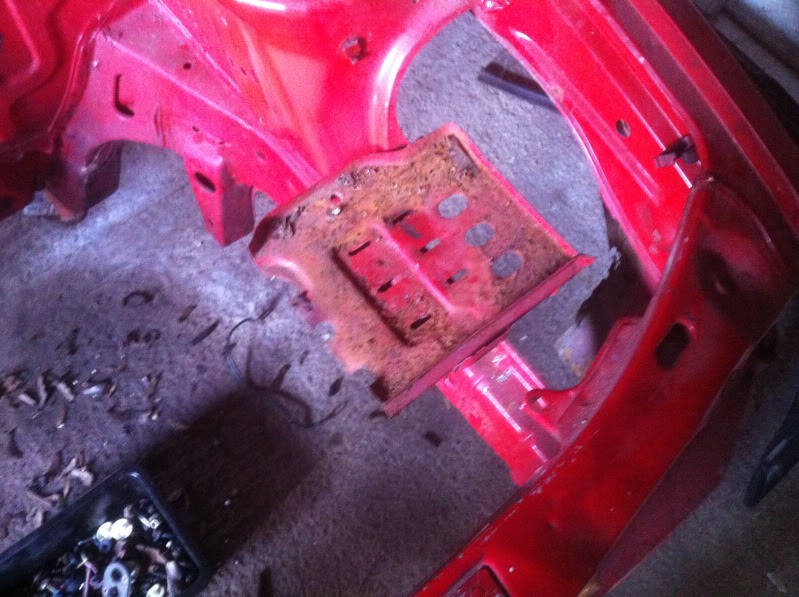
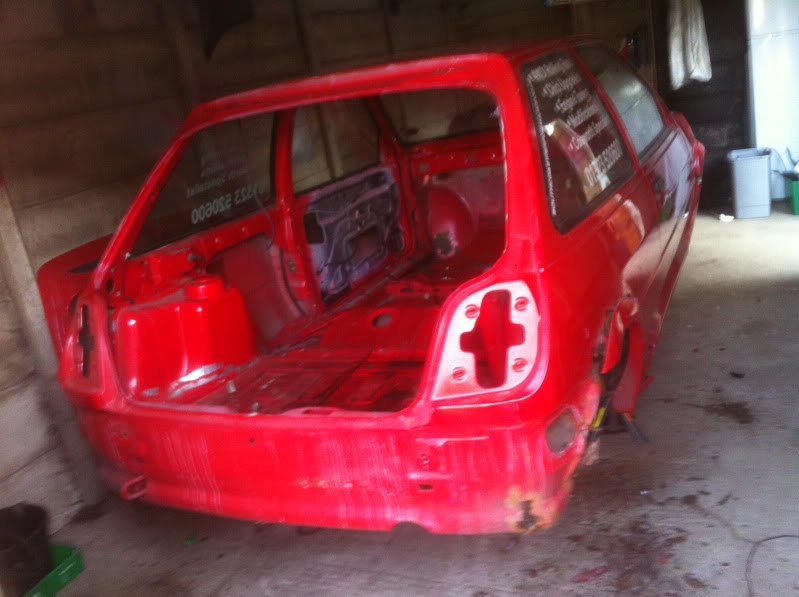
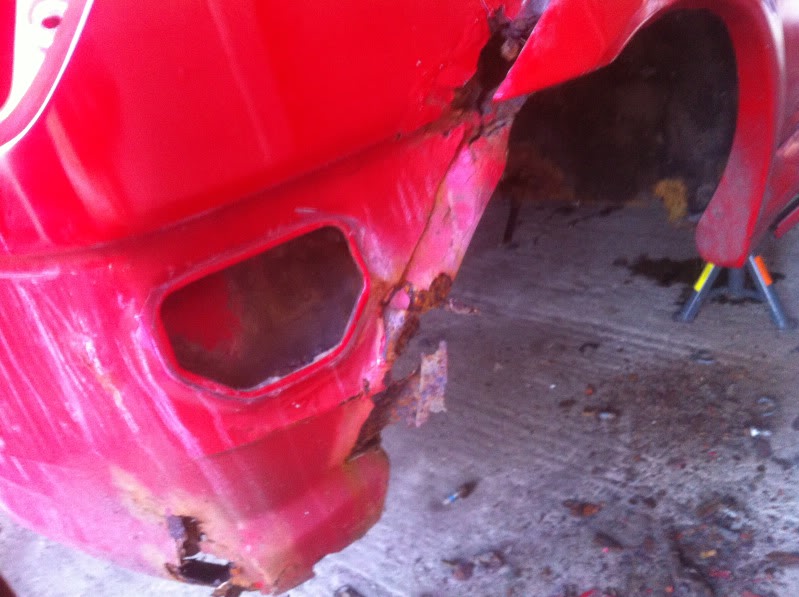
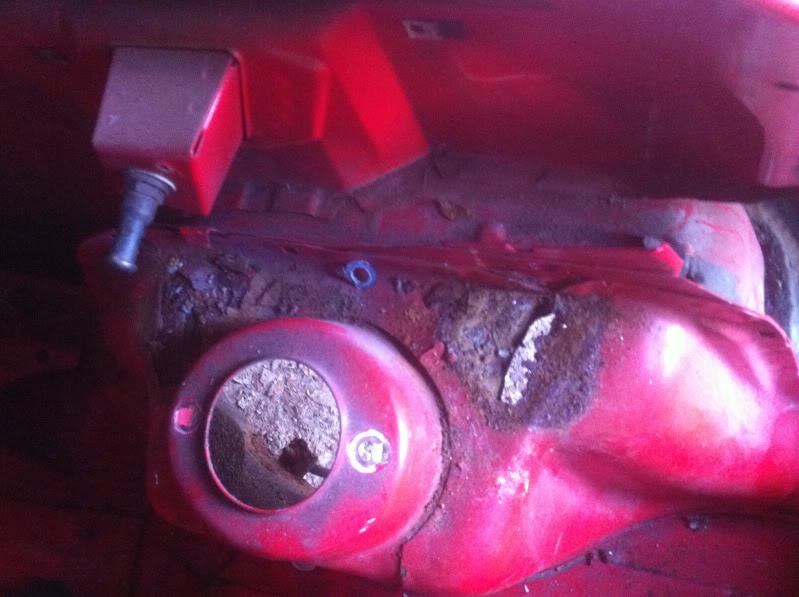
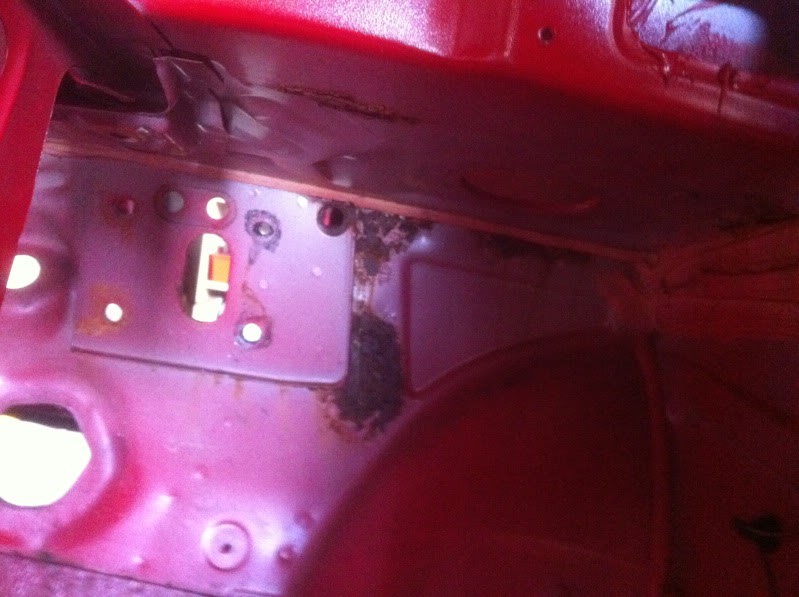
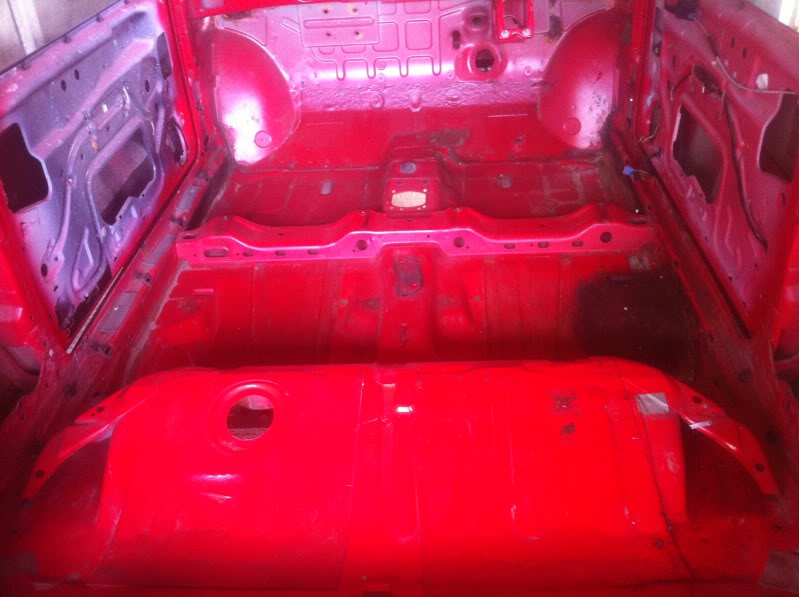
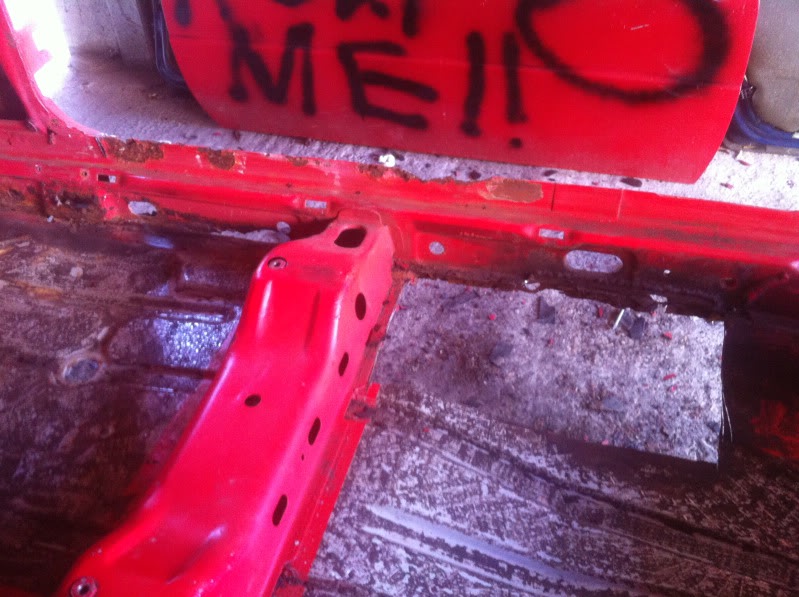
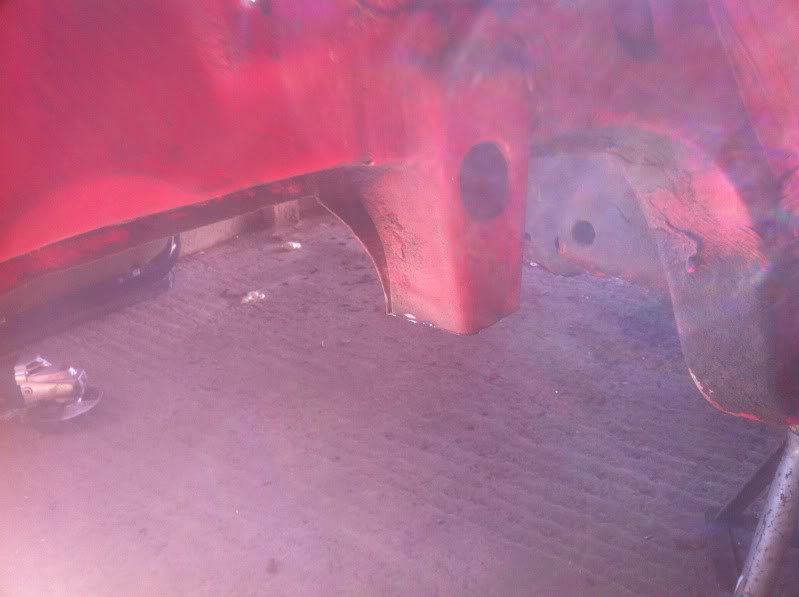
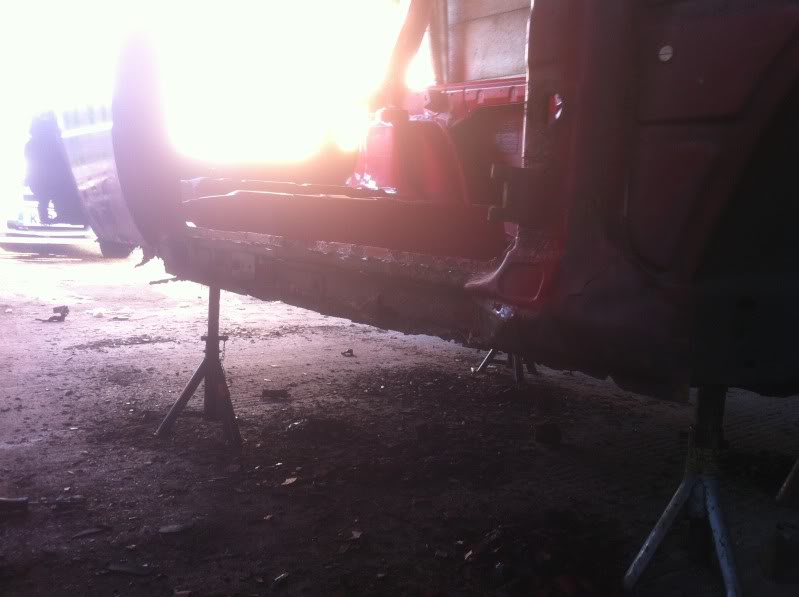
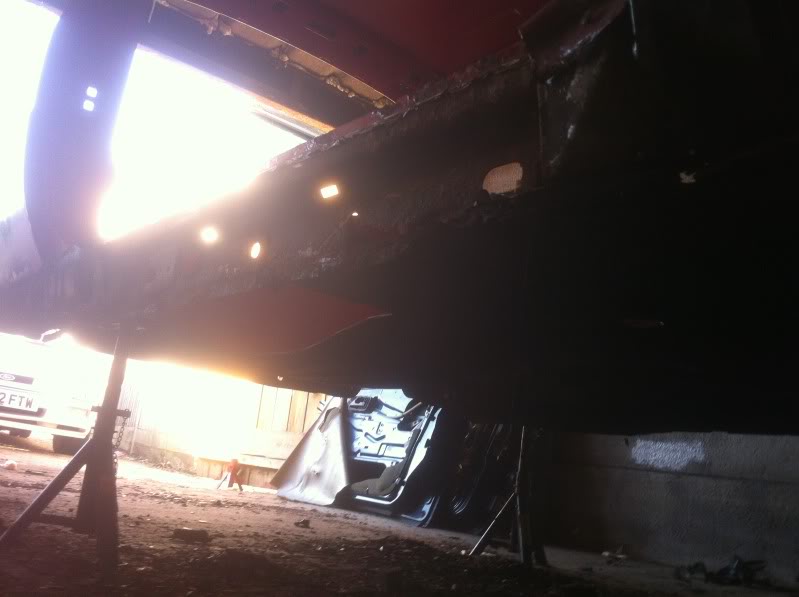
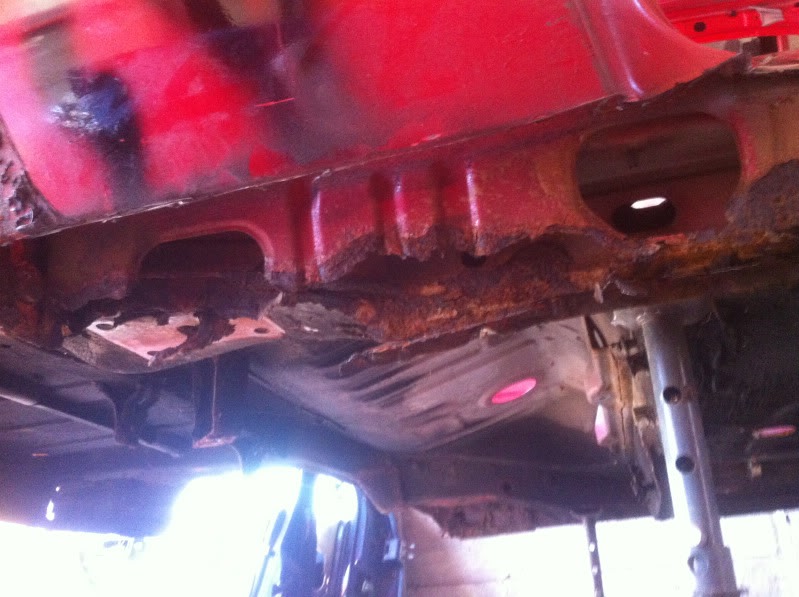
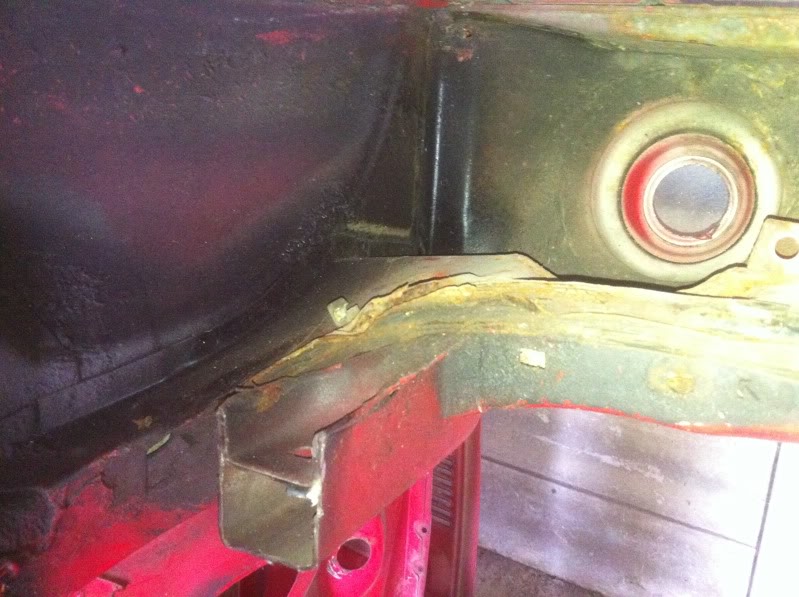
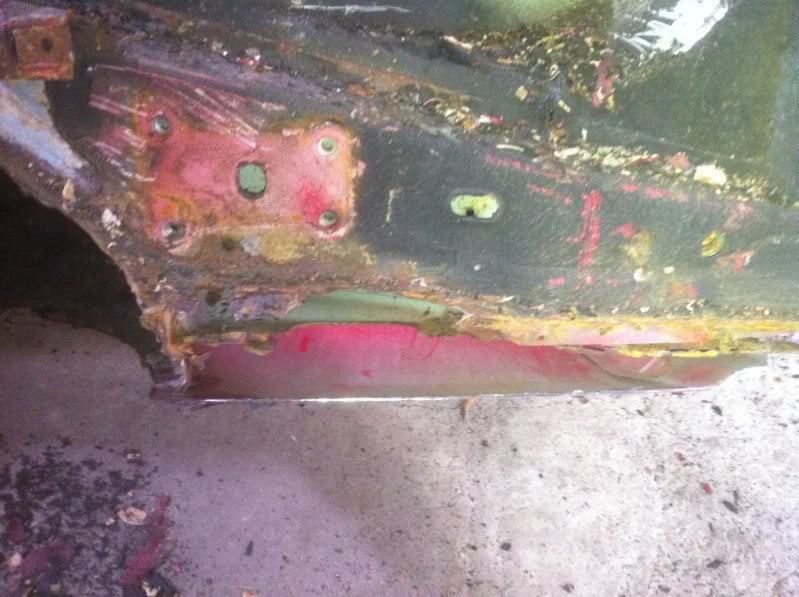
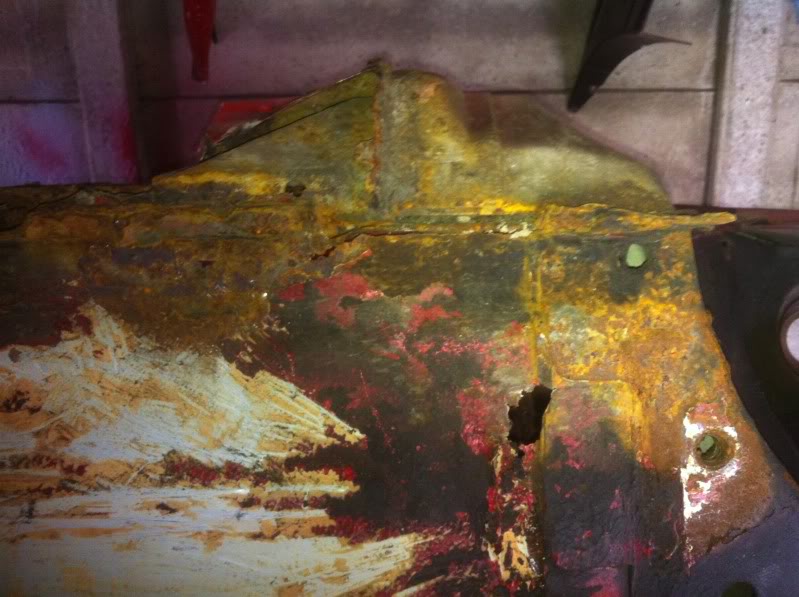
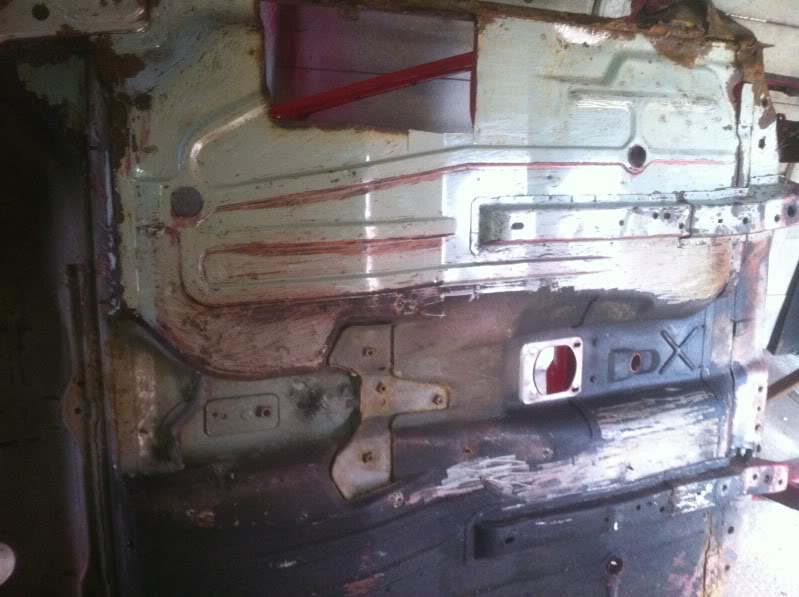
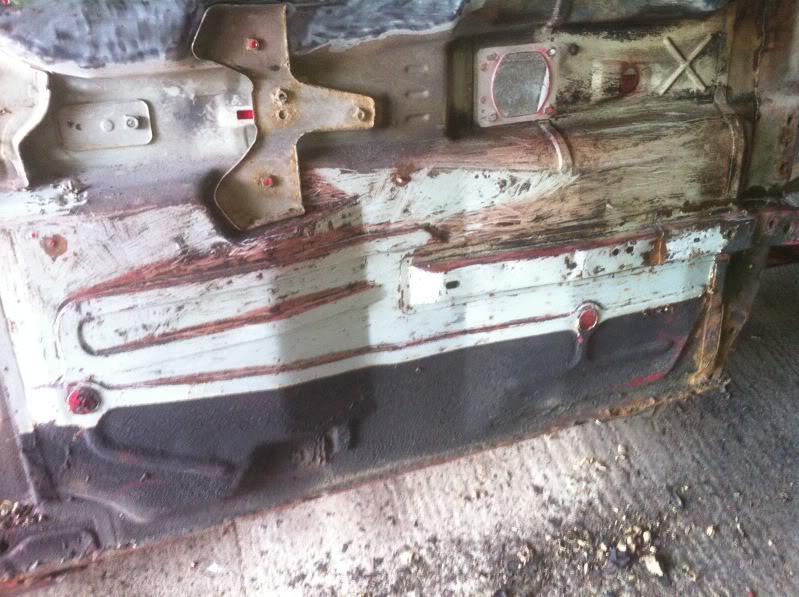
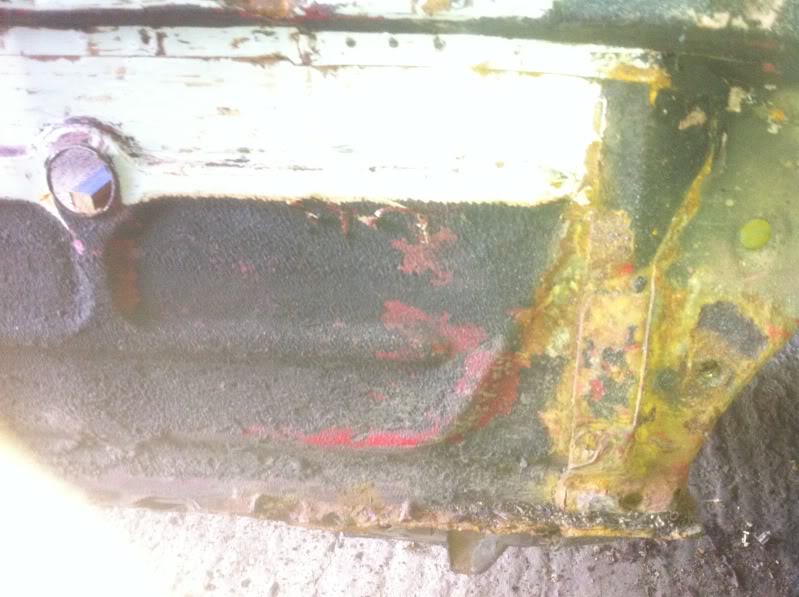
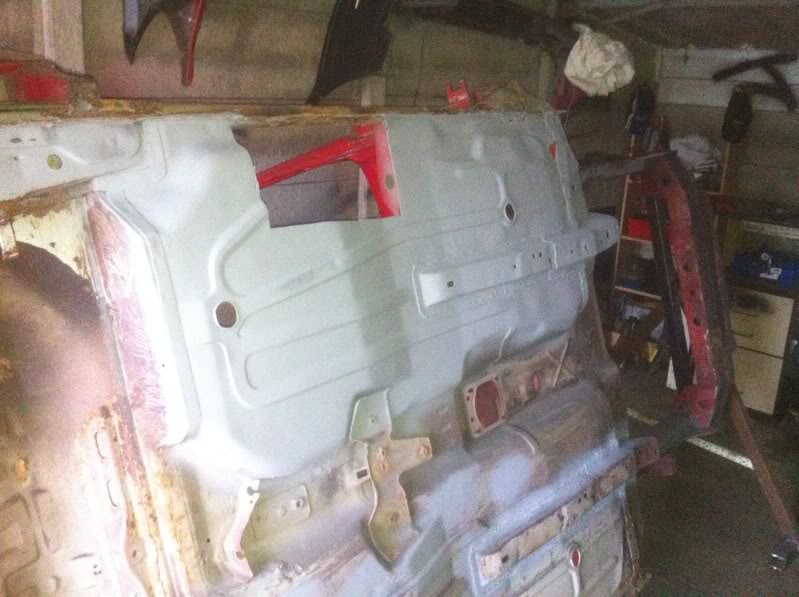
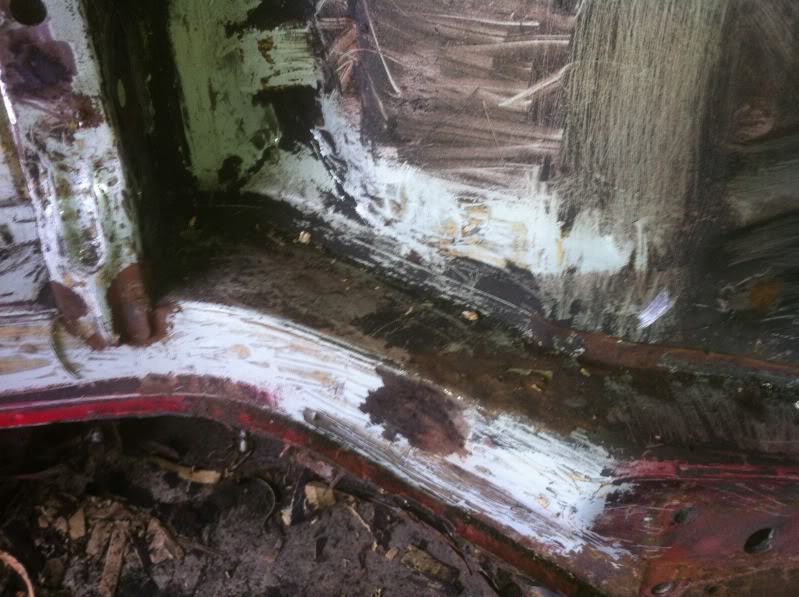
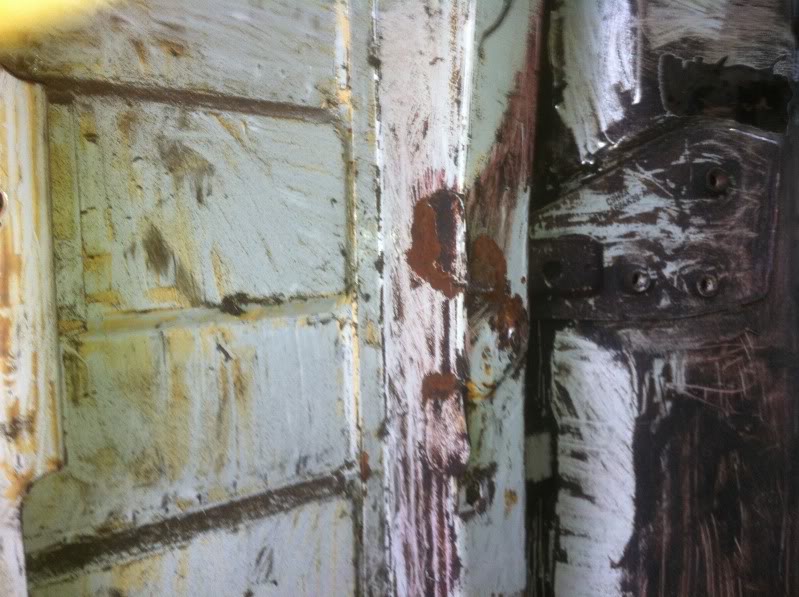
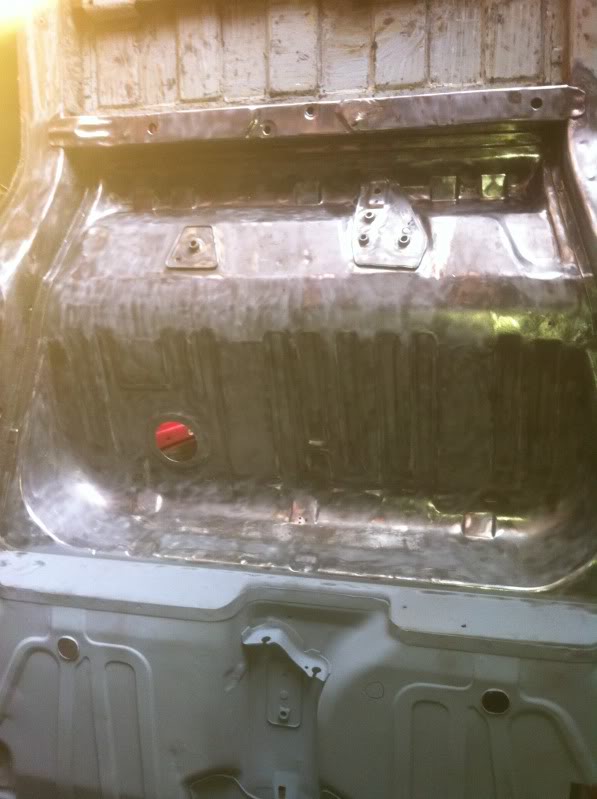
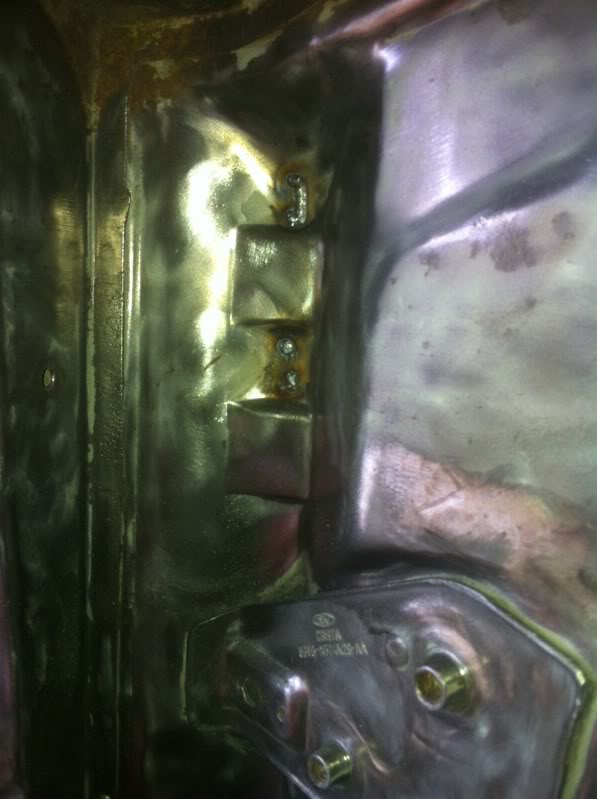
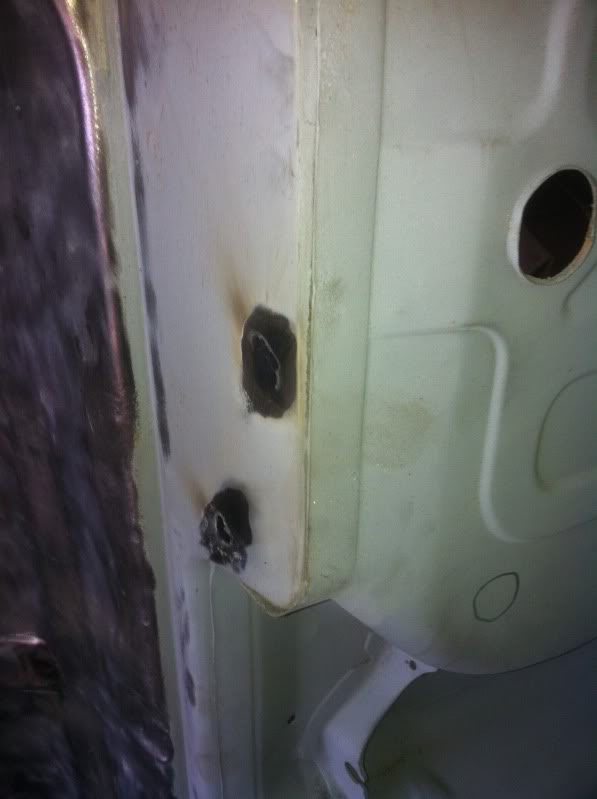
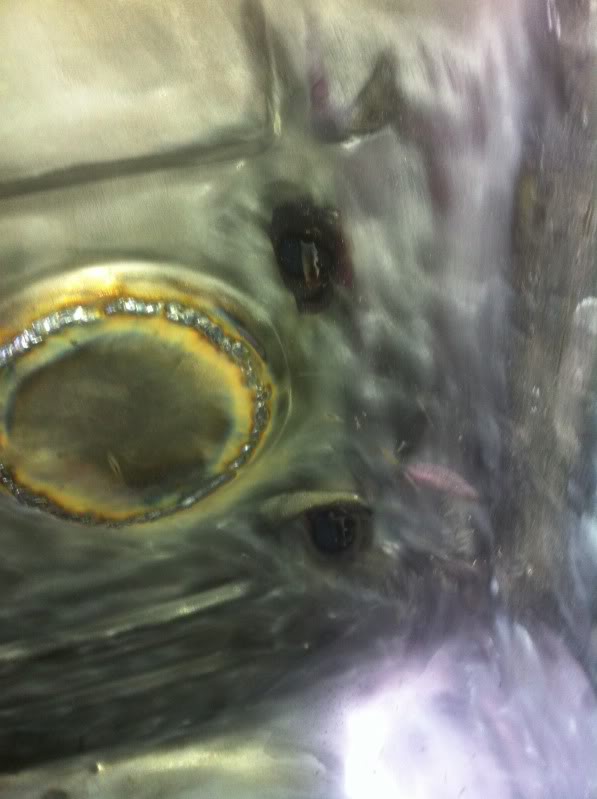
moving on to the rear end, this section was coved in all sorts of crap and is a pain to strip off, also im planning to have the fuel tank inside the car and obviously no spare wheel so im cutting off all the brackets that wont be used, heres a few of the state of the back end.
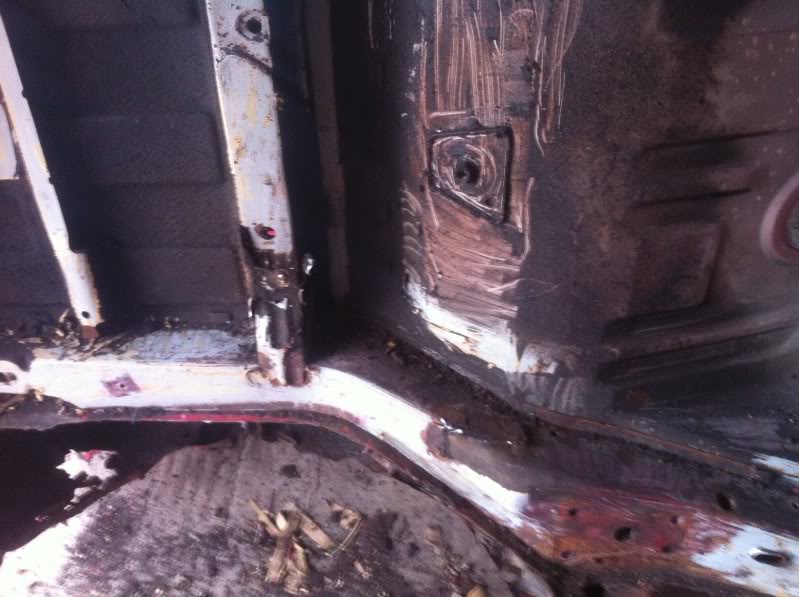
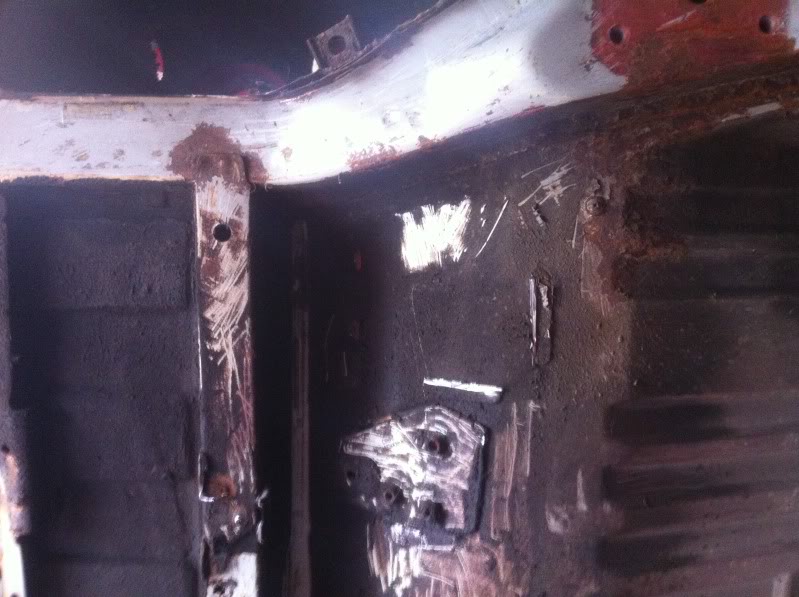
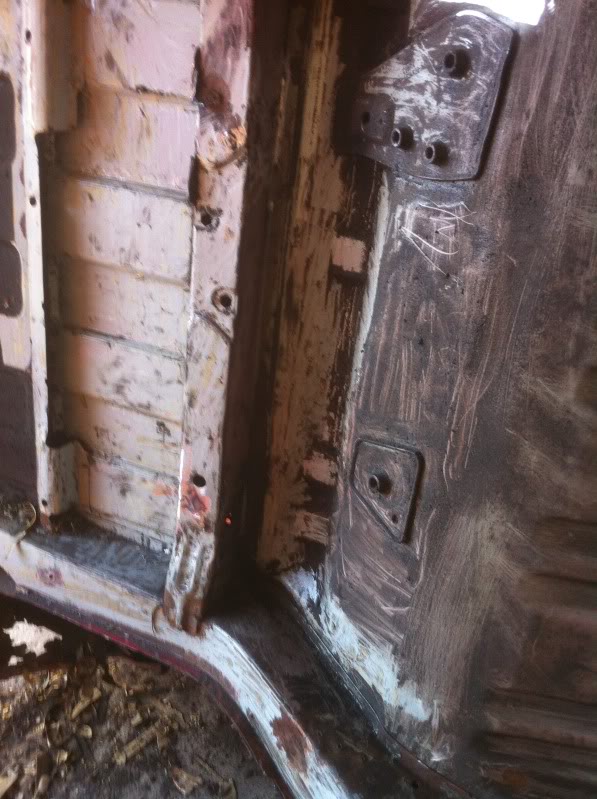
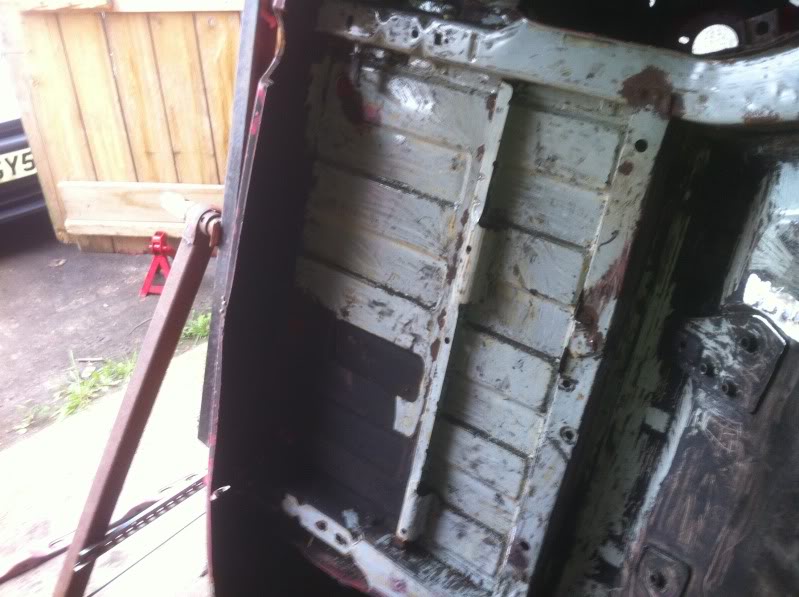

proving a bitch to get out of here lol
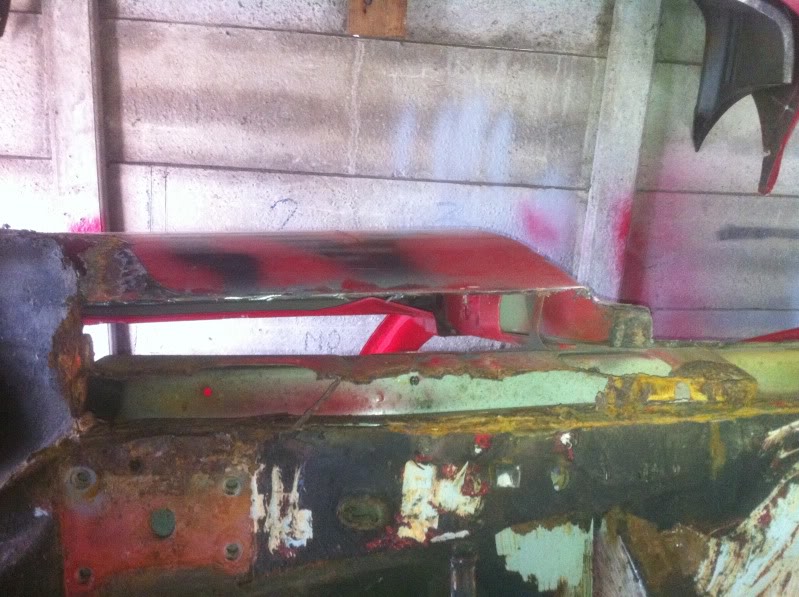
unused brackets removed
then bare metalled
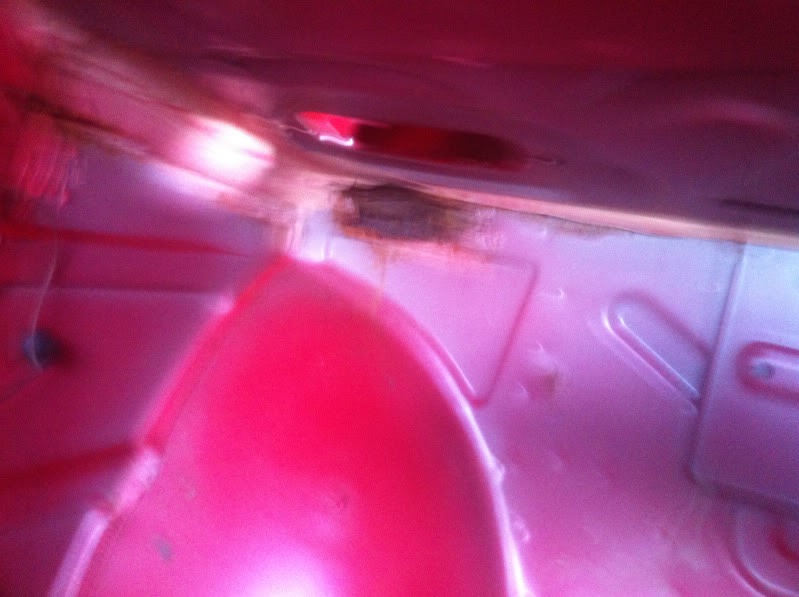
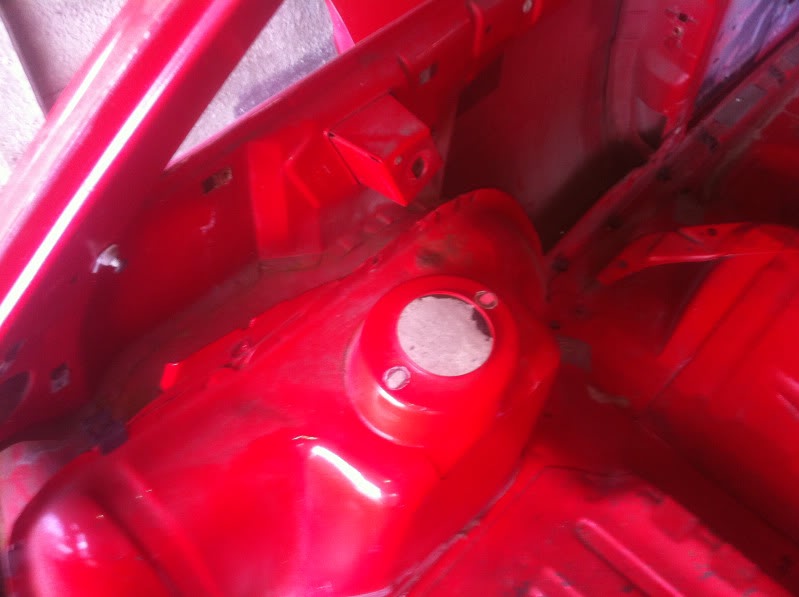
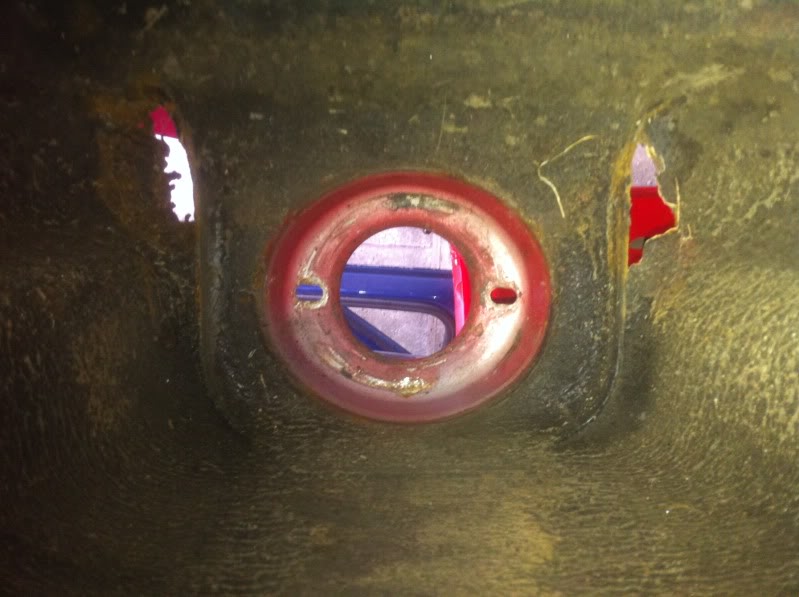
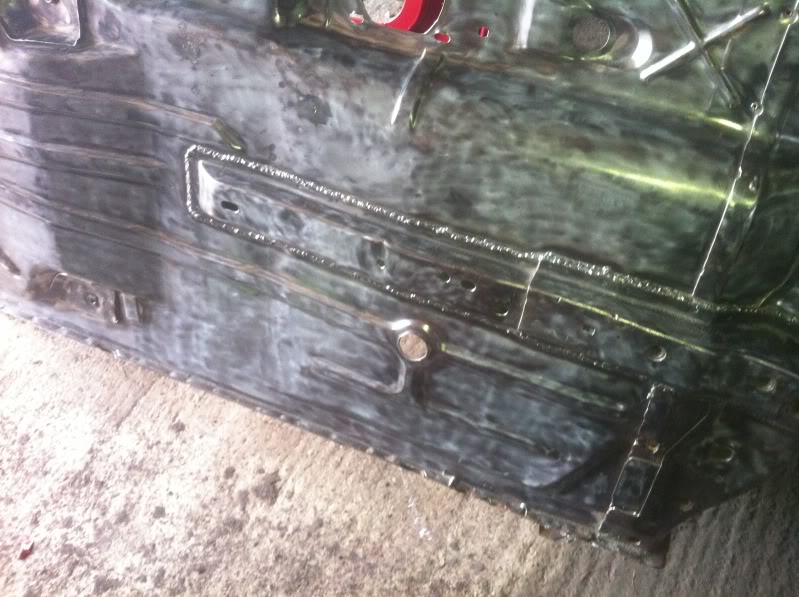
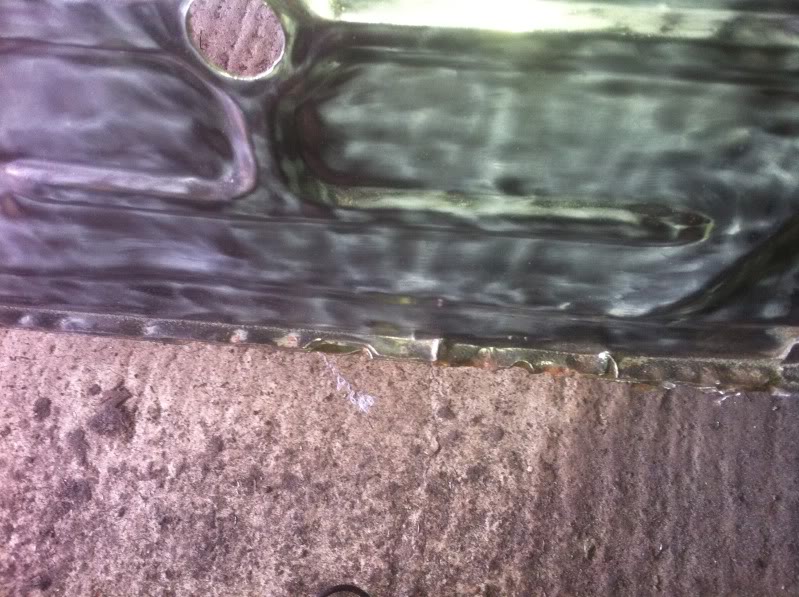
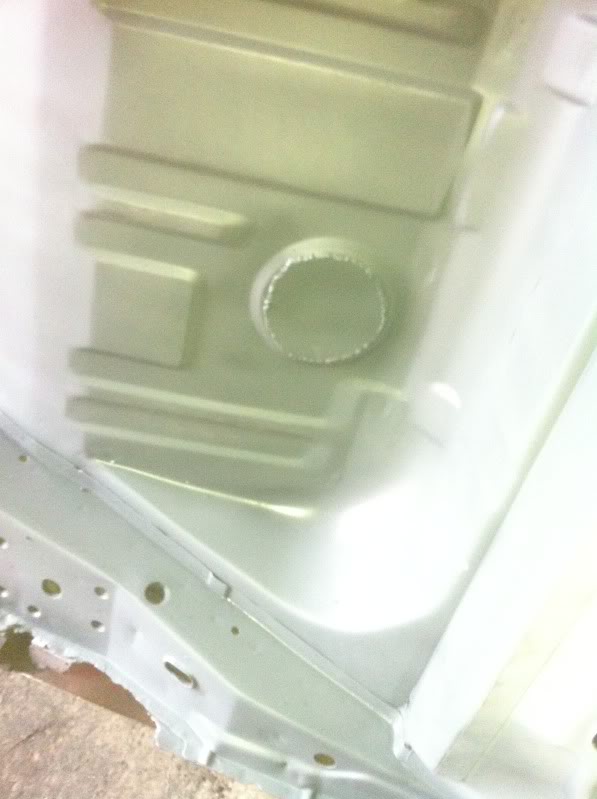
I then tapped flat and welded up some little vent type bits and a few screw holes and also the access hole for the fuel pump
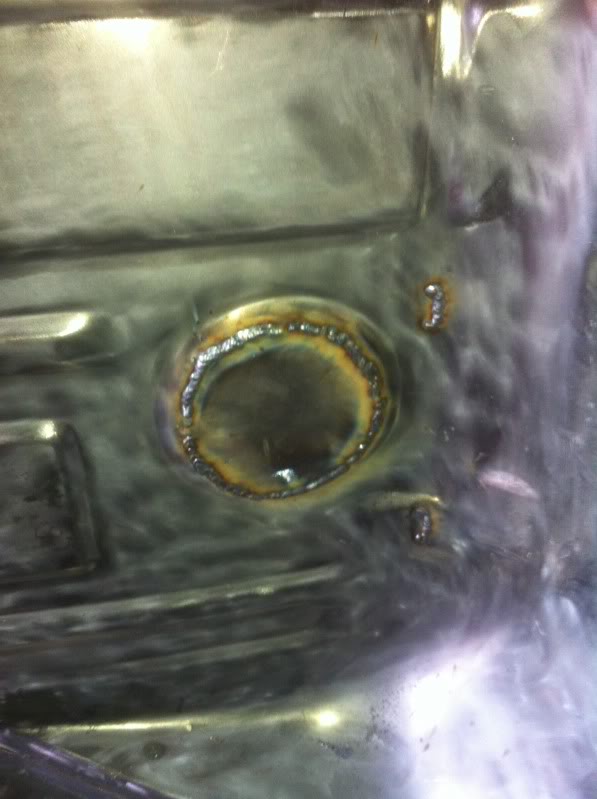
then flatted down the welds on the holes
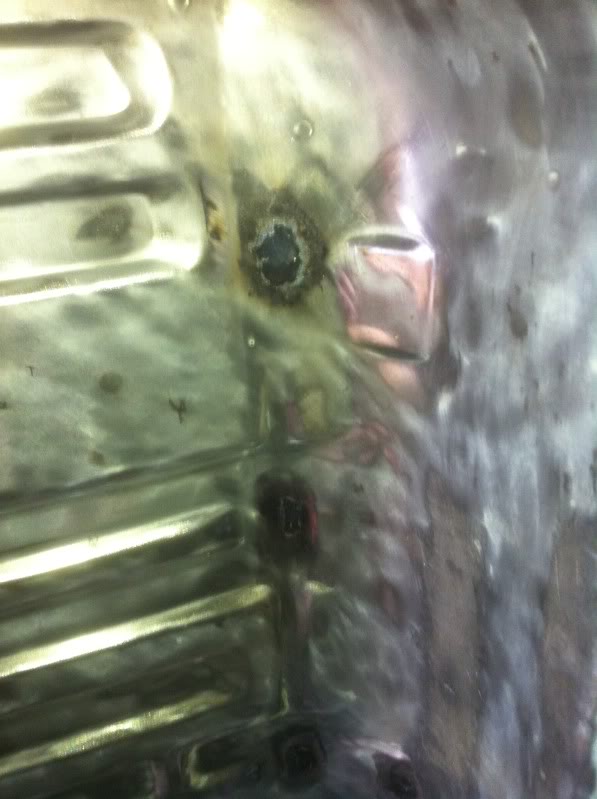
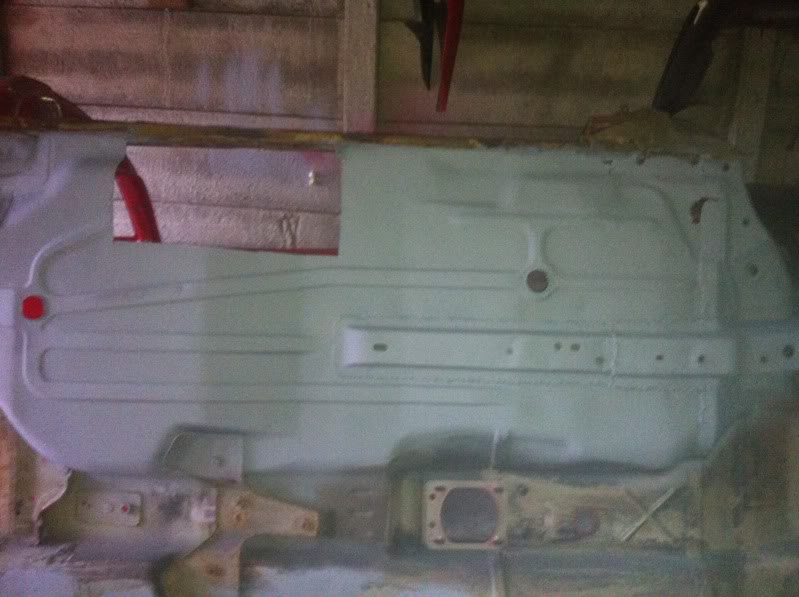
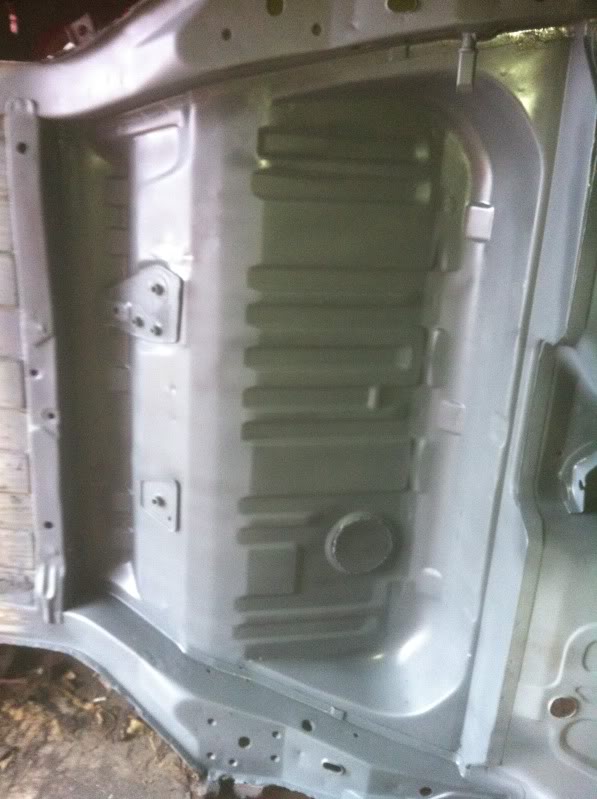
then all primed up in zinc primer
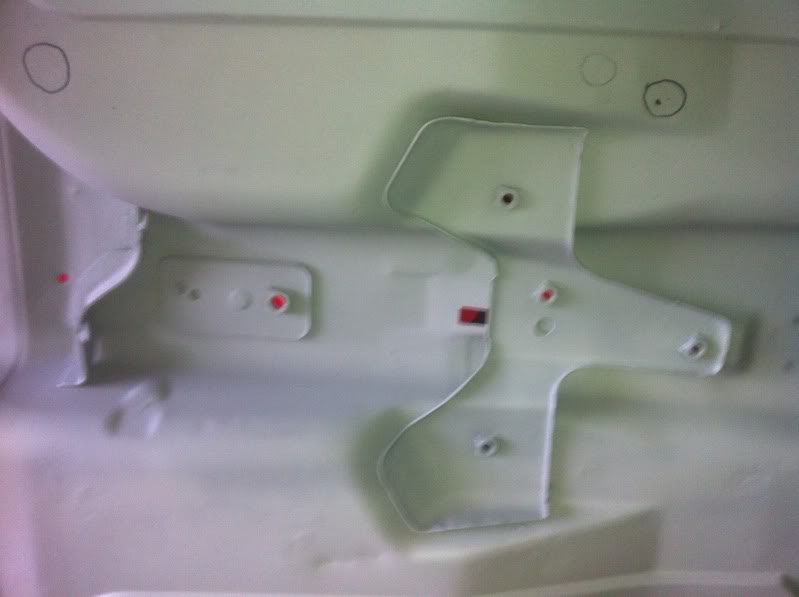
that's all the shell work for now. ive bought some panels ready to start on the major repairs and also I have found someone that's going to supply me the floorpan section and chassis outrigger I need, so that will be done soon. All ive got to do before that is de underseal and clean up the last rear section and rear arches and I can begin but still, plenty of welding to keep me warm in the winter months lol.
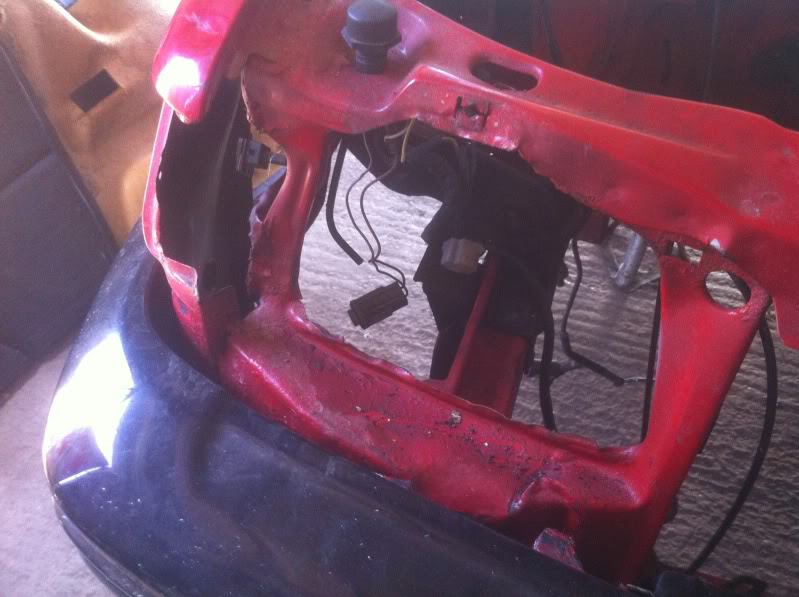
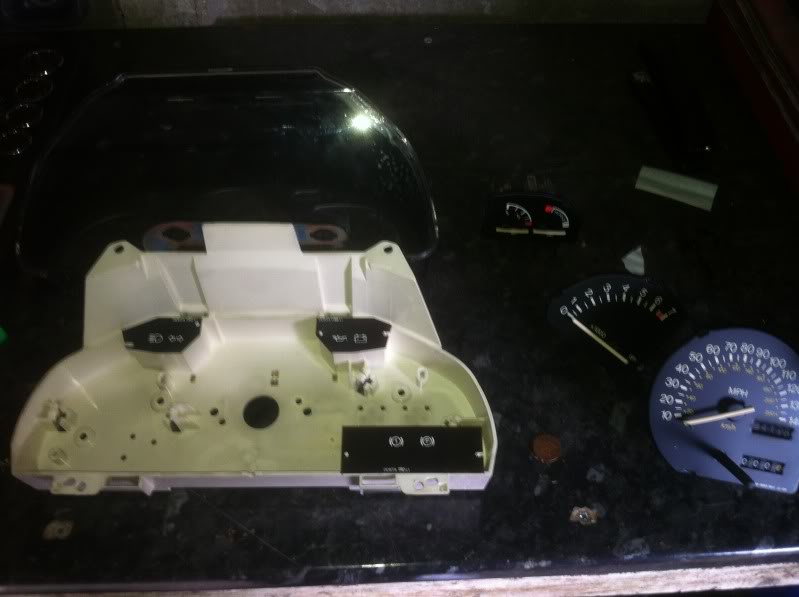
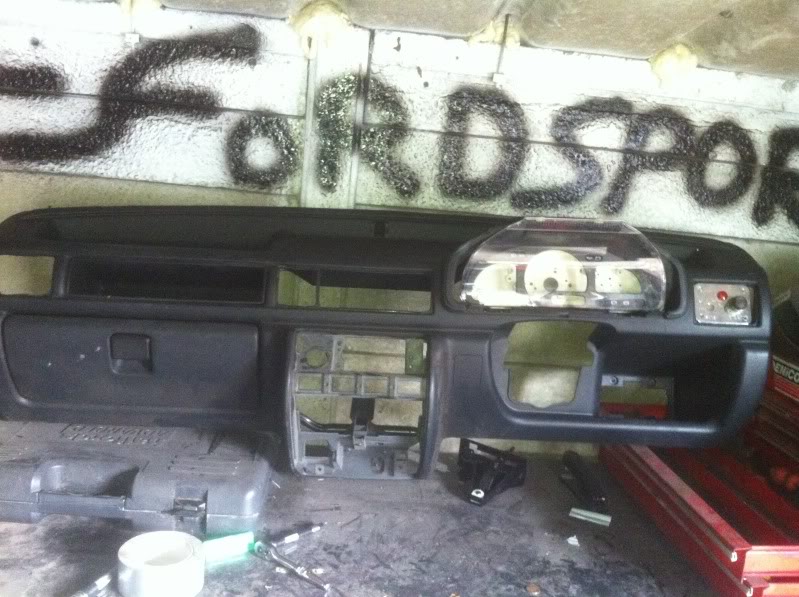
lastly I got bored one day and thought id pull out the dash and clocks and strip the internals out as im going to make up my own instrument panel in the original cluster, nothing special but I thought id show you anyway
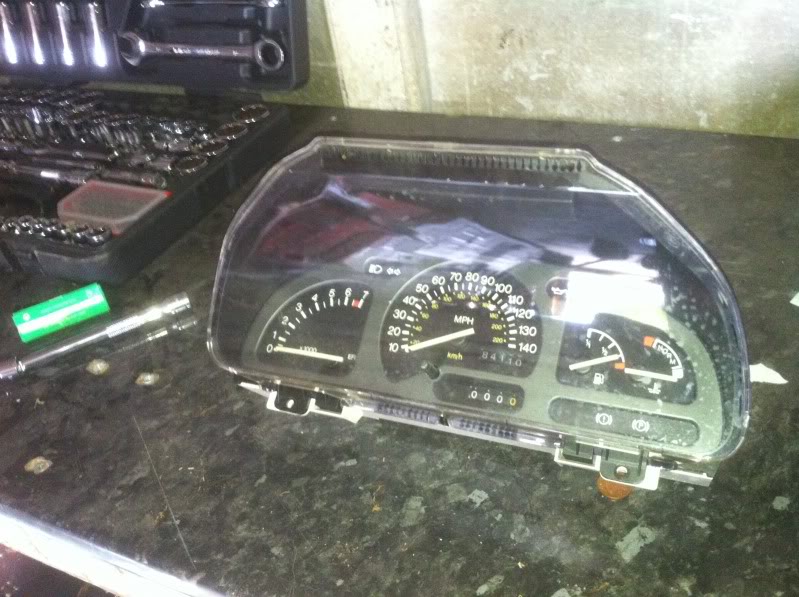
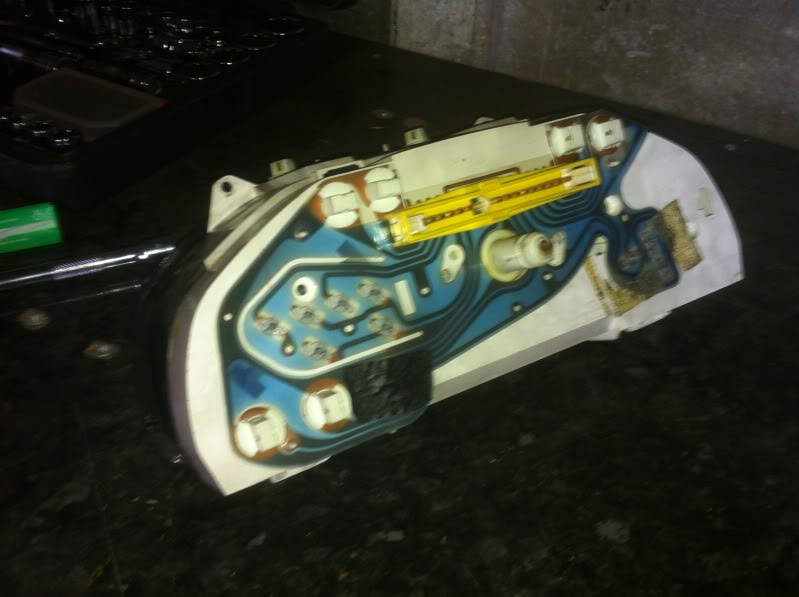
ive never seen these blunt needles before and ive gotta say, they are horrid!! the cluster must be from a non xr2i

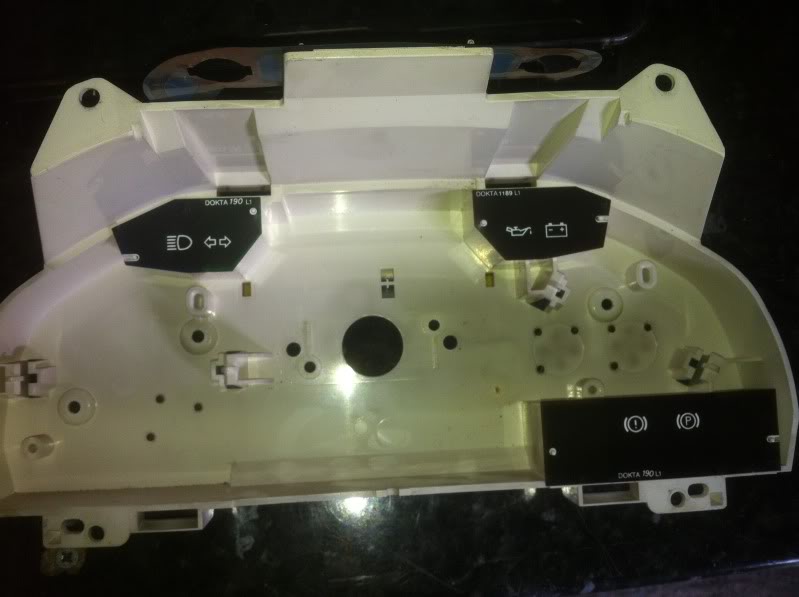
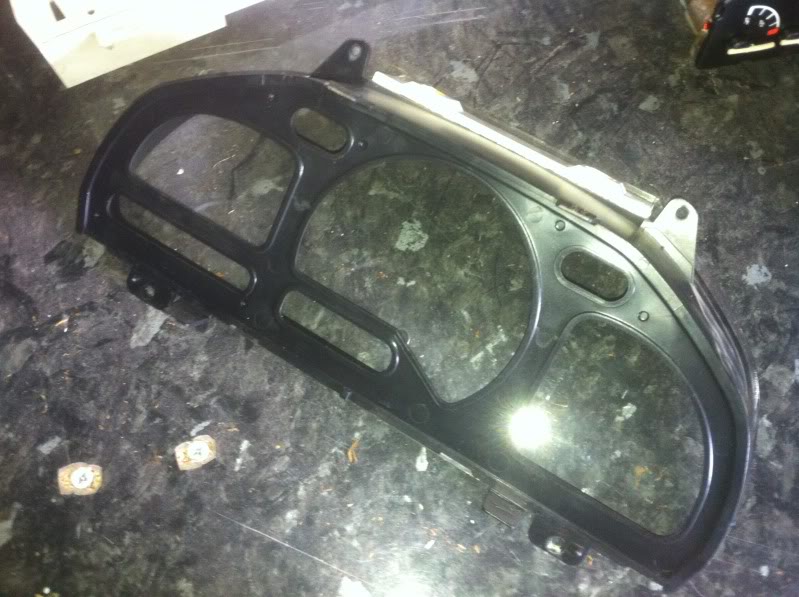
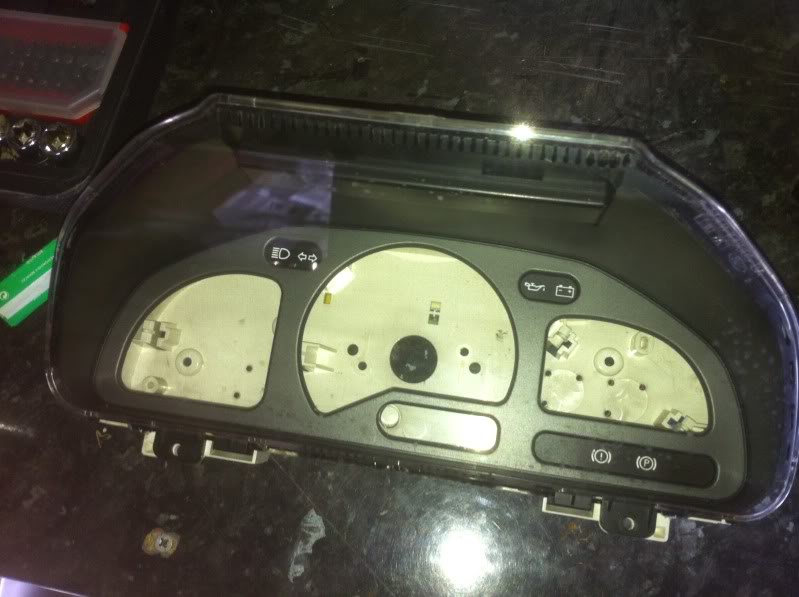
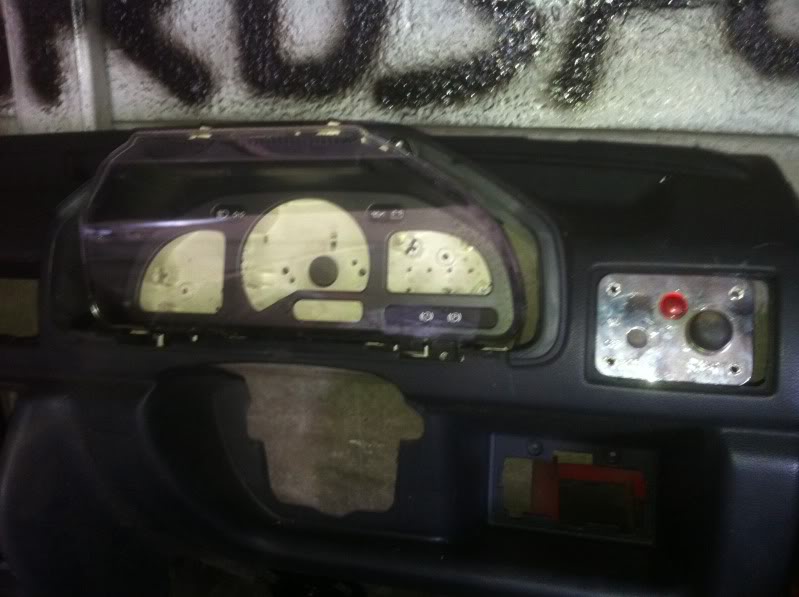
that's all for now folks
first thing to share is my lil idea on how to stop the layers of metal on the front chassis legs from swelling up like the offside one did. I baisicly just cleaned up and welded across the edge and ground it back down and once ive repaired the offside one ill do the same to that one


also ive welded the other chassis rail

also bare metaled the back half of the floor pan and welded up various screw holes


primed the offside half of the floorpan


then I got on to bare metalling the nearside section and all primed up with zinc primer


moving on to the rear end, this section was coved in all sorts of crap and is a pain to strip off, also im planning to have the fuel tank inside the car and obviously no spare wheel so im cutting off all the brackets that wont be used, heres a few of the state of the back end.


proving a bitch to get out of here lol
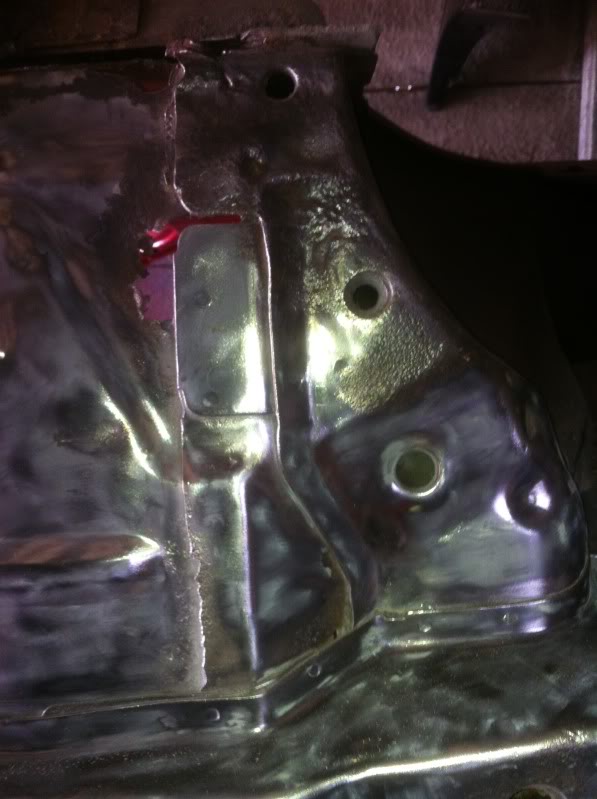
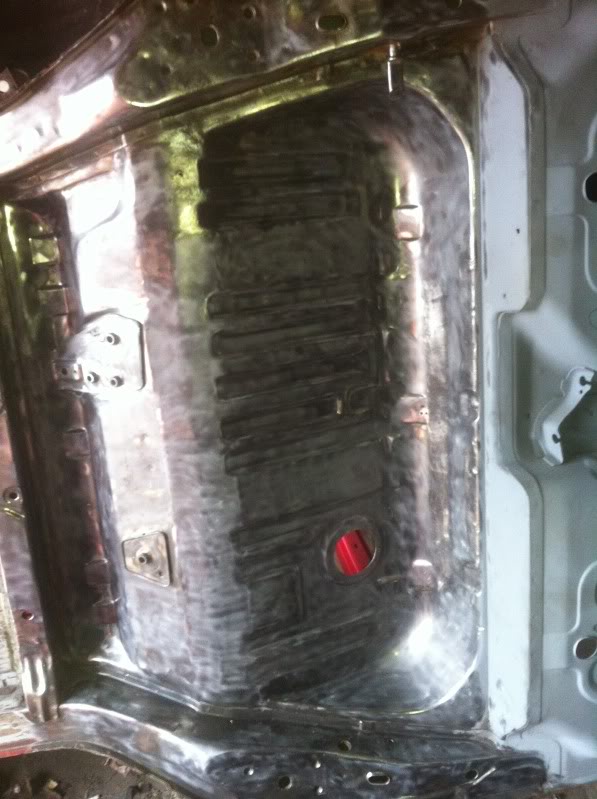
unused brackets removed


then bare metalled


I then tapped flat and welded up some little vent type bits and a few screw holes and also the access hole for the fuel pump


then flatted down the welds on the holes


then all primed up in zinc primer


that's all the shell work for now. ive bought some panels ready to start on the major repairs and also I have found someone that's going to supply me the floorpan section and chassis outrigger I need, so that will be done soon. All ive got to do before that is de underseal and clean up the last rear section and rear arches and I can begin but still, plenty of welding to keep me warm in the winter months lol.
lastly I got bored one day and thought id pull out the dash and clocks and strip the internals out as im going to make up my own instrument panel in the original cluster, nothing special but I thought id show you anyway


ive never seen these blunt needles before and ive gotta say, they are horrid!! the cluster must be from a non xr2i


that's all for now folks
16-09-2013, 09:28 PM
#14
Wahay!! I've lost my Virginity!!

Join Date: Sep 2010
Location: Devon
Posts: 72
Likes: 0
Received 0 Likes
on
0 Posts
this is great work buddy. I had to do a lot of work to my zetec s shell and the amount of effort that went in to that was massive.
All the hard work will pay off soon though. The shell work is the hard part the rest gets a lot easier .
Are going to seam weld the whole shell?
All the hard work will pay off soon though. The shell work is the hard part the rest gets a lot easier .
Are going to seam weld the whole shell?
17-09-2013, 07:59 PM
#15
PassionFord Regular
Thread Starter
iTrader: (1)
Join Date: May 2009
Location: eastbourne
Posts: 477
Likes: 0
Received 0 Likes
on
0 Posts
yea tis true, the shell work id going to be hard but I do like abit of metal work. im only really going to seam weld the front chassis mainly just for abit of extra strength as I want to do big power zetec tubo 
09-12-2013, 08:11 PM
#16
PassionFord Regular
Thread Starter
iTrader: (1)
Join Date: May 2009
Location: eastbourne
Posts: 477
Likes: 0
Received 0 Likes
on
0 Posts
Hello good ford people. Just thought id let you know how the fiesta is going. Slowly is the answer lol. My excuse is im starting up my own garage in the new year so ive been working on that and ive got a workshop big enough to perminantly home the fiesta also i have a very poorly saph cos rep which needs some tlc and is my daily/rolling project (ill do a thread one day lol). Any way i havent totally forgot the fez has i now have both inner arches, both outer arches, both sills, floorpan section and chassis out rigger and enough primer, sheet metal and consumables to do the whole job cant wait yo get cracking on with it again and in a proper workshop, not just a borrowed garage lol. Ill be adding pics of the big move soon so watch this space...........
09-12-2013, 08:53 PM
#18
PassionFord Regular

Good to hear you got all the stuff ready for the work to continue. even better to hear you got a new permanent place to work on the fez. Hope you still have time to plough on and get more done cos I'm enjoying this thread 
09-12-2013, 10:57 PM
#19
PassionFord Regular
Thread Starter
iTrader: (1)
Join Date: May 2009
Location: eastbourne
Posts: 477
Likes: 0
Received 0 Likes
on
0 Posts
Thanks guys. Yea the plan is to get in the workshop and then spend abit of time on both cars, but i just cant wait to work on the fez again. Roll on january
12-04-2014, 05:39 AM
#20
Virgin

Join Date: Apr 2014
Location: Northants
Posts: 1
Likes: 0
Received 0 Likes
on
0 Posts
Fantastic story jon, I've just brought a fez rs turbo and pick it up Monday, you have scared e to death looking at yours 😥😥😥😥.
Hopefully a toy for life, have you done much to yours this year ??
Hopefully a toy for life, have you done much to yours this year ??

Thread
Thread Starter
Forum
Replies
Last Post
JoeyBoyden
Restorations, Rebuilds & Projects.
26
04-01-2024 02:36 PM