My 24v sapphire, re-shell


 30-05-2012, 05:49 PM
#44
 06-06-2012, 08:49 PM
#47
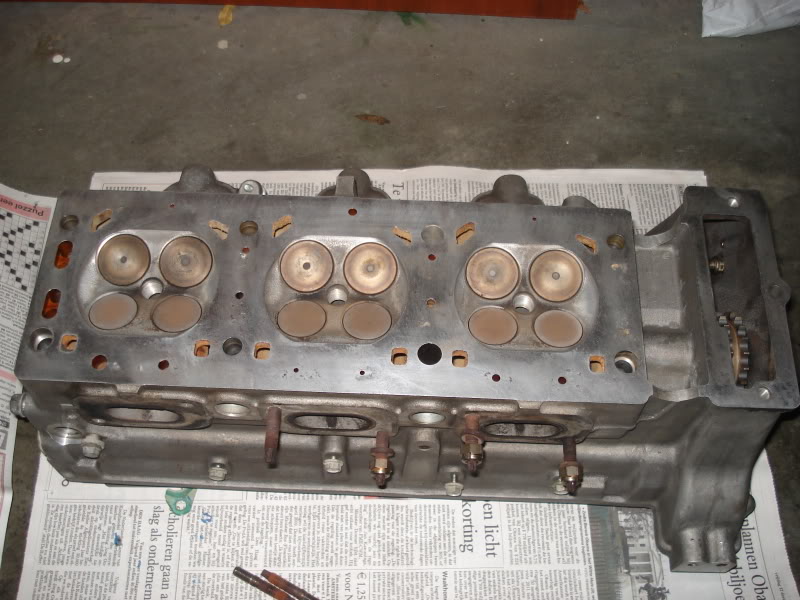
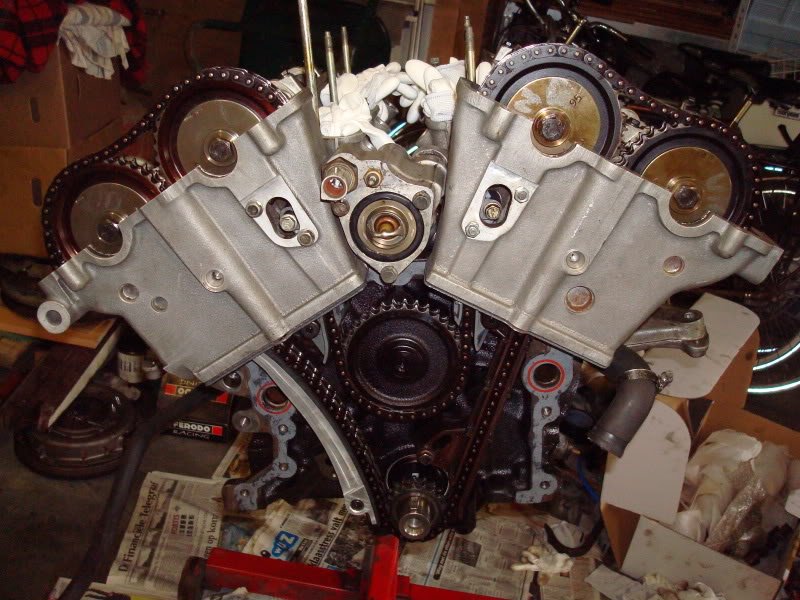
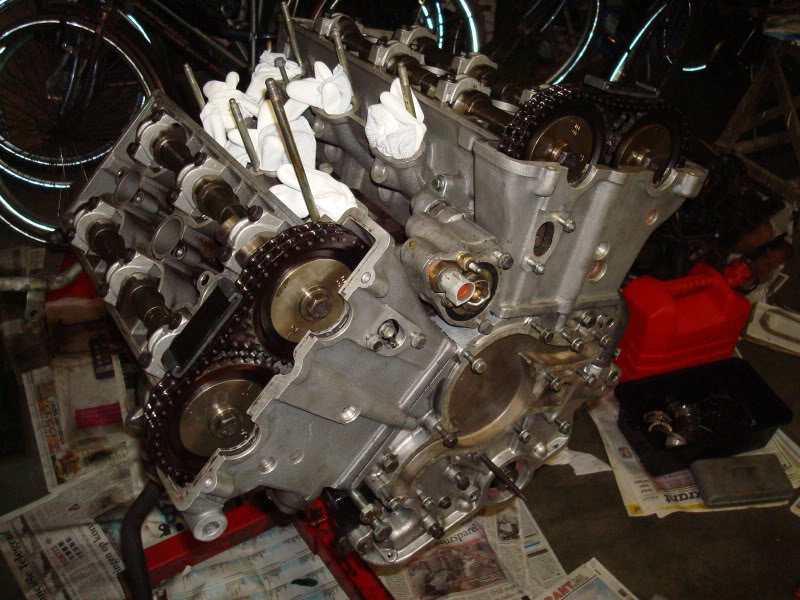
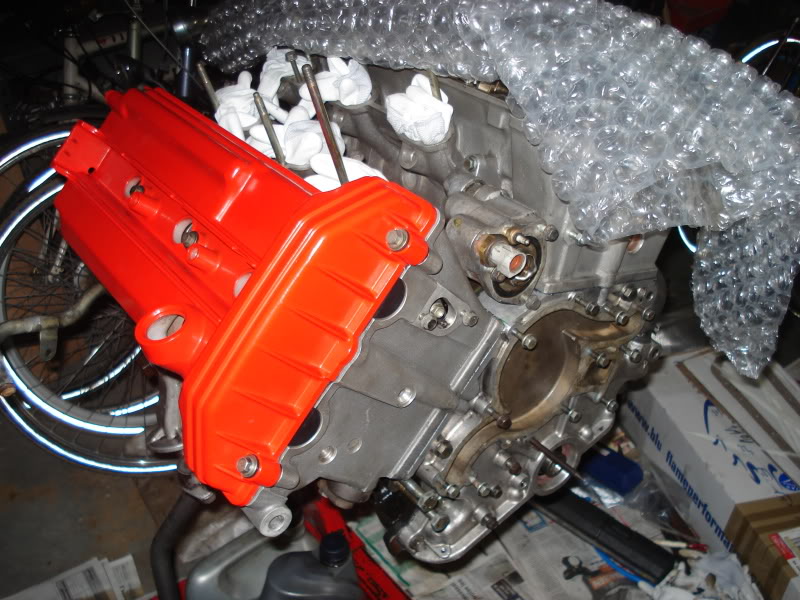
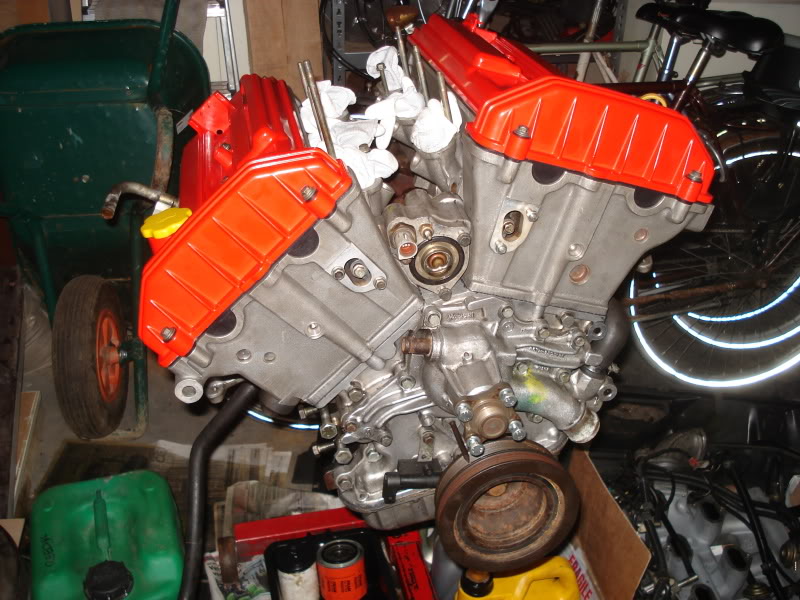
Put all the tappets back in, the inlet cam (got some BOB cams to fit right away  ) of the left head, together with the chain and chain guides on the left side.
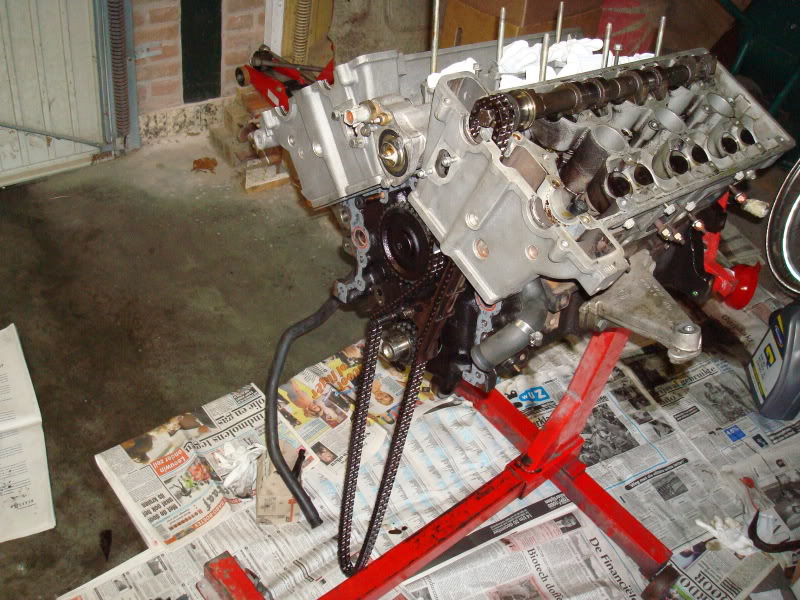
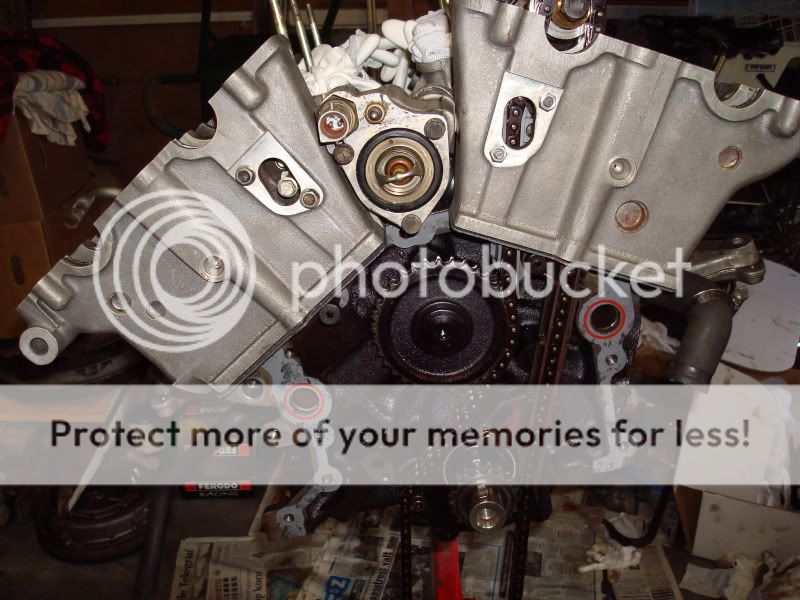
And the inlet cam and guides on the right side fitted.

Fitted the exhaust cams and the left side sprockets.

And the right side sprockets and lining it all up.
And the inlet cam and guides on the right side fitted.
Fitted the exhaust cams and the left side sprockets.
And the right side sprockets and lining it all up.

 07-06-2012, 08:10 PM
#50
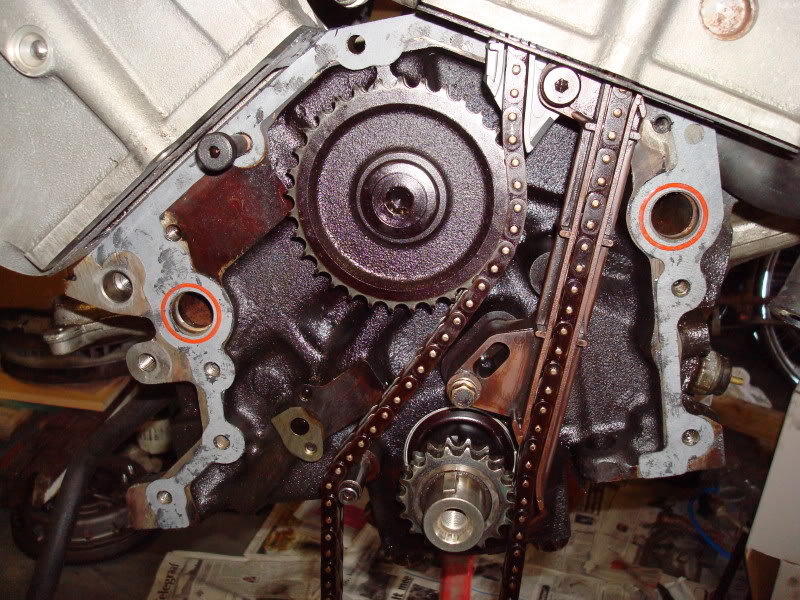
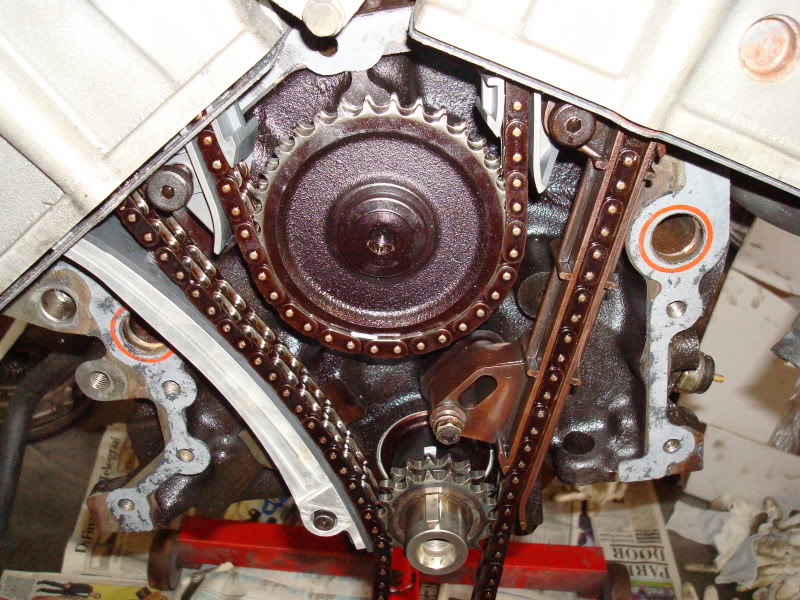
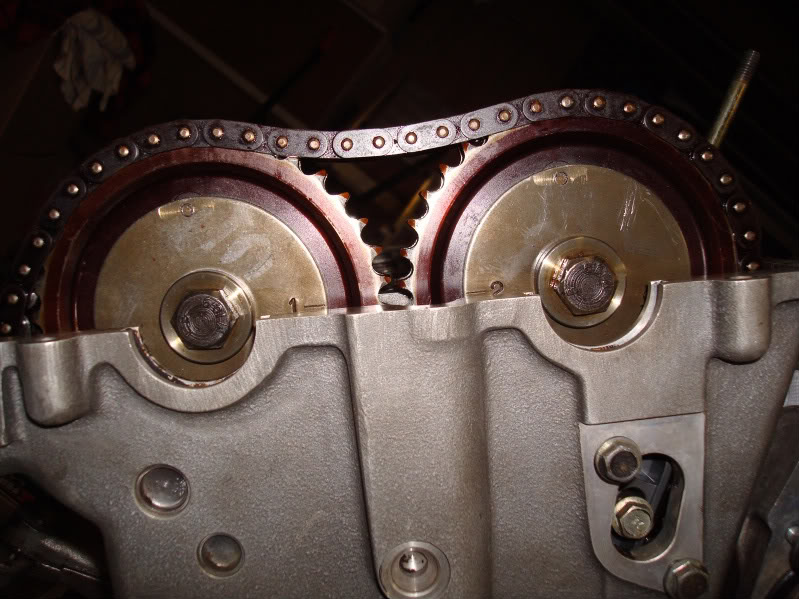
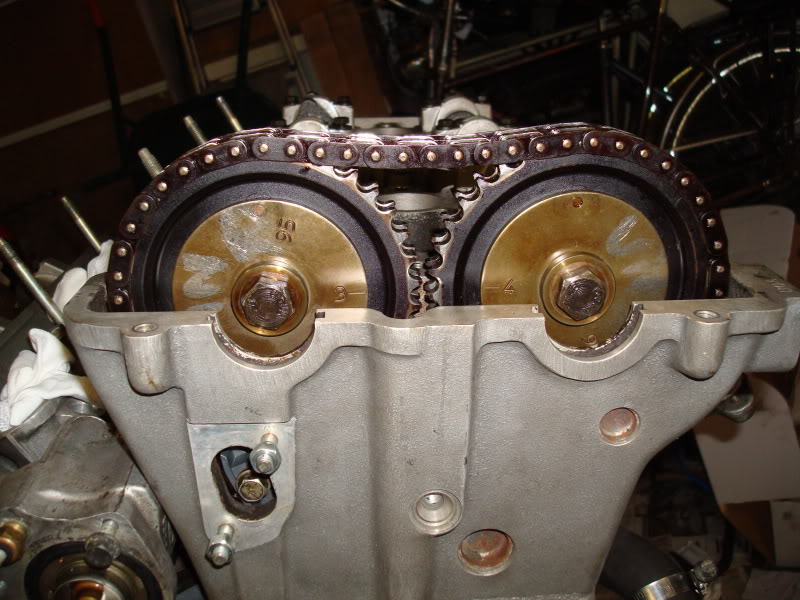
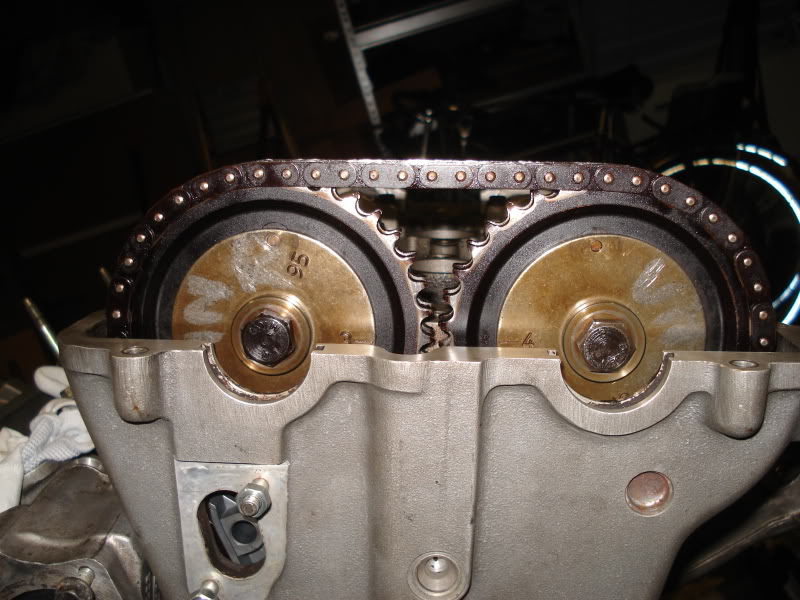
Put the chain tensioner in so the chain is straight between the sprockets, to verify the timing. I noticed the slack in the chain will easily cause the chain to be 1 tooth out when it's not tensioned.
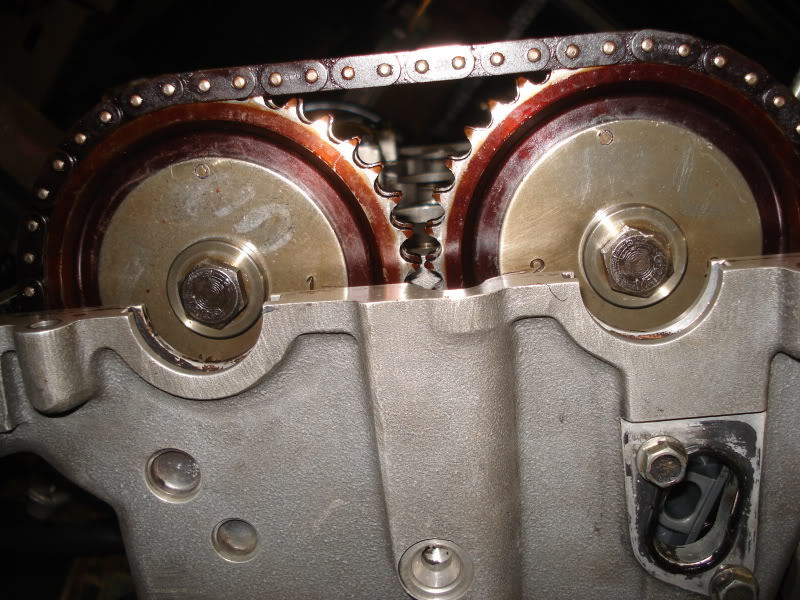
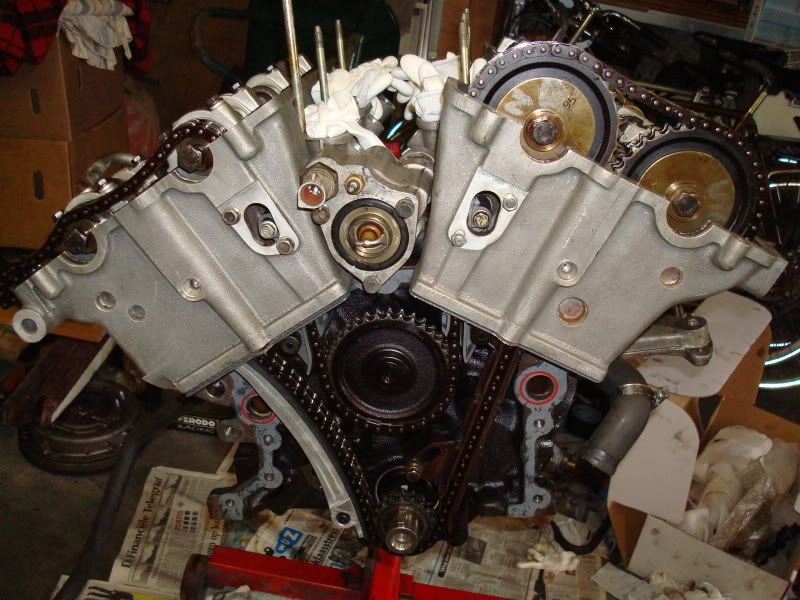
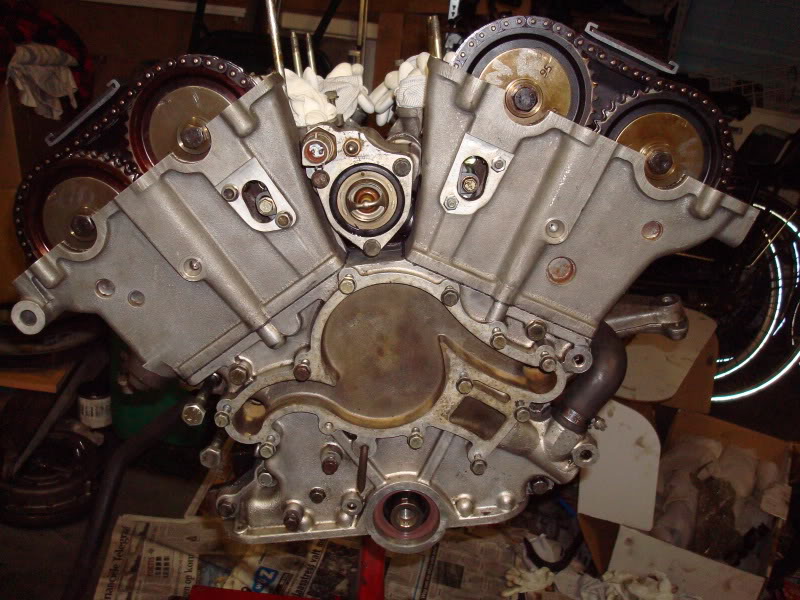
Put the timing cover back on and also the top chain guides.
Put the timing cover back on and also the top chain guides.
07-06-2012, 08:59 PM
#51
Fart of the Purniture
Marc, I know you converted the Saff some time ago, is this engine work current?
Forgive me if I missed this point elsewhere in the thread.
Top, top work as always
Forgive me if I missed this point elsewhere in the thread.
Top, top work as always
07-06-2012, 09:10 PM
#52
10-06-2012, 08:36 PM
#53
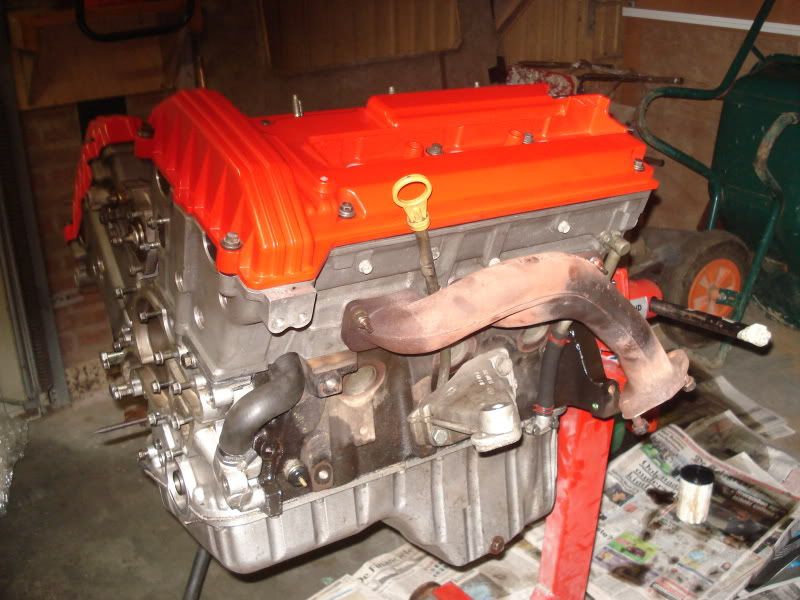
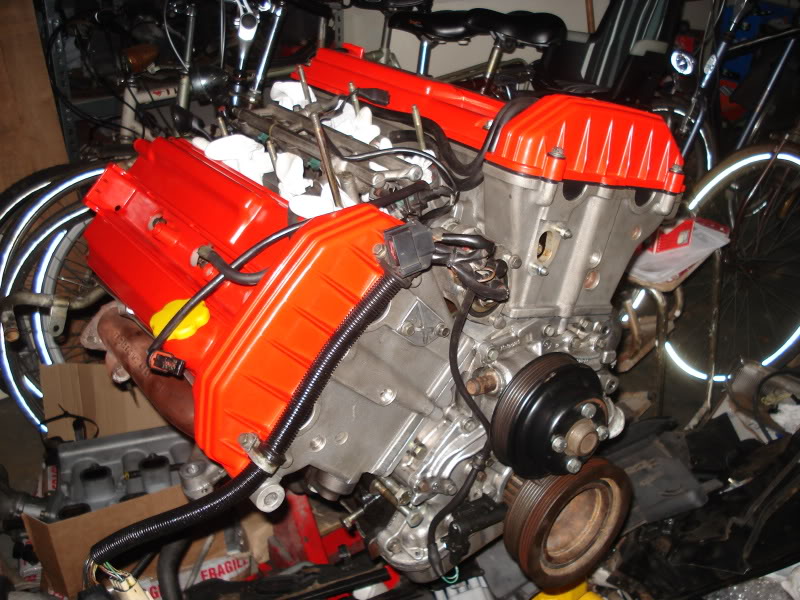
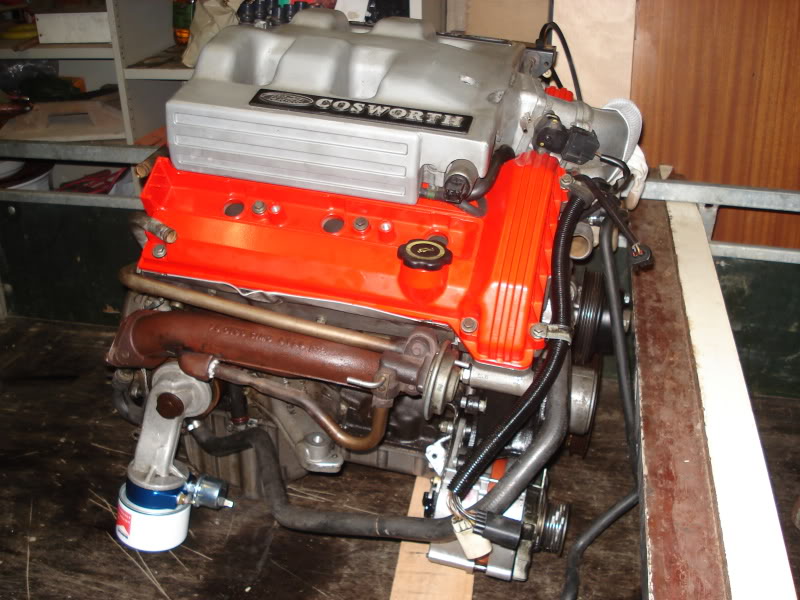
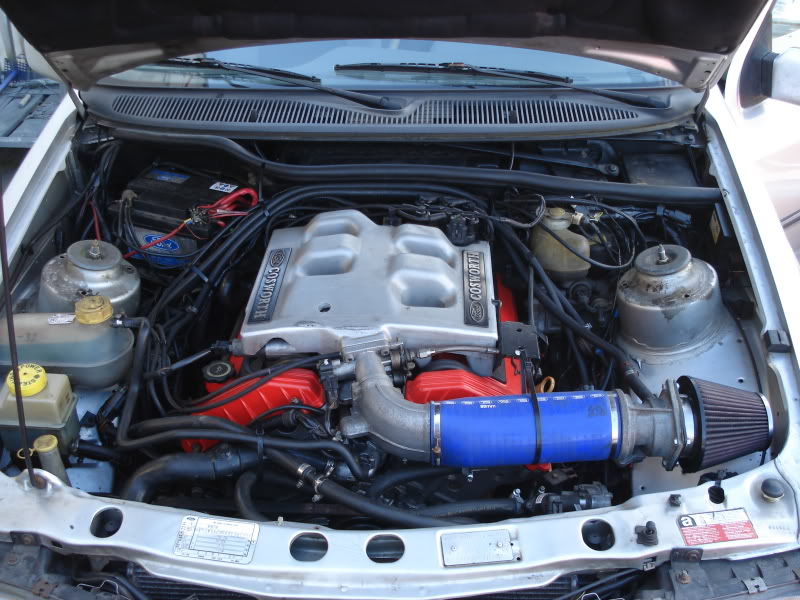
I had the cam covers blasted and poader coated.
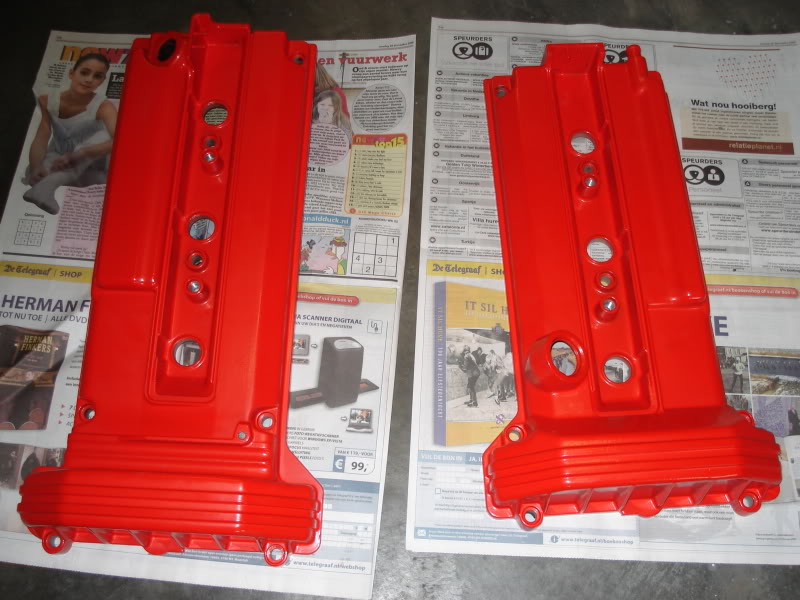
And fitted them afterwards. Before fitting them I thoroughly checked for any blast material inside the covers, but there was not one in there.
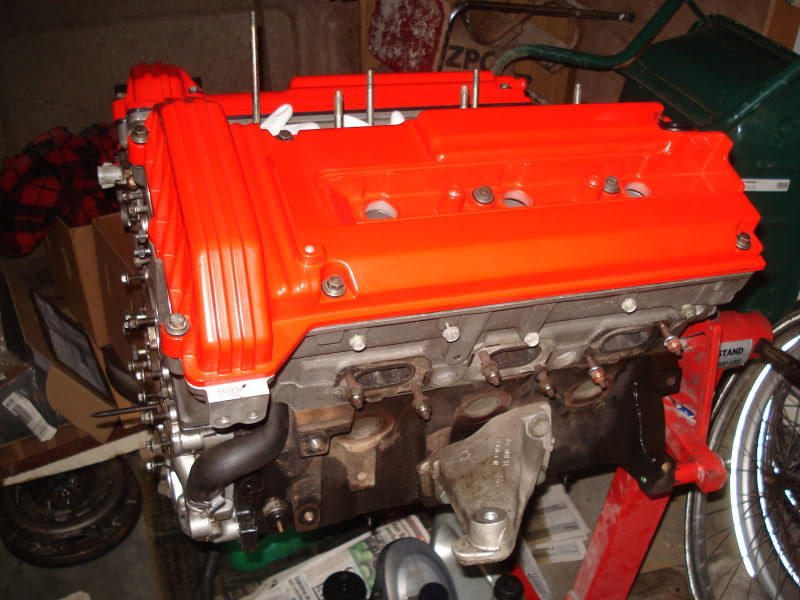
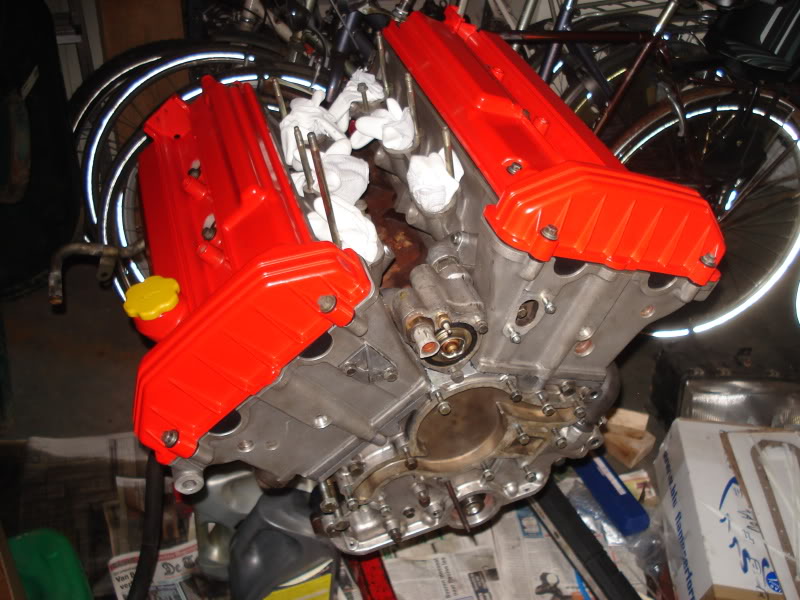
In the pictures it seems a bit orange, but in real life it's a nice red colour. 8)
And fitted them afterwards. Before fitting them I thoroughly checked for any blast material inside the covers, but there was not one in there.
In the pictures it seems a bit orange, but in real life it's a nice red colour. 8)
12-06-2012, 06:59 PM
#54
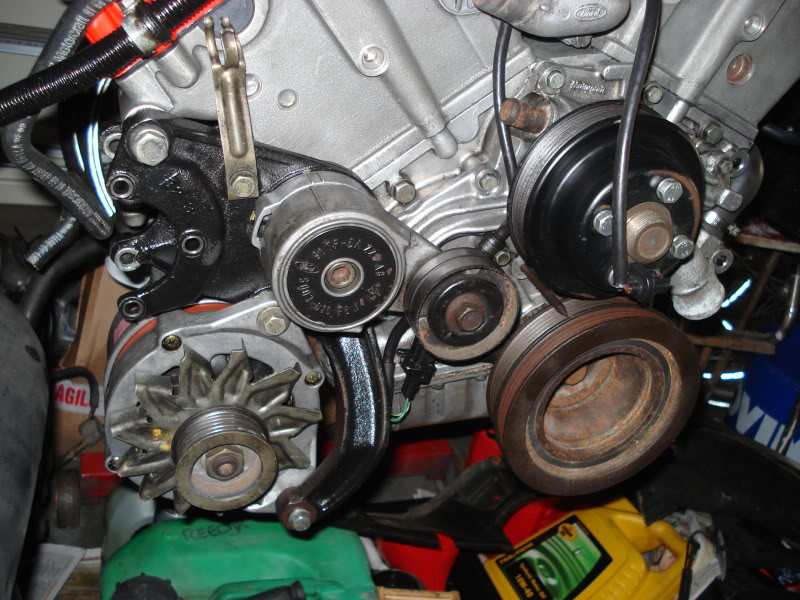
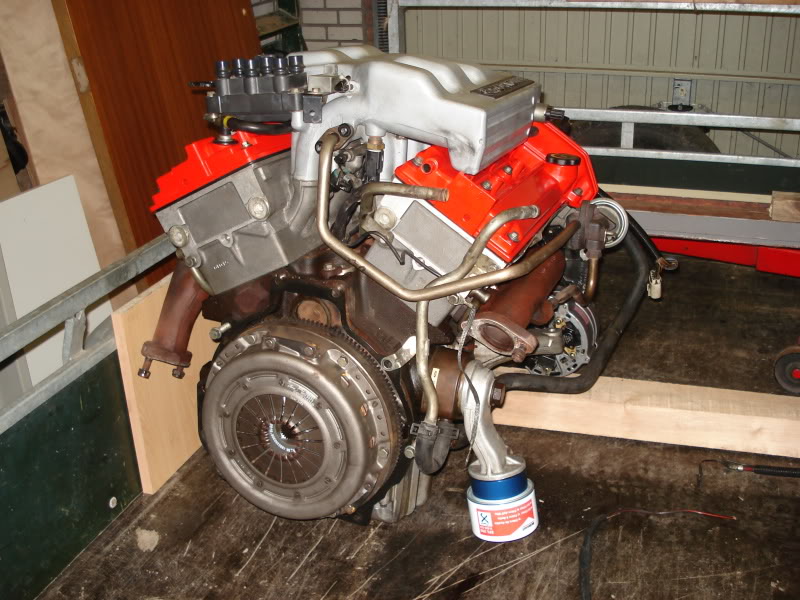
Took the oil pump apart to check it for wear.
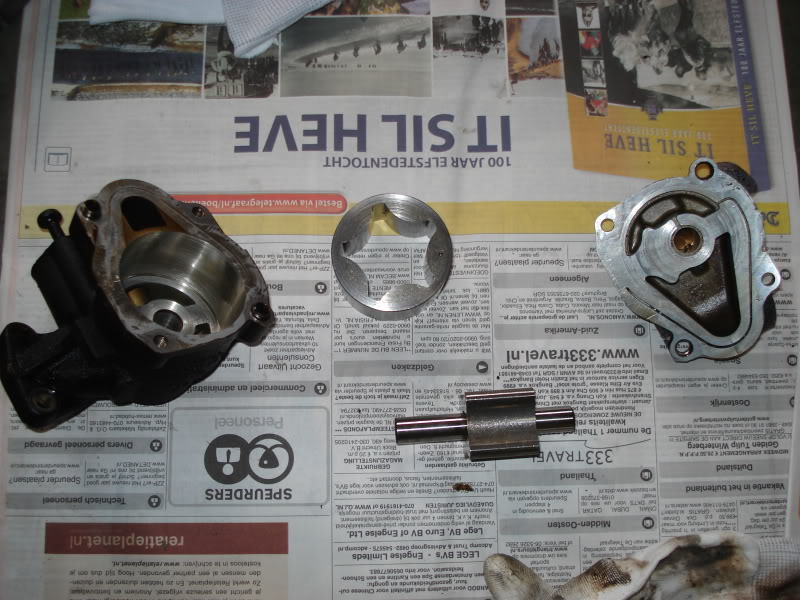
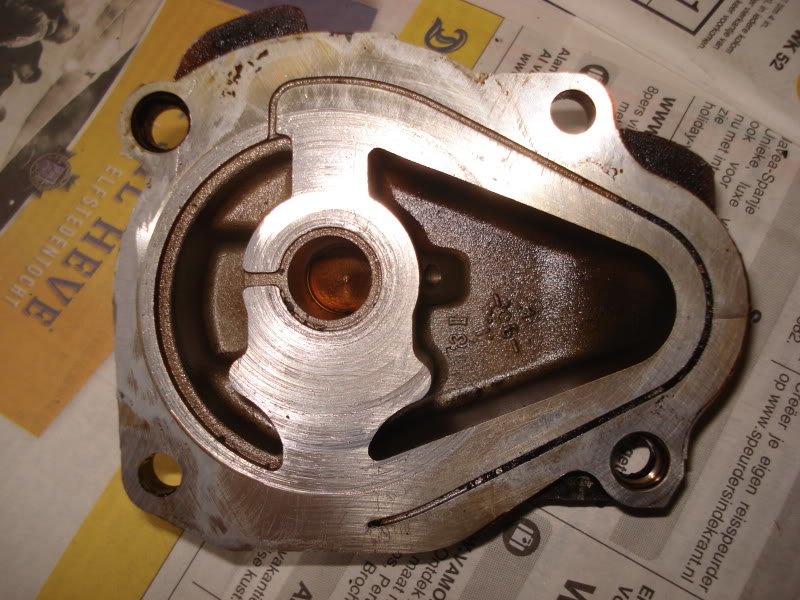
I thought it look quite OK, so I put it back together.
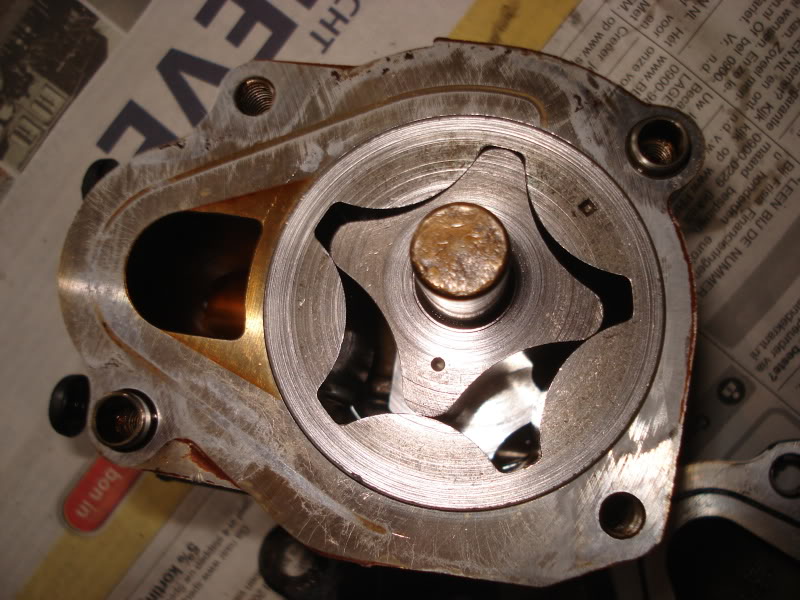
And bolted it back on the engine.

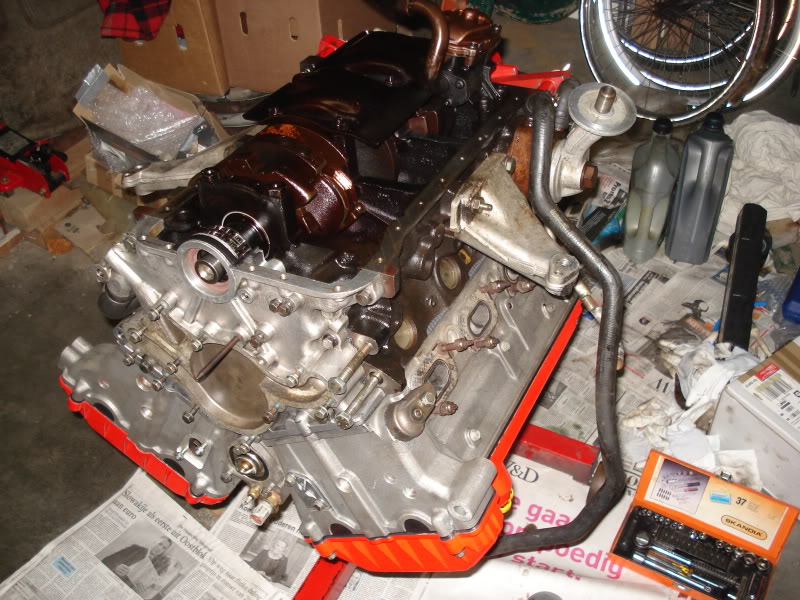
After that the sump could be mounted again.

Refitted the exhaust manifolds.
And the crank pulley with the water pump.
The water pump pulley and fuel rail with injectors.
Alternator with bracket and tensioner...
I thought it look quite OK, so I put it back together.
And bolted it back on the engine.
After that the sump could be mounted again.
Refitted the exhaust manifolds.
And the crank pulley with the water pump.
The water pump pulley and fuel rail with injectors.
Alternator with bracket and tensioner...
12-06-2012, 08:37 PM
#55
Part of the Furniture
Join Date: Sep 2007
Location: darkess ballymoney.n.ireland
Posts: 182
Likes: 0
Received 0 Likes
on
0 Posts
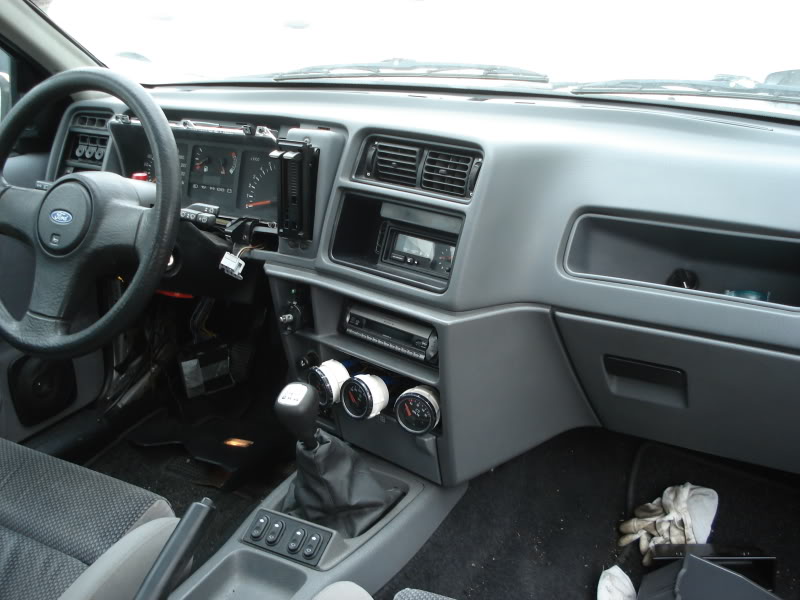
seen a few of these done over the years and all had problems with the rev counter. were you able to retain the sierra tacho?
awesome work by the way,real credit to you!!!!
awesome work by the way,real credit to you!!!!
13-06-2012, 07:04 PM
#57
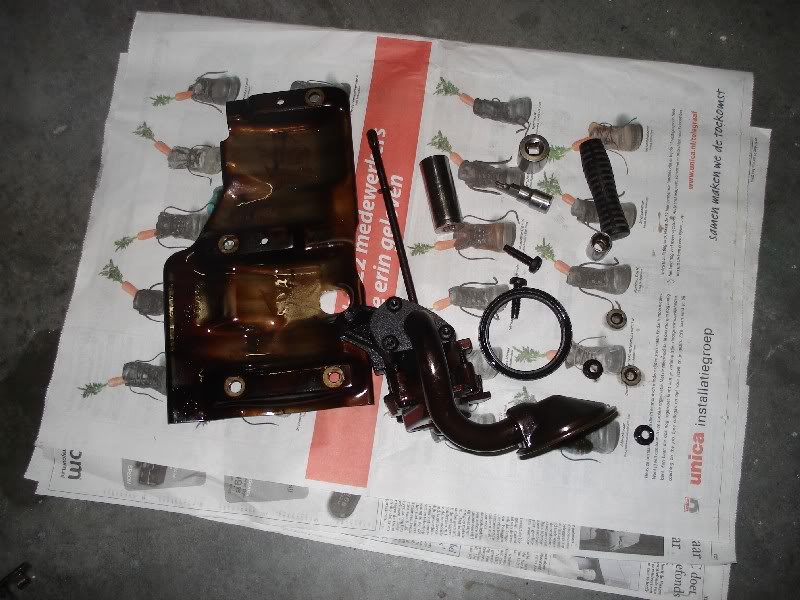
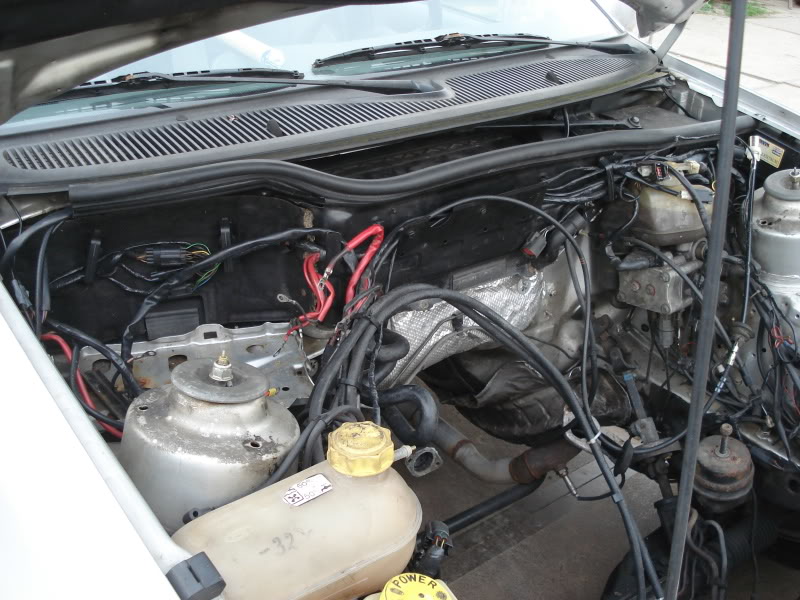
Fitted the plenum together with the EGR valve and piping.
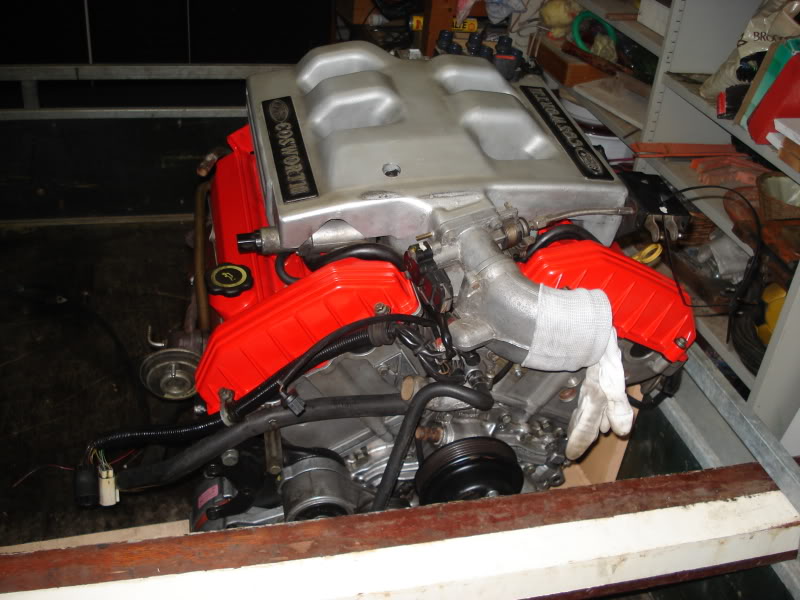
I also fitted a sandwich plate between the remote arm and oil filter, so I could fit a oil pressure and oil temperature sensor.
And refitted the flywheel and clutch.
I also fitted a sandwich plate between the remote arm and oil filter, so I could fit a oil pressure and oil temperature sensor.
And refitted the flywheel and clutch.
 14-06-2012, 09:10 PM
#59
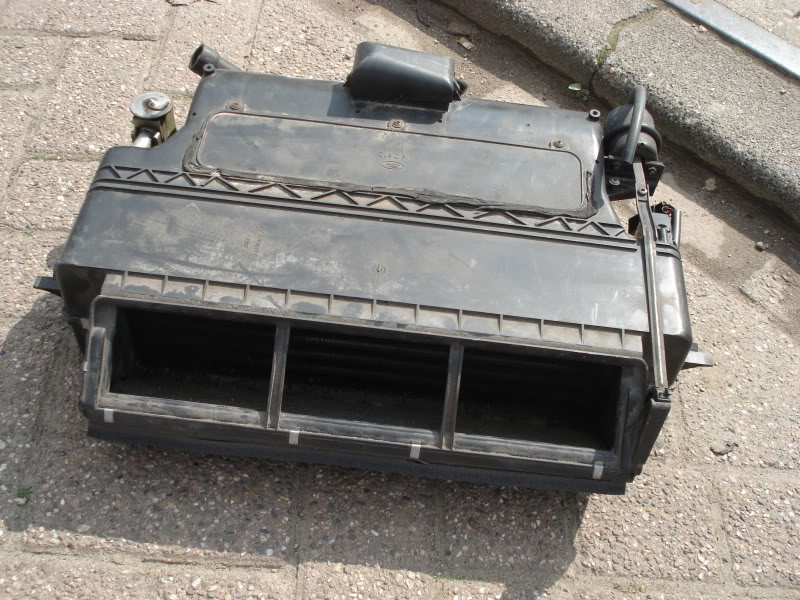
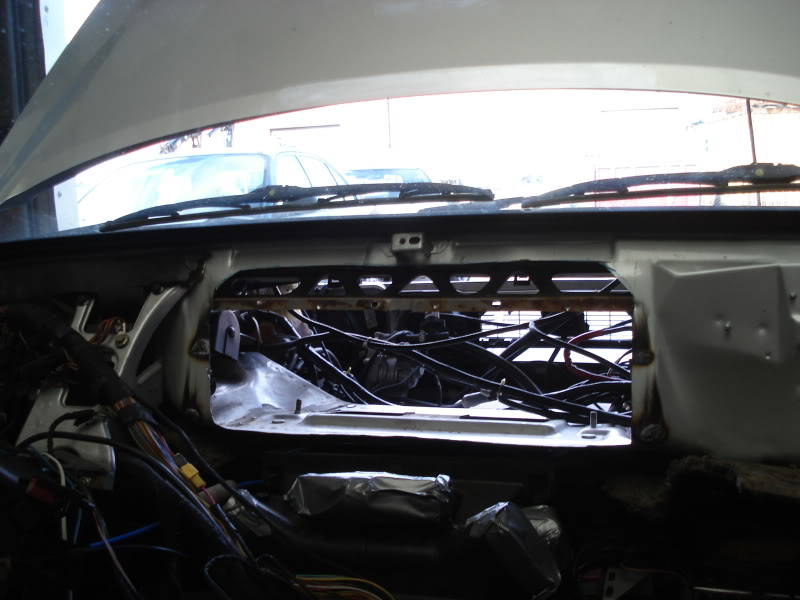
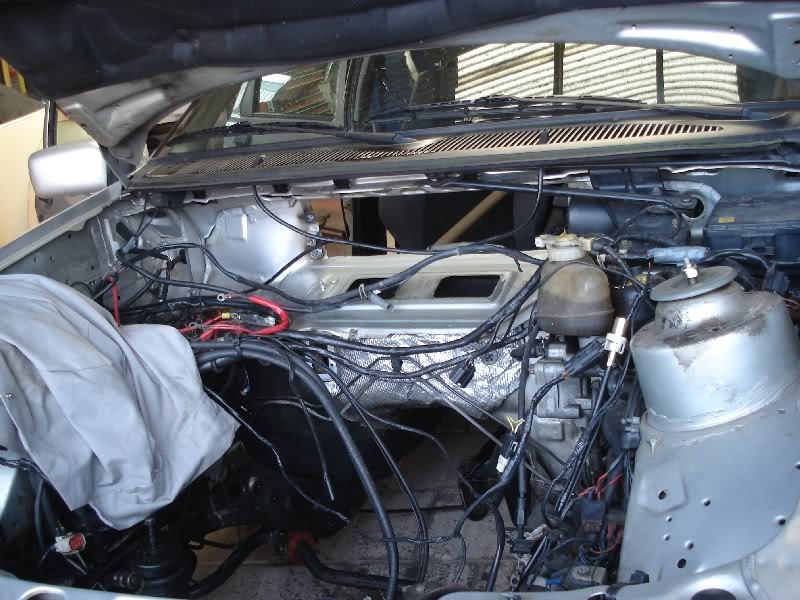
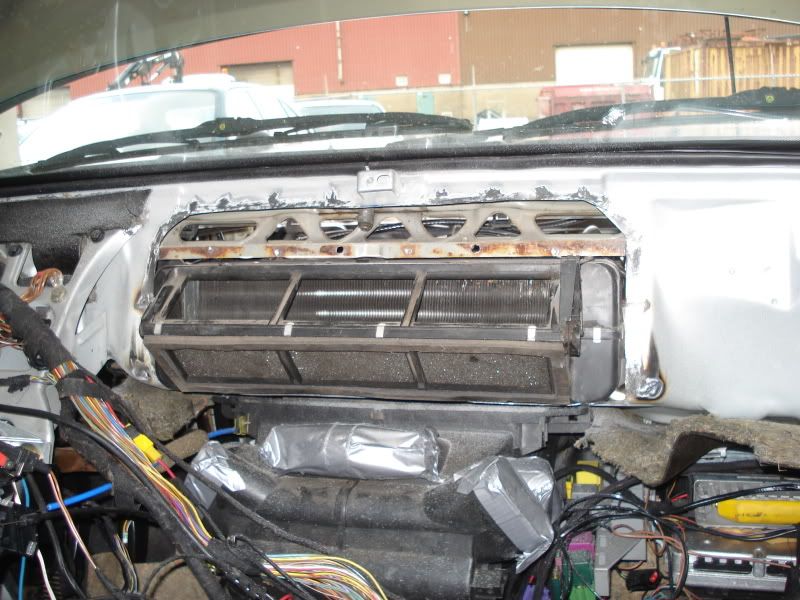
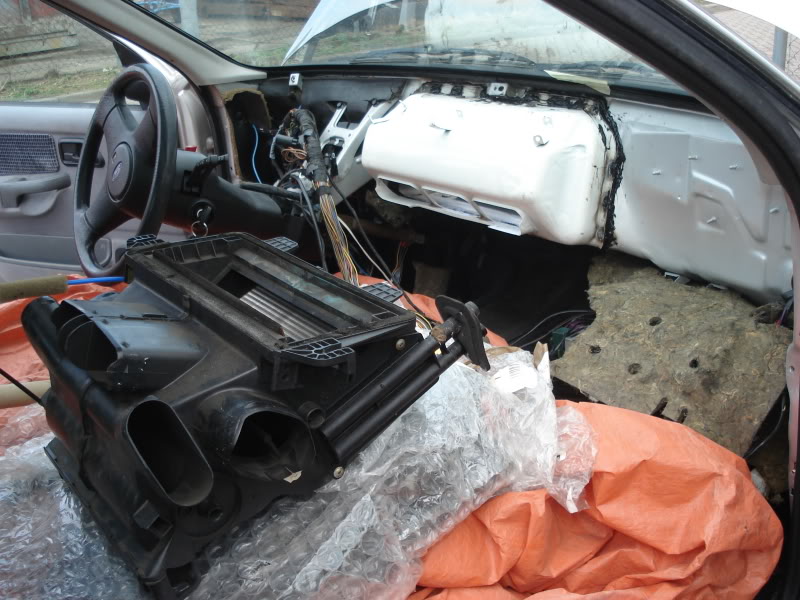
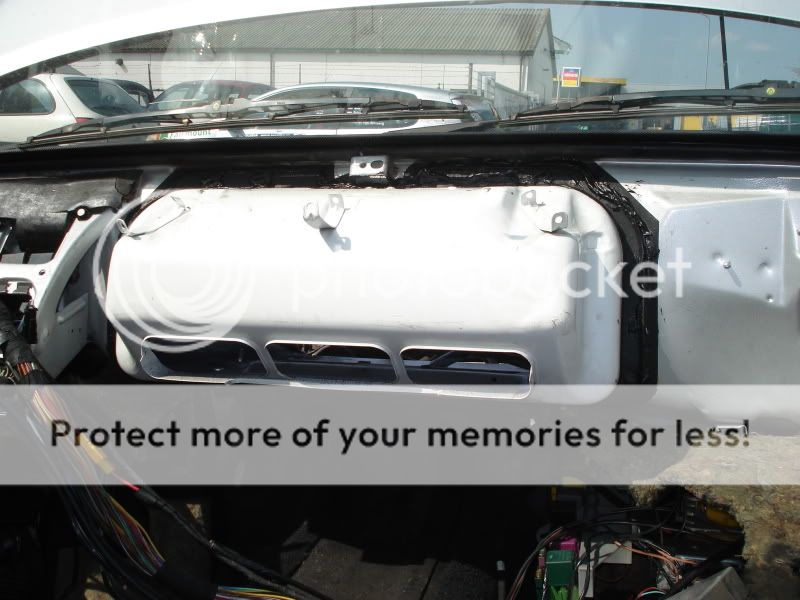
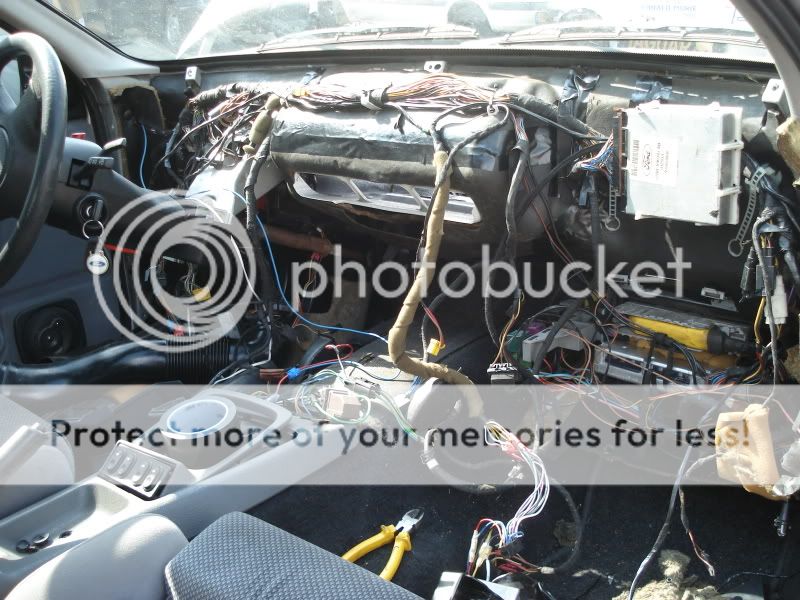
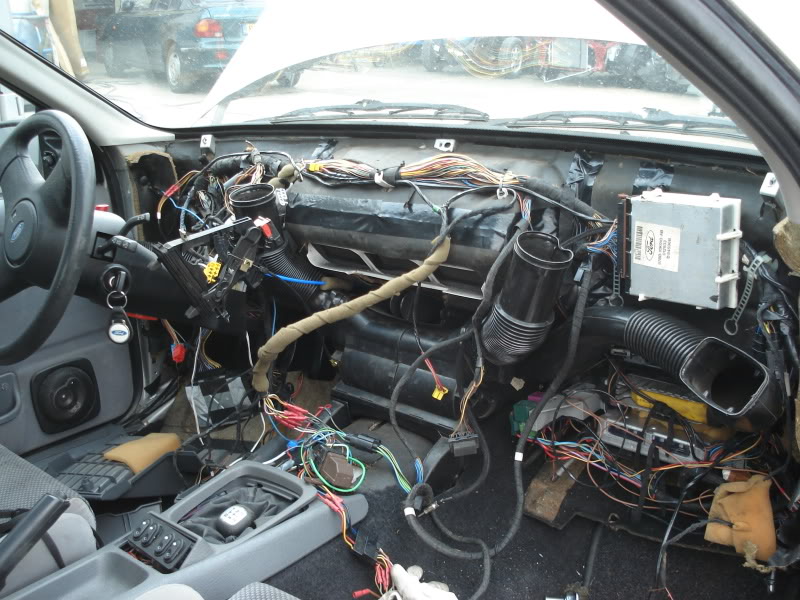
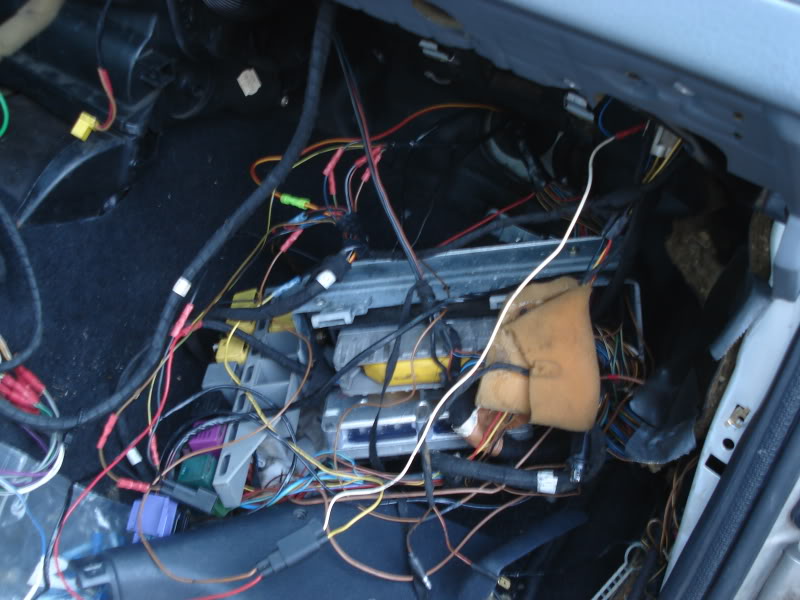
Since the engine was still not in the car and I had been planning to retrofit aircon for a while this seemed like a nice moment to make some preparations.
On a Sierra fitted with aircon, the bulkhead is different because the vaporizer slides halfway through. So I started taking the dash out and removing some sound deadening material from the bulkhead. After that I measured and marked the part that needs to be removed.
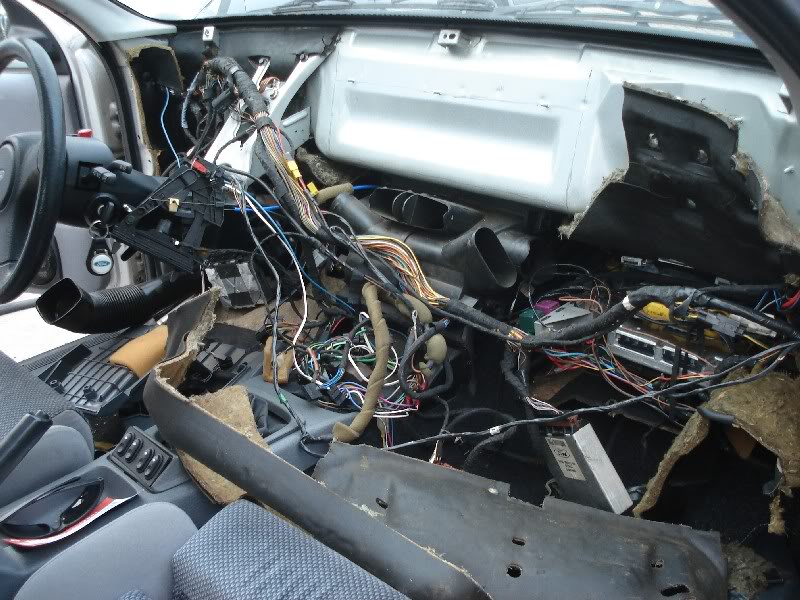
On a Sierra fitted with aircon, the bulkhead is different because the vaporizer slides halfway through. So I started taking the dash out and removing some sound deadening material from the bulkhead. After that I measured and marked the part that needs to be removed.
16-06-2012, 01:16 PM
#62
Hi mate! Yes, all is well. When looking at yours and everything you've done to it, it doesn't look like you need any help at all.  How's the turbo conversion working on the 24v? It seems to be making around stage 3 YB power, but I suppose it should have quite a bit more torque at low revs? Is it still standard compression?
 18-06-2012, 04:06 PM
#64
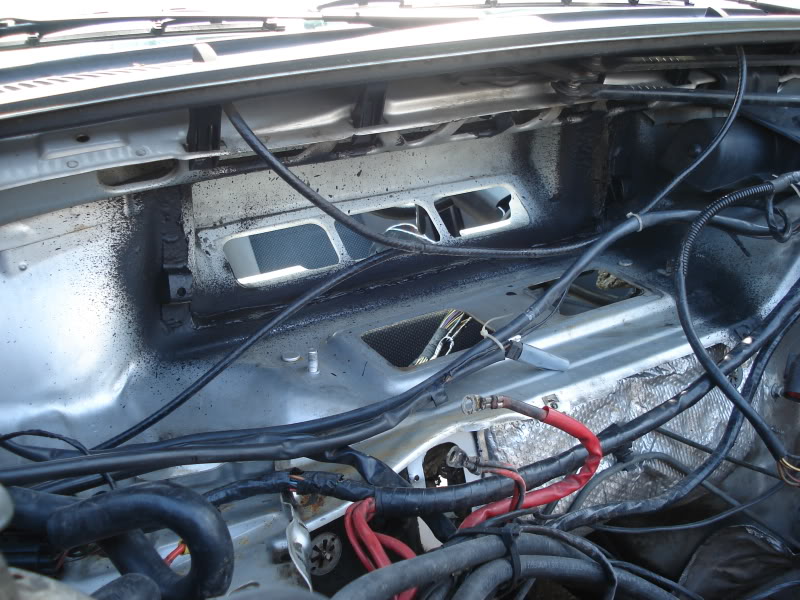
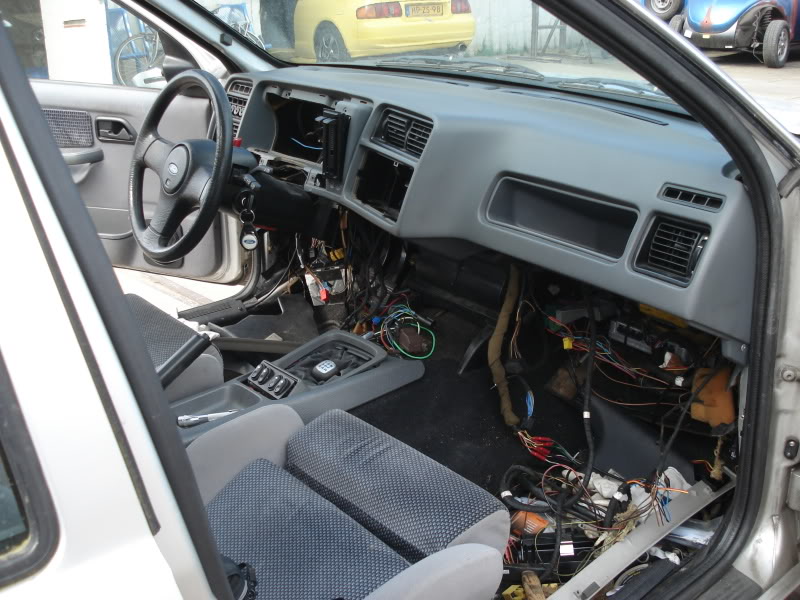
Together with the aircon kit I got the metal "box" that is normally fitted to the bulkhead. It's welded to the bulkhead on the holes where I drilled out the spot welds.
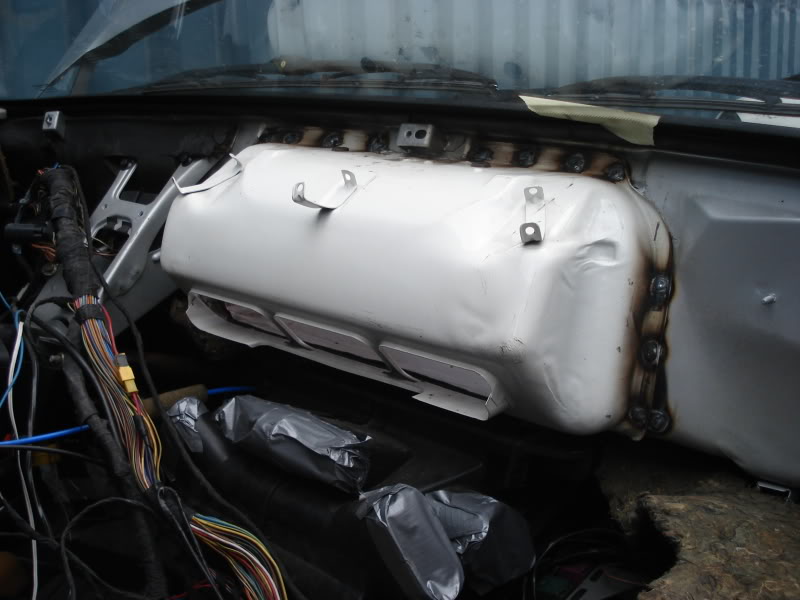
The vaporizer also needed two brackets on the bulkhead. Unfortunately I didn't have those, so I bent some small metal plates in shape. Welded a nut on the backside and welded the brackets to the bulkhead.

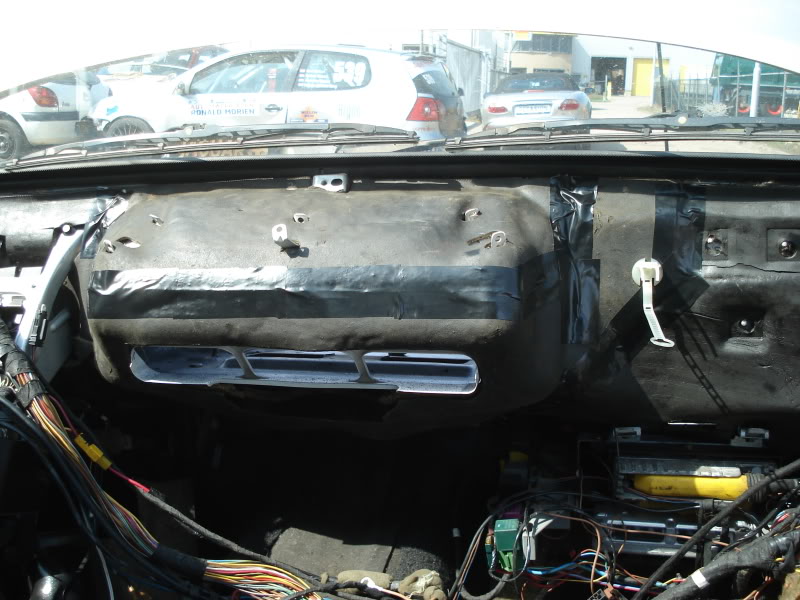
After that I sealed all the grooves on the in- and outside.
And also sprayed everything to make sure it won't rust.
The vaporizer also needed two brackets on the bulkhead. Unfortunately I didn't have those, so I bent some small metal plates in shape. Welded a nut on the backside and welded the brackets to the bulkhead.
After that I sealed all the grooves on the in- and outside.
And also sprayed everything to make sure it won't rust.


 08-08-2012, 03:47 PM
#70
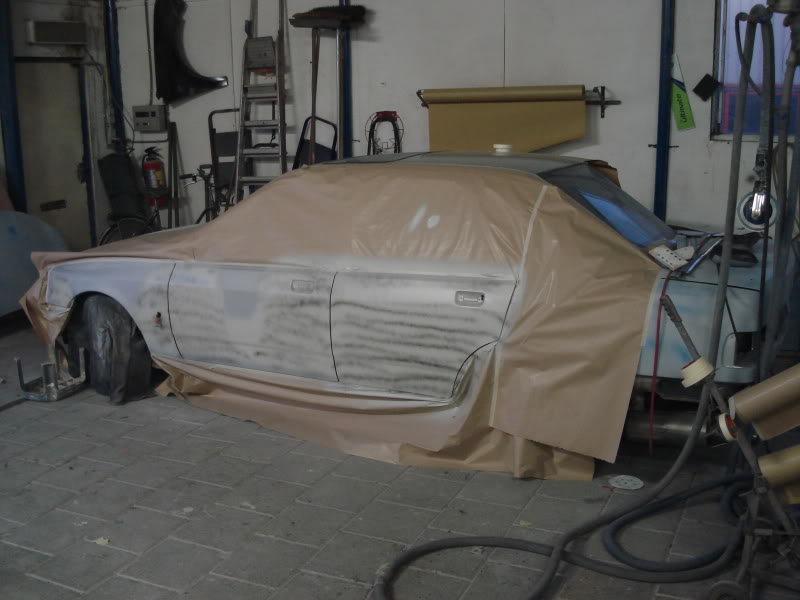
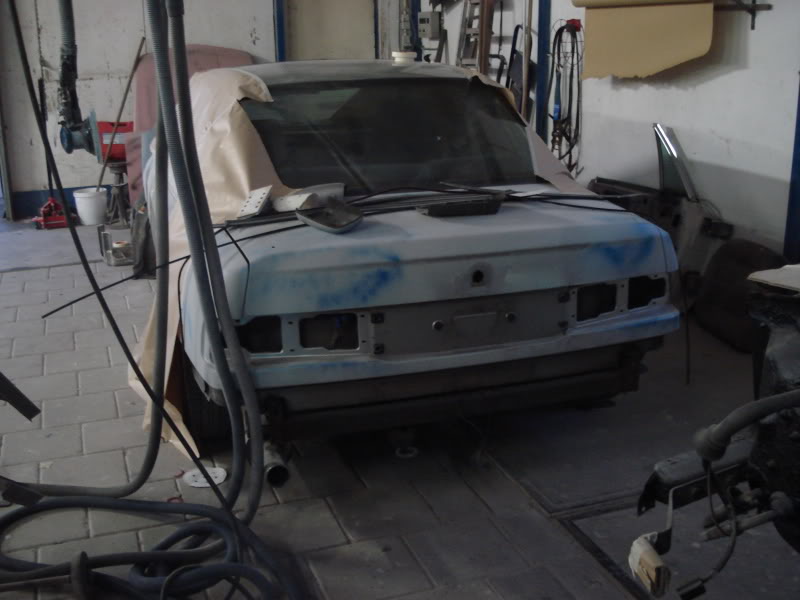
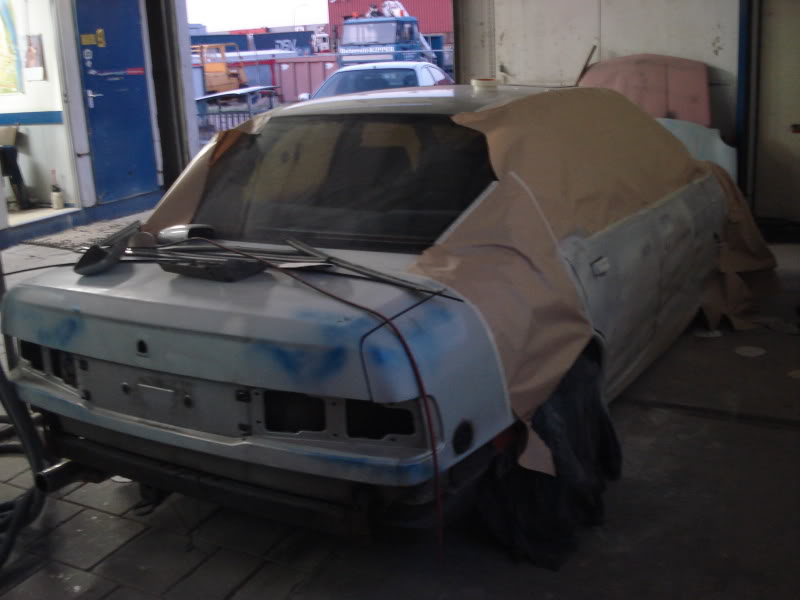
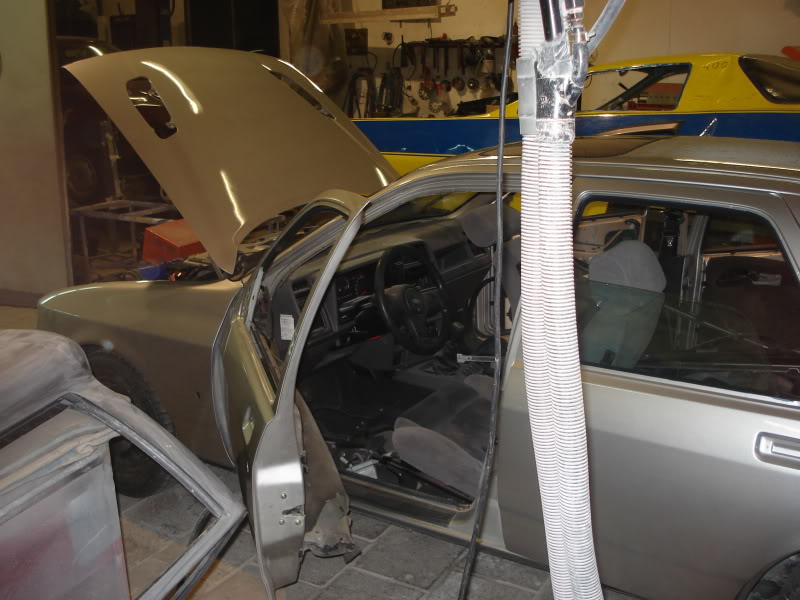
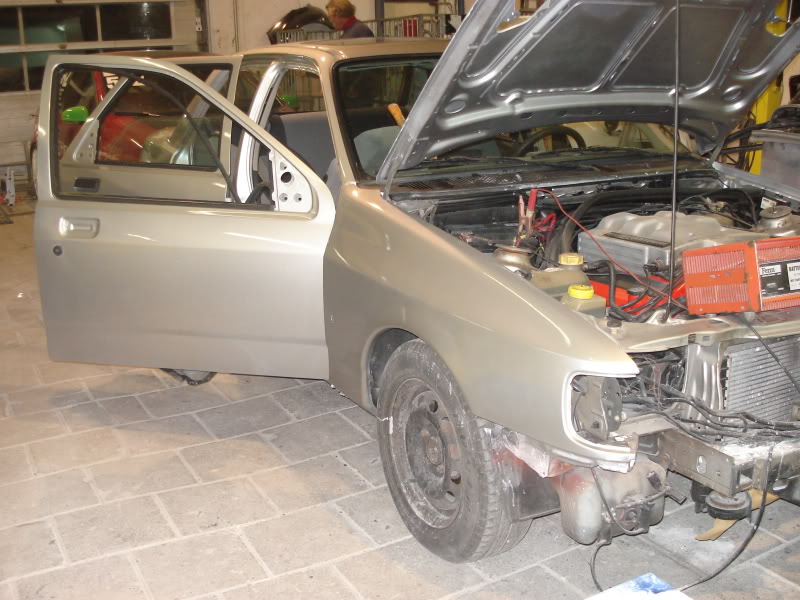
While the Sierra was off the road it was a nice moment to also have the rear arches done, as there where several rust spots. The hole for the radio antenna was also closed as I fitted the amplifier for the rear window a while earlier. I'm not doing bodywork myself, because the goal is to make it look better, not worse. 
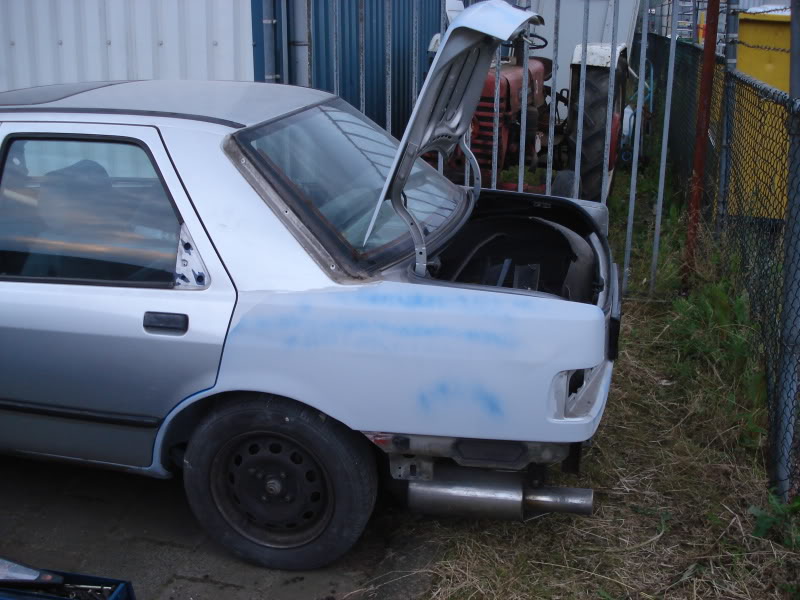
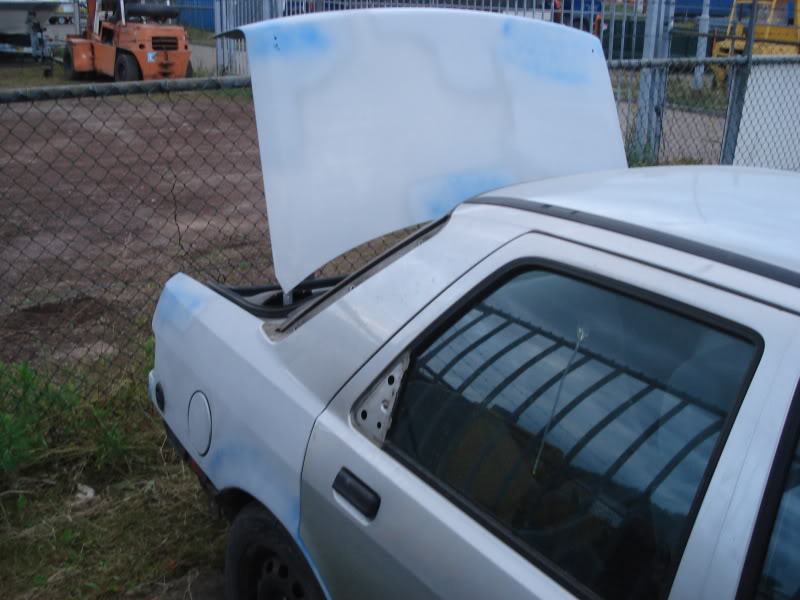
In the end I decided to not only do the rear but the whole car. If I won't do it now it will never get done. So off with all the other parts too.

After that it was up to the bodyworkshop...
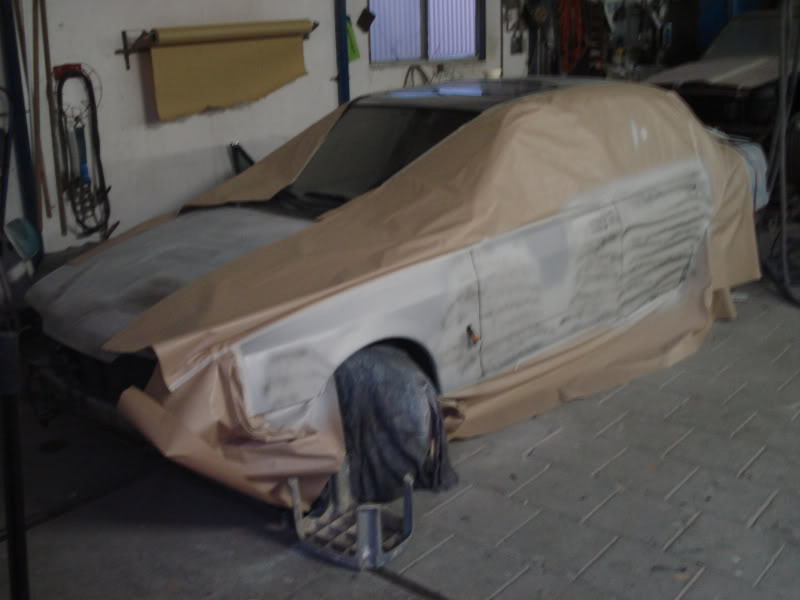
In the end I decided to not only do the rear but the whole car. If I won't do it now it will never get done. So off with all the other parts too.
After that it was up to the bodyworkshop...

 13-08-2012, 05:24 PM
#74
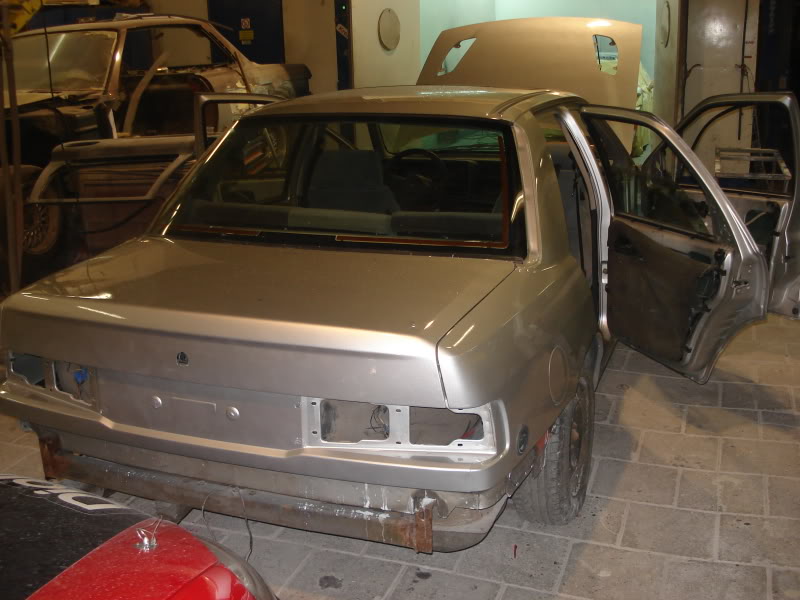
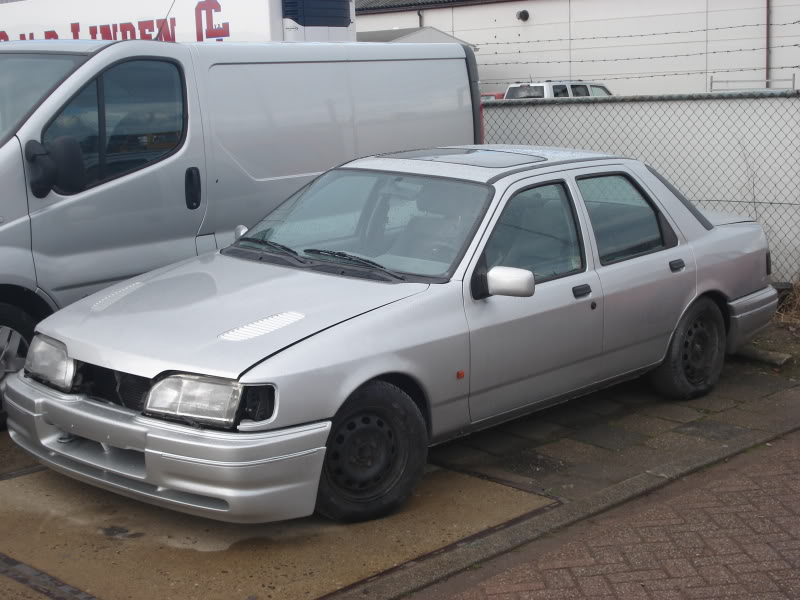
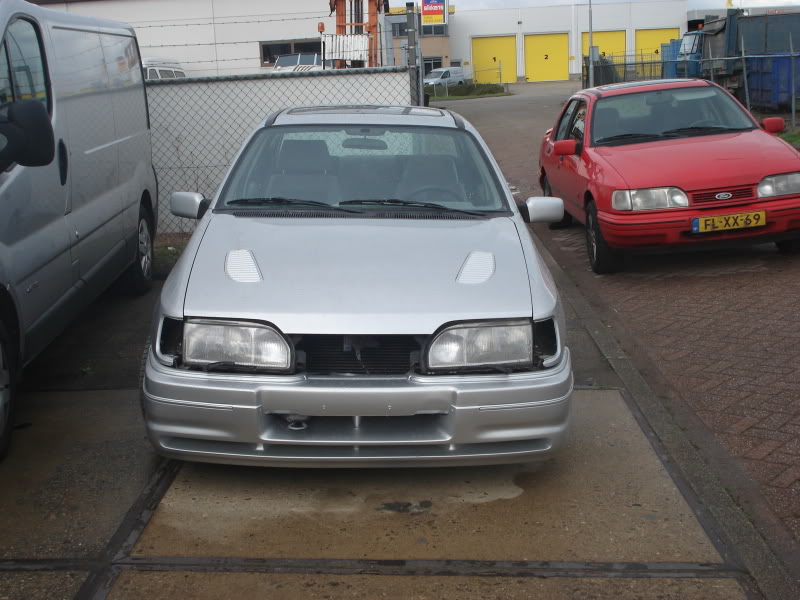
Wahay!! I've lost my Virginity!!

 13-08-2012, 05:51 PM
#76
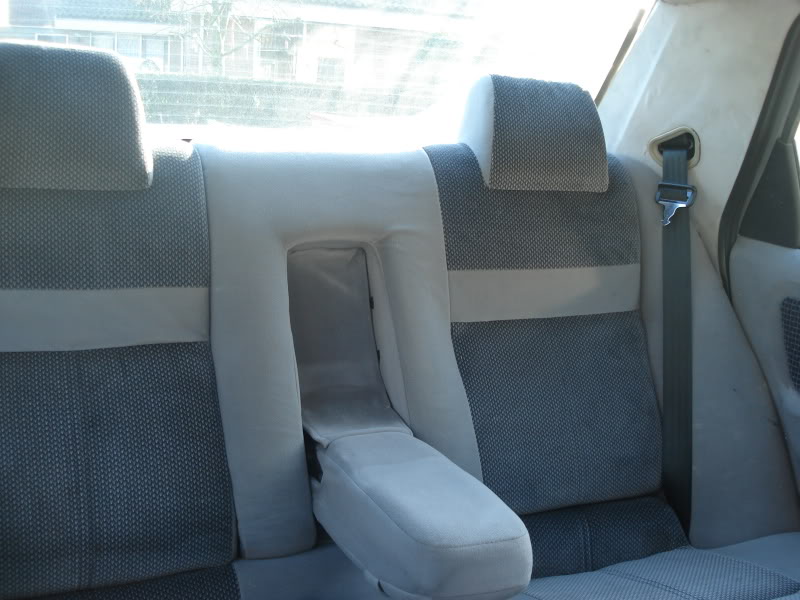
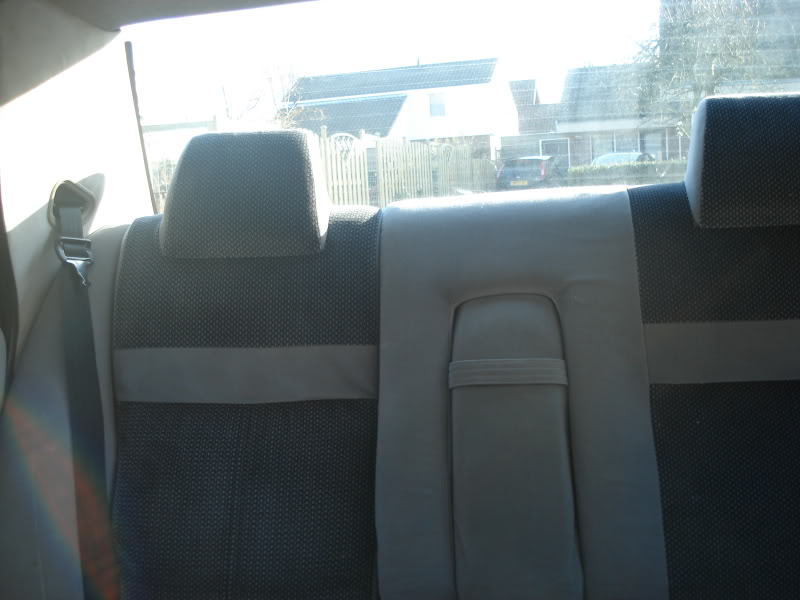
A friend of mine brought a rear seat with head rests and arm rest back from the UK. It took quite a while for I finally had found the trim that matches the front recaro's. But finally I found them.
I also got some cloth trimmed C-panels and finally the whole lot.
I also got some cloth trimmed C-panels and finally the whole lot.


 13-09-2012, 07:25 PM
#78
PassionFord Regular
iTrader: (2)

Join Date: Dec 2010
Location: co. tyrone n.i.
Posts: 350
Likes: 0
Received 0 Likes
on
0 Posts
That's quite the thread you've got going there, plenty of commitment which I like to see! Currently converting my sierra to 24v, although unlike you going for 3.36 diff I have gone for 4.27, I am looking to drift
13-09-2012, 08:33 PM
#79
Thanks for the kind words.
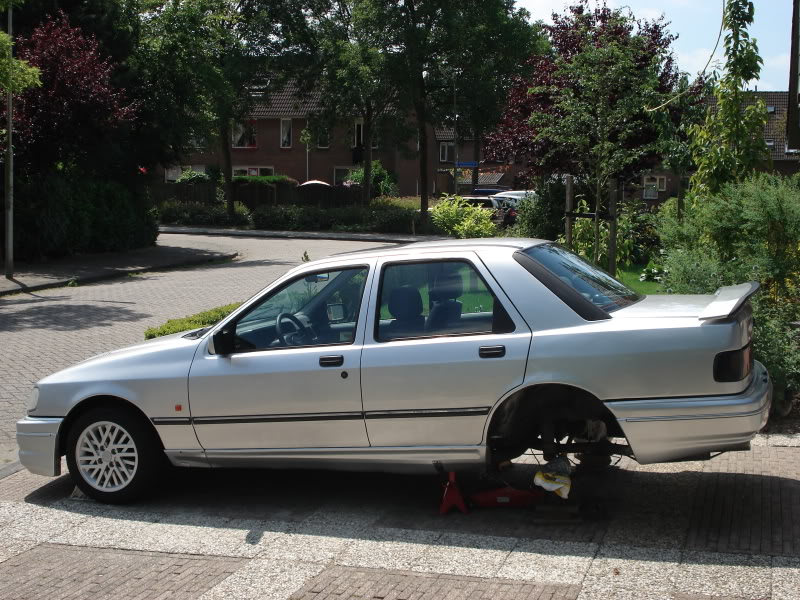
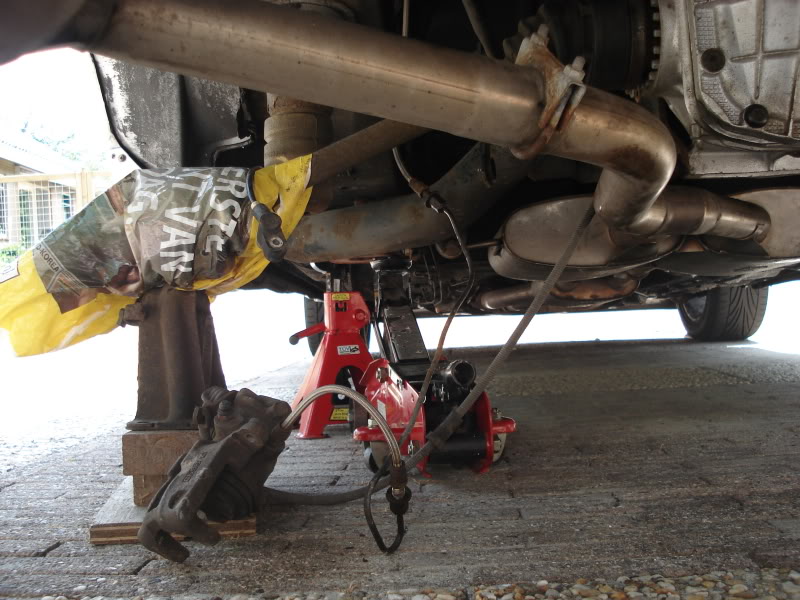
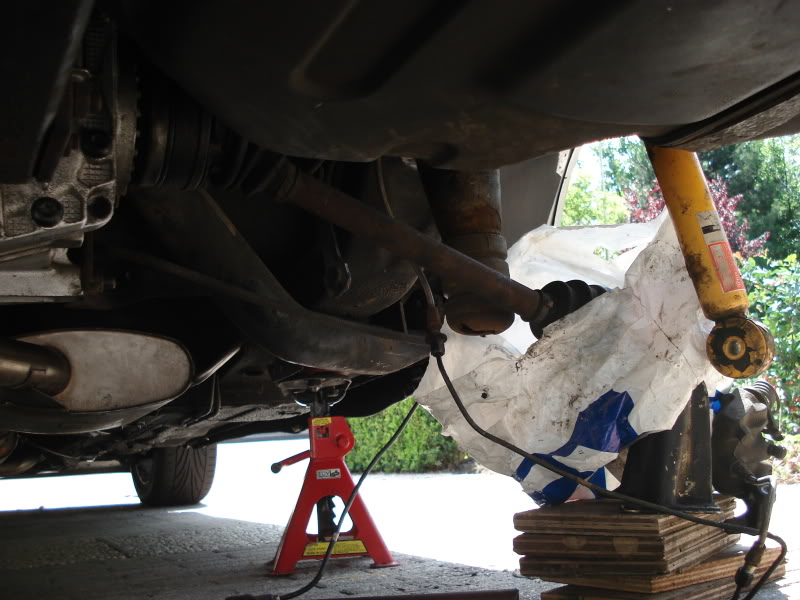
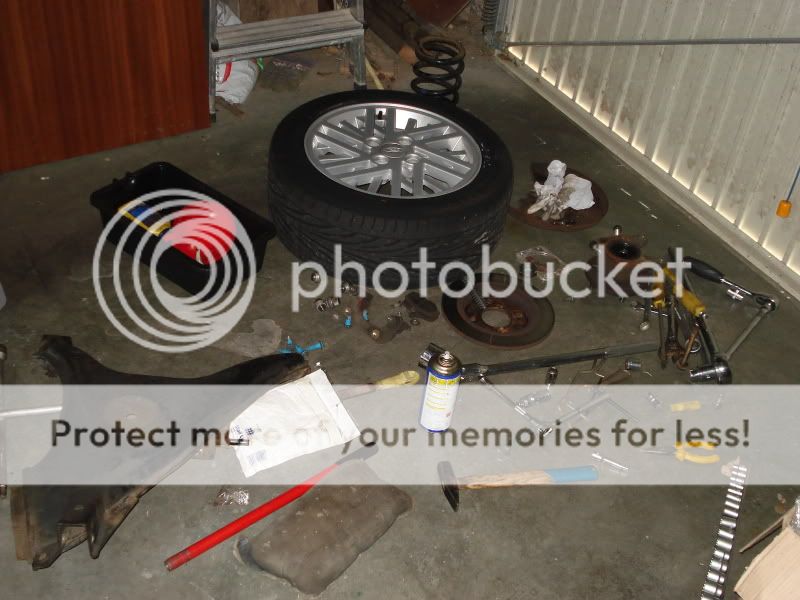
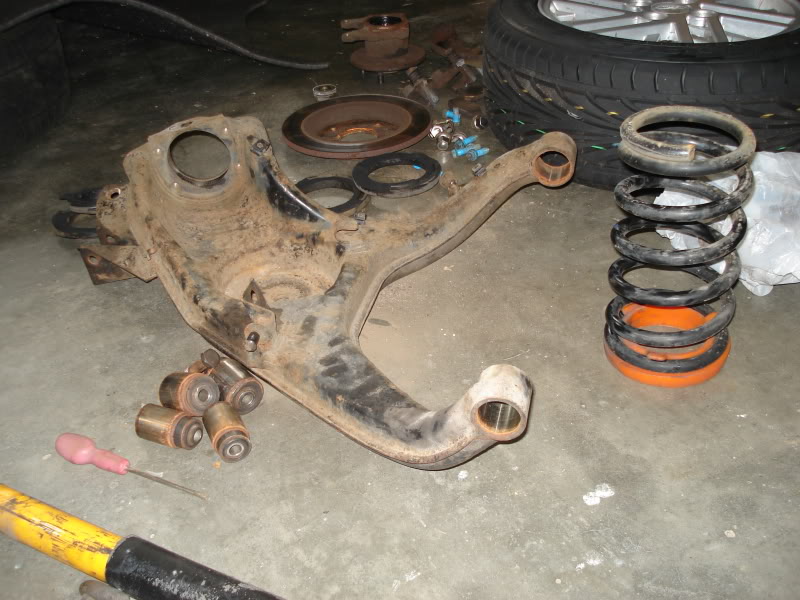
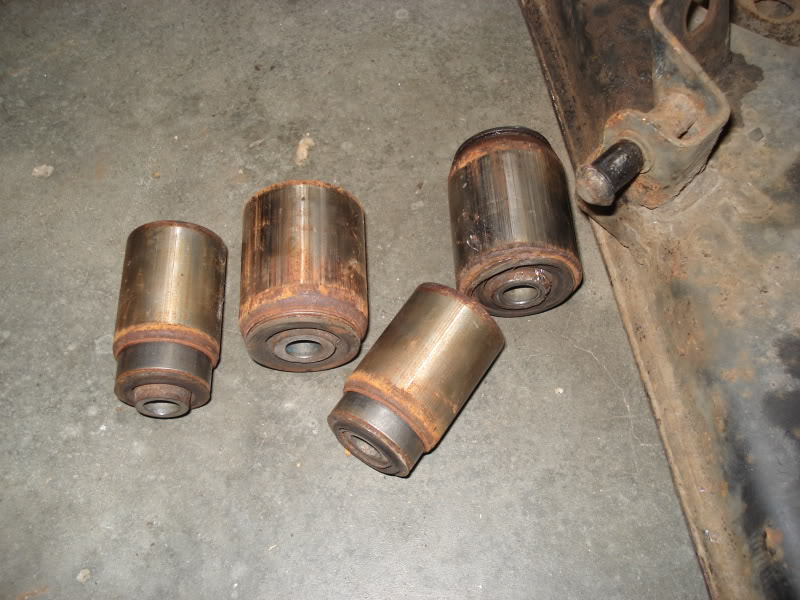
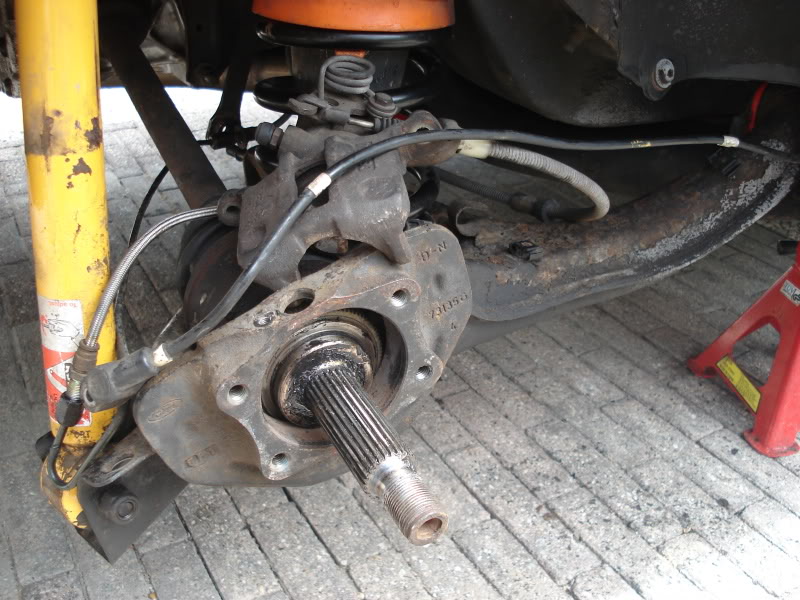
Since the car was feeling a little bit awkward and the rear right tyre was wearing unevenly, it was time to replace the bushes in the rear suspension. All bushes except for the swinging arms bushes were already replaced with PU items. But since the rear beam that's on the car came from a Granada which has the same metal bearings as the Sierra Cosworth I left those in. But they were obviously worn by now.
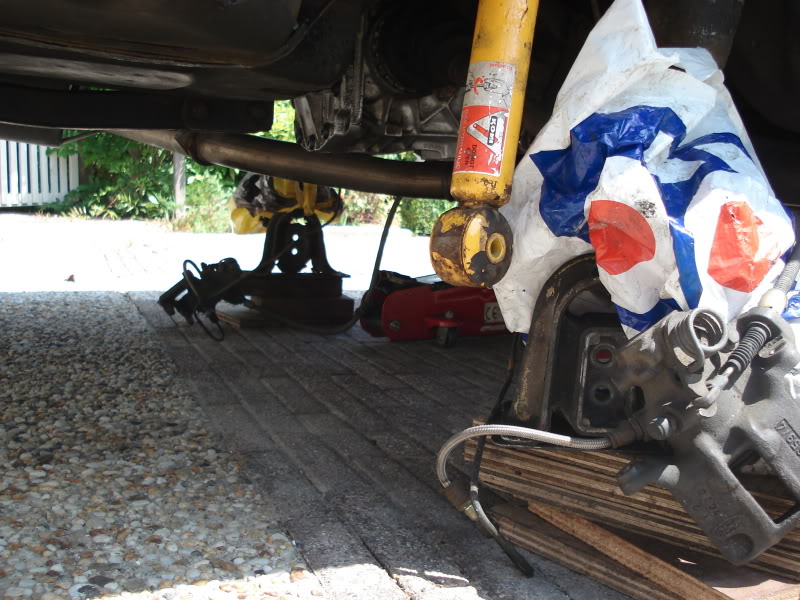
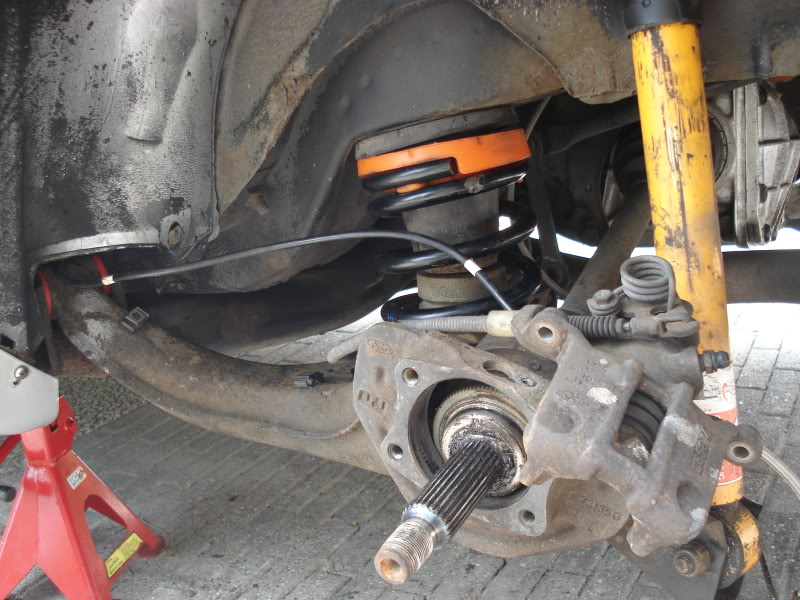
After one day the car looked like this.
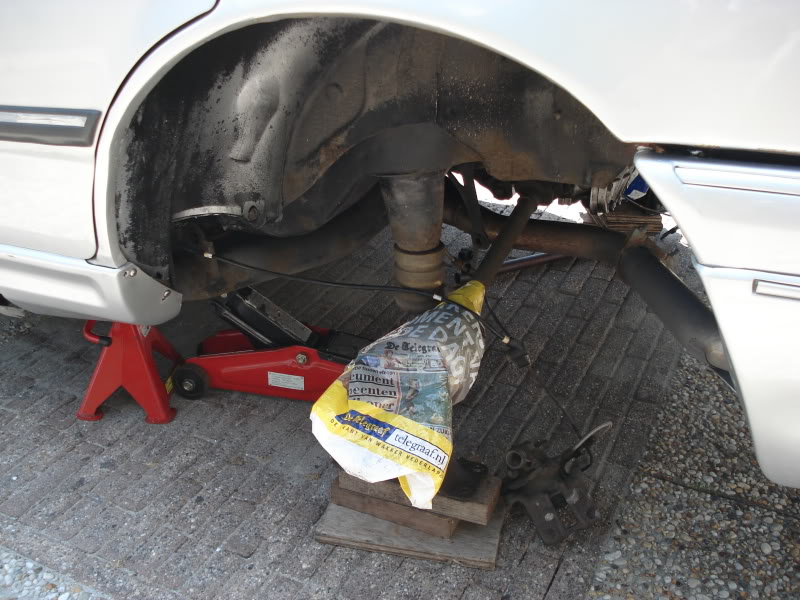
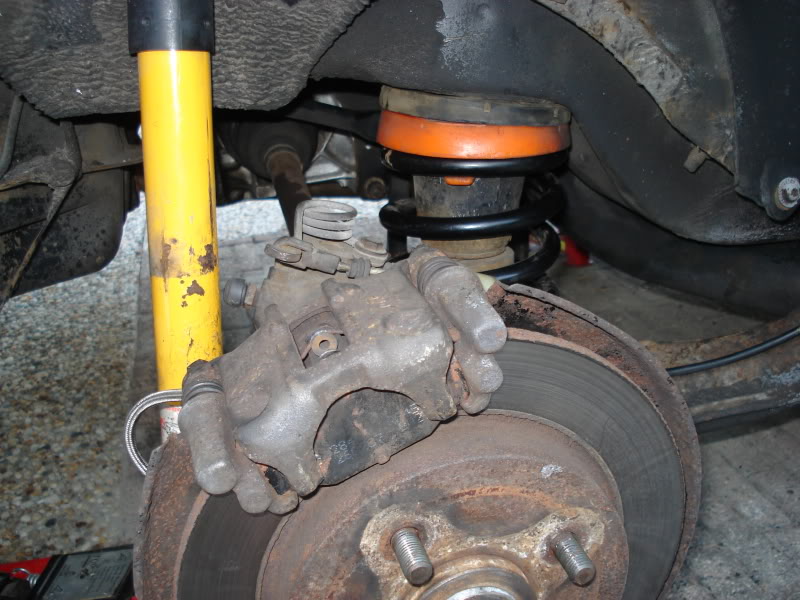
Fitted a plastic bag over the drive shaft for the rain...
All parts that come from the left side.
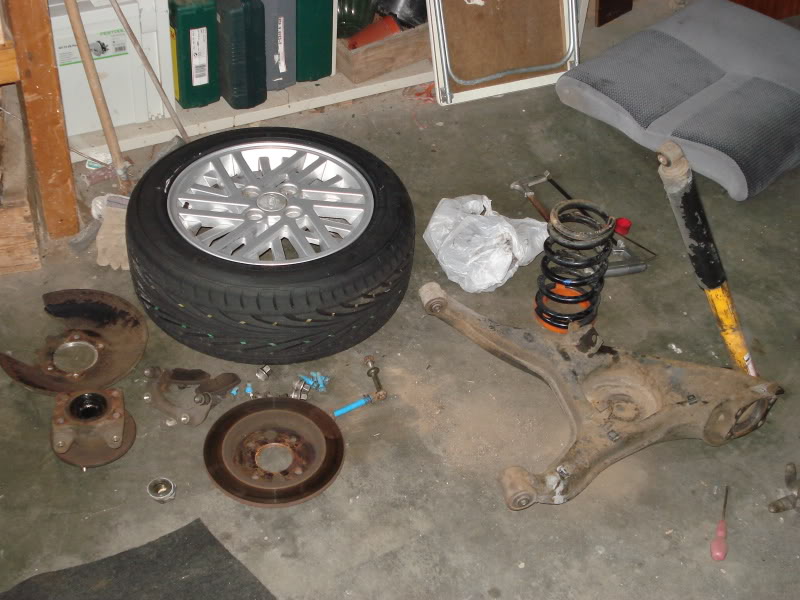
And the right side.
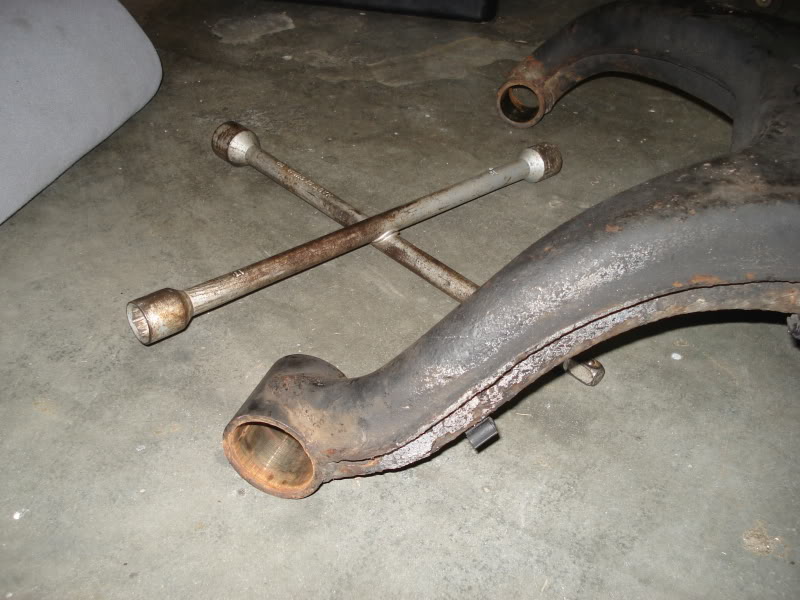
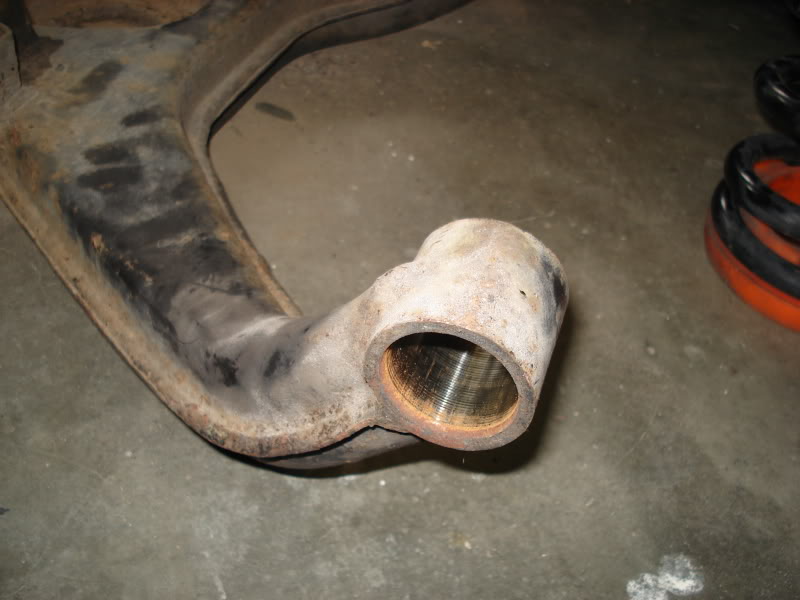
The metal bearings are pressed inside the arms. After 20 years of dirt and water they are rusted solid.
What is also very nice is that Ford fitted the inner swinging arms bolts from the diff side. But without undoing the diff you can't get the bolts out. When they're going back in I'll put them in from the other side.
Since the car was feeling a little bit awkward and the rear right tyre was wearing unevenly, it was time to replace the bushes in the rear suspension. All bushes except for the swinging arms bushes were already replaced with PU items. But since the rear beam that's on the car came from a Granada which has the same metal bearings as the Sierra Cosworth I left those in. But they were obviously worn by now.
After one day the car looked like this.
Fitted a plastic bag over the drive shaft for the rain...
All parts that come from the left side.
And the right side.
The metal bearings are pressed inside the arms. After 20 years of dirt and water they are rusted solid.
What is also very nice is that Ford fitted the inner swinging arms bolts from the diff side. But without undoing the diff you can't get the bolts out.
13-09-2012, 08:35 PM
#80
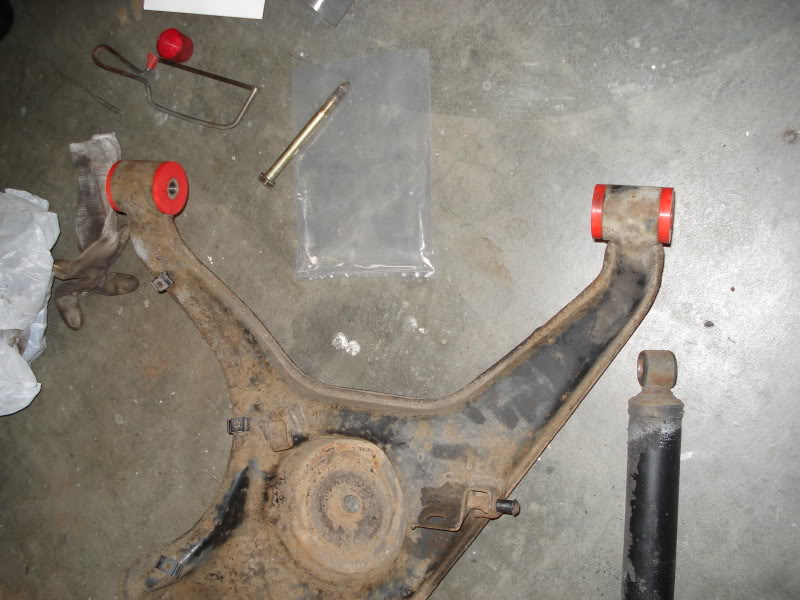
Since the bearings were rusted solid in the arms, I went by the local Ford garage. They were so friendly to let me use their 15 tons press. One didn't even come out the first try, but in the end it was all done in 15 minutes.
The arms without the bushes.
The old bearings.
And some new Polyrace bushes fitted.
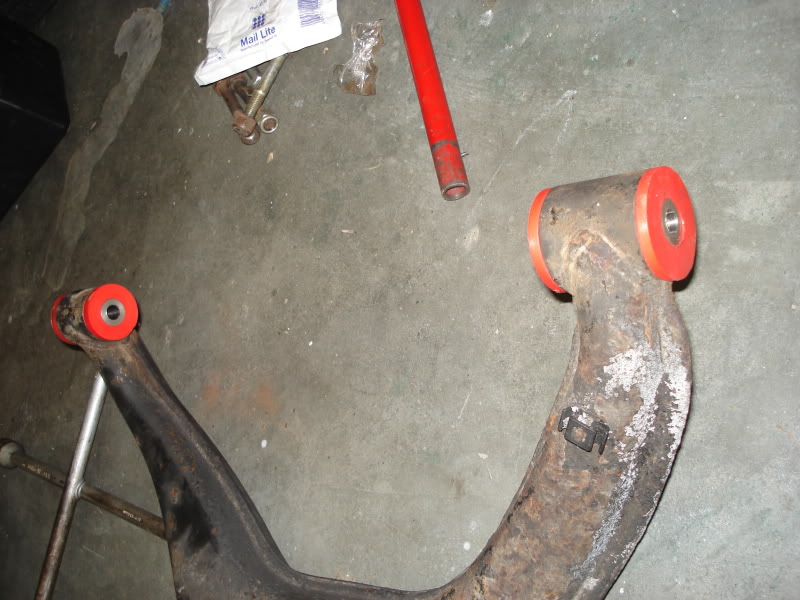
And the arms back on the car.
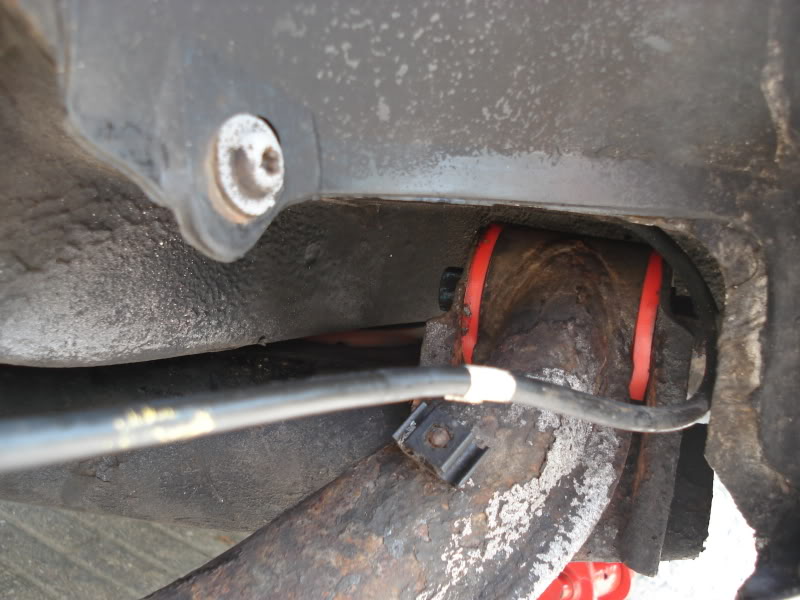
And all the other parts refitted too. I put an extra ring on top of the spring to have the car run a bit higher. But I'm not sure whether that's actually an improvement...

The arms without the bushes.
The old bearings.
And some new Polyrace bushes fitted.
And the arms back on the car.
And all the other parts refitted too. I put an extra ring on top of the spring to have the car run a bit higher. But I'm not sure whether that's actually an improvement...