4x4 cosworth s2 and full bare shell resto
 19-05-2008, 04:22 PM
#1
PassionFord Regular
Thread Starter
iTrader: (-1)
Join Date: Aug 2006
Location: norfolk
Posts: 384
Likes: 0
Received 0 Likes
on
0 Posts
I have owned my escort rs turbo for about 2 years now and have loved every minute, in the search for more power i have decided to totally strip down and rebuild my car like new, i had 193bhp and that was fun but like evrybody else, i want more power, which is what its gonna get. (not gonna reveal the plans yet)lol. i'm in no rush to get this done as long as its done properly. so please watch and read my slow but worthwhile restoration.
Last edited by mercurygreyrsturbo; 30-11-2009 at 01:40 AM.
 19-05-2008, 04:54 PM
#3
PassionFord Regular
Thread Starter
iTrader: (-1)
Join Date: Aug 2006
Location: norfolk
Posts: 384
Likes: 0
Received 0 Likes
on
0 Posts
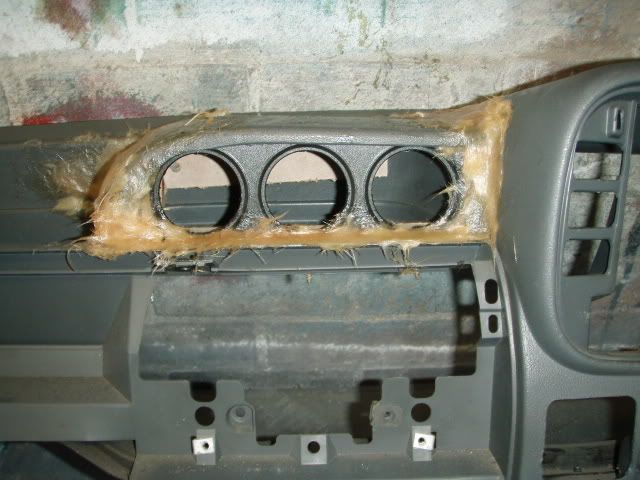
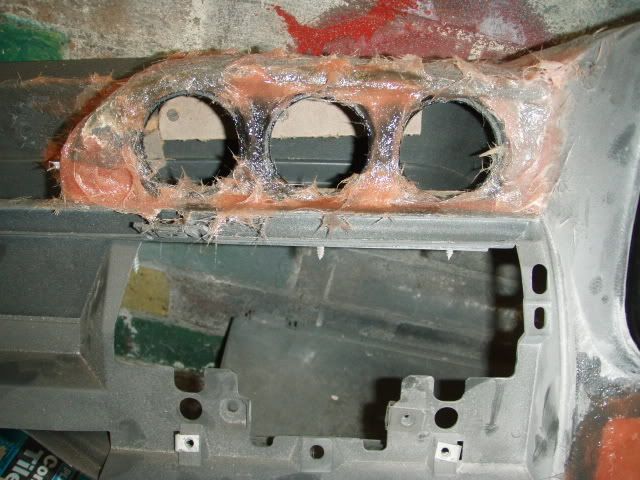
Got bored so started making a few things, this is what happens when u take an rs turbo dash and then decide to build a gauge pod from scratch
 19-05-2008, 08:33 PM
#7
PassionFord Regular
Thread Starter
iTrader: (-1)
Join Date: Aug 2006
Location: norfolk
Posts: 384
Likes: 0
Received 0 Likes
on
0 Posts
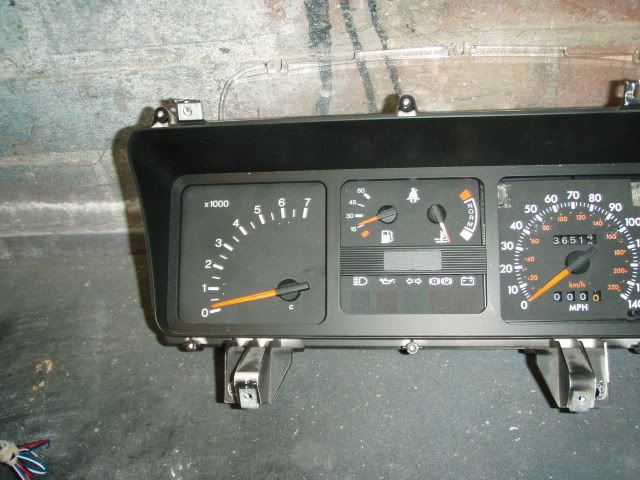
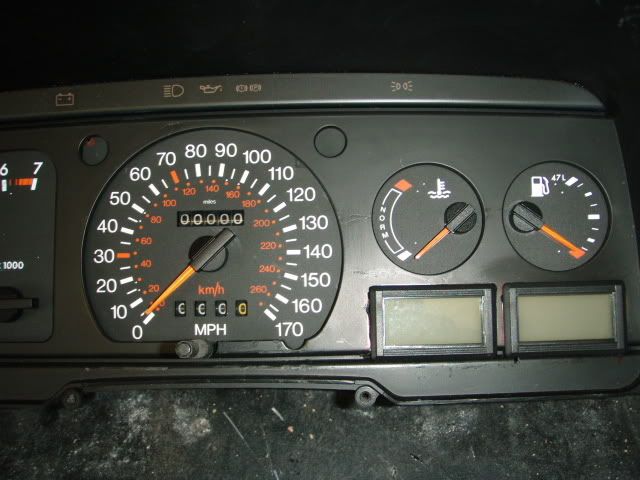
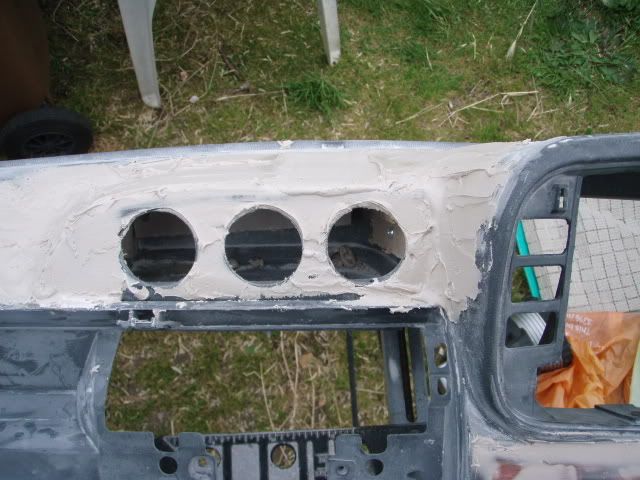
This was the hardest part so far, this is what happens when u take an rs turbo speedo, a 2wd cosworth speedo and a couple of act gauges, oh and about 8 hours of cutting and shaping.
Trending Topics


 19-05-2008, 10:19 PM
#11
I just love fords!

 20-05-2008, 09:57 AM
#14
PassionFord Regular
Thread Starter
iTrader: (-1)
Join Date: Aug 2006
Location: norfolk
Posts: 384
Likes: 0
Received 0 Likes
on
0 Posts
ROSTILL2007:
yeah will be taking alot of the interior panels down to suffolk flocking and having it done. interior is gonna be a mixture of flocked and athresite. (however its spelt)
RORO22:
The pod is a good idea, its not very easily done but its worth it. if u want i'll pm u a how to.
yeah will be taking alot of the interior panels down to suffolk flocking and having it done. interior is gonna be a mixture of flocked and athresite. (however its spelt)
RORO22:
The pod is a good idea, its not very easily done but its worth it. if u want i'll pm u a how to.
22-05-2008, 11:31 AM
#16
PassionFord Regular
Thread Starter
iTrader: (-1)
Join Date: Aug 2006
Location: norfolk
Posts: 384
Likes: 0
Received 0 Likes
on
0 Posts
just ordered new wings, new front panel, new headlights and indicators, new sills, new floor pans. nothing wrong with sills apart from the previous owner decided to jack it up on the sill and bent it all. and as i want this to be mint i'm putting new everything on it.
26-05-2008, 02:42 PM
#20
PassionFord Regular
Thread Starter
iTrader: (-1)
Join Date: Aug 2006
Location: norfolk
Posts: 384
Likes: 0
Received 0 Likes
on
0 Posts
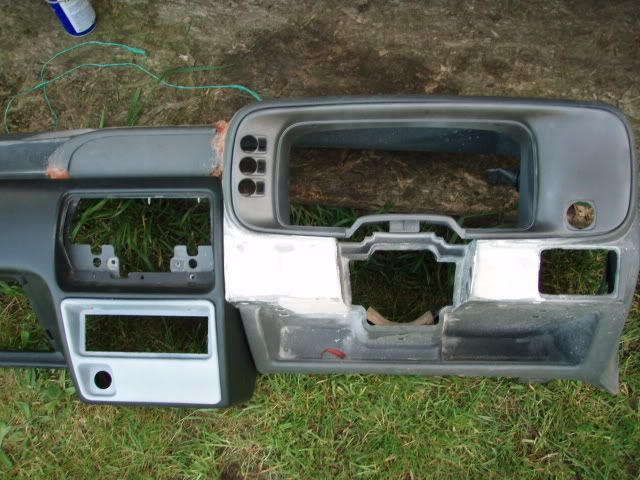
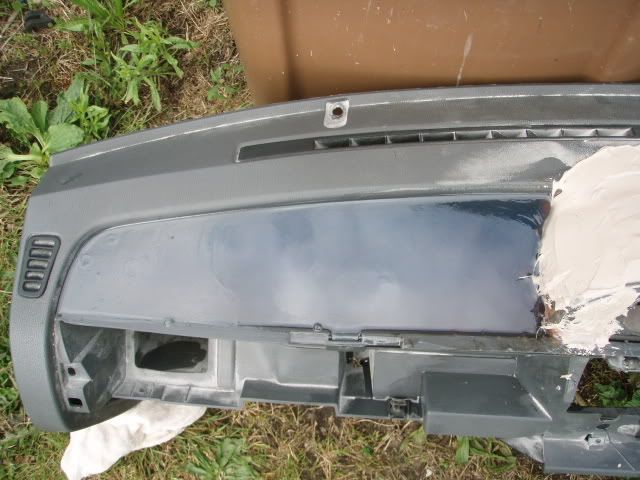
weather wa a bit crap today so i decided to do a bit more to the dash and speedo surround.
a bit more filler

rub down and a spot of primer
more primer
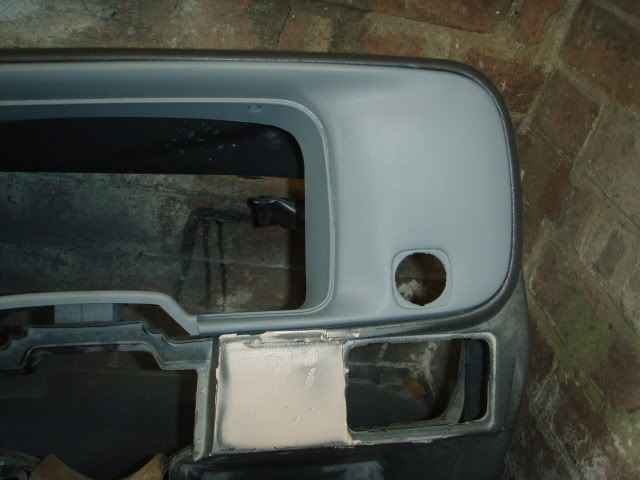
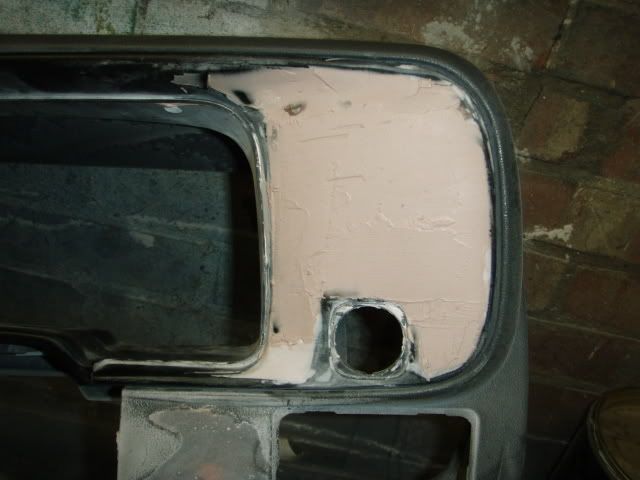
then decided to fill over the stupid holes that come standard
then had to fill a hole somebody made for a switch
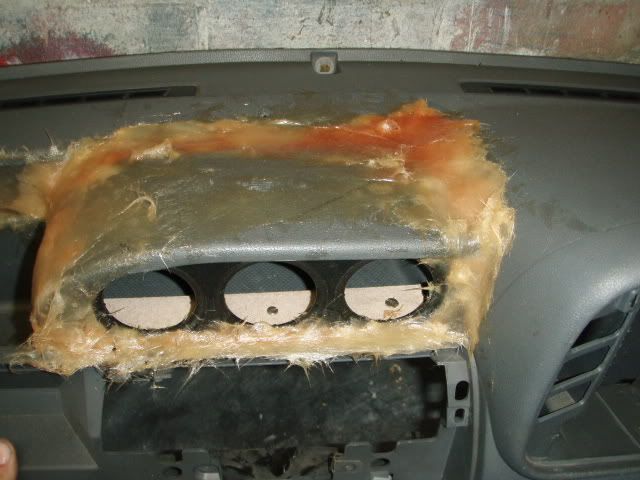
then added a bit more fibreglass to my gauge pod(lots of sanding to folow)
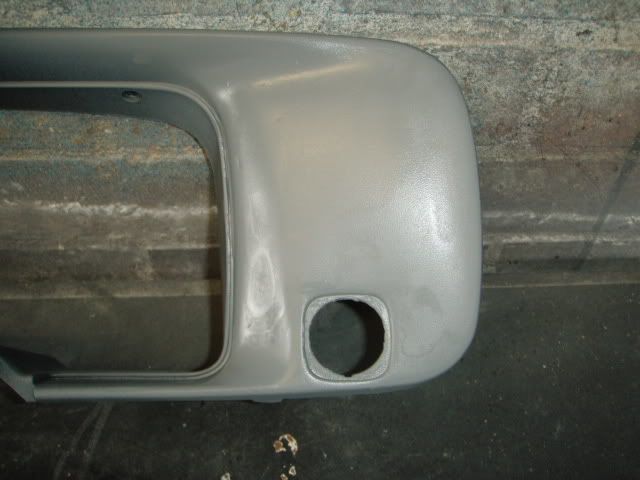
so this is how it looked after a few hours
a bit more filler
rub down and a spot of primer
more primer
then decided to fill over the stupid holes that come standard
then had to fill a hole somebody made for a switch
then added a bit more fibreglass to my gauge pod(lots of sanding to folow)
so this is how it looked after a few hours
 27-05-2008, 10:21 AM
#23
Grey Mk4 Early XR3I

how dificult is it to take the dash out on one of these? ive got a spare in the shell im stripping i wanna build a gauge holder and get rid of them lil blanking plates myself .... but dunno how id paint it lol
07-06-2008, 05:43 PM
#25
PassionFord Regular
Thread Starter
iTrader: (-1)
Join Date: Aug 2006
Location: norfolk
Posts: 384
Likes: 0
Received 0 Likes
on
0 Posts
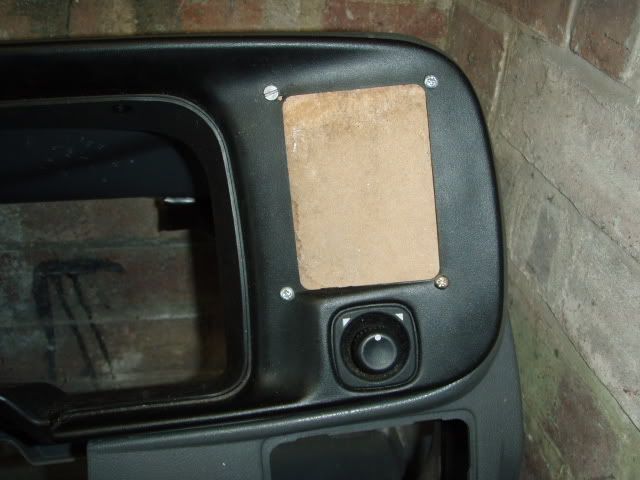
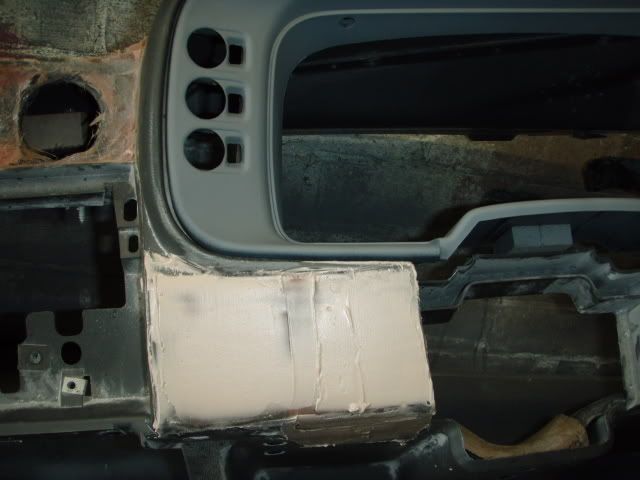
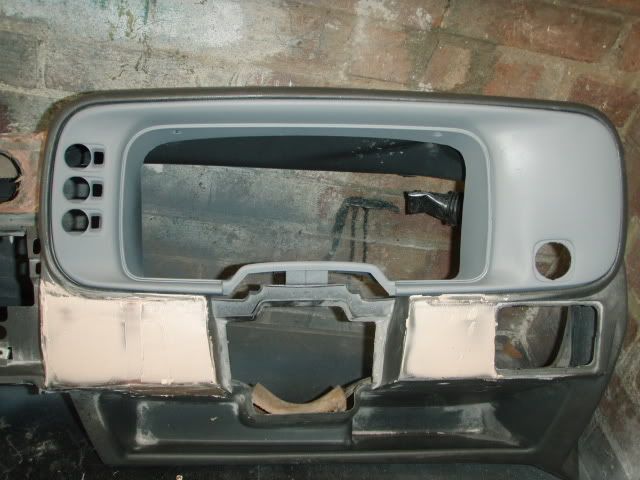
WENT OUT AND DID A FEW MORE BIS TODAY, I DECIDED THAT I NO LONGER NEEDED AN ASHTRAY AS I DONT SMOKE AND THE SPACE WILL MAKE WAY FOR A FEW SWITCHES,
STARTED BY MAKING TEMPLATE FROM PLASTIC
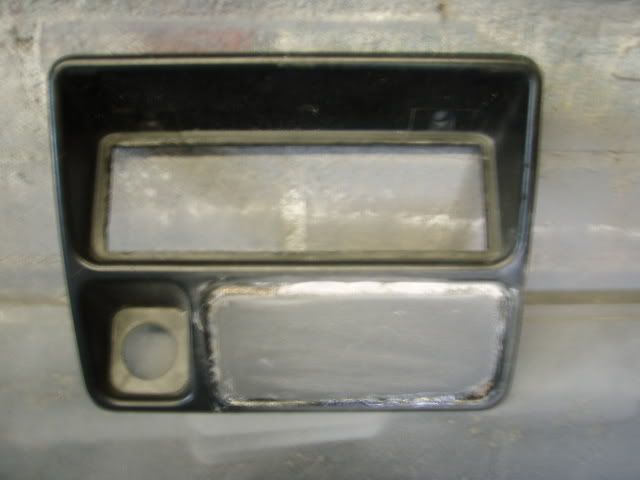
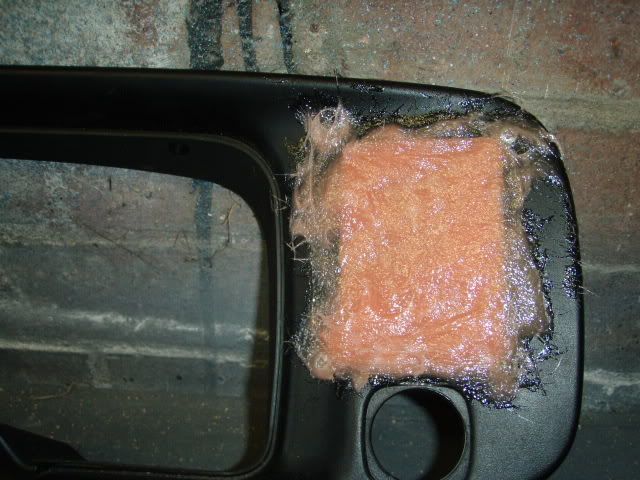
THEN ADDED A BIT OF FILLER
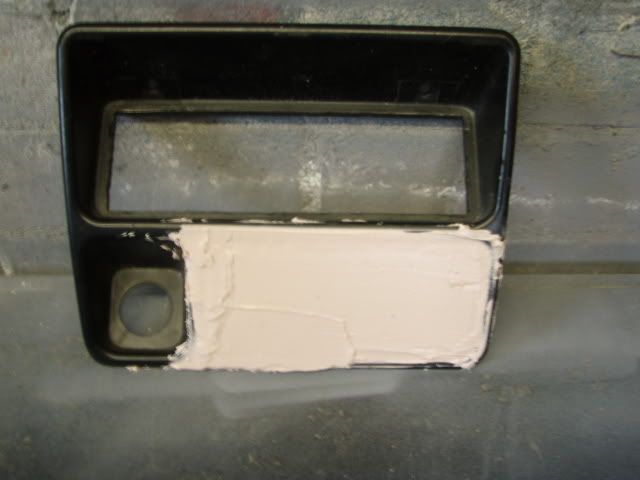
A BIT MORE FILLER
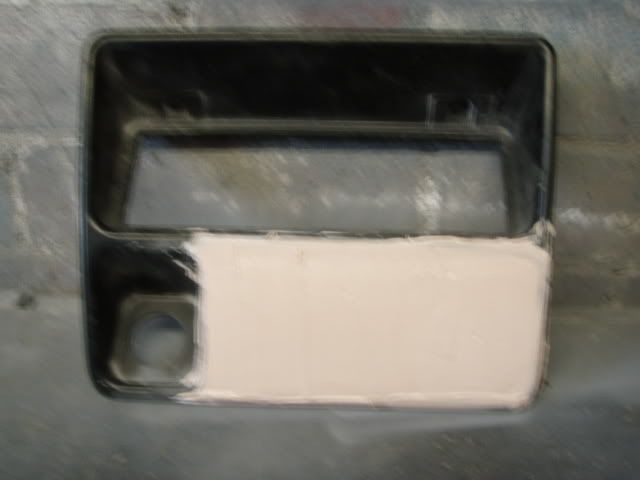
THEN AFTER LOTS OF RUBBING DOWN AND A BIT OF PRIMER IT ENDED UP LIKE THIS
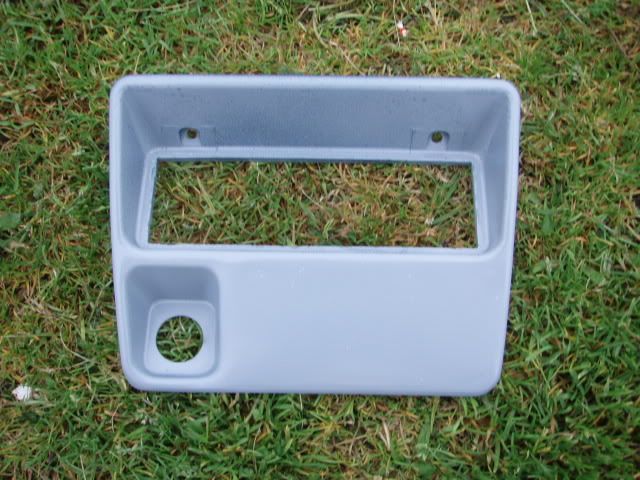
ALSO DECIDED THAT MY DASH POD WAS A BIT WEAK SO STARTED AGAIN USING ANOTHER DOOR POCKET AND VARIOUS PIECES OF PLASTIC, LOOKS ALOT BETTER AND IS FAR STRONGER.
LOADS OF PARCELS TURNED UP TODAY WITH LOTS OF GOODIES, WILL POST UP A LITTLE LATER.
STARTED BY MAKING TEMPLATE FROM PLASTIC
THEN ADDED A BIT OF FILLER
A BIT MORE FILLER
THEN AFTER LOTS OF RUBBING DOWN AND A BIT OF PRIMER IT ENDED UP LIKE THIS
ALSO DECIDED THAT MY DASH POD WAS A BIT WEAK SO STARTED AGAIN USING ANOTHER DOOR POCKET AND VARIOUS PIECES OF PLASTIC, LOOKS ALOT BETTER AND IS FAR STRONGER.
LOADS OF PARCELS TURNED UP TODAY WITH LOTS OF GOODIES, WILL POST UP A LITTLE LATER.
 10-06-2008, 07:33 PM
#29
PassionFord Regular
Thread Starter
iTrader: (-1)
Join Date: Aug 2006
Location: norfolk
Posts: 384
Likes: 0
Received 0 Likes
on
0 Posts
Been working on the dash again today, its nearly finished, had a look through twins's resto and was thinking of blanking the lower storage under the steeriing wheel column., pics up tomorrow.
12-06-2008, 01:49 PM
#30
PassionFord Regular
Thread Starter
iTrader: (-1)
Join Date: Aug 2006
Location: norfolk
Posts: 384
Likes: 0
Received 0 Likes
on
0 Posts
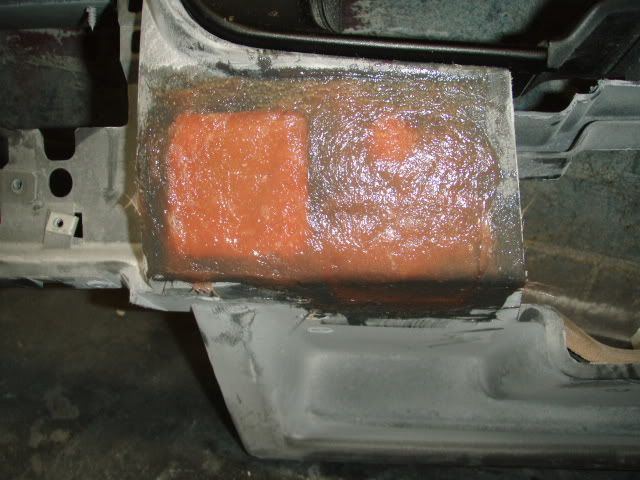
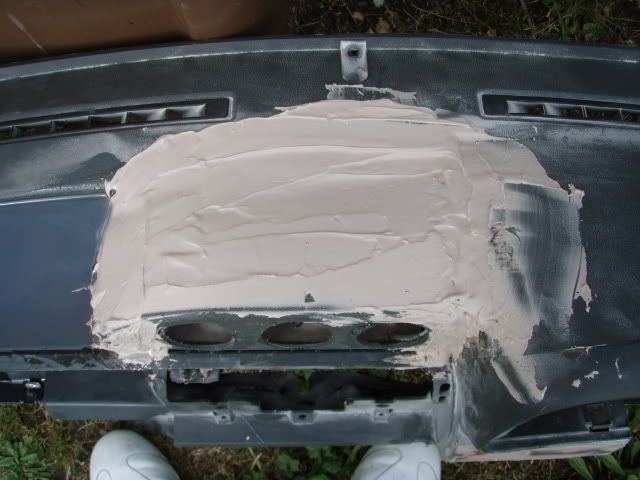
MORE PICS OF THE DASH
STARTED FILLING THE HOLE ABOVE GLOVEBOX, (got idea from twins)
WITH FIBRELASS RESIN POURED IN, THIS IS WHAT IT LOOKS LIKE WHILE ITS STILL SETTING.
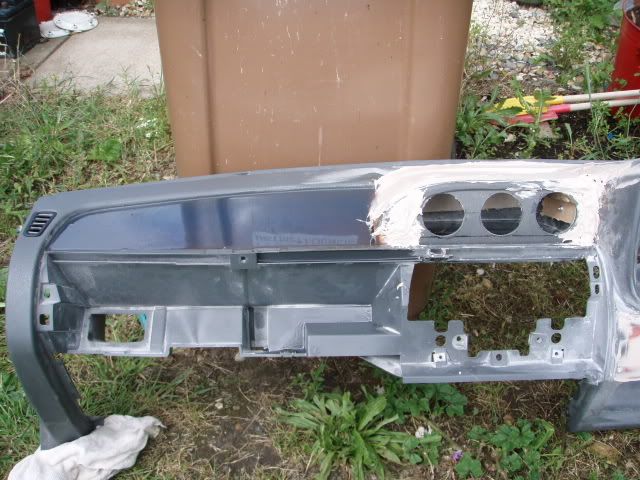
ALSO ADDED FILLER TO MY GAUGE POD, NEARLY THERE
STARTED FILLING THE HOLE ABOVE GLOVEBOX, (got idea from twins)
WITH FIBRELASS RESIN POURED IN, THIS IS WHAT IT LOOKS LIKE WHILE ITS STILL SETTING.
ALSO ADDED FILLER TO MY GAUGE POD, NEARLY THERE
 14-06-2008, 06:15 PM
#34
PassionFord Regular
Thread Starter
iTrader: (-1)
Join Date: Aug 2006
Location: norfolk
Posts: 384
Likes: 0
Received 0 Likes
on
0 Posts
i have been told its the best colour, i do love a nice red rs though, gonna start stripping the shell soon, then you'll get to see all my new toys for her.
 14-06-2008, 09:57 PM
#36
PassionFord Regular
Thread Starter
iTrader: (-1)
Join Date: Aug 2006
Location: norfolk
Posts: 384
Likes: 0
Received 0 Likes
on
0 Posts
will do, loved your dash so would love something half as good, like how u blank off the section under the steering column, thinking of doing something similiar.
18-06-2008, 05:47 PM
#37
PassionFord Regular
Thread Starter
iTrader: (-1)
Join Date: Aug 2006
Location: norfolk
Posts: 384
Likes: 0
Received 0 Likes
on
0 Posts
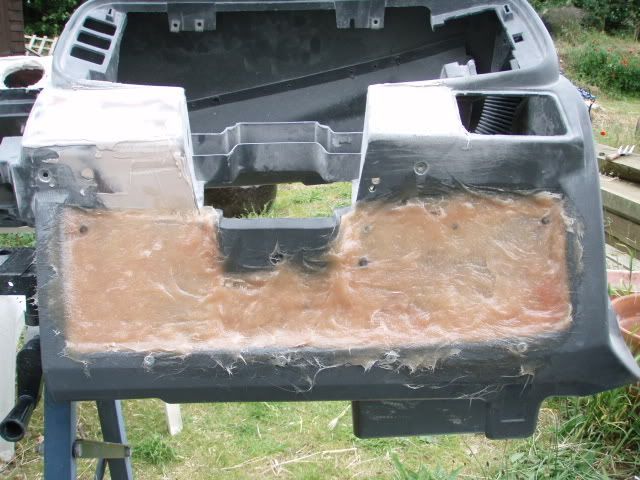
Done more work to the dash today, also blanked off the section under the steering column with plastic and then fibre glass, also added more filler to the rest of the dash, its now nearly finished.
Last edited by mercurygreyrsturbo; 18-06-2008 at 05:56 PM. Reason: x
25-06-2008, 02:59 PM
#38
PassionFord Regular
Thread Starter
iTrader: (-1)
Join Date: Aug 2006
Location: norfolk
Posts: 384
Likes: 0
Received 0 Likes
on
0 Posts
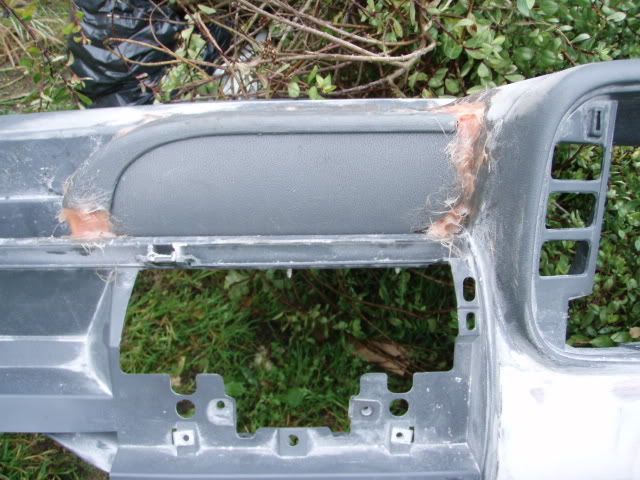
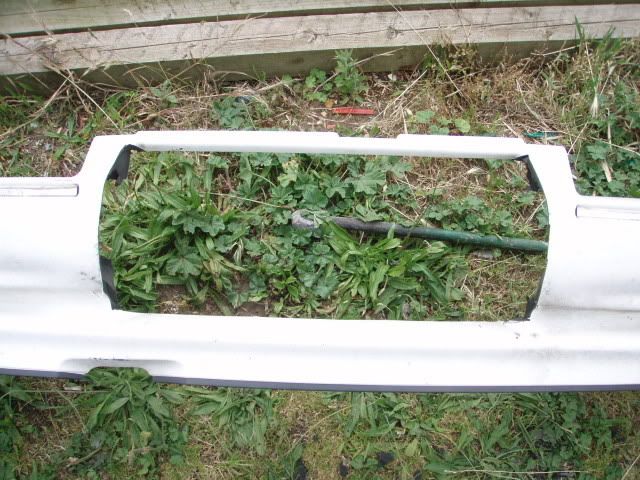
Had a 90 spec and 88 spec front bumper so decided to make the bumper thats gonna go on my rs, started by cutting out all the middle of the 90 spec bumper ( can't believe how much of that foam stuff there is)
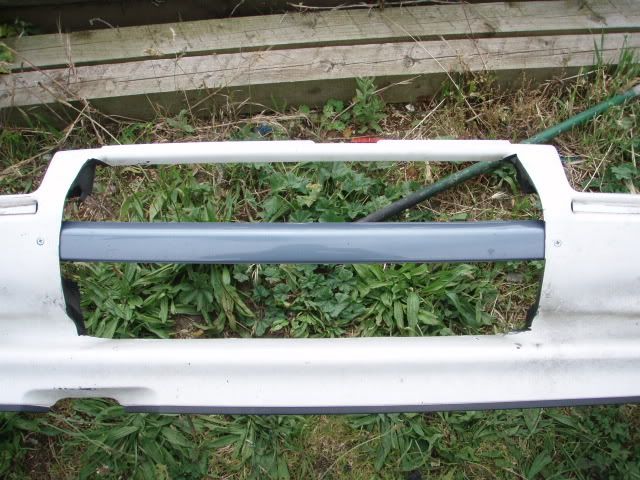
then decided to do something different so i cut off the top piece of the 88 spec bumper and placed it here
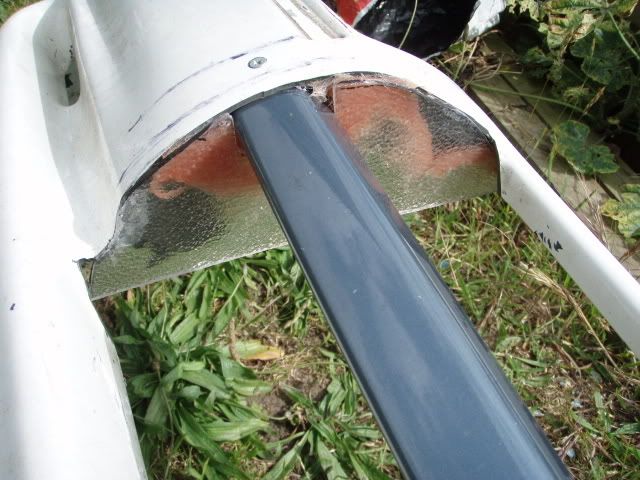
Then made some new pieces for the bumper out of perspex plastic, so it would make it easier to fill
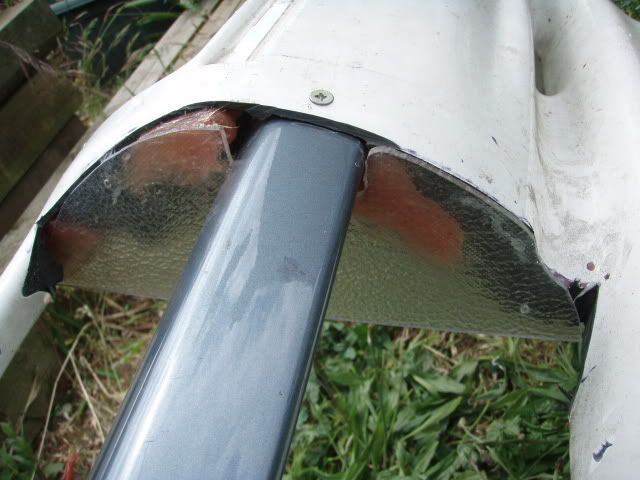
will post up more updates in a few days when the bumper and dash are done.
then decided to do something different so i cut off the top piece of the 88 spec bumper and placed it here
Then made some new pieces for the bumper out of perspex plastic, so it would make it easier to fill
will post up more updates in a few days when the bumper and dash are done.


